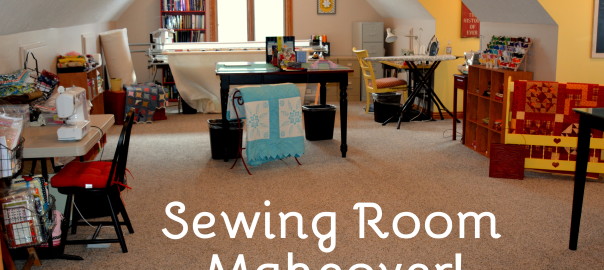
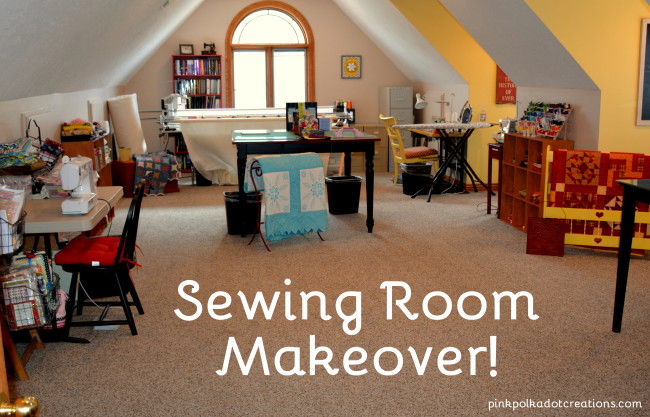
Today I have a little Sewing Room Ideas-Sneak Peek!
We have been in our house for more than 18 years now and I decided that this summer was going to be the time that we started doing a little bit of sprucing up again! One of the advantages of being an empty-nester is that when all the kids leave home and go out on their own…you get to take over their empty rooms! And believe me…I have taken over every one of my kids rooms! :) We have a big bonus room over the garage and I have turned it into my sewing/quilting room! :) It has never really been totally organized and decorated, so I decided that this was the summer to do it!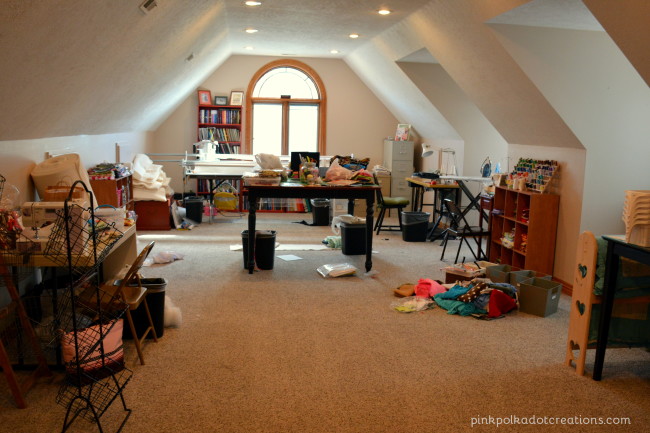 Continue reading →


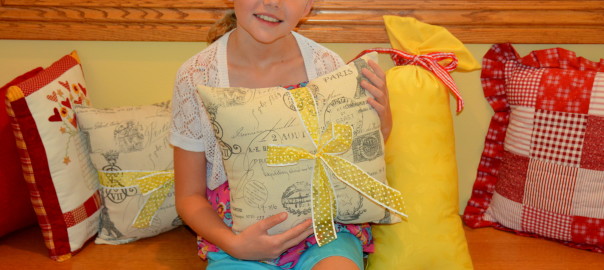
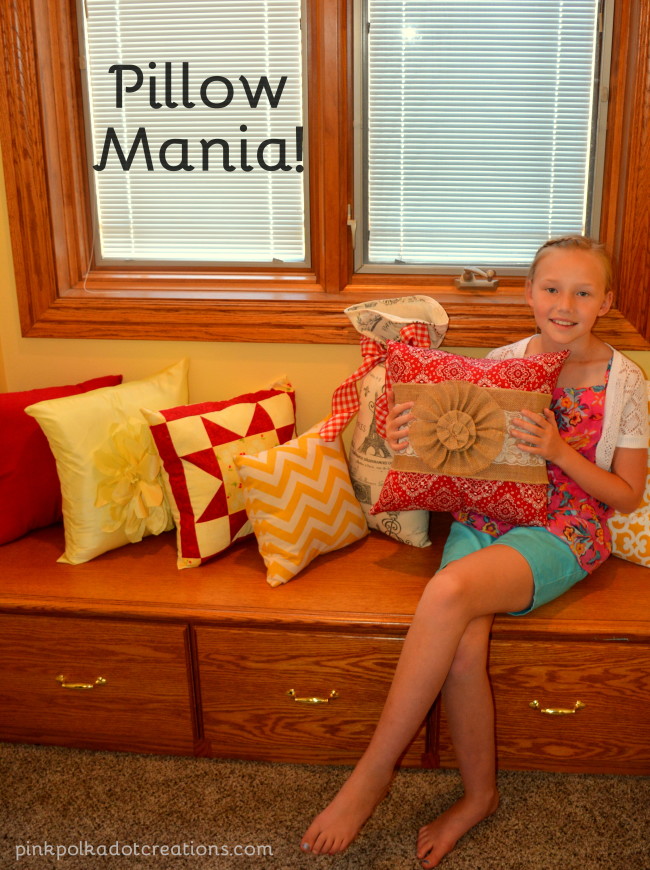
 Look how fun these Pillow Beds are!!