
Yesterday we had another one of our sewing classes for Relief Society in my church. I taught them how to put in a zipper and we made these fun zippered pouches!
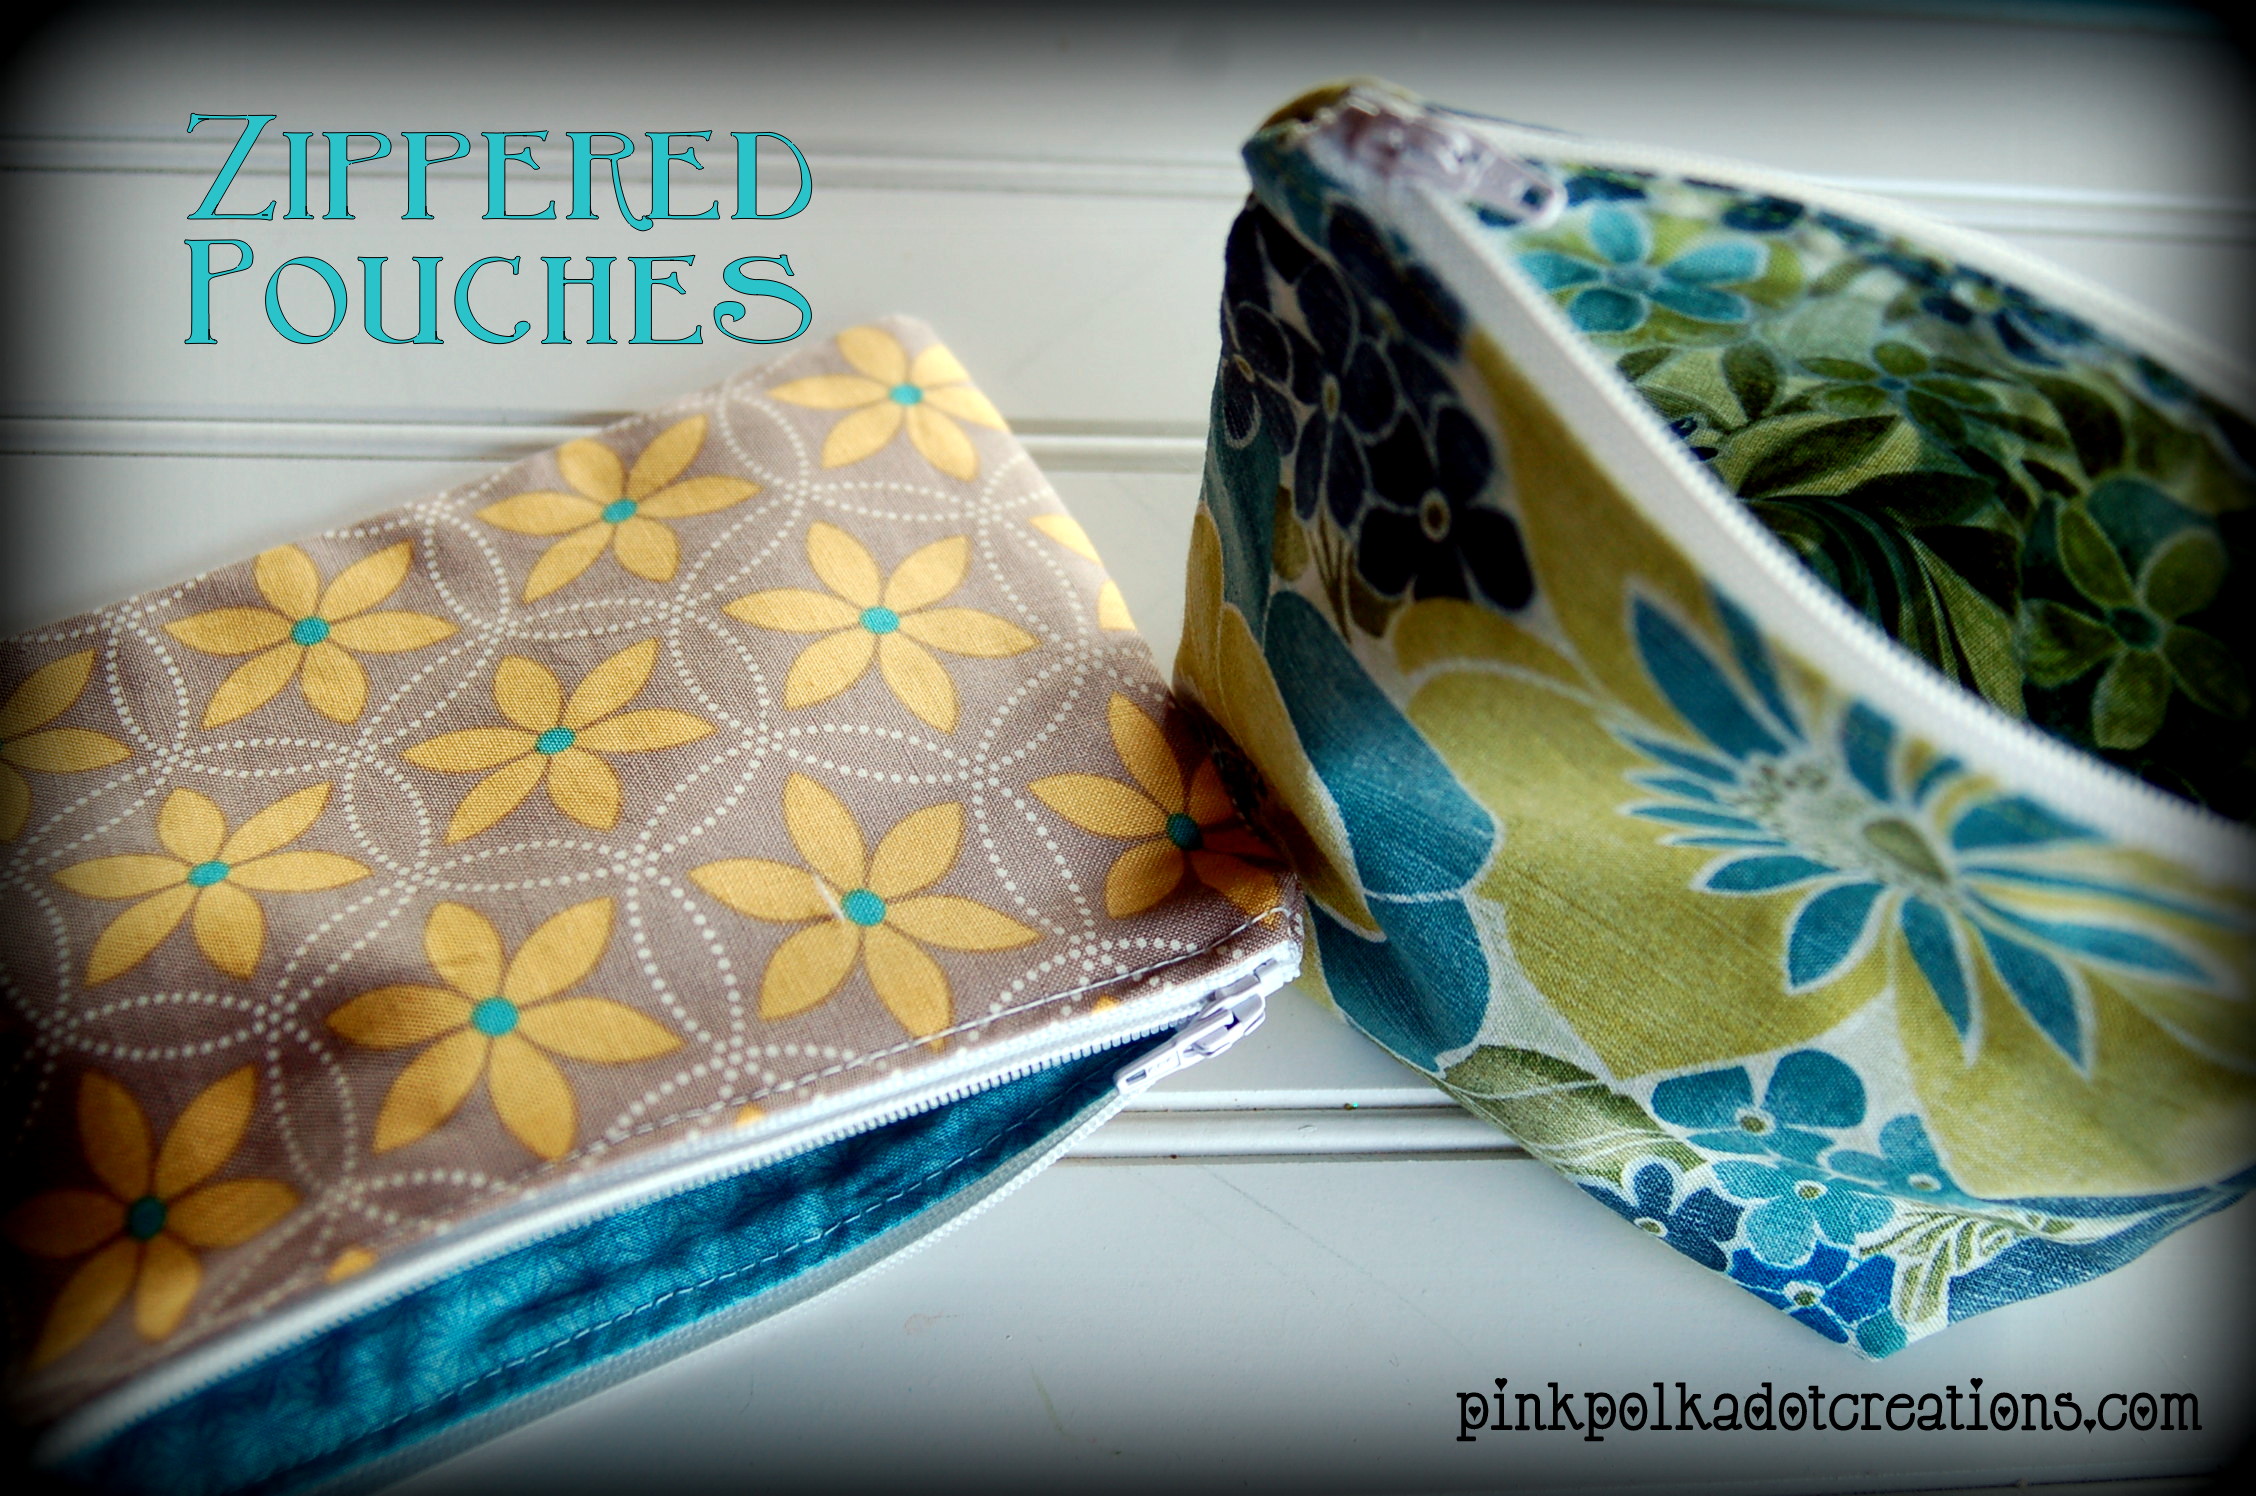
These are so fun to make and they are a great project to learn how to put a zipper in! This is a beginning sewing class so all of the projects are simple to make. There are a lot of pictures in this tutorial, but do not let that discourage you. These are literally a 15-20 minute project once you have made one and know how to do them!
Once you have made one you will find tons of ways to use them and will soon want to make more! They are super for organizing your purse, or your suitcase when traveling, or for organizing around the house, they are great for kids, teens and adults. They are a fun, original gift for someone and you can personalize what you put inside for the perfect gift for anyone or any occasion!
I am going to show you how to make a flat pouch and a stand-up one! So are you ready to start?
For a small pouch, you will need a 6 or 7 inch zipper and two coordinating fabric pieces. (I bought 1/4 yard of each fabric and that is enough fabric to make 3-4 pouches, depending on how deep you make them!)
For the flat pouch, cut your fabric the width of the zipper including the tape. You can make these pouches as deep as you want them, but for the sake of the class I had everyone cut them 5 inches deep. So you will cut your fabric the width of the zipper x 5 inches (in my case 7.5 x 5 inches)
Cut both the outside and the lining the same.
(For a stand up pouch, you will simply add 1.5 inches to the bottom measurement , so in this case cut 7 .5 x 6 .5 inches)
Now we will start to assemble:
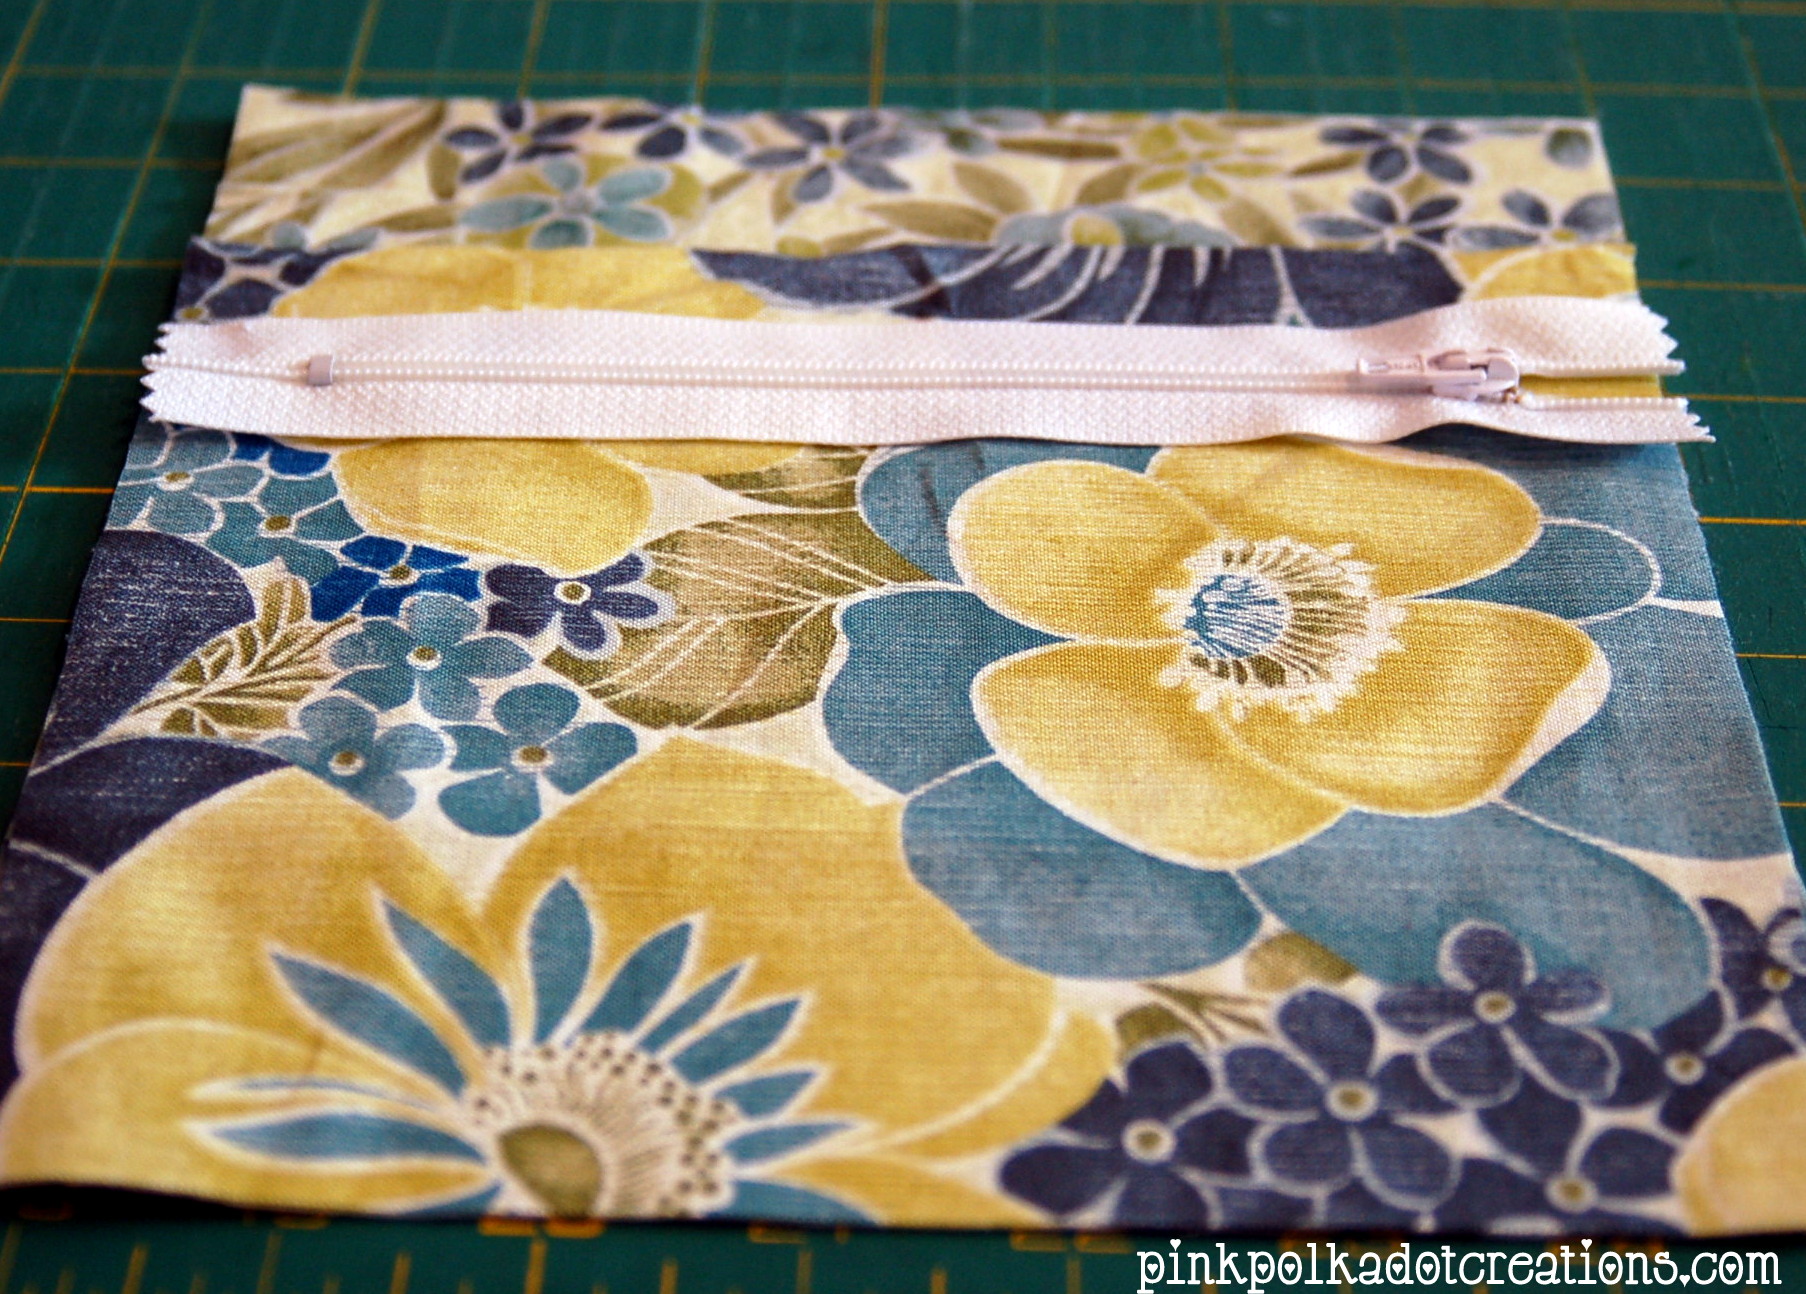
Put lining right side up and lay zipper on top, also right side up like this:

Place the outer fabric right side down over the zipper and pin. You will have both fabrics right sides together with the zipper in the middle.
With your zipper foot on your machine, you will stitch right along the zipper. When you get to the zipper pull, put your needle down and move the pull so that you are not sewing around it, then finish seam.
Then press your seam out flat.
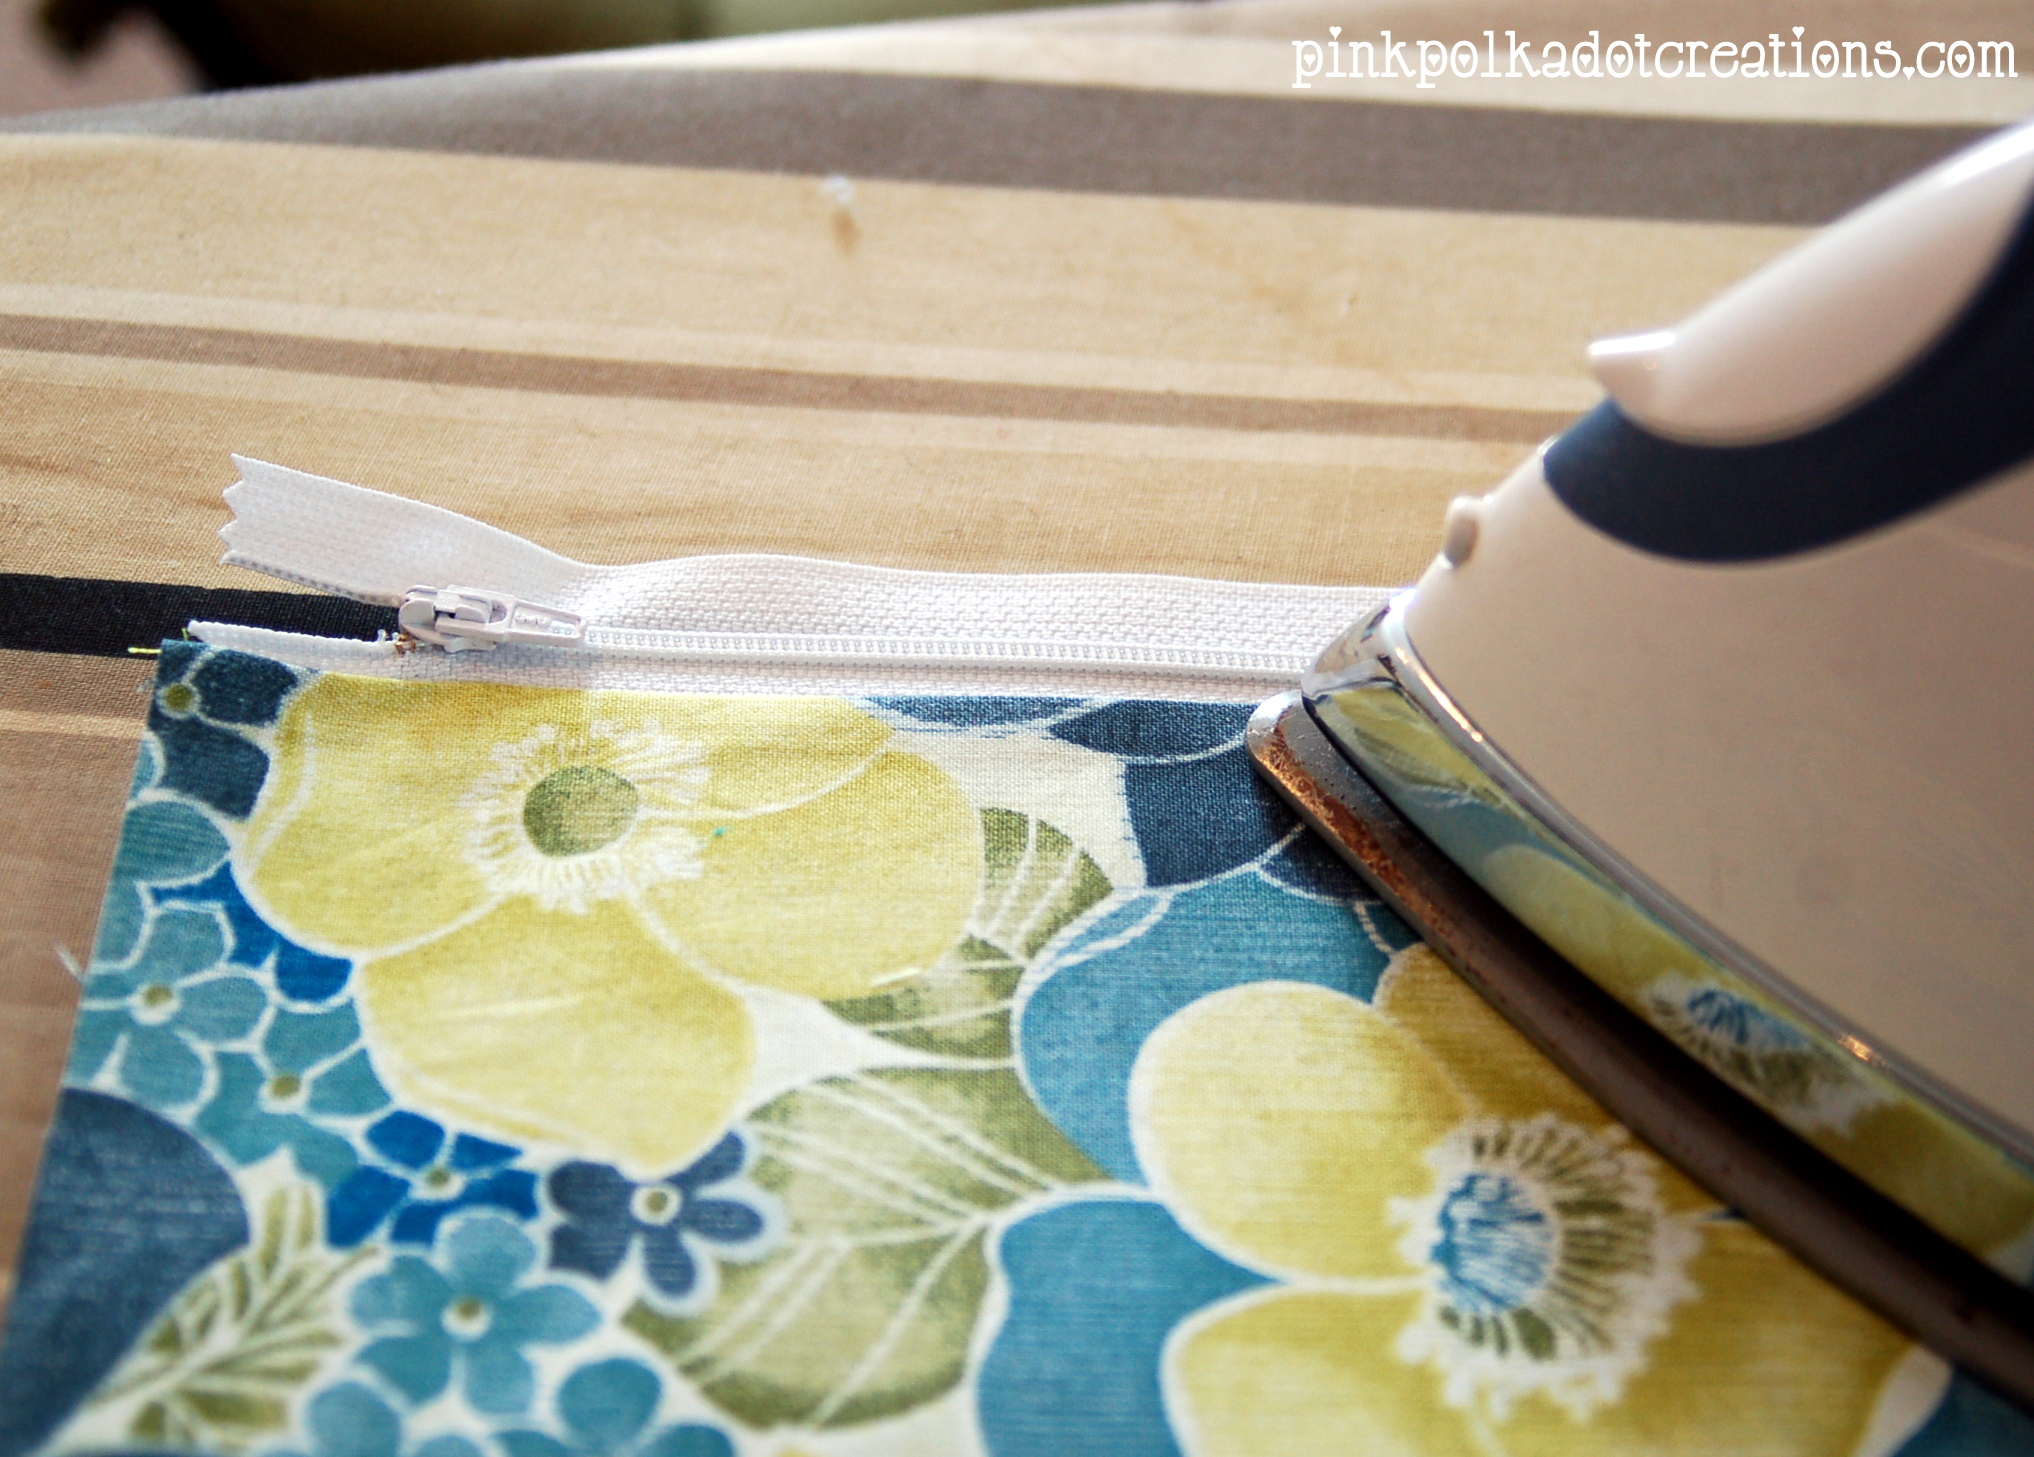
Repeat with the other side of the zipper and press flat.

If you want to top stitch along the zipper you can, this is purely for decoration!

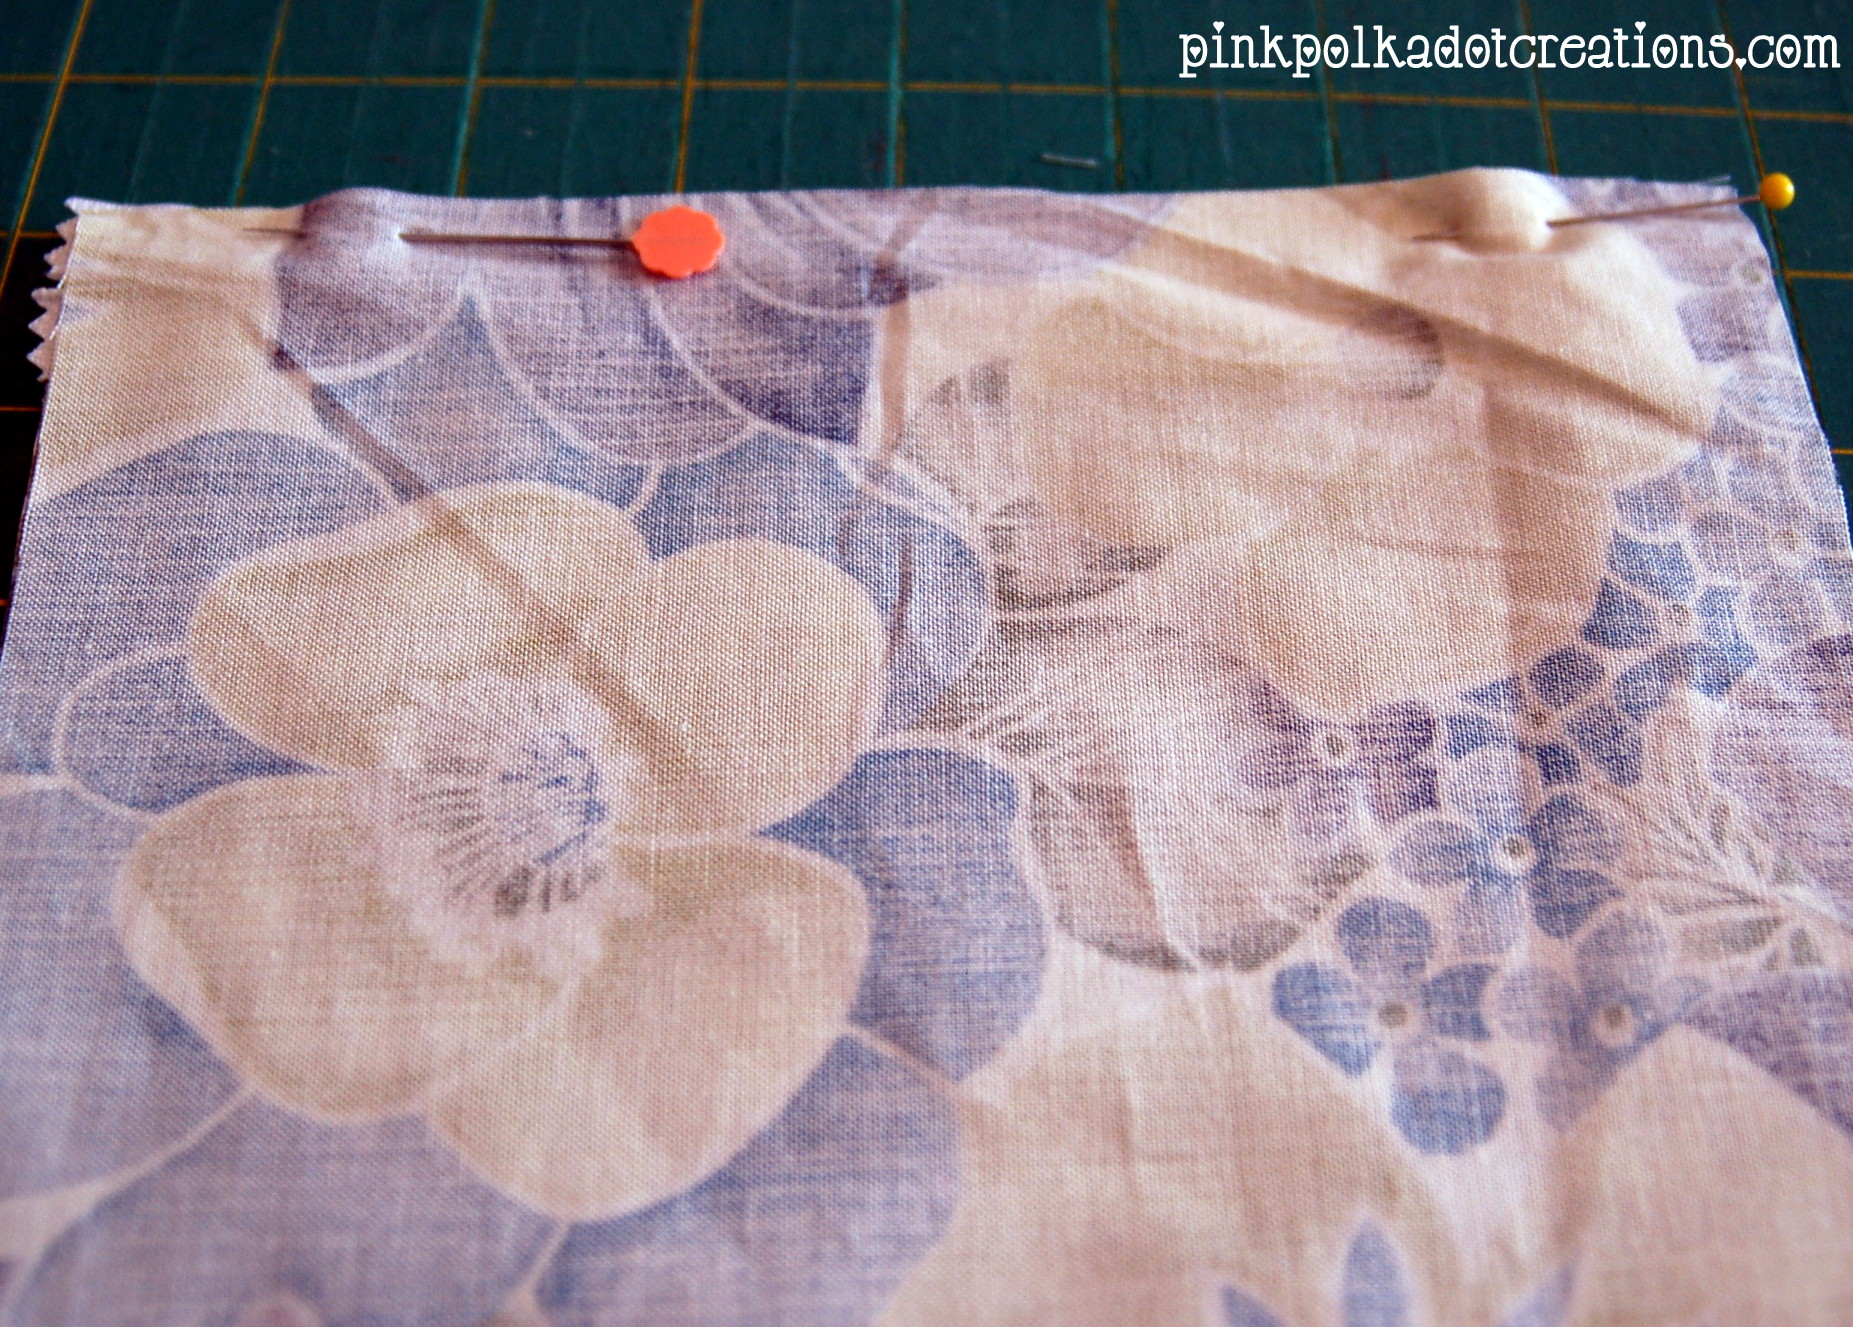
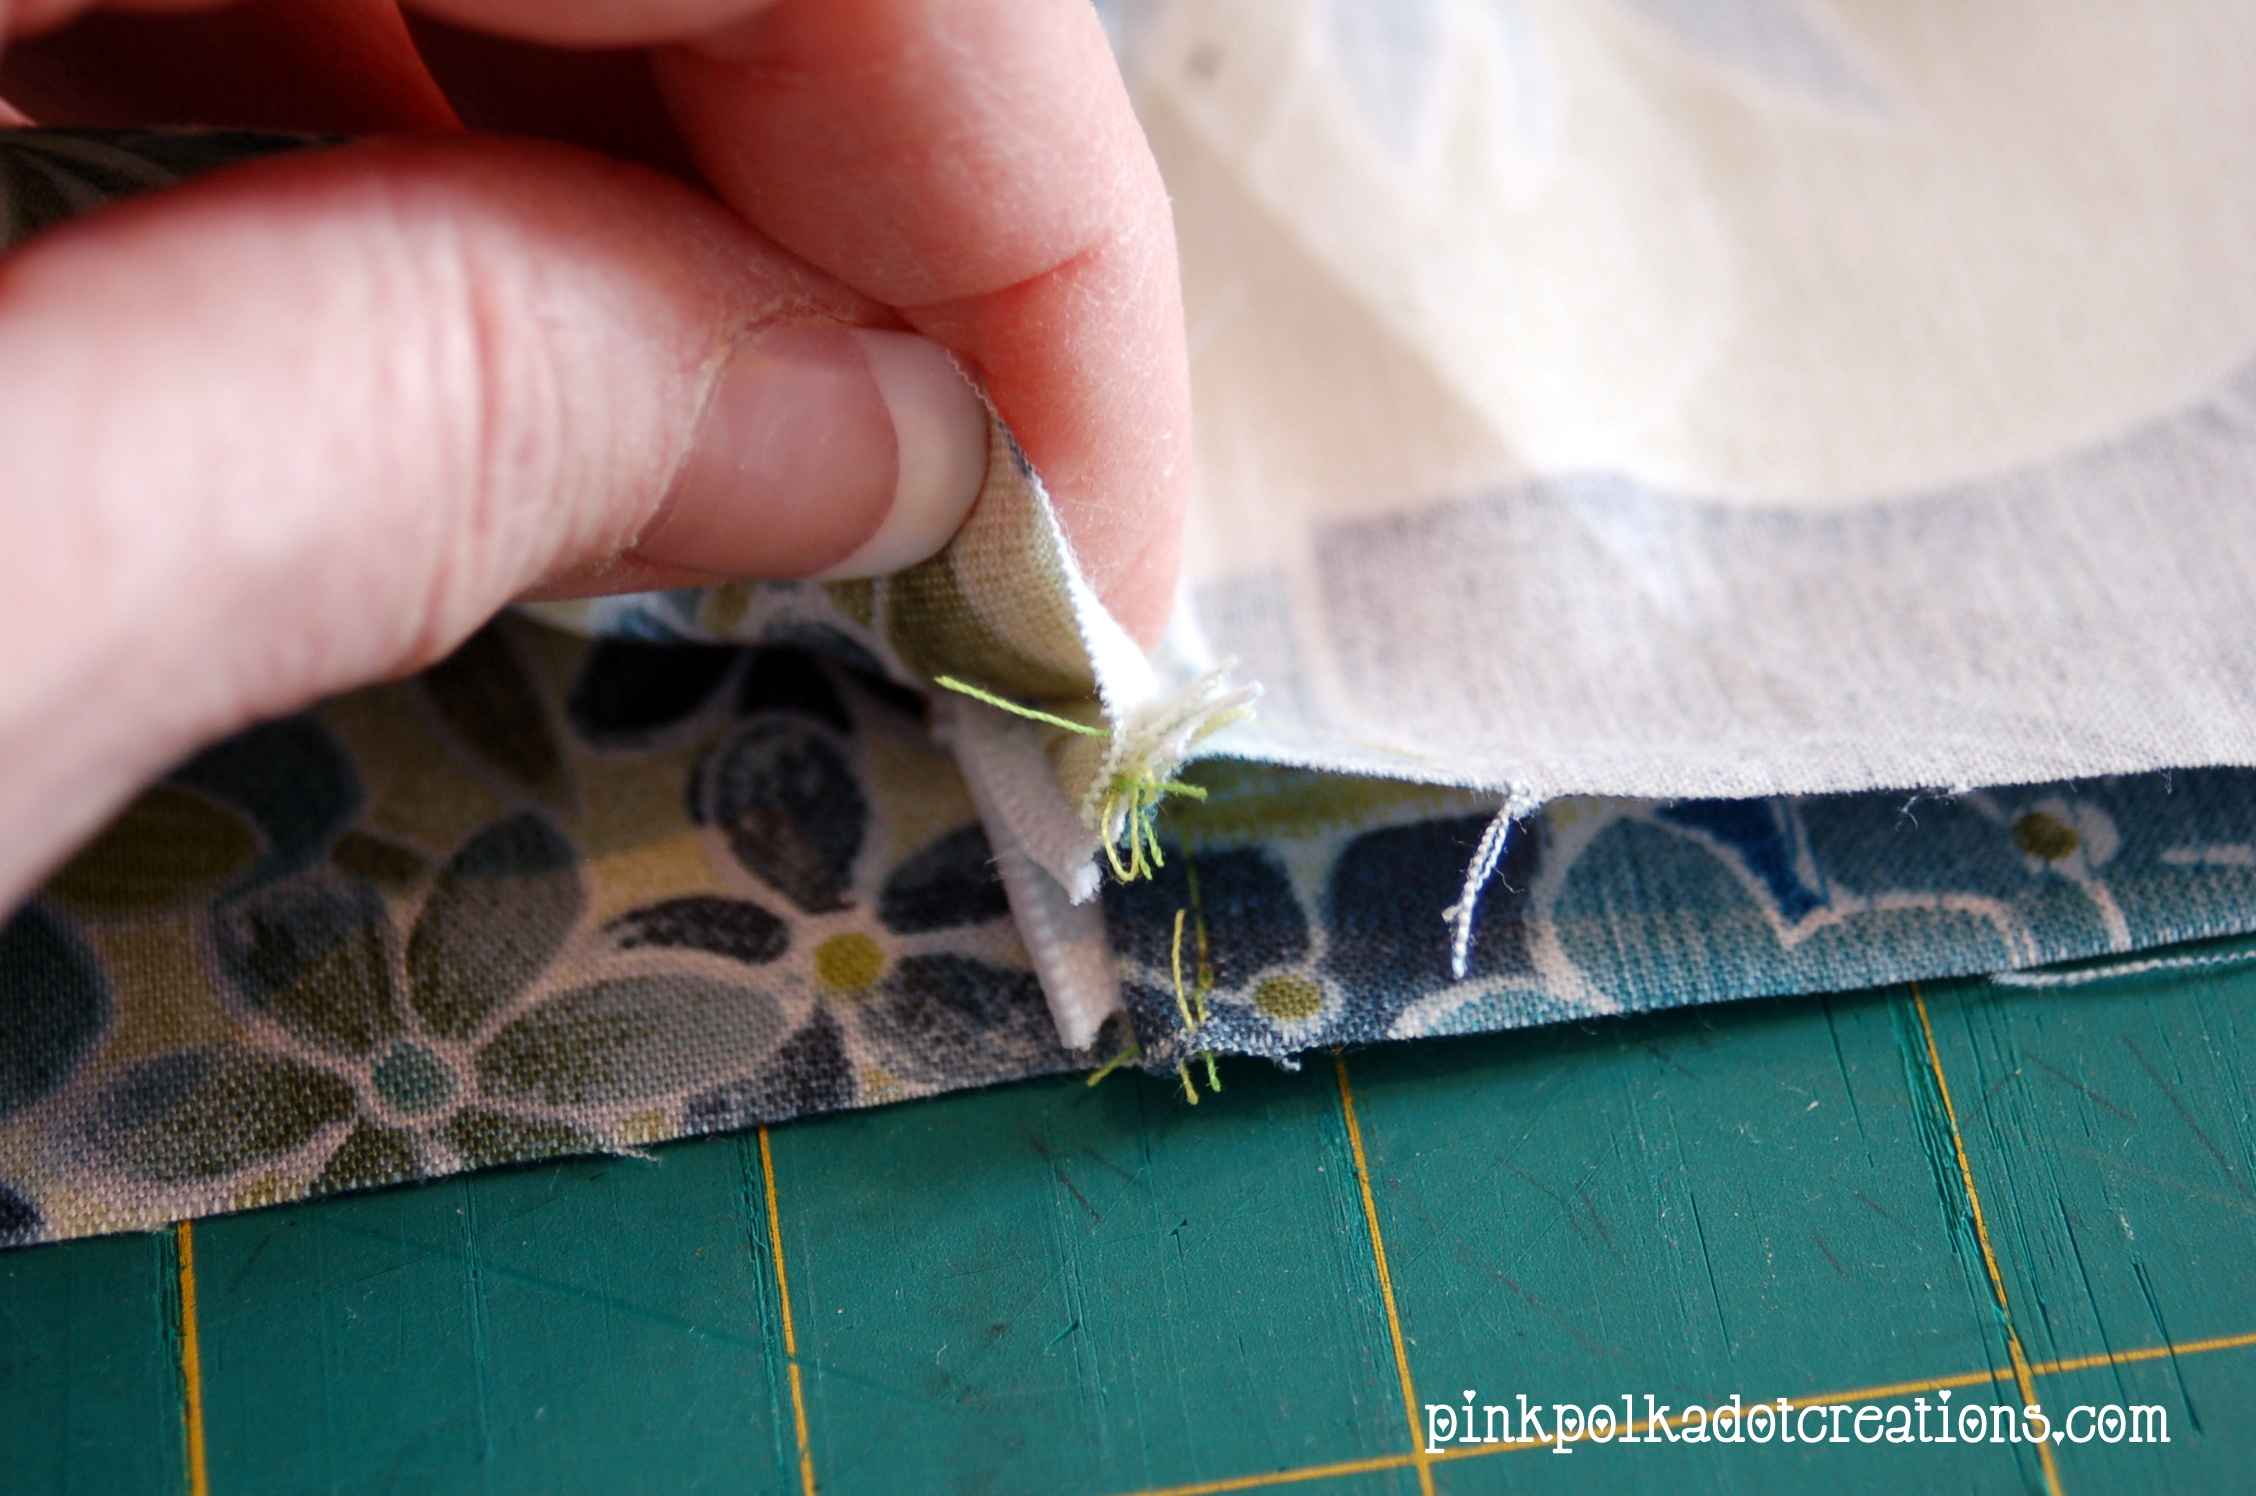
Next we are going to sew the bag together. Open zipper up half way so you can turn the pouch! Pull the top sides out and put right sides together, then open the lining out and put right sides together, forming a large rectangle with the zipper in the middle. This next step is important to do! Pin zipper teeth towards the lining side like this:
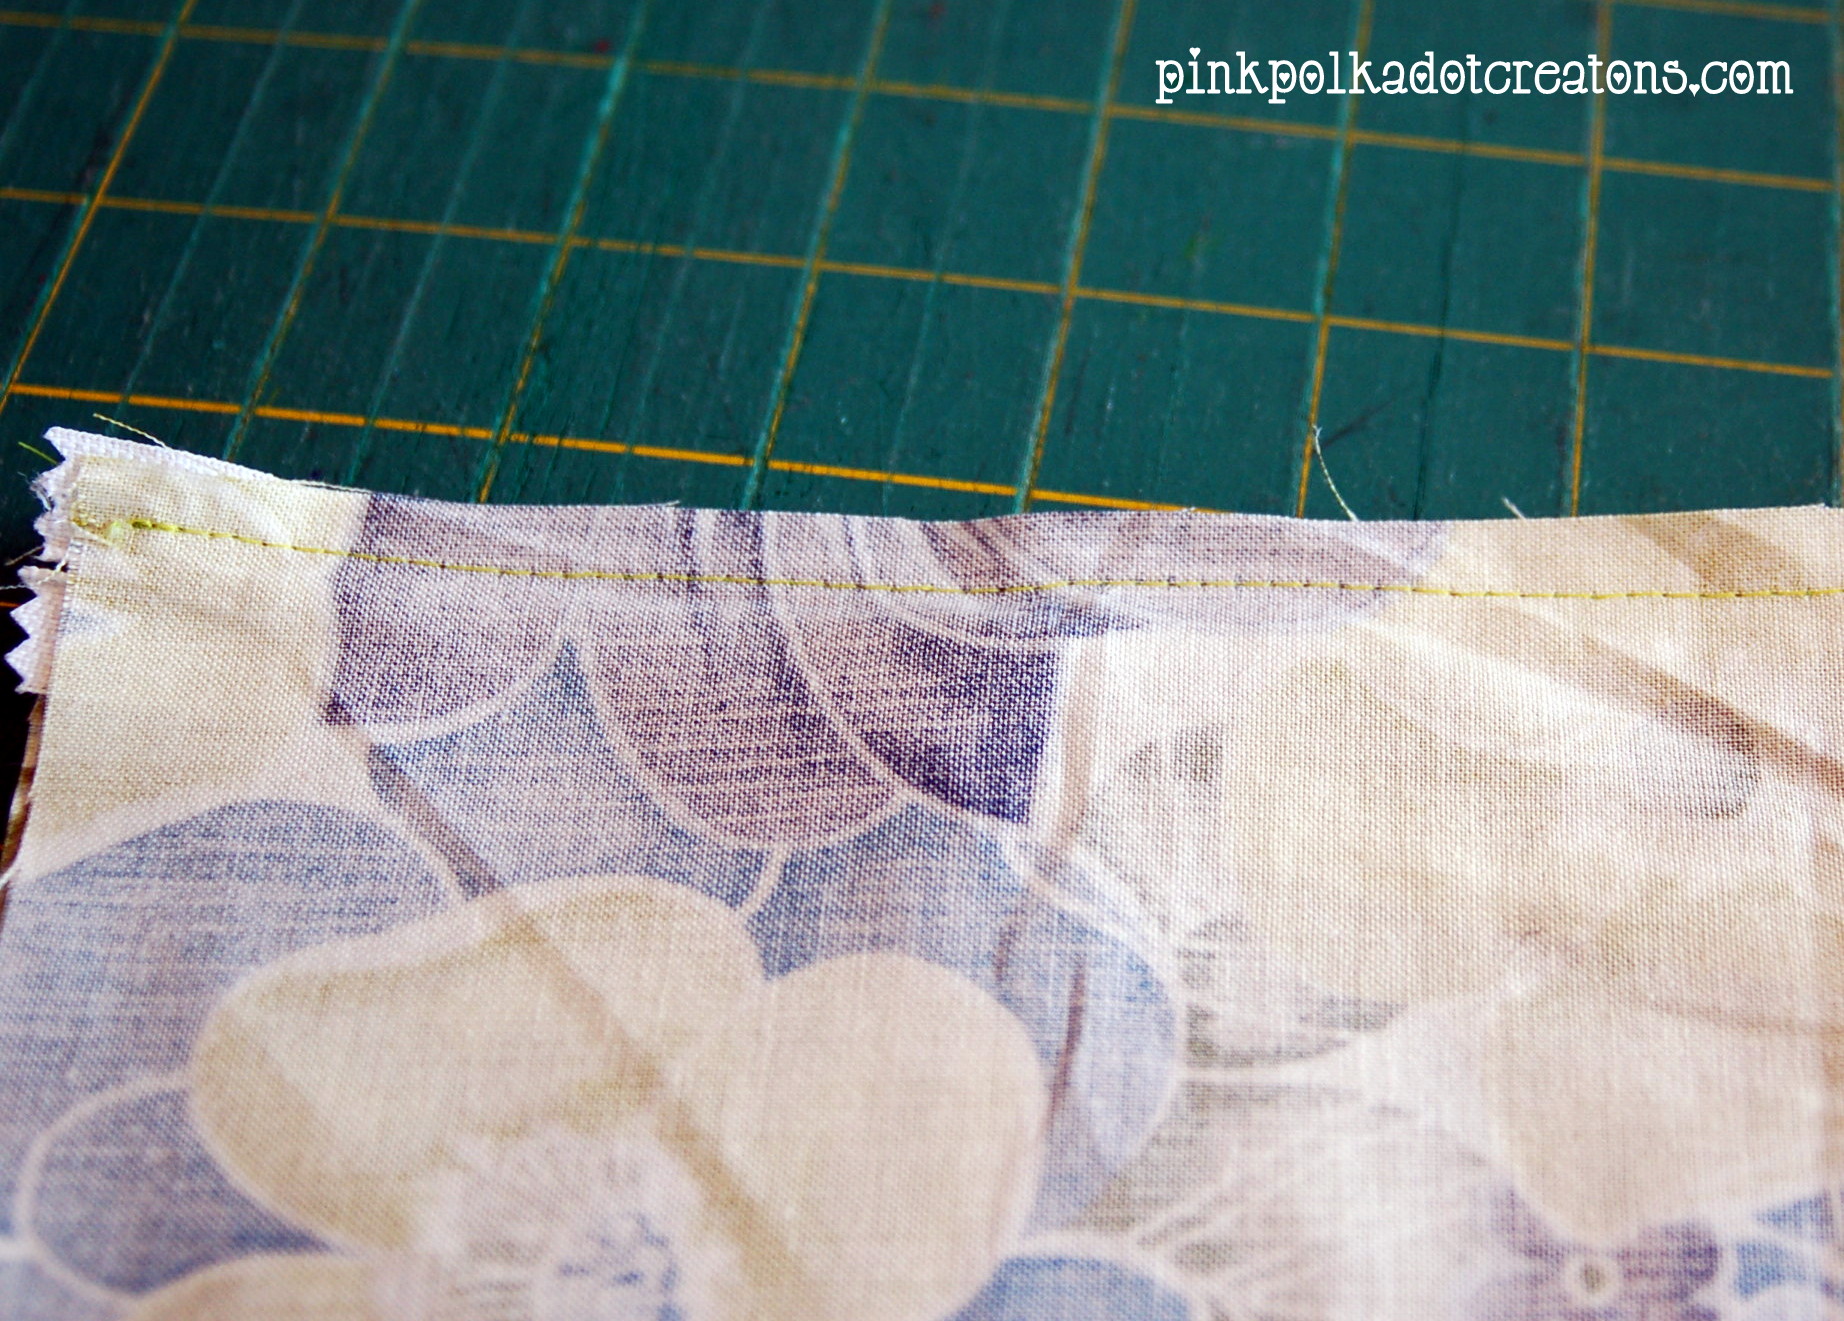
Then starting on the lining side, sew all the way around the rectangle, leaving an opening to turn. Clip corners and then make a clip on both sides of the zipper just a bit to make it easier to turn.
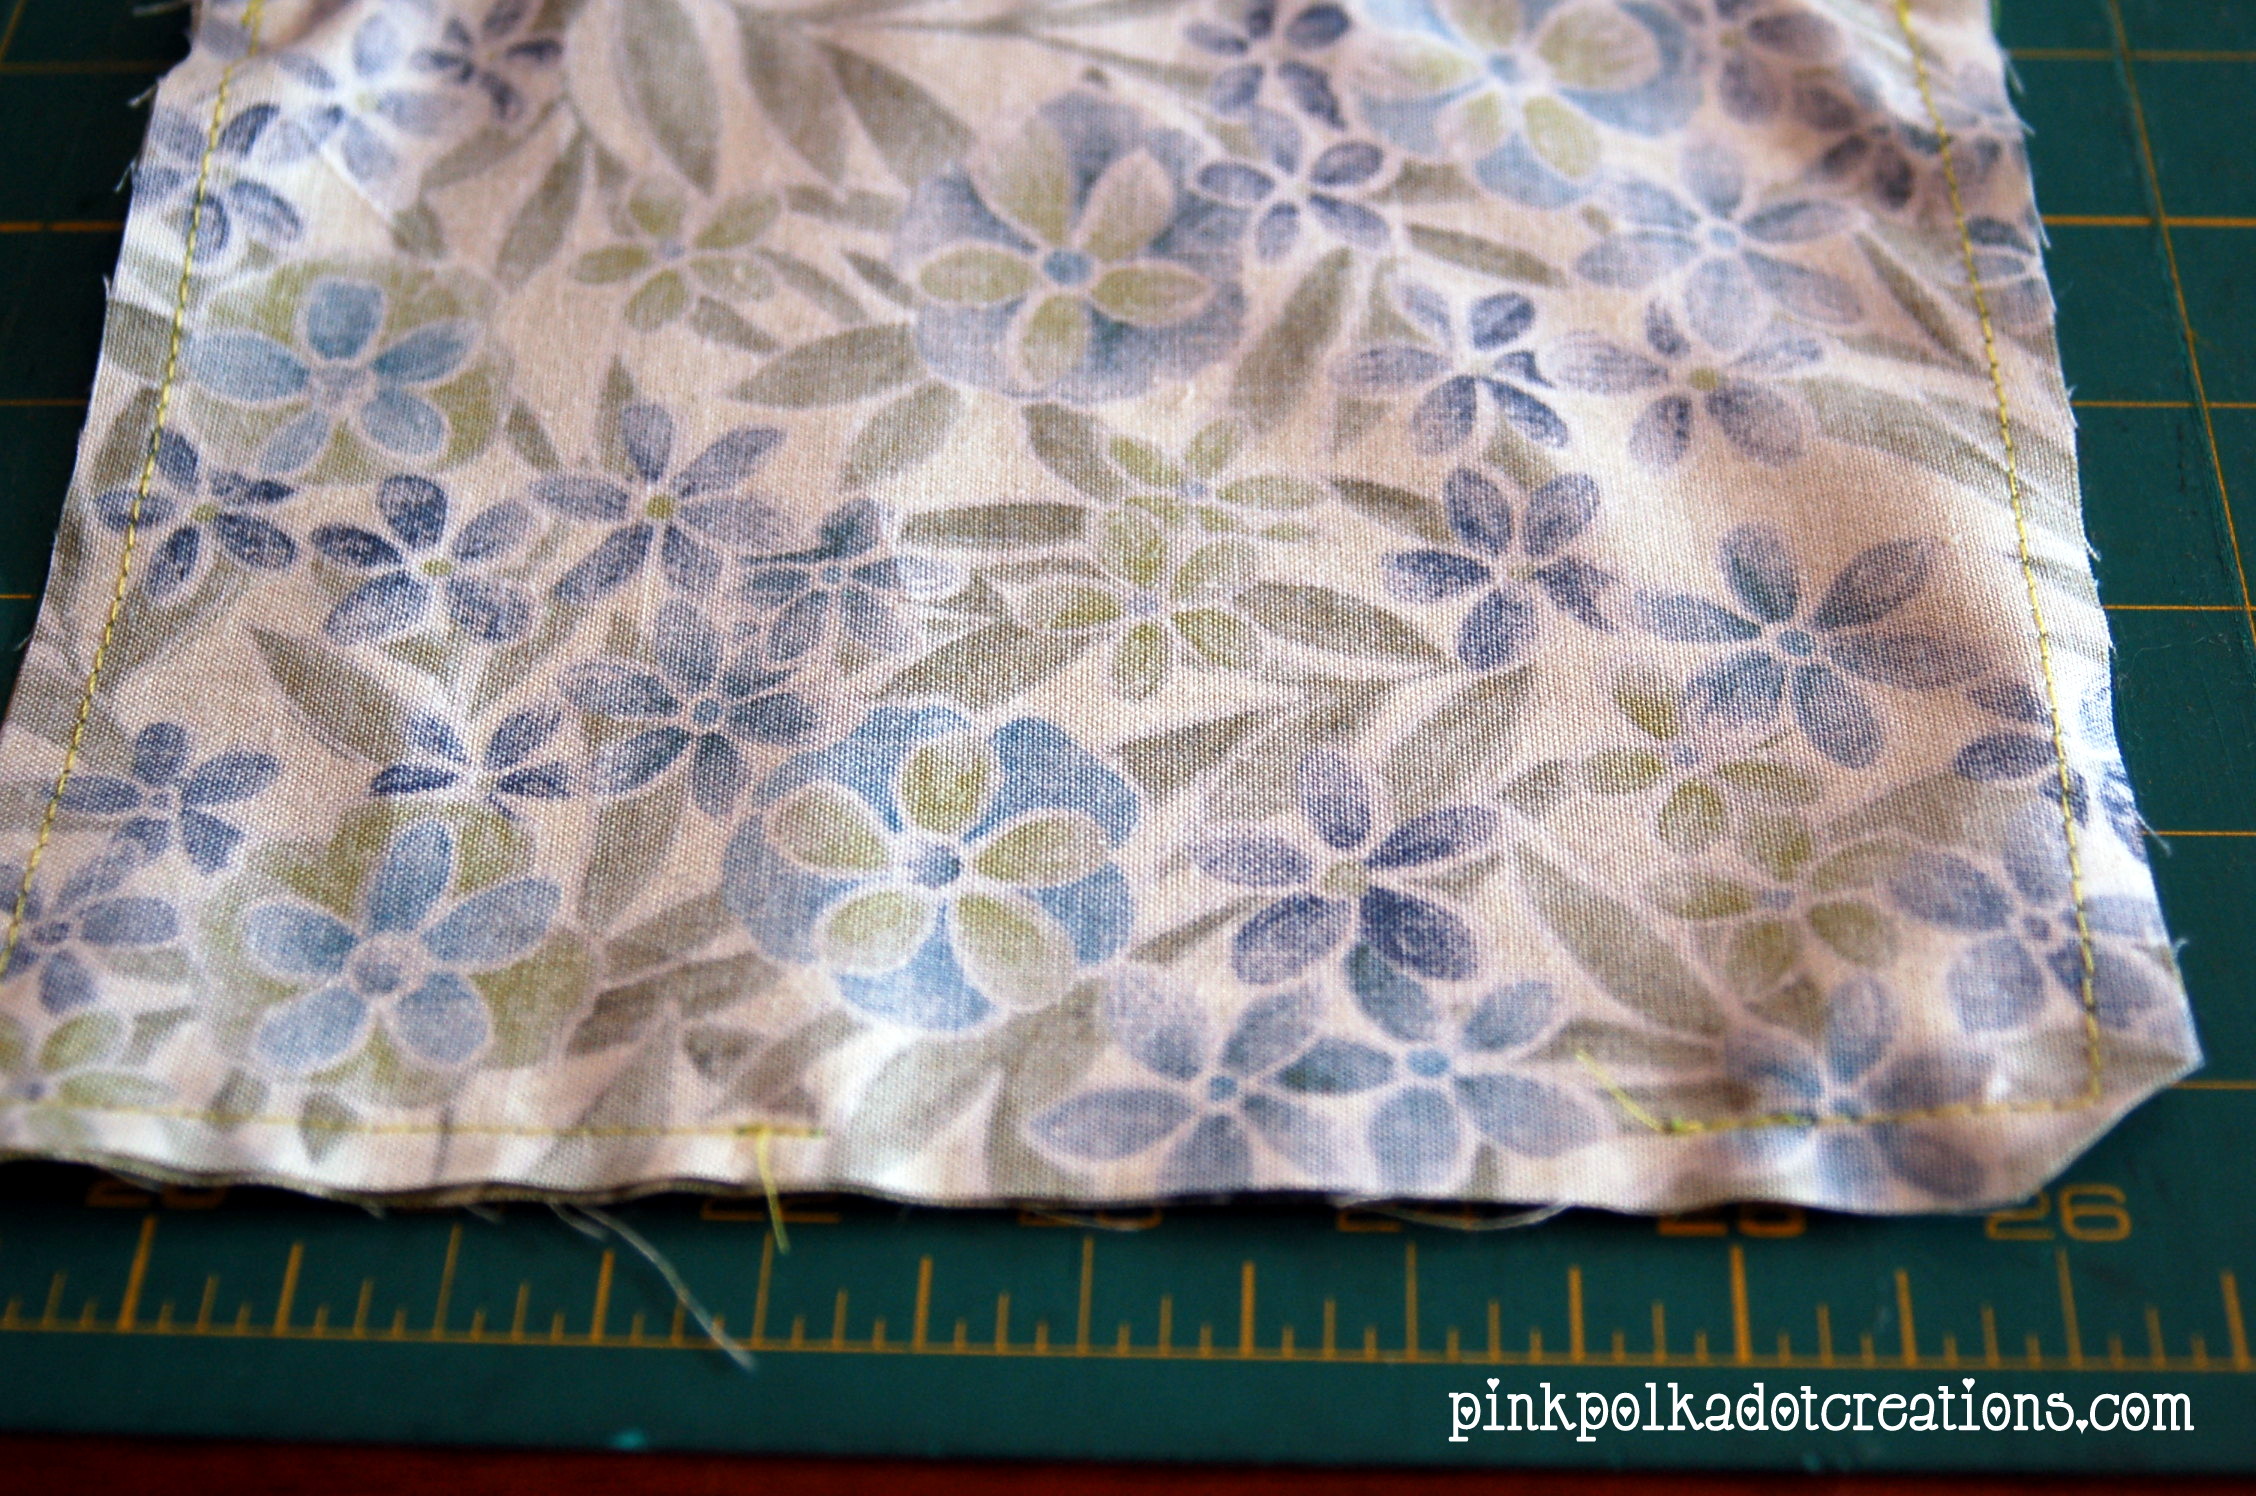
Turn bag to the right side. Press opening closed and stitch shut. Be sure to turn your corners so you have a nice point. Press and you are done!

This is what a finished product will look like. It is a flat pouch.

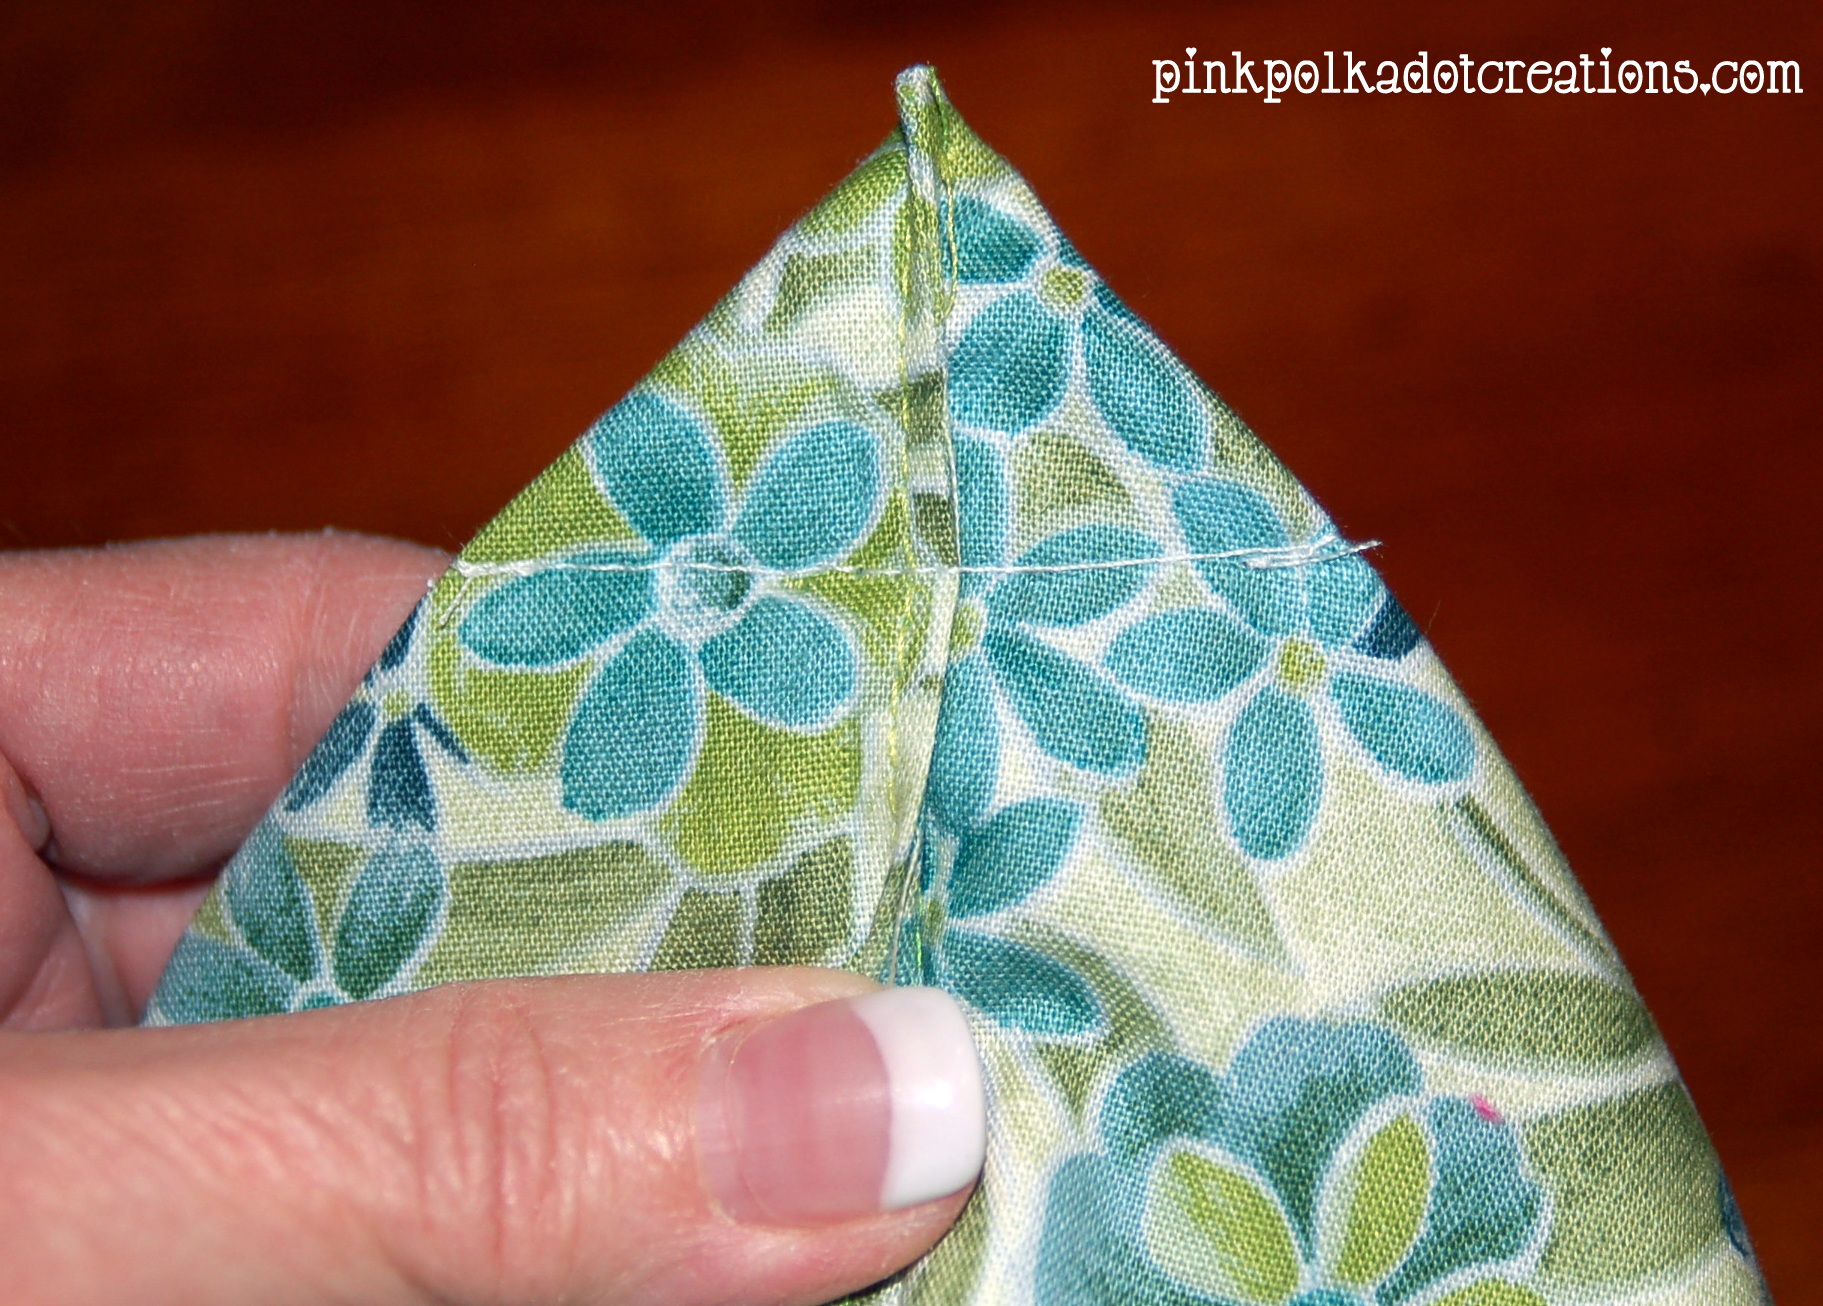
If you want a stand up pouch, there is one more step. Turn the pouch to the inside, then take the corner and match the seams on the front and the back and pull out to a triangle. Pin it at 1 1/2 inches from the point. Make sure it is all smooth inside so you have no wrinkles when you turn it back out to the right side.
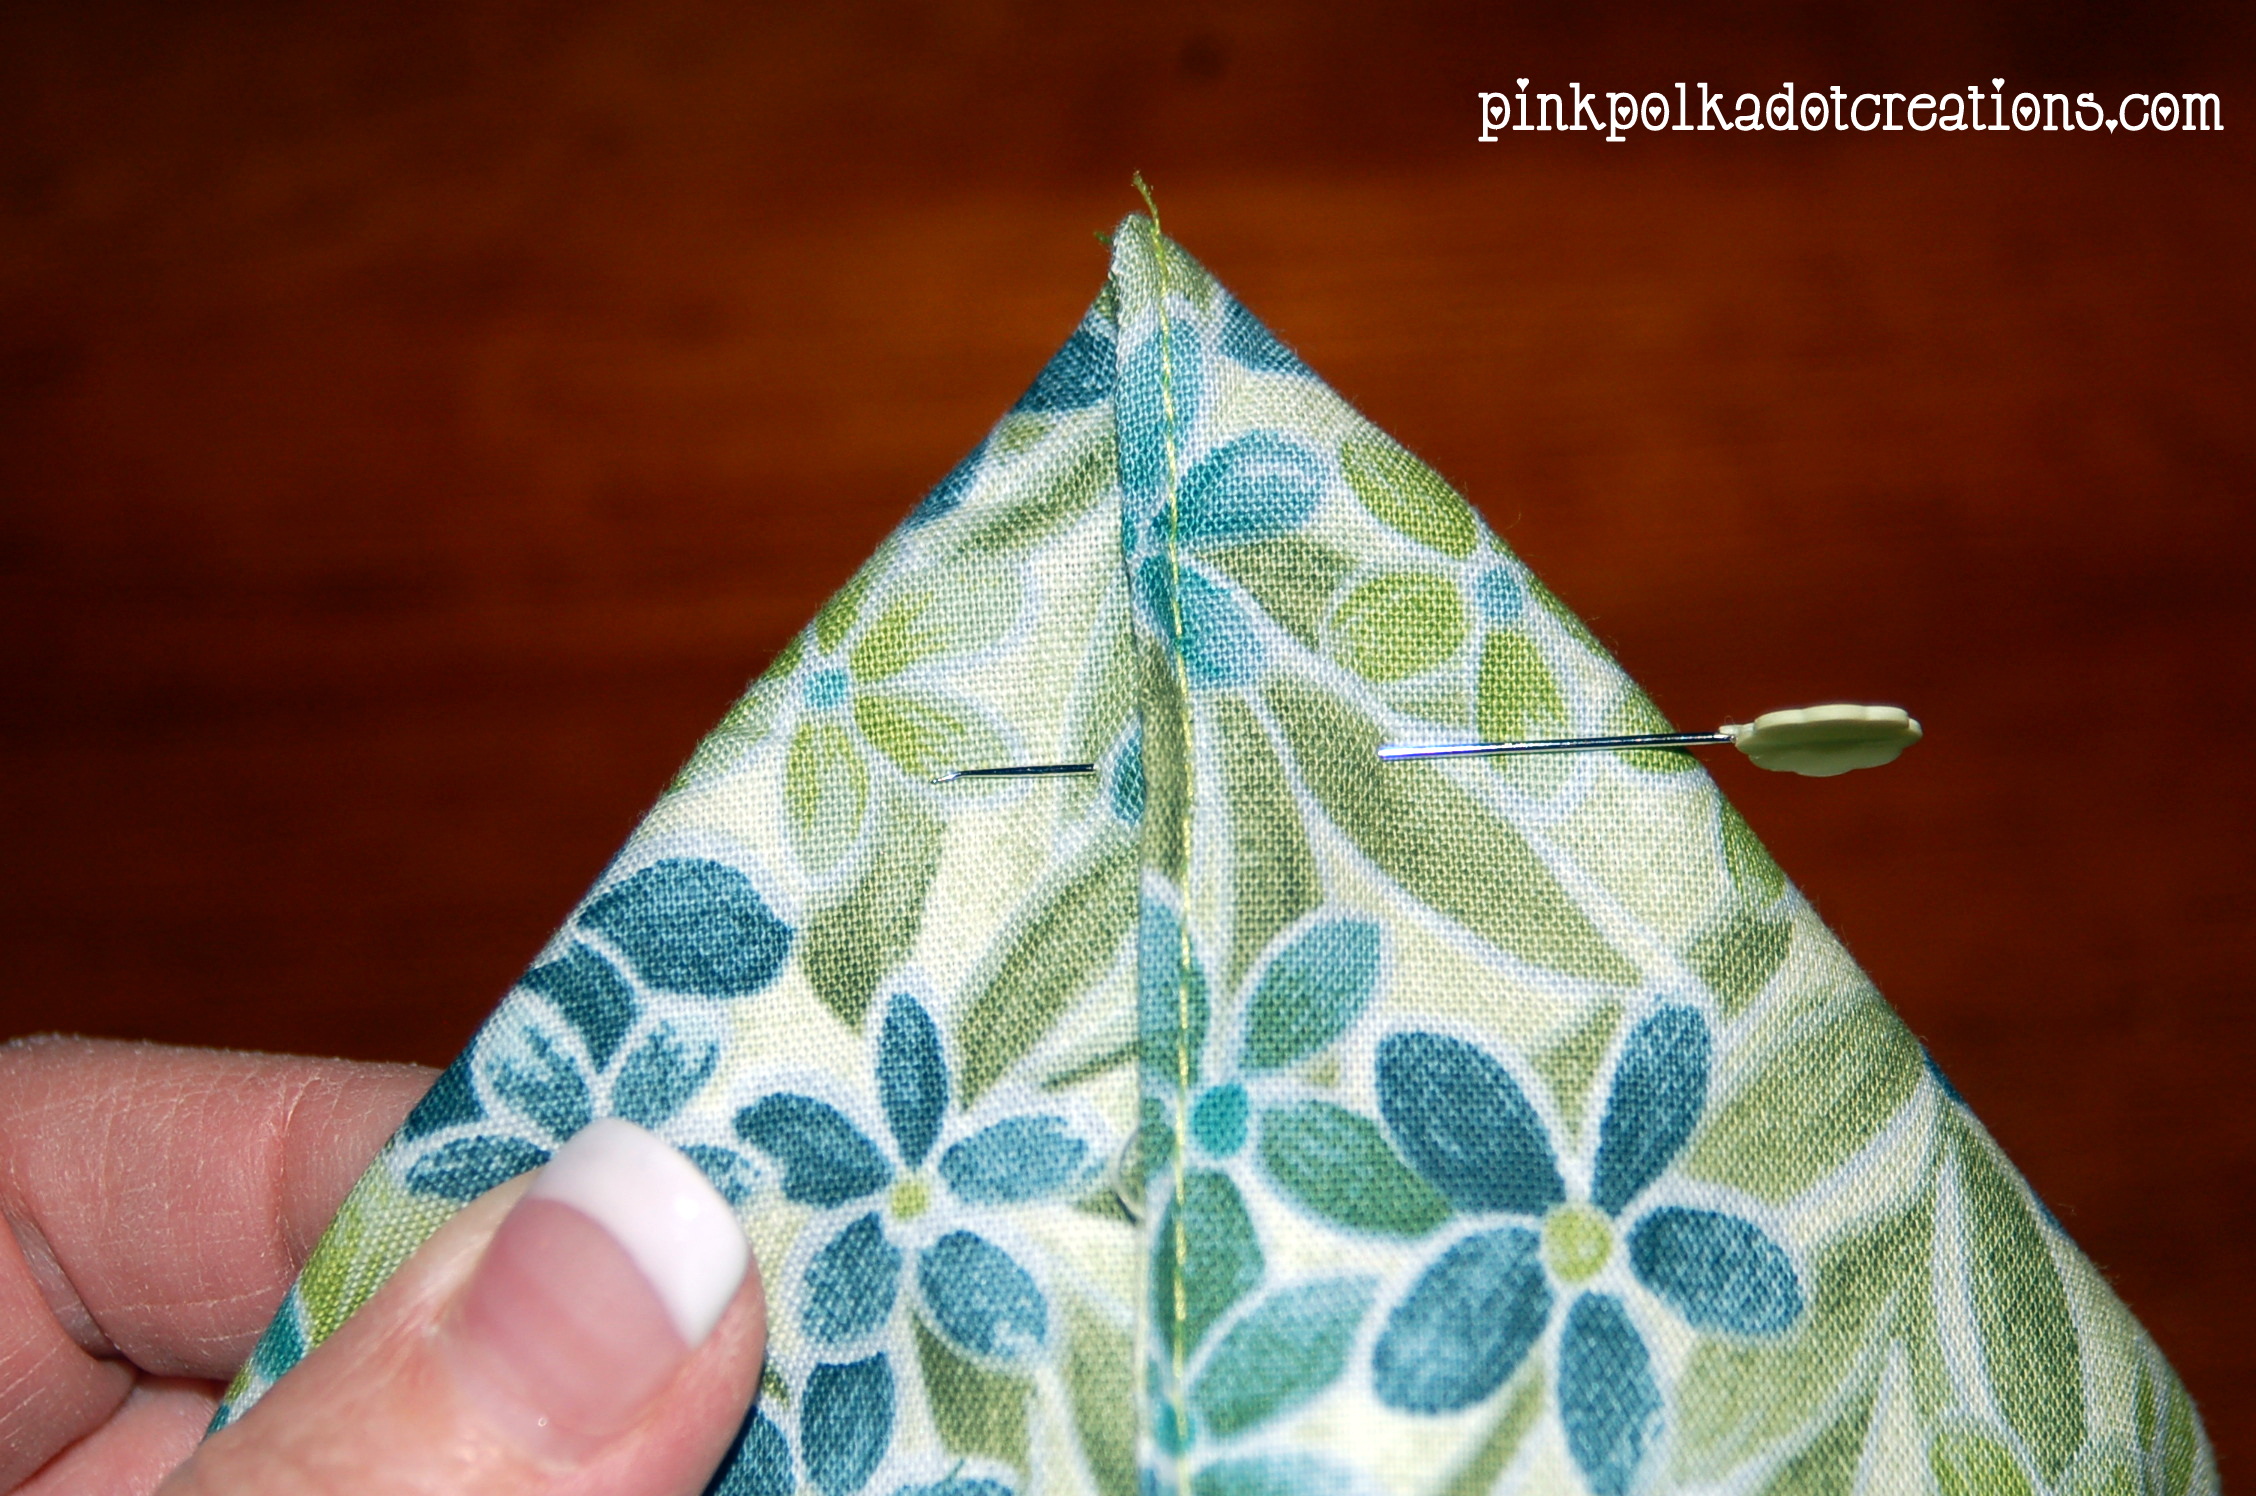
Sew across the triangle where the pin was. Repeat for the other side. That is all there is to it! So simple huh?
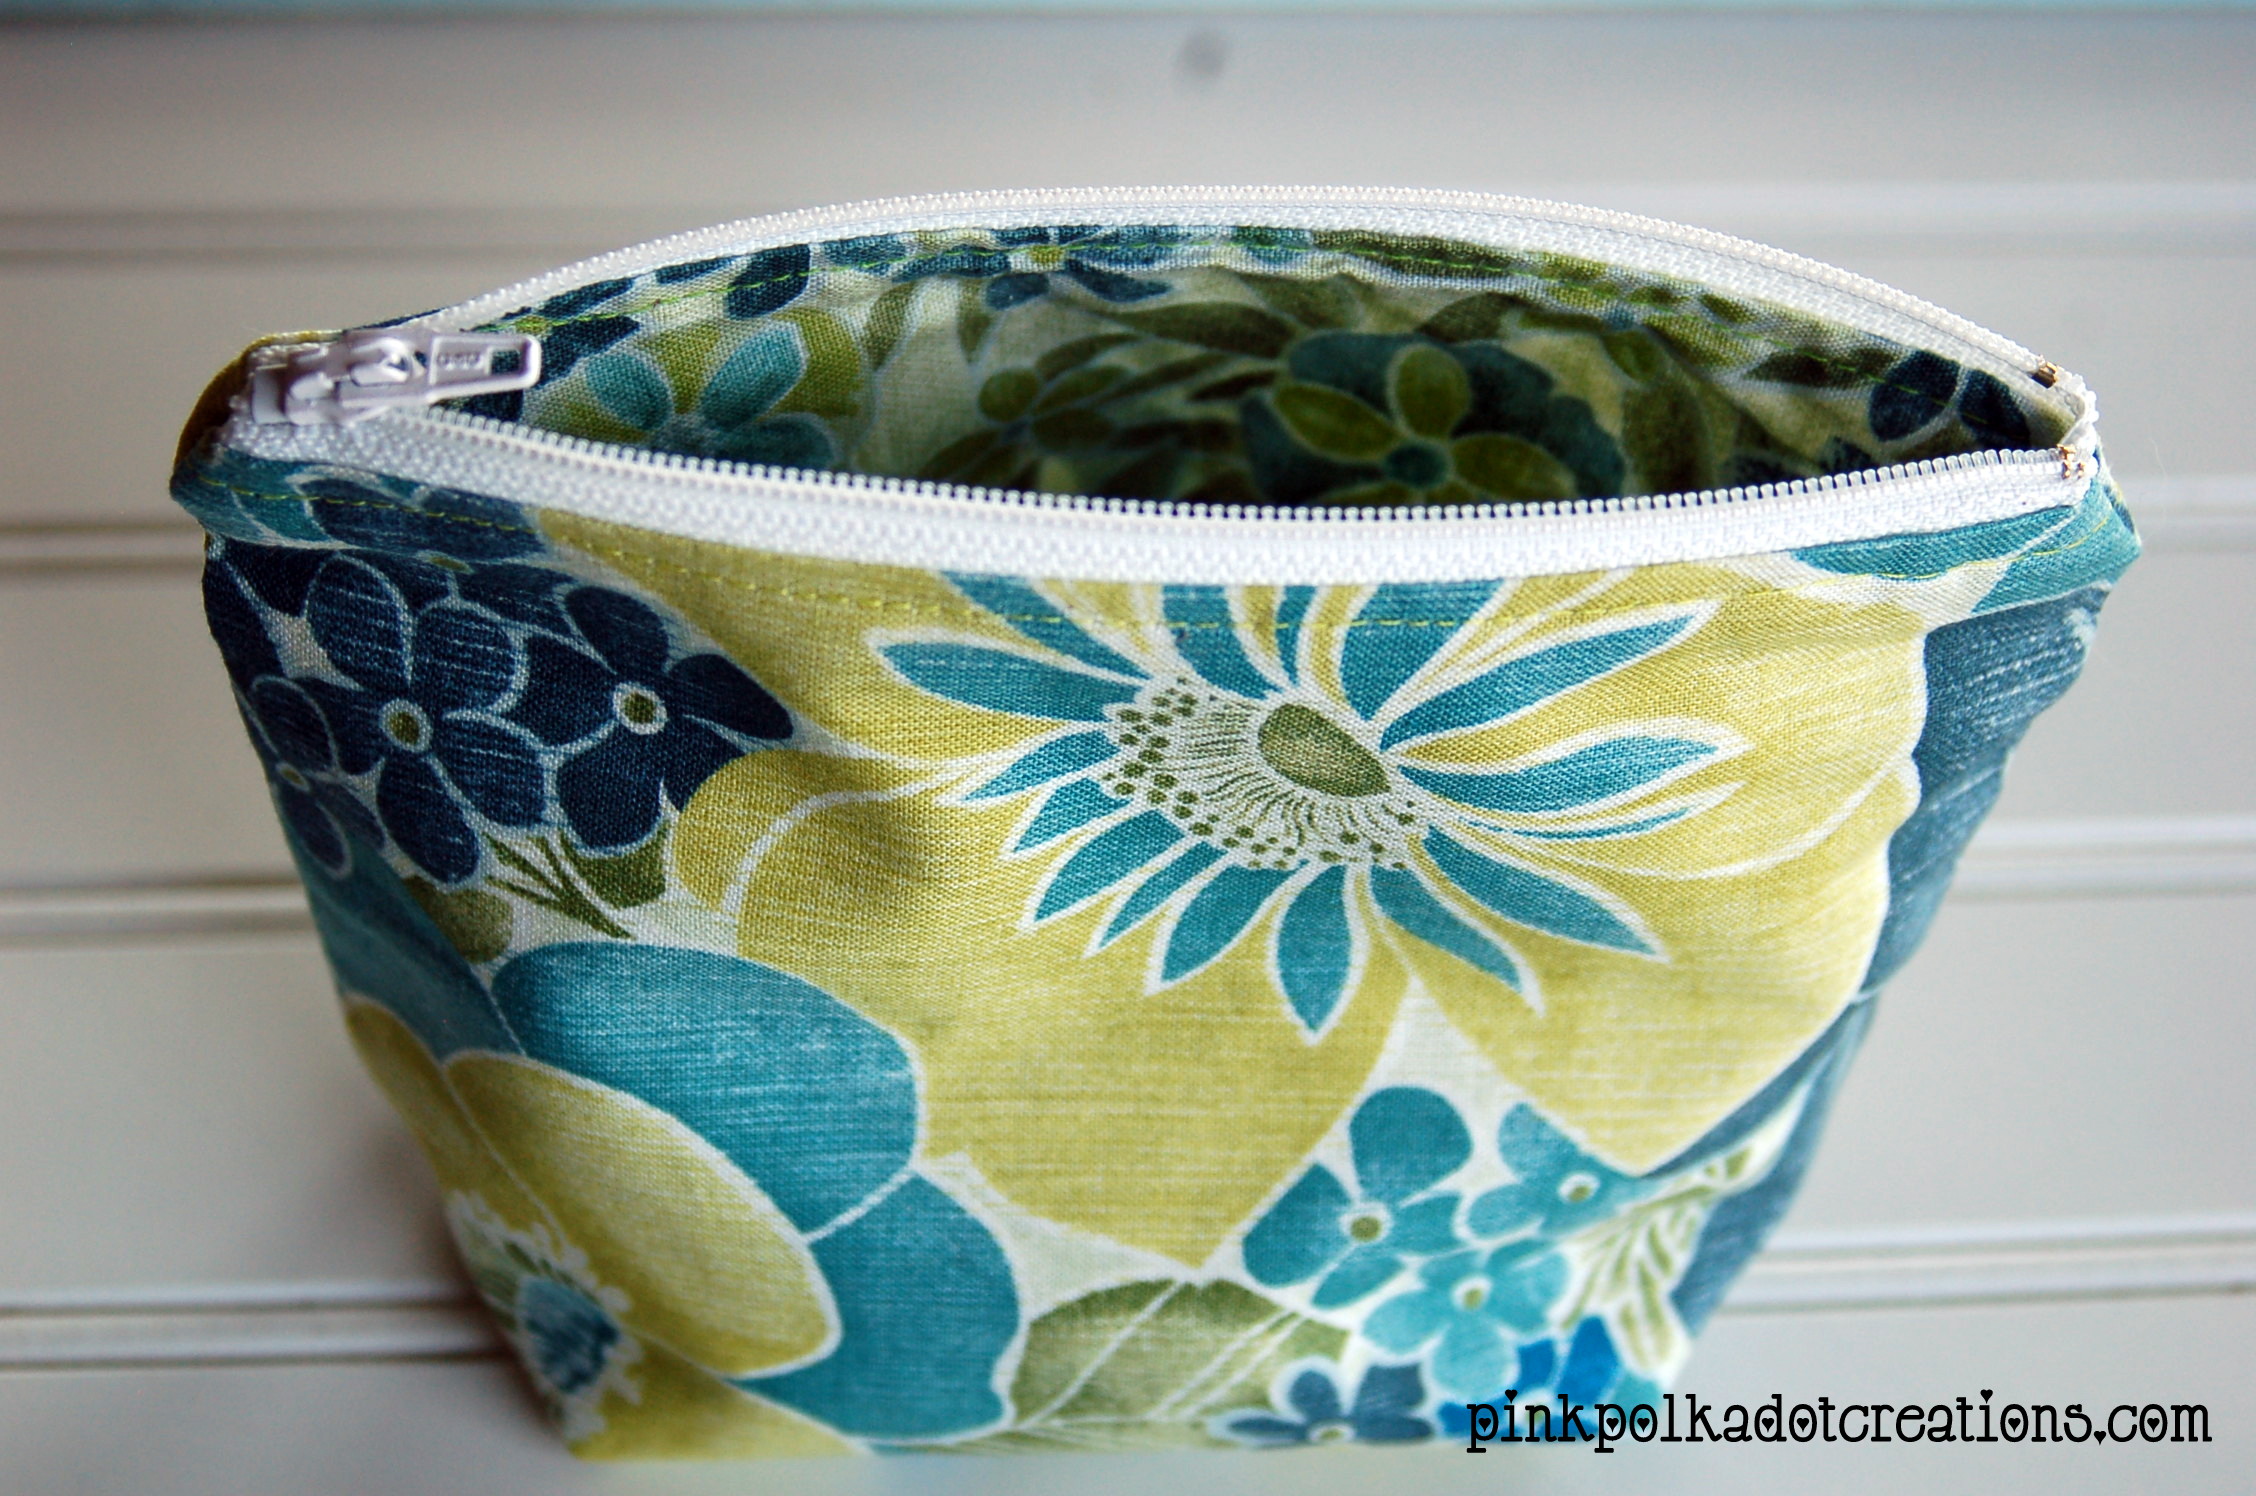
Turn back out to the right side and you are done!
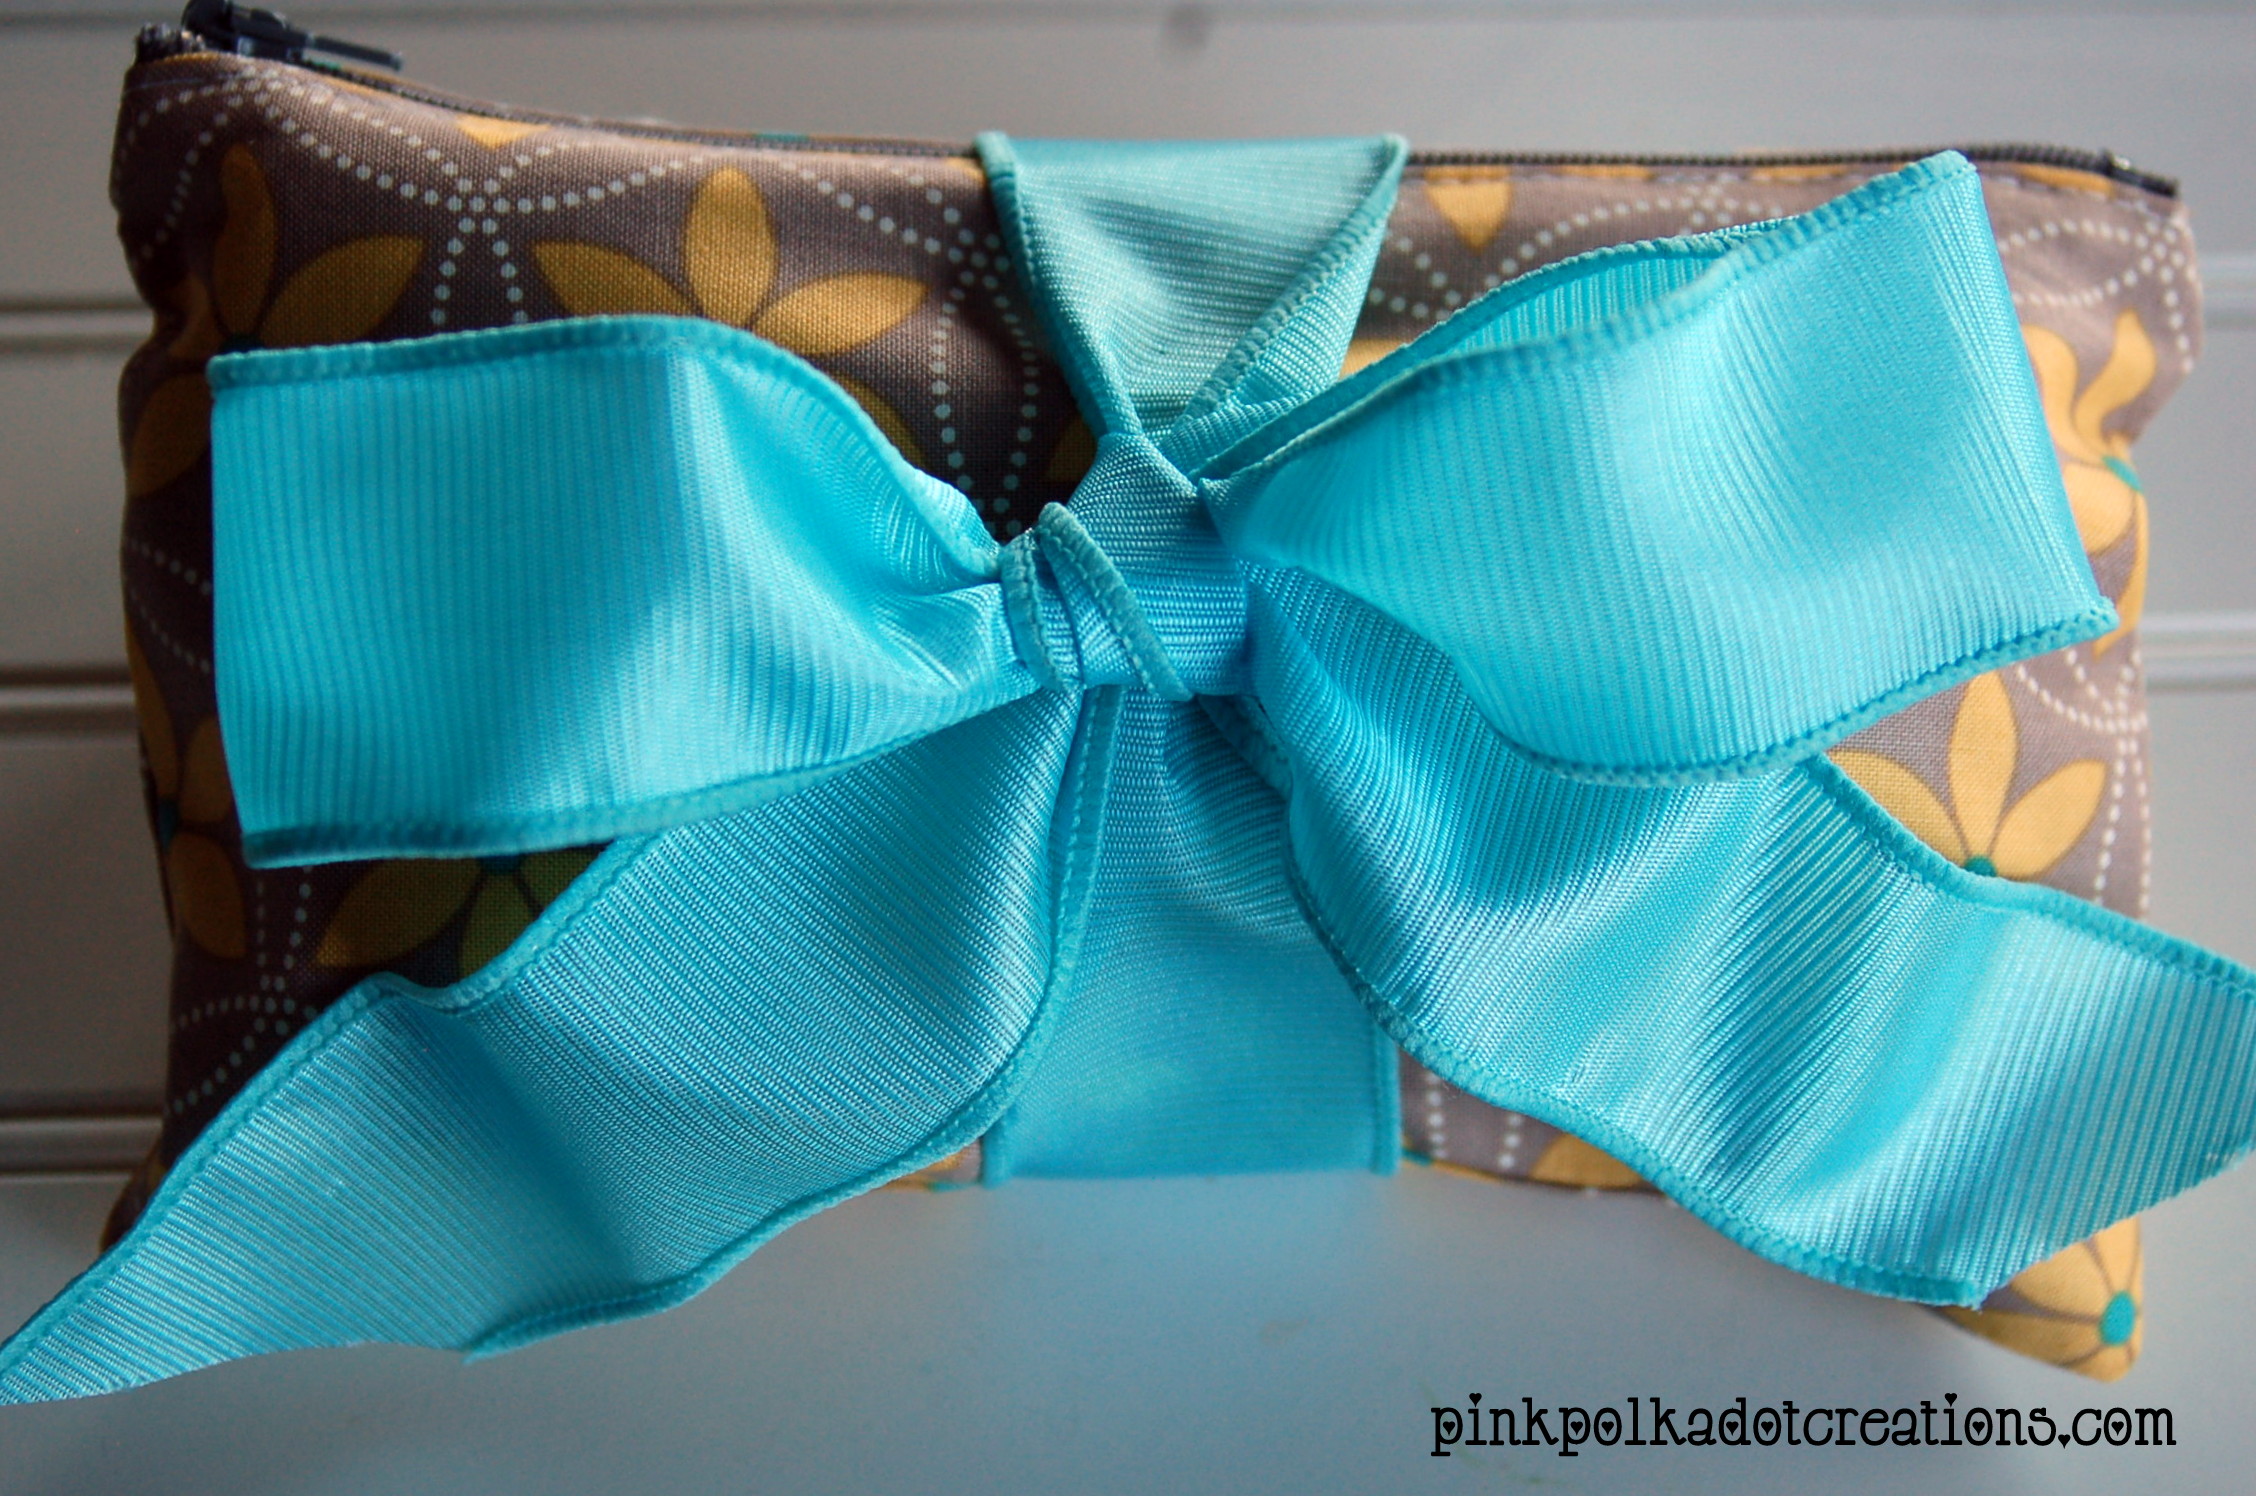
These are perfect for gift giving! Fill it up with some fun little trinkets or purse items:

Tie with a big bow and you have the perfect personalized gift for anyone on your gift list!
Wow, that was a lot of talking today, but I hope that I made it easy for you to see how to make these little pouches. All the ladies that made them, loved them and talked of how many more they were going to go home and make! So I hope that you will too!
Have a great sewing day everyone! Love Ya!


I need to learn how to sew because I want to make gorgeous things like this!! They are so pretty and I can think of a million things I would use them for.
This is a great project for beginners! You should try it.
Thank you so much! I’ve been wanting to practice zippers so this will be perfect! One question: where do you buy zippers and how much do they cost? Thanks again for the tutorial!
depending on the size, where i live an 8inch zipper is about $1.50 from spotlight, lincraft etc. but you can buy a pack of 3, 8inch zippers from Coles for $7.20
This is SUPER cute! :)
I would love for you to join my Blog Hop
http://www.pluckys-secondthought.com/pluckys-blog-hop-2/
Don’t forget to enter the Giveaway! :)
Love your tutorial! These would be perfect to sew and then fill with goodies for a gift. I’ll be pinning to my sewing board.
These are so cute! They’d be perfect for travel. I definitely need more practice at putting in zippers.
Now these I could make!! I might have to make a few of these for gifts. The zipper is the only thing that scares me. :/
I’d be thrilled if you’d link up at this week’s Off the Hook!
that’s a great tutorial, i have always HATED zippers lol but this looks easy enough, i will try it.
You sure make that look easy! I’ve never done a zipper before. I think I need to put on my big girl panties and give it a try. ;-)
Take care,
KC
I can’t tell you how bad I need one of these… adorable! Thanks so much for coming to (link) party with me… I hope you’ll come again next week to Super Saturday Show & Tell! http://www.whatscookingwithruthie.com xoxo~ Ruthie
This looks so easy to do! I have been looking for a cute/easy zipper pouch to make for my bridesmaids survival kit and it looks like I found the tutorial to help me do it.
Thanks for sharing! I wish my RS did more stuff like this!
I’m hosting a giveaway over at my blog so feel free to check it out and enter. There are lots of awesome goodies up for grabs.
Have a great week!
http://cloverandmustard.blogspot.com/2013/03/a-few-of-my-favorites-giveaway.html
Thank you for your comment. I appreciate your kind words. I am sure that you can make these zippered pouches and what a fun idea for your bridesmaides! Good luck with your upcoming wedding!
Great Tutorial! I love these little pouches! :)
Have a great week!
~Liz
Thanks for the tutorial! I just made my sister a tote, and needed a quick little wallet item to go inside- birthday is saturday so I better get cracking!
How fun is that! I love that idea, matching tote and wallet!
What a great idea – very cute … may have to try making this as gifts, etc. Thanks!
Cute pouches! You used really cute fabrics!
Navy Wifey Peters @ Submarine Sunday Link Party
http://www.usscrafty.blogspot.com/2013/03/submarine-sunday-23.html
I’m stuck on the step to sew the bag together :( does it lay flat with the zipper flat in the middle?
OK I finished. My pouch ended up long and skinny…was I supposed to use four 5×7 pieces instead of two?
You do need to cut two of each fabric piece in order for this to work. Might be helpful to beginning sewers if you made that clarification! :)
Dear Ms. Rita,
Thank you so much!!!! I just created my first zipper pouch with a flat bottom. It’s great and you direction where perfect.
Sincerely,
~Veronica
Veronica, I am so glad that you were able to make a zipper pouch! Way to go! I hope that you will find as many uses as I have, for these fun pouches. Thank you so much for taking the time to comment, I love hearing from you!
Rita
Your zipper pouches are cute. Thanks for sharing at Throwback Thursday.
xoxo
Denyse
your tutorial is great, i just finised my first pouch
so cute!
i was a little flummoxed by the easy way to pin the zipper teeth to the lining side
is there a different way you can explain it so that i can better grasp it?
it worked the first time but not sure really what i did
Do you pin the zipper teeth towards the lining on just the end of the zipper that’s open (as shown), or do you do this on both sides of the zipper? Thank you!
The zipper is sandwiched in between the lining and the outer fabric, as shown. The outside edge of the zipper is lined up with the edge of the fabric and the teeth are in the middle. You sew one side and then you line the other side up the same way with the zipper in between the two fabrics. The fabrics fold out away from the zipper. Hope this helps.
I love these! I too wish my RS did things like this but it is their loss. I plan to play around with the pattern and see if I can piece and quilt the front piece to give them even more personality. Thanks for the share.
That sounds like a darling idea! Thanks for sharing.
This is an awesome tutorial! I made one as my first sewing project ever!
I posted pictures here: http://chiquerbythedozen.blogspot.be/2014/04/diy-make-up-zakje.html
Thanks so much! I knew I would be able to figure out something like this if I spent long enough at it, but I don’t have that much time – I’m using this pattern to make pouches for extra clothes for the diaper bag. :) (I’m sick of the 2-year-old’s clean panties getting mixed into the debris at the bottom with her toys, plus we have a new baby on the way – hello spit-up and blowout clothes changes!) I thought something like this would work well because it would also store the dirty clothes and then be tossed straight into the wash itself. :)
Thank you! I always forget which way to fold the zipper teeth towards and it’s so important for the final look! I just went through 10 different tutorials and you’re the only one bringing it up. I’m making a big pile of bridesmaids pouches right now : )
Thank you!
Wow! That sounds like a project! So glad that you could use my tutorial and good luck with your “big pile of bridesmaids pouches”! That is a great idea for bridesmaid gifts!
Thanks for sharing this. I finally tried and am very happy with the result!! I never thought it would be so easy with zippers!! Super lover this!! ♡ thanks again!!
Julia, I am glad that you were able to make a zippered pouch. They really are fun to make and they have so many uses! Thank you for taking the time to write a comment, I love hearing from my readers.
Rita
oh my gosh! This is so nice. It is definitely named correctly. So neat and tidy!
You missed one step at the end. turn it inside out, sew the gap in the lining, then turn it inside out again through the zipper.
I figured it out though. i have also made your earphone case a number of times but I like the extra step of this one making it….neat and tidy!! Thanks.
Tjhese look great Rita! I know some young ladies that need to learn to make these. I may have to give them a class. I love this way of putting in the zipper and sewing the bag up altogether with the lining.
when working in leather or cork, What size needle and stitch length