I have had a few requests for a tutorial on how to do the iron-on vinyl, so I am going to attempt that today! I made these pillows for this demo: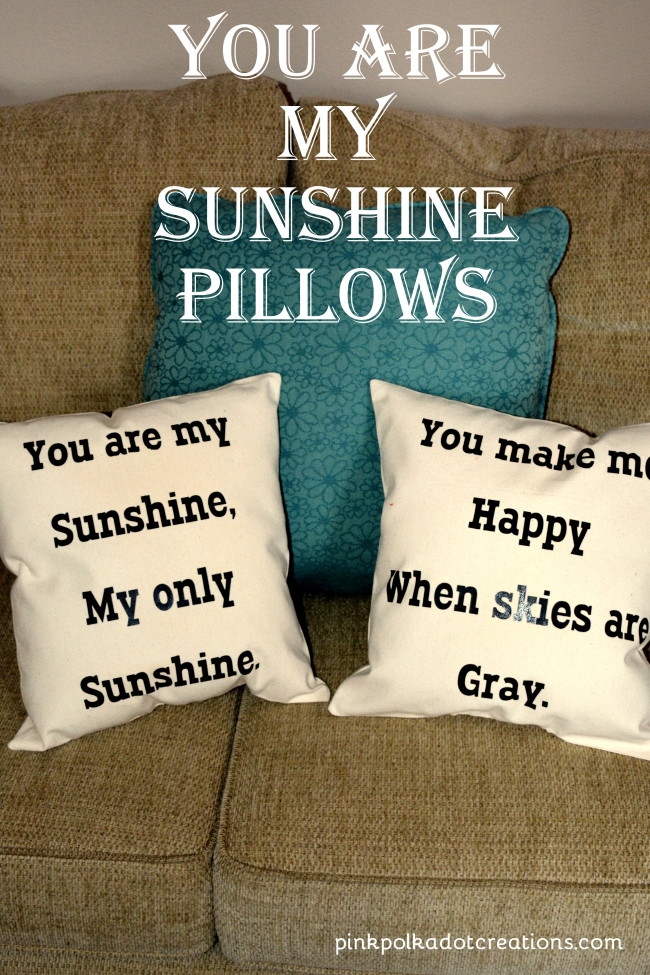
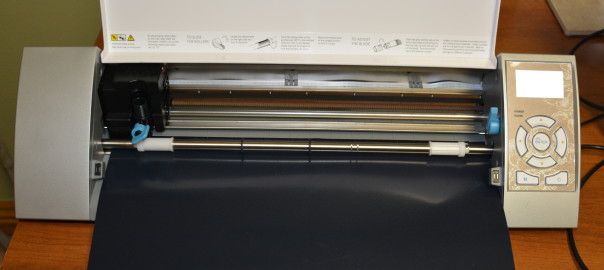
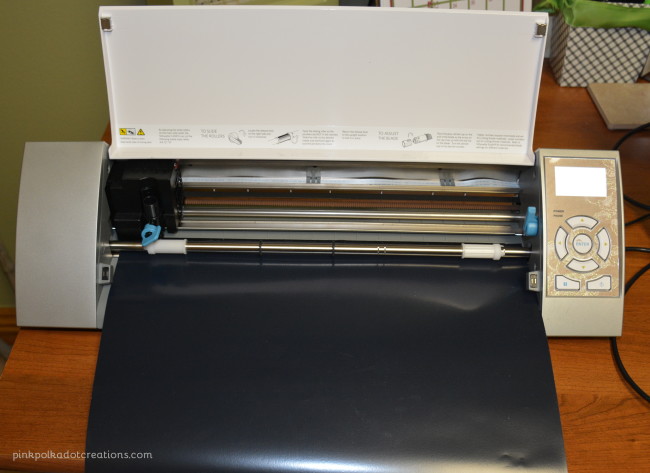
So let’s get started on how to make an iron-on vinyl. I am going to show you how I did this on a silhouette Cameo machine, so if you have this machine I will show you how I formatted everything. If you do not have a Silhouette machine, but you have a vinyl cutting machine, I will show you how to cut the vinyl, and prepare it to iron on to your project.
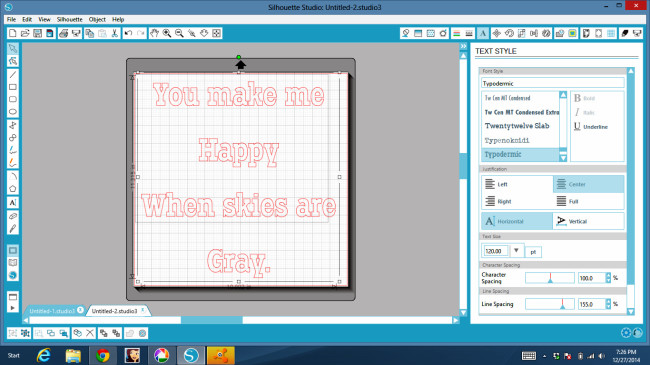 Here is a screen shot on the Silhouette. You can see that I typed this with the Typodermic font at 120 pts. I left the character spacing at 100 but the line spacing is set at 155 %. I also centered the font. I also centered everything on the page top to bottom and side to side, this makes it easier to line it up on your project. This is on a 12 x12 page.
 When you have everything exactly how you want it, right click and go to “Flip Horizontally”.
This is how you are going to cut your vinyl. Make sure that you “flip” your words before you cut anything!!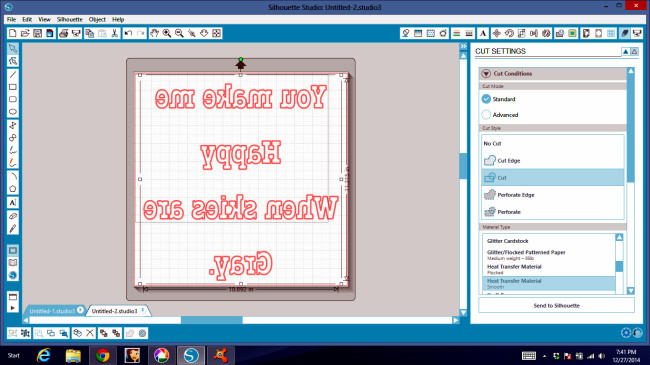 In the cut window, go to the adjust cut settings tab, then under material type, scroll down till you come to the “heat transfer material” there are a couple of options, so pick the type of vinyl that you are cutting. Insert your vinyl into your machine and then you can send it to Silhouette to cut. You want to cut through the vinyl…but not through the clear top coat.
 You will put your vinyl “wrong side up” This is the matte side. The right side is shiny.
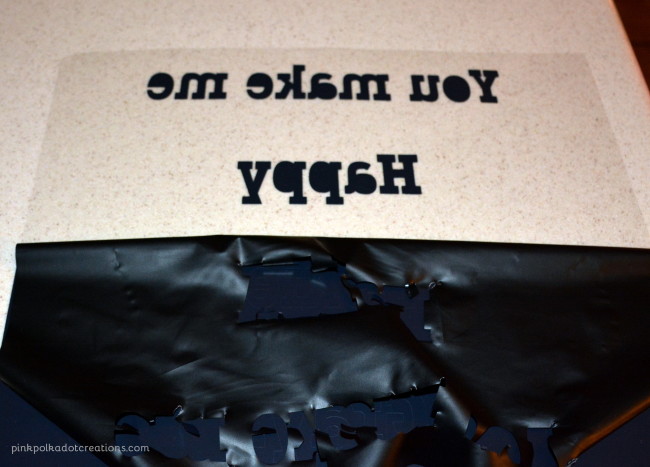 After you have cut the vinyl, you will need to pull the excess off. There is a clear plastic that is the front of your iron-on.
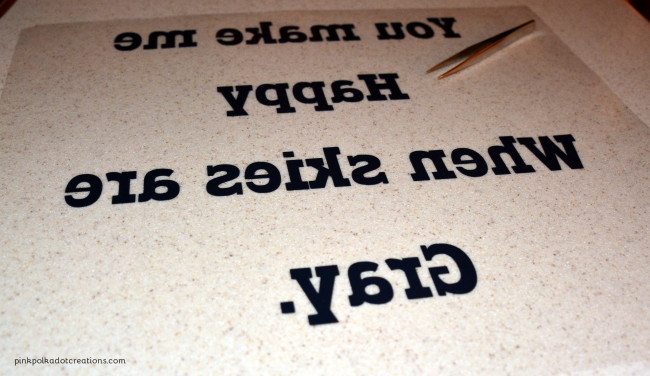 Use a pair of tweezers to get all of the insides of the letters out. This is what your vinyl will look like when you are done. The letters are backwards and there is a clear backing.
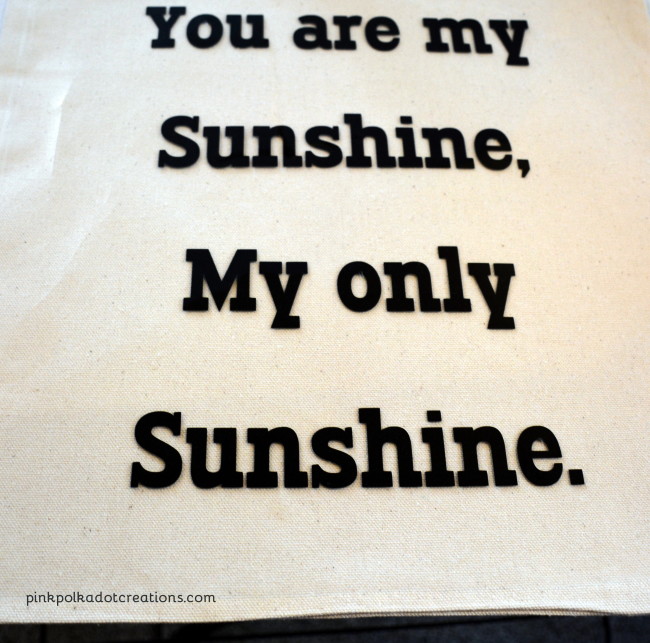 Turn your vinyl over so that it is the right way and place on your project. You will want to center everything. I just used a ruler to get it centered top to bottom and side to side.
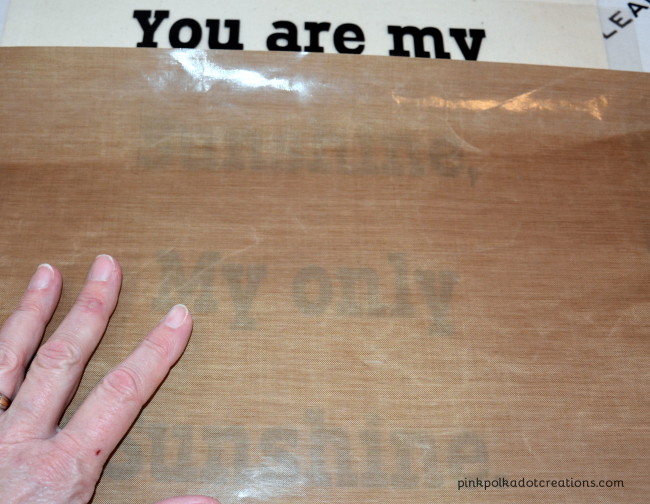 You can use a Teflon sheet like I have here or you can cover your iron-on with a flour-sack type towel. You will want your iron turned to the hottest setting but no steam. Iron over the entire project several times. Let it cool slightly and then you are going to peel the clear top layer off. If you are having a hard time getting it to come off, try ironing it again.
After you get the clear top layer off, place your Teflon sheet or dishtowel over the top and press one more time, making sure you have no loose edges.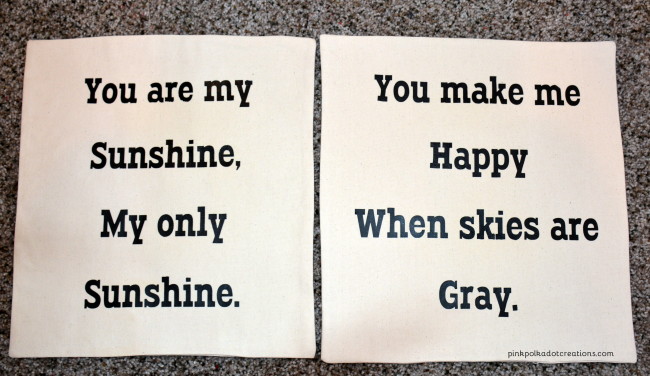 You are now ready to stuff your pillows and you are done! That was really pretty easy, right?
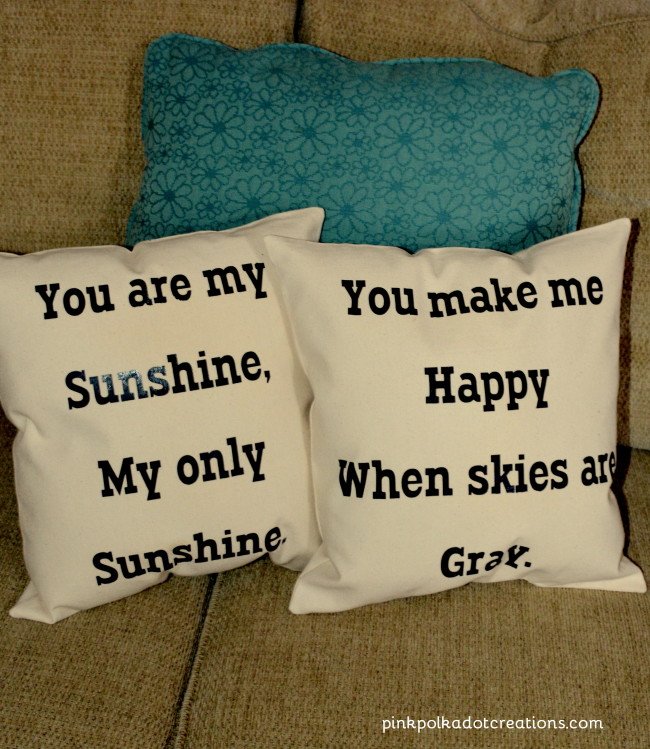 And look at how cute the finished project is! Iron-on vinyl is great on t-shirts, sweatshirts, fabric banners, quilt blocks or anything that you can think of! What are some of your favorite projects using iron-on vinyl? I would love to hear about them!! :)
I have a place in Salt Lake City, UT that I like to buy my iron on-vinyl, called Regional Supply. You can order online if you do not live in Utah. I am sure that there are lots of other places to find iron-on vinyl if you Google it. There are tons of different colors and textures that it makes you want to try them all! I love the glitter iron-on vinyl the best…you know just a little more bling!
Hope this tutorial helps. If you have any questions just leave me a comment and I will get back to you.
Thanks for visiting!