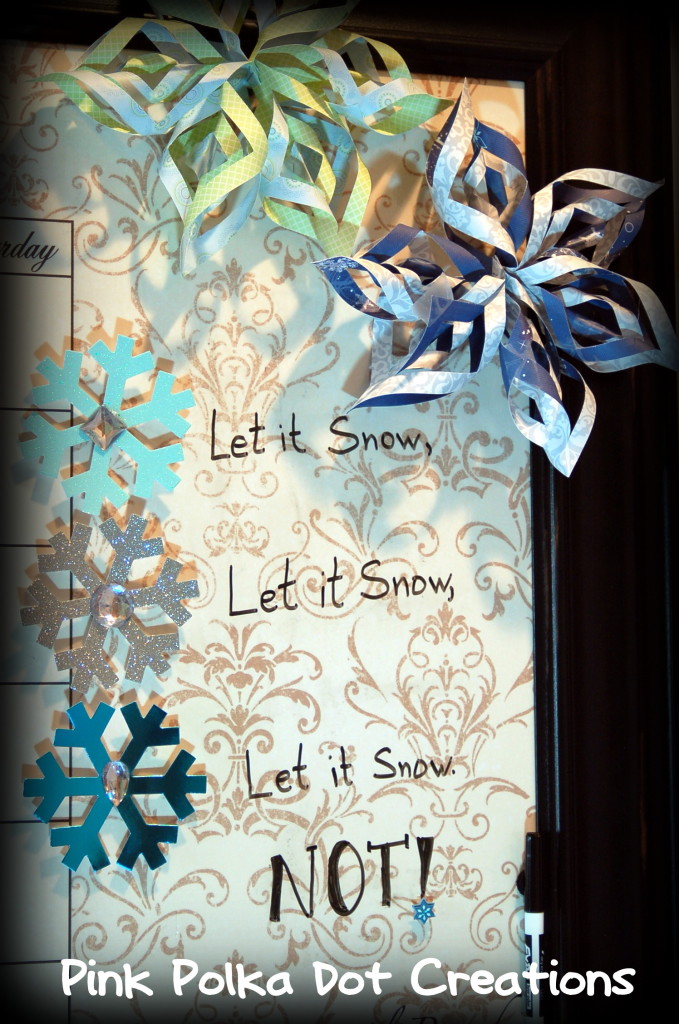
Here is my January Calendar!
I had so much fun decorating this month! I think because Christmas was over and I am excited to start the new year. I went with the snowflake theme and even though I don’t really like the cold, I love how beautiful everything looks covered in snow. I had one of my grandsons’ in the car with me yesterday and he said, “Look Grandma, everything looks glittery!” And I must agree that it did… the sun was hitting the snow just right and it looked like glitter had fallen right from heaven! So Pretty.
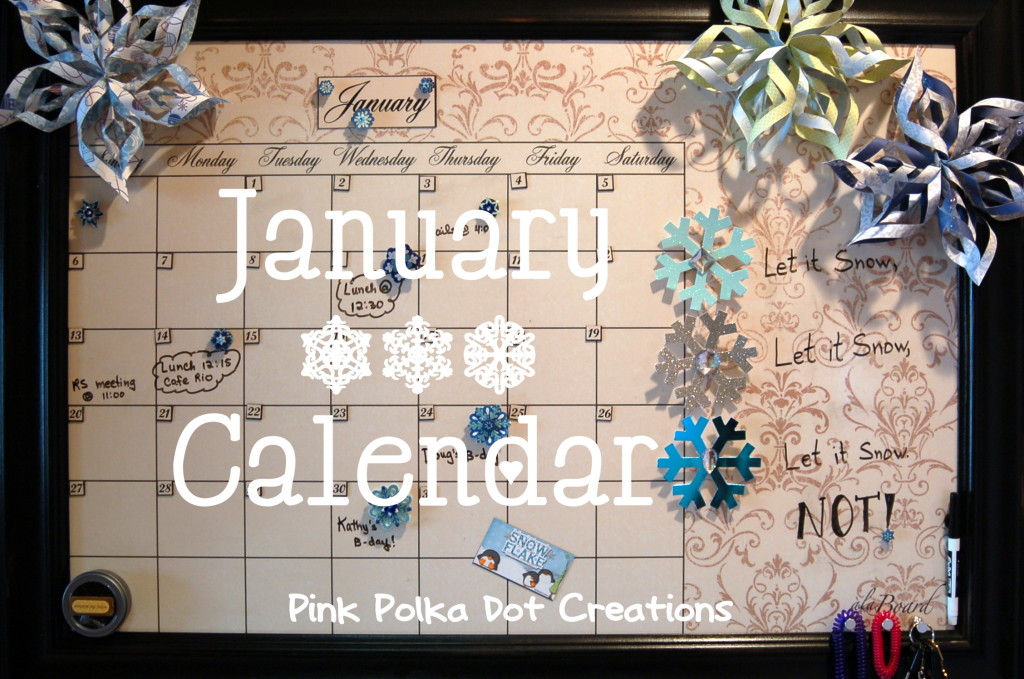
I found these fun Snowflake stickers and just mounted them on a piece of card stock paper and added a magnet to the back! So Easy.
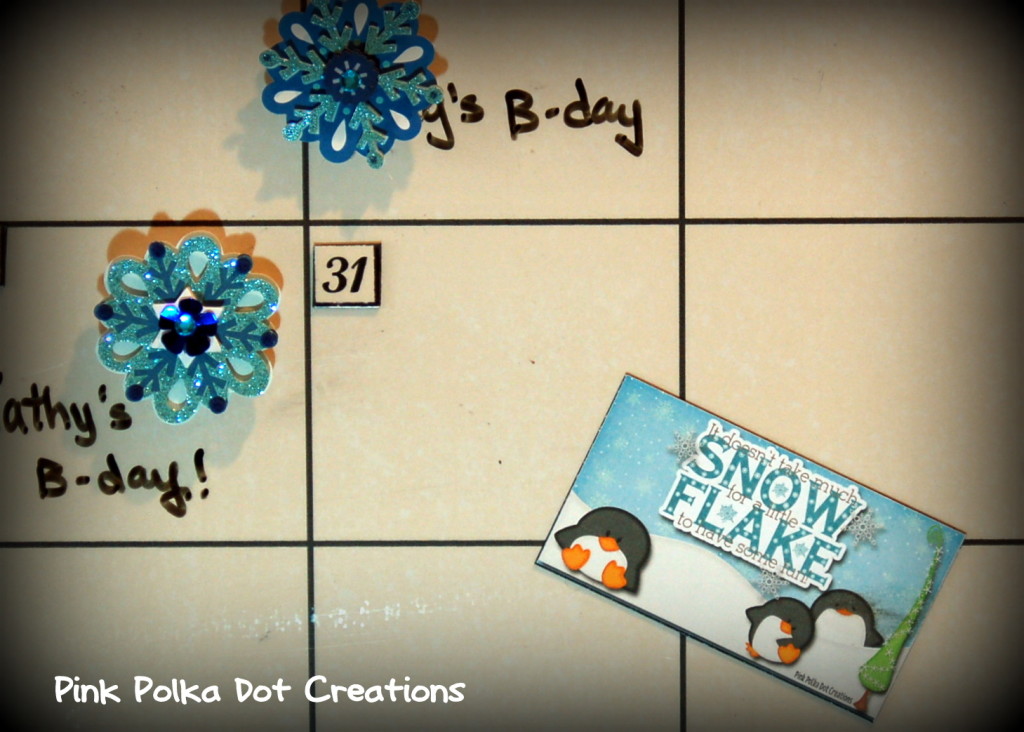
Here is the magnet printable for this month. All you have to do is print it and put on business card size magnet. To print, just right click over image and go to “save image as” then save in one of your pictures file. Or you can right click over image and to to “copy image” then open your favorite program such as word or presentations and right click and go to paste. You can the print it from there.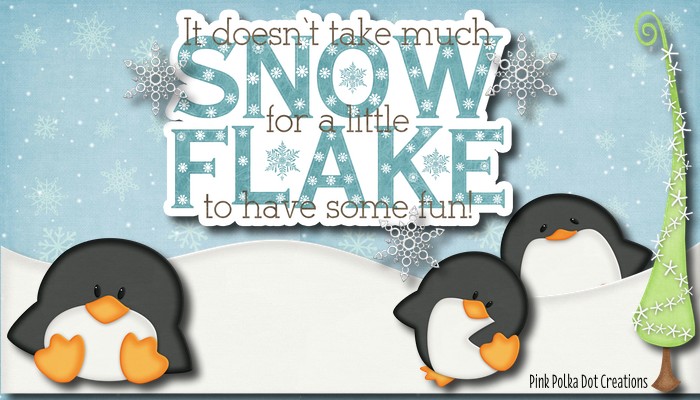
I made these fun snowflakes following the directions my friend, Christina, gave on Good Things Utah. I love that they are 3-D and so pretty and they are really easy to make!
As I said earlier, I love the snow, but hate the cold! As you can see. :) The road in our subdivision is a stinking ice skating ring! It snowed quite a bit last week and our road never got plowed or sanded! Not once! So with everyone driving on it, it has turned into solid ice! The kids love it though and have had fun on tubes and sleighs.
The glittered snowflakes are some that my granddaughter made to send to Sandy Hook Elementary, I just had her make 3 more for me!
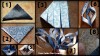
Here are the steps to make the cute snowflakes.
1. You will need 6 square pieces of paper. I used double sided card stock and I cut my squares 4 inches. Fold the square in half to form a triangle.
2. Fold the triangle in half again to make a smaller triangle.
3. With the double fold at the bottom and the cut edge to the right cut three straight lines almost to the top.
4. Open up the square and fold the inside diamond together and tape ends.
5. Turn paper over and fold the next diamond edges together. Repeat 2 more times.
6. You will have a piece like this. Repeat steps 1-5 on the other 5 squares.
7. Take 3 of the finished segments and put them together.
8. Staple together. Repeat for other 3 segments. and staple both 3 piece segments together. I really had to squish it in to get it all into the stapler, but you can fluff them out again after you have stapled it and spread it all out.
 This is what the finished snowflake will look like. You can do this with any paper, but I just loved the look of the double sided paper! You could also decorate these up more, but I think that they are pretty just like they are! I simply glued a magnet to the back of these to put them on my calendar, but they would look so pretty hanging from a string from the ceiling too!
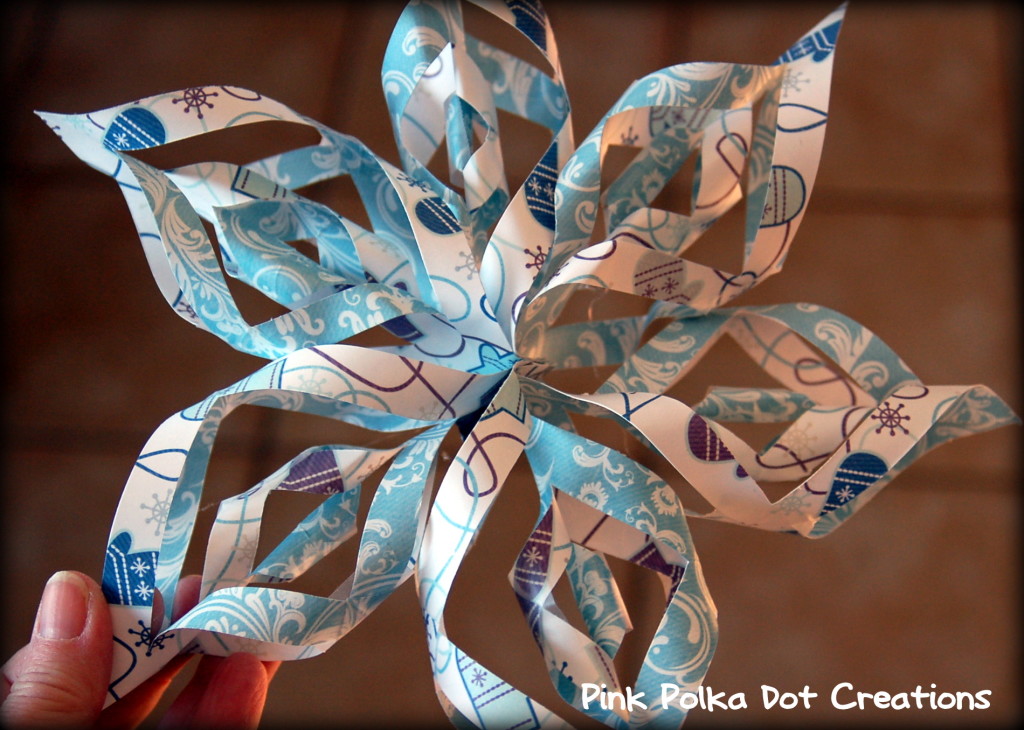
So there is my first craft for 2013!
I have several things all ready rattling around in my brain for this month, so I guess that I had better get started on them so that I can share them with you.
Do you have any projects already planned or in the makings?
Have a great weekend everyone! Love Ya!


Adorable penguins, Rita! Thank you for sharing them :)
Love the snowflake! It’s pinned to my origami board!
That is so cute!! Thank you for sharing this at the Make it Pretty monday party at The Dedicated House. Hope to see your prettiness again on Monday. Toodles, Kathryn @TheDedicatedHouse