Category Archives: Christmas

English Toffee

Ok, so this is the last candy post, at least for this week! :)  I am starting to feel the sugar high a little bit too much.  I started making this candy at 7:30 am and my husband was wondering what in the world I was doing and I just replied, “Oh, I’m just working on my blog!”  He just shook his head!

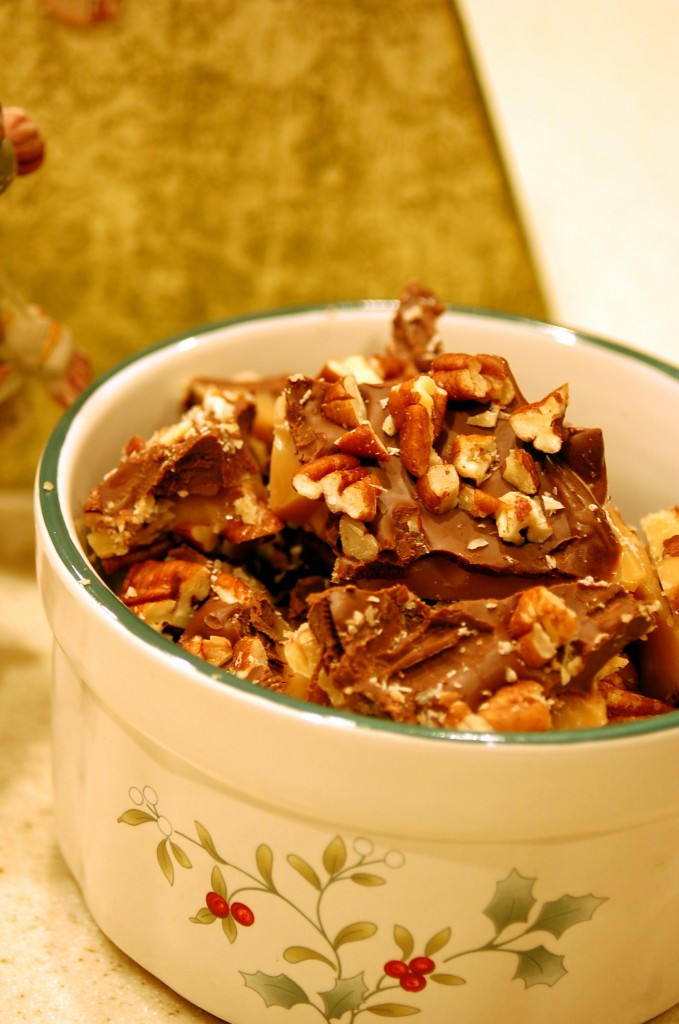
This candy is just the right combination of chocolate, nuts, and toffee.  I am also having the hardest time staying out of it, it is probably one of my favorite candies!

So let’s make English Toffee today!

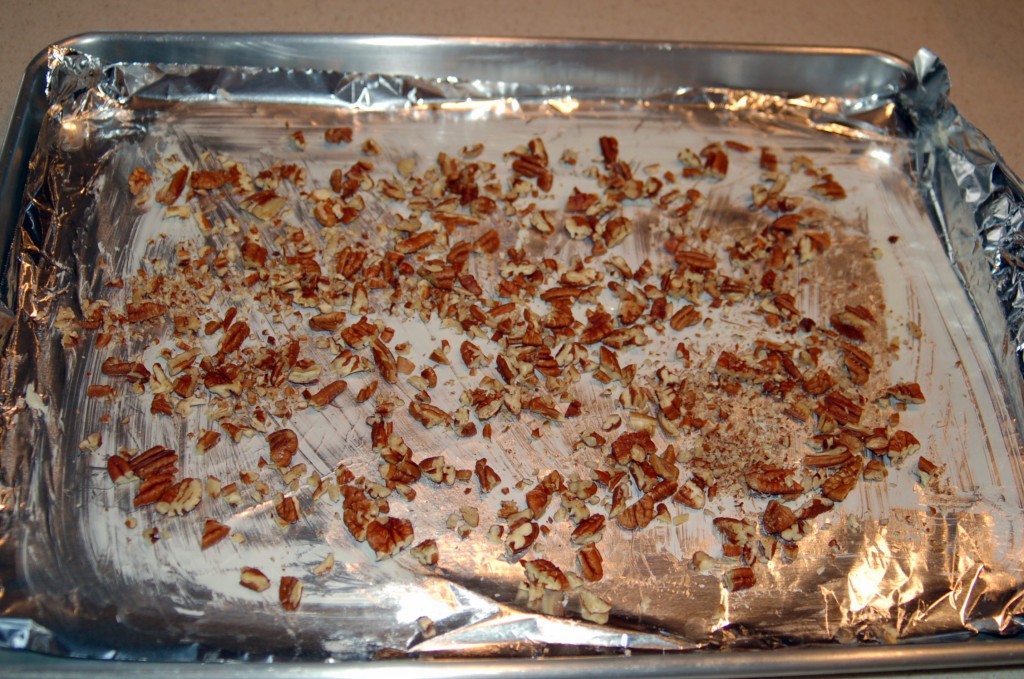
Start by lining a cookie sheet with foil and then butter the foil.  Spread 1 cup chopped nuts on the cookie sheet.  ( I used pecans, but you can use whatever you have)
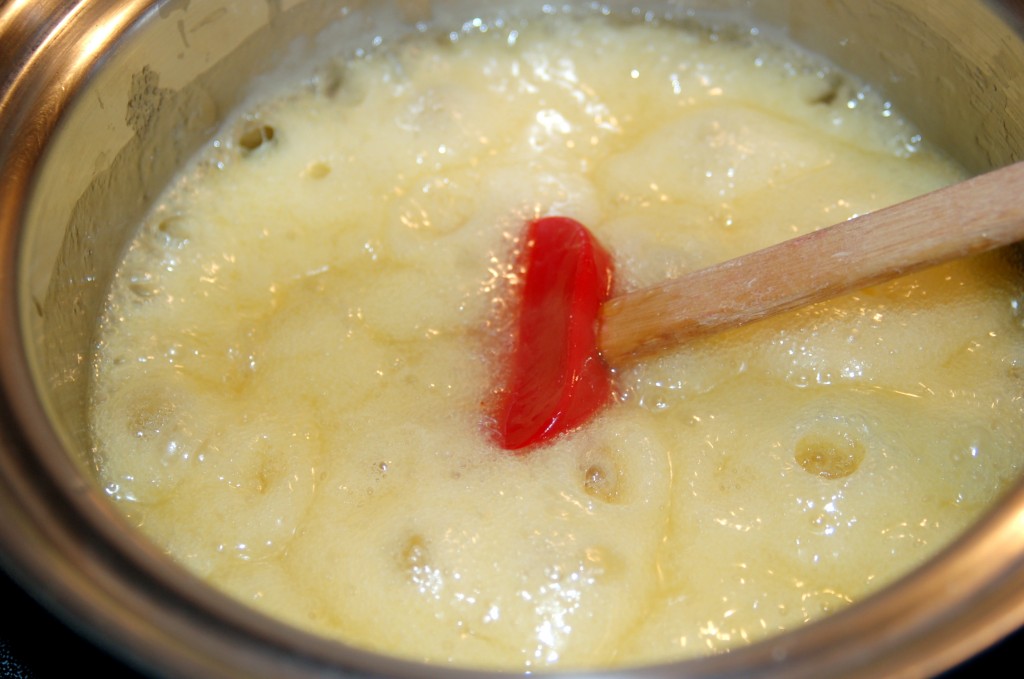
Mix 1 cup butter, 1 cup sugar, 1/8 tsp salt, 3 TLBS water, and 1 tsp vanilla.  Put in a kettle and bring to a boil.

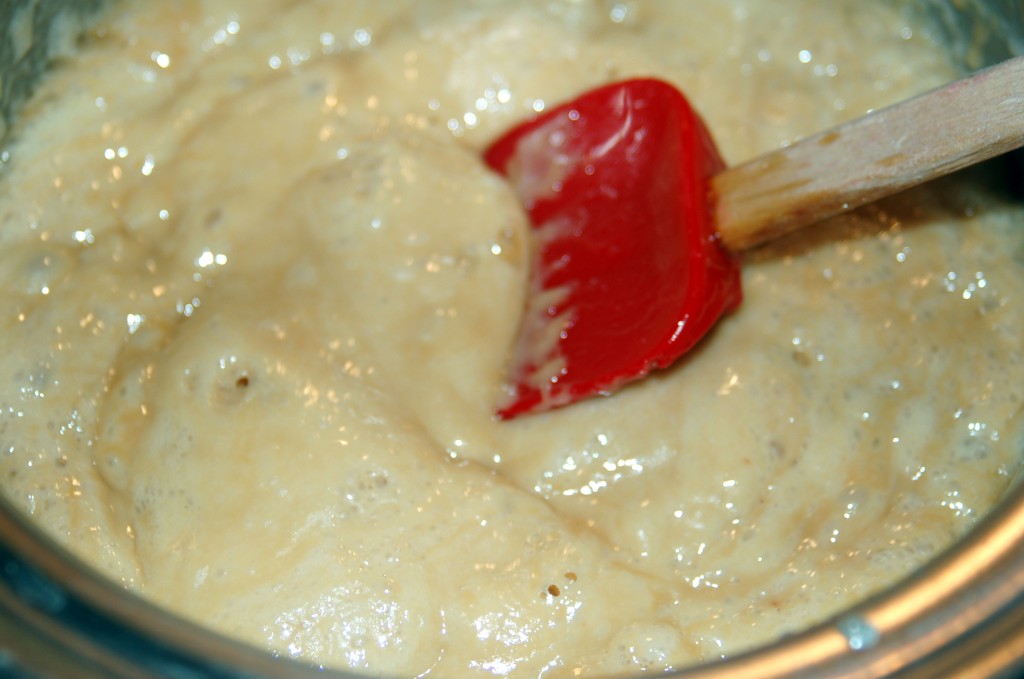
 Reduce heat to medium and stir constantly until mixture is light brown in color and crack stage has been reached (300-310 degrees on candy thermometer) If you want to know how to test for crack stage, go to the Anise Candy post.

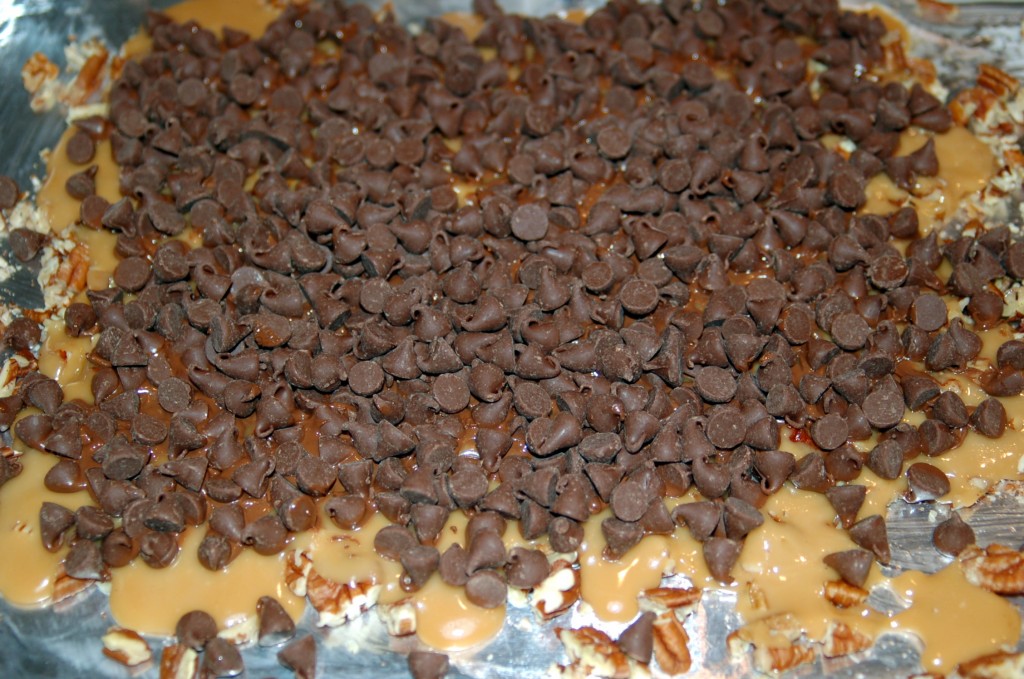
 Spread cooked candy thin over nuts.
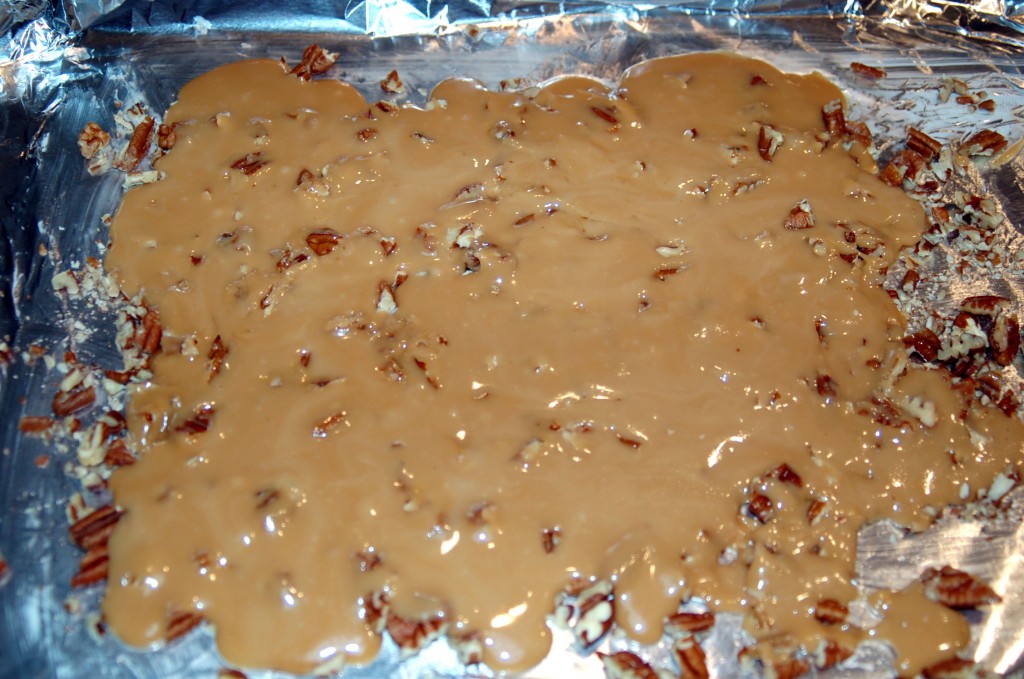
Sprinkle 11.5 oz package of chocolate chips on top. ( I used milk chocolate, but semi-sweet would be good also, totally your preference!)

When melted, spread over all of the toffee.
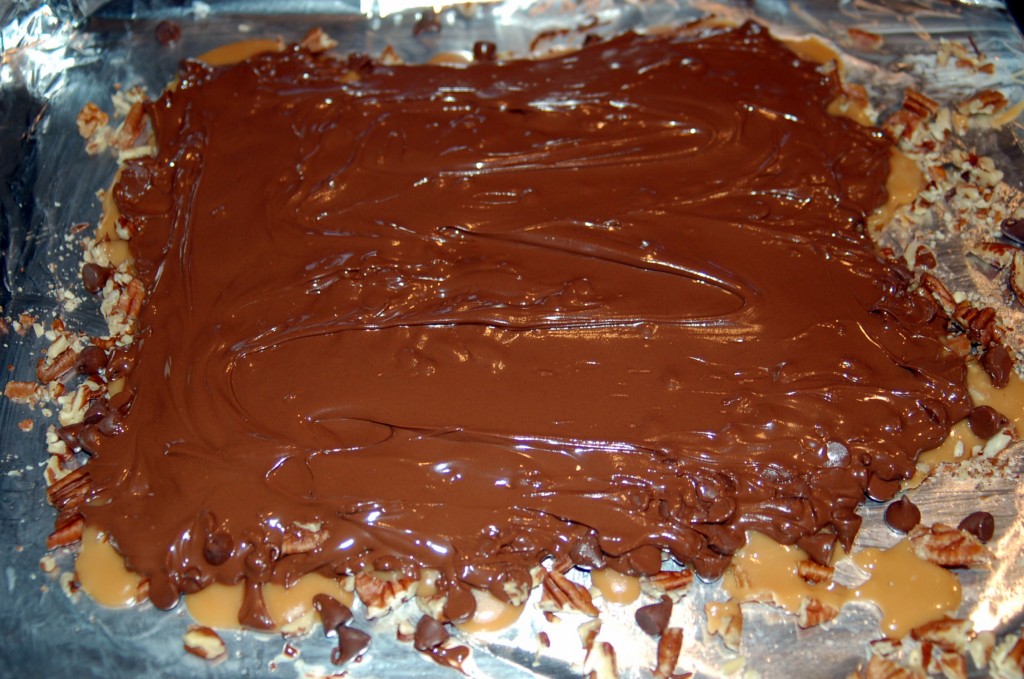
Sprinkle 1/2 cup chopped nuts on top of chocolate and press down into the chocolate with your fingers.
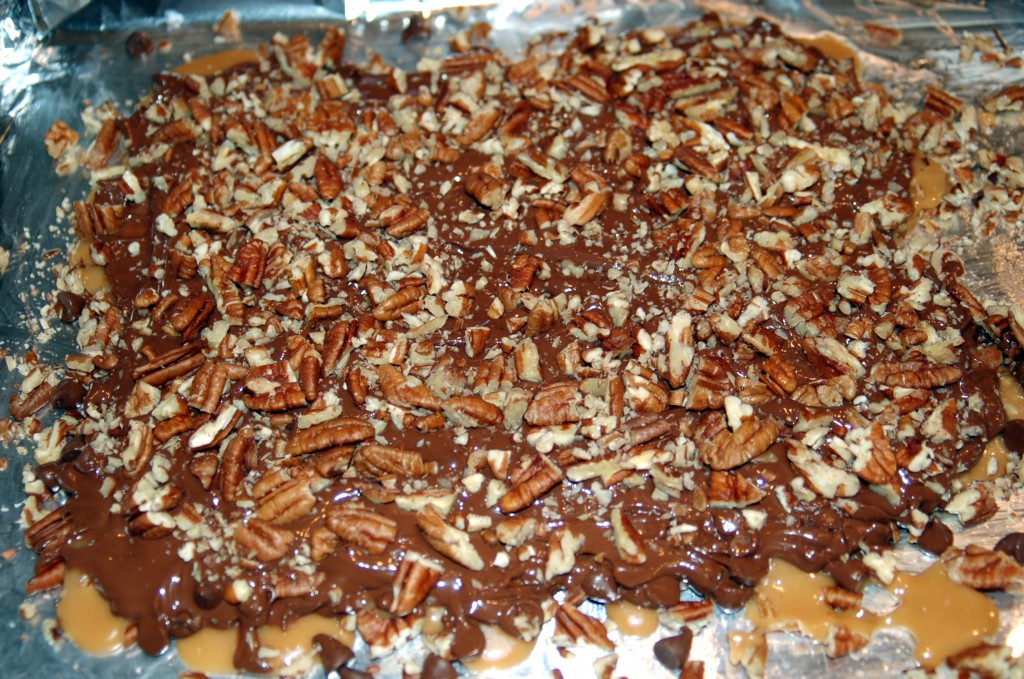
Break into pieces and enjoy!  This is another candy that is great to give as gifts, to fill a candy dish with, or just make for a treat for yourself!
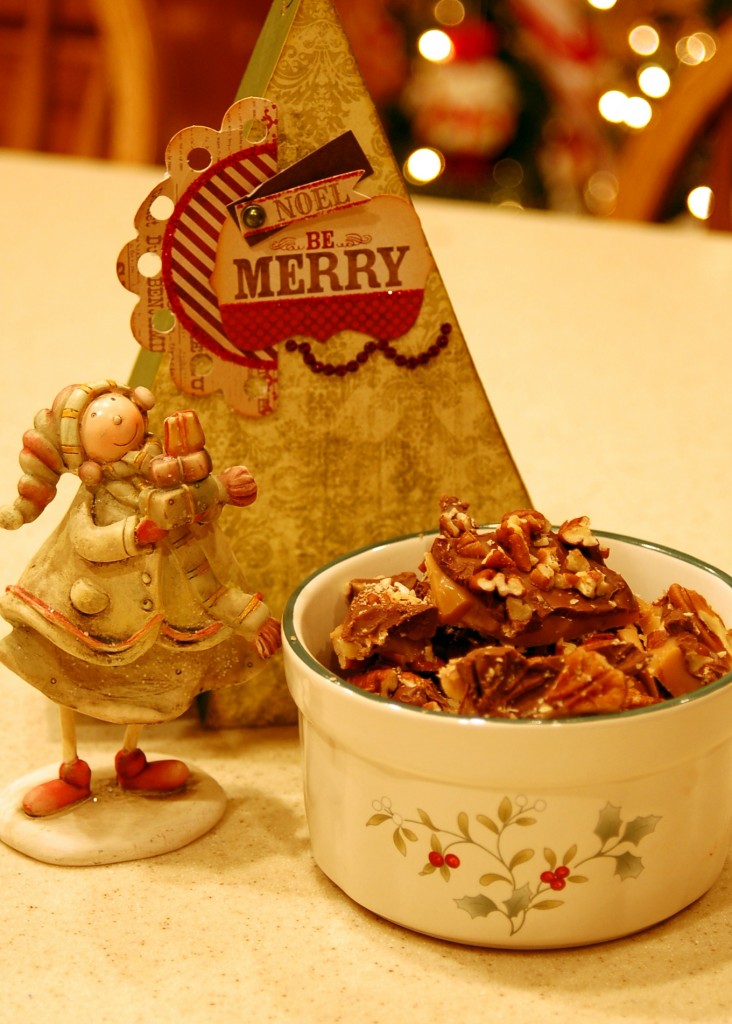
Here’s the recipe:

English Toffee

1 cup butter

1 cup sugar

1/8 tsp salt

3 TBLS water

1 tsp vanilla

Combine in a kettle and bring to a boil. Reduce heat to medium and stir constantly until mixture is light brown in color and crack stage has been reached (300-310 degrees on candy thermometer)

1 1/2 cups chopped nuts

11.5 oz package chocolate chips

 Place buttered foil on cookie sheet and spread with 1 cup of the chopped nuts. Spread cooked candy thin over nuts. Sprinkle chocolate chips on top. Let melt and spread over entire candy. Add remaining 1/2 cup chopped nuts on top. (I pressed them down with my fingers into the chocolate)

Break into pieces when cool. Enjoy!

Anise Candy

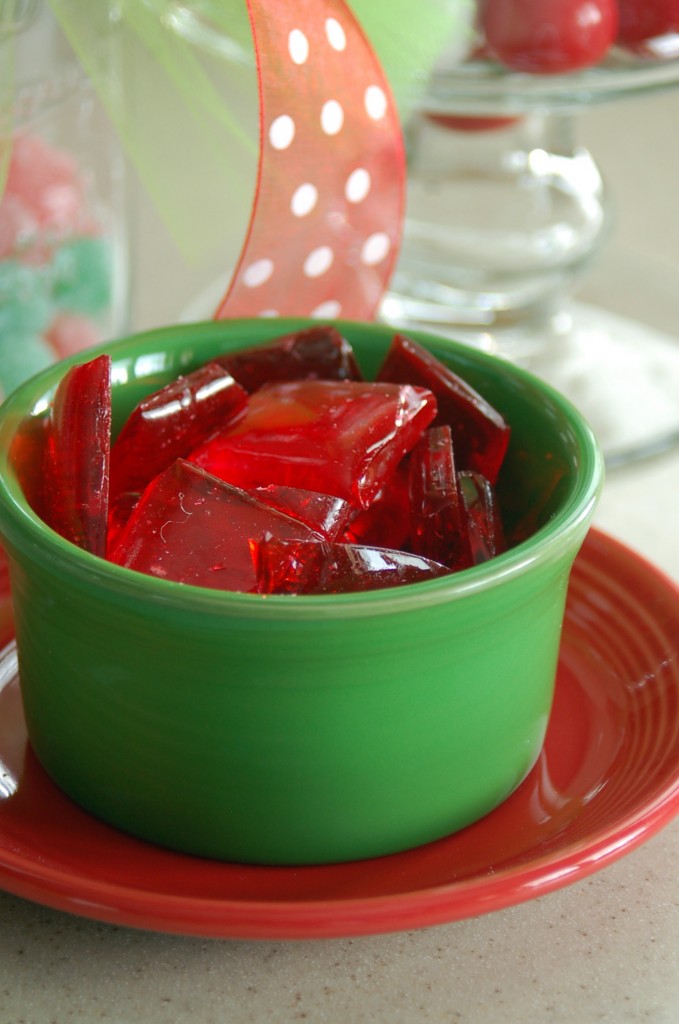
Today’s candy is a very old recipe that I remember my mom making for Christmas.  I have not made it for years, but ran across the recipe the other day and decided in honor of my mother that I would make this!  It is a hard tack candy that you could actually use to make suckers with, but I just made it the way my mom used to.  For those of you who do not know what Anise is, it is a black licorice type flavor.

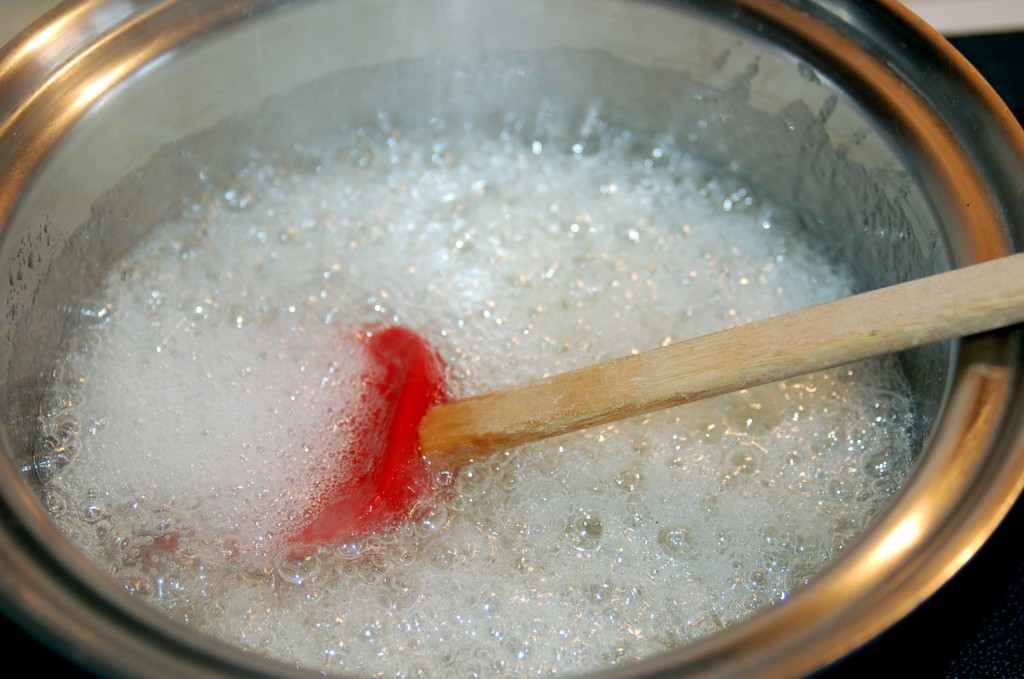
So let’s make some Anise Candy!  First you are going to put 3 cups sugar, 1 cup corn syrup and 1/2 cup water in a large kettle.  Bring to a boil.

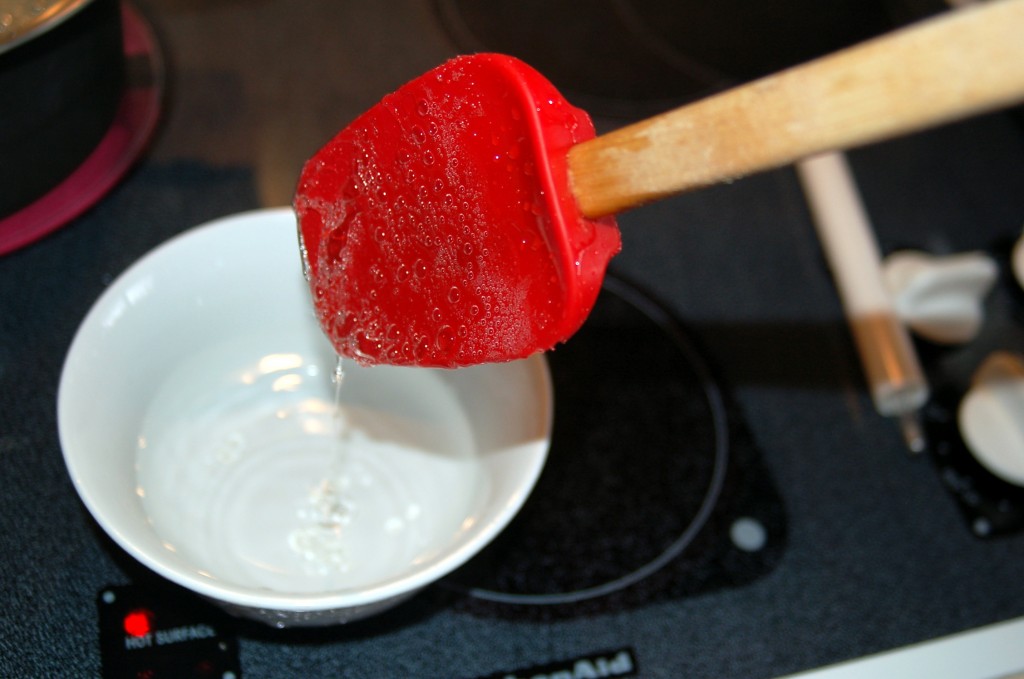
You will let it boil to the hard crack stage.  To test if it is at the hard crack stage, drizzle a small amount of the candy into a bowl of cold water, like this.

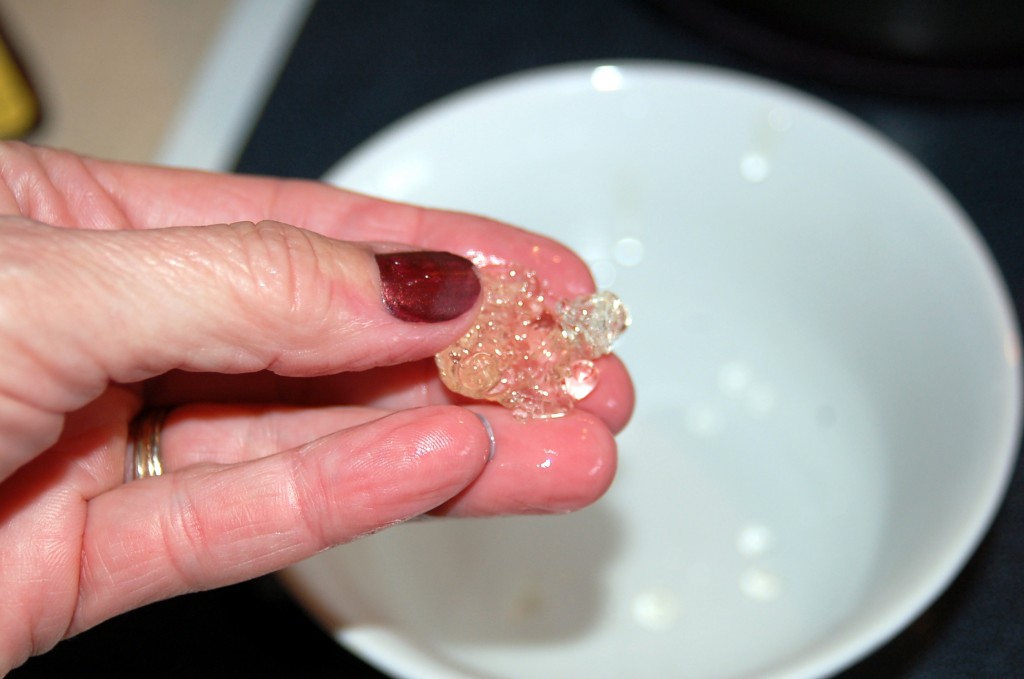
When the candy come out hard and brittle, it is at the crack stage,  if it is soft and pliable you need to keep boiling it until you reach the crack stage.  I tested my about 3 times, until I got it to where I wanted it.  If you have a candy thermometer, you could also use that, you need to reach 300-310 degrees F, but I am showing you the good old fashioned way to test it! :)

When it gets to crack stage, add 1/2 tsp red food coloring and 1/2 tsp anise oil.

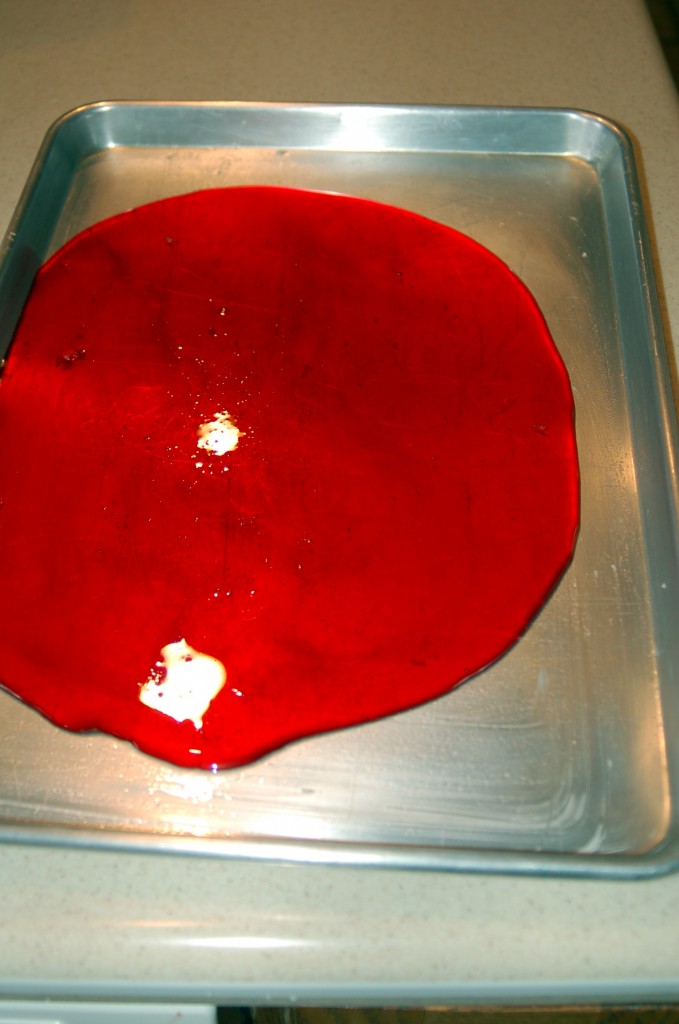
Pour out onto a buttered cookie sheet  and let cool just a bit. (sorry about the flash spots in this picture, but the candy is so shiny that it just kept reflecting)

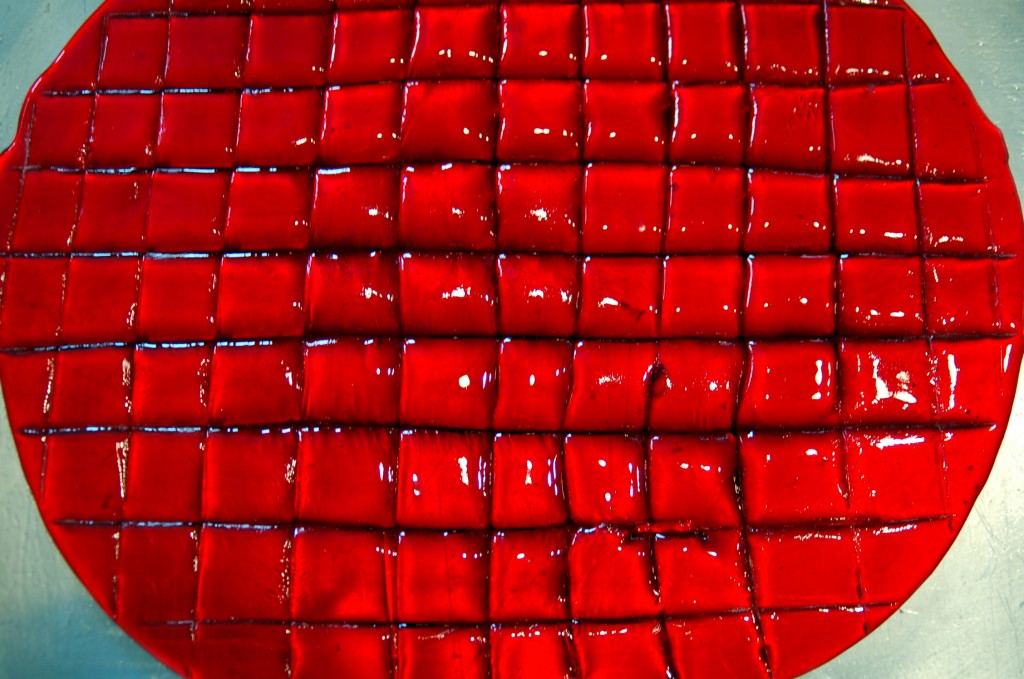
When slightly set, mark off in squares.  (I actually do not remember my mother doing this, I remember her just using the handle of a butter knife and breaking it into pieces, but I have this step written in my recipe, so I tried it!)

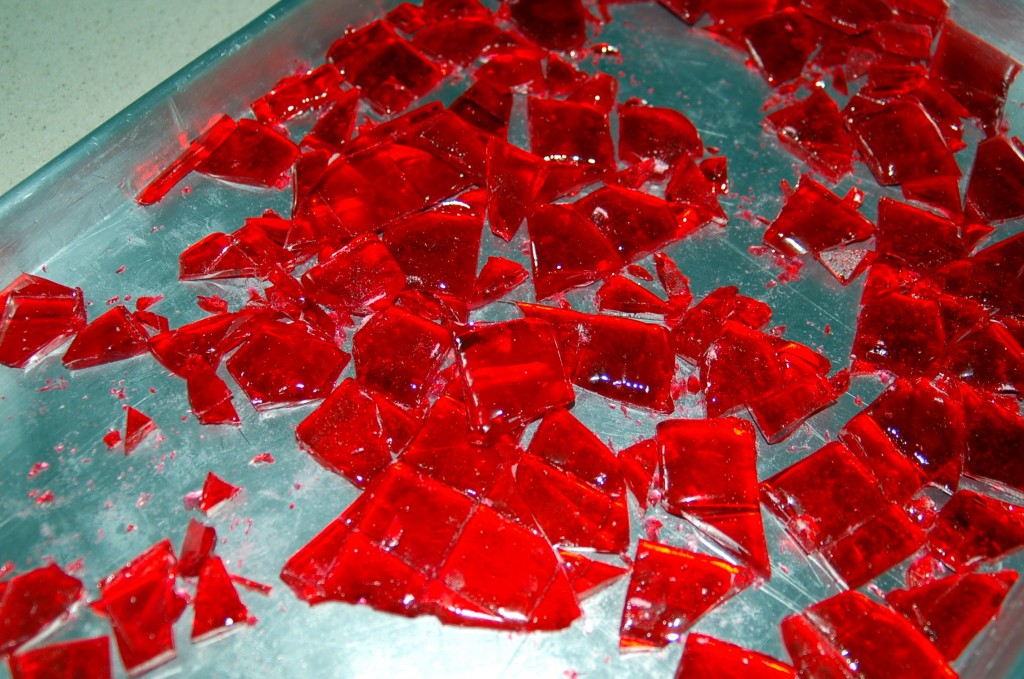
After it has cooled off, break into pieces.  Maybe this is why my mom just broke it with the handle of the knife, because it just kind of breaks into pieces!  But it looks so pretty!

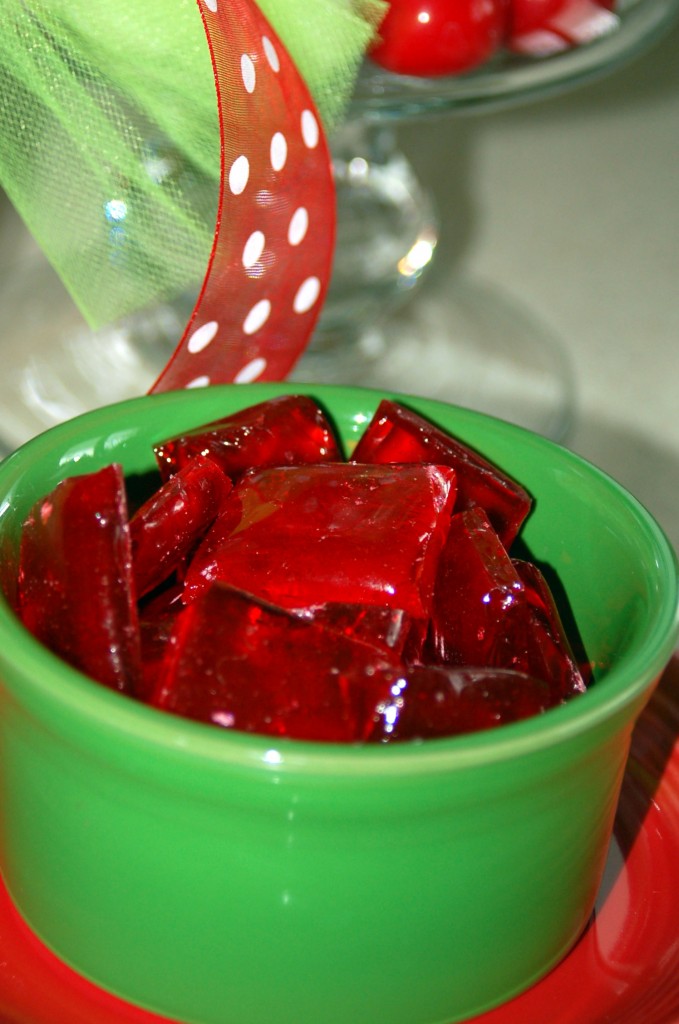
Put all those pieces into a bowl and look at how festive they are.  They are also fun to add to plates of cookies or fudge etc to just add some bright color!

Here is the recipe:

Anise Candy

3 cups sugar

1 cup white syrup

1/2 cup water

Put in kettle and bring to a boil.  Cook to crack stage.

add: 1/2 tsp red food coloring

1/2 tsp anise oil

Mix and pour into buttered cookie sheet.  When slightly set, mark off in squares.  Cool and then break into pieces.

Truffles!

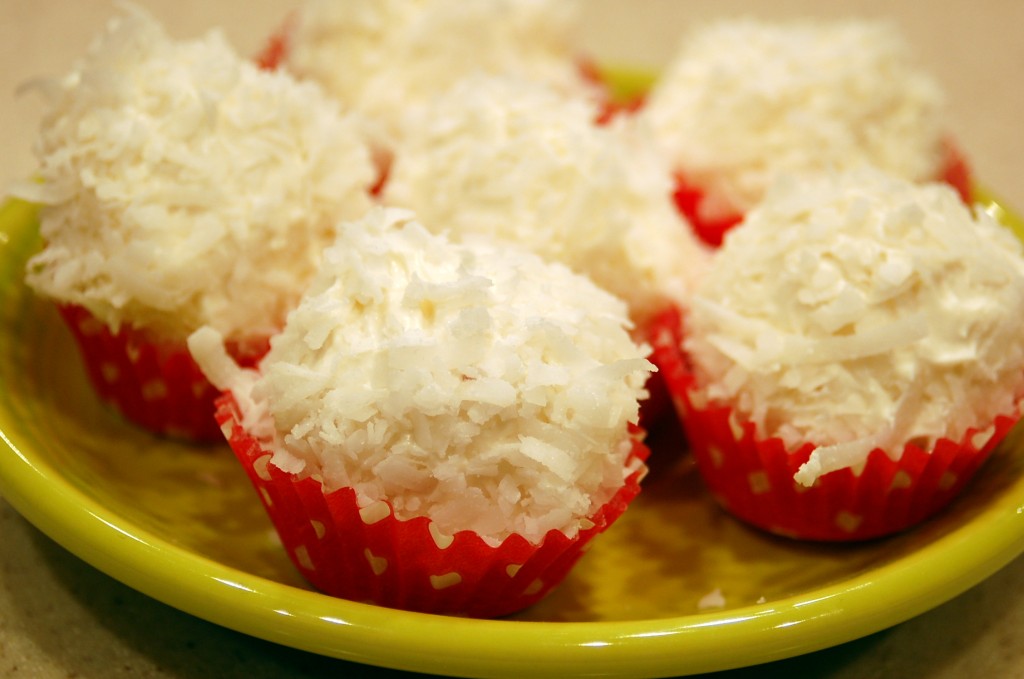
I have a sweet friend, Deea, who started her blog, Sprinkle Some Sunshine, about the same time that I started mine.  It is a cooking blog and she has some really great recipes!  I got both of these recipes from her!   These would be great for gifts, party treats, dinner place settings, or just as a snack! This first one is called Snowball Truffles.  It is white chocolate and coconut and they are so delicious…like Heaven…I’m in Heaven!  Go here for the recipe and a great tutorial on how to make them!

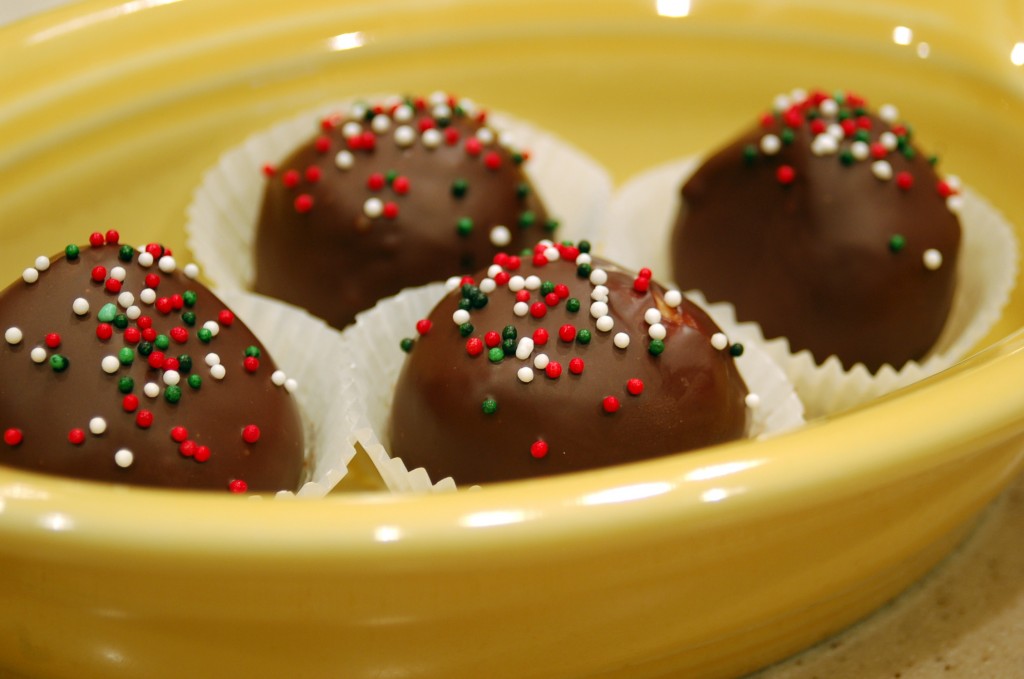
These next ones are Peanut Butter Balls.  They are just as good as a peanut butter cup!  These are two of my favorite flavors…peanut butter and chocolate.  I think I have made some variations of these every year for Christmas.  But these are so good and they are really easy to make and they look so festive with the sprinkles on top!

Go here for the recipe and tutorial on how to make them.  Leave Deea a comment and tell her how much you love these recipes.  She will love it!I am still busy this week, cooking, shopping, wrapping, and trying to get everything ready for this weekend, so we can celebrate with our married kids.  But I did spend the morning crafting and then lunch with friends.  I have so much to be thankful for when it comes to great friends!  I think that I have the best!

Are you ready for Christmas?  It is going to be here before we know it!

Christmas Gift Tags

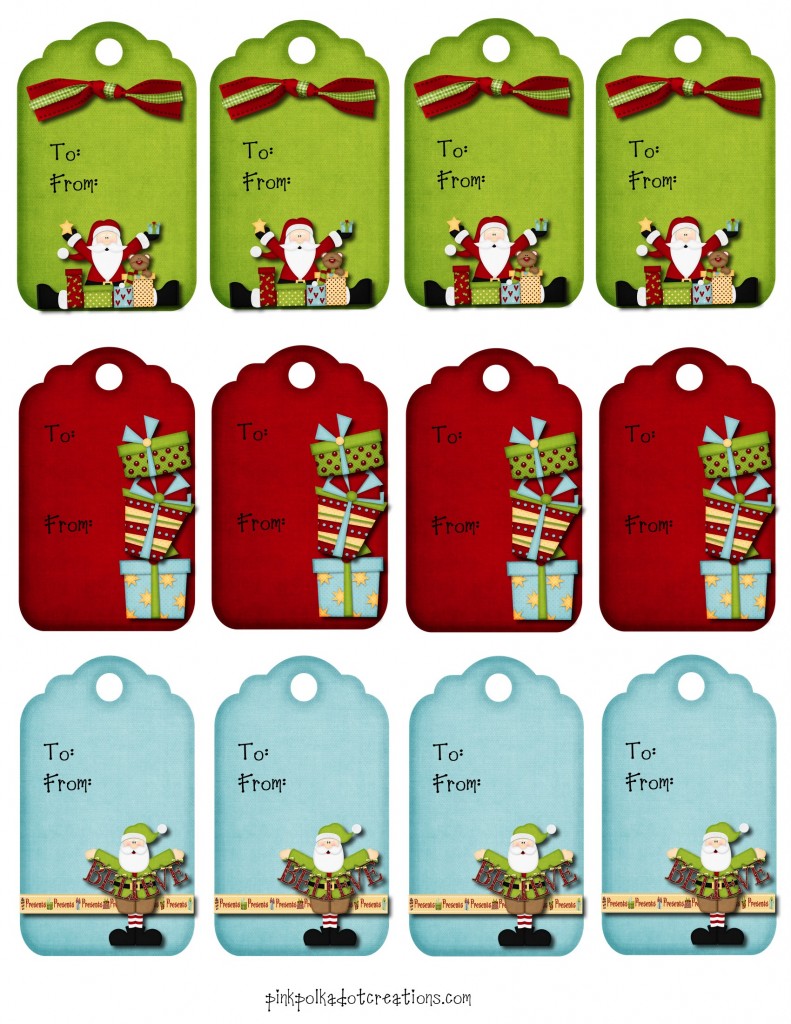
I needed some gift tags and could not see any that I liked anywhere, so I decided to make some up… and  I  would love to share them with you!

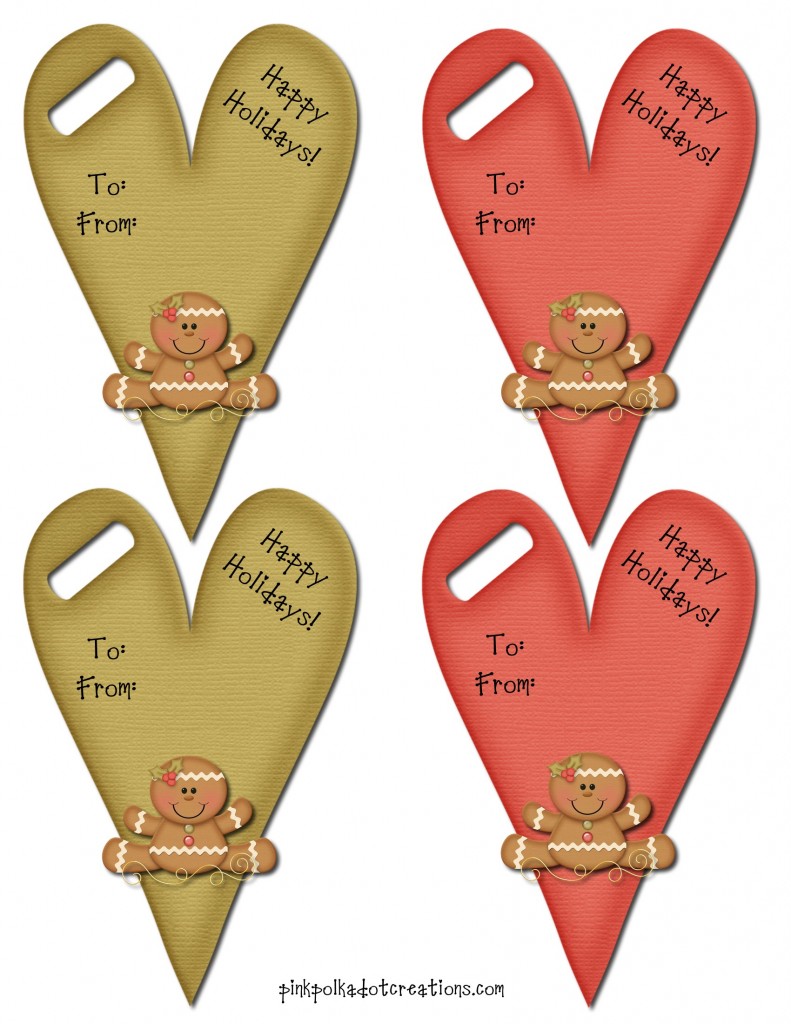
To print:  just right click and go to copy.  Then open your favorite program, like Word etc. and right click again and paste.   They are both 8 1/2 x 11 size.

These are a larger tag, for those who would like to write a little note on it!

How are all of your holiday preparations and shopping coming along?  I am in full speed right now, because we are basically celebrating this weekend, because it is our off year with all of the married kids!  So wish me luck, OK?

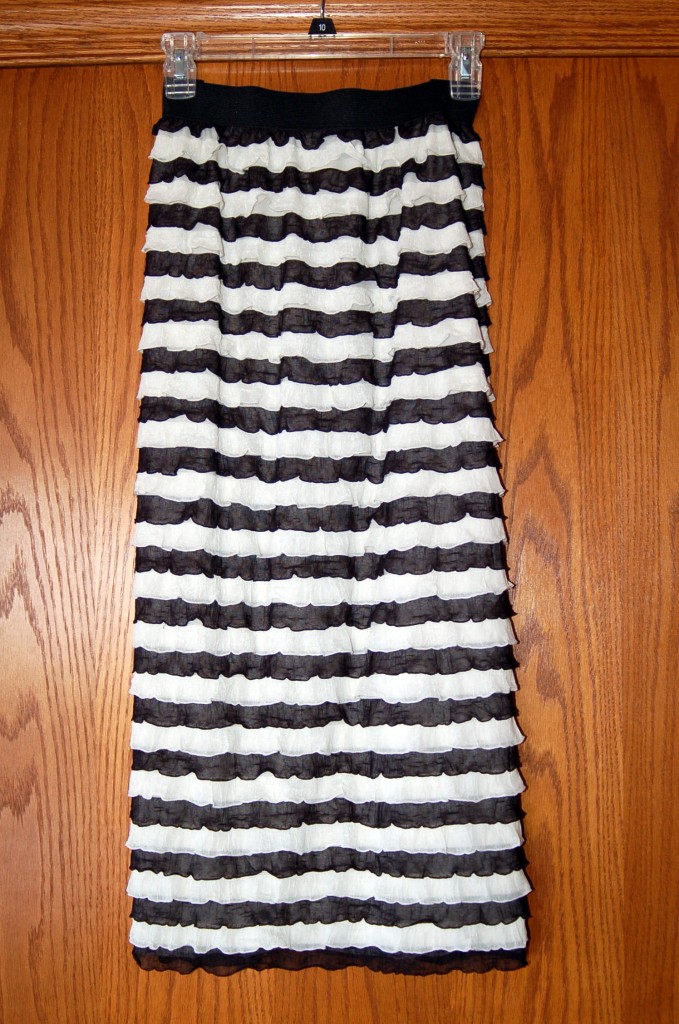
Ruffled Skirt

I think that I have had ruffles on  the brain lately, but  you can never get too many ruffles, right?  Ruffles are still such the rage in the fashion and crafting world and I love it!

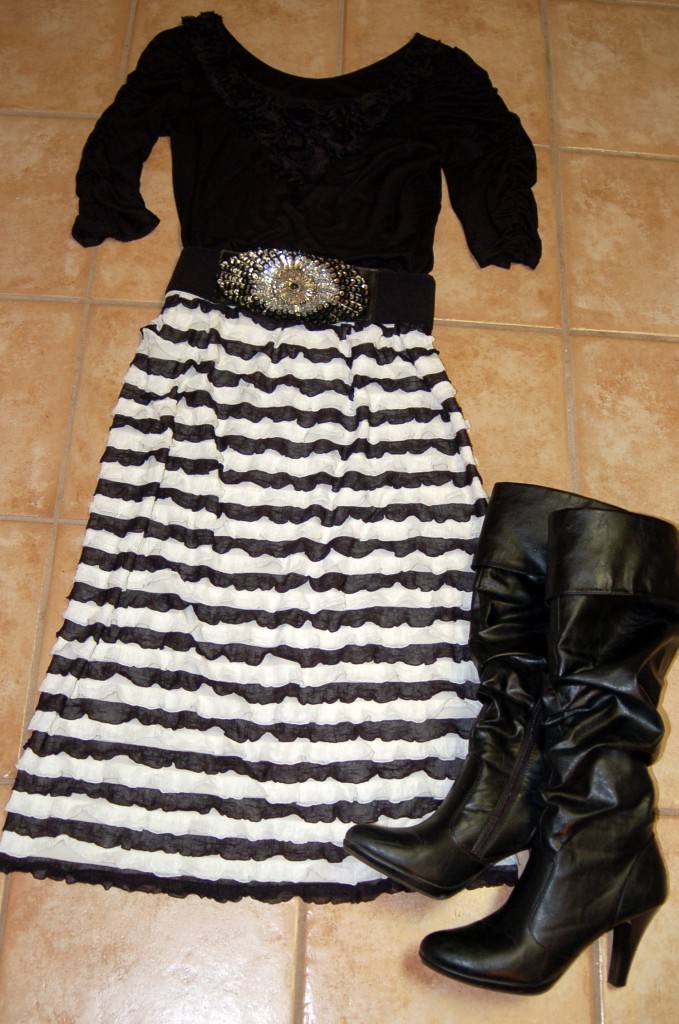
This a great little skirt that you can dress up or down, and it is knit fabric, so it is very comfy.  It does not wrinkle so it is great for travel, and it camouflages all your flaws with all the ruffles!  It doesn’t get any better than that!

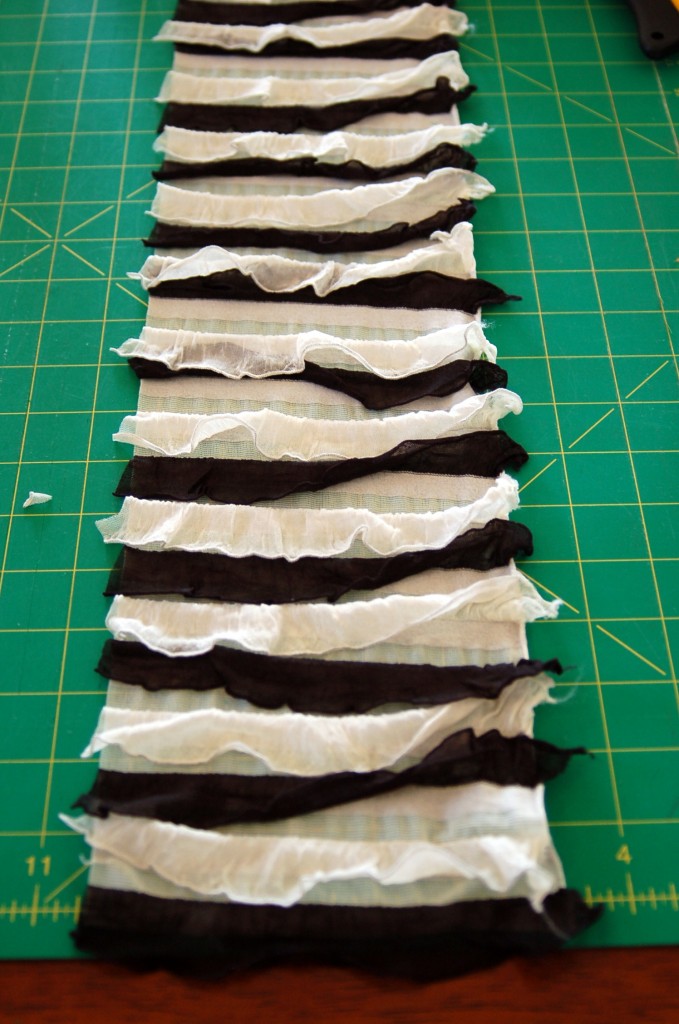
You start with this fabric that is already ruffled!  It is kind of pricey, but you only need your length.  I am kind of tall and I bought about 30″ for a skirt that is mid-calf.  It only cost me about $20 for everything, and where can you buy a cute skirt like that for $20?!

I bought my fabric at The Material Girls Quilts in South Jordan, UT.  They also have this ruffled fabric in Gracie Lou’s Quilt Shoppe in Salem, UT.  I know that a lot of the finer fabric and quilt shops are now carrying it, so you should be able to find a place near you.

The fabric is  wider than I wanted,  so I cut off about 6″ from the width because I did not want it to be that full.  With all of the ruffles, it is better to have it a little bit more fitted, so you do not add bulk where you don’t want it. (If you know what I mean!)

This skirt is sooo easy as in one seam and sew the elastic to the top!

So let’s make a fun ruffled skirt for the holidays, shall we?

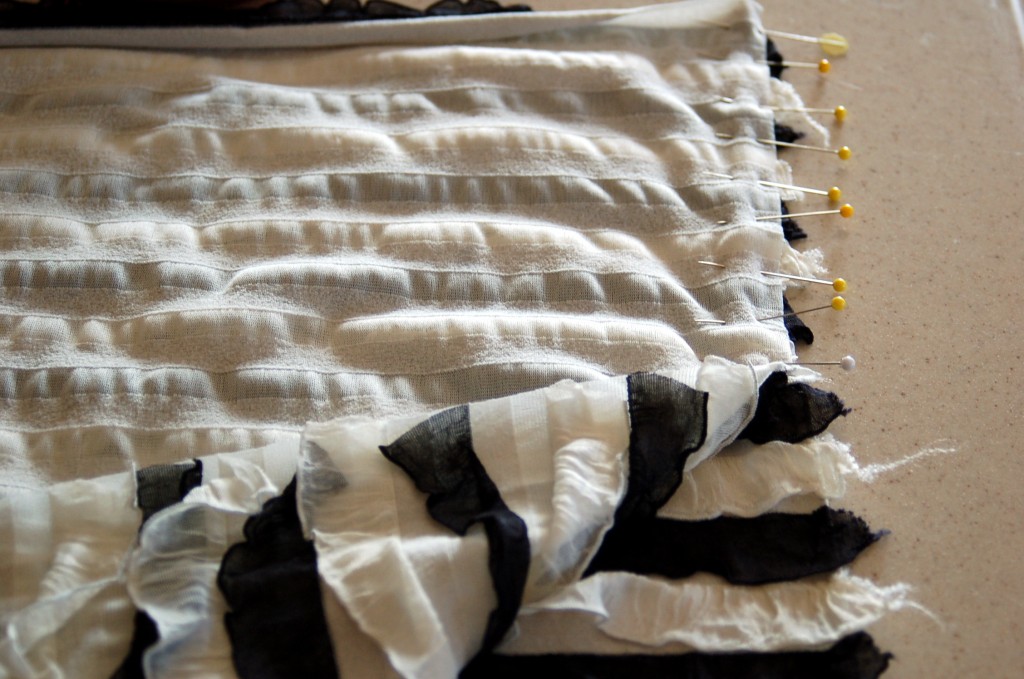
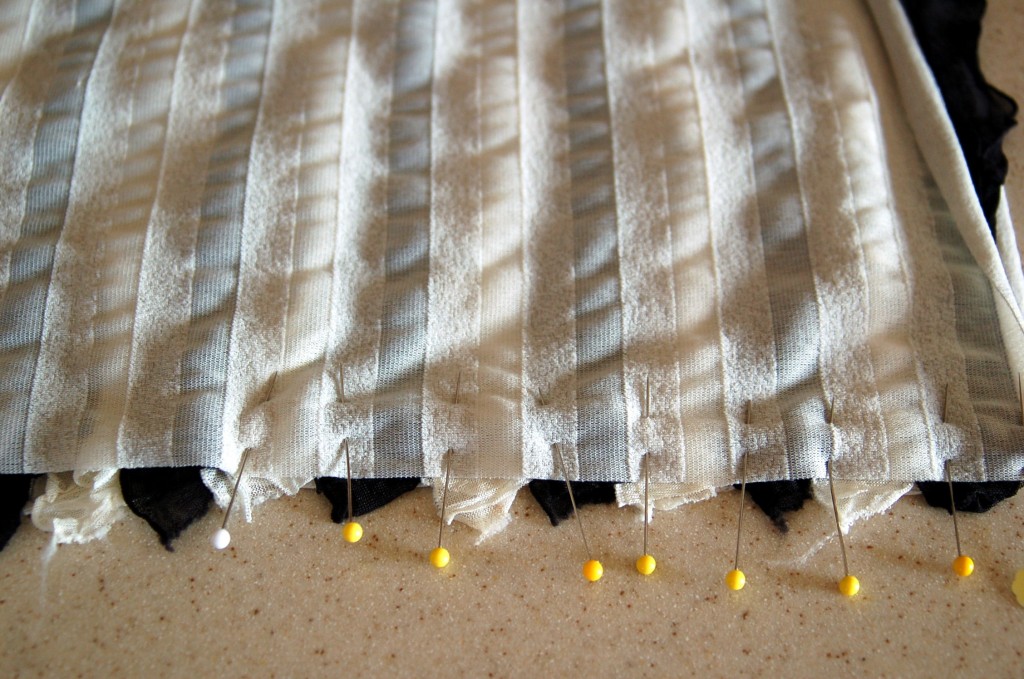
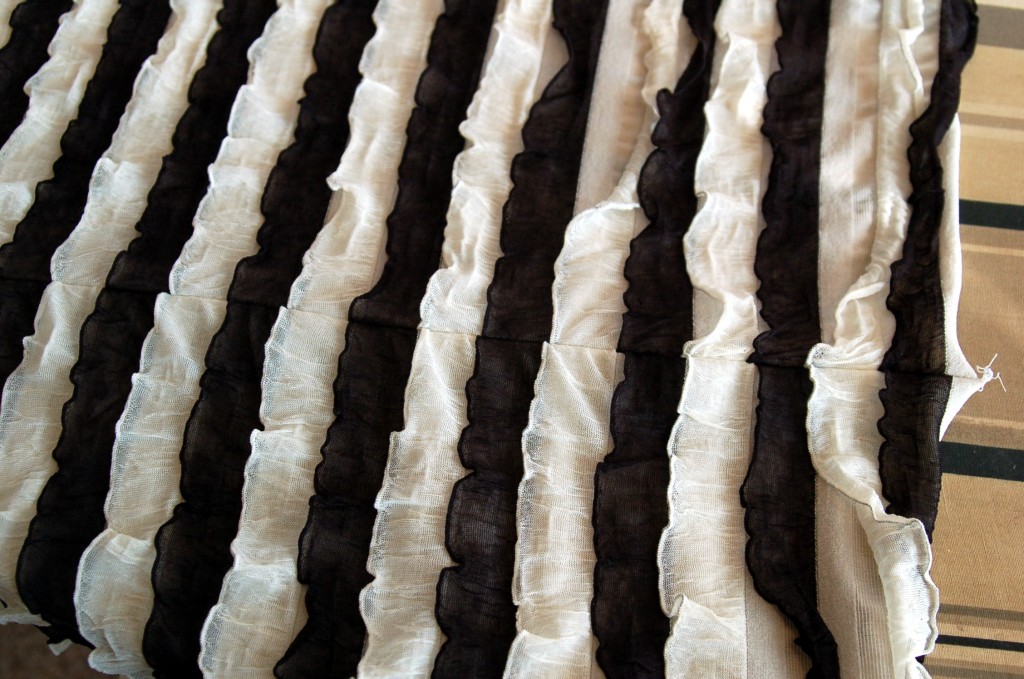
The most time consuming part of making this skirt is pinning all the ruffles so that they match!  You have to just match each layer of ruffle and pin it in place like this…

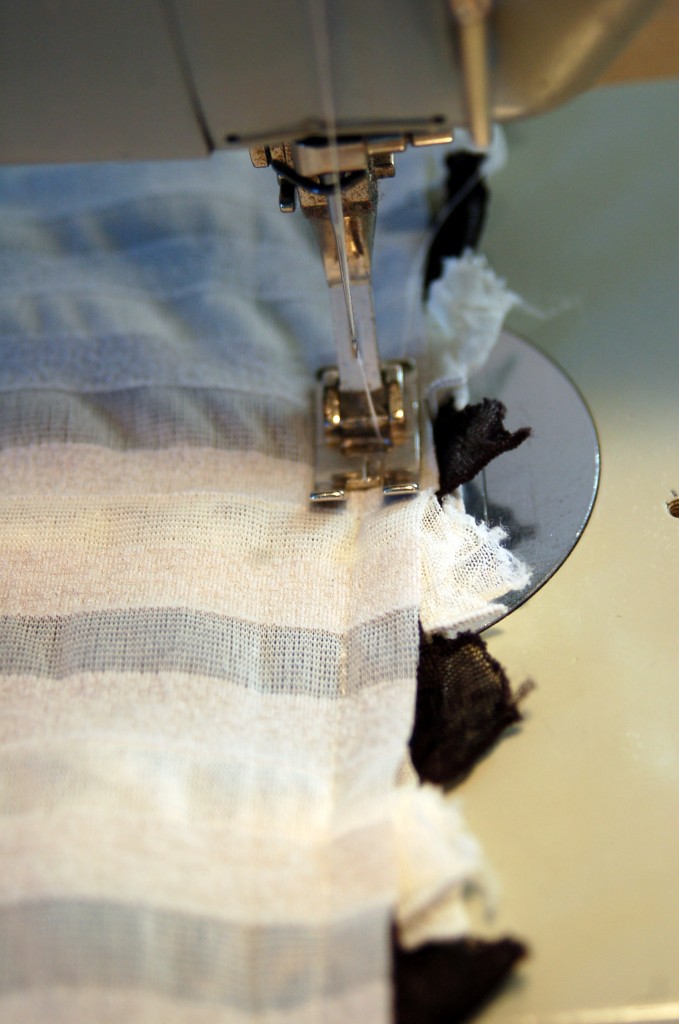
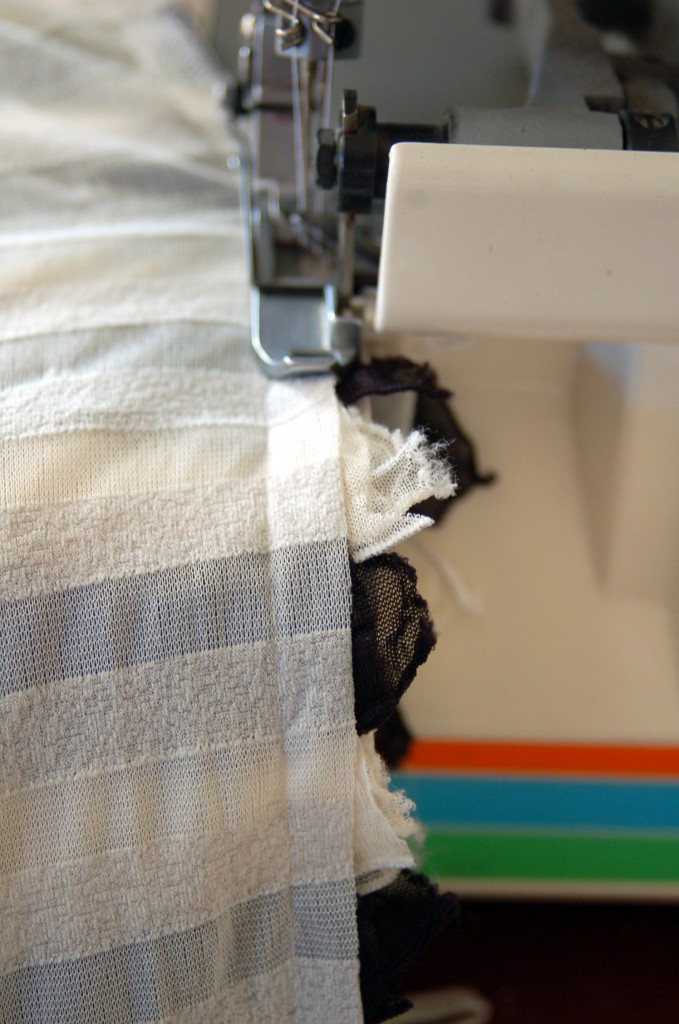
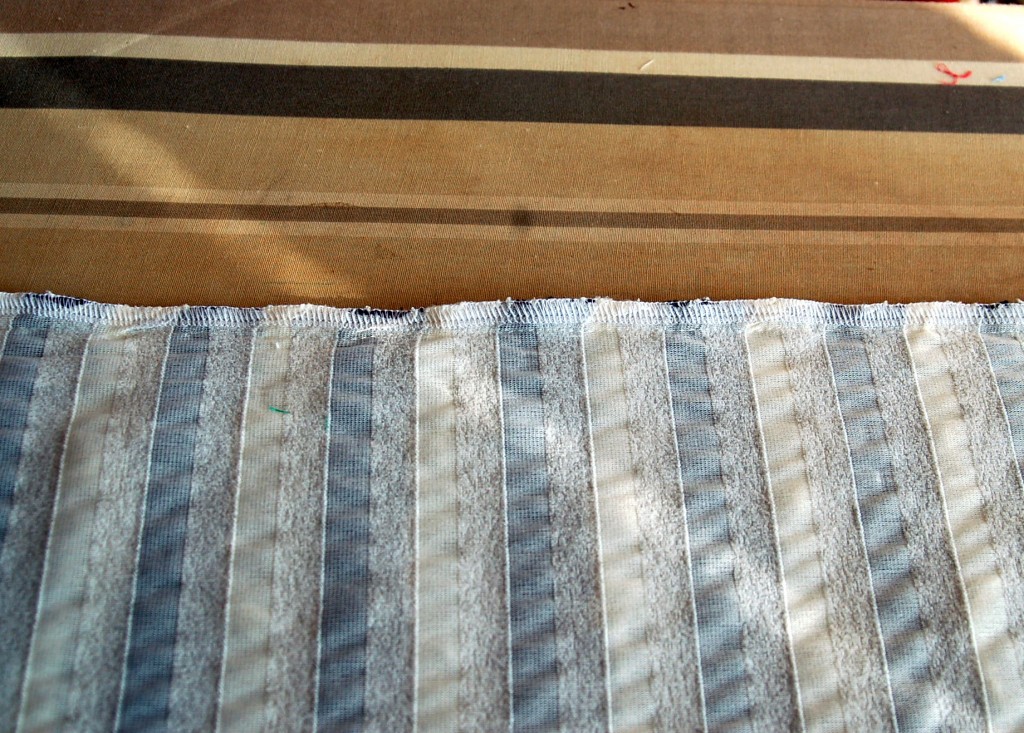
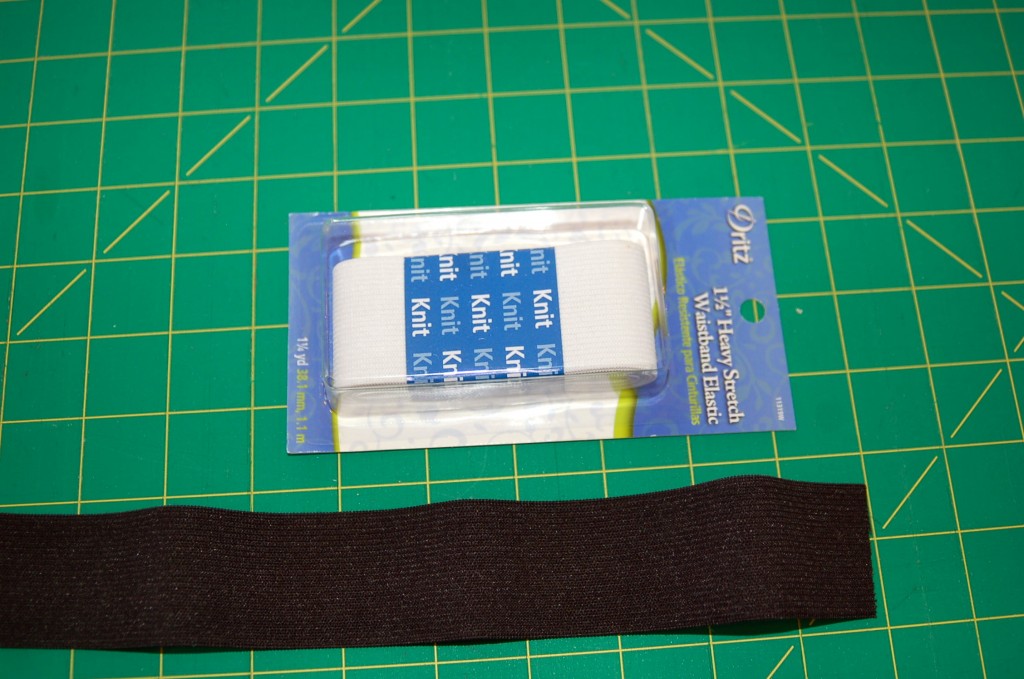
This is what it looks like when it is all pinned and ready to sew.Sew a 1/4″ seam all the way down, if your machine will sew over the pins, I leave them in, so that it will stay matched up nicely.I then serged the seam to trim off all the edges and to make a nice finish on the seam.  You could just serge the seam, but I really liked leaving my pins in, so I sewed the seam on my machine and then serged the edges.Look how nice it looks.  If you do not have a serger, you could also zig zag the seam and trim off the edges of the ruffles to make a finished seam.Here’s what the seam looks like, and from a little distance, it is hard to really even see where the seam is.  So is it important that you pin all of those ruffles down!I used 1 1/2″ wide elastic.  I just got this at Wally World, but you can buy it at most fabric stores, by the yard.  I couldn’t decide on black or white, so I bought both!  The black one finally won out though!Measure your waist, and subtract about 2″.  Just put it around you and when it feels right, that is where you want to cut it!  You want it to be a little bit snug, because like I said earlier, it is better to be fitted with this fabric!

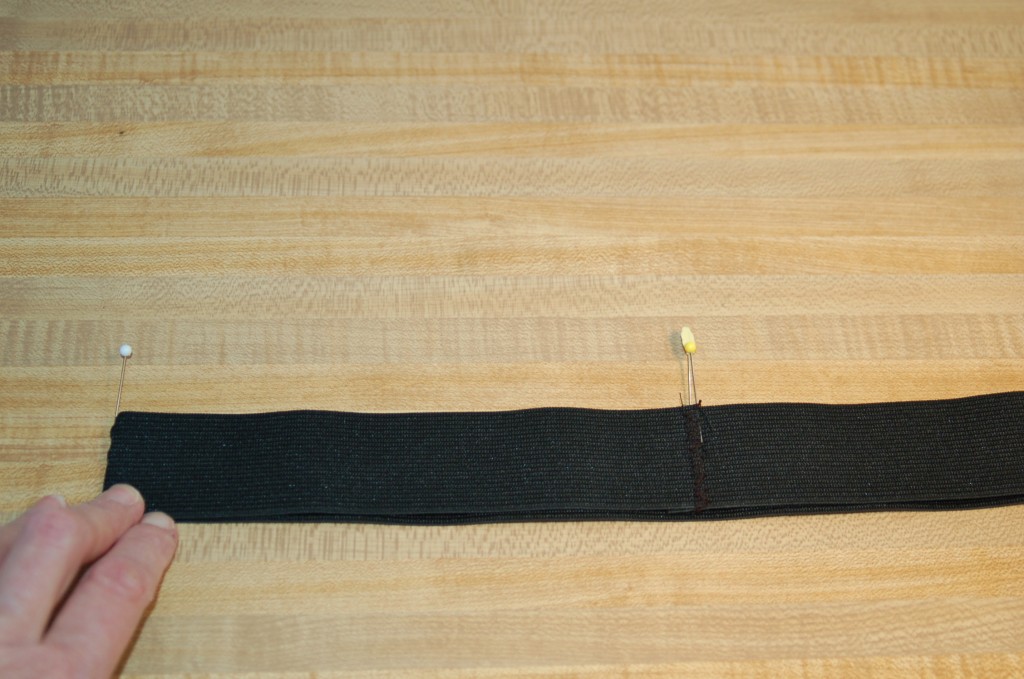
Sew the elastic into a  circle overlapping about 1/4″ and zigzag down the middle to secure it good.  I went down and back up once.

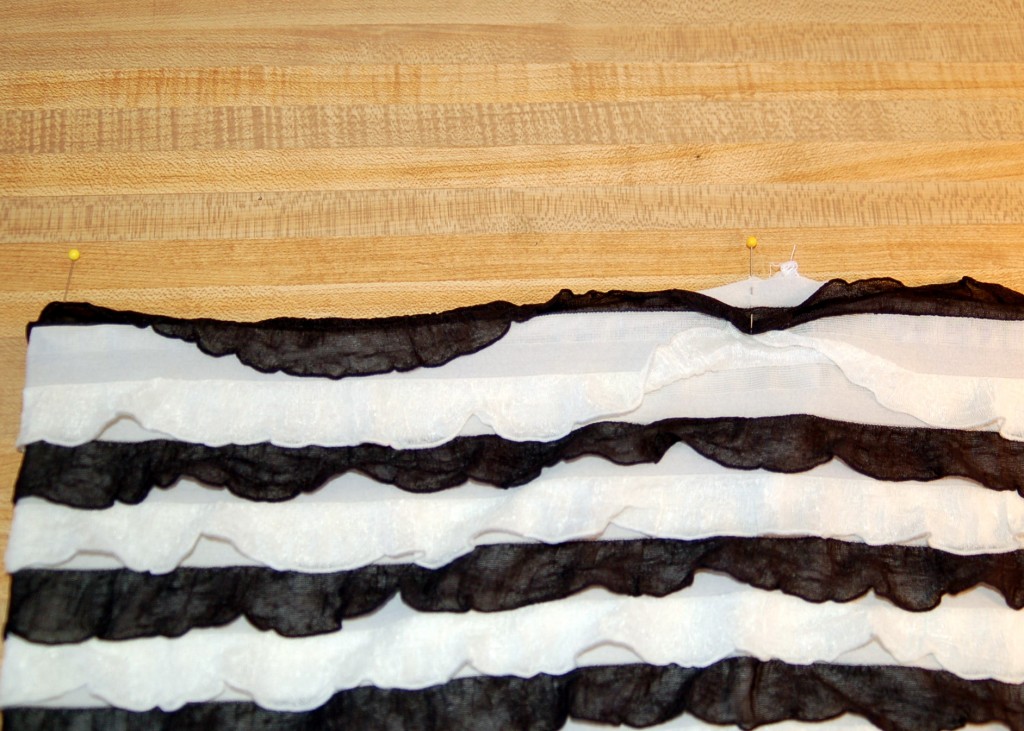
Then mark your circle into fourths, using pins.

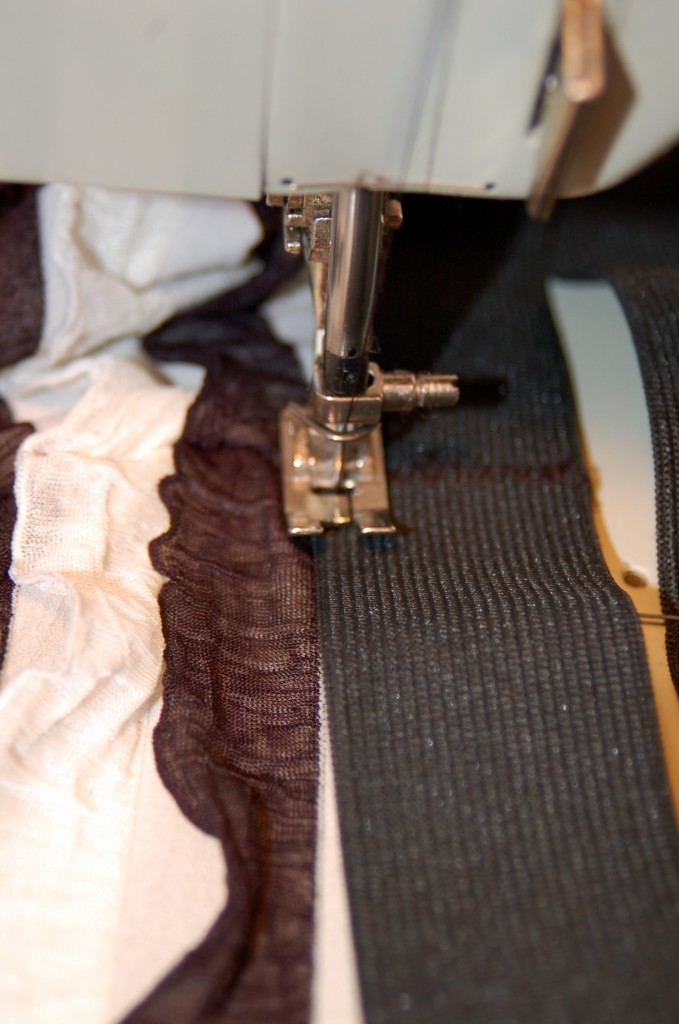
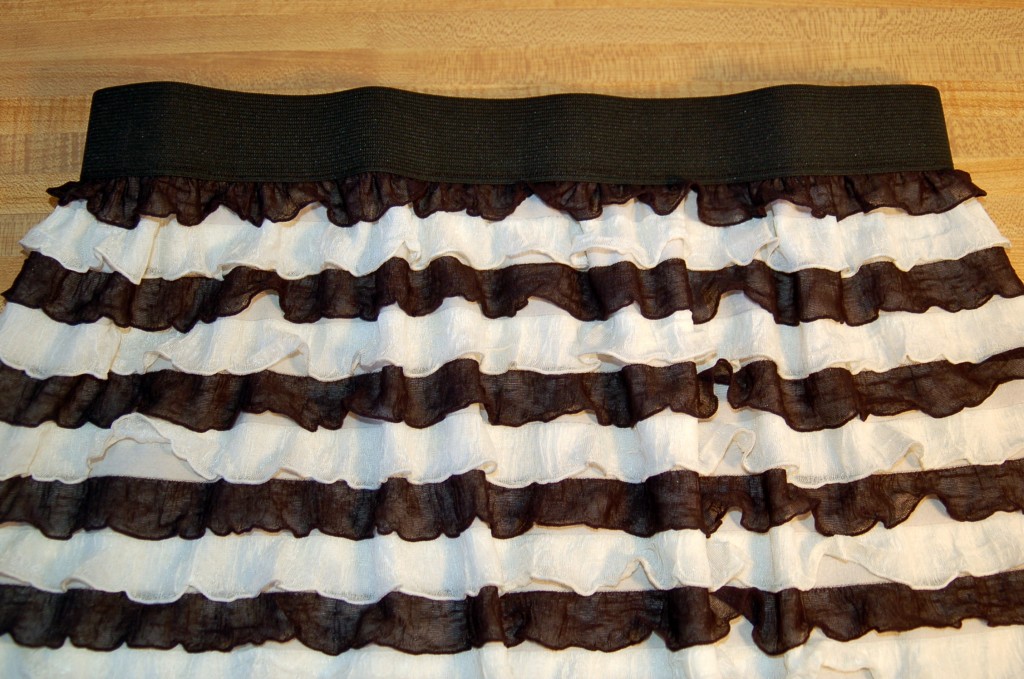
Do the same thing with your ruffle fabric.  Mark into fourths and mark with pins.There is a small amount of fabric between each of the ruffles and that is the part that you are going to sew on.  Matching pins and stretching the elastic to fit, sew the elastic to the right side of the skirt, using a narrow seam.This is what it will look like with the elastic all sewn on!  And guess what!  You are all done, because you do not need to hem this skirt, there is a ruffle on the bottom and it is knit fabric, so you are all done!!!

Pair this up with a cute knit top, a funky belt and some boots and you have a great Christmas outfit for your parties, a Christmas date, or for Church!

I hope that you can go and get some of this ruffled fabric and see how fun it is to sew!  I know that you will love it!

Happy Sewing!

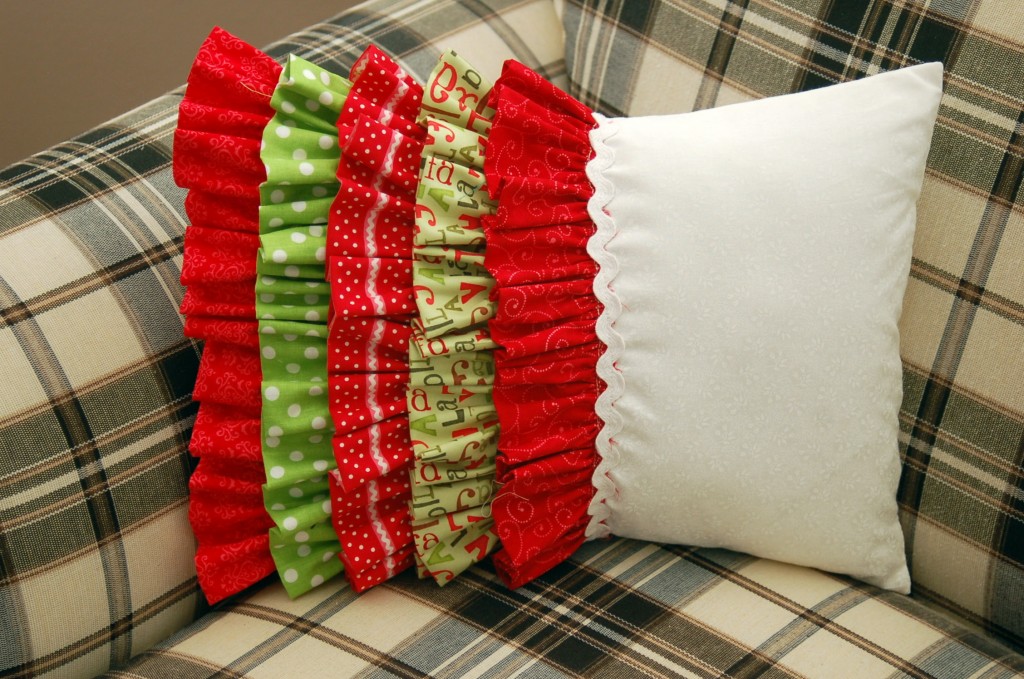
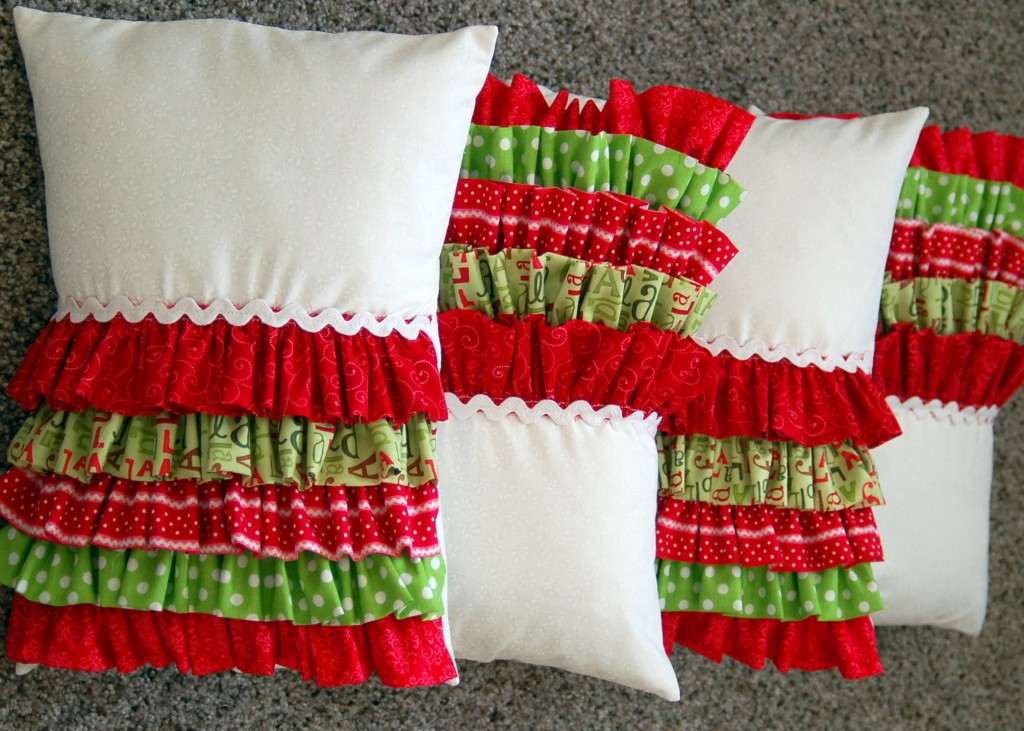
Ruffled Christmas Pillow

I made some of these pillows for gifts and I love the way that they turned out!  It took me a little more than a hour to sew each one, so it is definitely a project that you could do in an evening!

So, let’s make a pillow or two!

Supplies:

12″ x 16″ pillow form

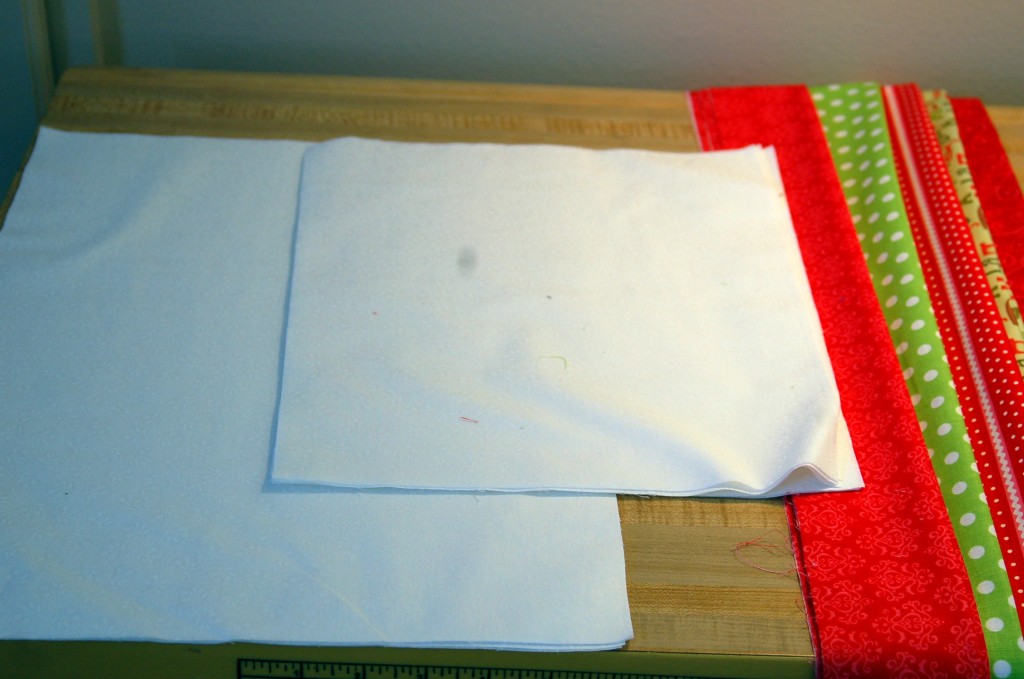
5″ x 32″ strips- you will need five different fabrics

1/2 yard fabric for pillow front and back (I used white on white fabric)

1/2 yard ric rac or ribbon

Cut one pillow front 12 1/2″ x 16 1/2″  rectangle, cut two 12 1/2″ x 10 1/2″ rectangles for the back.  Cut ruffles 5″ x 32″.  Fold ruffle strips in half lengthwise, wrong sides together and press.

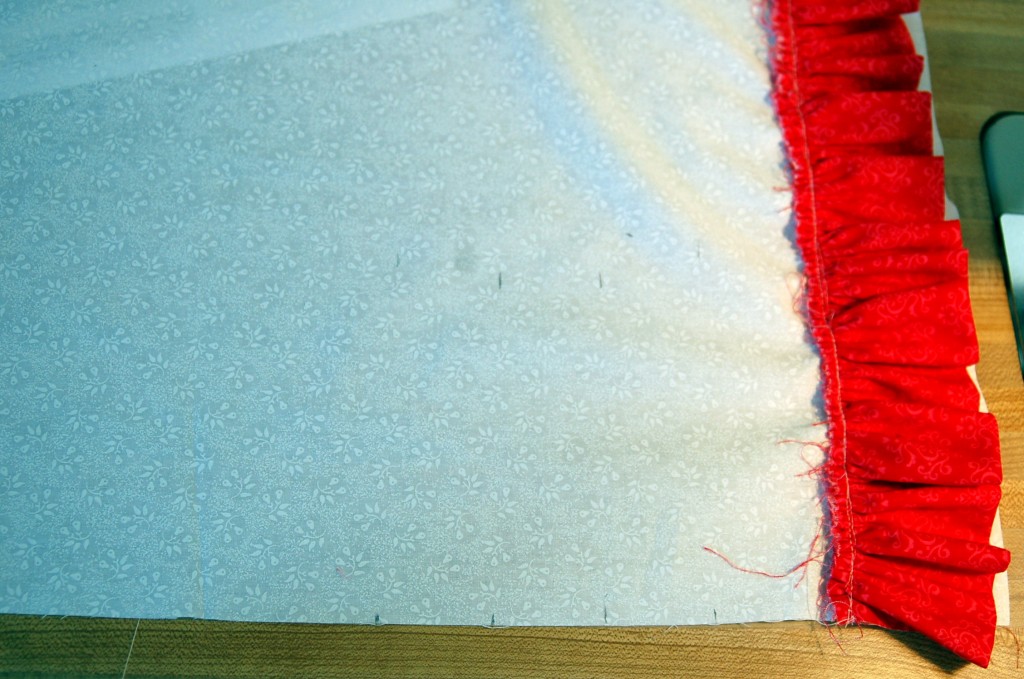
Sew a gathering stitch 1/4″ from edge along the long raw edge of the ruffles.  Pull gathers until ruffles measure about 12 1/2″ long.
Next, mark on your pillow front fabric:

1st row:  3″ from edge

2nd row: 4 1/2″ from edge

3rd row:  6″ from edge

4th row:  7 1/2 ” from edge

5th row: 9″ from edge

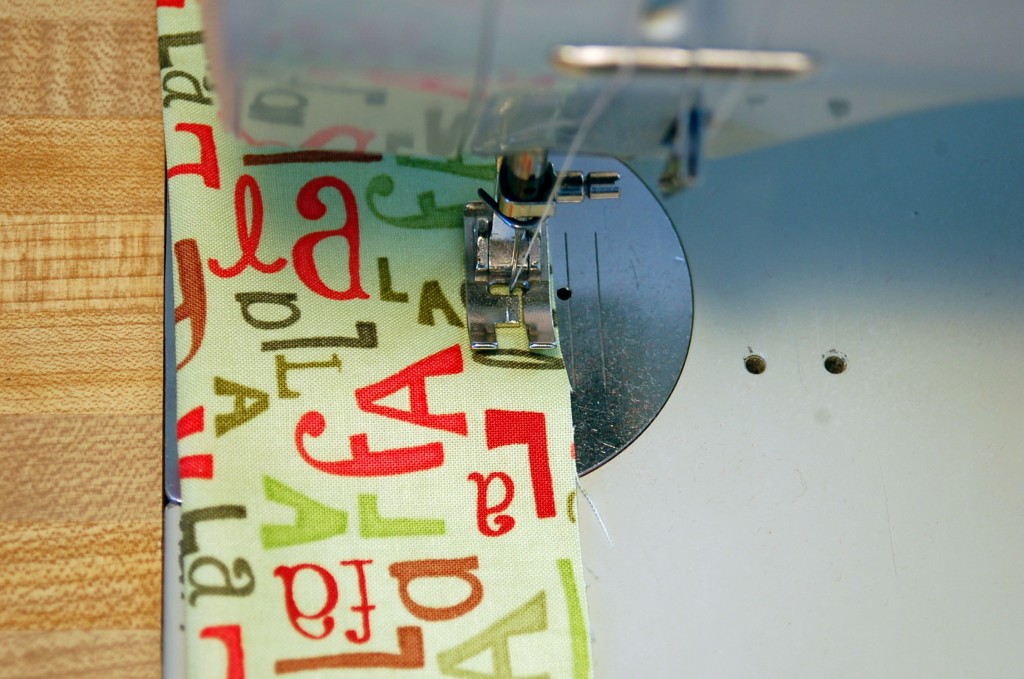
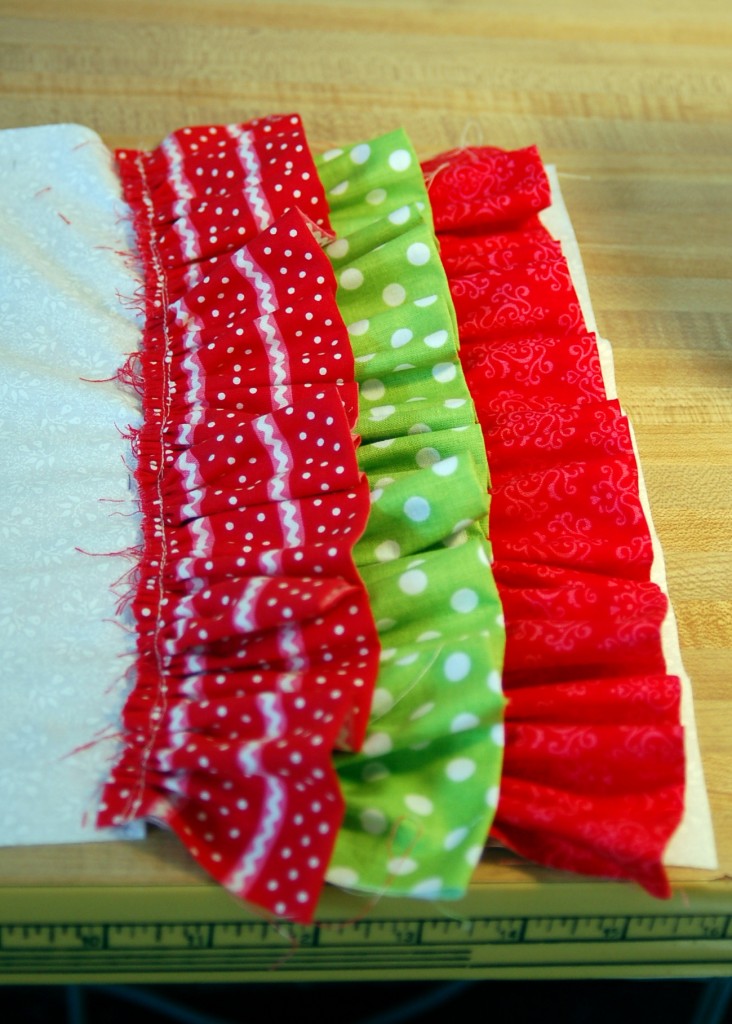
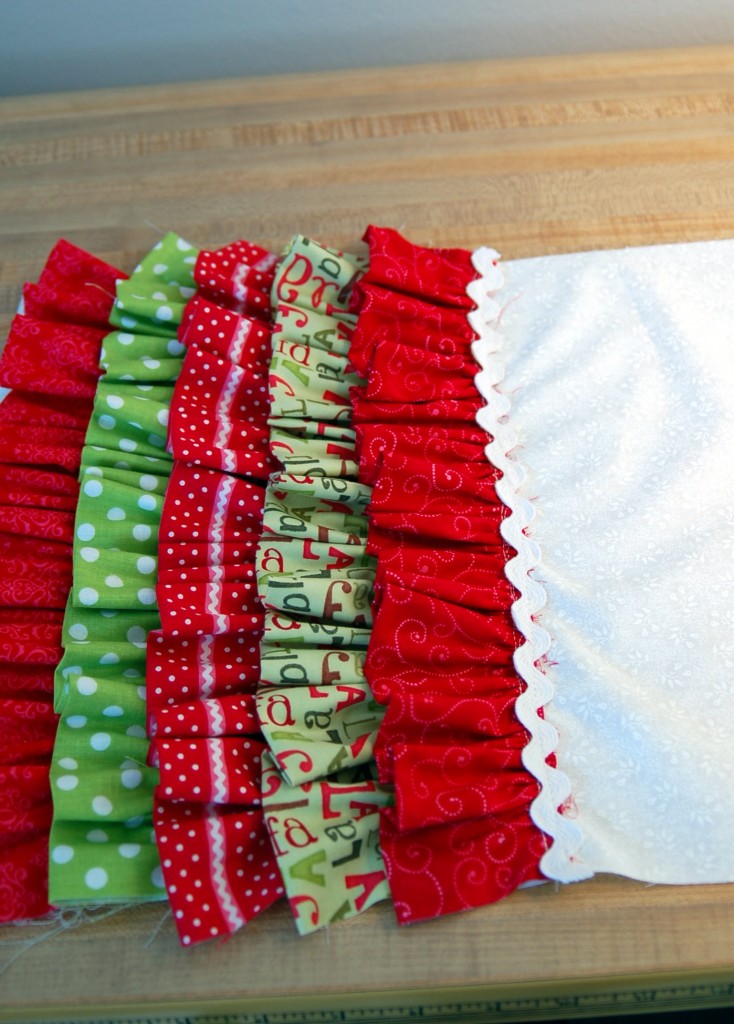
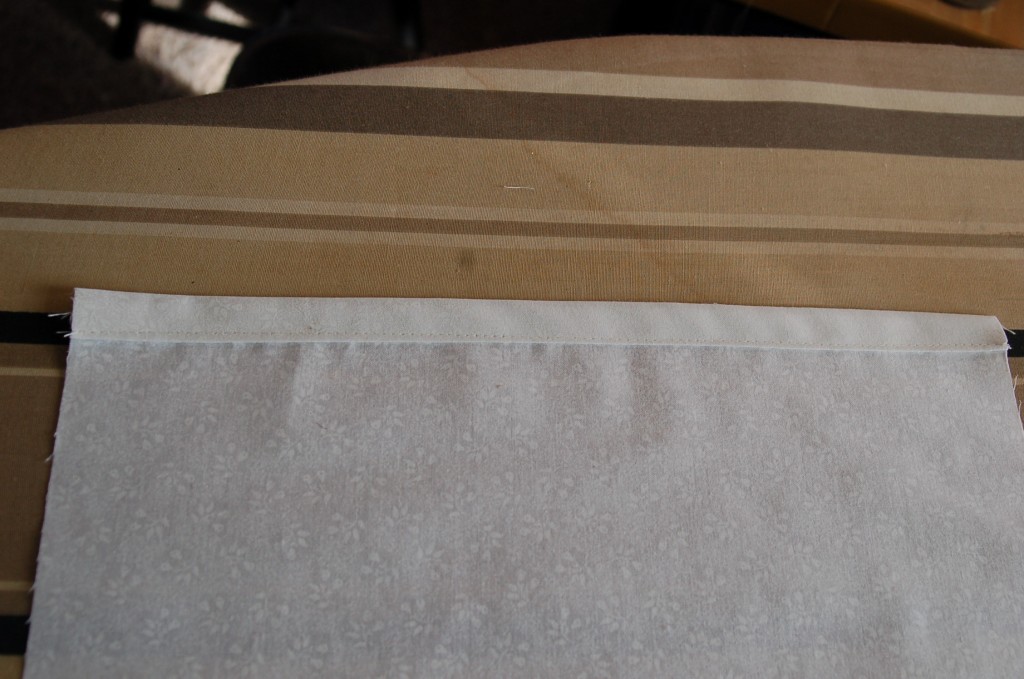
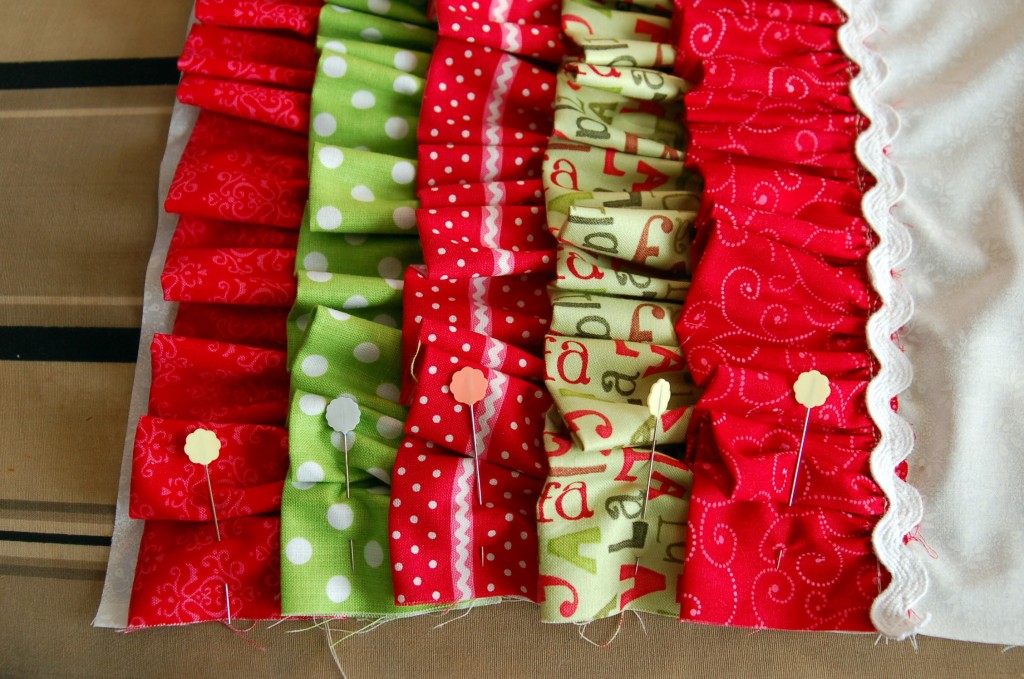
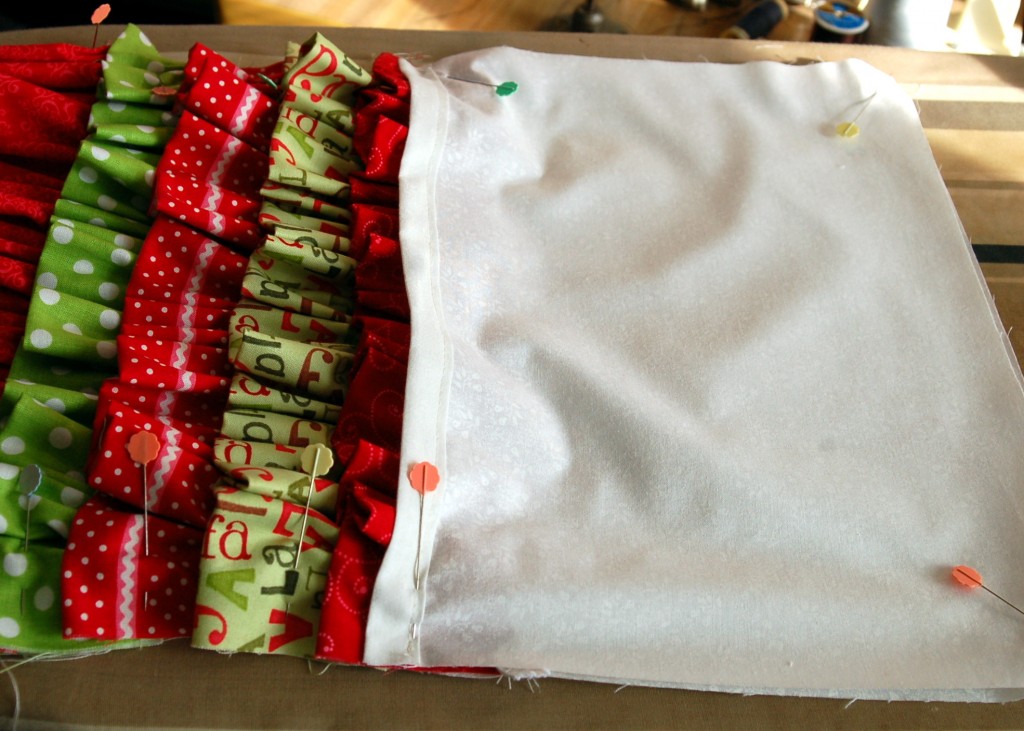
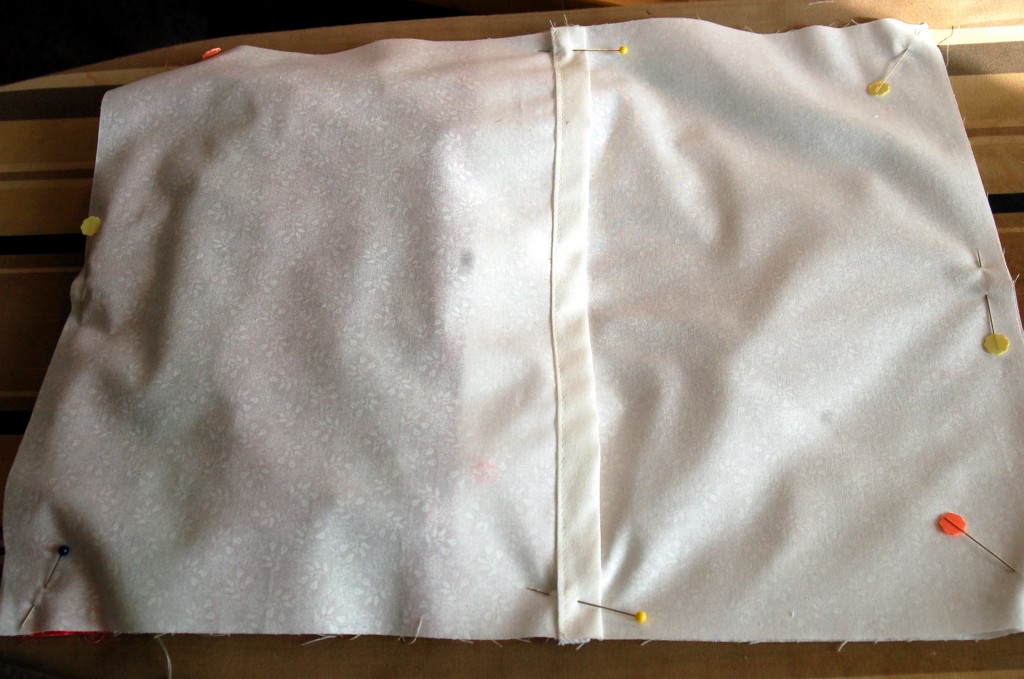
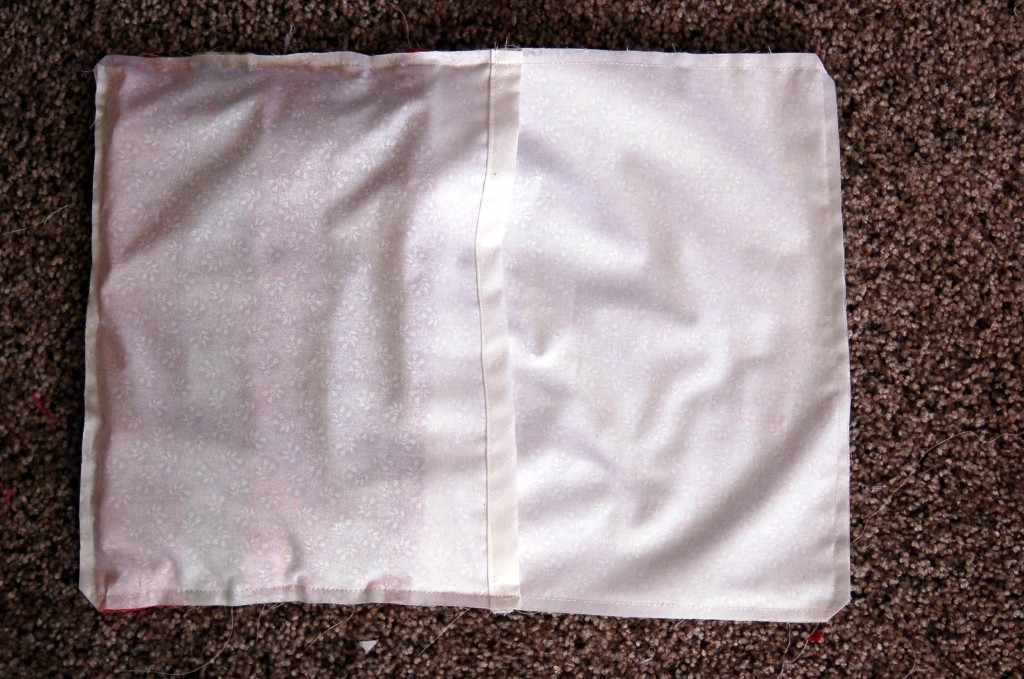
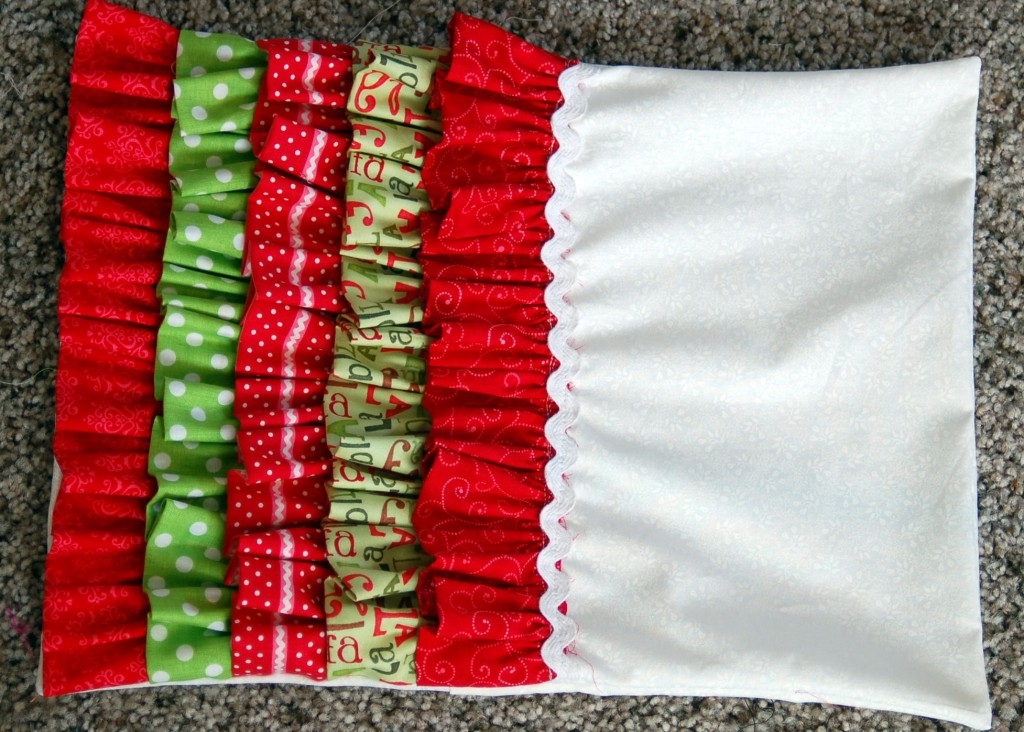
I marked on both edges and down the middle.  Beginning with the first ruffle, line up the raw edge with the marks that you made and stitch gathered ruffle to pillow .  Continue sewing on all five ruffles matching the raw edge with the marks you made.After all five ruffles are sewn on, you can cover the last seam with ric-rac or ribbon.  Or you could  just leave the raw edges. Next take the two back pieces and on the 12 1/2 ” side, fold down to the wrong side, 1/2″ and press and then fold down 1/2″ again and press.  Stitch close to the inside edge as shown.Pin all of your ruffles so that they are even with the edge of the pillow.Place one of the back pieces onto the pillow.  Right sides together and pin.Then pin the other side overlapping the first piece by about 2″Stitch all the way around the outside of the pillow and trim the corners.Turn through overlapped opening and gently poke corners.

Woot, Woot!

You have made a ruffled pillow!  All you have to do is insert the pillow form!Now all you need to do is find a nice warm blanket and a good book, or movie and you are set!

May you all find a moment to wrap up with a pillow, blanket and hot chocolate and remember the true meaning of Christmas & the real Reason for the Season!

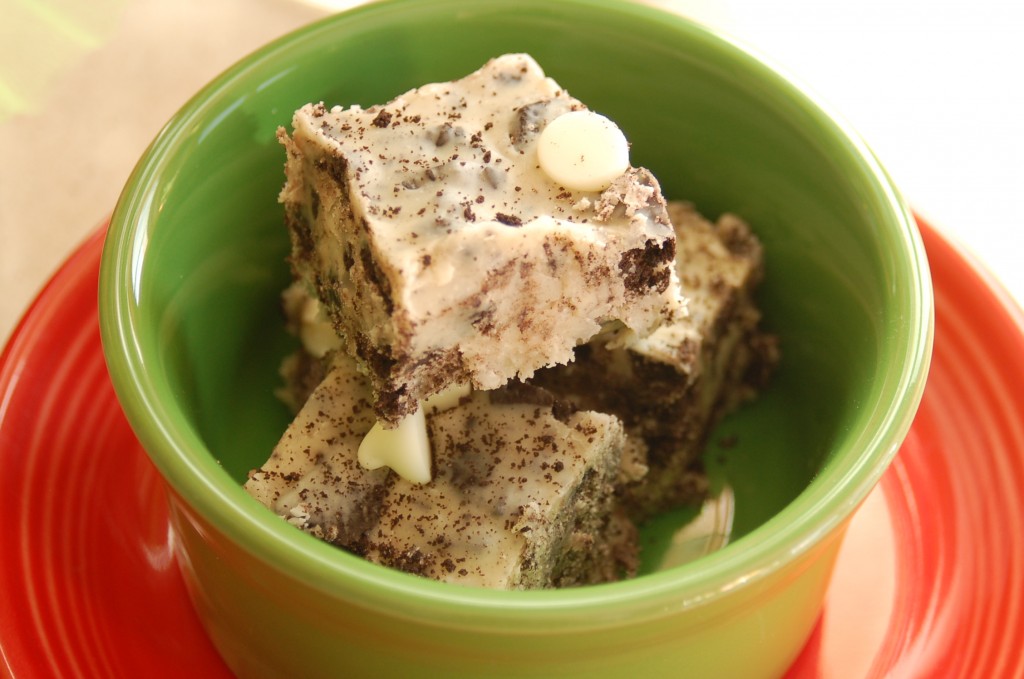
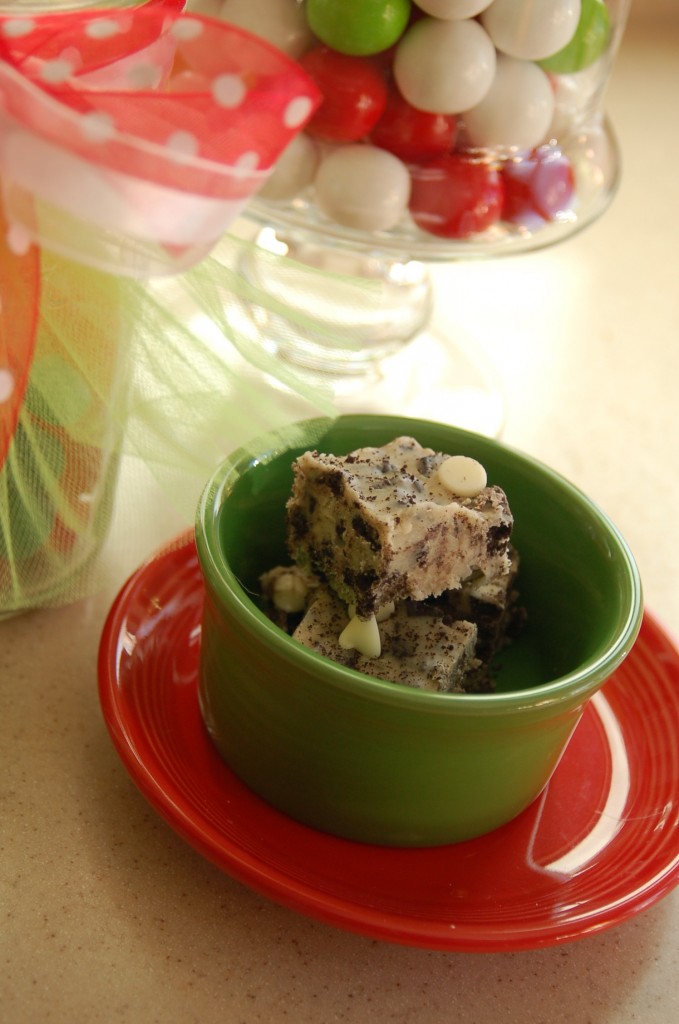
White Chocolate Cookies and Cream Fudge

My daughter brought this fudge to our Sinterklaas party last weekend and everyone loved it.  One of my granddaughter’s favorite candy bar is Hershey’s Cookies and Cream, and she told her mom that this fudge taste just like her favorite candy bar!

She found the recipe here, on Pinterest.

White Chocolate Cookies & Cream Fudge (adapted from Amanda of Fake Ginger’s Recipe)

2 1/4 c white chocolate chips

+ 1/2 c white chocolate chips, reserved (or any kind of chocolate chips)

1 can (14 oz) sweetened condensed milk

3 c Oreo cookies, chopped

reserve 1-2 tbsp Oreo crumbs for dusting the top layer of the fudge

1 tbsp vanilla extract

Directions:

Combine 2 1/4 c white chocolate chips and sweetened condensed milk and melt over low heat in a saucepan taking care to stir frequently and watch it so the mixture doesn’t burn (you could also probably do this in the microwave but I haven’t tried it).  When mixture is melted and smooth, add vanilla extract.  Then add the chopped Oreo cookies and stir.  Pour mixture into 9 x 9 foil-lined or parchment-lined pan.  Then lightly press 1/2 c white (or regular/dark) chocolate chips into the top layer.  The fudge will start to set up fairly fast and just press the chocolate chips in lightly.  Dust top layer with 1-2 tbsp Oreo crumbs if desired.  Place fudge in freezer for at least two hours to fully set up.  Remove from freezer, slice, and serve at room temperature.   Store extra in the freezer or fridge and it will likely keep for month(s).  It will keep for much longer than you’ll be able to keep it around.

Don’t overchop your Oreos if you want really white fudge.

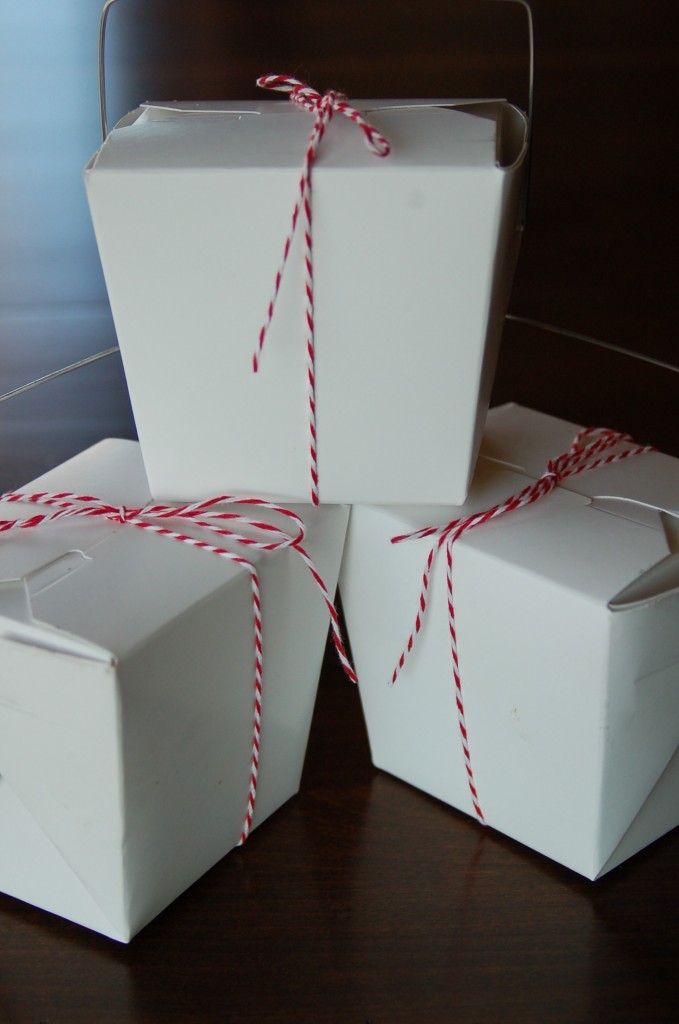
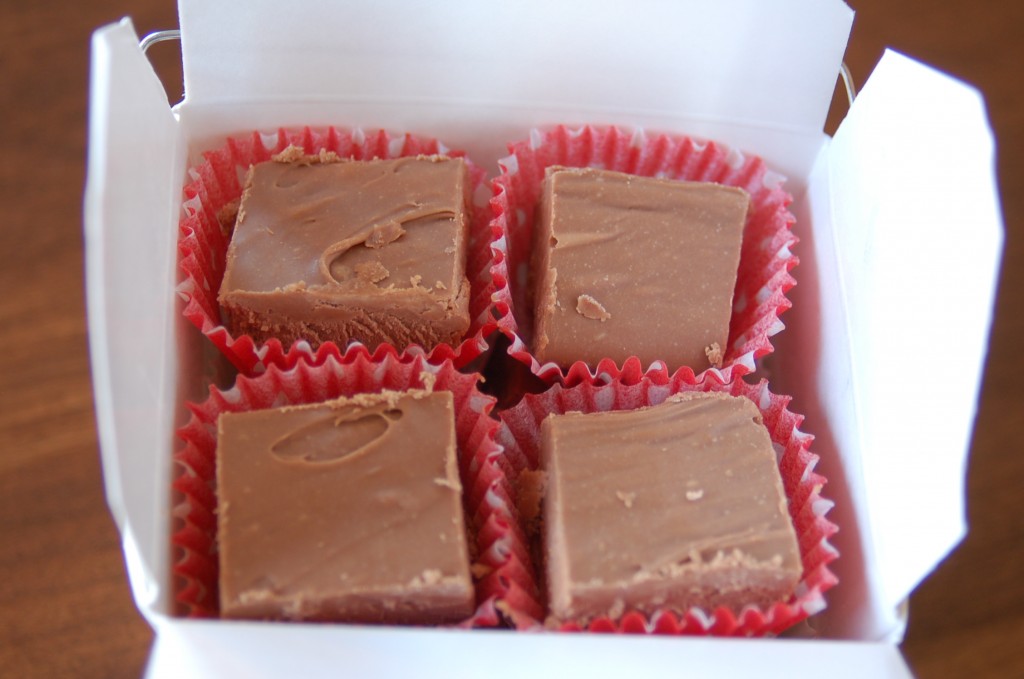
A fun way to package your fudge to give it away, is to put it into Chinese take out boxes!  I found mine here at Gygi’s and I just simply tied it with bakers twine, which I also got at Gygi’s.  It is very simple, but cute!  You could also use a cute ribbon, or twine etc to tie up your boxes with.(This is some of my regular fudge), but I put little candy papers inside to put the fudge in, so it did not all stick together and it makes a cute presentation!Do you have a favorite fudge recipe?   I would love to hear about it!

Christmas Quilt & Pillows

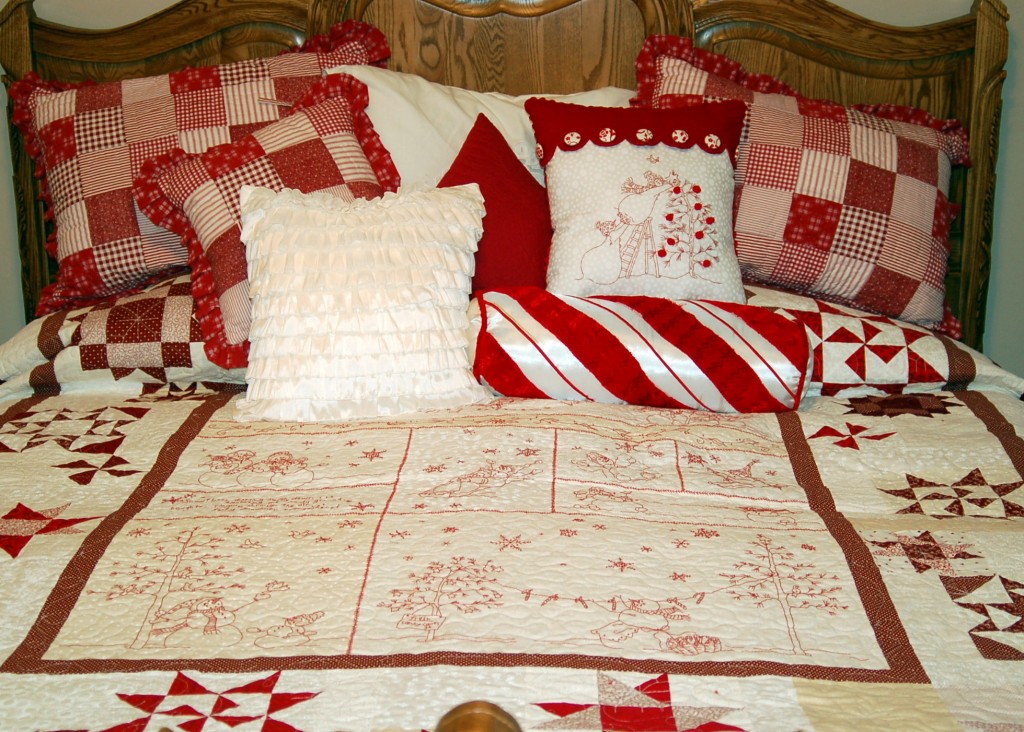
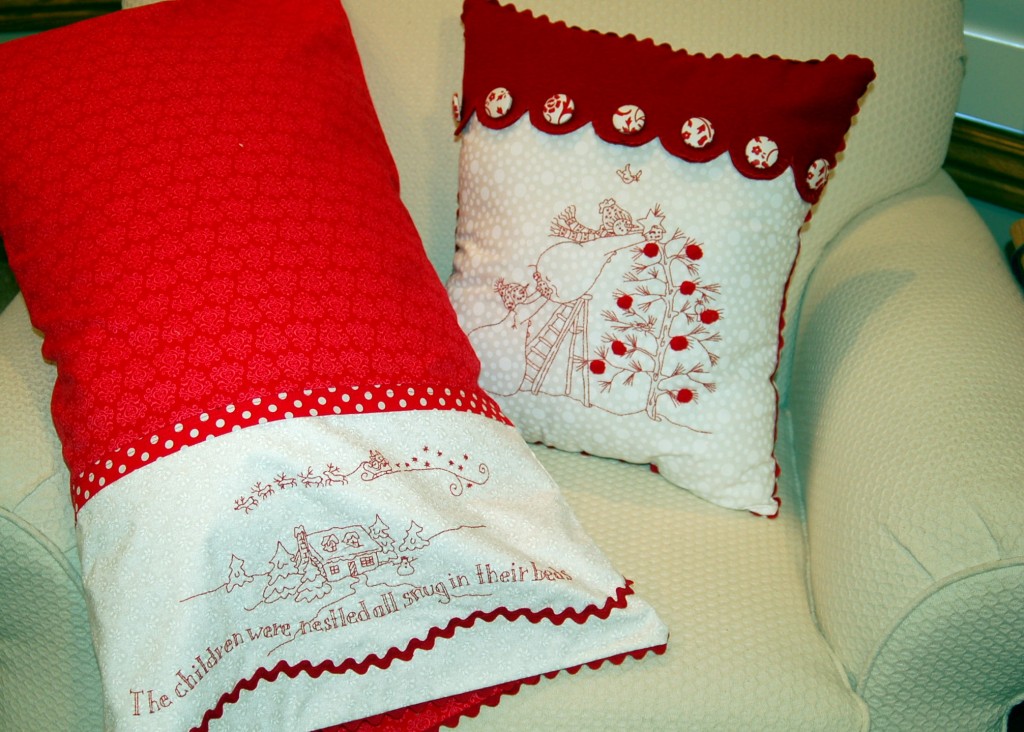
A few days ago, I told you that I was trying to finish up a couple of projects before all of our parties and that I would show you the projects that went with my ruffled tree skirt. Well, here they are!

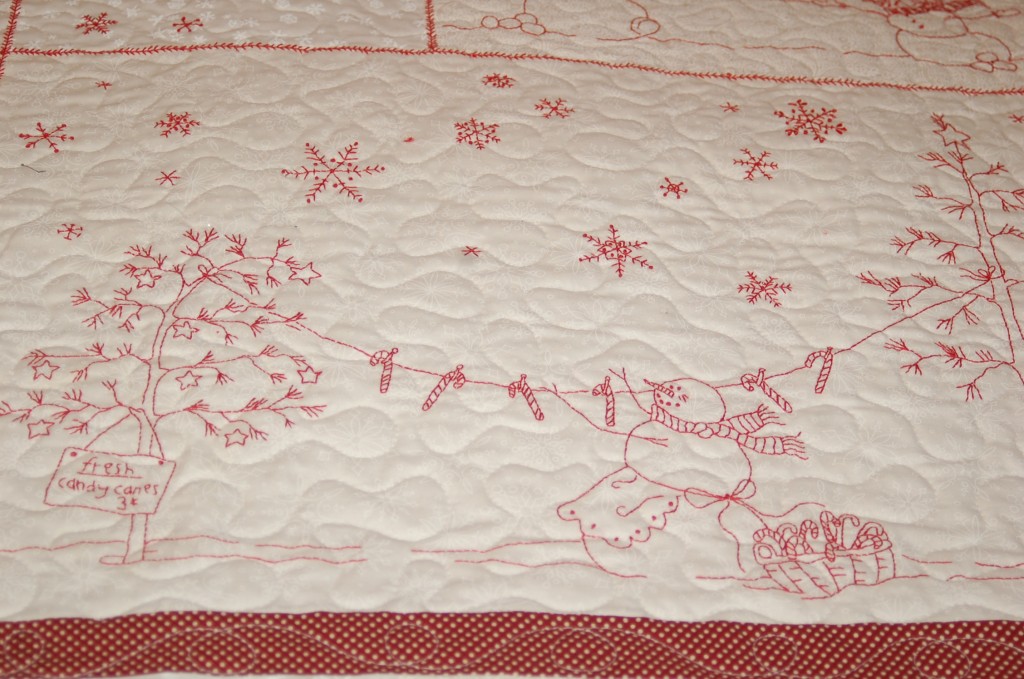
I made this Christmas quilt last year.  It took me a whole entire year to do all of the stitchery, and the quilt blocks, but I was determined to finish it and have it quilted and ready to go for Christmas last year.

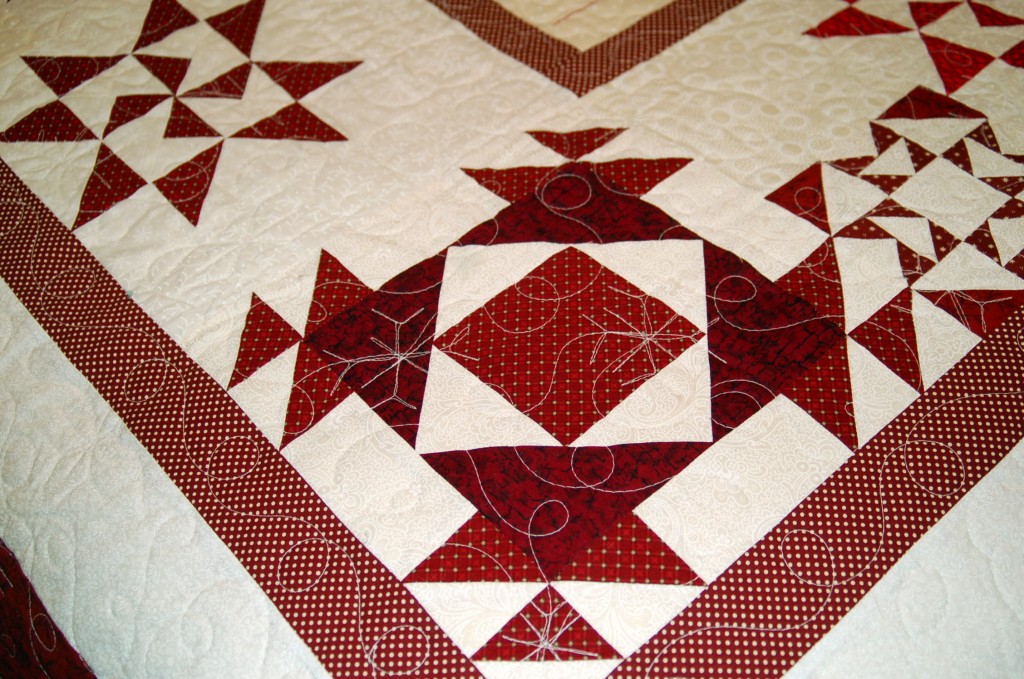
Here is a close-up of the stitching!And the quilt blocks that I had to piece together.  Don’t you love the quilting!  I love how she put snowflakes and swirly things in it!Well, this fall I found these two patterns that went with the quilt, so I decided that I HAD to have them also!I would work on the stitching at night, while we were watching TV and they really worked up pretty fast, but I took my lolly sweet time in getting all the fabric and notions together and so therefore, I was in a frantic rush to get the pillows all put together at the last minute!  Does anyone else out there procrastinate?  I have decided that I work really well with a deadline!

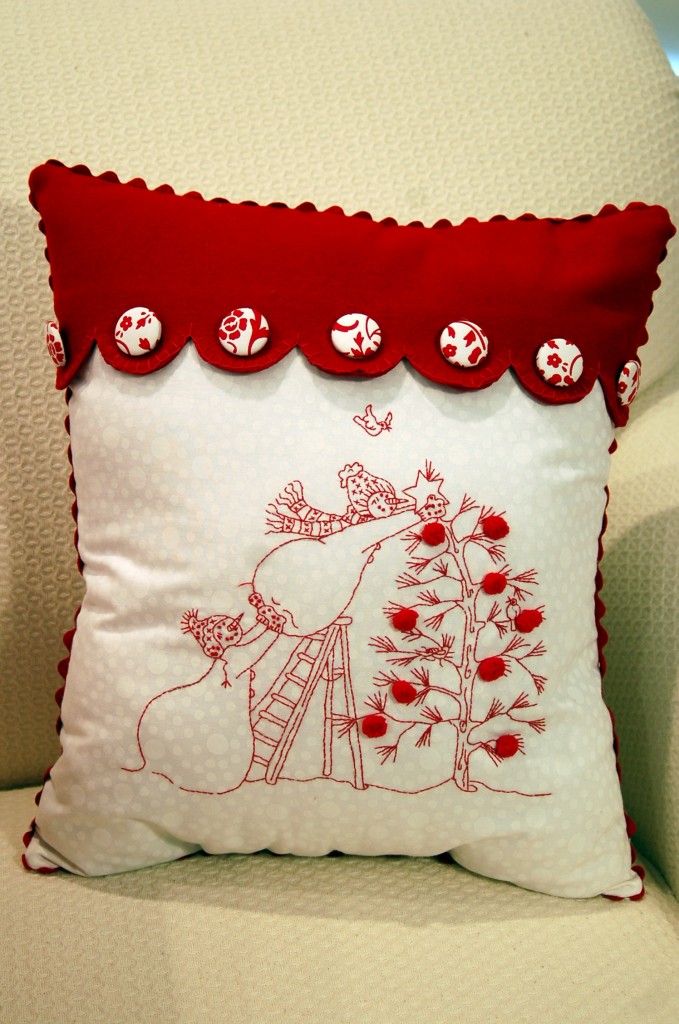
This fun pillow has a felted wool top on it and covered fabric buttons. It also has            pom-poms for the tree ornaments and ric rac all around the outside!  Isn’t it a perfect match for the quilt?  Here is a link for the pattern.

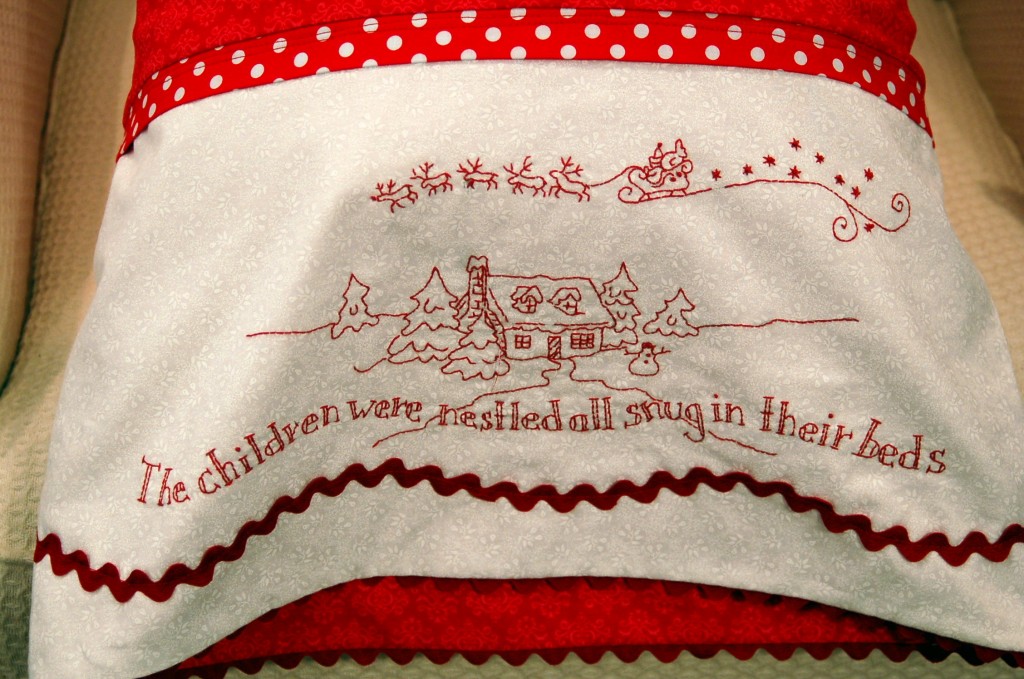
This pillowcase was a cinch to put together and these patterns are wonderful.  They have great instructions on how to assemble everything.

 I love my Christmas bedroom!  It makes me feel all warm and cozy.  If any of you would like to make the quilt for yourself for next Christmas here is the link for the pattern.  The patterns are all from Crabapple Hill Studio.  They have a great selection of really fun quilts and pillows, and if you start now, you can have it done for next year!  Yea, right, like we all have time right now to start anything!  But you know what I mean.

(While linking up to the Crabapple Hill Studio, I saw some other really cute patterns, so maybe in January I will have to find another project!)

Texas Sheet Cake

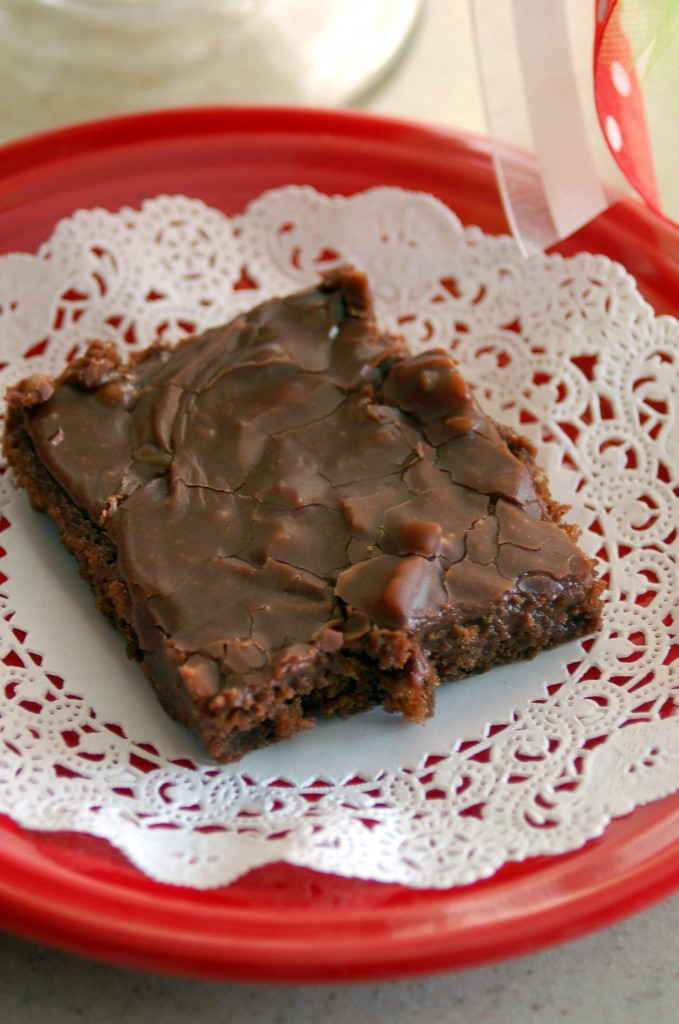
We had two parties last weekend and I had to take a dessert to one of them for a big crowd, so I made a big pan of Texas Sheet Cake. It is a very moist, cake and you add the frosting while the cake is still warm to keep it that way.

This recipe comes from my husband’s Aunt Krista, and I think that she gave it to me at one of my bridal showers!  (So it is really old!)  I love the hint of cinnamon with the chocolate, it gives it such a good flavor. I also love that I usually have all the ingredients on hand for this cake and I don’t have to go to the store for anything!

Texas Sheet Cake

1 cup margarine

1 cup water

1/4 cup cocoa

Put in small kettle and heat until margarine is melted and it comes to a boil.  Put  flour in mixing bowl and  pour melted mixture over the flour and mix then add the sugar.

2 cups flour

2 cups sugar

Add:

1 tsp soda

1/2 cup buttermilk

2 eggs

1 tsp vanilla

1/4 tsp salt

1 tsp cinnamon

Beat all together.  Put in a greased and floured 11 x 16″ pan.  Bake at 400 degrees for 20 minutes.

Chocolate Frosting

1/2 cup margarine

1/3 cup milk

1/4 cup cocoa

Mix in kettle, stir and bring to a boil.  Remove from heat and stir in:

3 1/2 cups powdered sugar

1 tsp vanilla

1 cup nuts, chopped.

Let it cool slightly and frost warm cake.  Enjoy!
Doesn’t this look like a party?

Happy Sinterklaas Day!


We have a fun tradition that we have celebrated in our family for the past several years.  Our oldest son served a mission for our church in the Netherlands and Sinterklaas Eve is a big celebration!  It is basically the welcoming of Santa and the start of the Christmas season.  In the Netherlands, Sinterklaas arrives on a boat and then rides a horse down through the town.
According to wikipedia, He is celebrated annually on Saint Nicholas’ eve (5 December) or on the morning of 6 December in Belgium and Northern France.

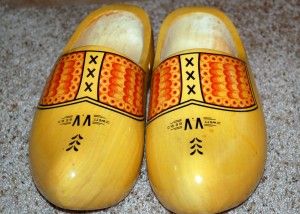
In the Netherlands, Saint Nicholas’ Eve, 5 December, became the chief occasion for gift-giving during the Christmas season. The evening is called Sinterklaasavond or Pakjesavond (boxing evening). For Belgian and some Dutch children, it is customary to put one shoe in front of the fireplace from the day Sinterklaas arrives in the Netherlands, usually in the third week of November, sing Sinterklaas songs and go to bed. A carrot and/or hay may put in the shoe as a treat for Sinterklaas’ horse. The next morning the carrot would be gone and the children may find candy or a small present in their shoes.

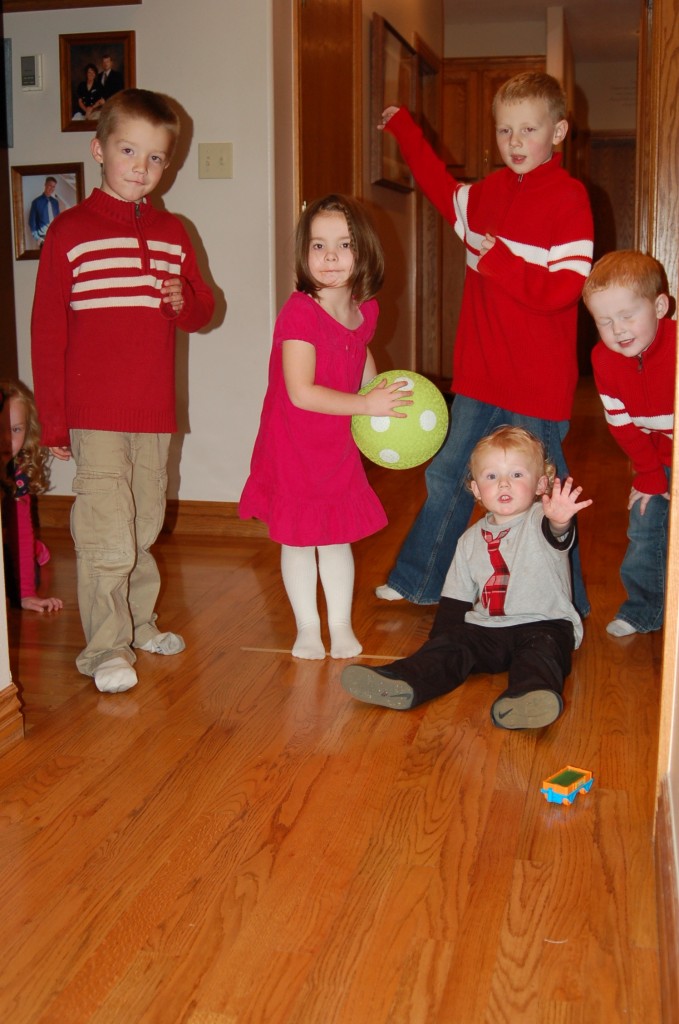
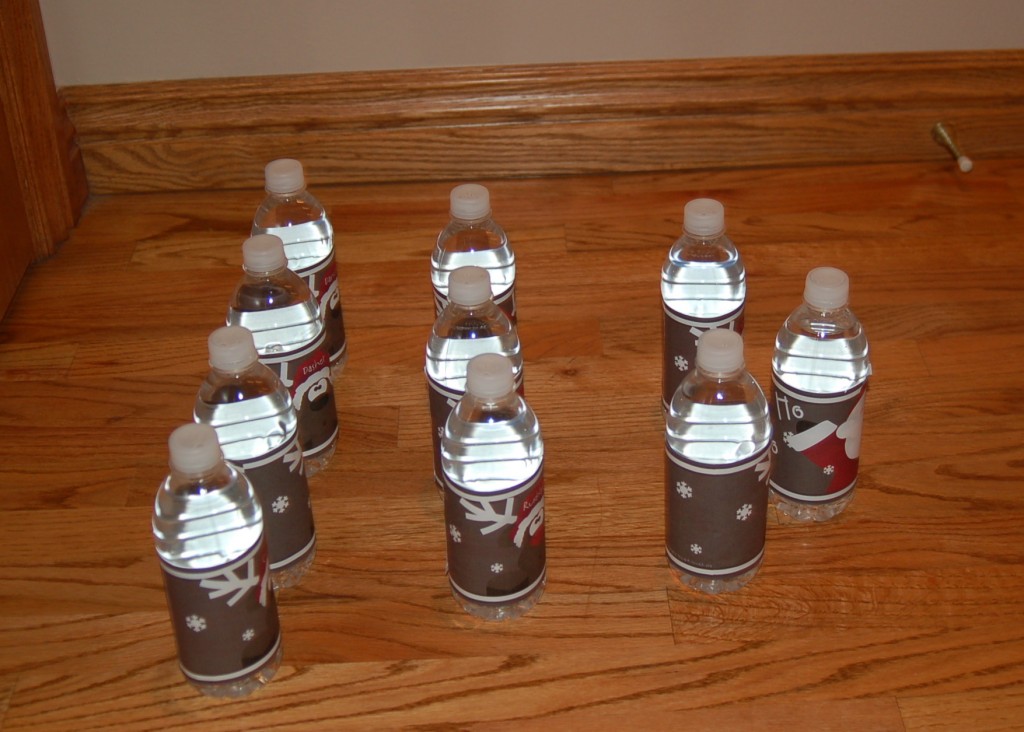
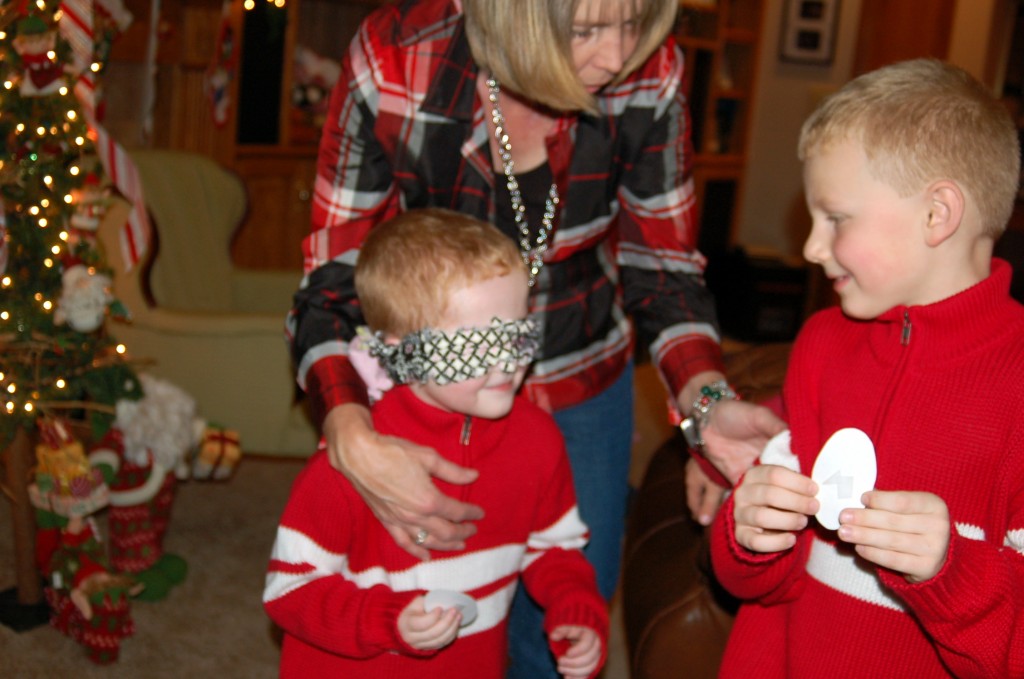
We sometimes celebrate with Dutch foods and treats and sometimes it is really quite American!  This year was very American!  We played games like Reindeer Bowling…
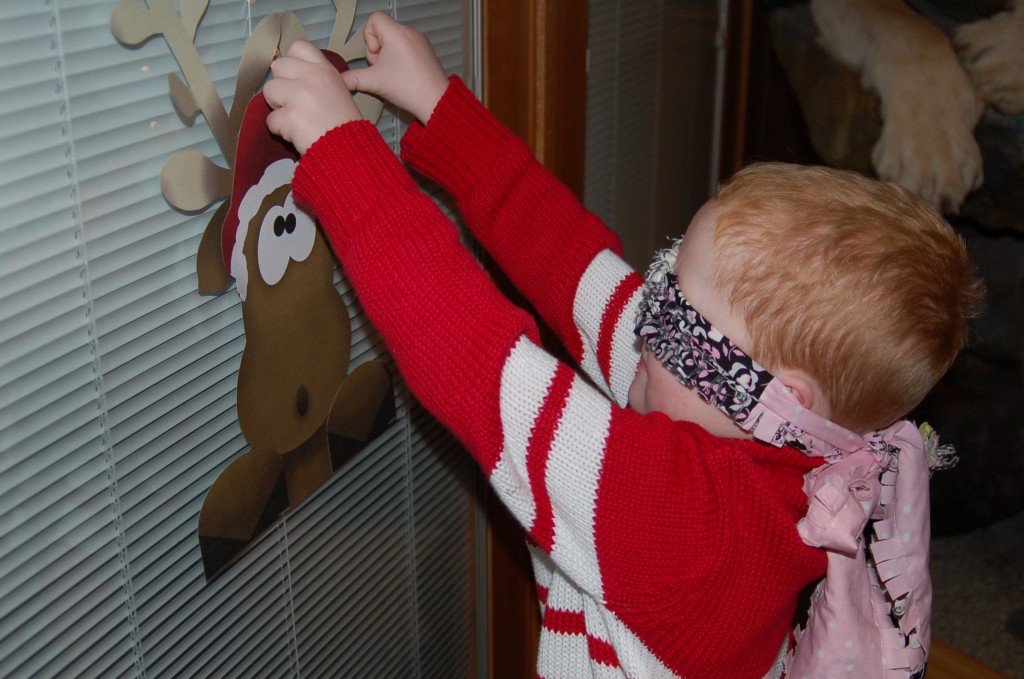
and Pin the Nose on Rudolf…

All the kids got their traditional Christmas jammies and a book from Grandma and Grandpa, so that they can use them all month long!  And then as we 
were all just sitting and visiting, guess who to my wondering eyes should appear?  yep, it was Santa Claus, or as they say in the Netherlands, Sinterklaas!

Some welcomed Santa a lot better than others, but they all had a turn sitting on his lap and talking to him and they received a bag of treats from him.  Santa was so nice to take the time to come and see us on his busy schedule,  we sang him a song as he walked out the door and then the kids had to listen to see if they could hear the sleigh bells ringing!

We love the tradition of Sinterklaas Eve in our home, do any of you have any international traditions that you like to celebrate at this time of year.  Whatever they are, I hope that they are filled with love and with your loved ones!

Happy Sinterklaas Day from our house to yours!