Category Archives: Fall

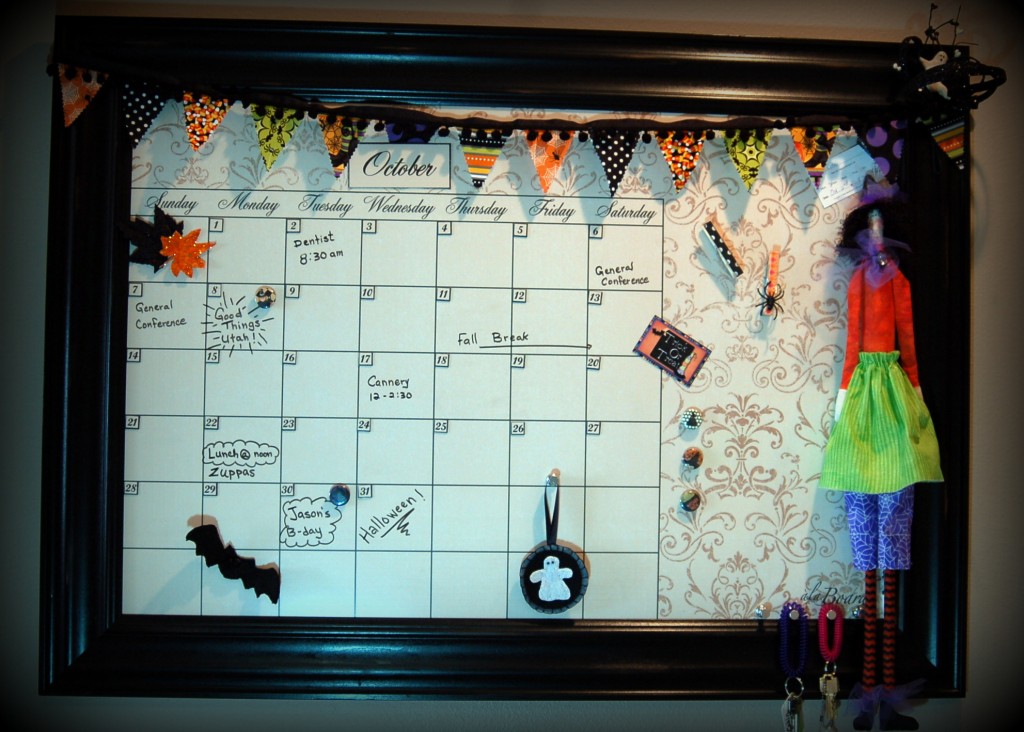
October Calendar

Here is my Oct. Calendar.  I am just loving my new board and the fact that I can decorate it every month!  I know that I am weird, but it is like my very own bulletin board.  I can see my whole month at a glance and I love that it is a CUTE glance!

I wish that my calendar were really this empty, but that is only wishful thinking!  :)

Continue reading

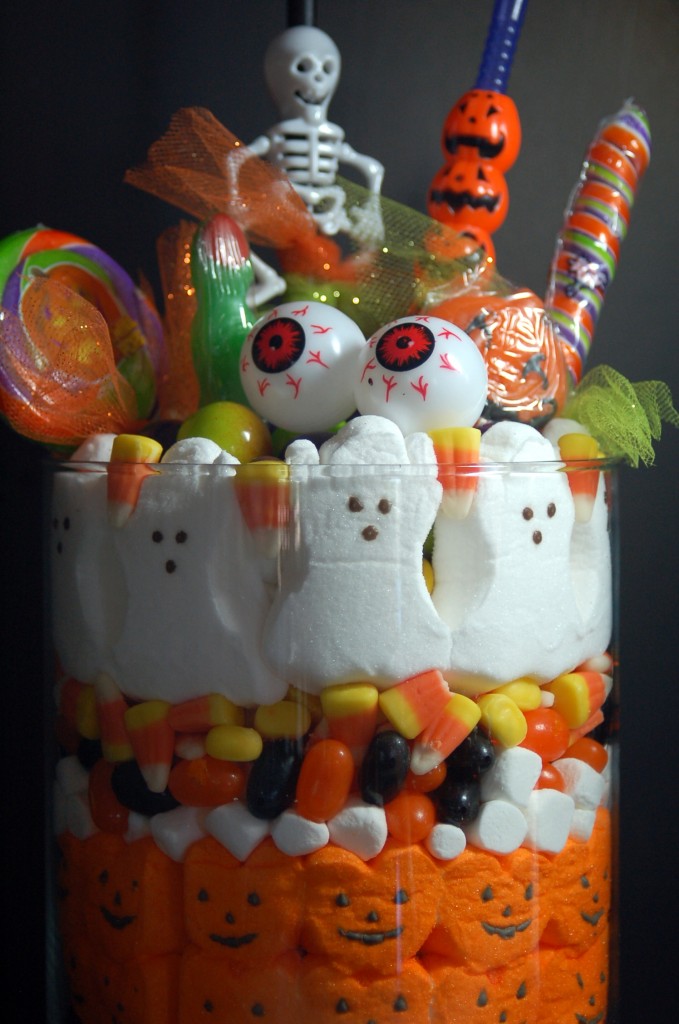
“Eye” Candy Jars

I have some exciting news to share with you today!  I am going to be showing how to make these candy jars on Good Things UtahGood Things Utah - Weekdays at 10 a.m. on ABC 4

on Monday, Oct. 8th at 10 am.  I would love for you to join me and watch the tutorial of how to put these cute little babies together!

But for all my readers, here is the tutorial for you to make an “Eye” Candy Jar like these that we made at our craft retreat. They are so easy to make and yet are so darling!  The thing that I love about these jars is that you can eat the candy after the holiday is done and then fill it up again for the next holiday!  Apparently they make “Peeps” for most every holiday!  Something that I didn’t  know because I don’t like to eat them.

Continue reading

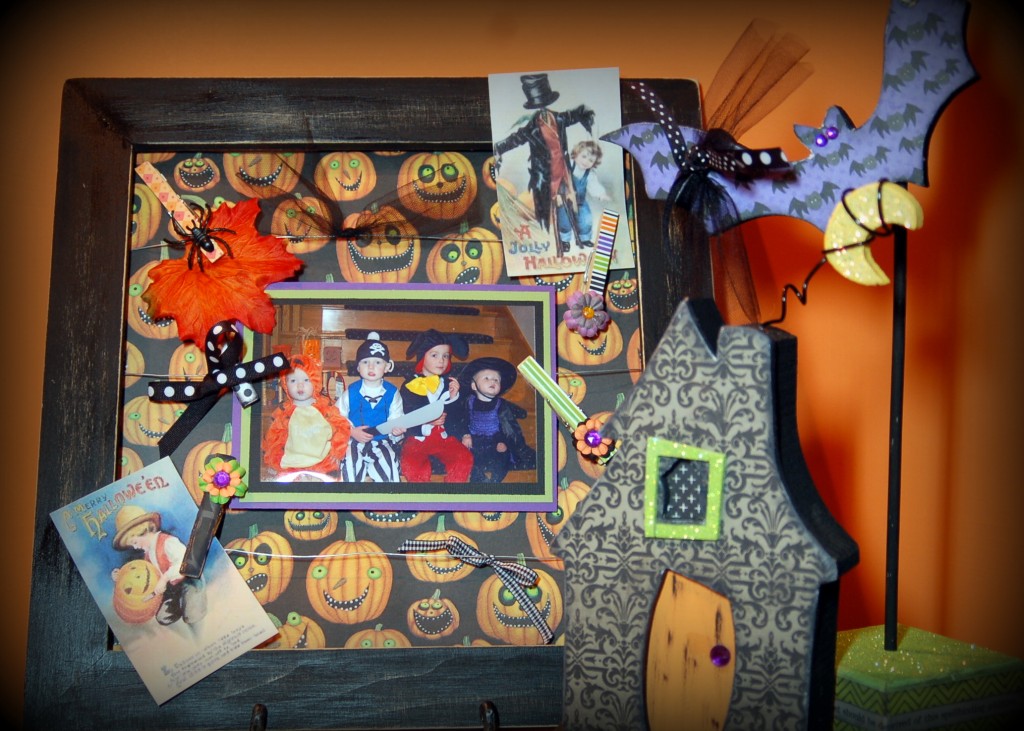
Wire frame and Haunted House

Here are a couple of the projects from our retreat… a fun wired frame with covered clothes pins and a darling Haunted House with a bat to boot!  I paired them up together to put in my front entry hall and they look just BOOtiful!

So does anyone want to make a fun wired frame? Continue reading

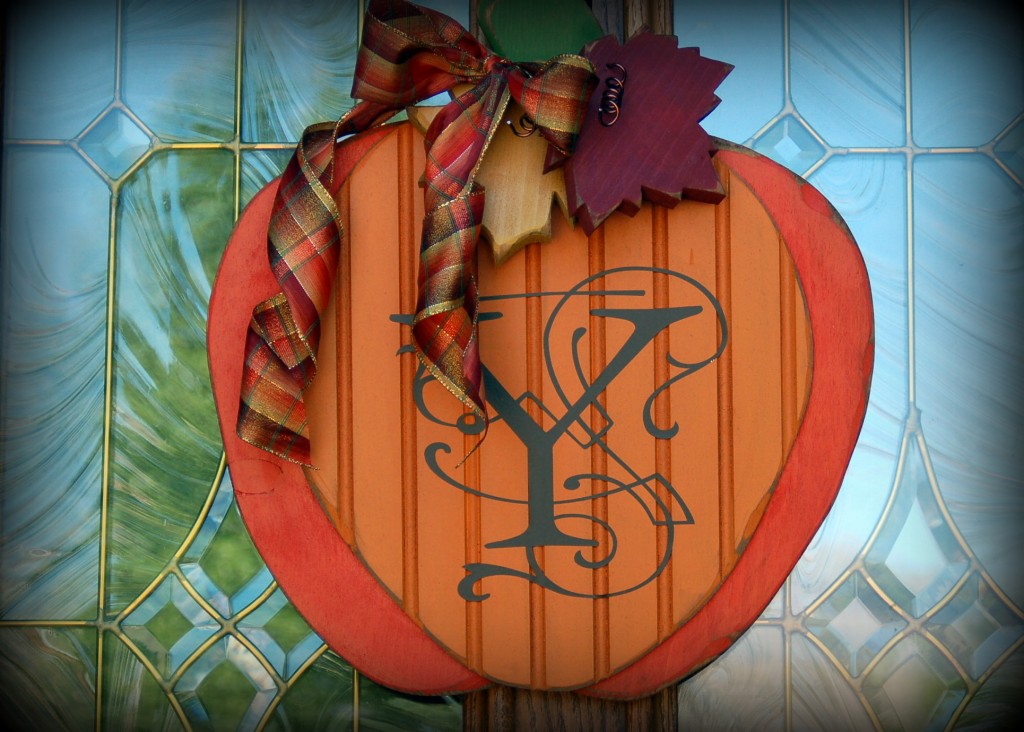
Cute Monogram Pumpkin Door Hanging

I love, love, love to decorate for Halloween but I think that it is still a bit too early for that so I decided that I could at least put out a few fall decorations!  This is a pumpkin that I made for my front door.  I love that I can put it out now, take it down for Halloween, then put it back up for November!

I am loving the monograms lately for some reason and this one just jumped out at me!

Continue reading

Thanksgiving Table Centerpiece

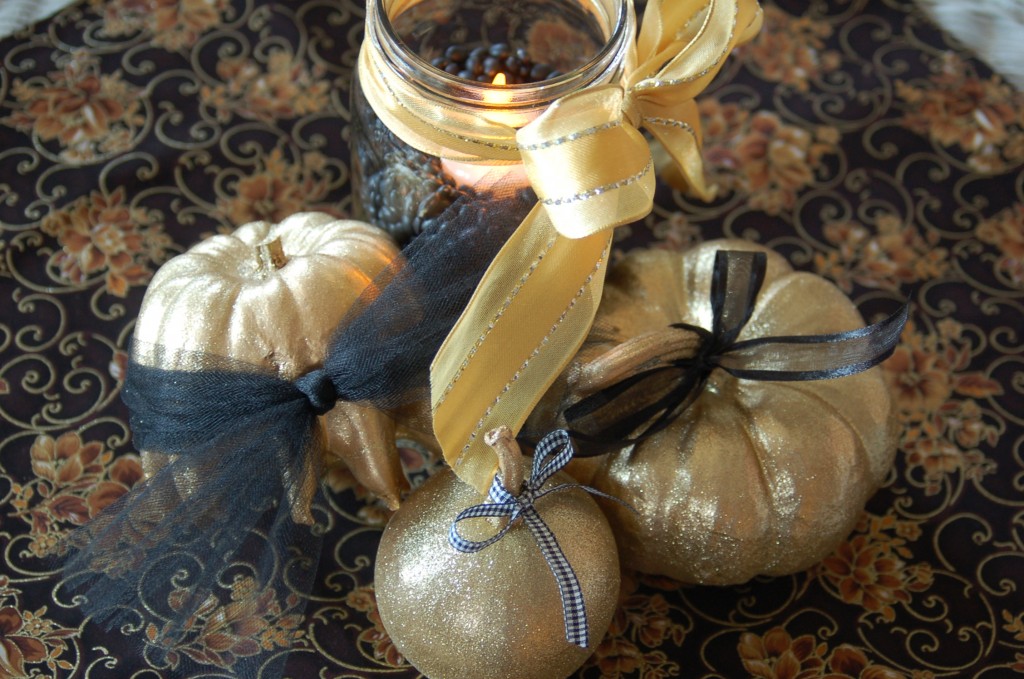
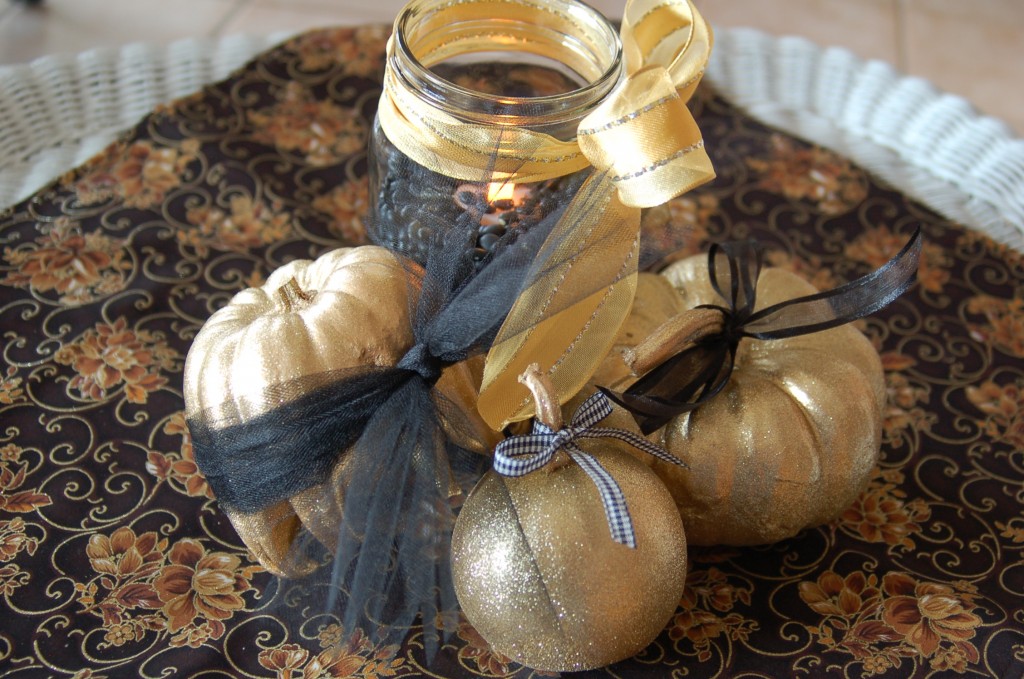
I had to make some centerpieces for a small dinner last weekend and this is what I came up with.  I thought that they looked festive without too much work!

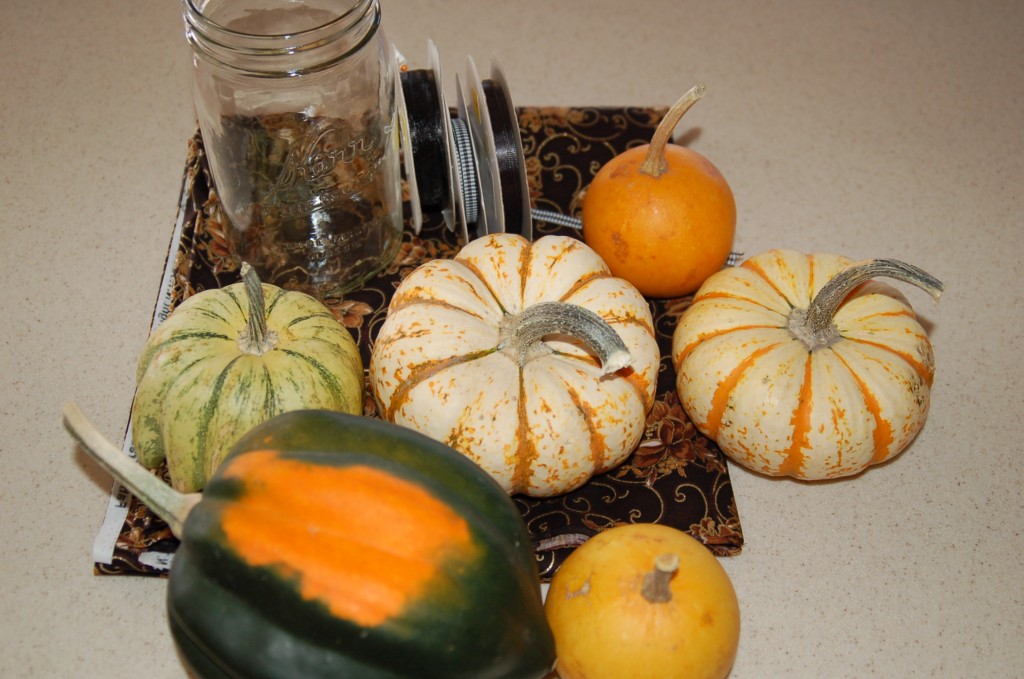
I found this black fabric with gold glitter in the design, so I thought that I could just use the gourds and pumpkins leftover from Halloween. I used the gold Krylon Glitter Blast spray paint to paint them and then just simply tied ribbons and tulle on them.  For the jars, I filled them up with black beans and put a battery votive candle down in the beans.  Then I tied the jars with a pretty metallic gold ribbon…

And  I think that they turned out pretty cute with out a lot of time or money!  You could also put popcorn kernels, candy, rice, or just about anything in the jars to make your candles.  I think I will have to use this idea again for Christmas, with red and green candies in the jar!

 Do you have any fun, easy ways to decorate your tables?  I would love to hear from you!

A Little R & R

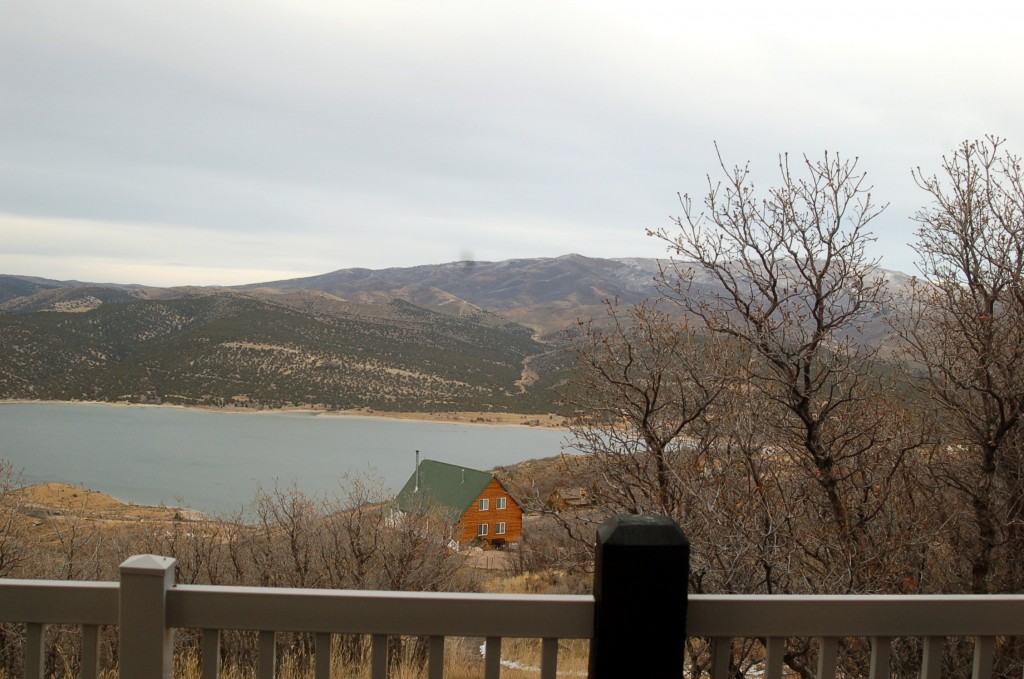
This last weekend we went to the cabin. It overlooks Rockport Reservoir and this is the view from one of the front windows.  It was a little cloudy and all the leaves have fallen off the trees, and I was thinking that it was kind of drab, but when I looked at the pictures I thought that it was really beautiful and it is so relaxing to just sit and look out the windows at all of the beauty below us!  There were actually quite a few boats out on the water this weekend, my husband says that fishing is usually pretty good this time of year.  I thought that the fishermen were pretty crazy, but I can think of a lot of things that I do that are pretty crazy too! :)

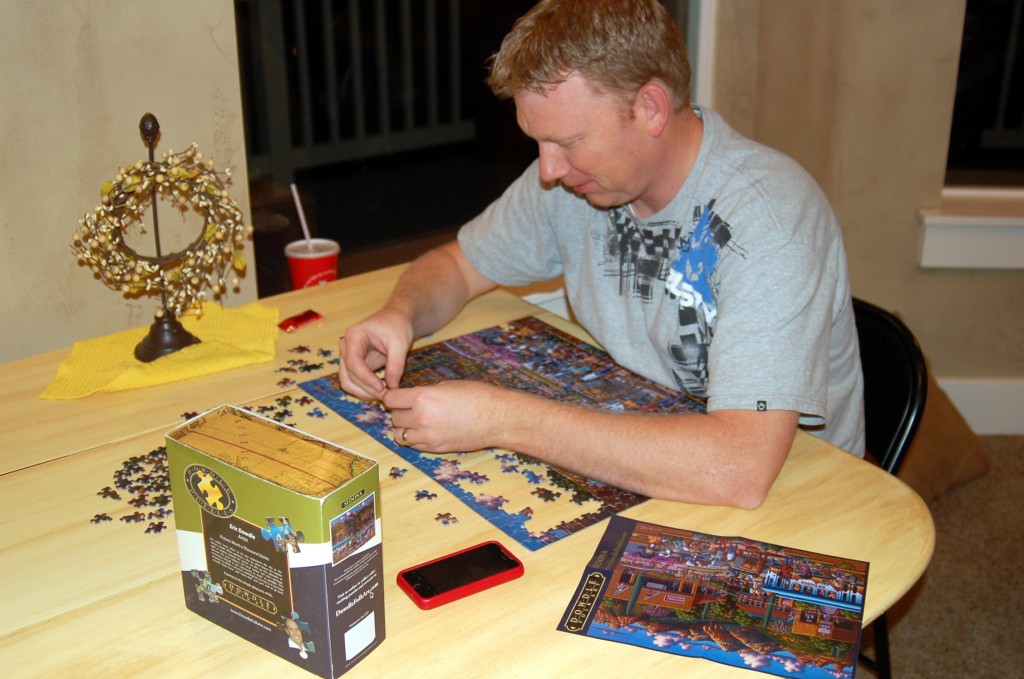
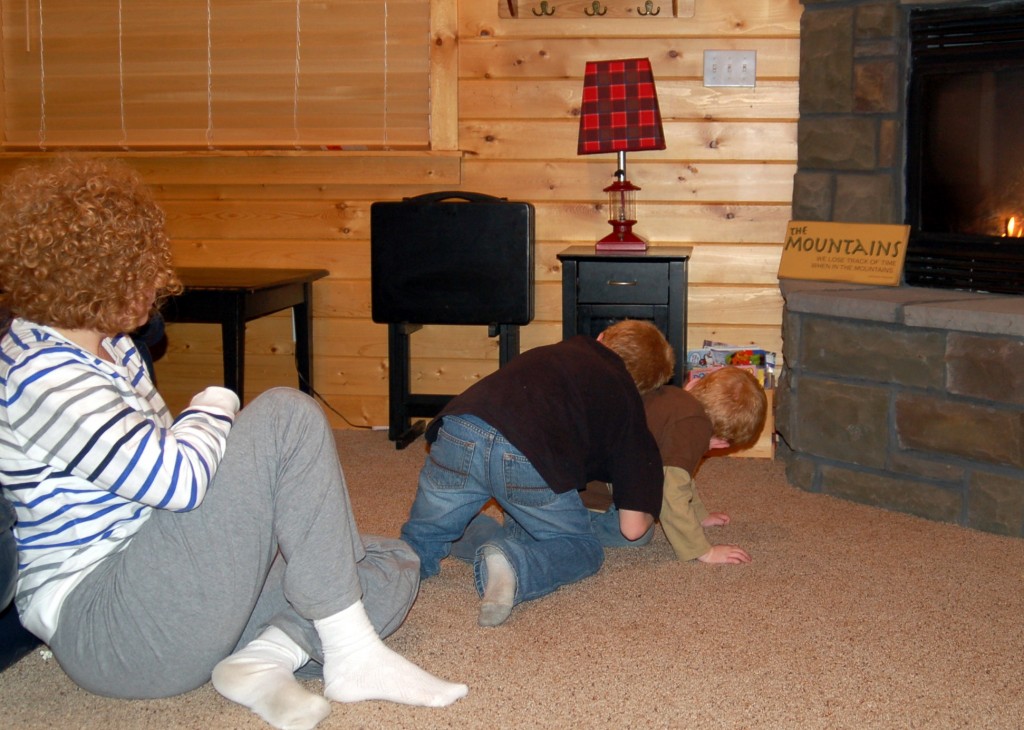
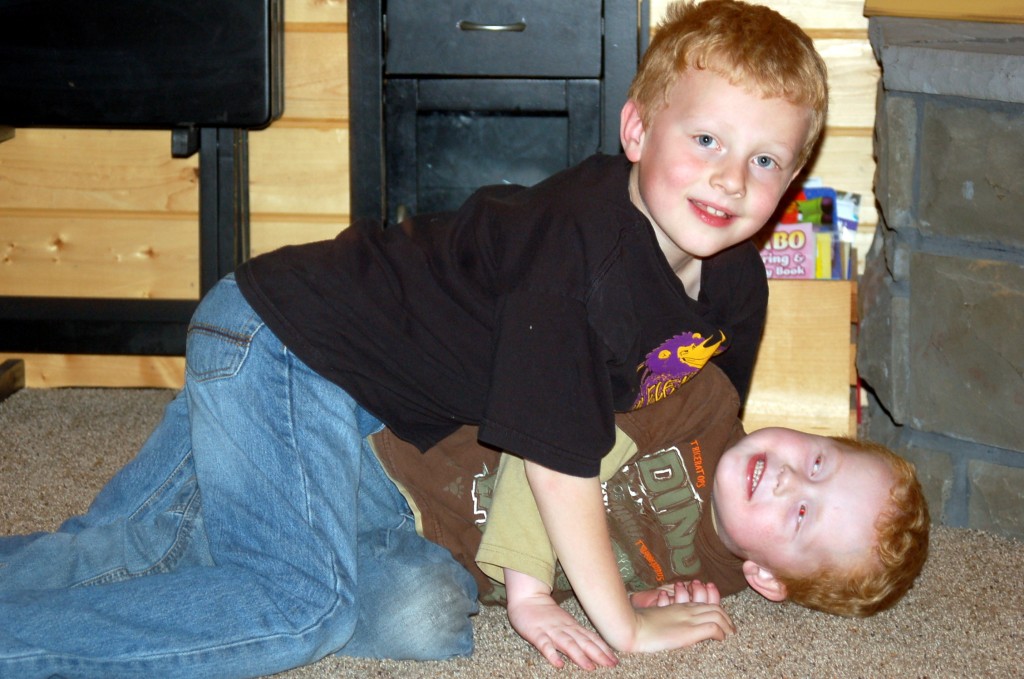
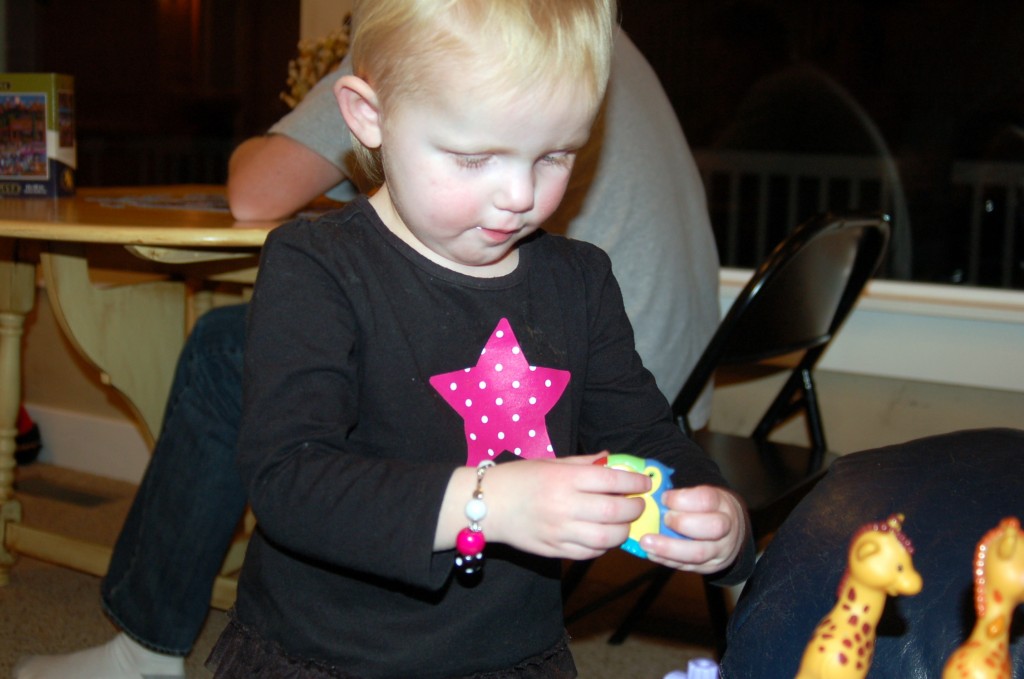
Another view.My oldest son and his family came up and joined us this weekend, so we had fun working on puzzles…wrestling…romping…
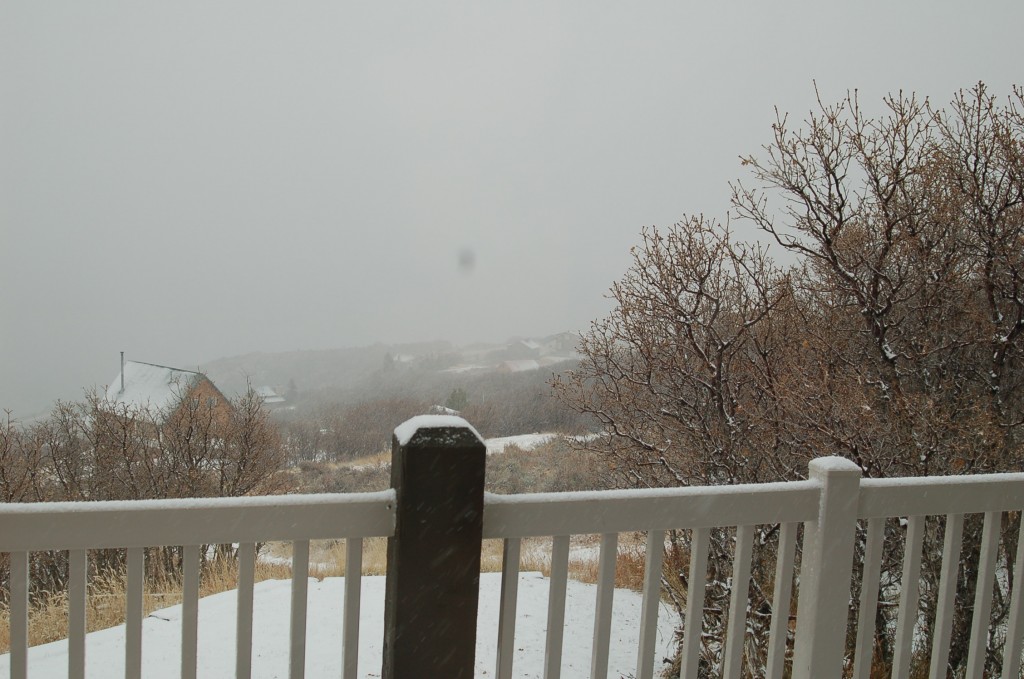
and playing with toys!But the next morning when we woke up…This was the view out the front window!  How beautiful is that? If I did not have to worry about everyone driving down the mountain, I could just stay there all day and sit in front of the fireplace, but we had to leave early before the big snow storm came in.

I don’t know what it is about being out in nature that is just so relaxing…but it is!  Ahh…

Thanksgiving Placecards

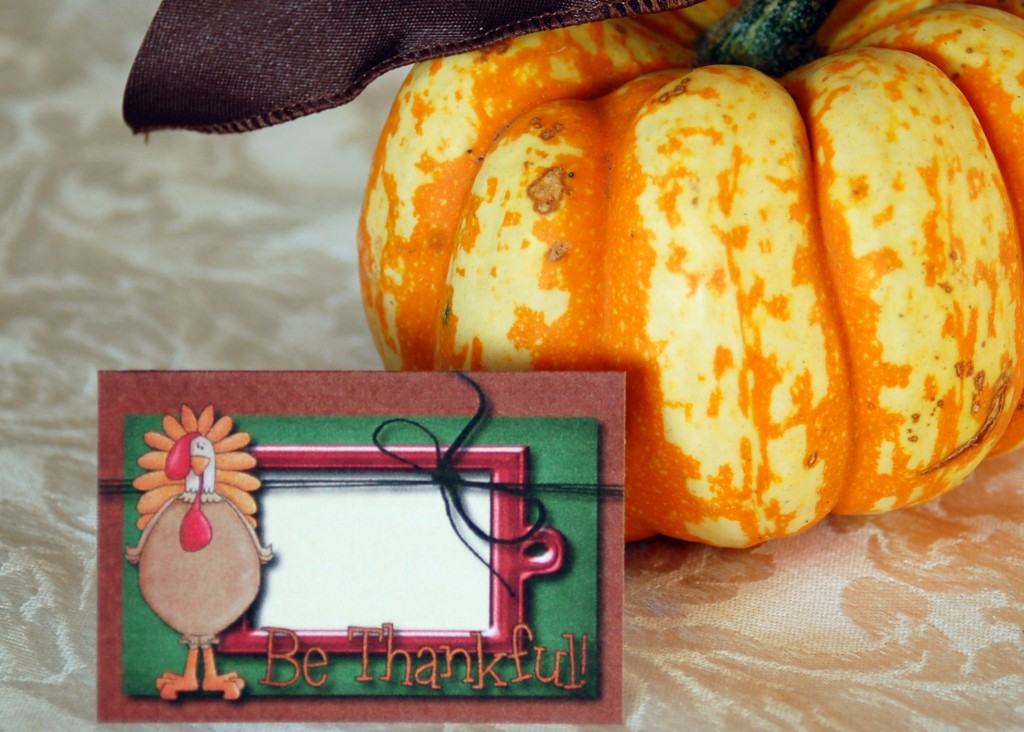
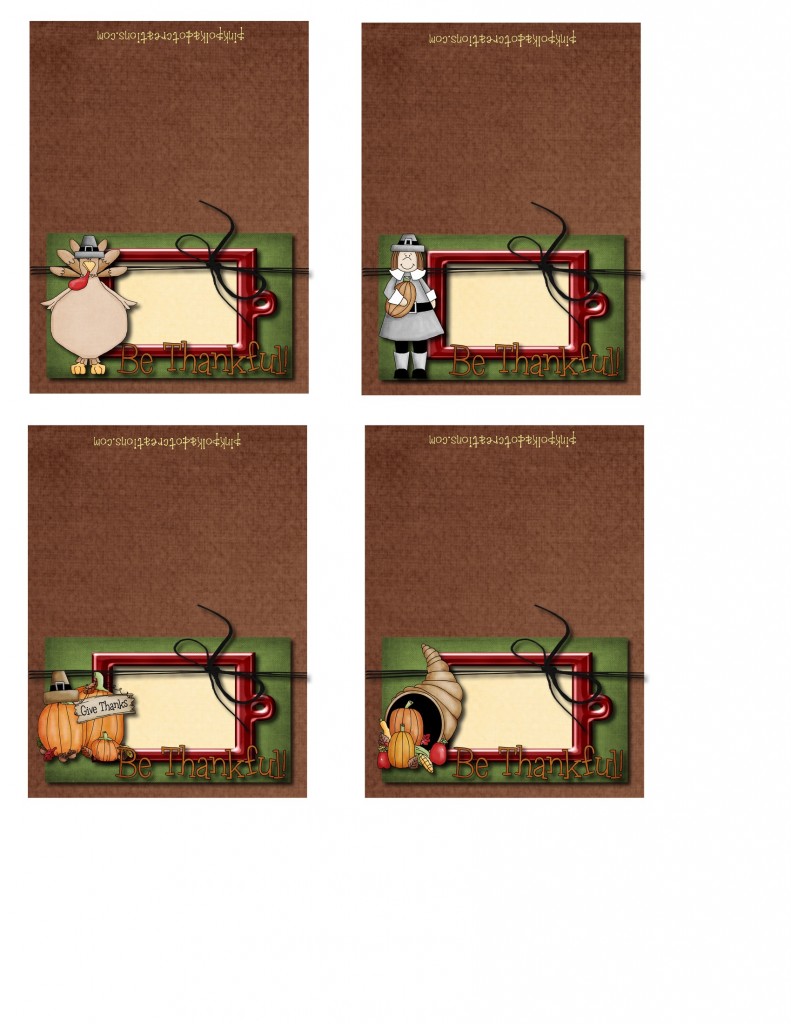
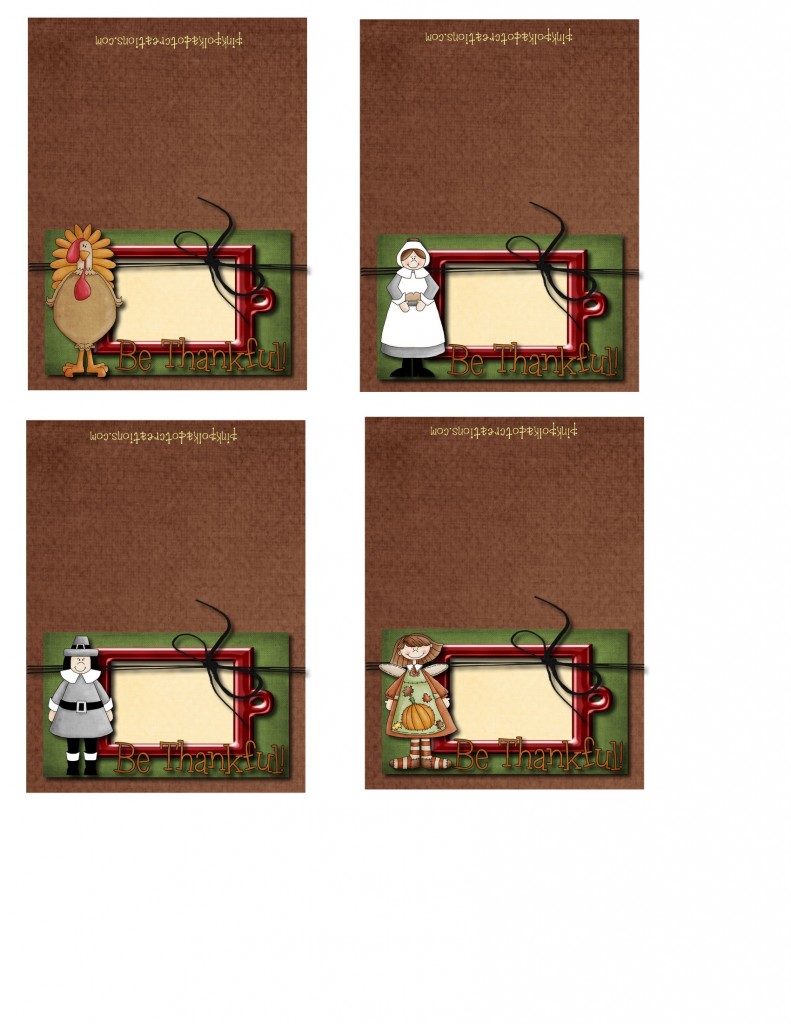
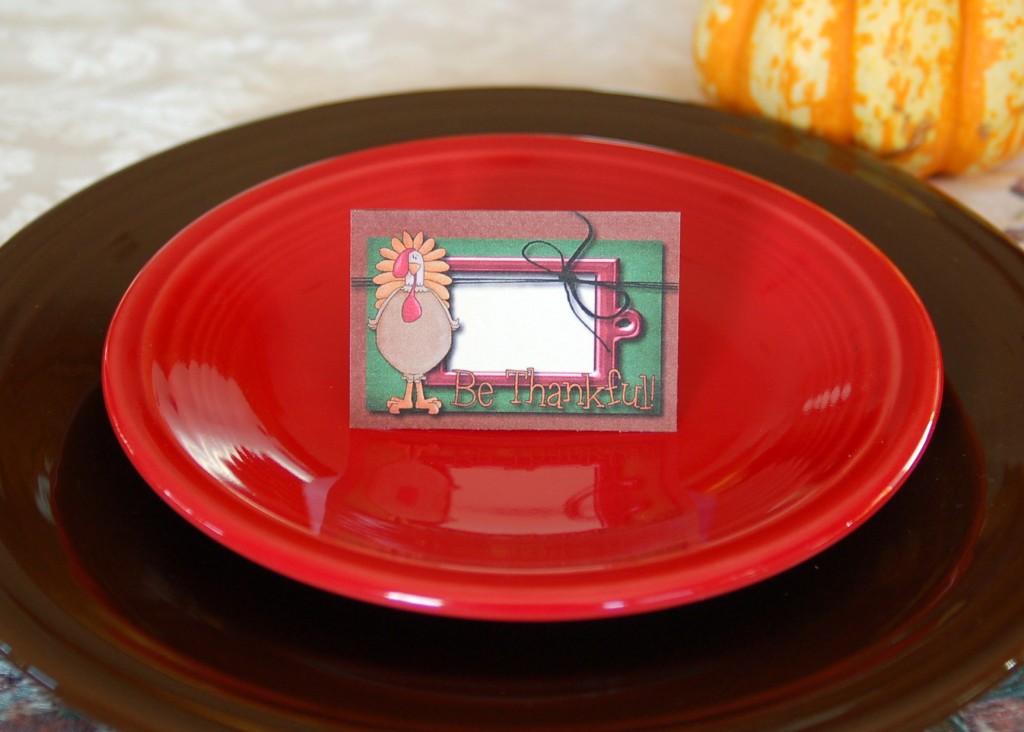
Today I have some cute little name cards for you to print out for Thanksgiving.  All you have to do is print them, cut them out, fold in half, and write names on them.  What could be easier?  It is amazing how such a little thing like this can dress up your Thanksgiving table and make people think that you really went to a lot of work! (No one has to know!)

There are two sheets, 4 on each page, (8 total).  If you need more than that, just print duplicate pages.  To print, just right click on the image, then go to copy. Open your favorite program like word, and right click again and go to paste.  They are in 81/2 x 11 format so you can just print them from your printer!

They would be fun to pair up with a treat or some nuts.  There are all kinds of fun ideas on pinterest, follow my Fall/Autumn link if you need some other ideas!

A couple more  ideas that you could do with these printables: is to use them for a napkin ring. just cut off at the fold and wrap them around your napkins, or just use the top part for a tag to tie on a treat bag, or the top of a jar with goodies in it!  You could also use this just the way it is as a fold-over topper and staple it to the top of a small clear bag.

Oh the possibilities!


Apple Braid

What says fall more than apples!

 I decided to make an Apple Braid for dessert.  It smelled so good cooking and it warmed up the house as well as the soul!
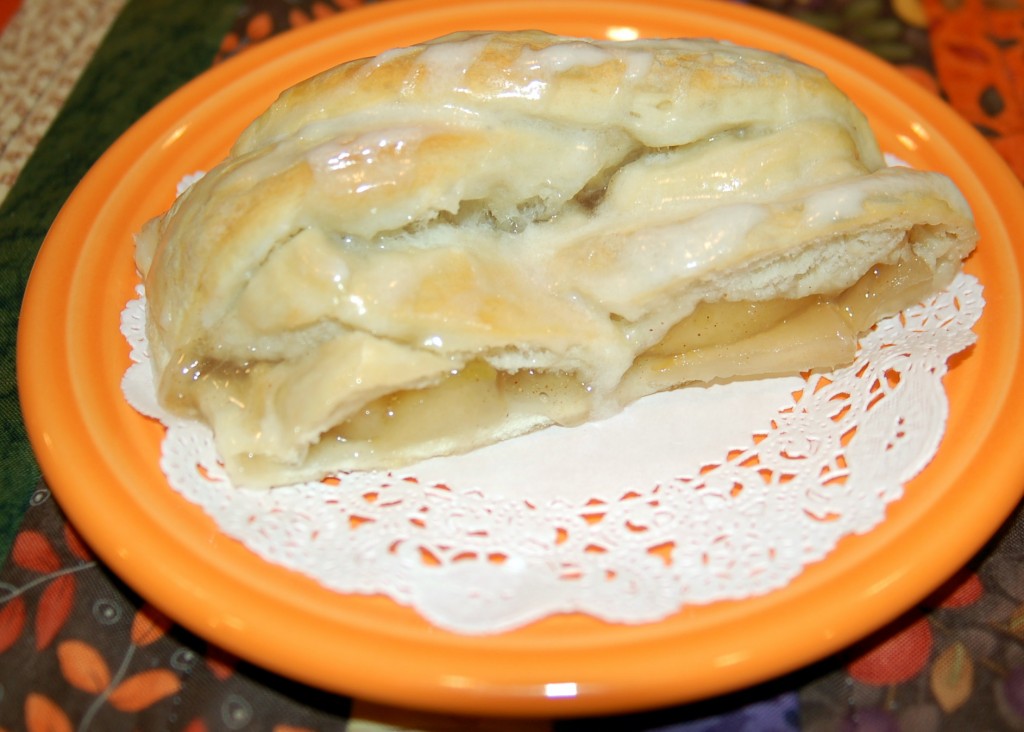
Braided bread looks like it is hard to do, but it is really very easy–so let’s get started.  You will need on loaf of bread dough.  I used frozen Rhodes Bread, but you can use your own homemade recipe, or you can even buy scone dough at a lot of your bakeries.

Roll the dough out a little bit , then place on a baking sheet that has been sprayed with cooking spray. With your fingers, spread the dough out into a rectangle on the baking sheet.  You kind of have to work with the dough to get it to stretch out.
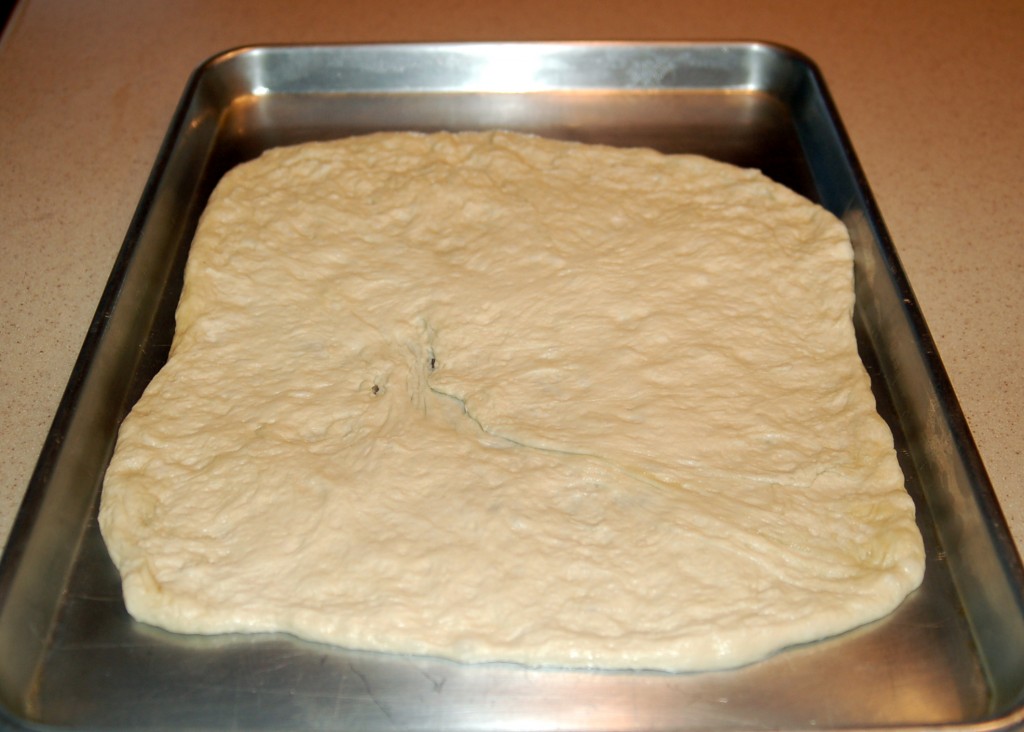
Using a 4″ putty knife, cut the dough into 1 inch slits like this.
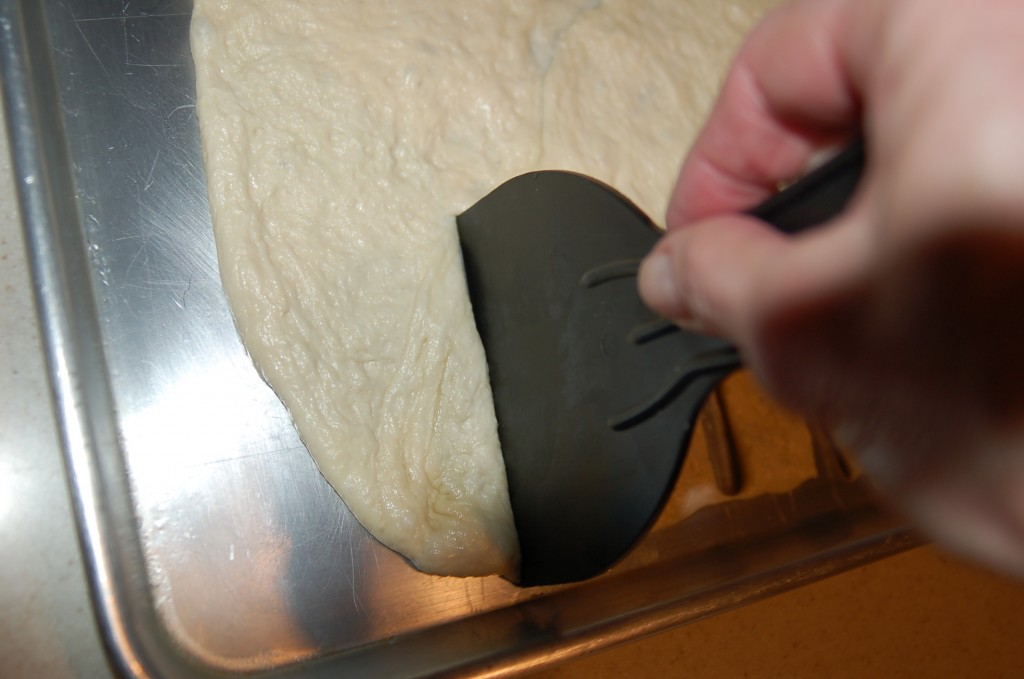
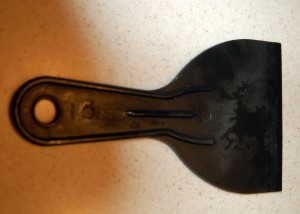
You read that right!  I use a regular putty knife (a new one, not one I used to scrap paint with!)  I learned this trick in a bread class that I took a few years ago!  Just just go to the hardware store and buy a plastic 4″ putty knife to keep in your kitchen drawer!

(Sorry about this picture, I was in a hurry and only took one pic, and this was it!)
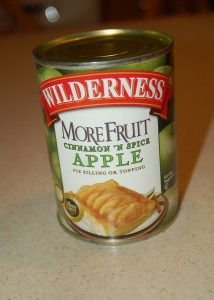
 For the filling, I used this canned apple pie filling.  You could make your own filling, just make sure that you cook that apples part way before filling the braid.  You could use any kind of fruit, that you would use for a pie!  Another version that is good is a cinnamon crumb with nuts added to it!
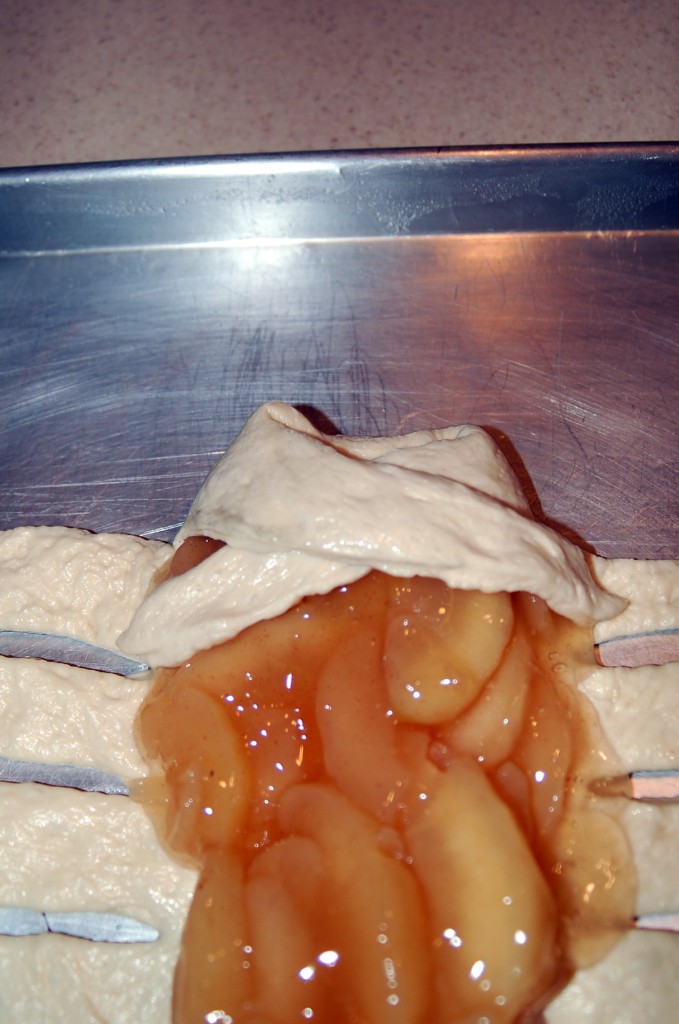
 Spread the filling down the center of the braid.  Then start braiding.  Fold the first strip over the top of the filling on a diagonal to the second strip. Go back and forth like this all the way down.  Tuck the ends in to secure.
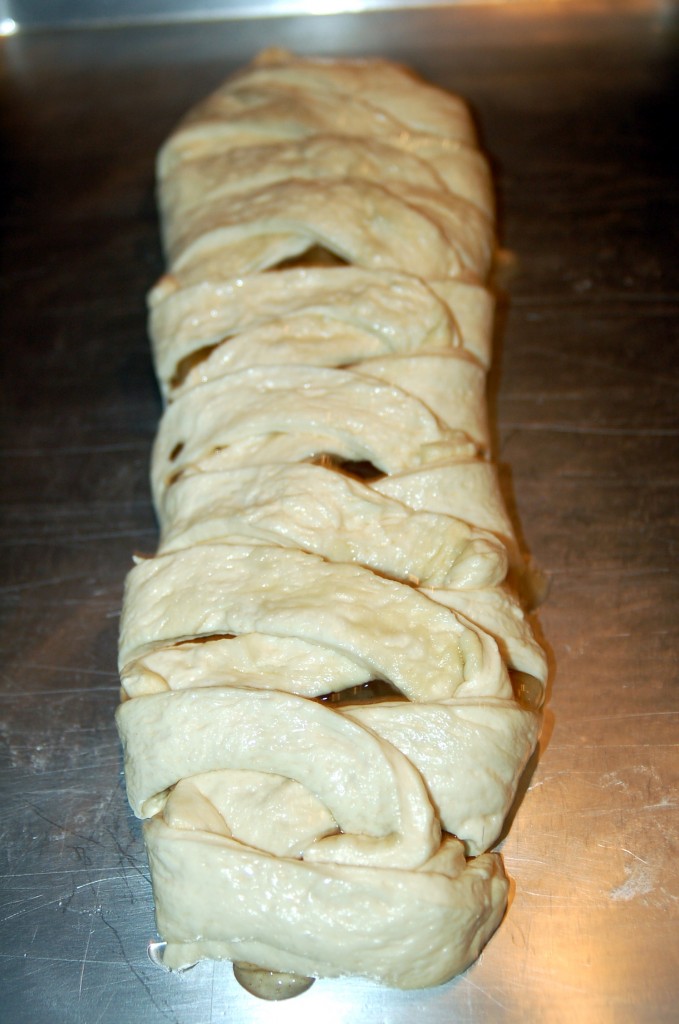
 This is what it will look like.  Cover the pan and let it raise for about 20-25 mins.
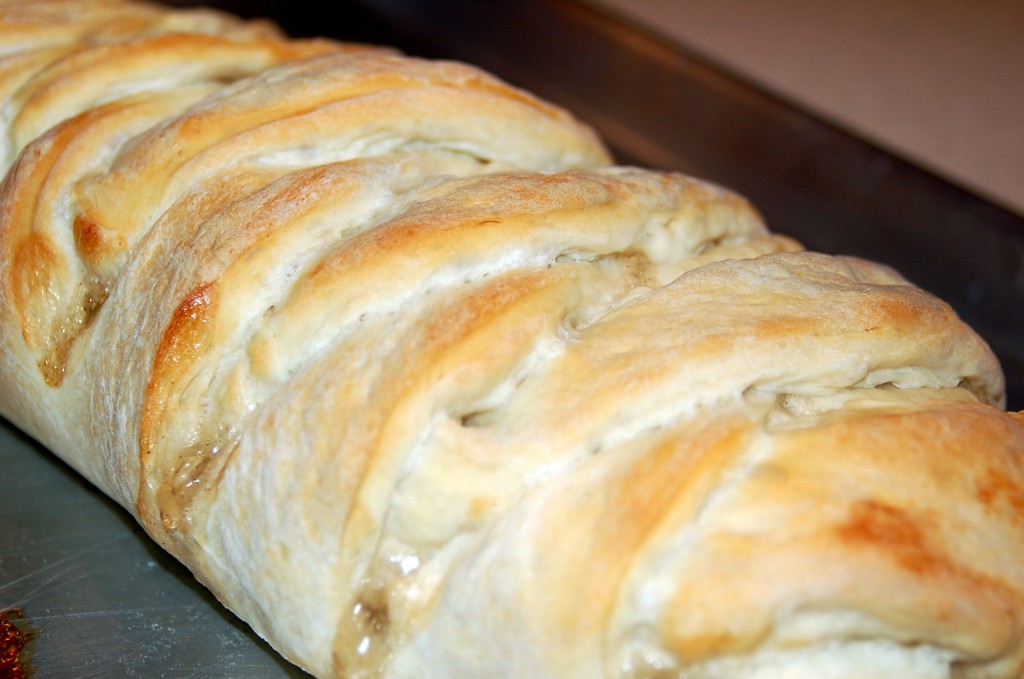
 Bake at 375 degrees F  for 25-35 minutes, until golden brown.  I learned at that same bread class that you can tell when bread is done by looking at the bottom.  If it is a golden brown on the bottom, the bread is done.
Let the braid cool for 15-20 minutes and then drizzle with a glaze of: 1 cup powdered sugar, 1/4 c. softened butter, 1/2 tsp almond extract, mix this together then add 1-2 TBLS of milk, a little at a time,  just until thin enough to drizzle.
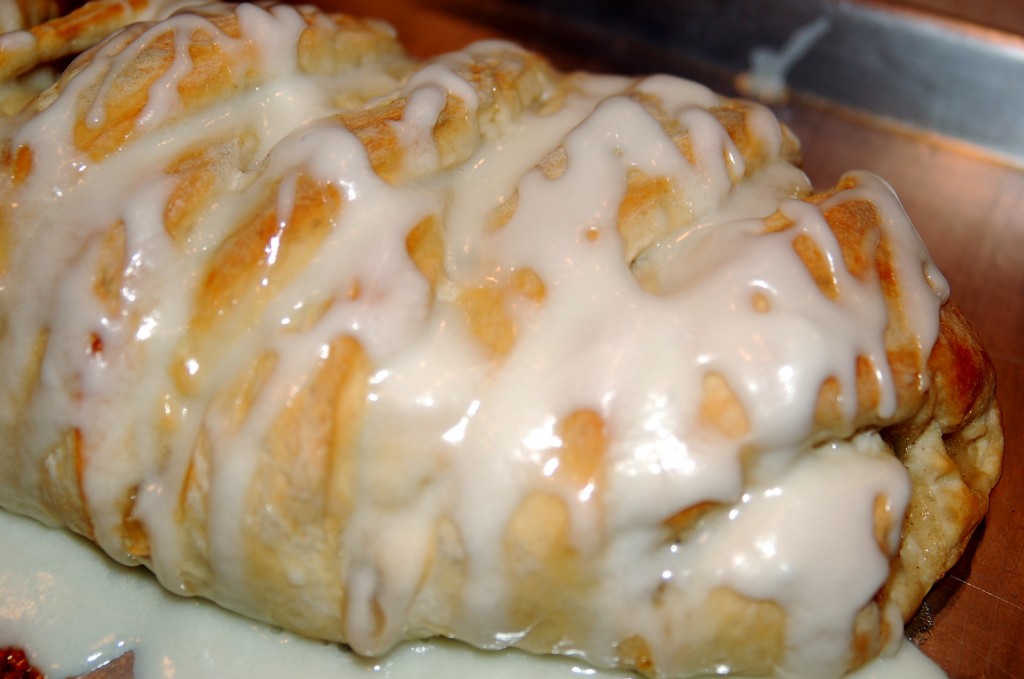
Looks delish!

What kind of fall desserts are your favorite?  I hope that you will try this one because you just might want to add it to your list!

Give Thanks Banner

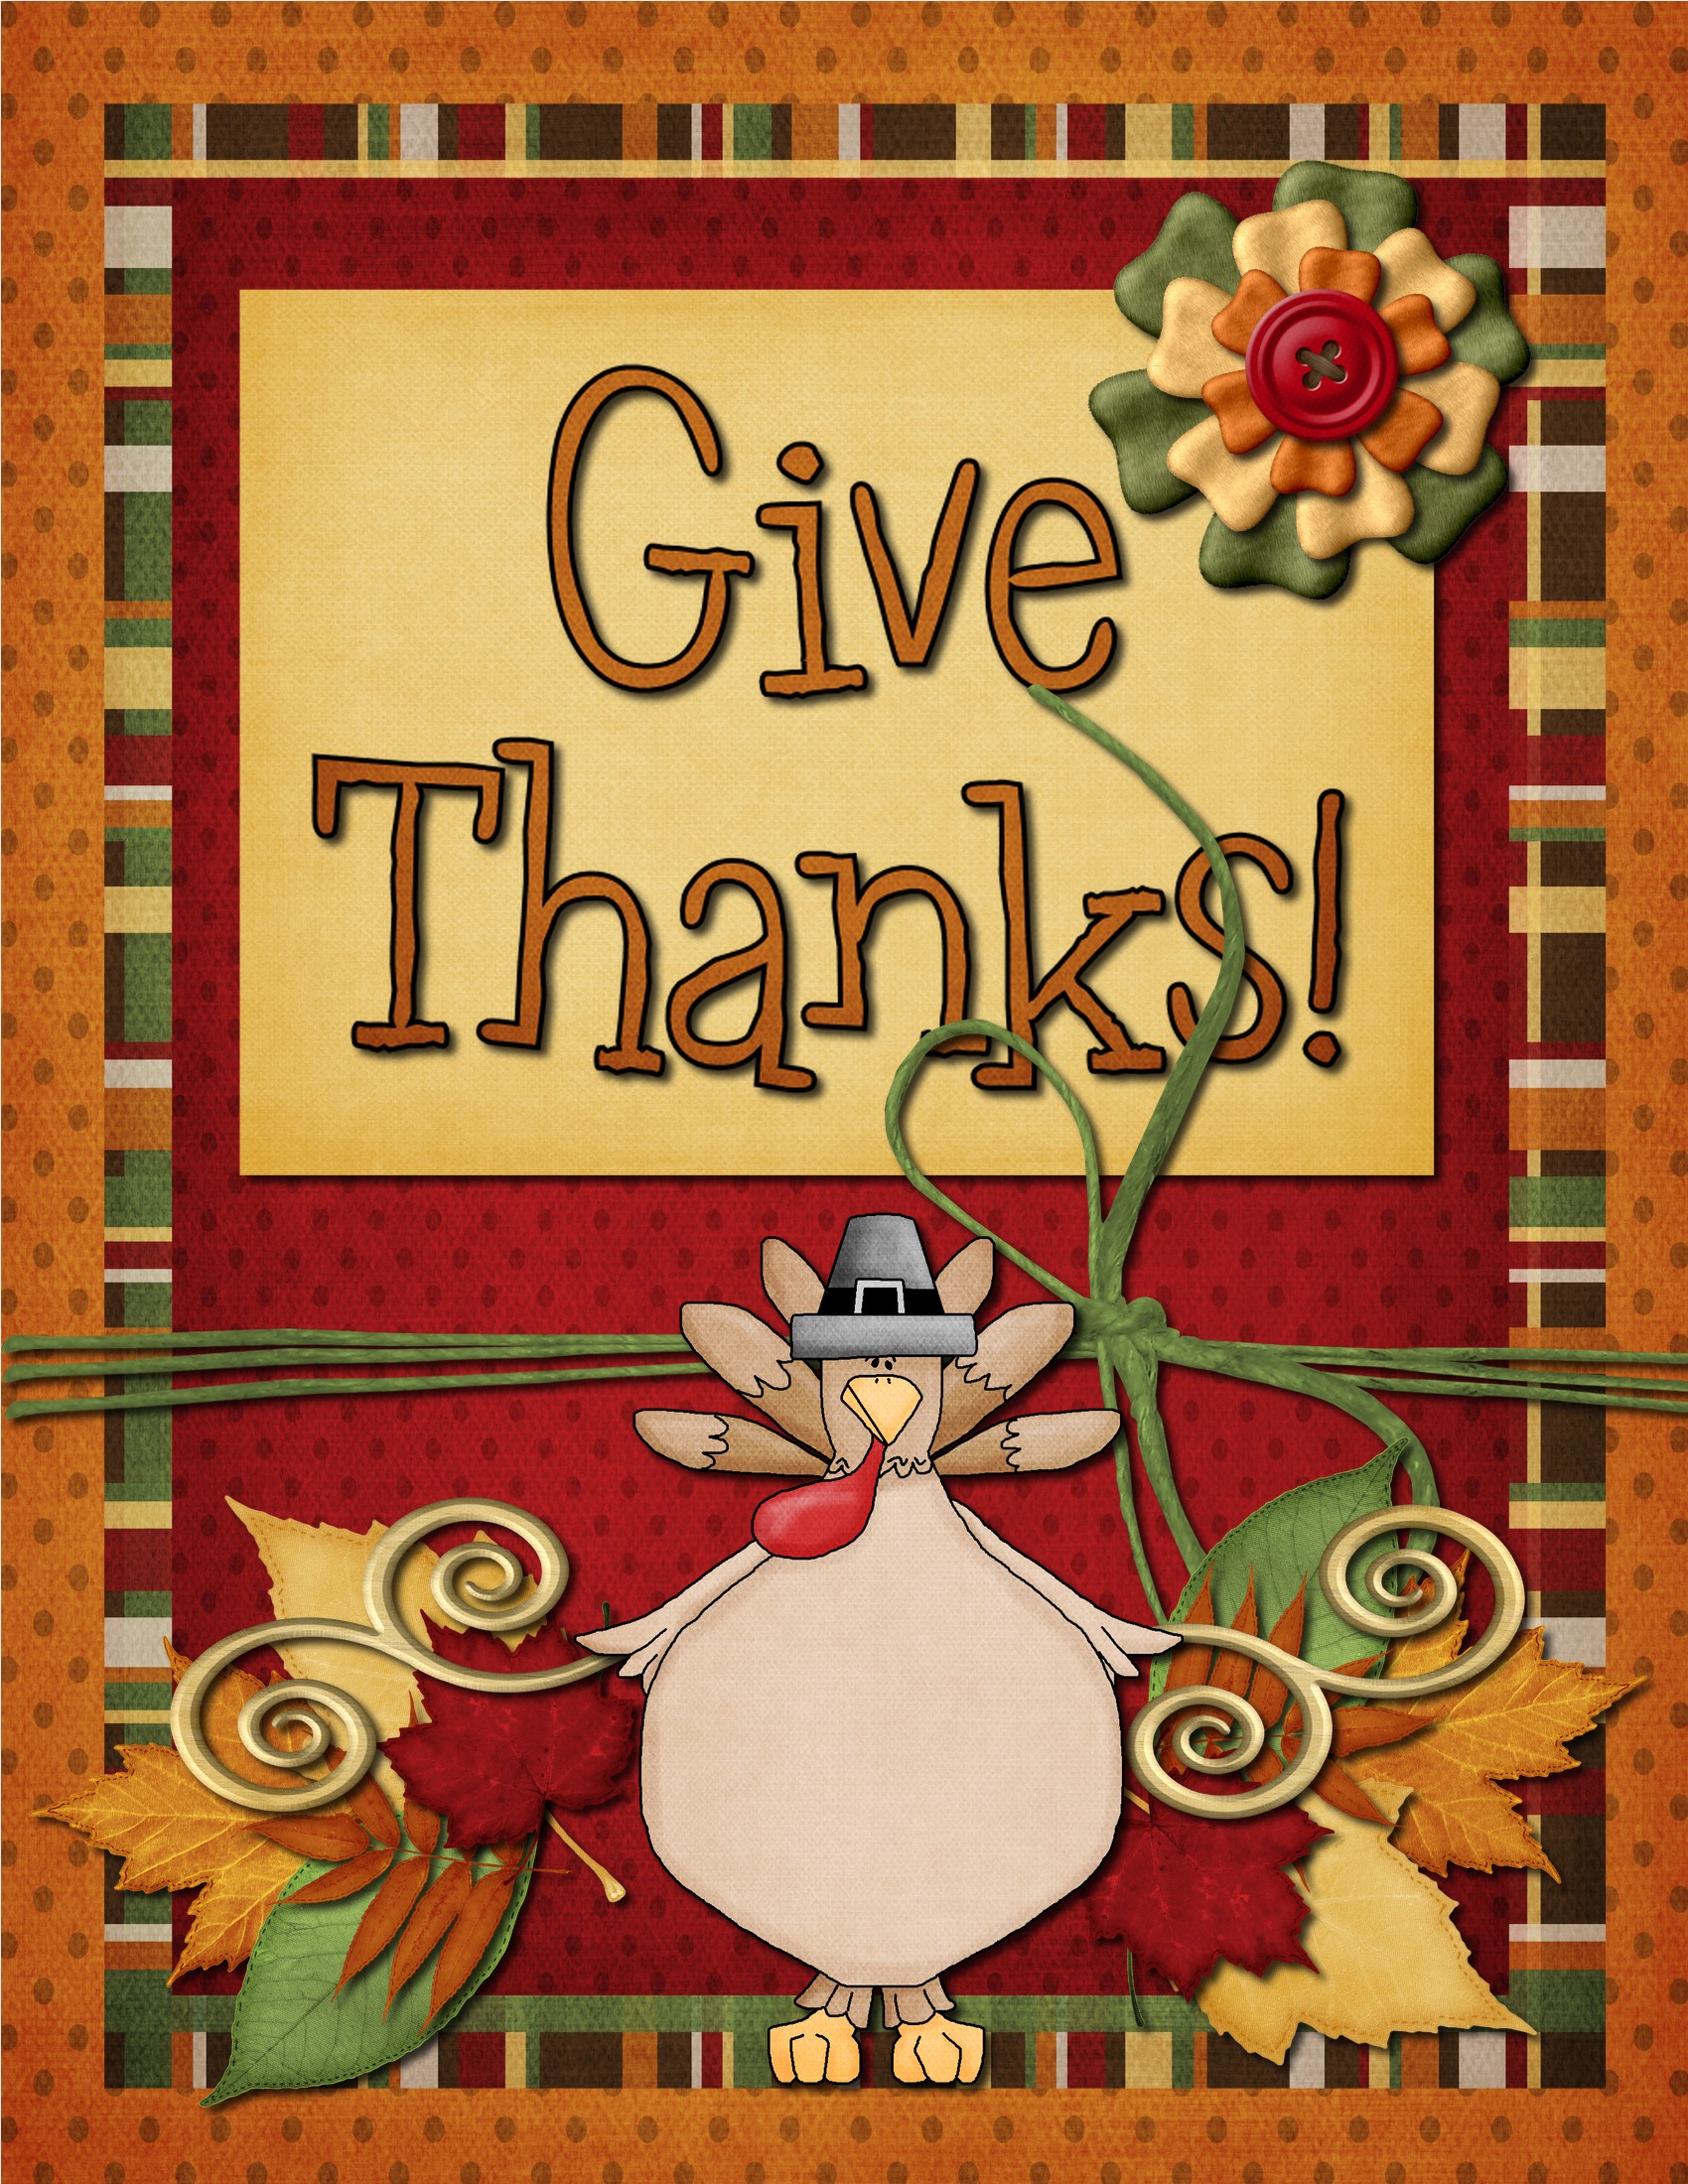
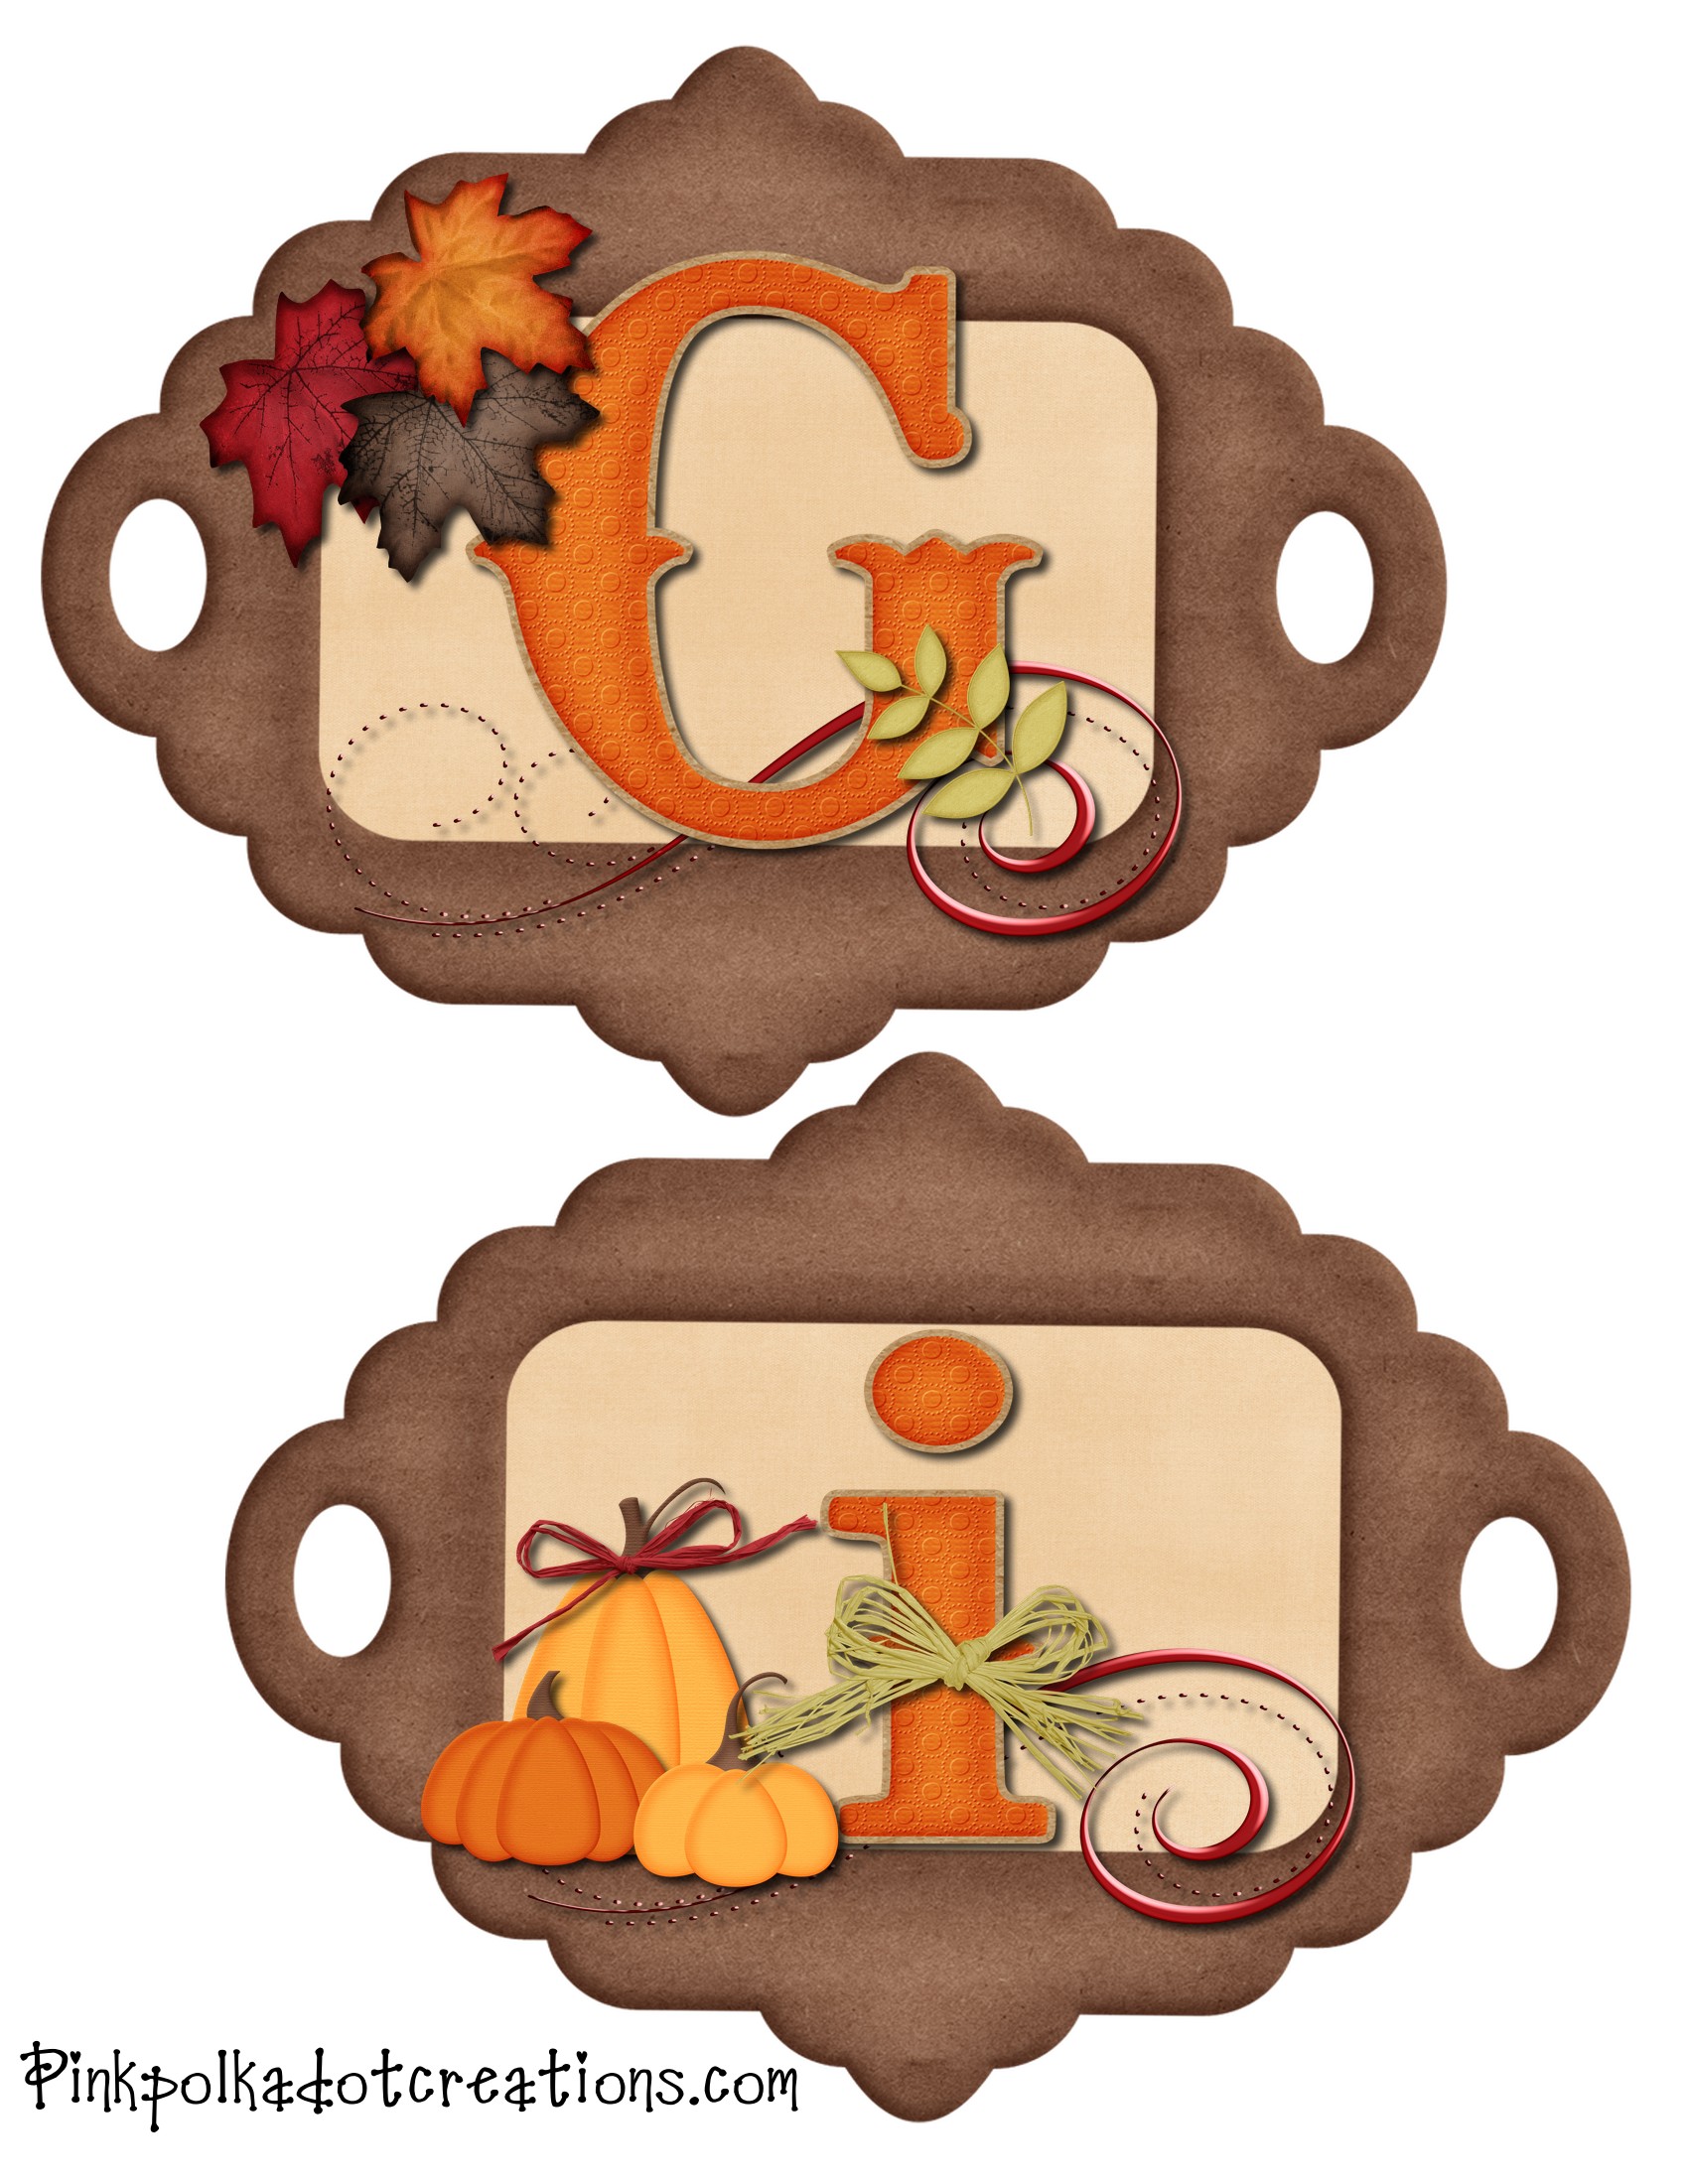
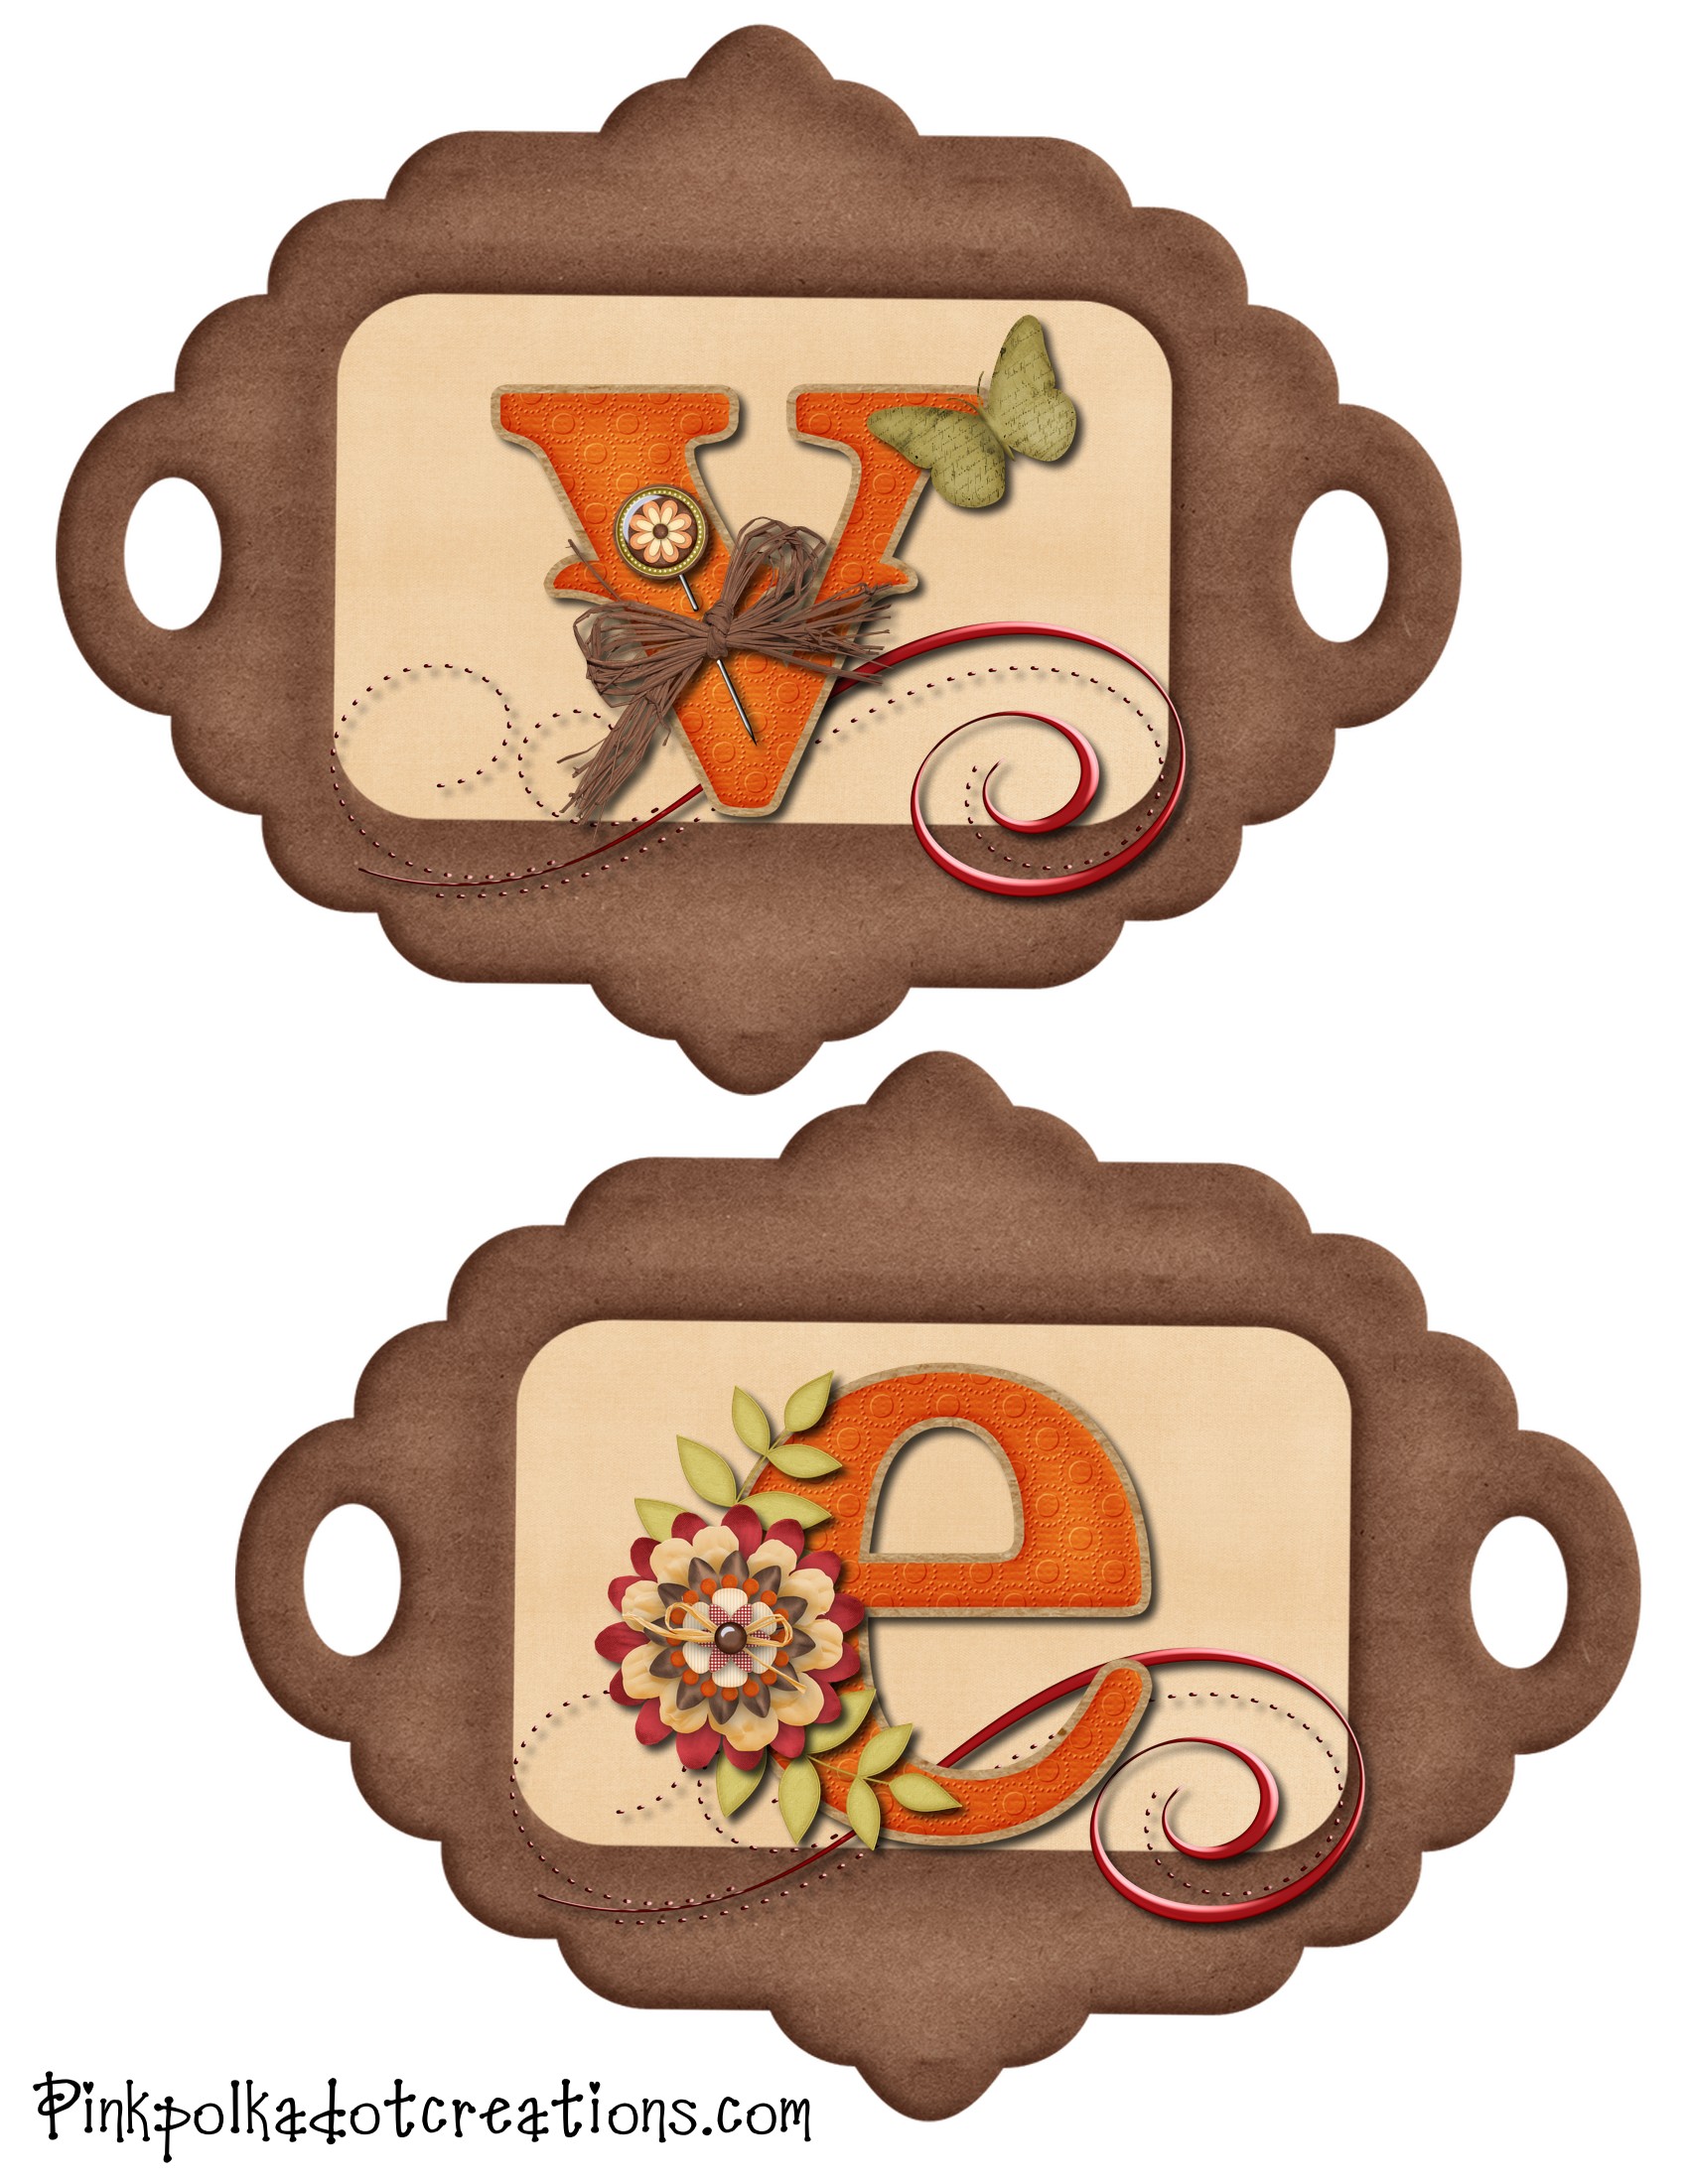
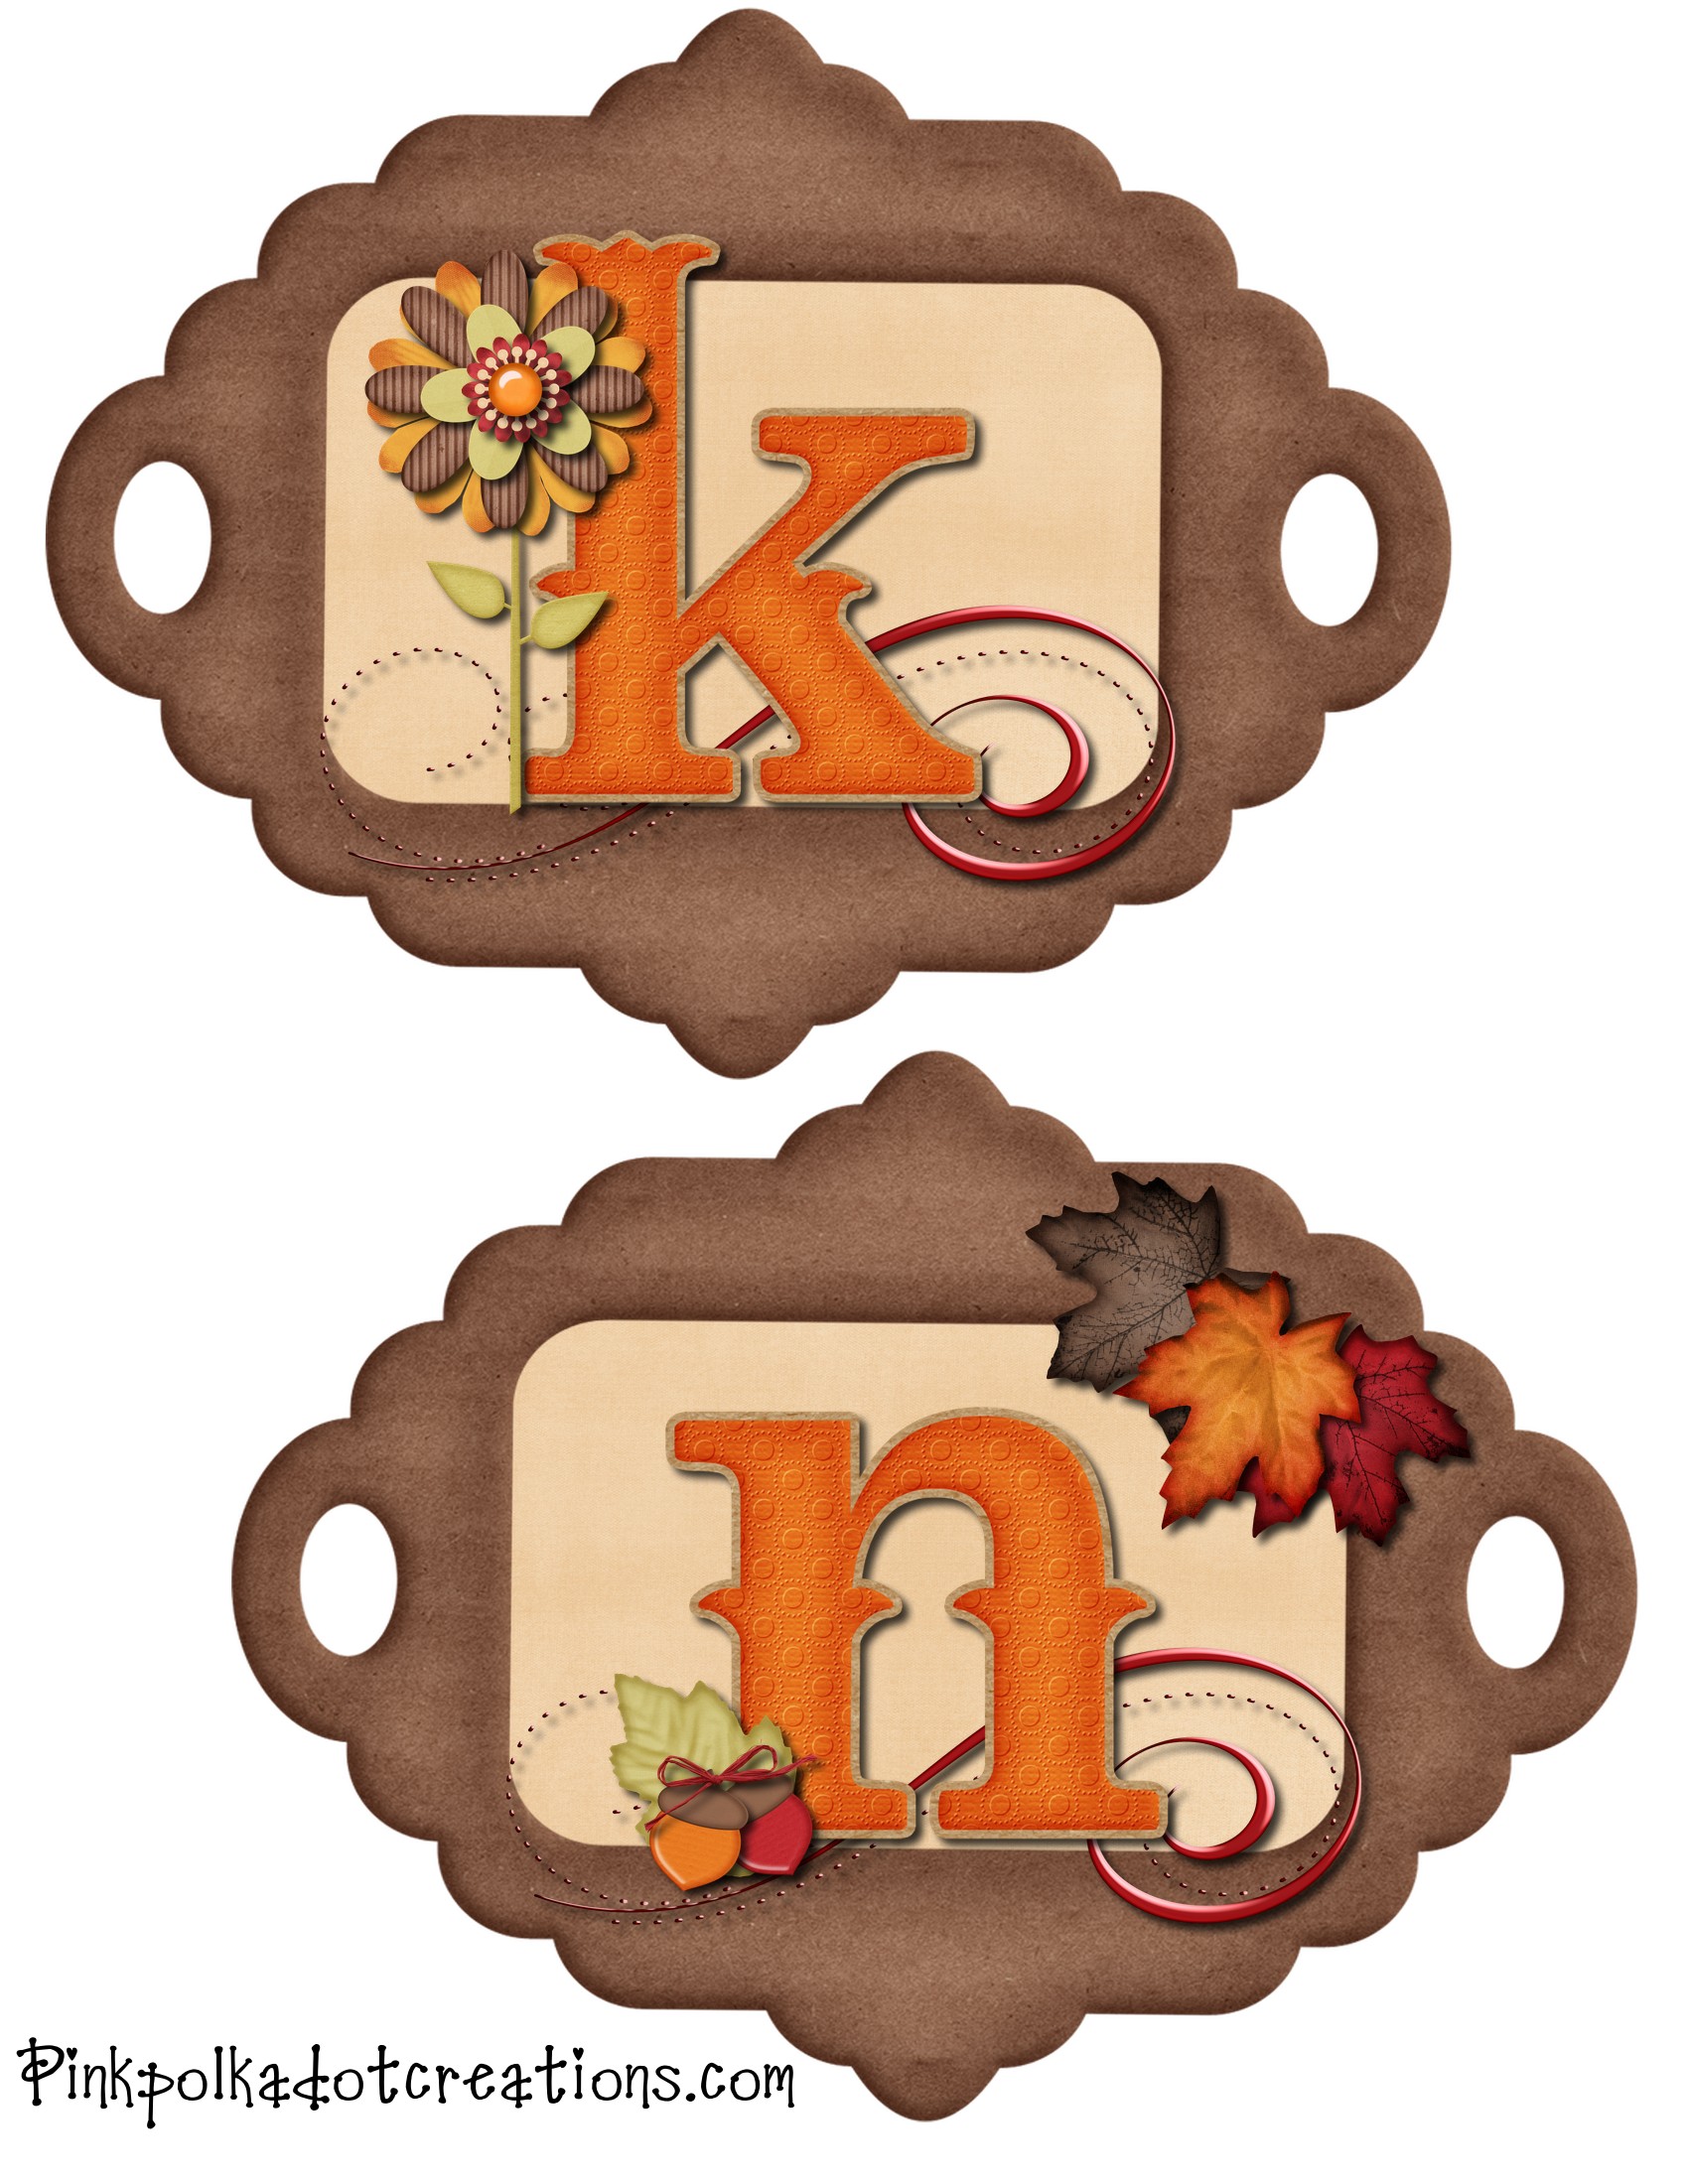
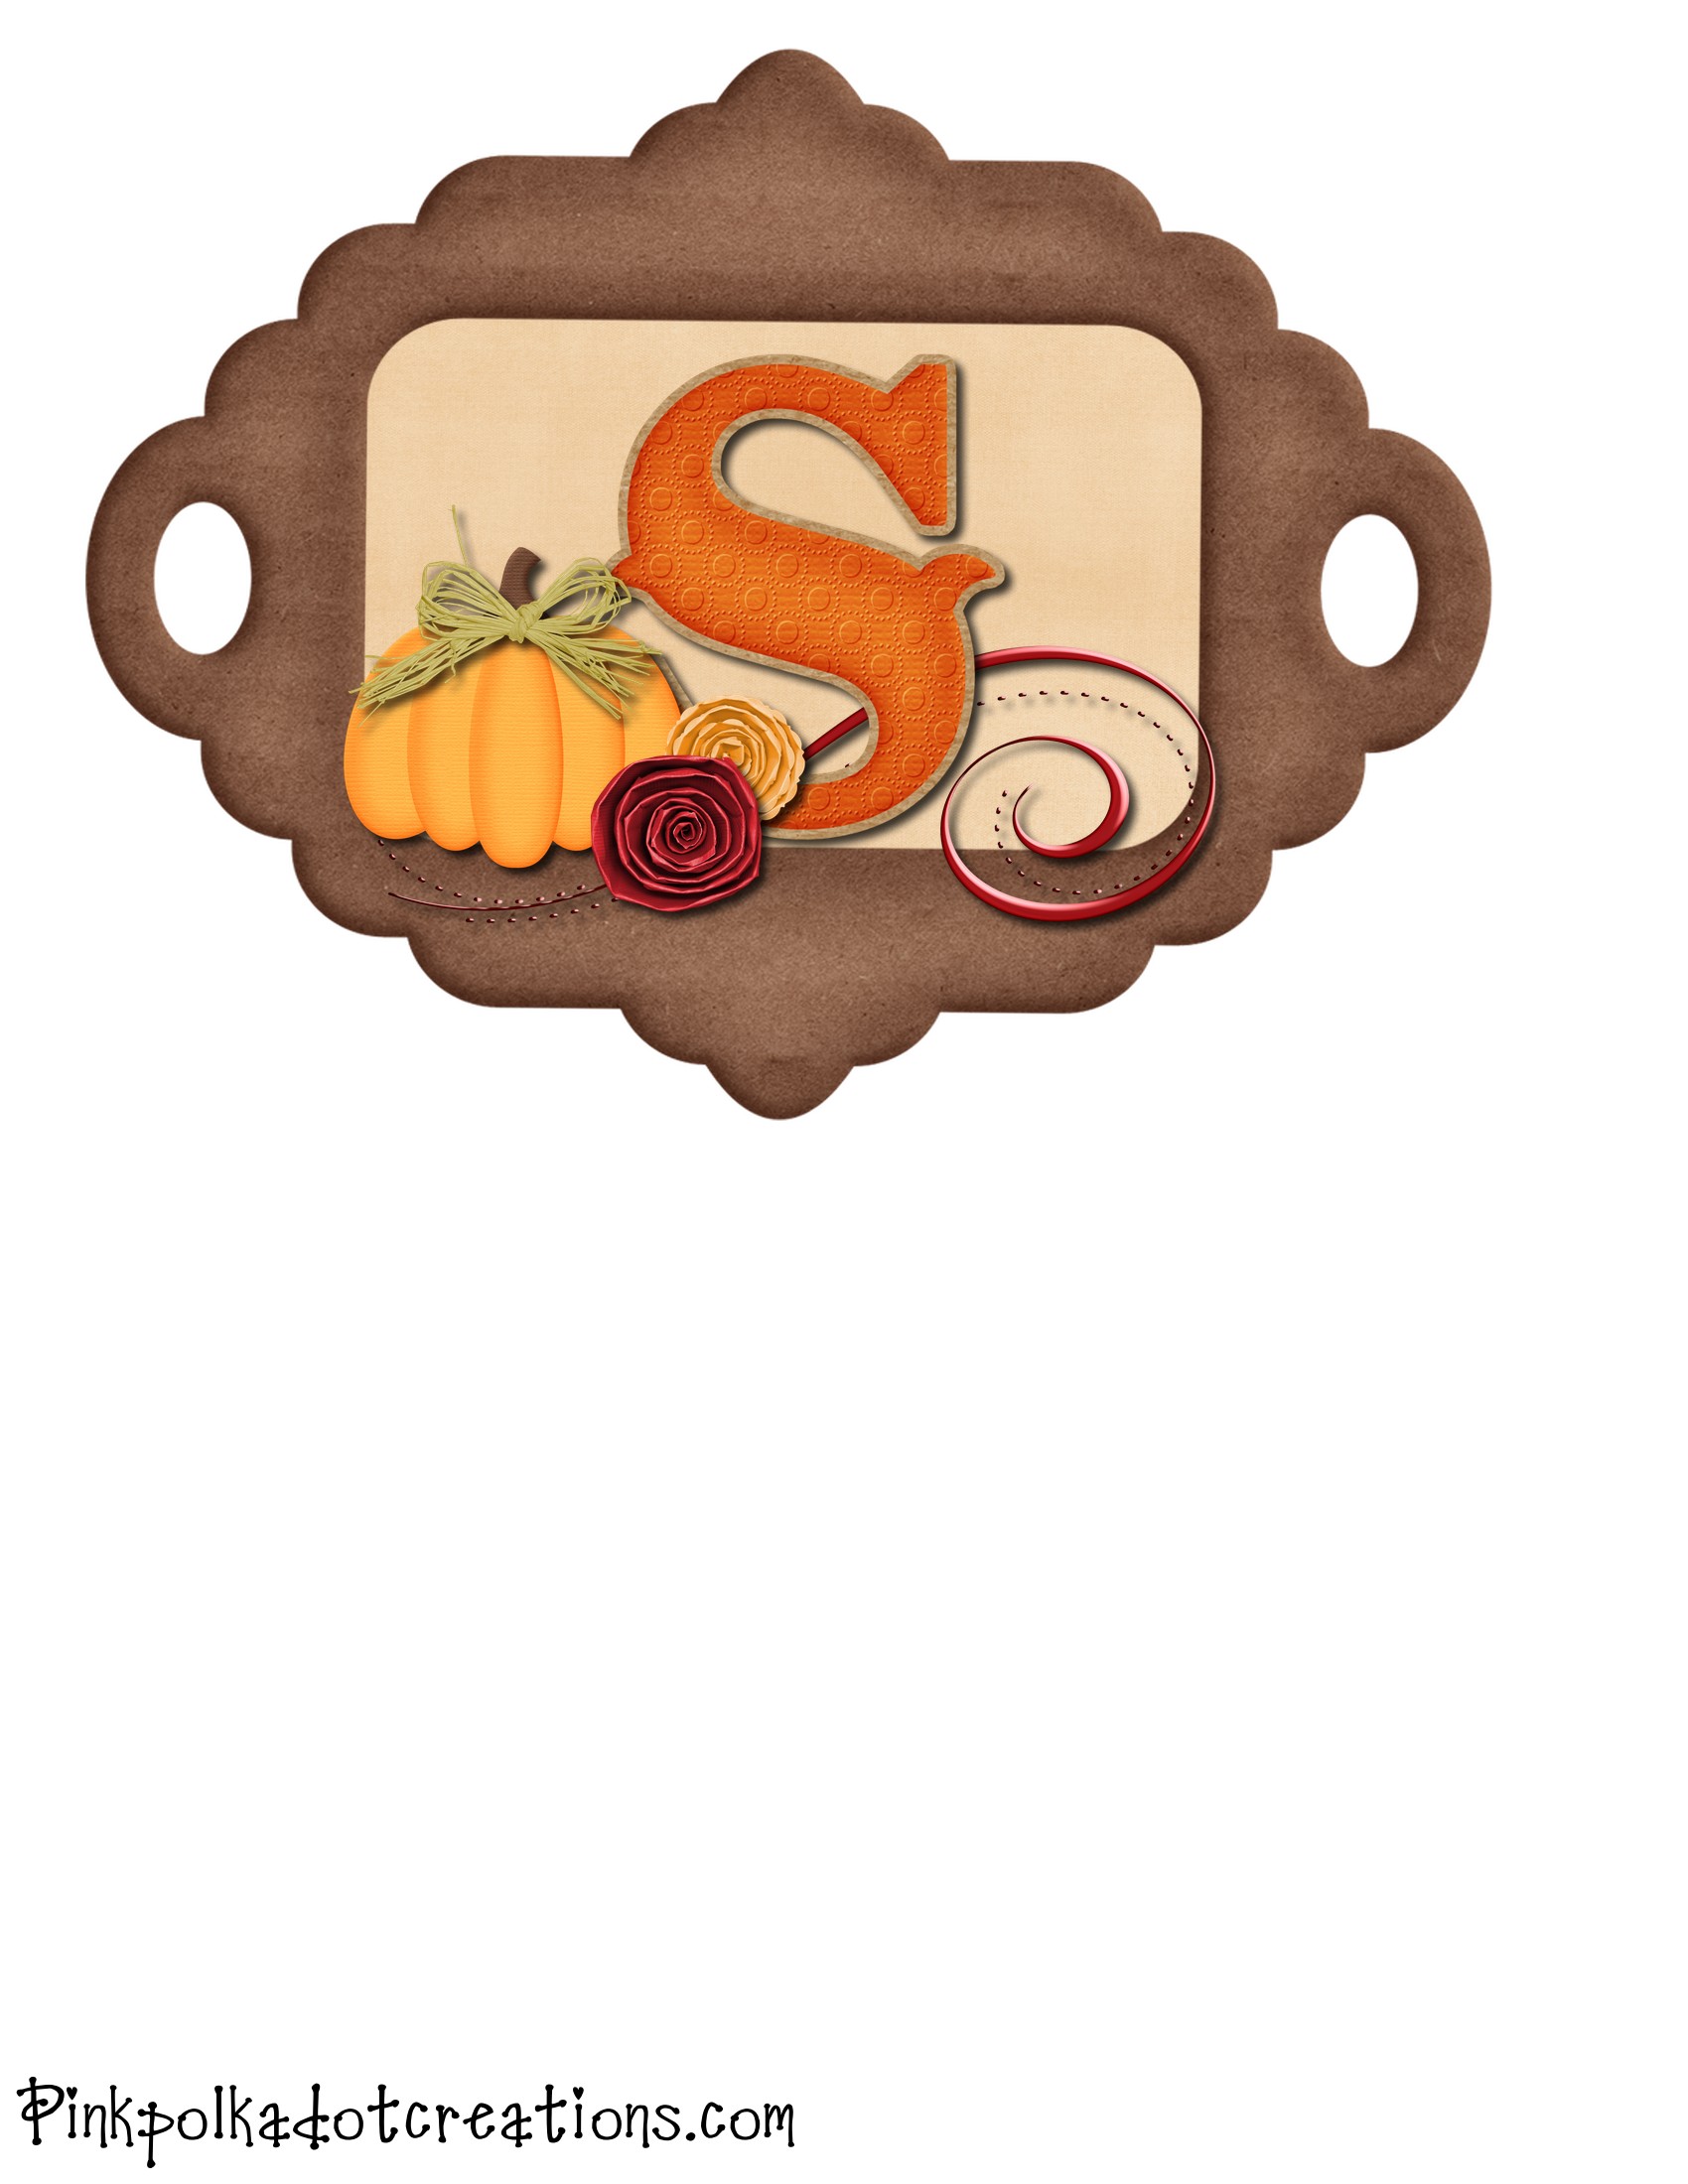
Here is the  cute “Give Thanks” banner that I did as the guest post last week.  It is a free printable, that you just print out, laminate if you wish and tie together with cute ribbon.  This would be cute hanging above your Thanksgiving table, a doorway, or on your fireplace.  (Look how cute it is with my Thanksgiving subway art board, that I made at Landee’s craft night!)

Here are the printables.

To print, just right click and go to copy.  Then open your favorite program, like Word,  right click again and go to paste.  They are in an 81/2 x 11 format, so you can just print them.  You can also email them to your favorite printer.  In my area (Utah) you can send them to Alphagraphics and they will print them for about 55 cents each and that is on card stock.  So that is pretty inexpensive!

I used an oval paper punch to punch out the holes, but you could just use a regular punch, or cut them out with your scissors.  The ribbons cover up the holes, so you do not see them anyway.

Happy Thanksgiving!