Category Archives: Gift ideas

March Visiting Teaching Handout


This month the message is titled “Daughters in My Kingdom” and it has a great message about how we are daughters of our Father in Heaven.  He knows us, loves us, and has a plan for us.

How wonderful the world would be if everyone knew just this one eternal principle!  So my handout this month is titled: “Lucky Me – I know:”

Continue reading

Knitted Dishcloths

When I was a little girl, only 4-5 years old my mother took me to a yarn shop called Hiendselman’s, in Provo, Utah.  They taught me how to knit!  It seems hard to believe now, but I can still remember the lady telling me “In – around – and through” and I remember even at that early age how I loved all the colors and textures of the yarns that were in slots on the wall!  So I guess that I have my mother to blame for all my craft making.  Even though she is no longer here, she started it!  Thanks mom!:)

It seems like every winter that I get the urge to start knitting these dishcloths.  They are the most wonderful  things because they are made with all cotton yarn and they absorb the water when you are wiping your kitchen counters.  They are also a nice big size for washing dishes!  I have made so many different colors and styles, but this is the pattern that I always come back to.  I use the Sugar  and Cream yarn and I can get two dishcloths out of one skein. Although the with new “twist” Peaches and Cream yarn, I could only get 3 dishcloths out of 2 skeins of yarn, even though they are the same yardage and weight, it is a finer yarn. (They are the red and green ones.)

Continue reading

Salted Caramels

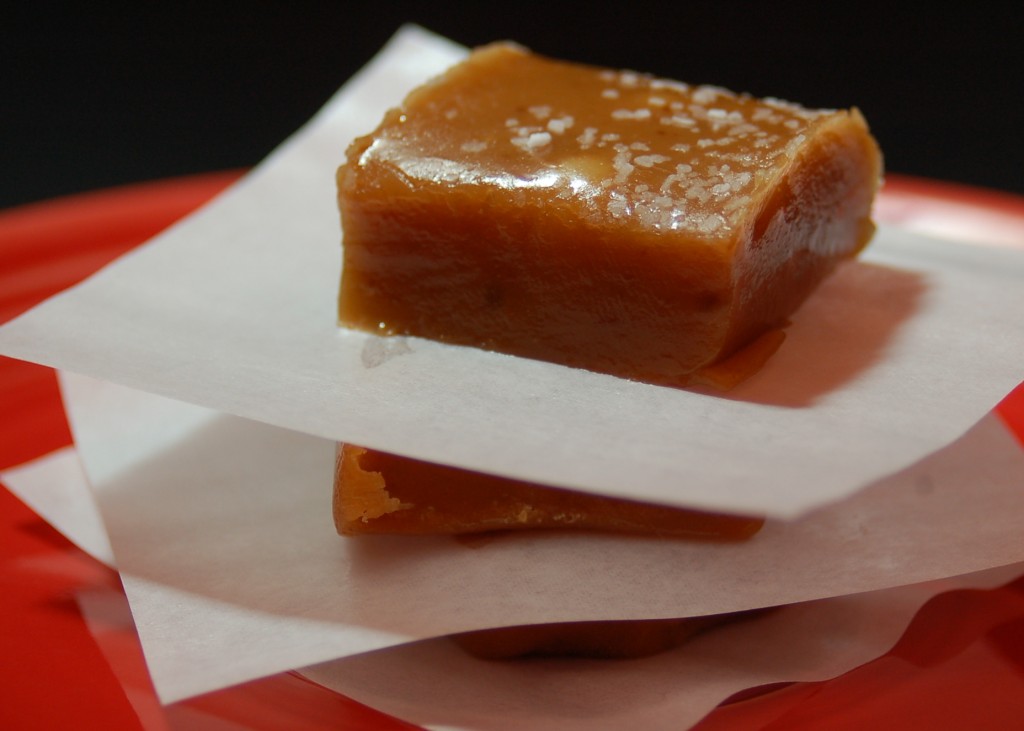
I saw a bag of salted caramels at a boutique in our neighborhood last weekend, but for some reason I did not buy any and then I could not seem to get them off my mind! So I came home a decided to give my hand a try at making some.  I found a recipe that used sweetened condensed milk and adapted it to make these.  I asked my husband to taste them and tell me what he thought.  He said that there was something wrong with them and I thought he was going to say that they were salty, but he said what was wrong was that you could not eat just one!  He loves them!  He has made several comments since on how good they are!  So that is quite the compliment!

Continue reading

The Ultimate Sugar Cookie

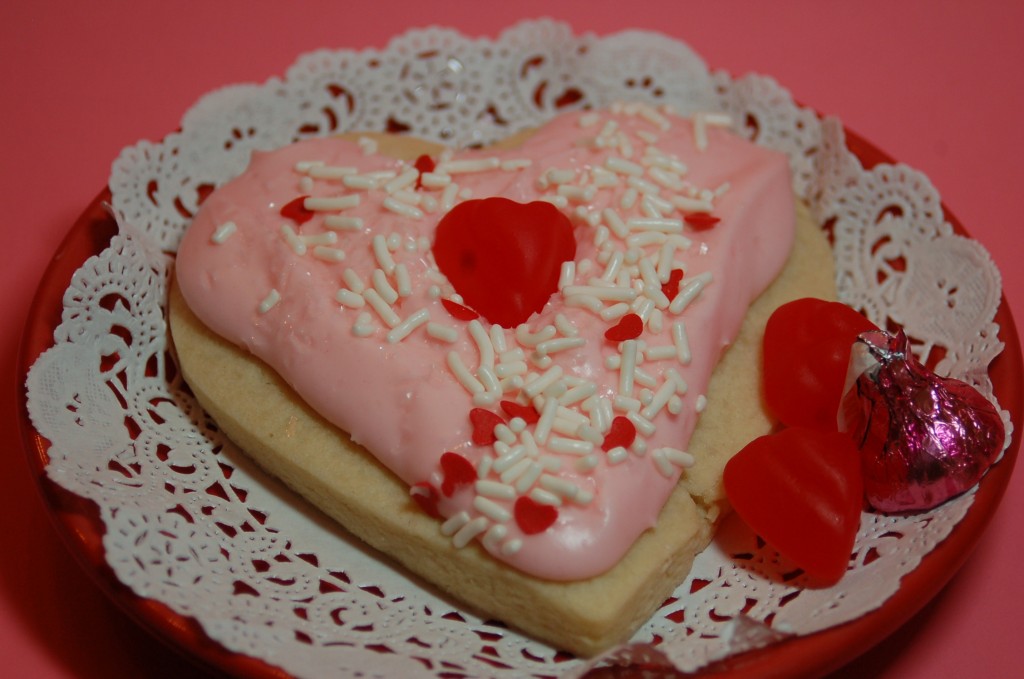
I finally broke down and made sugar cookies for Valentines day.  I say that because I know that if I make them I am going to eat them!  This recipe really is “The Ultimate Sugar Cookie.”  I don’t know if any of you ever go to the little cookie shops around your area and get a big sugar cookie with the cream cheese frosting and you savor every bite, well here is the recipe for those big fat cookies!

Continue reading

Chocolate Raspberry Cups

Woot, Woot! My rss reader has had a post teaser on it that I could not seem to get removed, but it is now off!  Yeah!  I think that I might have actually jumped up and down and shouted for joy!

So let’s celebrate with a little chocolate!

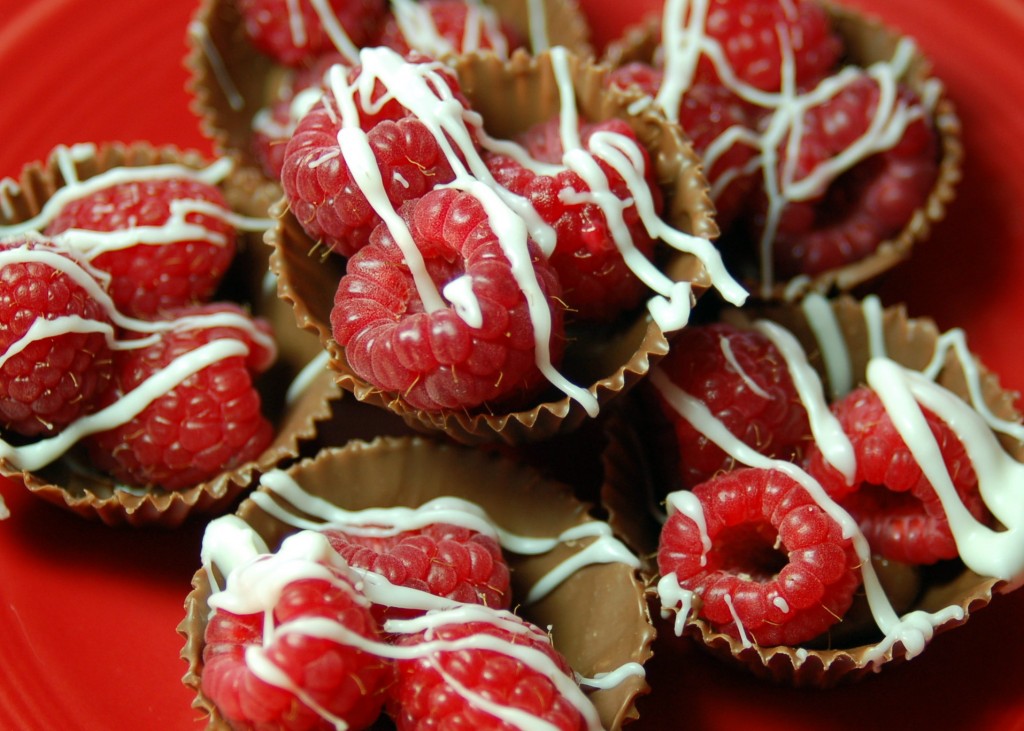
I saw these in an ad that came in the mail and I decided to give it a try and see if I could make some on my own. I liked the results and my family loved these!

They are beautiful to look at and oh so yummy and wouldn’t these be a fun little Valentine gift for that special little someone? Continue reading

Chocolate Oreo Cookie Flowers!

I promised you yesterday that I would show you how to make the Chocolate Oreo Cookie Flowers.  They are so fun and easy and there are just a couple of tips to help you so the cookie part does not break quite so much.

So who is ready to make Chocolate covered Oreo Cookie Flowers?

Continue reading

Valentine Chinese Boxes

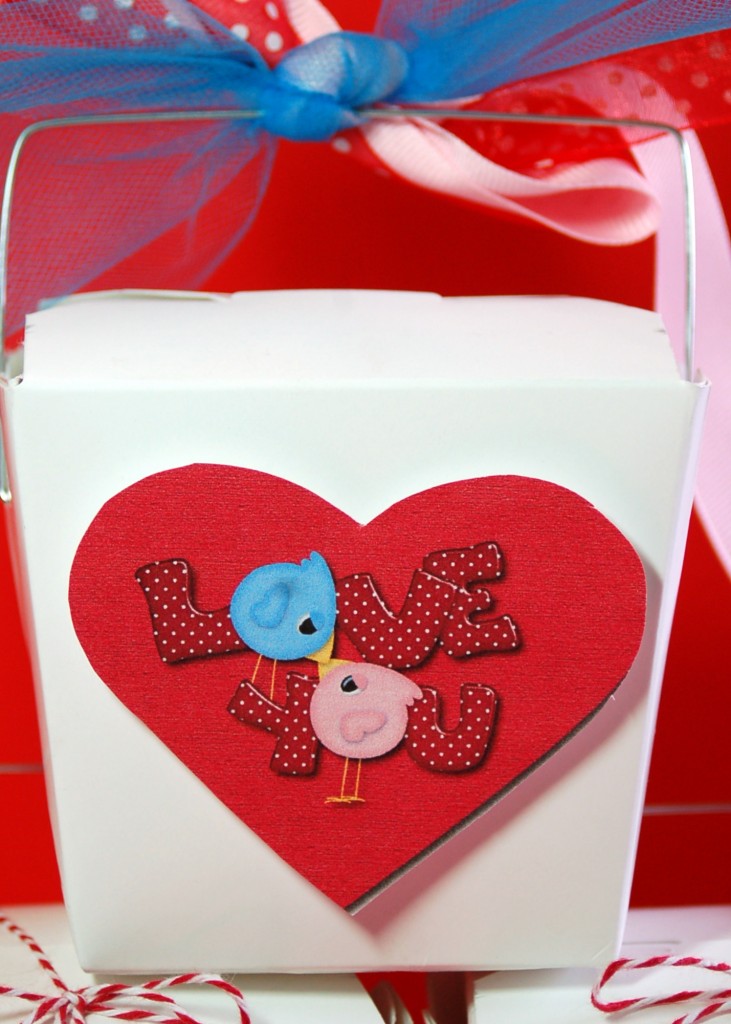
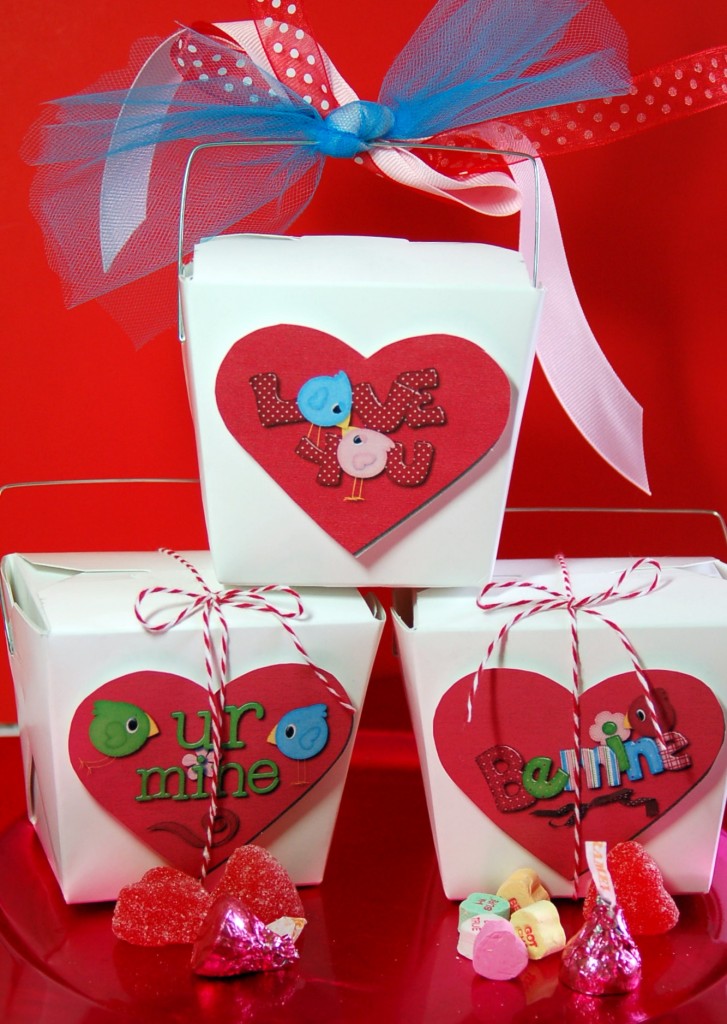
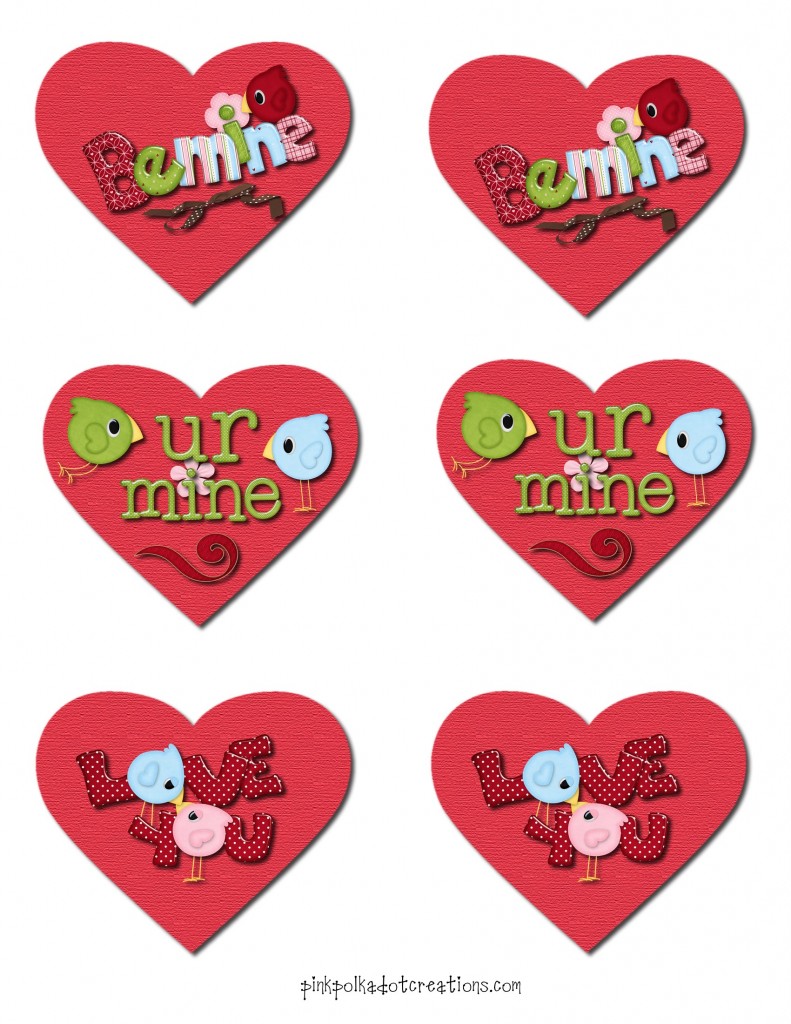
I got some Chinese take out boxes at a Gygi’s a while back and they are perfect for putting a treat or small gift in.  You can find them at most party supply stores, restaurant supply, craft store or even your favorite Chinese Restaurant! I love that they are a perfect size for cookies, cupcakes, jewelry, treats like candy, popcorn, or nuts!  So I decided that I needed to make a heart to put on the front of them to give away for Valentines Day!  Here is my version of the love birds!

I made three different styles and they look cute with ribbon tied on the handle or wrapped around the box with bakers twine.  You can decorate as lavishly as you would like or keep it as simple as bakers twine!  I used pop dots on the back of the heart to give it a little bit of dimension, but you could also just glue it directly to the box.

So does anyone want to make some Valentine Chinese Take Out Boxes?

To print, just right click and go to copy, open your favorite program like Word or Presentations, right click again and go to paste.  Then simply print.I hope that you are all having a great Monday.

Thank you for stopping by today!

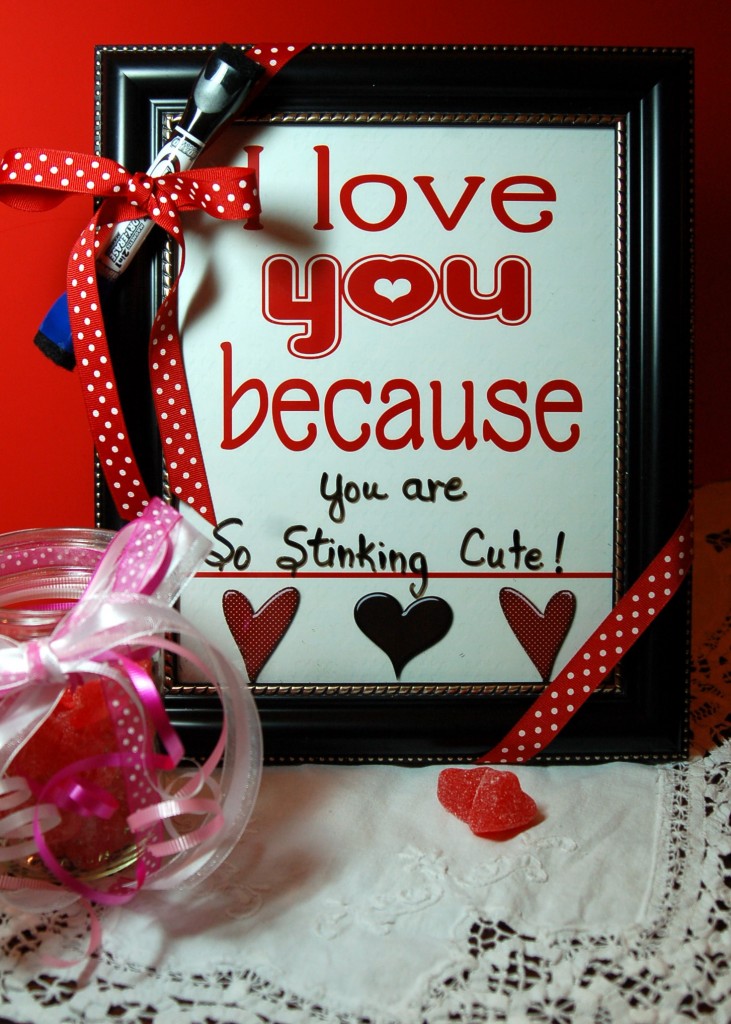
I Love You Because…

I saw this idea the other day when  I was out shopping for things for our princess party and I fell in love with it.  So I decided to make one for me, and one to share with you!

 I tend two of my grandchildren a couple of times a week and the 6 year old is just starting to read and she laughed and laughed when she figured out what I had written.  For some reason it really tickled her funny bone.  I thought this might be fun to write something different every day.

 You will need a frame with a glass front and a dry erase marker.

I did mine in an 8 x 10 frame, but you can use whatever size you wish.  You do not want to go too small because then there is not a whole lot of room to write the “because”s.    You will need to print it off;

 To print, just right click and go to copy.  Open your favorite program like Word or a Presentations program, right click again and go to paste.
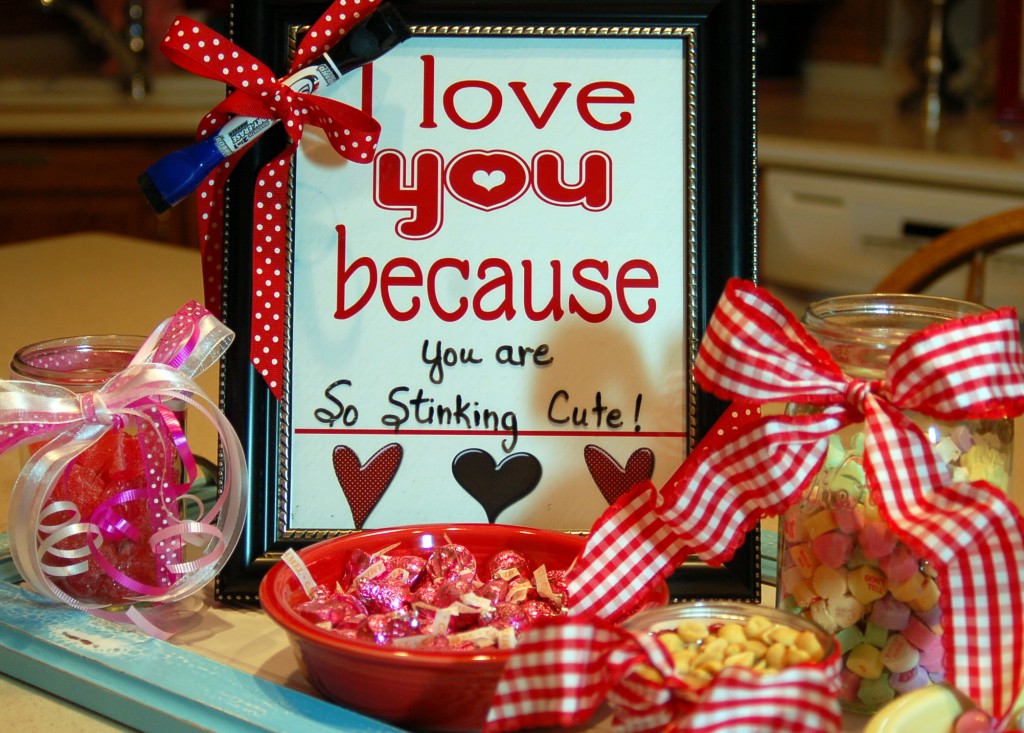
Insert print into your frame, tie a cute ribbon around the frame and tie the marker onto the frame so that anyone can write their special message.

Place it where everyone will see it…like in the middle of all these goodies on the kitchen counter!  :)

Have fun with this and let your imagination and your gratitude go wild!

Magical cookie Wands!

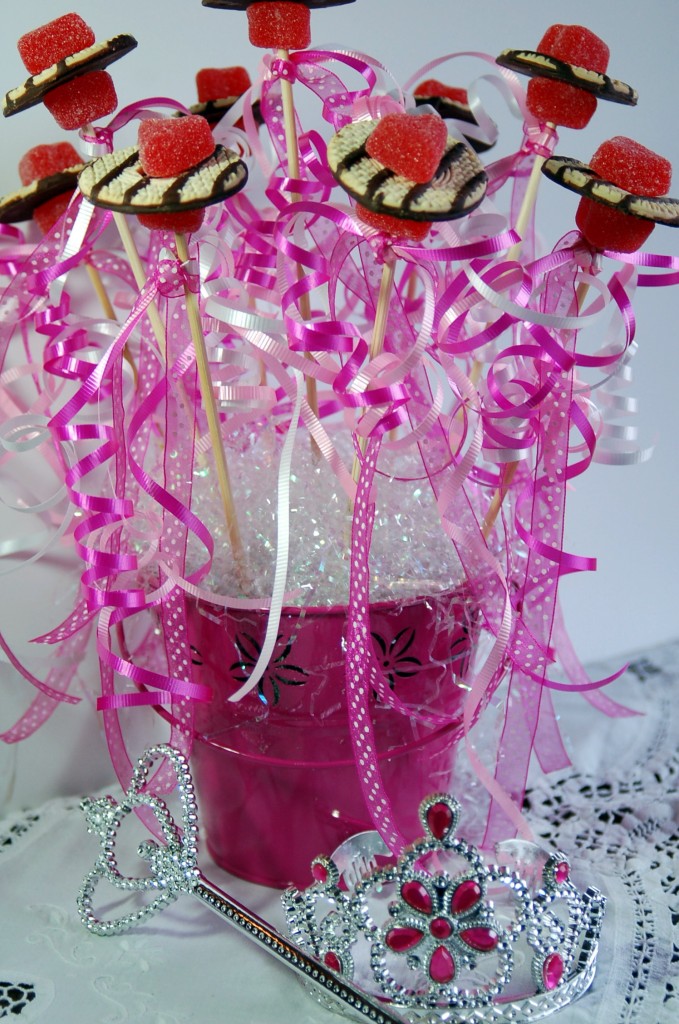
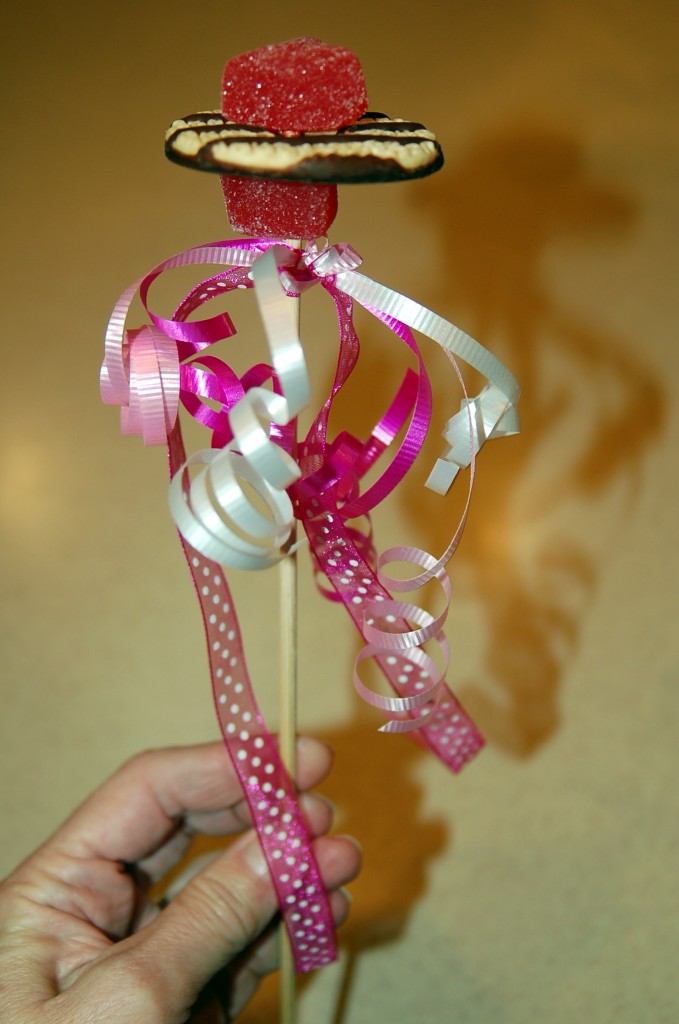
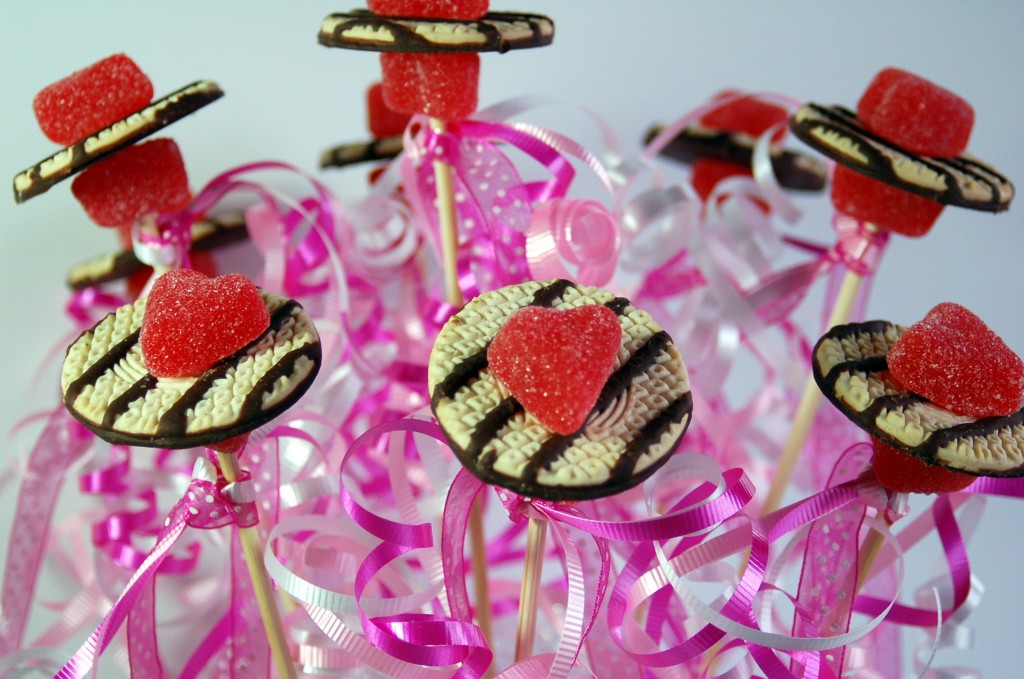
I made these for our princess party and they look so stinking cute in this little pink bucket!  I have been making these for many years.  They are great as a cookie bouquet for someone special or for a fun centerpiece!Do you want to know why they are magical?

Because there is no baking involved!

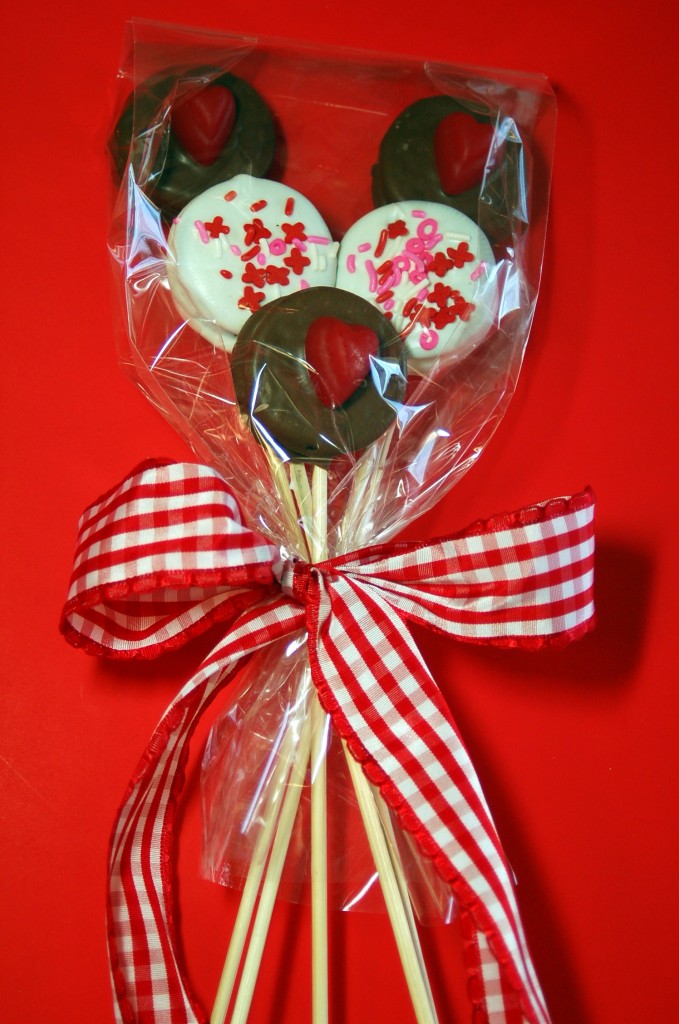
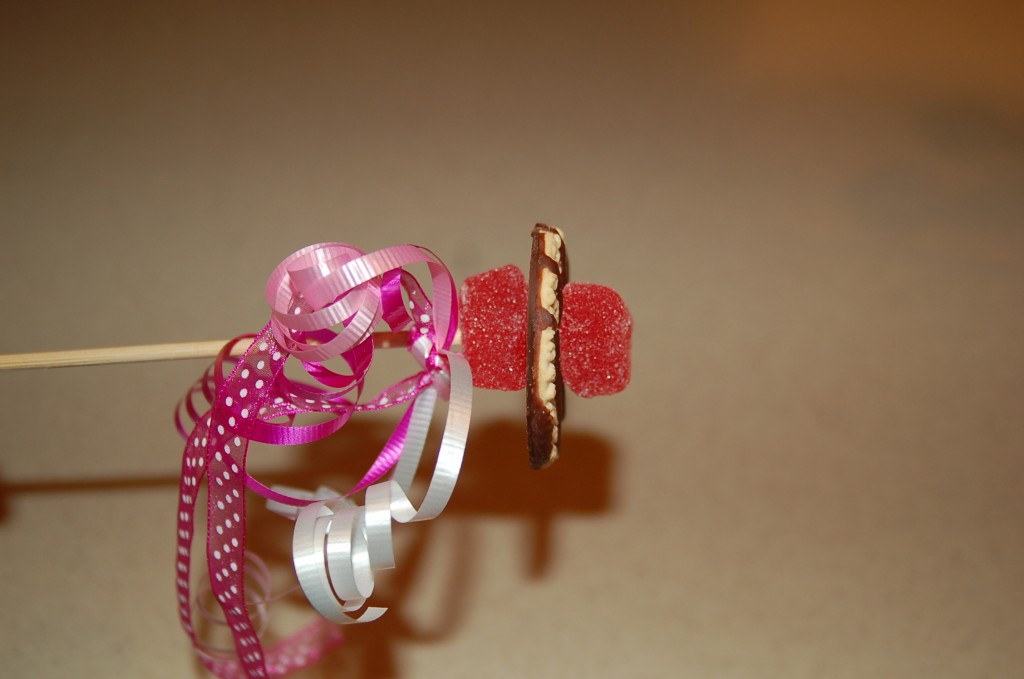
All you need is the striped shortbread cookies with a hole in the middle, some gumdrop or Ju Ju hearts and wooden skewers!  Push one of the hearts down onto the skewer, then the cookie, followed by another heart. So stinking easy and so cute.Then tie a bunch of ribbons below the gumdrop and you have a Magical Cookie Wand.  If you want to make this into a cookie flower bouquet just add green ribbons or tape silk or paper leaves to the “stem”.  Add a note that says, “Love you Bunches”Put into a container with some floral foam and grasses or moss etc.

It doesn’t get much easier than this to make a “Magical Moment” for someone special in your life!

Headband Tutu’s

I saw these made up at a boutique last fall, and thought what a cute idea it would be for my three granddaughters!  They love to dress up and pretend that they are princesses, so I thought they might love to play in these little tutu’s.
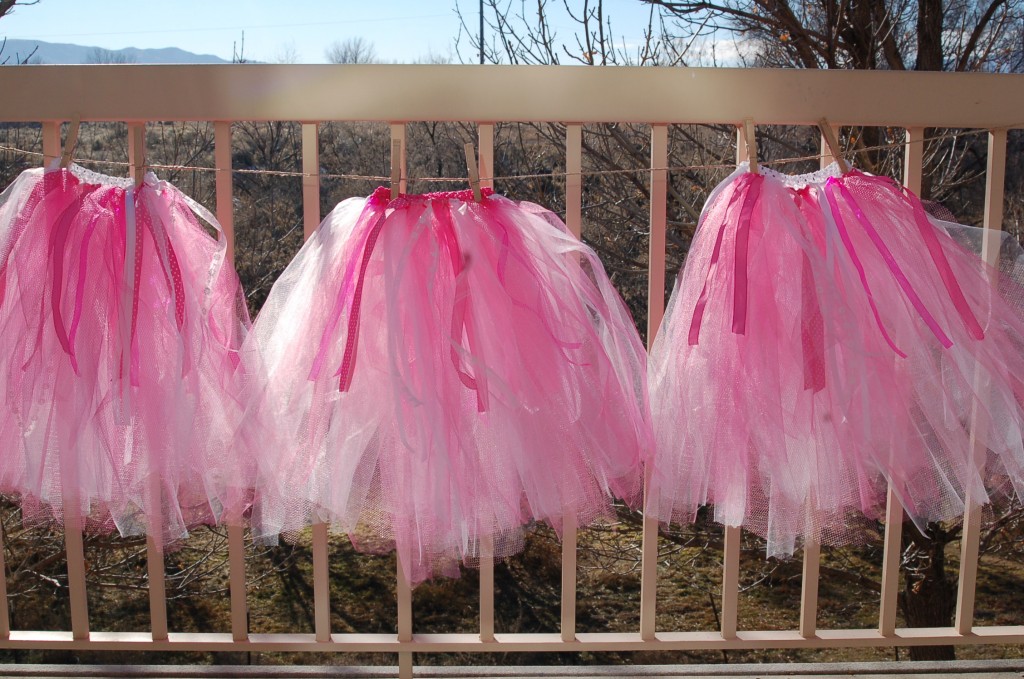
They were really fun to make and you could do any color combination that you would like. There is also no sewing involved!  So, who wants to make a tutu?

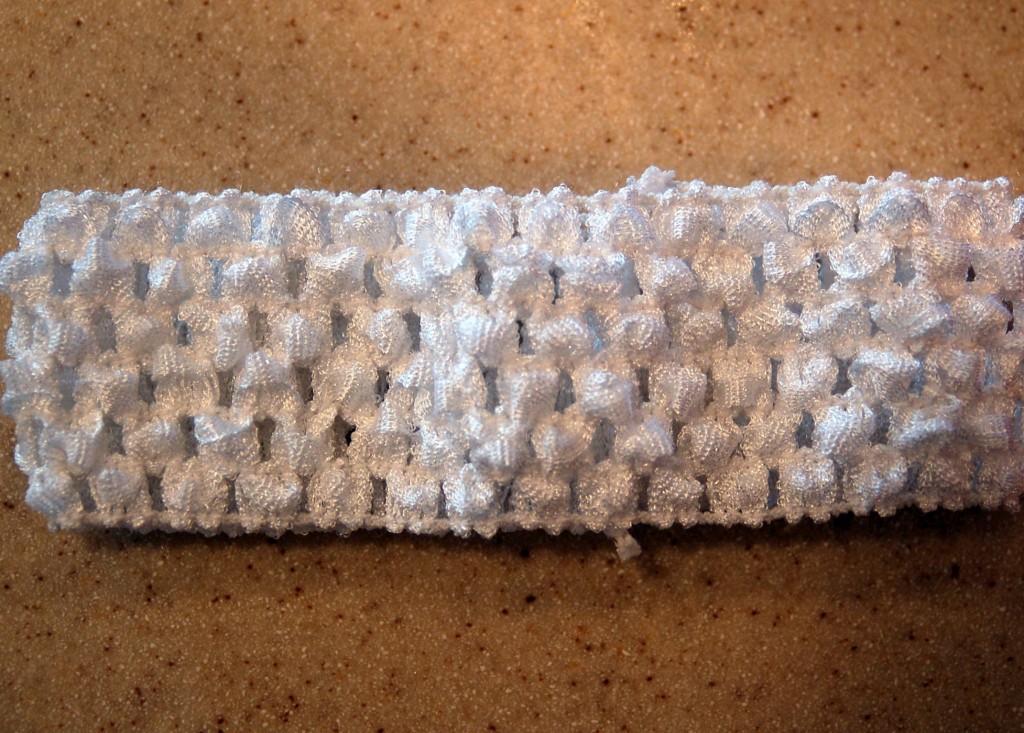
First, you will need one of these stretchy elastic headbands or you can just buy the elastic and make it into a headband.  I found white and pink ones.
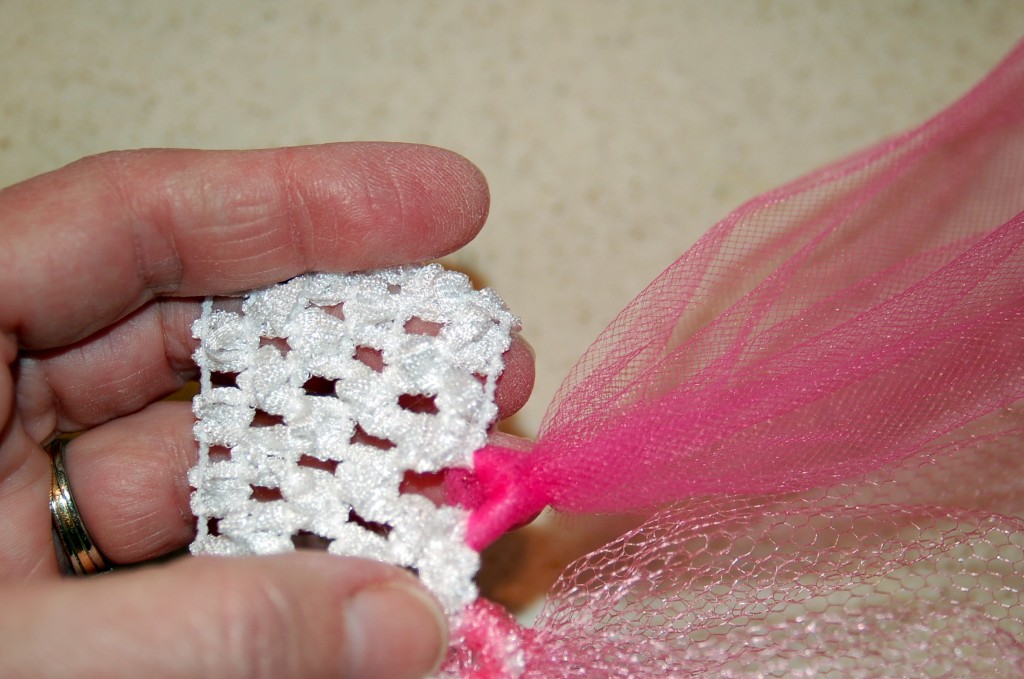
Then you need whatever color tulle you like.  I chose white, light pink, and dark pink.  I just used the tulle that comes on a bolt and all I had to do is cut the lengths that I needed.   My granddaughters are still fairly small, so I used a 36 inch length and when they are tied they are about 17 inches long.  The skirts are also are pretty full, so they are not quite that long when they are wearing them.   You can make them as long or as short as you would like.  Fold the length of tulle in half and put the loop through one of the holes like this:
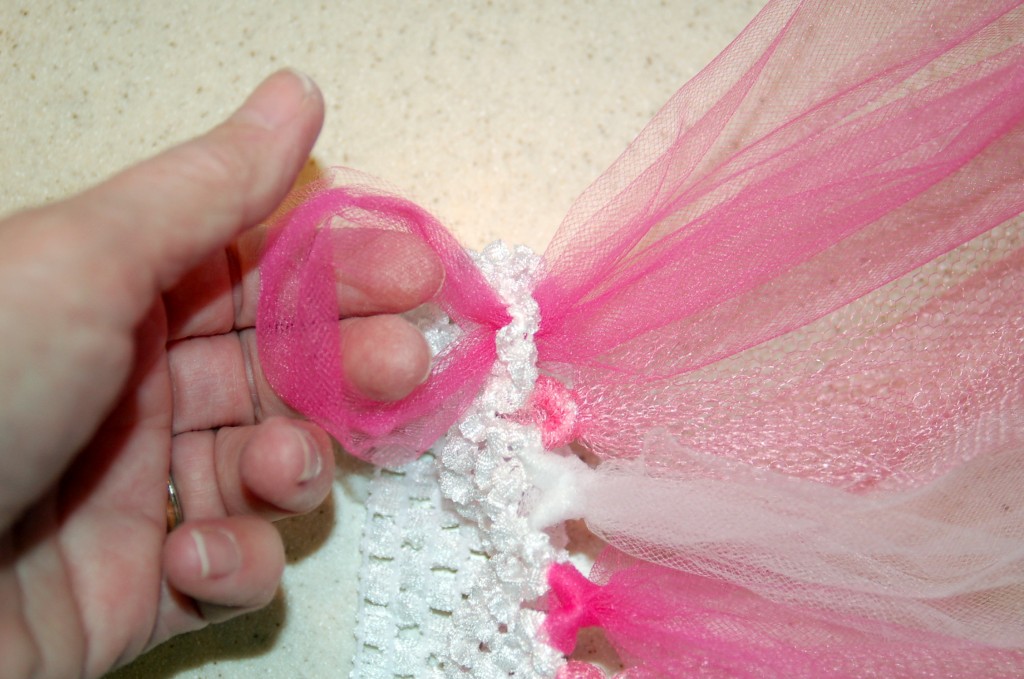
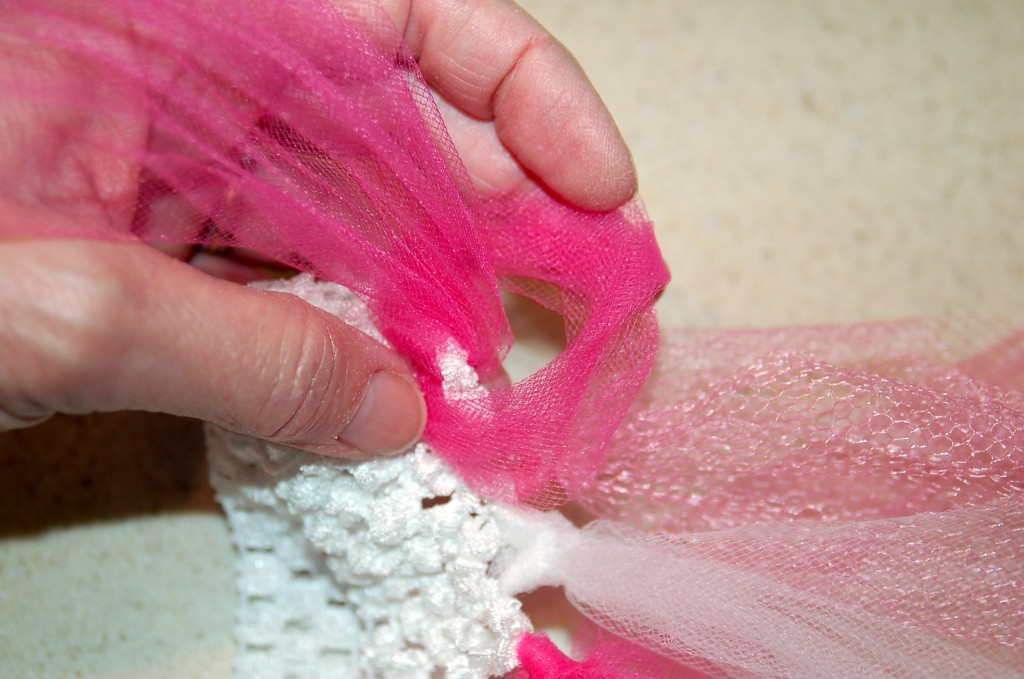
Then put the ends, through the loop:and pull tight like so.
I skipped every other hole and tied a different color in it,
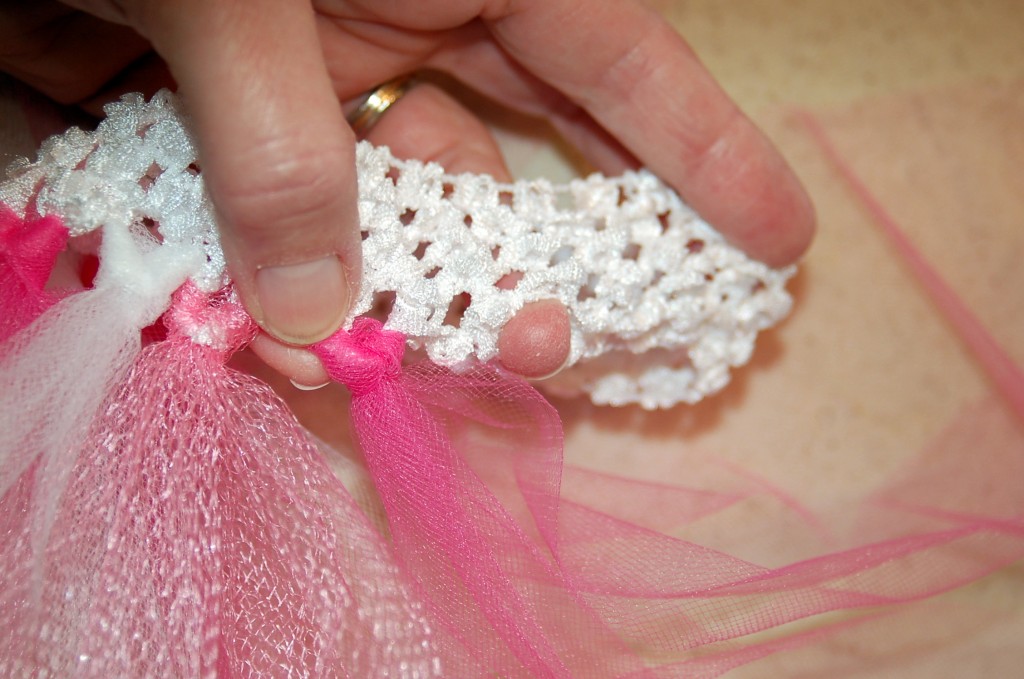
repeating until I had gone all the way around.
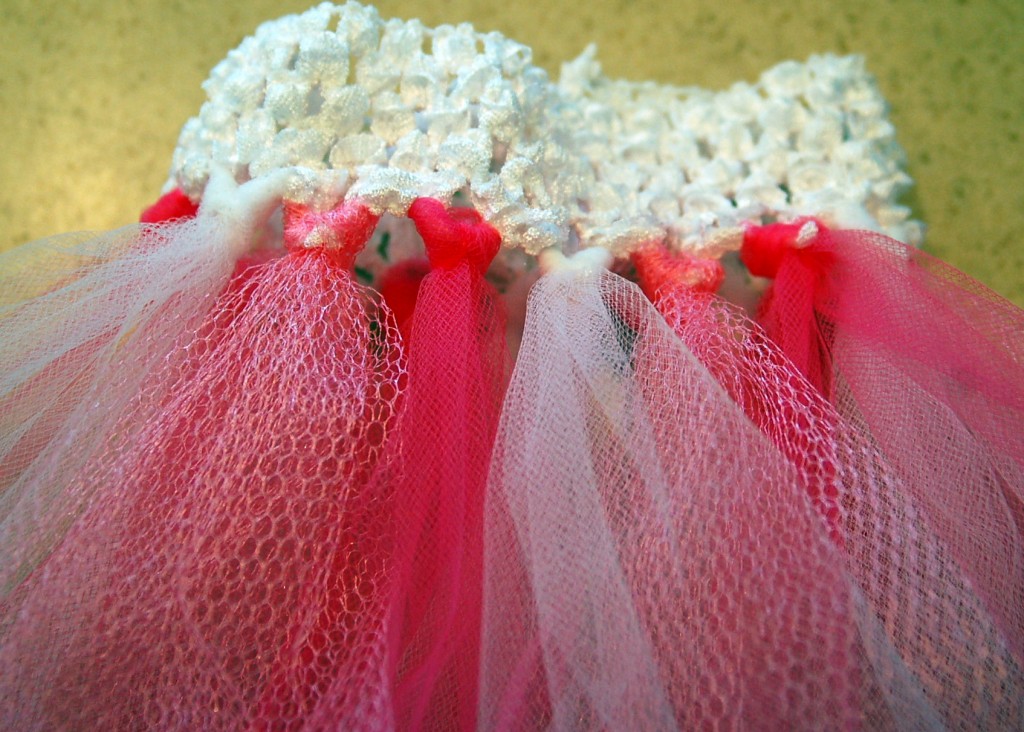
Then do one more row of tulle.  I went directly above the first row and tied the same color as I had on the bottom row.  You can mix it up if you wanted to, but I like the look of the colors being a little bit more grouped.
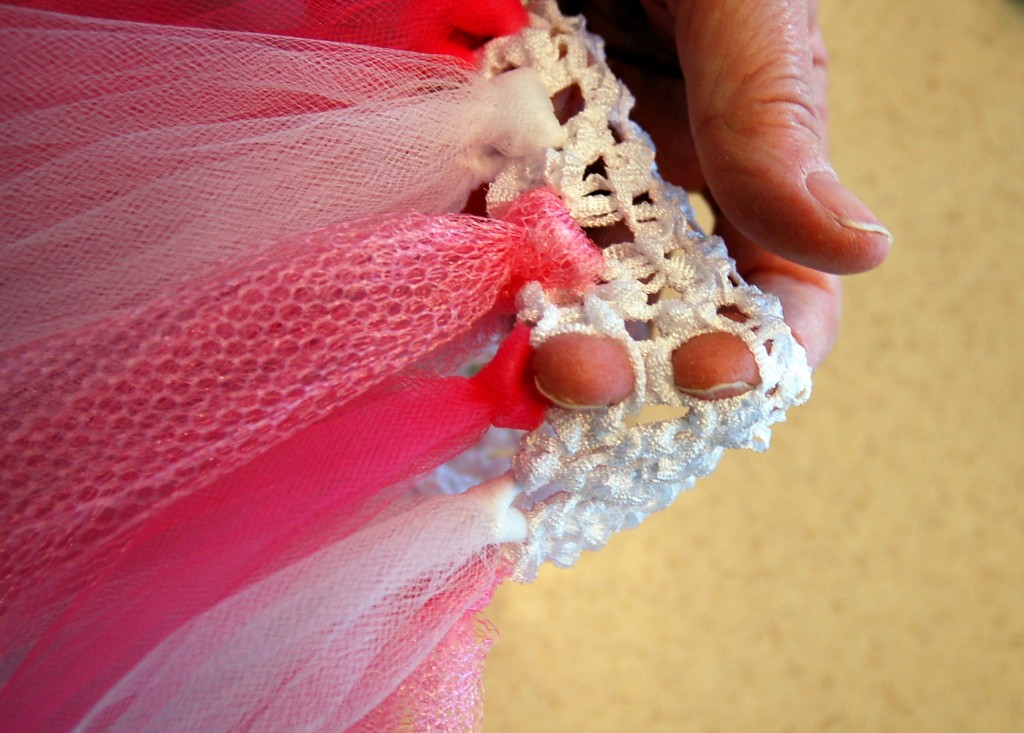
Then I went in between the rows of tulle and tied different lengths and colors of ribbon the same way as I had tied the tulle.  Tie the ribbons all the way around mixing the different ribbons as you go.  You could add flowers or beads or buttons on the ribbons at this point but I felt like these were great just the way they were.
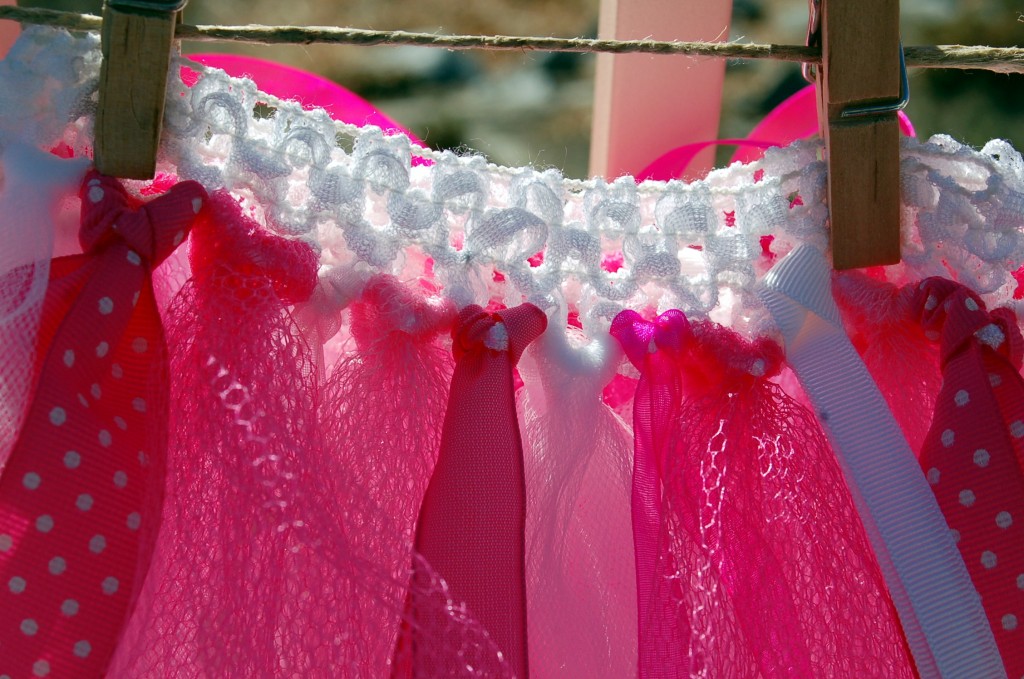
So cute and no sewing!
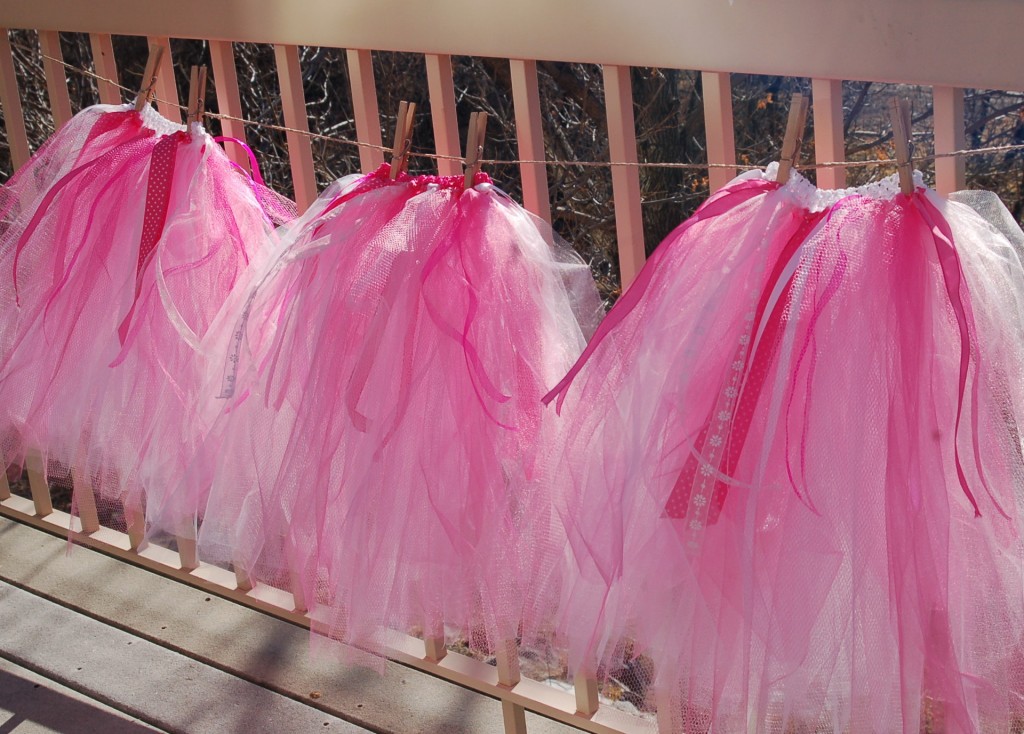
We are going to have a Princess Tea Party this week, so I will show you what they look like on the little girls after we have our party.