Category Archives: Gift ideas

Valentines Subway Art

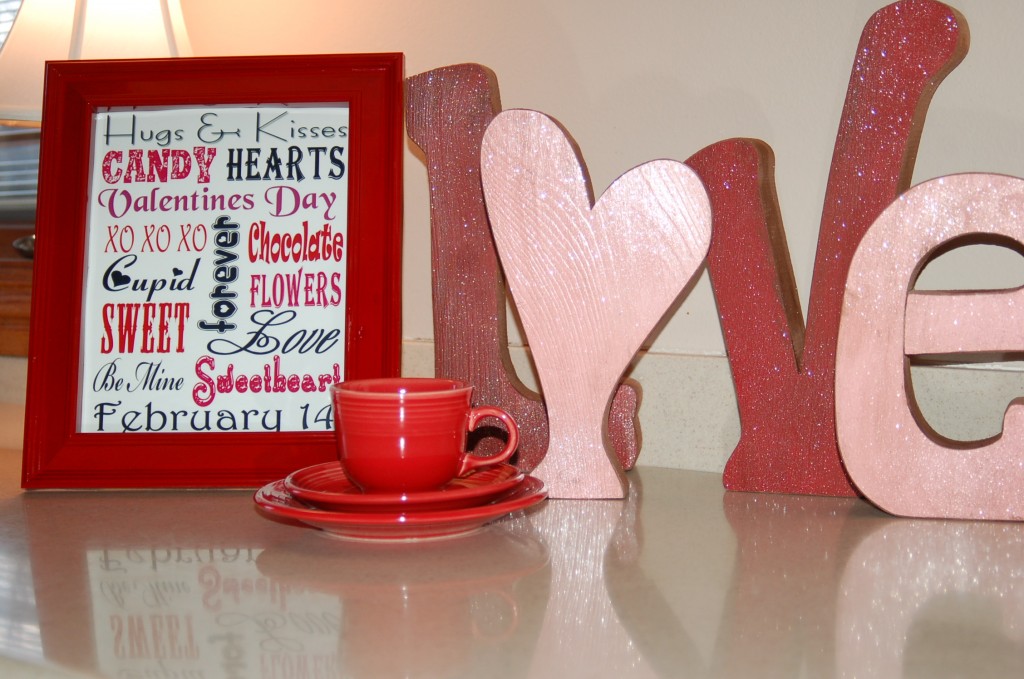
Is it too early to put out Valentine decorations?  I know the stores had them out the day before Christmas, but that is just plain crazy!  I know that there are a few of these already out there in blog land but I wanted to create my own version of a Valentines subway art.  It was fun to create and I think that perhaps I shall have to try my hand at this for Easter!

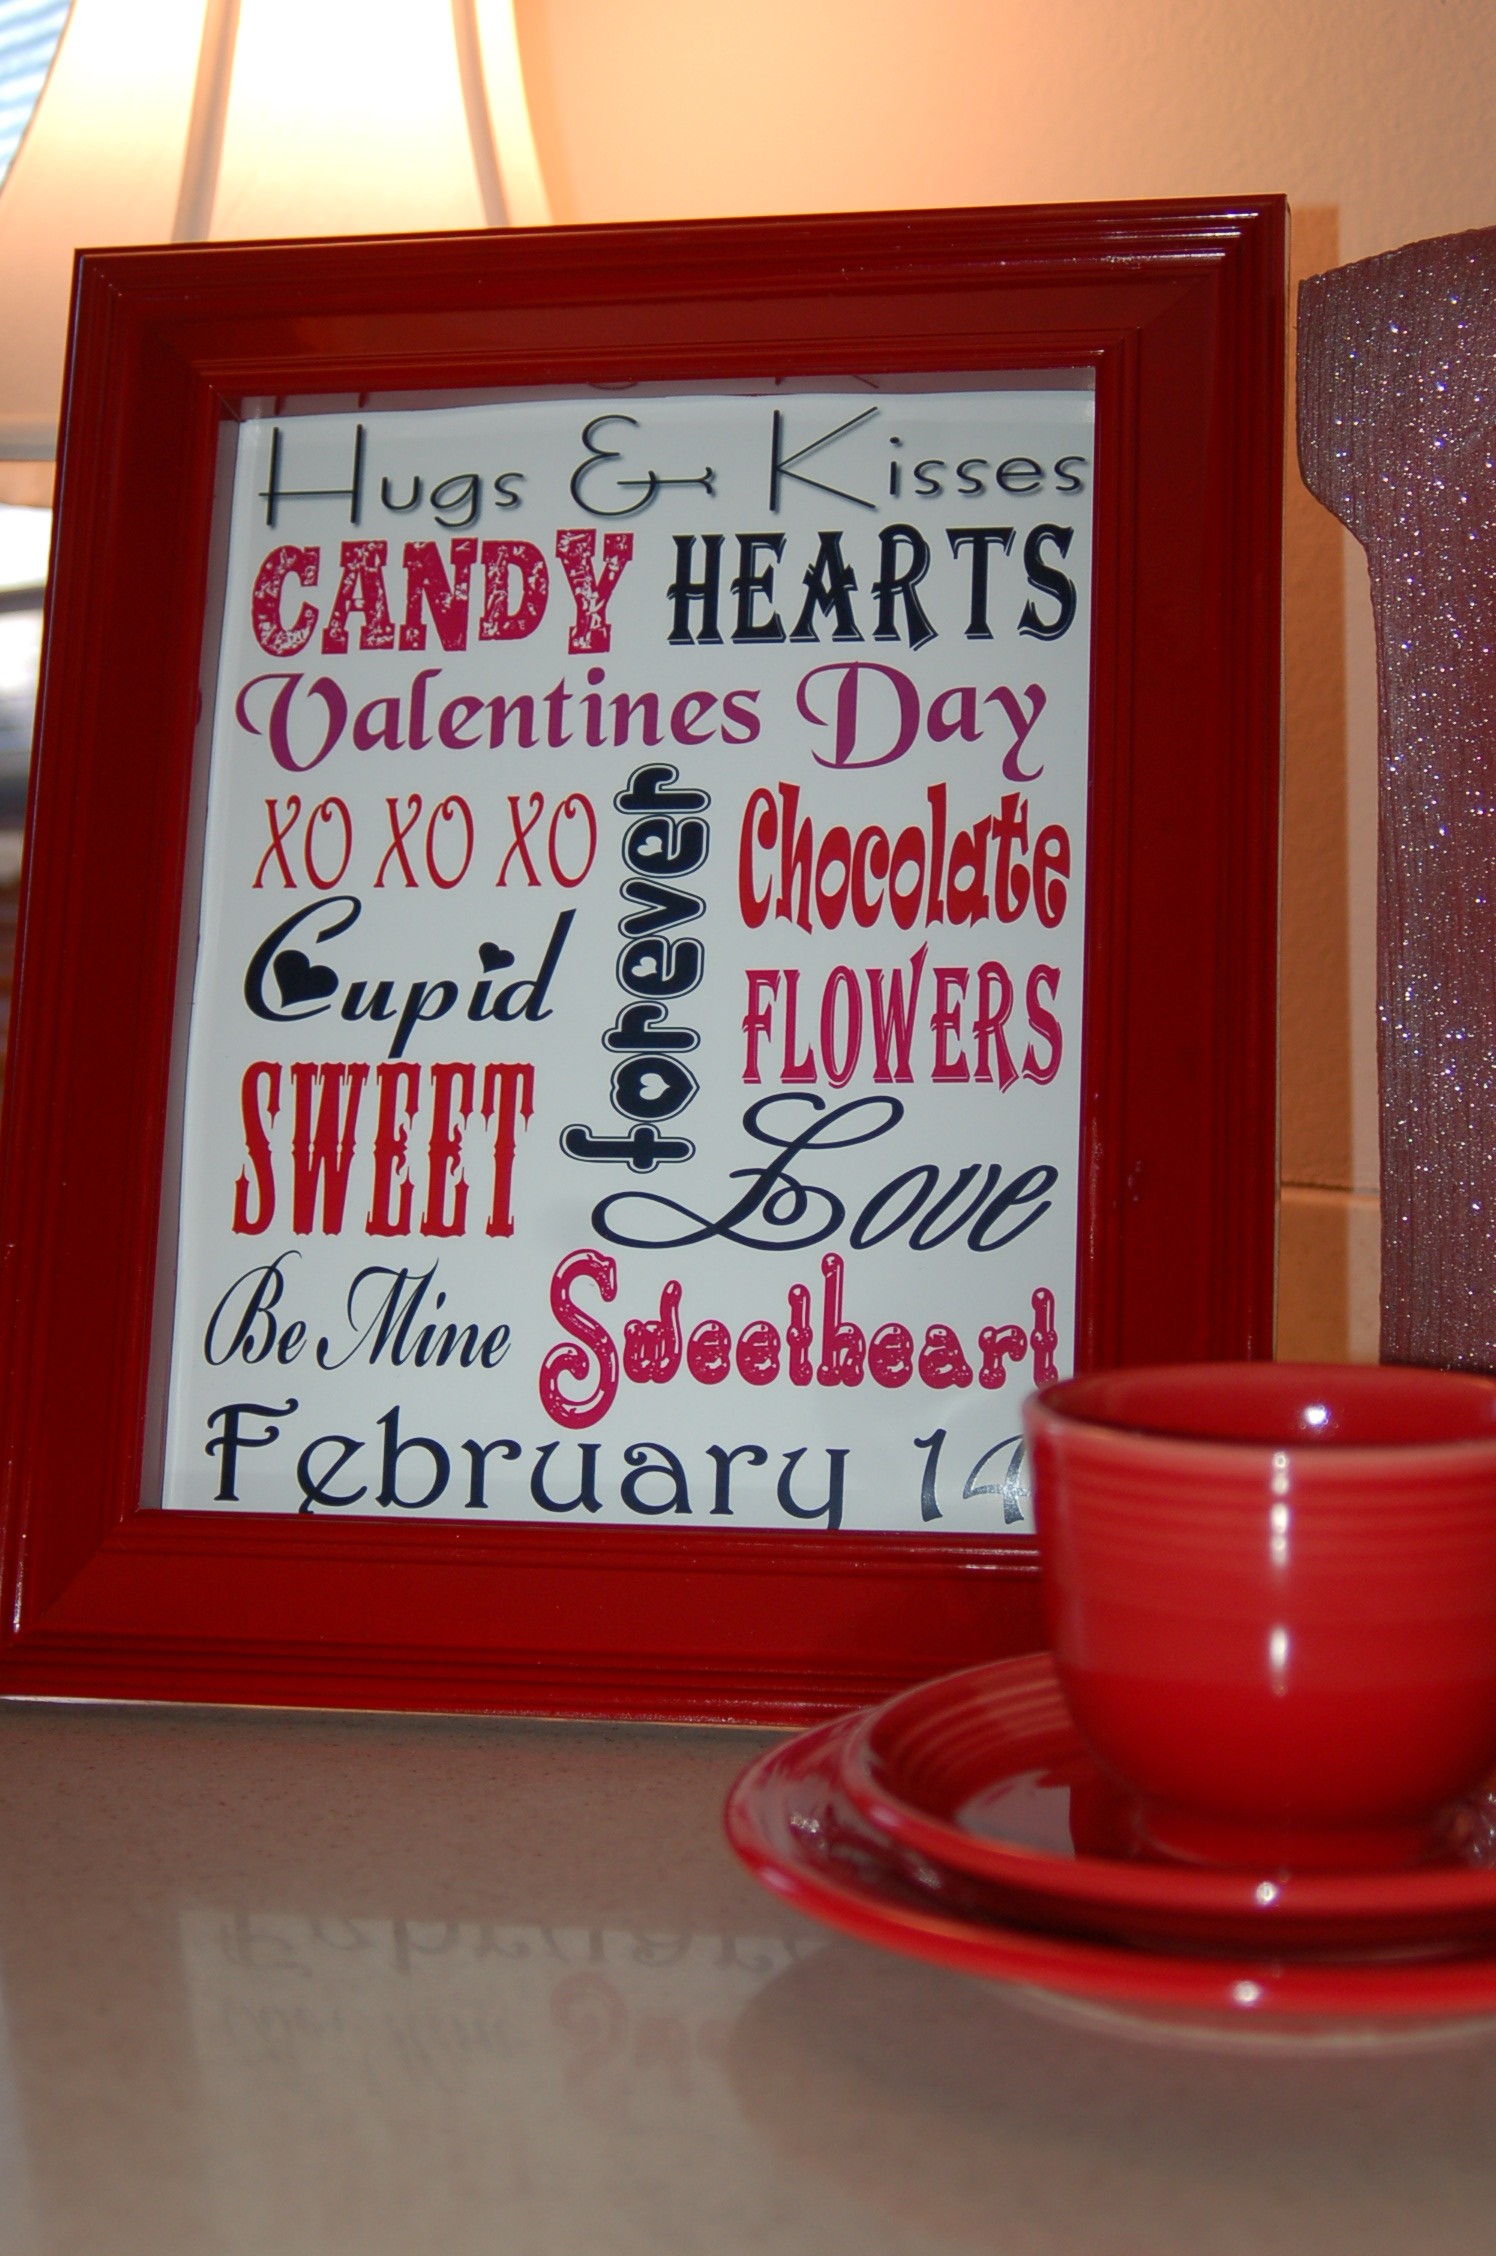
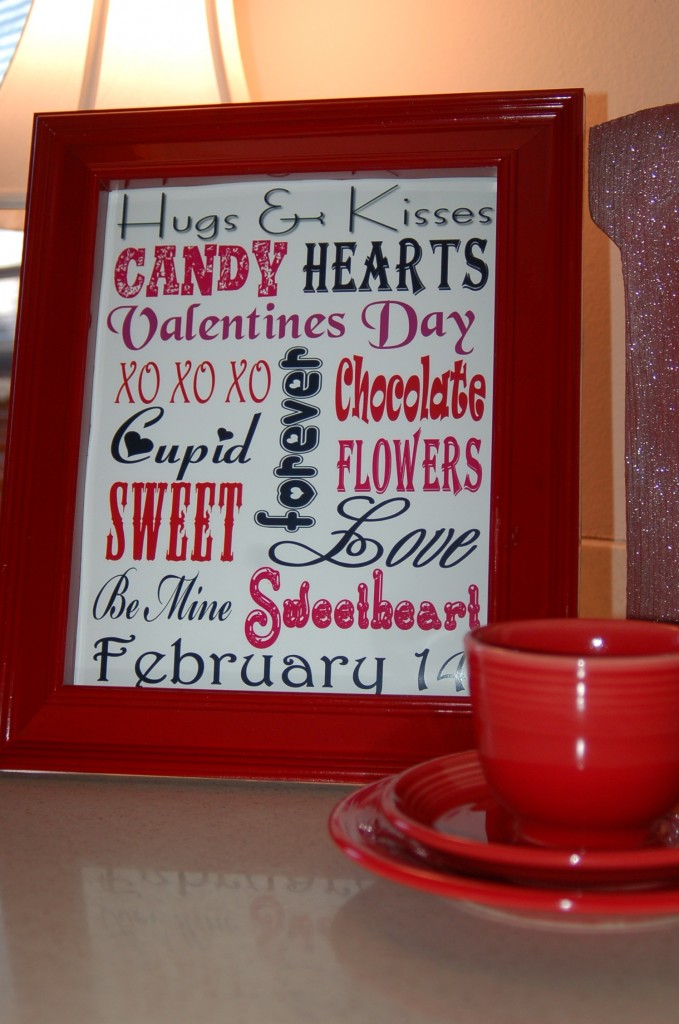
I found this frame at the dollar store and I spray painted it with a Krylon, red gloss paint.  The color really adds to the overall look of this project.

Here is the printable for you to use!  Just right click and go to copy, then open your favorite program like Word, or Presentations and right click again and go to paste.  The original is 8 x 10, but you can re-size it to whatever you would like.  I had mine printed on glossy card  stock and I think it looks great!

I have mine on my kitchen counter and it really brightens up my kitchen on these cold, dreary, winter days and makes me happy! :)   These would be a great little gift for teachers, friends, sisters, SELF etc!

Ruffled Scarf

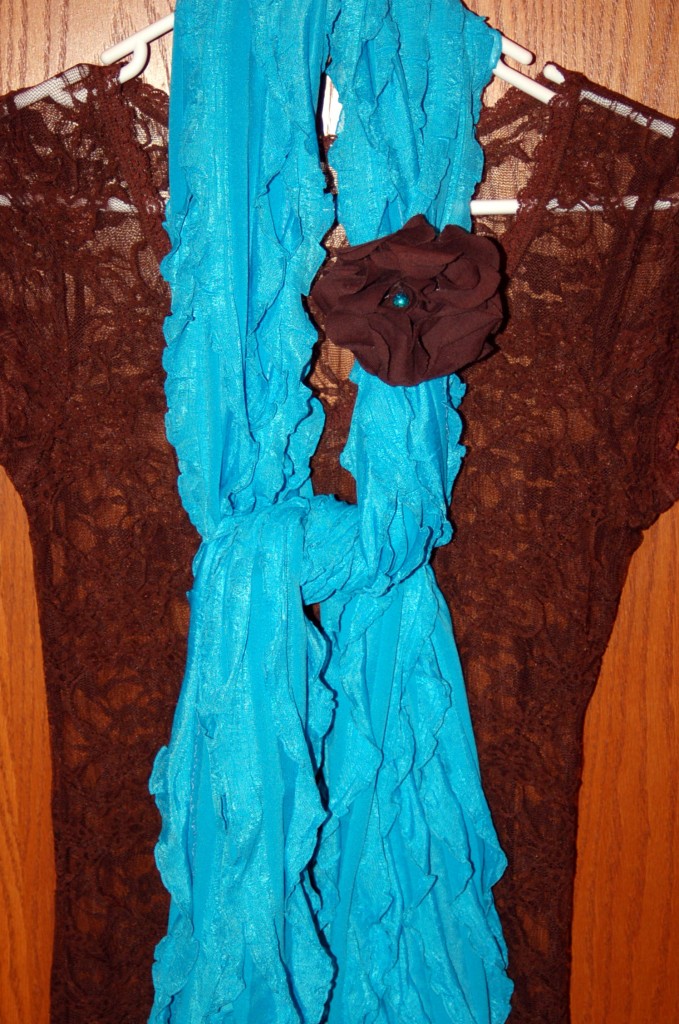
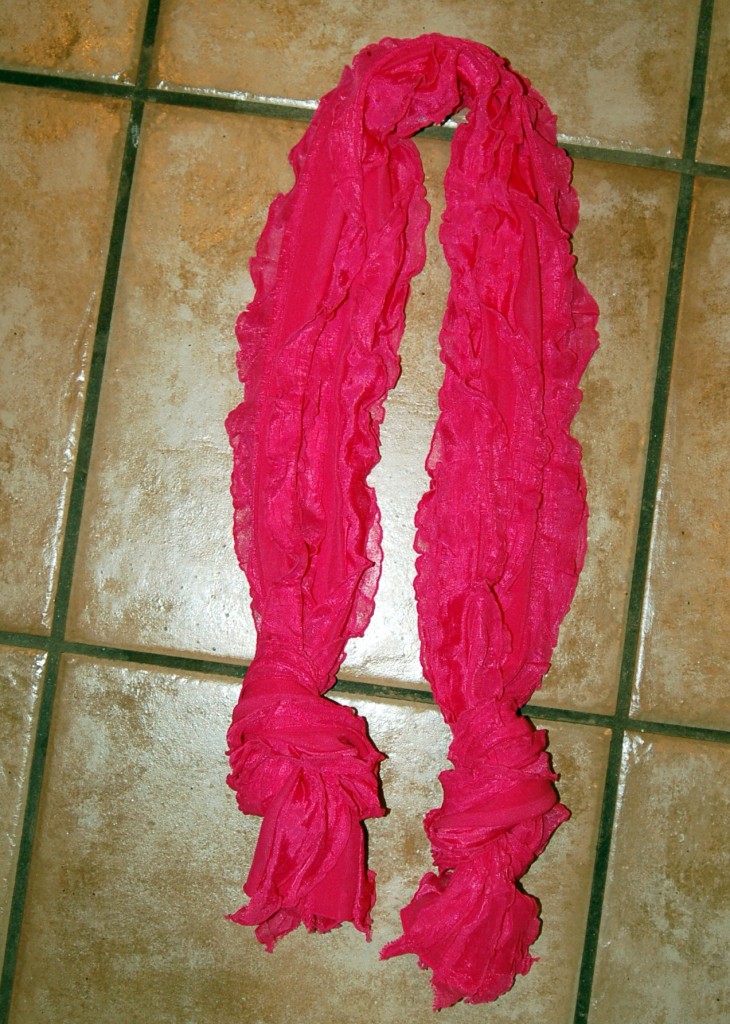
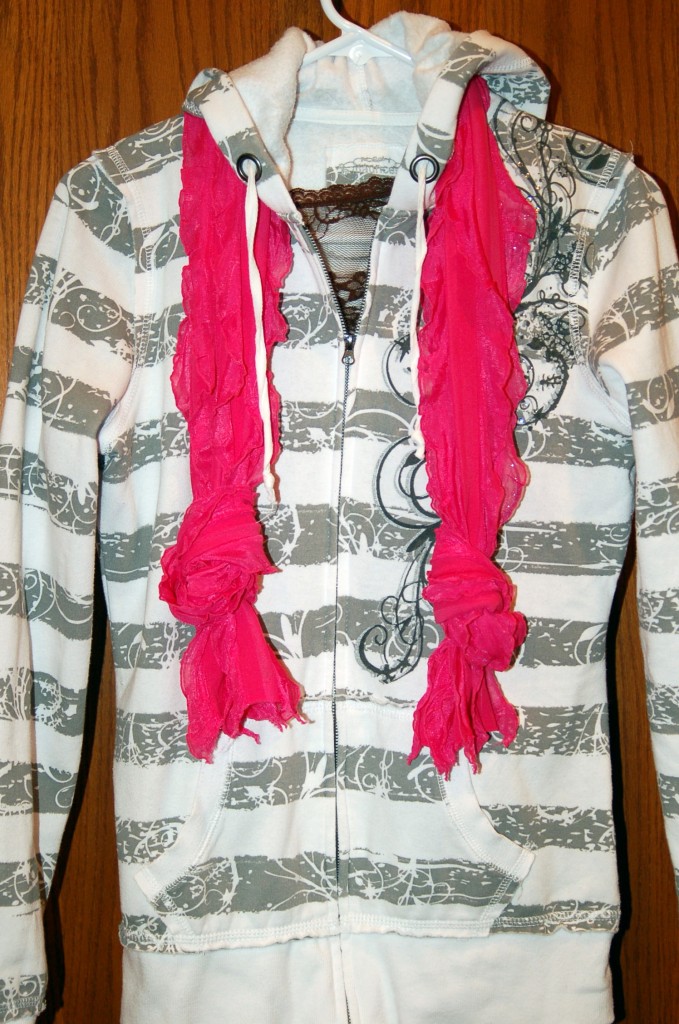
My sister gave me this darling ruffled scarf for Christmas and I love it, with the flower pin and all!  Our winter this year in Utah has been extremely mild and I find myself just grabbing a scarf when I go out the door instead of a jacket, so I have loved wearing this one with all the ruffles! I think it makes me look oh so pretty. :)

My sister made this scarf and so of course I wanted to make some more, because I love how cute the ruffles are and how easy it is to make!

So do you want to make one too?

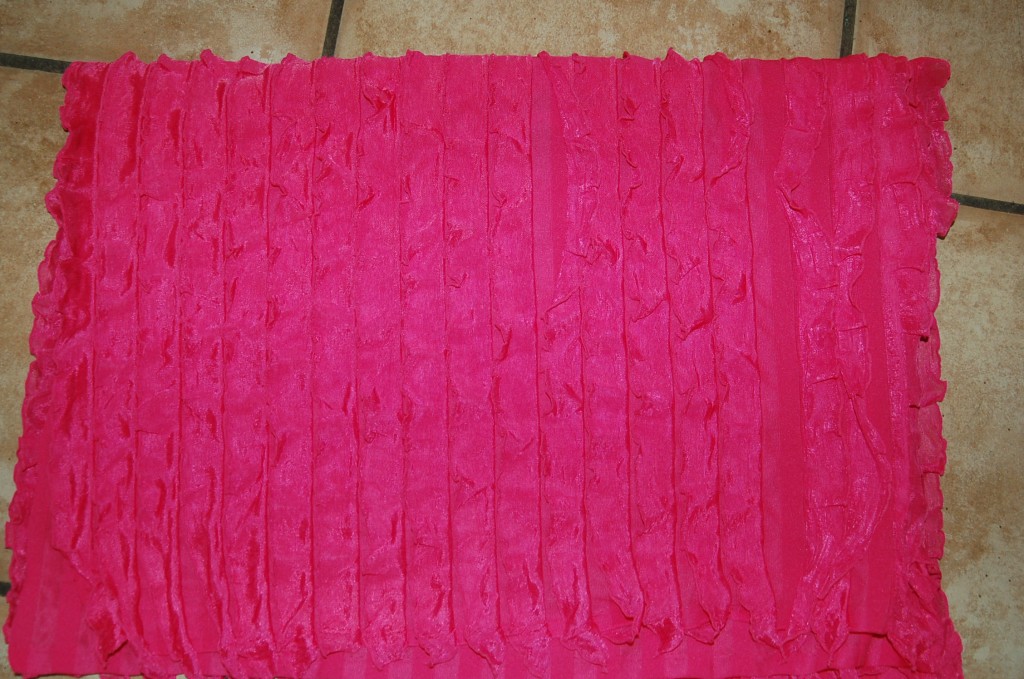
First you will need 1/4 yard of the ruffle fabric like this:

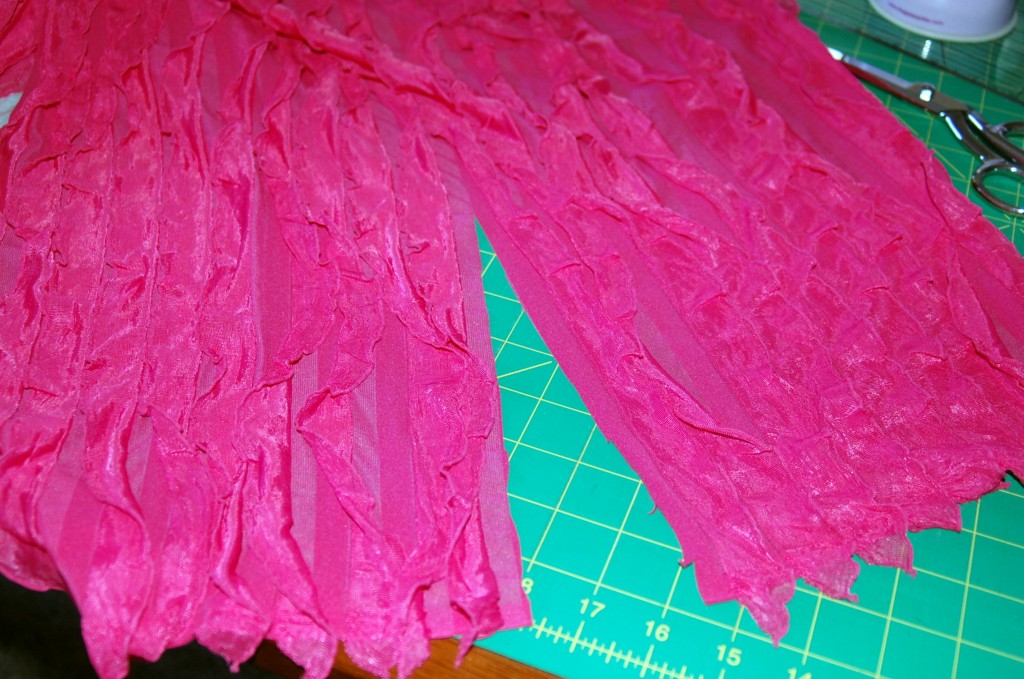
I bought 1/2 yard, so that I could make two scarfs, so I had to cut the fabric in half.  Just cut right along the line in between one of the rows of ruffles so that it is 1/4 yard wide. (9 inches)  If you want a little bit fuller scarf you could also use 1/3 yard. (12 inches)

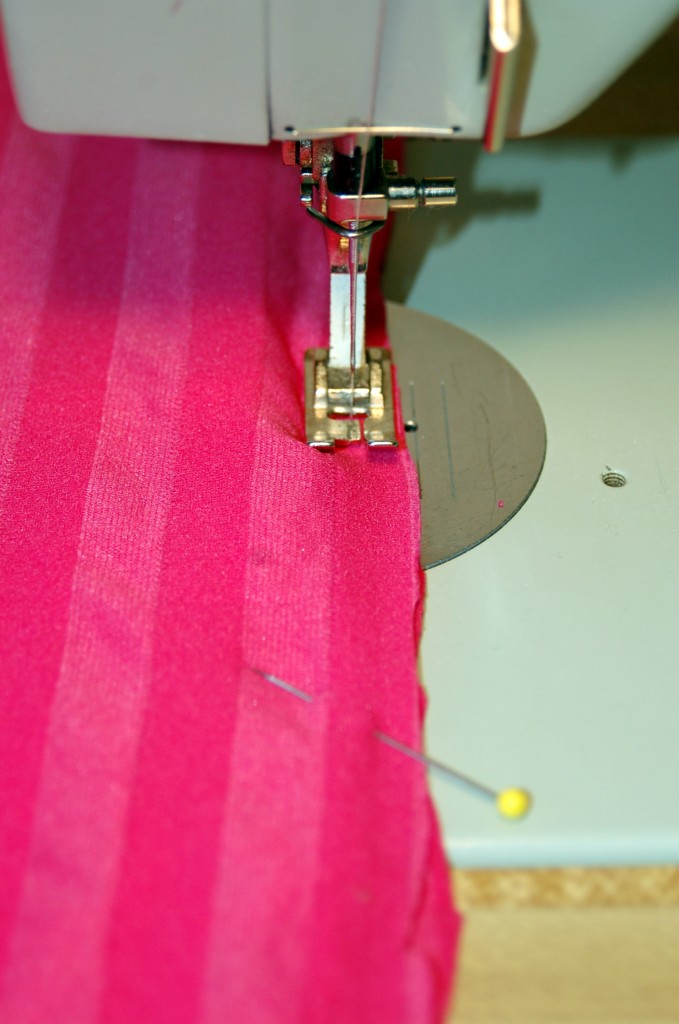
Fold fabric in half  with right sides together along the long side and sew a 1/4″ seam.  You do not have to pin the ruffles down because you are sewing along side of the ruffle. Just make sure you tuck them in, so you don’t catch them in the seam.
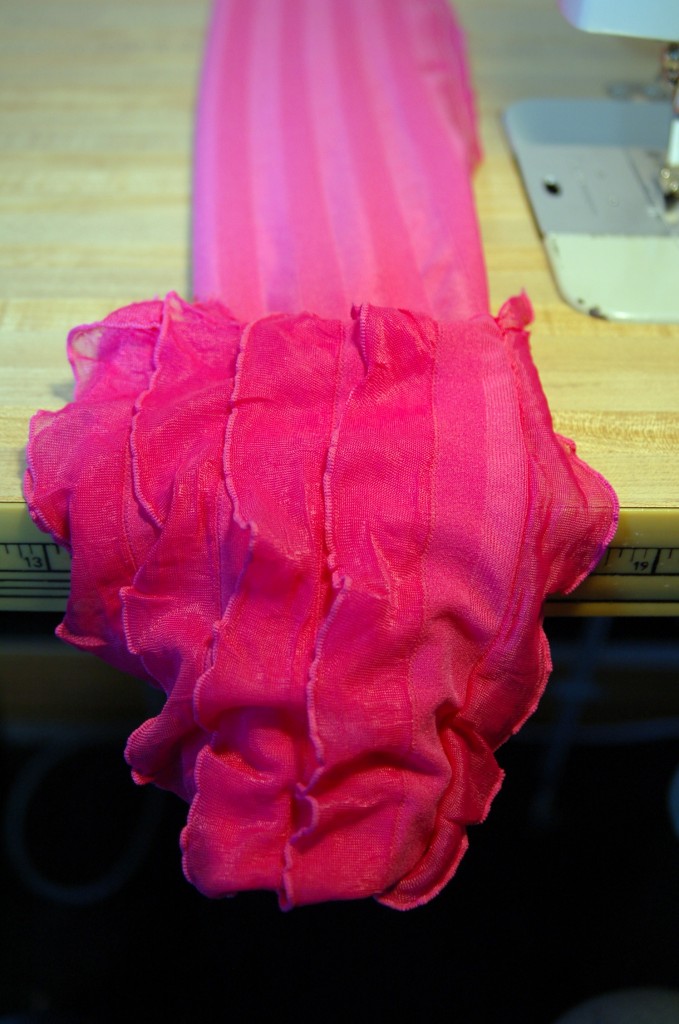
Then simple turn your tube inside out!  

You are done, there are no hems because the fabric does not fray and already has a finish on it. Wasn’t that Easy Peasy!

I tied knots in the end and look at how it finishes off the look of my jacket!

I love these scarves and think that perhaps I might need one or two other colors.  We got the fabric for these scarves at Hobby Lobby.  They have a few solid colors, but if you want a striped fabric like I used on my ruffled skirt, you will have to go to a fabric or quilt shop.

So are you now ready to go make a scarf or two?  I think that this pink one is perfect for Valentines Day, or perhaps a red one would look great!  Or I could put a red and white one together!  Oh what possibilities!

Repurposed Cupboard Door Tray

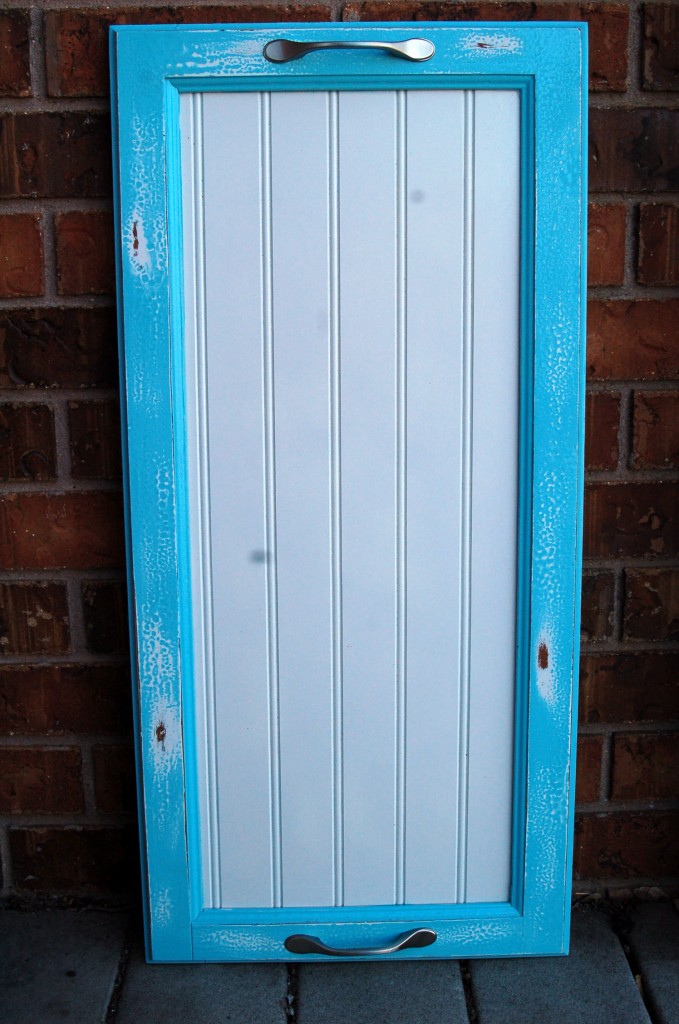
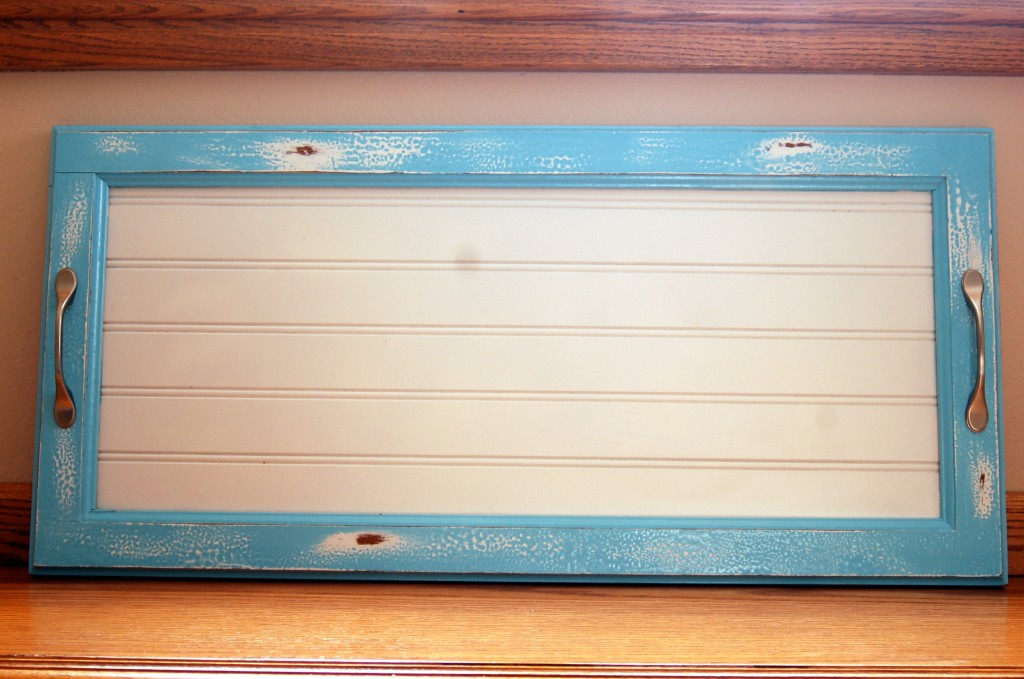
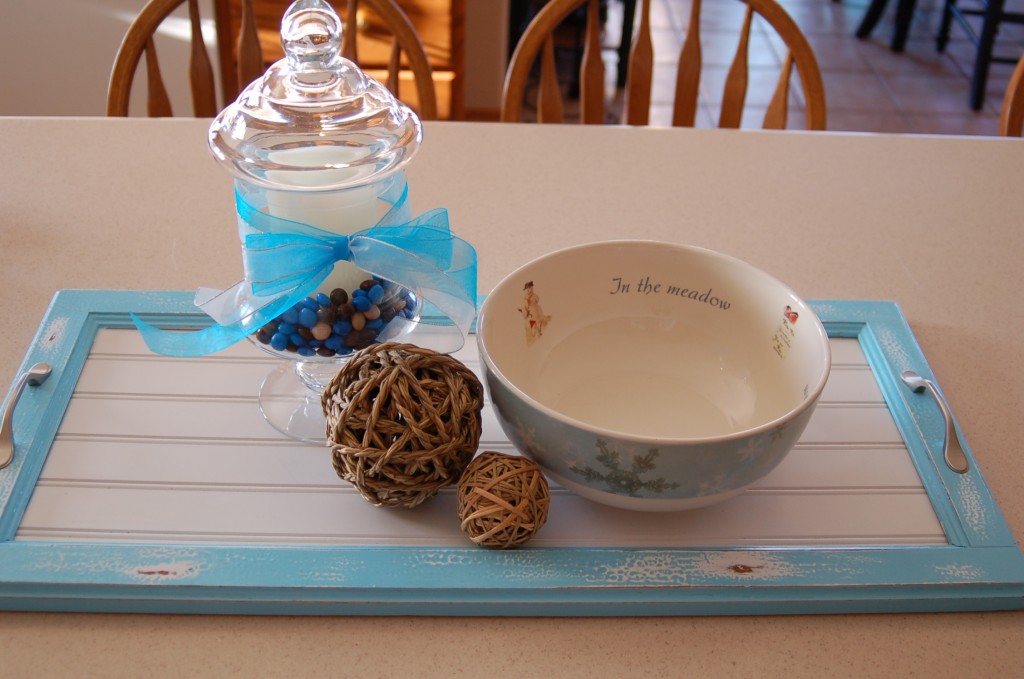
One of my best friends, Kathy,  gave me this for Christmas!  What a dear friend she is to go to all the time and trouble to make this!  I absolutely love, love, love it!  She told me that she and her husband worked on these together.  They took an old cupboard door, took out the inside part and replaced it with the bead board center.  Painted it these darling colors, distressed it and added the handles to each end!  What a cute idea!  I cannot believe how much time it must have taken to make.  I truly do appreciate all her efforts and talents.  She is my most talented, crafty friend!

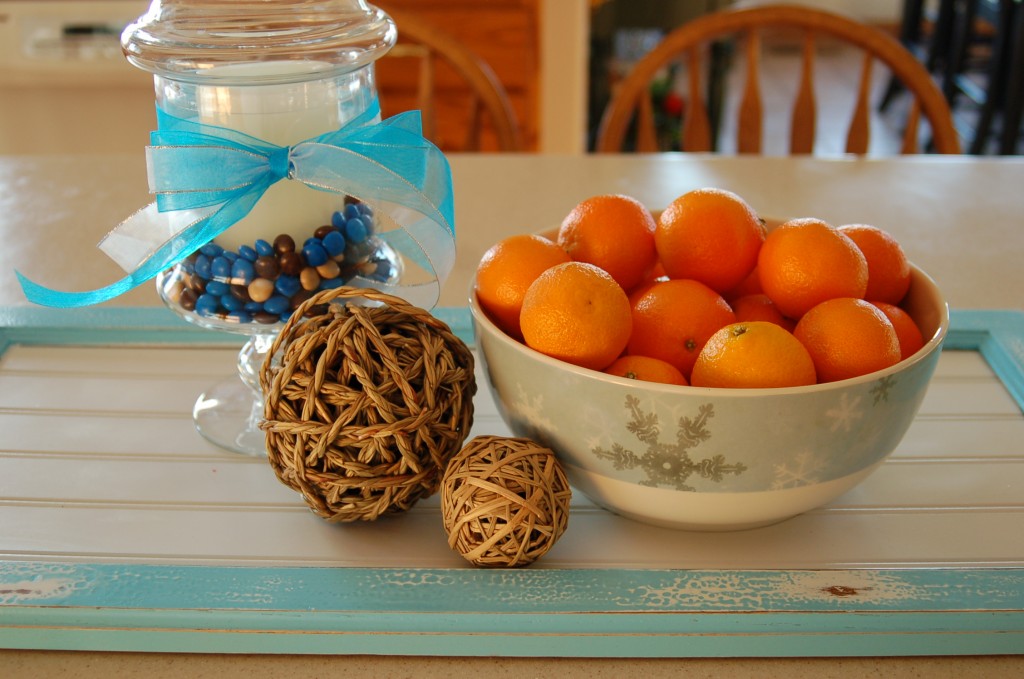
I put a candle in my glass apothecary jar and put the Almond Joy pieces  around the candle, because they are blue and white and brown.   I then tied a blue and white ribbon around the jar. Next I added the balls to my tray and my darling snowman bowl that Kathy gave me last year for Christmas  :)

Then I added a bag of the Cutie oranges for another pop of color!  I love how it brightens up my kitchen!

I also love the fact that my 2 year old grandson loves these oranges so much that he ate 2 in the car before I could even get them home!  He kept saying he wanted “Moe  Num Nums”  (translated into English…More yum yums!)

I linked this to “I heart naptime.”


No Mess Frosting Idea

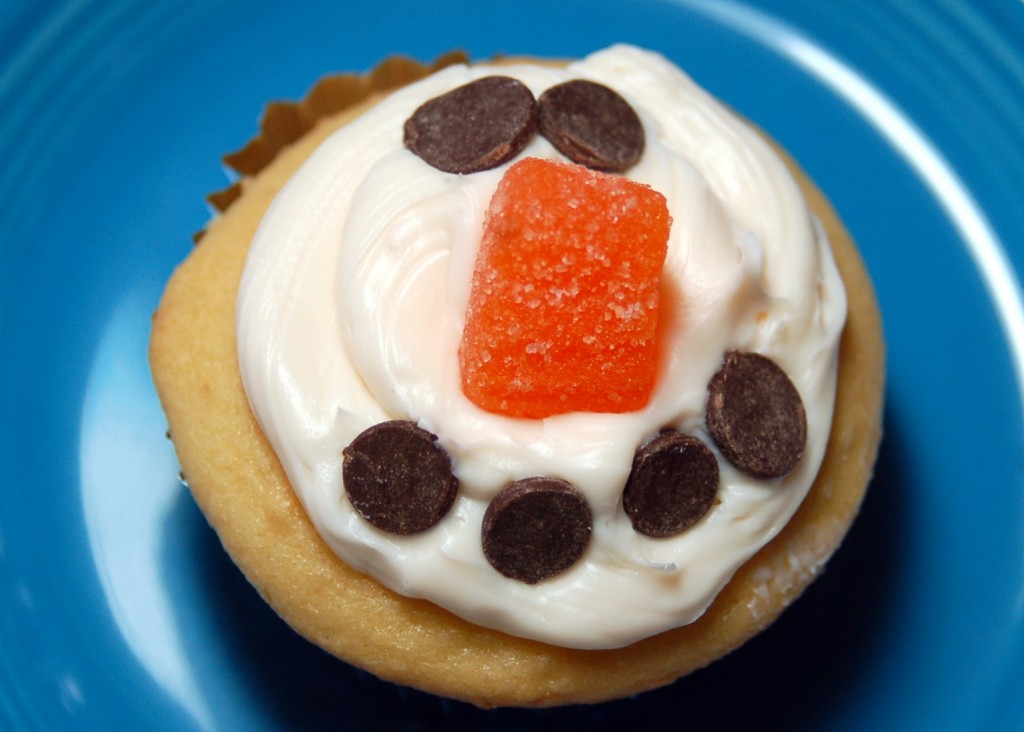
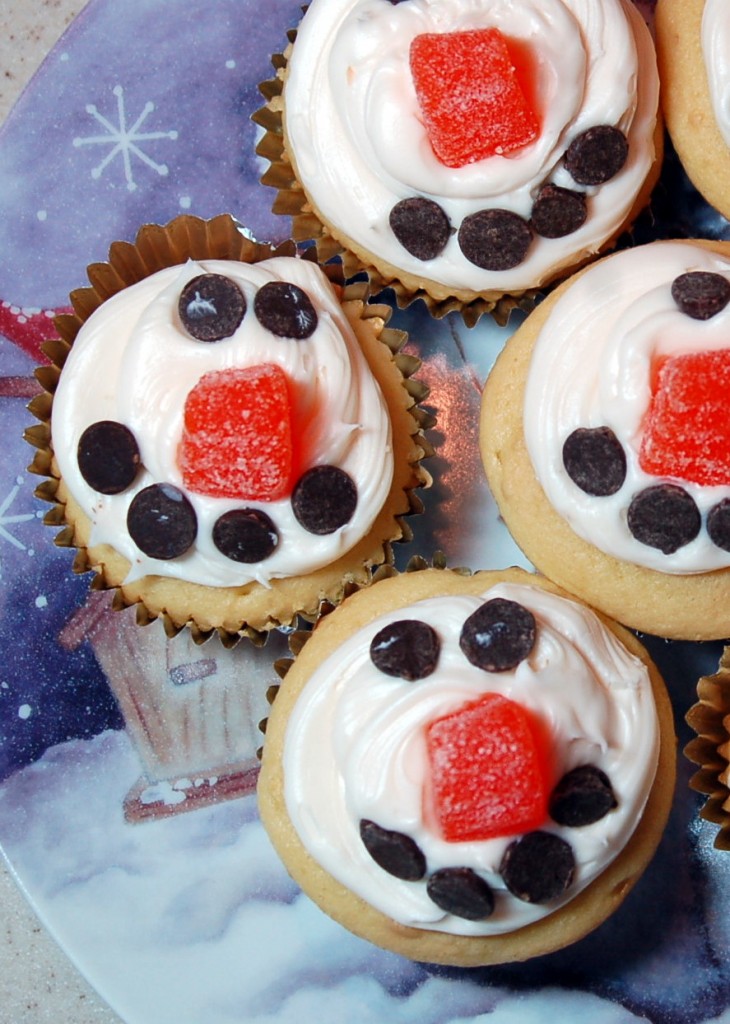
I made these snowman cupcakes yesterday with a cute way to package them. But today I am going to show you how I made them…

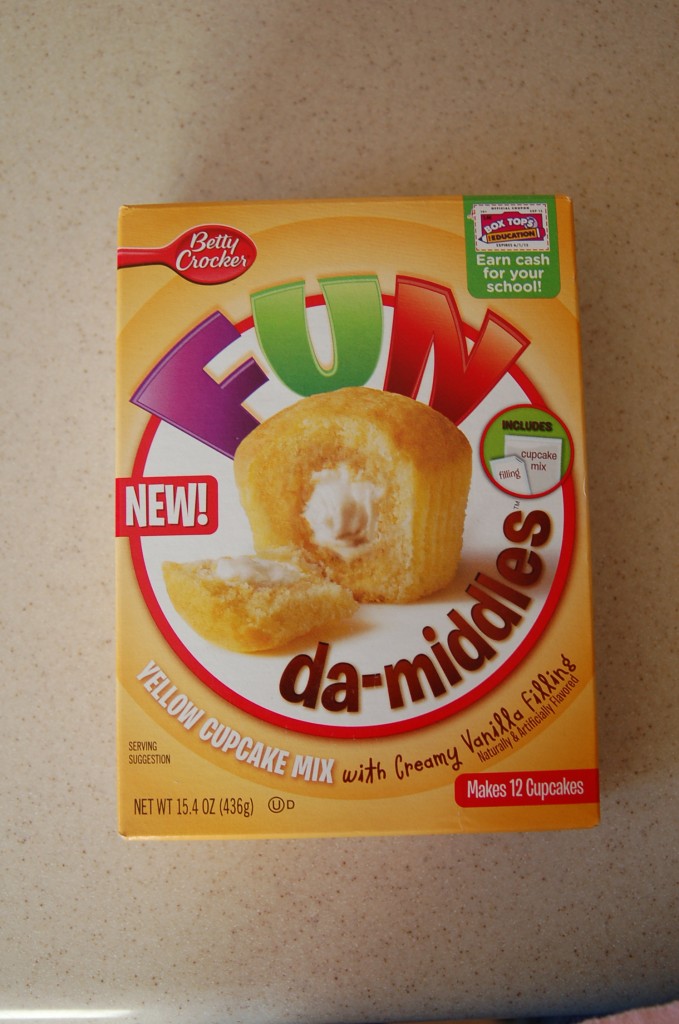
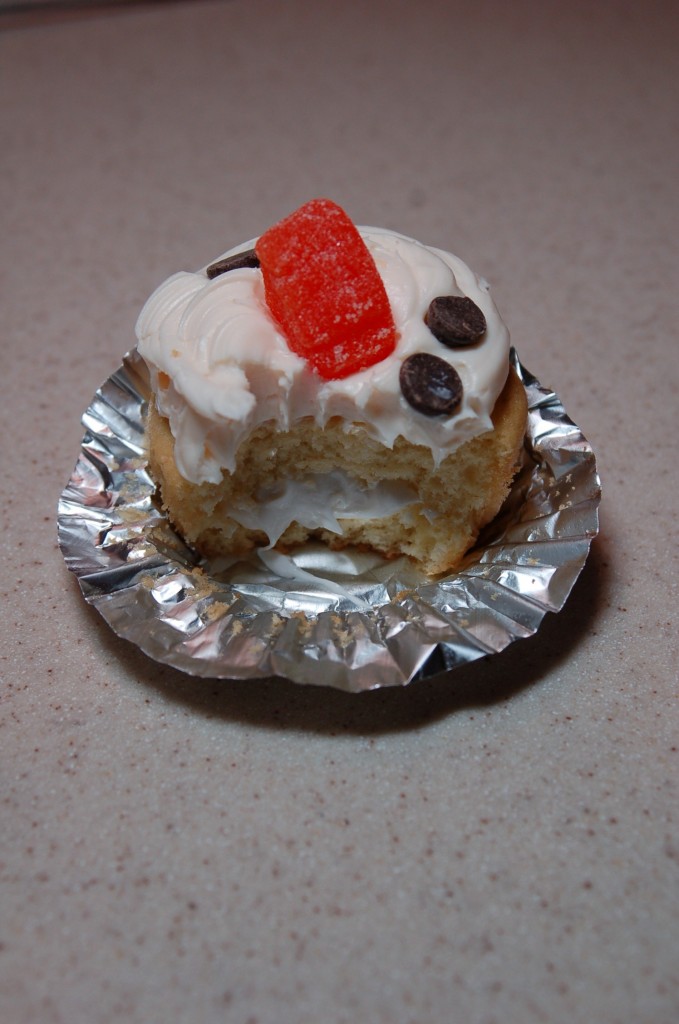
I found this cupcake mix at the grocery store and I decided that I wanted to try them.  I made the cupcakes according to the directions, except I added applesauce instead of the oil. (a weight watchers tip that I use all of the time!)  These cupcakes have a filling in the middle like a “Twinkie” and they are really pretty good, and they come in chocolate also!  This box makes 12 cupcakes, which was perfect for what I wanted.

After the cupcakes cooled I frosted them using this super duper idea I found on pinterest! You really need to take a look at this, because it is AMAZING!  The Mind-Blowing Cake Decorating Tip: how to have mess-free icing bags!  If you hate decorating with icing because of all the mess and clean up then this idea will totally change your way of thinking!

Mind-Blowing Cake Decorating Tip

After I frosted the cupcakes I used orange slices for the nose, (Cut in half) and chocolate chips for the mouth and eyes.  I was going to dip the cupcakes in edible white glitter before putting the faces on, but I totally spaced it.  But they are really cute with the glitter!

Here is my little family of snow people!

Look at how yummy these cupcakes are with the filling in the middle!

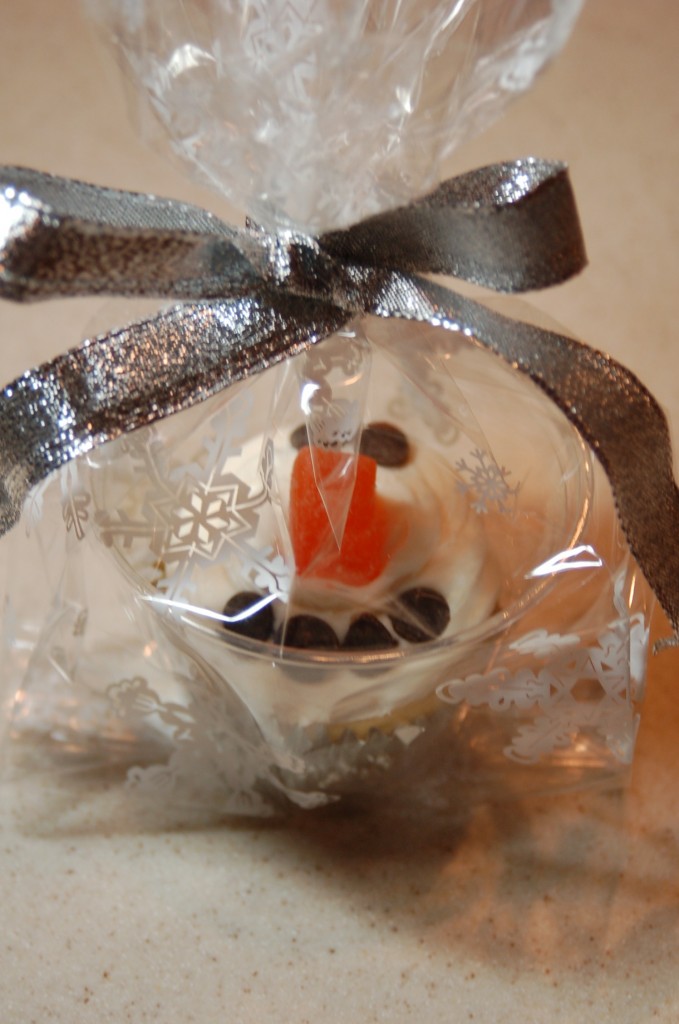
Then I put them in a clear 9 oz plastic cup and into a cellophane bag and tied them up.  They are fun for a  little gift to give to your friends, teachers, neighbors, or perhaps even for yourself!  You need a treat every now and again, right?


Last Minute Neighbor Gift

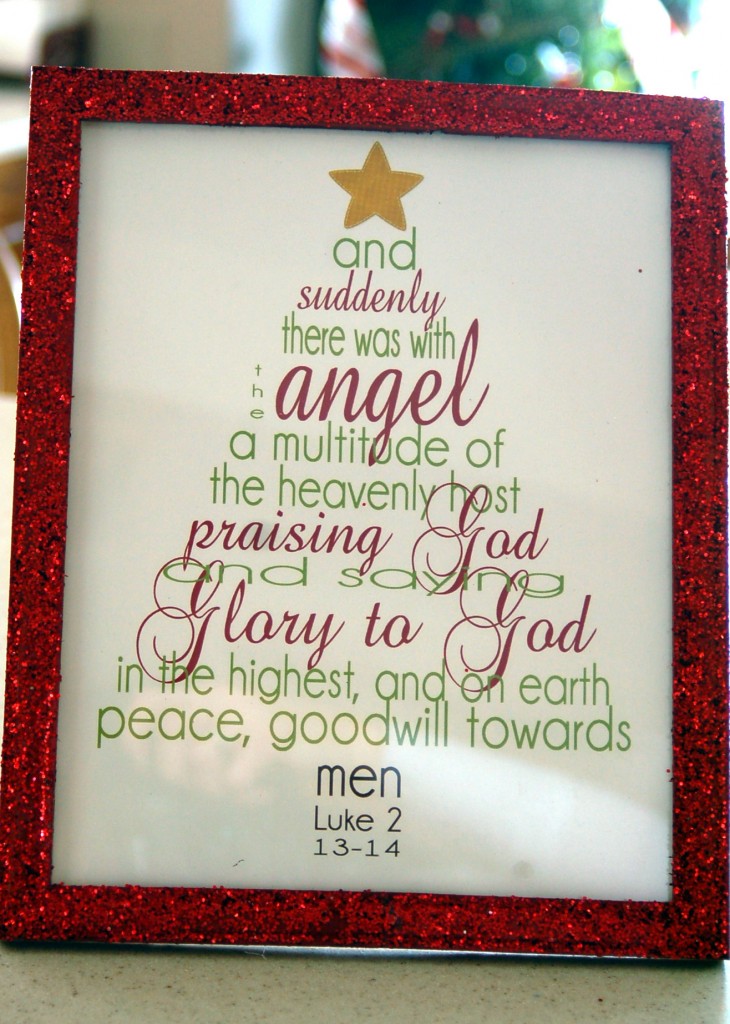
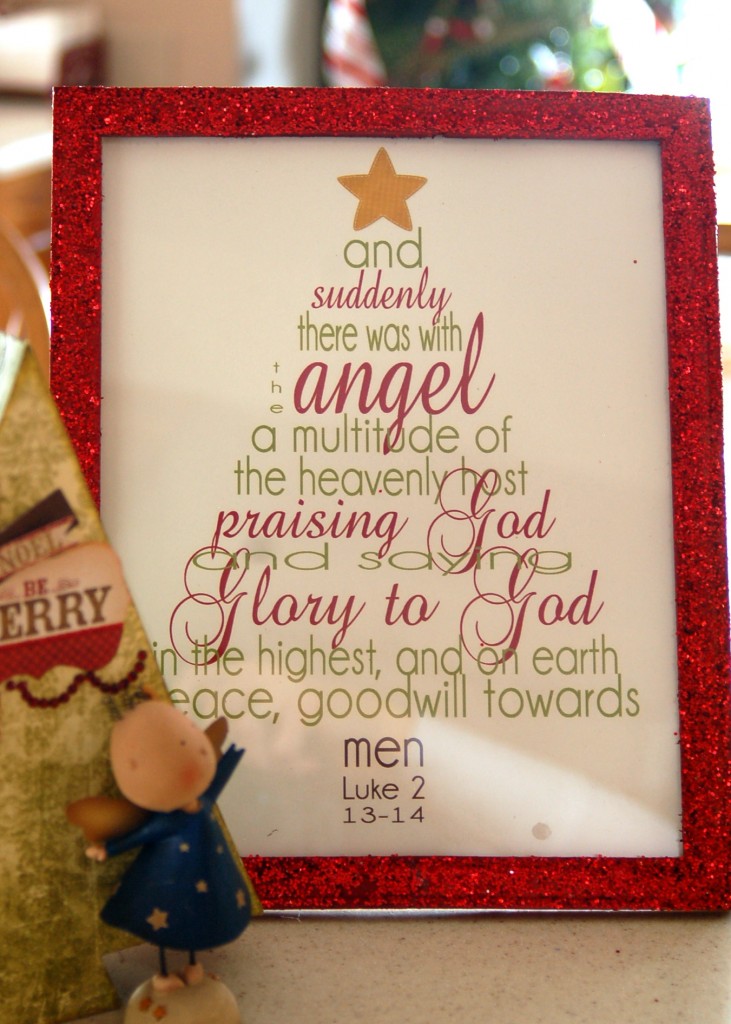
If you are looking for a quick, cute, easy, inexpensive neighbor gift…I have one for you.  My daughter and I found this print on pinterest  and had them printed at Alphagraphics on glossy cardstock.  Then found frames at the dollar store and spray painted them red, and glittered some of them.  And look how cute they turned out.  Quick, easy, and a great message all in one.  Tie it up with a big bow and you are done!

You can print the picture from here.  We did 8 x 10, but you could also do 5 x 7 frames.  I paired my up with a cute little angel and it makes a darling setting.

I hope that you will all have a great week this week and that the true meaning of Christmas will be with you and your family!

We celebrated our Christmas, last night with all of our families, because this is our off year with the married kids and it was great fun.  The kids did the nativity story, a post that I will have for you tomorrow.  We exchanged gifts, which the kids loved because now they all have something to play with all week while they are out of school! And it is kind of nice to be done with the bulk of my Christmas shopping, the wrapping, the food and candy making etc etc etc.  So now this week I can relax a little bit and just enjoy the season!

Happy Holidays!

English Toffee

Ok, so this is the last candy post, at least for this week! :)  I am starting to feel the sugar high a little bit too much.  I started making this candy at 7:30 am and my husband was wondering what in the world I was doing and I just replied, “Oh, I’m just working on my blog!”  He just shook his head!

This candy is just the right combination of chocolate, nuts, and toffee.  I am also having the hardest time staying out of it, it is probably one of my favorite candies!
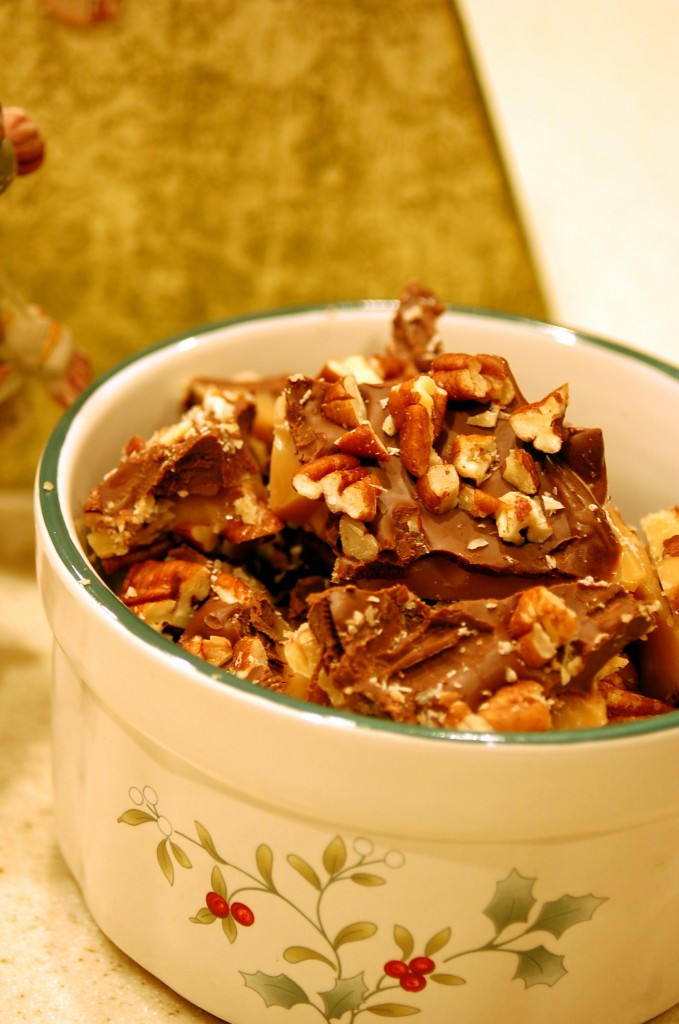
So let’s make English Toffee today!

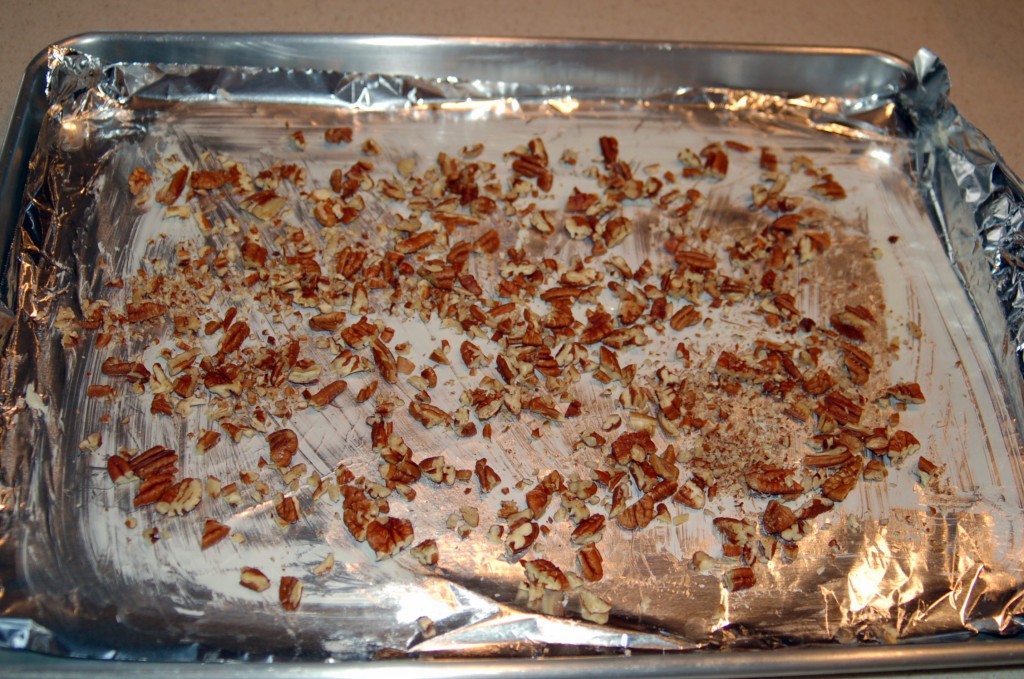
Start by lining a cookie sheet with foil and then butter the foil.  Spread 1 cup chopped nuts on the cookie sheet.  ( I used pecans, but you can use whatever you have)
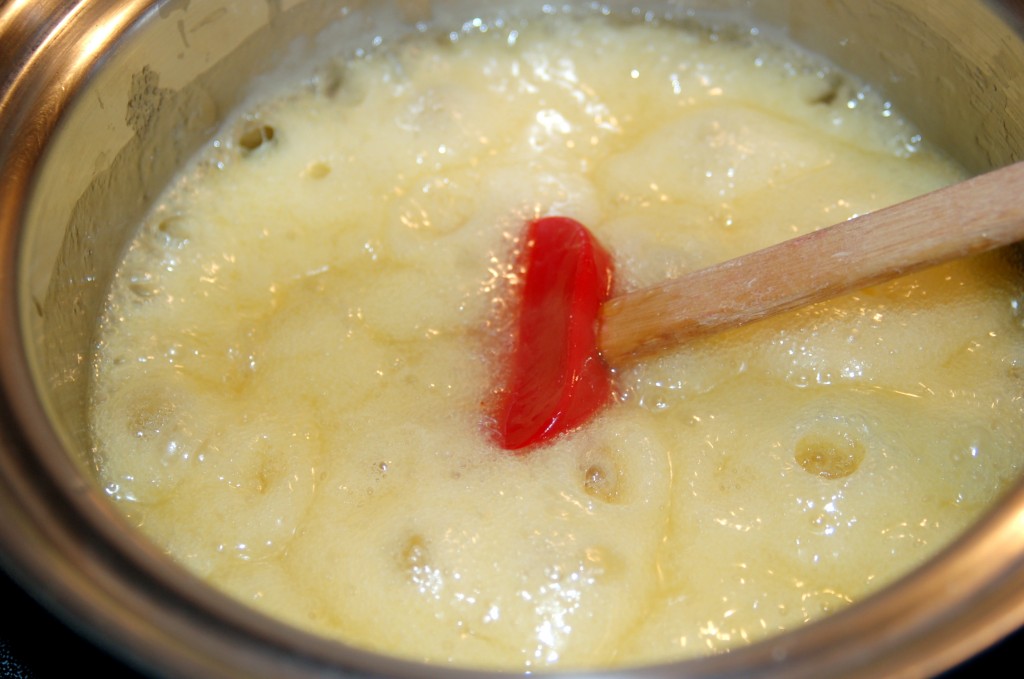
Mix 1 cup butter, 1 cup sugar, 1/8 tsp salt, 3 TLBS water, and 1 tsp vanilla.  Put in a kettle and bring to a boil.
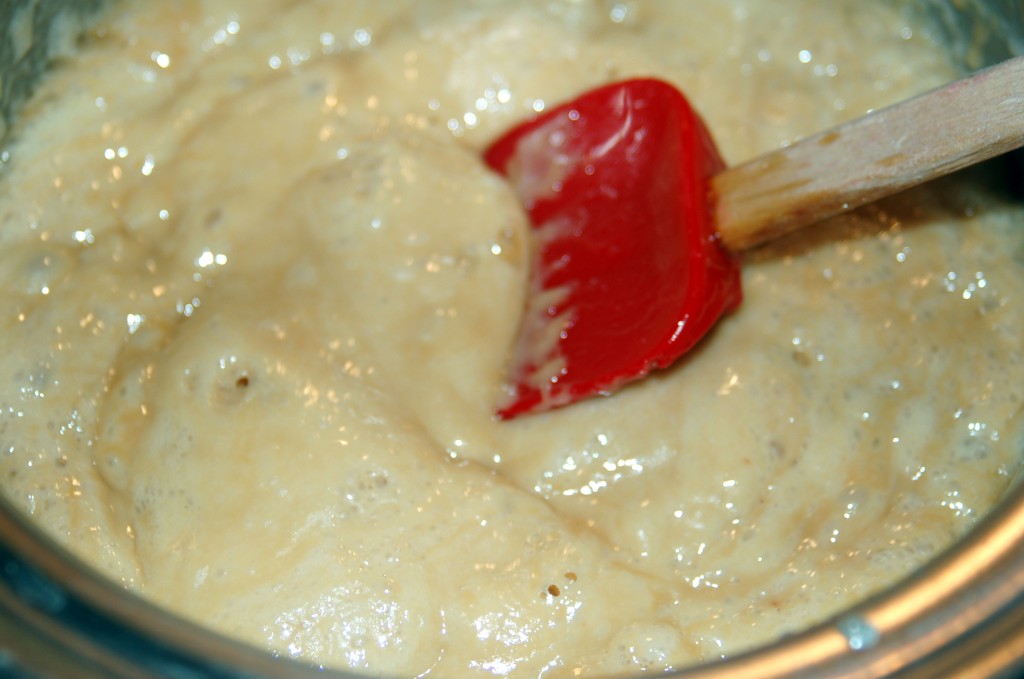
 Reduce heat to medium and stir constantly until mixture is light brown in color and crack stage has been reached (300-310 degrees on candy thermometer) If you want to know how to test for crack stage, go to the Anise Candy post.
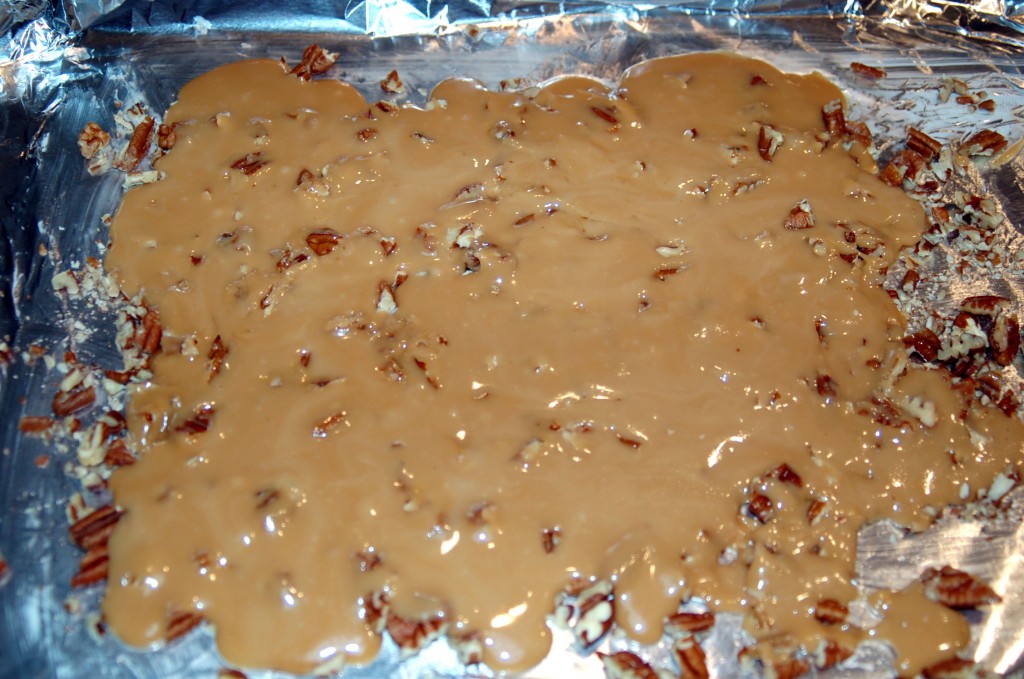
 Spread cooked candy thin over nuts.
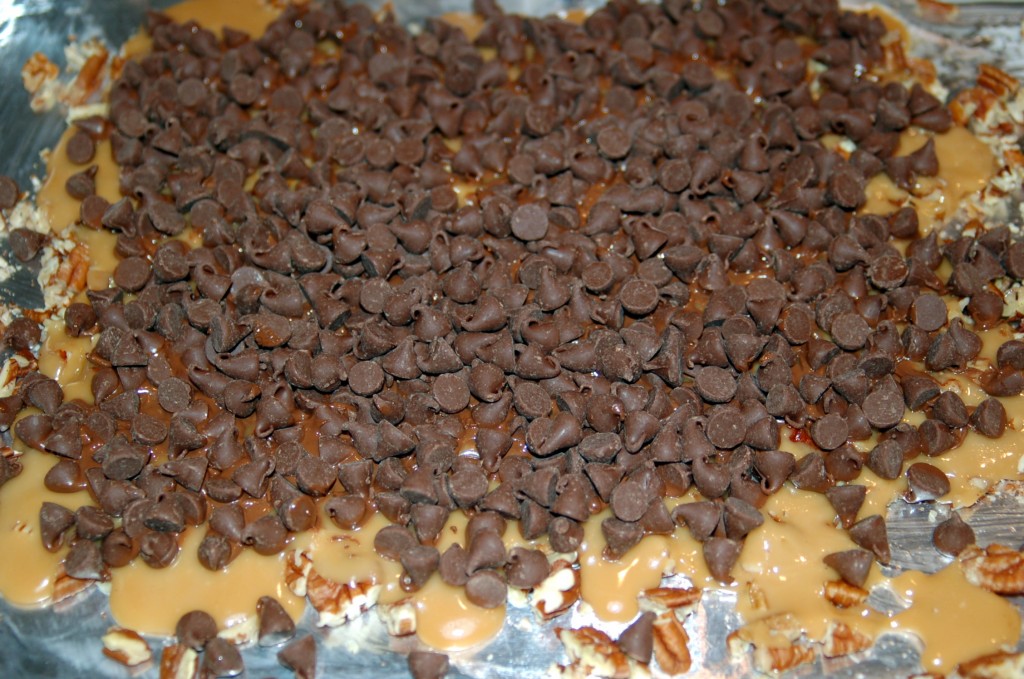
Sprinkle 11.5 oz package of chocolate chips on top. ( I used milk chocolate, but semi-sweet would be good also, totally your preference!)
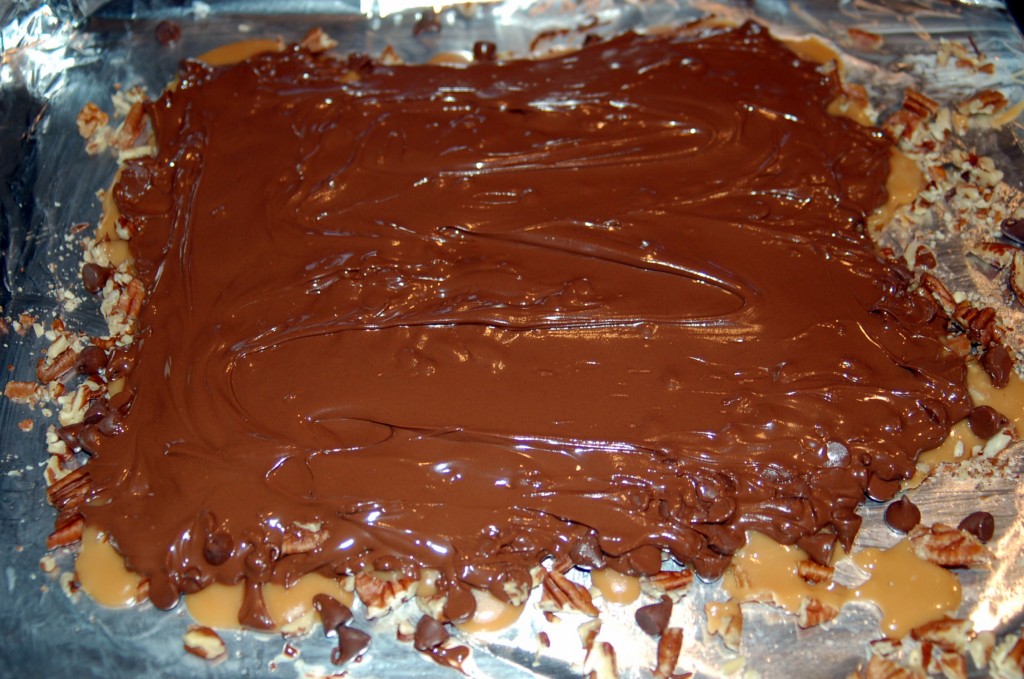
When melted, spread over all of the toffee.
Sprinkle 1/2 cup chopped nuts on top of chocolate and press down into the chocolate with your fingers.
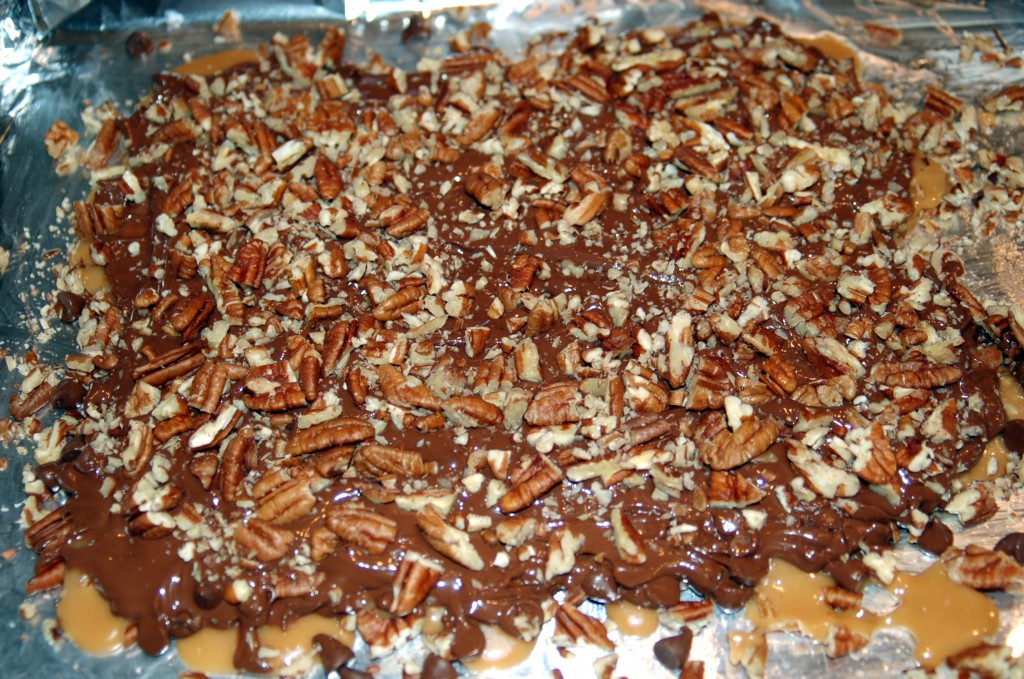
Break into pieces and enjoy!  This is another candy that is great to give as gifts, to fill a candy dish with, or just make for a treat for yourself!
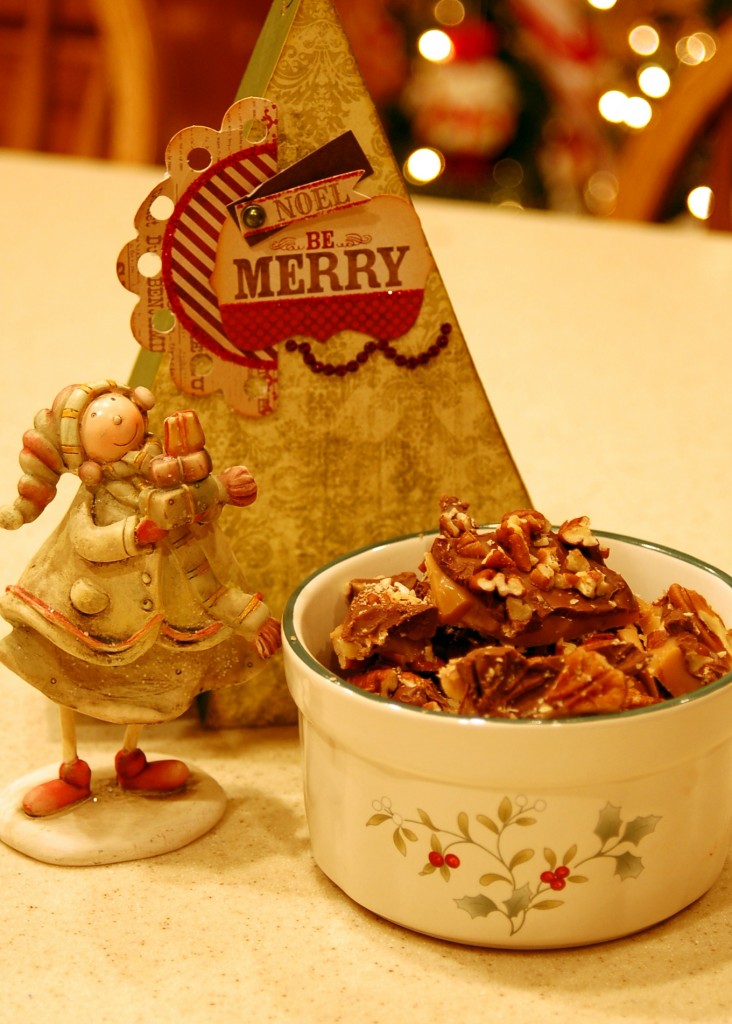
Here’s the recipe:

English Toffee

1 cup butter

1 cup sugar

1/8 tsp salt

3 TBLS water

1 tsp vanilla

Combine in a kettle and bring to a boil. Reduce heat to medium and stir constantly until mixture is light brown in color and crack stage has been reached (300-310 degrees on candy thermometer)

1 1/2 cups chopped nuts

11.5 oz package chocolate chips

 Place buttered foil on cookie sheet and spread with 1 cup of the chopped nuts. Spread cooked candy thin over nuts. Sprinkle chocolate chips on top. Let melt and spread over entire candy. Add remaining 1/2 cup chopped nuts on top. (I pressed them down with my fingers into the chocolate)

Break into pieces when cool. Enjoy!

Truffles!

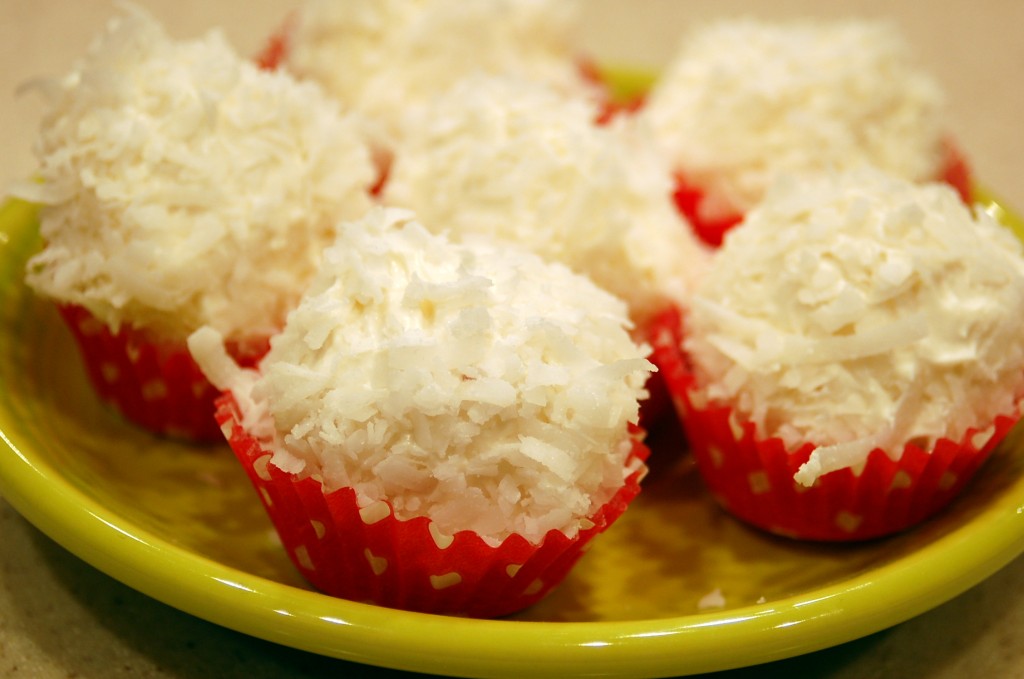
I have a sweet friend, Deea, who started her blog, Sprinkle Some Sunshine, about the same time that I started mine.  It is a cooking blog and she has some really great recipes!  I got both of these recipes from her!   These would be great for gifts, party treats, dinner place settings, or just as a snack! This first one is called Snowball Truffles.  It is white chocolate and coconut and they are so delicious…like Heaven…I’m in Heaven!  Go here for the recipe and a great tutorial on how to make them!

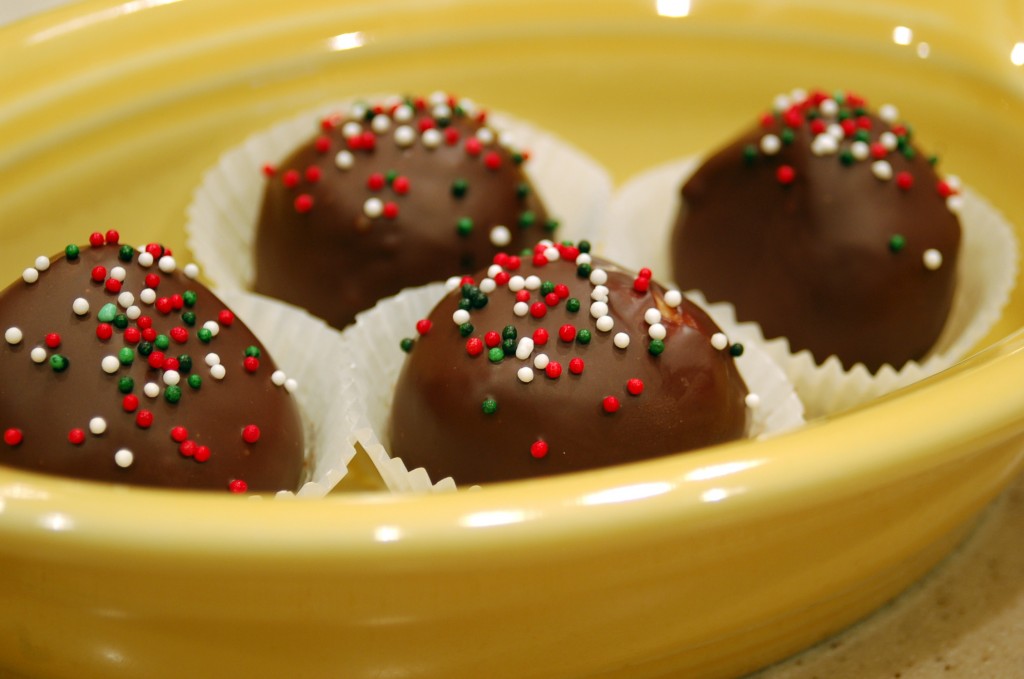
These next ones are Peanut Butter Balls.  They are just as good as a peanut butter cup!  These are two of my favorite flavors…peanut butter and chocolate.  I think I have made some variations of these every year for Christmas.  But these are so good and they are really easy to make and they look so festive with the sprinkles on top!

Go here for the recipe and tutorial on how to make them.  Leave Deea a comment and tell her how much you love these recipes.  She will love it!I am still busy this week, cooking, shopping, wrapping, and trying to get everything ready for this weekend, so we can celebrate with our married kids.  But I did spend the morning crafting and then lunch with friends.  I have so much to be thankful for when it comes to great friends!  I think that I have the best!

Are you ready for Christmas?  It is going to be here before we know it!

White Chocolate Cookies and Cream Fudge

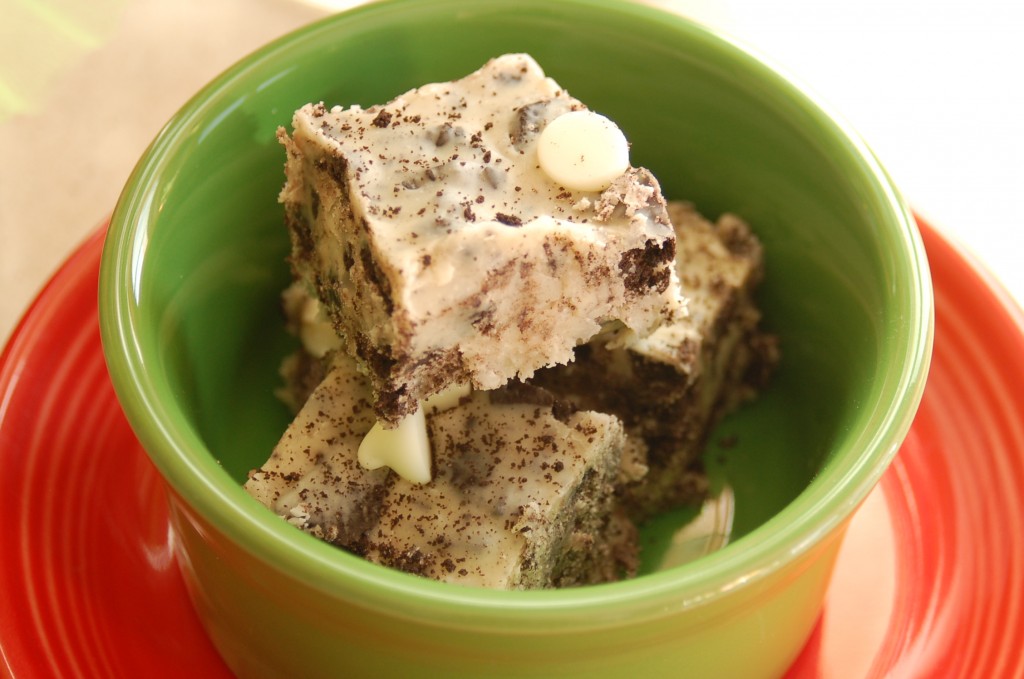
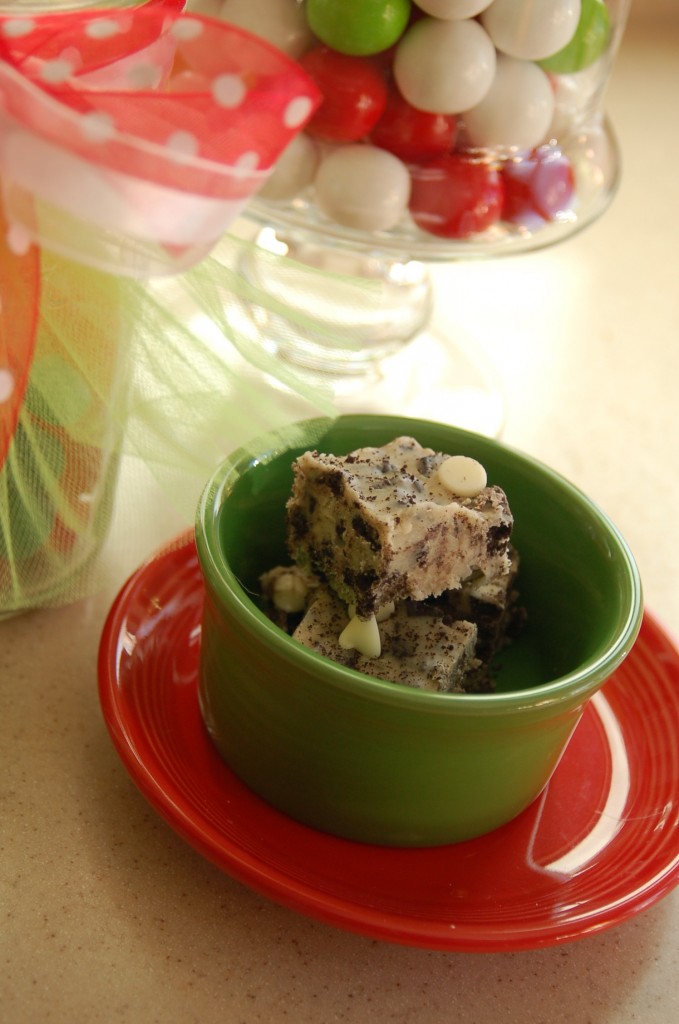
My daughter brought this fudge to our Sinterklaas party last weekend and everyone loved it.  One of my granddaughter’s favorite candy bar is Hershey’s Cookies and Cream, and she told her mom that this fudge taste just like her favorite candy bar!

She found the recipe here, on Pinterest.

White Chocolate Cookies & Cream Fudge (adapted from Amanda of Fake Ginger’s Recipe)

2 1/4 c white chocolate chips

+ 1/2 c white chocolate chips, reserved (or any kind of chocolate chips)

1 can (14 oz) sweetened condensed milk

3 c Oreo cookies, chopped

reserve 1-2 tbsp Oreo crumbs for dusting the top layer of the fudge

1 tbsp vanilla extract

Directions:

Combine 2 1/4 c white chocolate chips and sweetened condensed milk and melt over low heat in a saucepan taking care to stir frequently and watch it so the mixture doesn’t burn (you could also probably do this in the microwave but I haven’t tried it).  When mixture is melted and smooth, add vanilla extract.  Then add the chopped Oreo cookies and stir.  Pour mixture into 9 x 9 foil-lined or parchment-lined pan.  Then lightly press 1/2 c white (or regular/dark) chocolate chips into the top layer.  The fudge will start to set up fairly fast and just press the chocolate chips in lightly.  Dust top layer with 1-2 tbsp Oreo crumbs if desired.  Place fudge in freezer for at least two hours to fully set up.  Remove from freezer, slice, and serve at room temperature.   Store extra in the freezer or fridge and it will likely keep for month(s).  It will keep for much longer than you’ll be able to keep it around.

Don’t overchop your Oreos if you want really white fudge.

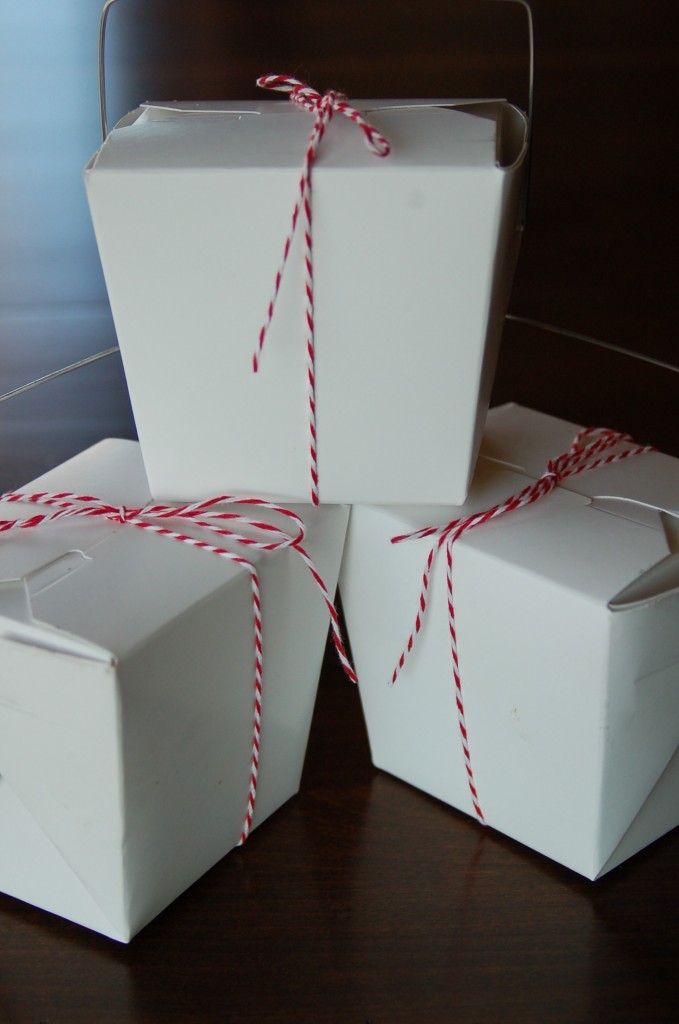
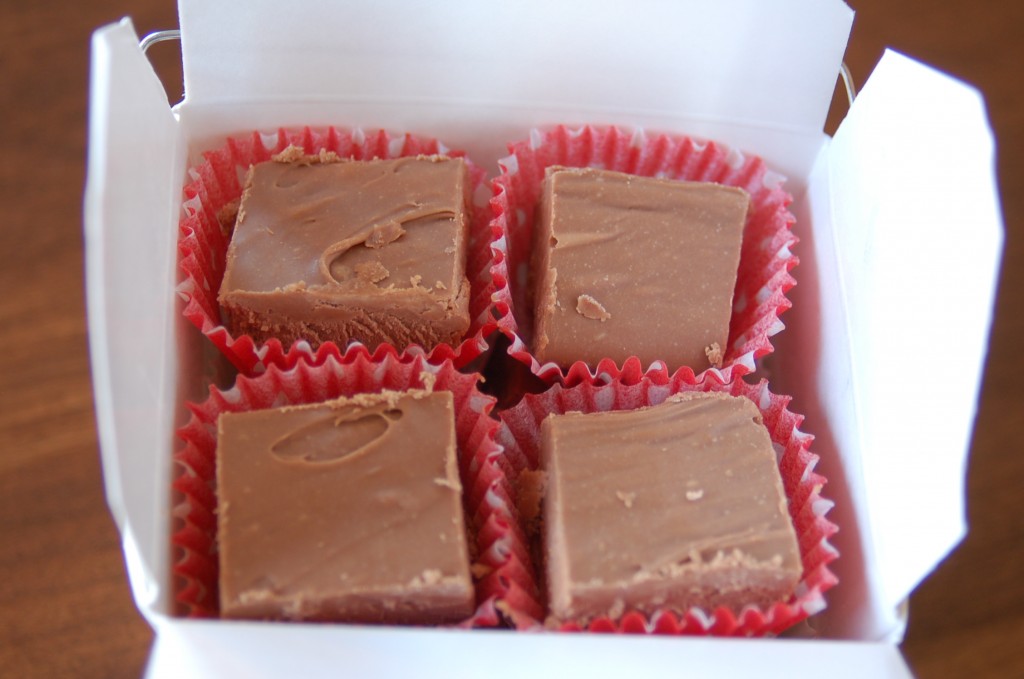
A fun way to package your fudge to give it away, is to put it into Chinese take out boxes!  I found mine here at Gygi’s and I just simply tied it with bakers twine, which I also got at Gygi’s.  It is very simple, but cute!  You could also use a cute ribbon, or twine etc to tie up your boxes with.(This is some of my regular fudge), but I put little candy papers inside to put the fudge in, so it did not all stick together and it makes a cute presentation!Do you have a favorite fudge recipe?   I would love to hear about it!

Apple Pie Caramel Apples!

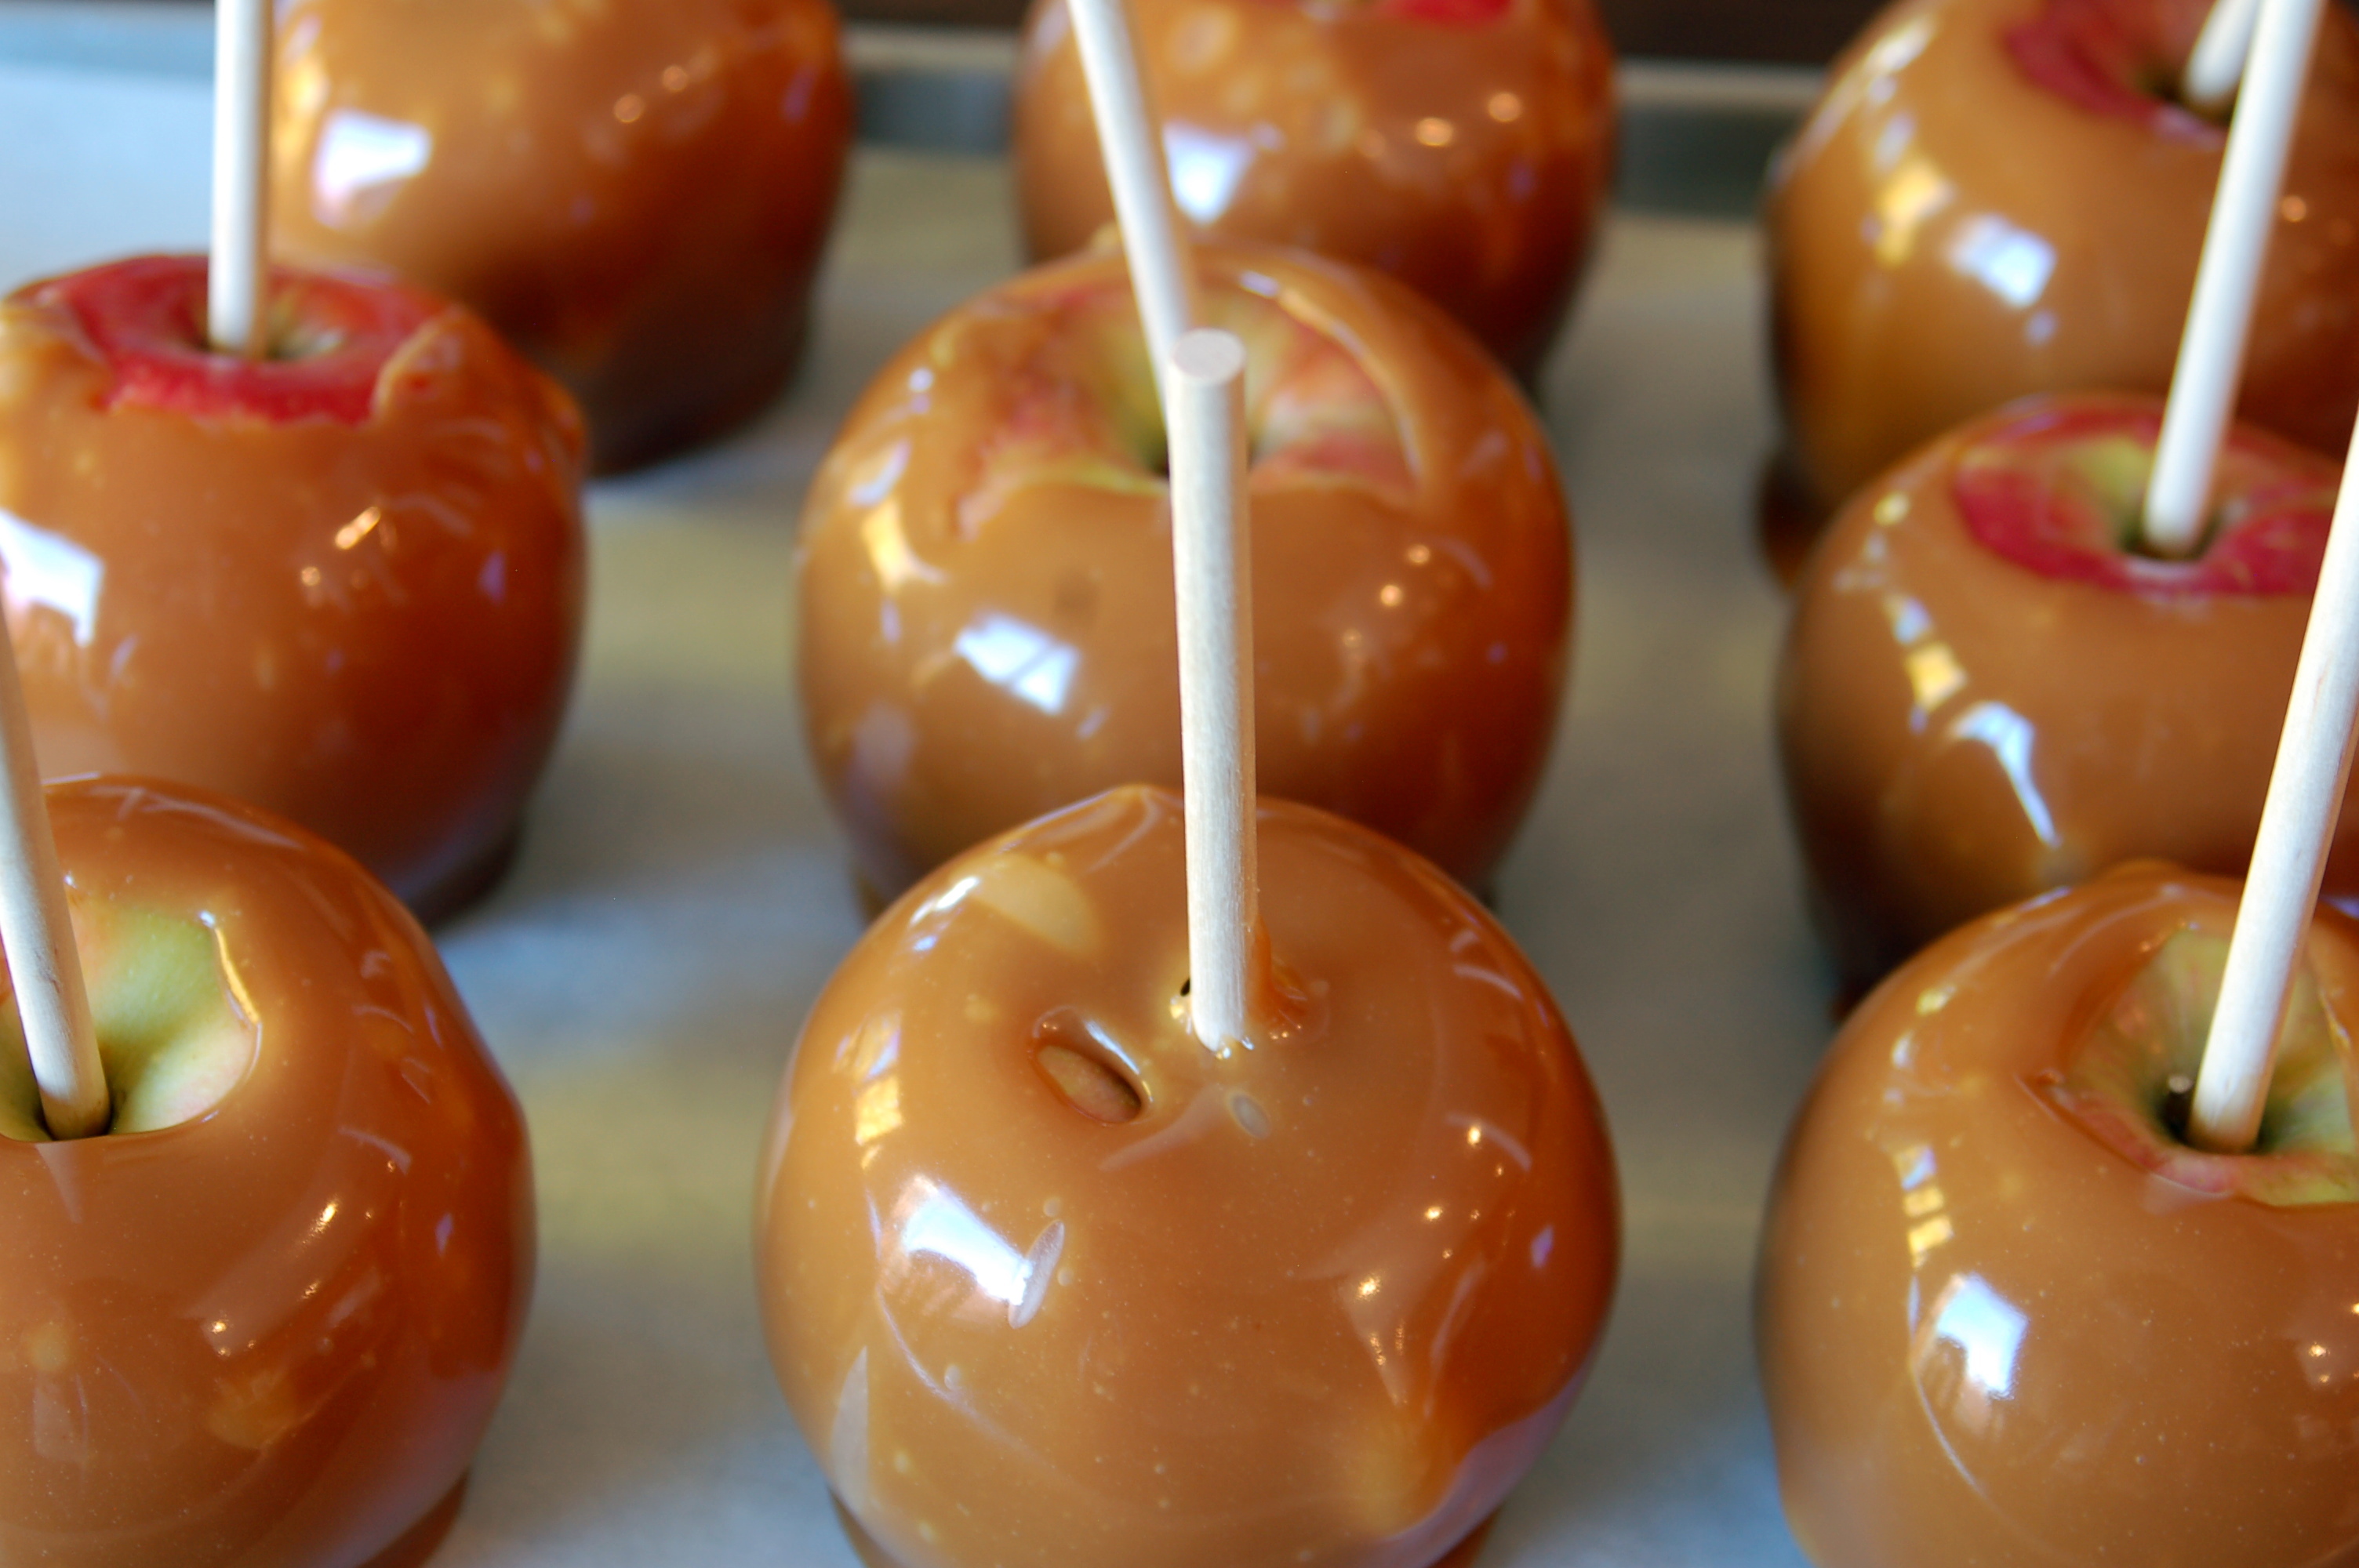
We made our caramel apples last weekend.  They are so yummy and really quite easy to do.  My family all prefer these caramel apples to the ones dipped in milk chocolate and candies.  So this year, this is the only kind we made.  But you could definitely use milk chocolate instead of the white, and candies or nuts, instead of the cinnamon/sugar!

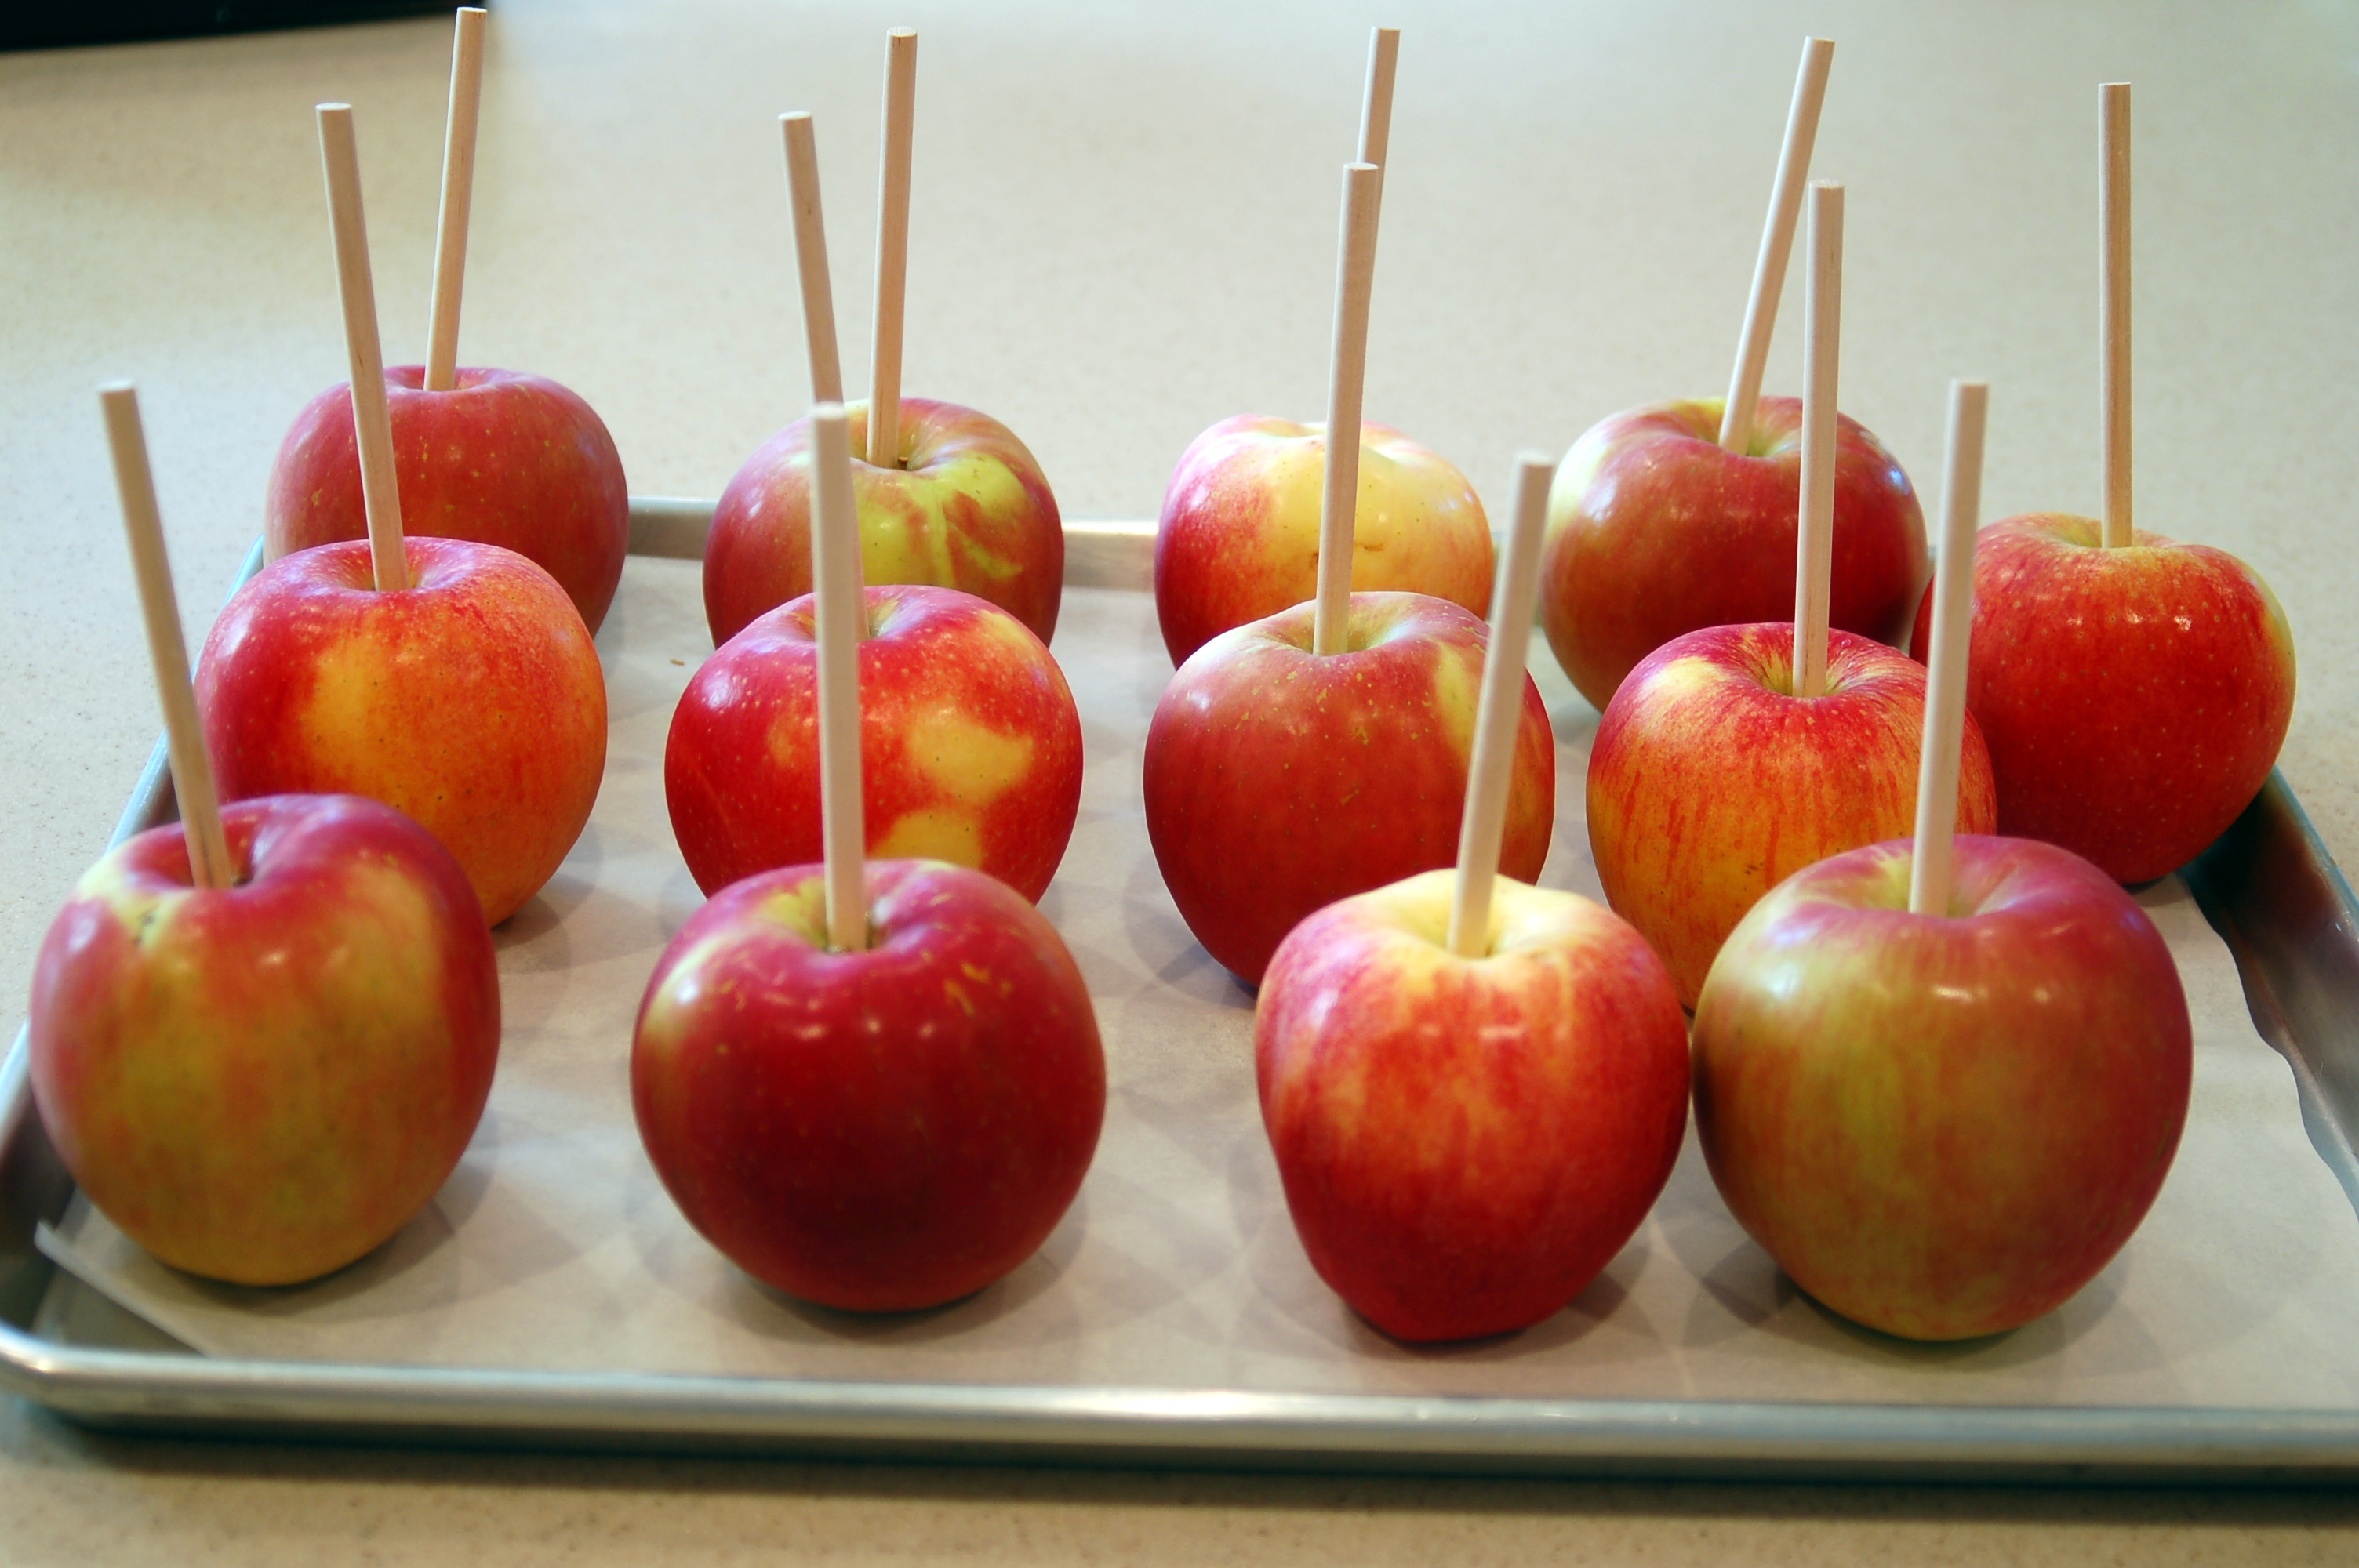
First you need to wash your apples to get all of the wax off.  You can use warm soapy water.  Then make sure that they are completely dry.  Put a wooden stick in the center of each apple and then refrigerate for at least an hour to make sure the apples are cold. I used Fuji apples because they are my very favorite kind of apples!

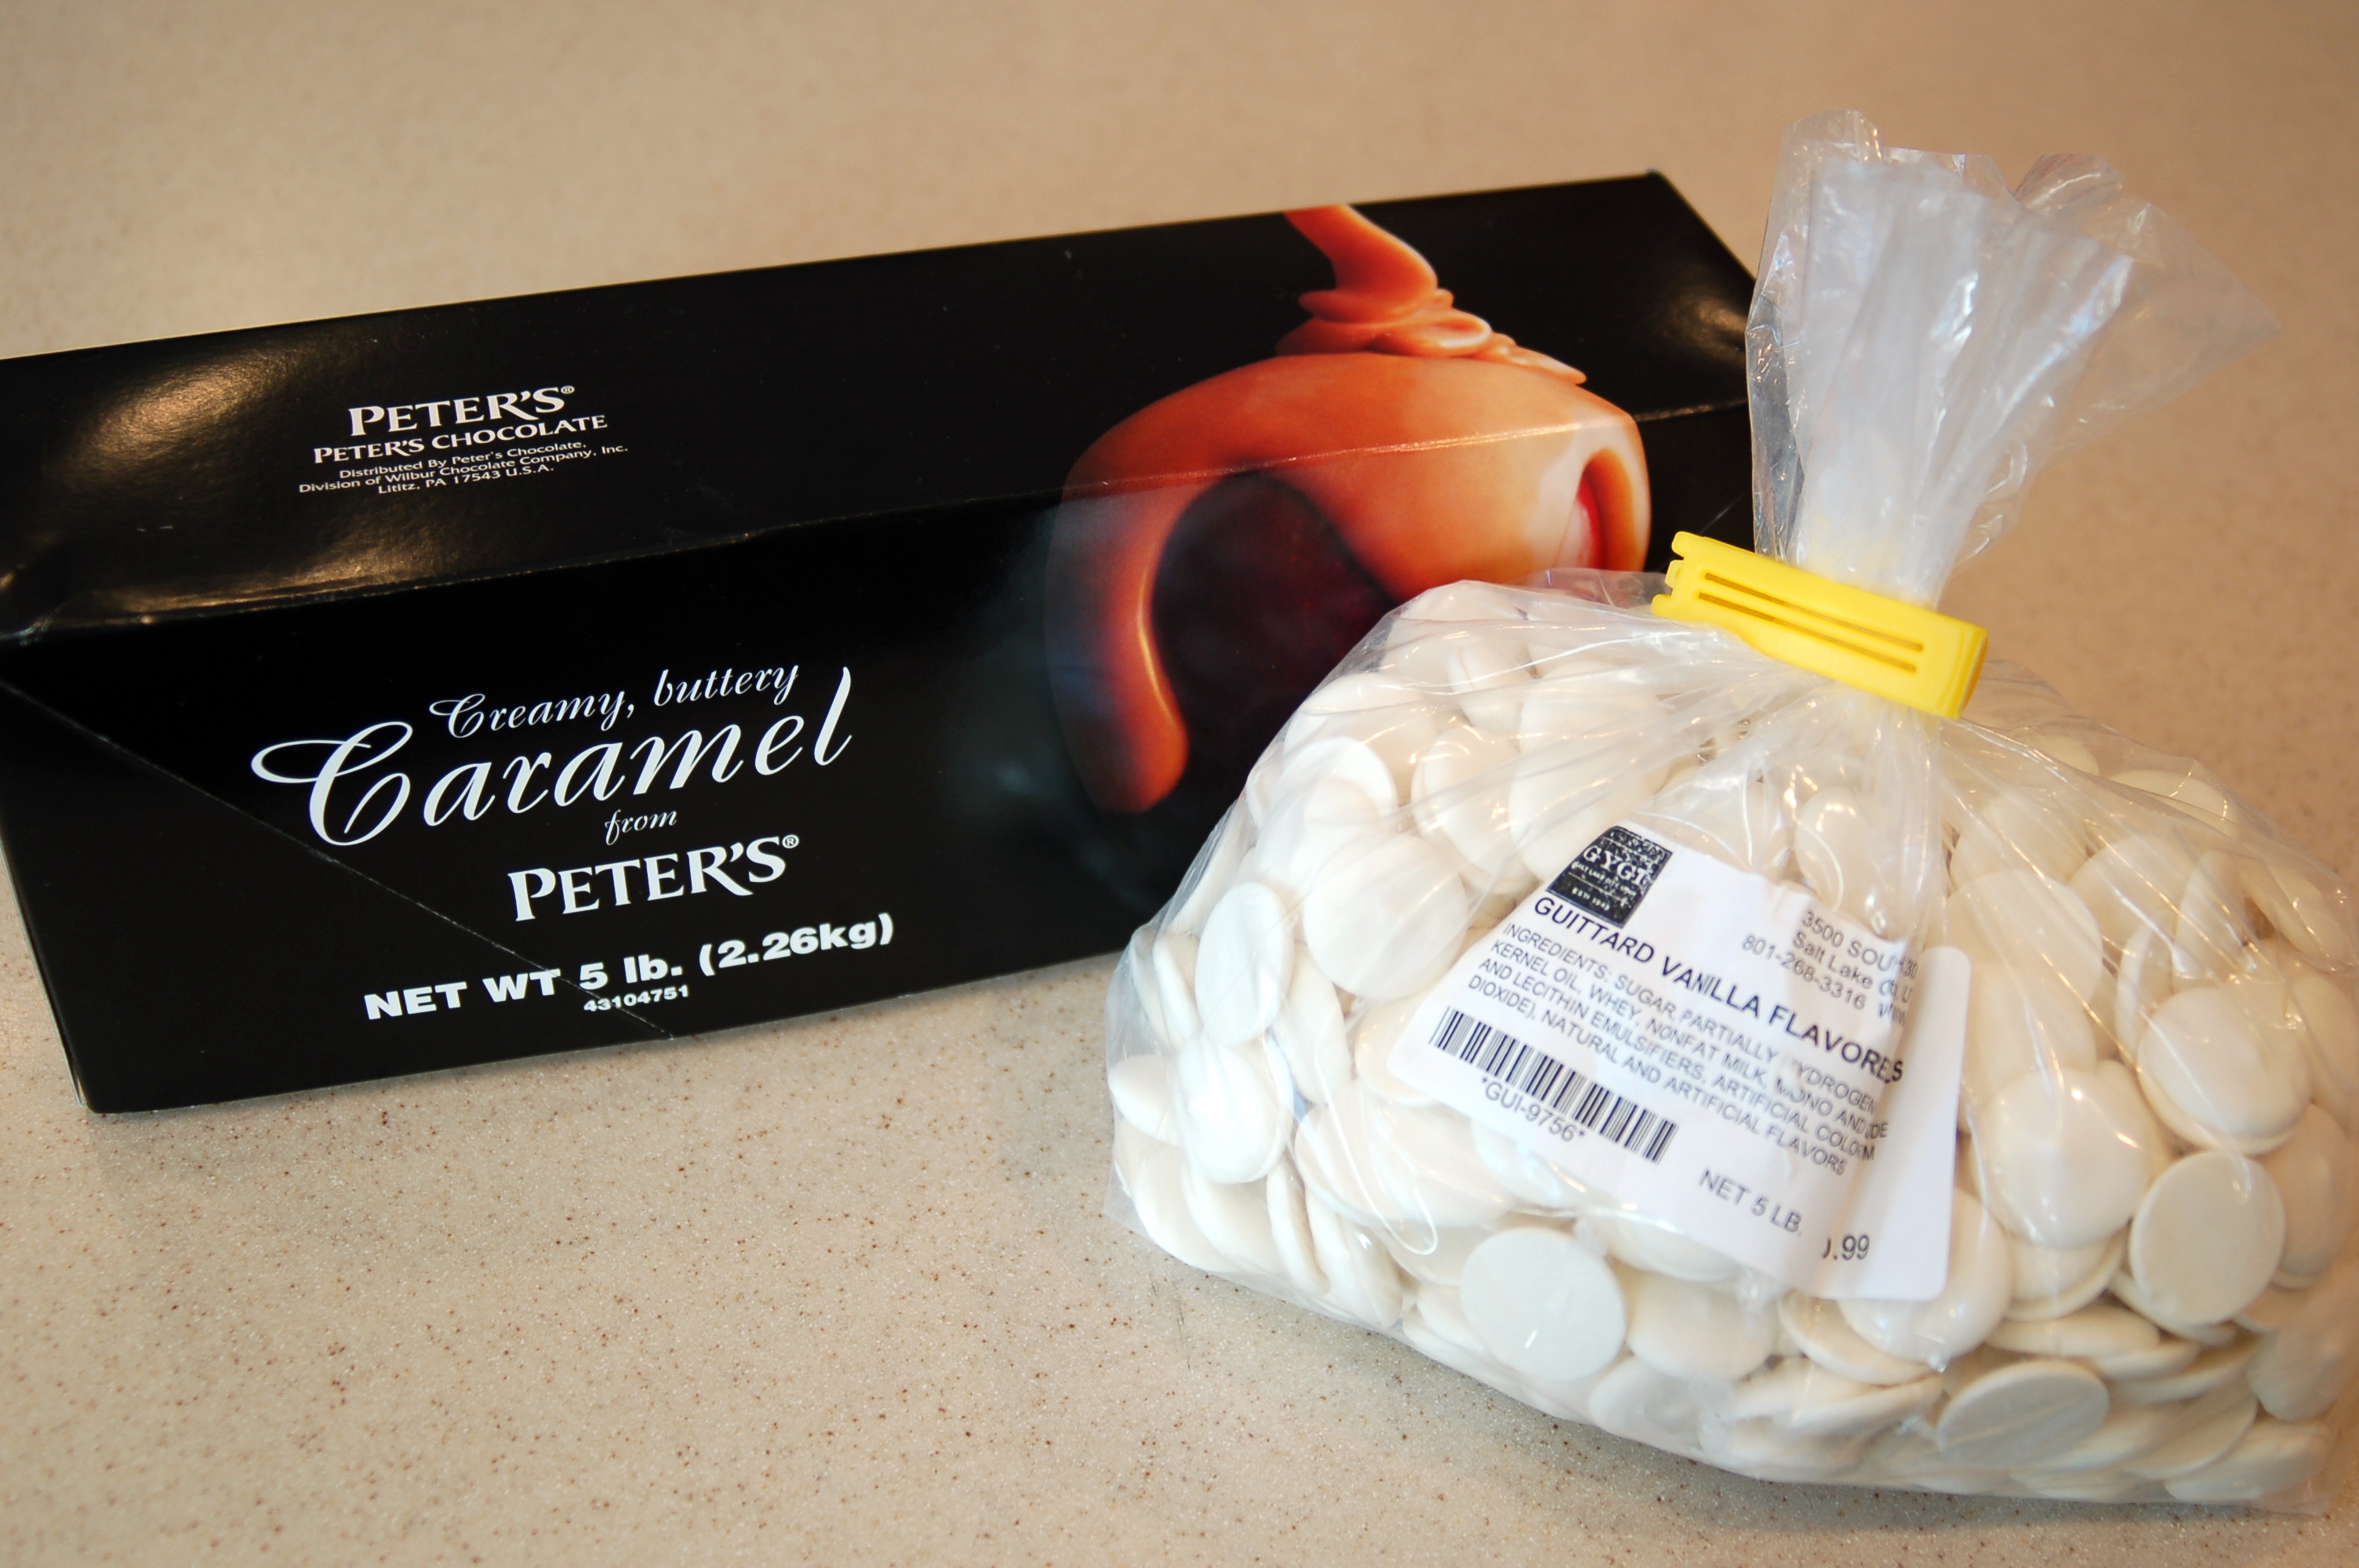
To make “Apple Pie” caramel apples you will need this yummy Peters Caramel that you can buy here.  I also used the Guittard Vanilla Flavored  white chocolate from the same place.Cut off about 1/4 of the loaf of caramel and put into a large microwaveable measuring cup or bowl.  I like to use a 1 1/2 quart bowl that I have because it is kind of skinny and tall, just right for dipping an apple into!  A 4 cup measure will work also.  Melt your caramel in the microwave.  Cook on high for 1 minute.  Stir.  Cook on 50% power for 1 minute.  Stir again.  Repeat at 50% until thoroughly melted, being careful to avoid scorching.  Dip apples into melted caramel and let caramel drip off the end of apple.  You can dip all the way or about 3/4 of the way, whichever you prefer.  I take a spoon and scrape off the bottom of the apple so there is no carmel on the bottom.  This helps so there is not a big puddle of caramel on the bottom of the apple. Repeat until all the apples have been dipped in caramel. Place dipped apples on a parchment covered baking sheet. Depending on how many apples you are making, you may have to melt more caramel.  A 5 pound box of caramel will cover about 15-18 large apples. Put apples back in fridge to cool.Prepare a bowl of sugar and cinnamon mix.  I used about 3/4 cup of sugar to 1 tablespoon of cinnamon. (That is really just a guess, because I just dump until it looks good!  I like quite a bit of cinnamon in mine.) Melt your chocolate in microwave on 50% power for about 1 min.  Then stir.  Repeat until chocolate is melted.  Be careful not to burn!  Dip the caramel apples into the chocolate and let the excess drip off.  Then immediately spoon the sugar/cinnamon mixture over the chocolate.  I do this over a wide bowl, this is like sprinkling glitter onto glue.  It will only stick where the chocolate is.

Put some of the melted white chocolate into a ziplock baggie with the corner cut off very small, or use a pastry bag with a small tip.  Pipe squiggly lines up and down the apple to make it look oh so pretty! Let all the chocolate set up and then you can tie them up in a cellophane bag with a cute ribbon!   YUMMM!

This is a great gift idea for teachers, friends or heck, is there anyone who would not love to recieve one of these?Next is how to cut a caramel apple!

First you cut on both sides of the stick, along the core.Then turn the apple 90 degrees and cut again on both sides of the stick, along the core and you have perfect little wedges that are just the right size for serving and EATING!

Apple Pie in a Jar!

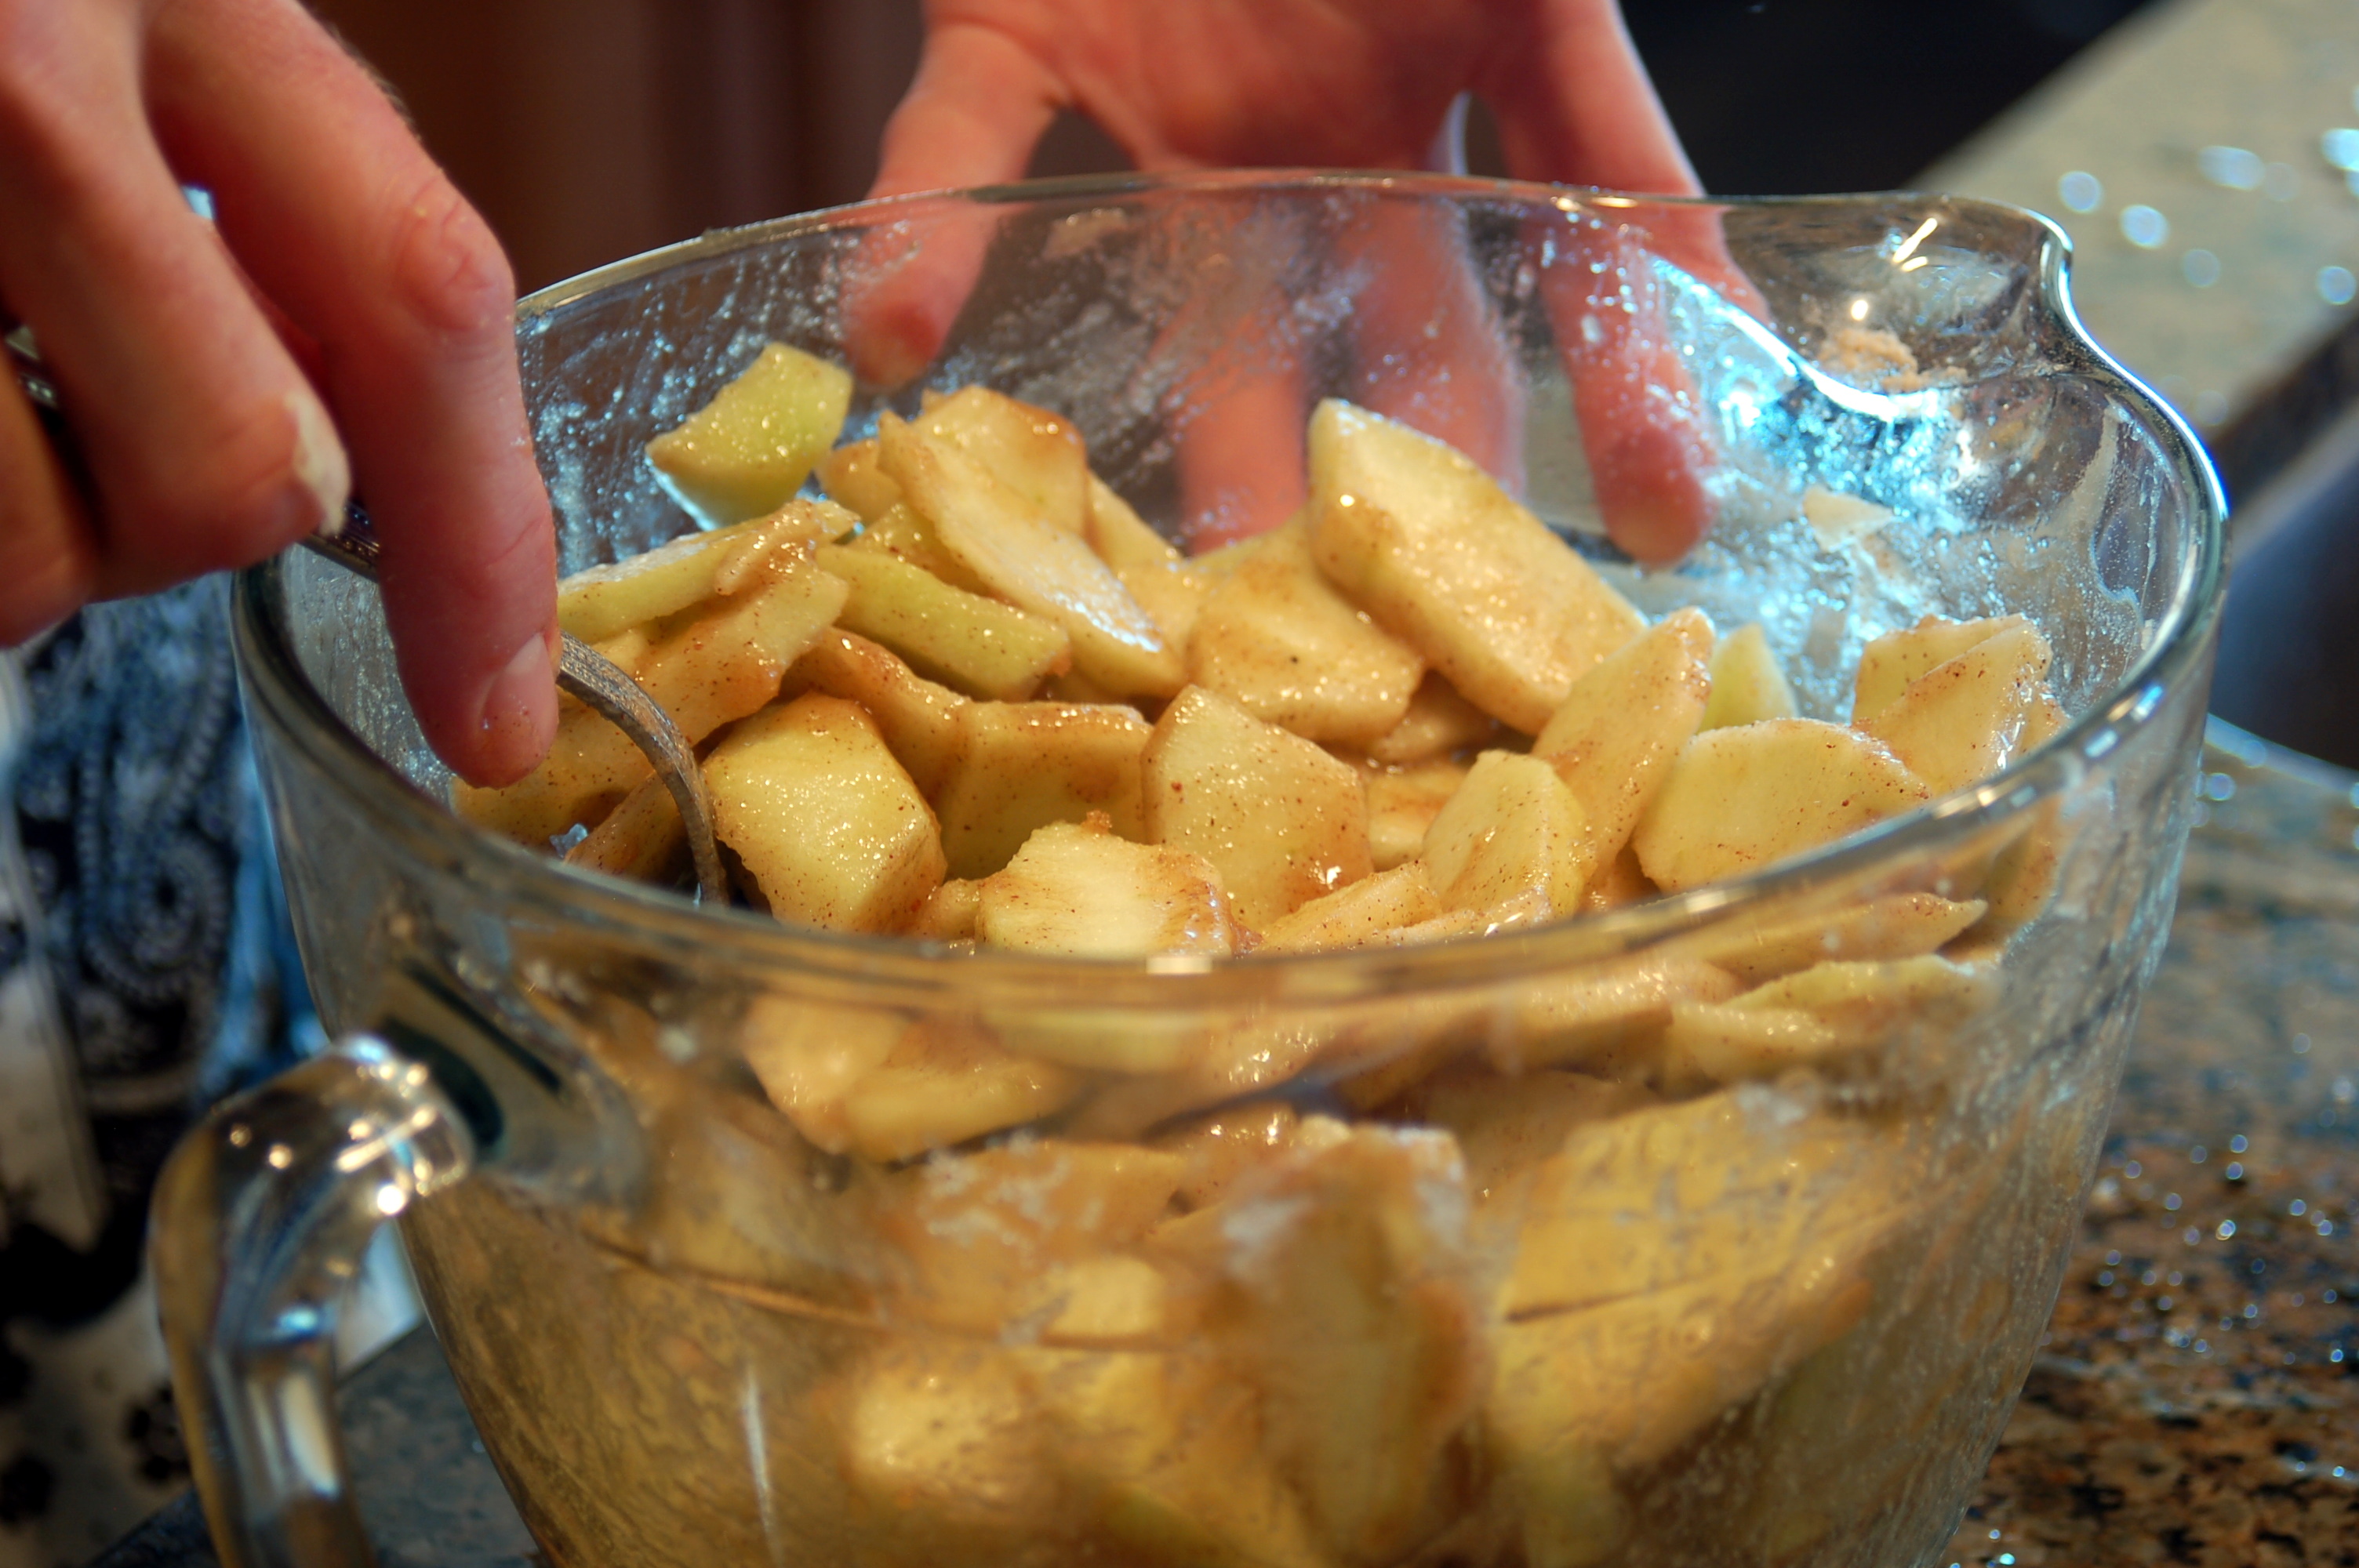
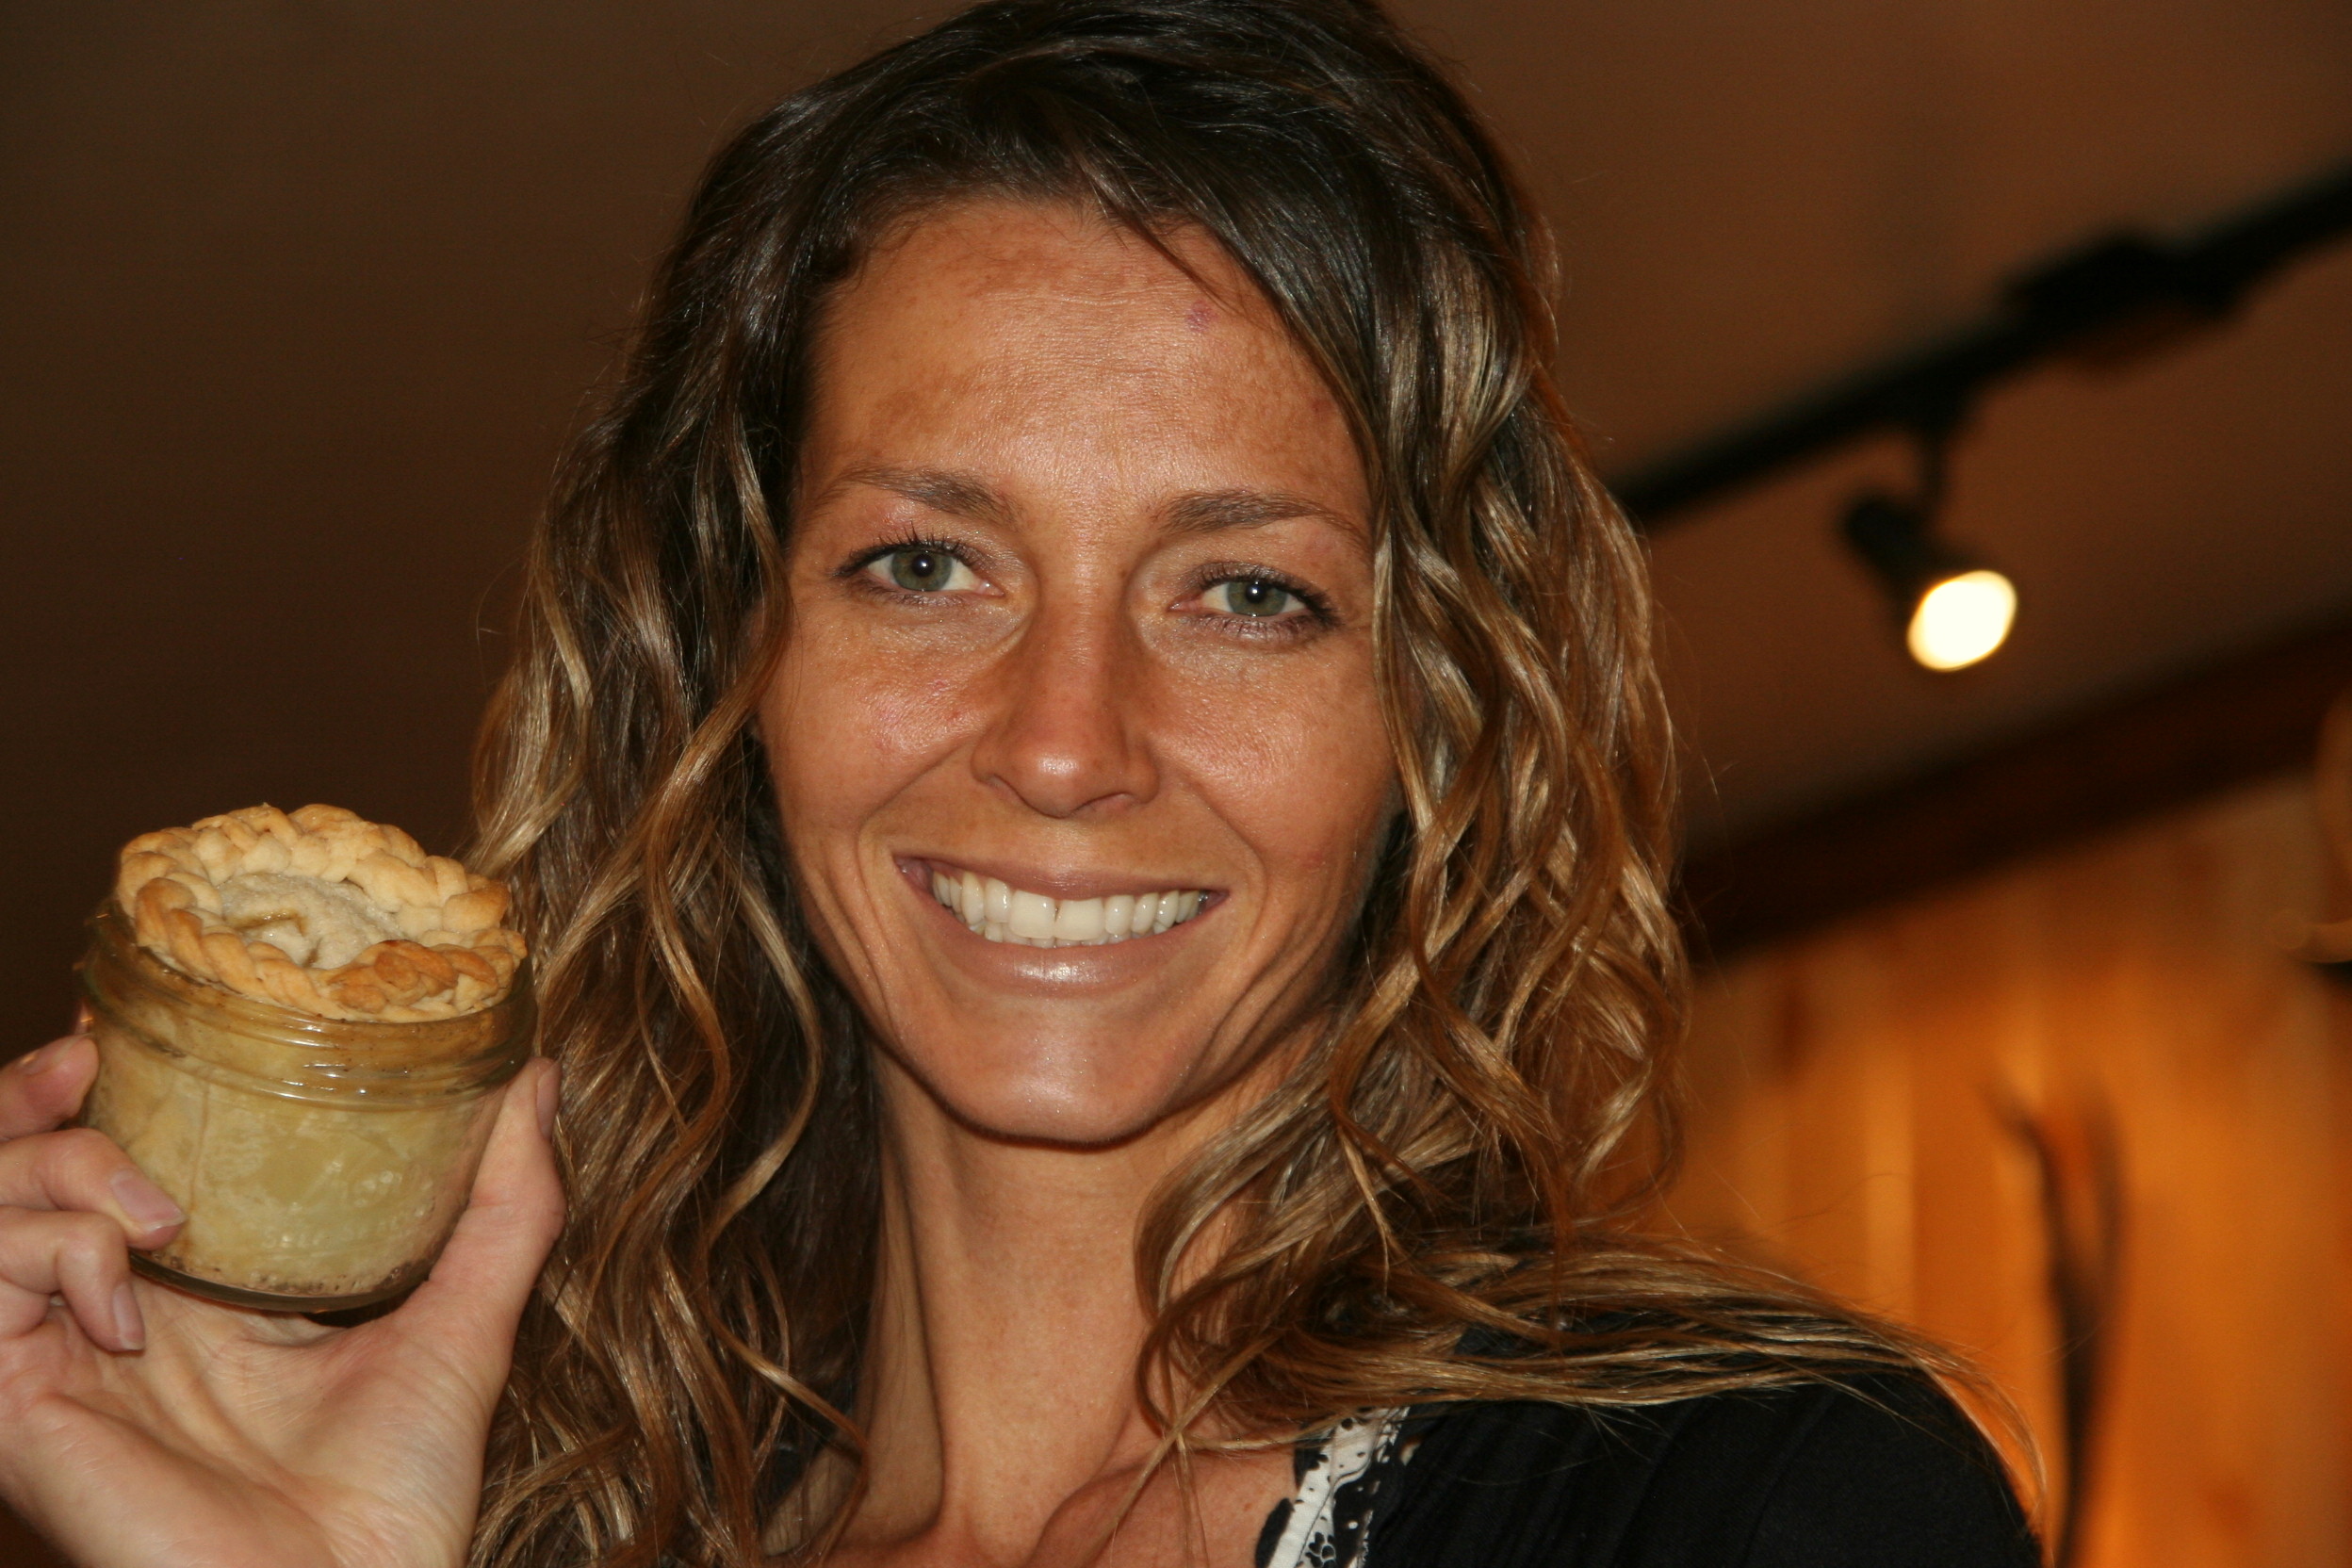
My daughter-in-law taught a class on how to make these darling pies! You can see a great tutorial here from Our Best Bites.  She made little mini apple pies in glass jars.   First you prepare the apples-peel and slice them, about 6 cups. Add 1/2 cup sugar, 1/2 cup brown sugar, 2 tablespoons flour, 1/2 teaspoon cinnamon, and 1/4 teaspoon nutmeg, 1 tablespoon  lemon juice.  Mix well and set aside.

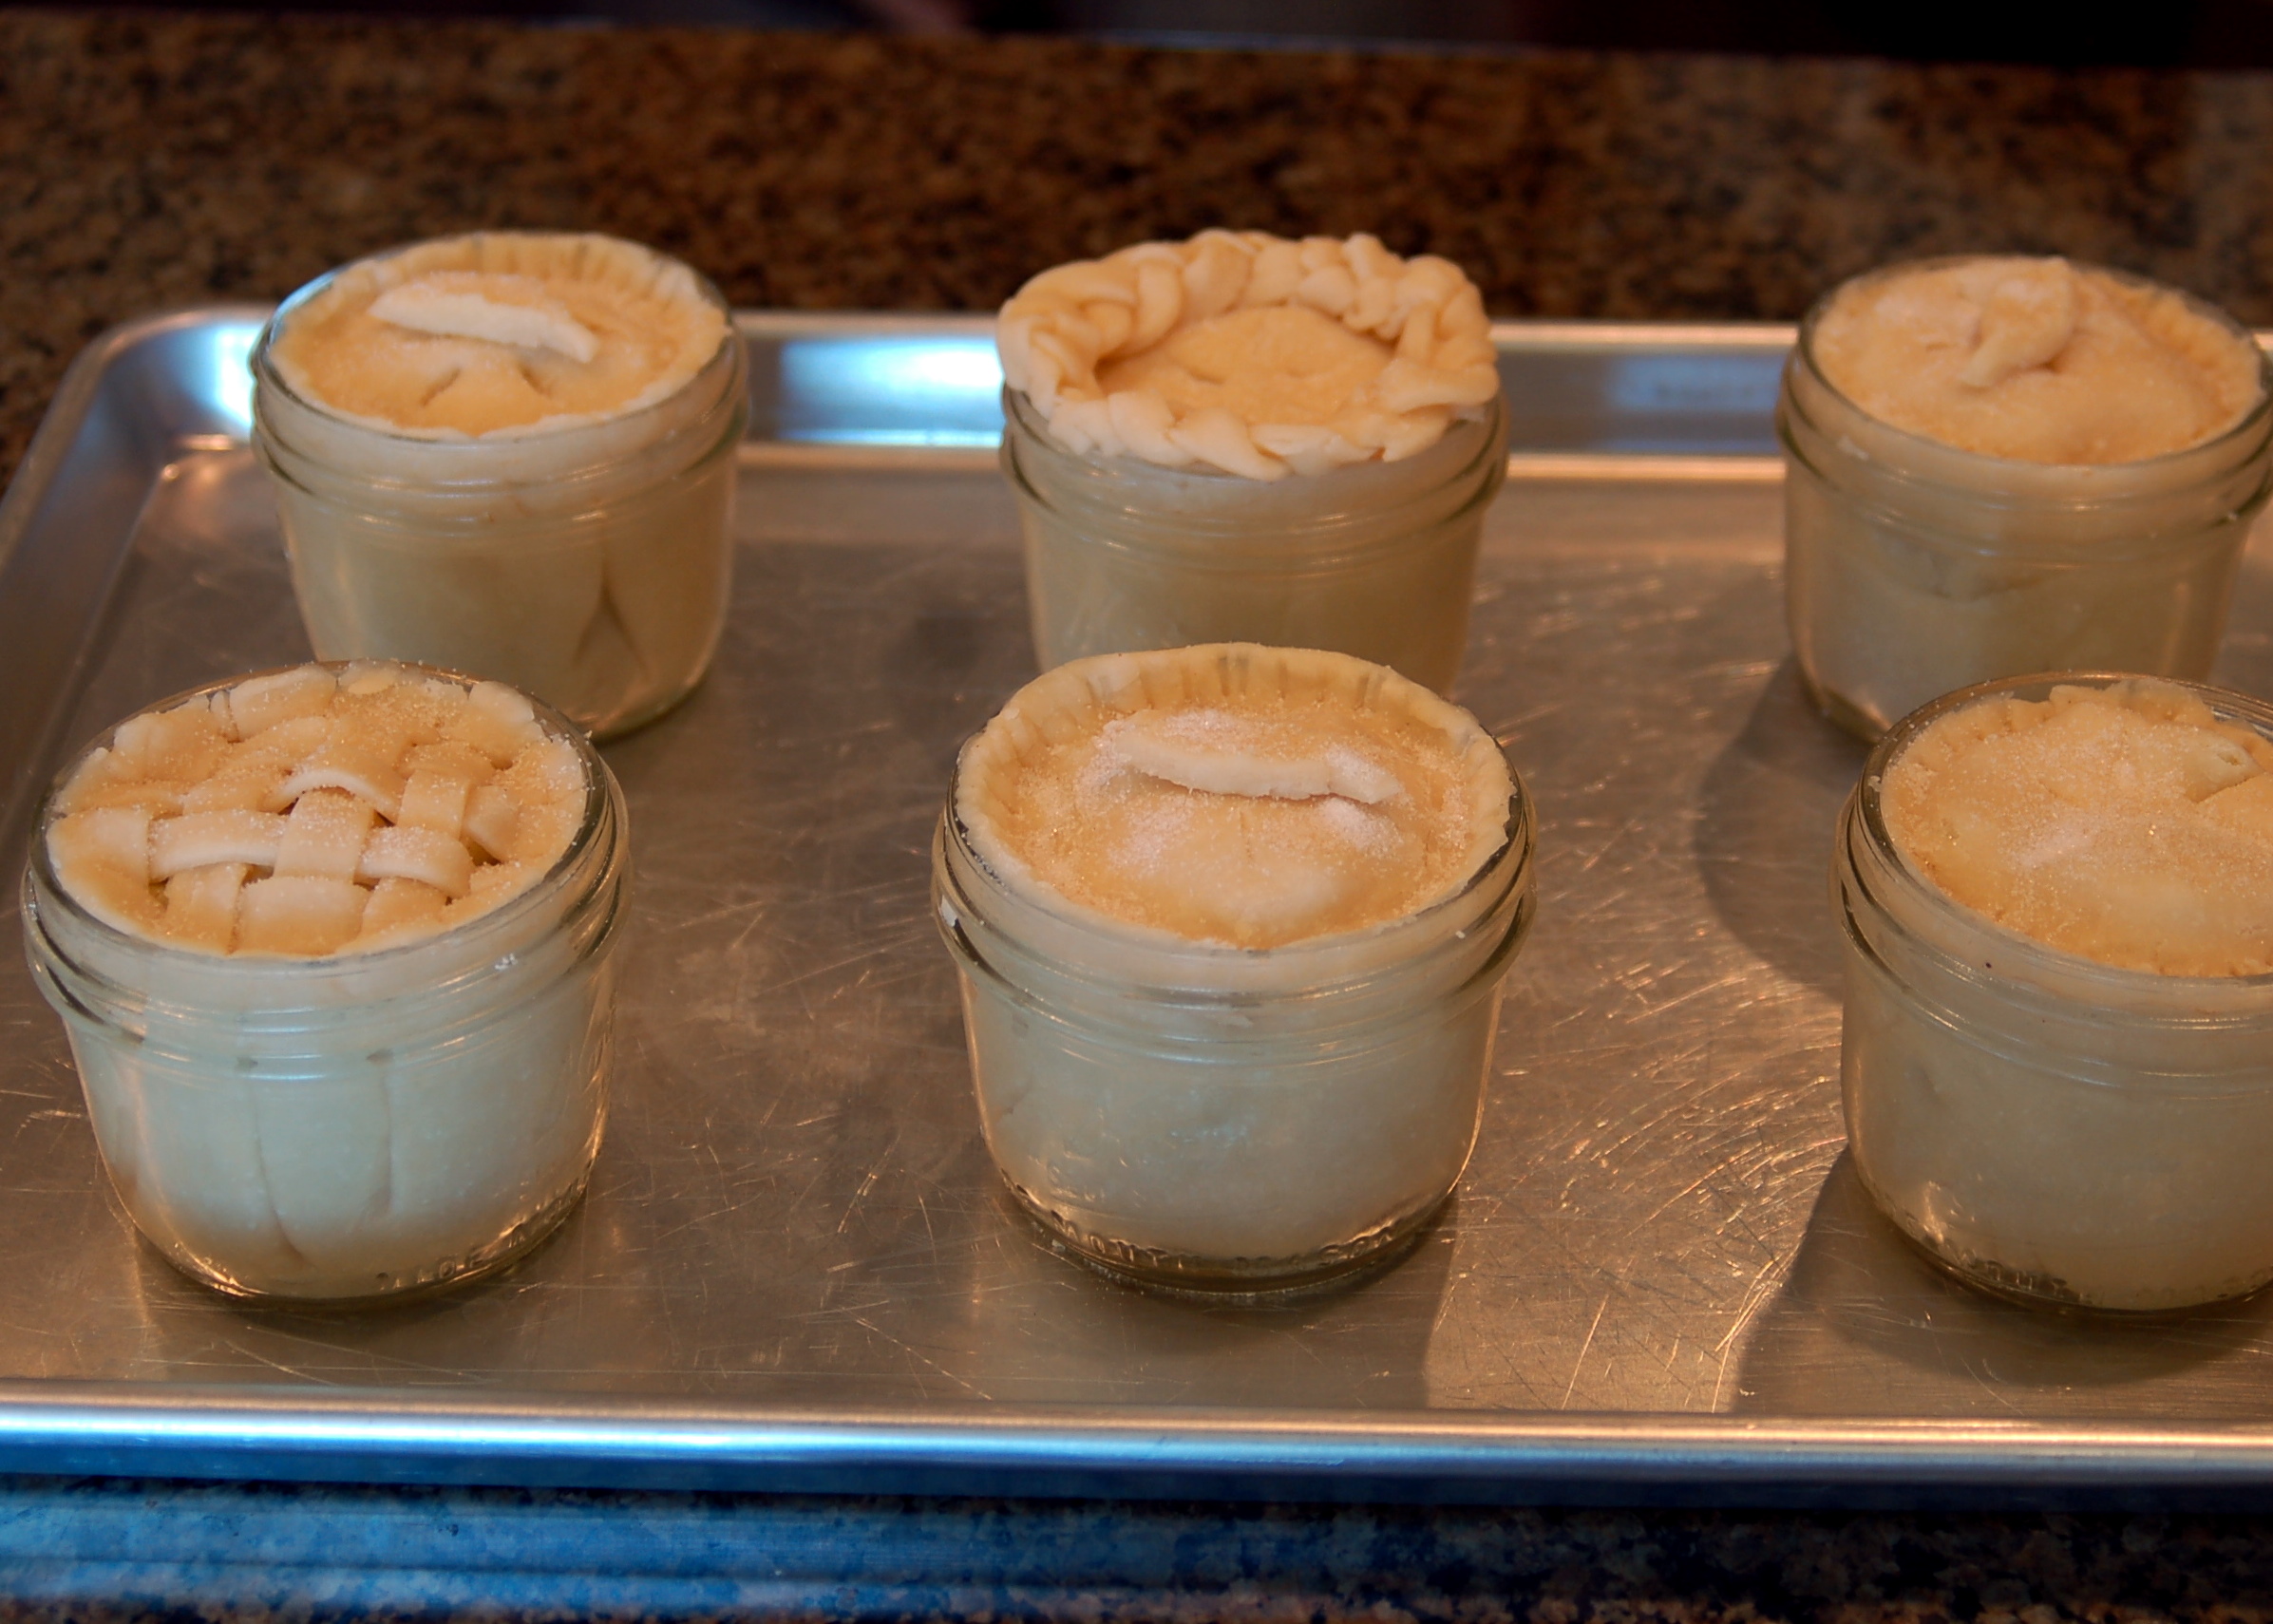
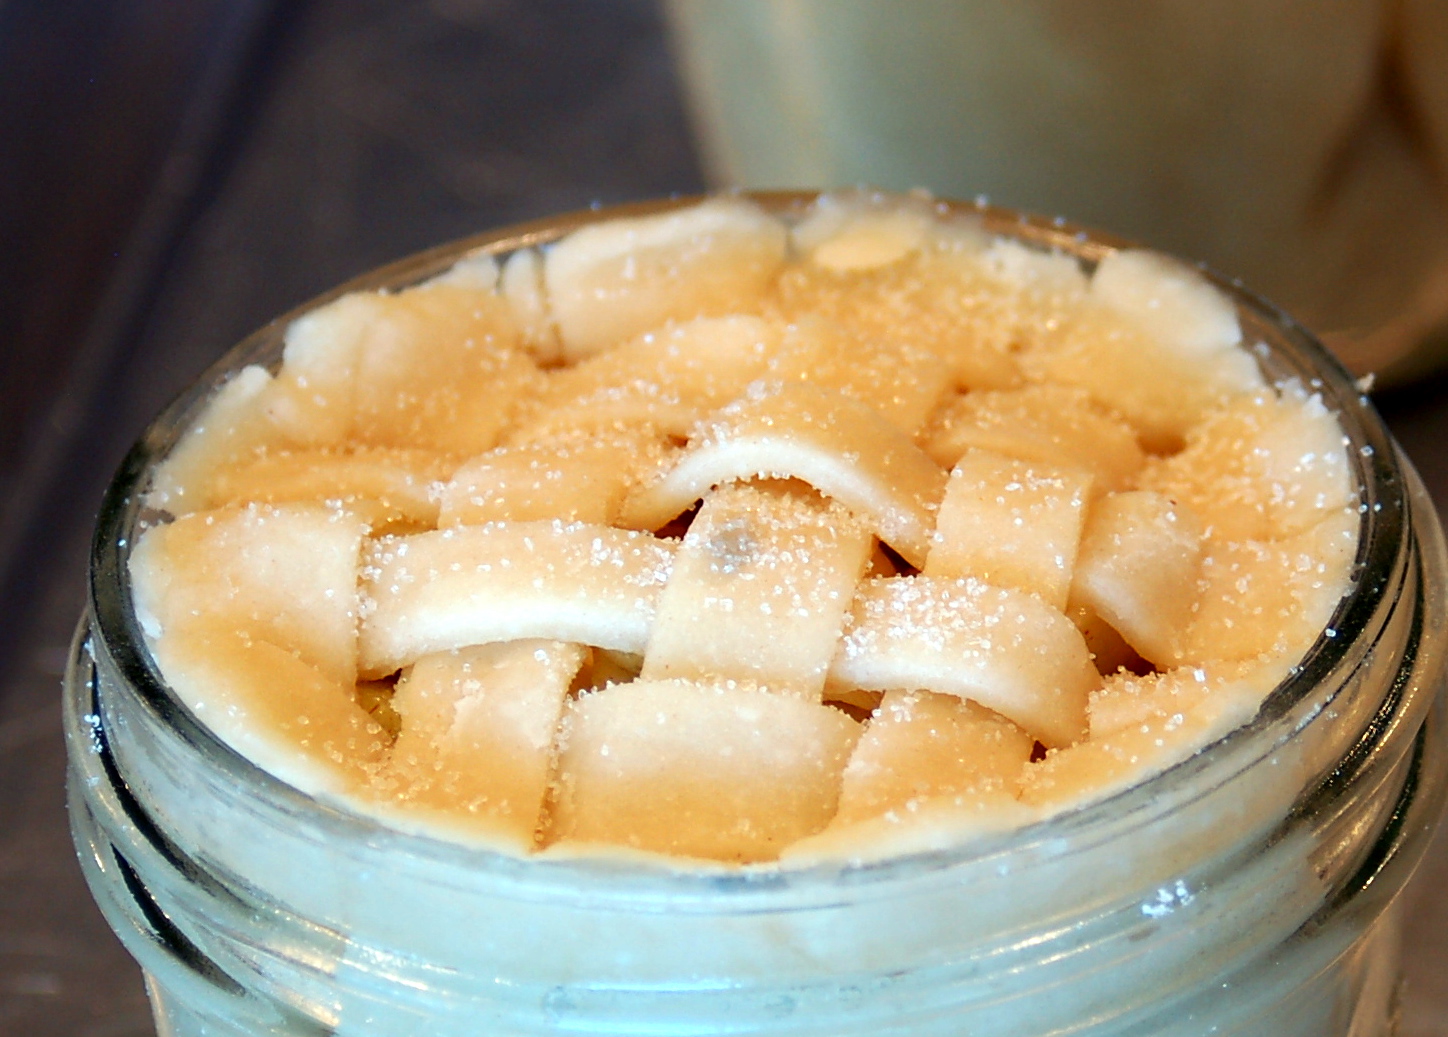
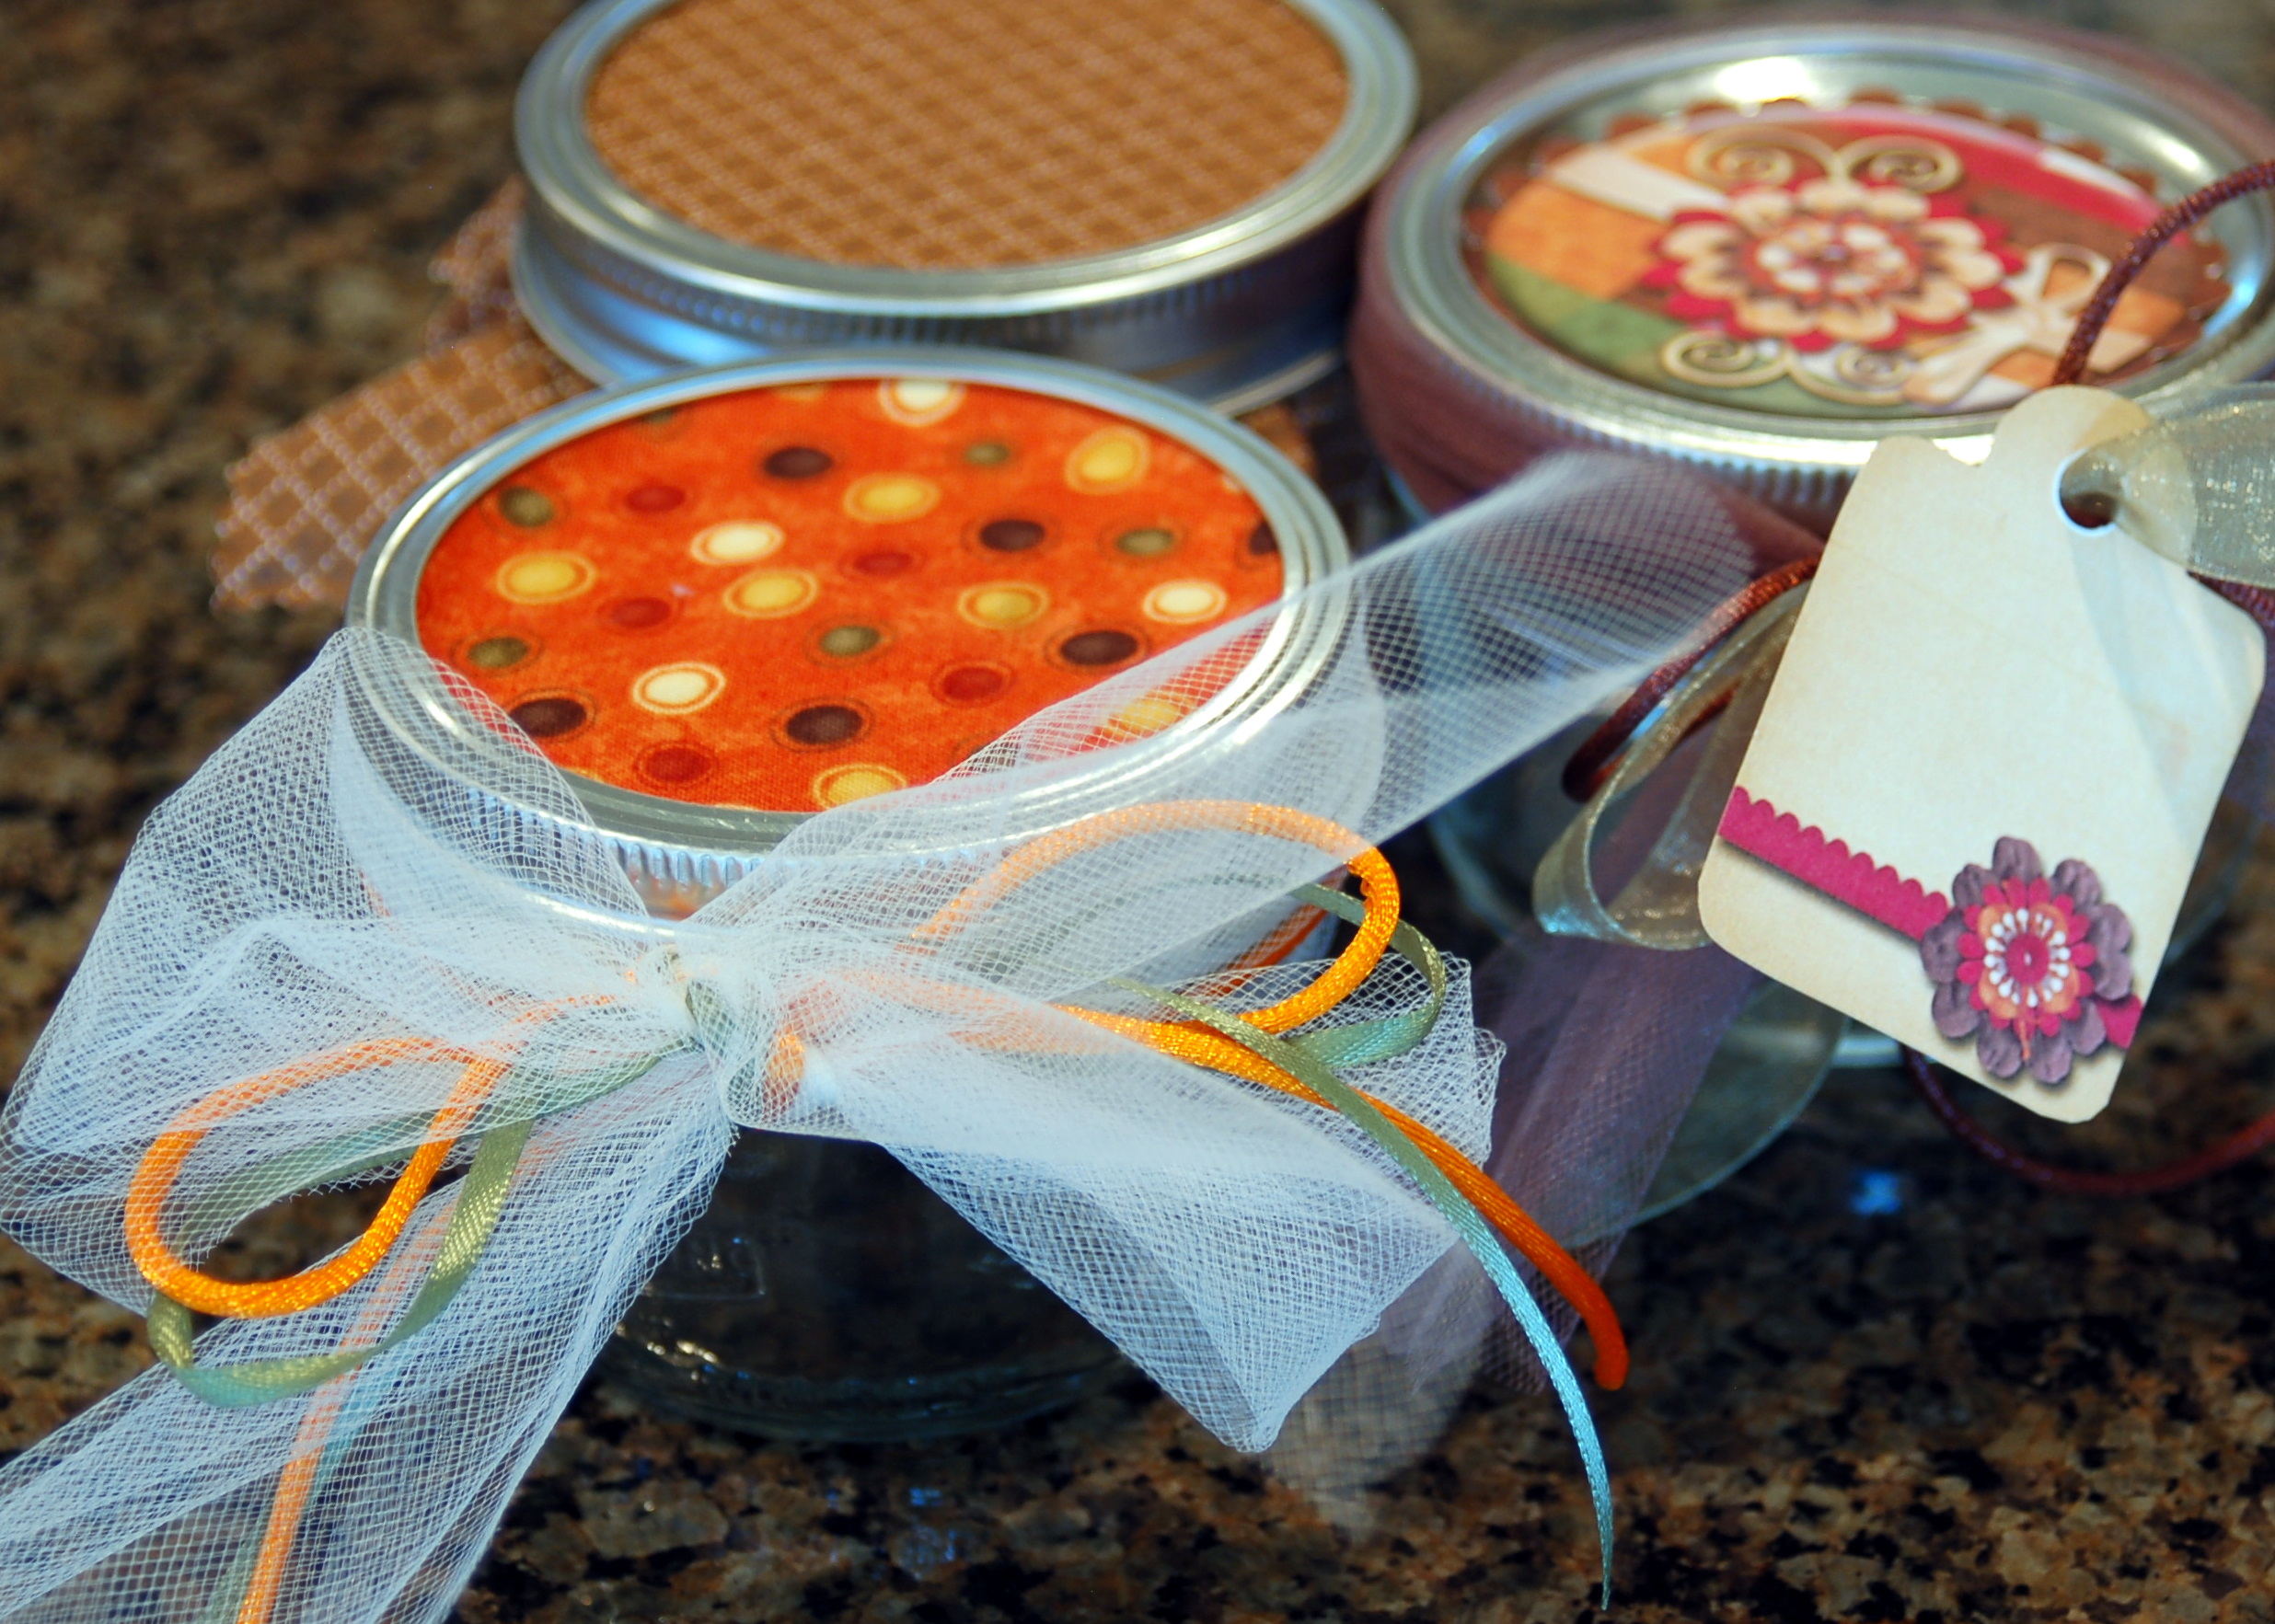
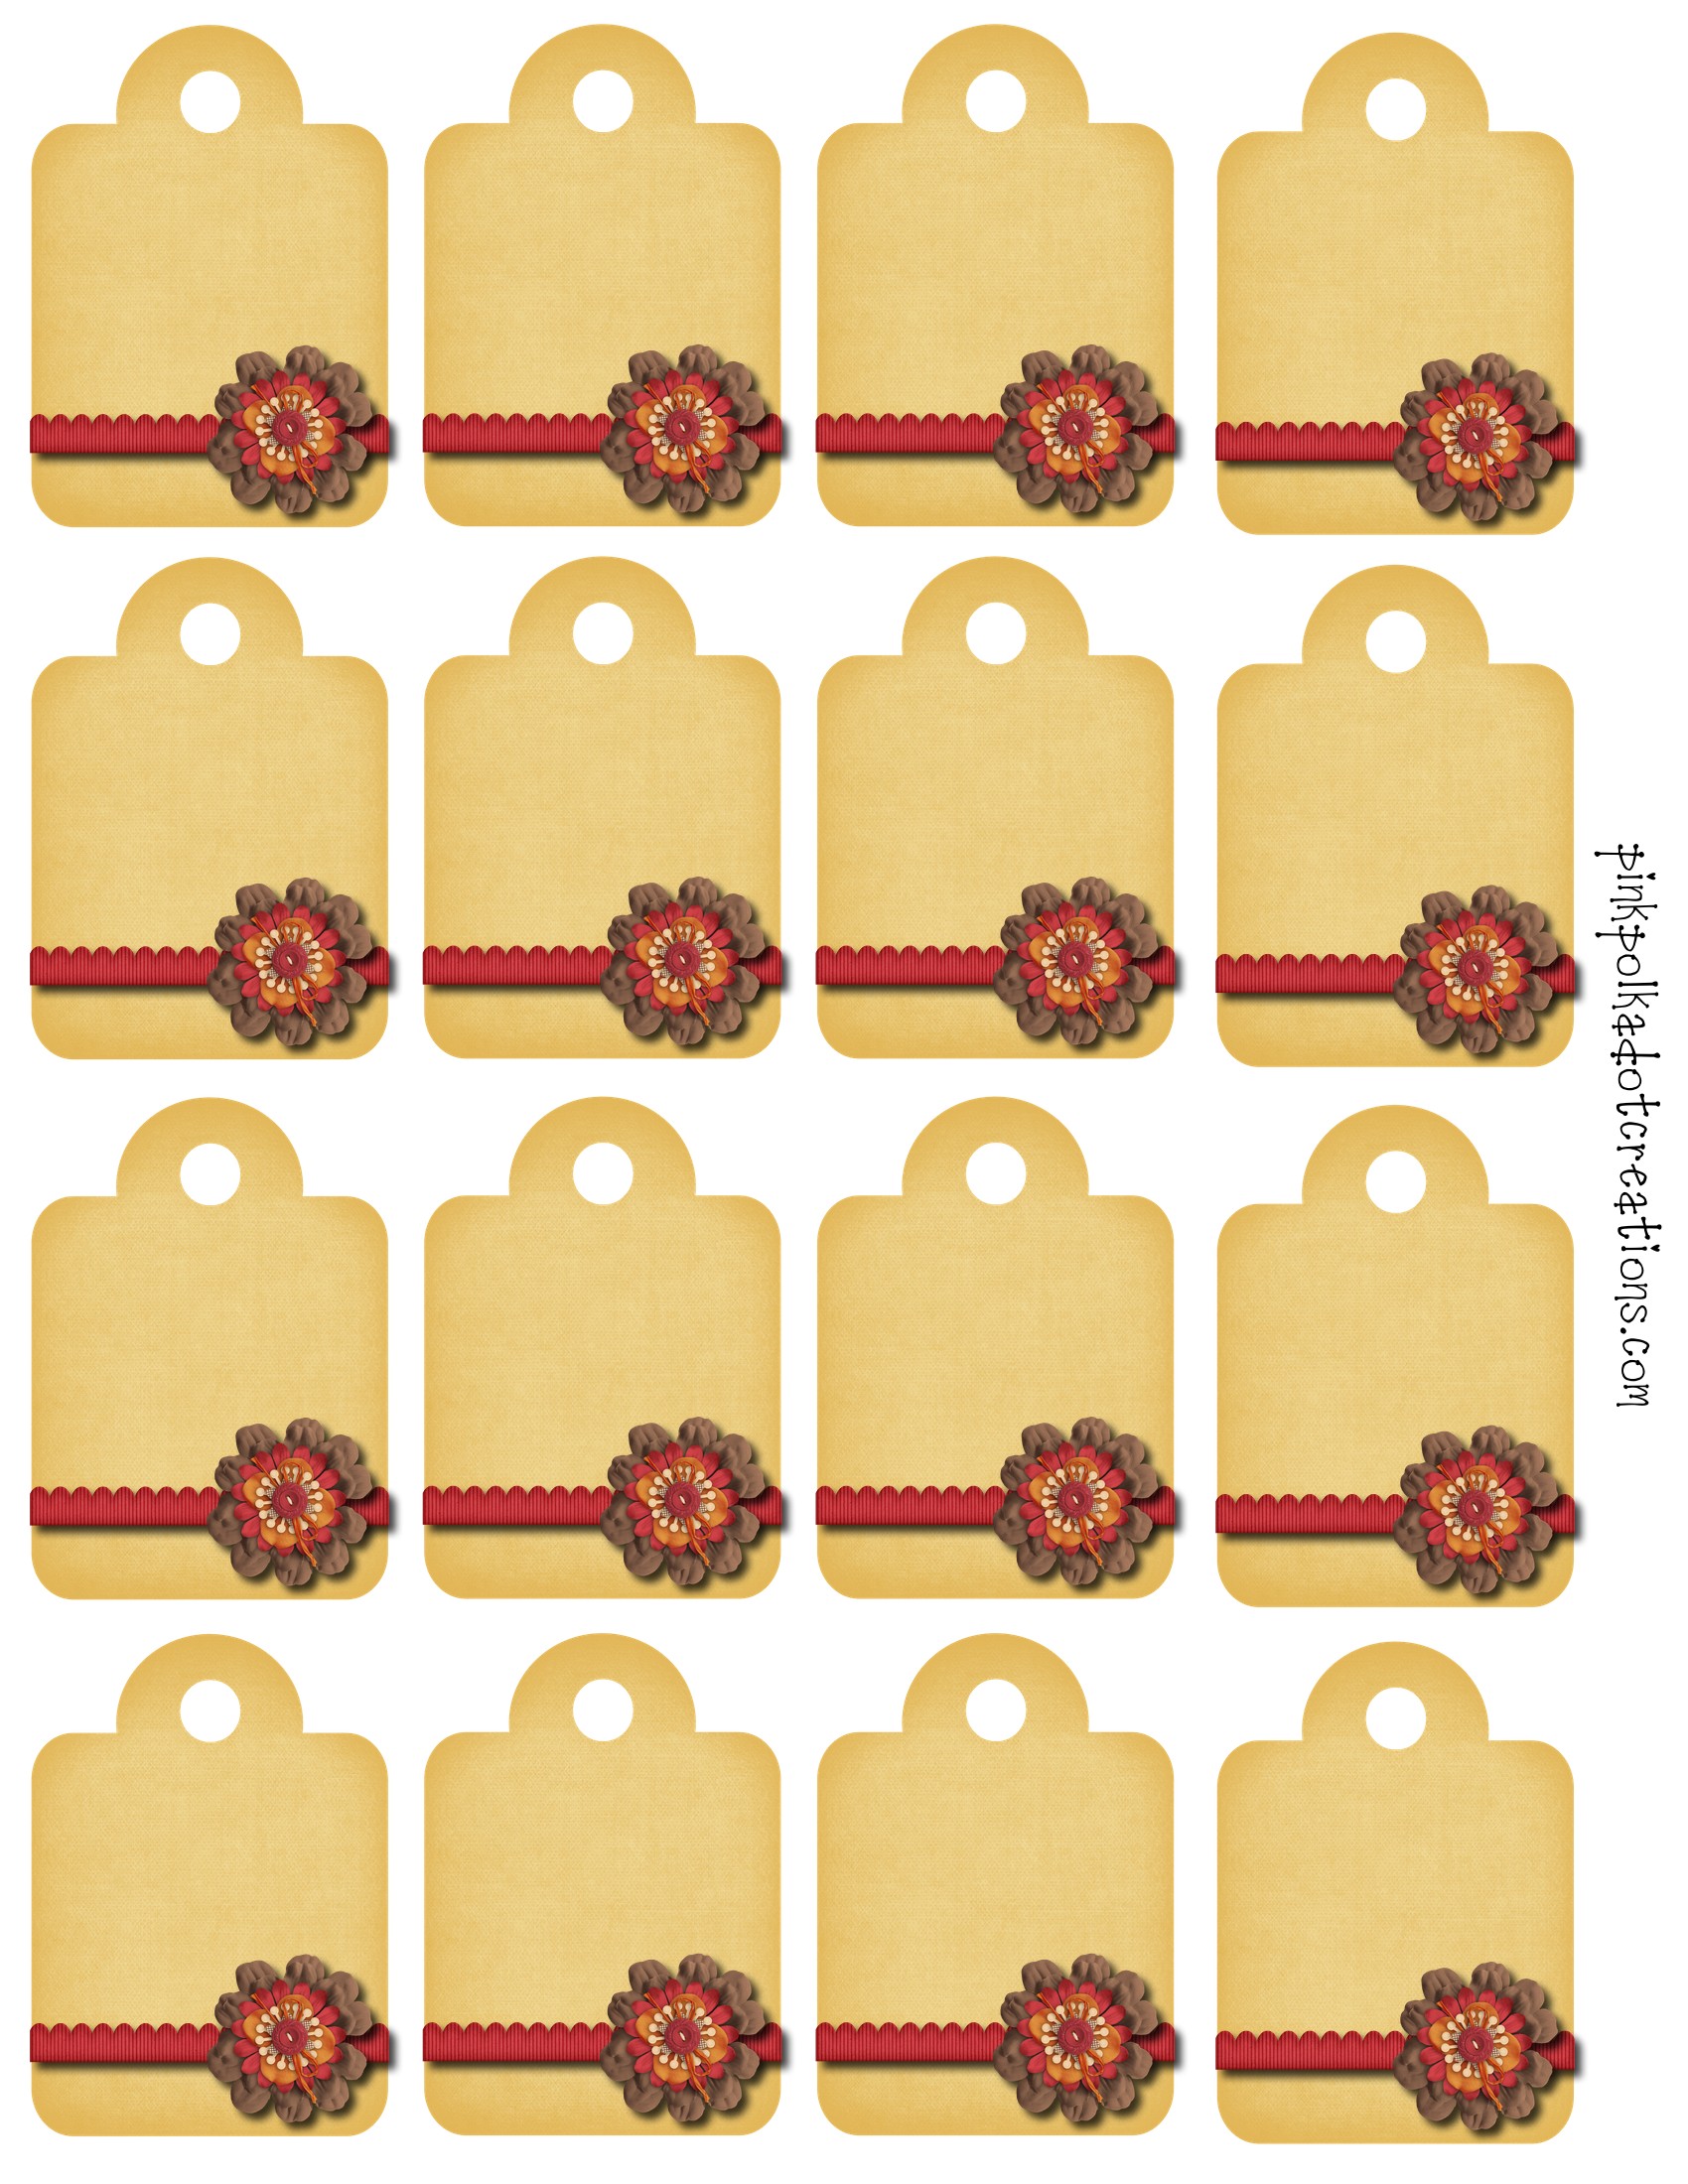
Make No Fail Pie Crust and roll out quite thin.  Using the rim of the jar, cut a round circle for the top of the pie.  Then roll out another circle large enough to put down inside the bottle.  Or you can just take pieces and press them into the jar.  Make sure that you push the dough down into the bottom of the jar, and that you press it all the way to the top. Add prepared fruit, approximately 1/2 cup per jar.  These are 1/2 pint wide mouth jars.Add the dough circle to the top.  You will need to vent them by cutting slits in them or using a small cookie cutter, like the leaf to cut a hole in the top.  Gently press down the top, so the edges of the circle are completely inside the jar. (The braided top should have been pressed down to be completely inside the jar, so learn from us!) Using a fork press the dough from the top to seal with the dough in the jar.  Here are several versions of how you can make the tops…Lattice, braided edge, or leaf cutout.  You could also use a crumb topping.Sprinkle the tops with a little bit of sugar.  You could also brush the tops with a little bit of butter before sprinkling the sugar on.  Doesn’t this look Heavenly?!Place the jars on a baking sheet. Bake them at 375 degrees F. for 45-55 minutes or until tops are golden brown.After they cool down you can wipe the edges off and add these cute toppers to your jars!  What a fun gift idea!  The holidays are coming up soon and these would be fun neighbor gifts, or for your friends with a carton of icecream and fun scoop…you get the idea.She did a great job and look how yummy they are!Here is the printable for the top of the jars.  Just right click and go to copy, then open your favorite program, like word, and right click and paste.  These are the right size for a wide mouth lid.Here are some cute tags to tie on with the ribbon.
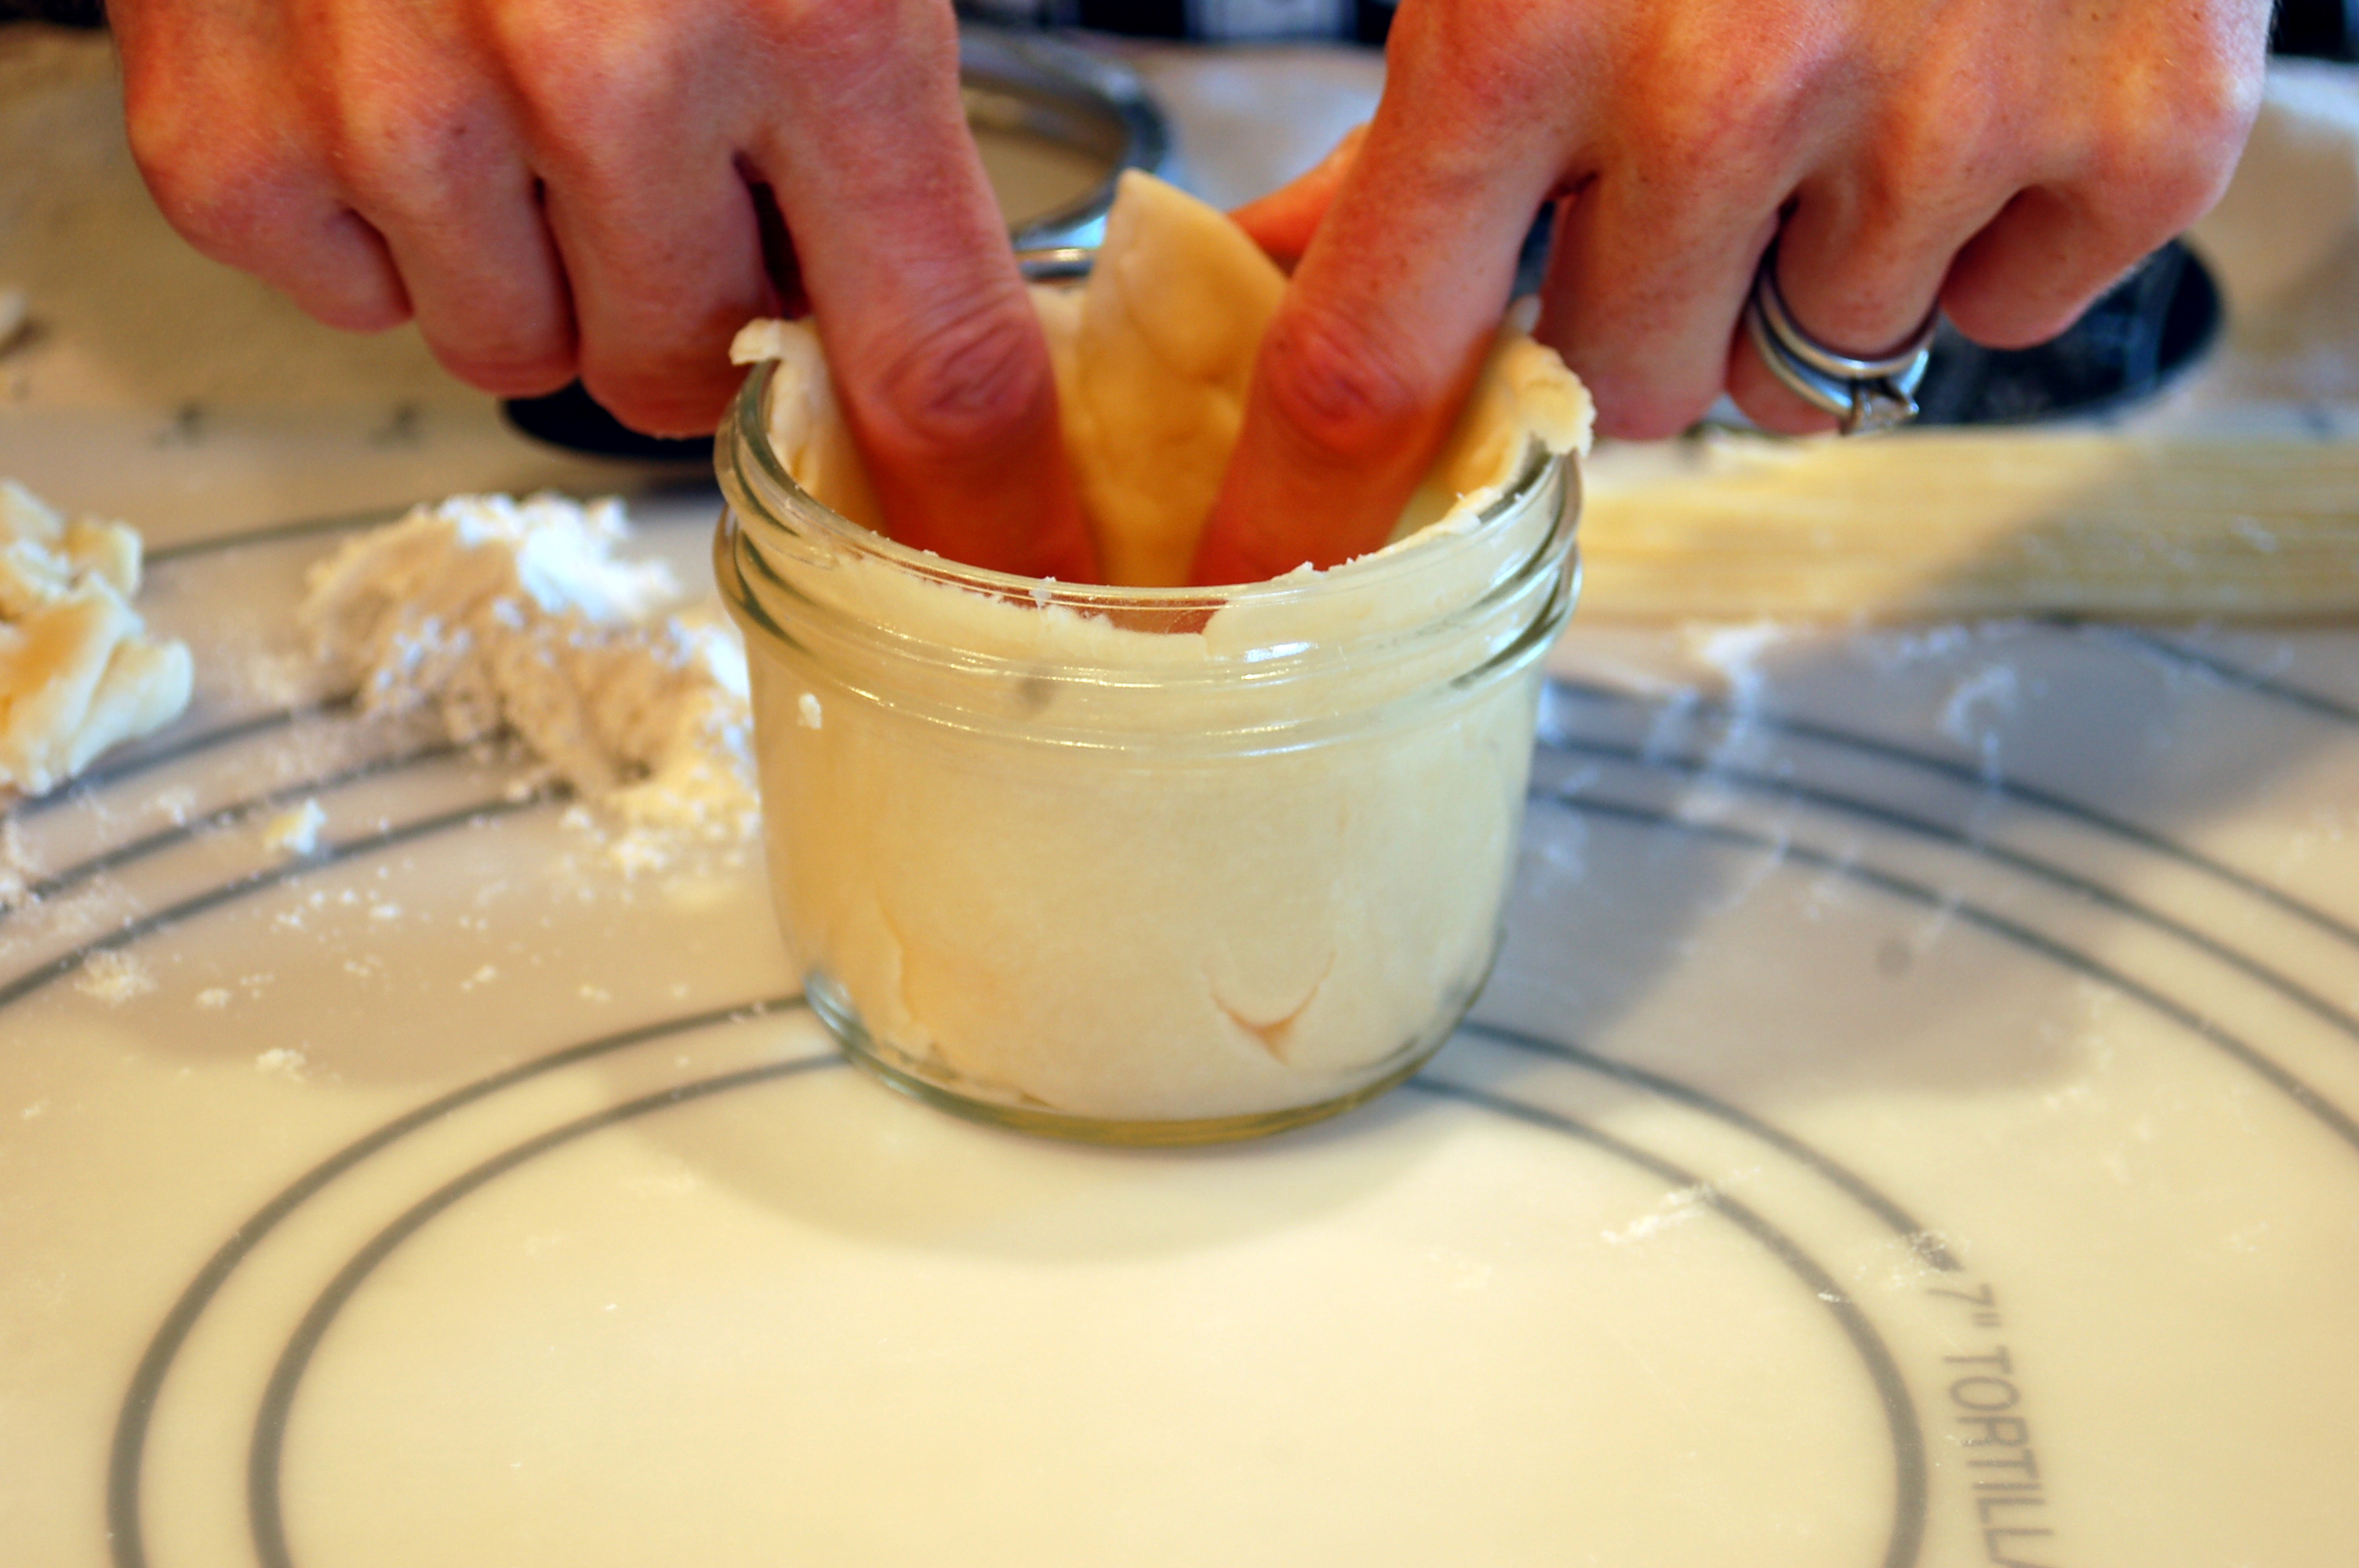
You could buy all ready made pie crust and canned pie filling if you want a faster version of making these.  I am thinking it would be way fun to do Pumpkin pies for Thanksgiving!

This is a recipe for No Fail Pie Crust, that I have in an old church cookbook.  I cannot remember how long ago, but at least 20 years ago!  And I know that it has stood the test of time! I have never had this recipe fail me!  Just make sure that you do not over mix the dough.

Happy Pie Making!

No Fail Pie Crust Recipe

4 cups flour

1 3/4 cup shortening

1 Tbsp. sugar

2 tsp. salt

1 egg

1 Tbsp. vinegar

1/2 cup cold water

Mix flour, salt and sugar together.  Beat egg, vinegar and water until thouroughly blended.  Cut shortening into dry ingredients until it is the size of peas.  Sprinkle egg mixture over it, a tablespoon at a time, tossing and stirring lightly with a fork.  Mix until dough is just moist enough to hold together. Do not overmix or it will make a tough dough.

Form ball.  Let stand for 15 minutes.  Makes 4 shells or 2 double-crust pies.  Bake shells 8-10 mins at 450 degrees F.