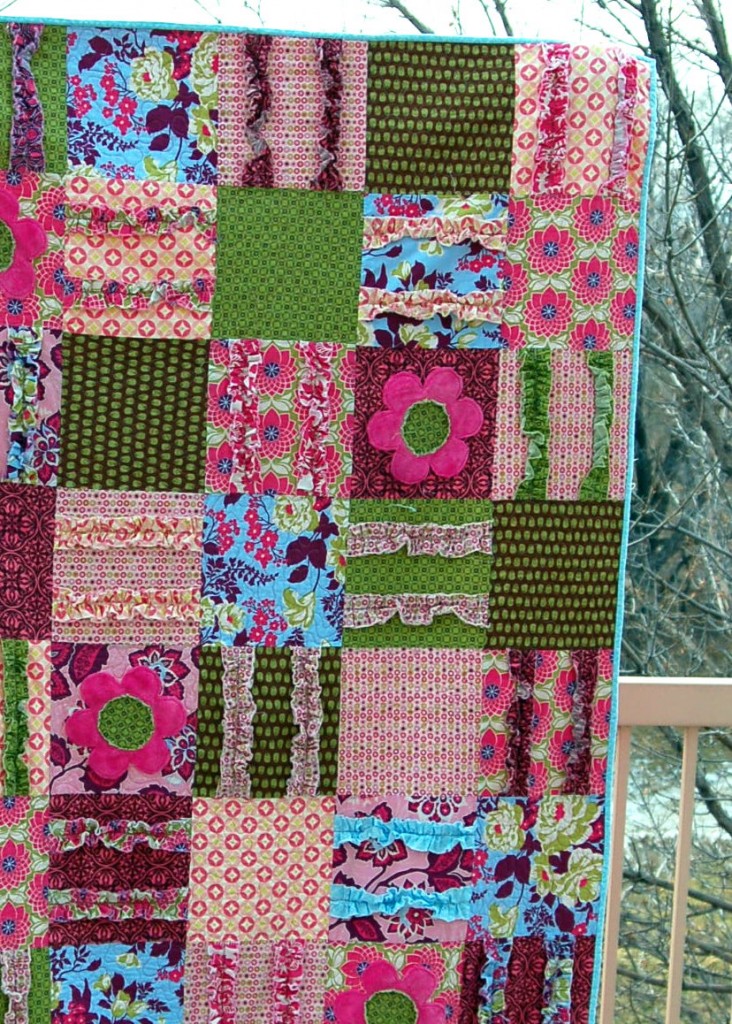
I think that I have had ruffles on the brain lately, but you can never get too many ruffles, right? Ruffles are still such the rage in the fashion and crafting world and I love it!
This a great little skirt that you can dress up or down, and it is knit fabric, so it is very comfy. It does not wrinkle so it is great for travel, and it camouflages all your flaws with all the ruffles! It doesn’t get any better than that!
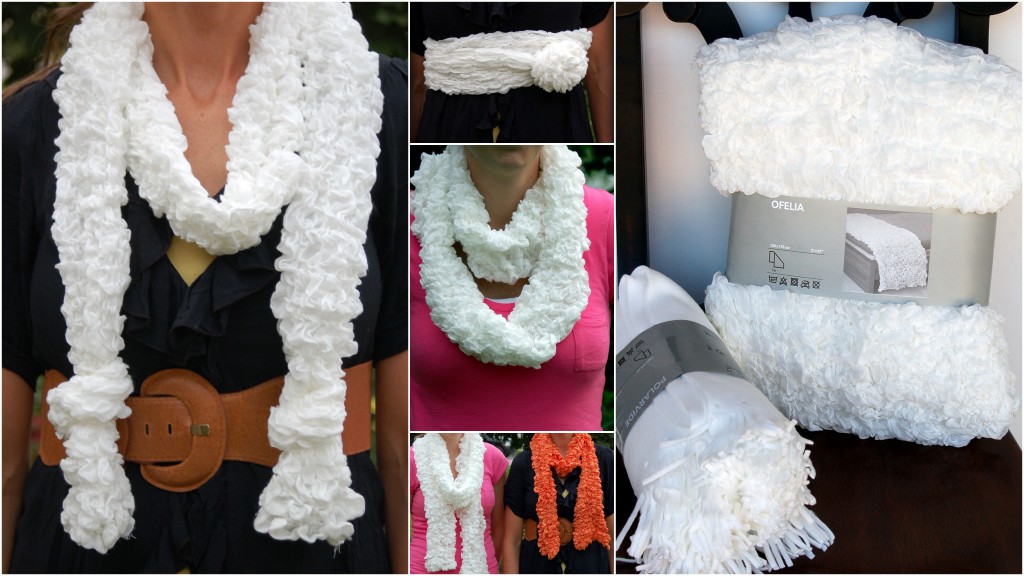
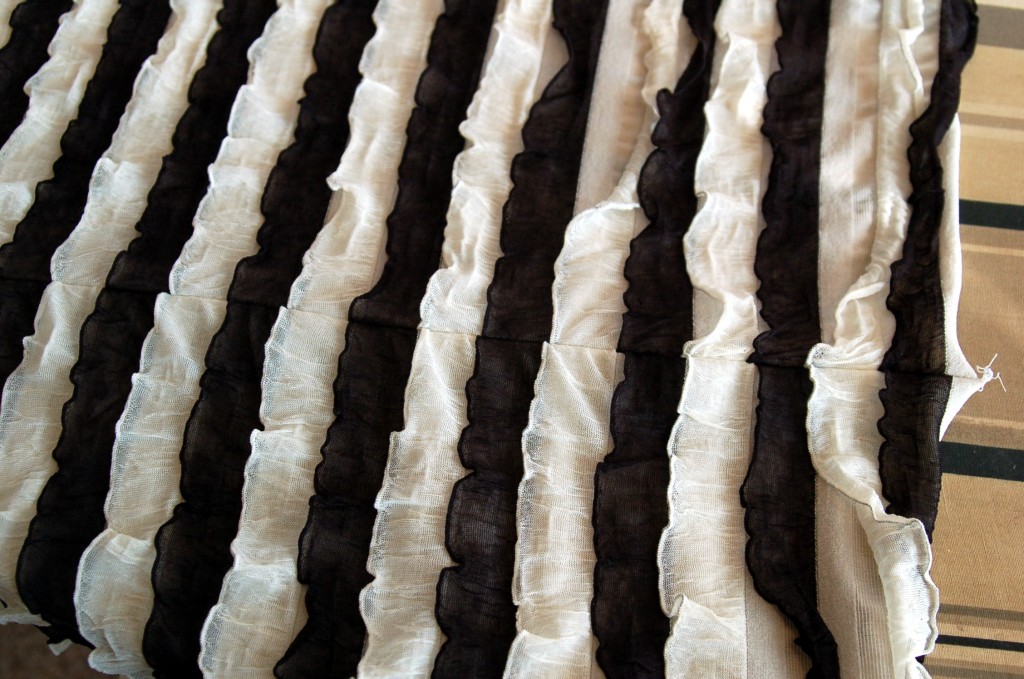
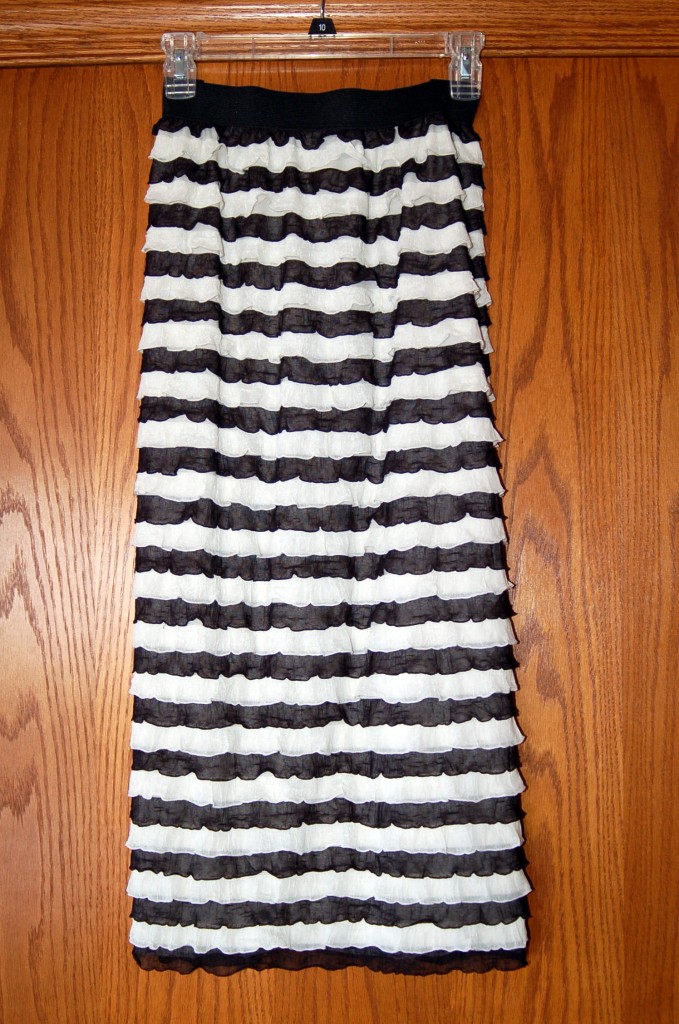 You start with this fabric that is already ruffled! It is kind of pricey, but you only need your length. I am kind of tall and I bought about 30″ for a skirt that is mid-calf. It only cost me about $20 for everything, and where can you buy a cute skirt like that for $20?!
I bought my fabric at The Material Girls Quilts in South Jordan, UT. They also have this ruffled fabric in Gracie Lou’s Quilt Shoppe in Salem, UT. I know that a lot of the finer fabric and quilt shops are now carrying it, so you should be able to find a place near you.
The fabric is wider than I wanted, so I cut off about 6″ from the width because I did not want it to be that full. With all of the ruffles, it is better to have it a little bit more fitted, so you do not add bulk where you don’t want it. (If you know what I mean!)
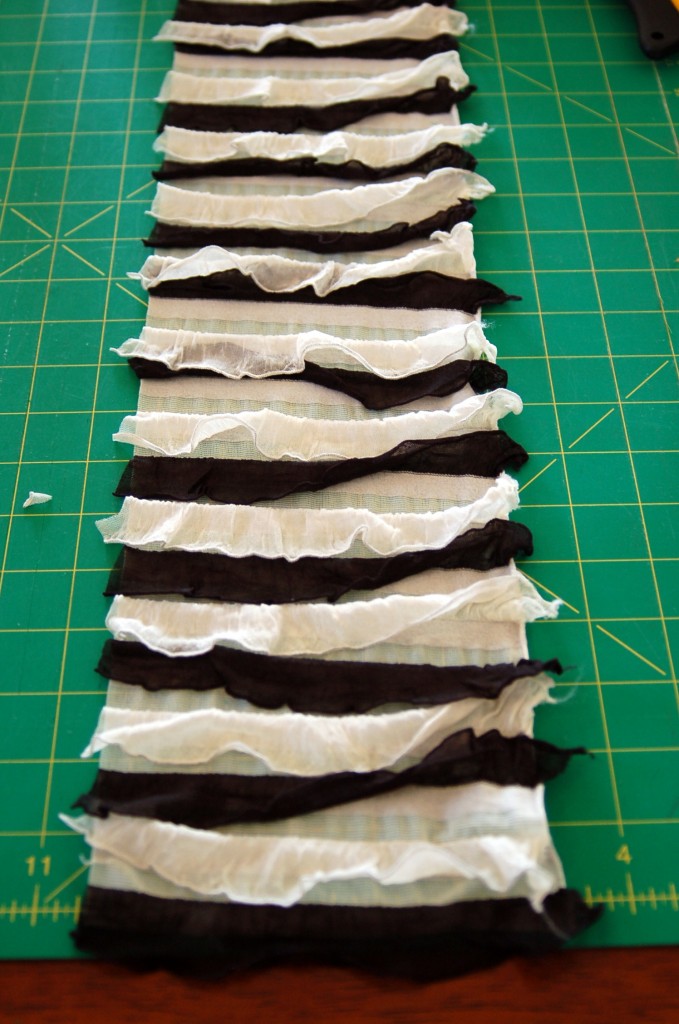 This skirt is sooo easy as in one seam and sew the elastic to the top!
So let’s make a fun ruffled skirt for the holidays, shall we?
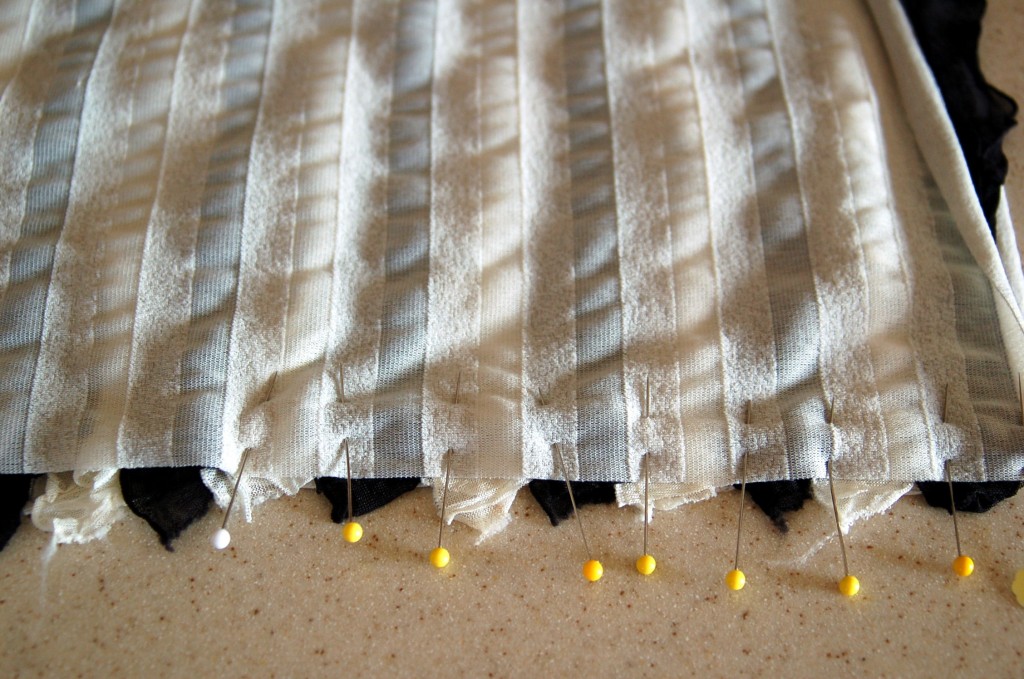
The most time consuming part of making this skirt is pinning all the ruffles so that they match! You have to just match each layer of ruffle and pin it in place like this…
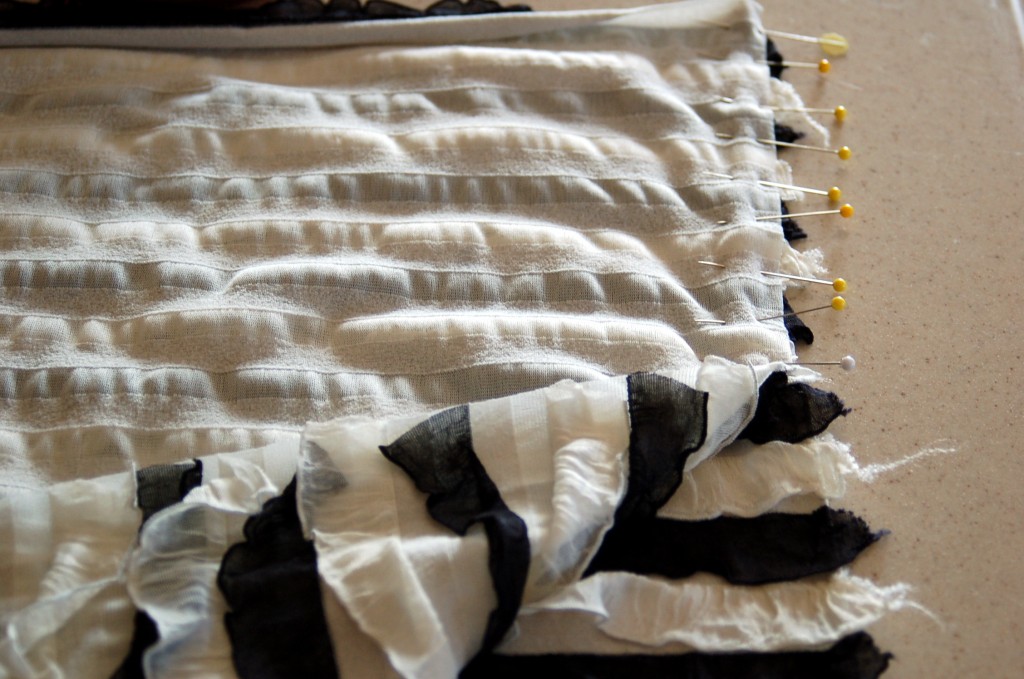 This is what it looks like when it is all pinned and ready to sew.
 Sew a 1/4″ seam all the way down, if your machine will sew over the pins, I leave them in, so that it will stay matched up nicely.
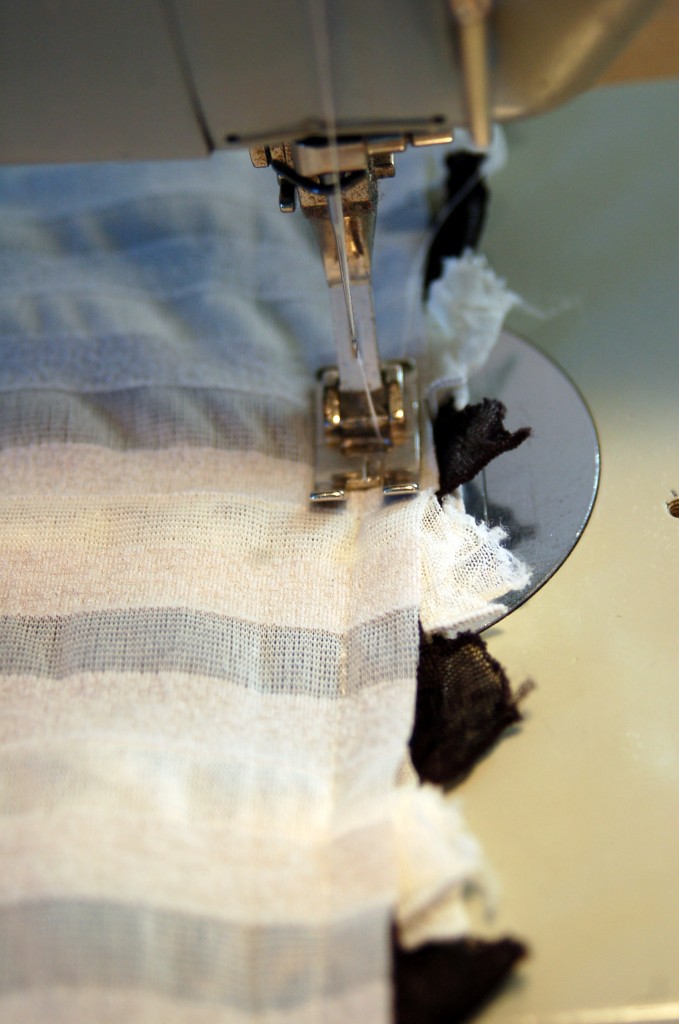 I then serged the seam to trim off all the edges and to make a nice finish on the seam. You could just serge the seam, but I really liked leaving my pins in, so I sewed the seam on my machine and then serged the edges.
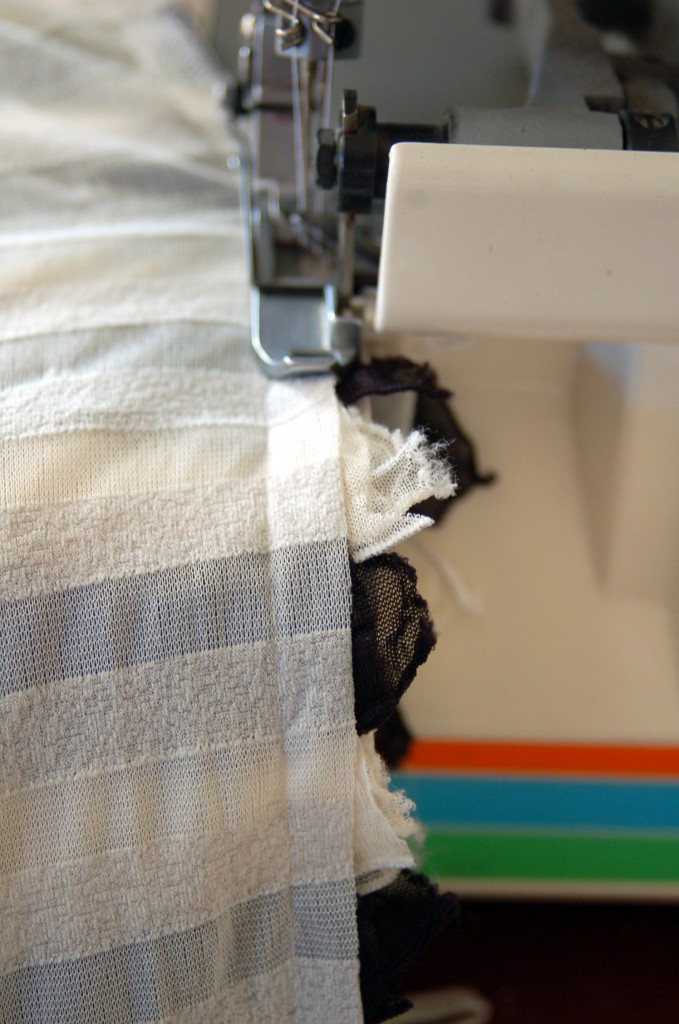 Look how nice it looks. If you do not have a serger, you could also zig zag the seam and trim off the edges of the ruffles to make a finished seam.
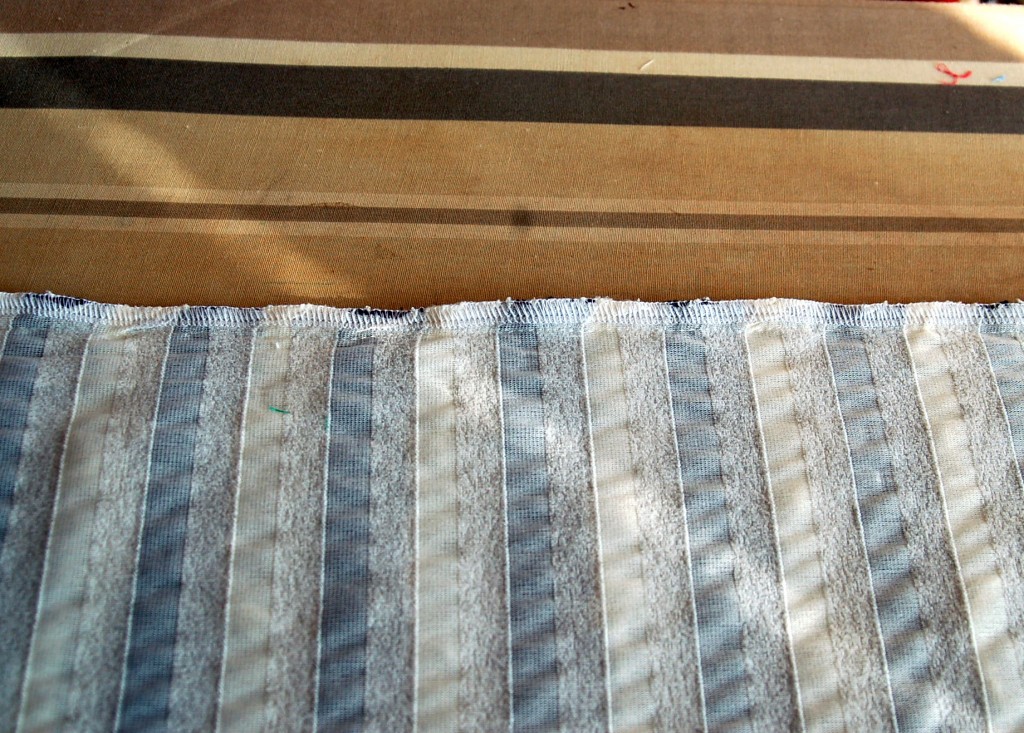 Here’s what the seam looks like, and from a little distance, it is hard to really even see where the seam is. So is it important that you pin all of those ruffles down!
 I used 1 1/2″ wide elastic. I just got this at Wally World, but you can buy it at most fabric stores, by the yard. I couldn’t decide on black or white, so I bought both! The black one finally won out though!
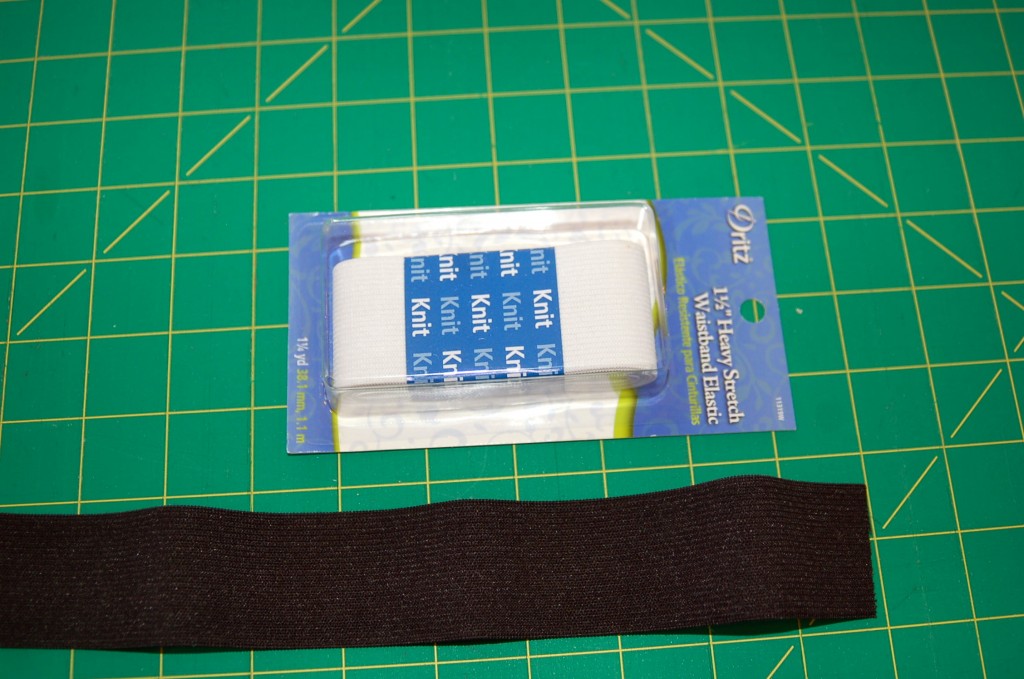 Measure your waist, and subtract about 2″. Just put it around you and when it feels right, that is where you want to cut it! You want it to be a little bit snug, because like I said earlier, it is better to be fitted with this fabric!
Sew the elastic into a circle overlapping about 1/4″ and zigzag down the middle to secure it good. I went down and back up once.
Then mark your circle into fourths, using pins.
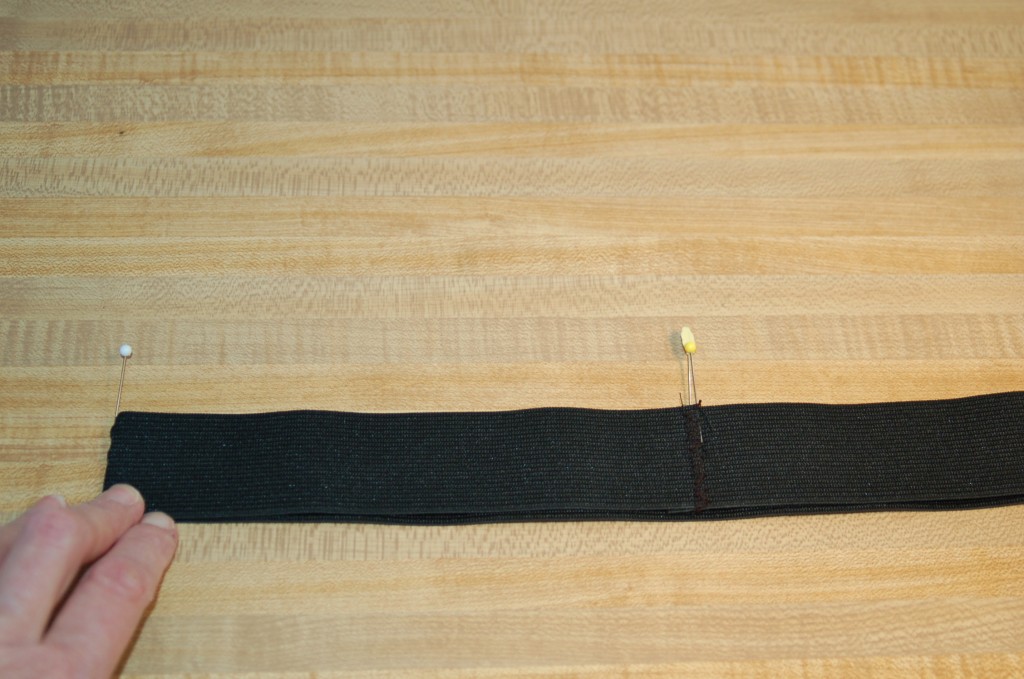 Do the same thing with your ruffle fabric. Mark into fourths and mark with pins.
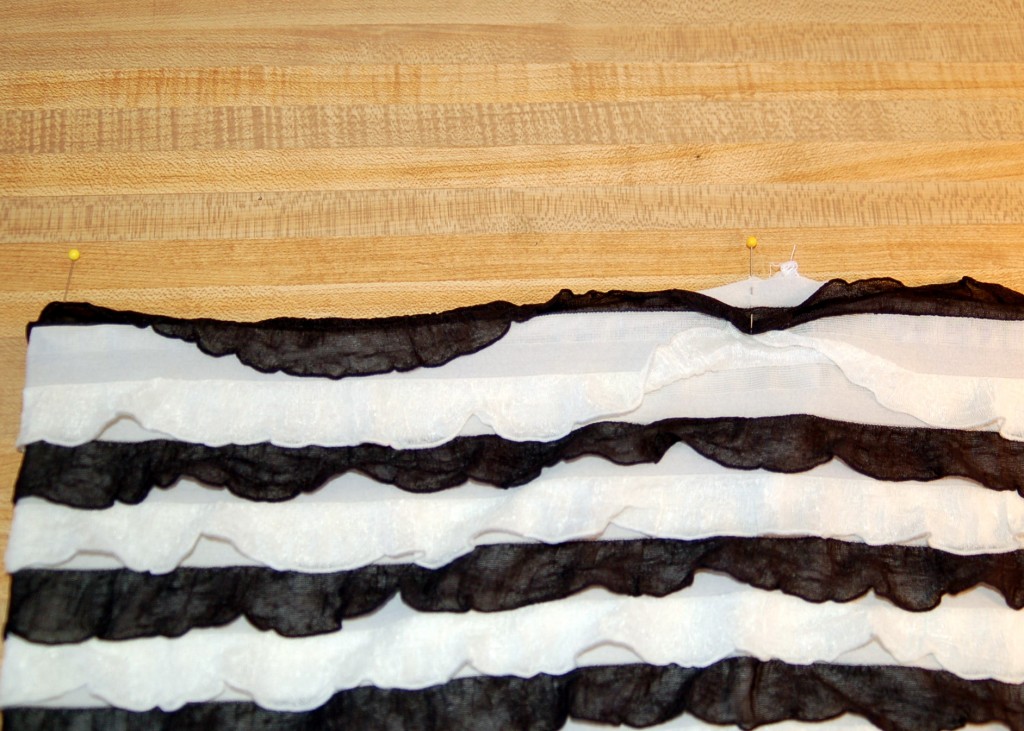 There is a small amount of fabric between each of the ruffles and that is the part that you are going to sew on. Matching pins and stretching the elastic to fit, sew the elastic to the right side of the skirt, using a narrow seam.
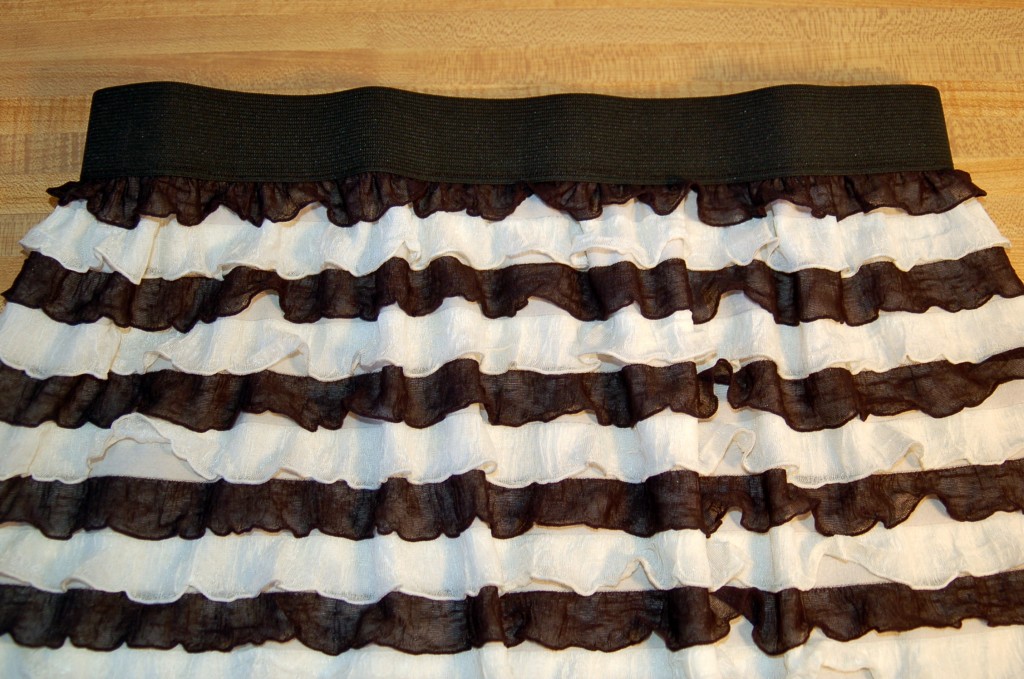
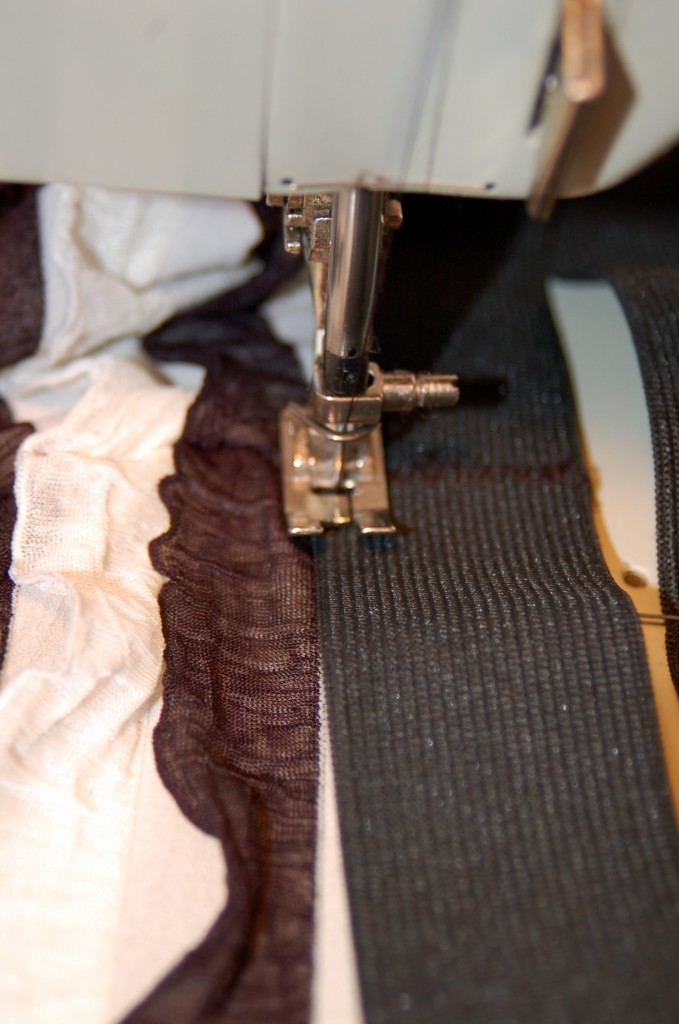 This is what it will look like with the elastic all sewn on! And guess what! You are all done, because you do not need to hem this skirt, there is a ruffle on the bottom and it is knit fabric, so you are all done!!!
Pair this up with a cute knit top, a funky belt and some boots and you have a great Christmas outfit for your parties, a Christmas date, or for Church!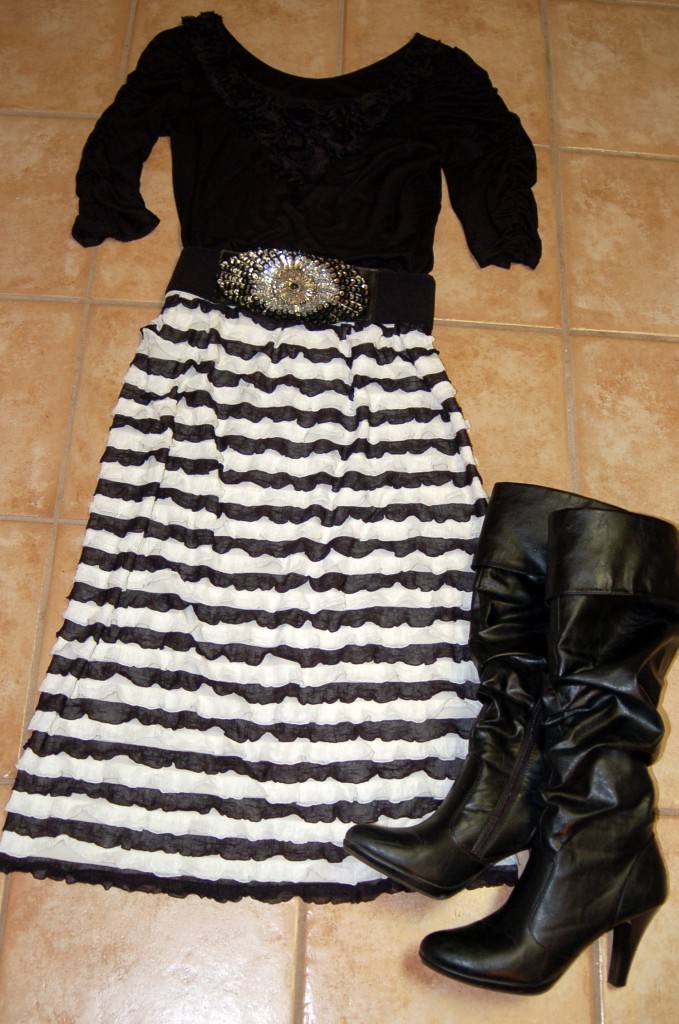
I hope that you can go and get some of this ruffled fabric and see how fun it is to sew! I know that you will love it!
Happy Sewing!

 Continue reading


