Category Archives: Quilts

Block of the Month Club

I am so excited!  I joined a block of the month quilt at Just Sew in Highland, Utah!

I absolutely love the colors and the patterns in this quilt.

The pattern for this quilt is called:  Sew Classic Sampler.

This pattern  is designed to teach three kinds of piecing (regular, paper and template piecing) as well as a little applique.  It is a very stunning quilt and I am SEW excited to be doing this!

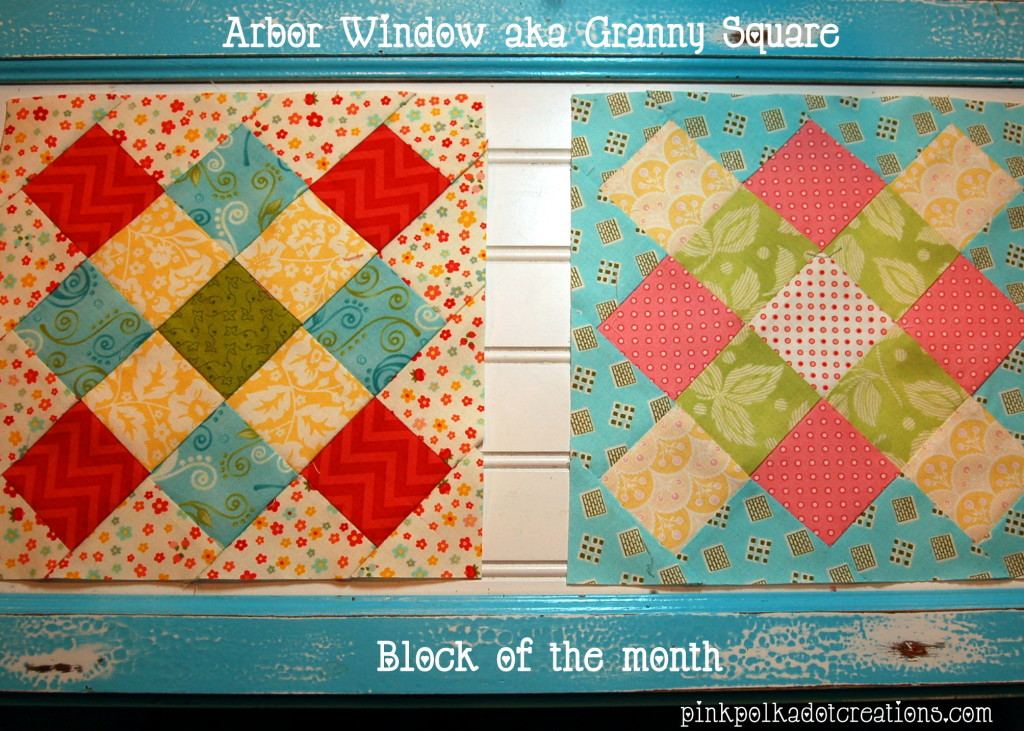
These are my first two blocks that I have finished for this month:

DSC_0387

Name of this block is: Arbor Window (aka Granny Square)

Continue reading

Quilt As You Go Table Runner

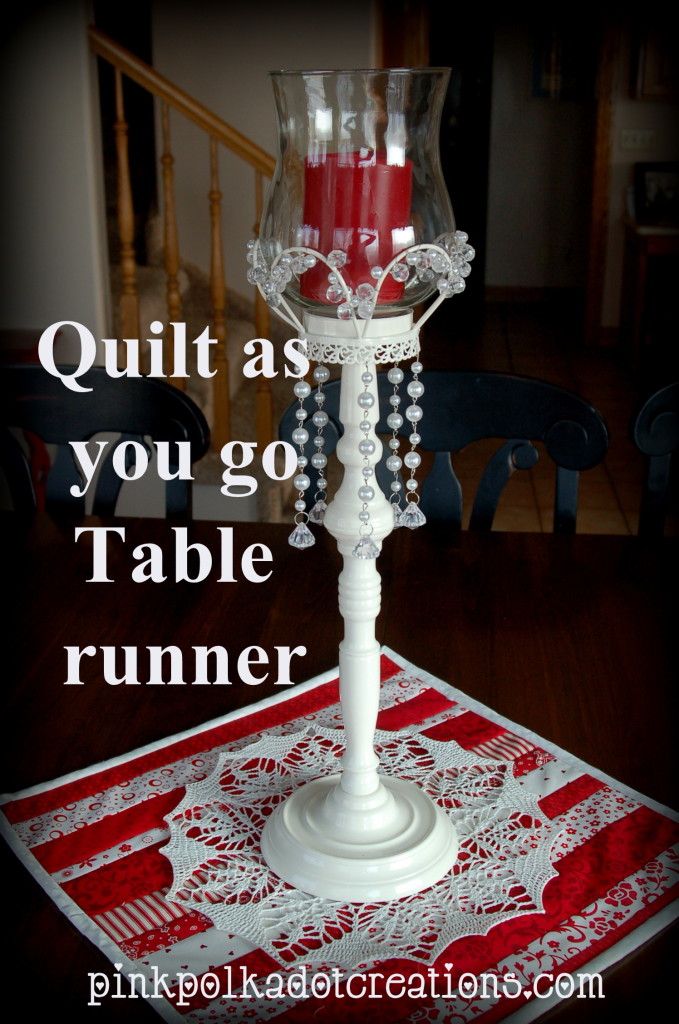
I have been wanting a table runner for my table, but I wanted a square one, not a rectangle one.  I had several different pieces of fabric that were red and white, so naturally I decided that I needed to make my table runner.   I made it with all my scraps and this whole thing did not cost me any extra money, because I had everything that I needed!  Score!

I love how it looks on my kitchen table!

DSC_0200

Continue reading

Stitched Snowman Quilt

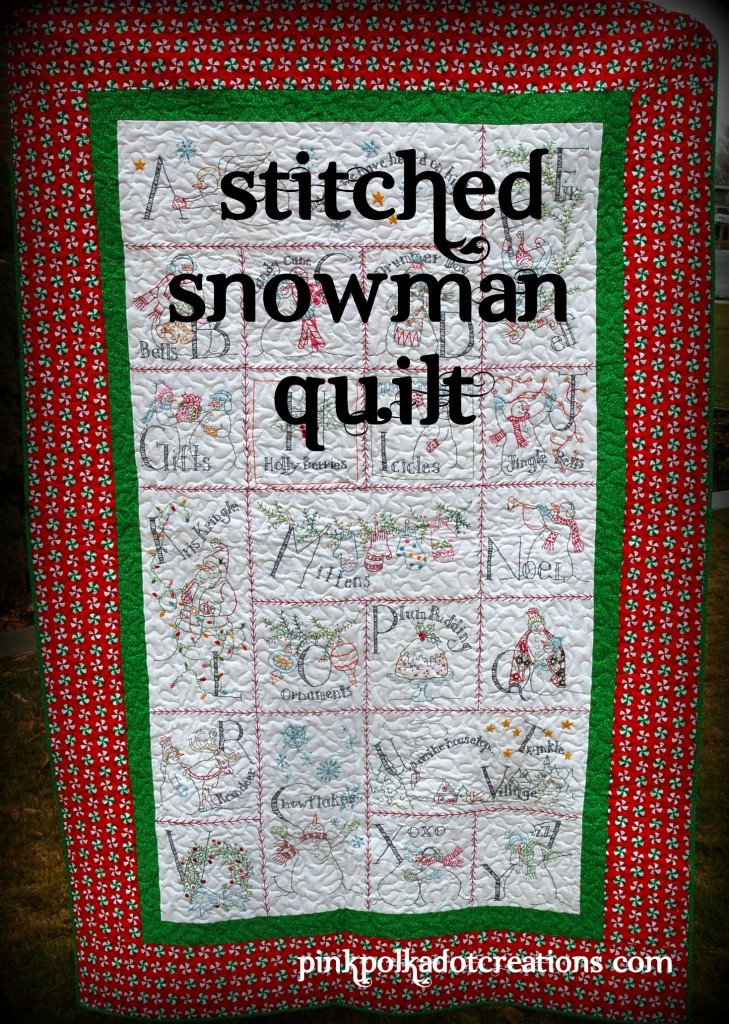
Here is a fun project that one of my my DIL’s did!

I love it, and since we have not had much snow here in Utah yet,  I love that this one is full of SNOW PEOPLE!  It has such a fun, whimsical feeling and who would not love to wrap up in this darling quilt on a “cold winters’ night?”

She started stitching the blocks last January and got it done in plenty of time for the holidays!  How cute is this?

Her stitching is absolutely beautiful!

Continue reading

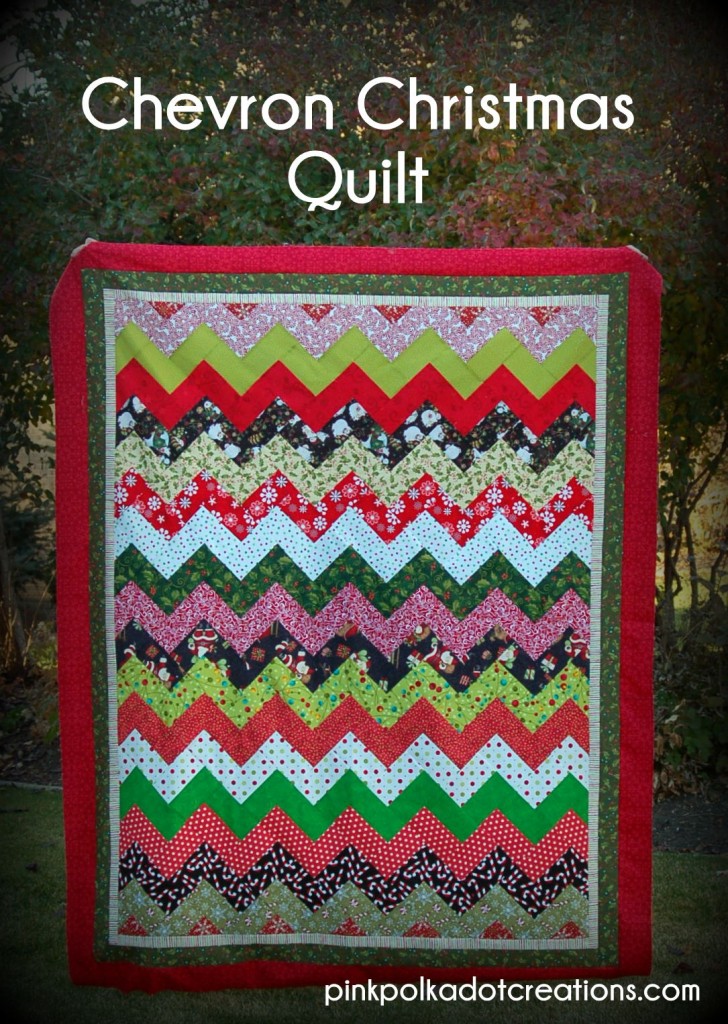
Darling Chevron Christmas Quilt

I have a WIP (work in progress) quilt to show you today.  I wanted to show it to you now in case anyone else wants to make one of these for the holidays!

It was a fun quilt to make and I was able to complete the top in two weekends!  So it actually goes together quite fast!

Darling Chevron Christmas Quilt:

Continue reading

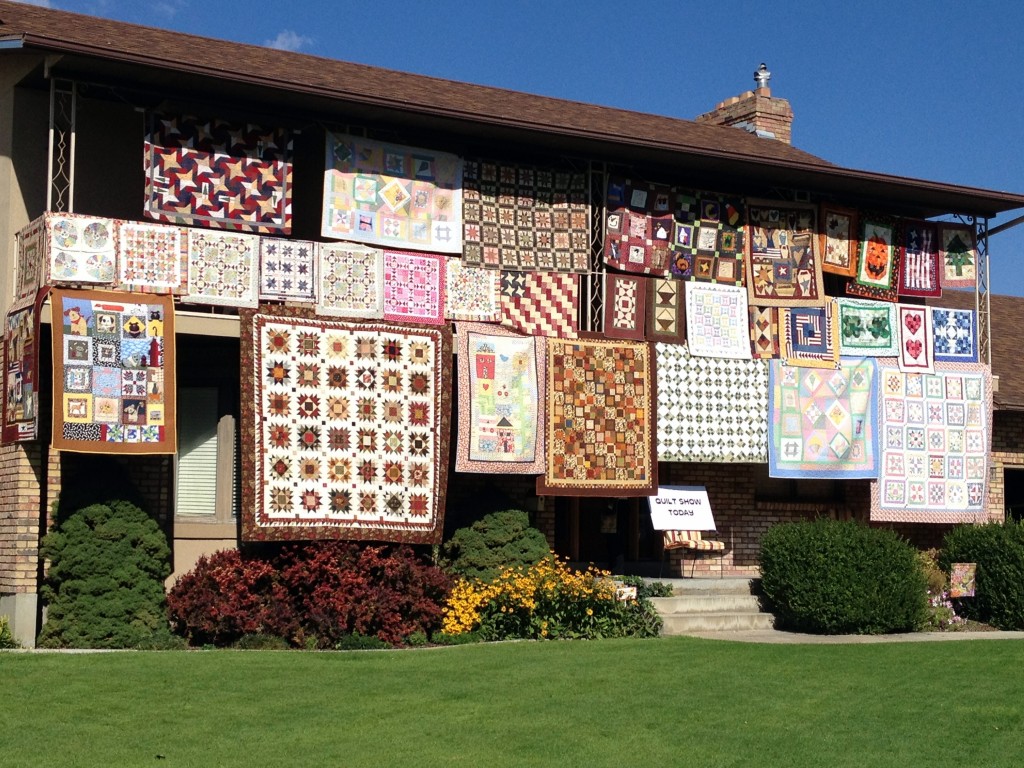
Dog Kennel Quilt Show

I went to the Dog Kennel Quilt show this last weekend. Isn’t that quite the name!  apparently when they first started they met in an old dog kennel building!  My how times have changed. They were celebrating 20 years this year!  This is what greeted us as we pulled up to the house!  Is that amazing or what.  It is a small representation of some of their quilts over the last 20 years! Continue reading

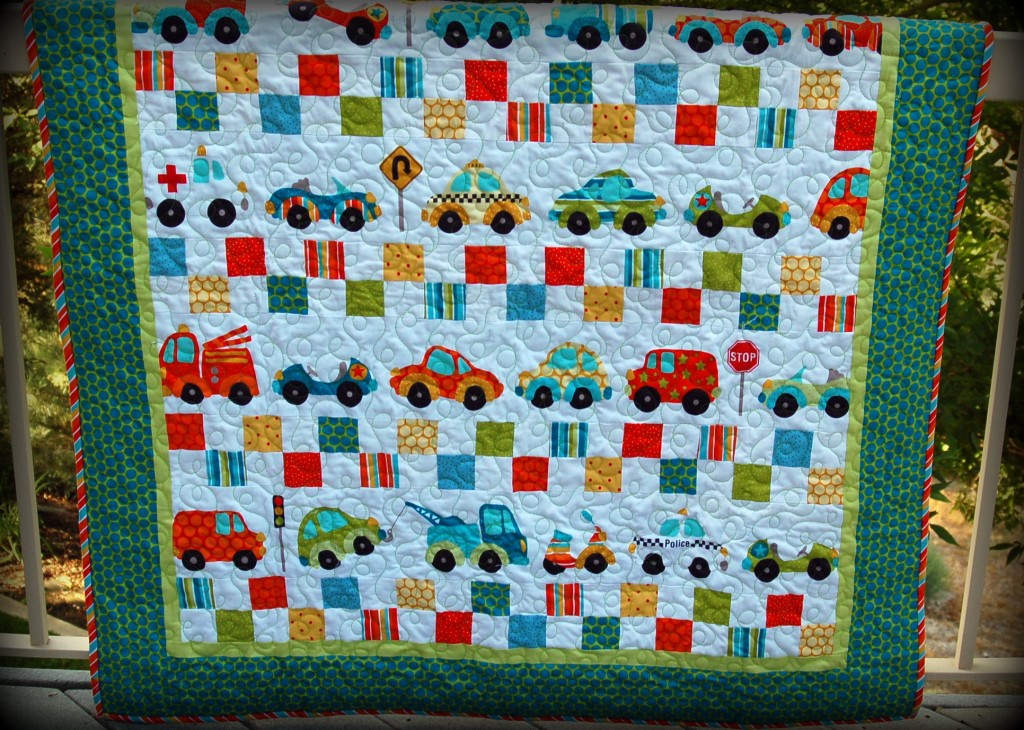
Fun Trucks and Cars Quilt

I bought this quilt kit at my favorite little store in Midway, “Seasons of Home”  a few weeks ago and I have worked on it on the weekends when my husband and I have gone up to our cabin.  (I always have to have a project and I think that I drive my husband crazy!)  It is a very fun easy quilt to make and it only took me a couple of days to complete the whole top! Continue reading

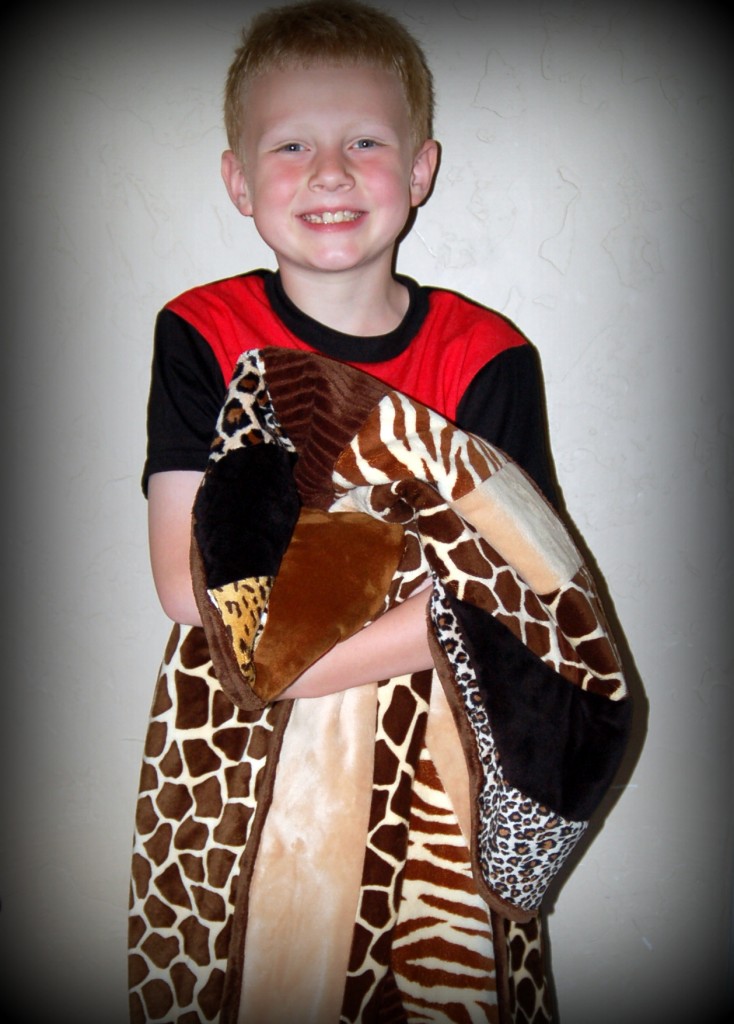
Minky Quilt as you Go, Quilt

I made this quilt for my grandson’s baptism.  It is made with all  minky fabric and so it is very soft and cuddly!  And it was fun to make because you quilt it as you go and so once you are done sewing the quilt together, you have also quilted it!

Is this not the cutest kid you ever did see?!! :) Continue reading

Ruffled Quilt

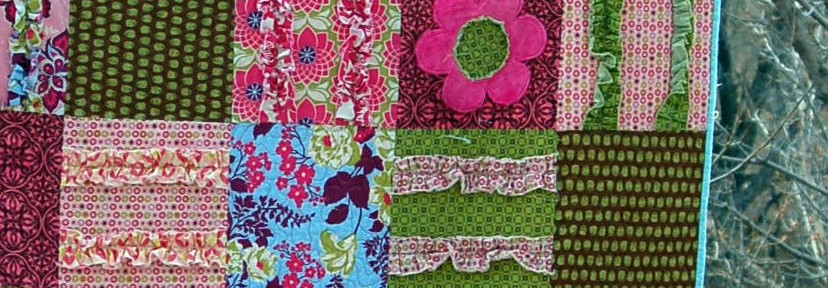
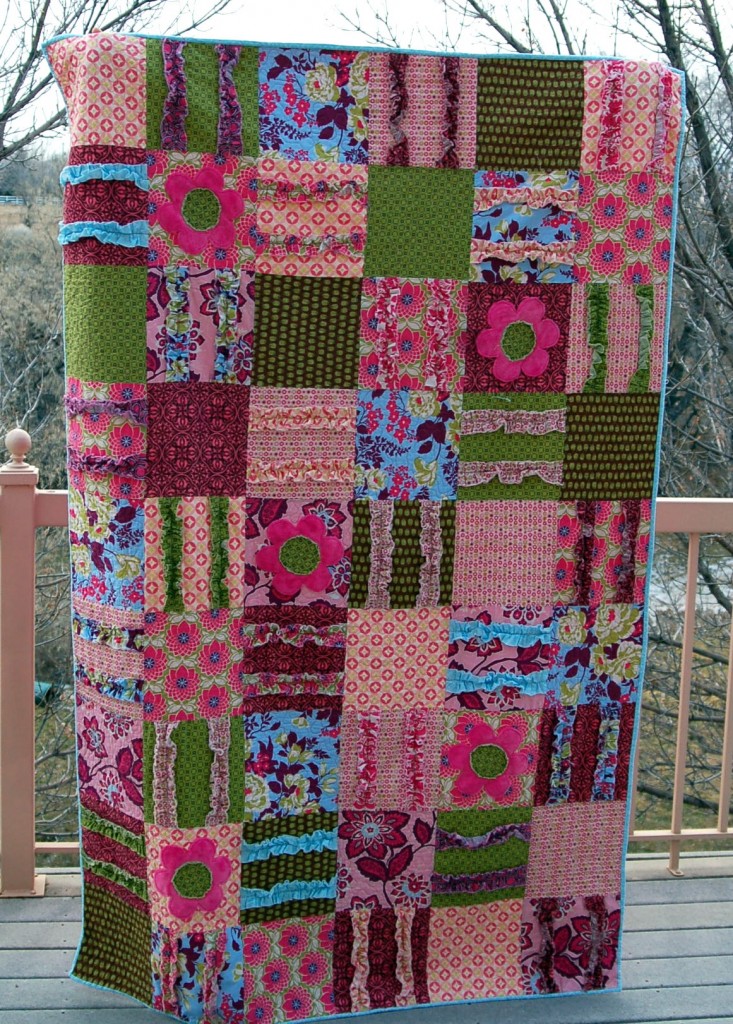
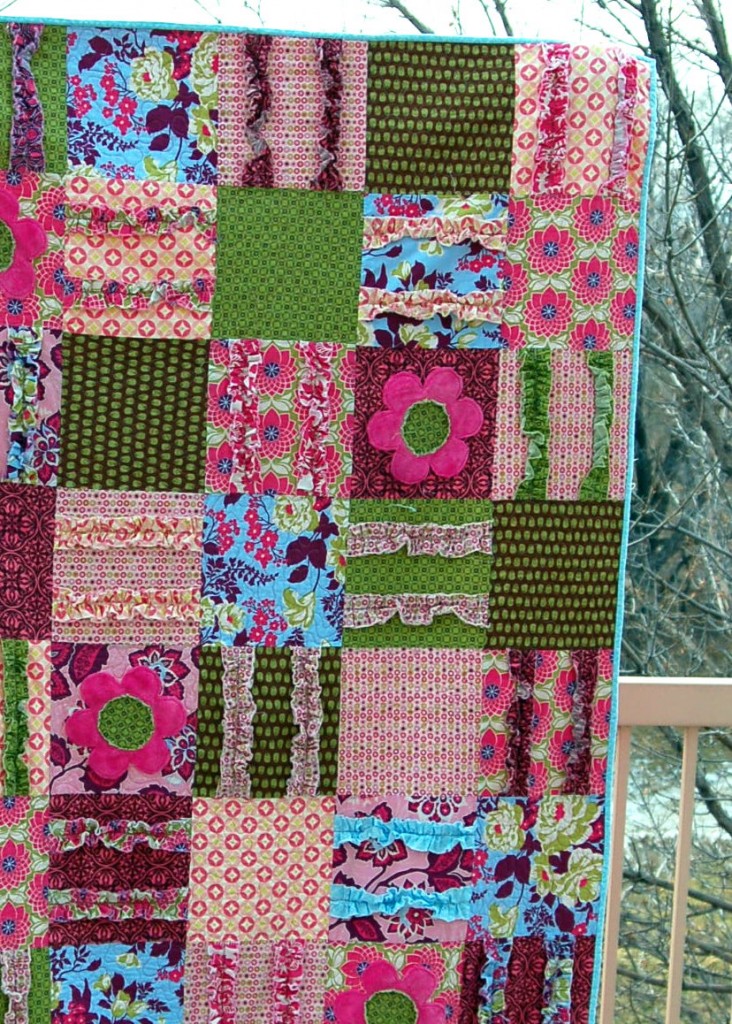
My daughter made this darling quilt for her daughter and had it all quilted up cute.  All that need to be done was to put the binding on and it would be finished. Easy, right?  Well not to her.  She struggled to get it finished and finally just brought it to me to complete it.  Isn’t that what moms are for?  I really didn’t mind, because I just worked on it one evening while we were watching a ball game.  She designed this pattern from a couple of other quilts that she had seen, and of course I loved all the ruffles!(I cannot believe that we are taking pictures outside in the middle of January in Utah and there is no snow!)

She started with 8 1/2 ” squares of fabric.  Then she cut 2″ x width of fabric strips for the ruffles. She then cut the strips in half so they were about 21-22″ long.  Gather each of the strips and sew them onto half of the squares.  She randomly placed 5 minky flowers on 5 of the blocks with no ruffles.  She stitched 1/4″ from edges of flowers and also from the edges of the centers of the flowers.  She then laid it out on the floor and placed every other block with ruffles and each row had the ruffles turning the opposite way.  Then simply sew the blocks together and then sew the strips together.  I think that her design turned out absolutely darling.  She put a minky backing on it so it is such a cozy quilt for her little girl.  The edges of all the ruffles and the flower centers are raw, so that when you wash it, it will rag out and be so soft and cuddly!

I think that I might need to get another quilt project going after seeing how darling this one turned out!  I loved the fact that she designed this all by herself, it tends to make a mother right proud!  :)

Christmas Quilt & Pillows

A few days ago, I told you that I was trying to finish up a couple of projects before all of our parties and that I would show you the projects that went with my ruffled tree skirt. Well, here they are!

I made this Christmas quilt last year.  It took me a whole entire year to do all of the stitchery, and the quilt blocks, but I was determined to finish it and have it quilted and ready to go for Christmas last year.
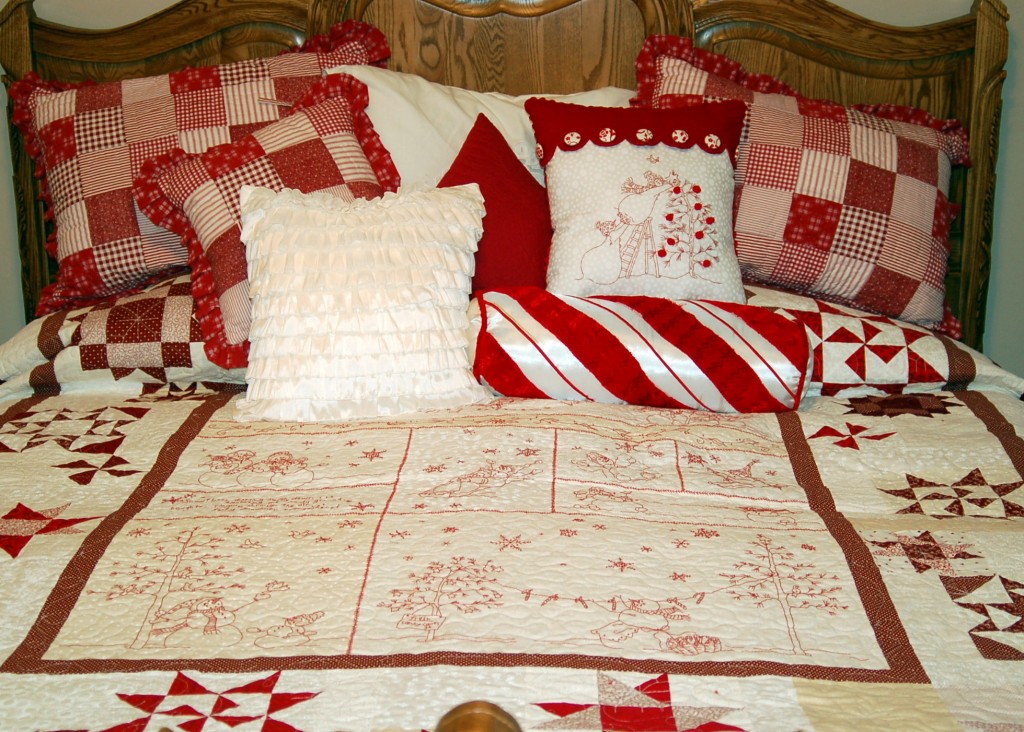
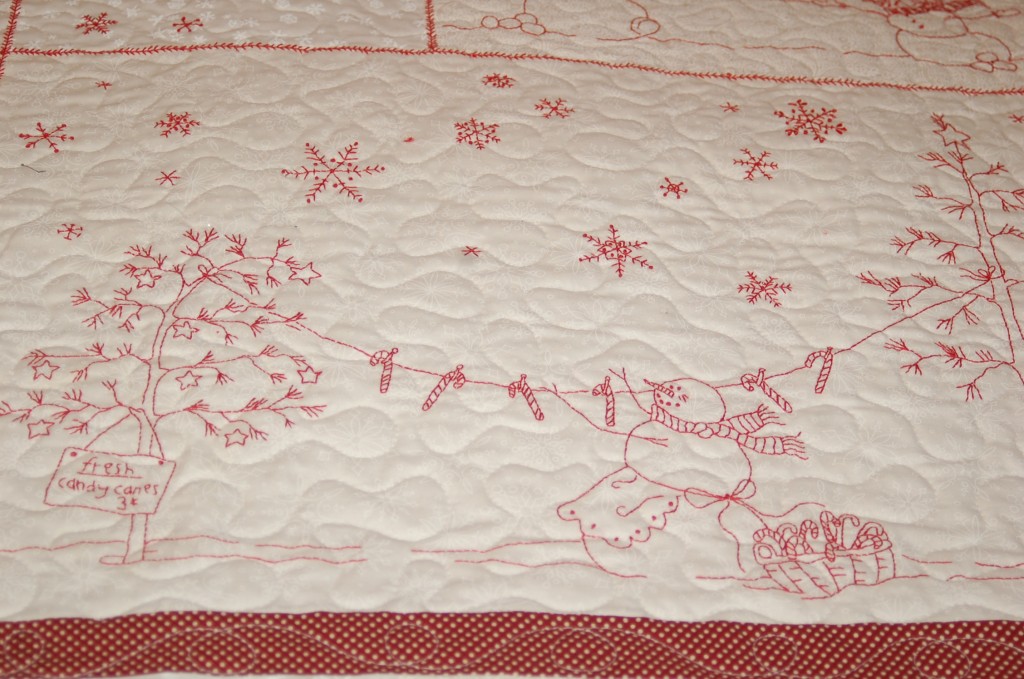
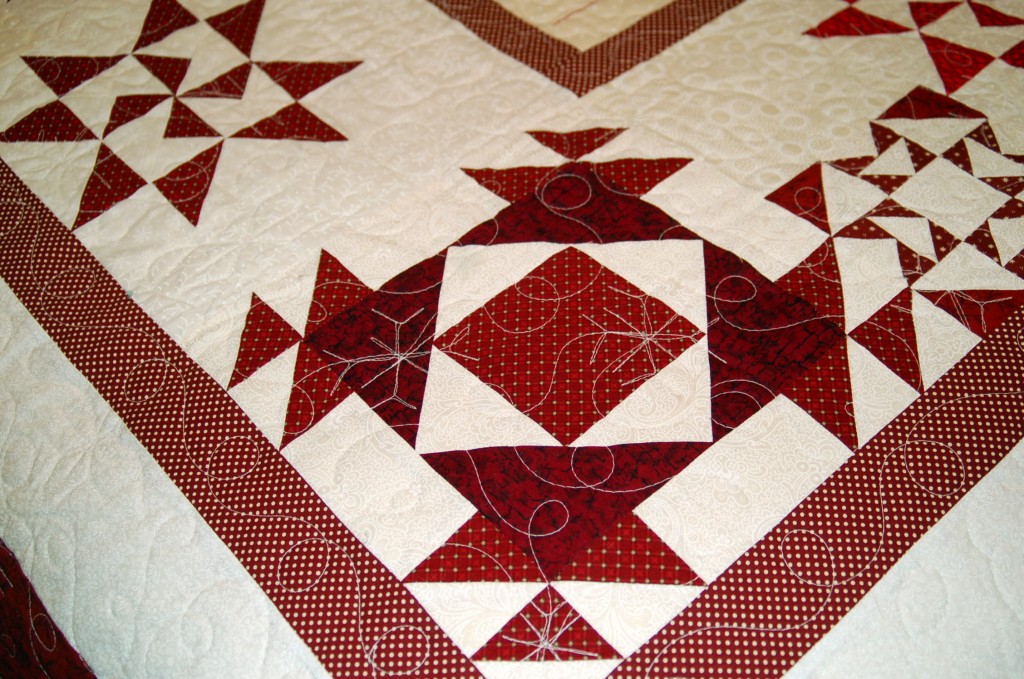
Here is a close-up of the stitching!And the quilt blocks that I had to piece together.  Don’t you love the quilting!  I love how she put snowflakes and swirly things in it!Well, this fall I found these two patterns that went with the quilt, so I decided that I HAD to have them also!I would work on the stitching at night, while we were watching TV and they really worked up pretty fast, but I took my lolly sweet time in getting all the fabric and notions together and so therefore, I was in a frantic rush to get the pillows all put together at the last minute!  Does anyone else out there procrastinate?  I have decided that I work really well with a deadline!
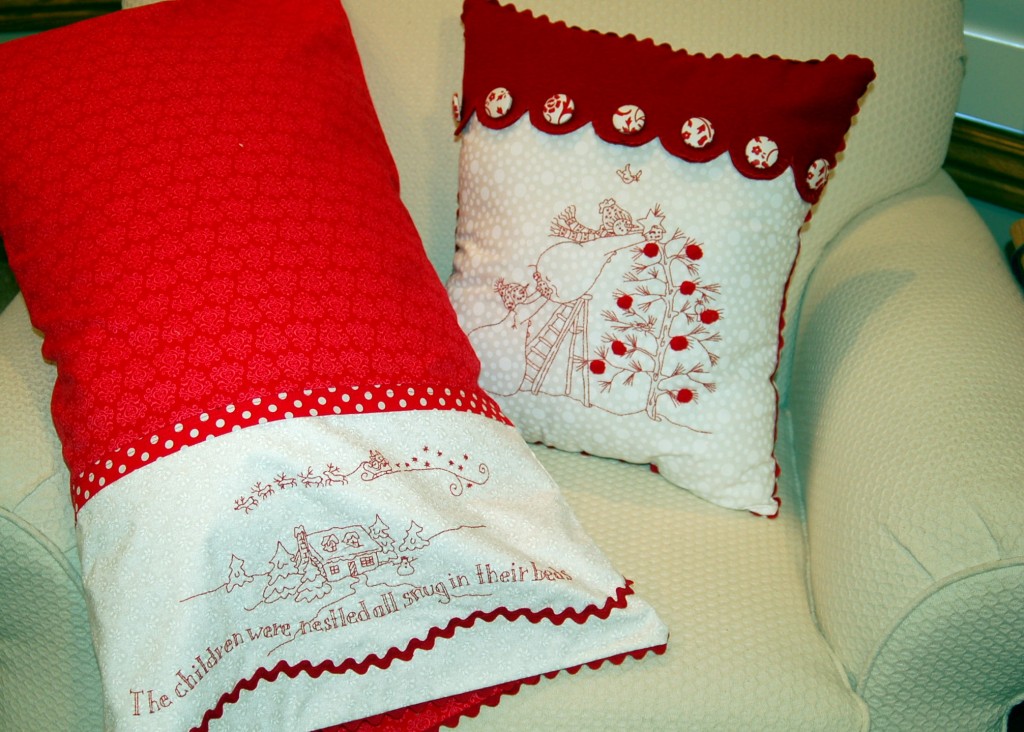
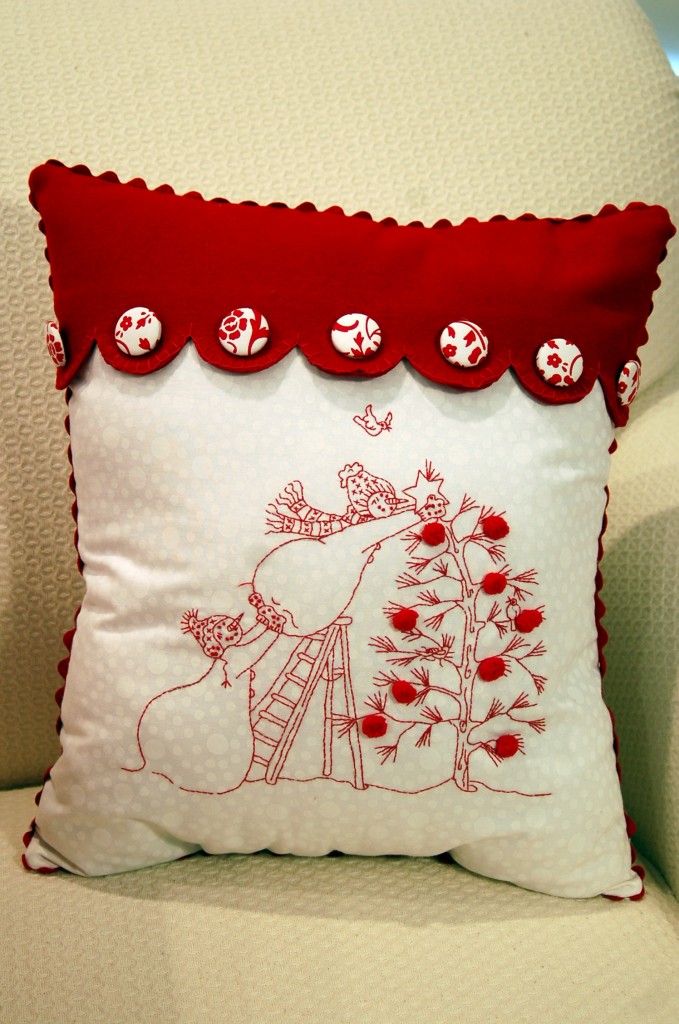
This fun pillow has a felted wool top on it and covered fabric buttons. It also has            pom-poms for the tree ornaments and ric rac all around the outside!  Isn’t it a perfect match for the quilt?  Here is a link for the pattern.
This pillowcase was a cinch to put together and these patterns are wonderful.  They have great instructions on how to assemble everything.
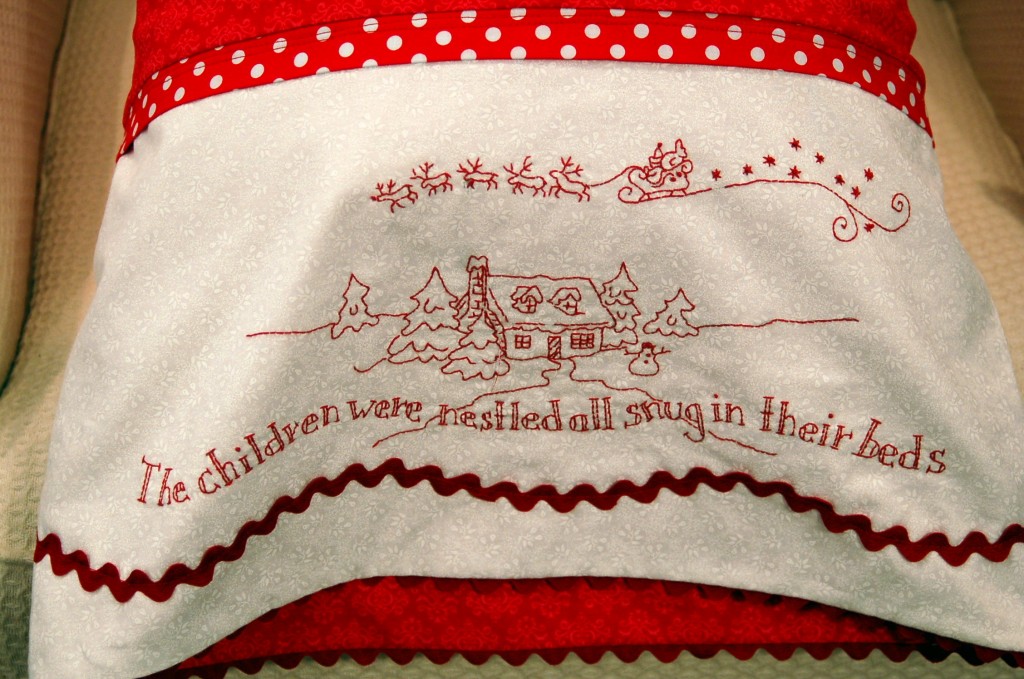
 I love my Christmas bedroom!  It makes me feel all warm and cozy.  If any of you would like to make the quilt for yourself for next Christmas here is the link for the pattern.  The patterns are all from Crabapple Hill Studio.  They have a great selection of really fun quilts and pillows, and if you start now, you can have it done for next year!  Yea, right, like we all have time right now to start anything!  But you know what I mean.

(While linking up to the Crabapple Hill Studio, I saw some other really cute patterns, so maybe in January I will have to find another project!)

Quilt Binding Tutorial

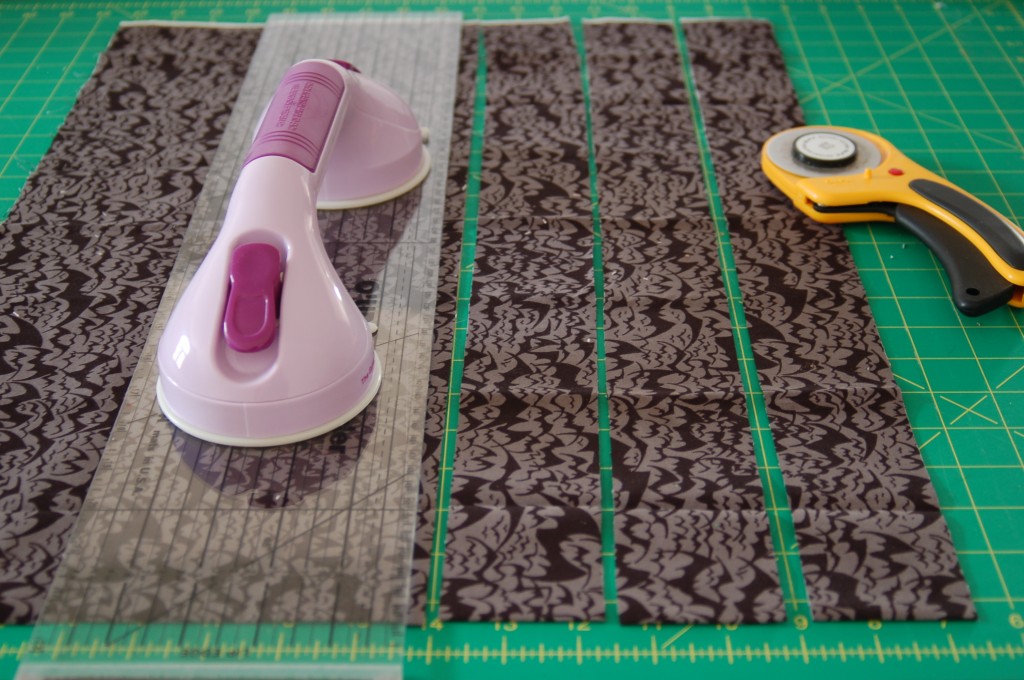
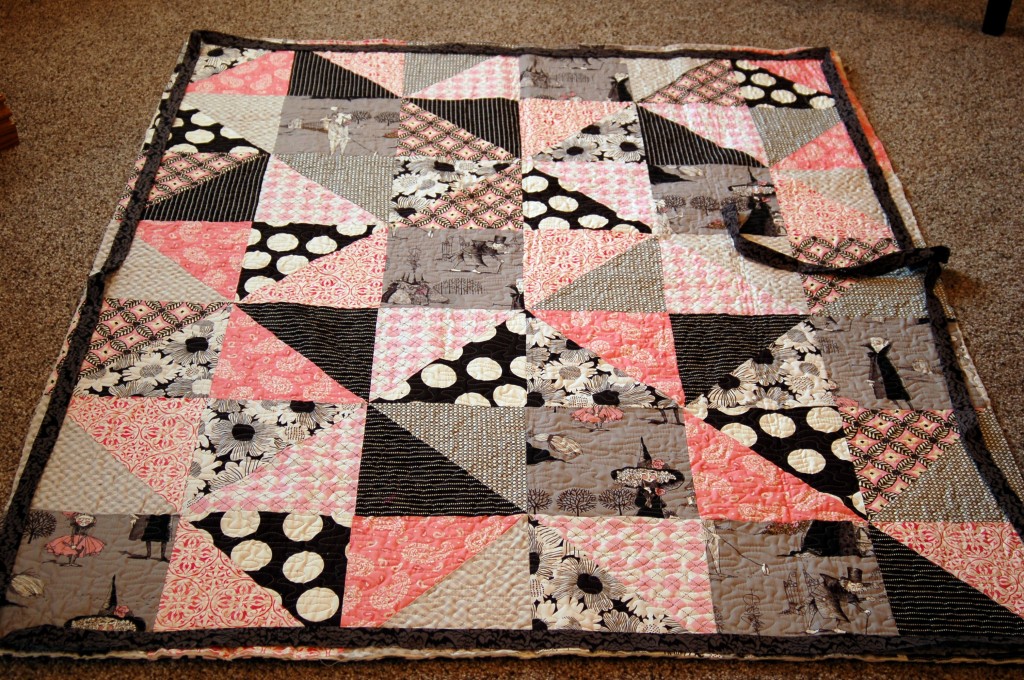
The binding on a quilt can really finish off a quilt and make it look professional.  It is a fairly simple thing to do and if you know a couple of techniques, it makes it really quite easy!  We are going to do a binding with mitered corners.  The first thing you need to do is to cut your fabrics into strips.  I am doing straight strips on this quilt, but you could also do bias strips, especially if you are going to do rounded corners or scallops.  I cut this binding into 2 1/4 ” strips.

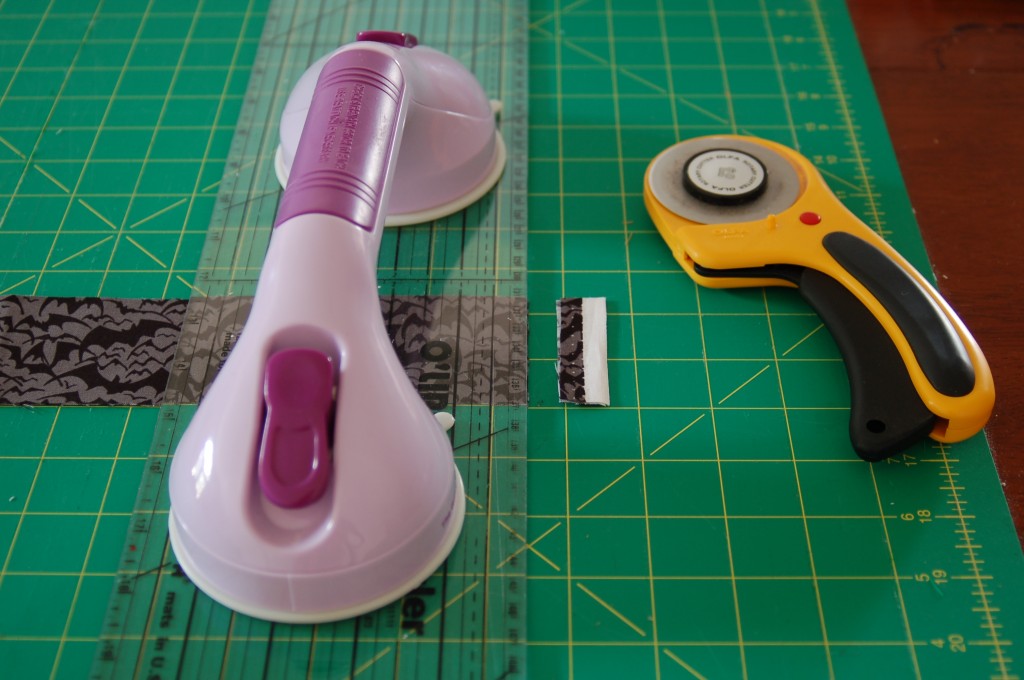
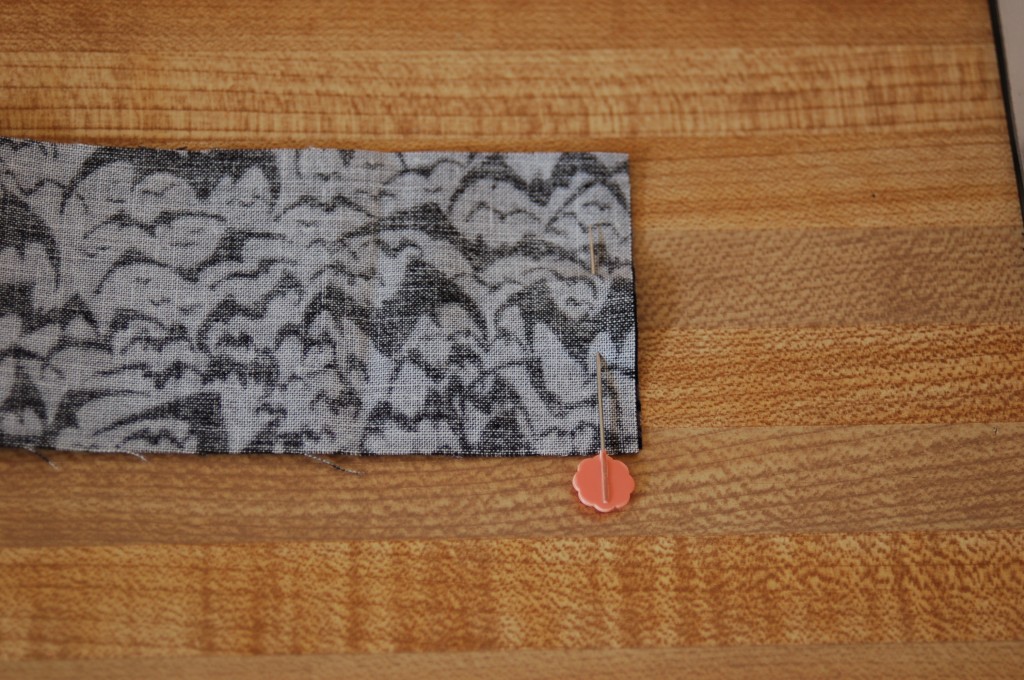
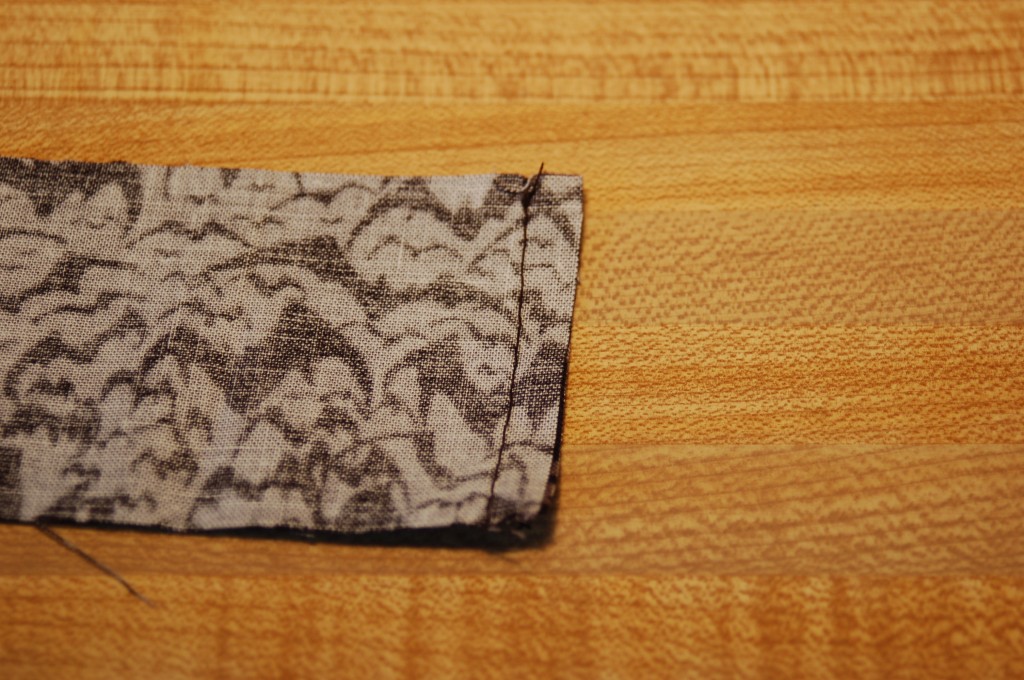
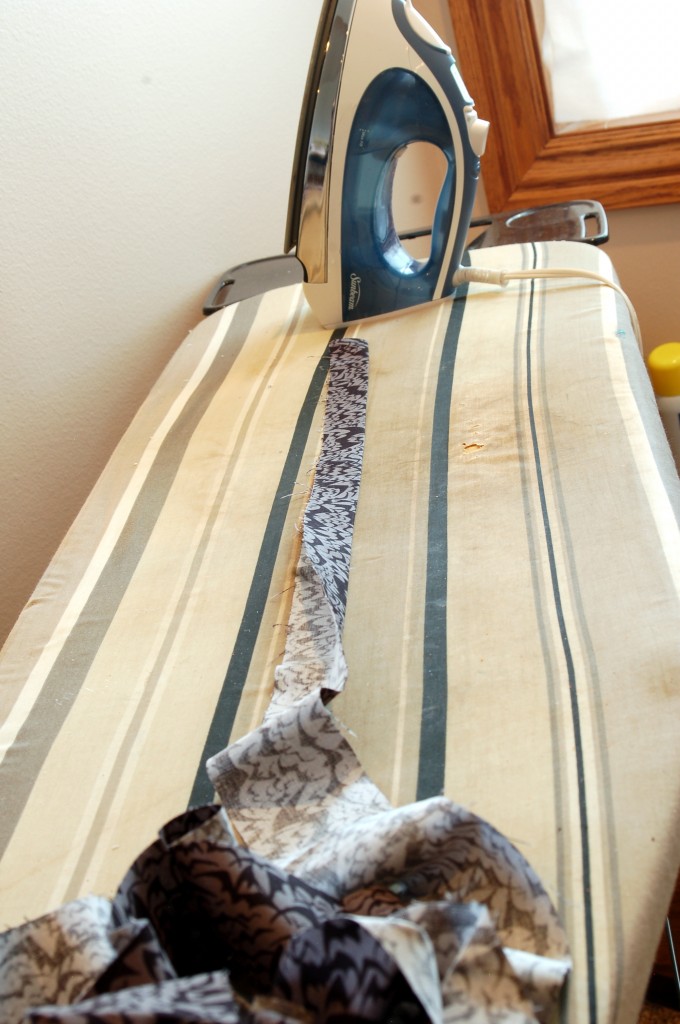
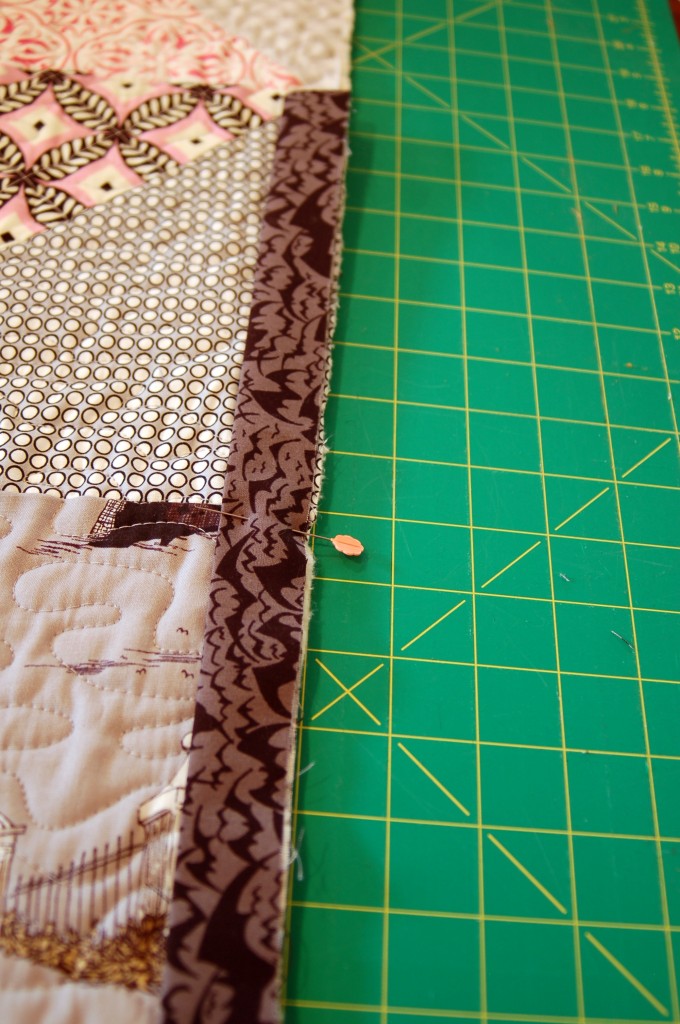
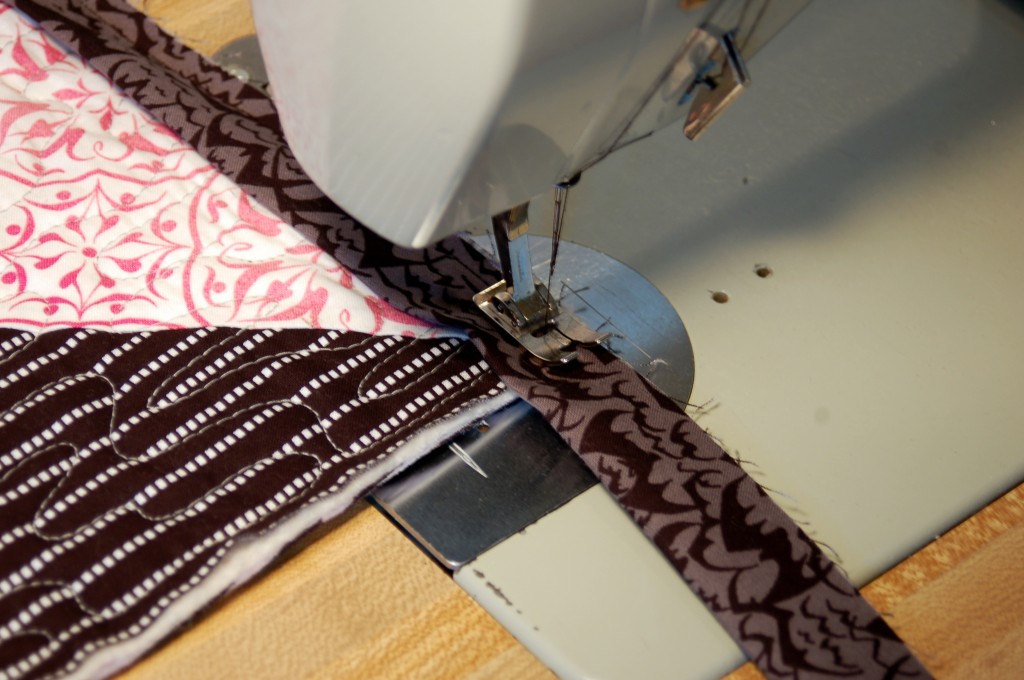
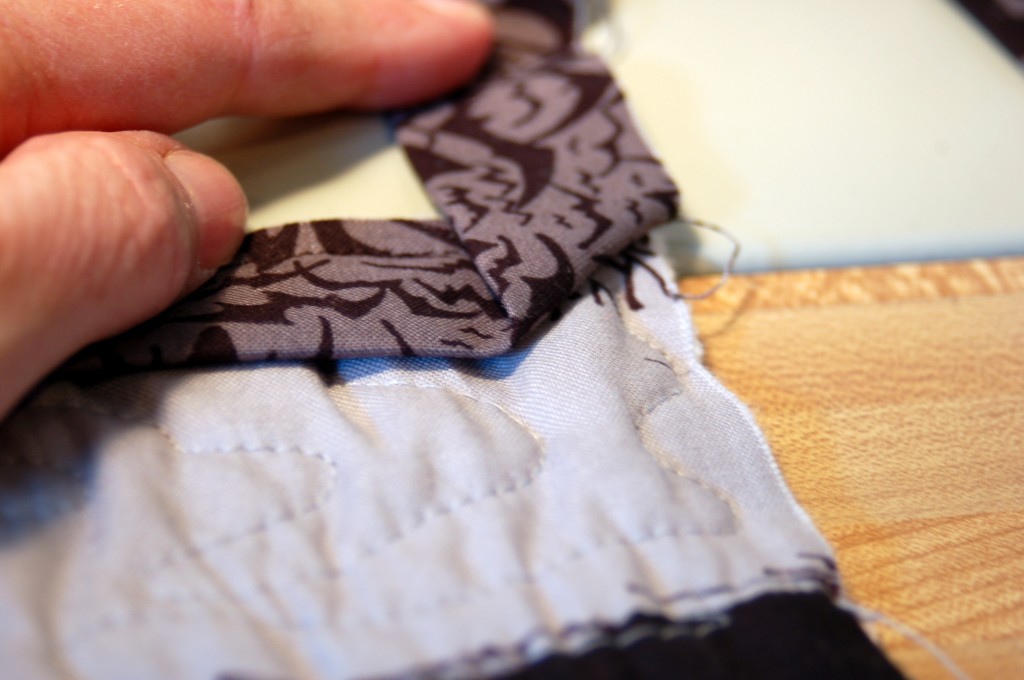
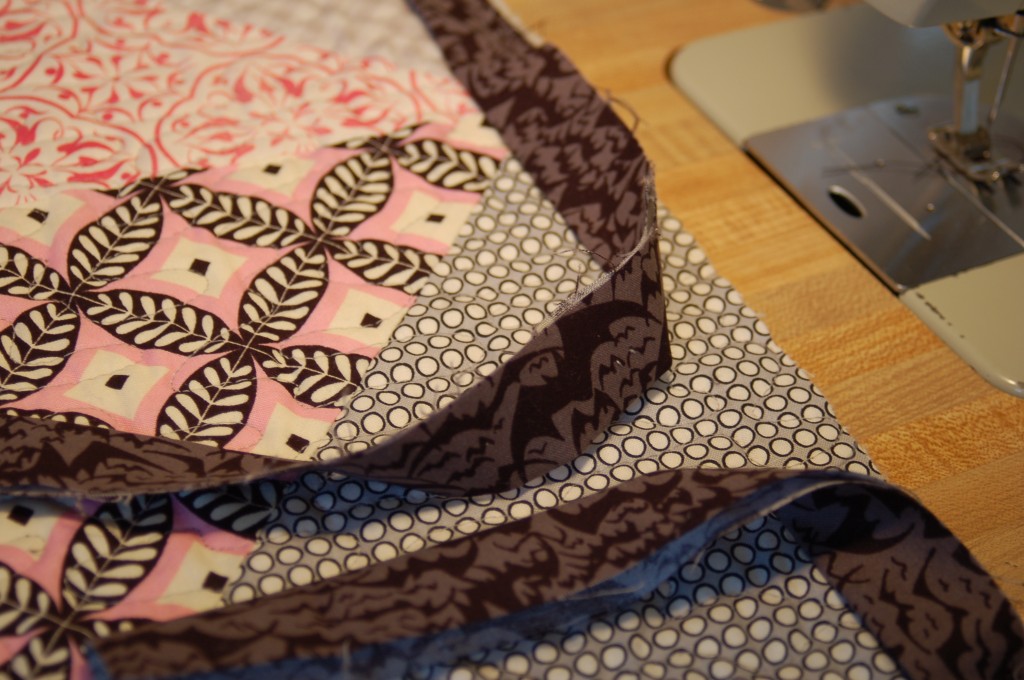
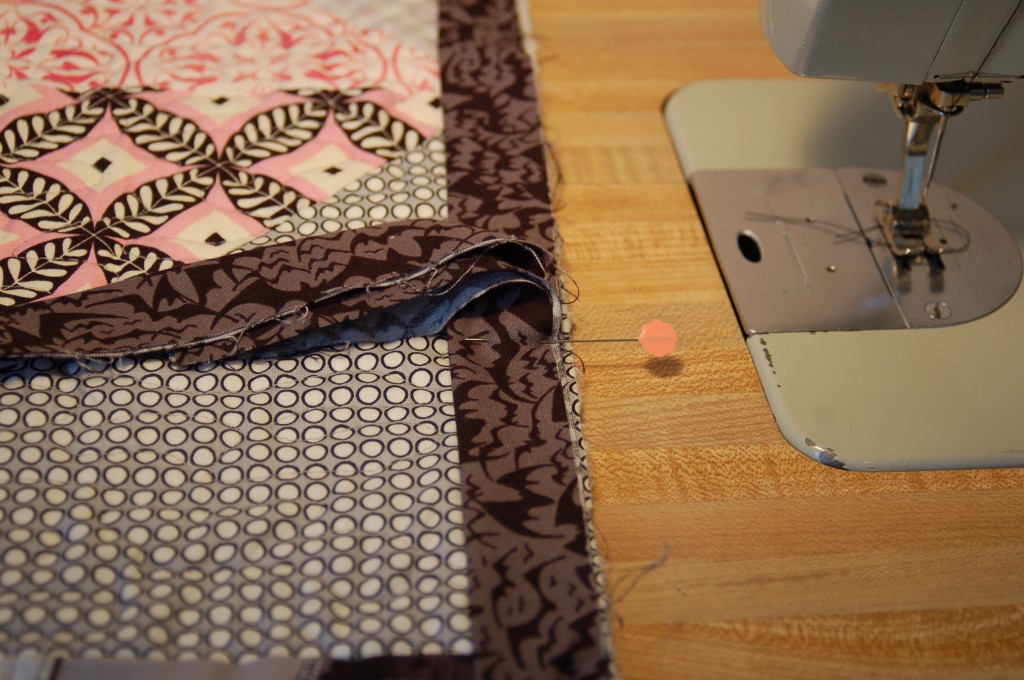
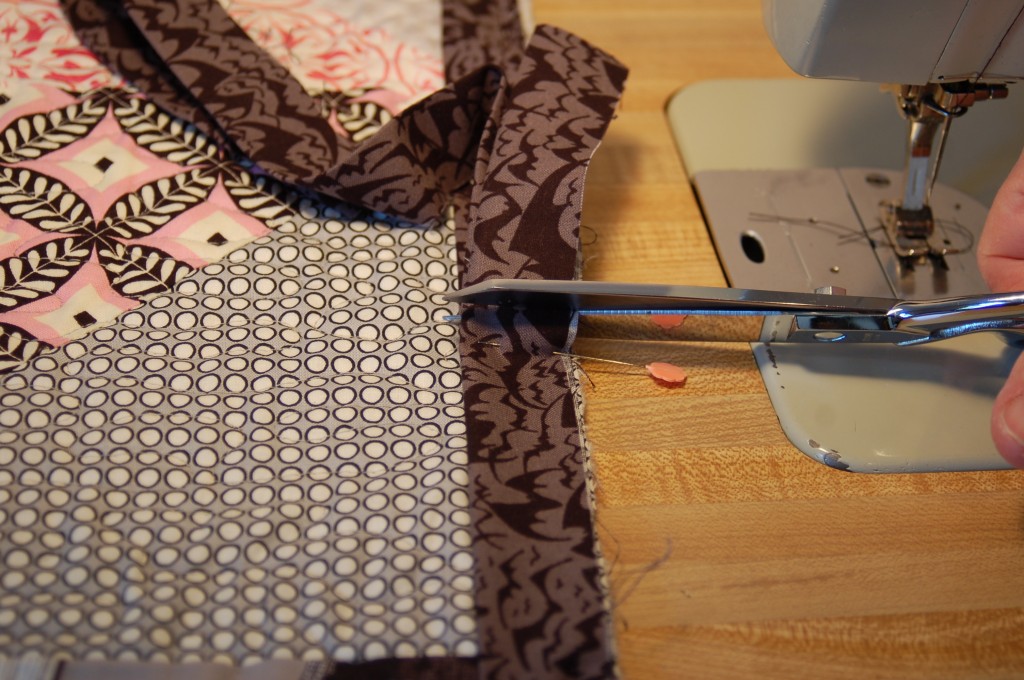
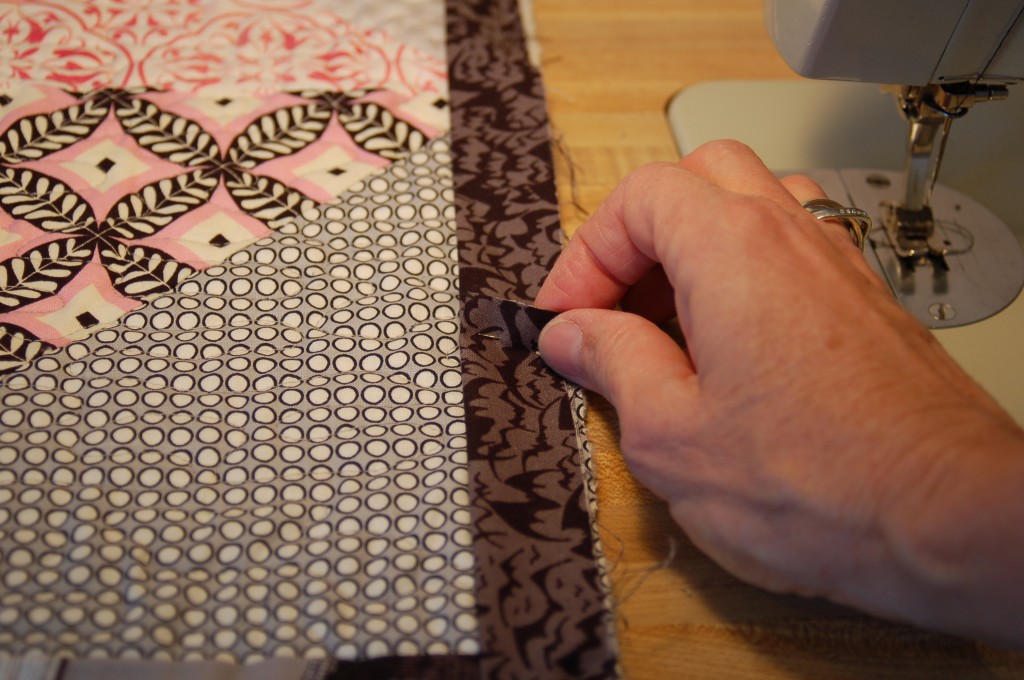
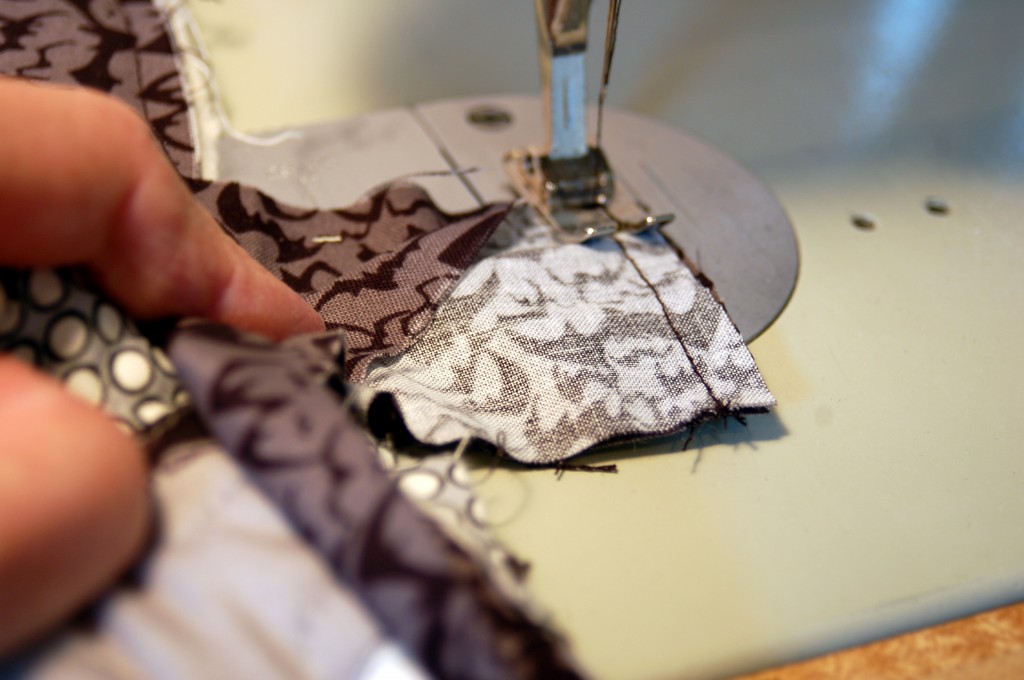
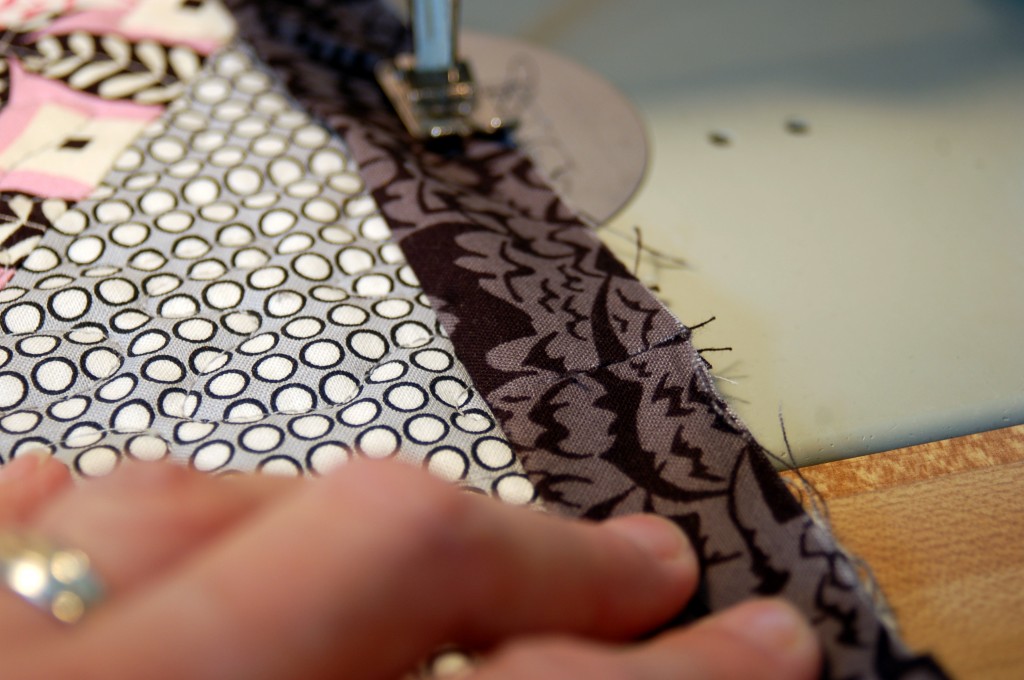
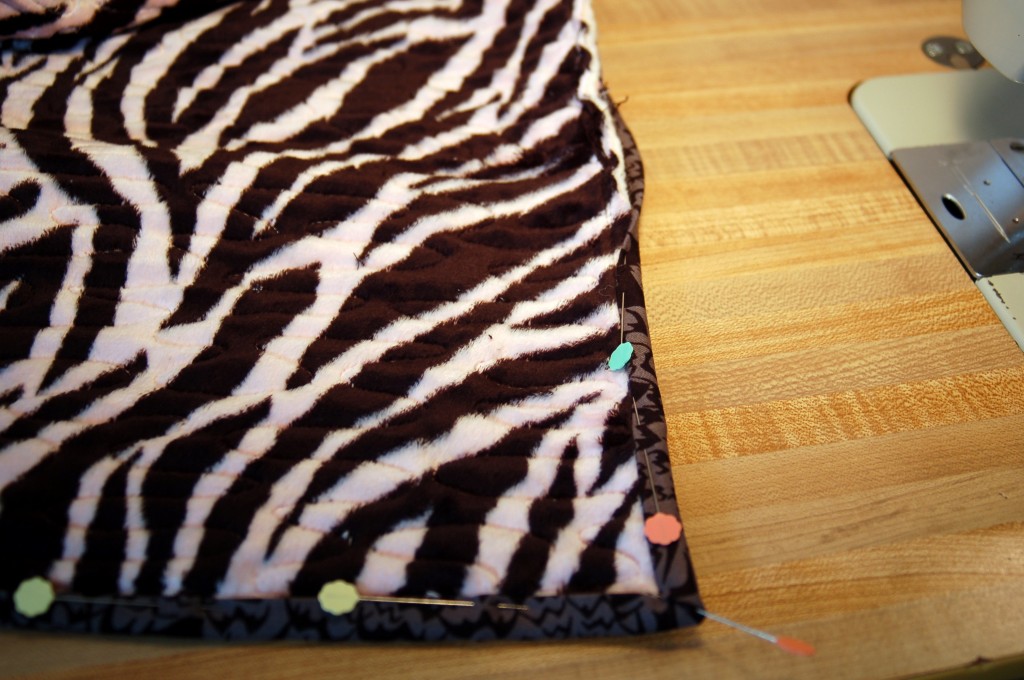
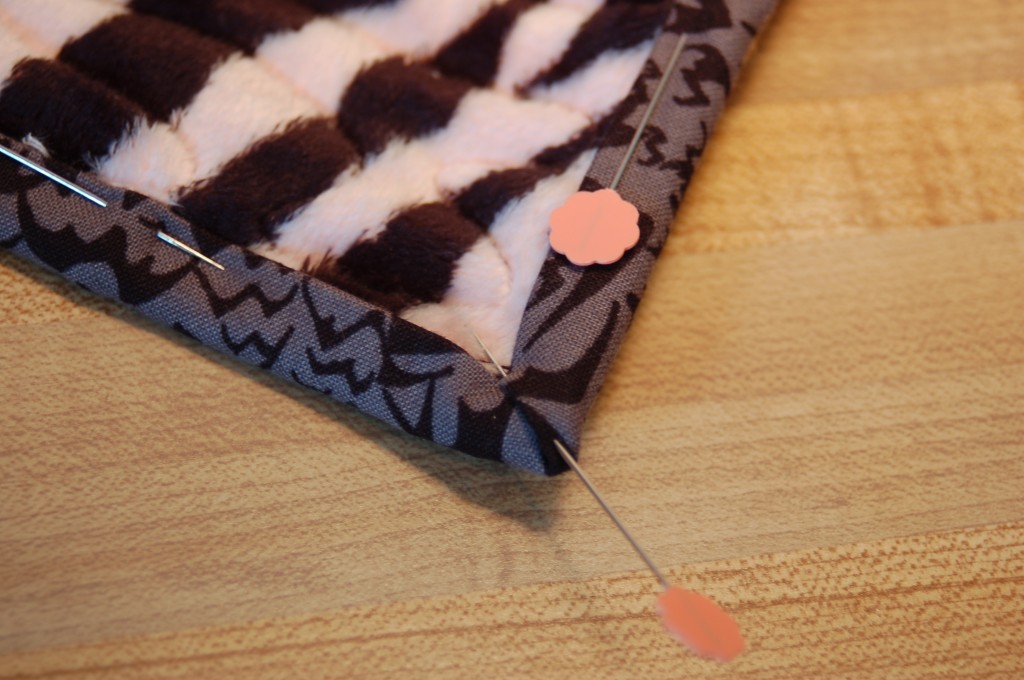
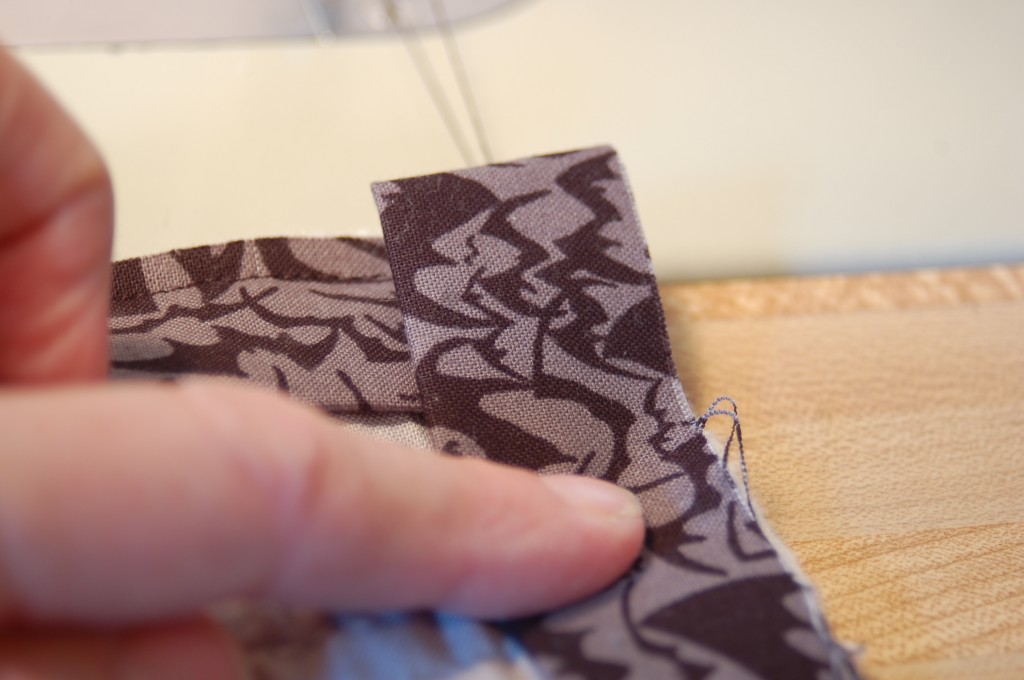
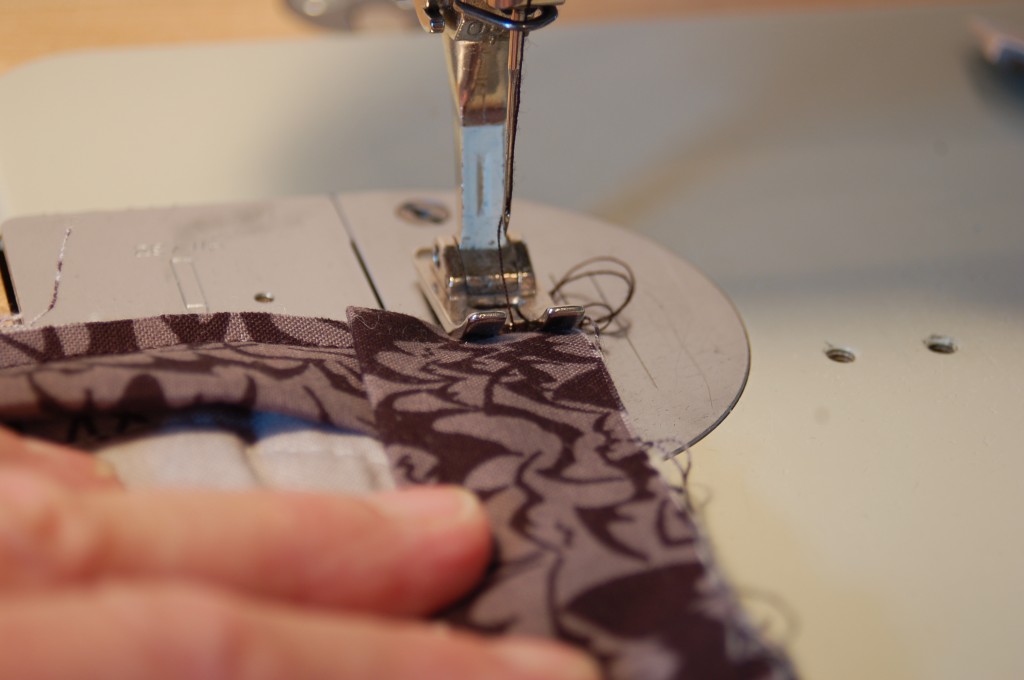
Cut off all the selvages.Pin two strips right sides together.With right sides together, sew a 1/4″ seam.  Continue sewing all the strips together into one long strip, until you have enough to go all the way around your quilt.  I used 6 strips for this quilt. It is just a small lap quilt.Then fold the strip in half wrong sides together and press with a steam iron.  (Don’t you love the ironing board cover?  I guess it is about time for a new one, but you can tell that it has been well loved!)  :)Roughly measure the strips all the way around your quilt, making sure that you have no seams meeting right at the corners.  Adjust where you start, if a seam meets at a corner.Pin where you started marking the binding.  You do not need to pin all the way around you just need to pin the start.  You will want to start sewing about 6-8″ away from the end of the strip. (This is so you can finish off the end of the binding)Start sewing the binding on with 1/4″ seams. Sew to within 1/4″ of the corner.You are going to turn your quilt, but not with the needle down.  Lift the needle (You do not cut the thread either)  turn the quilt and binding  and lift the binding to make a 45 degree angle to the corner.Then fold the binding straight down on top of the 45 degree angle.Put your quilt under your pressure foot and start sewing a 1/4″ seam down your second side.Repeat this process for the other 3 corners and sides.  When you get back around to where you started, quit sewing about 6″ before you get to the other tail.Take quilt out from the machine holding both strips together put a pin in where they meet.Cut off the excess binding 1/4″ away from your pin.Like this.Then open up both of the binding ends and with right sides together you will sew a 1/4″ seam.  This is a little bit hard especially if you have not left enough room to work with.  But just bunch up the quilt a little bit until you can stitch the ends together.Then refold the binding and I just do a finger press here.  Continue sewing the binding to the quilt and it will come out exactly to the right measurement!Next come the most time consuming part. So plan for a good tv show or an evening or two to sew around the binding by hand.  You will want to pin as you go to hold the binding in place.  You are wrapping the binding around to the back and doing a blind stitch on the back of your quilt.  Be sure to take tiny stitches!  Like I said this is the most time consuming! When you come to the corners, they will just automatically lay into place.  Fold one side down and the other side will fold to a point!   How cool is that!So there you have it.  Not so bad Huh?  And look at how beautifully it finishes the edge of a quilt!  (My quilt was machine quilted, and my quilter always sews a seam all around the edge and trims it for me.  If you are quilting your own quilt, be sure to do this before you start to put the binding on, so that the top and bottom are even.
Happy sewing!  I would love to hear of your quilting projects if you are willing to share!