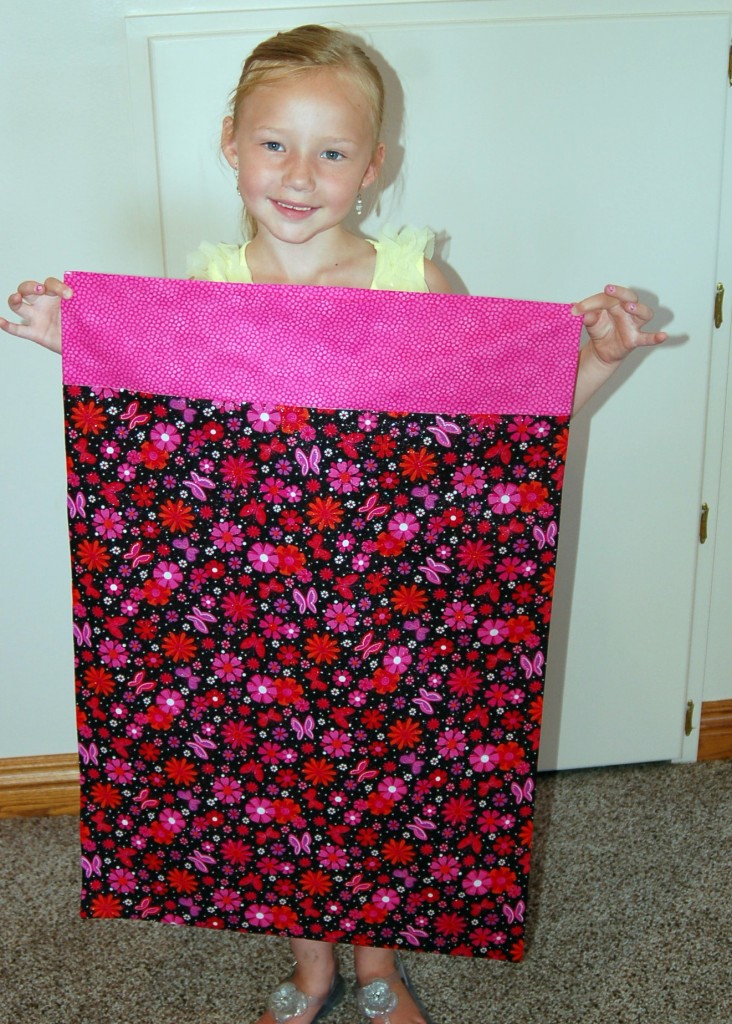
I saw an ad in a local paper for sewing lessons for children and when I checked into it I found out that it was already full, but it got me thinking that it might be a fun grandma camp to do this summer with my oldest granddaughter! Since I already have her here at my house twice a week it would work out perfect.
Category Archives: Sewing
Patio Furniture Re-do
I had this patio set out on my deck for years but we really did not use it very much because it was on the west side of the house and it was always too hot in the afternoon even with the umbrella up. The fabric got so sun bleached and was starting to fall apart that I decided that it was time to do something different with it. Continue reading
Minky Quilt as you Go, Quilt
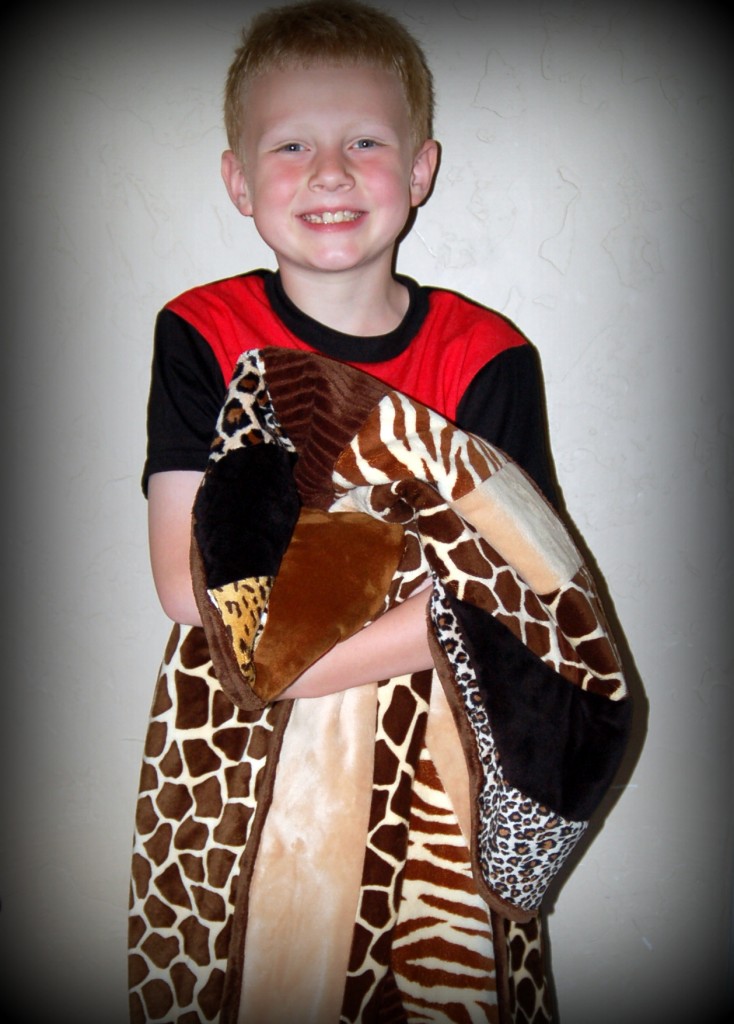
I made this quilt for my grandson’s baptism. It is made with all minky fabric and so it is very soft and cuddly! And it was fun to make because you quilt it as you go and so once you are done sewing the quilt together, you have also quilted it!
Is this not the cutest kid you ever did see?!! :) Continue reading
Skirt Extender Slip
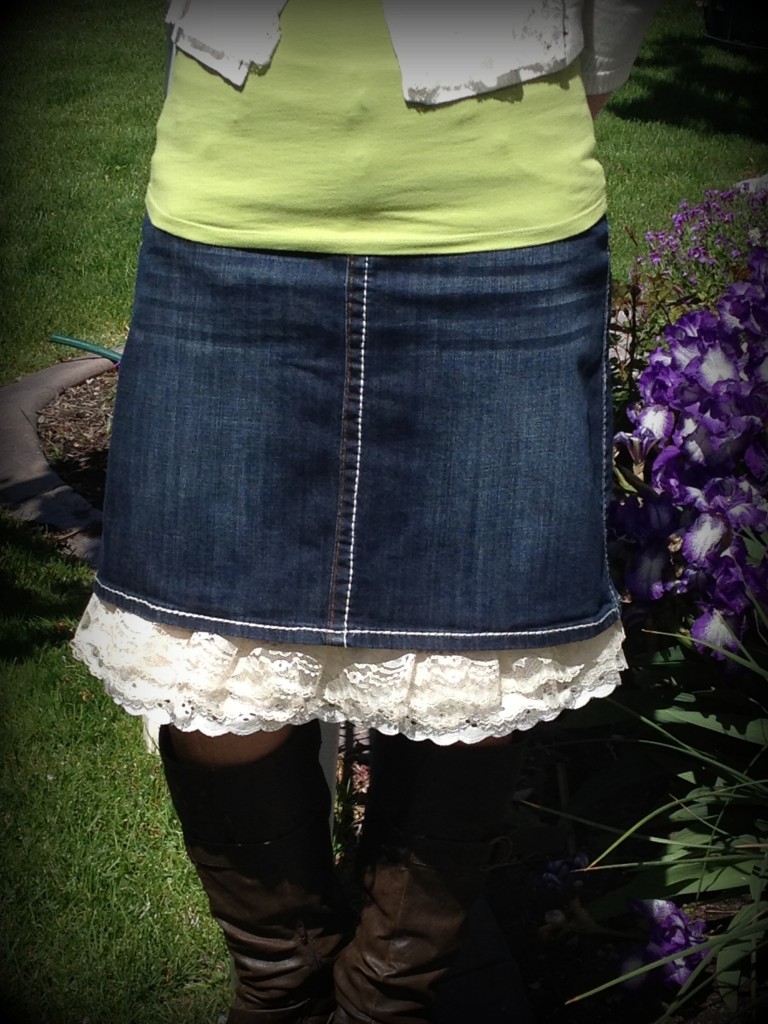
This project is a perfect fix for that skirt or dress that is just a tad too short and it makes your outfit look so cute with all the ruffles. Don’t you agree?
I really like the look that this slip gives and it is really an easy project. So does anyone want to make a skirt extender slip?
BYU Women’s Conference 2012
I have been asked to help with one of the service projects for the BYU Women’s Conference this year. I am excited to be a part of this organization. They always do so much good in these service activities.
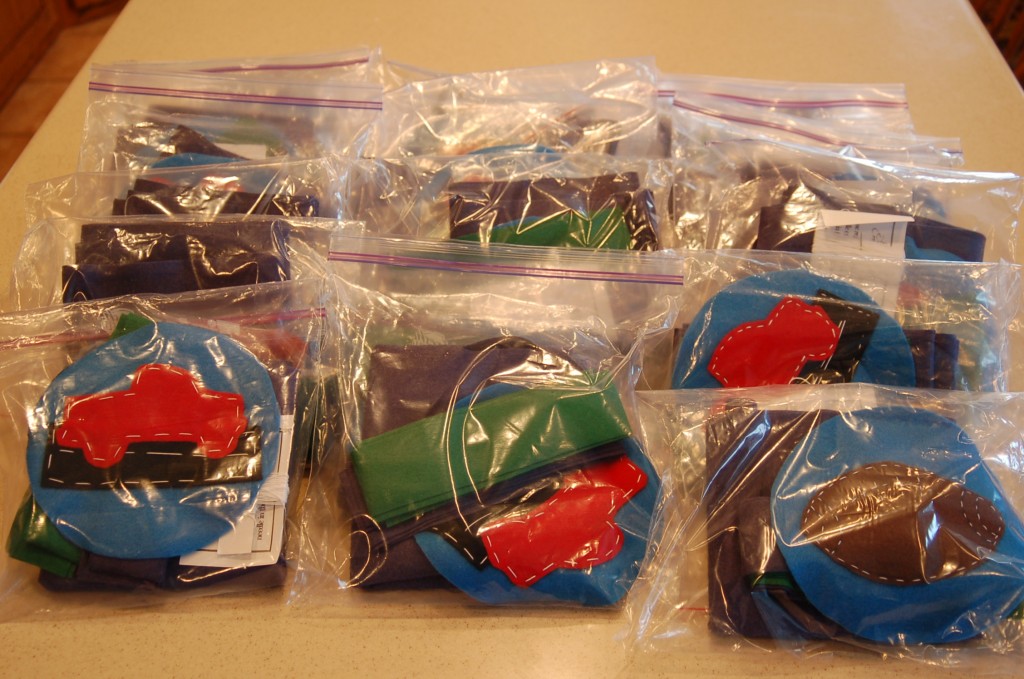
This year, one of three of the projects that they are doing is making felt backpacks for school children. The fun thing about this project this year is that it is going to stay right here in our own communities!
I was asked to help sew some of the velcro on the backpacks. This was done by machine and that is the only thing sewn by machine. The rest of the backpacks are all sewn by hand! That is what all the women will doing Thursday night of the conference! It will be quite a sight to see so many women doing service all at the same time!
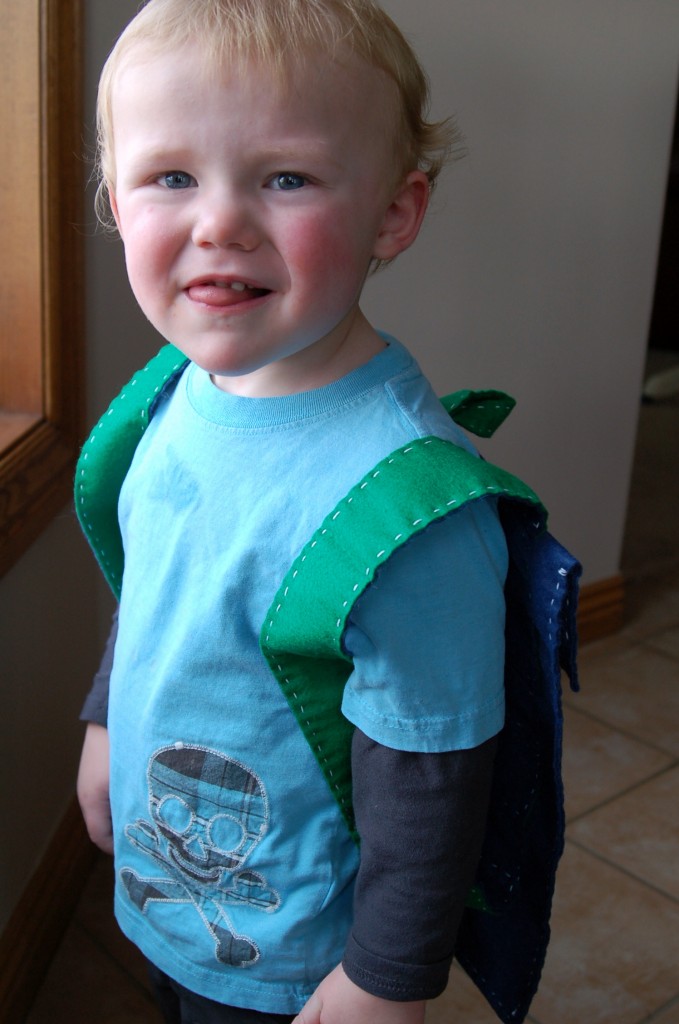
This is only a very small percentage of all the backpacks that will be made that night.Isn’t this one of the cutest little “Backpack” models that you ever did see? Continue reading
Ruffled Scarf
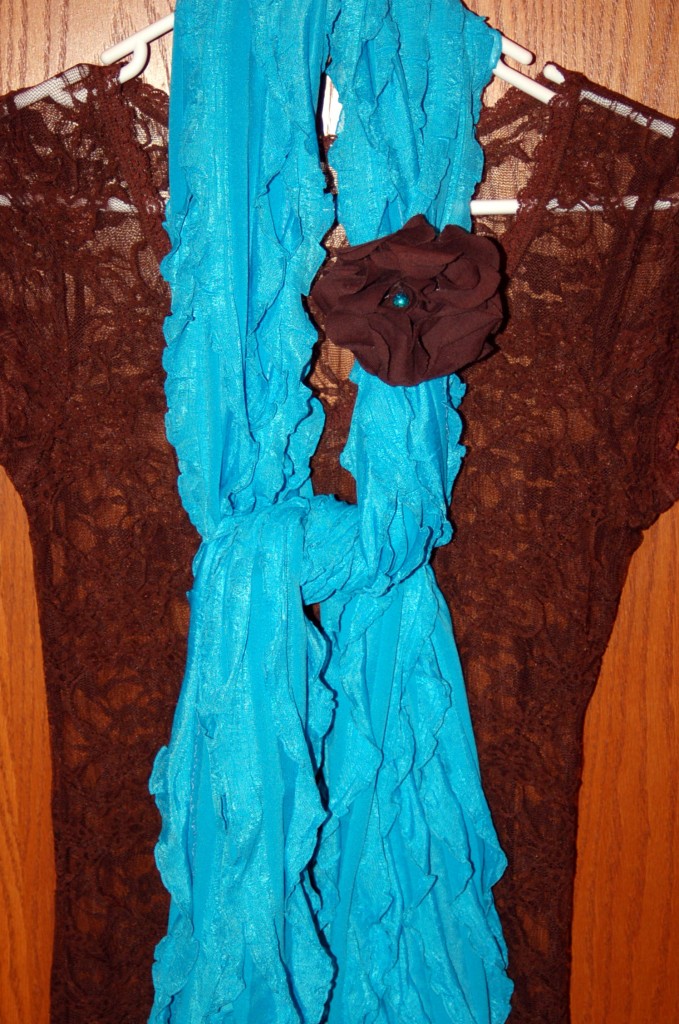
My sister gave me this darling ruffled scarf for Christmas and I love it, with the flower pin and all! Our winter this year in Utah has been extremely mild and I find myself just grabbing a scarf when I go out the door instead of a jacket, so I have loved wearing this one with all the ruffles! I think it makes me look oh so pretty. :)
My sister made this scarf and so of course I wanted to make some more, because I love how cute the ruffles are and how easy it is to make!
So do you want to make one too?
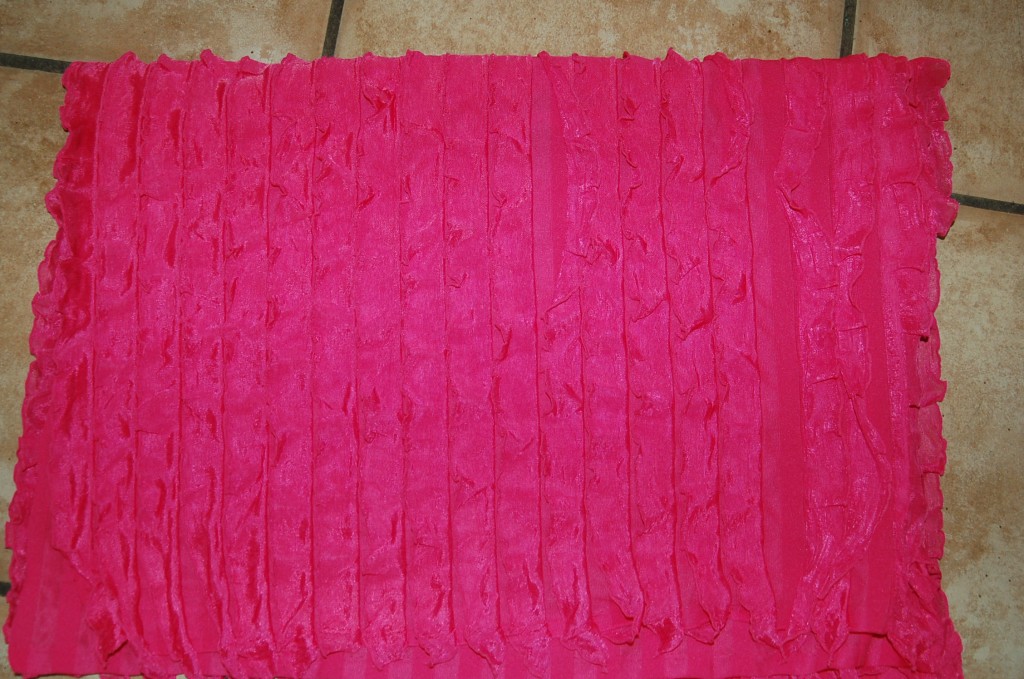
First you will need 1/4 yard of the ruffle fabric like this:
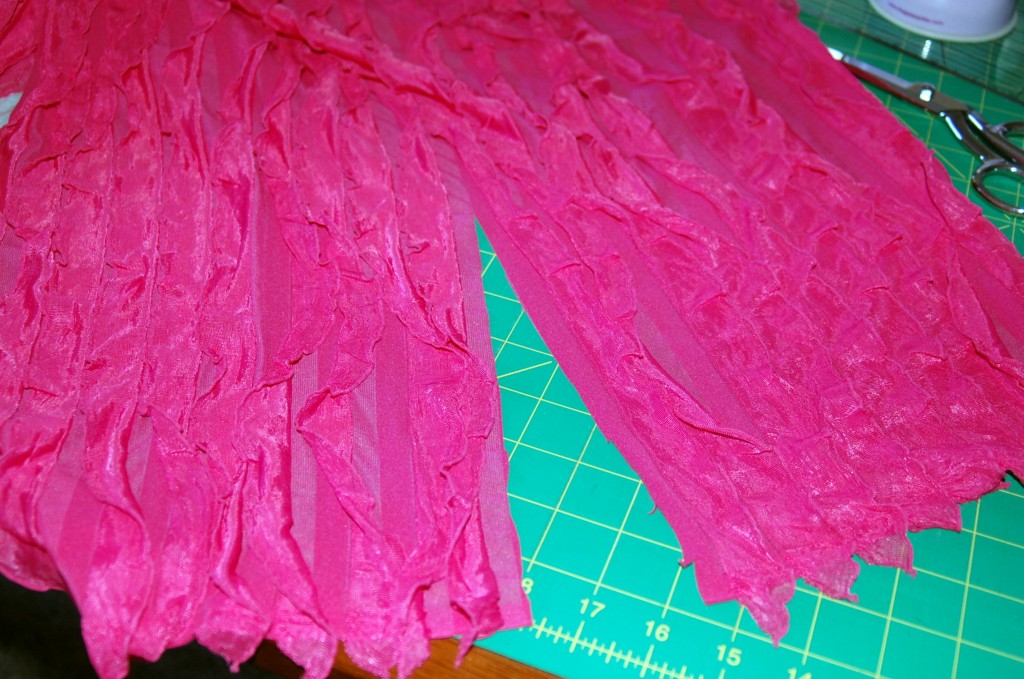
I bought 1/2 yard, so that I could make two scarfs, so I had to cut the fabric in half. Just cut right along the line in between one of the rows of ruffles so that it is 1/4 yard wide. (9 inches) If you want a little bit fuller scarf you could also use 1/3 yard. (12 inches)
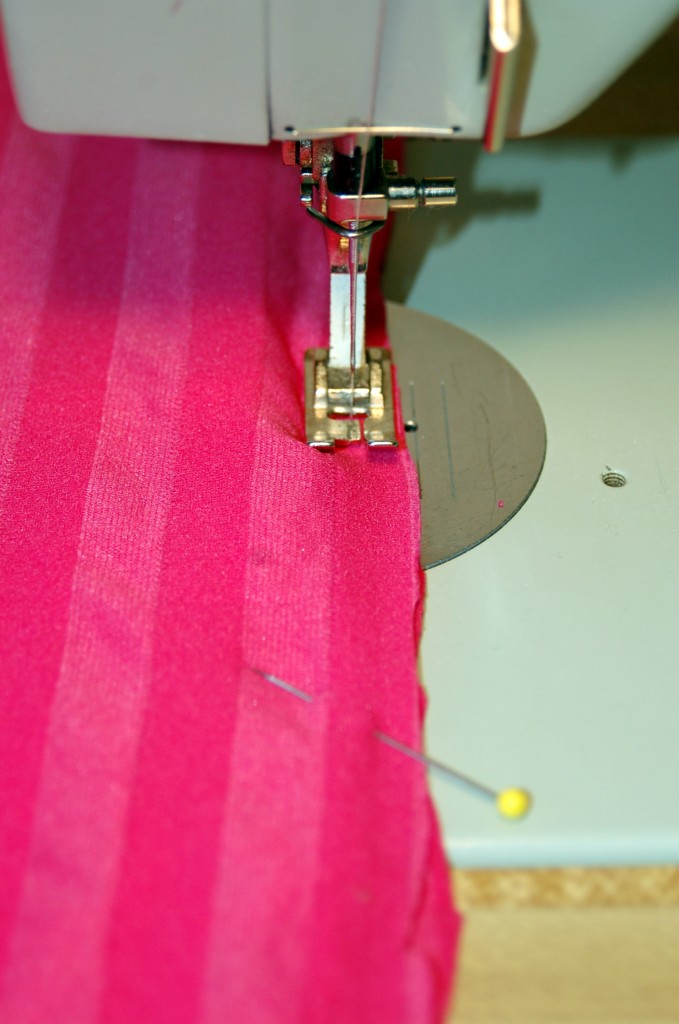
Fold fabric in half with right sides together along the long side and sew a 1/4″ seam. You do not have to pin the ruffles down because you are sewing along side of the ruffle. Just make sure you tuck them in, so you don’t catch them in the seam.
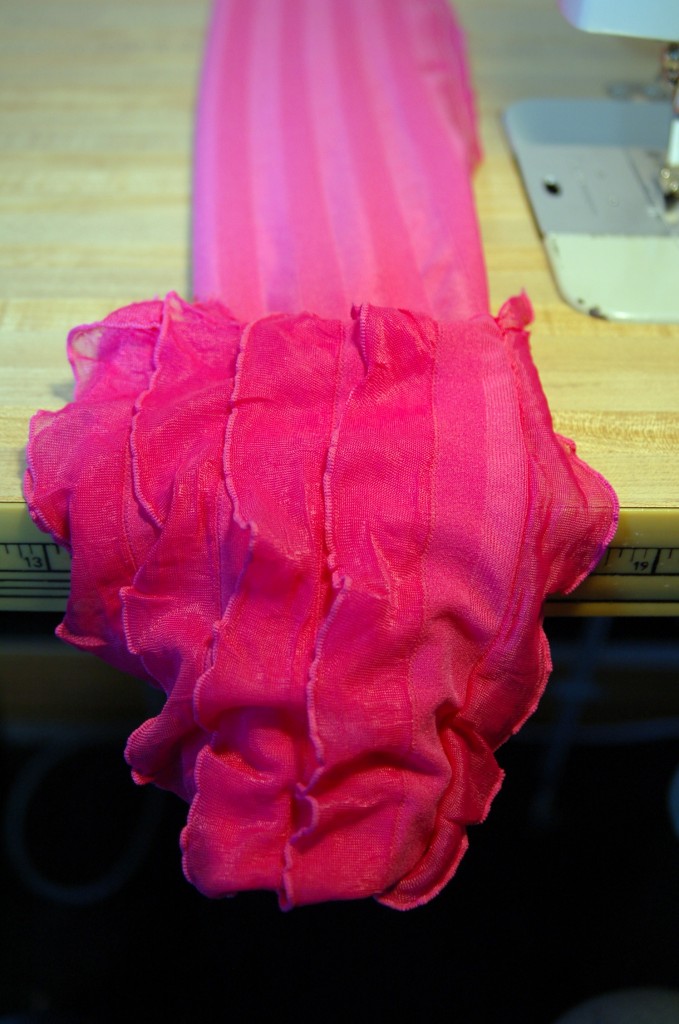
Then simple turn your tube inside out!
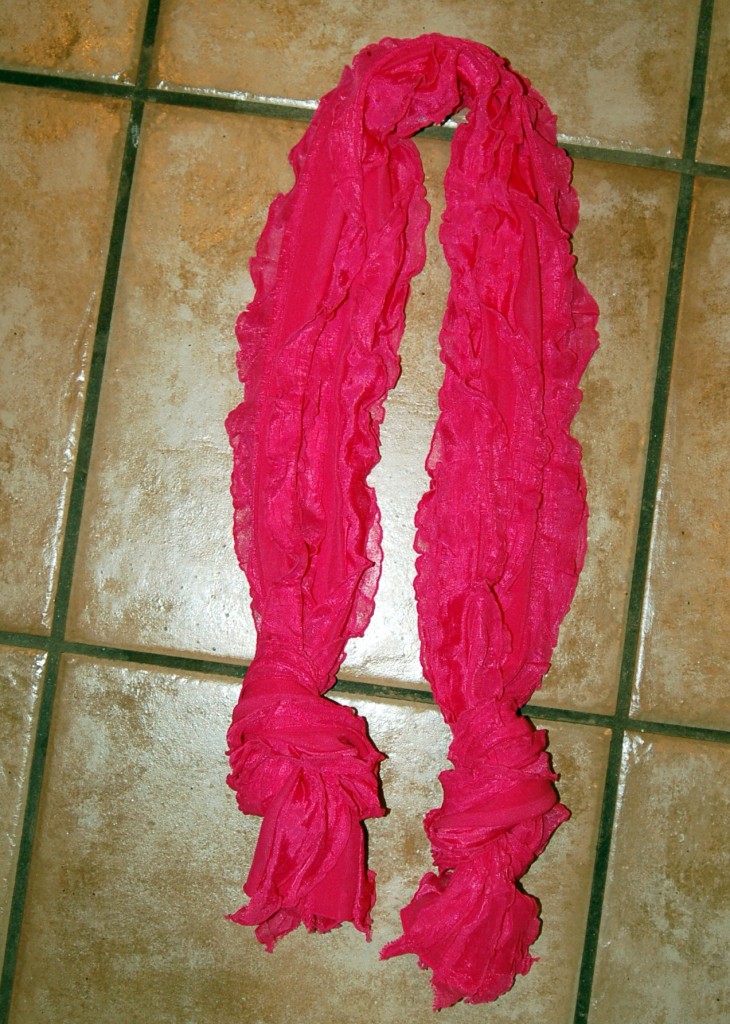
You are done, there are no hems because the fabric does not fray and already has a finish on it. Wasn’t that Easy Peasy!
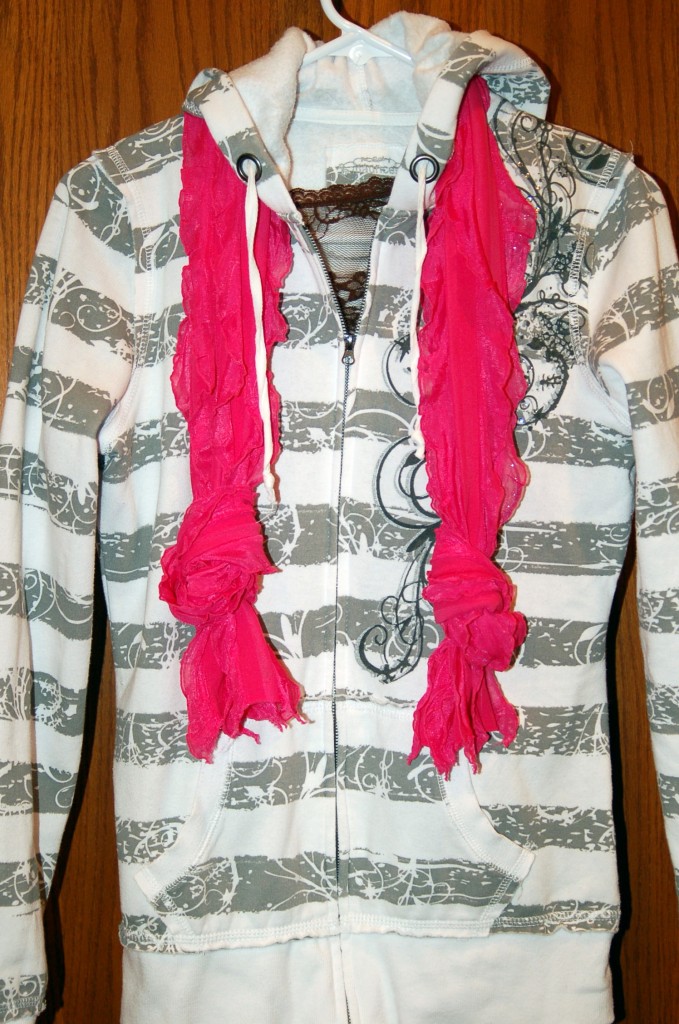
I tied knots in the end and look at how it finishes off the look of my jacket!
I love these scarves and think that perhaps I might need one or two other colors. We got the fabric for these scarves at Hobby Lobby. They have a few solid colors, but if you want a striped fabric like I used on my ruffled skirt, you will have to go to a fabric or quilt shop.
So are you now ready to go make a scarf or two? I think that this pink one is perfect for Valentines Day, or perhaps a red one would look great! Or I could put a red and white one together! Oh what possibilities!
Ruffled Skirt
I think that I have had ruffles on the brain lately, but you can never get too many ruffles, right? Ruffles are still such the rage in the fashion and crafting world and I love it!
This a great little skirt that you can dress up or down, and it is knit fabric, so it is very comfy. It does not wrinkle so it is great for travel, and it camouflages all your flaws with all the ruffles! It doesn’t get any better than that!
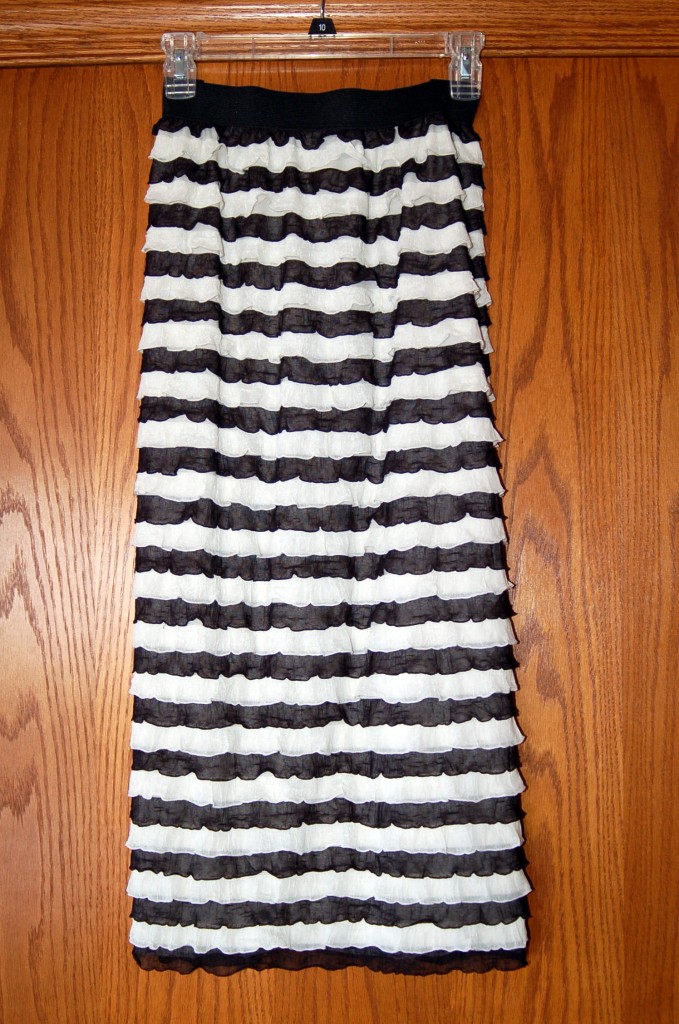
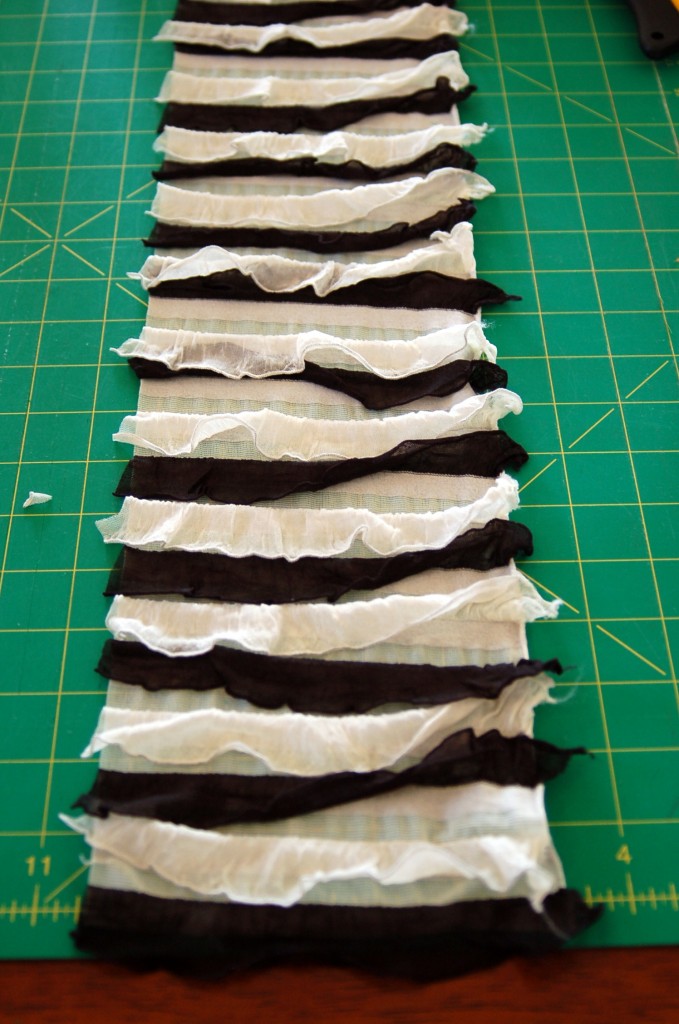
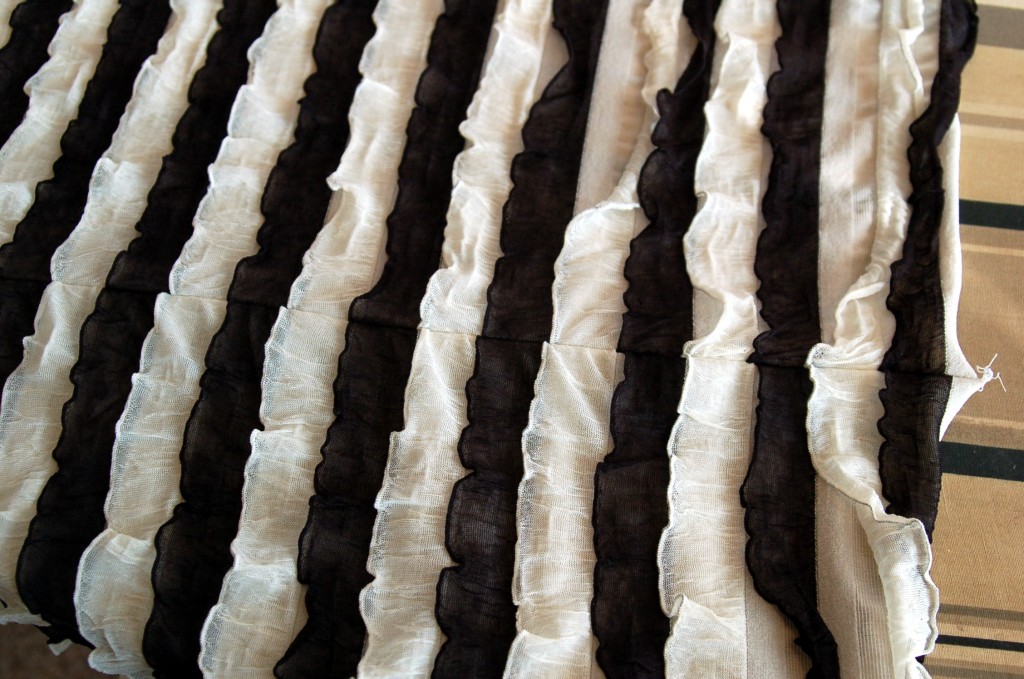
You start with this fabric that is already ruffled! It is kind of pricey, but you only need your length. I am kind of tall and I bought about 30″ for a skirt that is mid-calf. It only cost me about $20 for everything, and where can you buy a cute skirt like that for $20?!
I bought my fabric at The Material Girls Quilts in South Jordan, UT. They also have this ruffled fabric in Gracie Lou’s Quilt Shoppe in Salem, UT. I know that a lot of the finer fabric and quilt shops are now carrying it, so you should be able to find a place near you.
The fabric is wider than I wanted, so I cut off about 6″ from the width because I did not want it to be that full. With all of the ruffles, it is better to have it a little bit more fitted, so you do not add bulk where you don’t want it. (If you know what I mean!)
This skirt is sooo easy as in one seam and sew the elastic to the top!
So let’s make a fun ruffled skirt for the holidays, shall we?
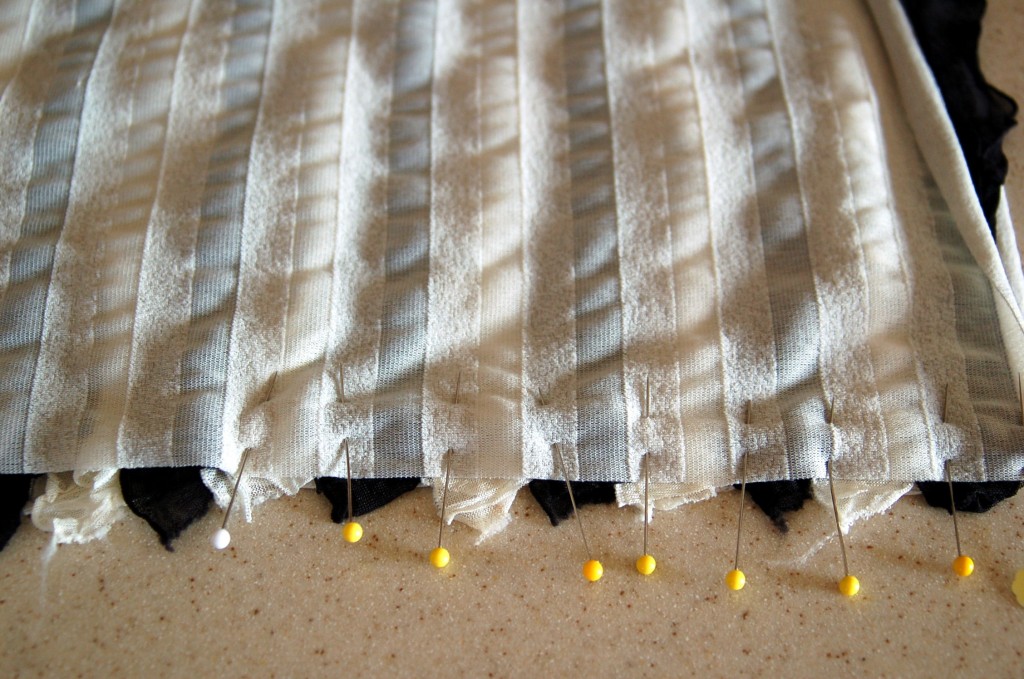
The most time consuming part of making this skirt is pinning all the ruffles so that they match! You have to just match each layer of ruffle and pin it in place like this…
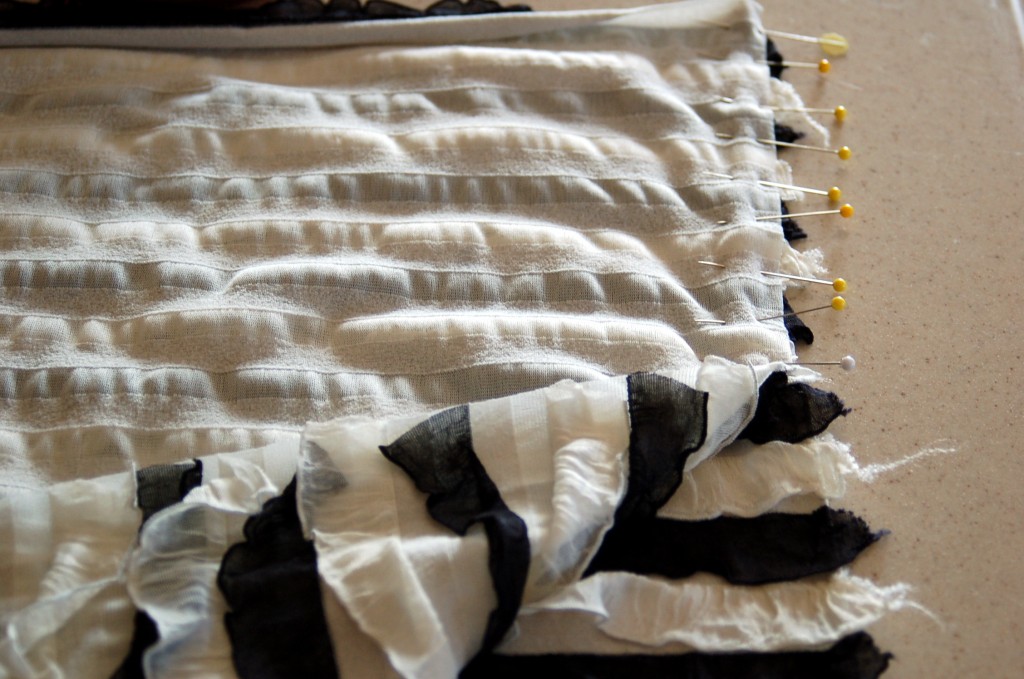
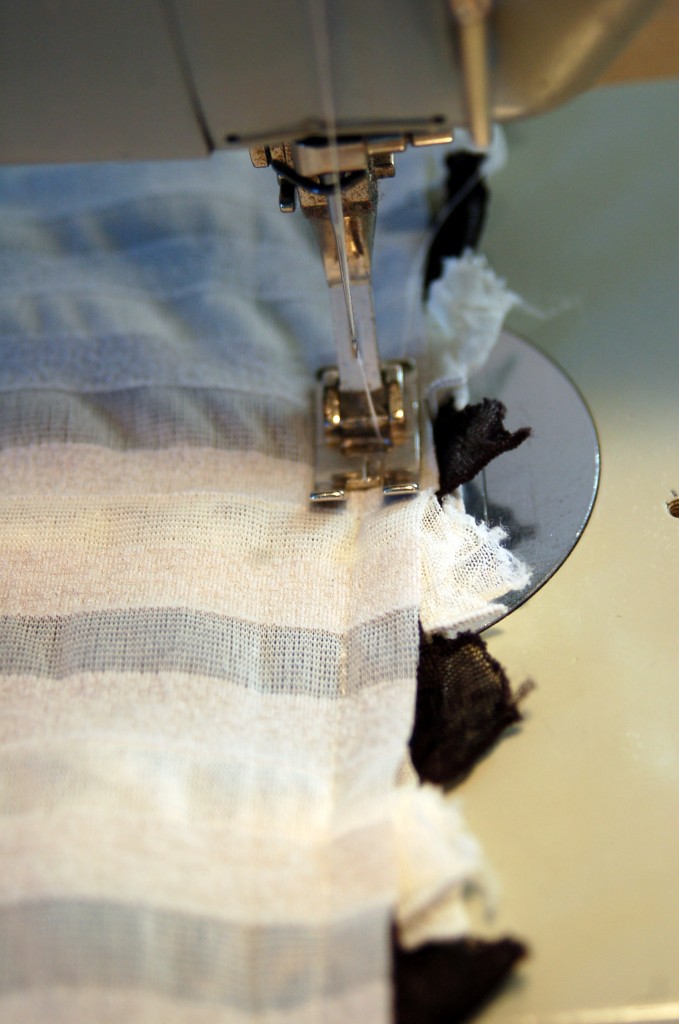
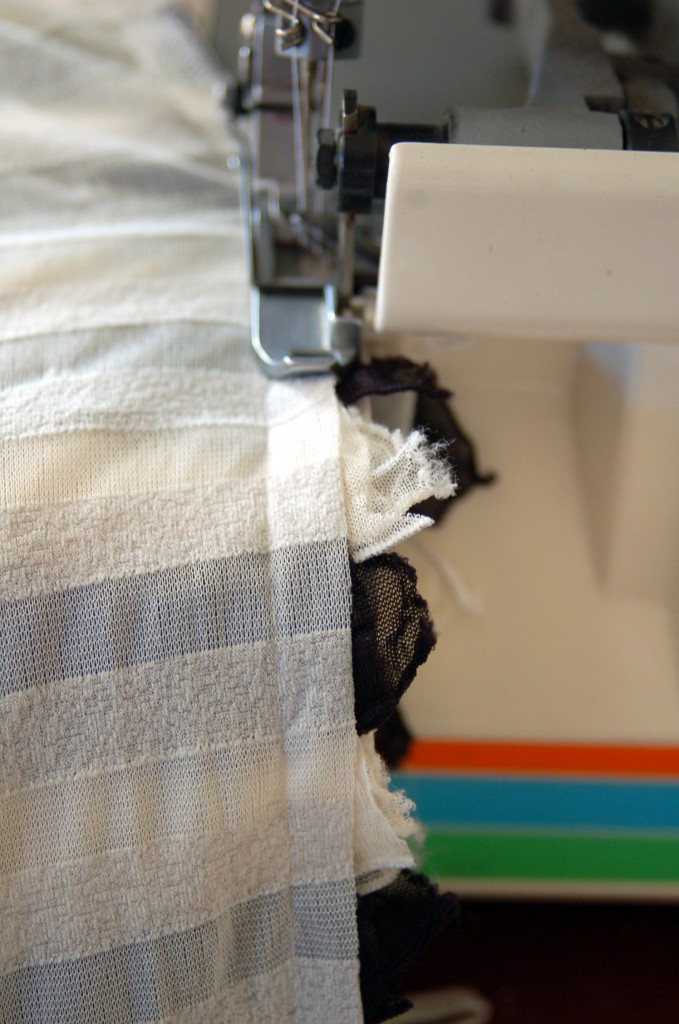
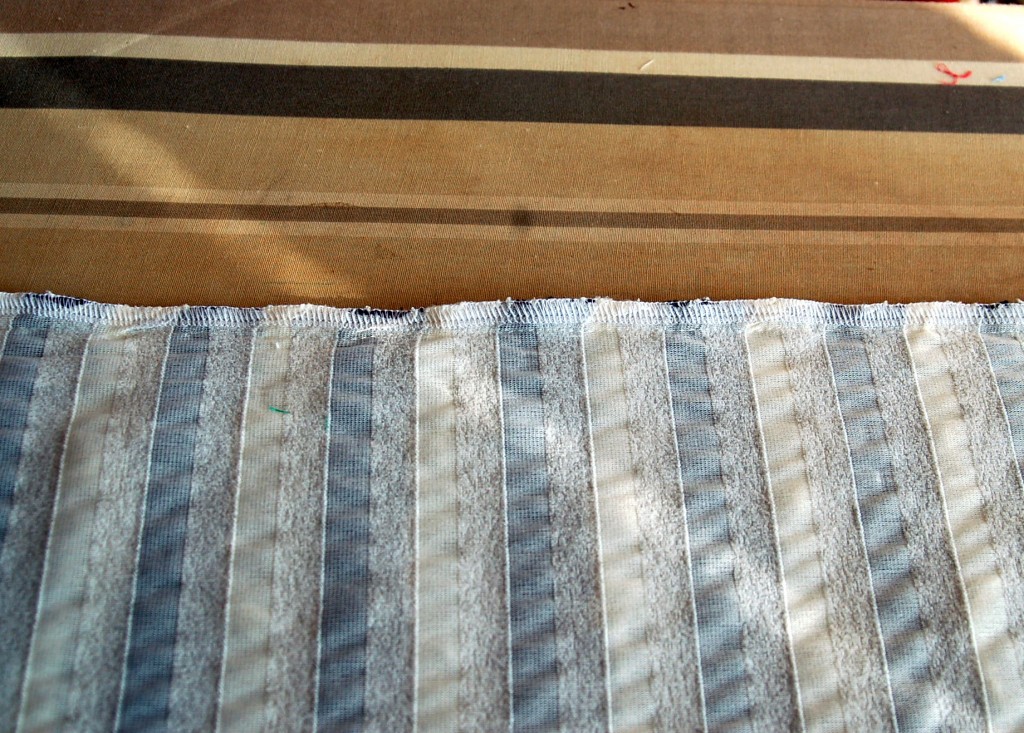
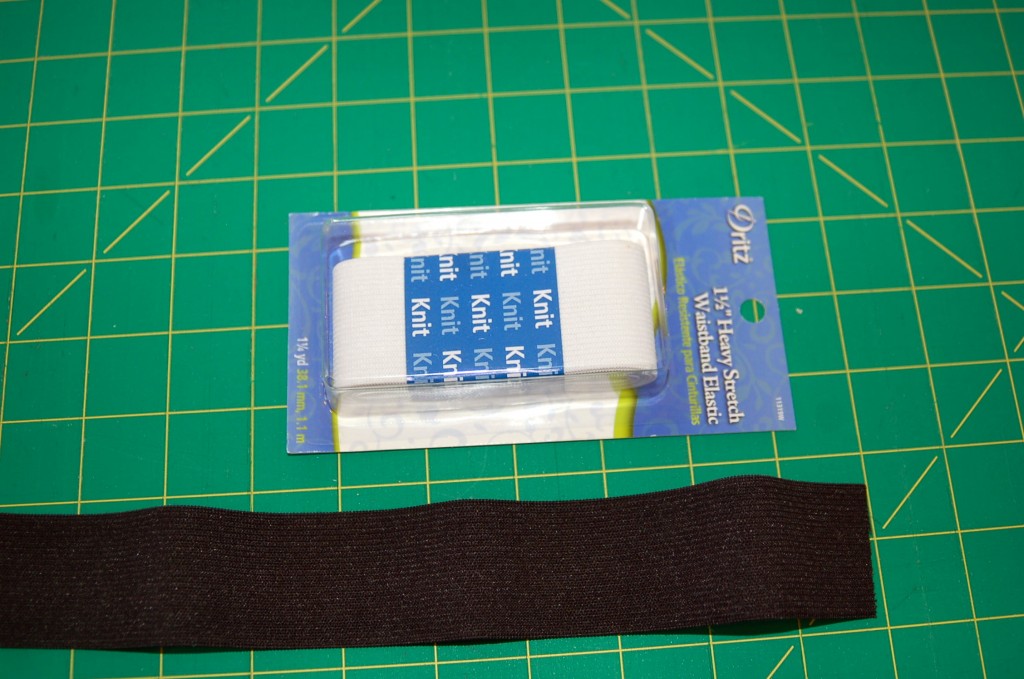
This is what it looks like when it is all pinned and ready to sew.Sew a 1/4″ seam all the way down, if your machine will sew over the pins, I leave them in, so that it will stay matched up nicely.I then serged the seam to trim off all the edges and to make a nice finish on the seam. You could just serge the seam, but I really liked leaving my pins in, so I sewed the seam on my machine and then serged the edges.Look how nice it looks. If you do not have a serger, you could also zig zag the seam and trim off the edges of the ruffles to make a finished seam.Here’s what the seam looks like, and from a little distance, it is hard to really even see where the seam is. So is it important that you pin all of those ruffles down!I used 1 1/2″ wide elastic. I just got this at Wally World, but you can buy it at most fabric stores, by the yard. I couldn’t decide on black or white, so I bought both! The black one finally won out though!Measure your waist, and subtract about 2″. Just put it around you and when it feels right, that is where you want to cut it! You want it to be a little bit snug, because like I said earlier, it is better to be fitted with this fabric!
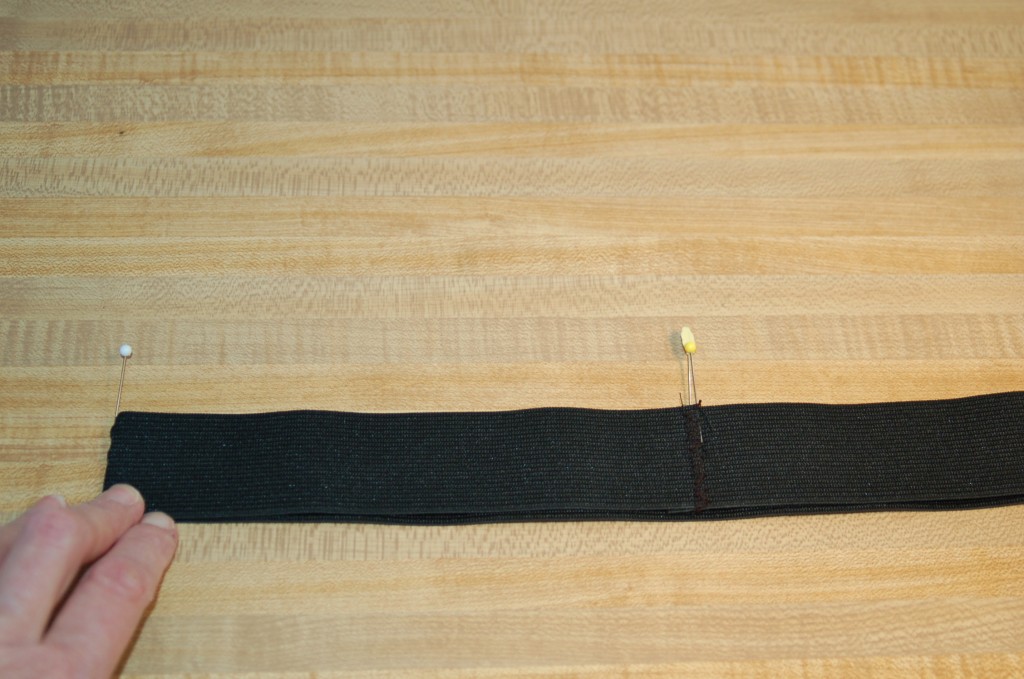
Sew the elastic into a circle overlapping about 1/4″ and zigzag down the middle to secure it good. I went down and back up once.
Then mark your circle into fourths, using pins.
Do the same thing with your ruffle fabric. Mark into fourths and mark with pins.There is a small amount of fabric between each of the ruffles and that is the part that you are going to sew on. Matching pins and stretching the elastic to fit, sew the elastic to the right side of the skirt, using a narrow seam.This is what it will look like with the elastic all sewn on! And guess what! You are all done, because you do not need to hem this skirt, there is a ruffle on the bottom and it is knit fabric, so you are all done!!!
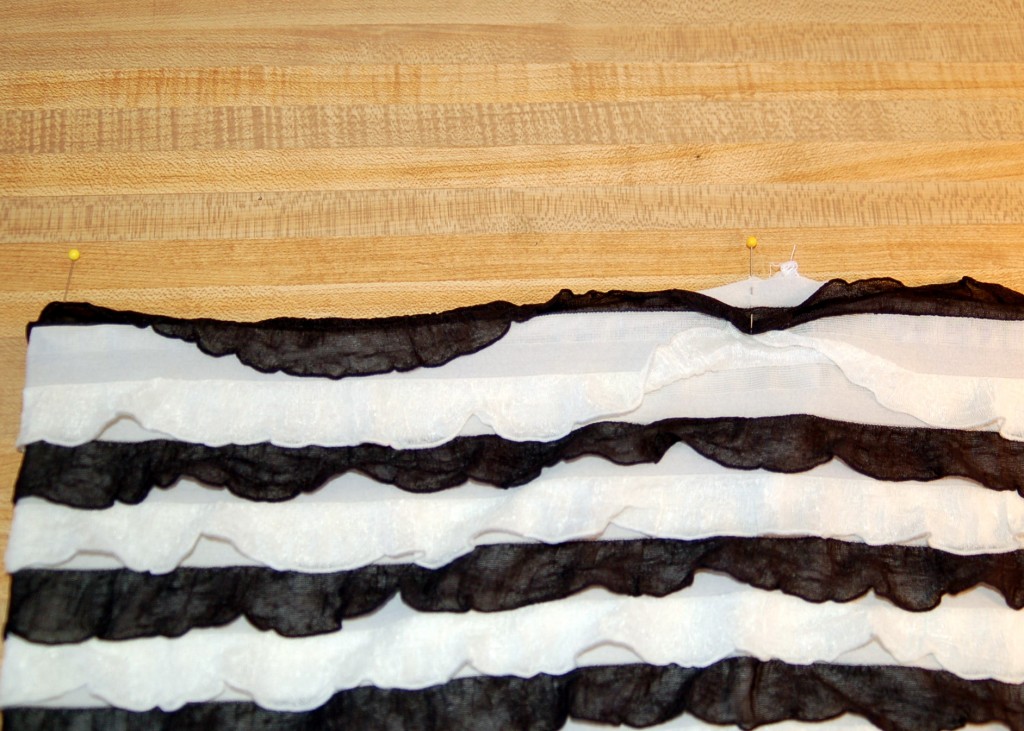
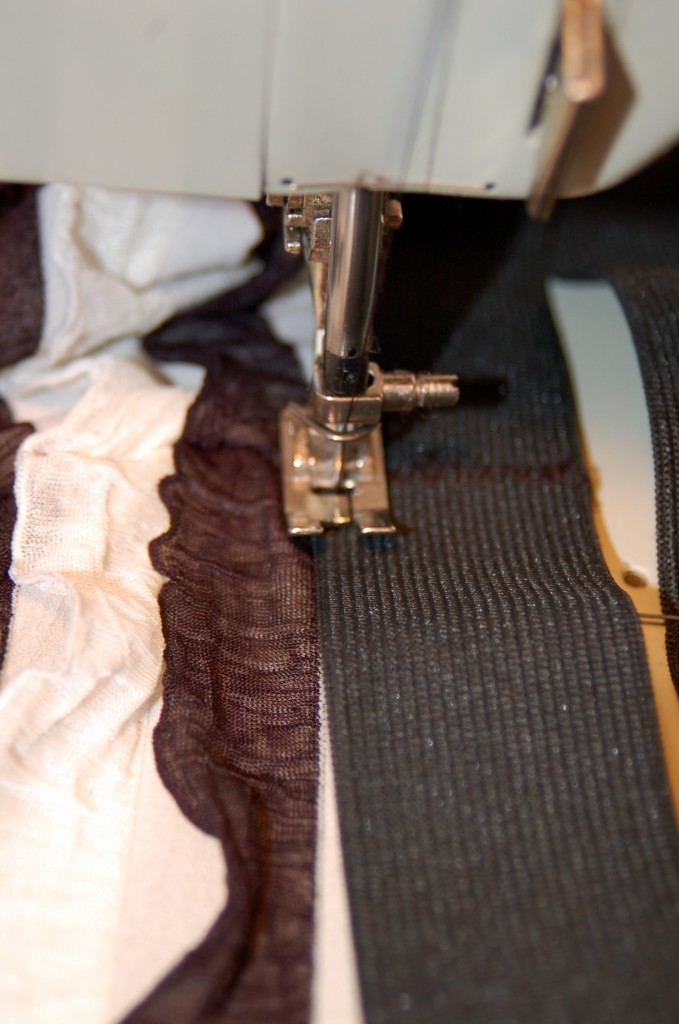
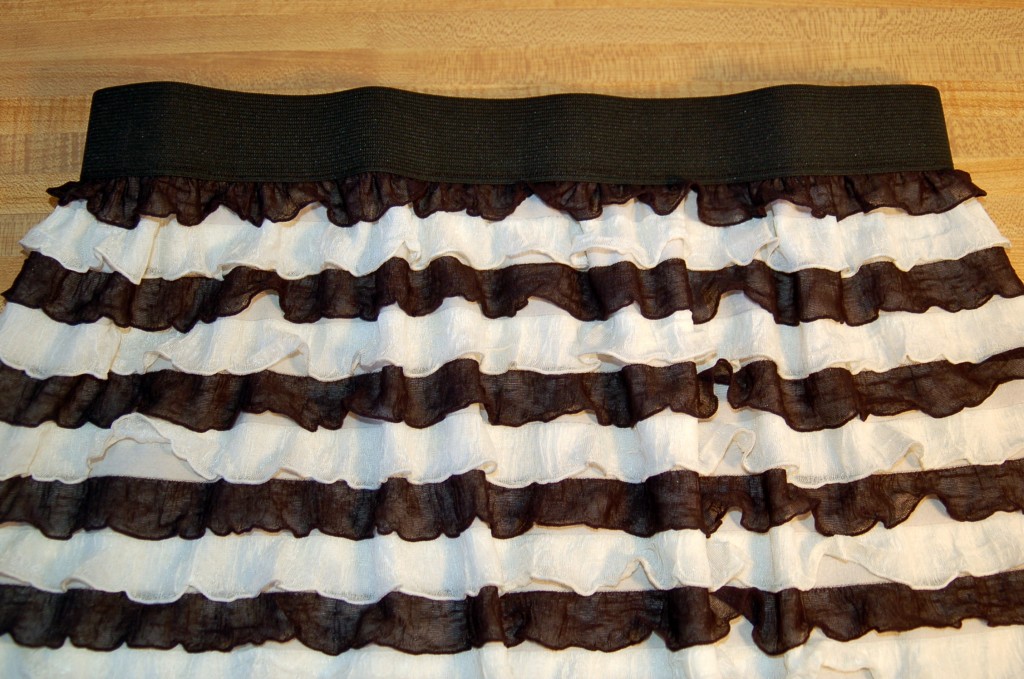
Pair this up with a cute knit top, a funky belt and some boots and you have a great Christmas outfit for your parties, a Christmas date, or for Church!
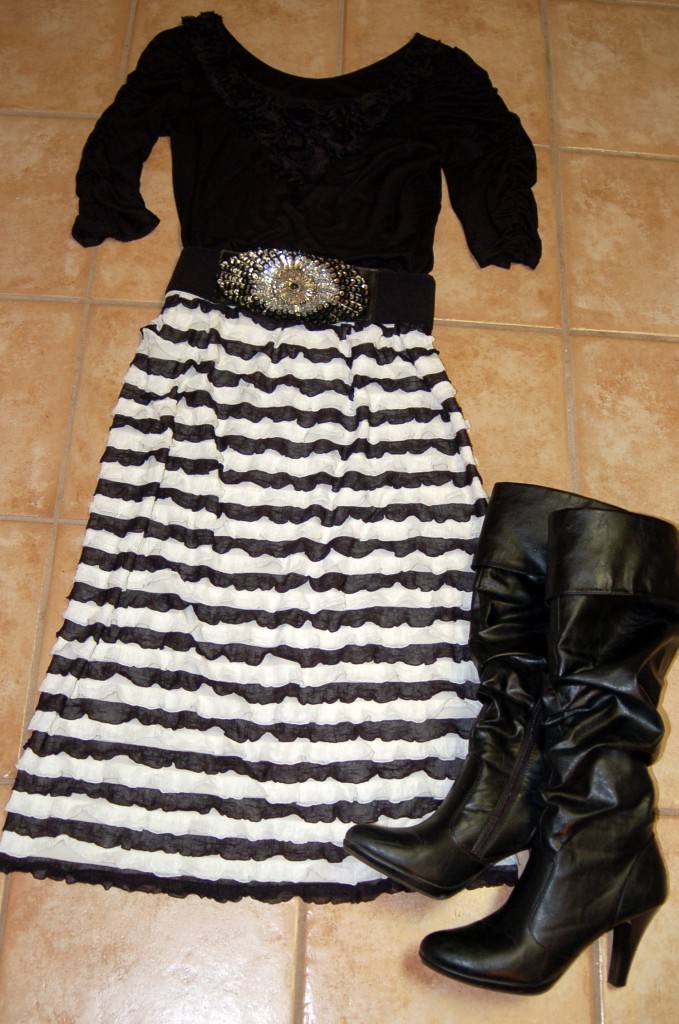
I hope that you can go and get some of this ruffled fabric and see how fun it is to sew! I know that you will love it!
Happy Sewing!
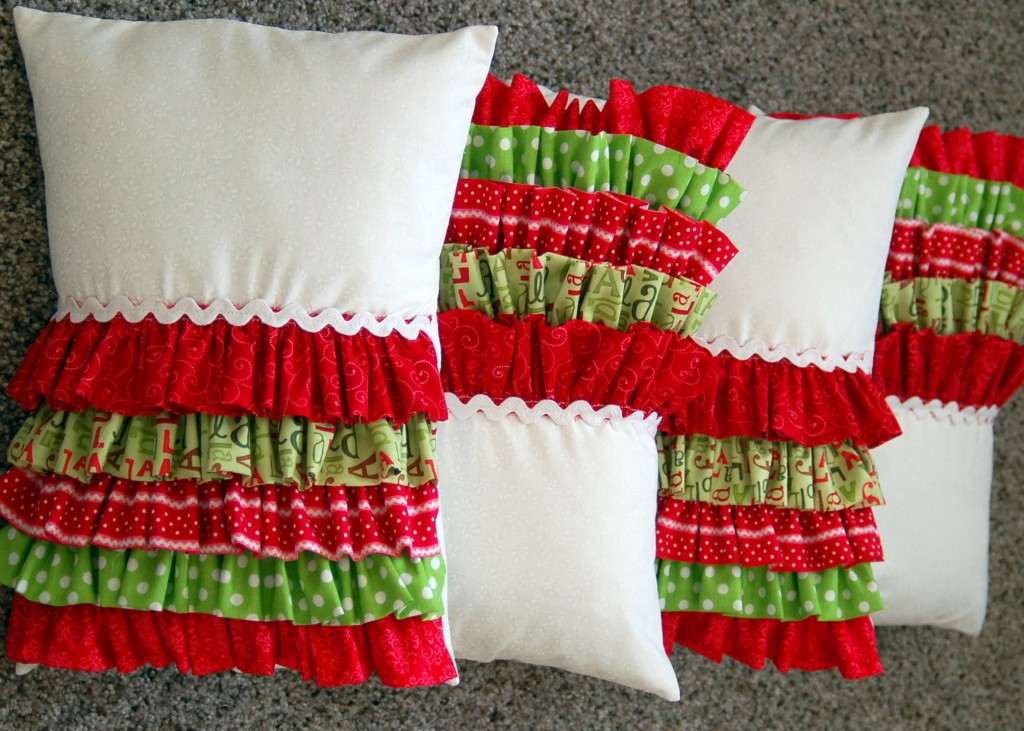
Ruffled Christmas Pillow
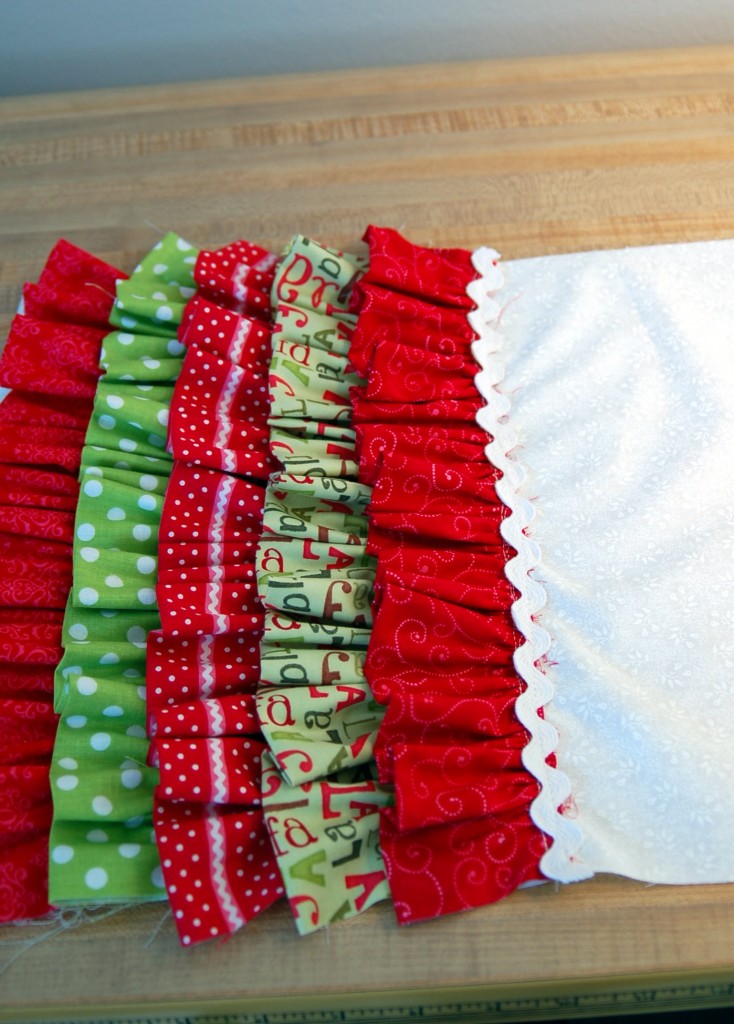
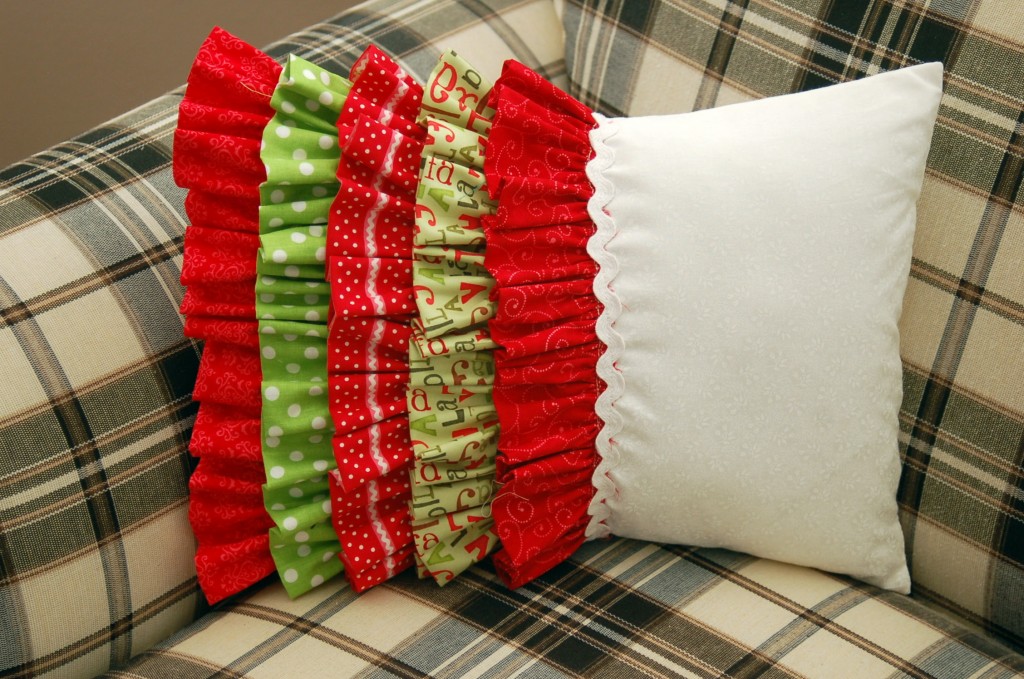
I made some of these pillows for gifts and I love the way that they turned out! It took me a little more than a hour to sew each one, so it is definitely a project that you could do in an evening!
So, let’s make a pillow or two!
Supplies:
12″ x 16″ pillow form
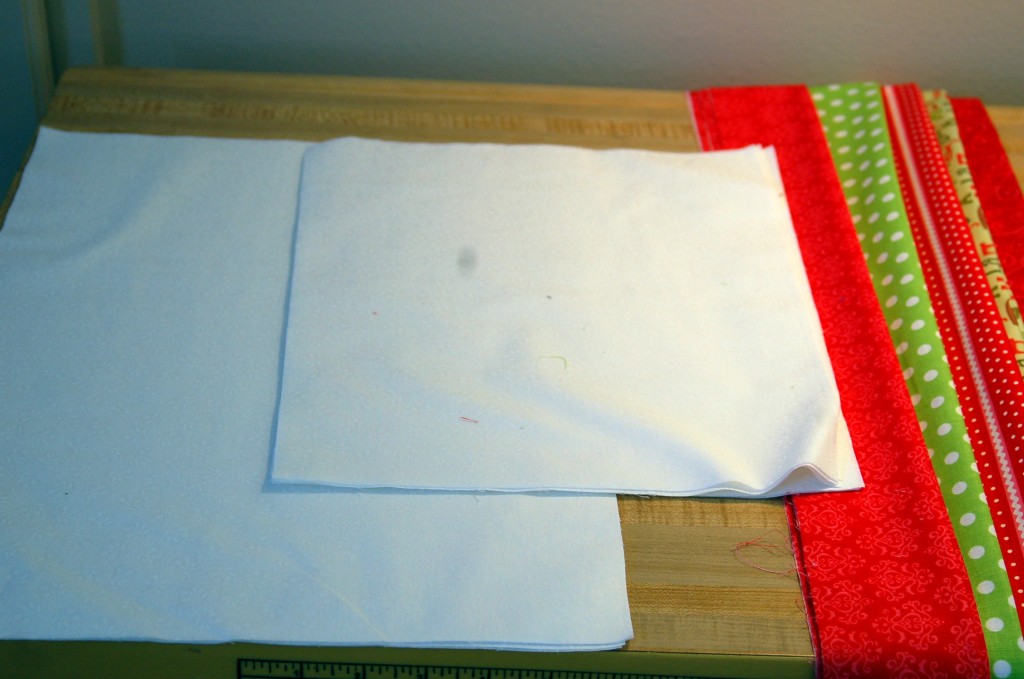
5″ x 32″ strips- you will need five different fabrics
1/2 yard fabric for pillow front and back (I used white on white fabric)
1/2 yard ric rac or ribbon
Cut one pillow front 12 1/2″ x 16 1/2″ rectangle, cut two 12 1/2″ x 10 1/2″ rectangles for the back. Cut ruffles 5″ x 32″. Fold ruffle strips in half lengthwise, wrong sides together and press.
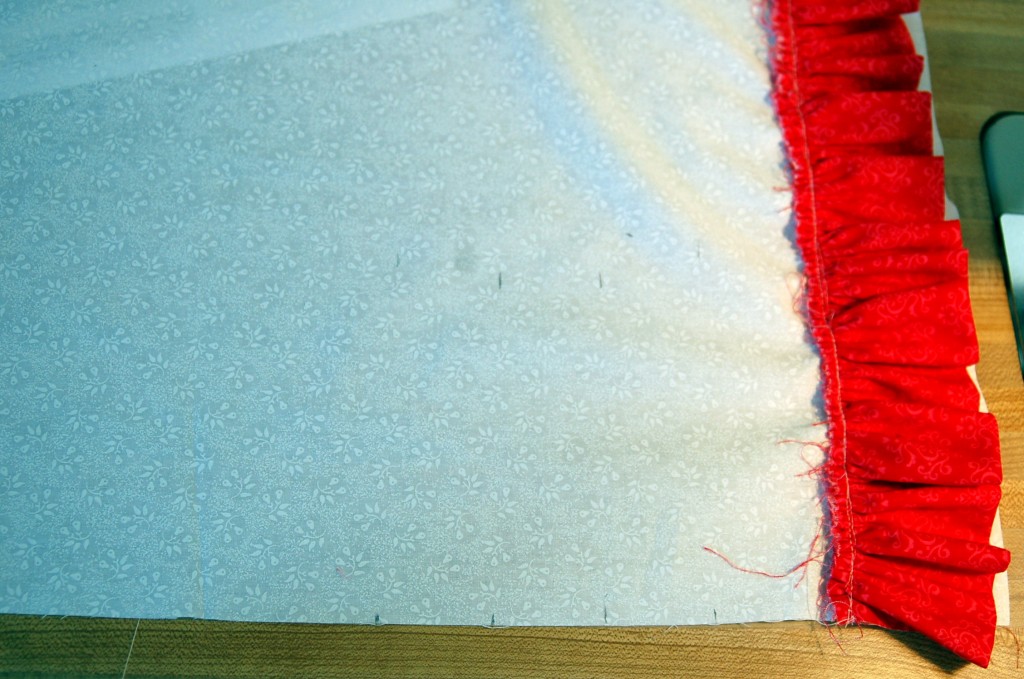
Sew a gathering stitch 1/4″ from edge along the long raw edge of the ruffles. Pull gathers until ruffles measure about 12 1/2″ long.
Next, mark on your pillow front fabric:
1st row: 3″ from edge
2nd row: 4 1/2″ from edge
3rd row: 6″ from edge
4th row: 7 1/2 ” from edge
5th row: 9″ from edge
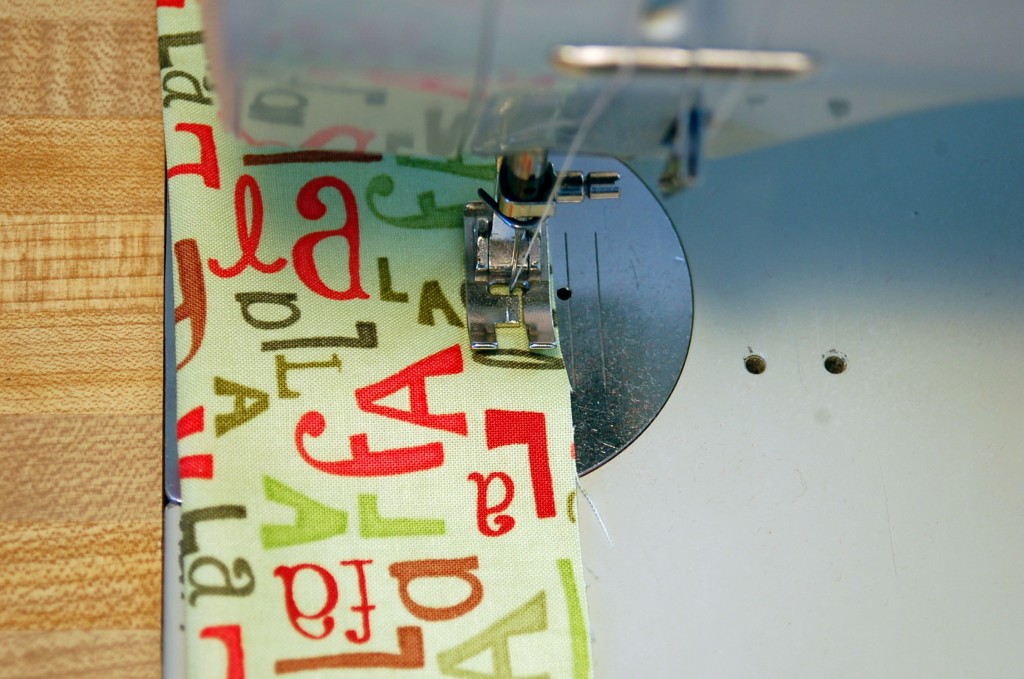
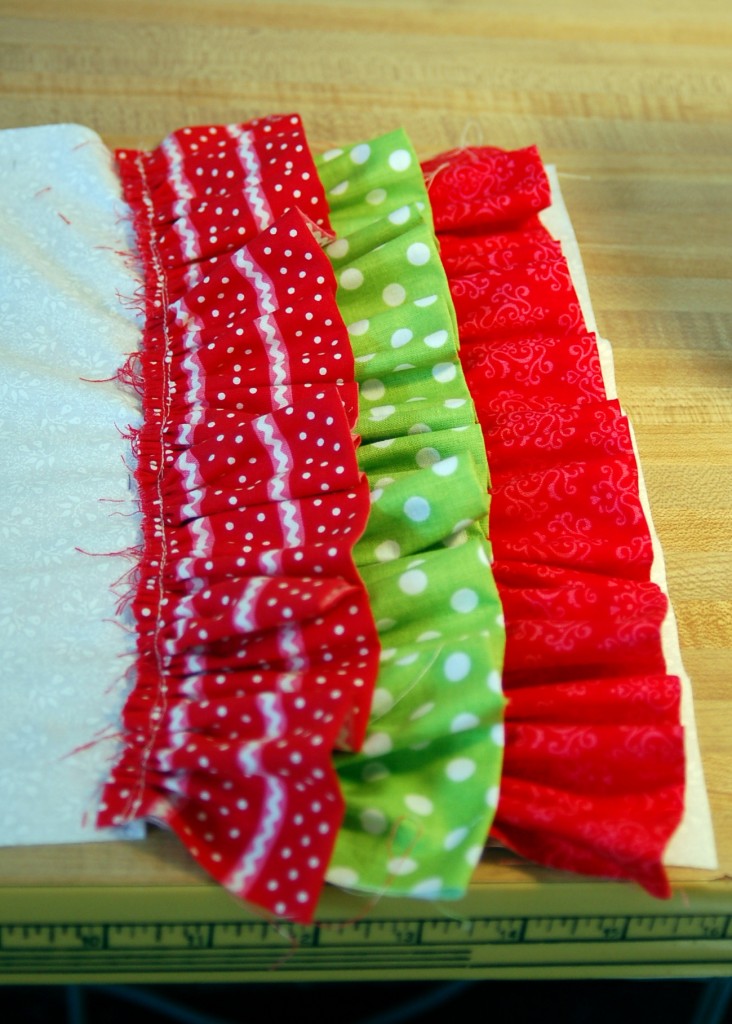
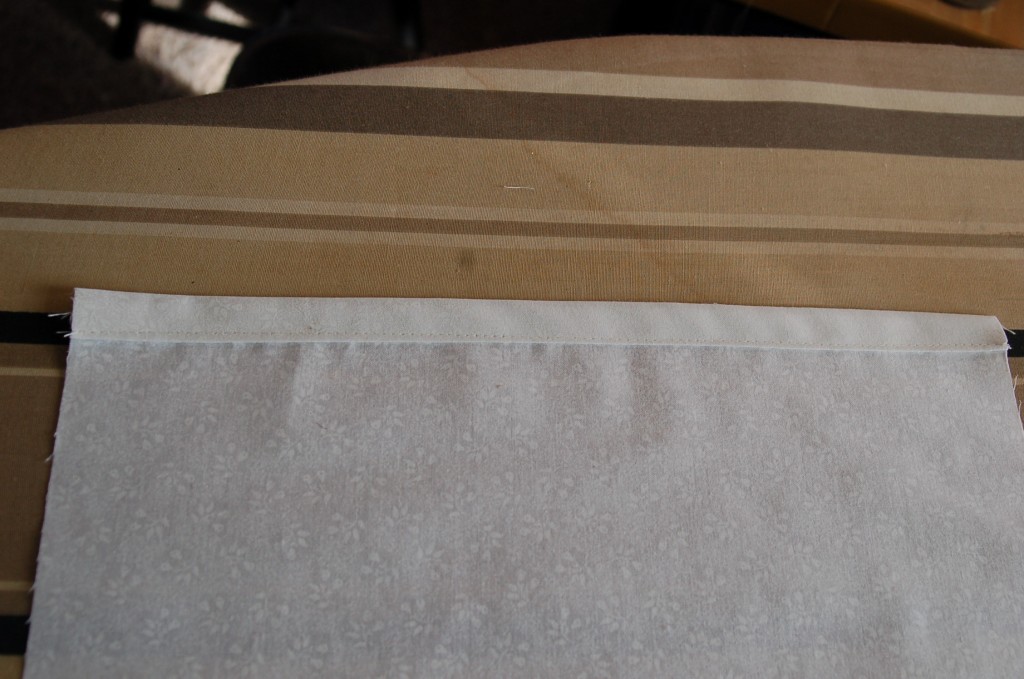
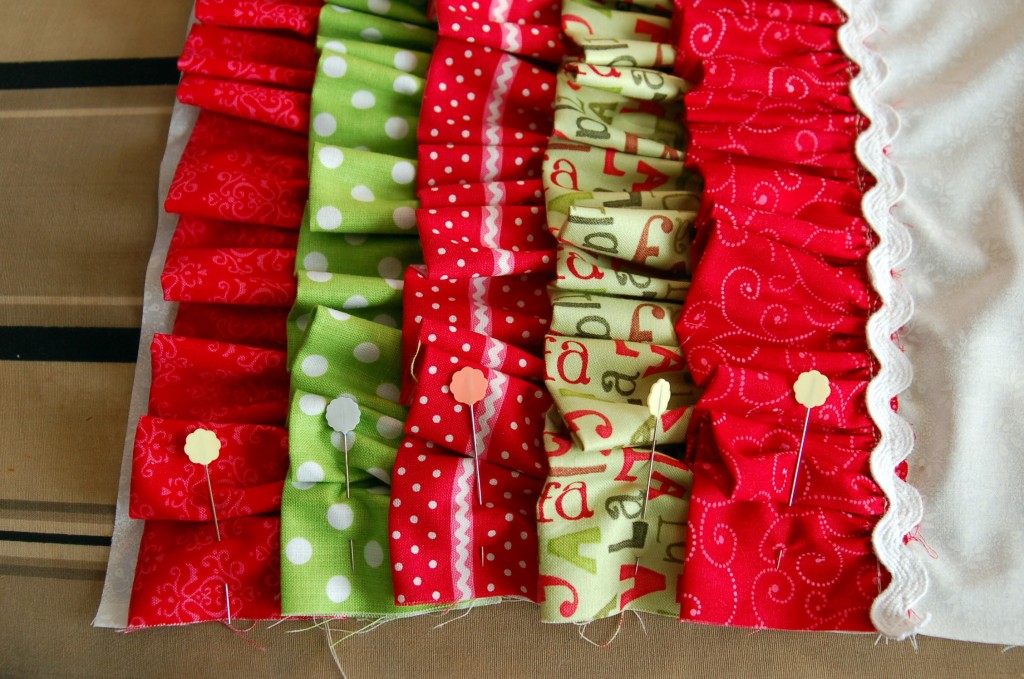
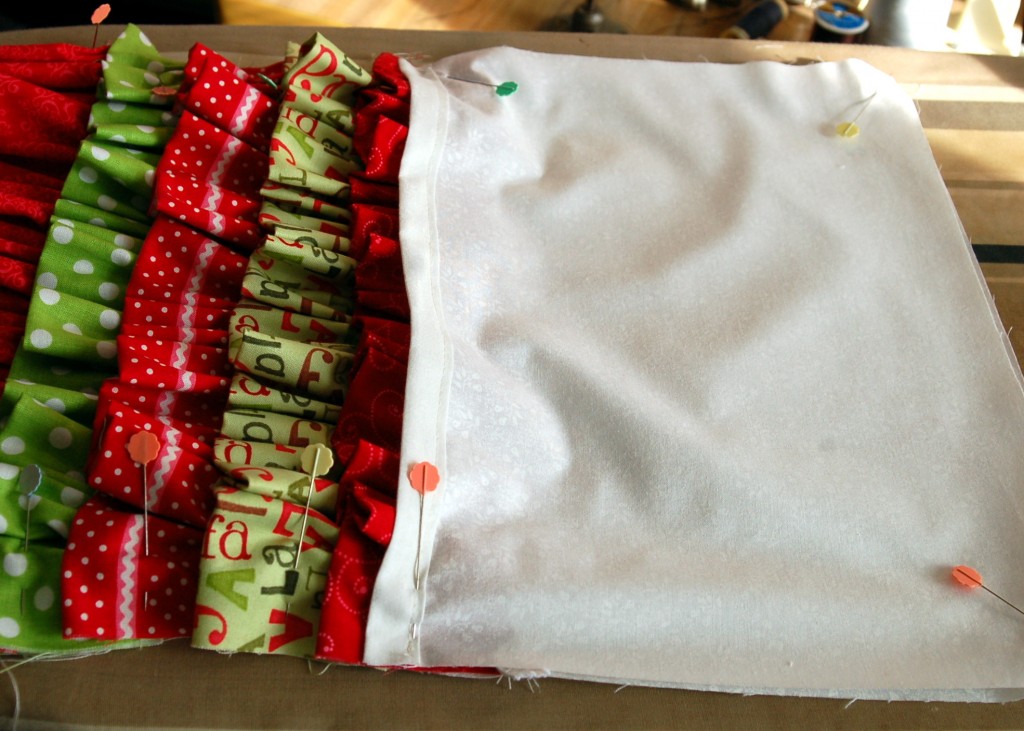
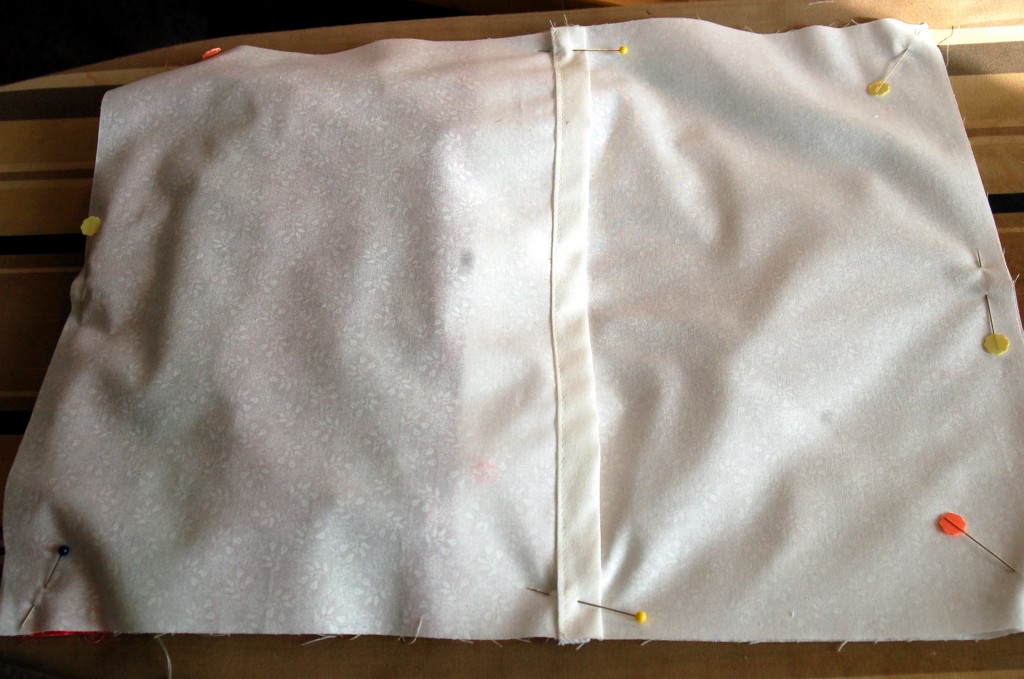
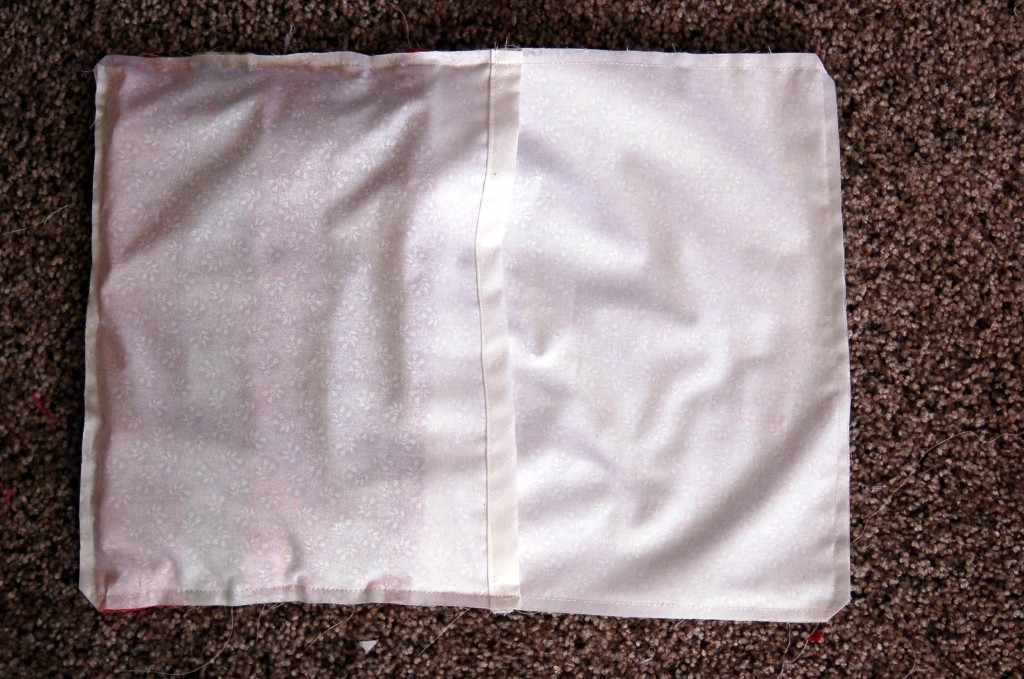
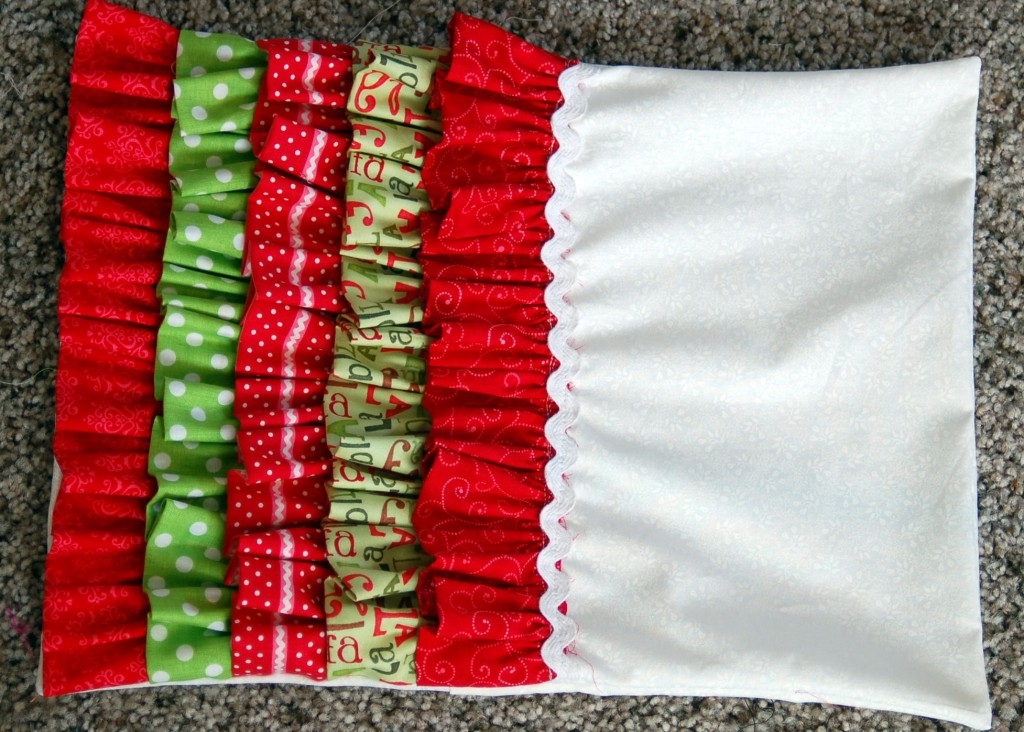
I marked on both edges and down the middle. Beginning with the first ruffle, line up the raw edge with the marks that you made and stitch gathered ruffle to pillow . Continue sewing on all five ruffles matching the raw edge with the marks you made.After all five ruffles are sewn on, you can cover the last seam with ric-rac or ribbon. Or you could just leave the raw edges. Next take the two back pieces and on the 12 1/2 ” side, fold down to the wrong side, 1/2″ and press and then fold down 1/2″ again and press. Stitch close to the inside edge as shown.Pin all of your ruffles so that they are even with the edge of the pillow.Place one of the back pieces onto the pillow. Right sides together and pin.Then pin the other side overlapping the first piece by about 2″Stitch all the way around the outside of the pillow and trim the corners.Turn through overlapped opening and gently poke corners.
Woot, Woot!
You have made a ruffled pillow! All you have to do is insert the pillow form!Now all you need to do is find a nice warm blanket and a good book, or movie and you are set!
May you all find a moment to wrap up with a pillow, blanket and hot chocolate and remember the true meaning of Christmas & the real Reason for the Season!
Christmas Quilt & Pillows
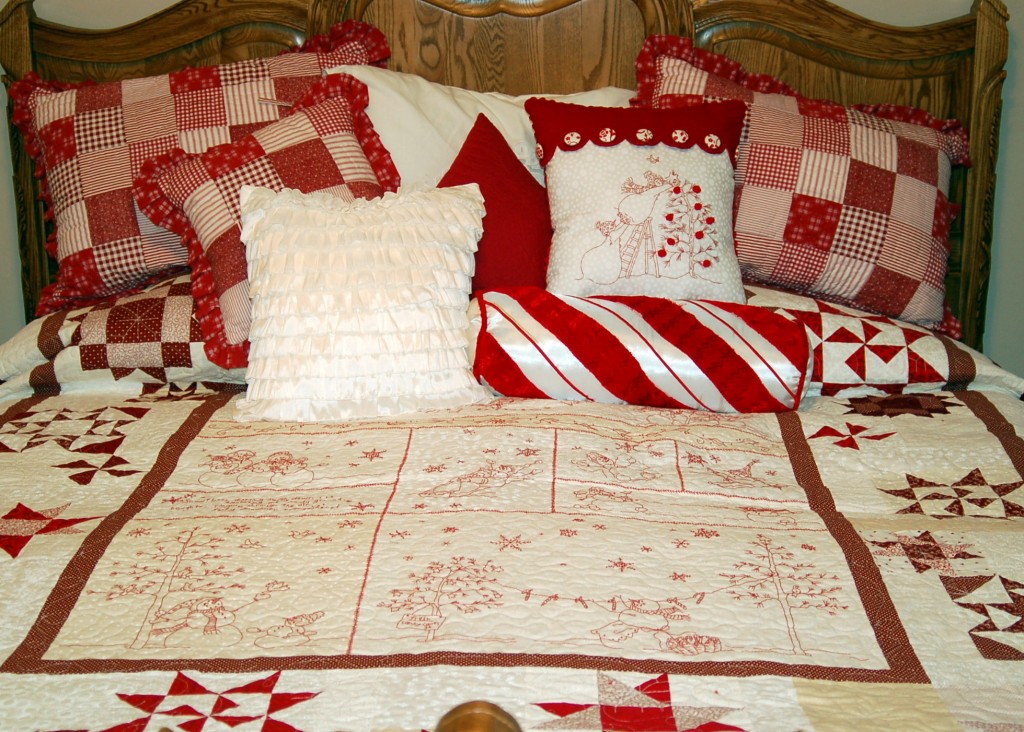
A few days ago, I told you that I was trying to finish up a couple of projects before all of our parties and that I would show you the projects that went with my ruffled tree skirt. Well, here they are!
I made this Christmas quilt last year. It took me a whole entire year to do all of the stitchery, and the quilt blocks, but I was determined to finish it and have it quilted and ready to go for Christmas last year.
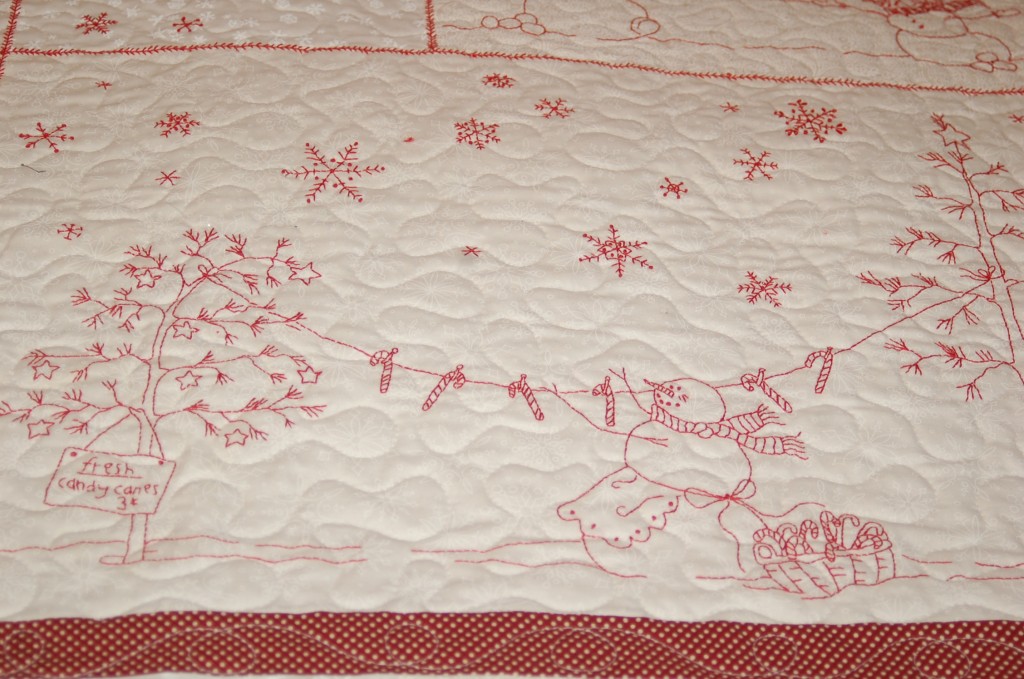
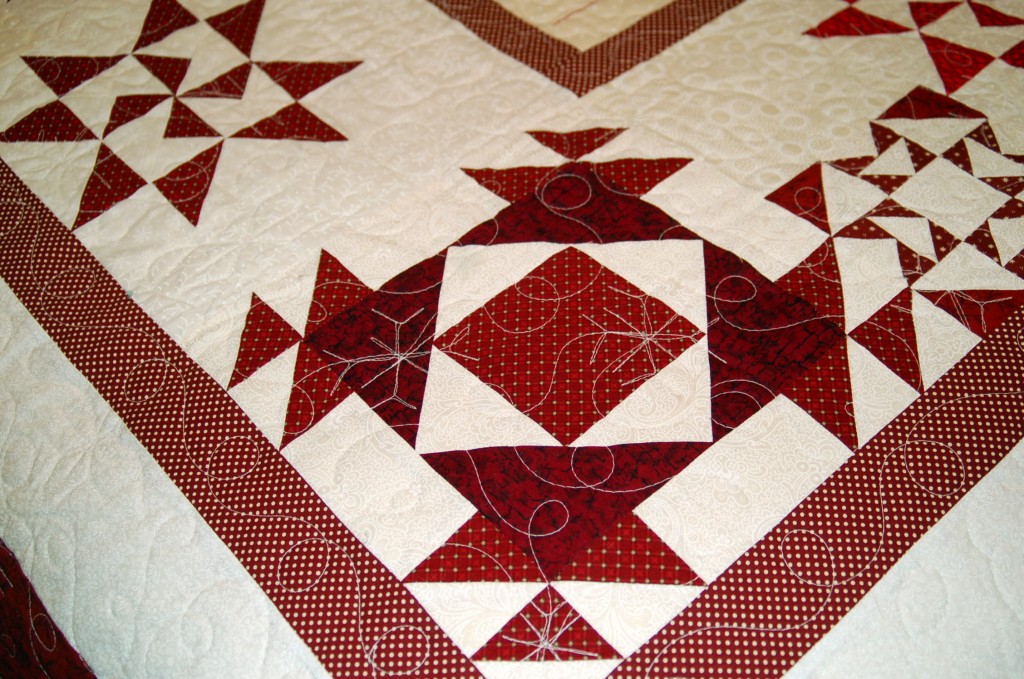
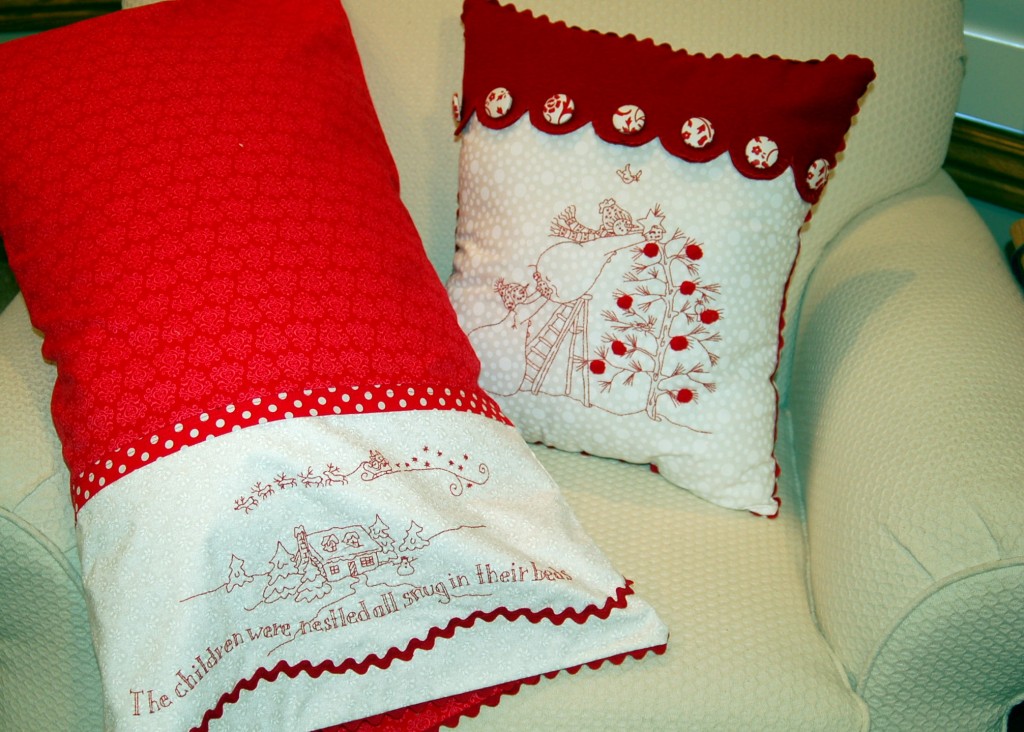
Here is a close-up of the stitching!And the quilt blocks that I had to piece together. Don’t you love the quilting! I love how she put snowflakes and swirly things in it!Well, this fall I found these two patterns that went with the quilt, so I decided that I HAD to have them also!I would work on the stitching at night, while we were watching TV and they really worked up pretty fast, but I took my lolly sweet time in getting all the fabric and notions together and so therefore, I was in a frantic rush to get the pillows all put together at the last minute! Does anyone else out there procrastinate? I have decided that I work really well with a deadline!
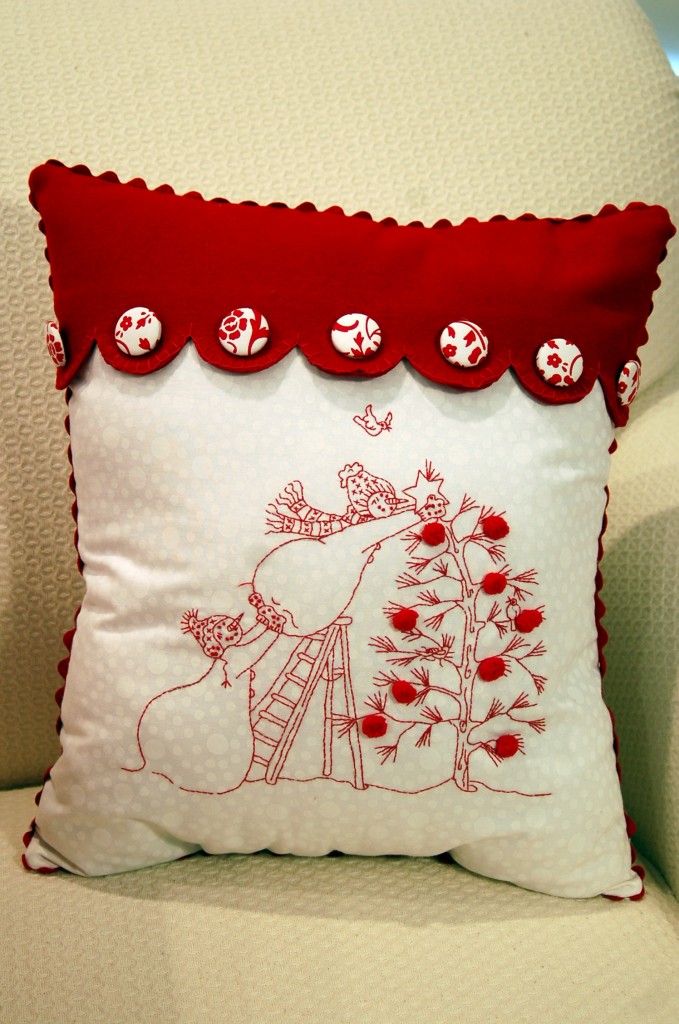
This fun pillow has a felted wool top on it and covered fabric buttons. It also has pom-poms for the tree ornaments and ric rac all around the outside! Isn’t it a perfect match for the quilt? Here is a link for the pattern.
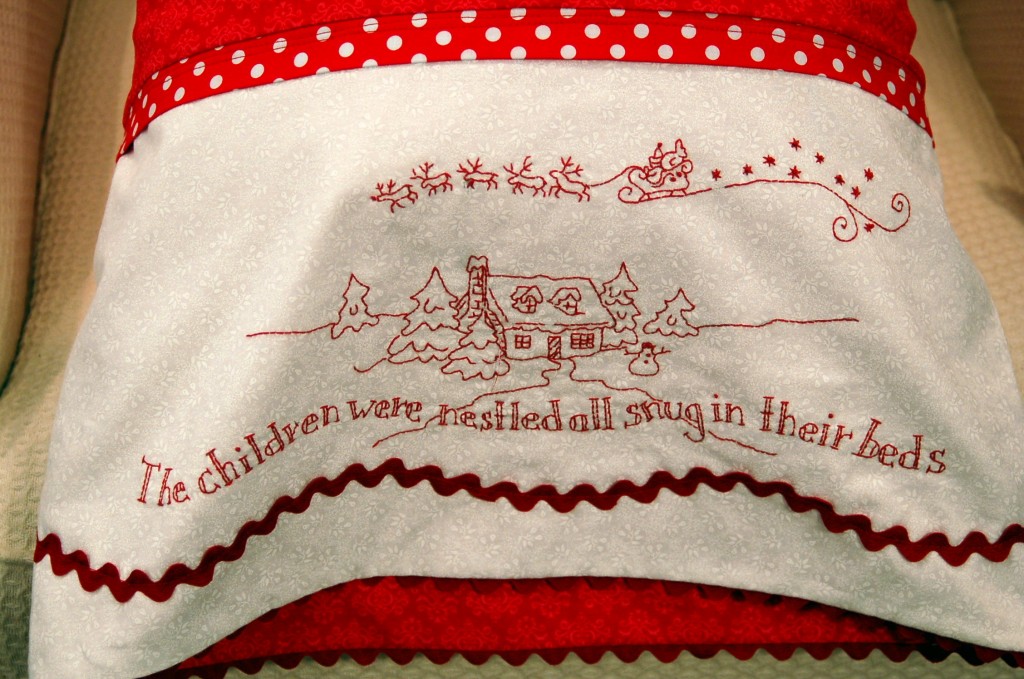
This pillowcase was a cinch to put together and these patterns are wonderful. They have great instructions on how to assemble everything.
I love my Christmas bedroom! It makes me feel all warm and cozy. If any of you would like to make the quilt for yourself for next Christmas here is the link for the pattern. The patterns are all from Crabapple Hill Studio. They have a great selection of really fun quilts and pillows, and if you start now, you can have it done for next year! Yea, right, like we all have time right now to start anything! But you know what I mean.
(While linking up to the Crabapple Hill Studio, I saw some other really cute patterns, so maybe in January I will have to find another project!)
Ruffled Purse
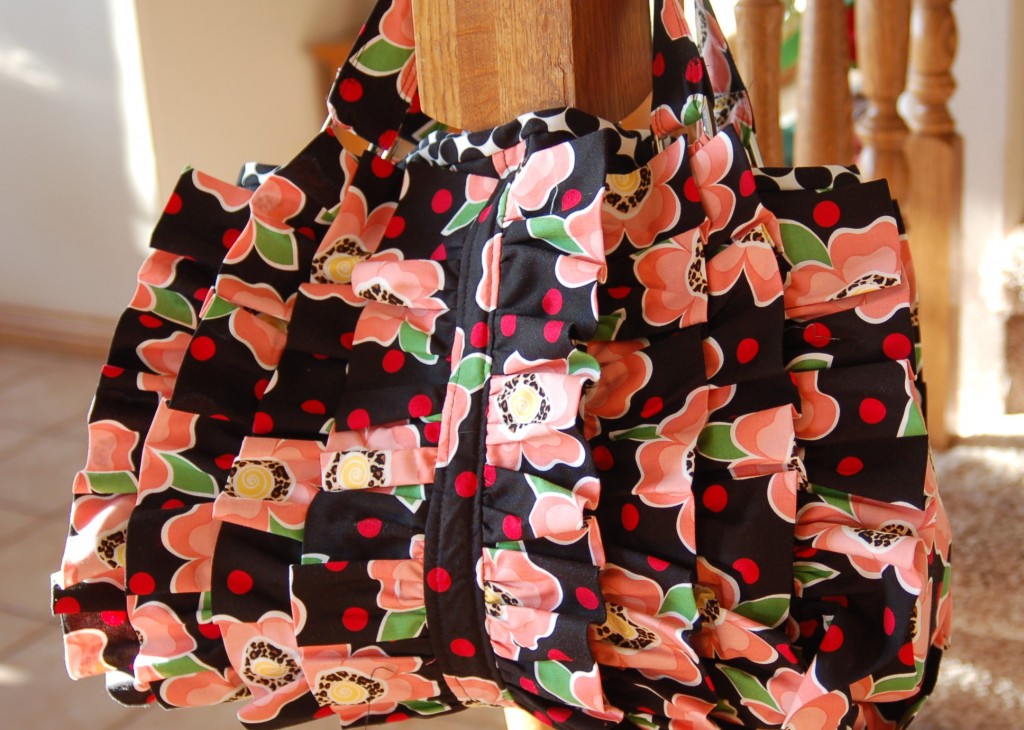
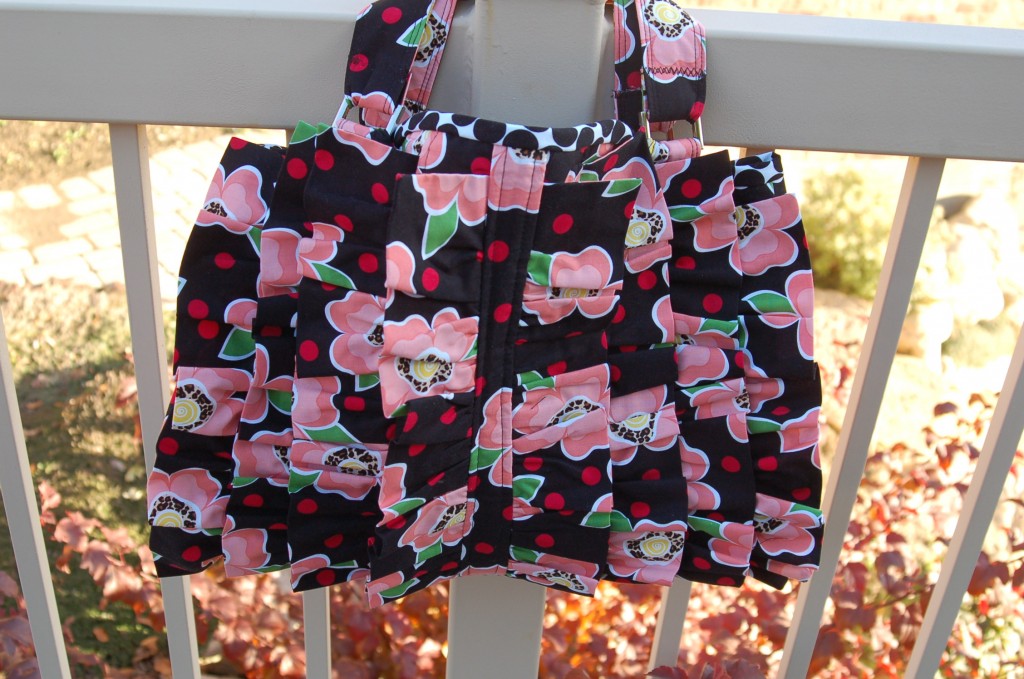
I think that I am like some of you in the fact that I love purses and I love ruffles. So when I saw this pattern last spring to make this purse I just knew that I had to have it! This has been one of those projects that I was excited to do, but finding the time was a bit difficult because life just got in the way. I didn’t really need it for anything other than the fact that I just wanted it! So it kind of got put on the back burner, but now that it is done I am thrilled that I finally finished this project and I love the way that it turned out!
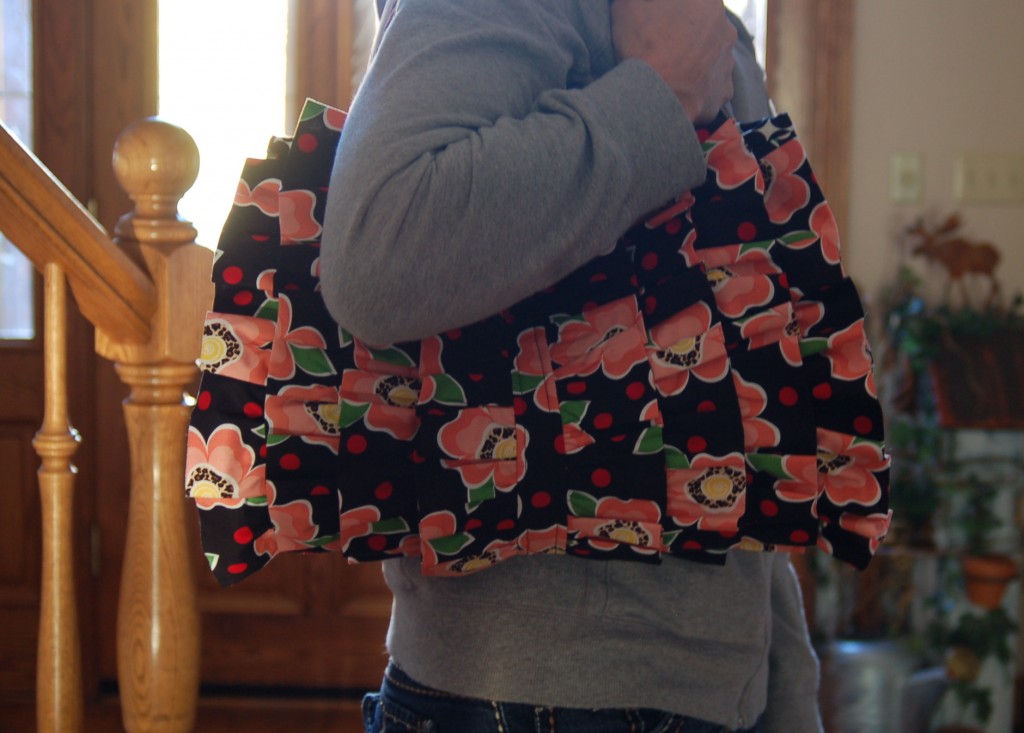
It does not have really long straps, which I like, because I can just tuck it up under my arm.
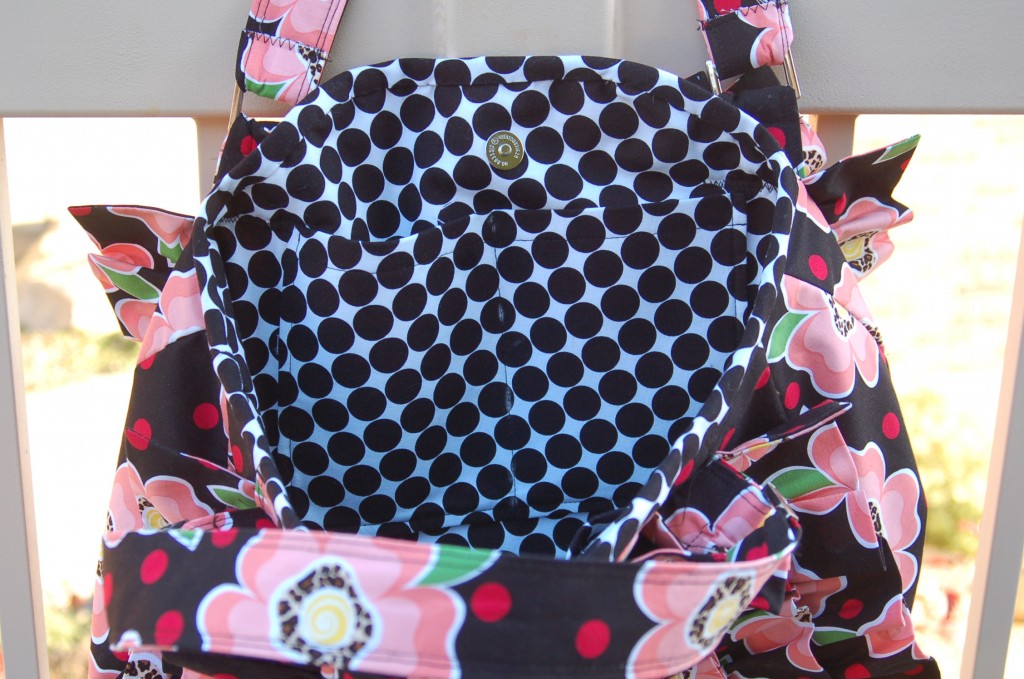
It is a big, spacious bag, 15 1/5″ wide x 12″ tall. It has two pockets in it, which I made into 3 pockets. and it is so roomy inside. I love the black polka dot lining. I guess I should have used pink polka dots :) :)This is the pattern: It came from Izzy &Ivy and it is called Petunia! The instructions and the pattern were great and pretty easy to follow. However, this is probably not a project for a beginning seamstress.
Now that I have made one, I may just have to make another bag in the spring!
Or maybe not.