Category Archives: Sewing

Fall Bunting

I promised everyone that I would have an idea to go with the fall banner that I posted here.

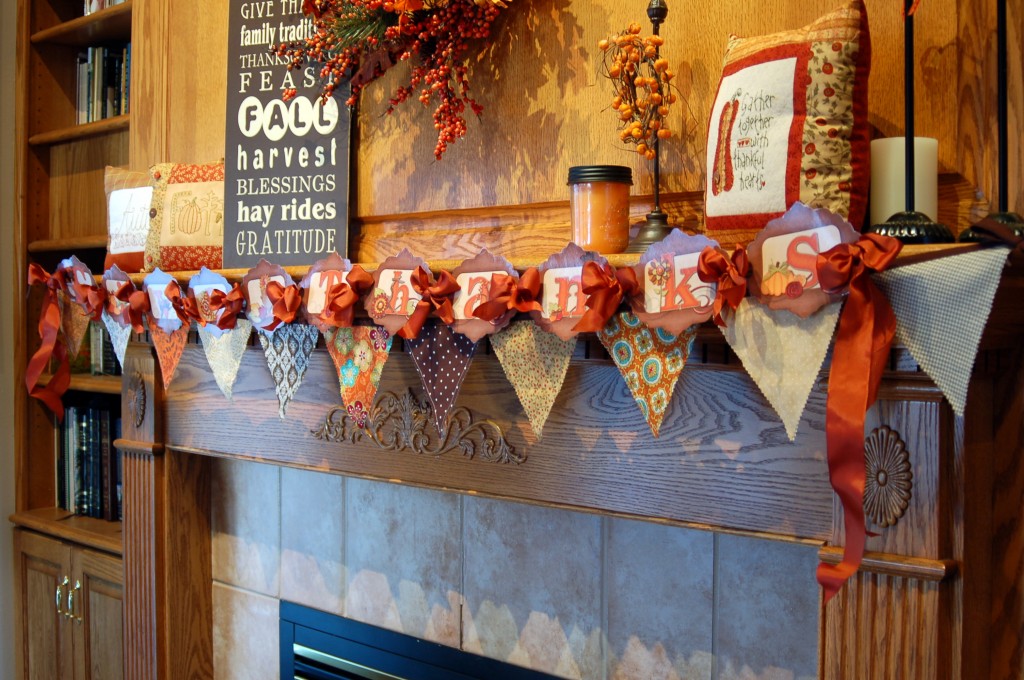
This is a fun, super easy fabric fall bunting.  They are quite the thing right now and I can see why so many people love them.  They are fast, easy, inexpensive and they add so much to your decor or to any party!  You can make a bunting out of fabric, paper, wood, metal, or just about any medium that you can think of!  Here is my bunting on my fireplace, but you coulld hang it above your Thanksgiving table, drape it over a picture or a chalkboard, or in a window.  So many possibilities!
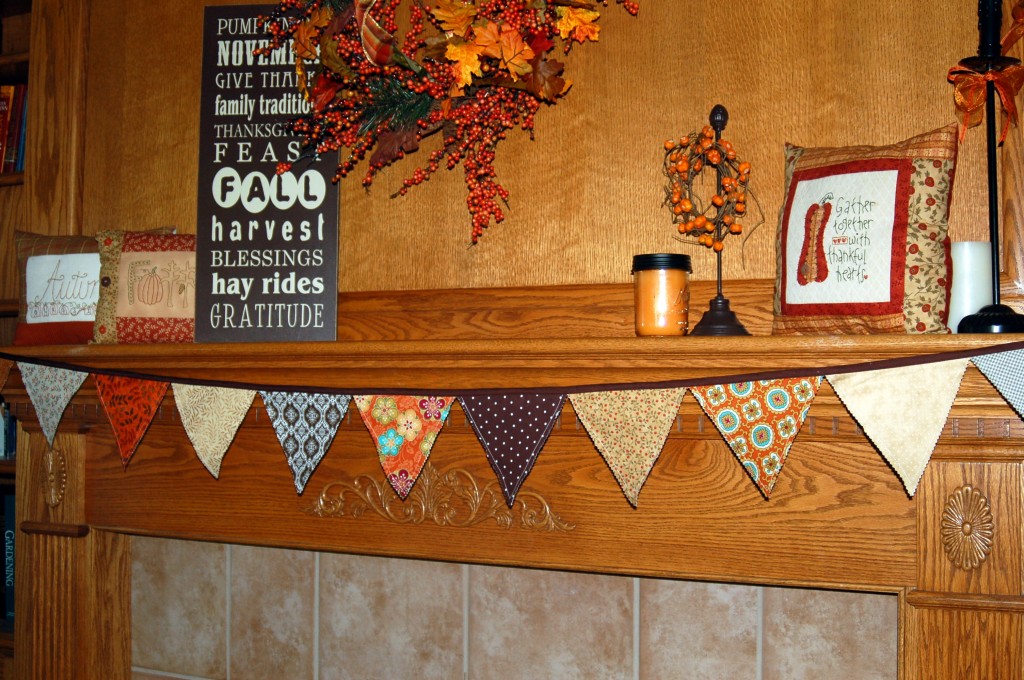
So let’s get started making a fabric bunting!  I made this bunting double sided so that if I hang it over my island in the kitchen, it looks great from both sides.

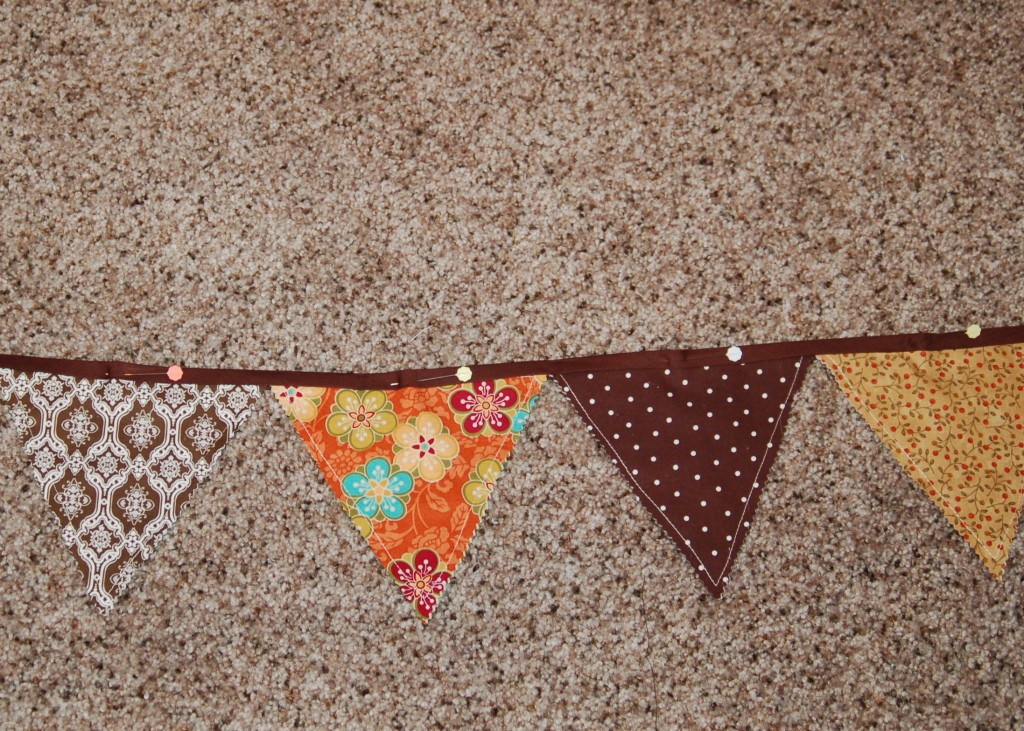
First make a pattern.  I used a 7 inch triangle.  Pin to your fabric with wrong sides together. Right sides out obviously:)This is  a great way to use up all of your fabric scraps, and you can make your triangles as big or as little as you want them to be.  I did and odd number of triangles (11) because to me that just looked better.
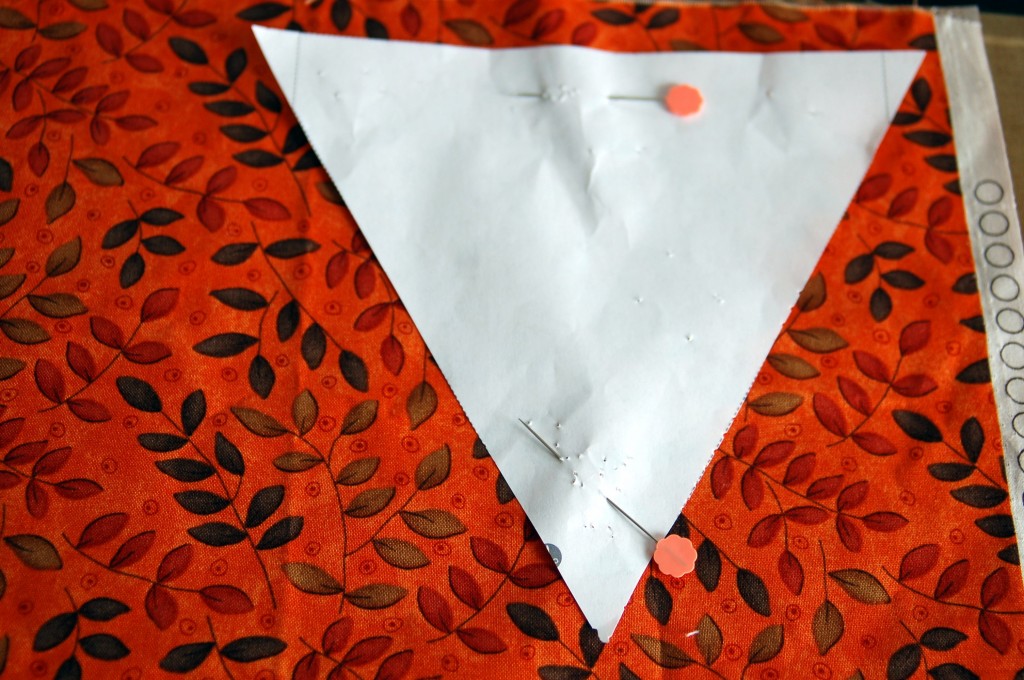
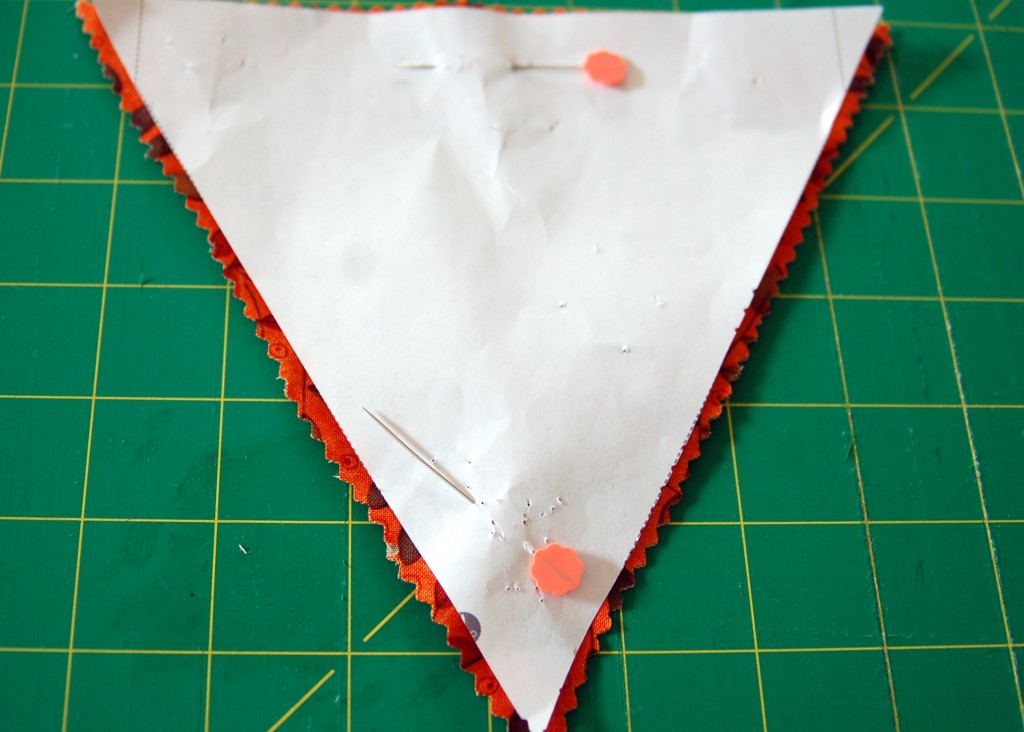
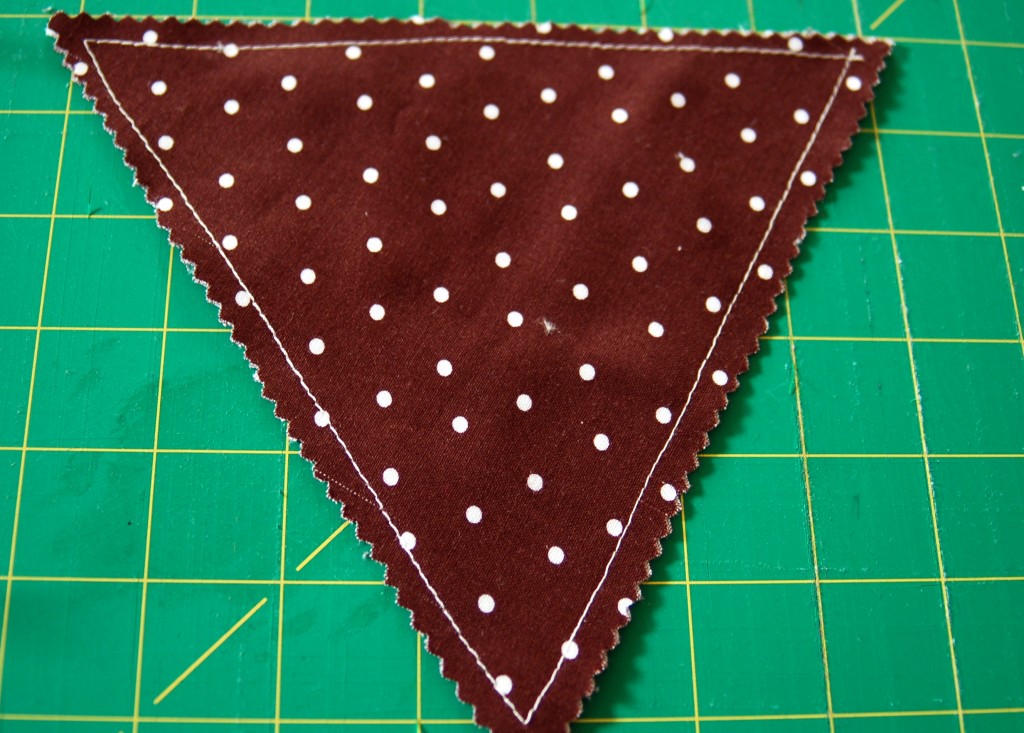
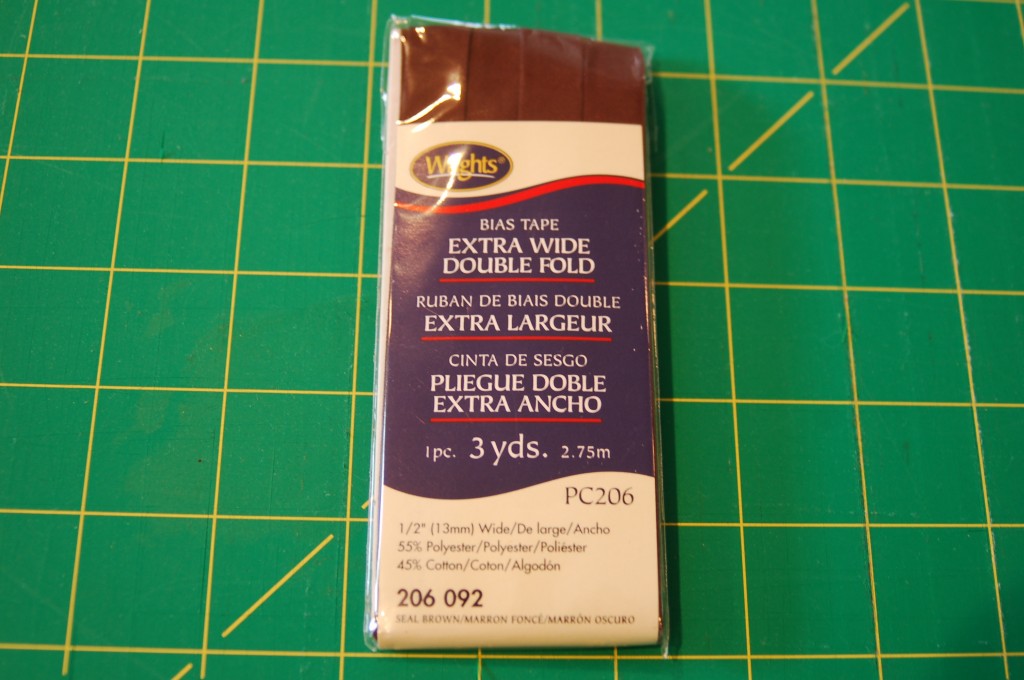
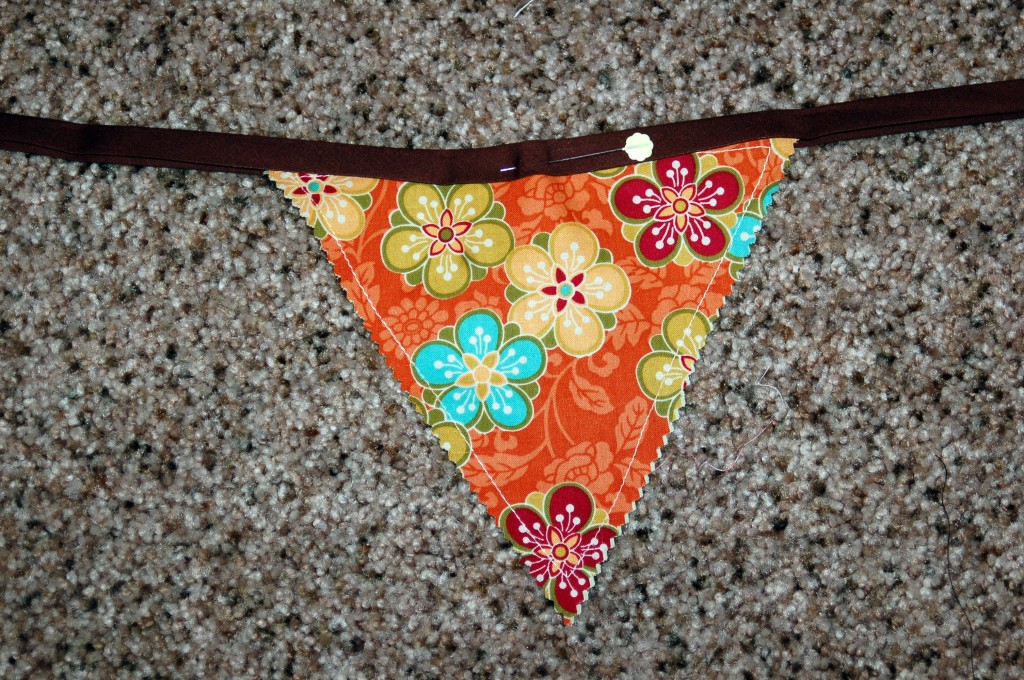
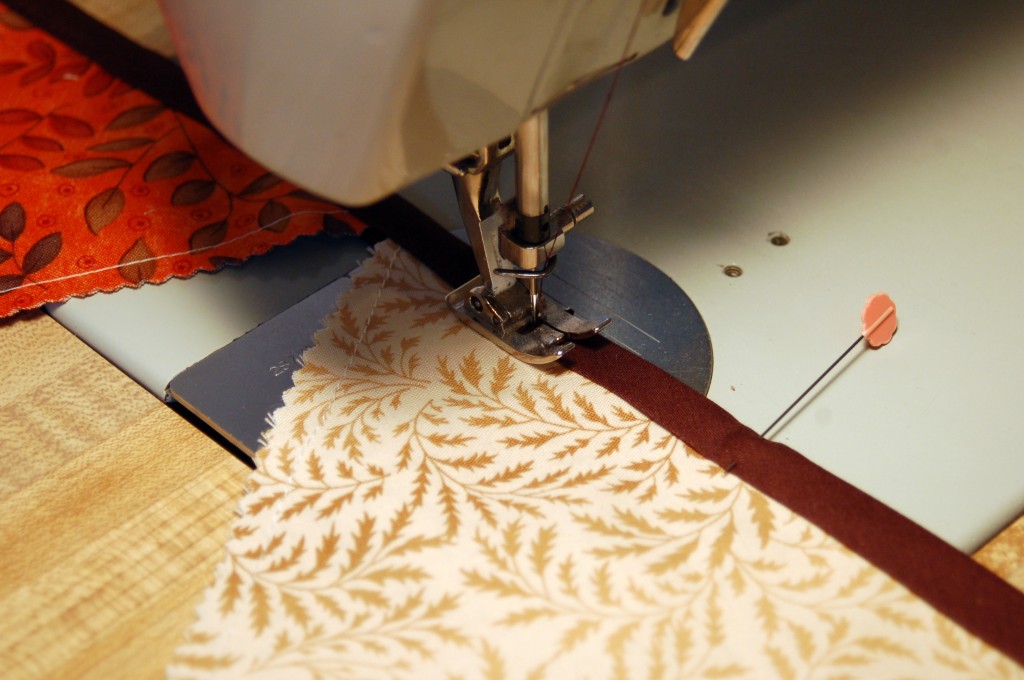
 Cut around your pattern with pinking shears if you have them, if not regular scissors or your trimmer blade will do. Next, sew 1/4 inch seam all the way around through both layers of fabric.You will need one package of bias tape, this is the extra wide width and I liked it because it was easier to work with.Find the middle of the bias tape and the middle of one of your triangles.  Pin the triangle inside the tape.  Make sure you have the shorter width of the fold on the front where you will be sewing so that you make sure to catch it in the back when you sew the seam.Pin all of the triangles in the bias tape according to how you want them placed.Sew your seam close to the edge of the bias tape edge making sure you catch the triangle and the back of the bias tape. This really is simple if you have pinned it all ahead of time.  Make sure the triangle edges are touching each other, you can overlap them a bit if you want to, but I just made sure that they were butted right up to each other.See how simple and easy that was, and look how much they can add to you fall decor!Here is a picture of my bunting with my fall banner that I posted earlier.  I think that they look so cute together!  I just think that the possibilites are endless with these buntings!You could totally do this bunting with no sewing.  Make the triangles only one layer and glue, staple or tape to a fun ribbon, ric rac or cording!  Oh the possibilities!
What are some of the fun ways that you decorate for fall?  I would love to here from you!


Girl’s Night Out

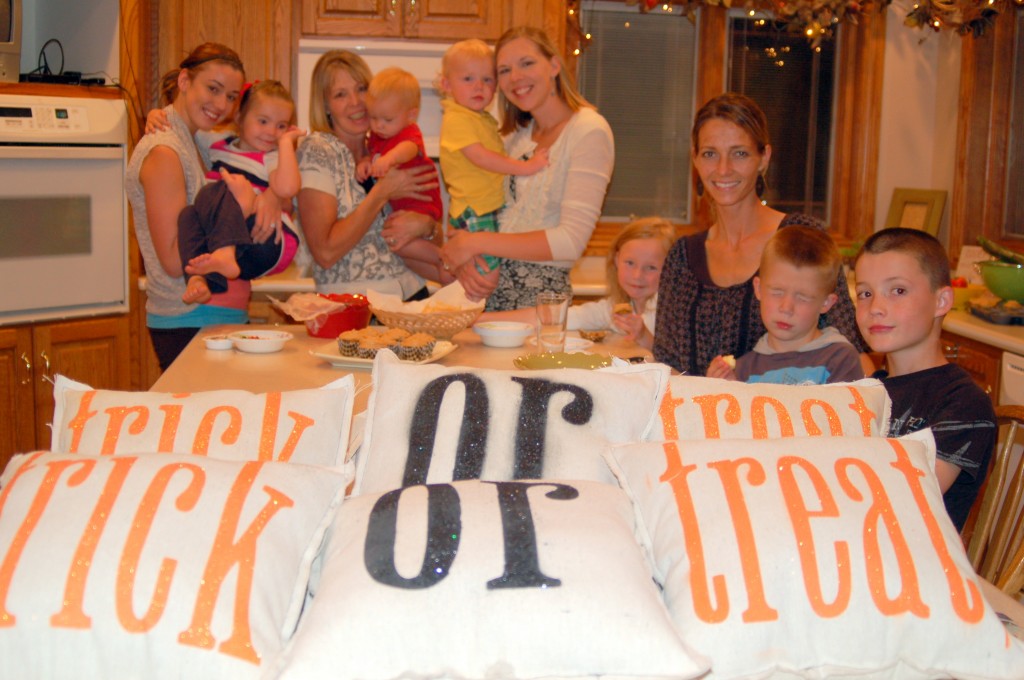
We had a fun girl’s night out last week.  My husband was gone, so when the cat’s away the mice will play, and play we did!  We hired a baby sitter for all the kids and they had a great time playing downstairs while we were upstairs.  We let them come up for the food after we were all done.  (Nice, I know!)  What a fun group!   And most of  the time the cousins are all great friends.
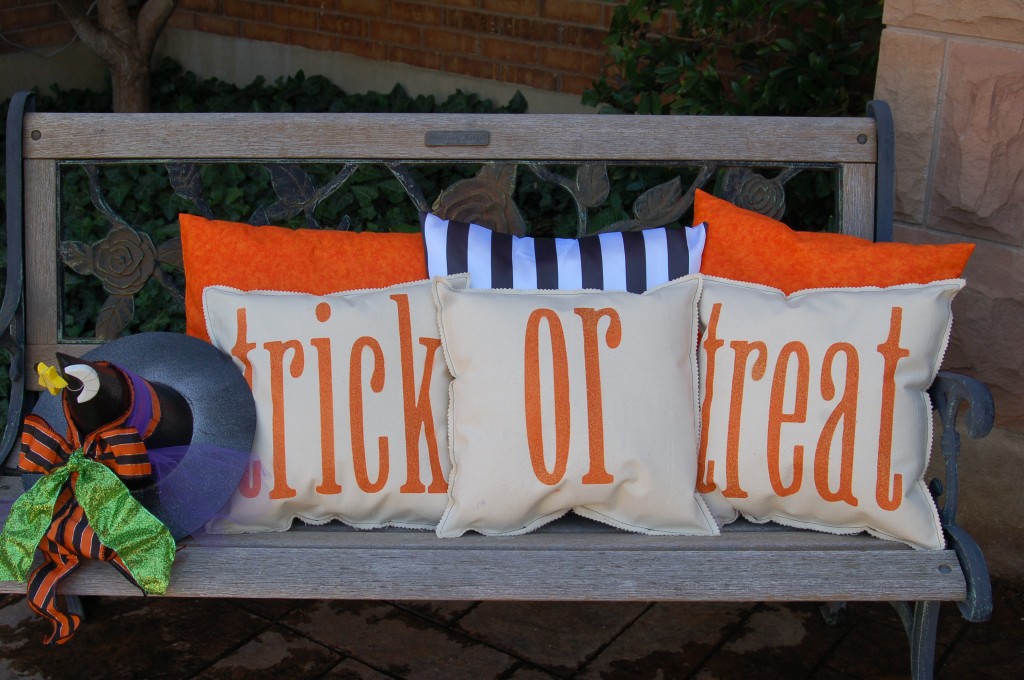
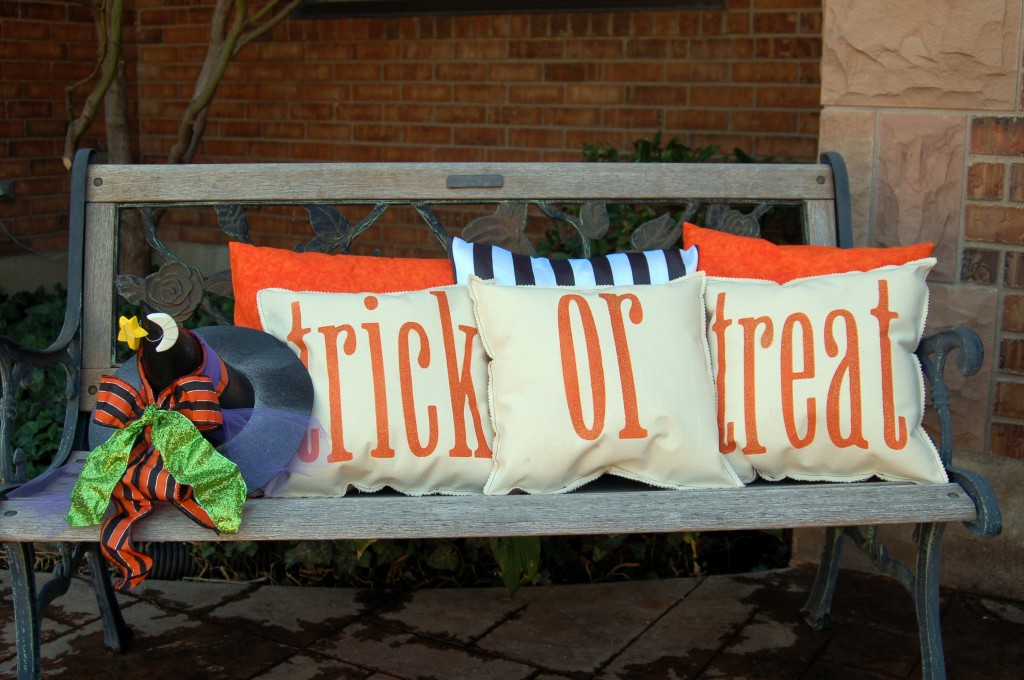
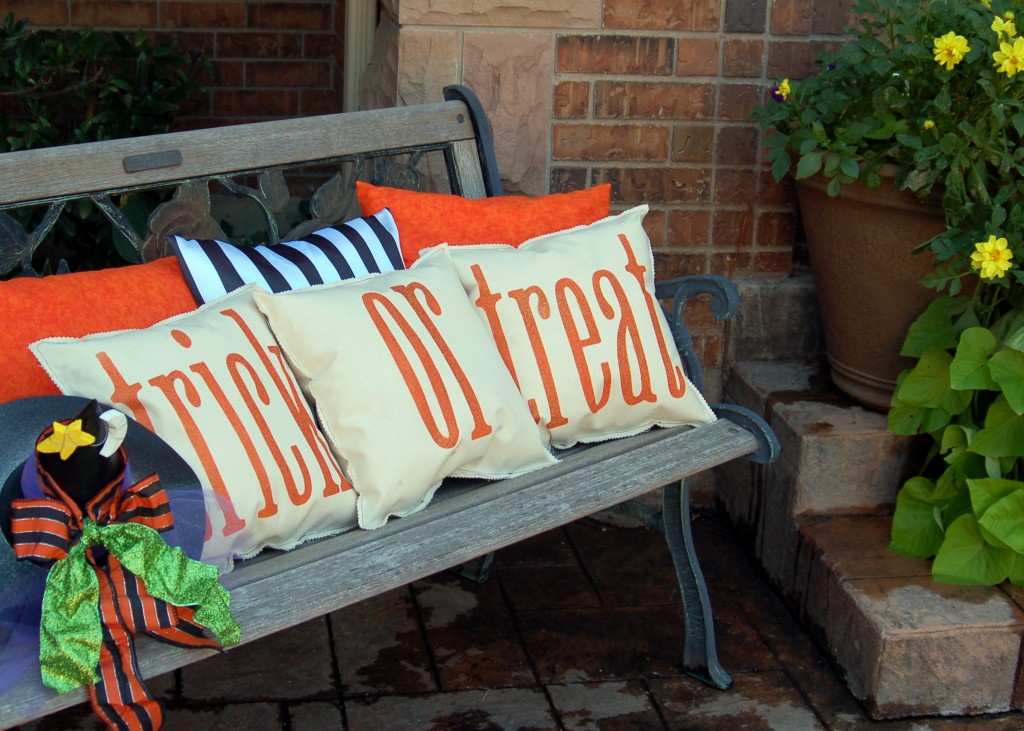
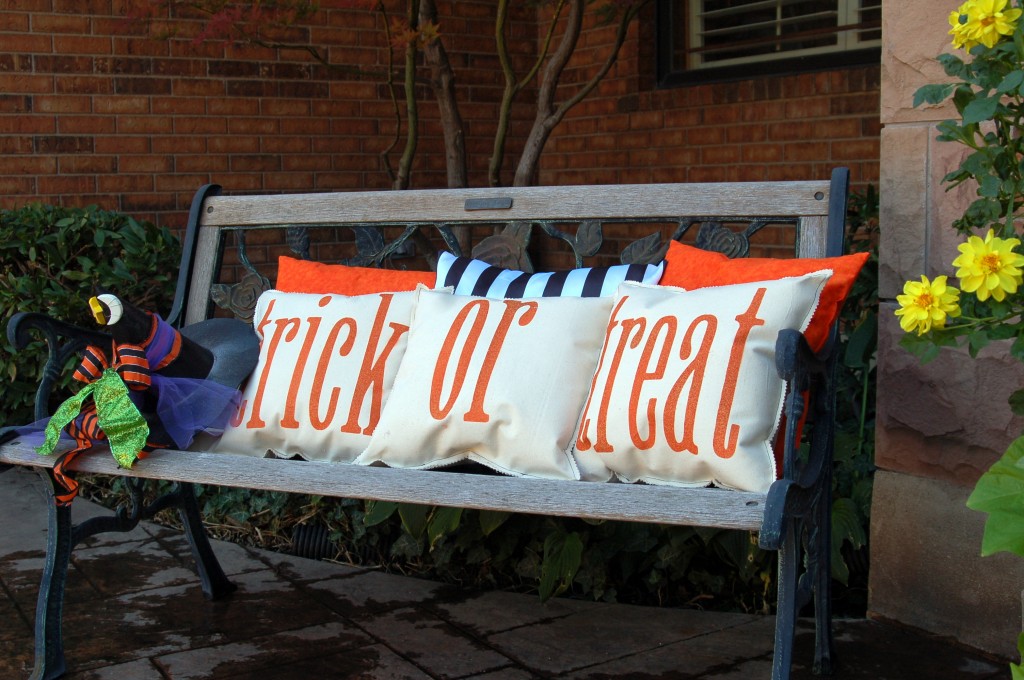
We made these pillow and I totally copied the idea from a pinterest blog.  I even made the pillows in the back like on their display. She has done a great tutorial on how to make them here so I am not going to do another one.  I will tell you what we did different, as you can see, some of them did the “or” in black paint and just used fine glitter which worked ok, but the glitter had to be sprayed with varnish to help keep the glitter from coming off.  She suggests that you go to Walmart and buy the painter canvas, which I did, but it is not a very high quality and it frays really bad, even after using pinking shears.  So I would suggest that you buy a regular piece of canvas from a fabric store.  The next thing we did different was that we found out the glitter paint did not go very far, so we painted the orange with regular spray paint and then added a glitter finish to the top.  It worked great that way!  But all in all it was fun to see how everyone’s turned out and we had a fun evening together without kids (kind of!) Here’s what mine look like!I don’t know if I can leave them outside or not, I will have to spray scotch gaurd on them if I do so the weather won’t ruin them.!I think they turned out pretty darn cute.

Quilt Binding Tutorial

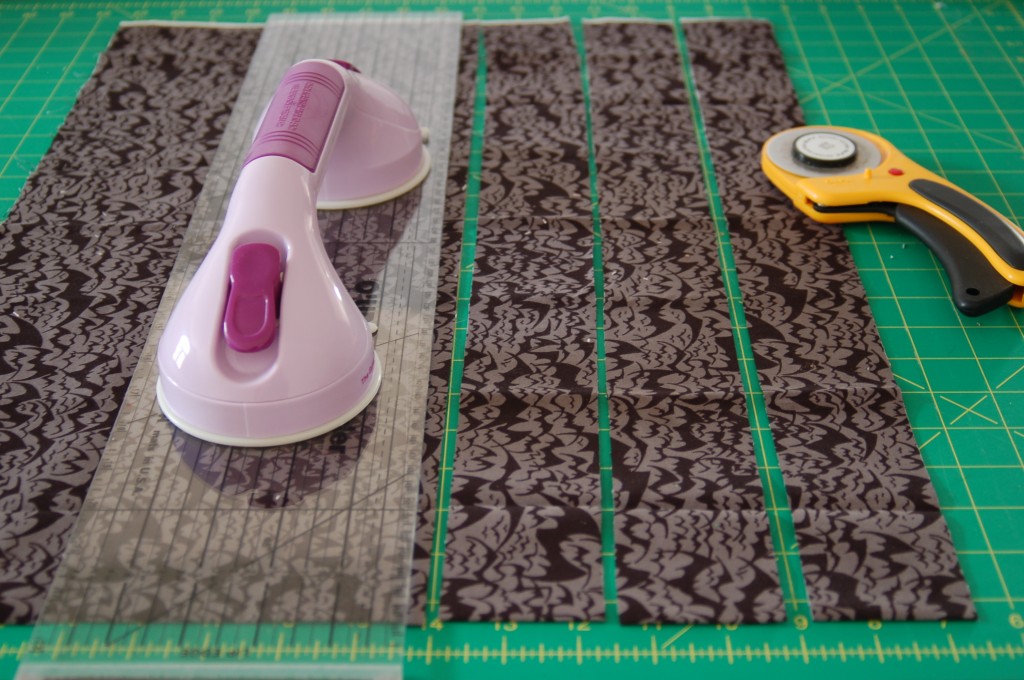
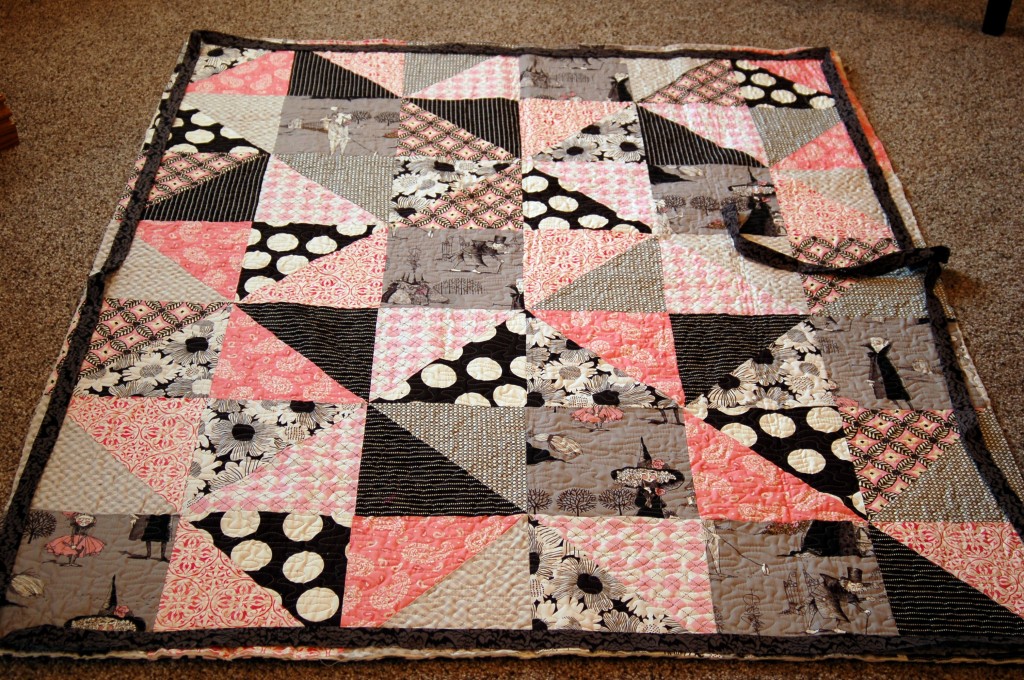
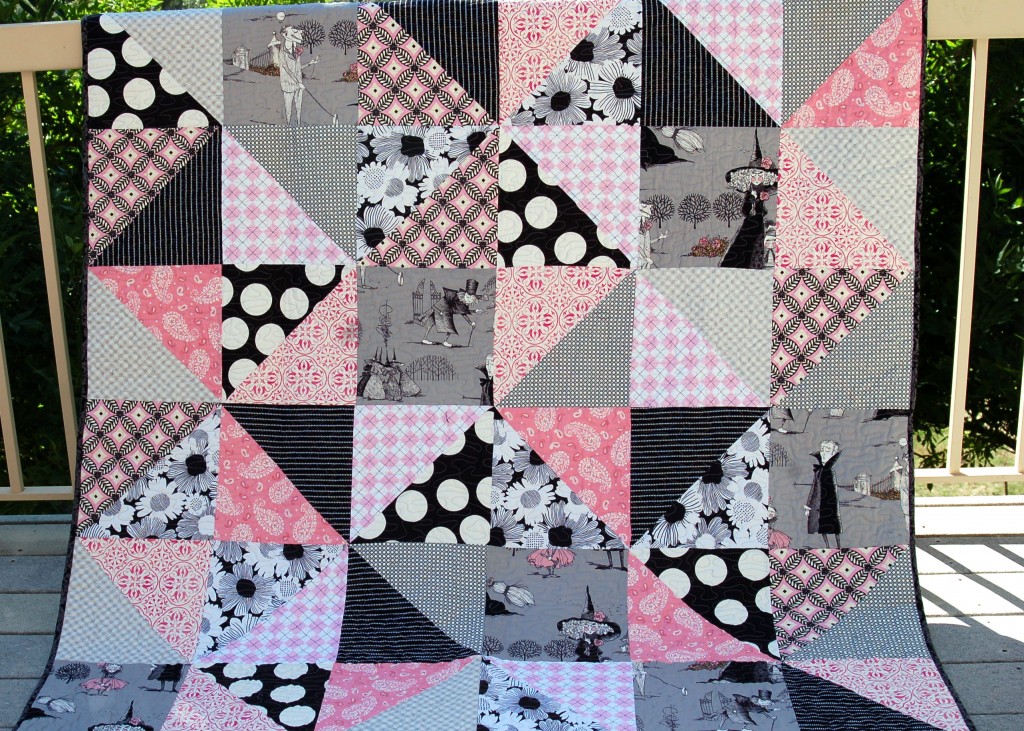
The binding on a quilt can really finish off a quilt and make it look professional.  It is a fairly simple thing to do and if you know a couple of techniques, it makes it really quite easy!  We are going to do a binding with mitered corners.  The first thing you need to do is to cut your fabrics into strips.  I am doing straight strips on this quilt, but you could also do bias strips, especially if you are going to do rounded corners or scallops.  I cut this binding into 2 1/4 ” strips.

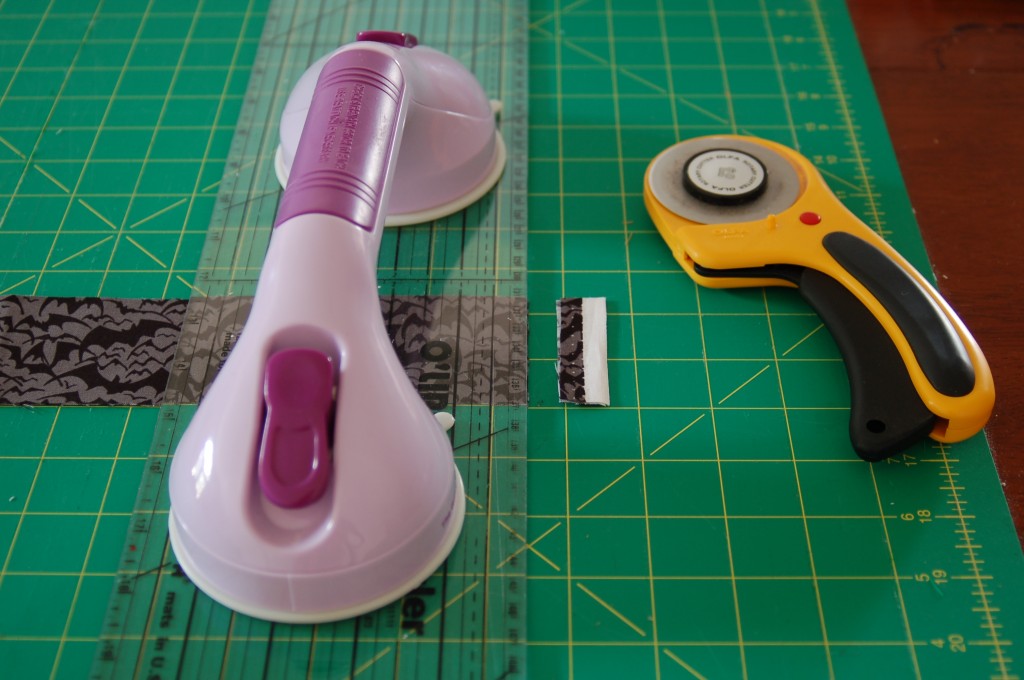
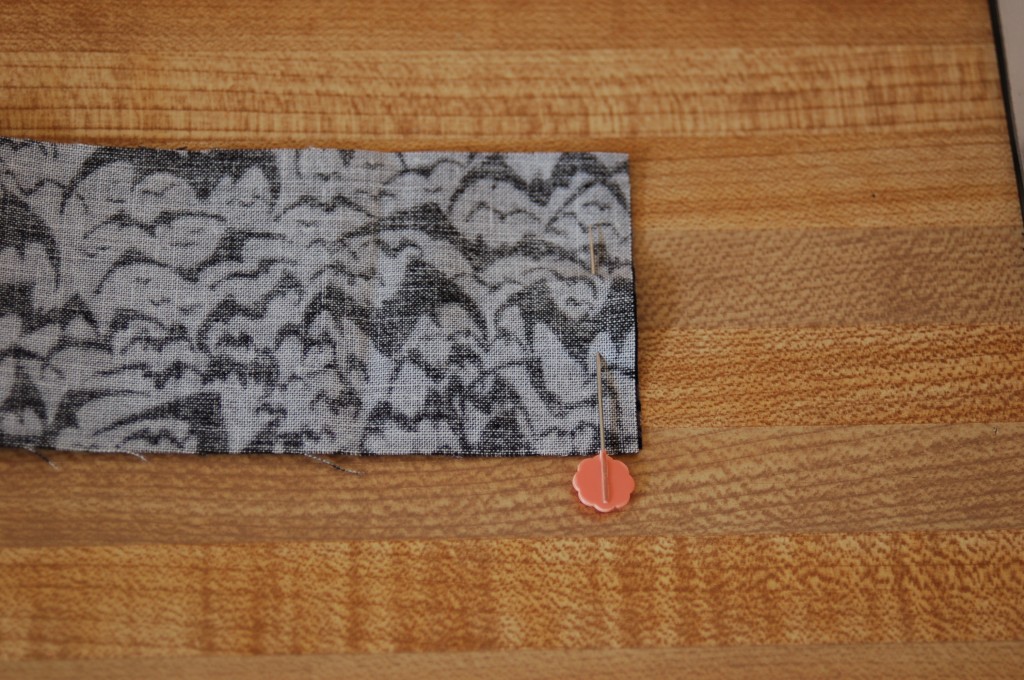
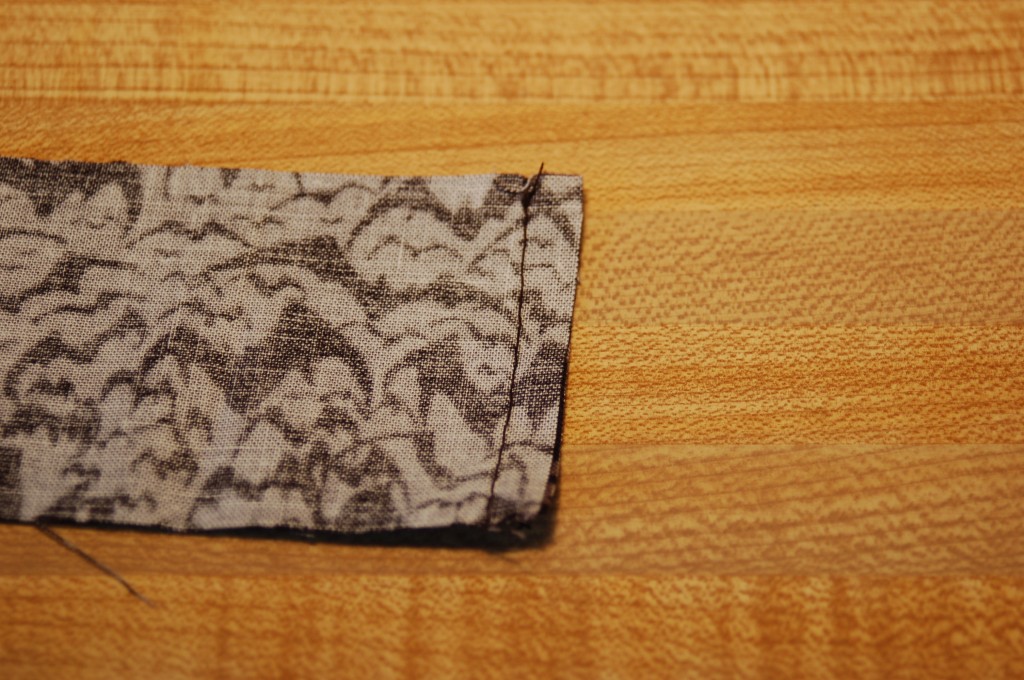
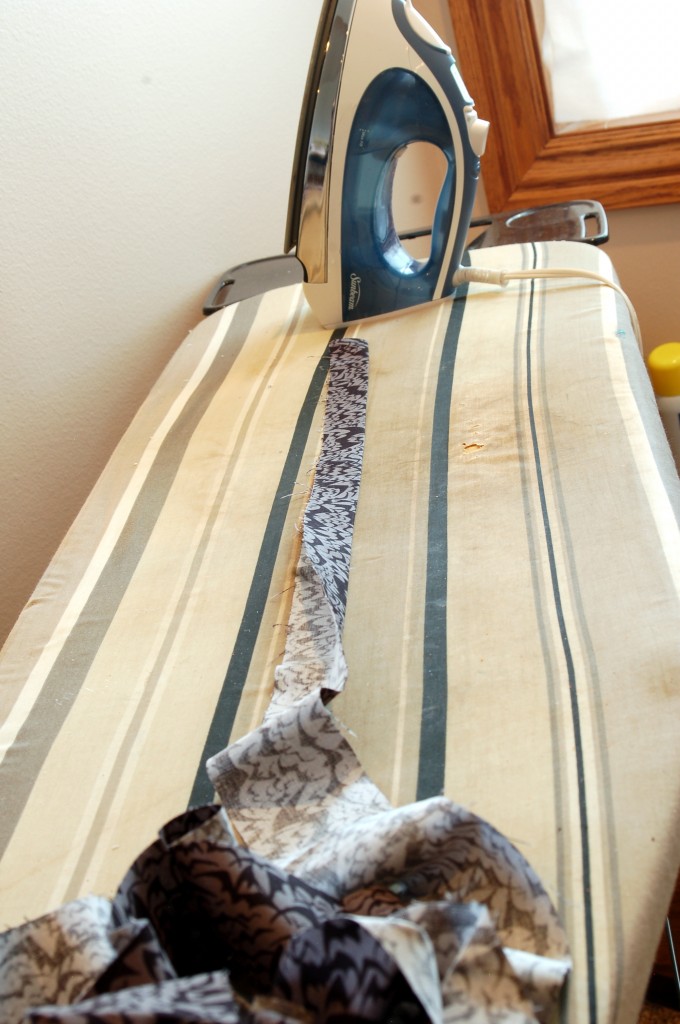
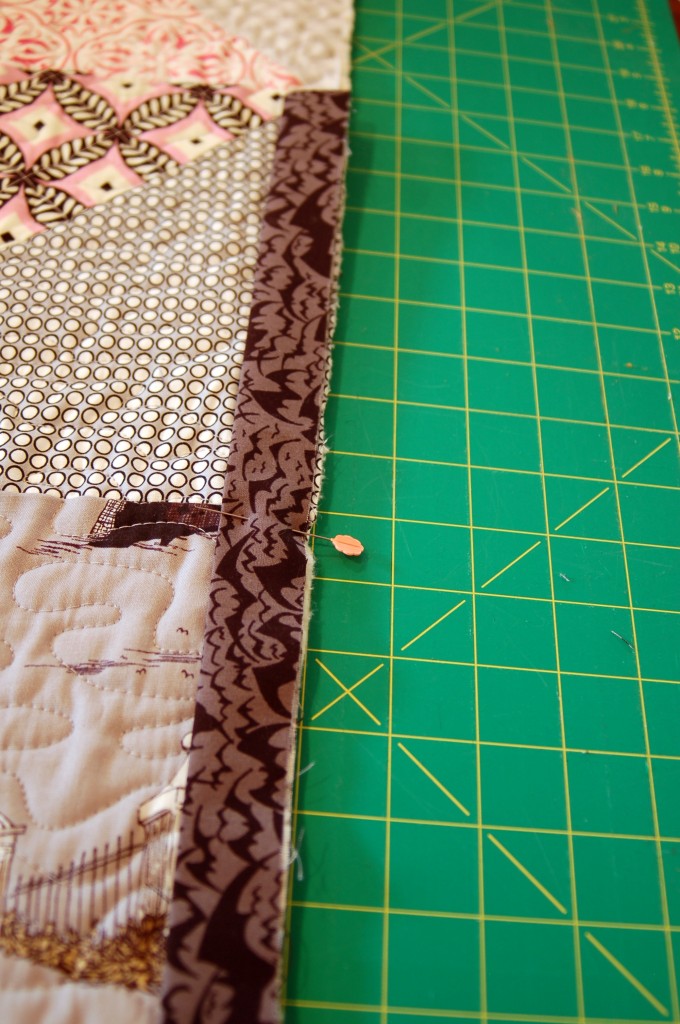
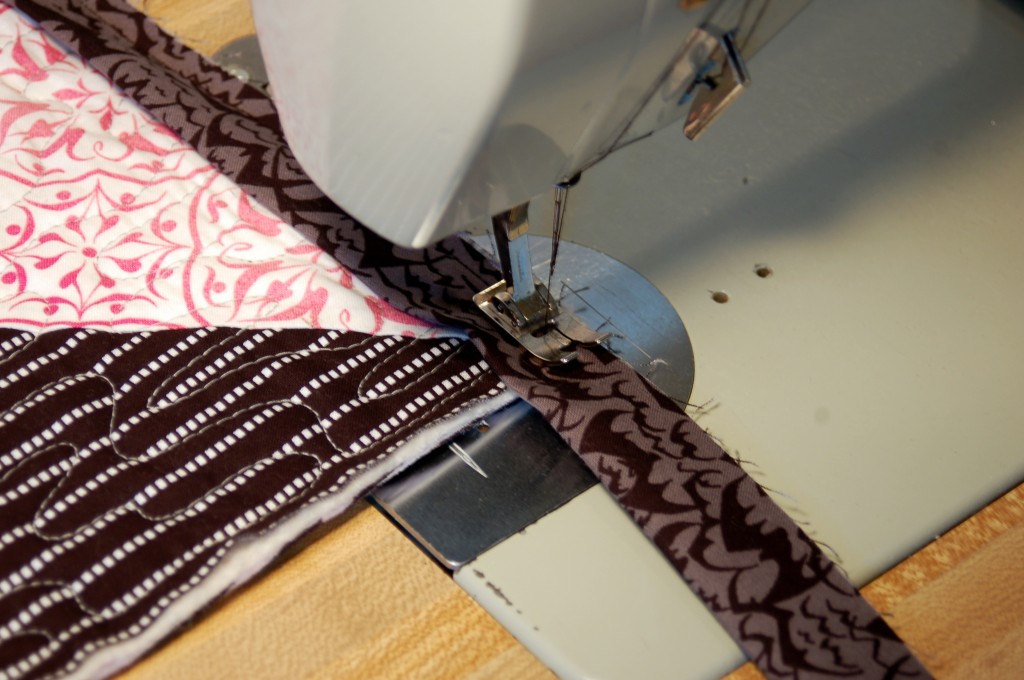
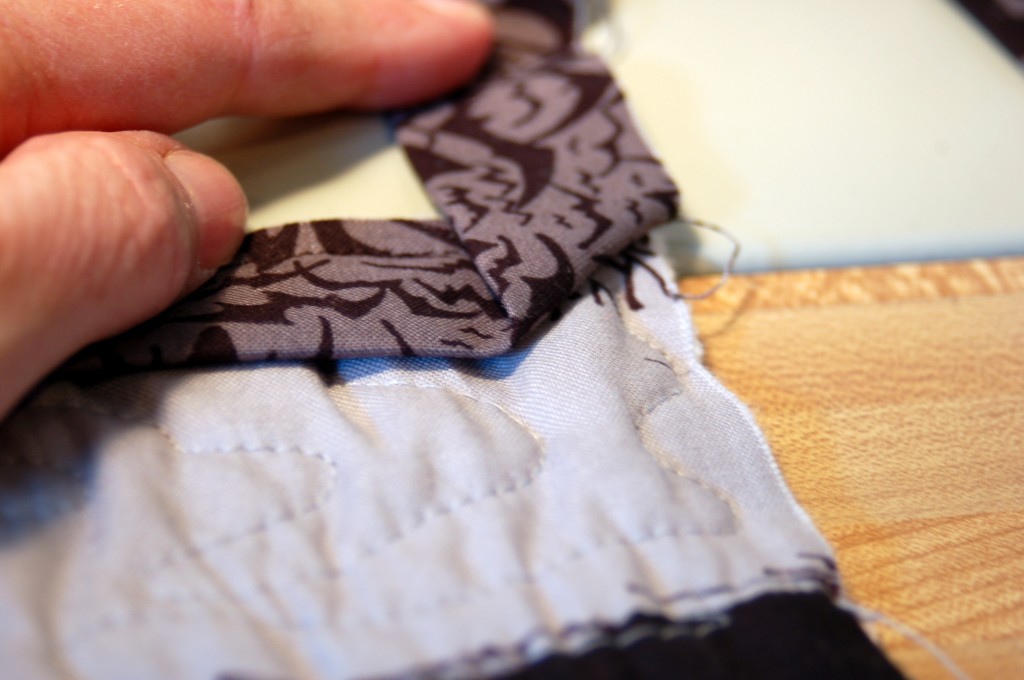
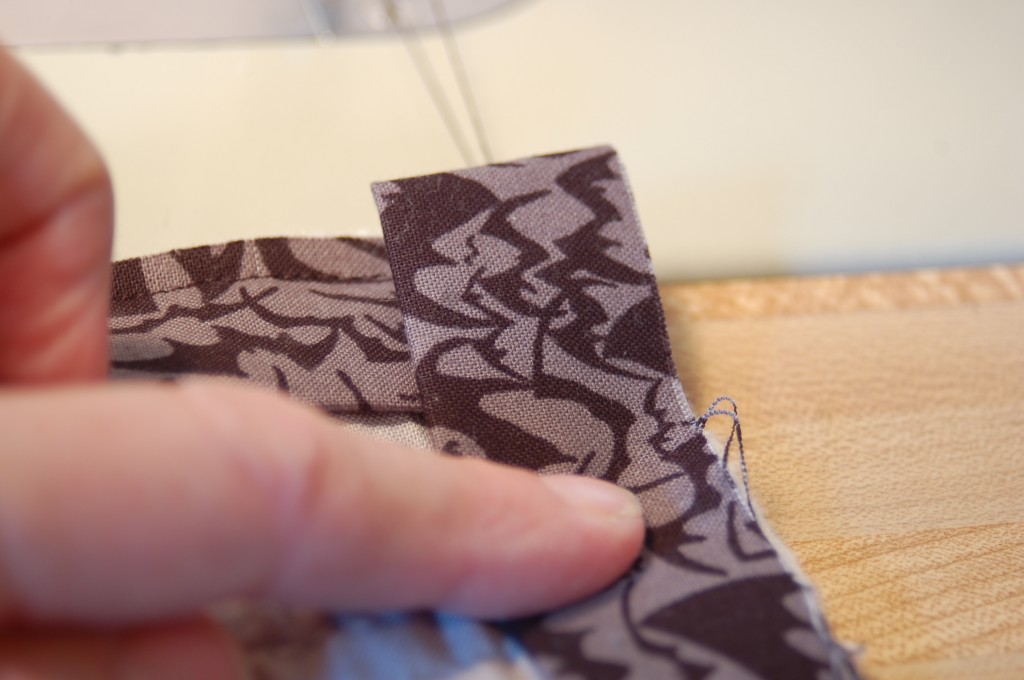
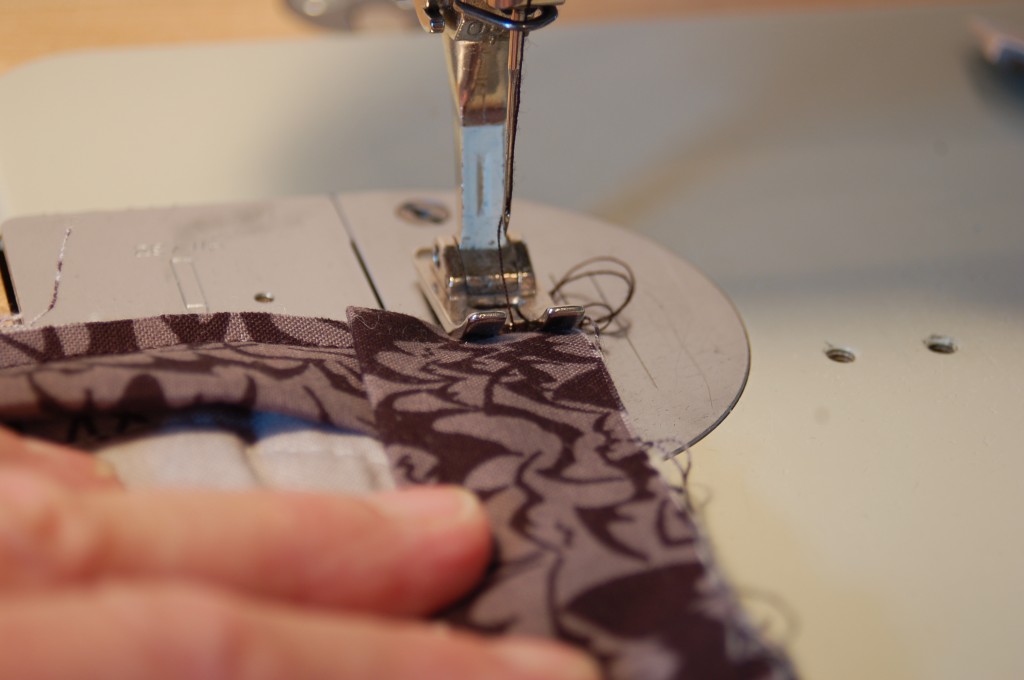
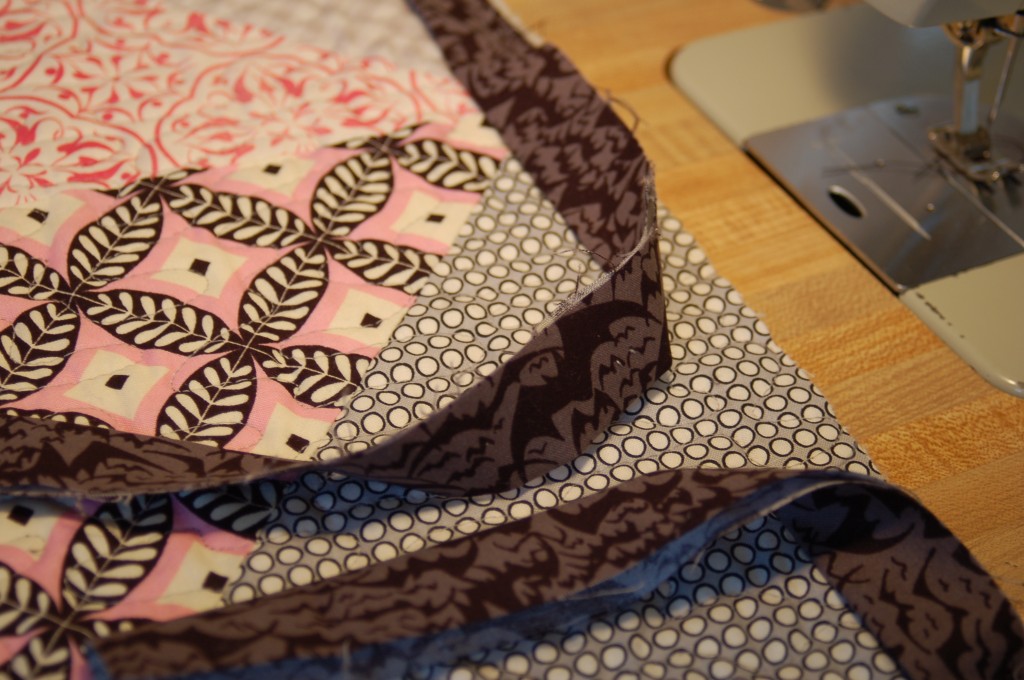
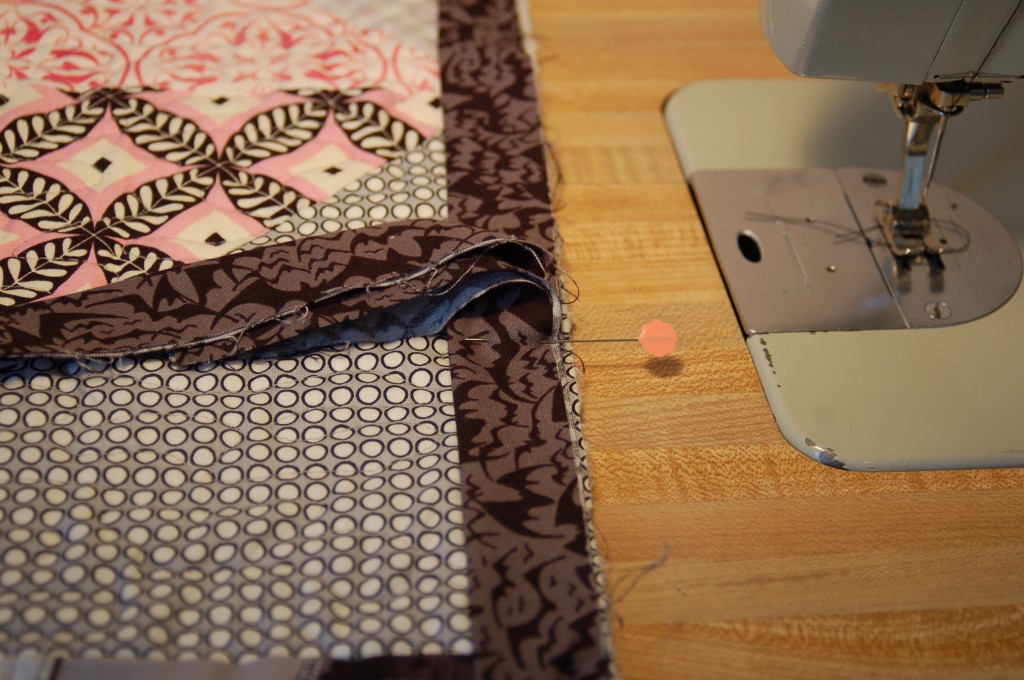
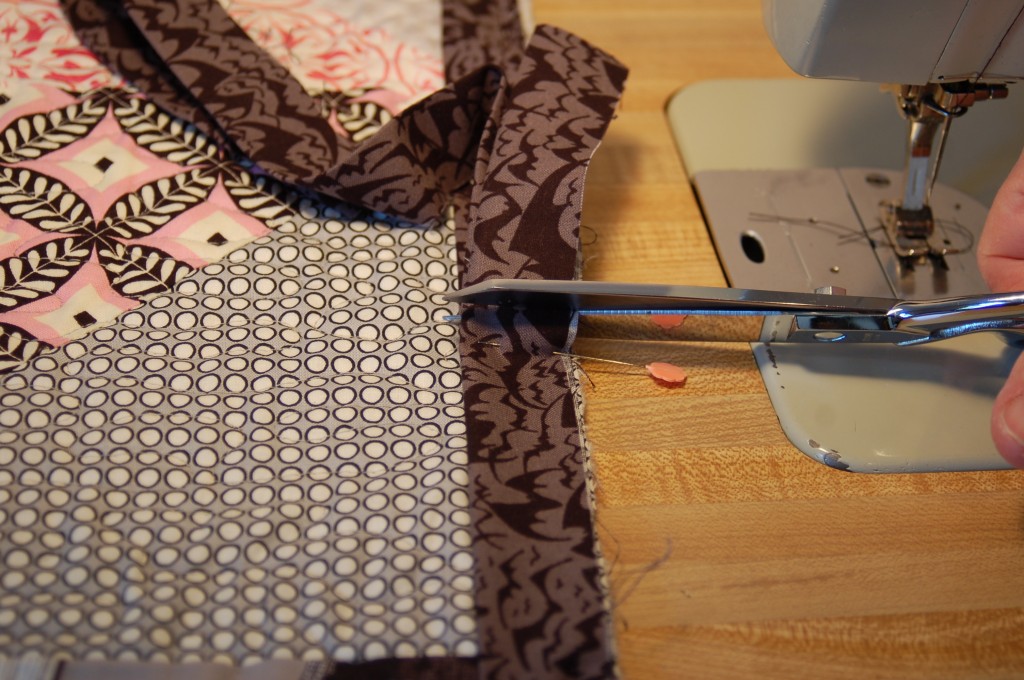
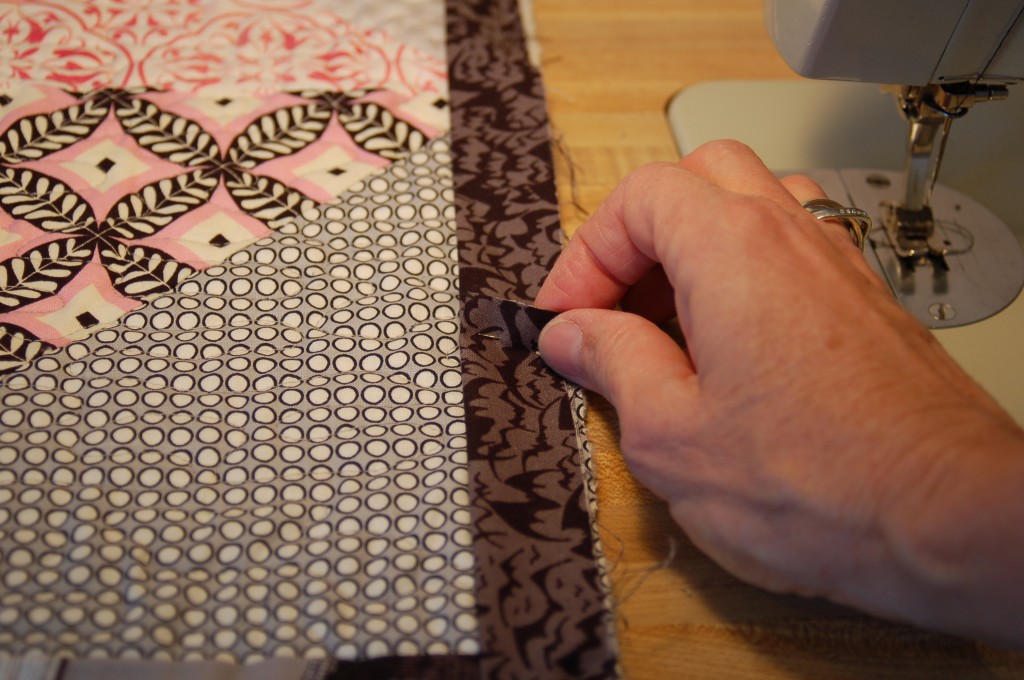
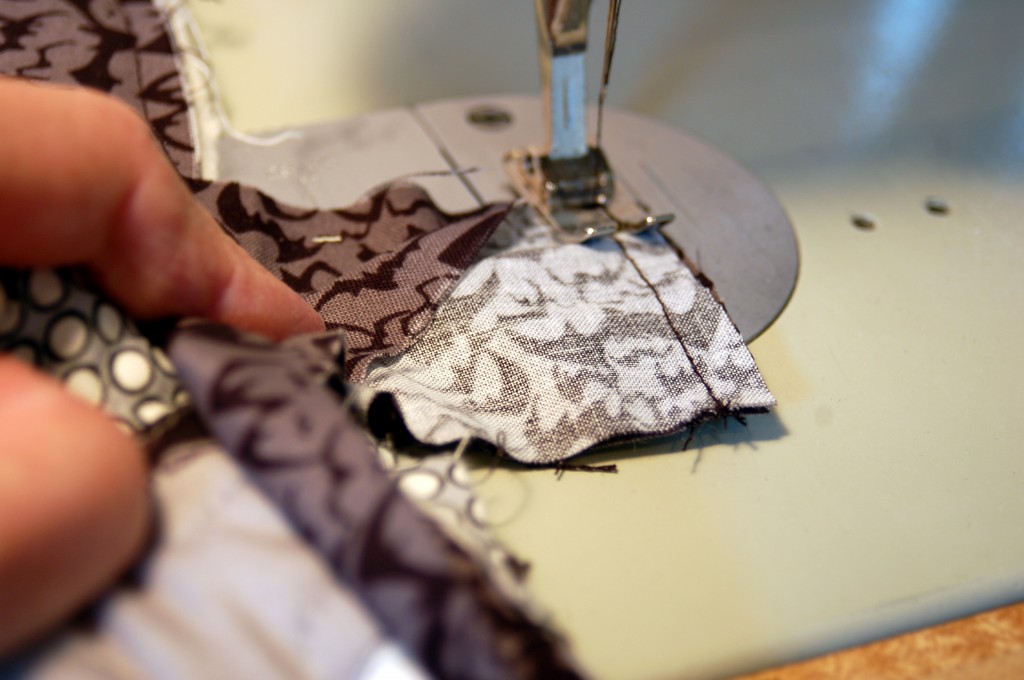
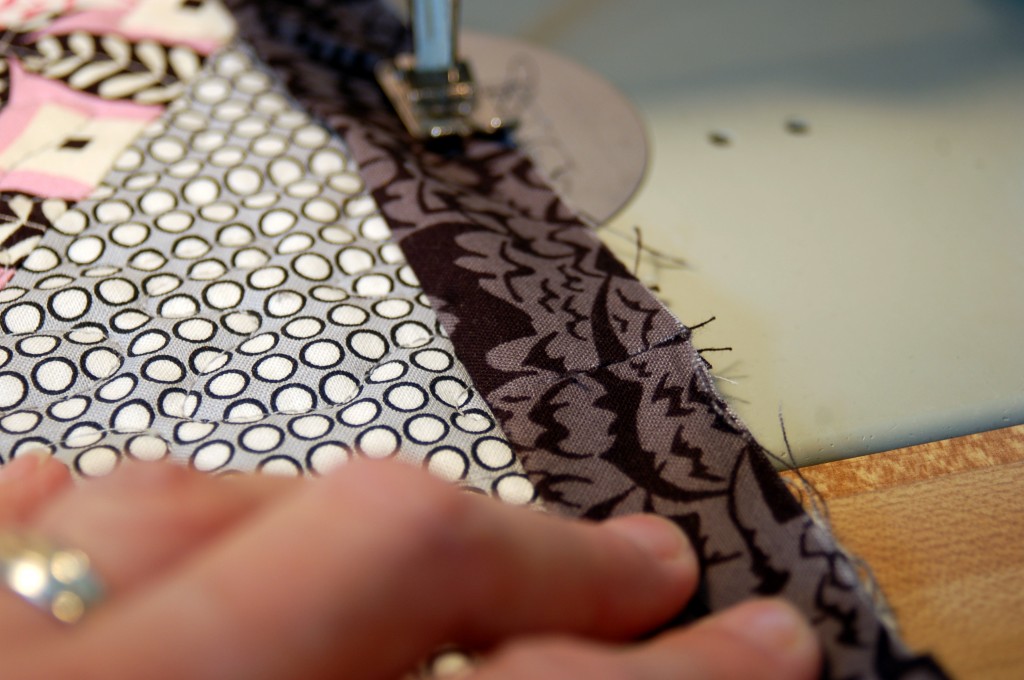
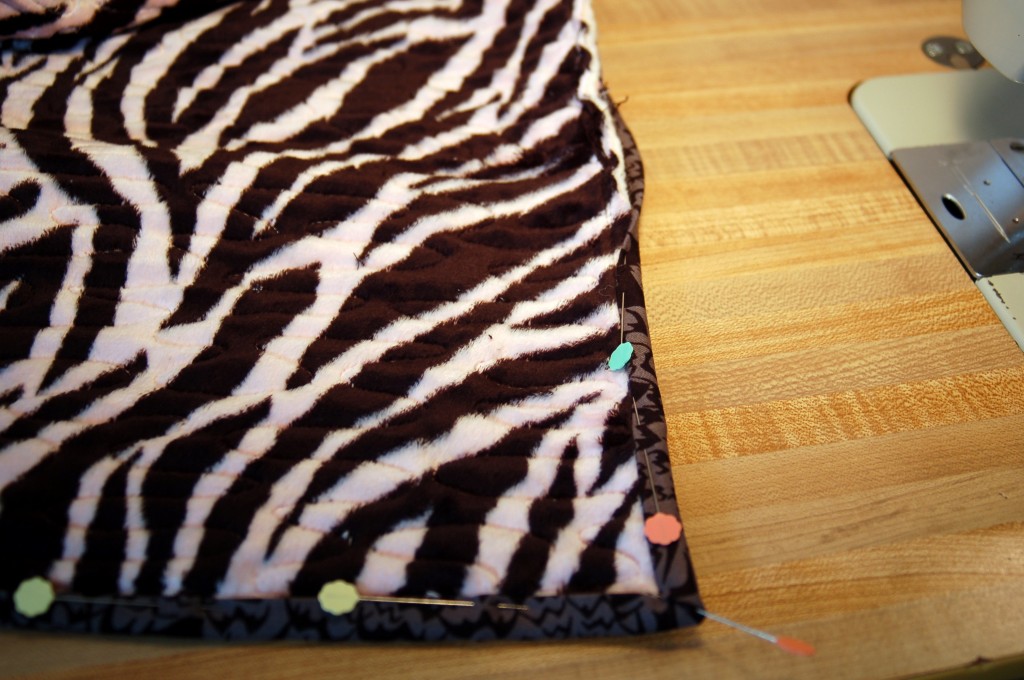
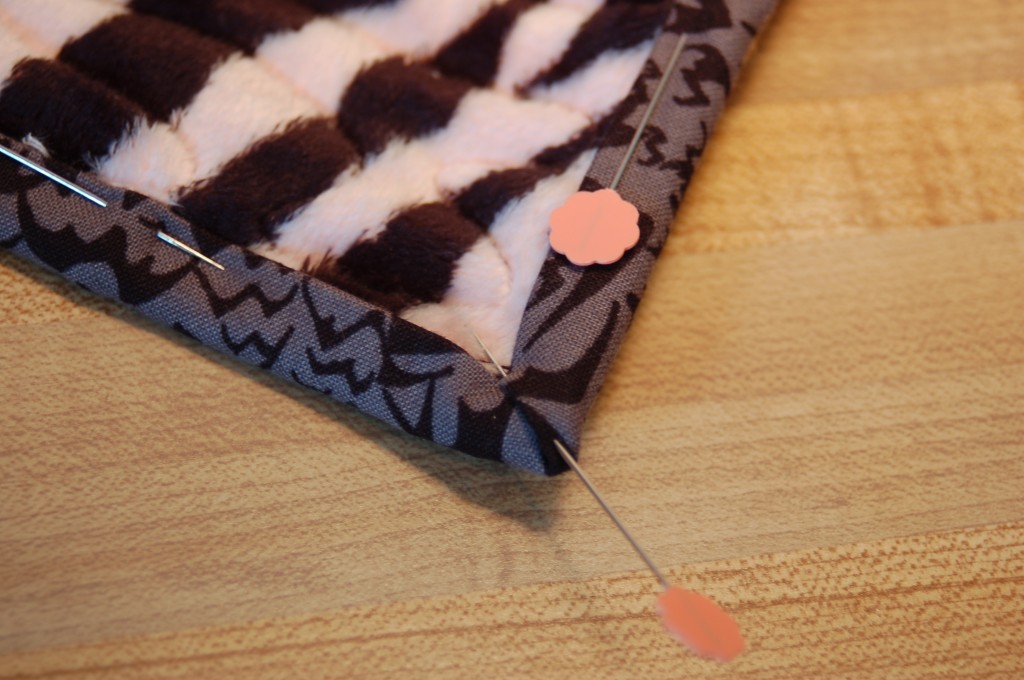
Cut off all the selvages.Pin two strips right sides together.With right sides together, sew a 1/4″ seam.  Continue sewing all the strips together into one long strip, until you have enough to go all the way around your quilt.  I used 6 strips for this quilt. It is just a small lap quilt.Then fold the strip in half wrong sides together and press with a steam iron.  (Don’t you love the ironing board cover?  I guess it is about time for a new one, but you can tell that it has been well loved!)  :)Roughly measure the strips all the way around your quilt, making sure that you have no seams meeting right at the corners.  Adjust where you start, if a seam meets at a corner.Pin where you started marking the binding.  You do not need to pin all the way around you just need to pin the start.  You will want to start sewing about 6-8″ away from the end of the strip. (This is so you can finish off the end of the binding)Start sewing the binding on with 1/4″ seams. Sew to within 1/4″ of the corner.You are going to turn your quilt, but not with the needle down.  Lift the needle (You do not cut the thread either)  turn the quilt and binding  and lift the binding to make a 45 degree angle to the corner.Then fold the binding straight down on top of the 45 degree angle.Put your quilt under your pressure foot and start sewing a 1/4″ seam down your second side.Repeat this process for the other 3 corners and sides.  When you get back around to where you started, quit sewing about 6″ before you get to the other tail.Take quilt out from the machine holding both strips together put a pin in where they meet.Cut off the excess binding 1/4″ away from your pin.Like this.Then open up both of the binding ends and with right sides together you will sew a 1/4″ seam.  This is a little bit hard especially if you have not left enough room to work with.  But just bunch up the quilt a little bit until you can stitch the ends together.Then refold the binding and I just do a finger press here.  Continue sewing the binding to the quilt and it will come out exactly to the right measurement!Next come the most time consuming part. So plan for a good tv show or an evening or two to sew around the binding by hand.  You will want to pin as you go to hold the binding in place.  You are wrapping the binding around to the back and doing a blind stitch on the back of your quilt.  Be sure to take tiny stitches!  Like I said this is the most time consuming! When you come to the corners, they will just automatically lay into place.  Fold one side down and the other side will fold to a point!   How cool is that!So there you have it.  Not so bad Huh?  And look at how beautifully it finishes the edge of a quilt!  (My quilt was machine quilted, and my quilter always sews a seam all around the edge and trims it for me.  If you are quilting your own quilt, be sure to do this before you start to put the binding on, so that the top and bottom are even.

Happy sewing!  I would love to hear of your quilting projects if you are willing to share!

T-shirt Bag

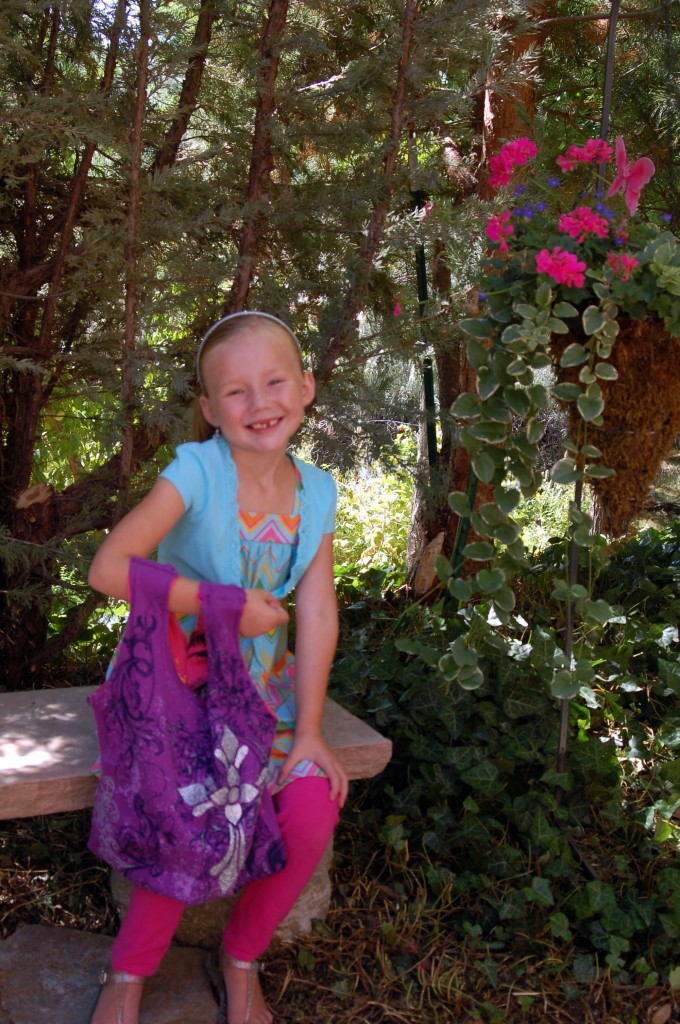
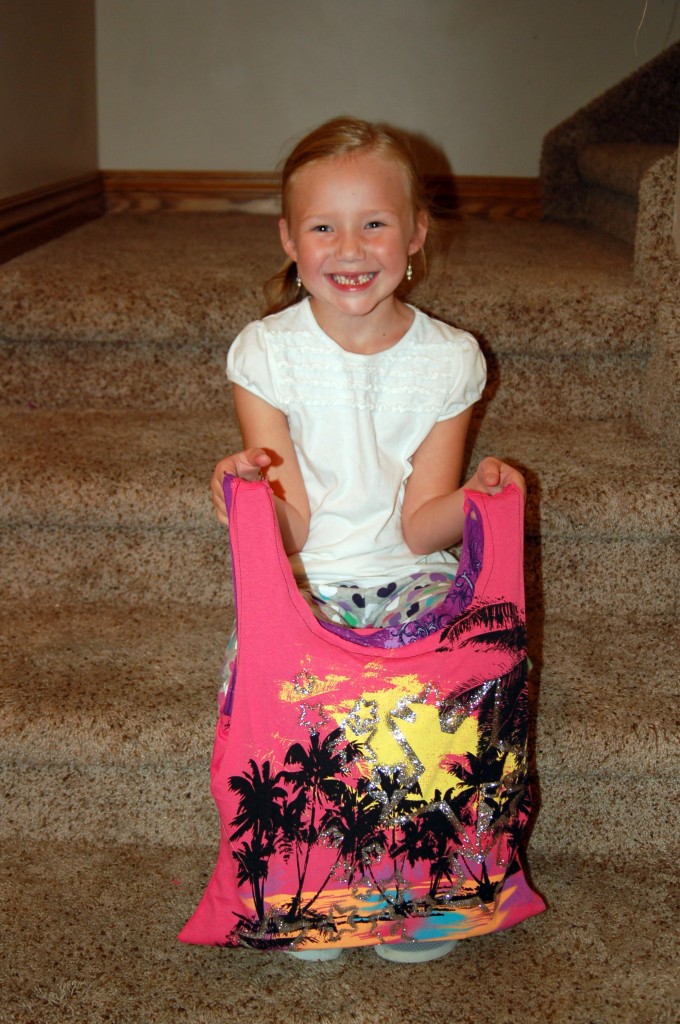
My daughter made this reversible bag for my granddaughter from two  t-shirts that she bought on clearance!

You need two t-shirts that are the same size.

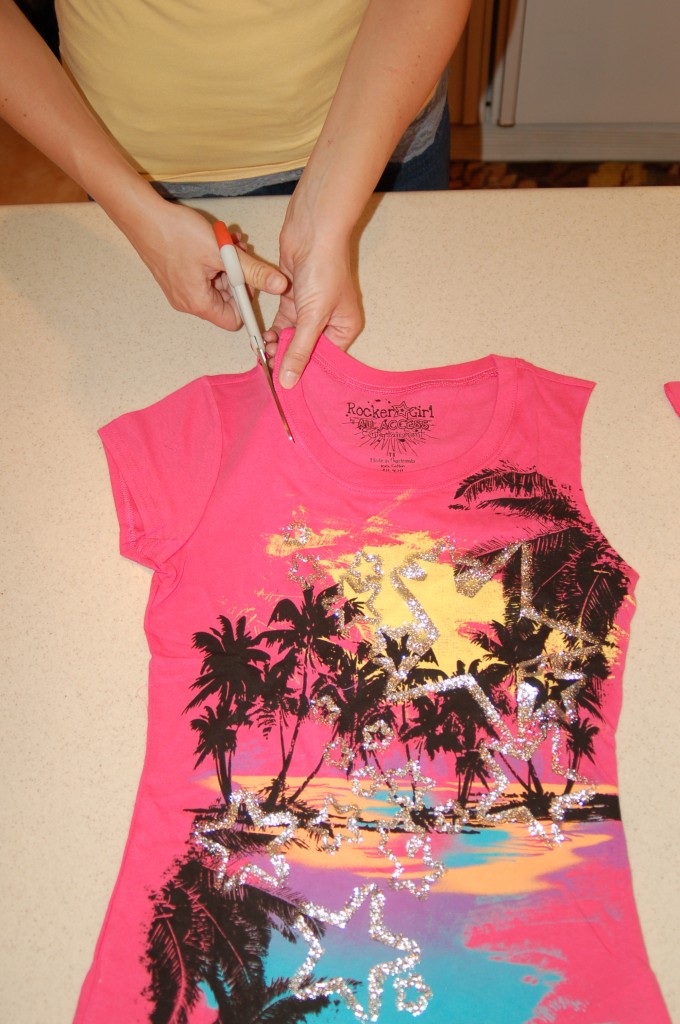
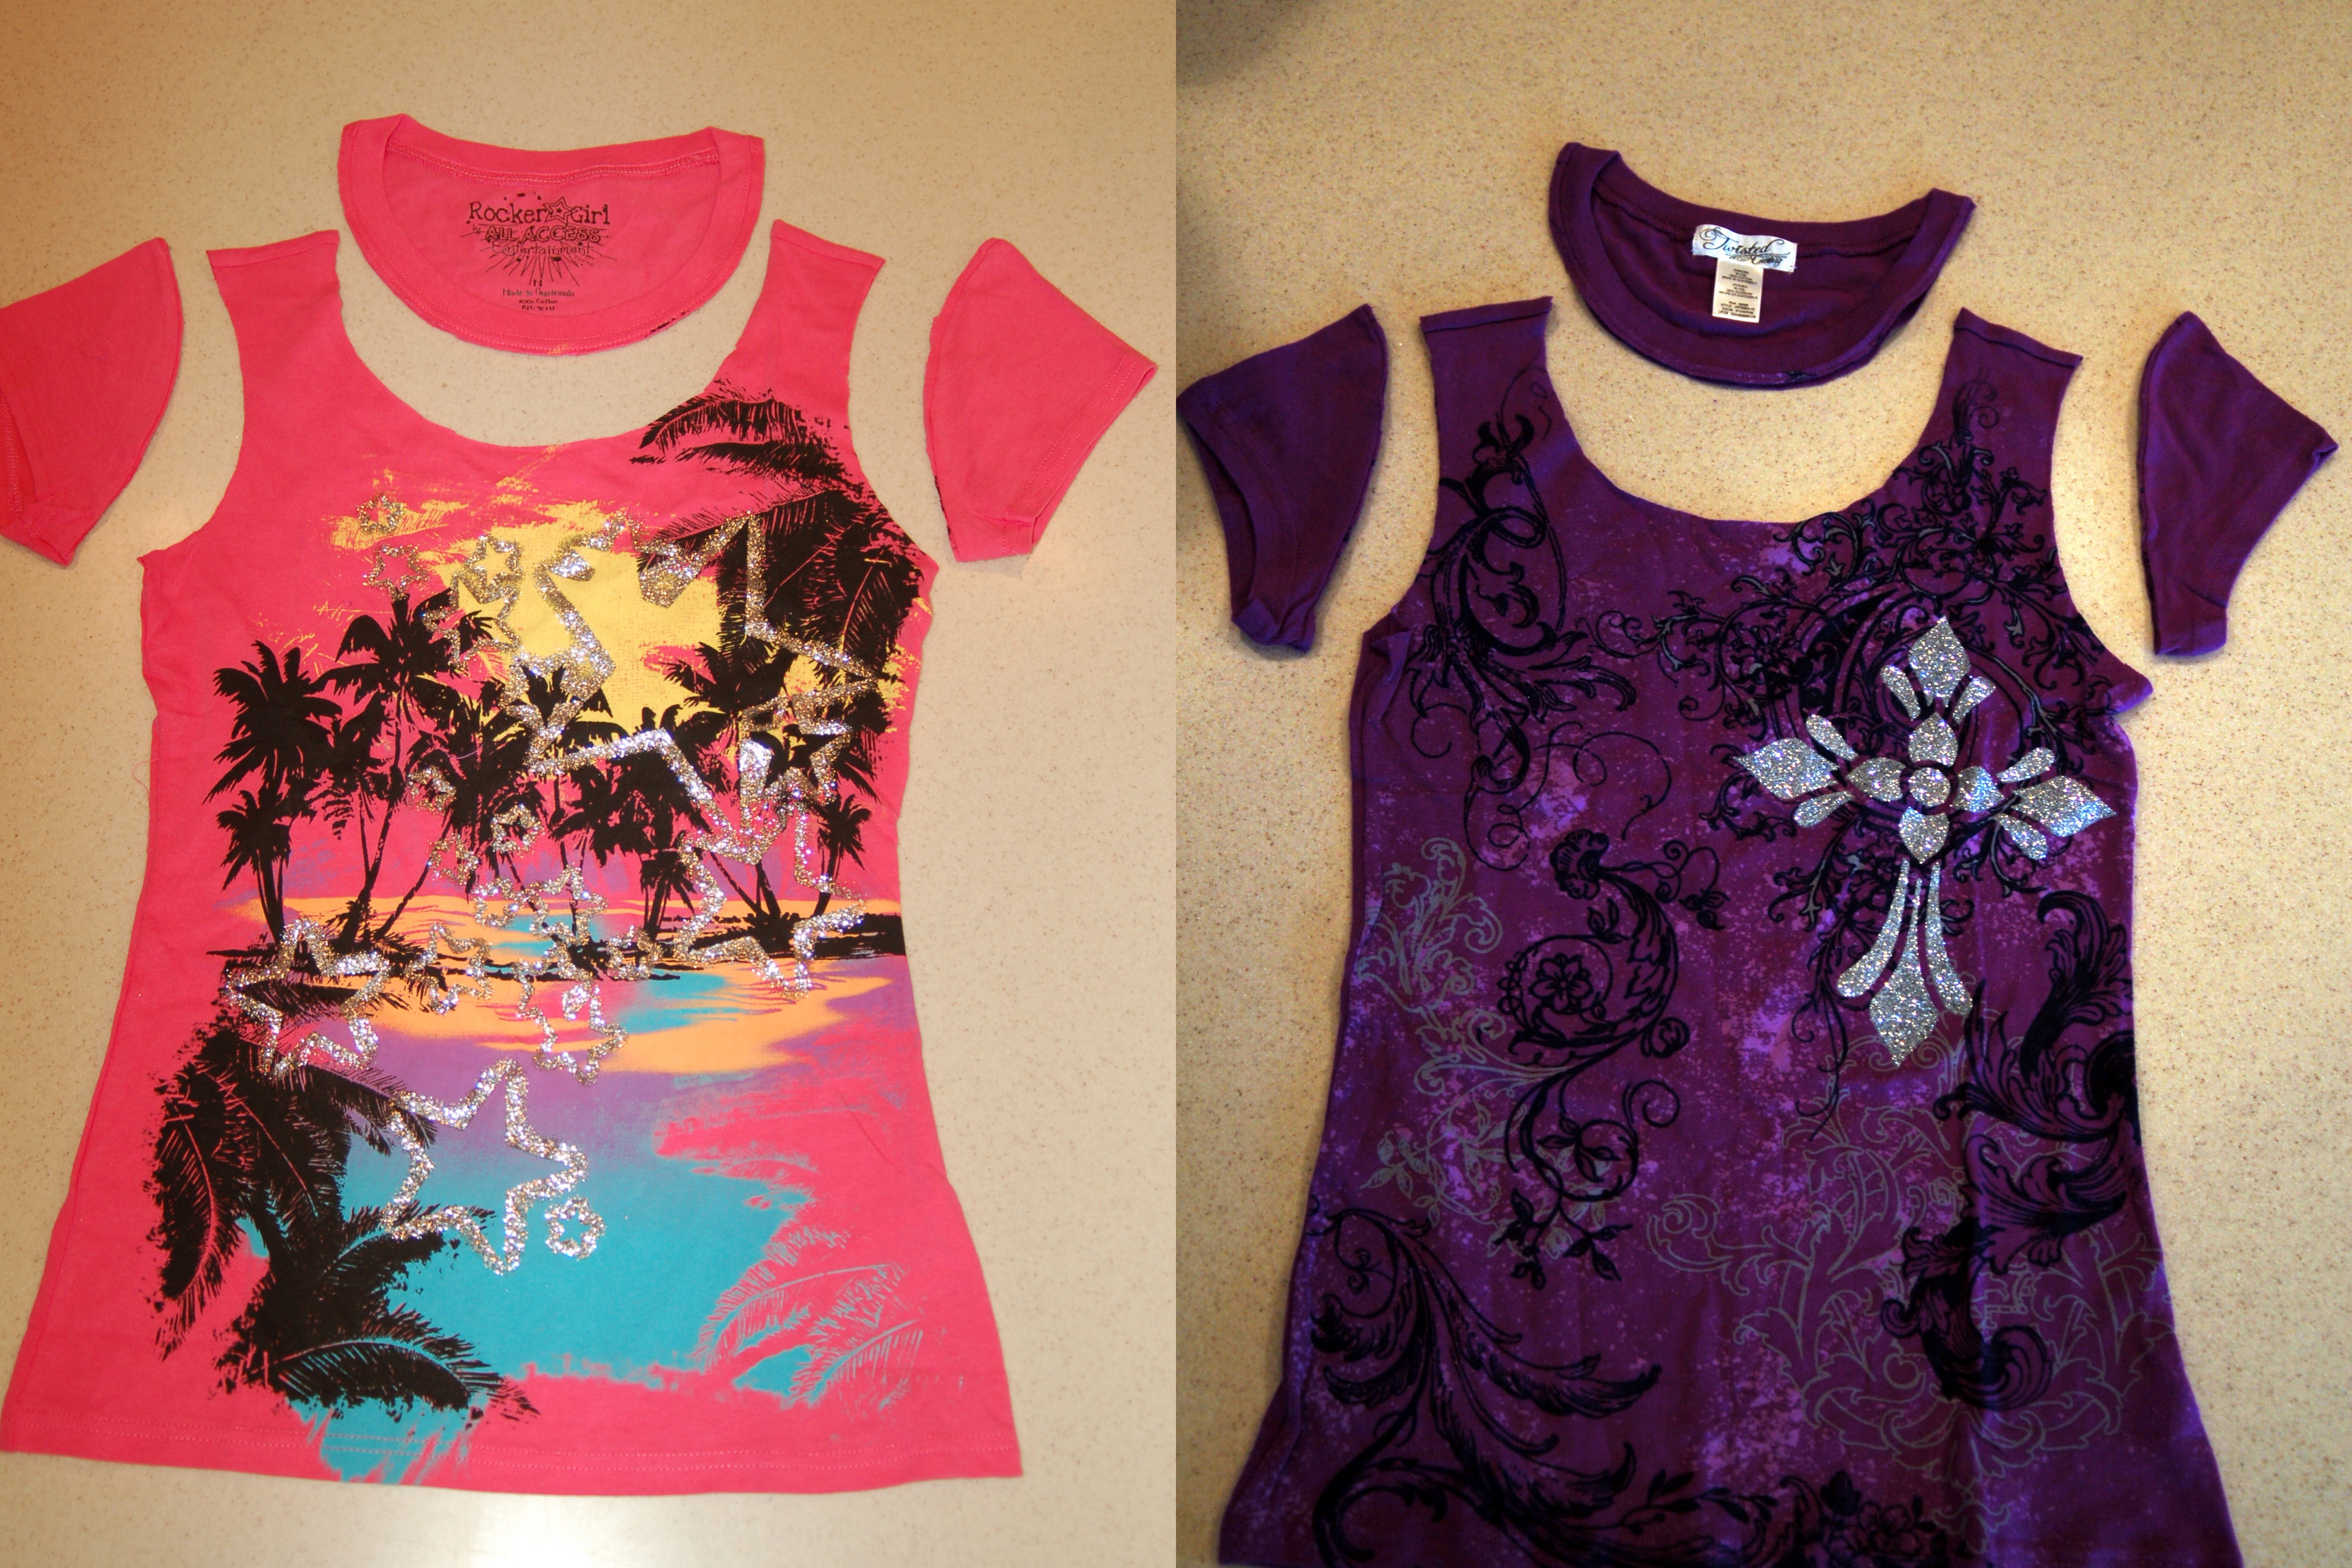
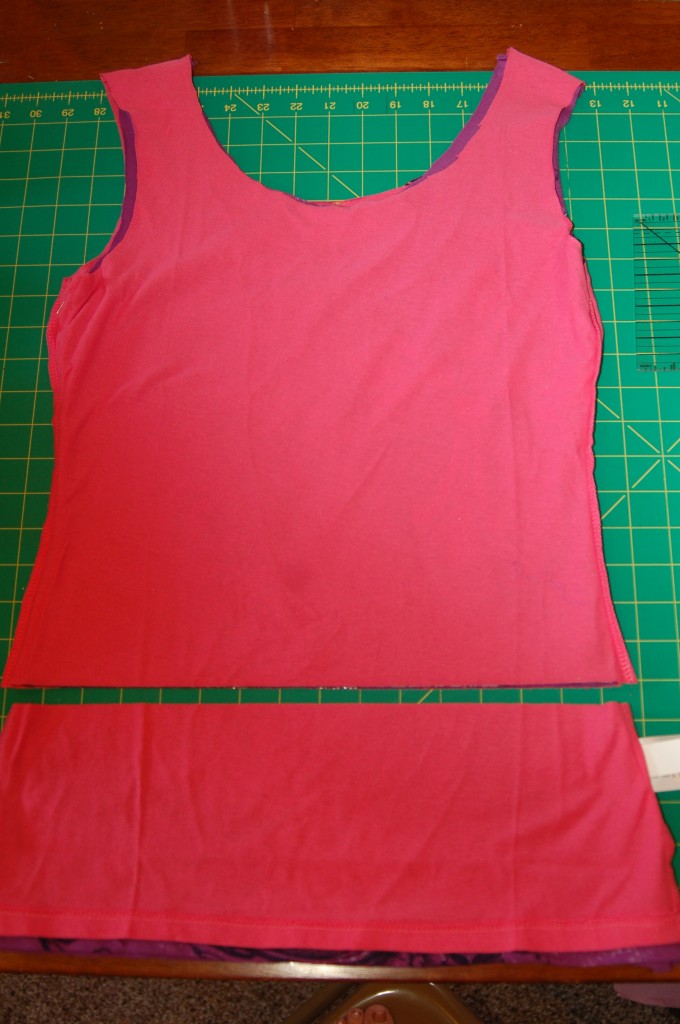
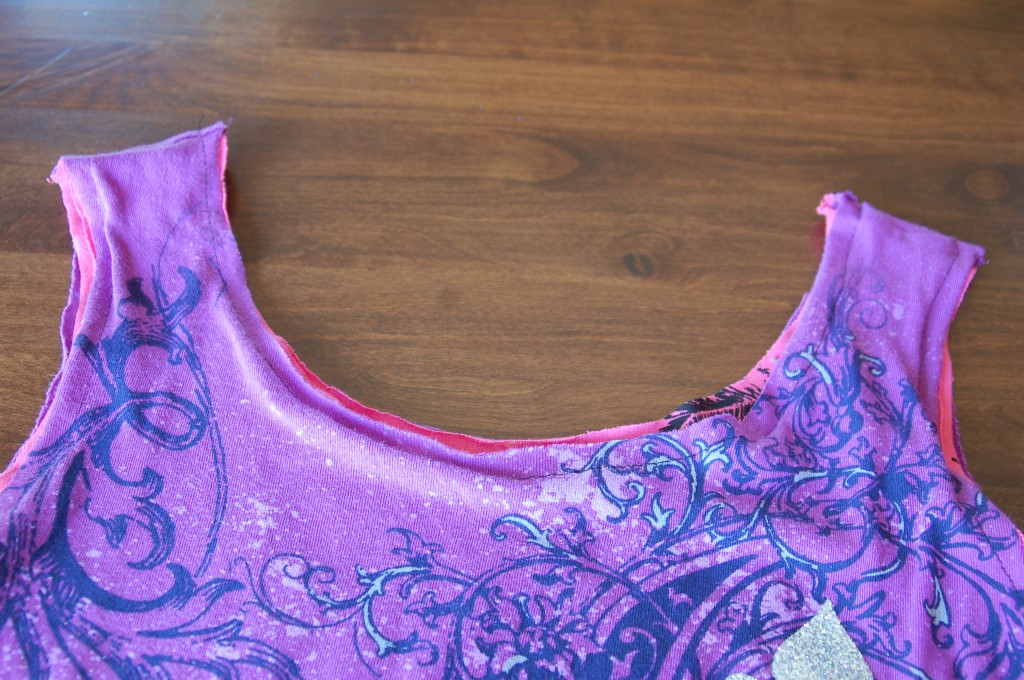
Cut off the sleeves and around the neck,So they look like this.Put them inside of each other and cut whatever length you want the bag to be.

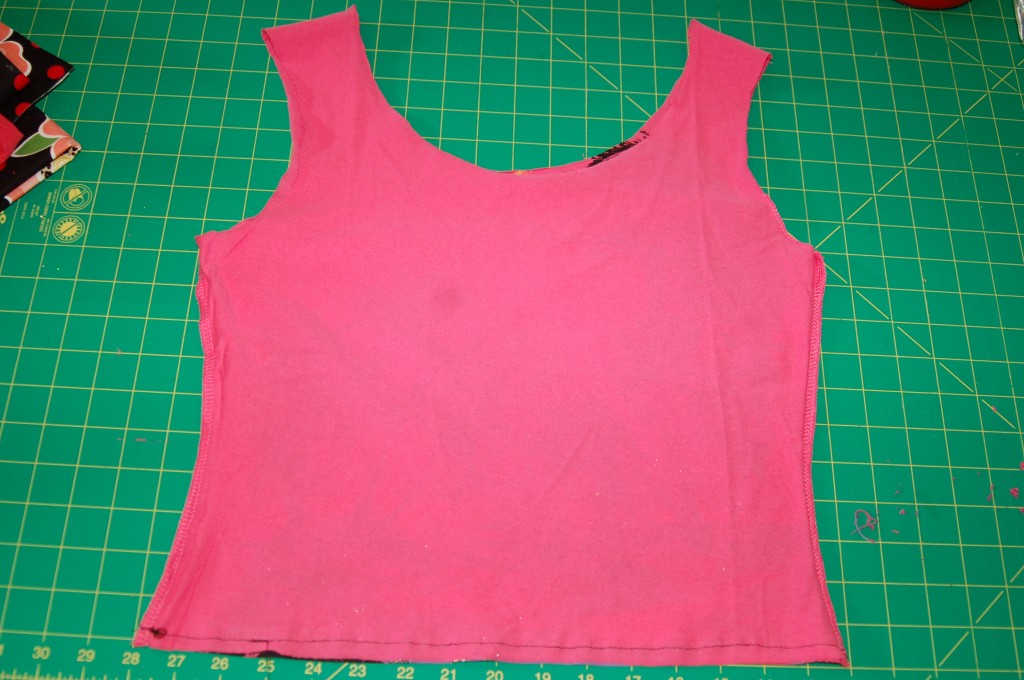
 Sew across each of the bottoms separately, right sides together.

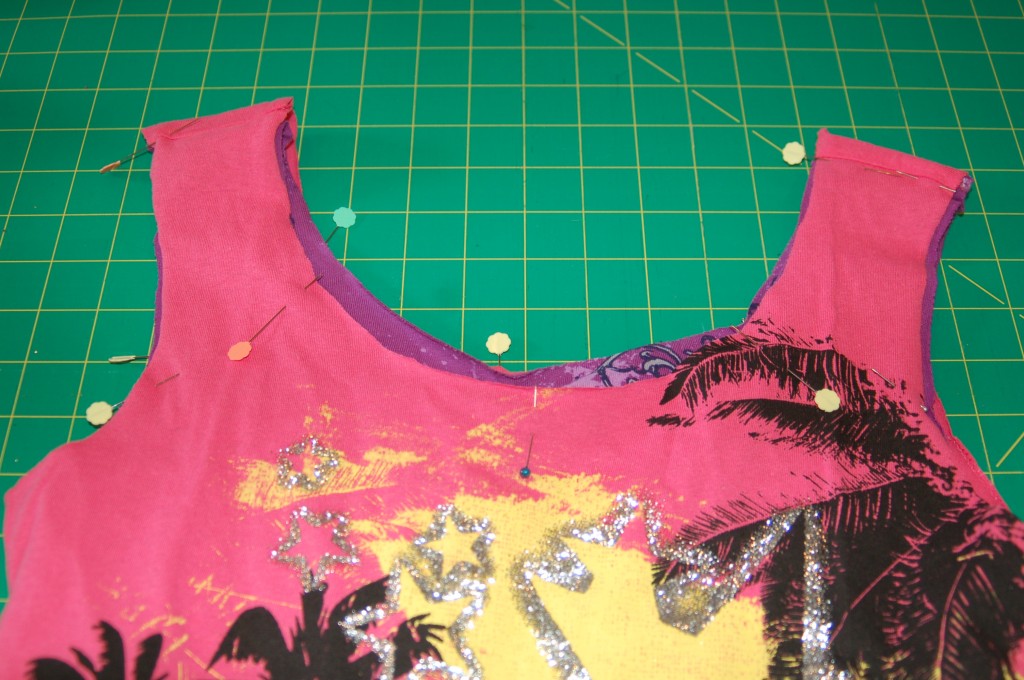
Put t-shirts inside of each other with wrong sides together (right sides showing) Pin neck and armholes together, matching seams at the shoulders.

Sew 1/4″ seam around each armhole and the neck.  Stretch the edges a little bit to make the knit fabric curl. (This finishes the edges a little bit.)

 Here is the pink version and she could not be any happier!

 I can think of a lot of fun uses for these bags,  you could use old team shirts and make a fun bag to take to games to carry your stadium blanket and goodies in, or you could do like my daughter’s neighbor did and make them for a fun take home gift for a little girl’s party.  They would also make great recycled bags for the grocery store.

You can also do these with just one t-shirt, and if  you do that you simply have one seam to sew on the bottom to close up the bag.  Make sure you stretch the fabric a bit on the “handles” so that the edges will curl.

Happy sewing, if you make one of these I would love for you to tell me about it!