Today I have another Valentines Project that I have been working on.
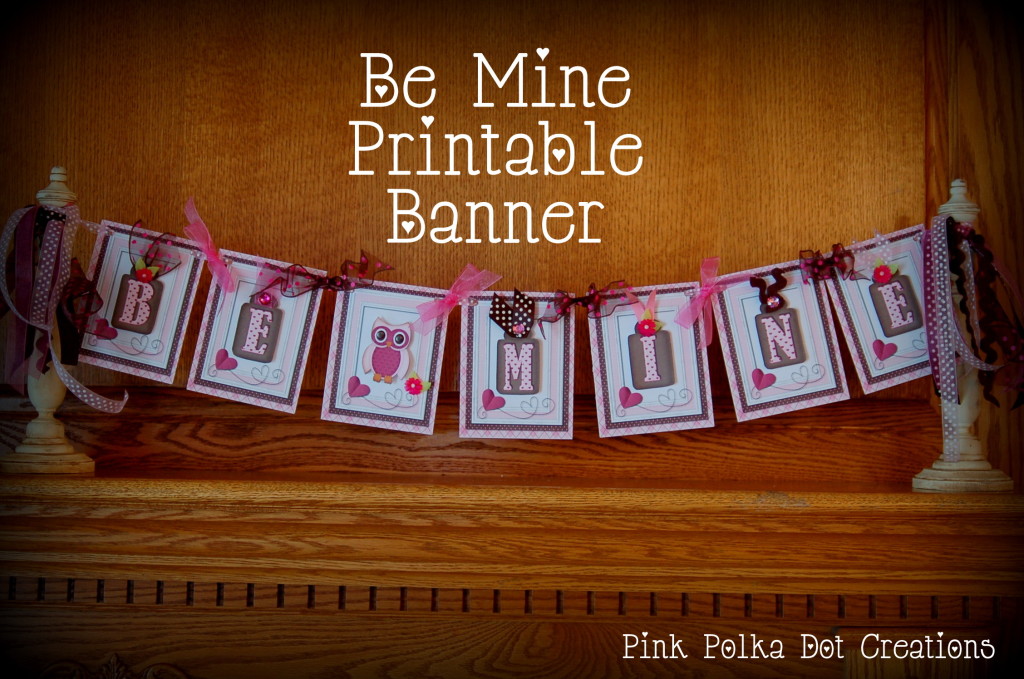
This fun “Be Mine” Banner:
It is about 3 feet long, so it was hard to get a great picture of the whole thing together! But it is cute because it is that long! It looks great and makes a statement all on its own, but you could add some fun heart decorations to go with it too! I think that I am going to find some kind of lights and a garland to go with mine for my mantle, but I wanted to get this post out to you so you could make one if you want to! (So you get the plain version!)
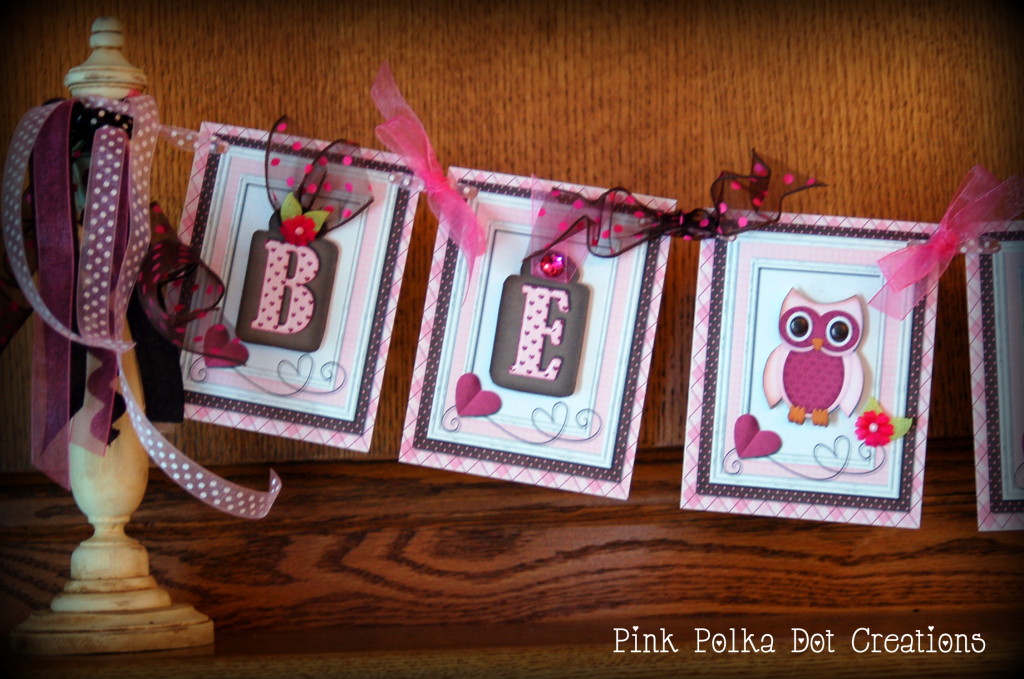
The tags are cut out separately and I popped them up with some foam squares. I inked around the edges of the tags then I added ribbons, jewels and flowers to the tops. Punch holes in each corner and string together with ribbon. I tied some ribbon in between each letter and the “space” to add a little more dimension.
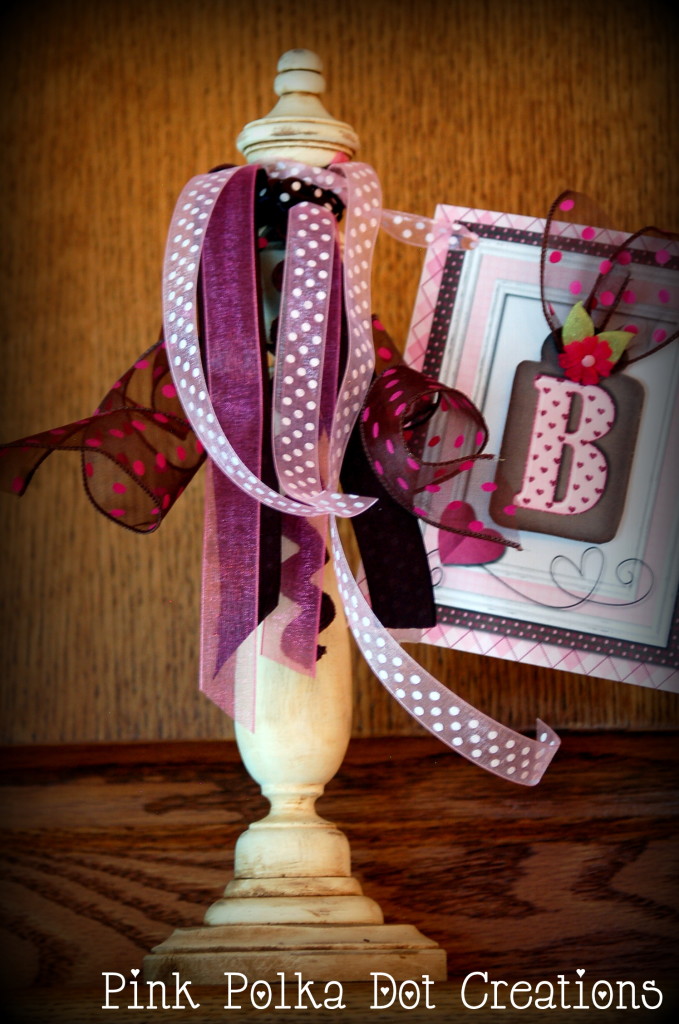
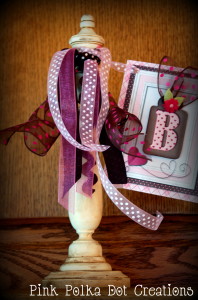
I made these fun spindles to tie the banner to. But you could just tie it to your fireplace, in a window, to the front of a sofa table or anywhere that suits your fancy! I used the same ribbon as on the tags and just tied a bunch to the top of the spindle. Ribbon just makes me happy!
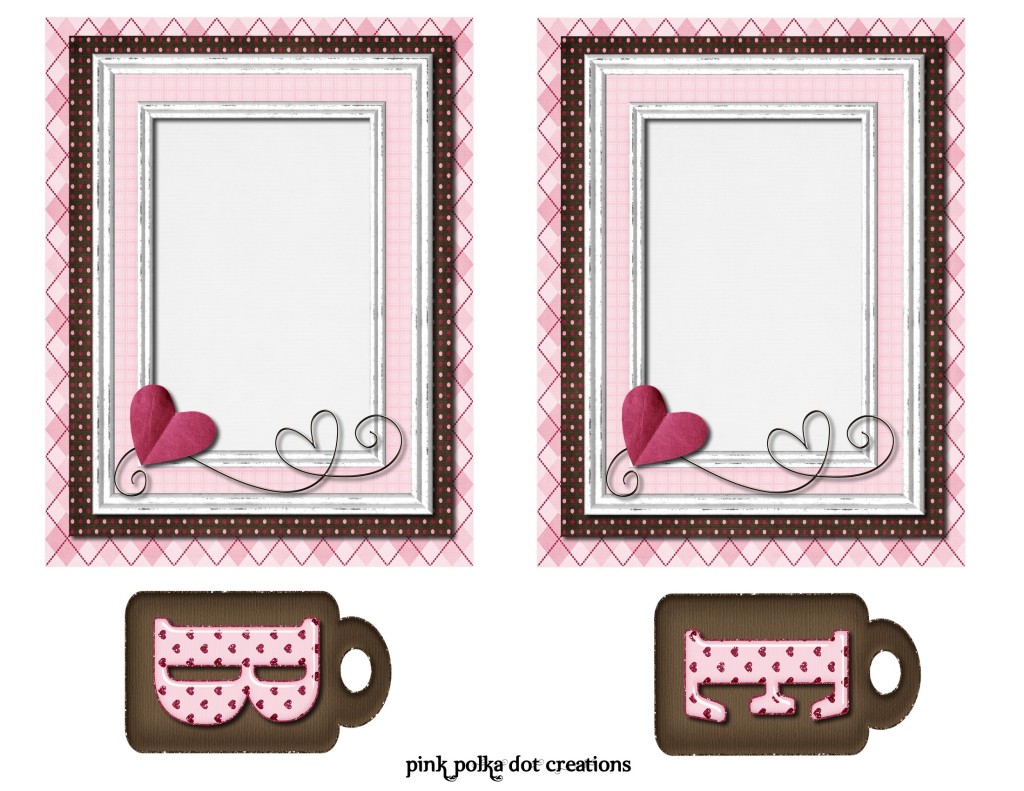
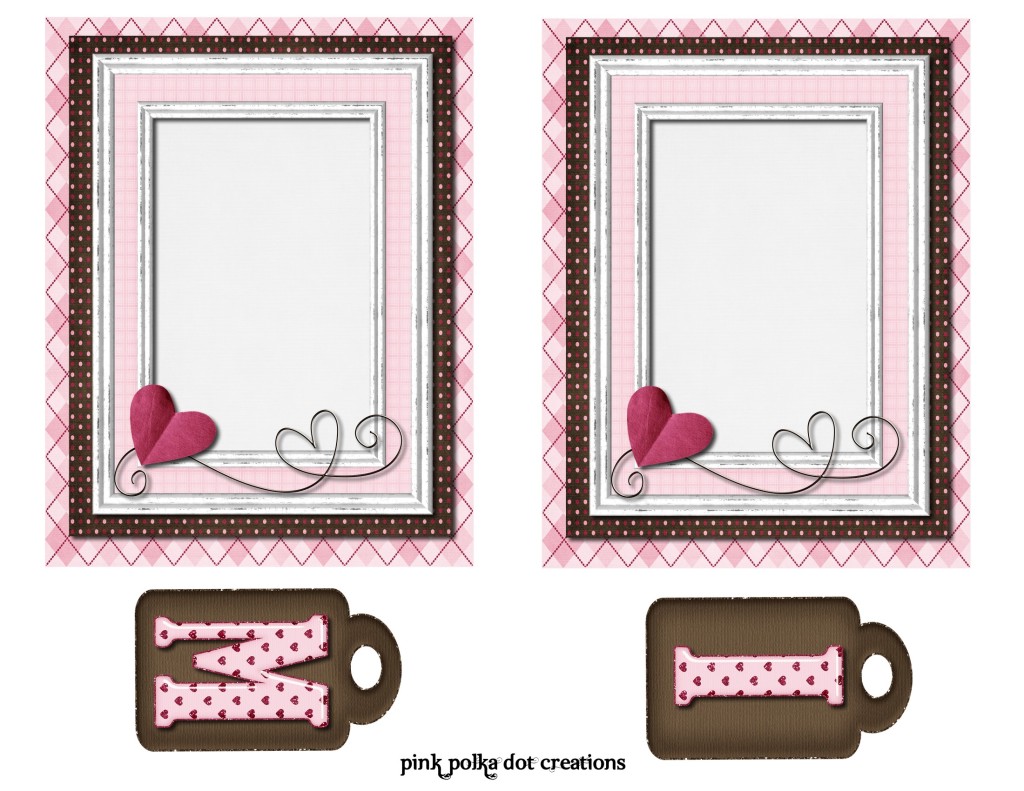
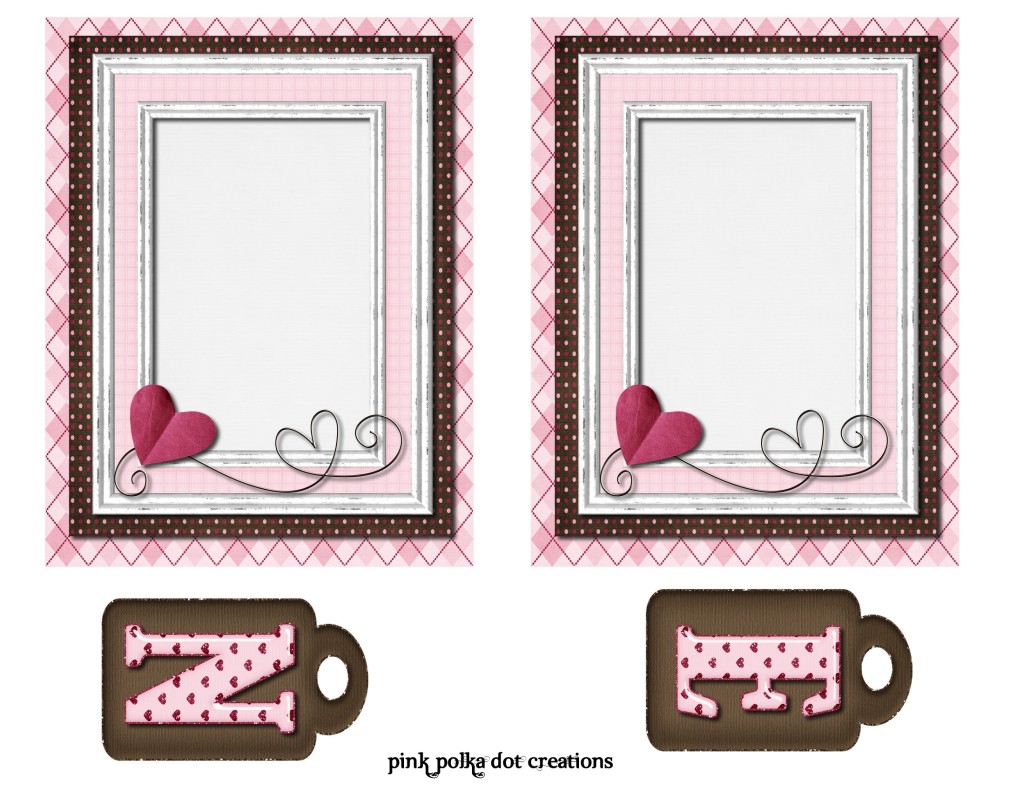
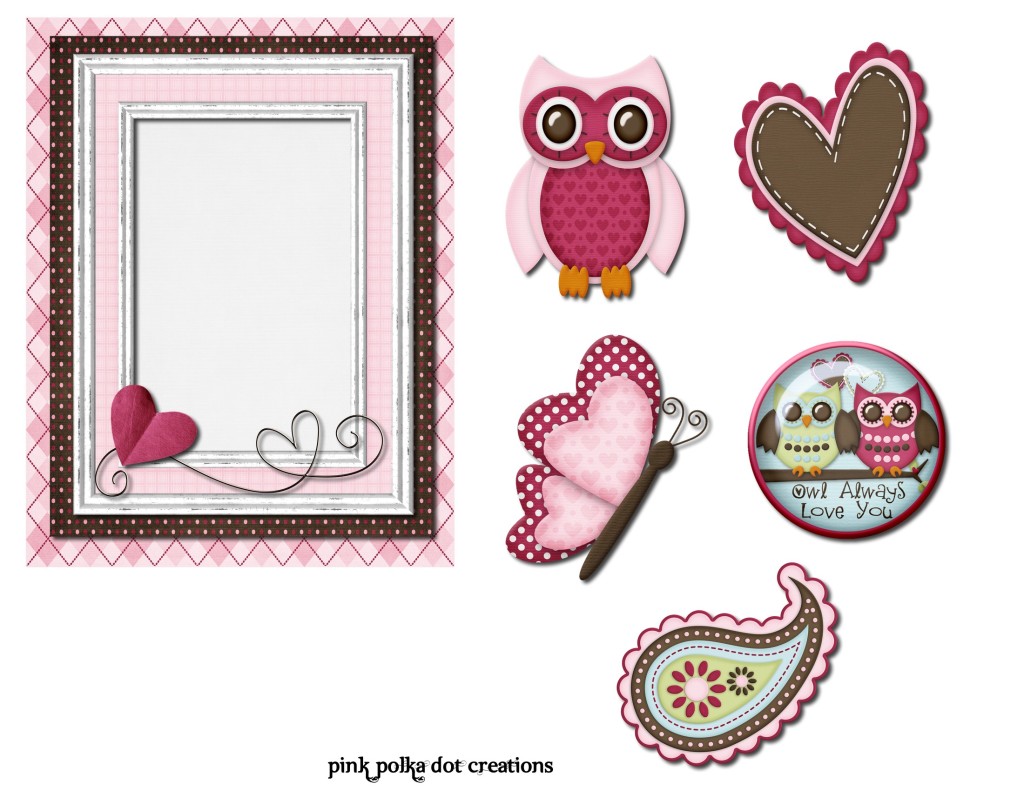
Here are the printables for this banner.
They are formatted to 8.5 x 11 so you can just print them on card stock paper.
Cut them out and ink the edges if you want to.
To print, just right click and go to “save image as” and save it in one of your pictures files, or you can right click over the image and go to “copy image” then open your favorite program like Word or Presentations and right click again and go to “paste”. You can then print from there.
You could also mount these onto card stock paper and cut another border around them!
I made several different things for you to choose from to put in the “Space” box. I used the owl, but any of these would be cute!
———————————————————————————————————————————————————————-
So now you have another Valentines project that you can make!
This would be a fun one for the kids to help with because it is just cutting, inking, gluing and stringing them together! So Easy.
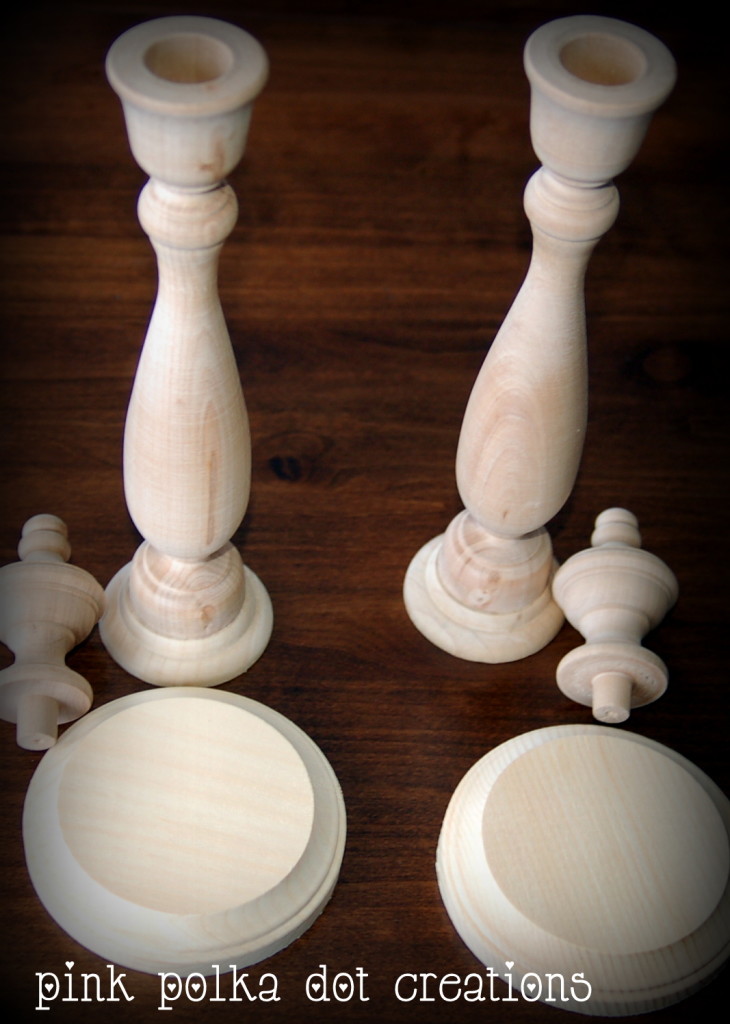
To make the spindles to hold my banner I used: 2 spindles, 2 finials, 2 bases:!
( I got these at the Wood Connection, but you should be able to find them at any craft store)
I just used a good wood glue and glued them together. Let it dry overnight, then I painted them an ivory color, let that dry and them sand them up and distress them good:
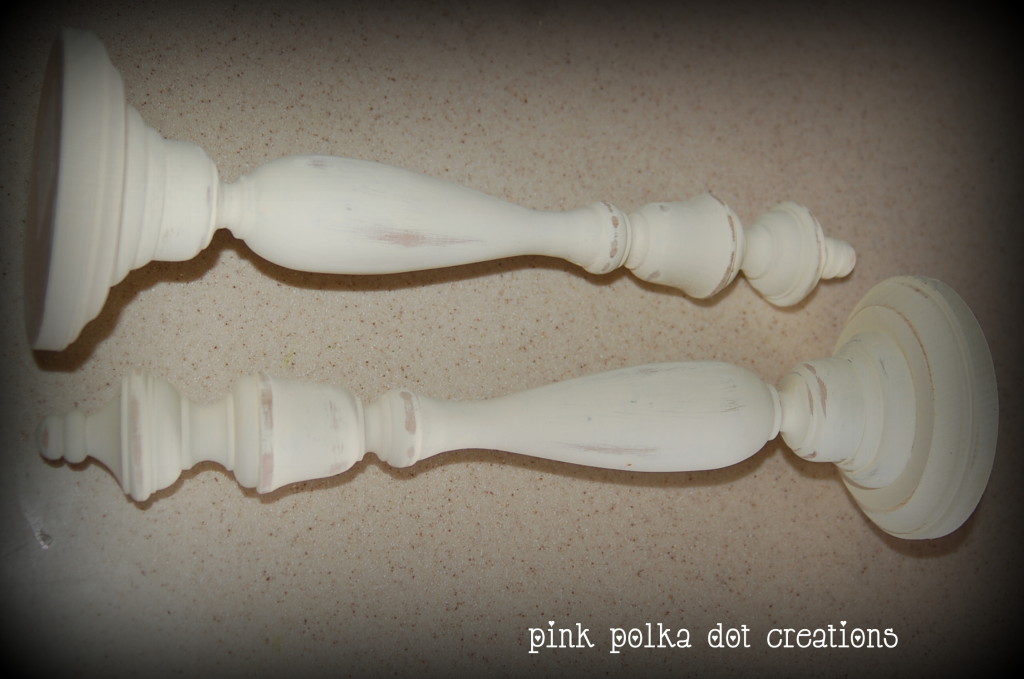 I then did a wash of dark brown and golden brown mix to antique the wood. I love the color because it is not too dark and has a warm feel to it!
So does anyone else want to make a Valentine Banner?
Have a great day! Love Ya!



Cool! Thanks for sharing your very cute banner! My mantle has been pretty bare since Christmas, so I’ve got to put this together. Thanks again!
You are welcome, I am glad that you like it!
Oh the banner is so cute and those printables are adorable. Very cute – love your site!
Thank you so much for your kind comment and your support, I really appreciate both of them. I am glad that you like the banner!
This is just so cute it hurts. Can’t wait to try it. I’m in love with banners. Thank you for sharing your ideas.
You are welcome! Thanks for taking the time to comment, I love to hear from you.
Once again I love what you have done and wish I had the time to make the spindles and banner. If the day had a few more hours in it I would put this project at the top of my list.
This is so very cute. I love anything with owls!
Thank you so much and thank you for taking the time to comment! I love to hear from you.
What a wonderful project! I just love your spindles and your printables are adorable. The owl is sweet! I’d love to pin this to my Valentine board for future reference. The spindles are a perfect idea for year-round banners ~ Love!
Thank you so much for your kind comment. I am glad that you like my Valentines Banner and yes the spindles are perfect for year round banners.
Your adorable project was featured on Super Saturday Show & Tell this week… come and get a featured button! I’d love to have you share again too… http://www.whatscookingwithruthie.com xoxo~ Ruthie