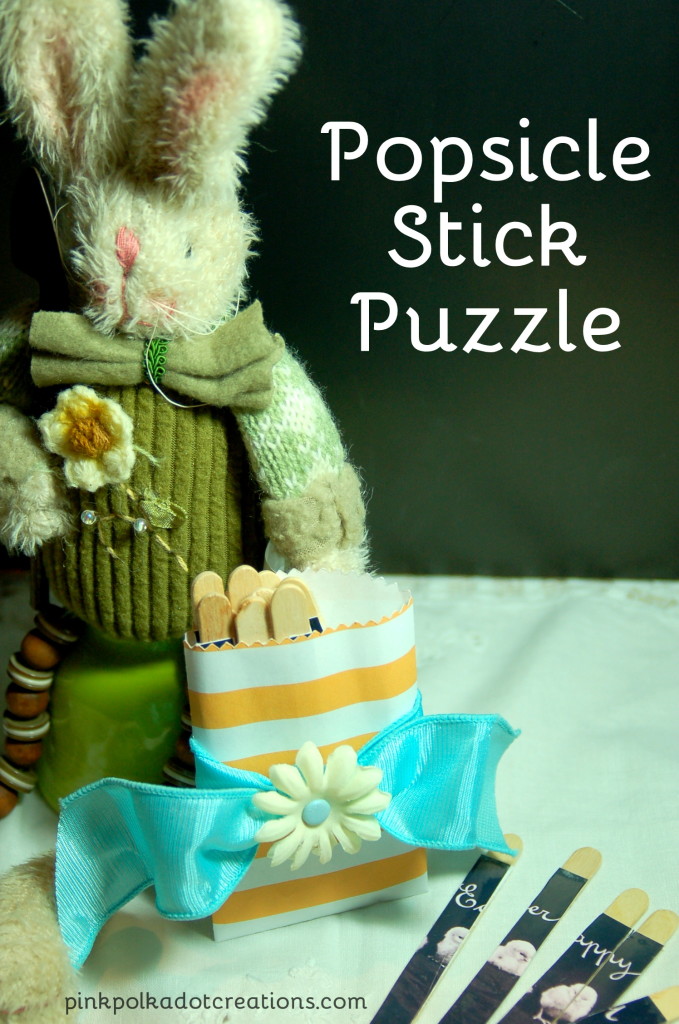
Here is a fun Easter project for kids and adults alike! It is a darling puzzle made from Popsicle sticks!
I made a Valentine’s version for all of my grandkids, but did not show it then because I wanted it to be a surprise for them. So I decided to make an Easter one to show you now! This is really a fun project and all of the kids loved it! I even gave this to one of my friends and she enjoyed putting it together! So this is great for young and old!
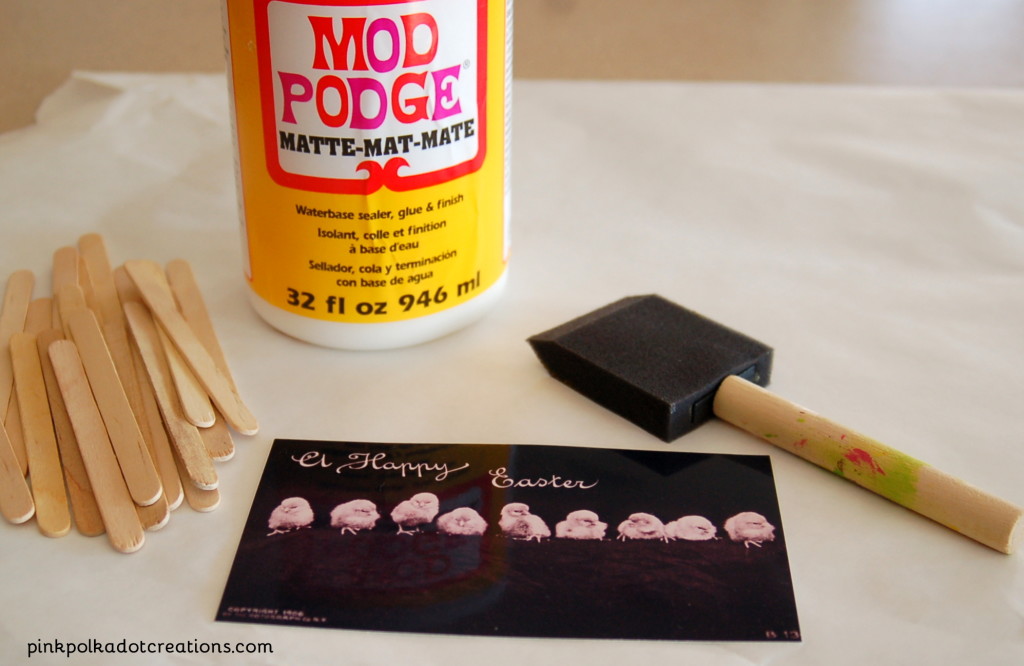
These are the supplies that you will need: a photo, popsicle sticks, Mod Podge, a sponge brush and not shown, a ruler and an Exacto knife.
To make your puzzle:
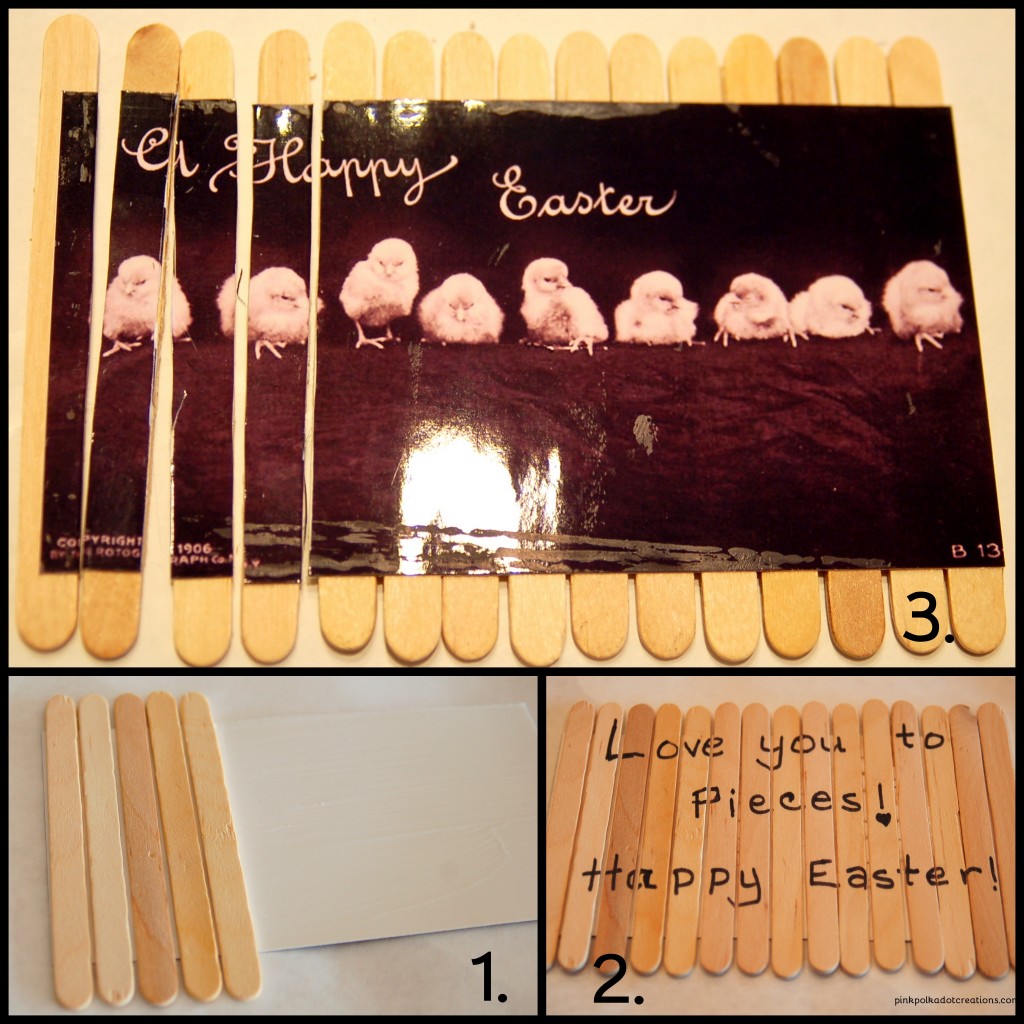
1. Apply a pretty thick coat of Mod Podge to the back of your photo and line up the Popsicle sticks side by side. Leave a very small space between the sticks. Also be sure to keep the top and bottom of the sticks straight. Let dry well.
2. Write a sentiment on the Popsicle sticks and this will make it even more fun because they will have two puzzles to put together!
3. Using a ruler and Exacto knife, cut between the sticks.
These are so easy to make, yet they are a very fun project!
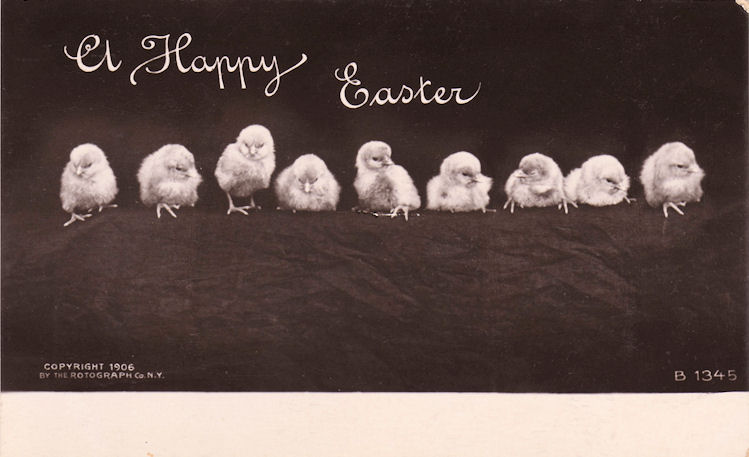
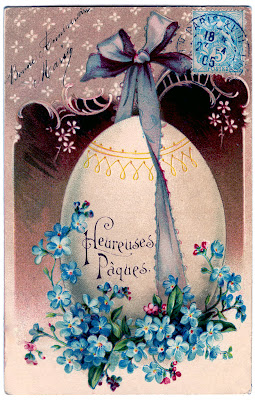
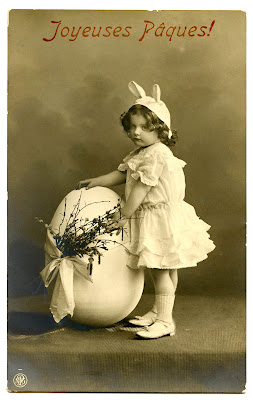
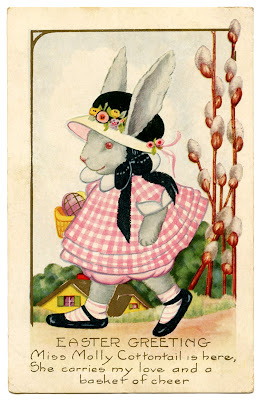
You can use any photo, I used a family picture for the ones that I did for Valentines Day, but thought this vintage Easter photo would make a fun puzzle too! Here are a few more vintage pictures that you could use. Just click on the link and it will take you right to the picture. You will just want to be sure when you print the pictures that they are not wider than the Popsicle sticks.
All of these pictures are from The Graphics Fairy.
Darling Girl with Easter Bunny Costume
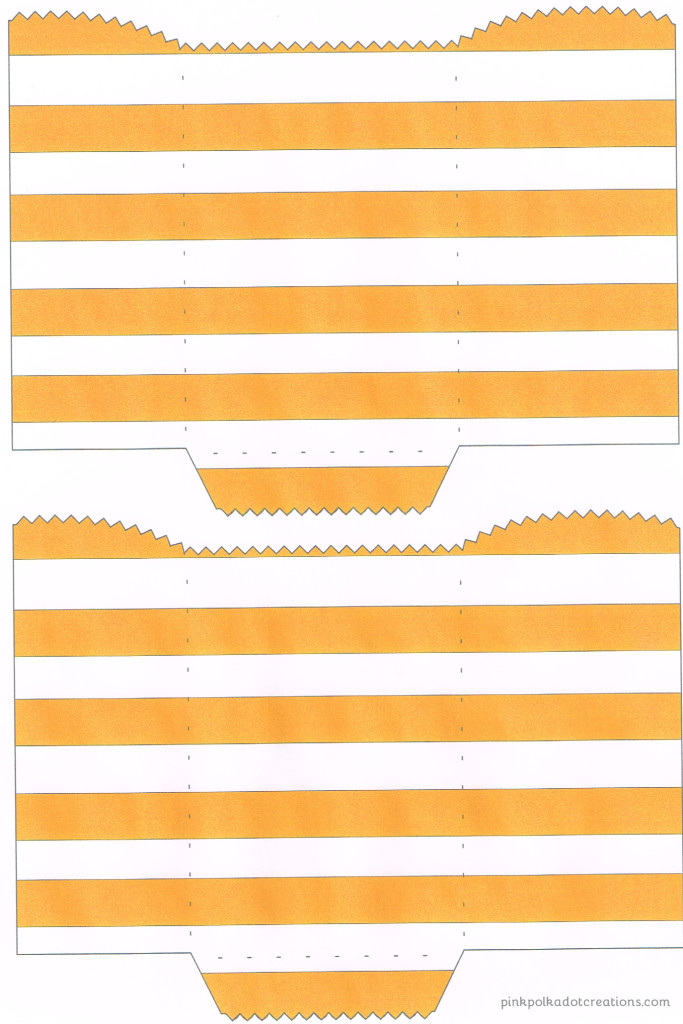
Here is the printable for the paper bag:
To print, right click over the image and go to “save image as” then save in a folder. Or you can right click over the image and go to “copy image” then open your favorite program like Word or Presentations. Right click again and go to “paste”. You can then print it. This is formatted to an 8.5 x 11 page and should fill the whole page.
Print out bag and cut on the solid lines. (You can use pinking shears on the zig zag edges) Fold on the dotted lines. Fold in the wider side first and apply glue to the smaller side. Fold up the bottom and apply glue to the flap.
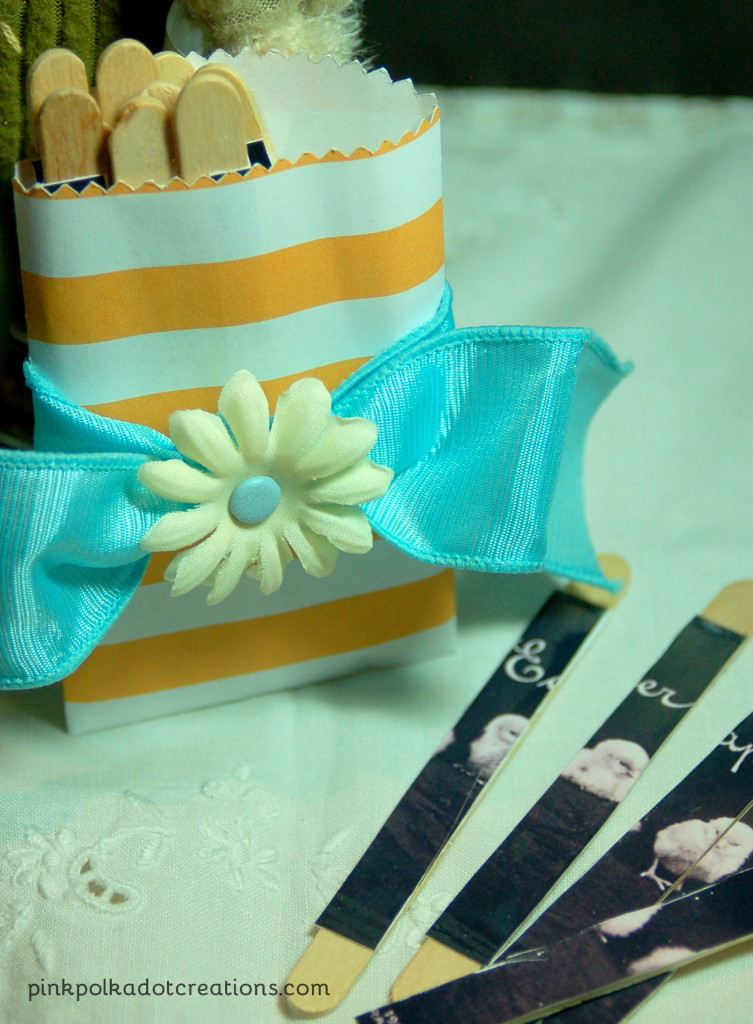
Insert the puzzle pieces in the bag and tie a fun ribbon around the bag with a little tag, flower or trinket!
Give to someone you love!
So now you have a fun little project to make for Easter! These are great to mail because they are small and fairly flat!
Have a great Monday Everyone!
Thanks for Visiting! Love Ya!
Keep in touch…Like on Facebook and Pinterest



You ROCK for linking up this week to Tip Me Tuesday {high fives} Just a heads up, Tip Junkie can help you index your blog more effectively if you upload at least 2 images, 2 steps, and blog post URL into your Tip Junkie craft room! Simply login and click “add a project” on your profile page to get started. {yep I’ve got your back!} ~ Laurie {a.k.a. the Tip Junkie}
Link ~ http://www.tipjunkie.com/how-to-add-a-craft-room-project-on-tip-junkie
I’m trying to pull together an advent calendar for Easter for my activity day girls. I want to use the miracles of Jesus. I have purchased baking sheets from the dollar store. I’ve priced plastic easter eggs. I’m leaning more to paper because of the price (not much money per girl)
I’m going to purchase small pictures of Jesus glue on the top corner of each one. Any suggestions?
Louise, I have not done an Easter Advent Calendar, but you could try looking on pinterest or Google it and I am sure that you will find lots of fun ideas for that! Hope that helps, Rita