I have been in a bit of a funk lately and I just could not seem to shake it. I just kind of felt like I was spinning my wheels and not going anywhere. I don’t know if it is just this time of year, with Christmas over and the start of a brand new year and thinking of all the expectations that come with that.
I tend to set a lot of resolutions every year and then they seem to fall by the wayside after about a month or two. I think that as women, we tend to beat ourselves up for all the things we think that we do not do. I was reading a post the other day from here, and she talked about setting goals in reverse and how instead of listing all of the ways that we failed to accomplish last year’s goals, we should make a list of all of the things that we actually do right during the year. Well I thought about that quite a bit and decided that I really liked that idea, but I wanted to take it one step farther. I made a journal so that I can record the things that I have accomplished or overcome every month and then I can realize all the things that I did do, and not beat myself up for all the things that I did not do. I would not make a “to do list” of resolutions but rather an “I did list!” I would then concentrate on the “half full glass rather than the half empty glass”. I think it will be a great thing to be able to look back at my achievements each month. Then I decided that if I dated my entries I could look back over several years at a time!
So do you want to make a journal to record all of your goals that you set in reverse!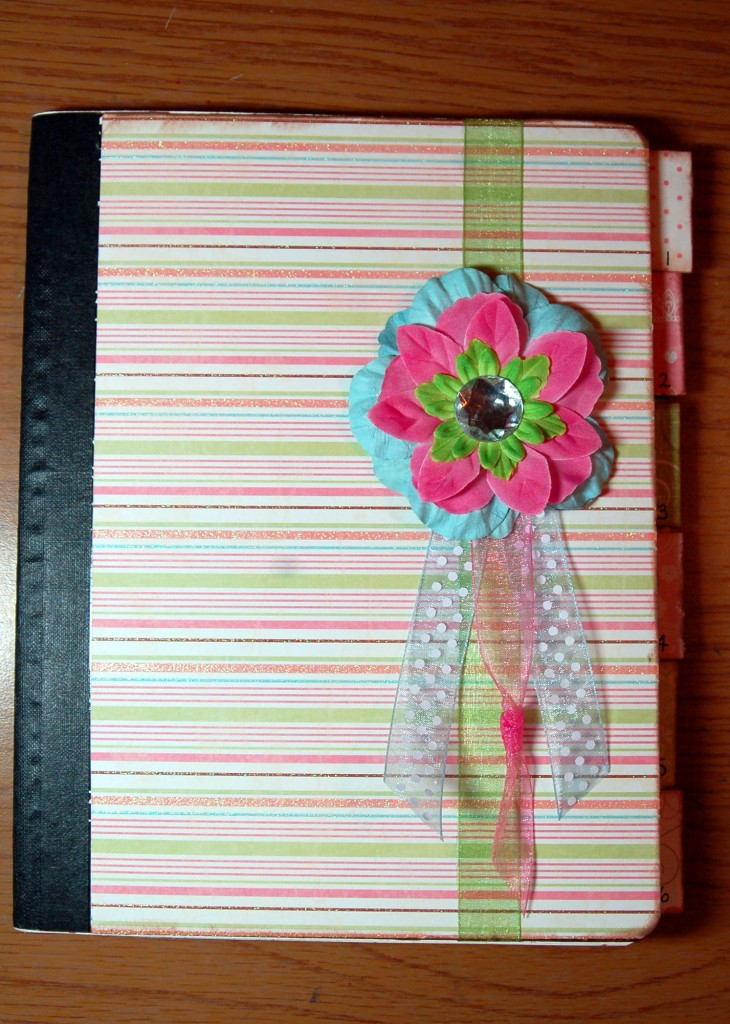
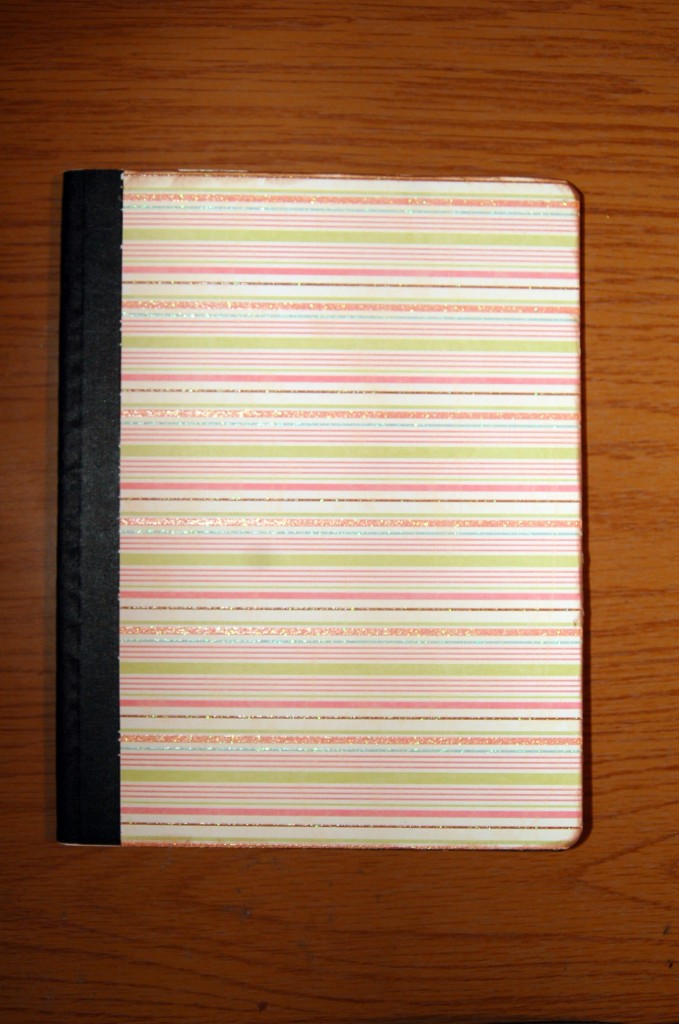
Start with any notebook. I used a good old composition journal, but you can use any type of journal or notebook.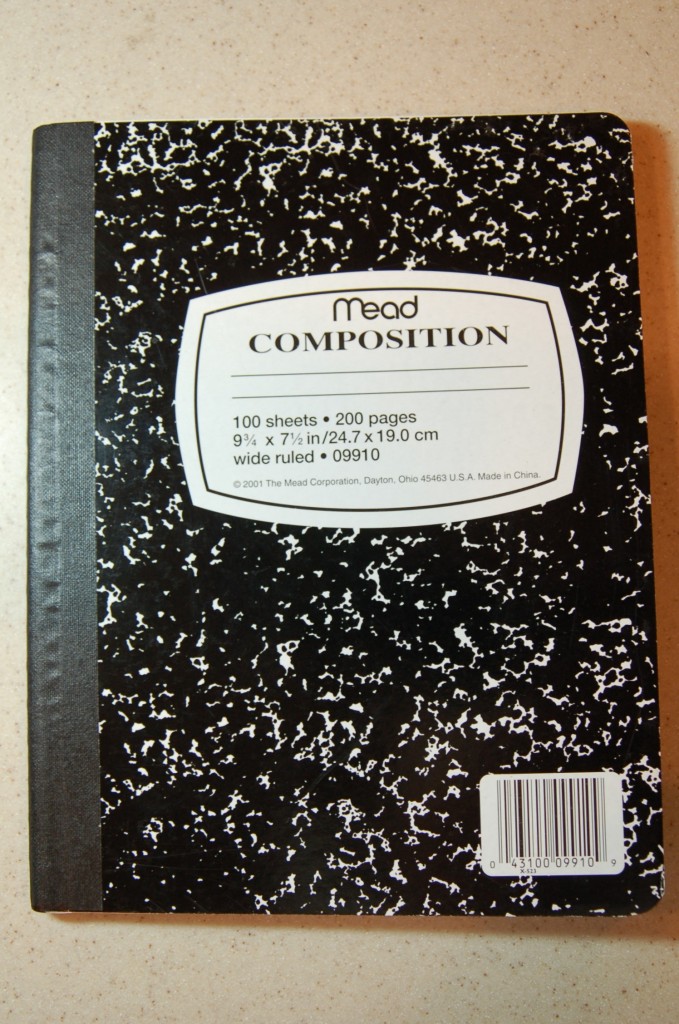 Cover the front and the back. I put the book on top of the paper and just traced around it. I just went to the black strip with my paper. Ink the edges if you prefer and then adhere paper to the front.
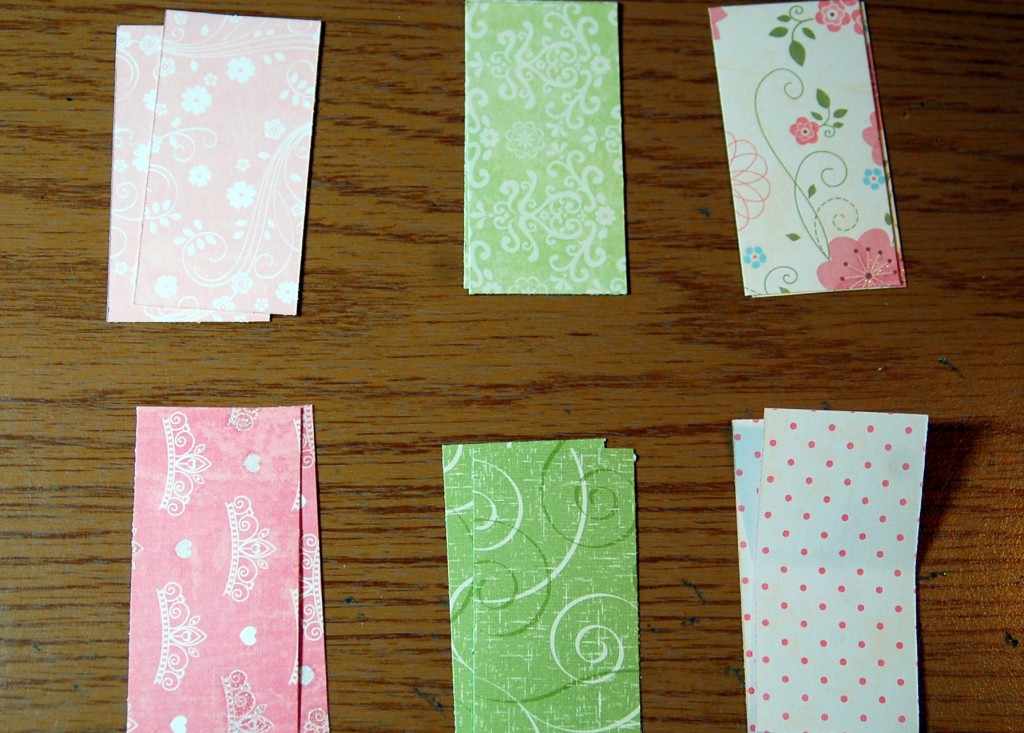
 Next cut your tabs for the dividers 1 1/2″ x 3 “. I used six coordinating patterns and cut two of each, so that I had twelve tabs, one for each month.
 I wrapped ribbon around the front of my journal and glued it to the inside cover. If you want to add ribbon you will need to do this step.
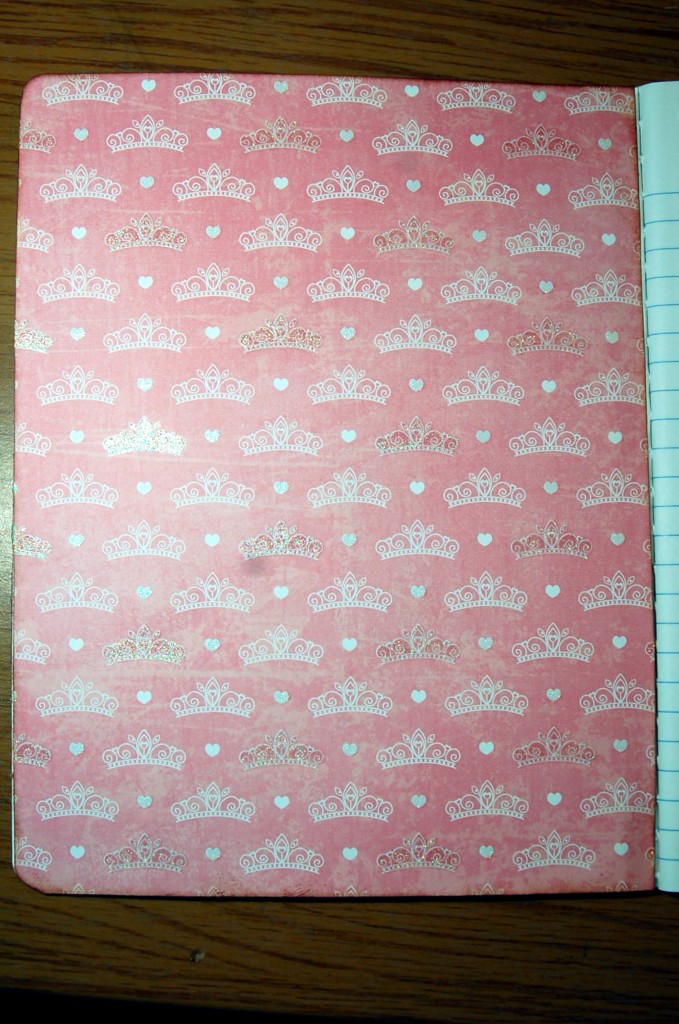
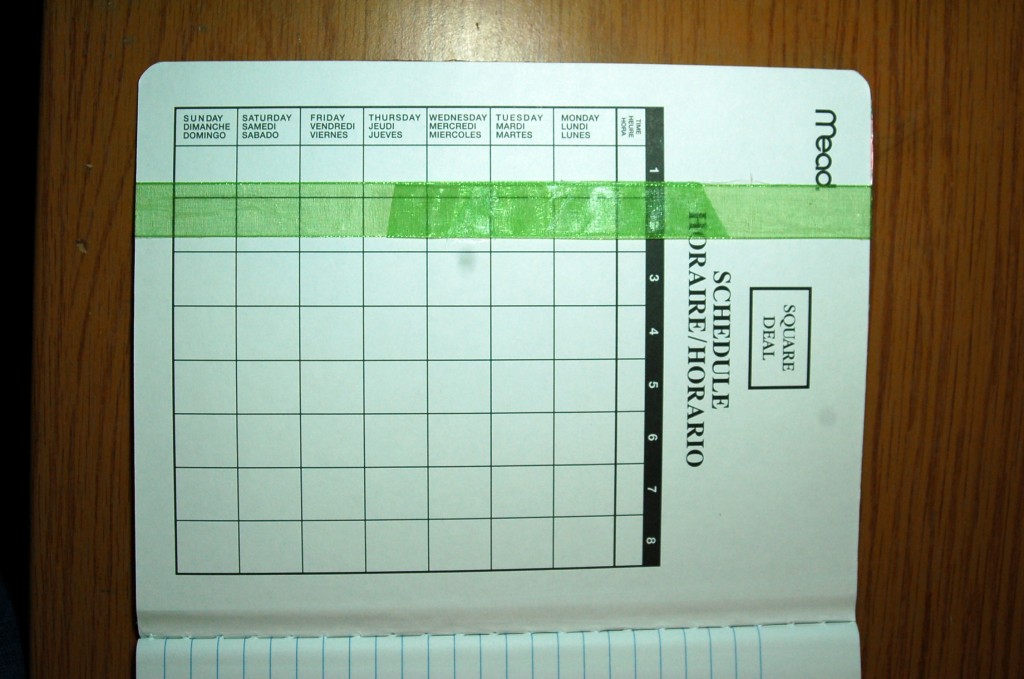 Next, cover the inside of your journal. Again I just put the cover on my paper and traced around it.. You want to leave a very little space on the inside, so that your book will close properly. Cut out and ink the edges. Adhere to the inside cover. Repeat this step for the back cover.
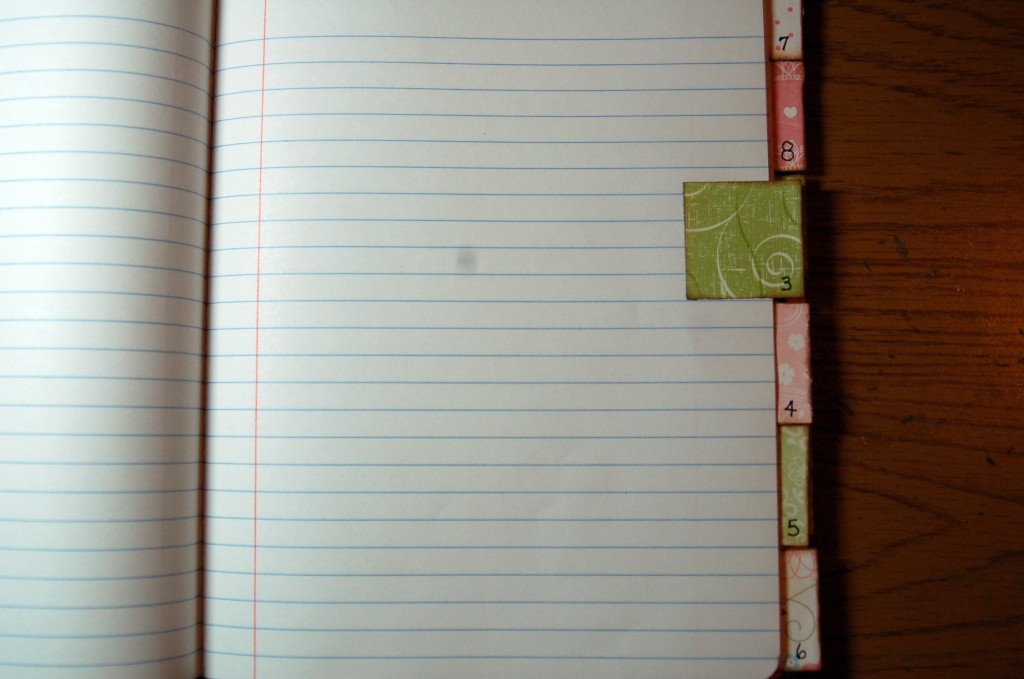
To add your tabs to the pages, fold tabs in half to make a 1 1/2″ x 1 1/2″ square. Ink edges if desired. Put one sheet of paper in between the tab and glue it so that about 1/4″ is sticking out beyond the page. The tab is showing on the front and the back of that page. Space evenly so that you can space 6 tabs down and then 6 more behind that. I had a 100 page journal, so I spaced the tabs every 8 pages. That left a few more at the back, but that does not matter. (You could add a title of “NOTES” to the last few pages if you wanted to.) Then number the tabs from 1-12 for each of the months.
 Decorate the front anyway that you would like. I wanted to make this a fun book that I would want to use over and over again, so I decorated it up by adding this flower and ribbons, which are pretty dimensional, but I am going to keep this book out on my desk, so that I will see it often and try to remember the purpose of this book. If you are going to keep it on a shelf, you will want to keep the front pretty flat. But just remember that the outside of the book is not what is important, but what you write in the inside!
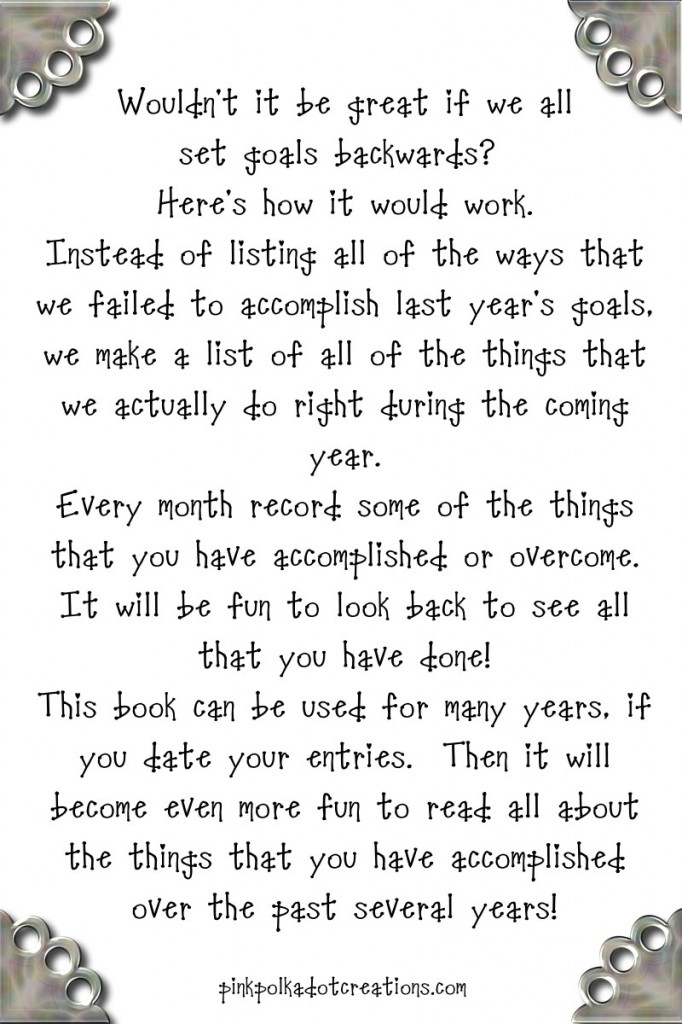
 On the inside cover you will want to add this label. It tells you how you should use this journal in setting your goals backward!
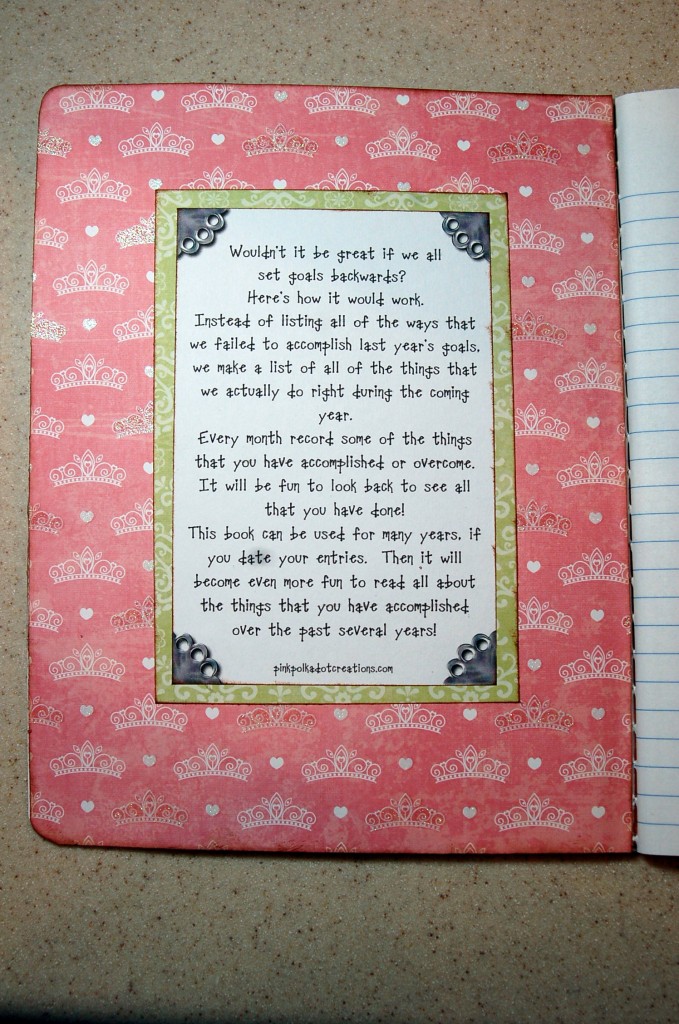 Here is a printable for you to print for the inside cover of your journal. I kept it pretty simple so that it would match with whatever color you use. I matted this label with a green to match my book. To print, just right click and go to copy, open your favorite program, like word, and right click again and to to paste. The original size is 4″ x 6″.
Now I need to go and record that I got my closet completely dejunked and cleaned out and donated clothes to a worthy cause. I spent time with my husband, and some of my grandchildren, which is time very well spent. I also exercised 3 times this week! So instead of beating myself up, I am going to try to look for all the good around me!


