Tag Archives: gift idea

English Toffee

Ok, so this is the last candy post, at least for this week! :)  I am starting to feel the sugar high a little bit too much.  I started making this candy at 7:30 am and my husband was wondering what in the world I was doing and I just replied, “Oh, I’m just working on my blog!”  He just shook his head!

This candy is just the right combination of chocolate, nuts, and toffee.  I am also having the hardest time staying out of it, it is probably one of my favorite candies!

So let’s make English Toffee today!

Start by lining a cookie sheet with foil and then butter the foil.  Spread 1 cup chopped nuts on the cookie sheet.  ( I used pecans, but you can use whatever you have)
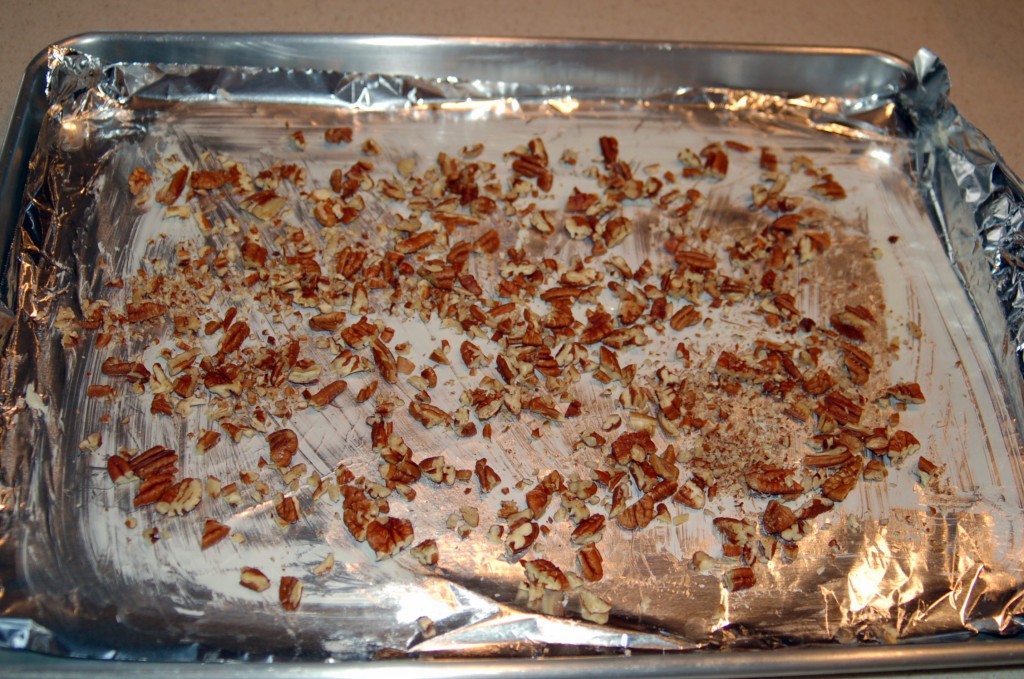
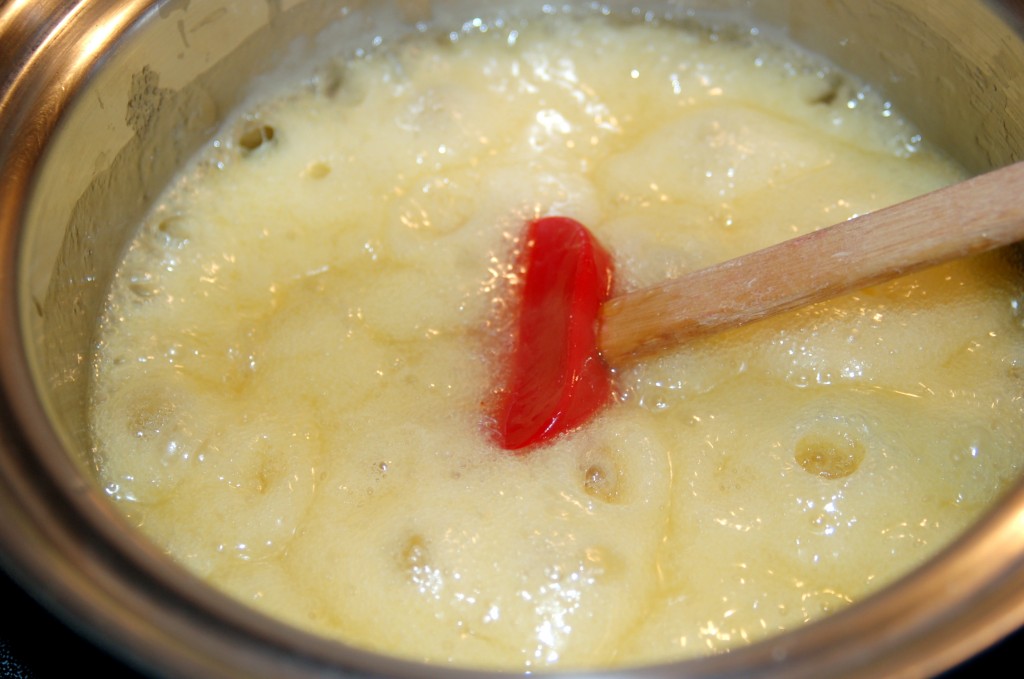
Mix 1 cup butter, 1 cup sugar, 1/8 tsp salt, 3 TLBS water, and 1 tsp vanilla.  Put in a kettle and bring to a boil.

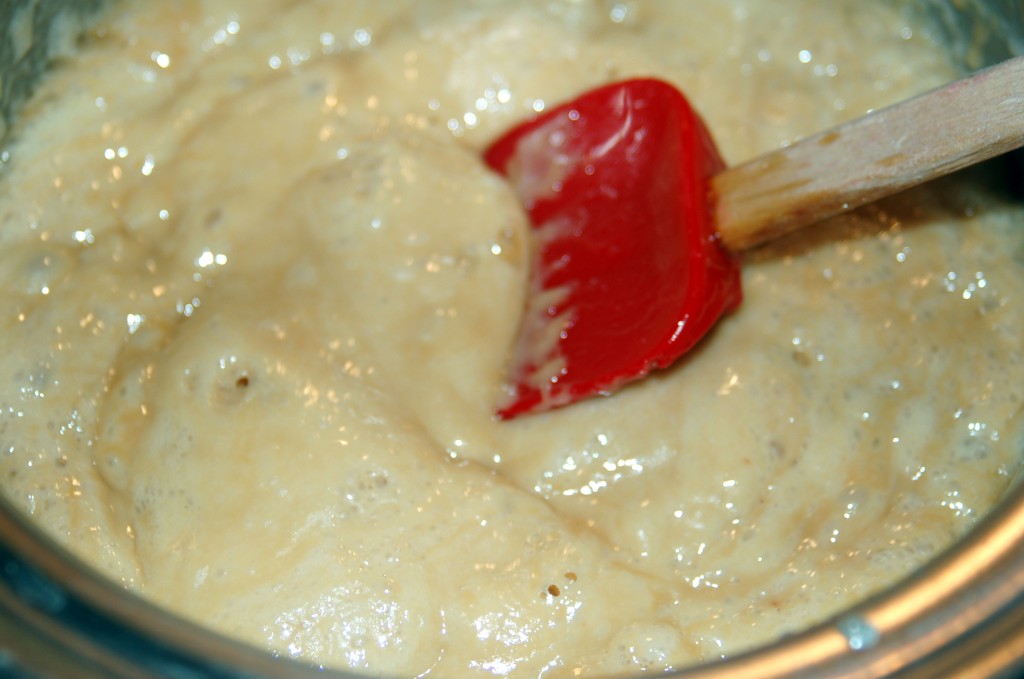
 Reduce heat to medium and stir constantly until mixture is light brown in color and crack stage has been reached (300-310 degrees on candy thermometer) If you want to know how to test for crack stage, go to the Anise Candy post.

 Spread cooked candy thin over nuts.
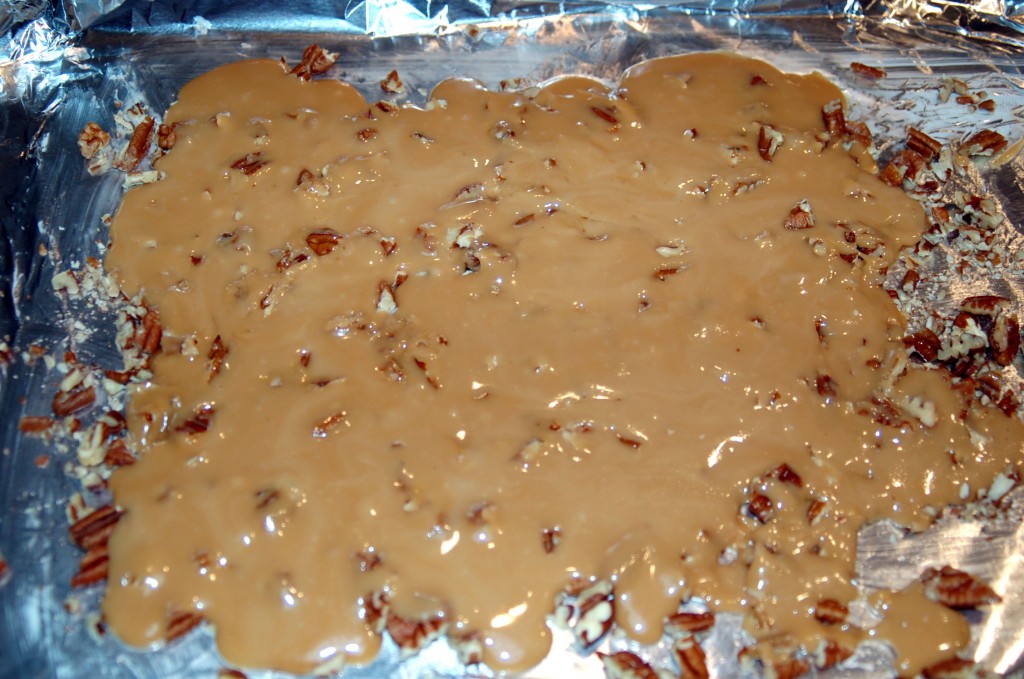
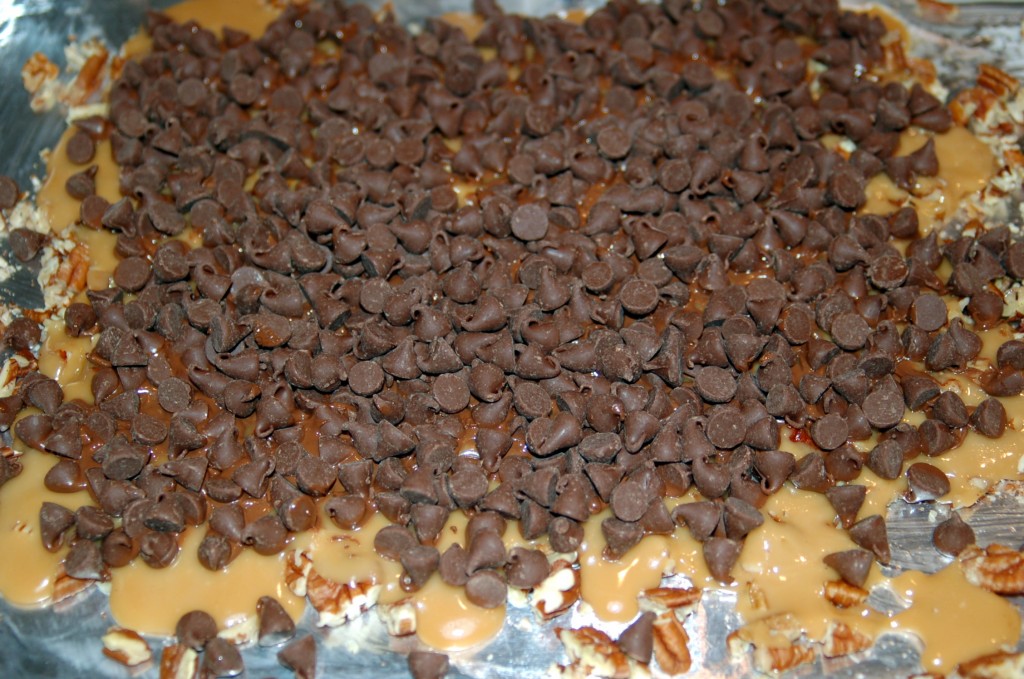
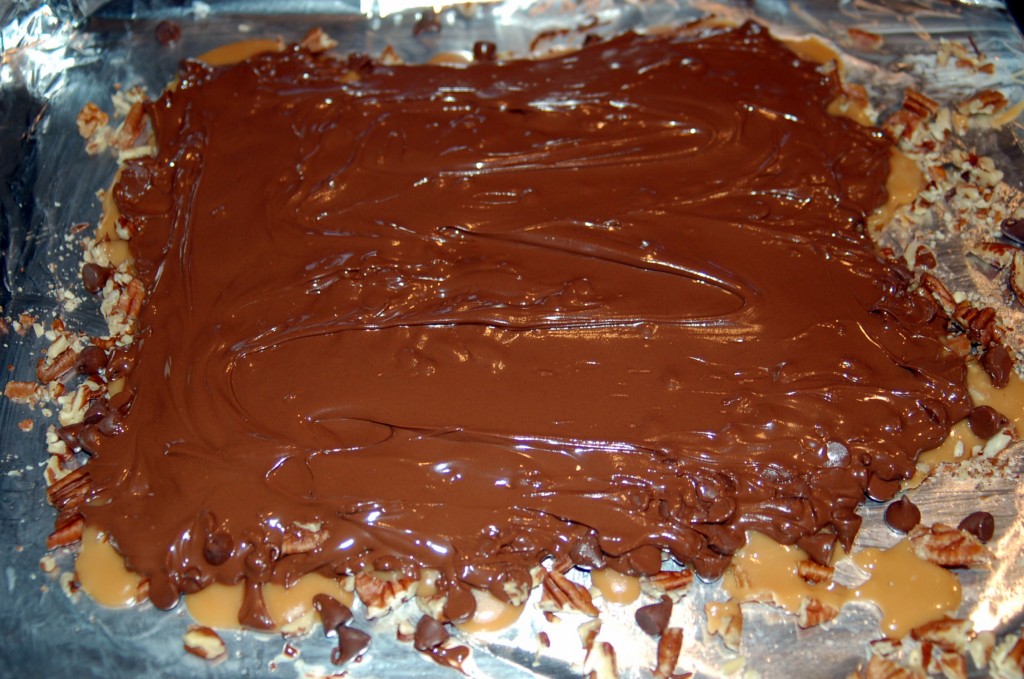
Sprinkle 11.5 oz package of chocolate chips on top. ( I used milk chocolate, but semi-sweet would be good also, totally your preference!)

When melted, spread over all of the toffee.
Sprinkle 1/2 cup chopped nuts on top of chocolate and press down into the chocolate with your fingers.
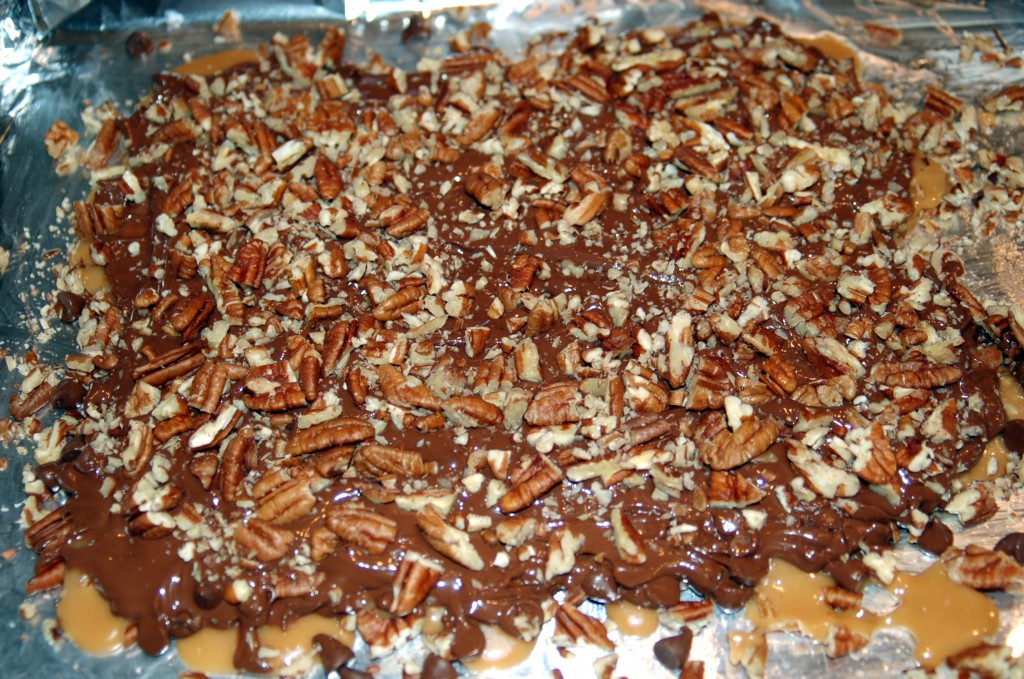
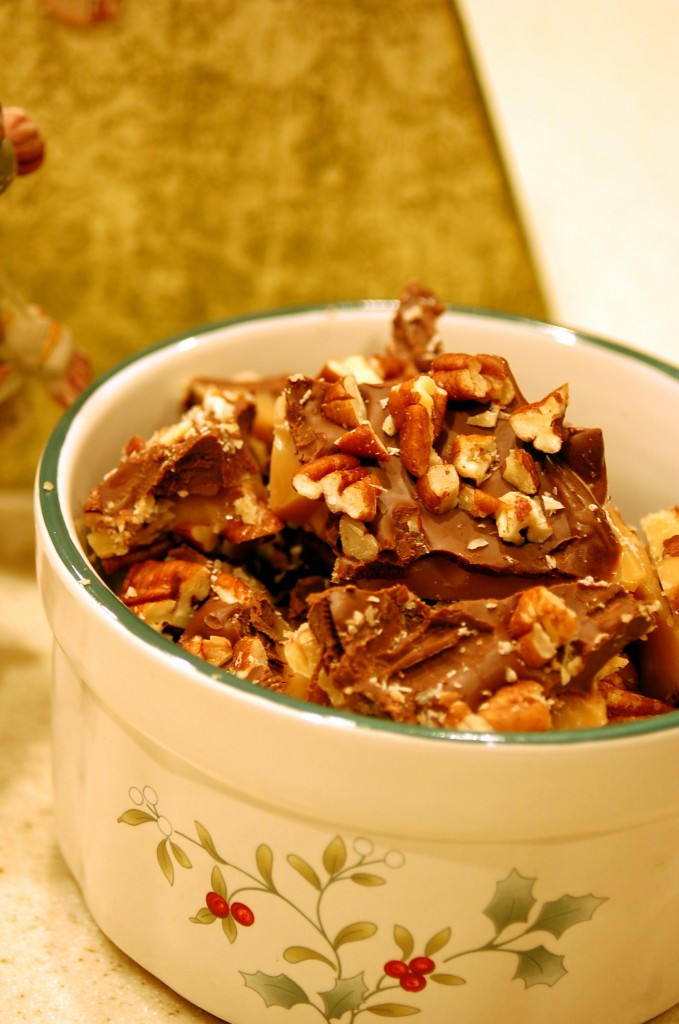
Break into pieces and enjoy!  This is another candy that is great to give as gifts, to fill a candy dish with, or just make for a treat for yourself!
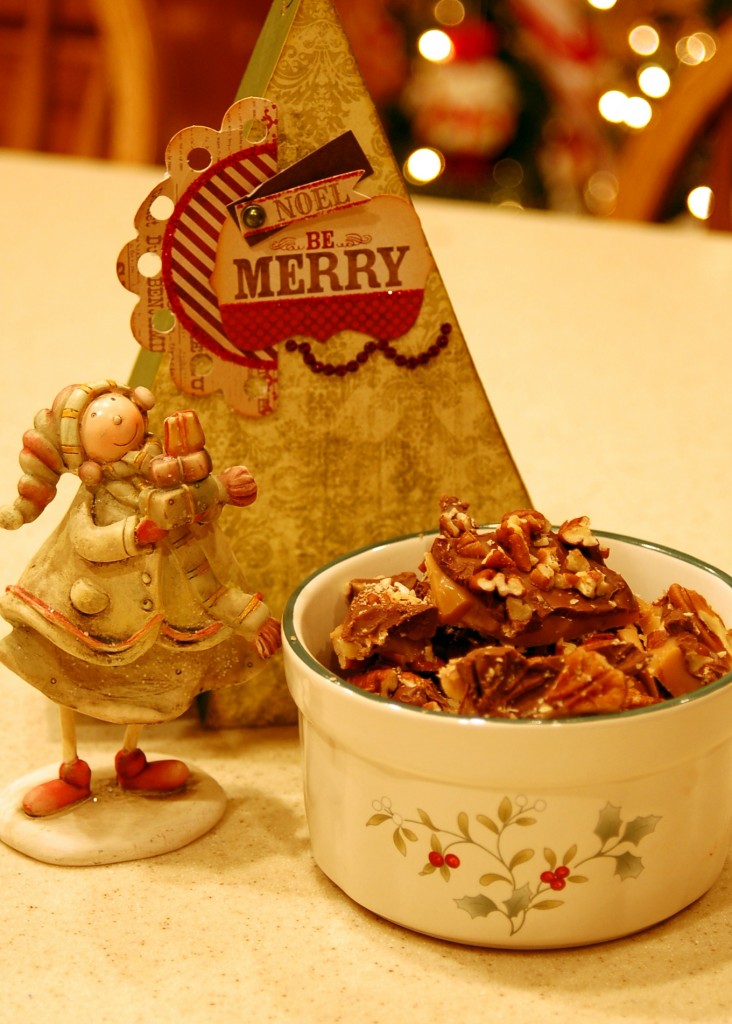
Here’s the recipe:

English Toffee

1 cup butter

1 cup sugar

1/8 tsp salt

3 TBLS water

1 tsp vanilla

Combine in a kettle and bring to a boil. Reduce heat to medium and stir constantly until mixture is light brown in color and crack stage has been reached (300-310 degrees on candy thermometer)

1 1/2 cups chopped nuts

11.5 oz package chocolate chips

 Place buttered foil on cookie sheet and spread with 1 cup of the chopped nuts. Spread cooked candy thin over nuts. Sprinkle chocolate chips on top. Let melt and spread over entire candy. Add remaining 1/2 cup chopped nuts on top. (I pressed them down with my fingers into the chocolate)

Break into pieces when cool. Enjoy!

Ruffled Christmas Pillow

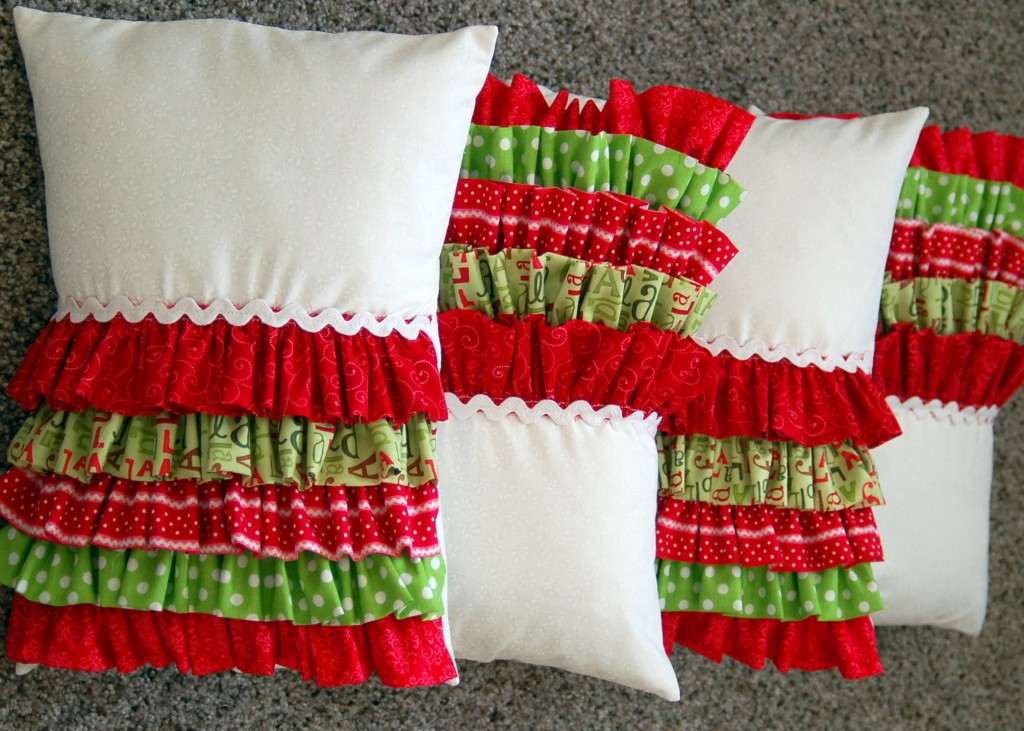
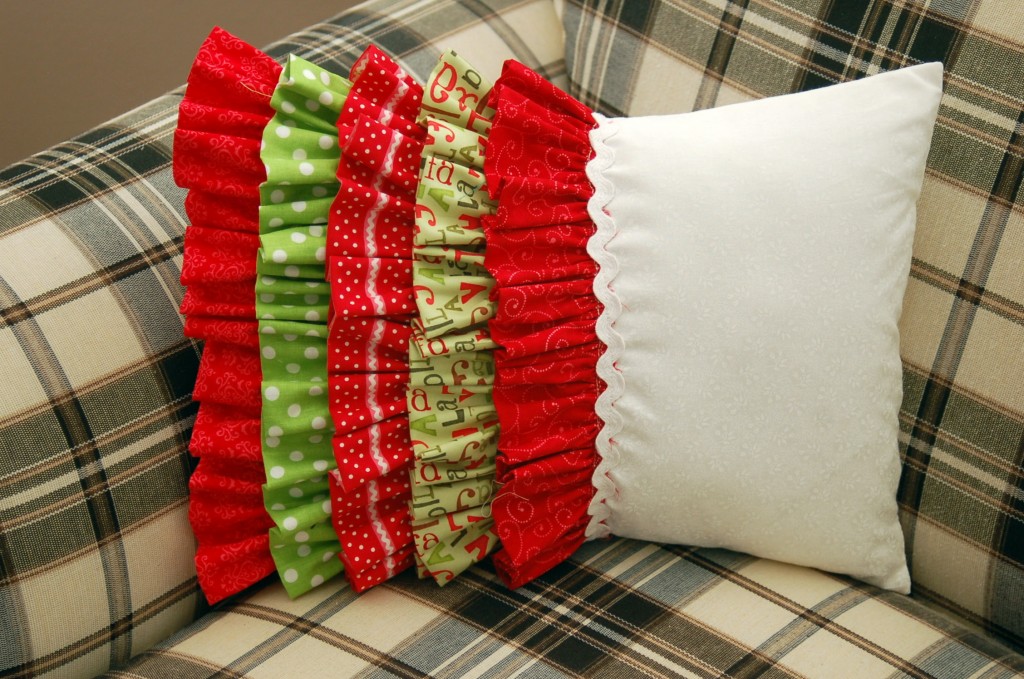
I made some of these pillows for gifts and I love the way that they turned out!  It took me a little more than a hour to sew each one, so it is definitely a project that you could do in an evening!

So, let’s make a pillow or two!

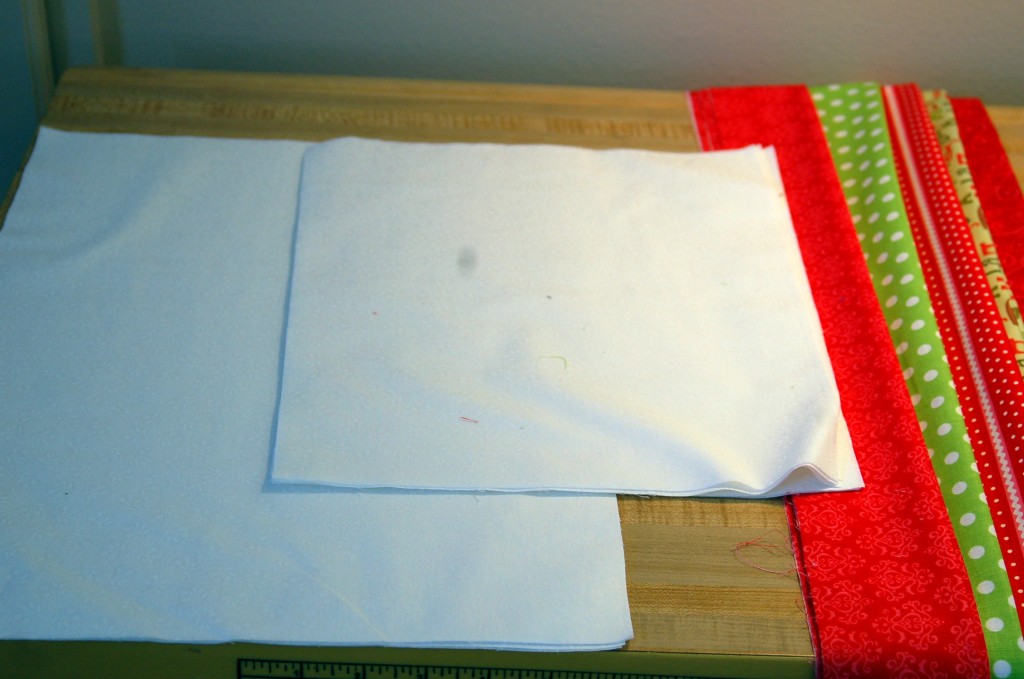
Supplies:

12″ x 16″ pillow form

5″ x 32″ strips- you will need five different fabrics

1/2 yard fabric for pillow front and back (I used white on white fabric)

1/2 yard ric rac or ribbon

Cut one pillow front 12 1/2″ x 16 1/2″  rectangle, cut two 12 1/2″ x 10 1/2″ rectangles for the back.  Cut ruffles 5″ x 32″.  Fold ruffle strips in half lengthwise, wrong sides together and press.

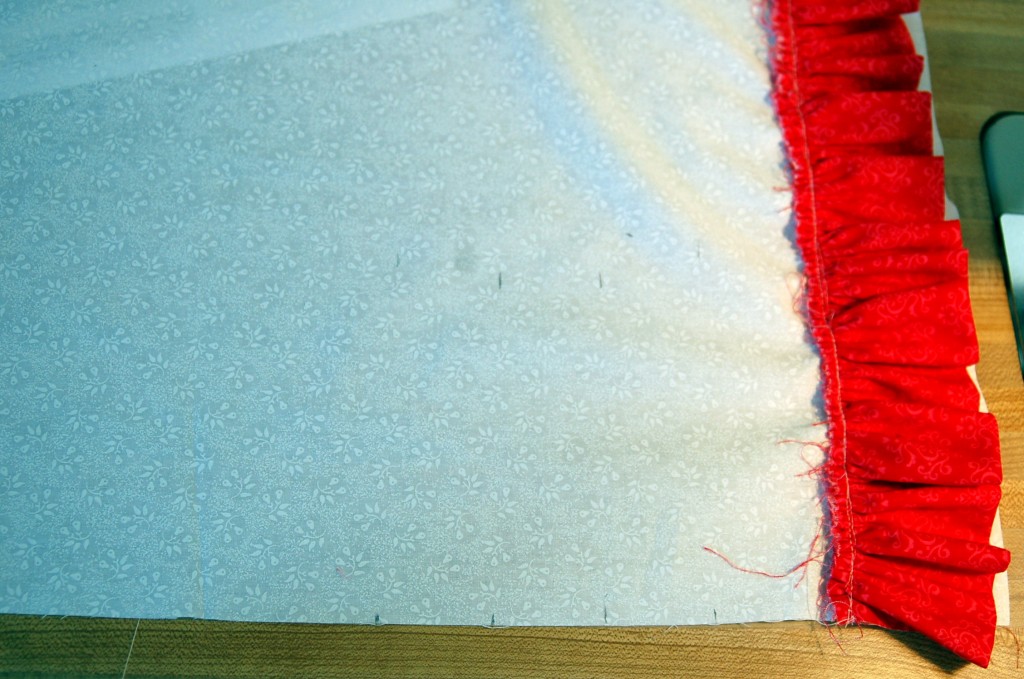
Sew a gathering stitch 1/4″ from edge along the long raw edge of the ruffles.  Pull gathers until ruffles measure about 12 1/2″ long.
Next, mark on your pillow front fabric:

1st row:  3″ from edge

2nd row: 4 1/2″ from edge

3rd row:  6″ from edge

4th row:  7 1/2 ” from edge

5th row: 9″ from edge

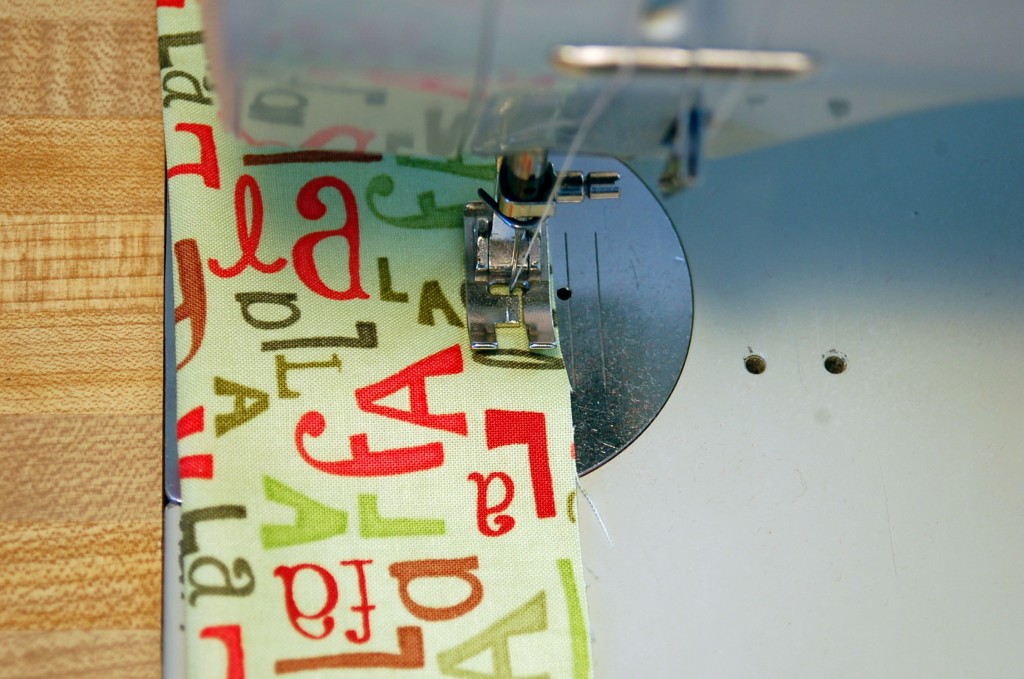
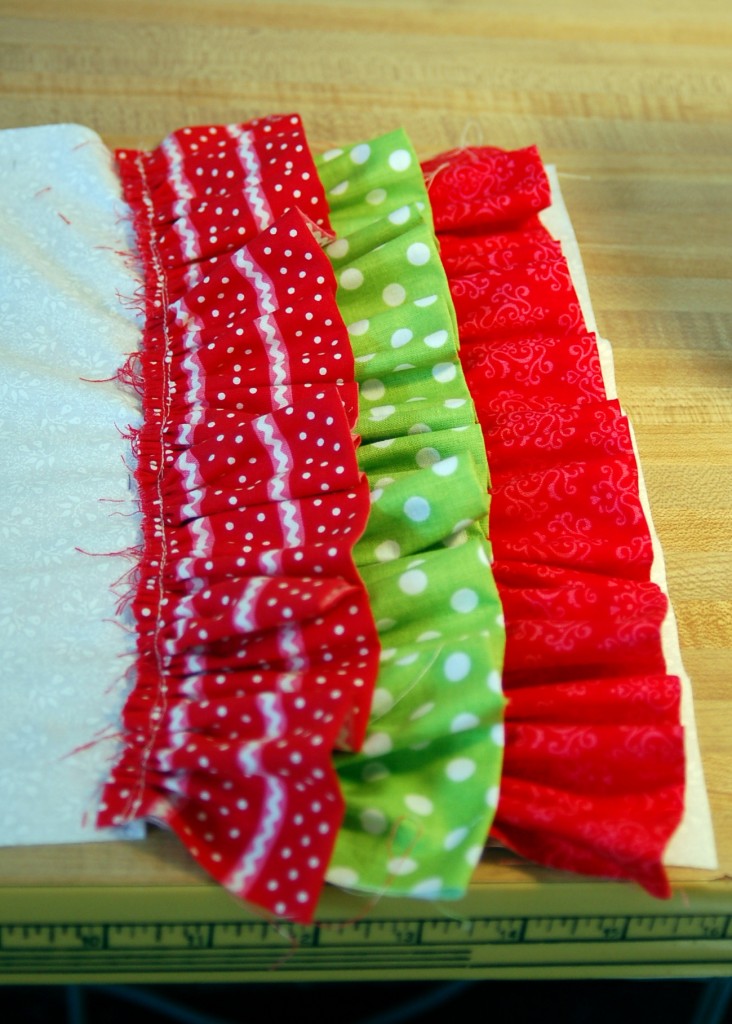
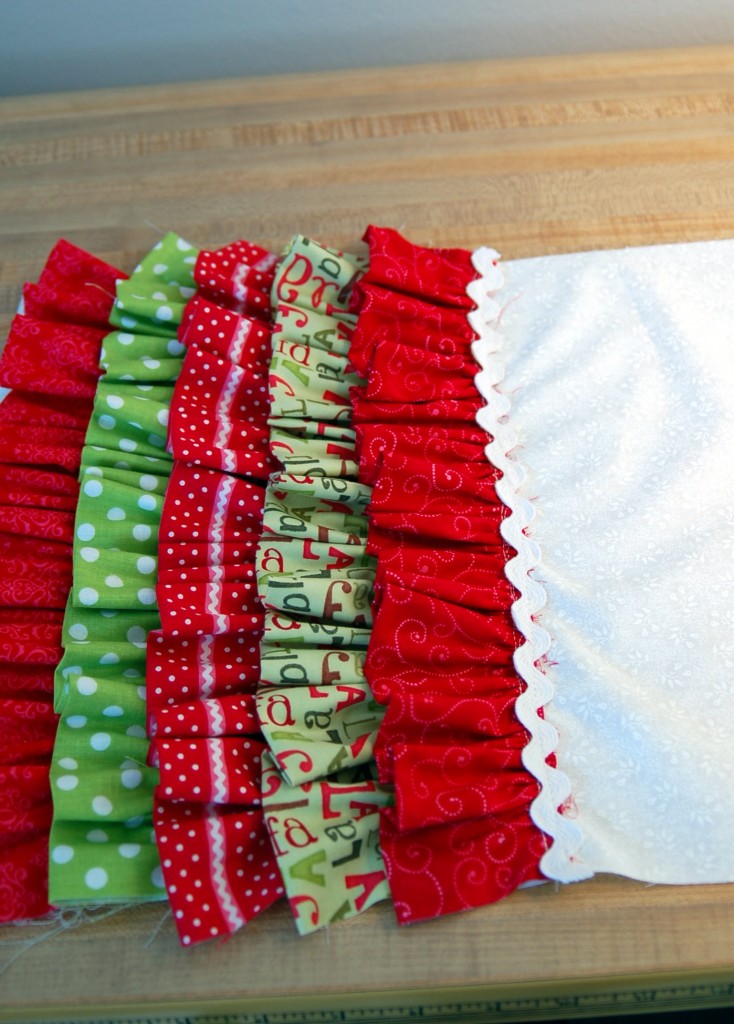
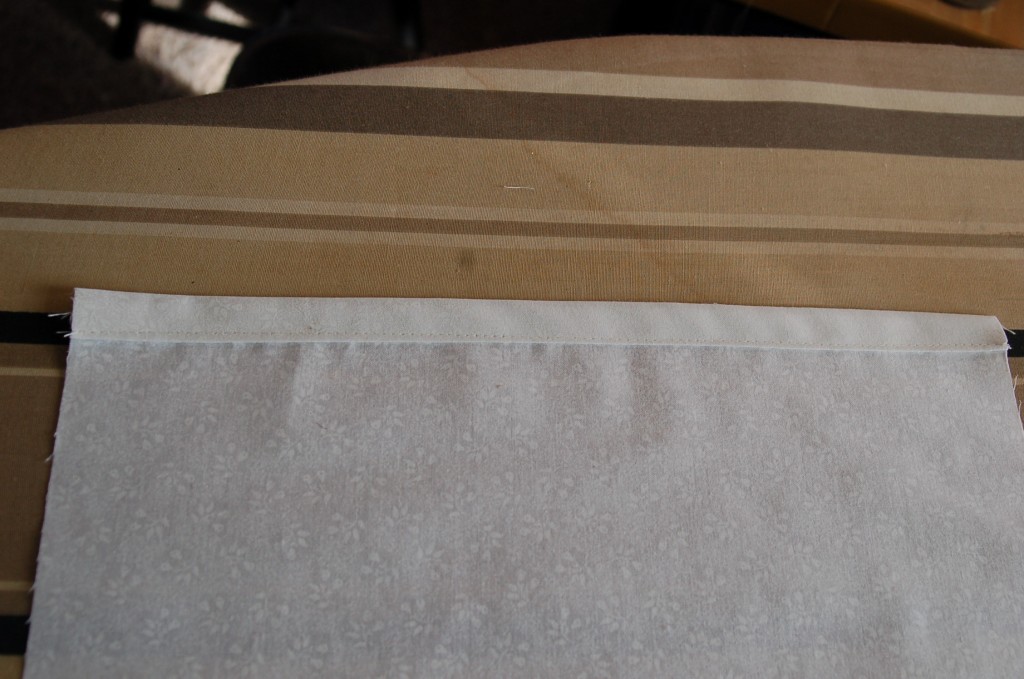
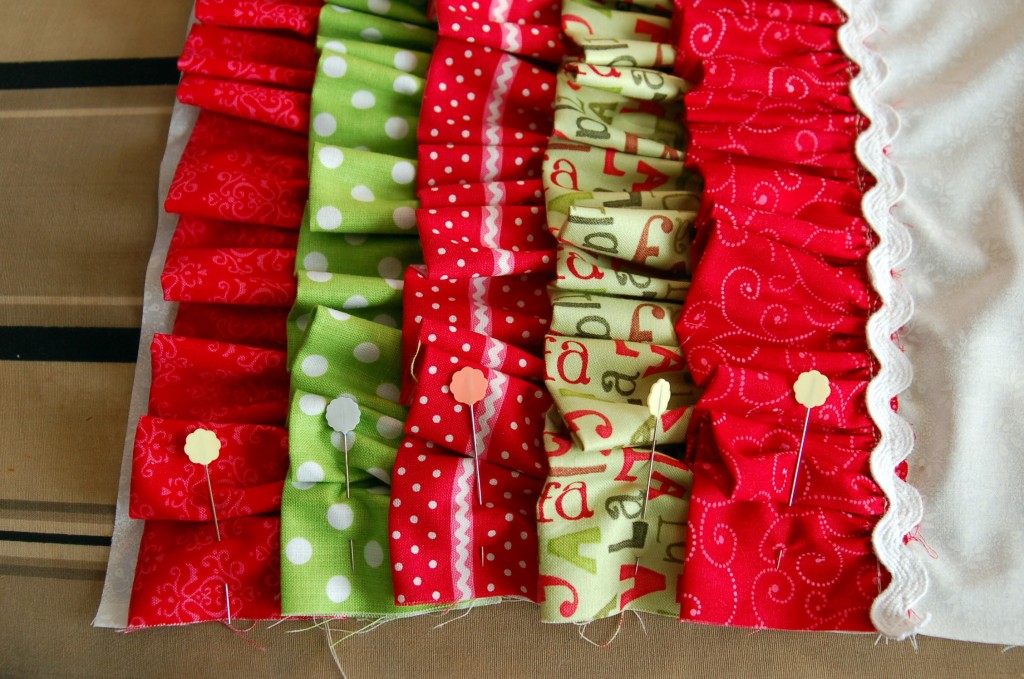
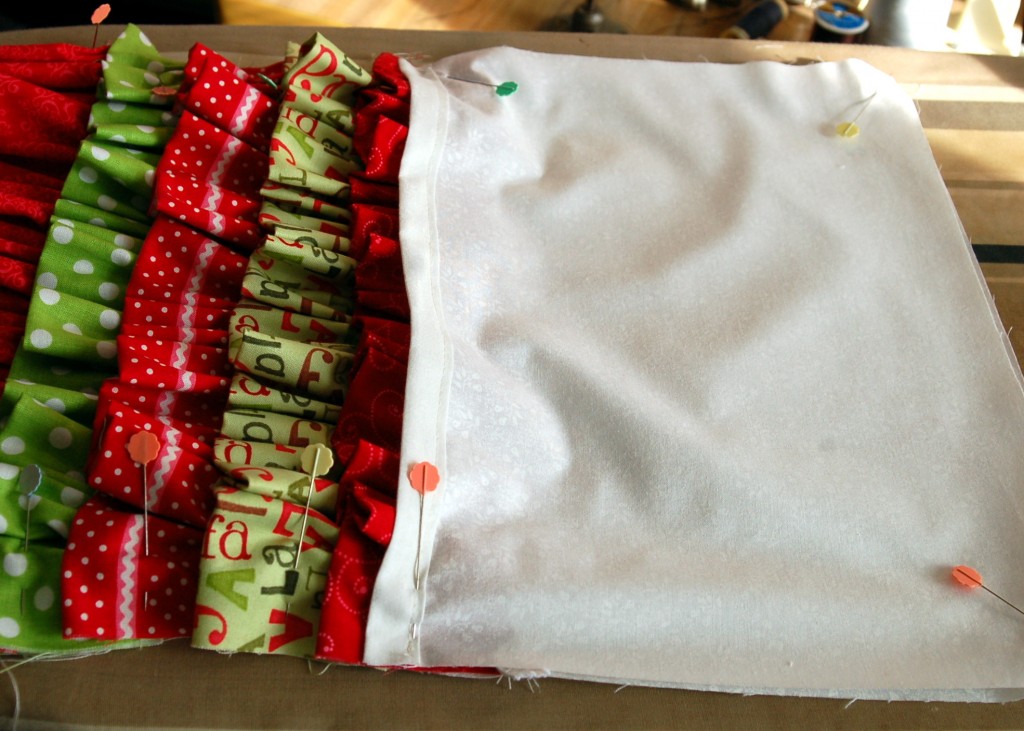
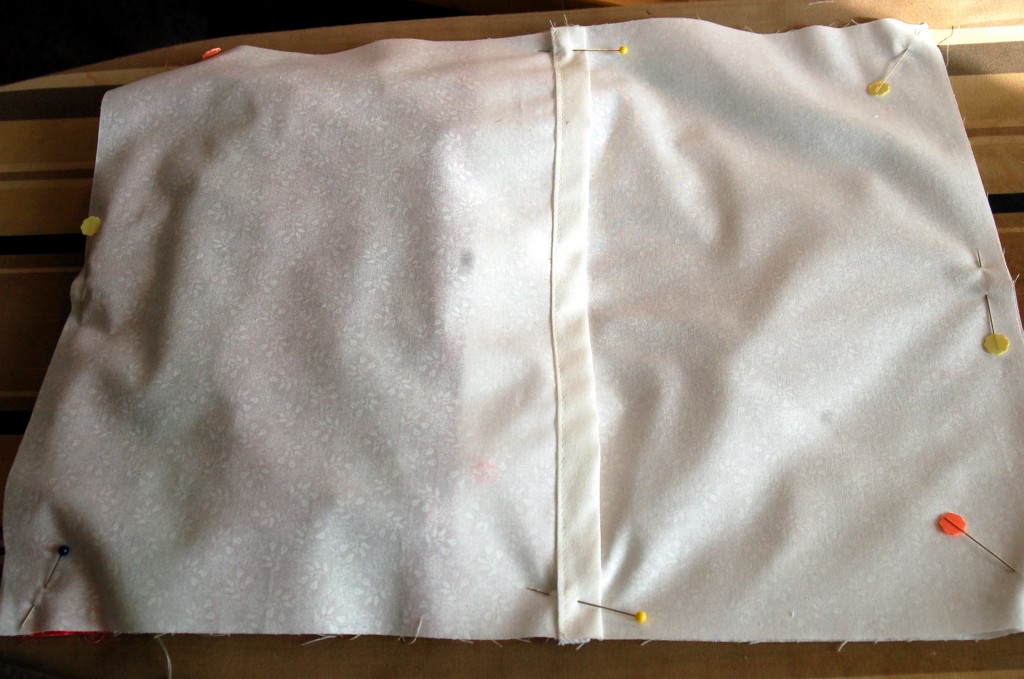
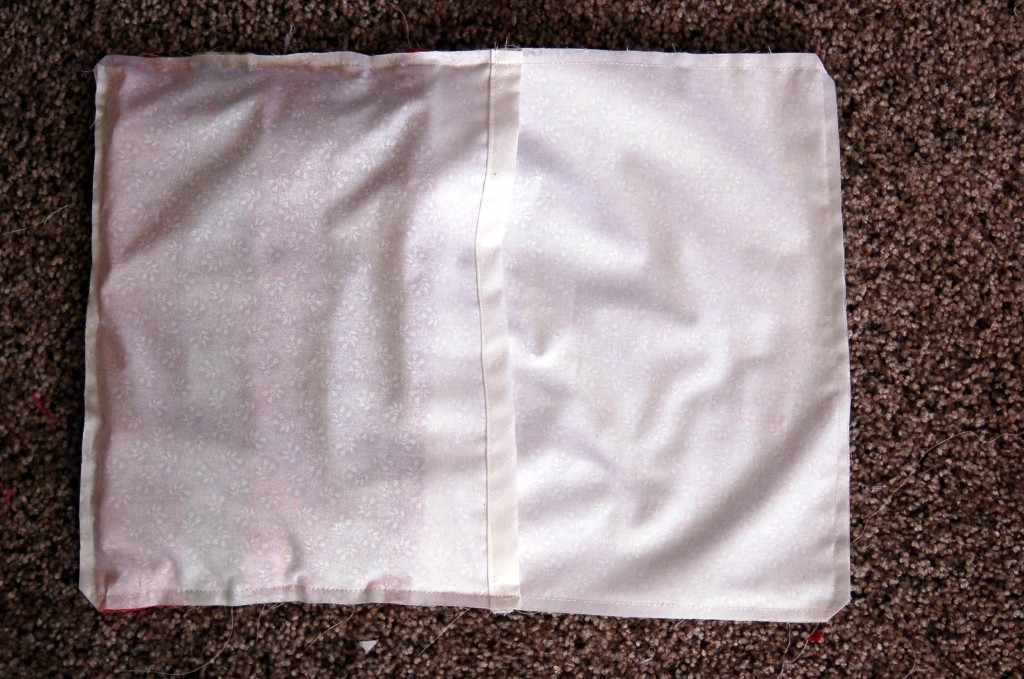
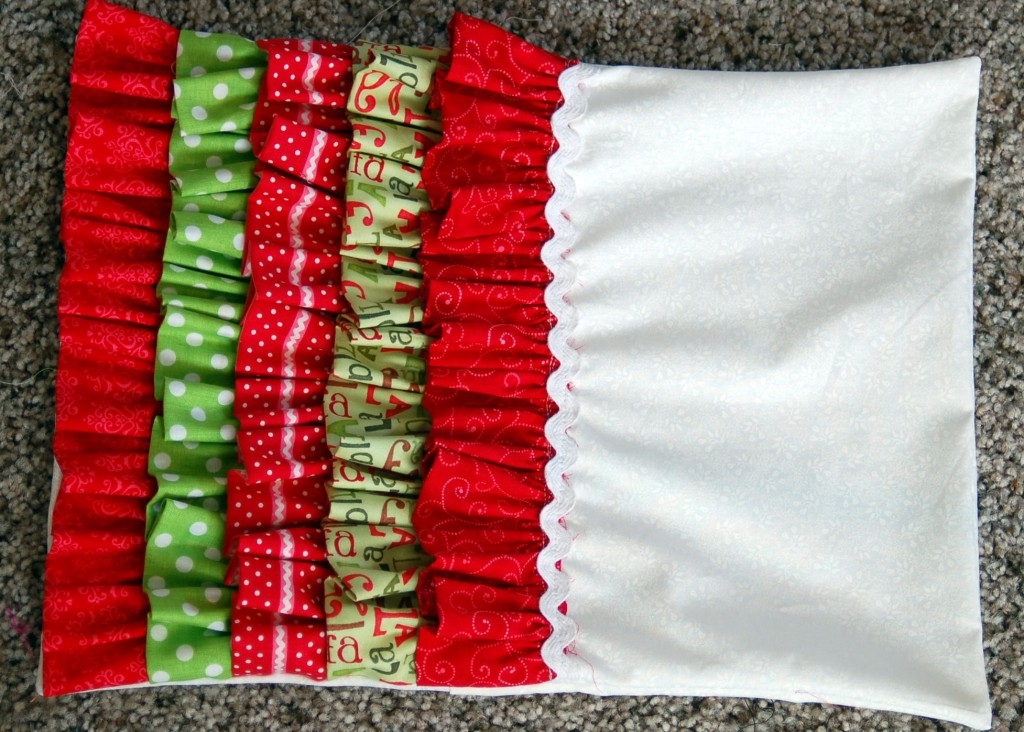
I marked on both edges and down the middle.  Beginning with the first ruffle, line up the raw edge with the marks that you made and stitch gathered ruffle to pillow .  Continue sewing on all five ruffles matching the raw edge with the marks you made.After all five ruffles are sewn on, you can cover the last seam with ric-rac or ribbon.  Or you could  just leave the raw edges. Next take the two back pieces and on the 12 1/2 ” side, fold down to the wrong side, 1/2″ and press and then fold down 1/2″ again and press.  Stitch close to the inside edge as shown.Pin all of your ruffles so that they are even with the edge of the pillow.Place one of the back pieces onto the pillow.  Right sides together and pin.Then pin the other side overlapping the first piece by about 2″Stitch all the way around the outside of the pillow and trim the corners.Turn through overlapped opening and gently poke corners.

Woot, Woot!

You have made a ruffled pillow!  All you have to do is insert the pillow form!Now all you need to do is find a nice warm blanket and a good book, or movie and you are set!

May you all find a moment to wrap up with a pillow, blanket and hot chocolate and remember the true meaning of Christmas & the real Reason for the Season!

White Chocolate Cookies and Cream Fudge

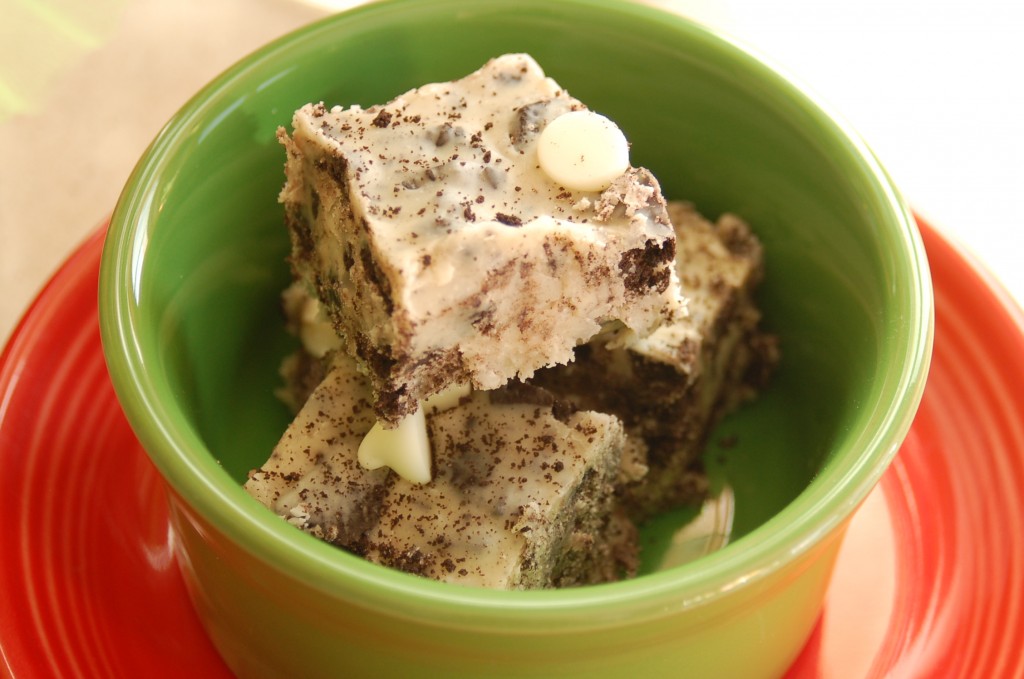
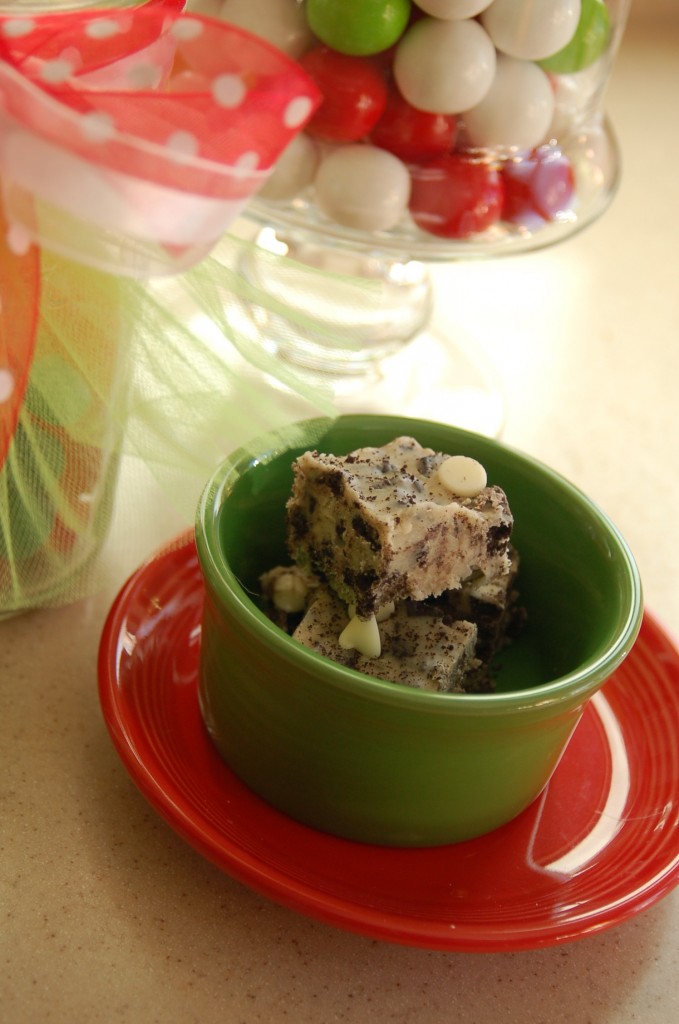
My daughter brought this fudge to our Sinterklaas party last weekend and everyone loved it.  One of my granddaughter’s favorite candy bar is Hershey’s Cookies and Cream, and she told her mom that this fudge taste just like her favorite candy bar!

She found the recipe here, on Pinterest.

White Chocolate Cookies & Cream Fudge (adapted from Amanda of Fake Ginger’s Recipe)

2 1/4 c white chocolate chips

+ 1/2 c white chocolate chips, reserved (or any kind of chocolate chips)

1 can (14 oz) sweetened condensed milk

3 c Oreo cookies, chopped

reserve 1-2 tbsp Oreo crumbs for dusting the top layer of the fudge

1 tbsp vanilla extract

Directions:

Combine 2 1/4 c white chocolate chips and sweetened condensed milk and melt over low heat in a saucepan taking care to stir frequently and watch it so the mixture doesn’t burn (you could also probably do this in the microwave but I haven’t tried it).  When mixture is melted and smooth, add vanilla extract.  Then add the chopped Oreo cookies and stir.  Pour mixture into 9 x 9 foil-lined or parchment-lined pan.  Then lightly press 1/2 c white (or regular/dark) chocolate chips into the top layer.  The fudge will start to set up fairly fast and just press the chocolate chips in lightly.  Dust top layer with 1-2 tbsp Oreo crumbs if desired.  Place fudge in freezer for at least two hours to fully set up.  Remove from freezer, slice, and serve at room temperature.   Store extra in the freezer or fridge and it will likely keep for month(s).  It will keep for much longer than you’ll be able to keep it around.

Don’t overchop your Oreos if you want really white fudge.

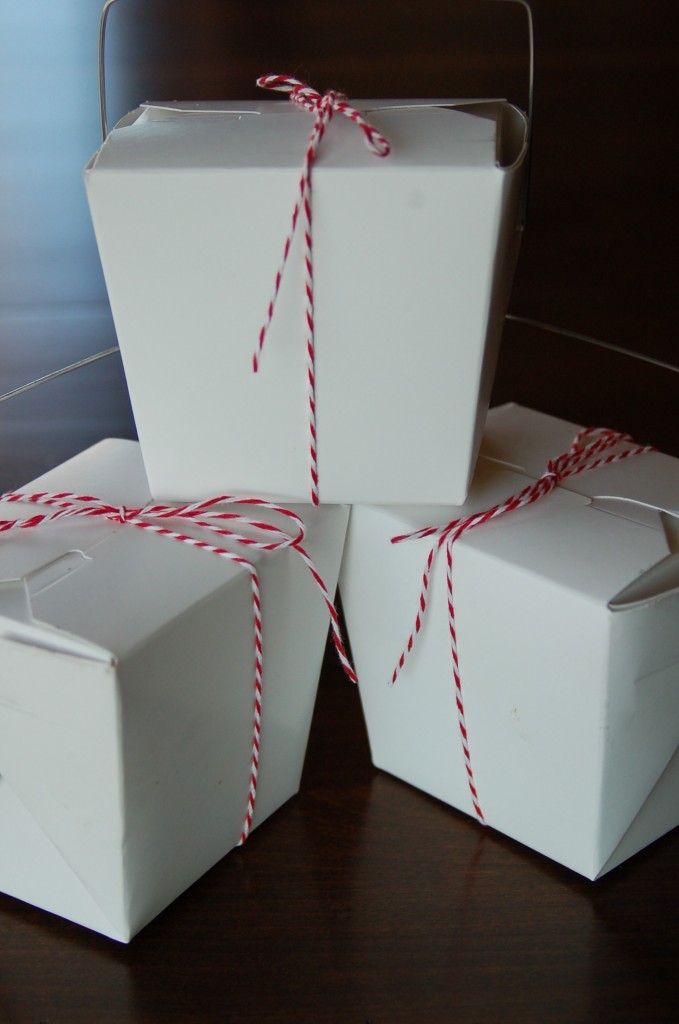
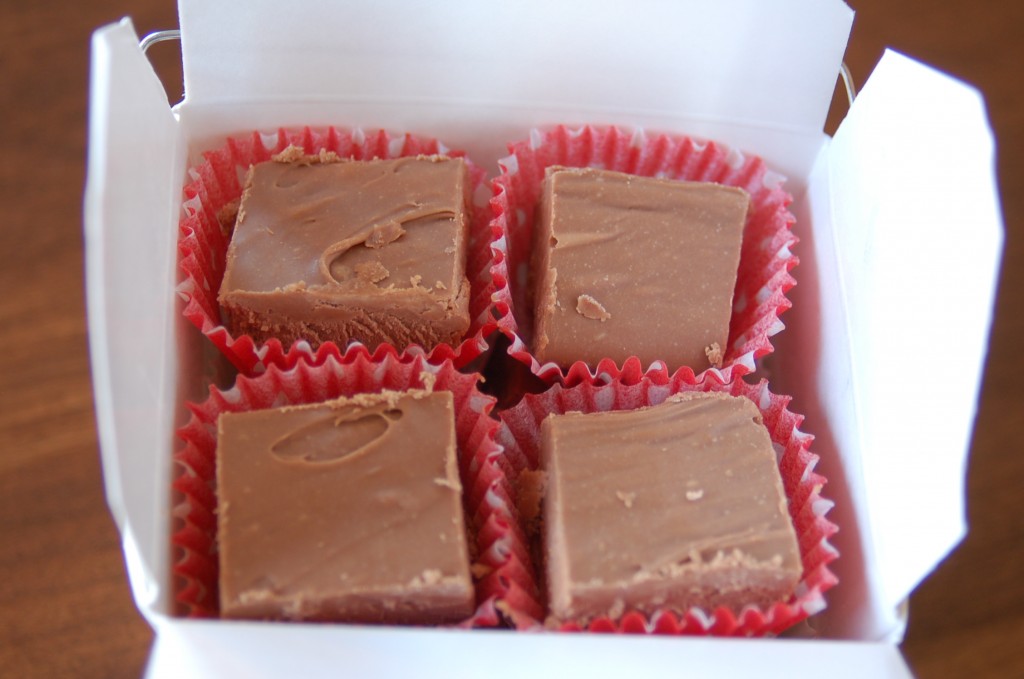
A fun way to package your fudge to give it away, is to put it into Chinese take out boxes!  I found mine here at Gygi’s and I just simply tied it with bakers twine, which I also got at Gygi’s.  It is very simple, but cute!  You could also use a cute ribbon, or twine etc to tie up your boxes with.(This is some of my regular fudge), but I put little candy papers inside to put the fudge in, so it did not all stick together and it makes a cute presentation!Do you have a favorite fudge recipe?   I would love to hear about it!

Apple Pie Caramel Apples!

We made our caramel apples last weekend.  They are so yummy and really quite easy to do.  My family all prefer these caramel apples to the ones dipped in milk chocolate and candies.  So this year, this is the only kind we made.  But you could definitely use milk chocolate instead of the white, and candies or nuts, instead of the cinnamon/sugar!

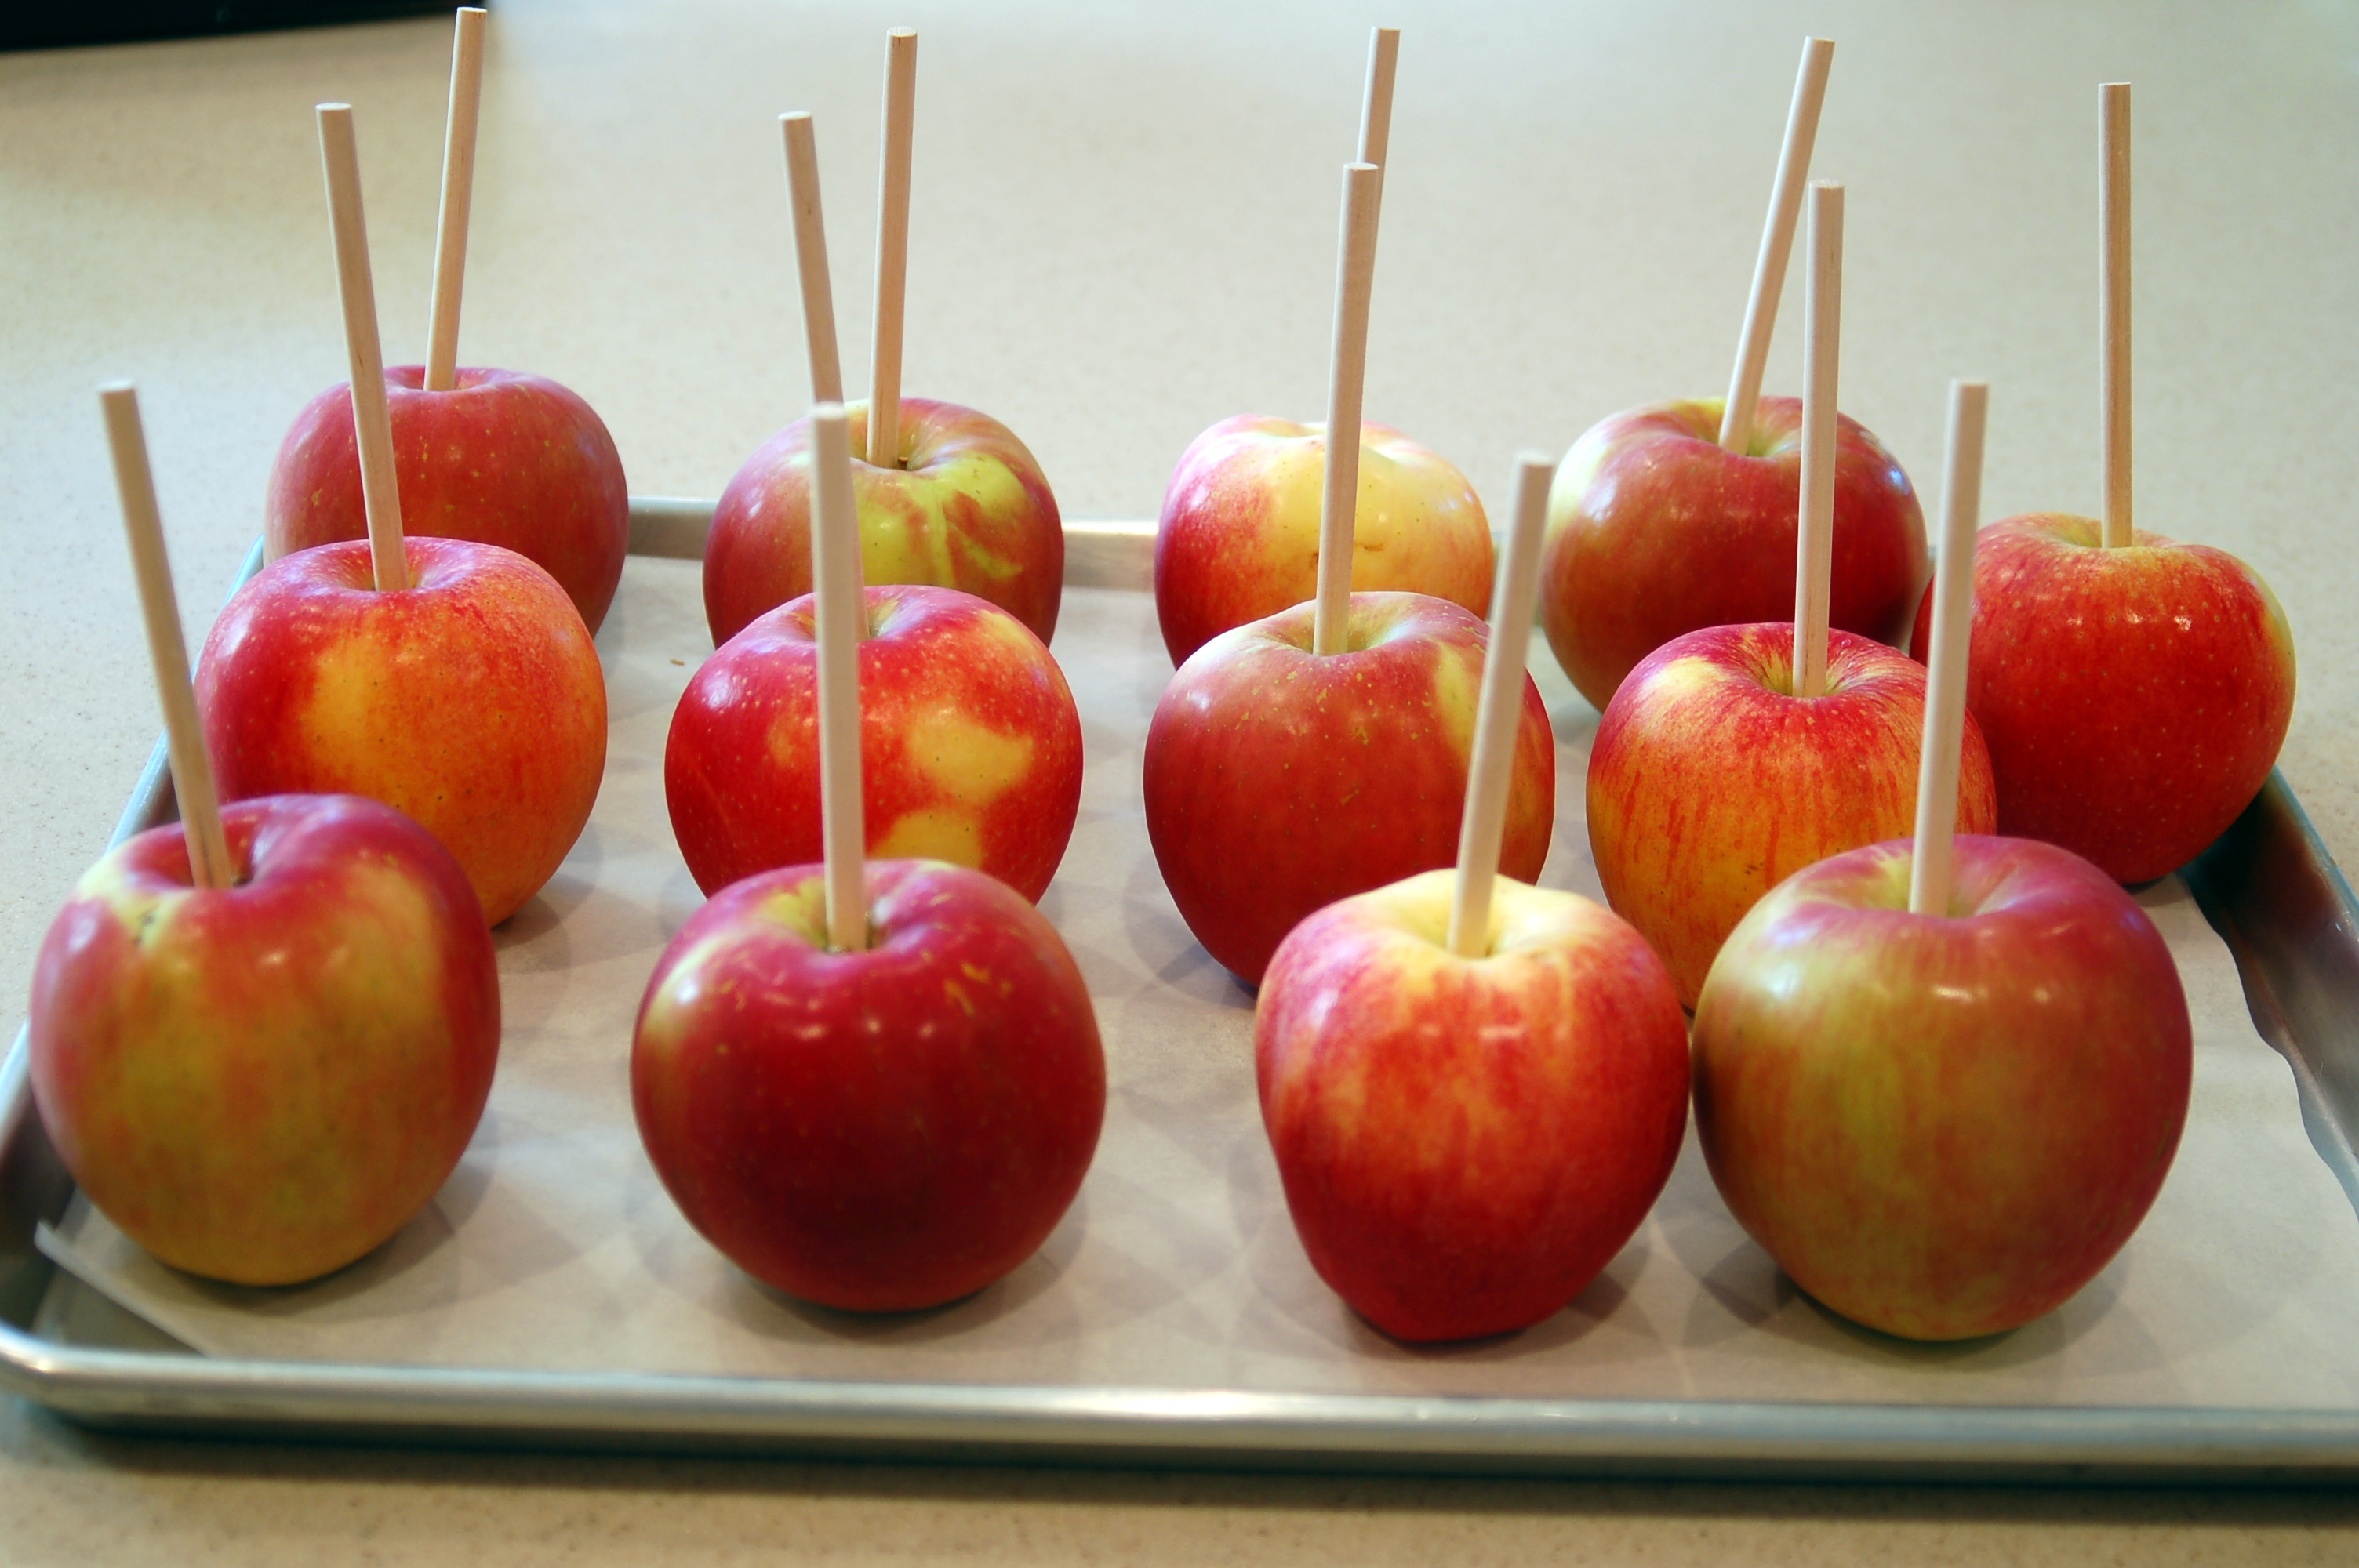
First you need to wash your apples to get all of the wax off.  You can use warm soapy water.  Then make sure that they are completely dry.  Put a wooden stick in the center of each apple and then refrigerate for at least an hour to make sure the apples are cold. I used Fuji apples because they are my very favorite kind of apples!

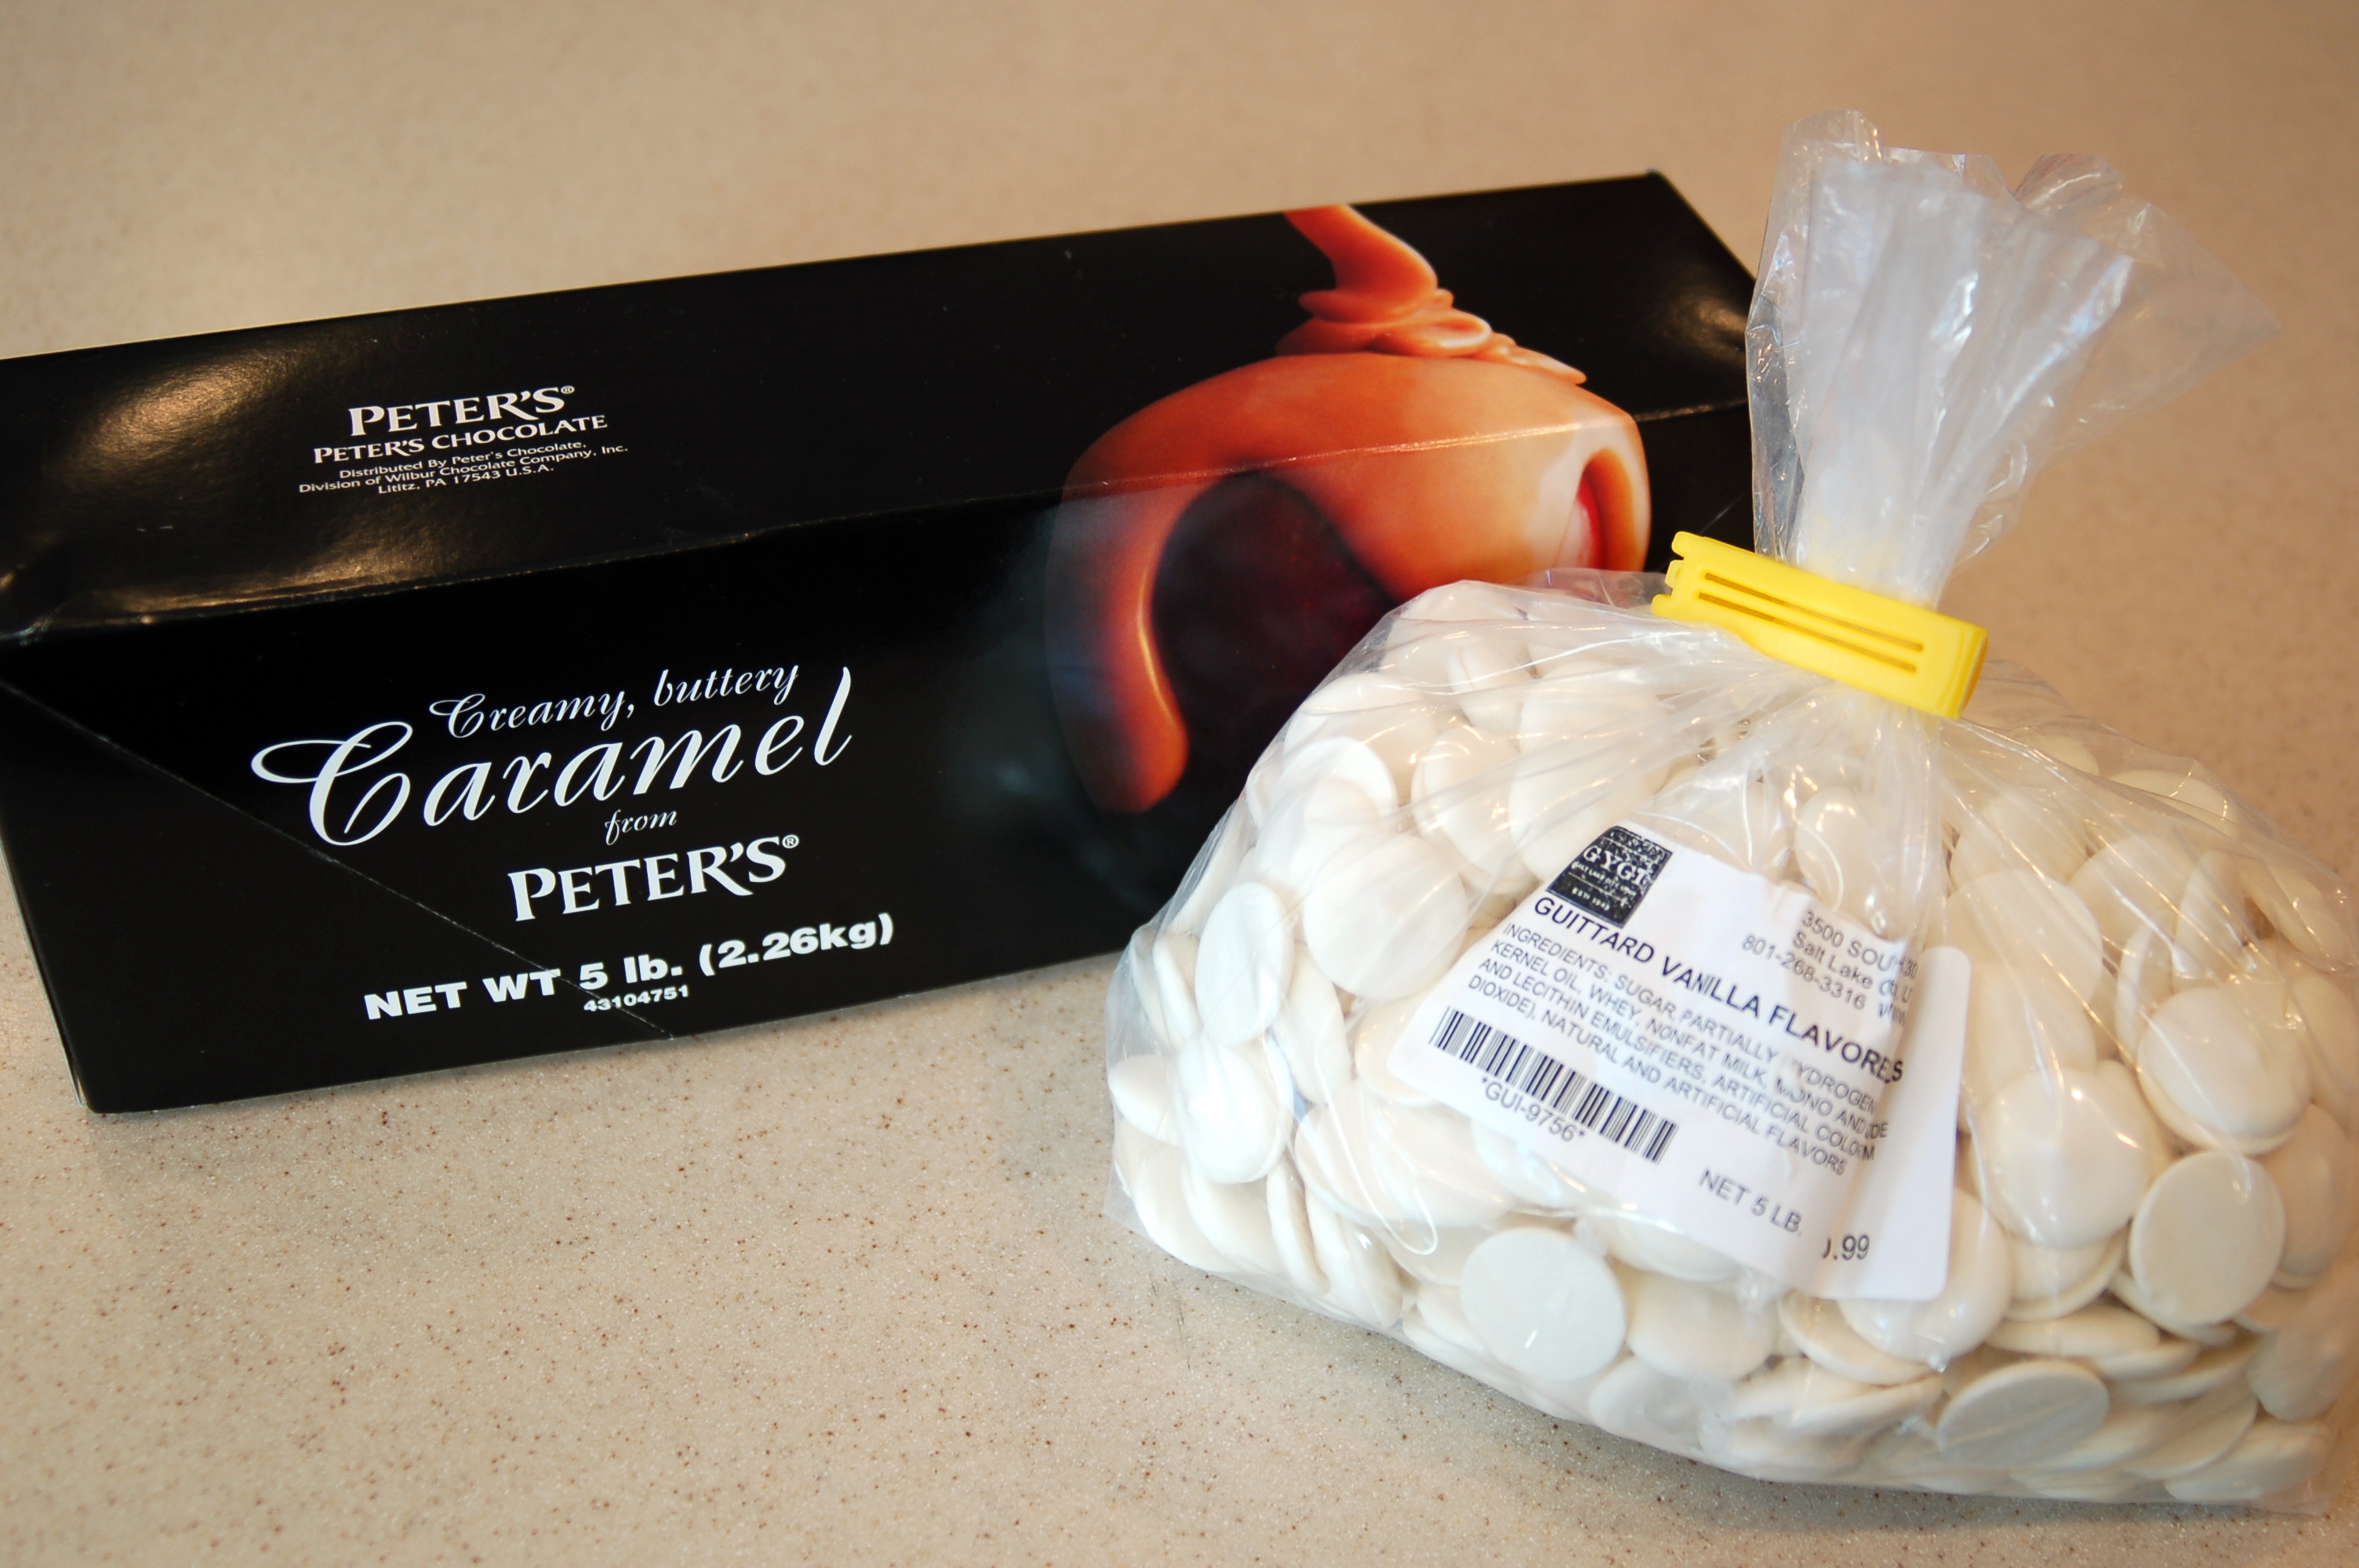
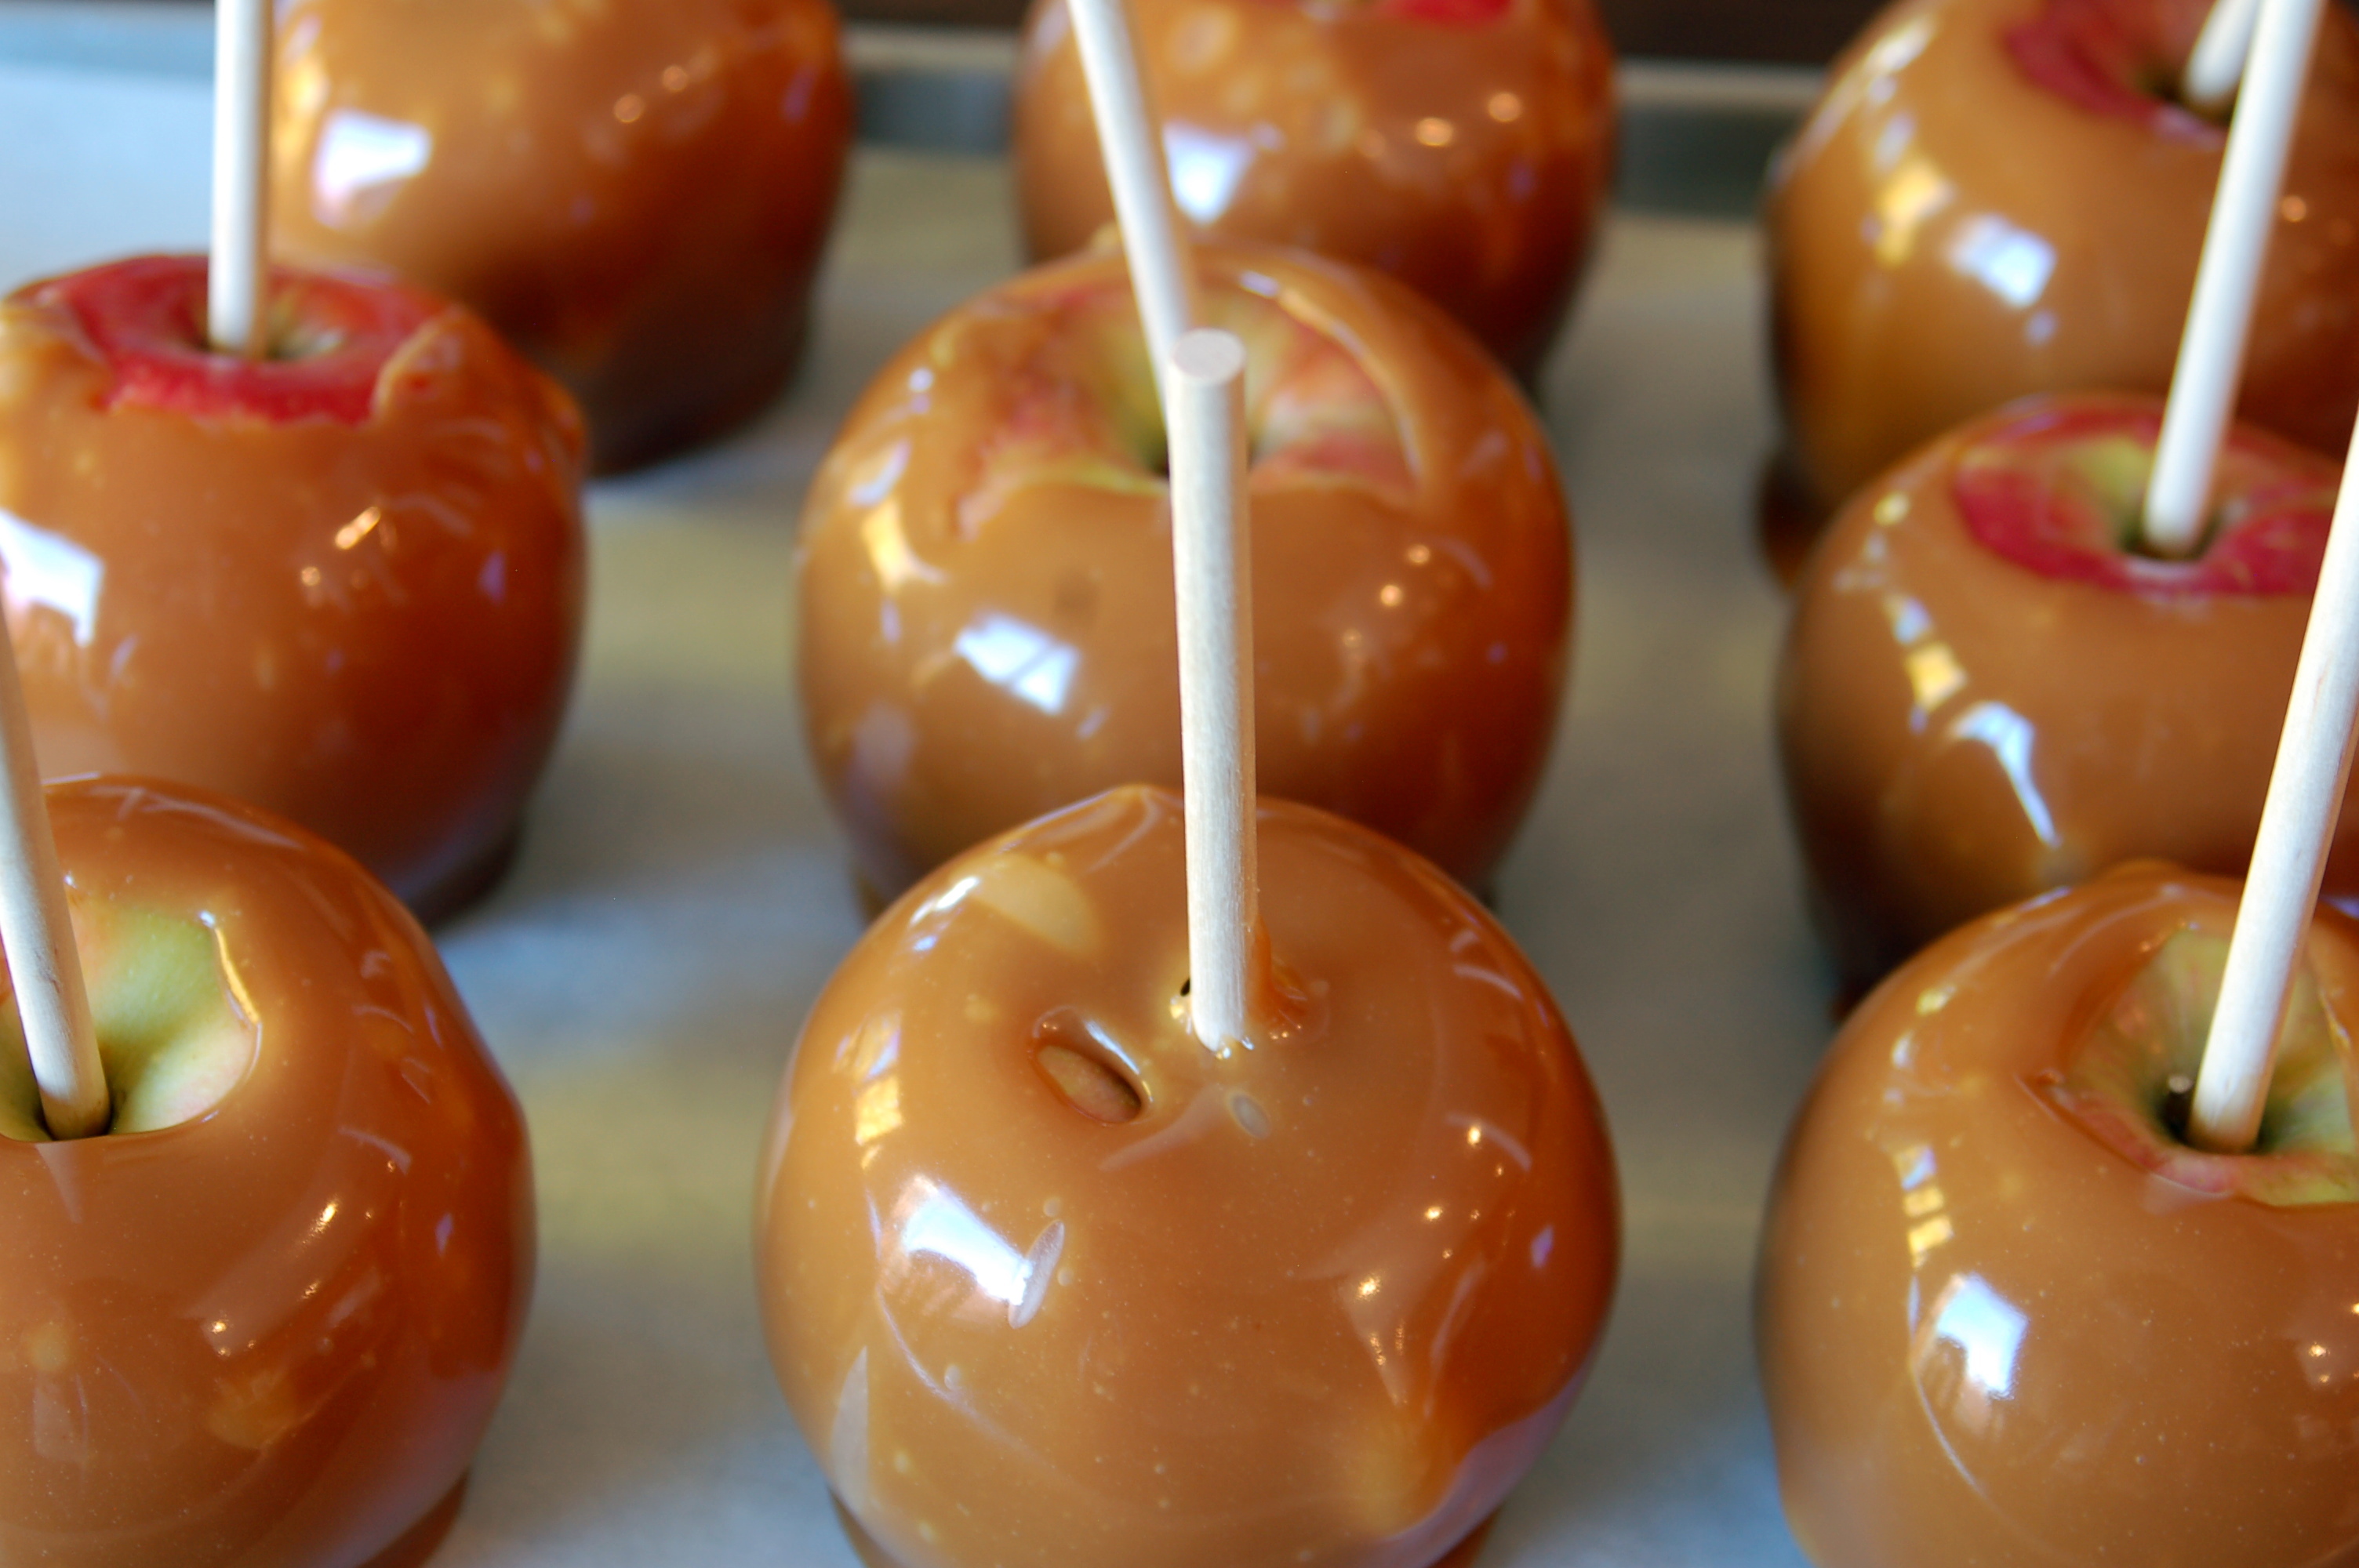
To make “Apple Pie” caramel apples you will need this yummy Peters Caramel that you can buy here.  I also used the Guittard Vanilla Flavored  white chocolate from the same place.Cut off about 1/4 of the loaf of caramel and put into a large microwaveable measuring cup or bowl.  I like to use a 1 1/2 quart bowl that I have because it is kind of skinny and tall, just right for dipping an apple into!  A 4 cup measure will work also.  Melt your caramel in the microwave.  Cook on high for 1 minute.  Stir.  Cook on 50% power for 1 minute.  Stir again.  Repeat at 50% until thoroughly melted, being careful to avoid scorching.  Dip apples into melted caramel and let caramel drip off the end of apple.  You can dip all the way or about 3/4 of the way, whichever you prefer.  I take a spoon and scrape off the bottom of the apple so there is no carmel on the bottom.  This helps so there is not a big puddle of caramel on the bottom of the apple. Repeat until all the apples have been dipped in caramel. Place dipped apples on a parchment covered baking sheet. Depending on how many apples you are making, you may have to melt more caramel.  A 5 pound box of caramel will cover about 15-18 large apples. Put apples back in fridge to cool.Prepare a bowl of sugar and cinnamon mix.  I used about 3/4 cup of sugar to 1 tablespoon of cinnamon. (That is really just a guess, because I just dump until it looks good!  I like quite a bit of cinnamon in mine.) Melt your chocolate in microwave on 50% power for about 1 min.  Then stir.  Repeat until chocolate is melted.  Be careful not to burn!  Dip the caramel apples into the chocolate and let the excess drip off.  Then immediately spoon the sugar/cinnamon mixture over the chocolate.  I do this over a wide bowl, this is like sprinkling glitter onto glue.  It will only stick where the chocolate is.

Put some of the melted white chocolate into a ziplock baggie with the corner cut off very small, or use a pastry bag with a small tip.  Pipe squiggly lines up and down the apple to make it look oh so pretty! Let all the chocolate set up and then you can tie them up in a cellophane bag with a cute ribbon!   YUMMM!
This is a great gift idea for teachers, friends or heck, is there anyone who would not love to recieve one of these?Next is how to cut a caramel apple!

First you cut on both sides of the stick, along the core.Then turn the apple 90 degrees and cut again on both sides of the stick, along the core and you have perfect little wedges that are just the right size for serving and EATING!

T-Shirt scarf

My sister and I were at our dad’s house, and she showed me how to make this cute t-shirt scarf.  (Dad was a good sport and went along with all this bloggy stuff!)

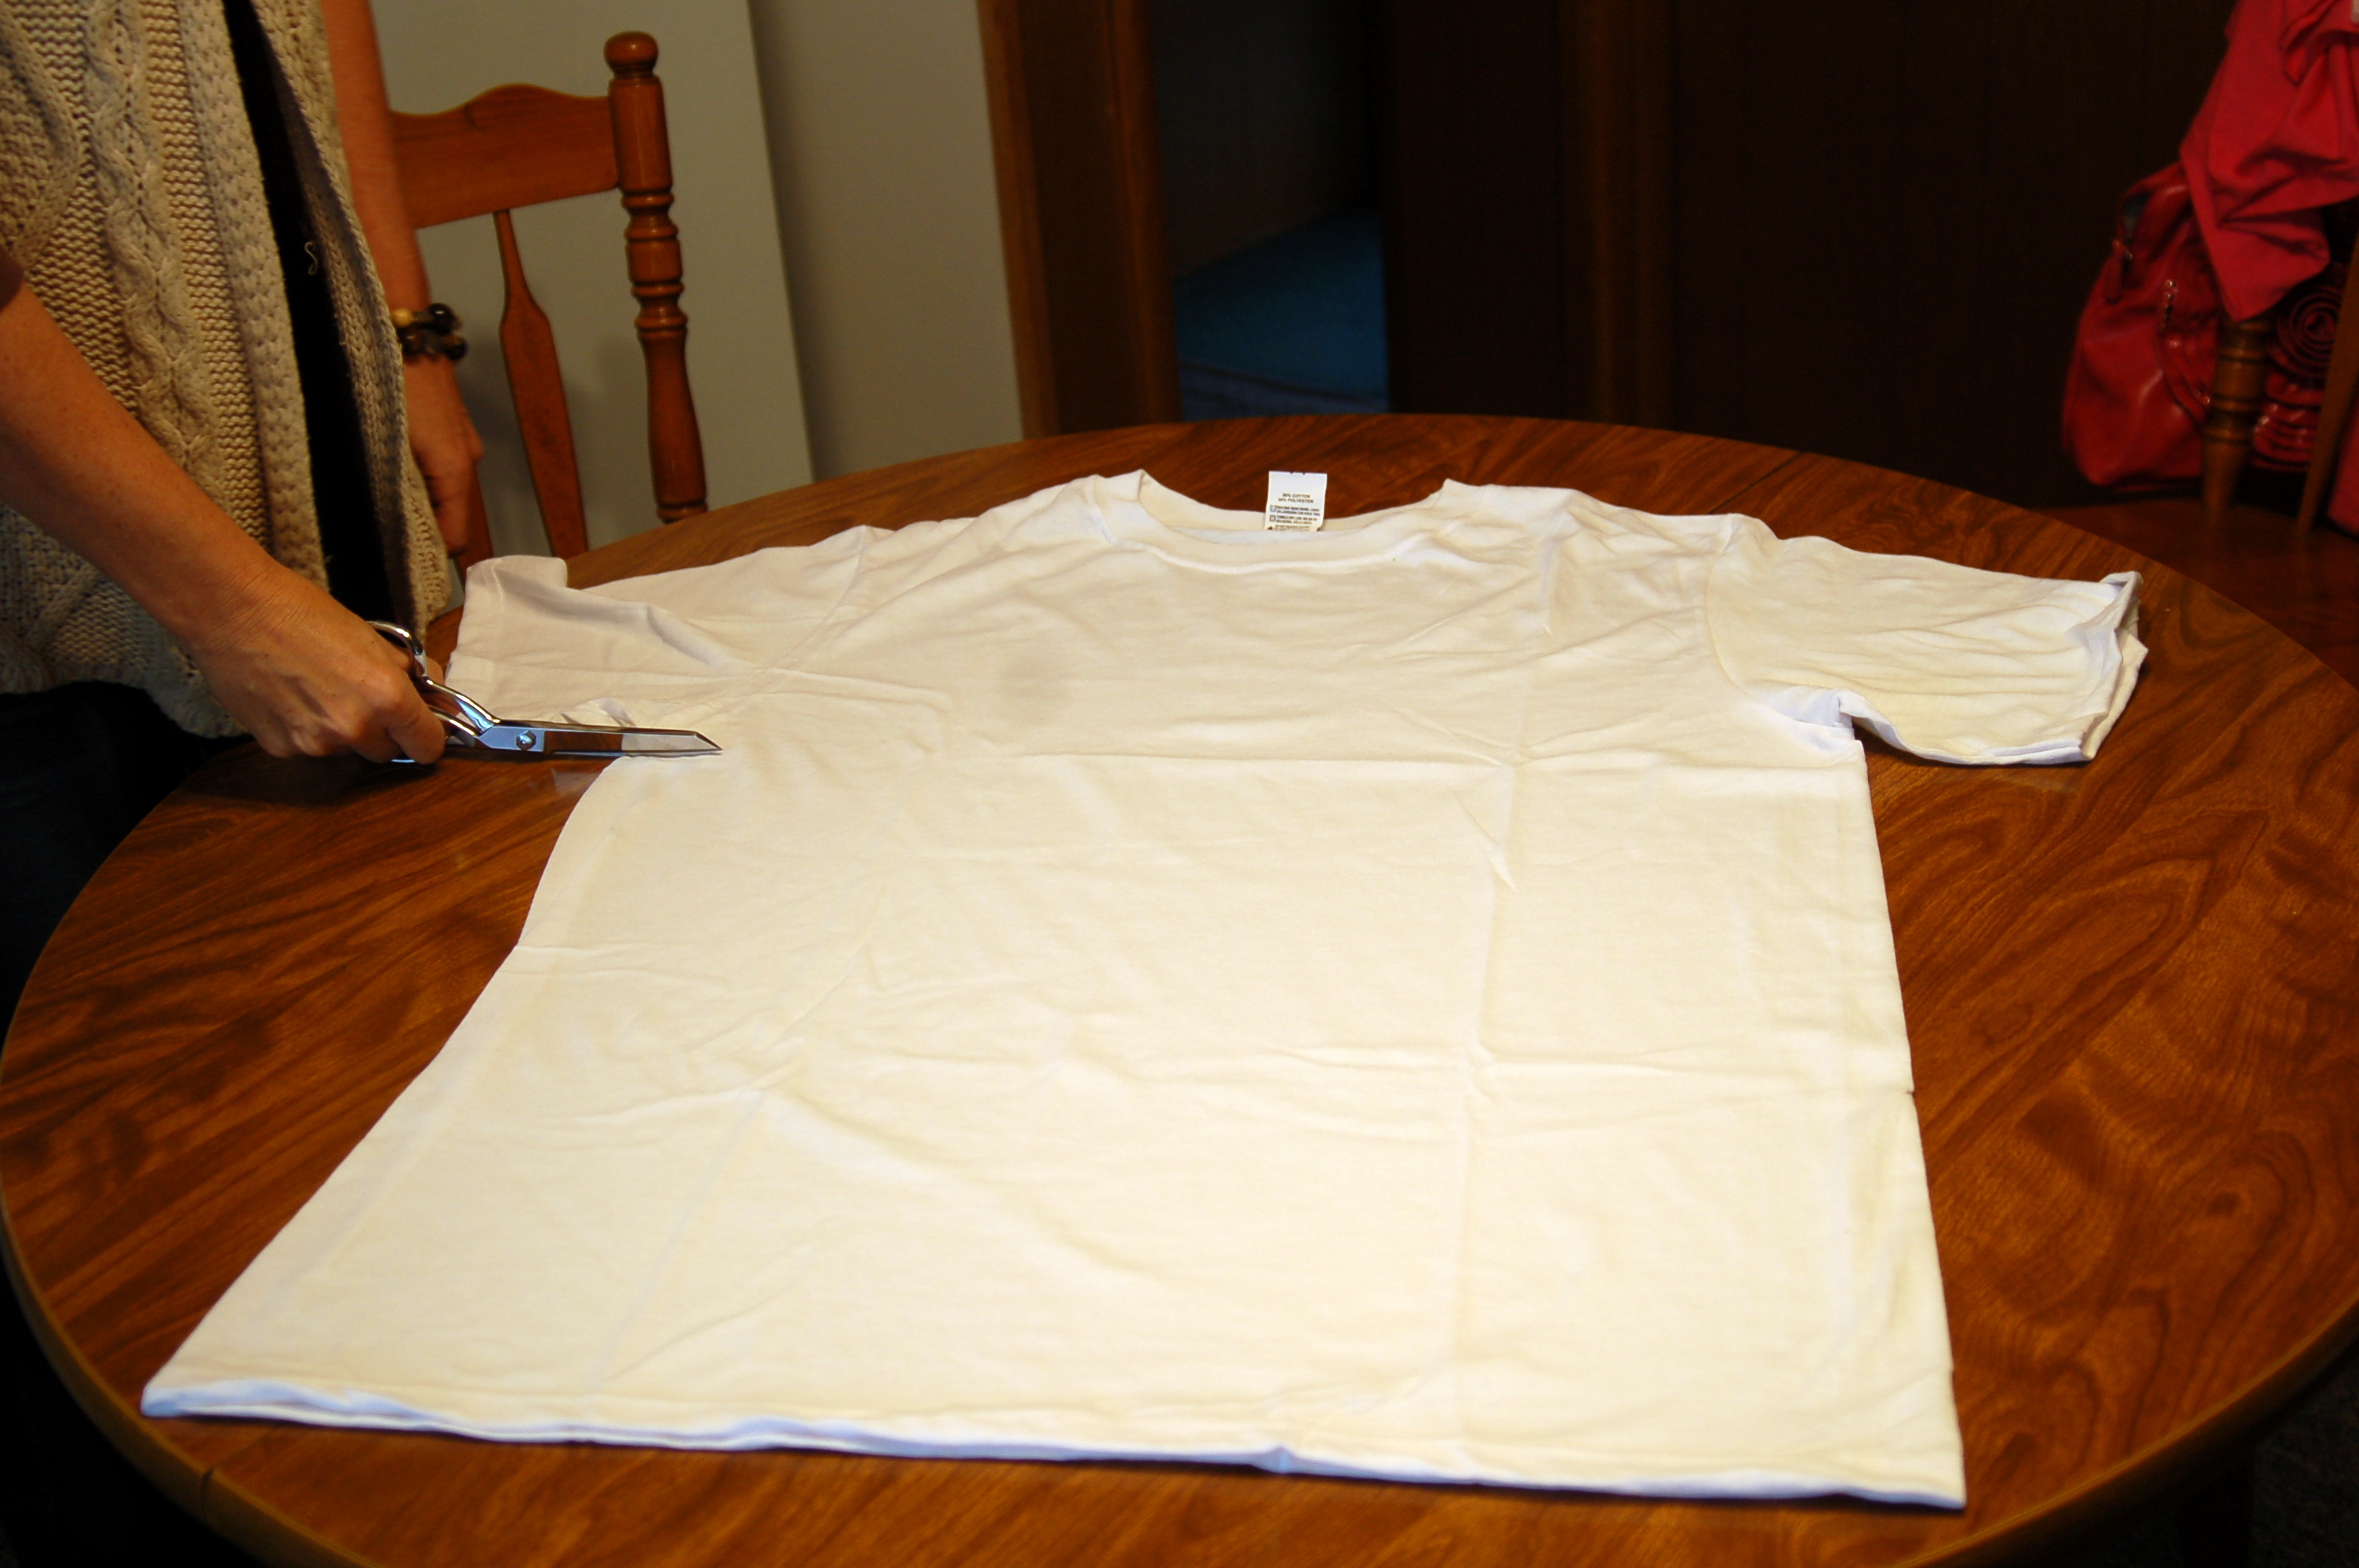
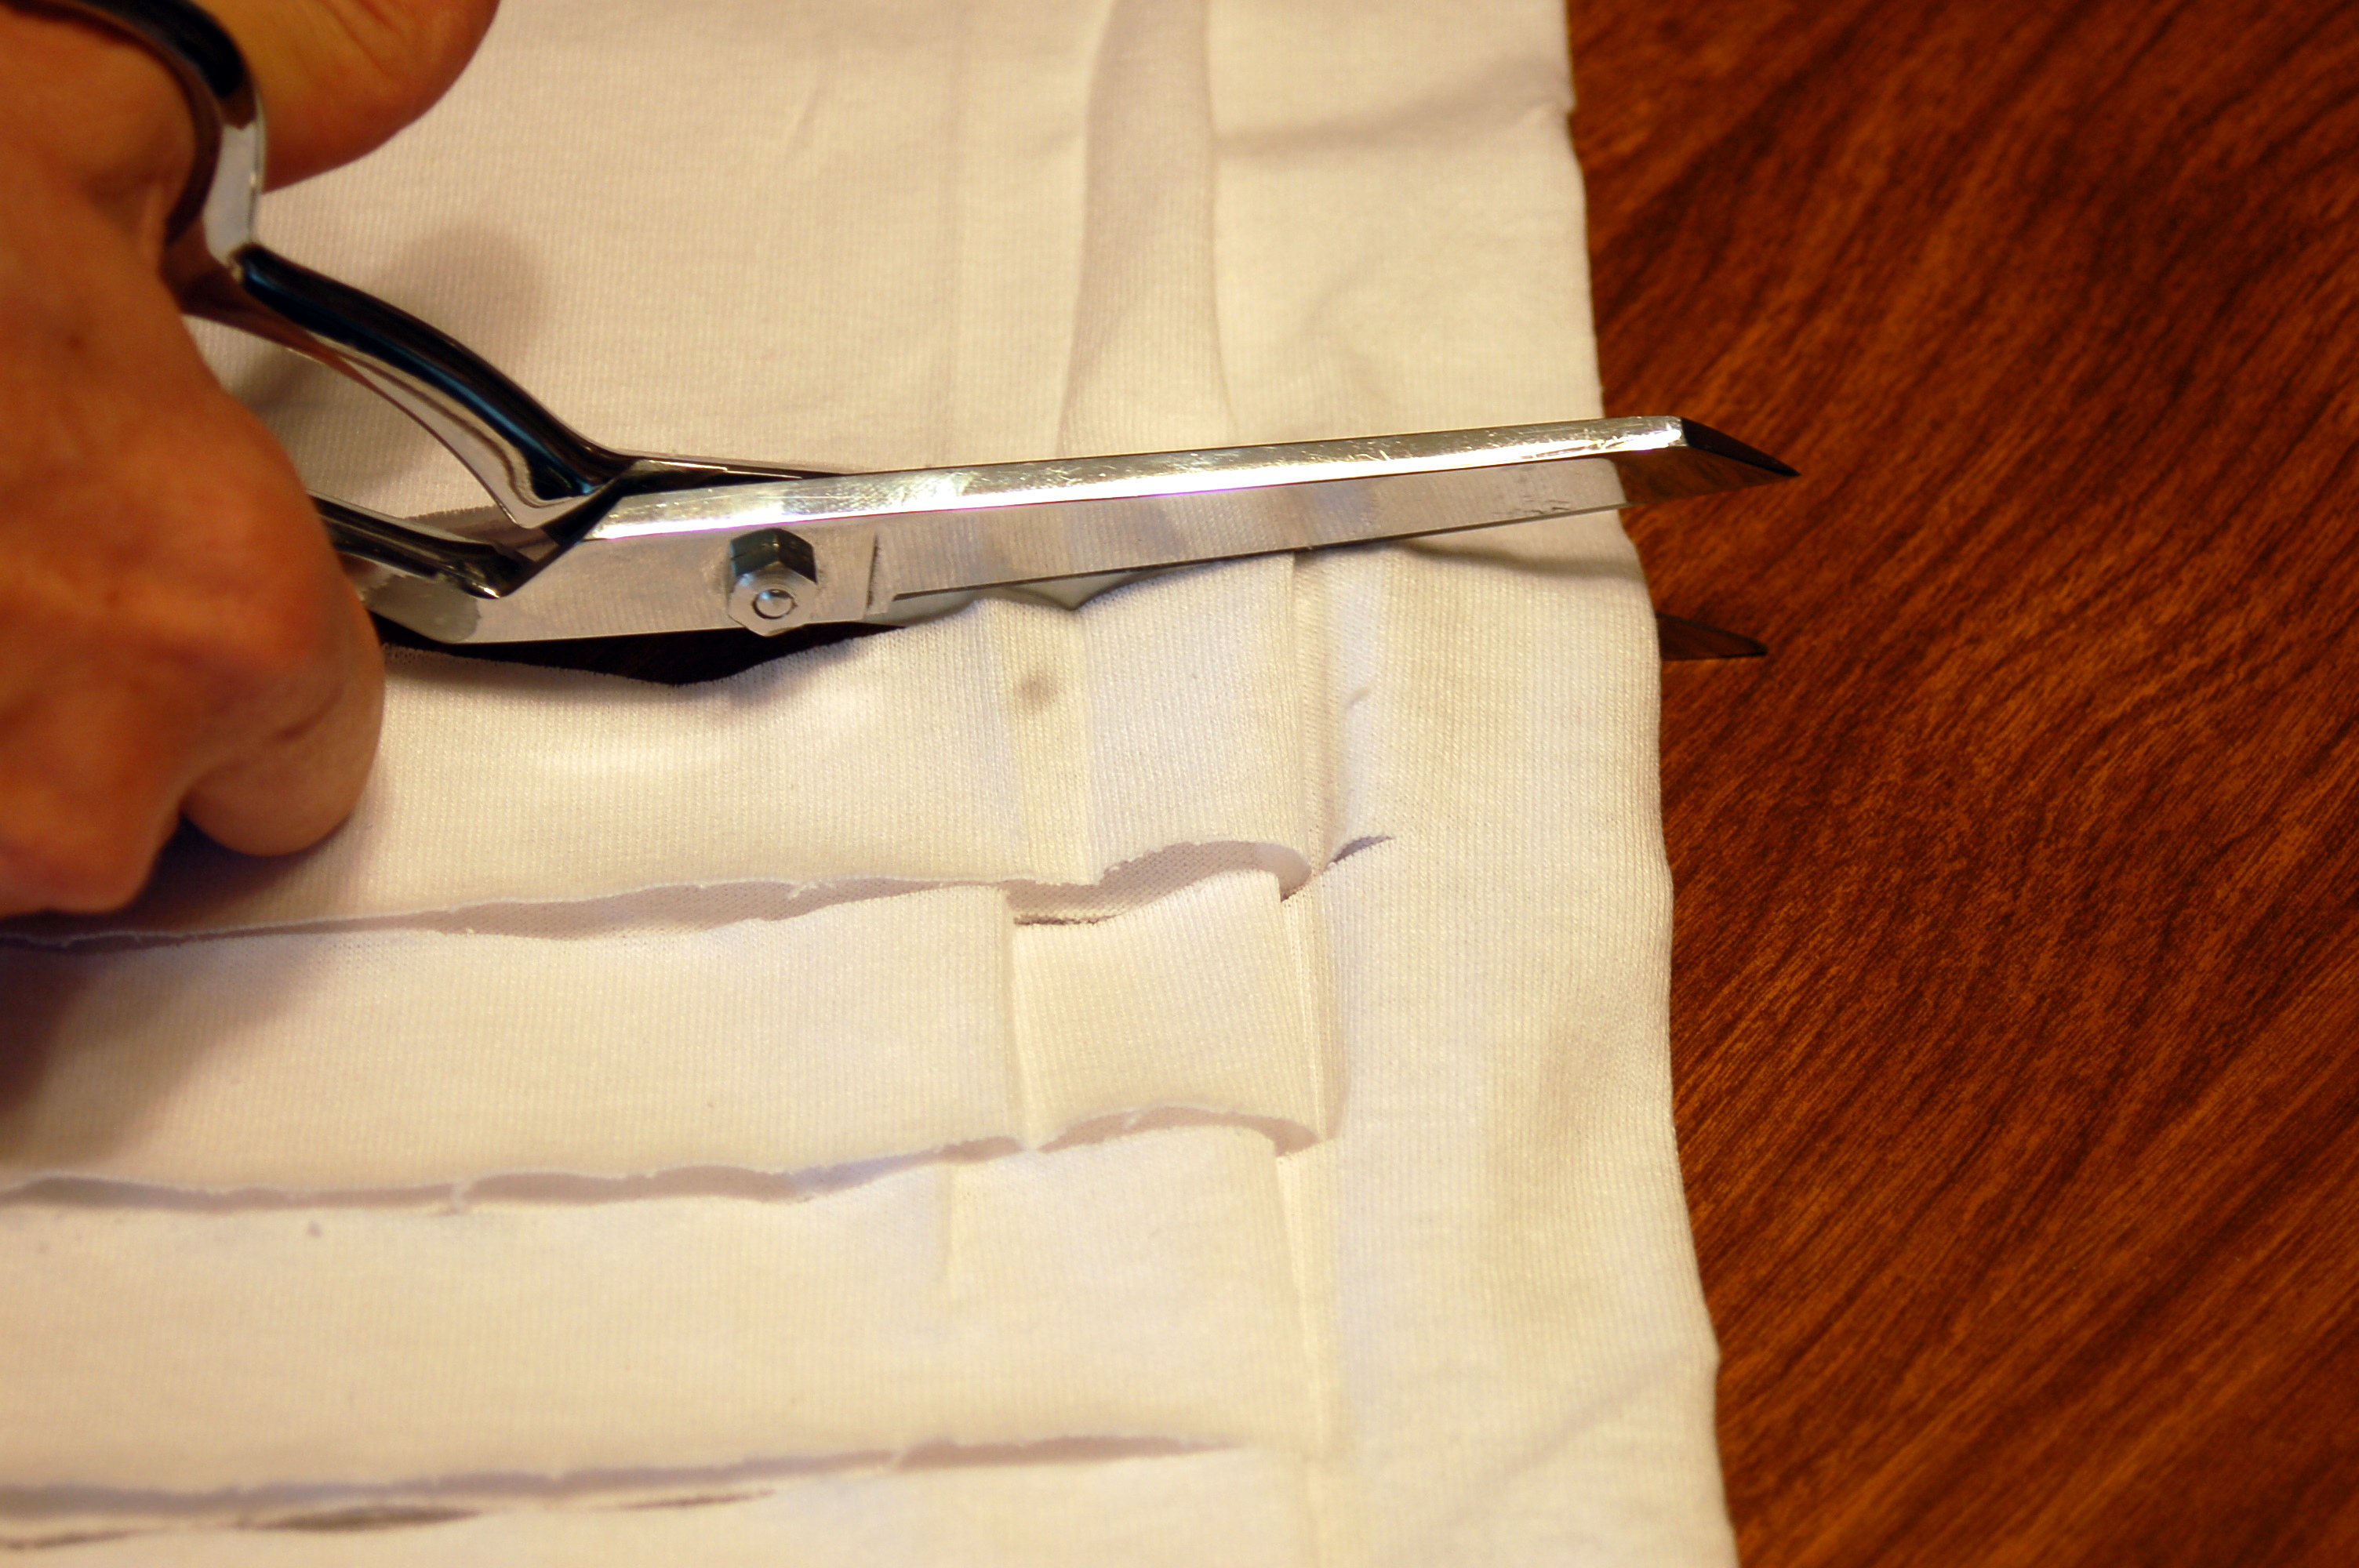
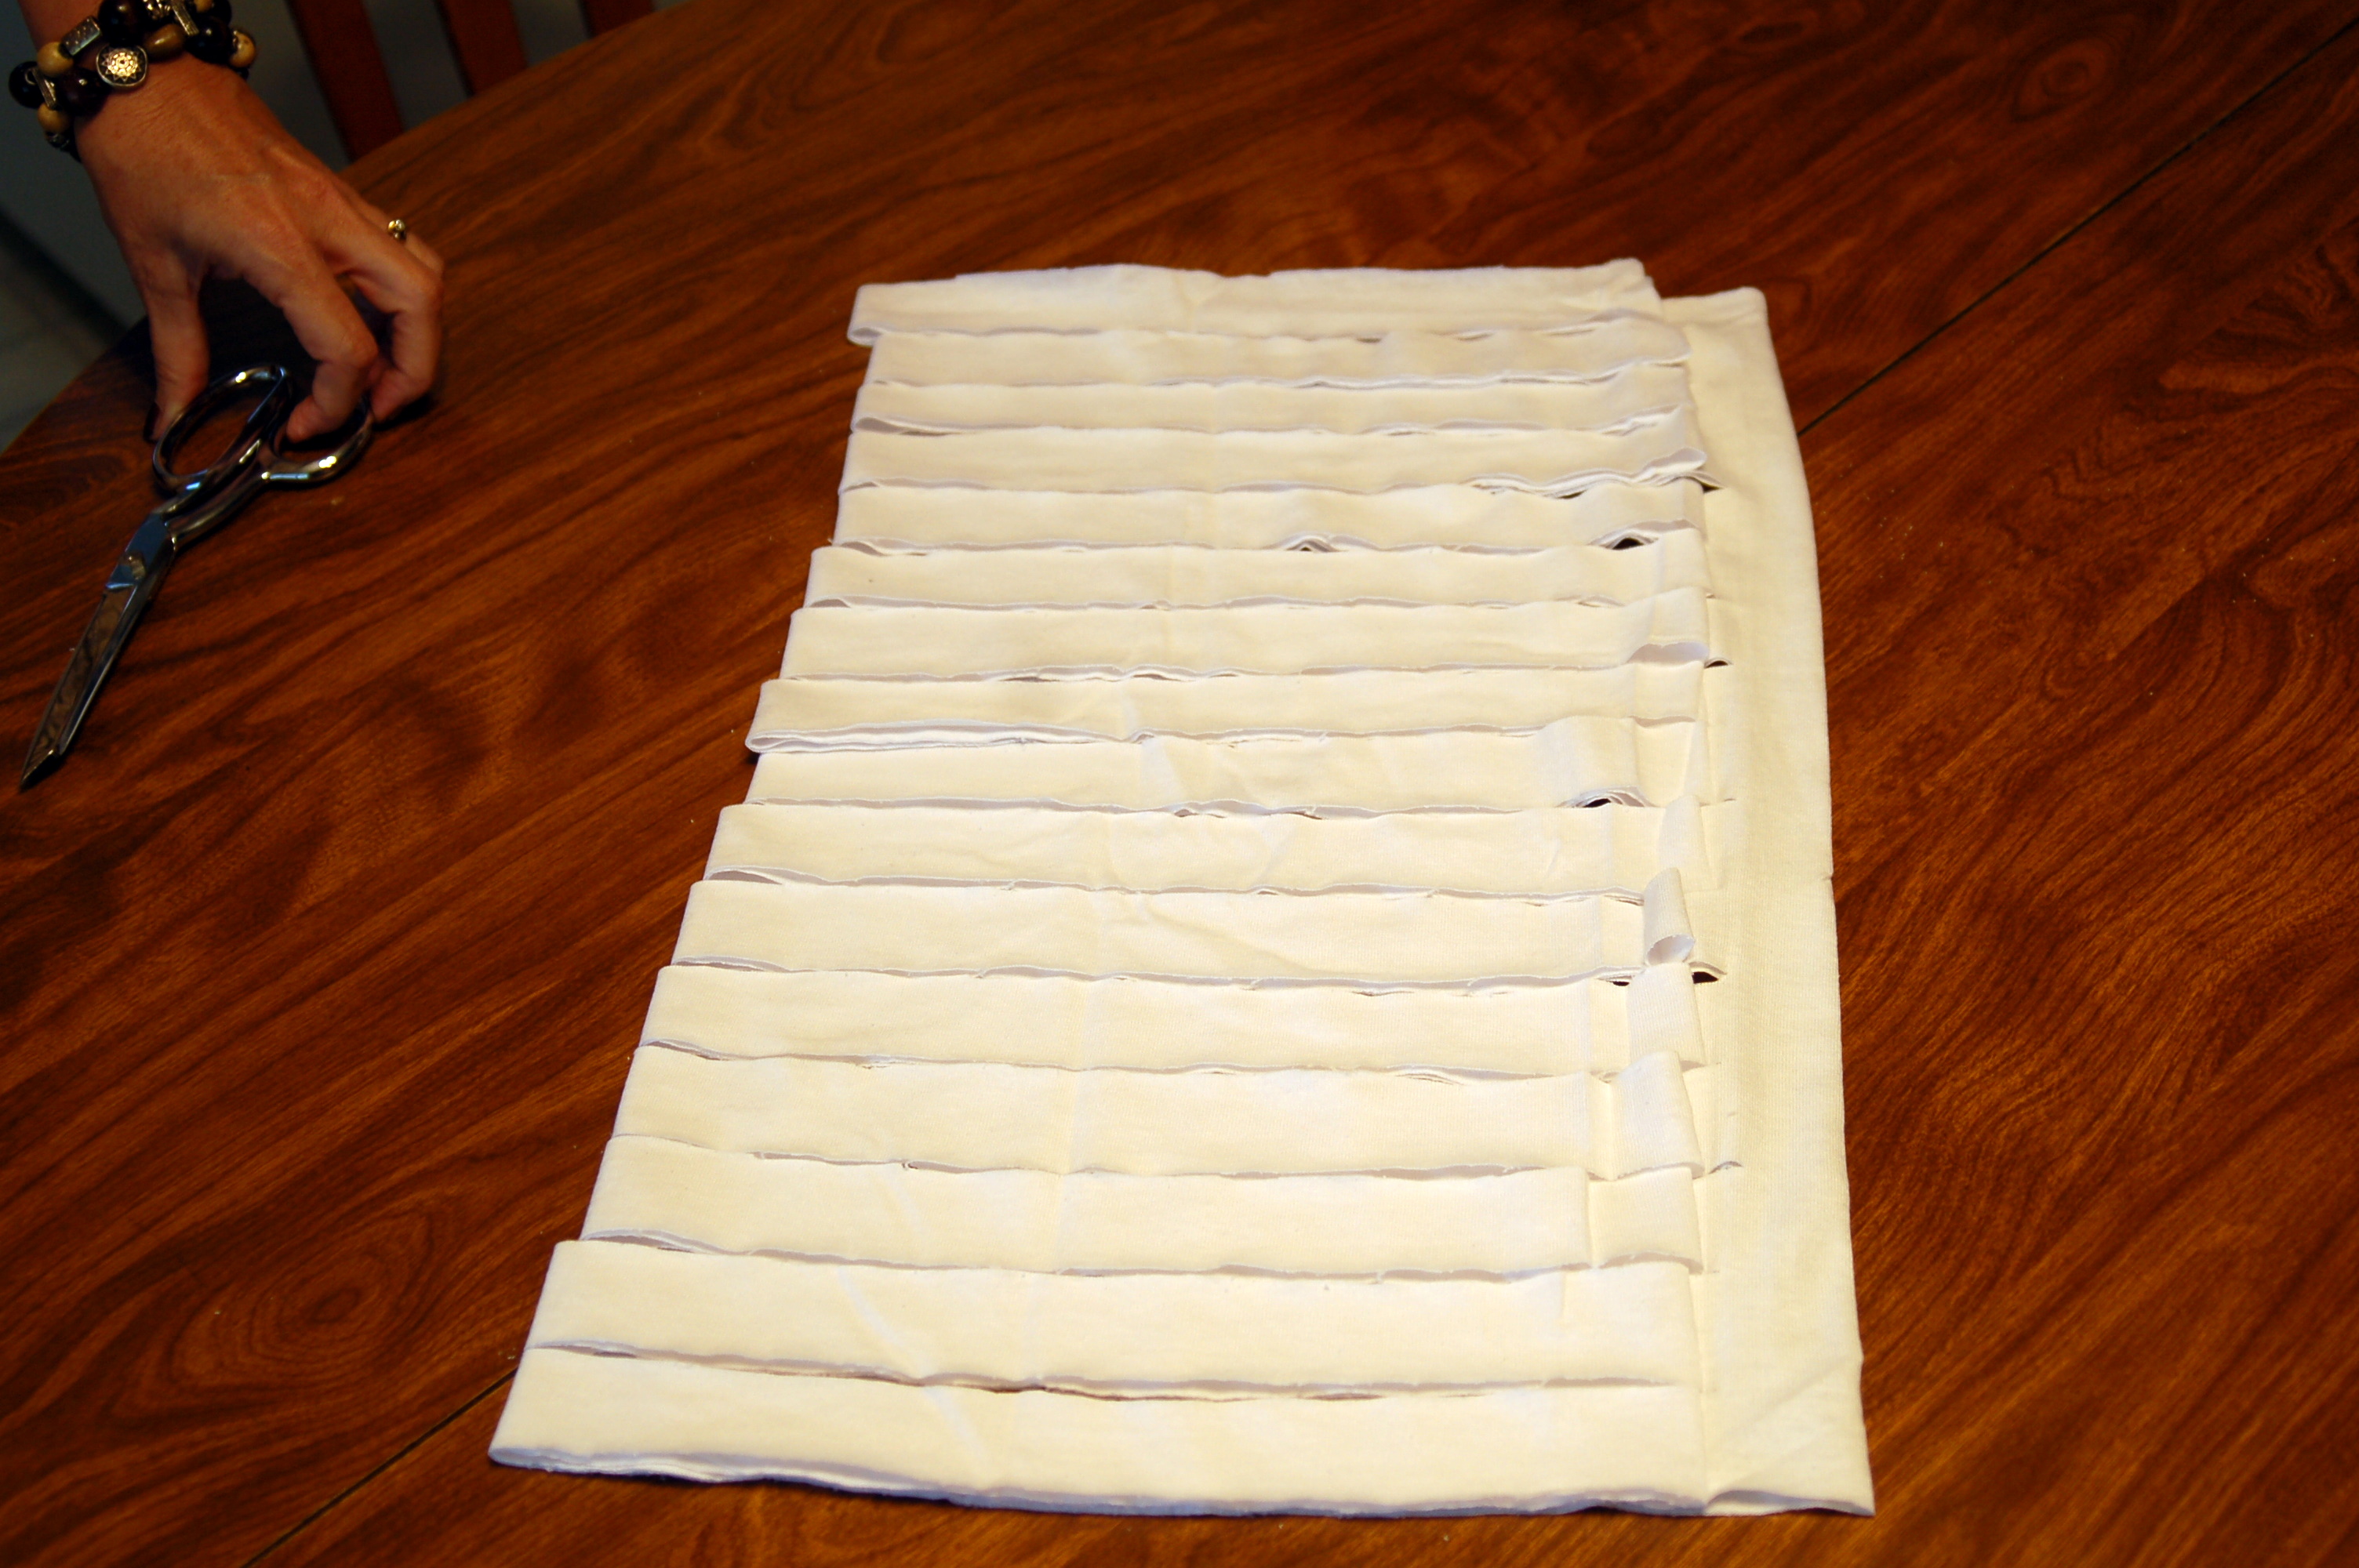
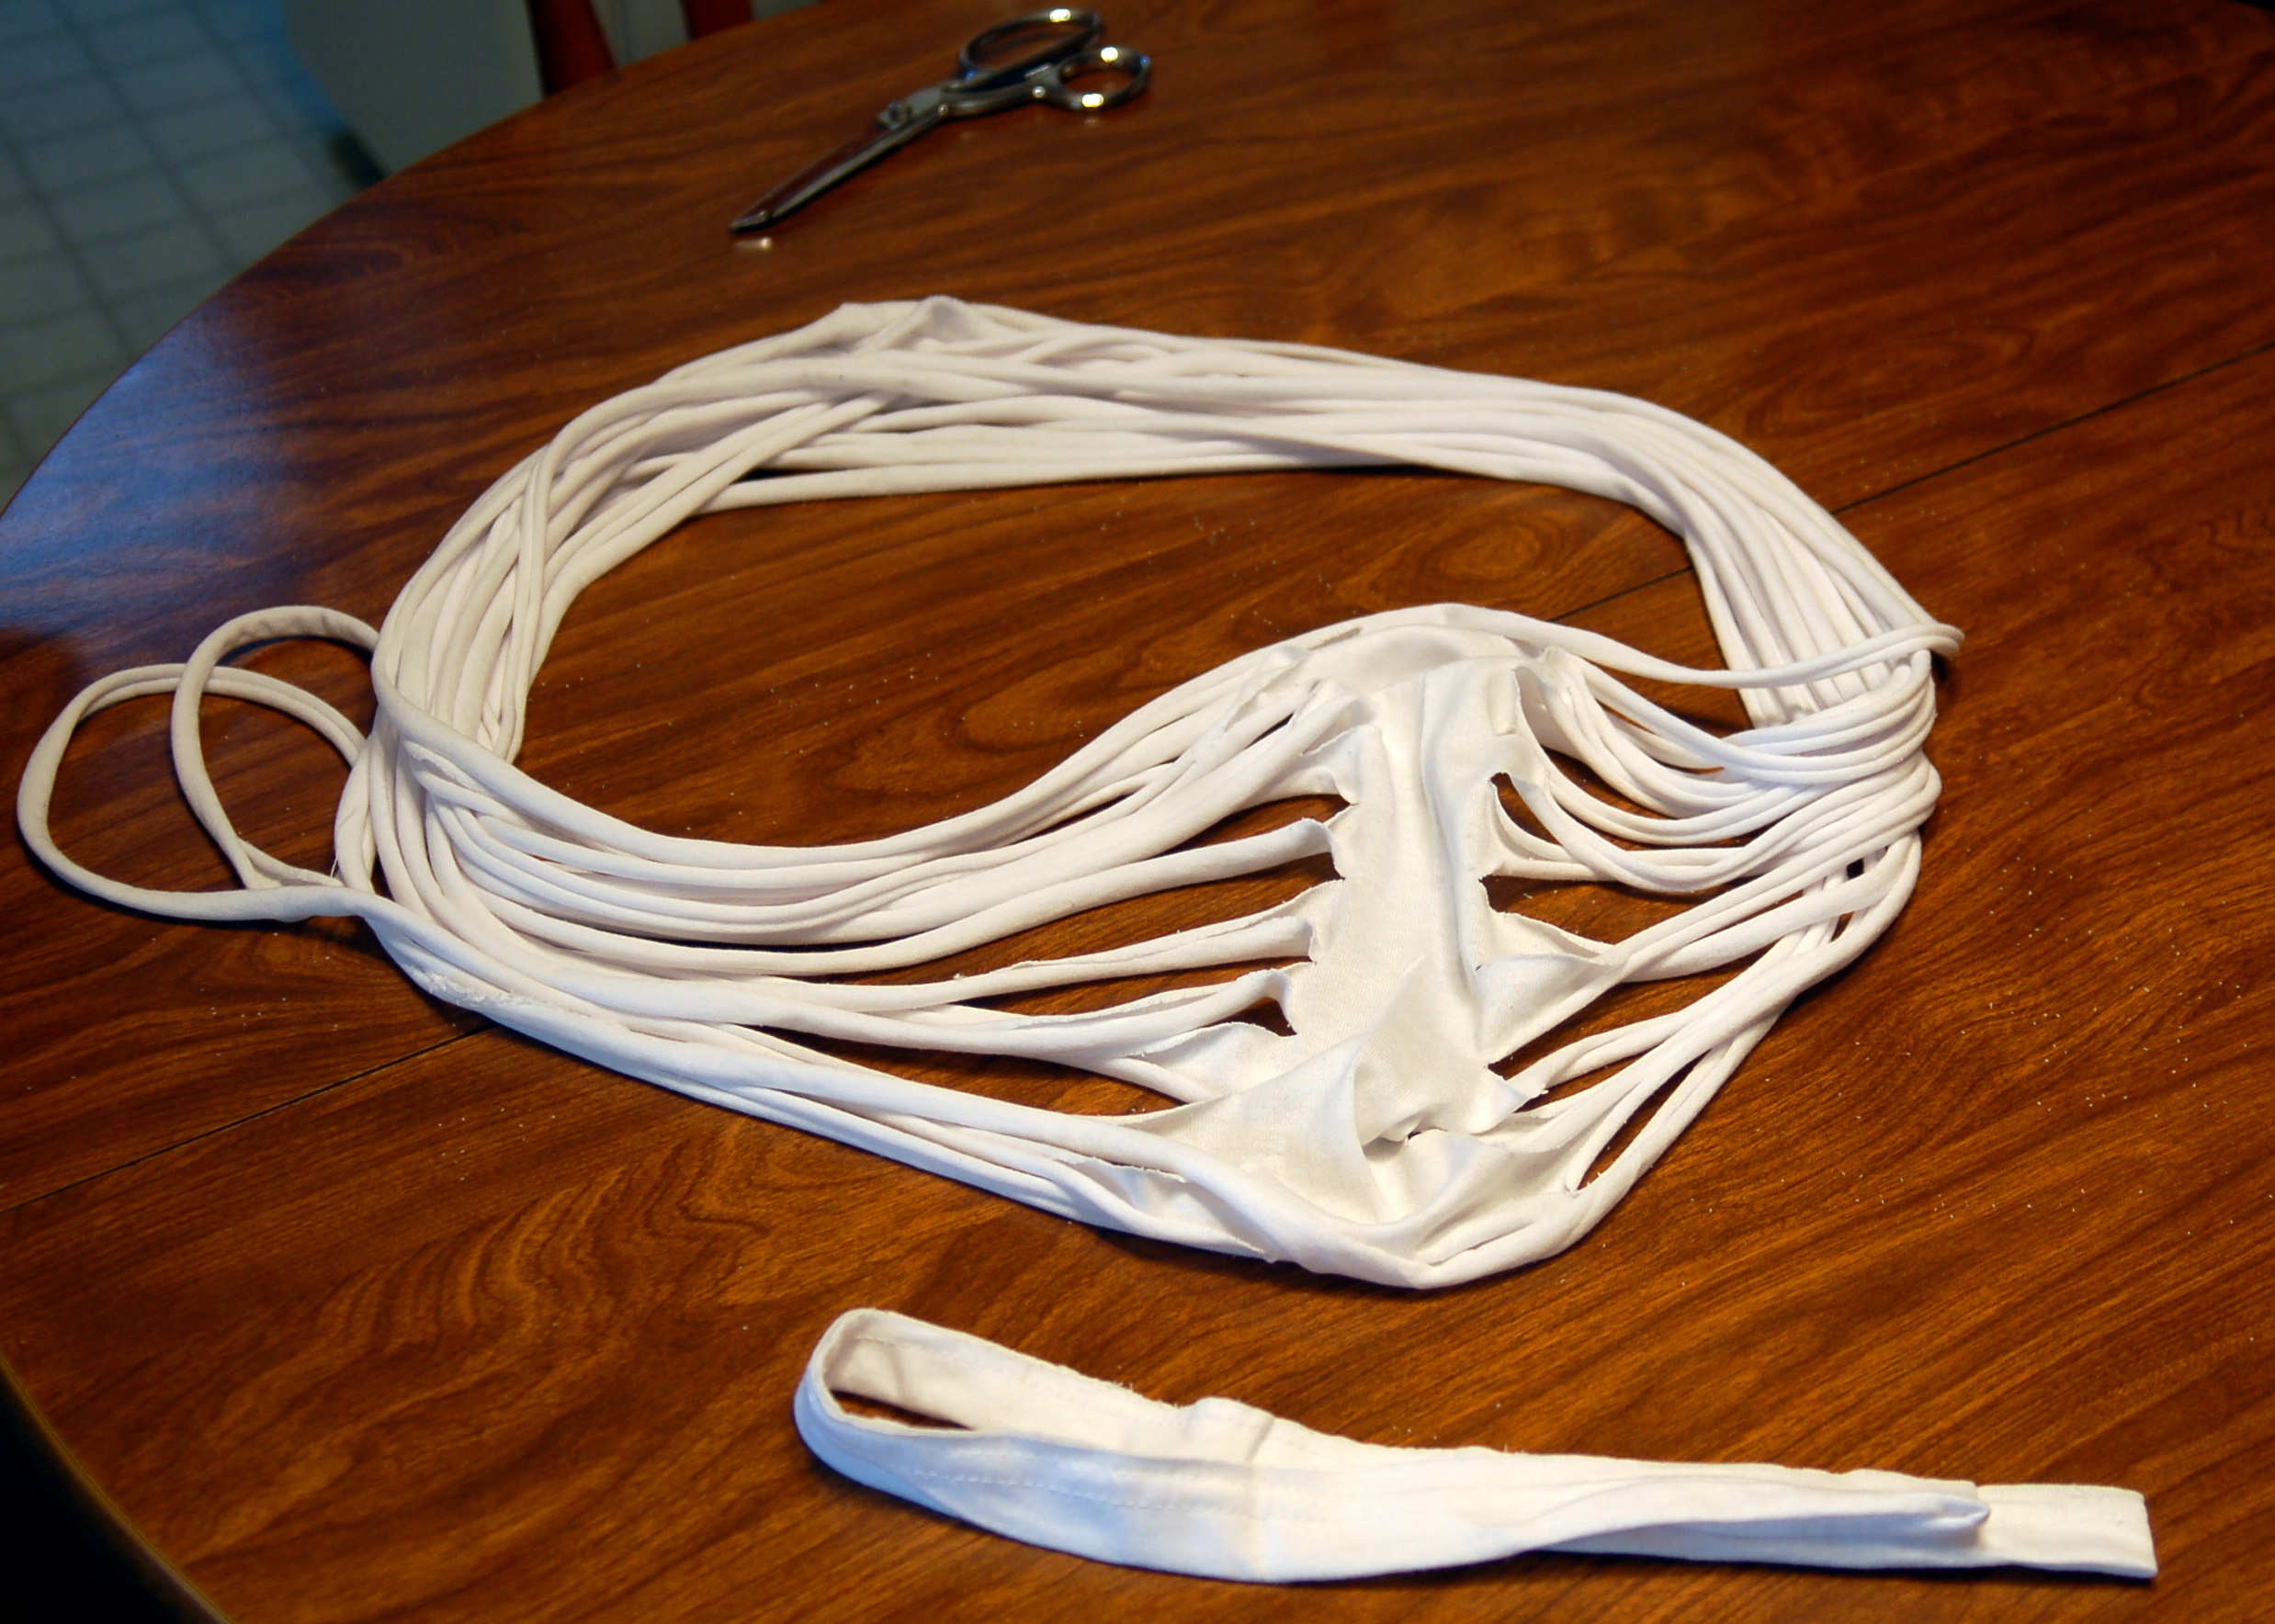
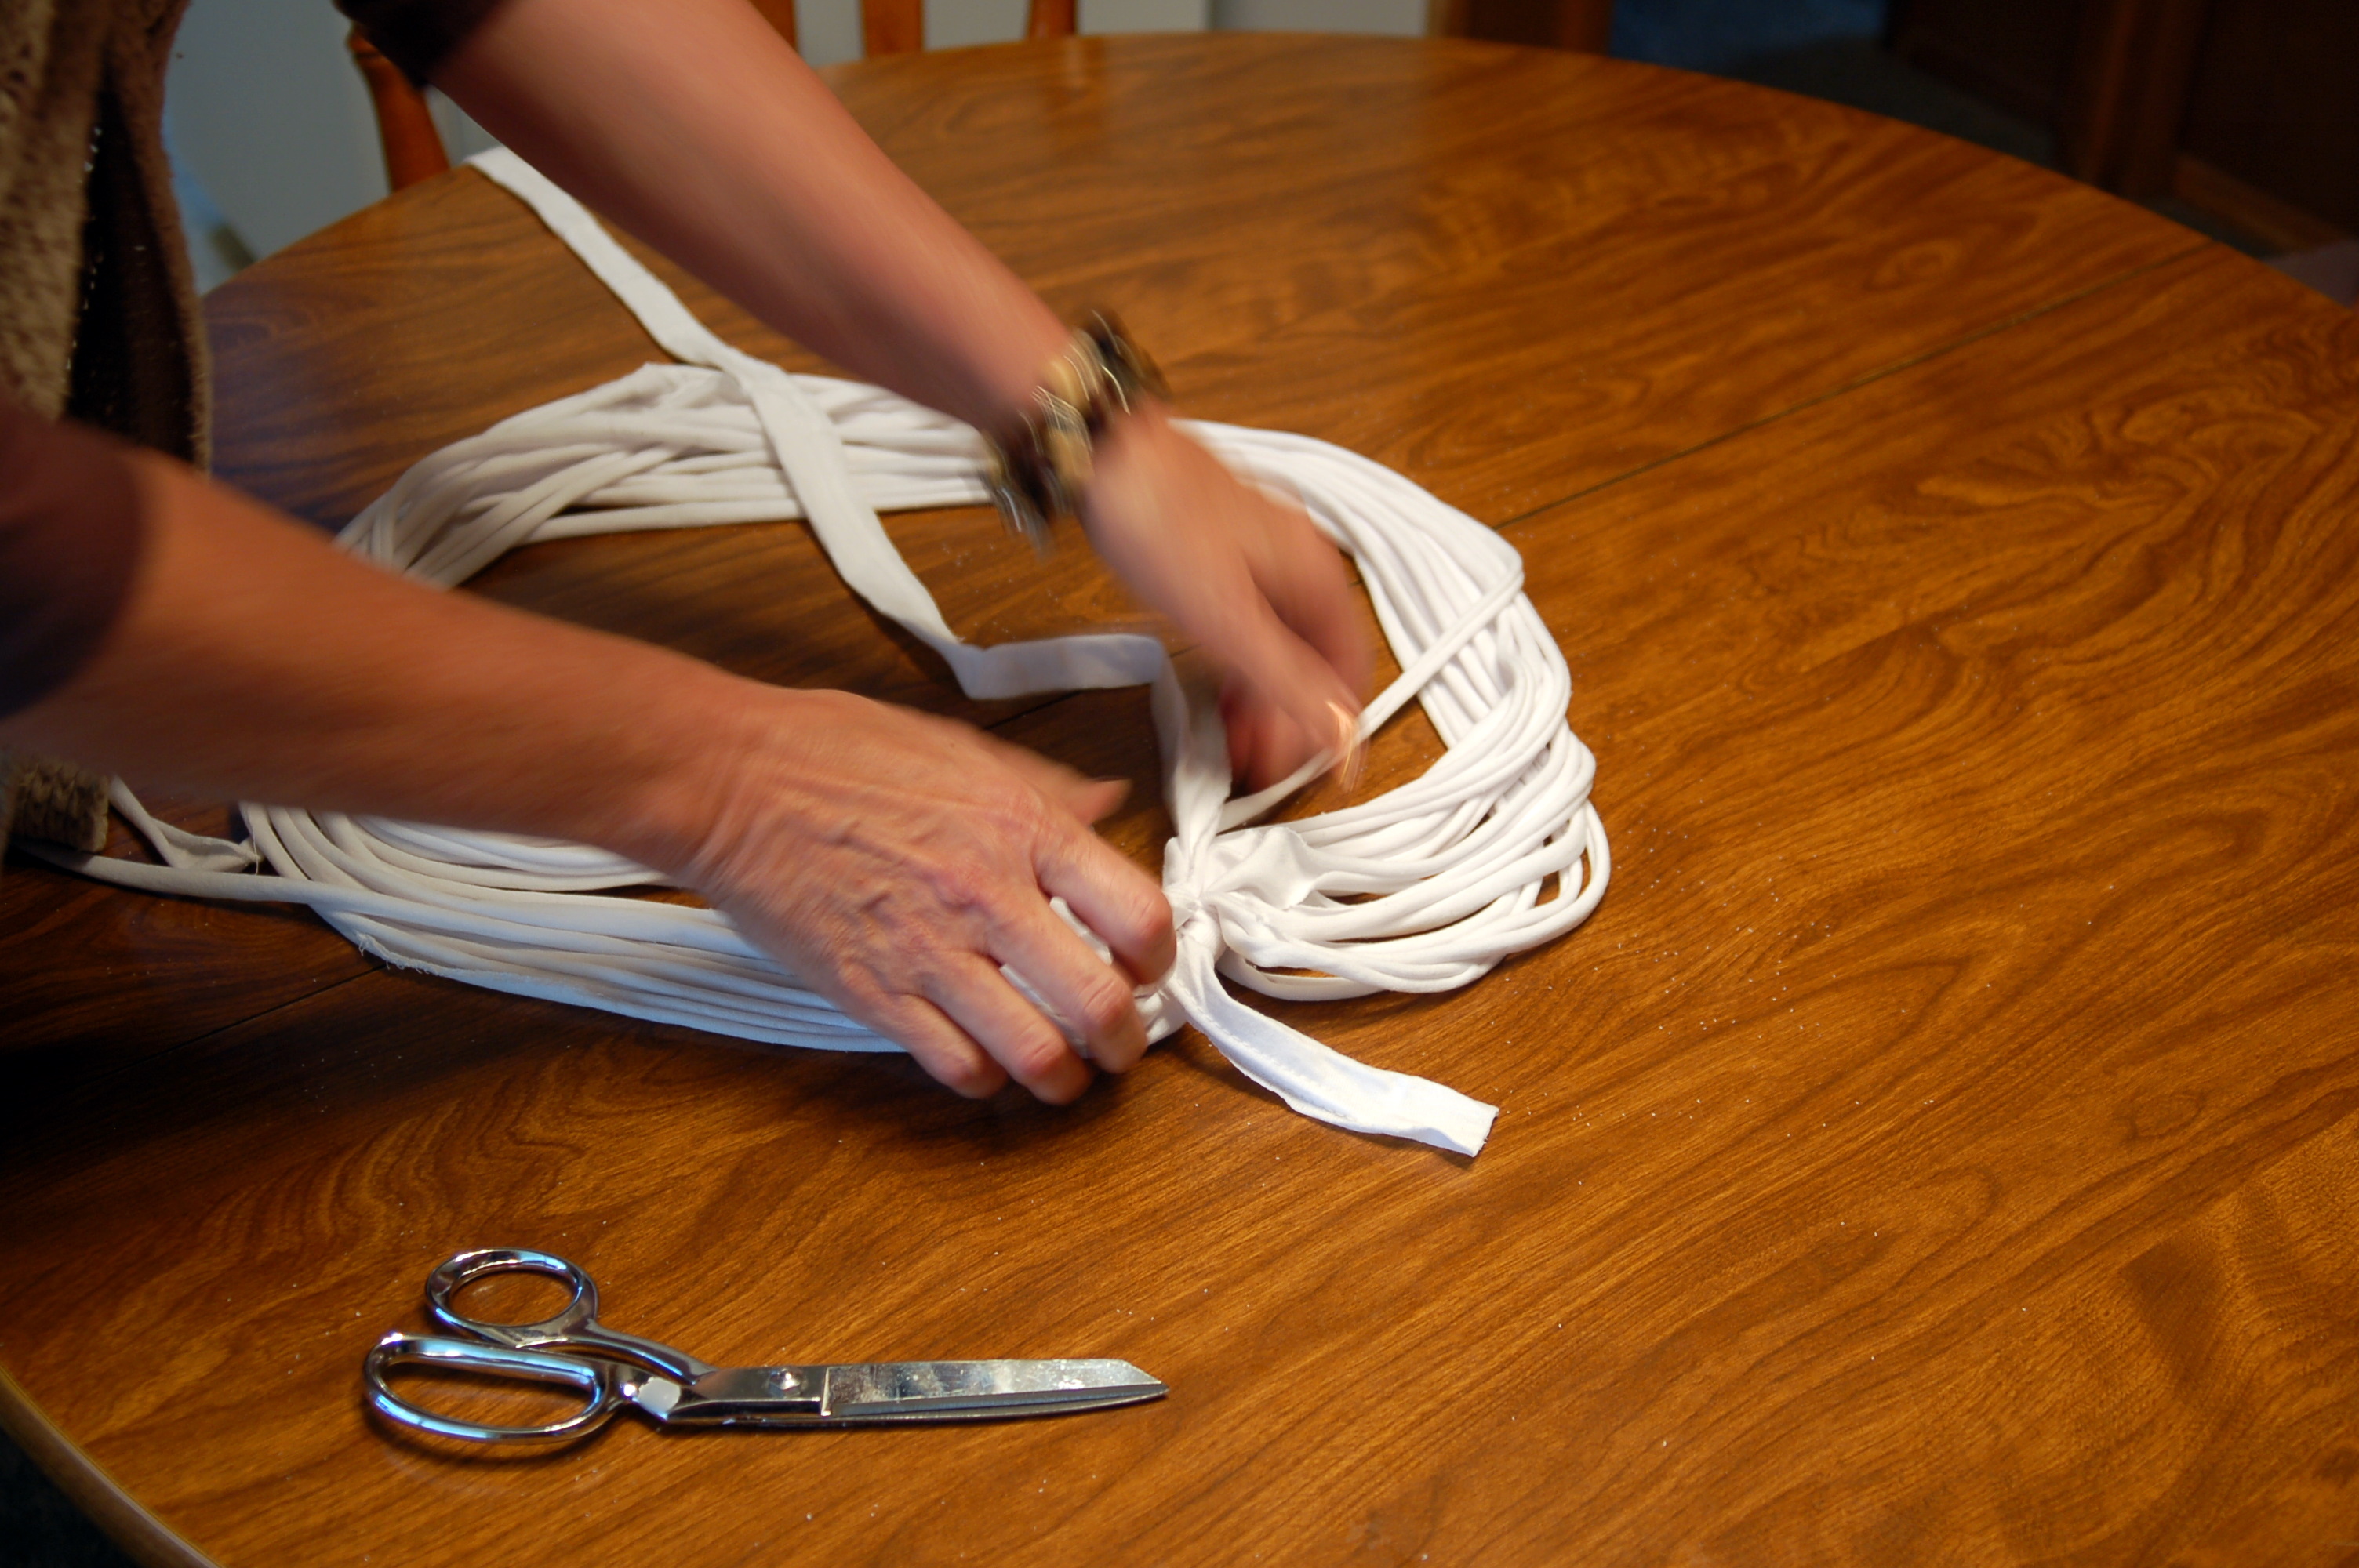
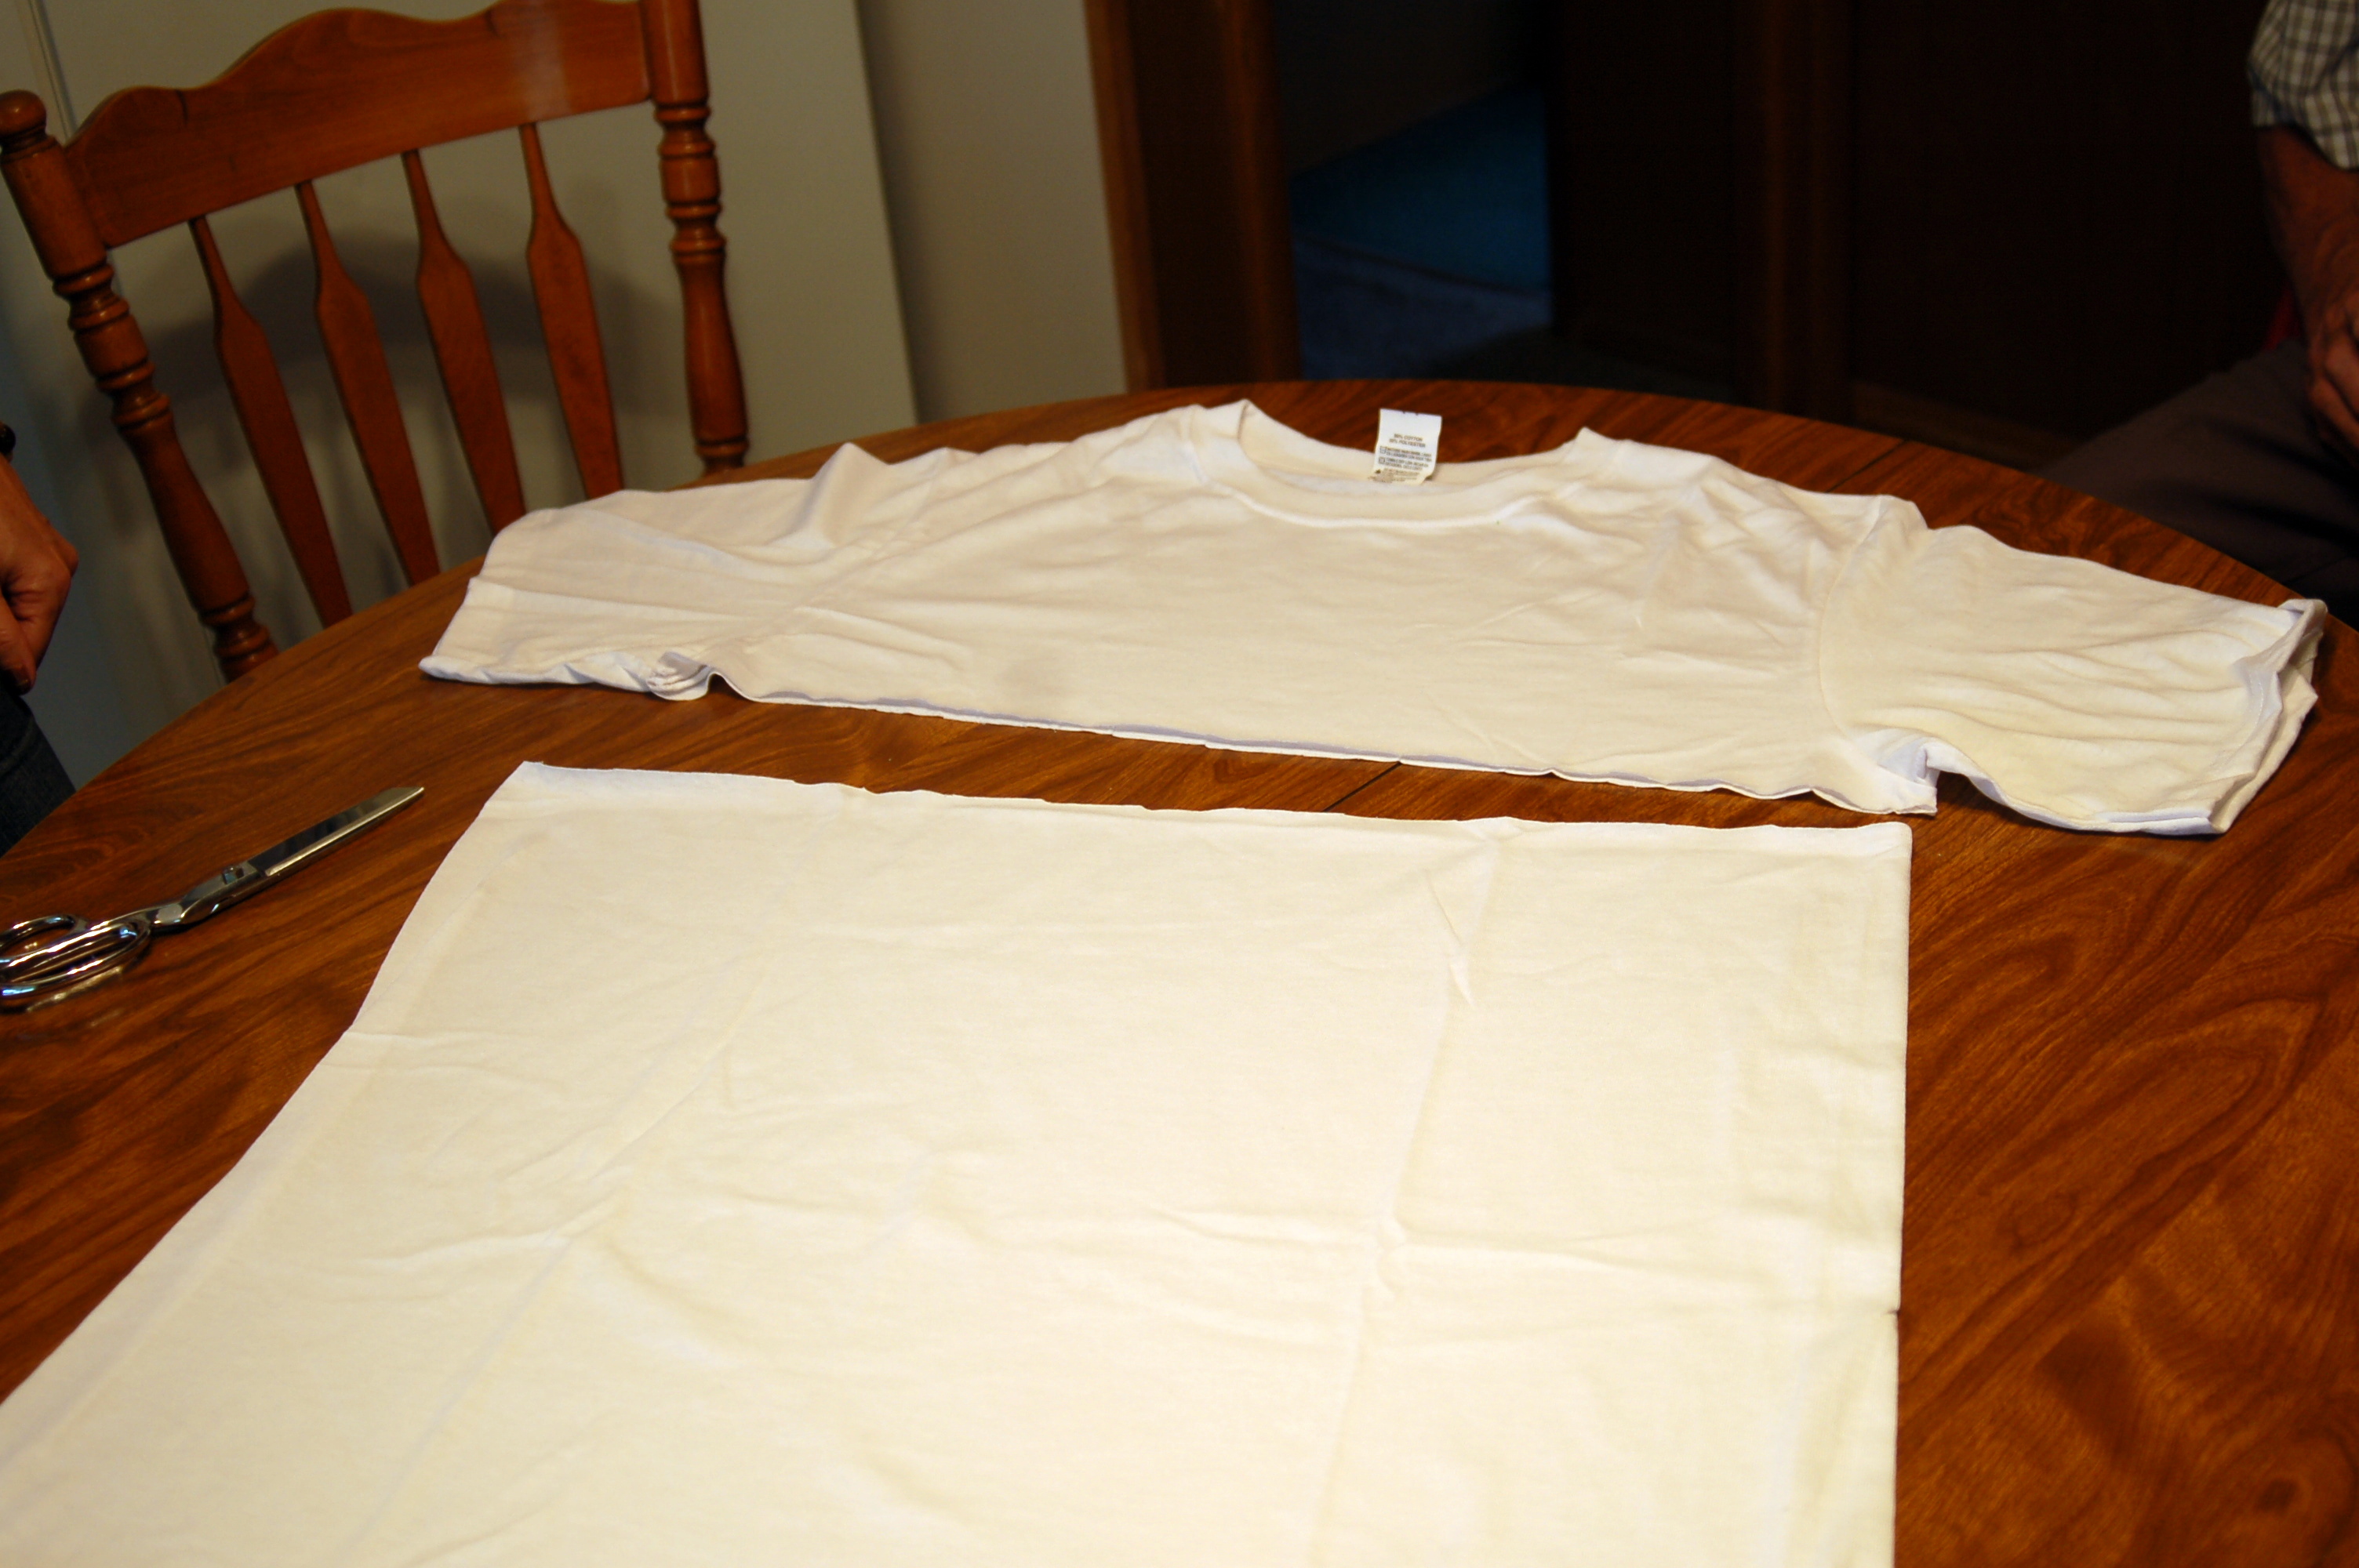
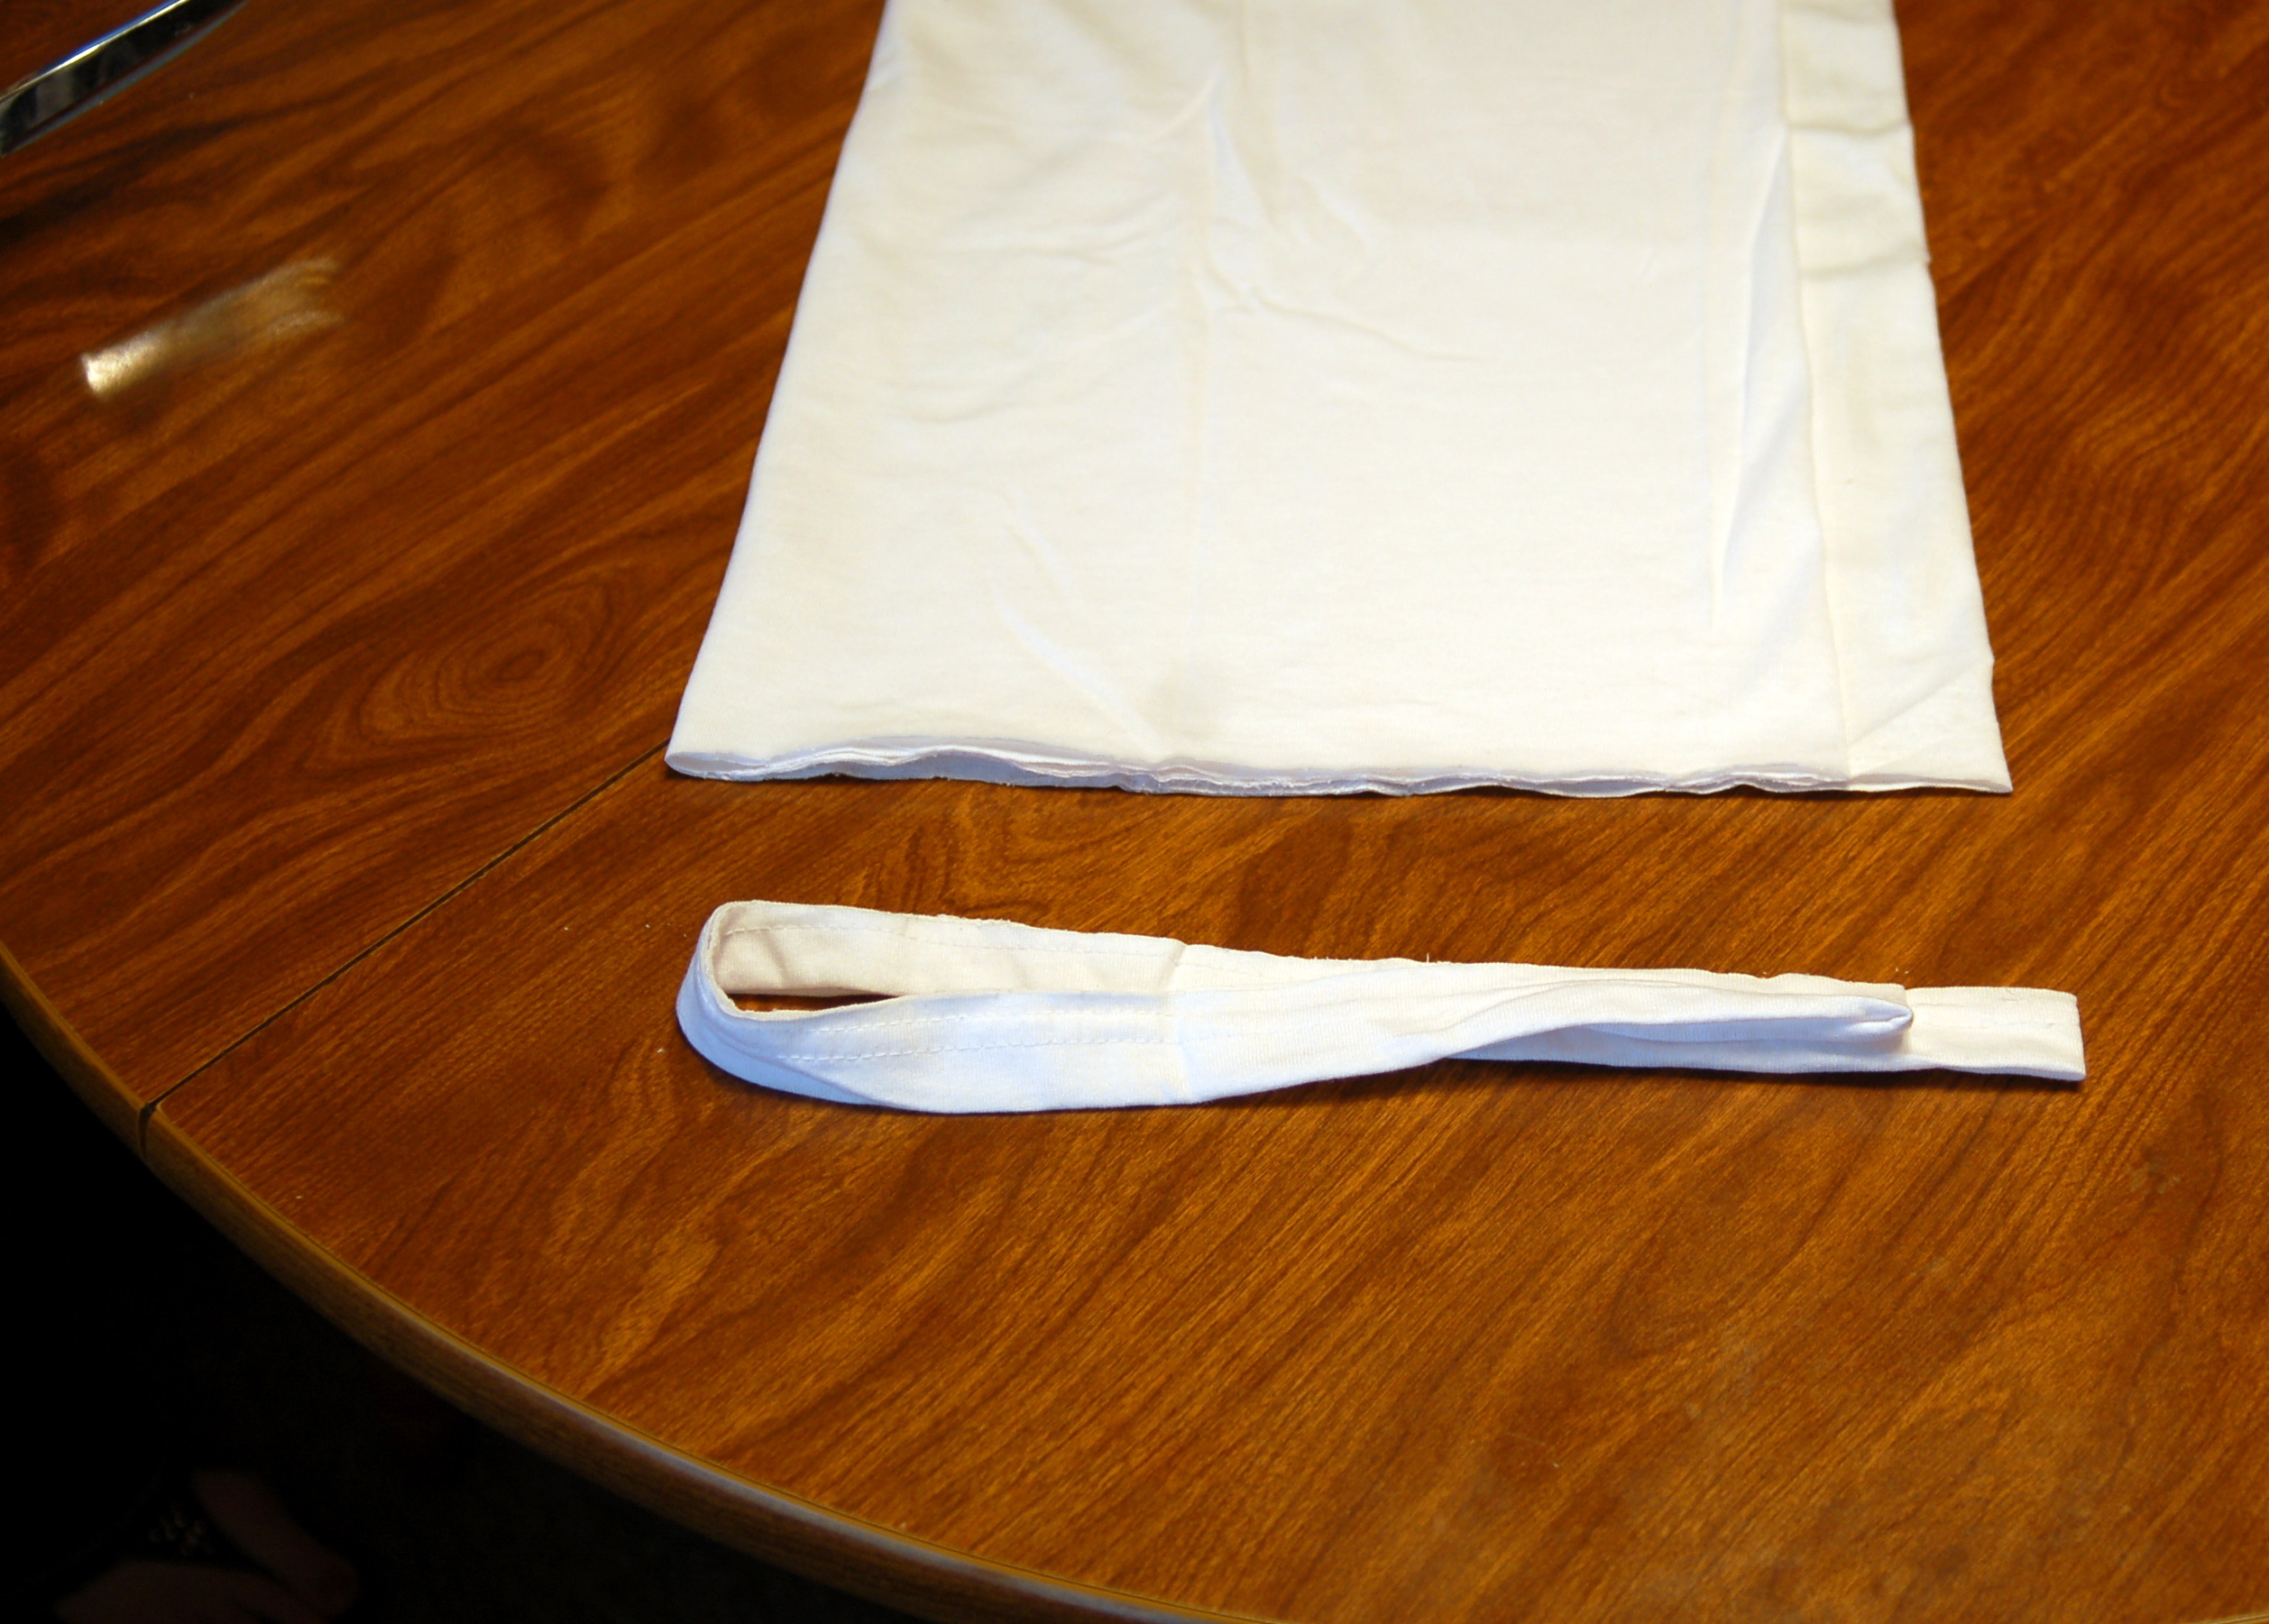
Take an XL t-shirt and cut straight across the body from side to side, right under the arms.Like this!Then fold the t-shirt over so one side is about 1 inch away from the other side.  Cut off the hem.Start cutting 1-2 inch wide strips and cut just past the fold ..like this.Continue cutting the entire length.Hold on to the uncut part and pull each strip out and stretch it out all the way.  This curls the edges.Then open up the circle, so it looks like this.Take a piece of the cut off hem and tie a knot  around it. Tuck the ends into the layers.
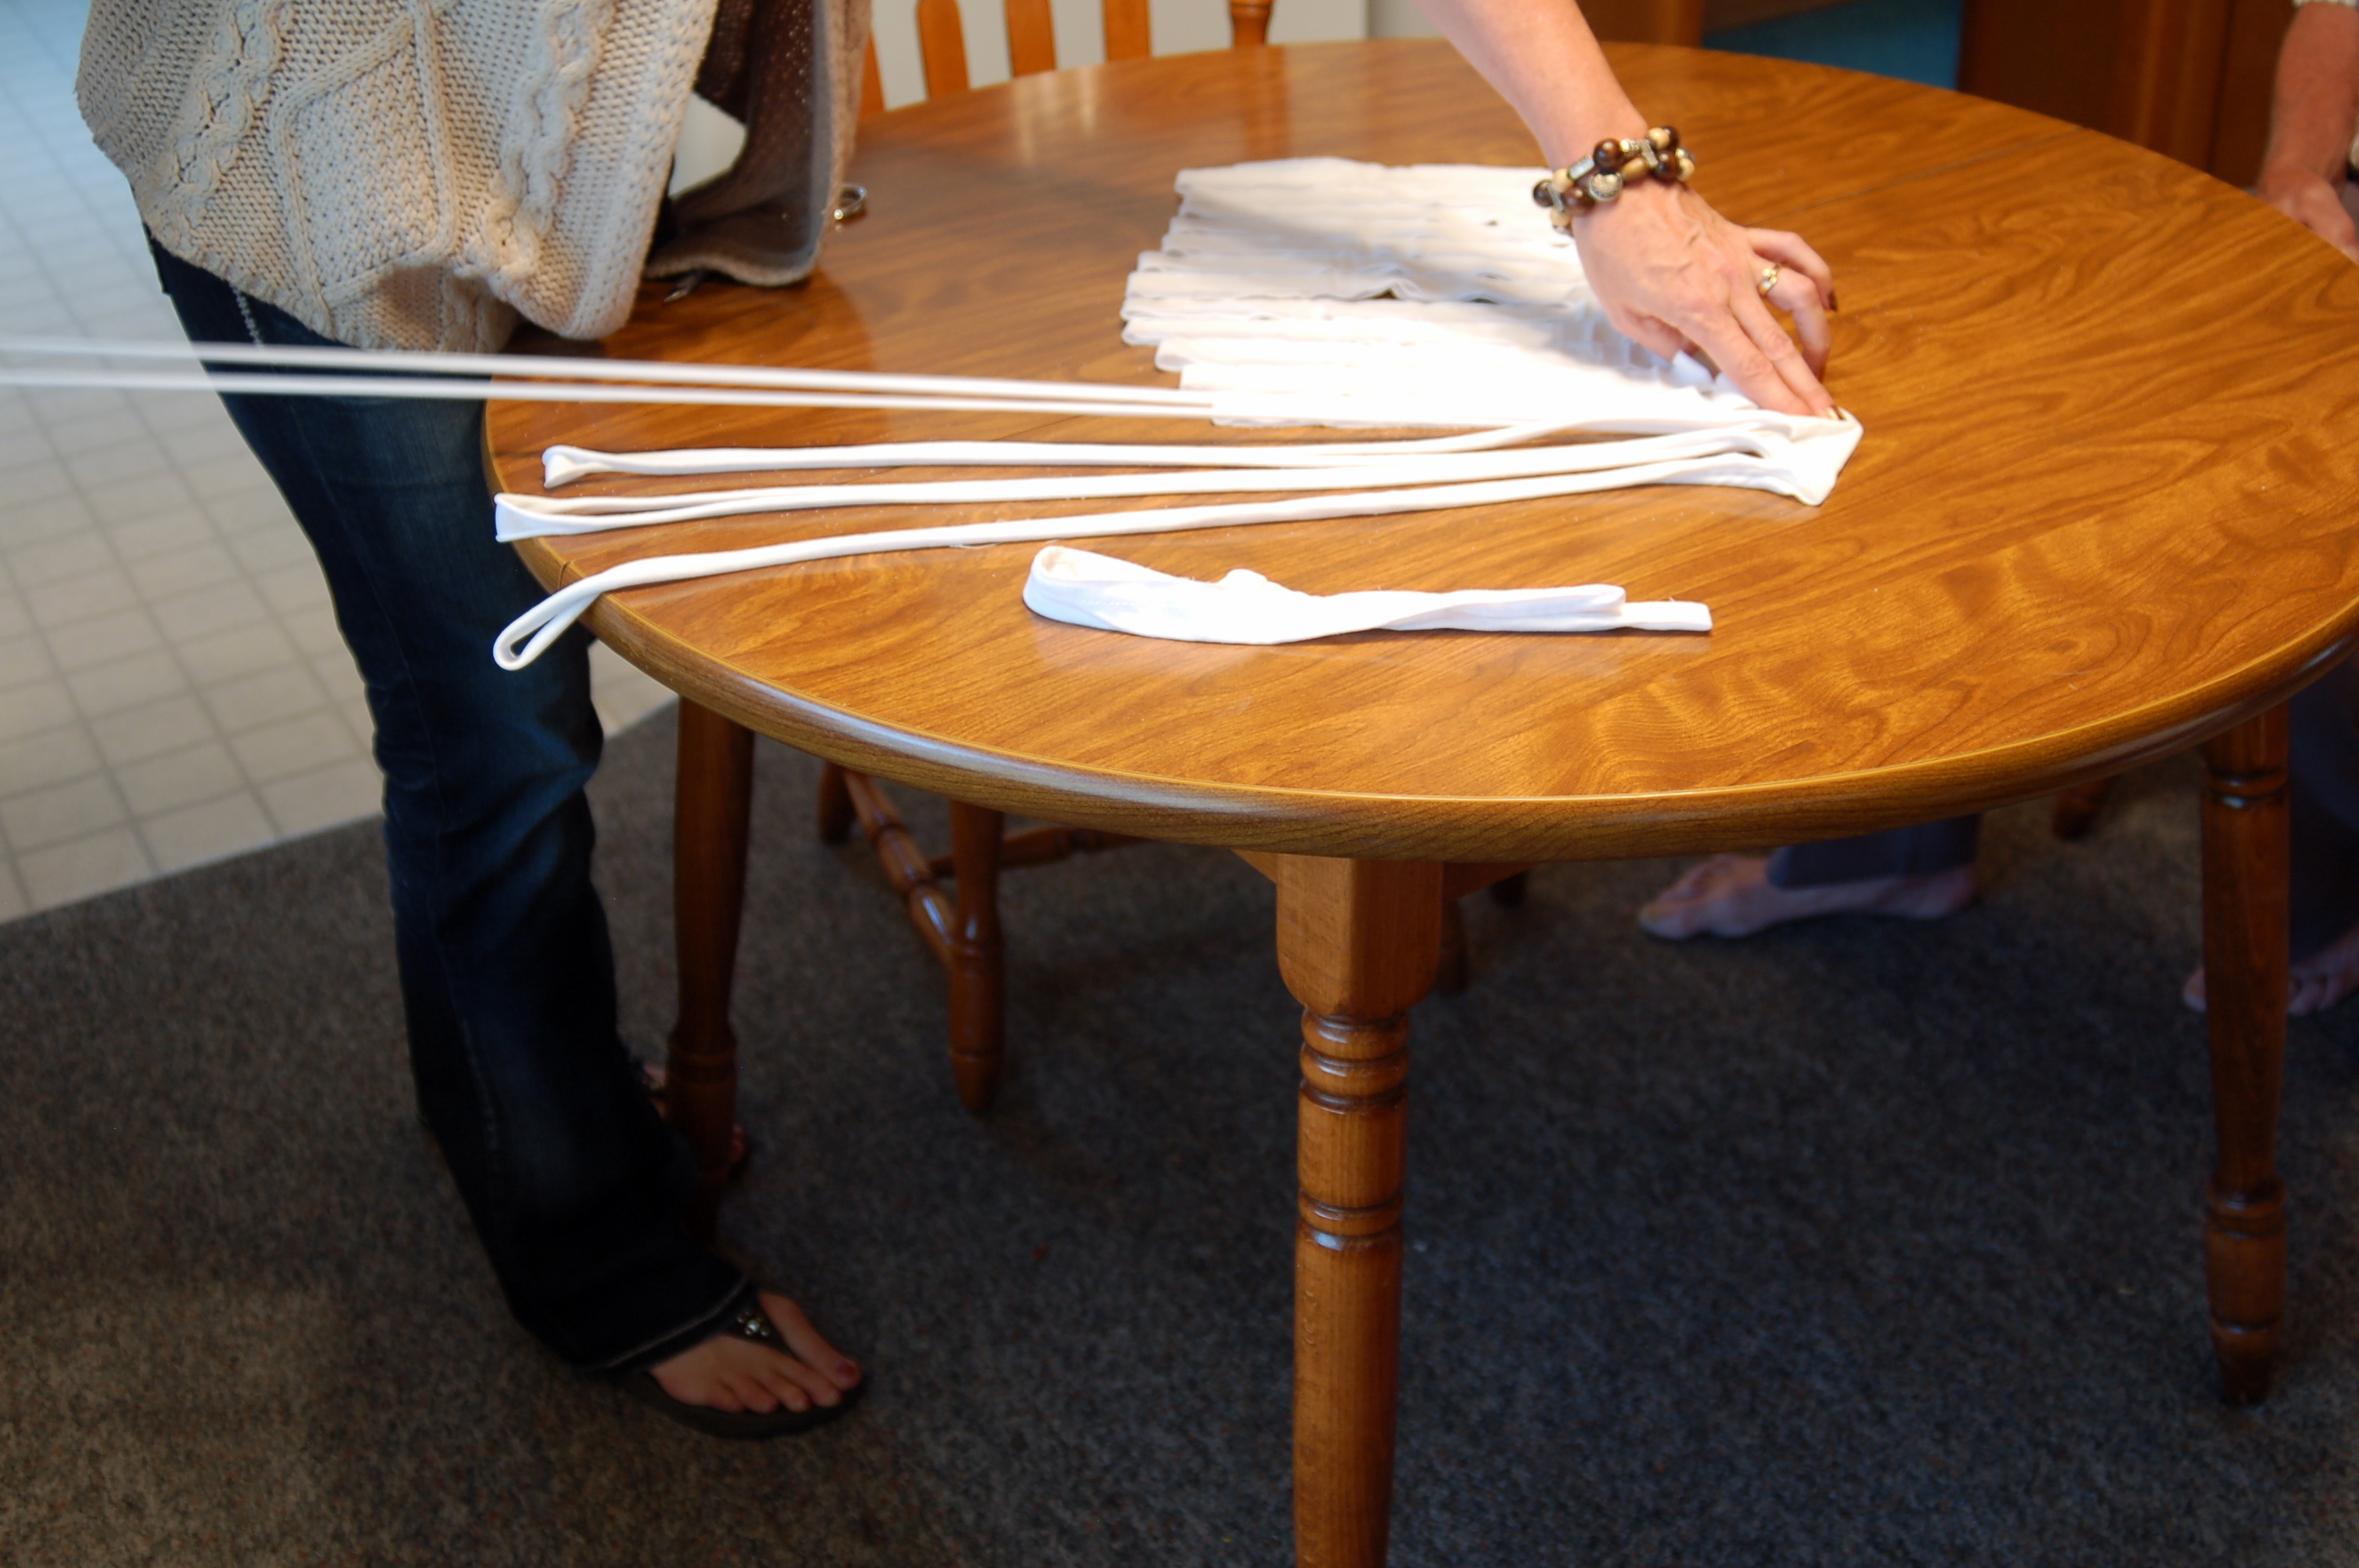
And there you have it!  An easy, cute, inexpensive infinity scarf!

This is another version of the infinity scarf…I cut all the way across the  t-shirt into 1-2 inch wide strips and stretched them out, so I had several separate loops, then just hooked them together with a cute pin!  You can make this one as full as you like. In this version, you could actually get 2 scarves out of one t-shrt!  One for you and one to share!

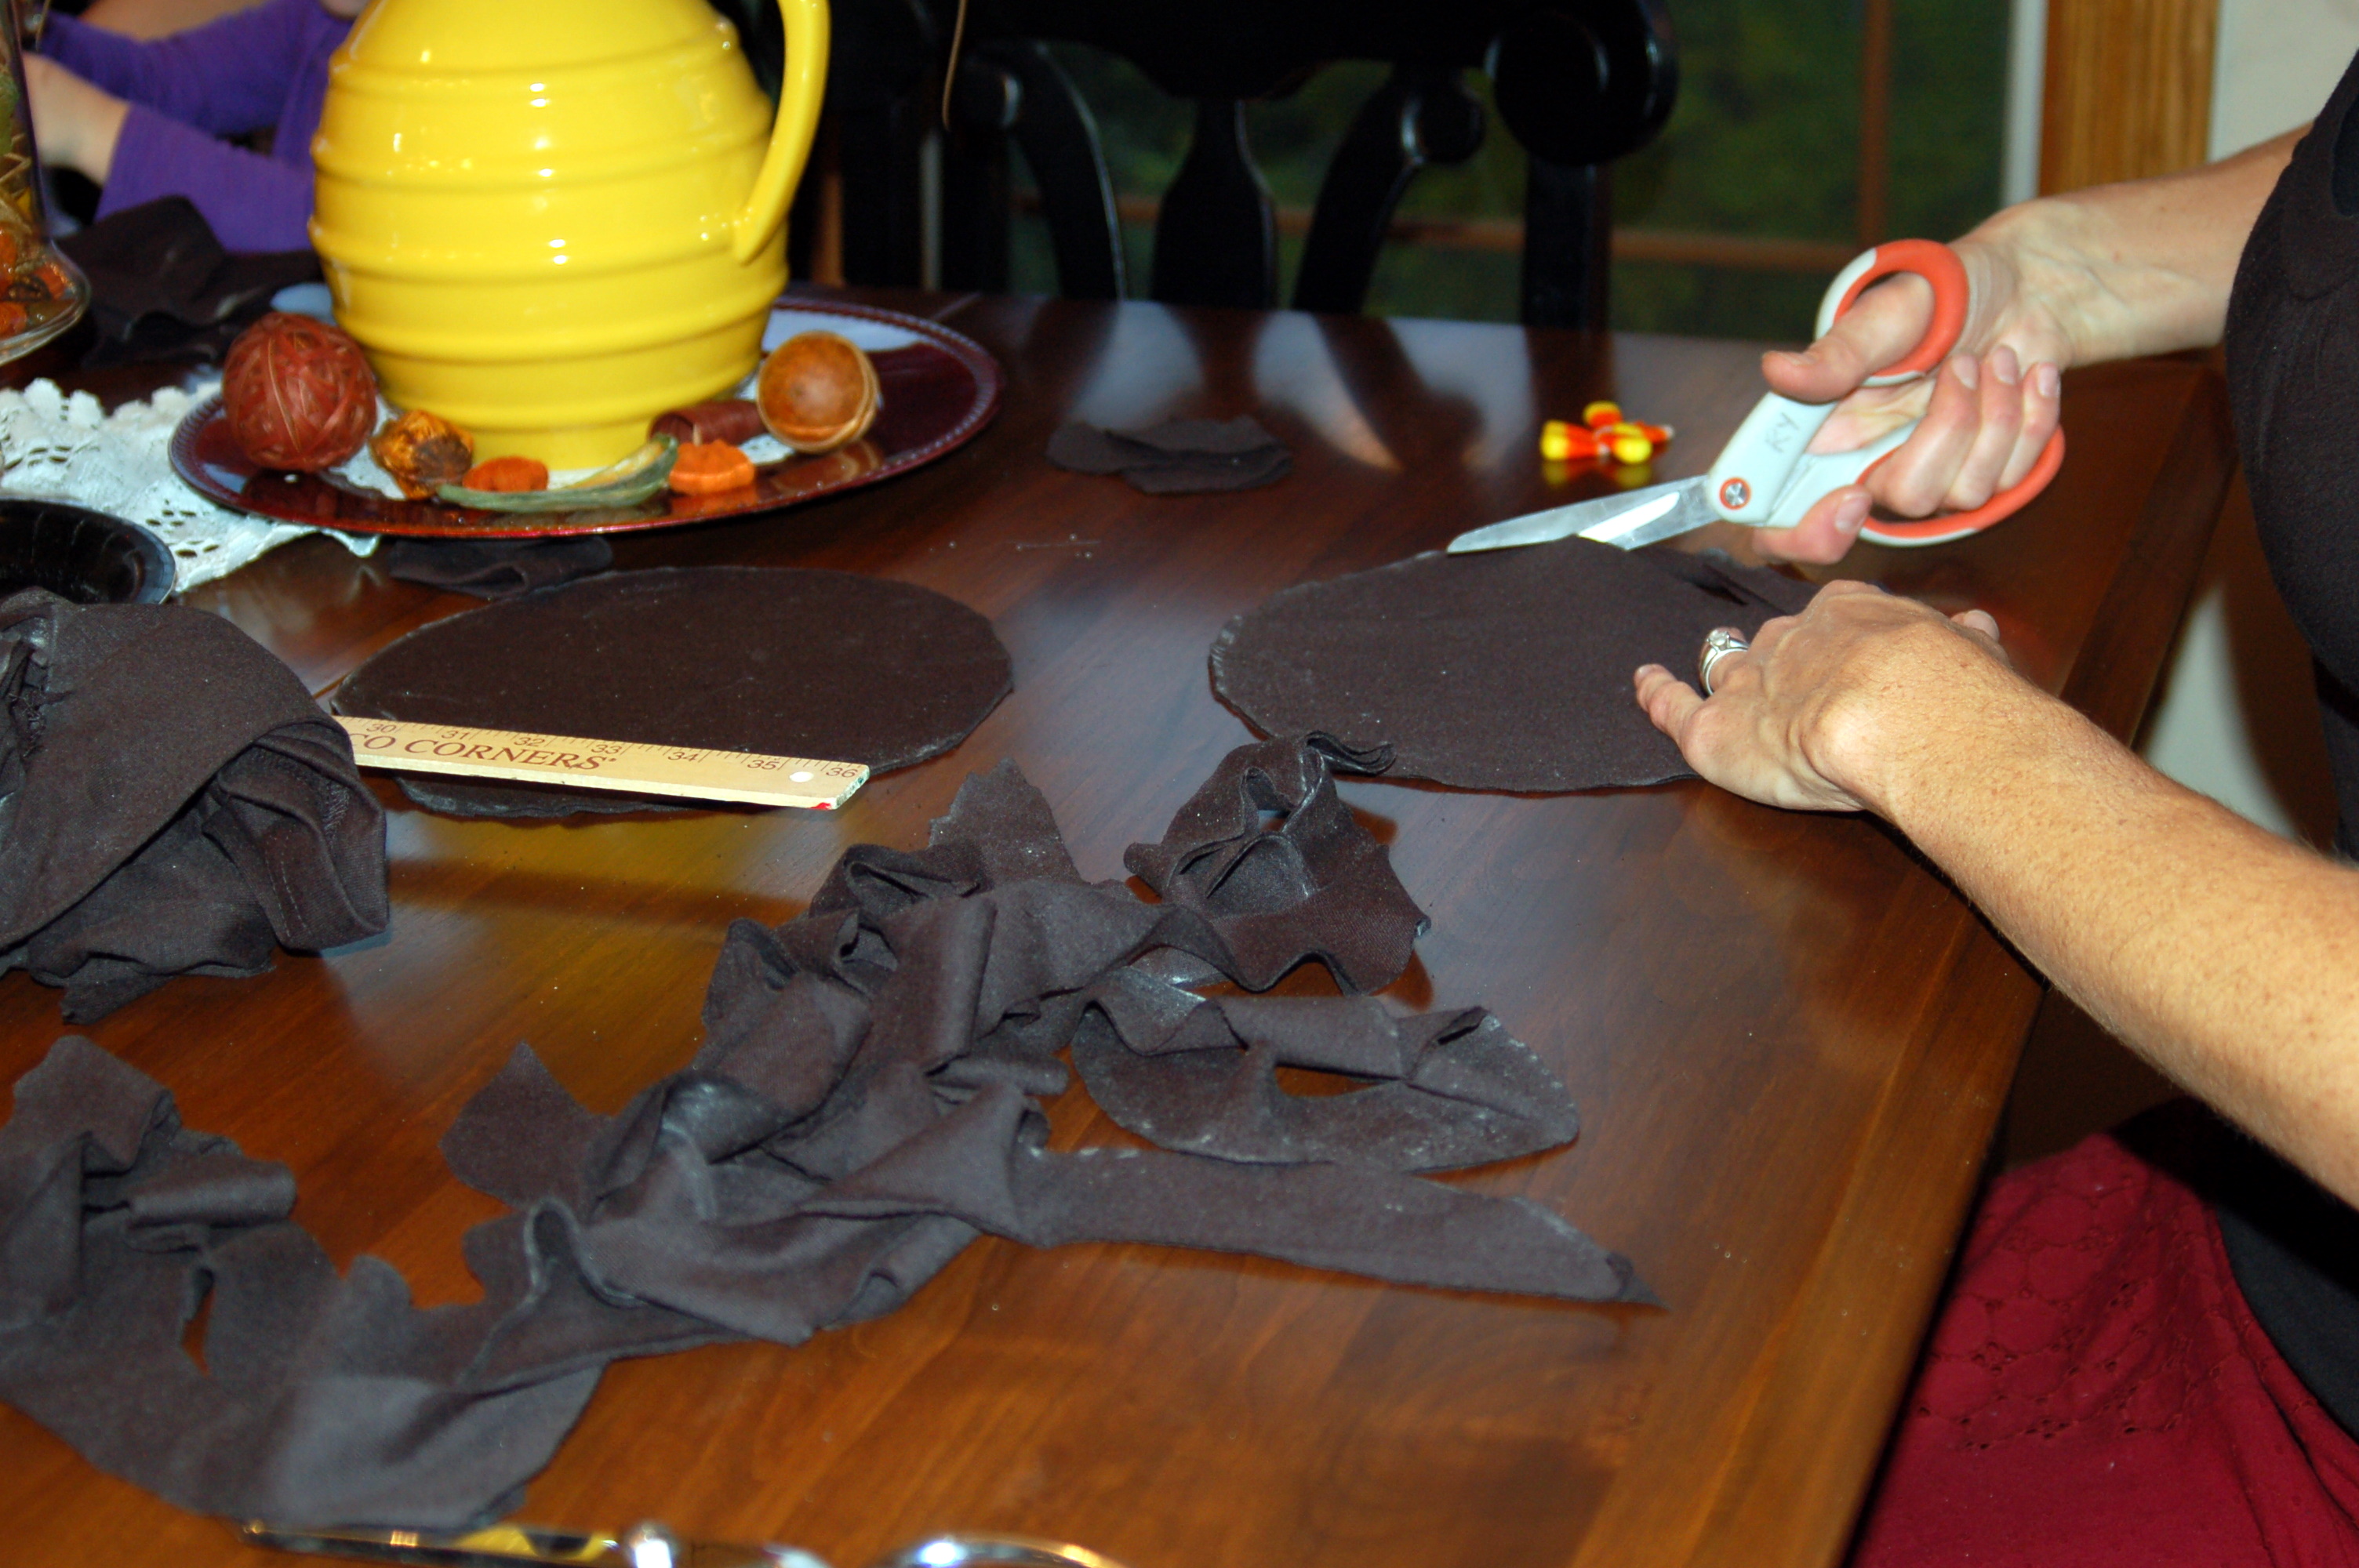
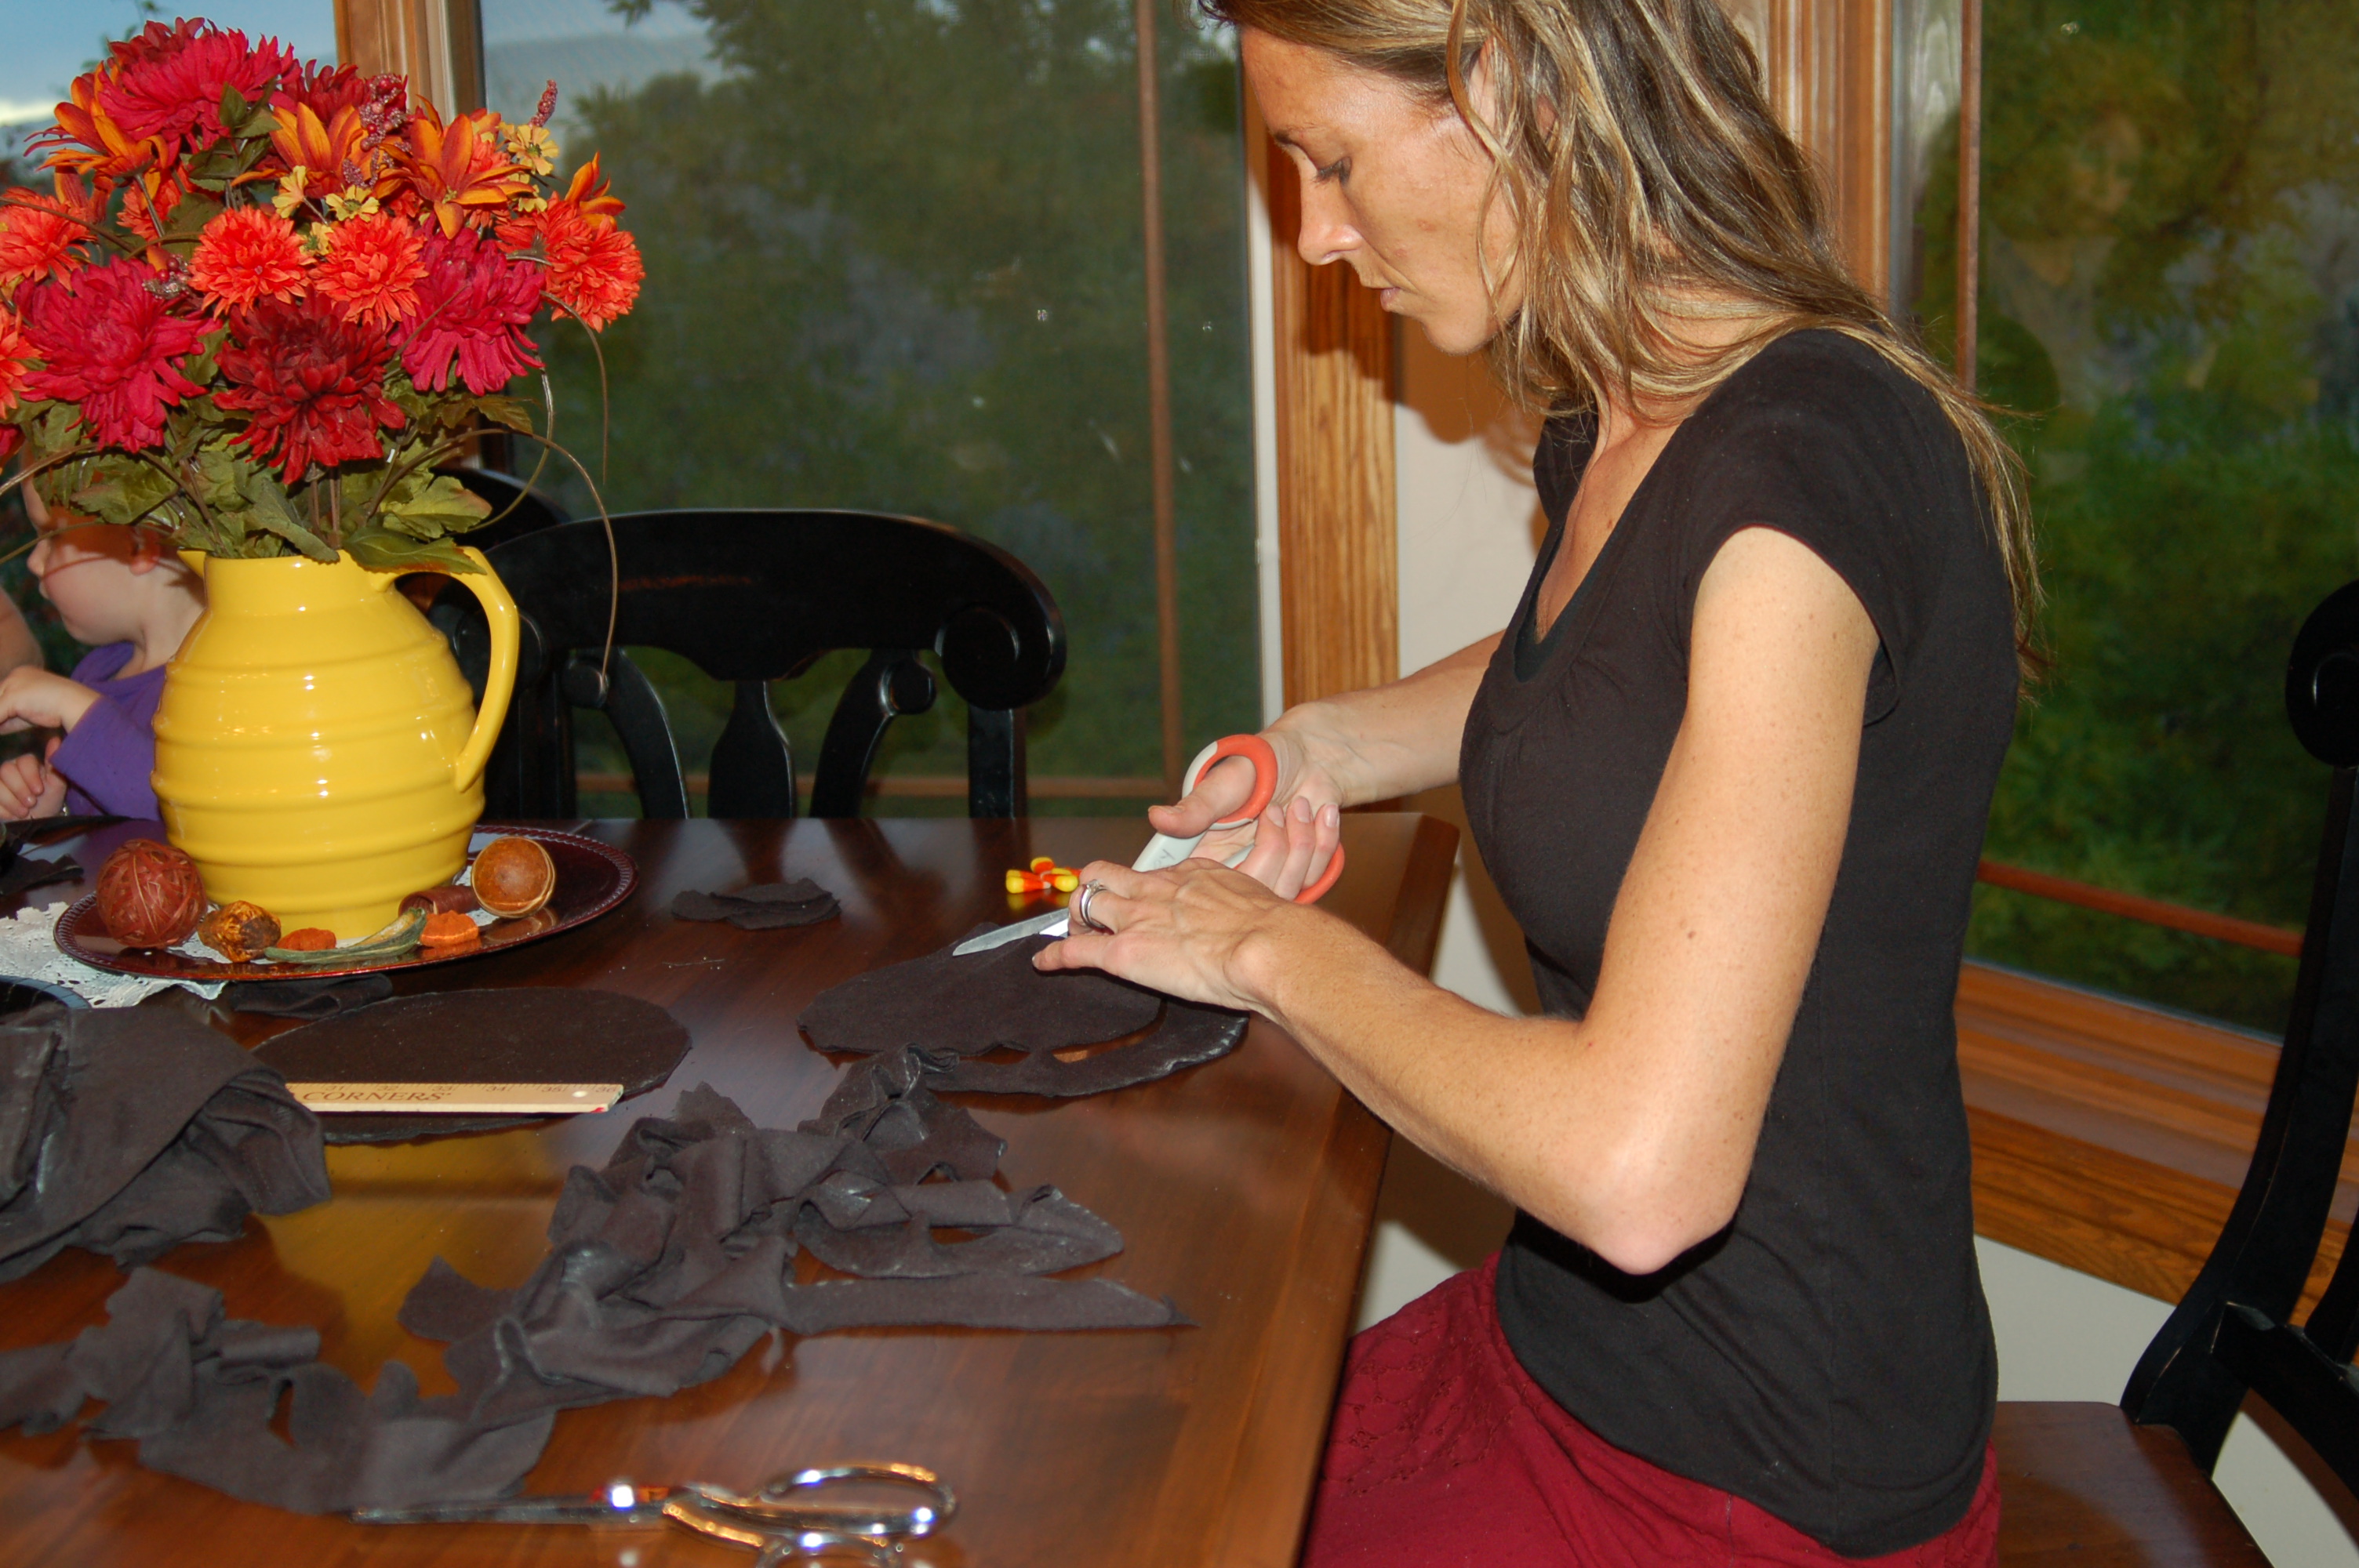
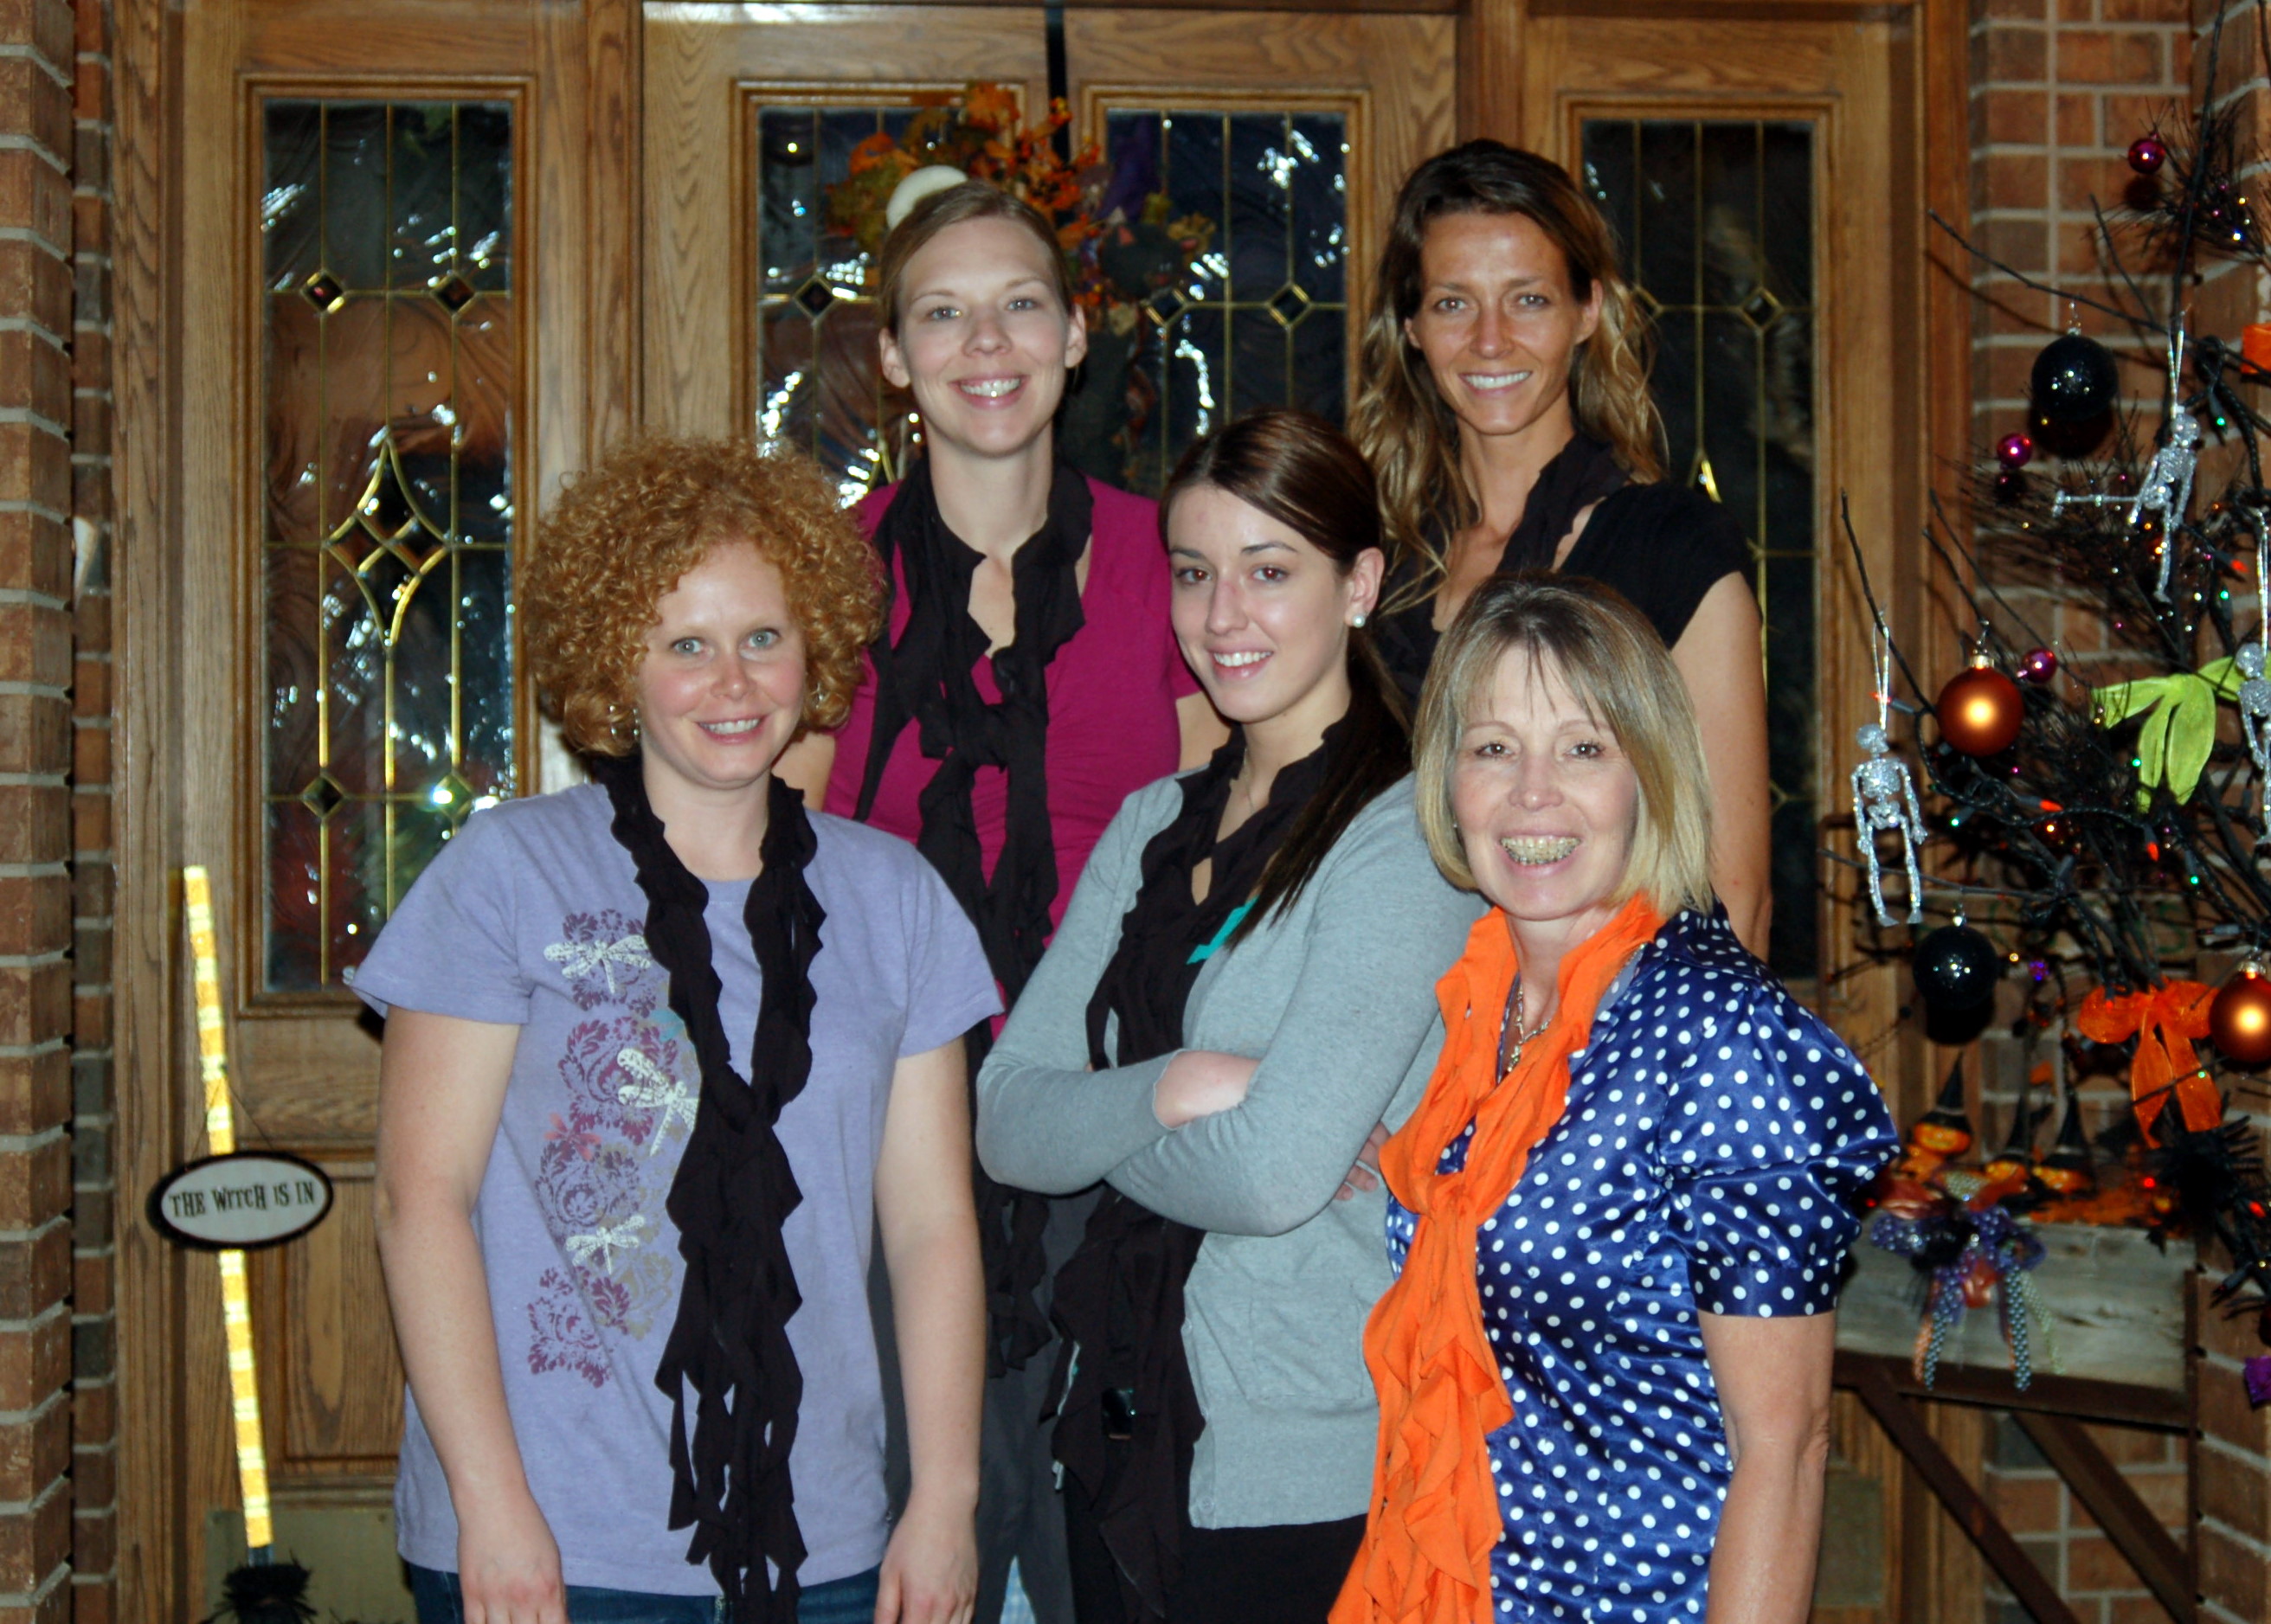
Then the girls and I made these ruffled t-shirt scarves! I saw this idea on Pinterest here. There is a full tutorial there if you want to see it. But basically all you do is cut 8-12 circles out of an XL t-shirt. (Just trace around a 9″ paper plate)

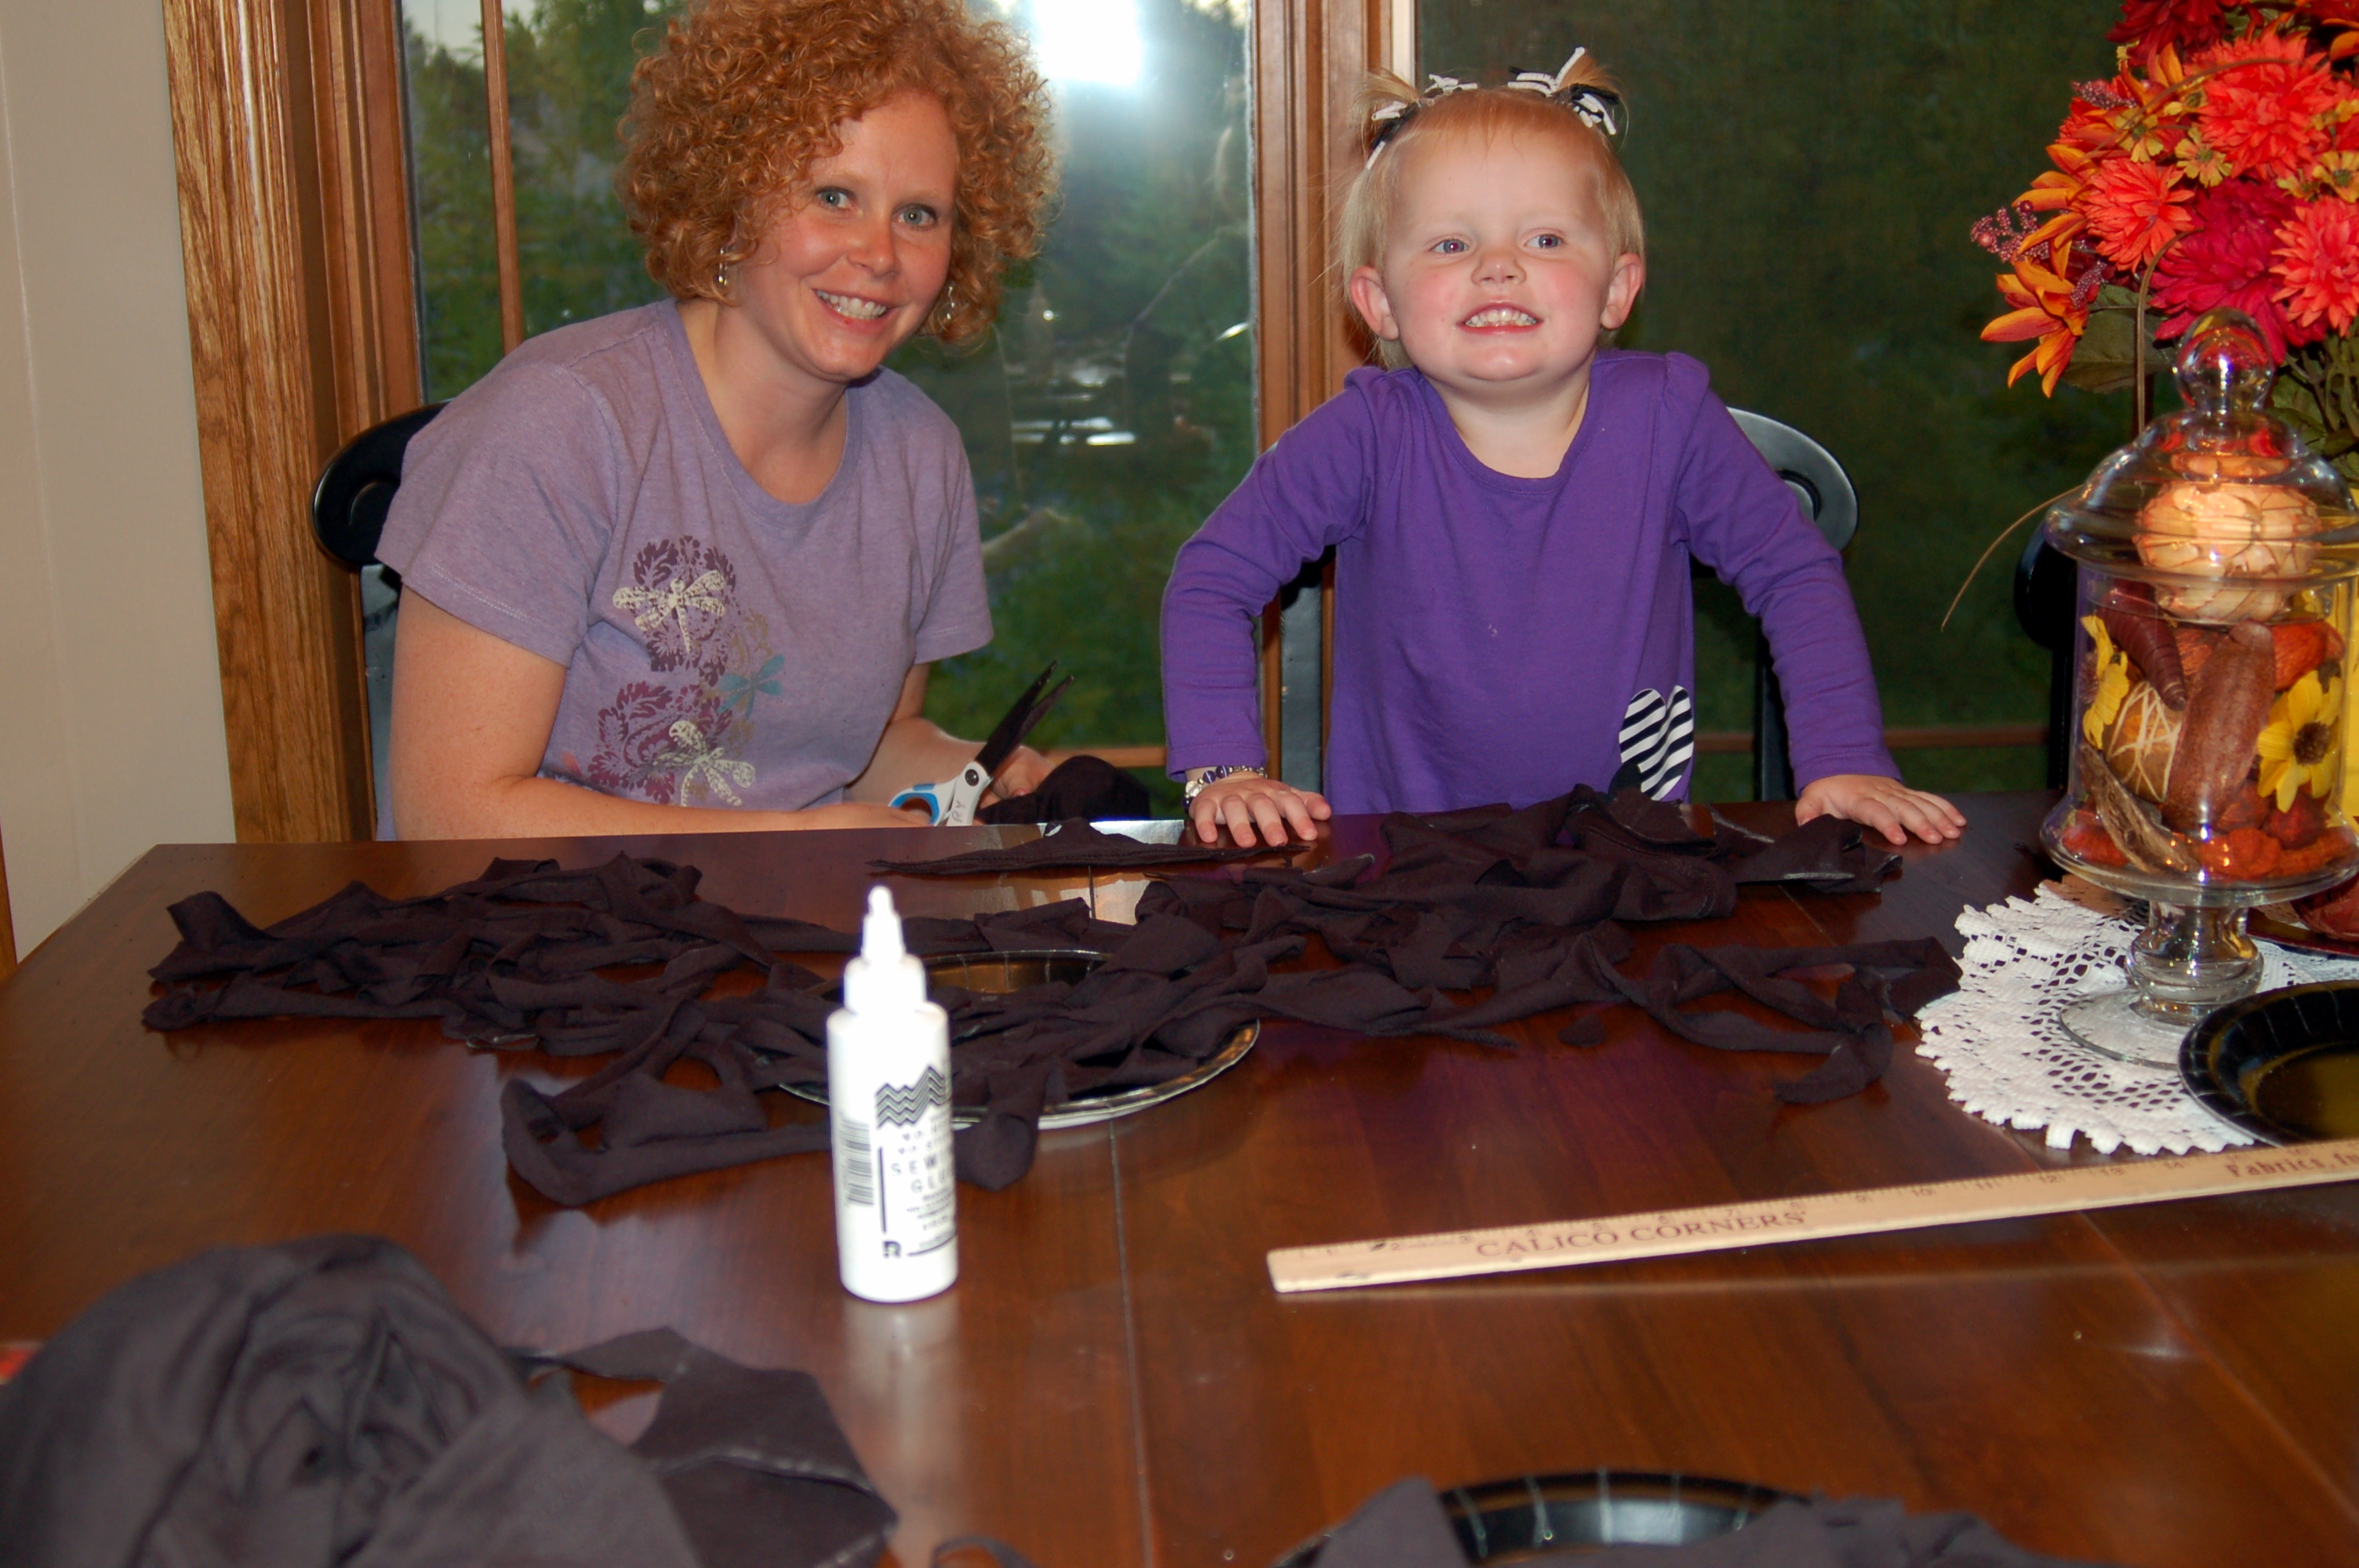
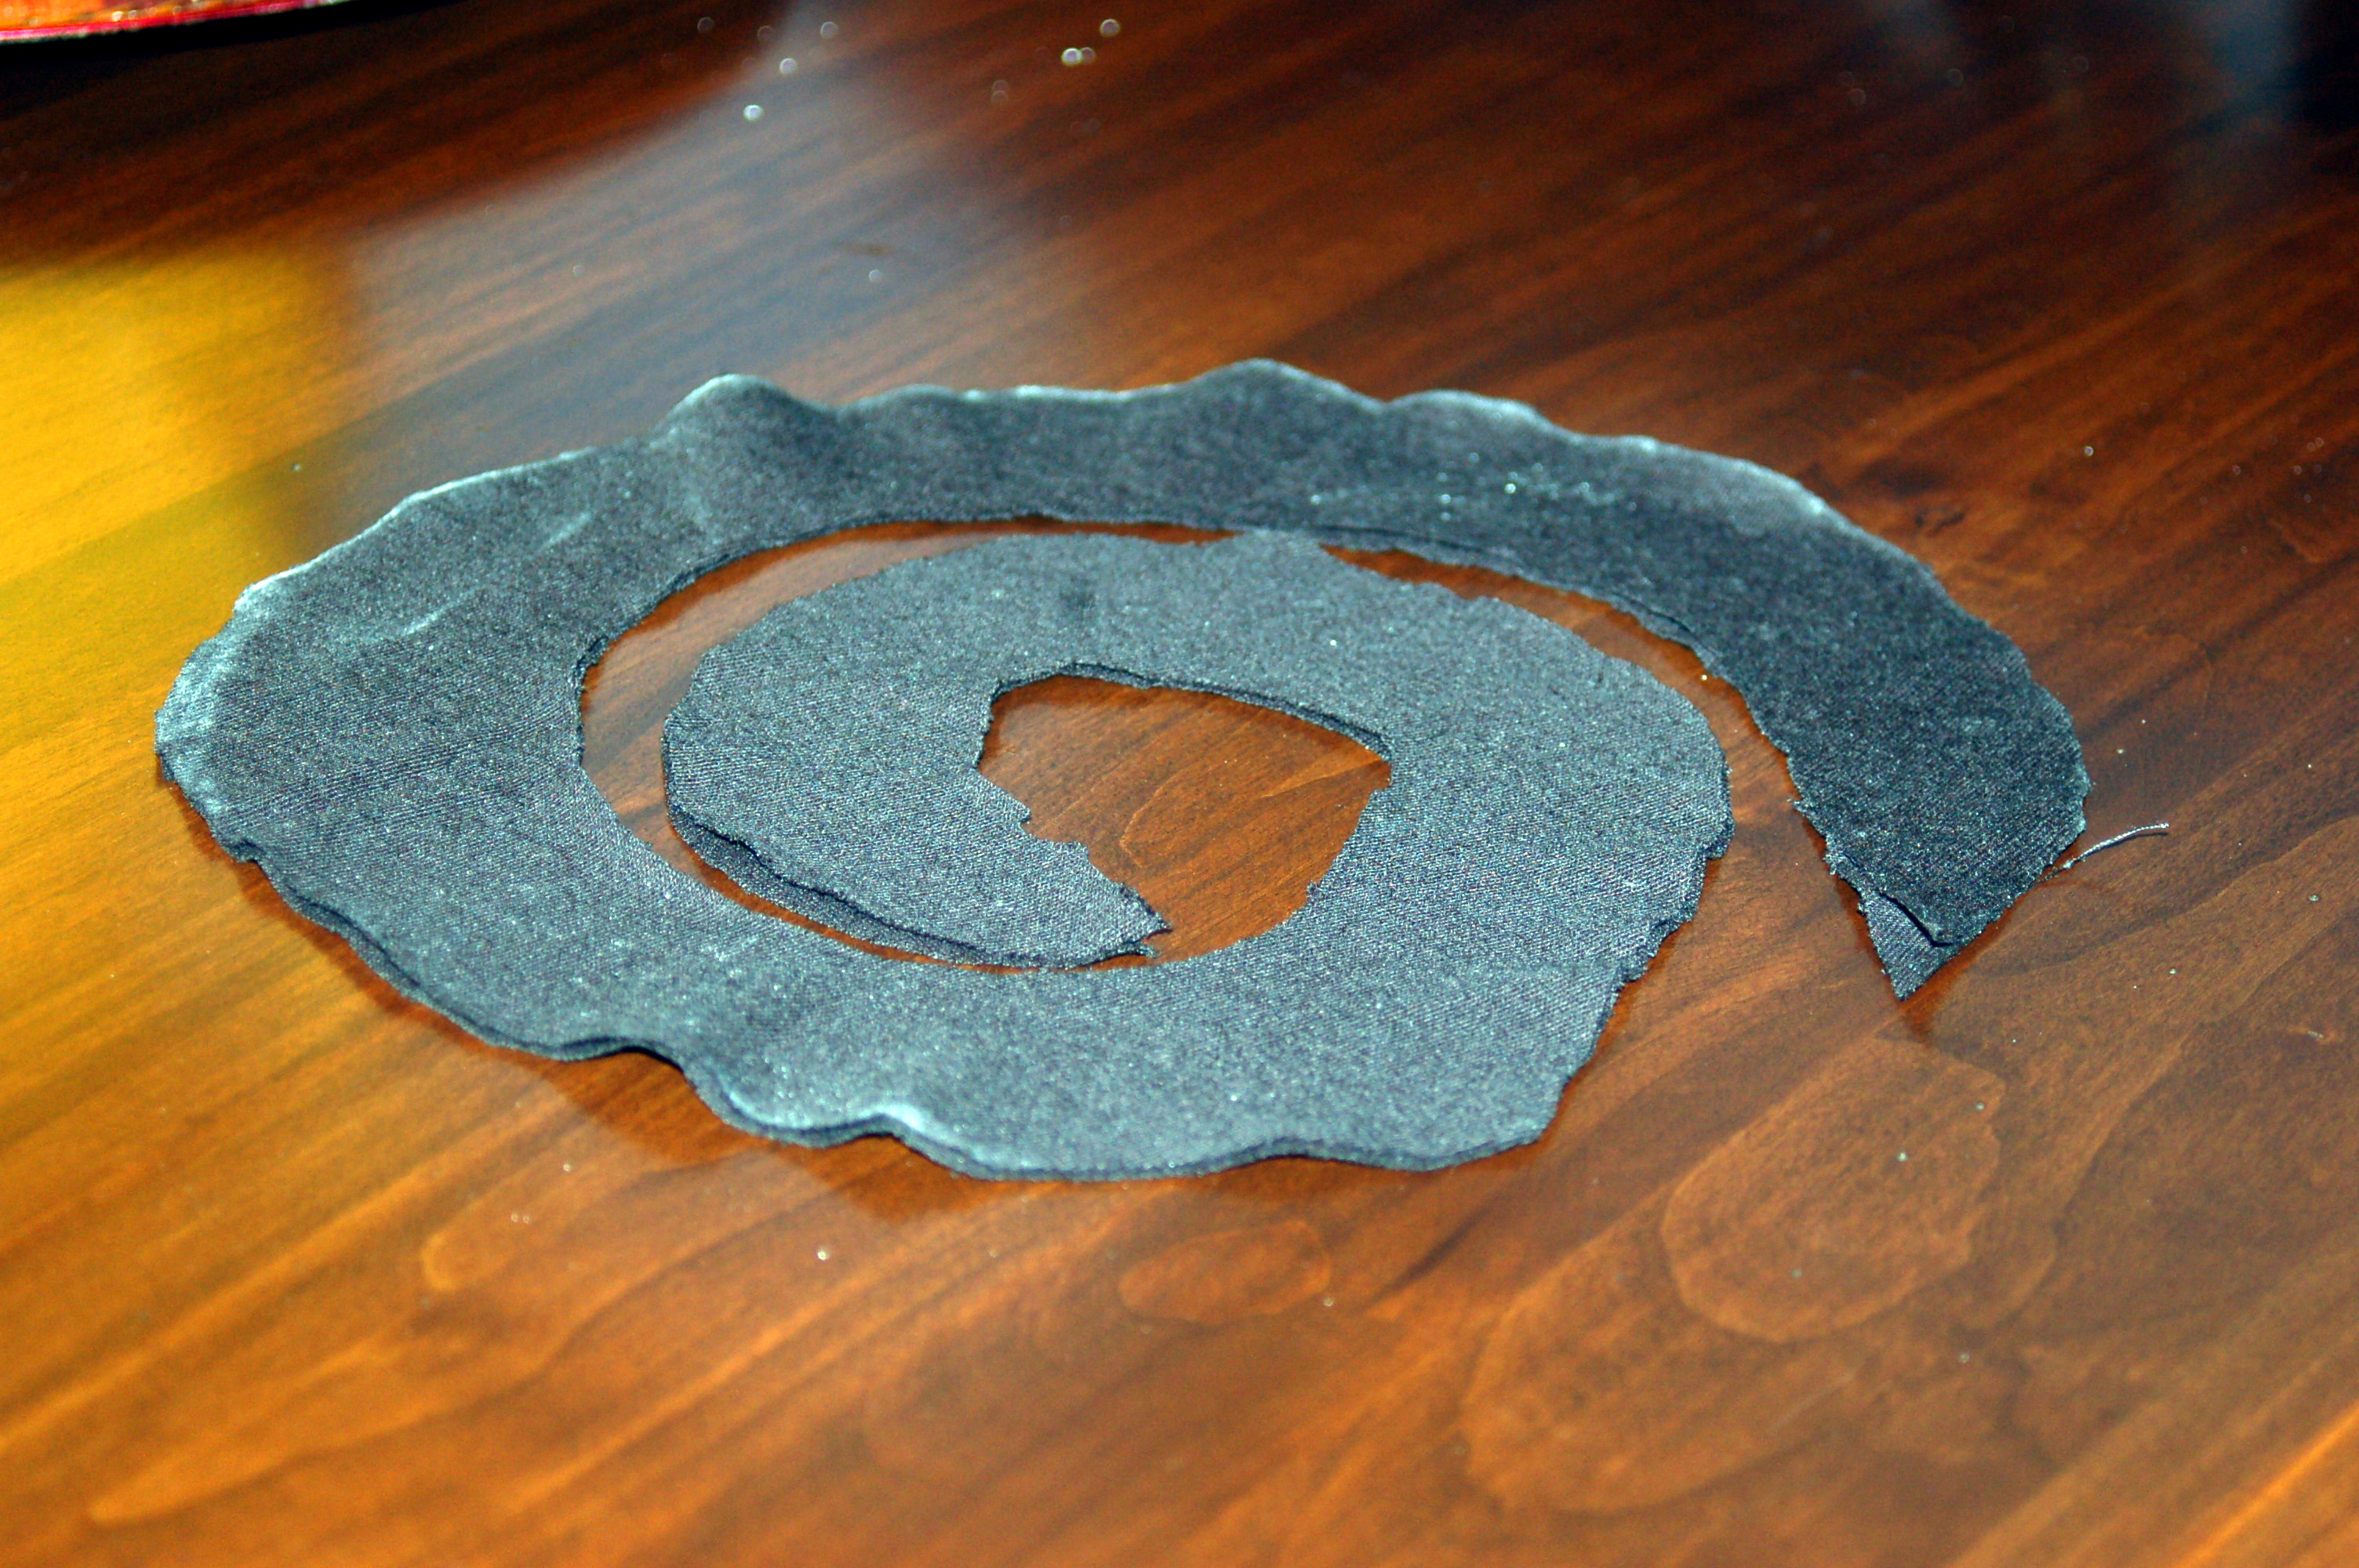
Then you will cut each of the circles into a spiral.We had lots of helpers, this is our littlest princess, (Isn’t she a doll?)This is what the spiral will look like. Then Just stretch each spiral out and pull along the length of it to curl the edges. That is what makes the ruffles.  I forgot to take a picture of the next step, but just take two pieces and glue together end to end with fabric glue, to make a long strip.  Let dry, then lay all the strips out and using one of the strips, tie them all together in the middle and just let the ends hang down with the rest of the strips.  Easy Peasy and NO SEWING!  These would make darling gifts for the Holidays!  (If you are having a hard time understanding this last step go to the link for a better tutorial.)So what do you thiink?  Do you want to try one now?I added a cute little pin to mine and this is about as dressed up as I will get for Halloween!

If you try this out I would love to see what you have done!  What other crafty things have you been doing?

Cute Tissue Paper Coasters!

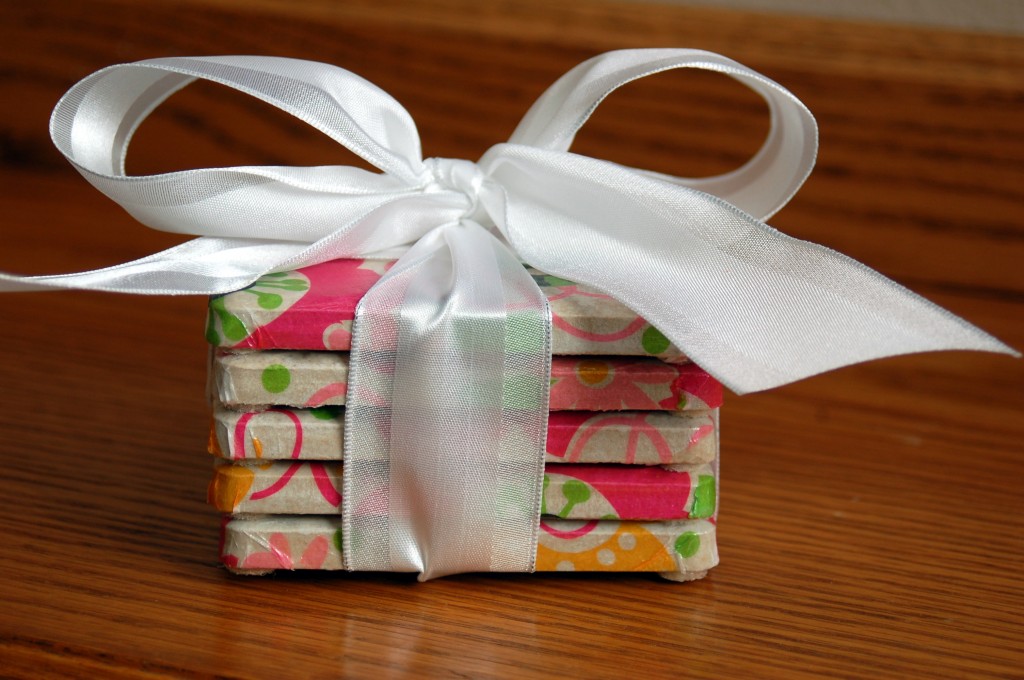
My daughter made these coasters and they were super simple and would make a great gift for neighbor gifts for Christmas, Birthdays, wedding gifts, thank you gift or just because.  I think that they would even be cute for Halloween!

(mm, I think I feel another project coming on!)

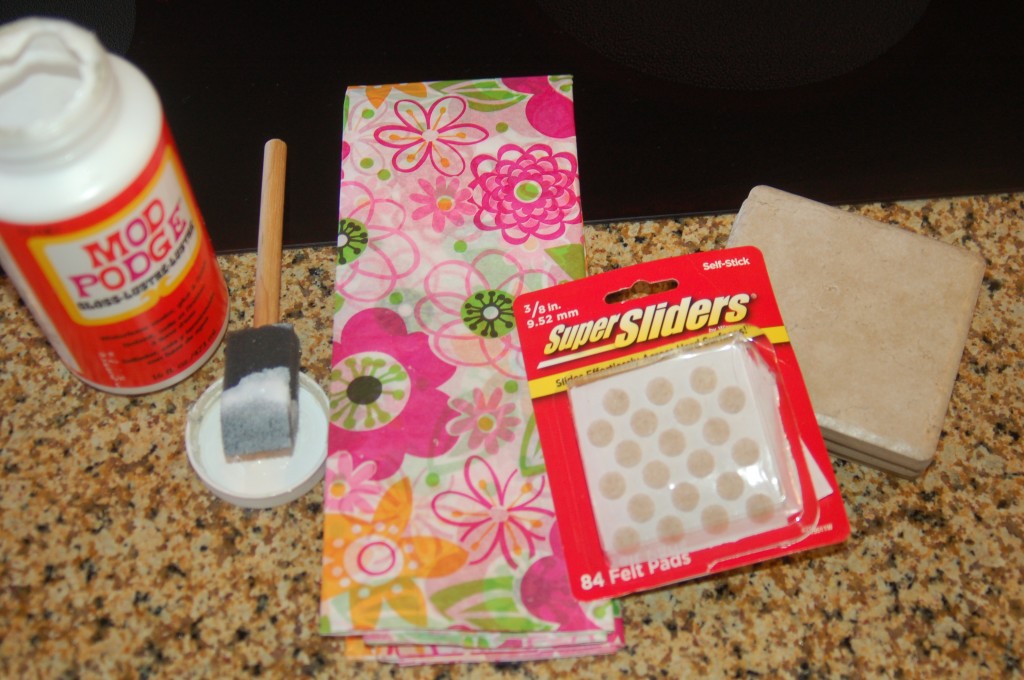
Here is the line-up of supplies:  Mod Podge, tissue paper, 4 inch tiles (from Lowe’s), and felt pads.

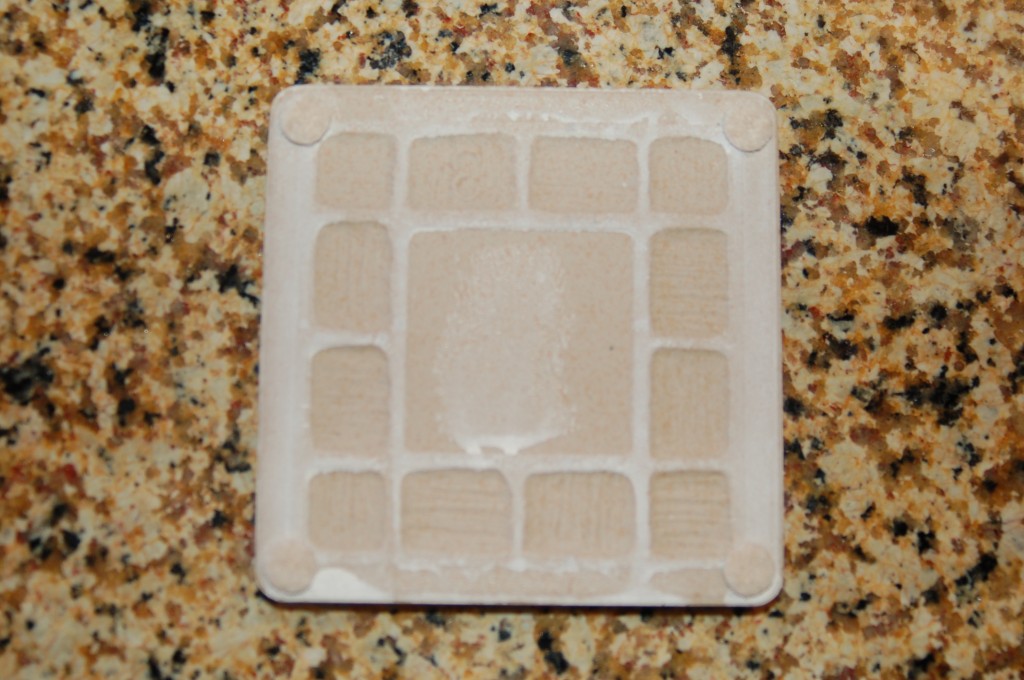
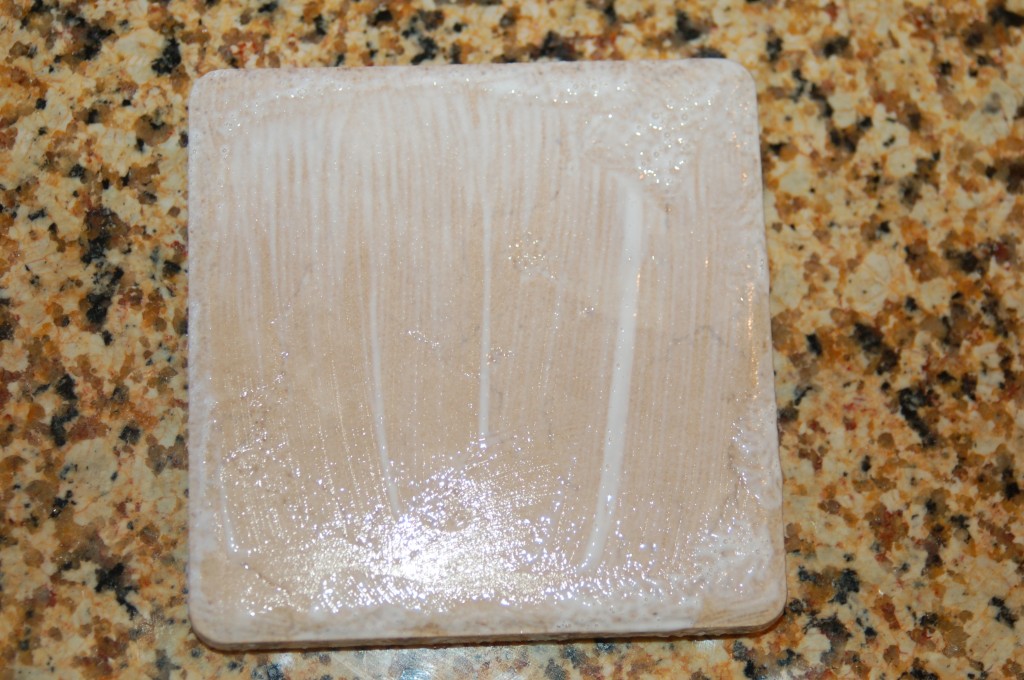
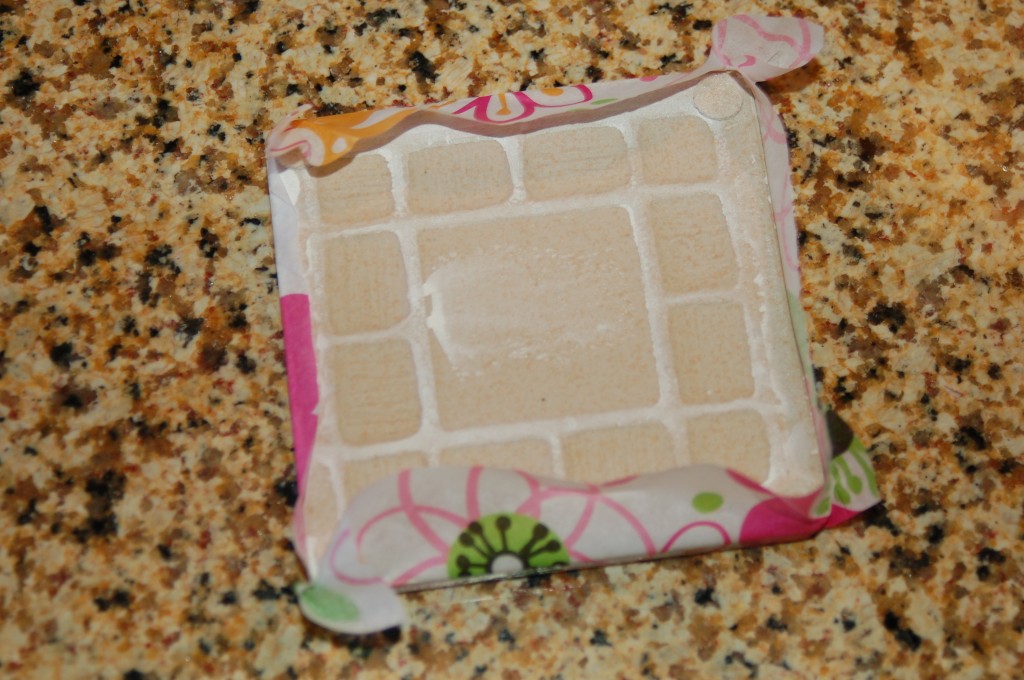
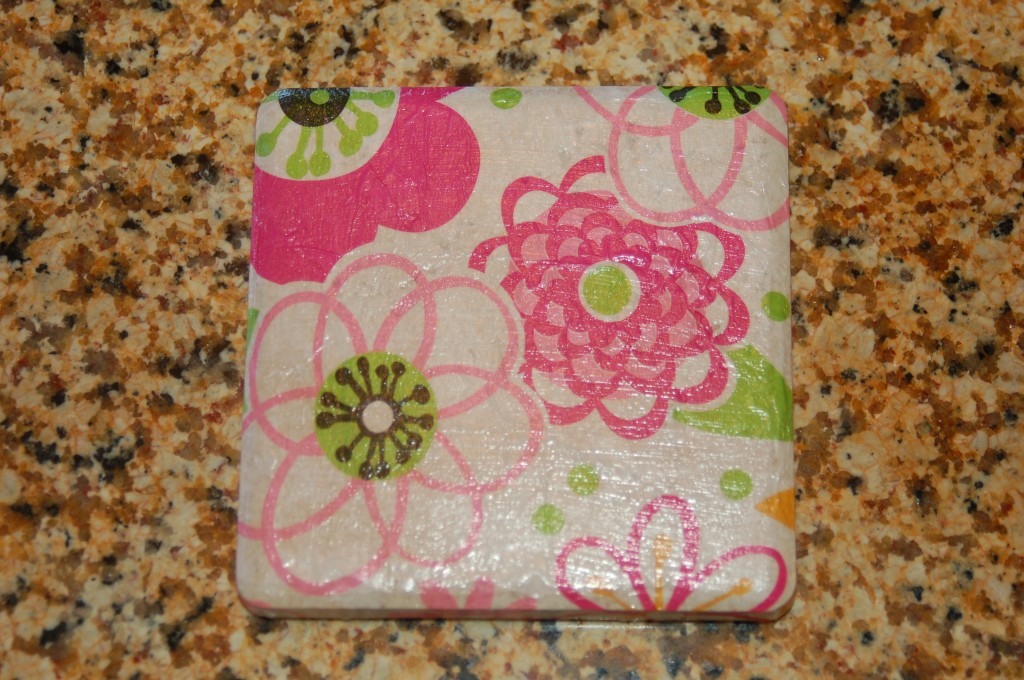
First apply the felt pads to the back on all 4 corners.Apply the Mod Podge to the front and all the sides of the tile.Have a piece of tissue paper already cut to about 5-6 inch square and apply it to the top of the tile and wrap around all of the edges, Make sure to rub it a little to get any bubbles out. Contour it around the corners. You will have some tiny creases here but that is ok.Let it dry and then tear, or use sandpaper to remove the excess paper on the bottom.  Apply 1-2 more coats of Mod Podge to seal it good.Tie them up with a cute bow and you have a darling gift for someone you love!  There are all kinds of possibilities in the paper that you could use to make these, so get creative and make a set today!