Tag Archives: halloween

Glutton for Punishment!

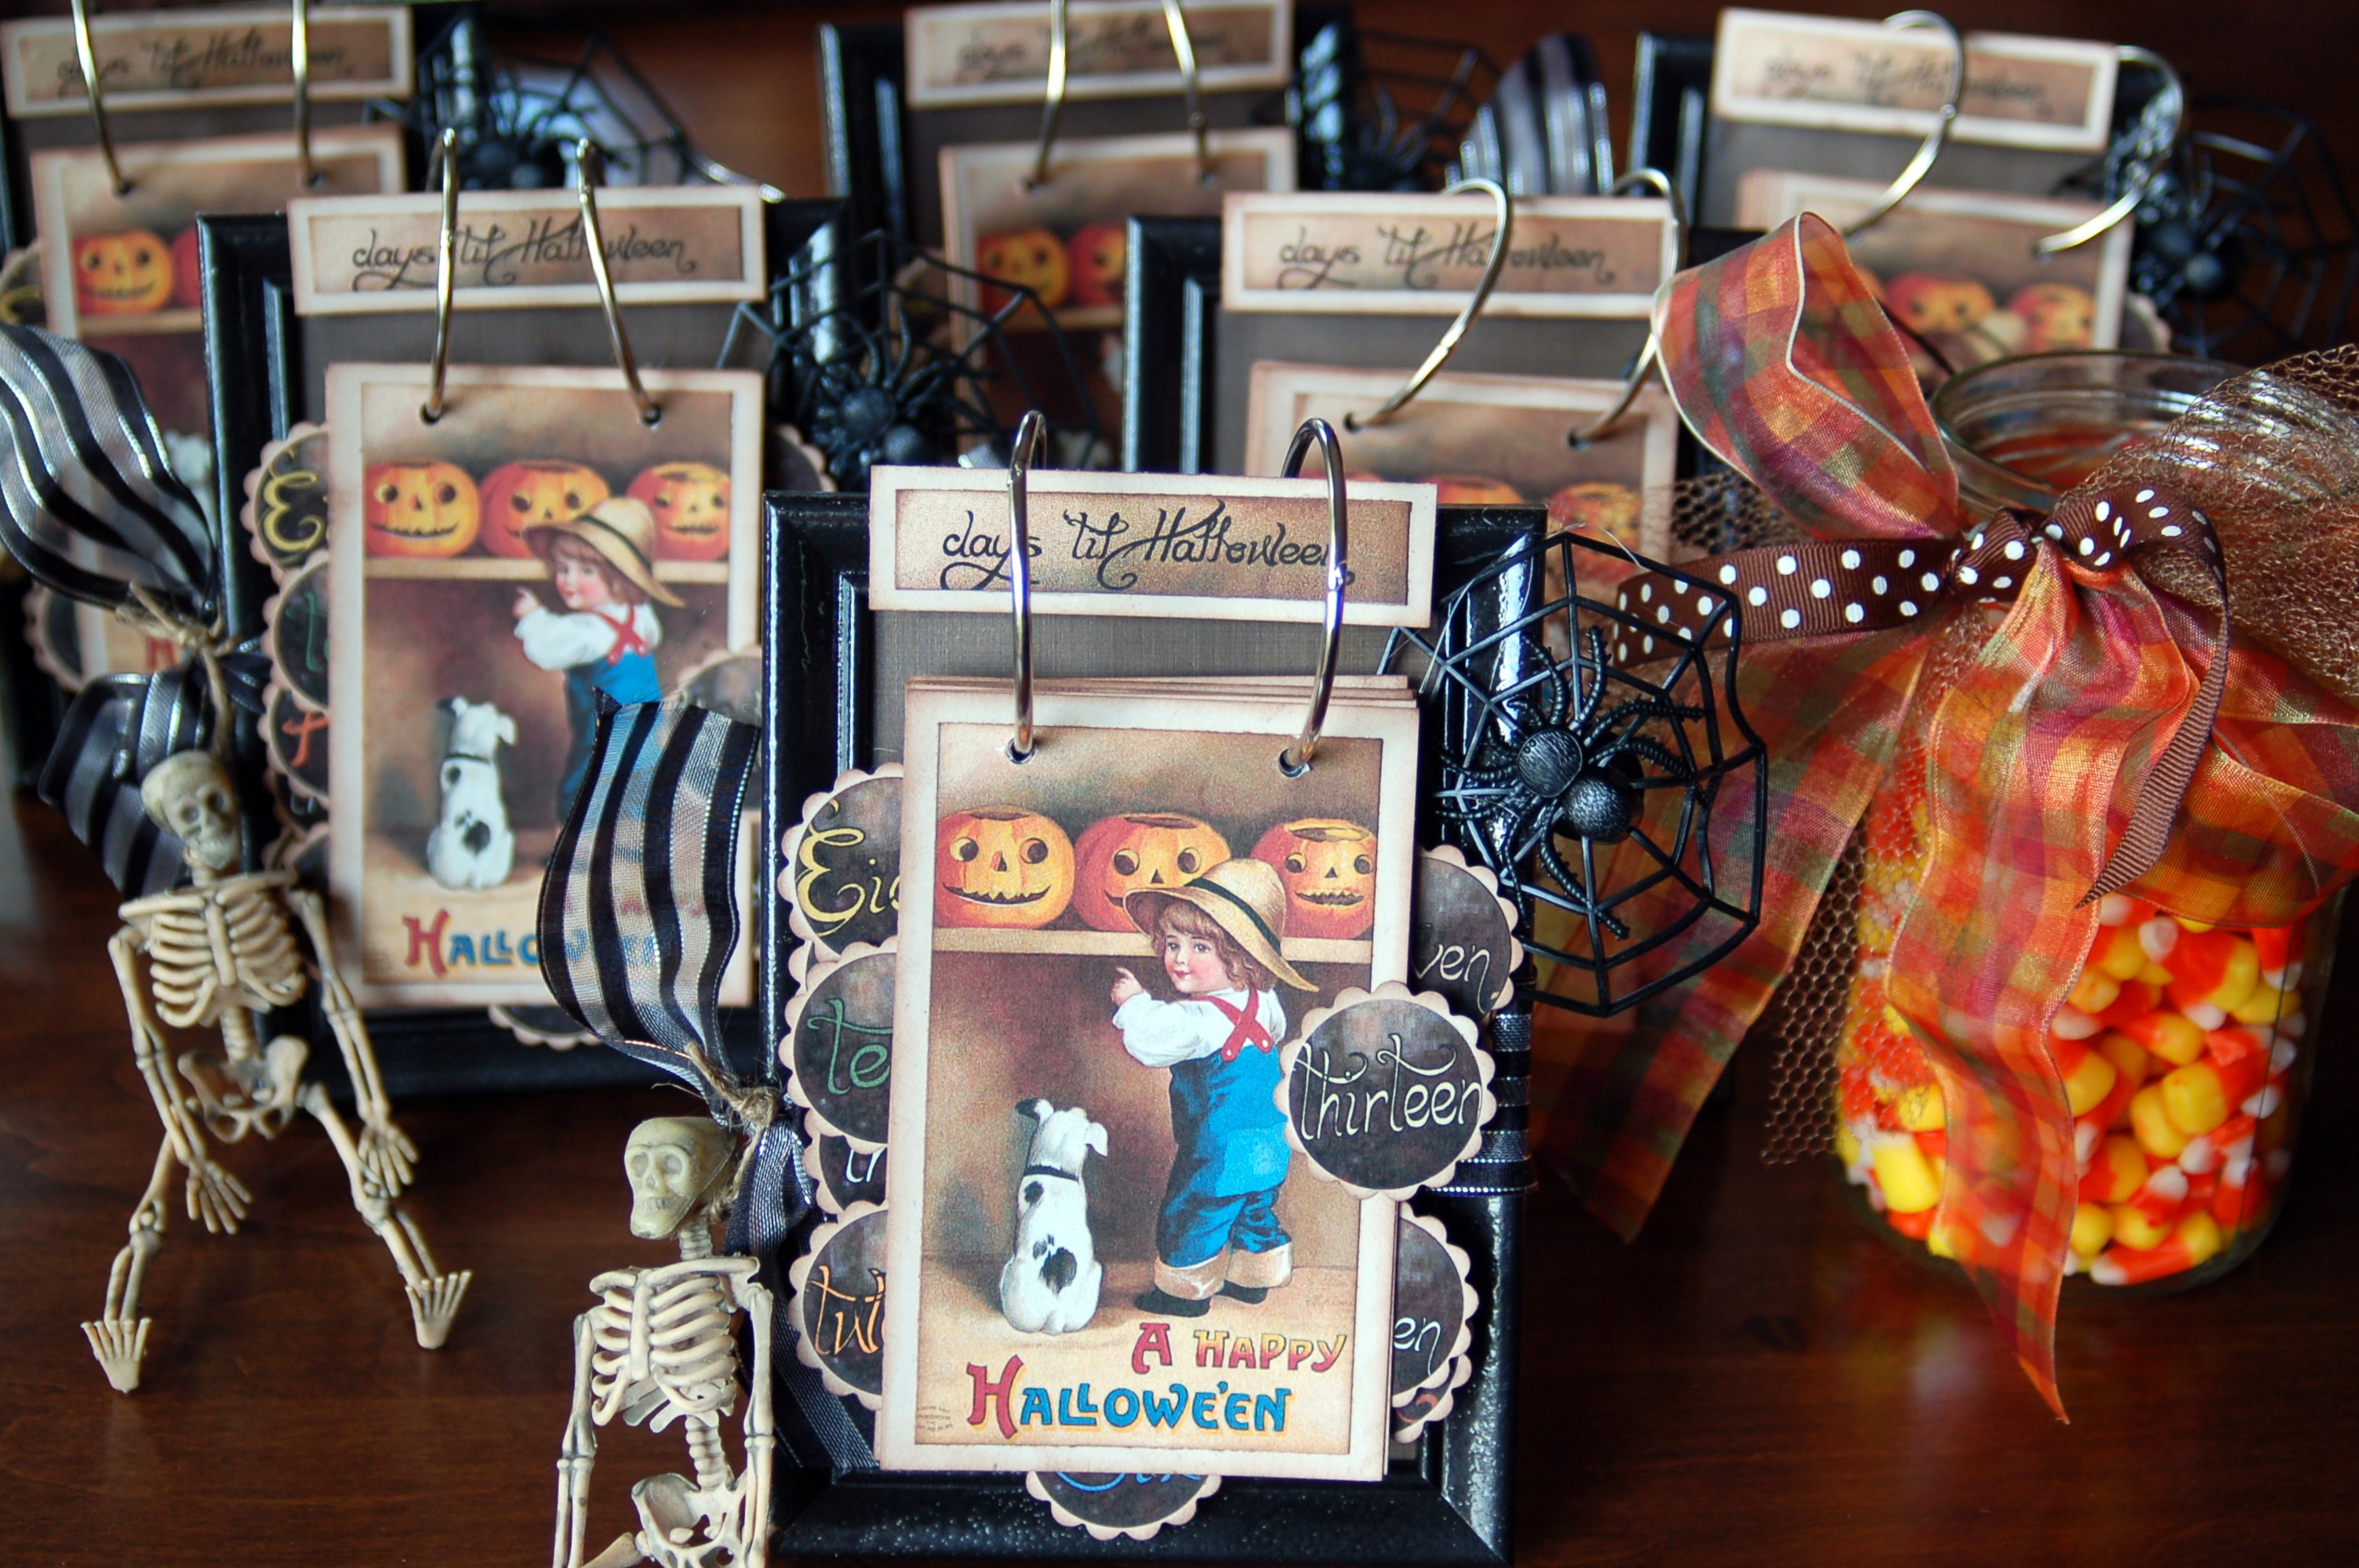
I saw this cute Halloween countdown calendar on Studio 5 the other day and I just knew that I needed to make it!  The problem is…that I can never just make one!  I figured that if I was going to make one, I might as well make six!  I made one for me and for each of the girls, and then I figured I might as well make an extra one just in case…   like the title says-

I am just a Glutton for Punishment!
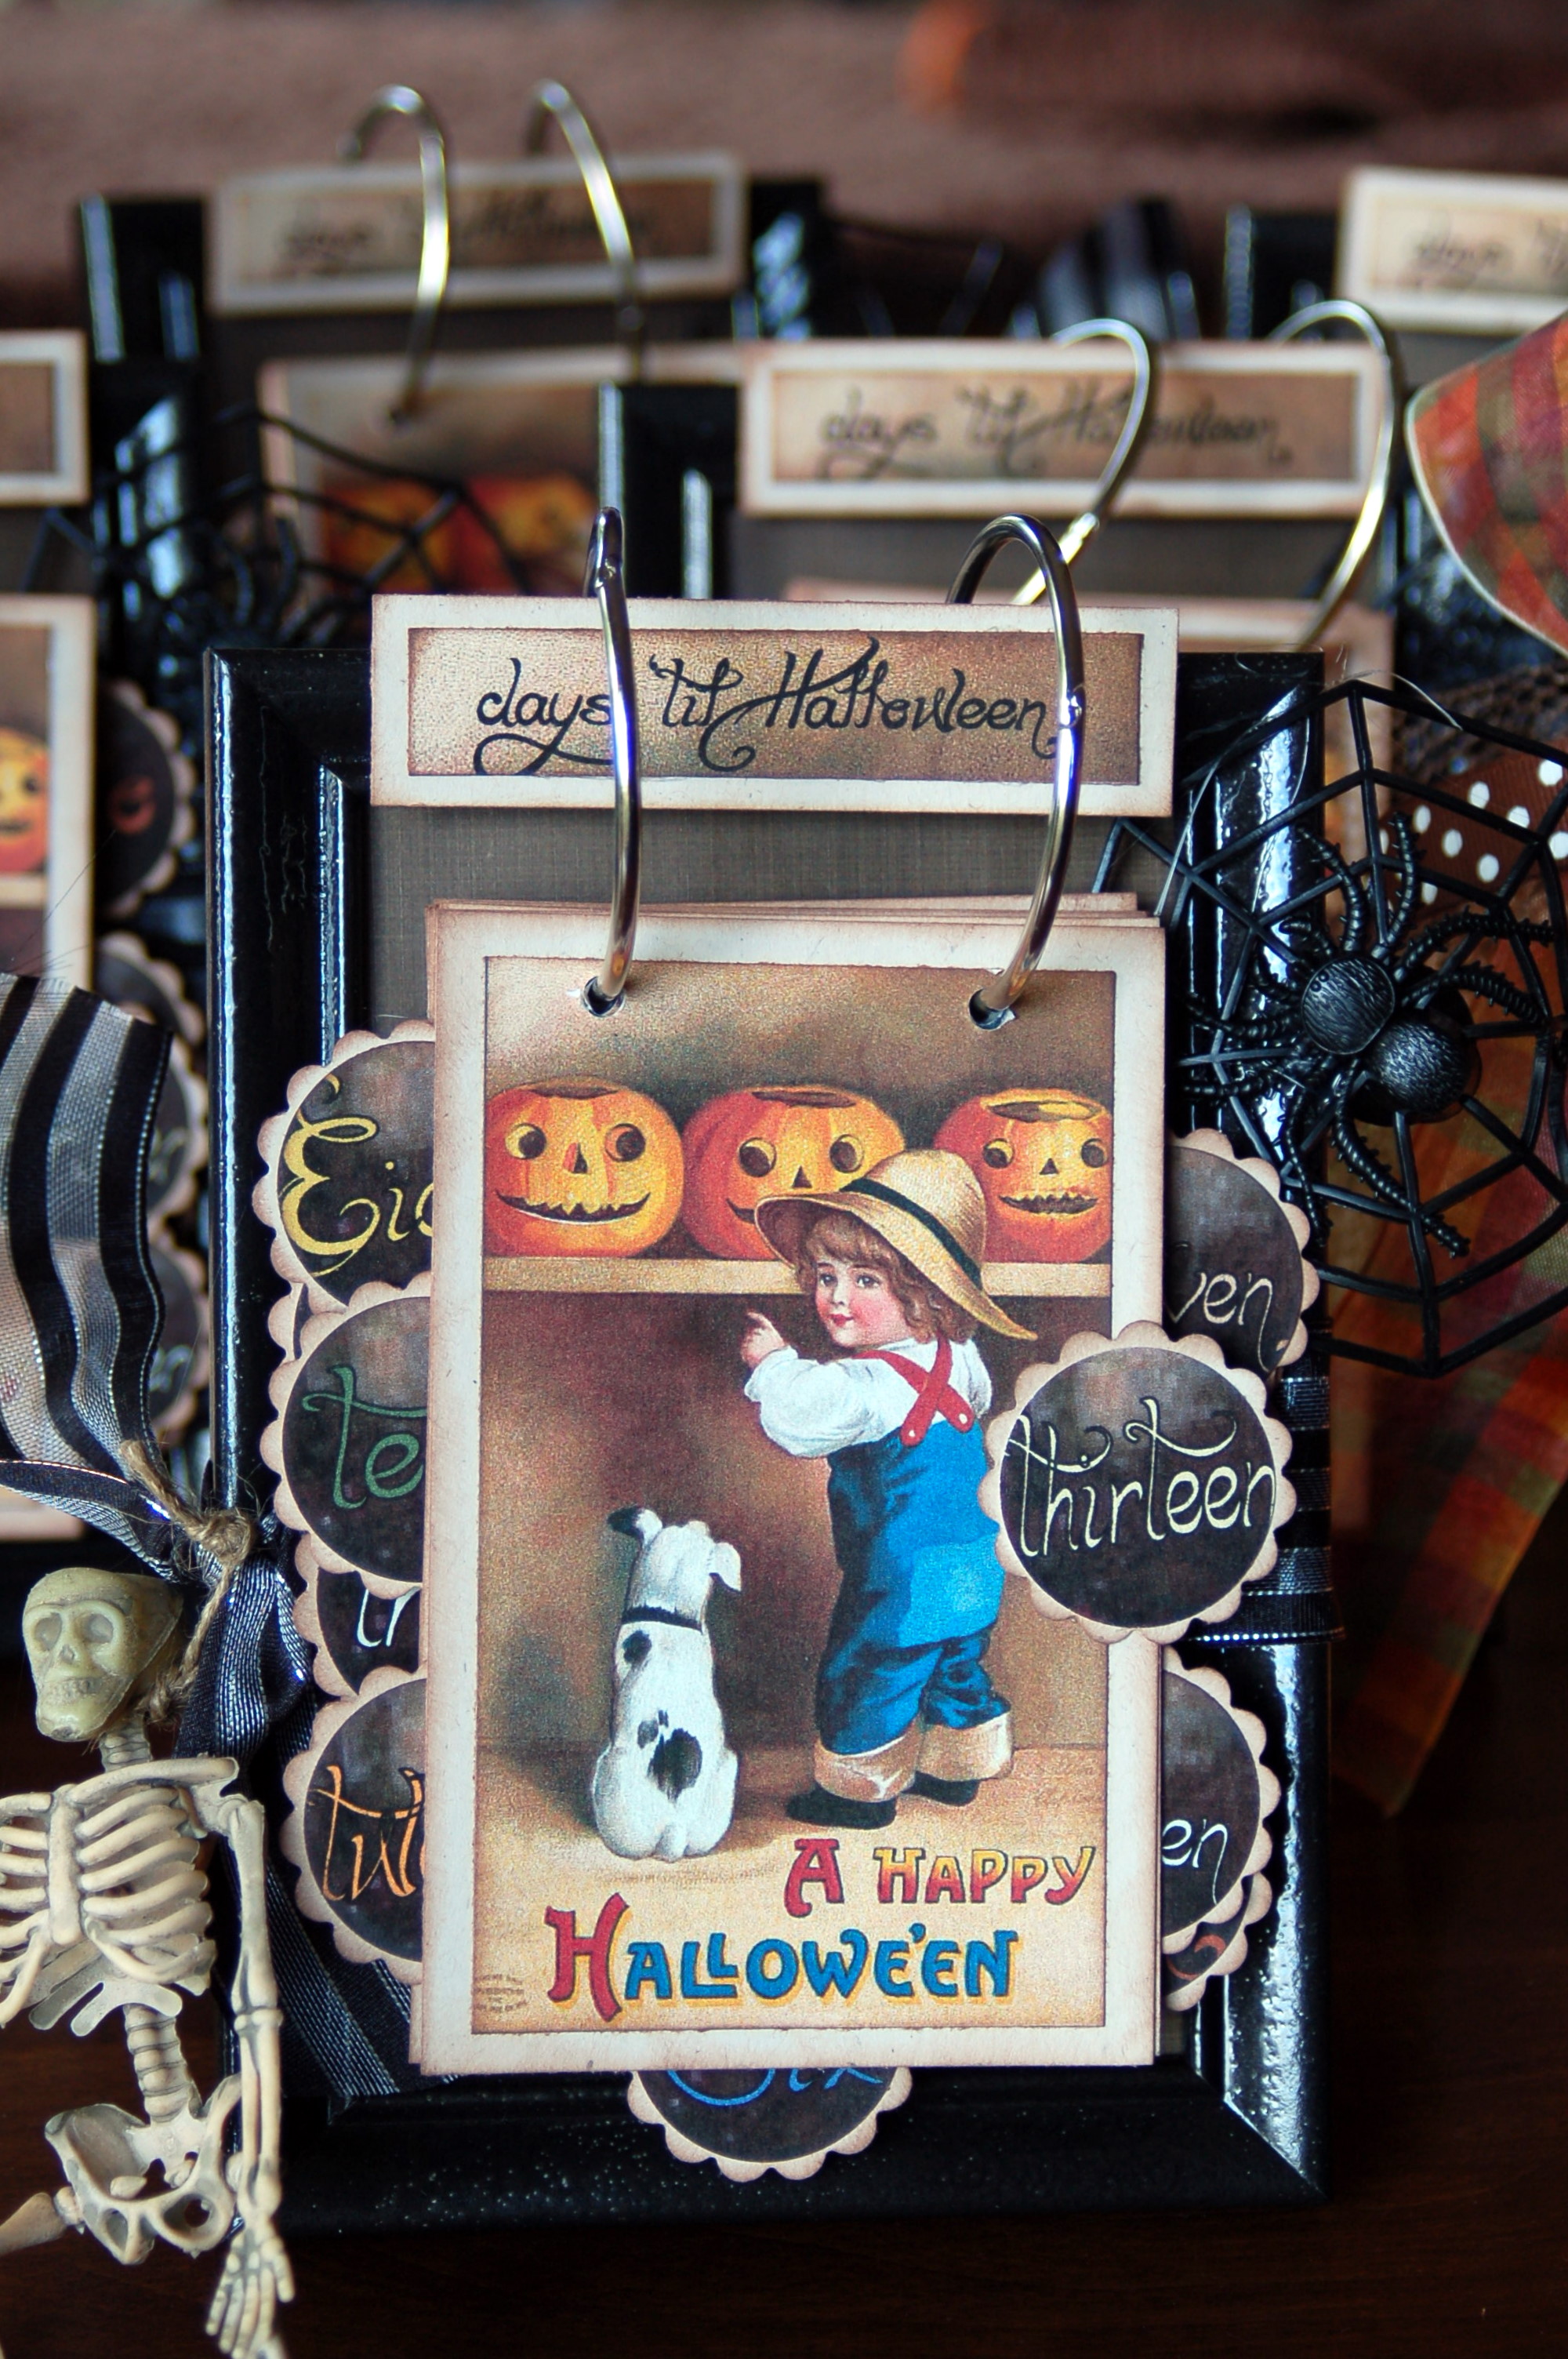
But really and truly they were so cute and so easy that I am glad that I was able to make all of them!

It is a thirteen day countdown so you still have time to make one. If you would like to make your own, (or maybe you are a glutton too, and will want to make multiples!) you will need to go here for a free download of all the vintage prints and the numbers.  Kelly even has very detailed intructions on how to put it all together. She is a very talented crafter and I am so thankful that she was willing to share with all of us! I noticed on her blog that she will be on Studio 5 again on Wed,Oct 19th, making paper pumpkins. It will be fun to see what she will make this time!

Happy crafting!

Pin Your Heart on the Skeleton!

I love, love, love Halloween! 

(As if you couldn’t tell!)

The food, the decorations, the games, the cool crisp air.  I love everything about Halloween.

I found this cute little game on Pinterest, and I thought that  it would be fun for our family party, or for all you room mothers out there, here is a quick, easy game to do.  There is a down load for the pattern here:

Too Cute!

1

Hope you have a bewitching weekend!


Halloween Tree

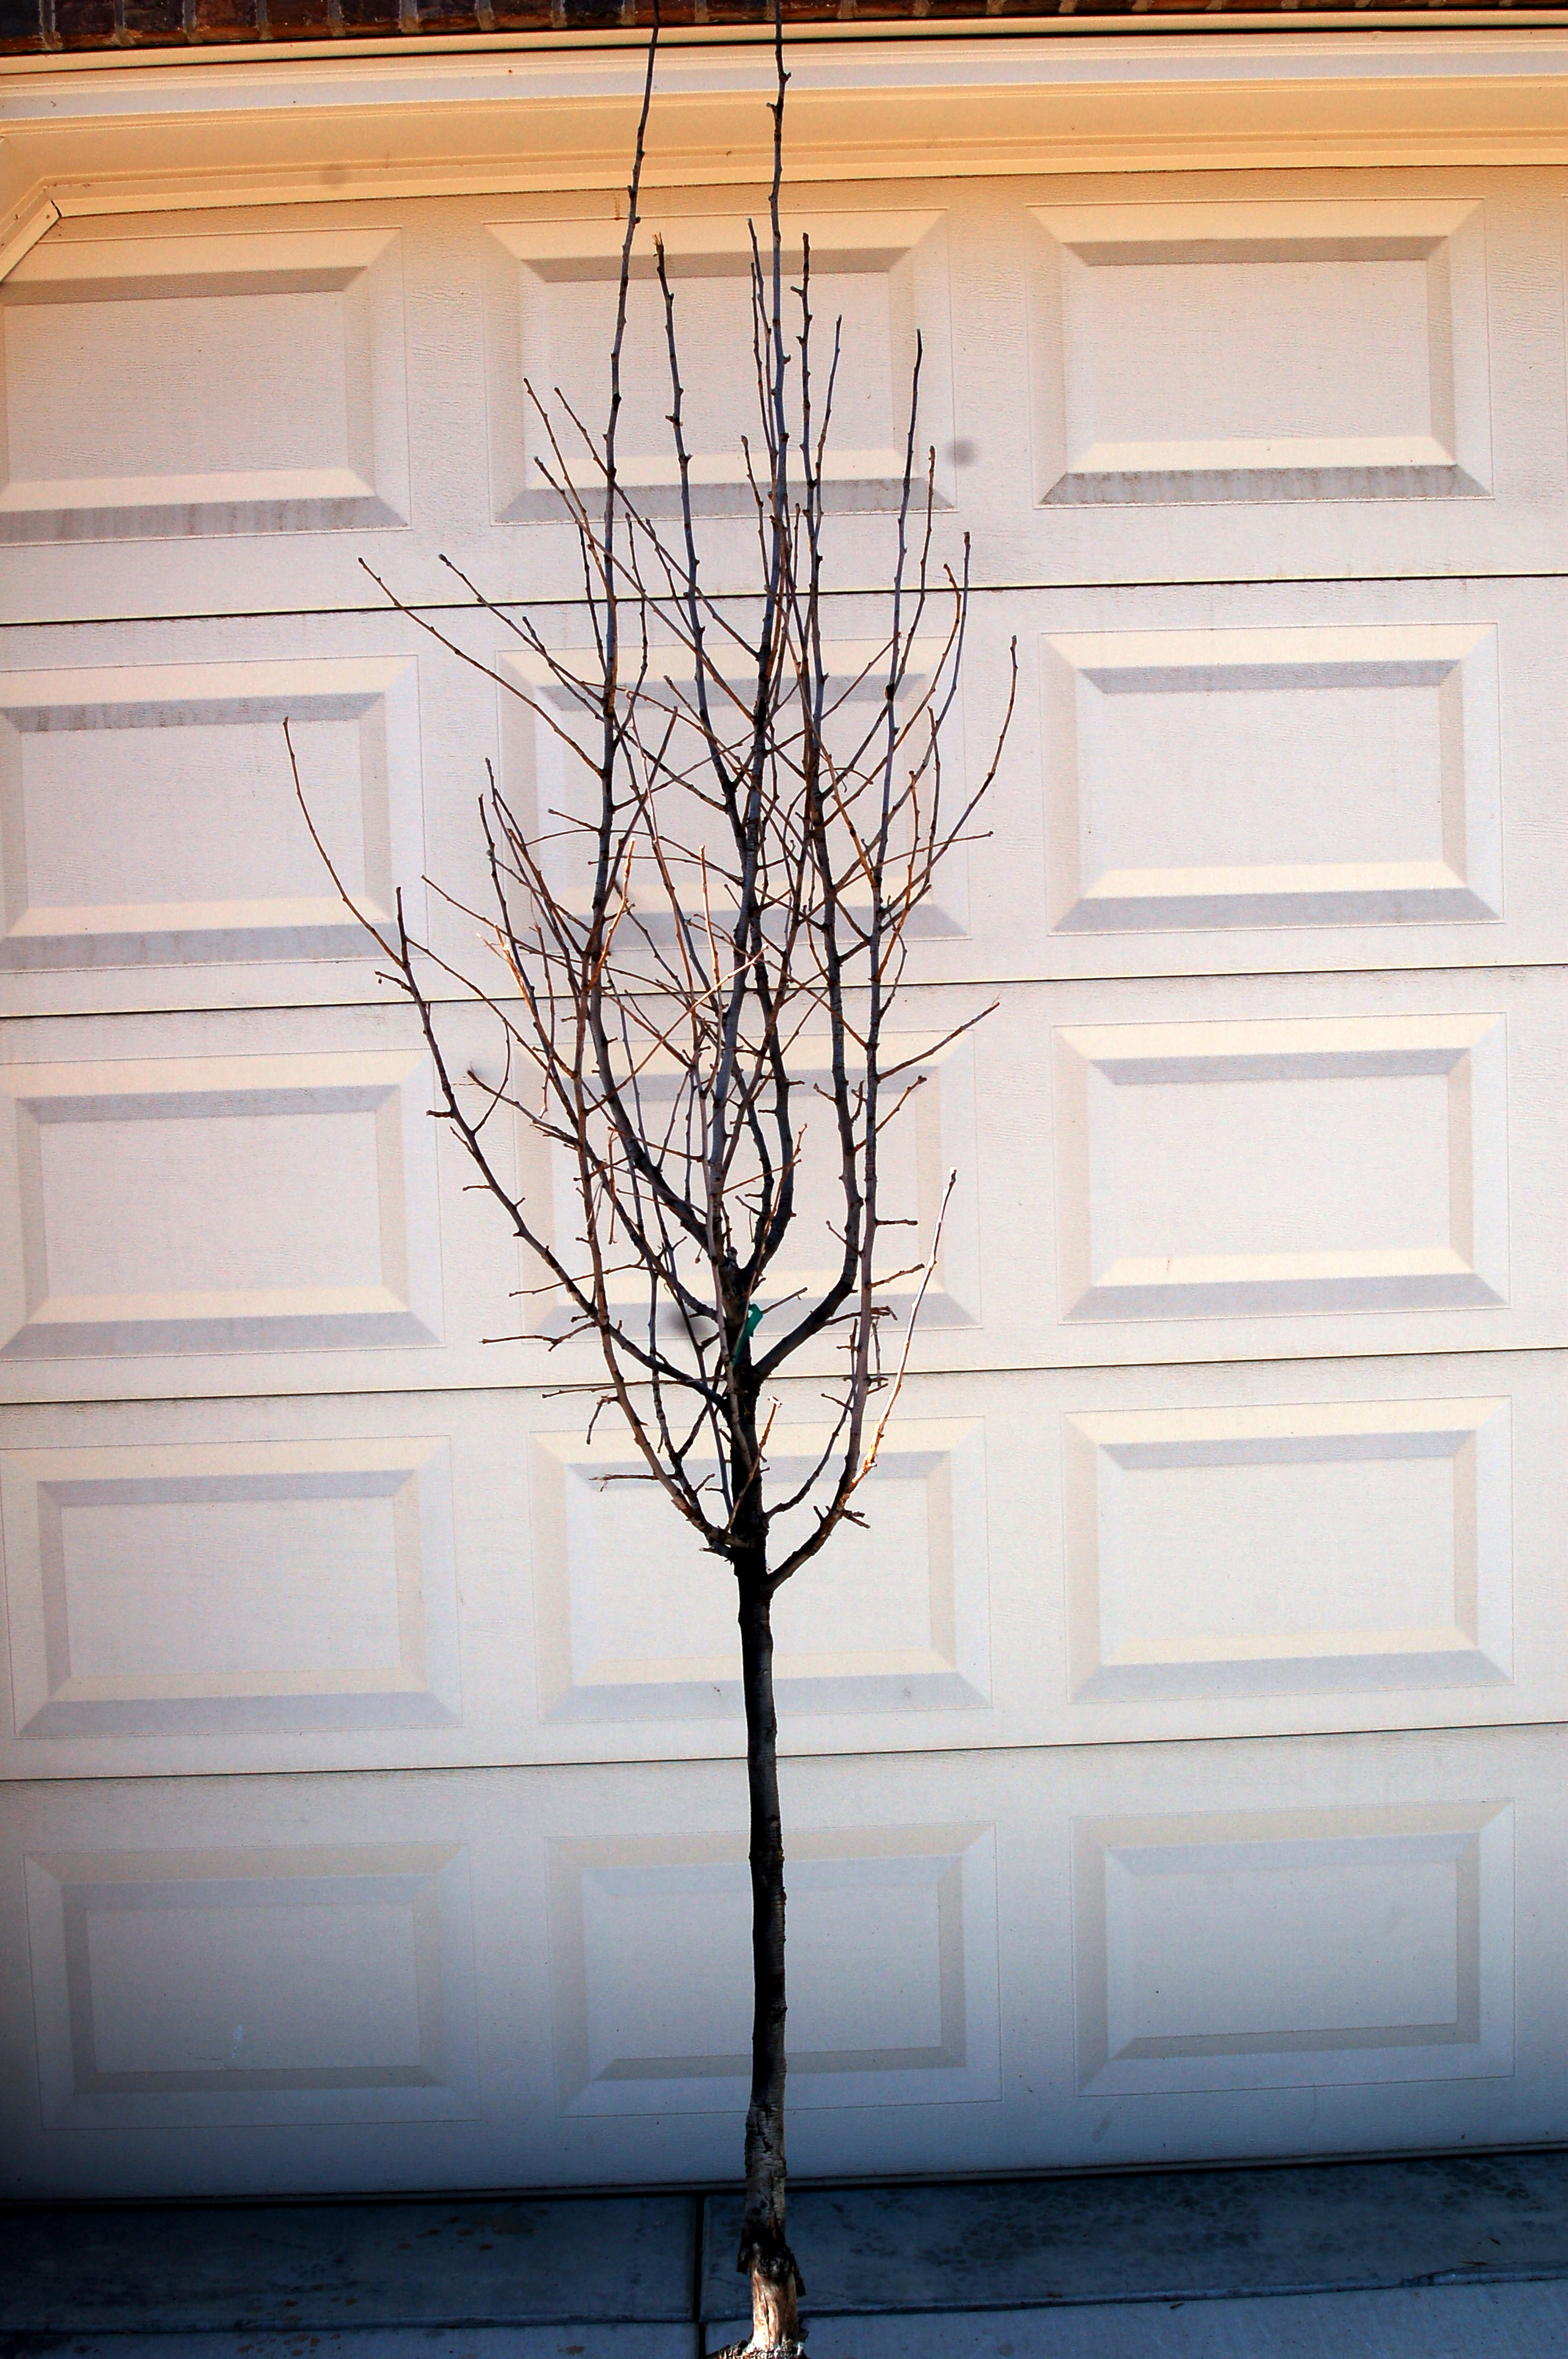
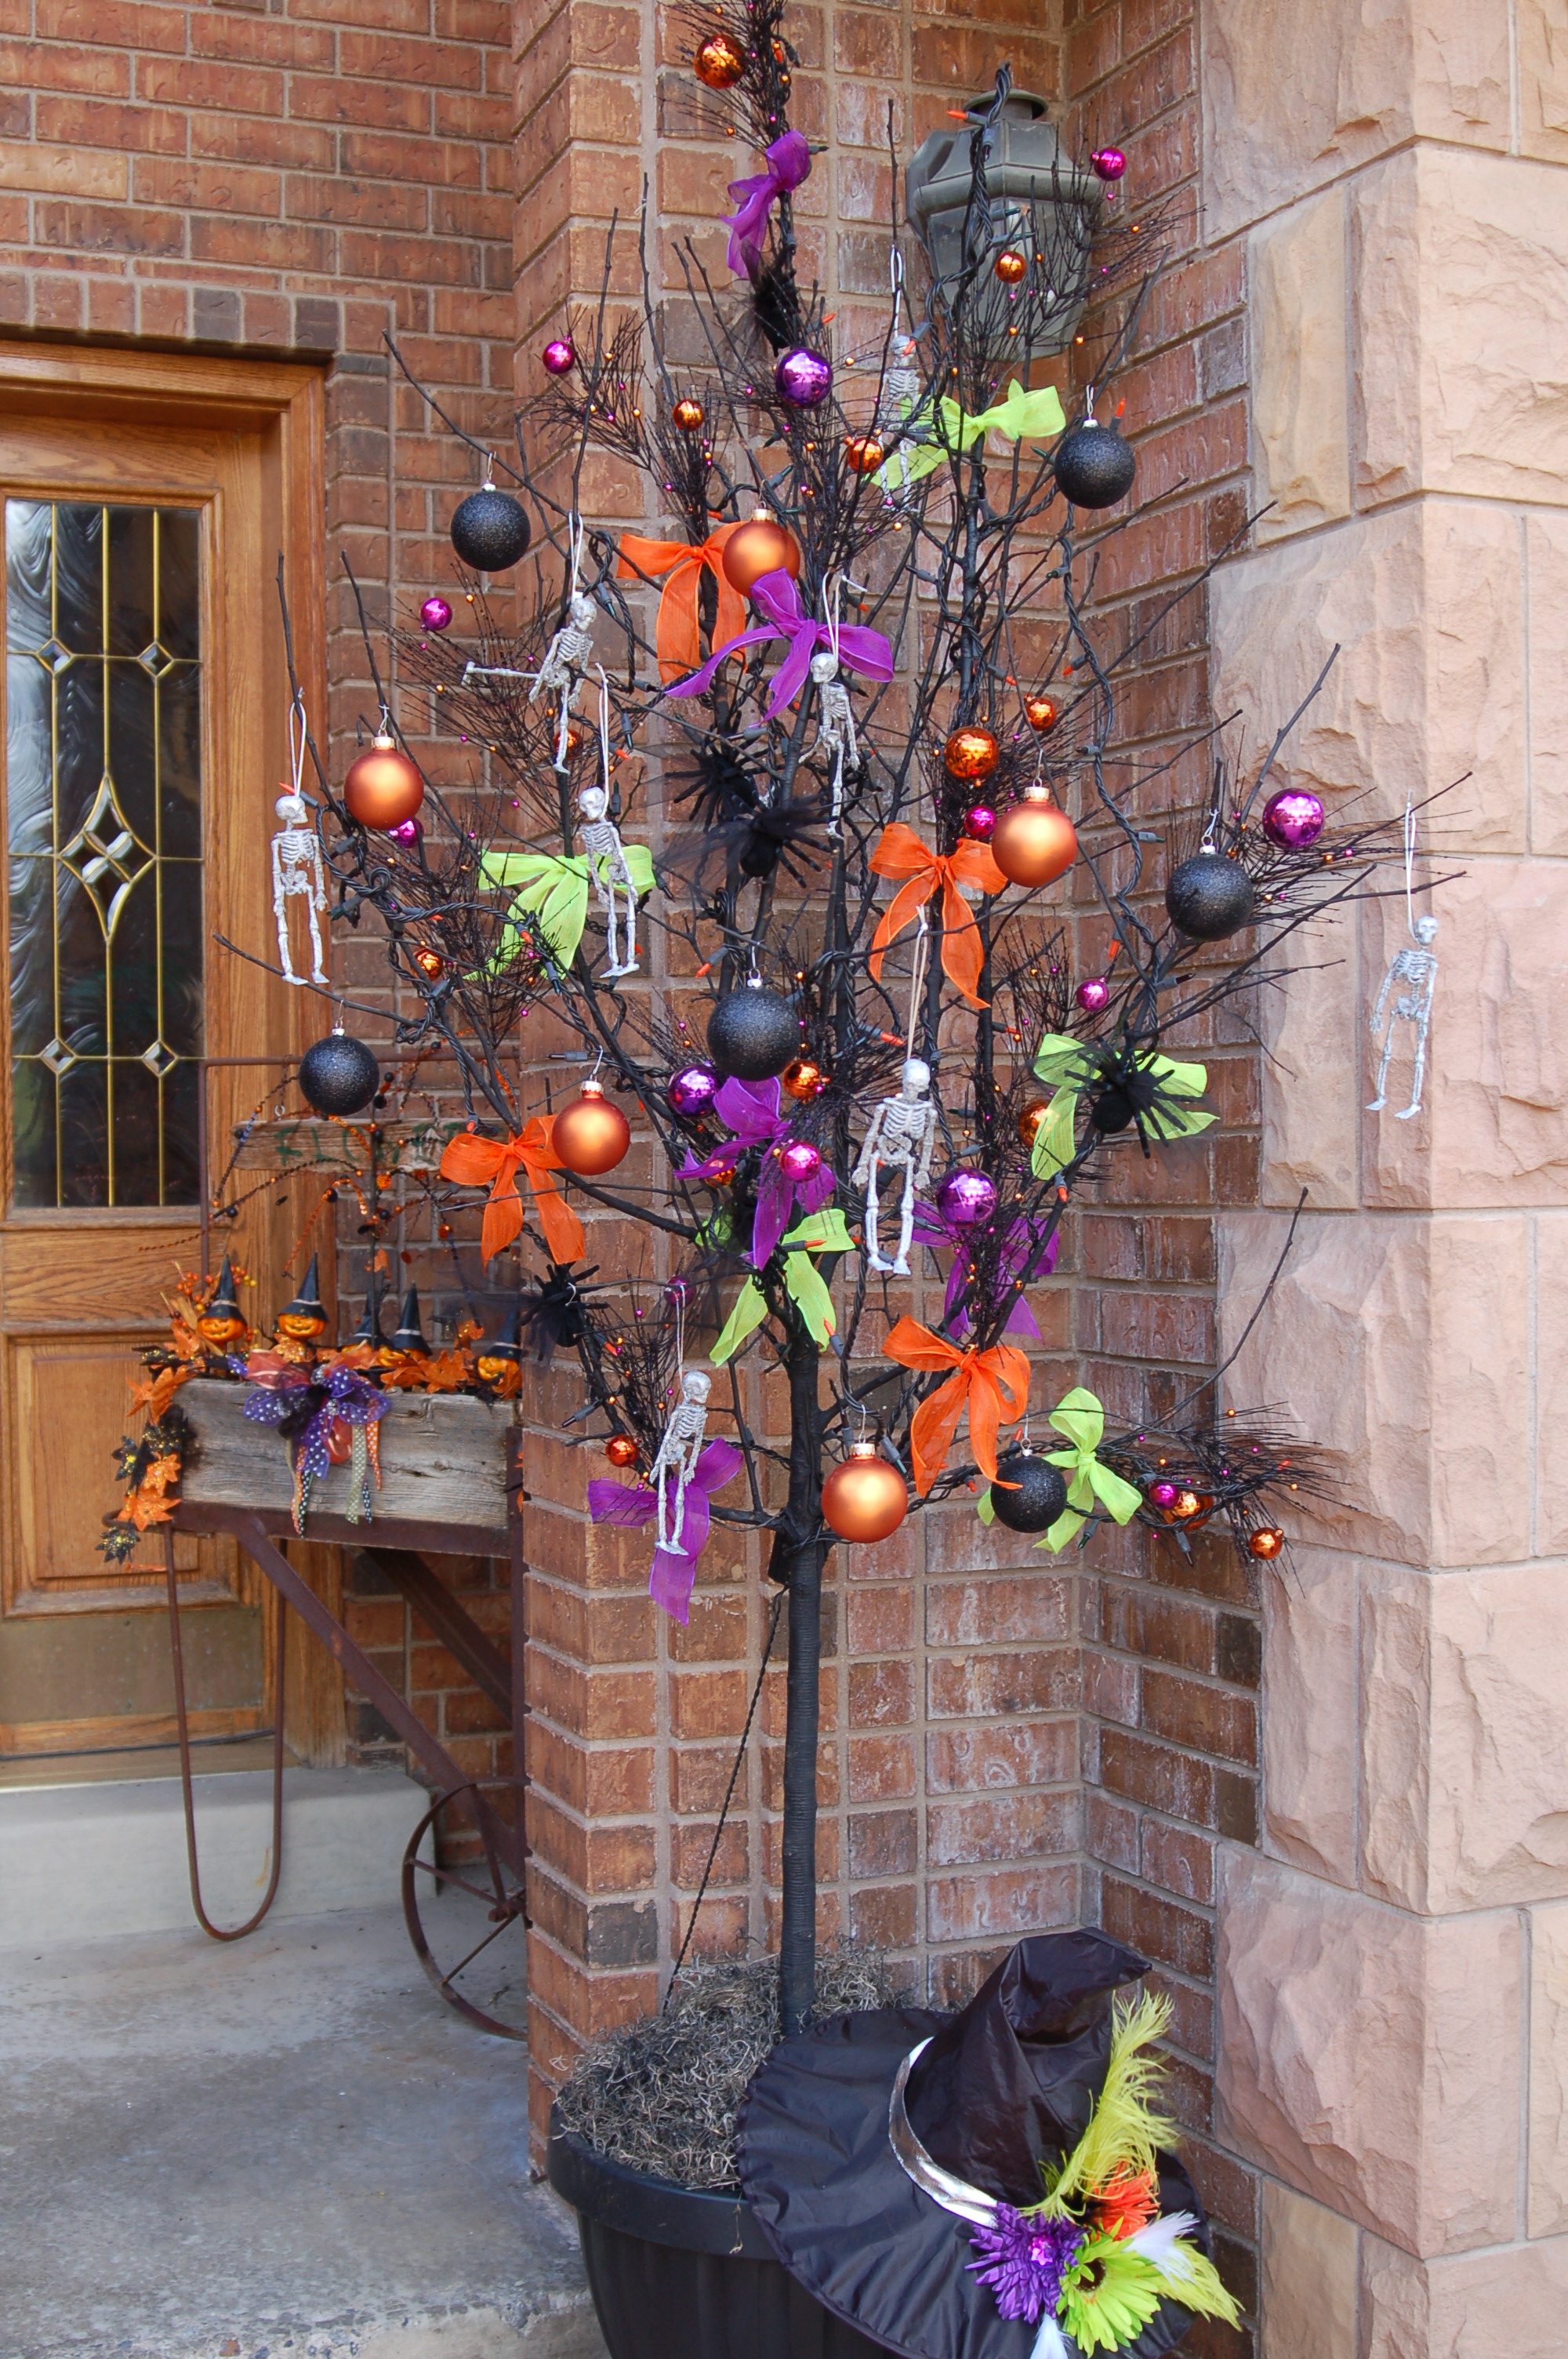
My daughter had this dead tree that she brought over to me and said that it would be perfect for a Halloween tree!  What do you think?

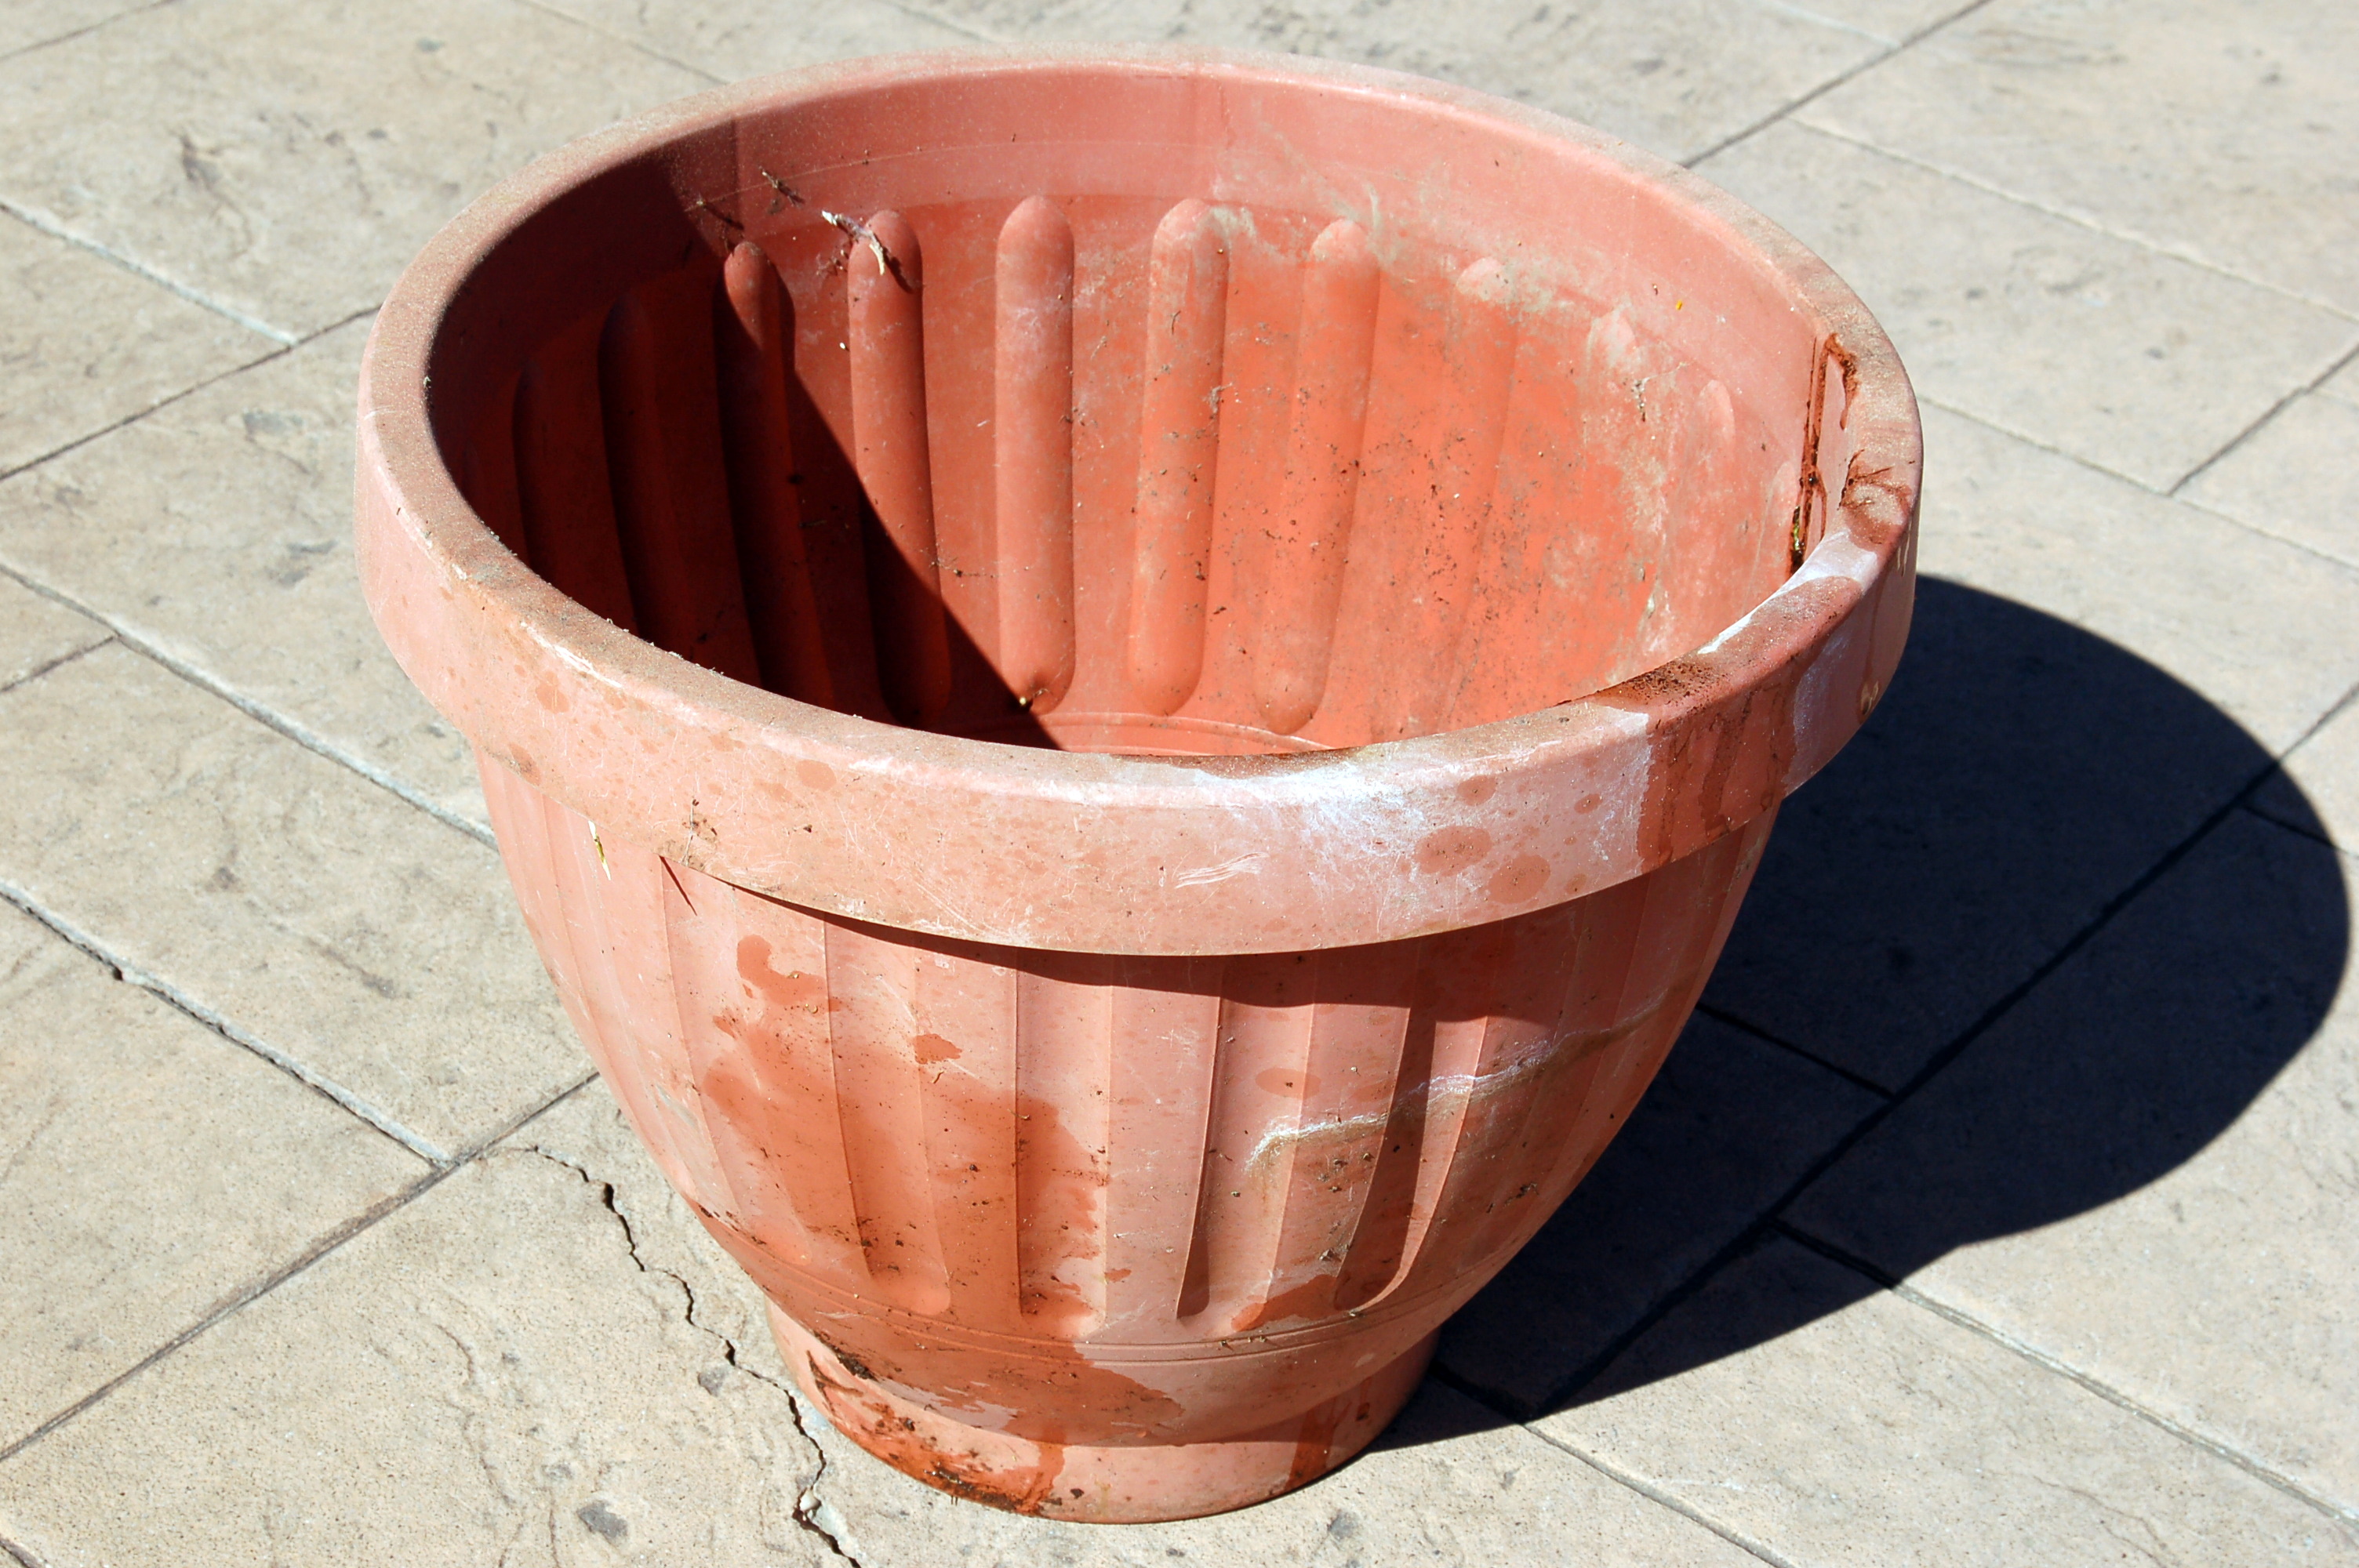
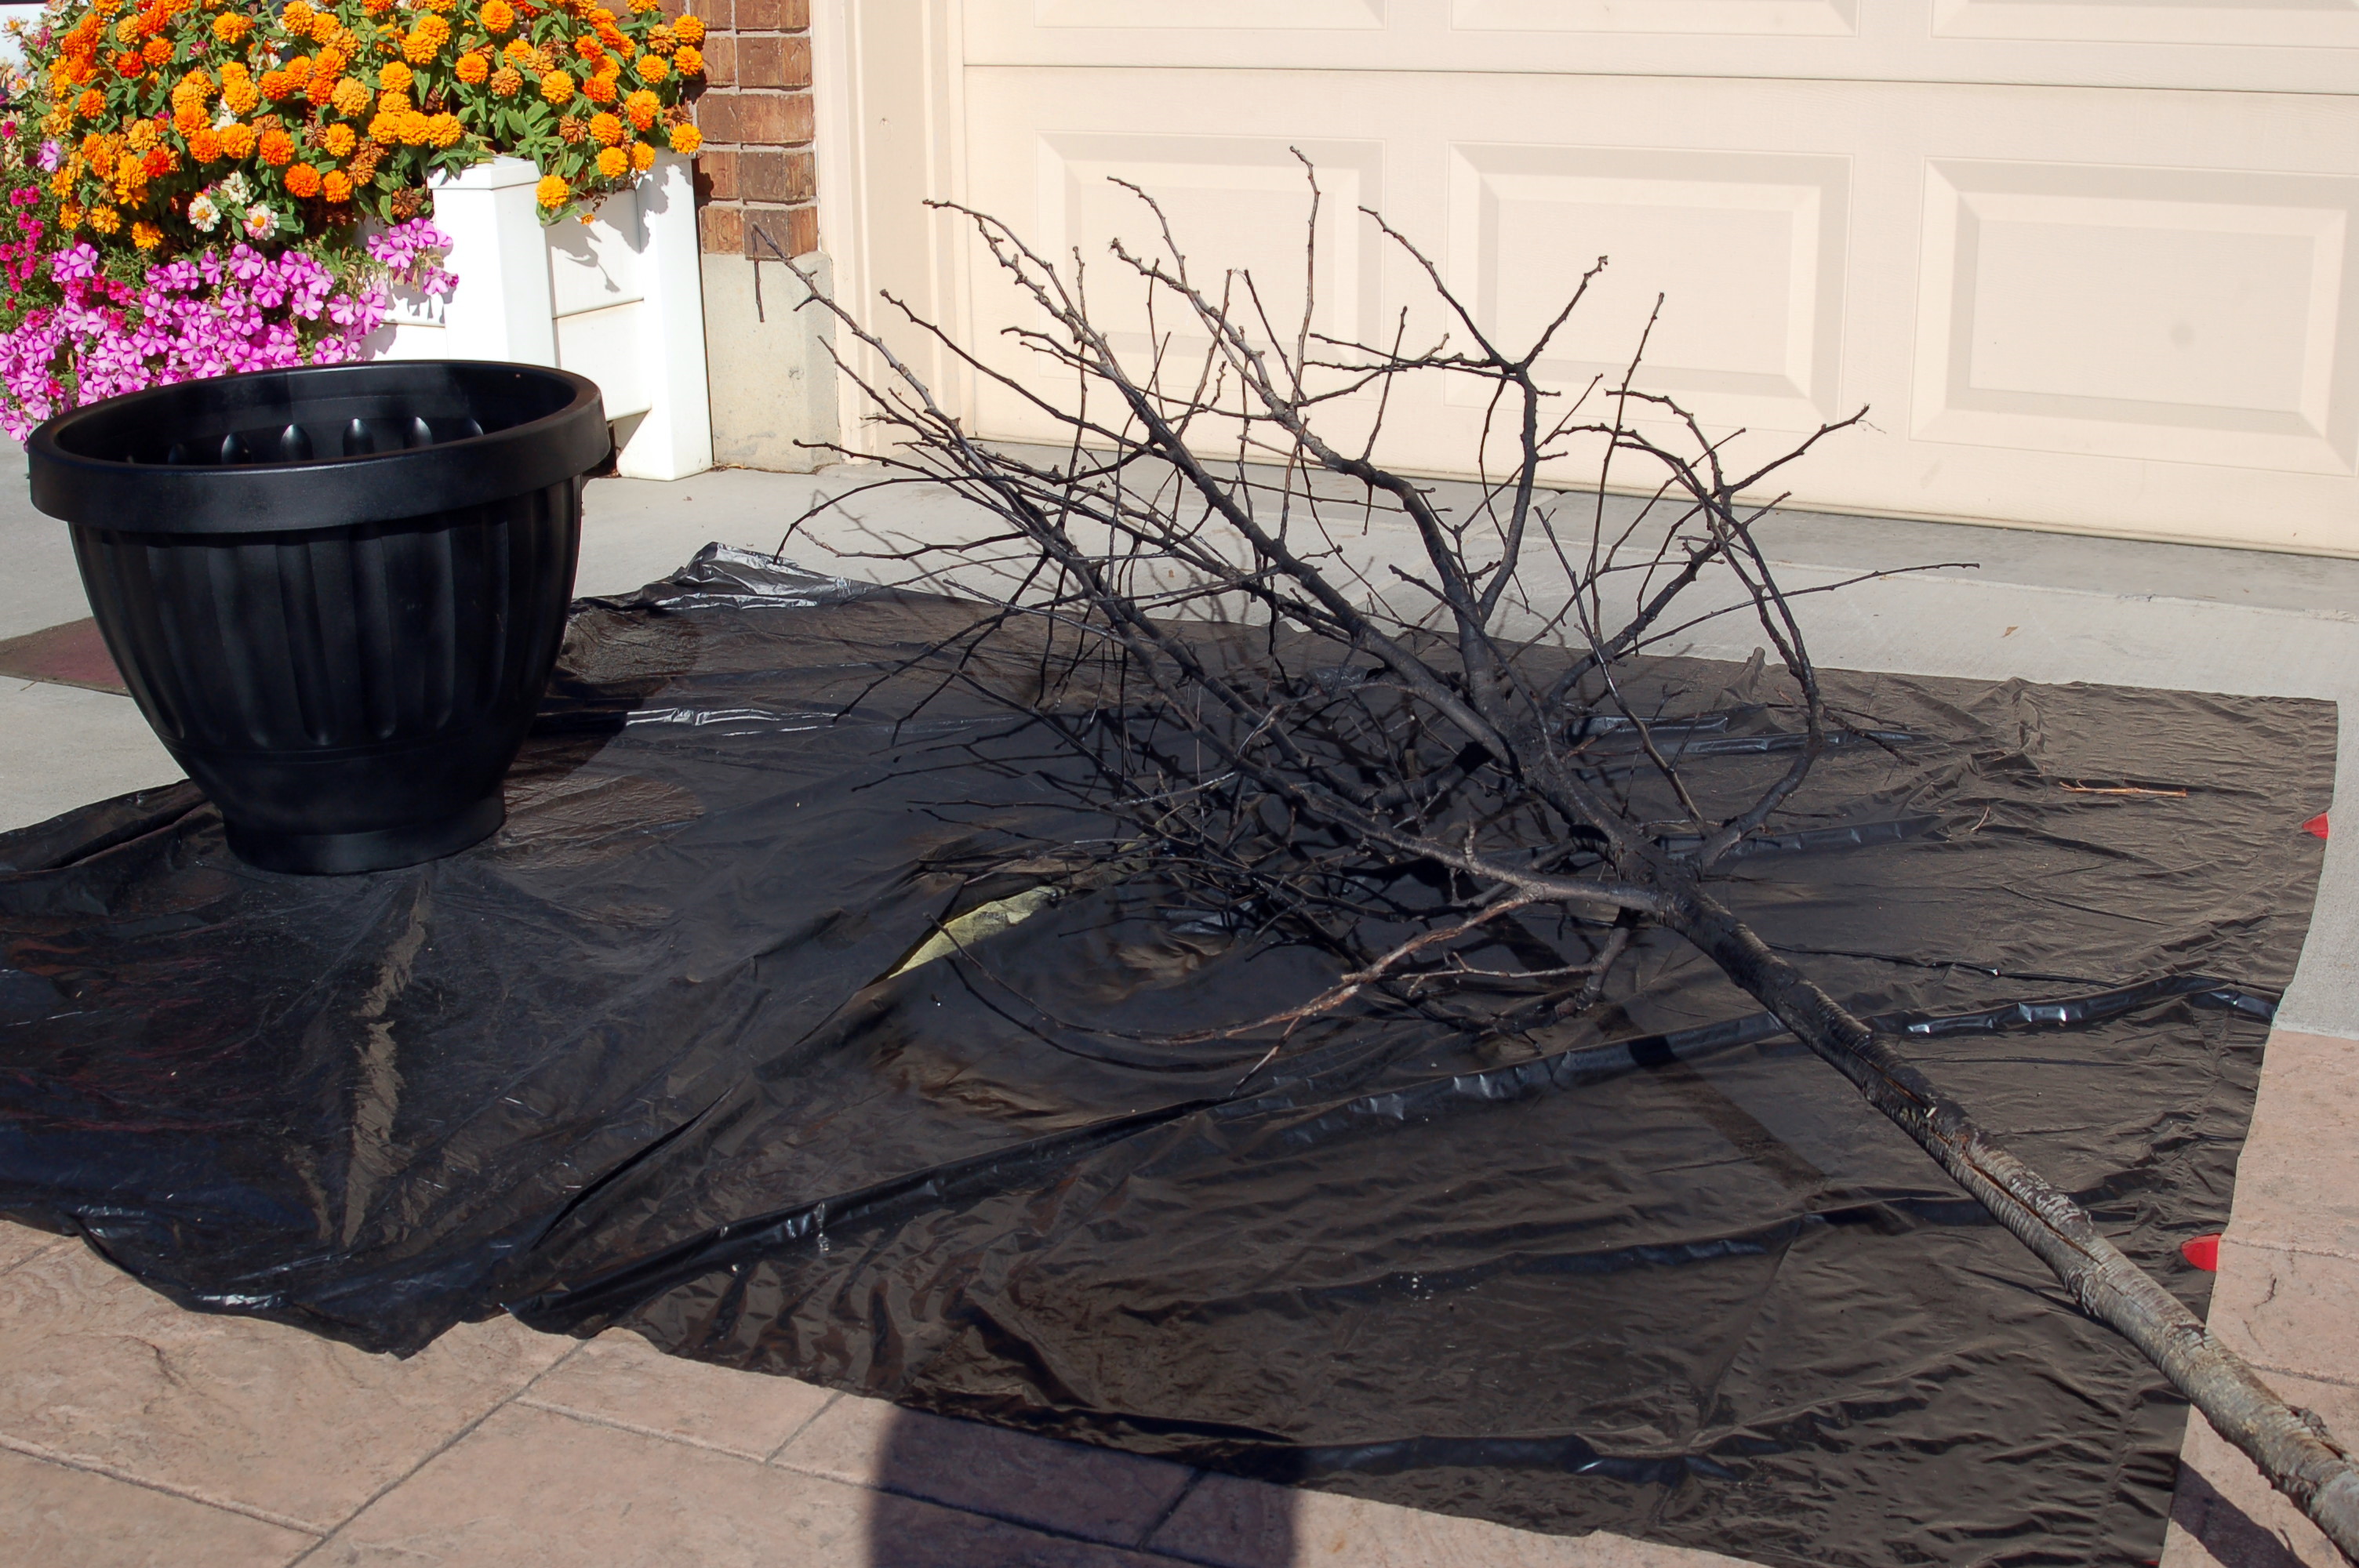
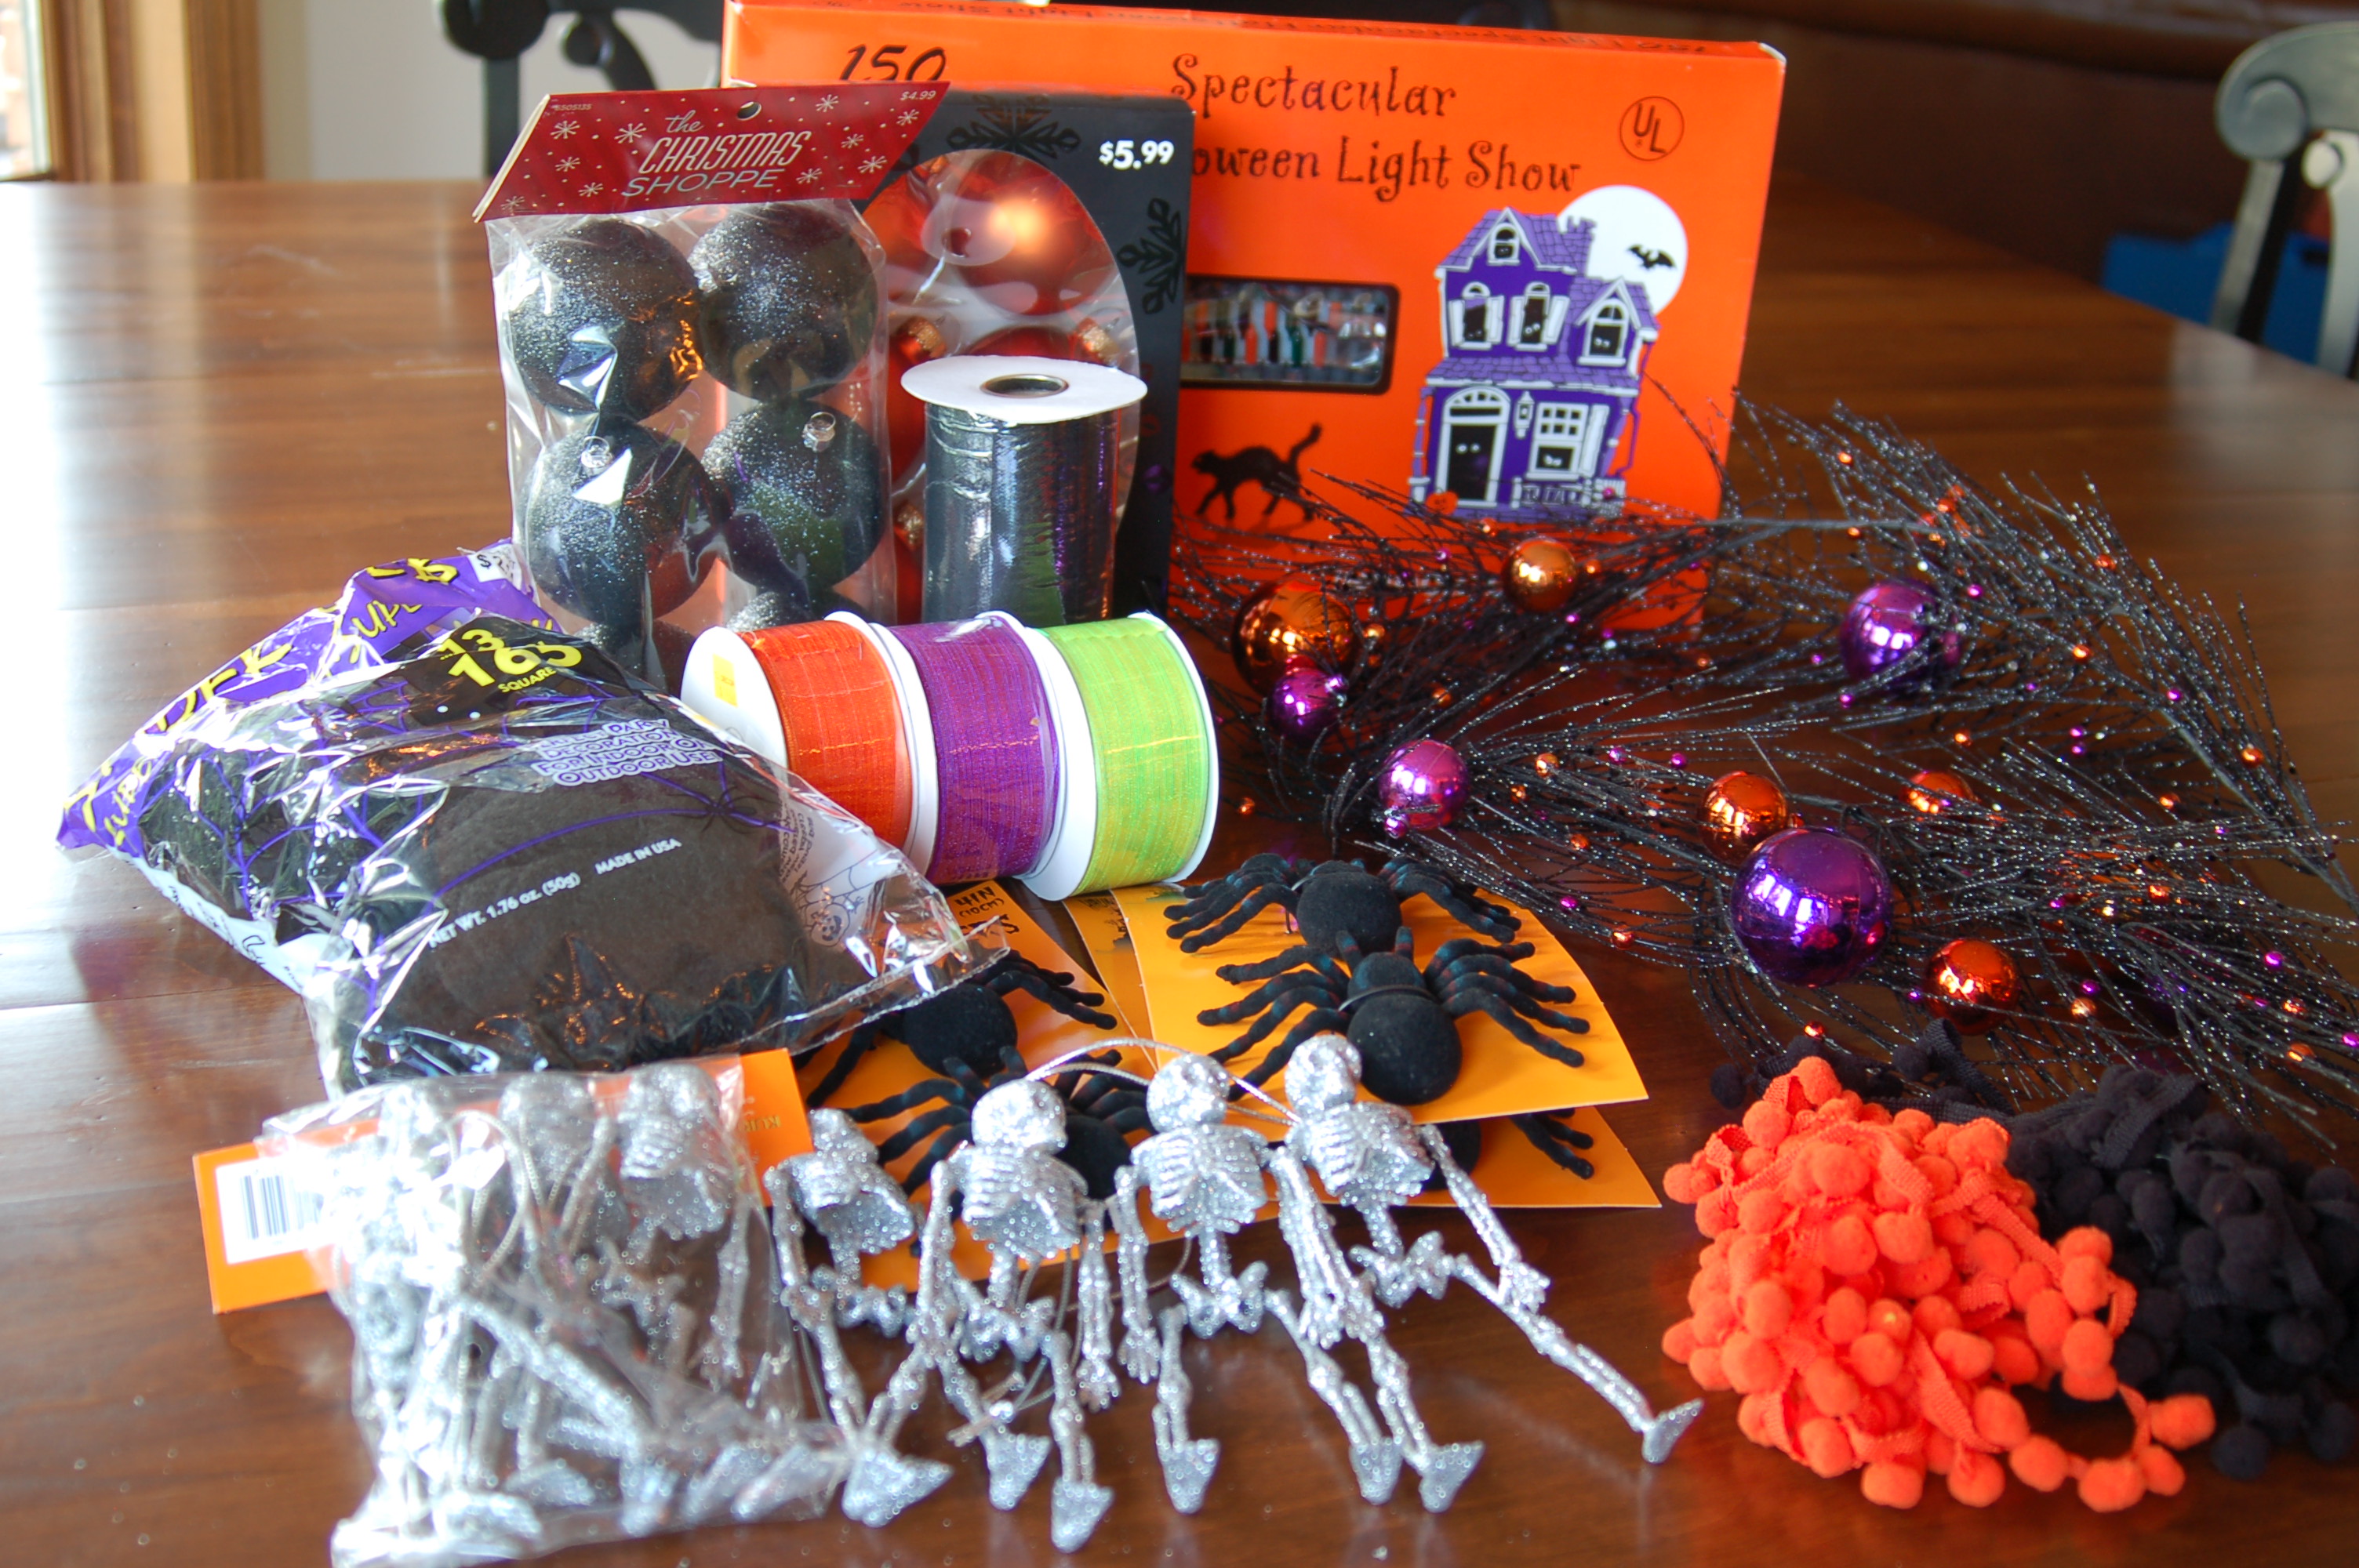
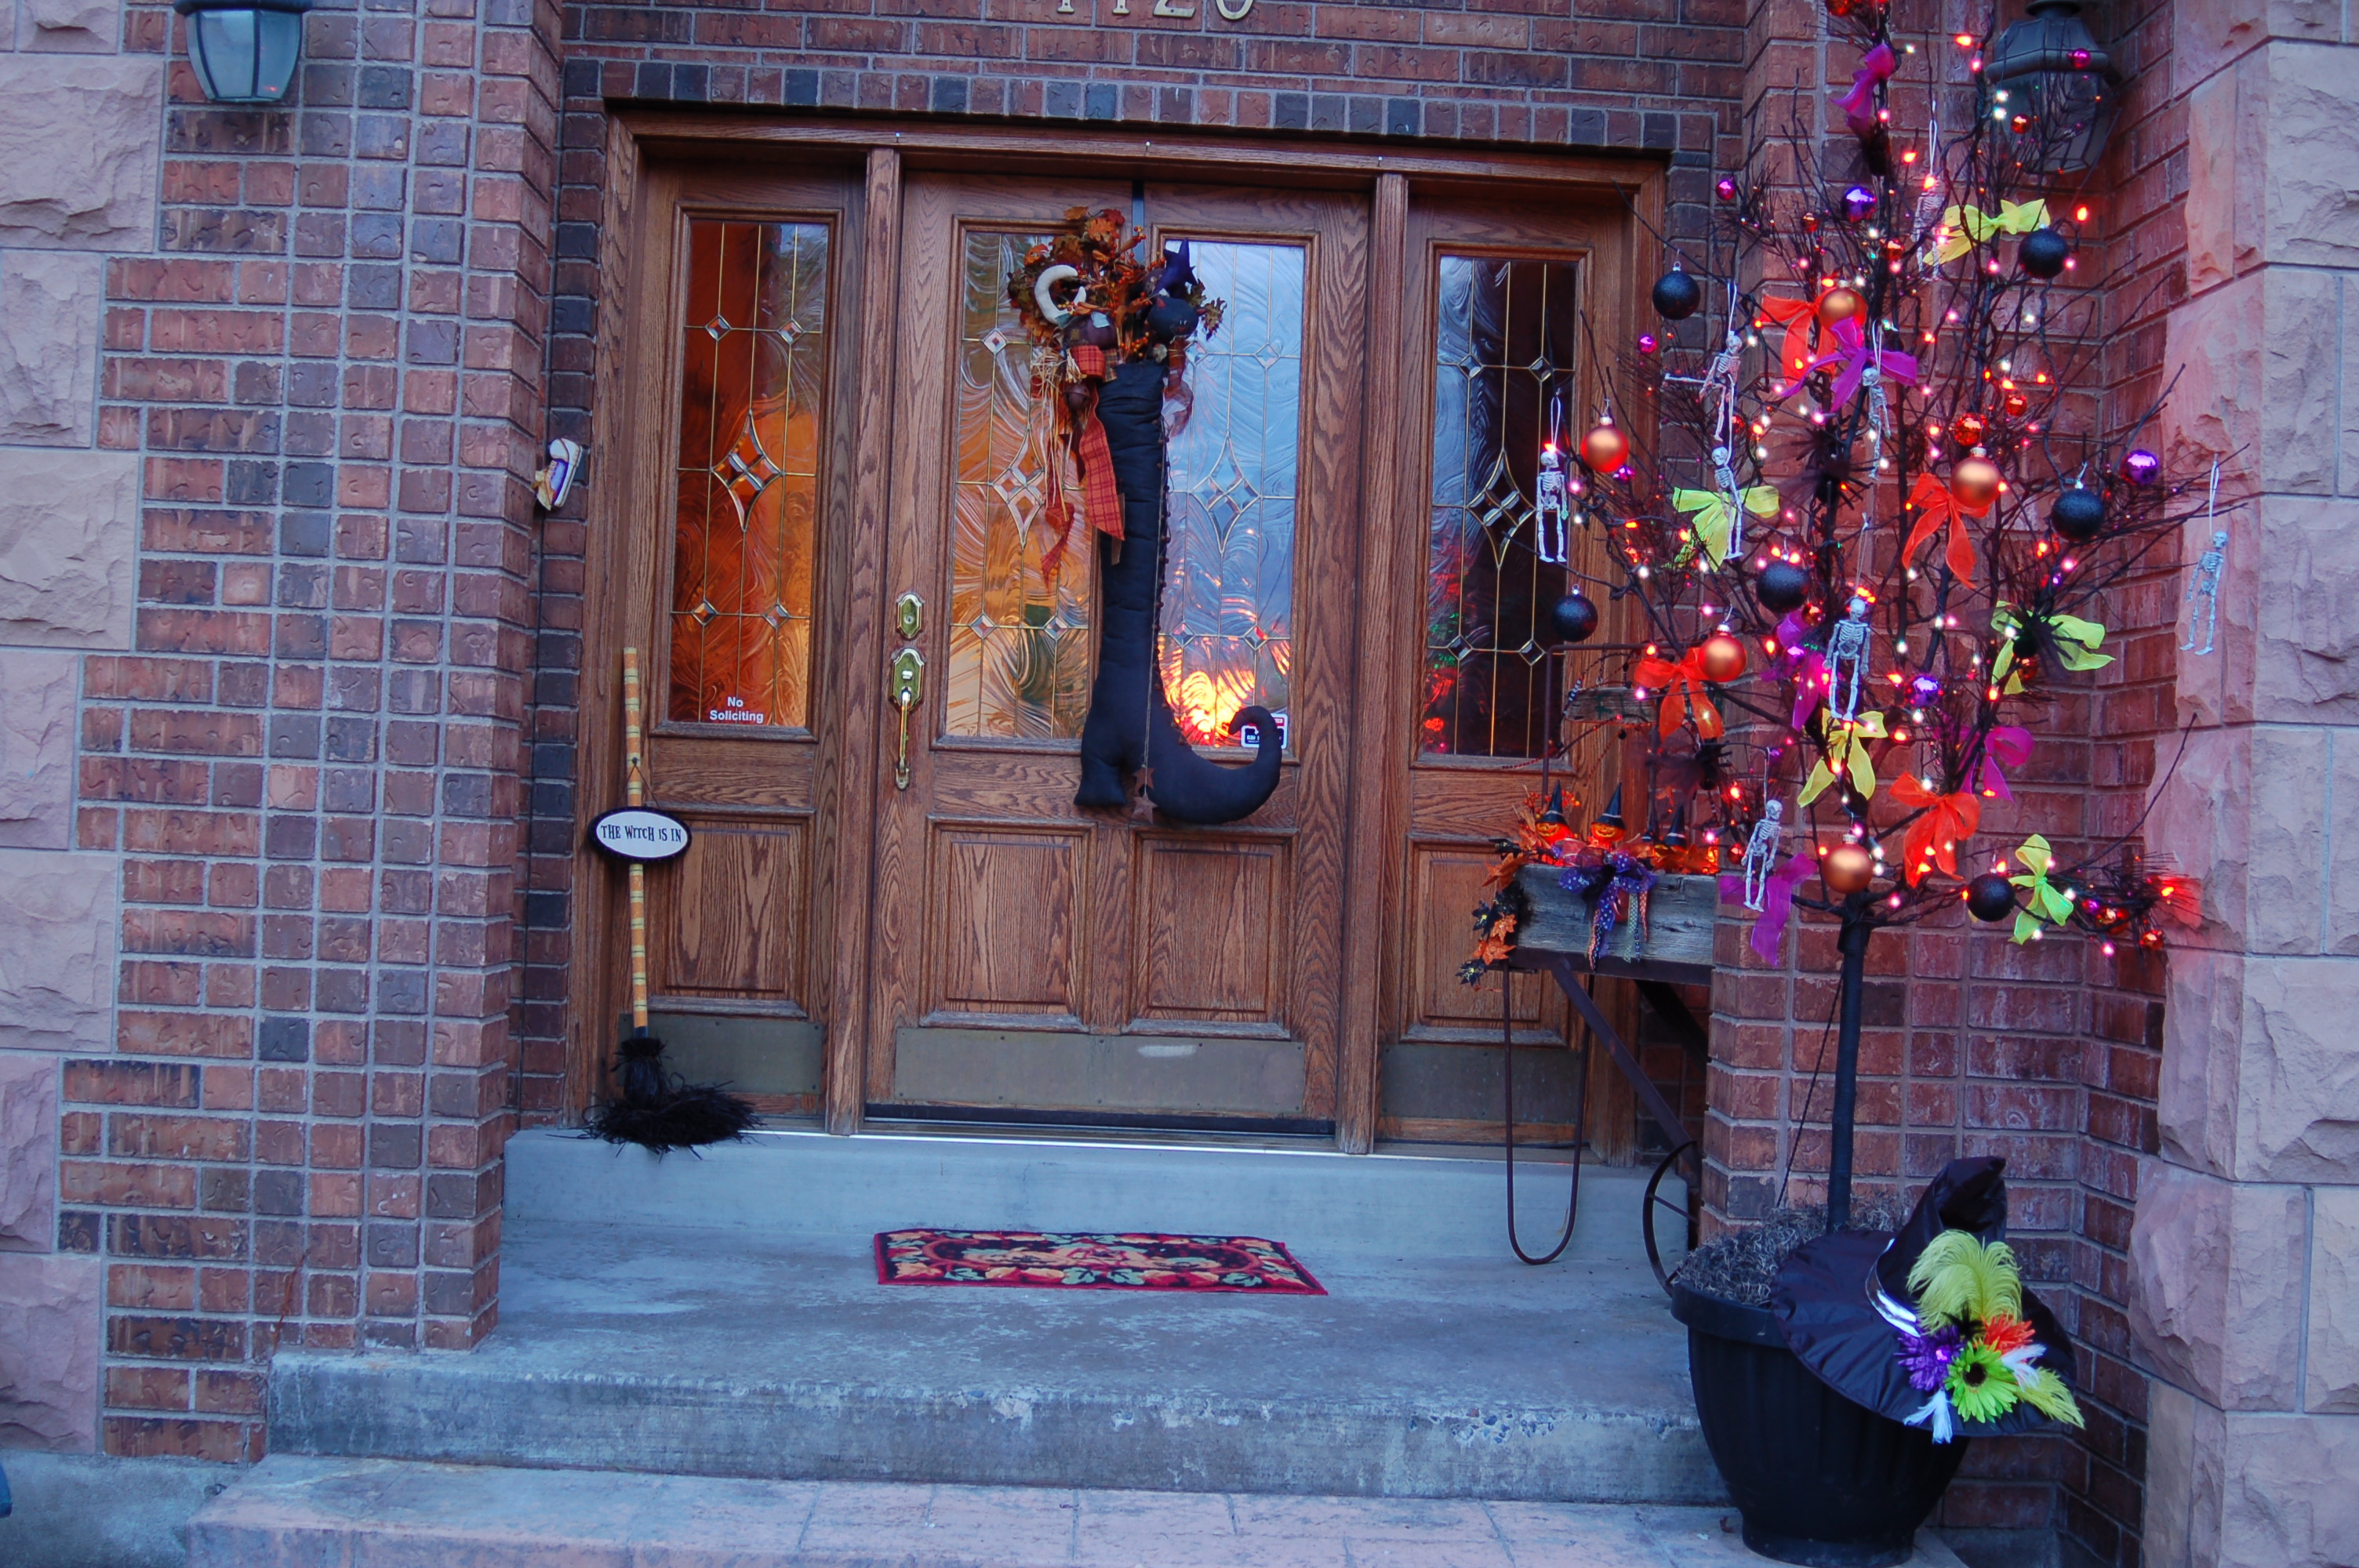
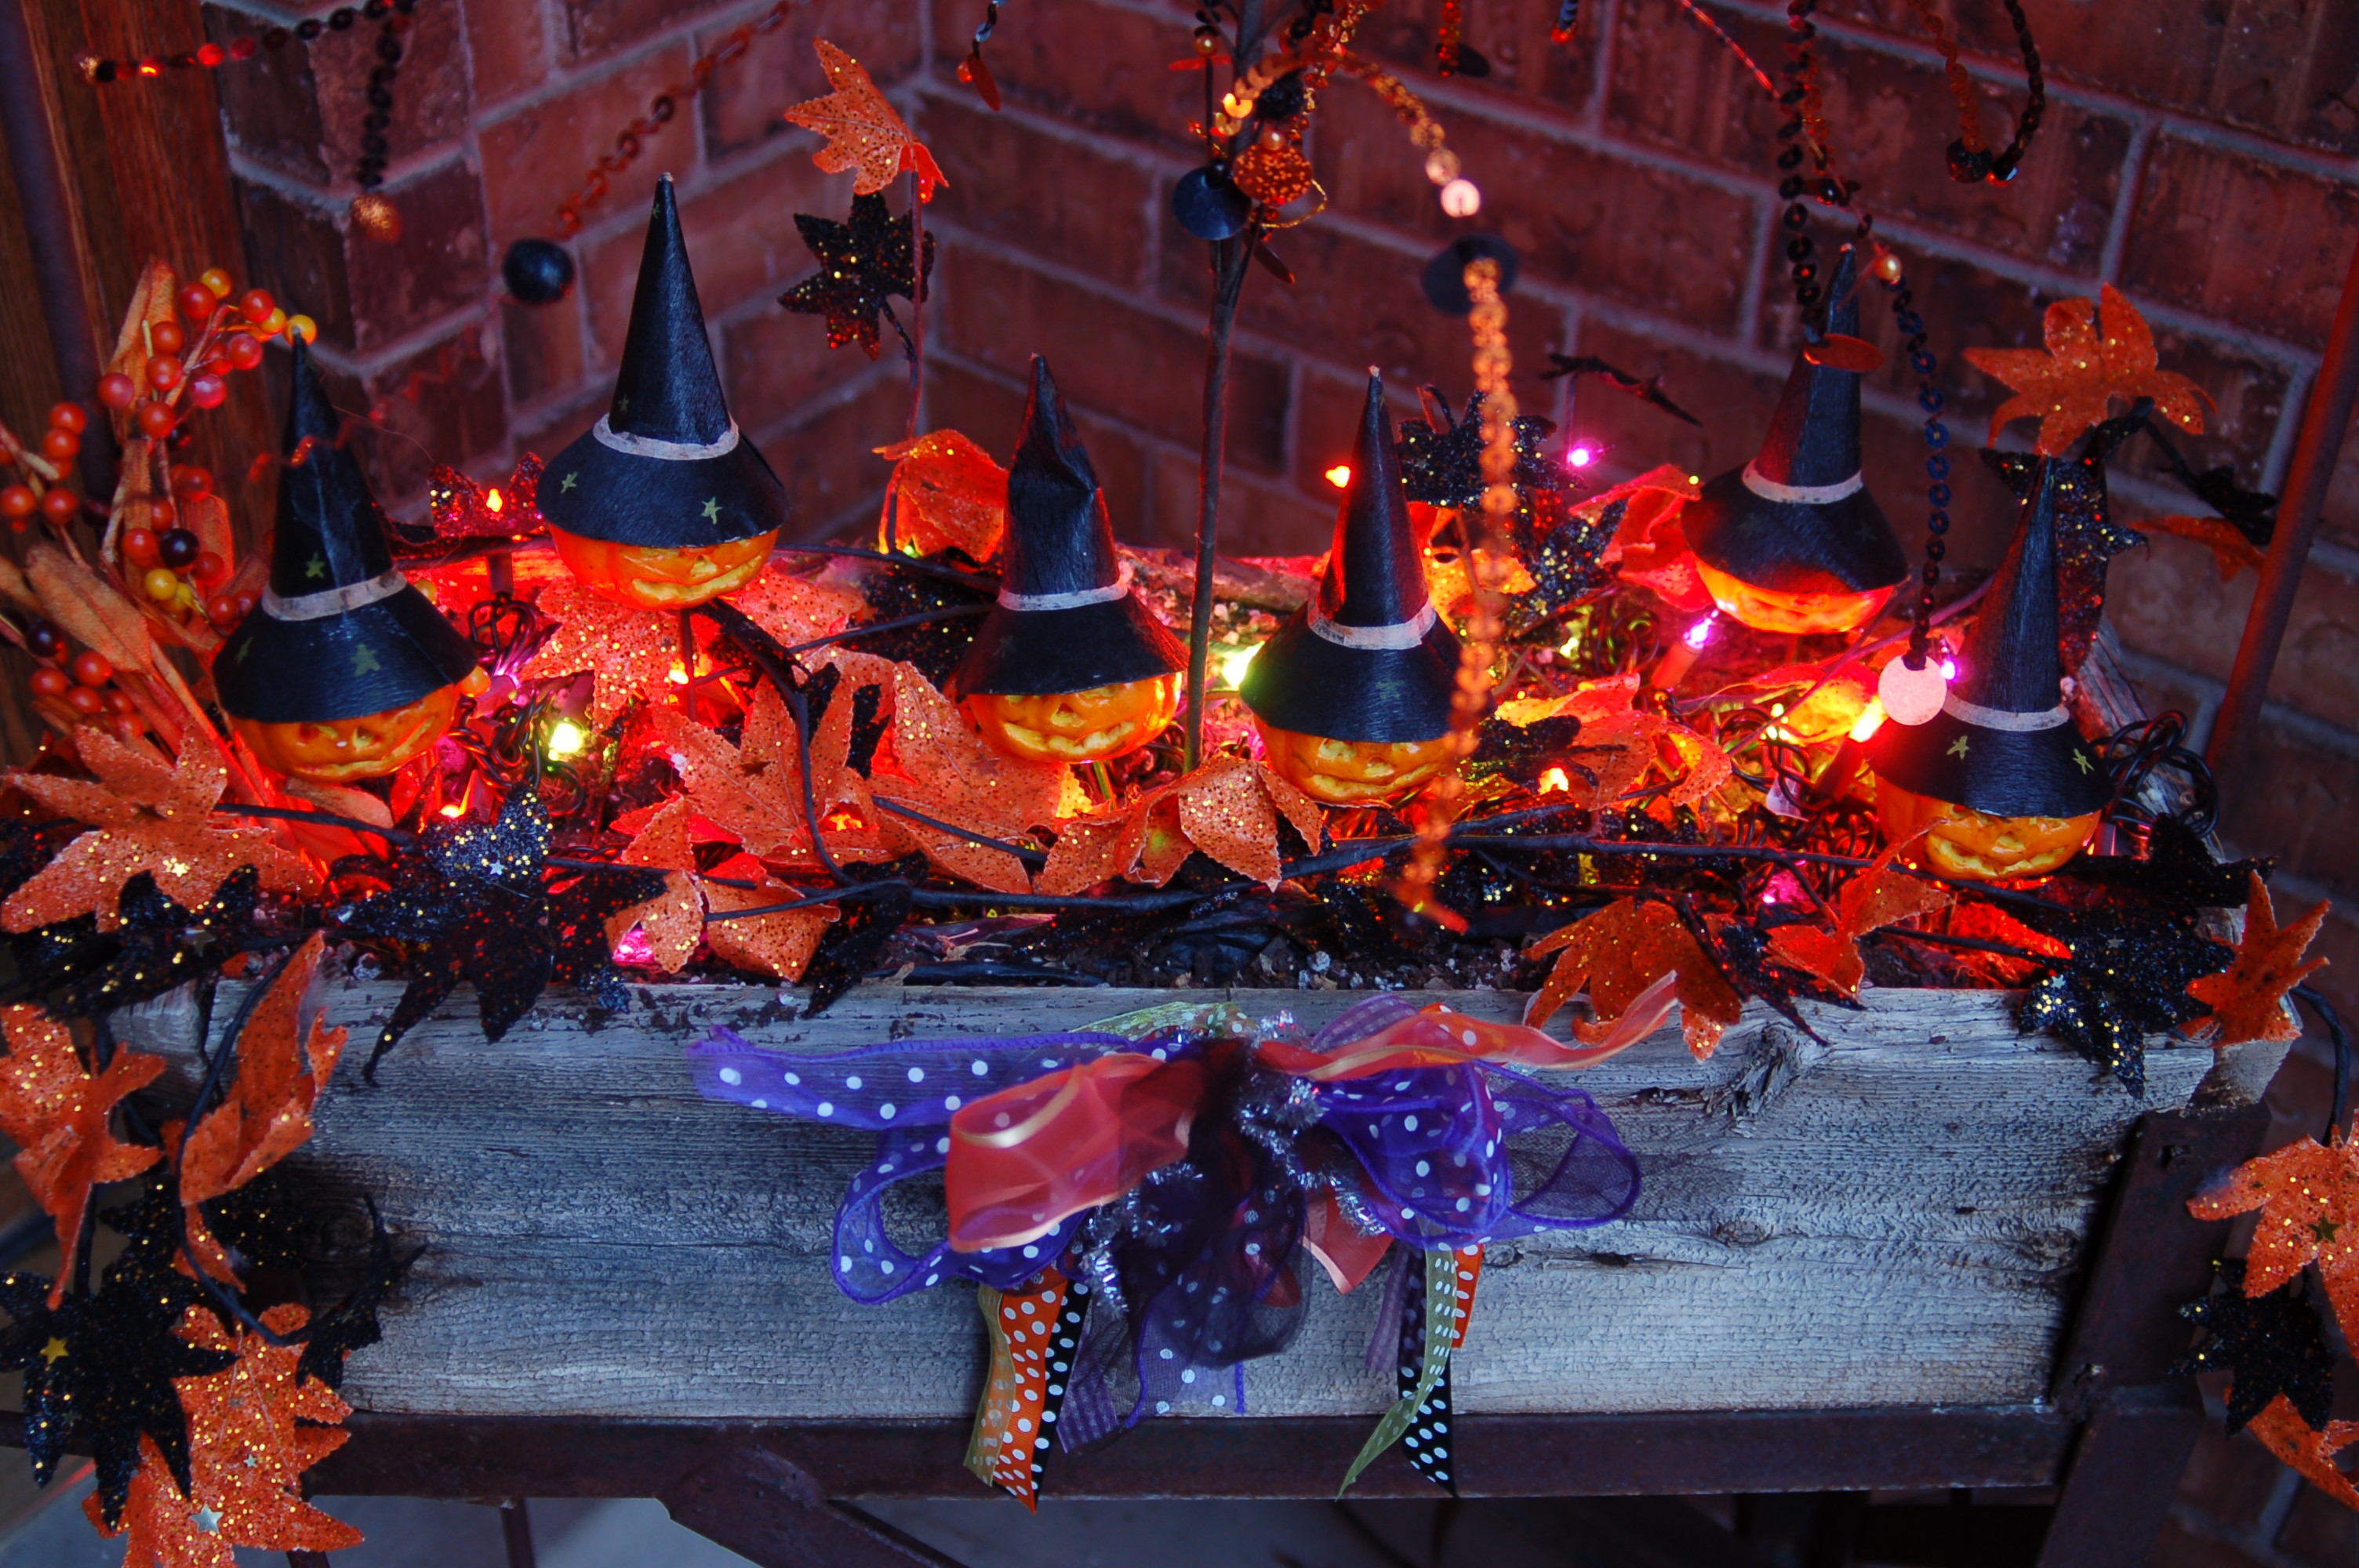
I had this old, yucky pot, stains, cobwebs and all! And I spray painted the pot and the tree and…Added a bunch of decorations.And this is what I got! I added the witch hat to the base of the tree and this is what it looks like at dusk.This is my little flower cart on the front porch.My favorite find at Swiss Days a couple of years ago!It’s beginning to look a lot like… Halloween!
Oct. VT Message

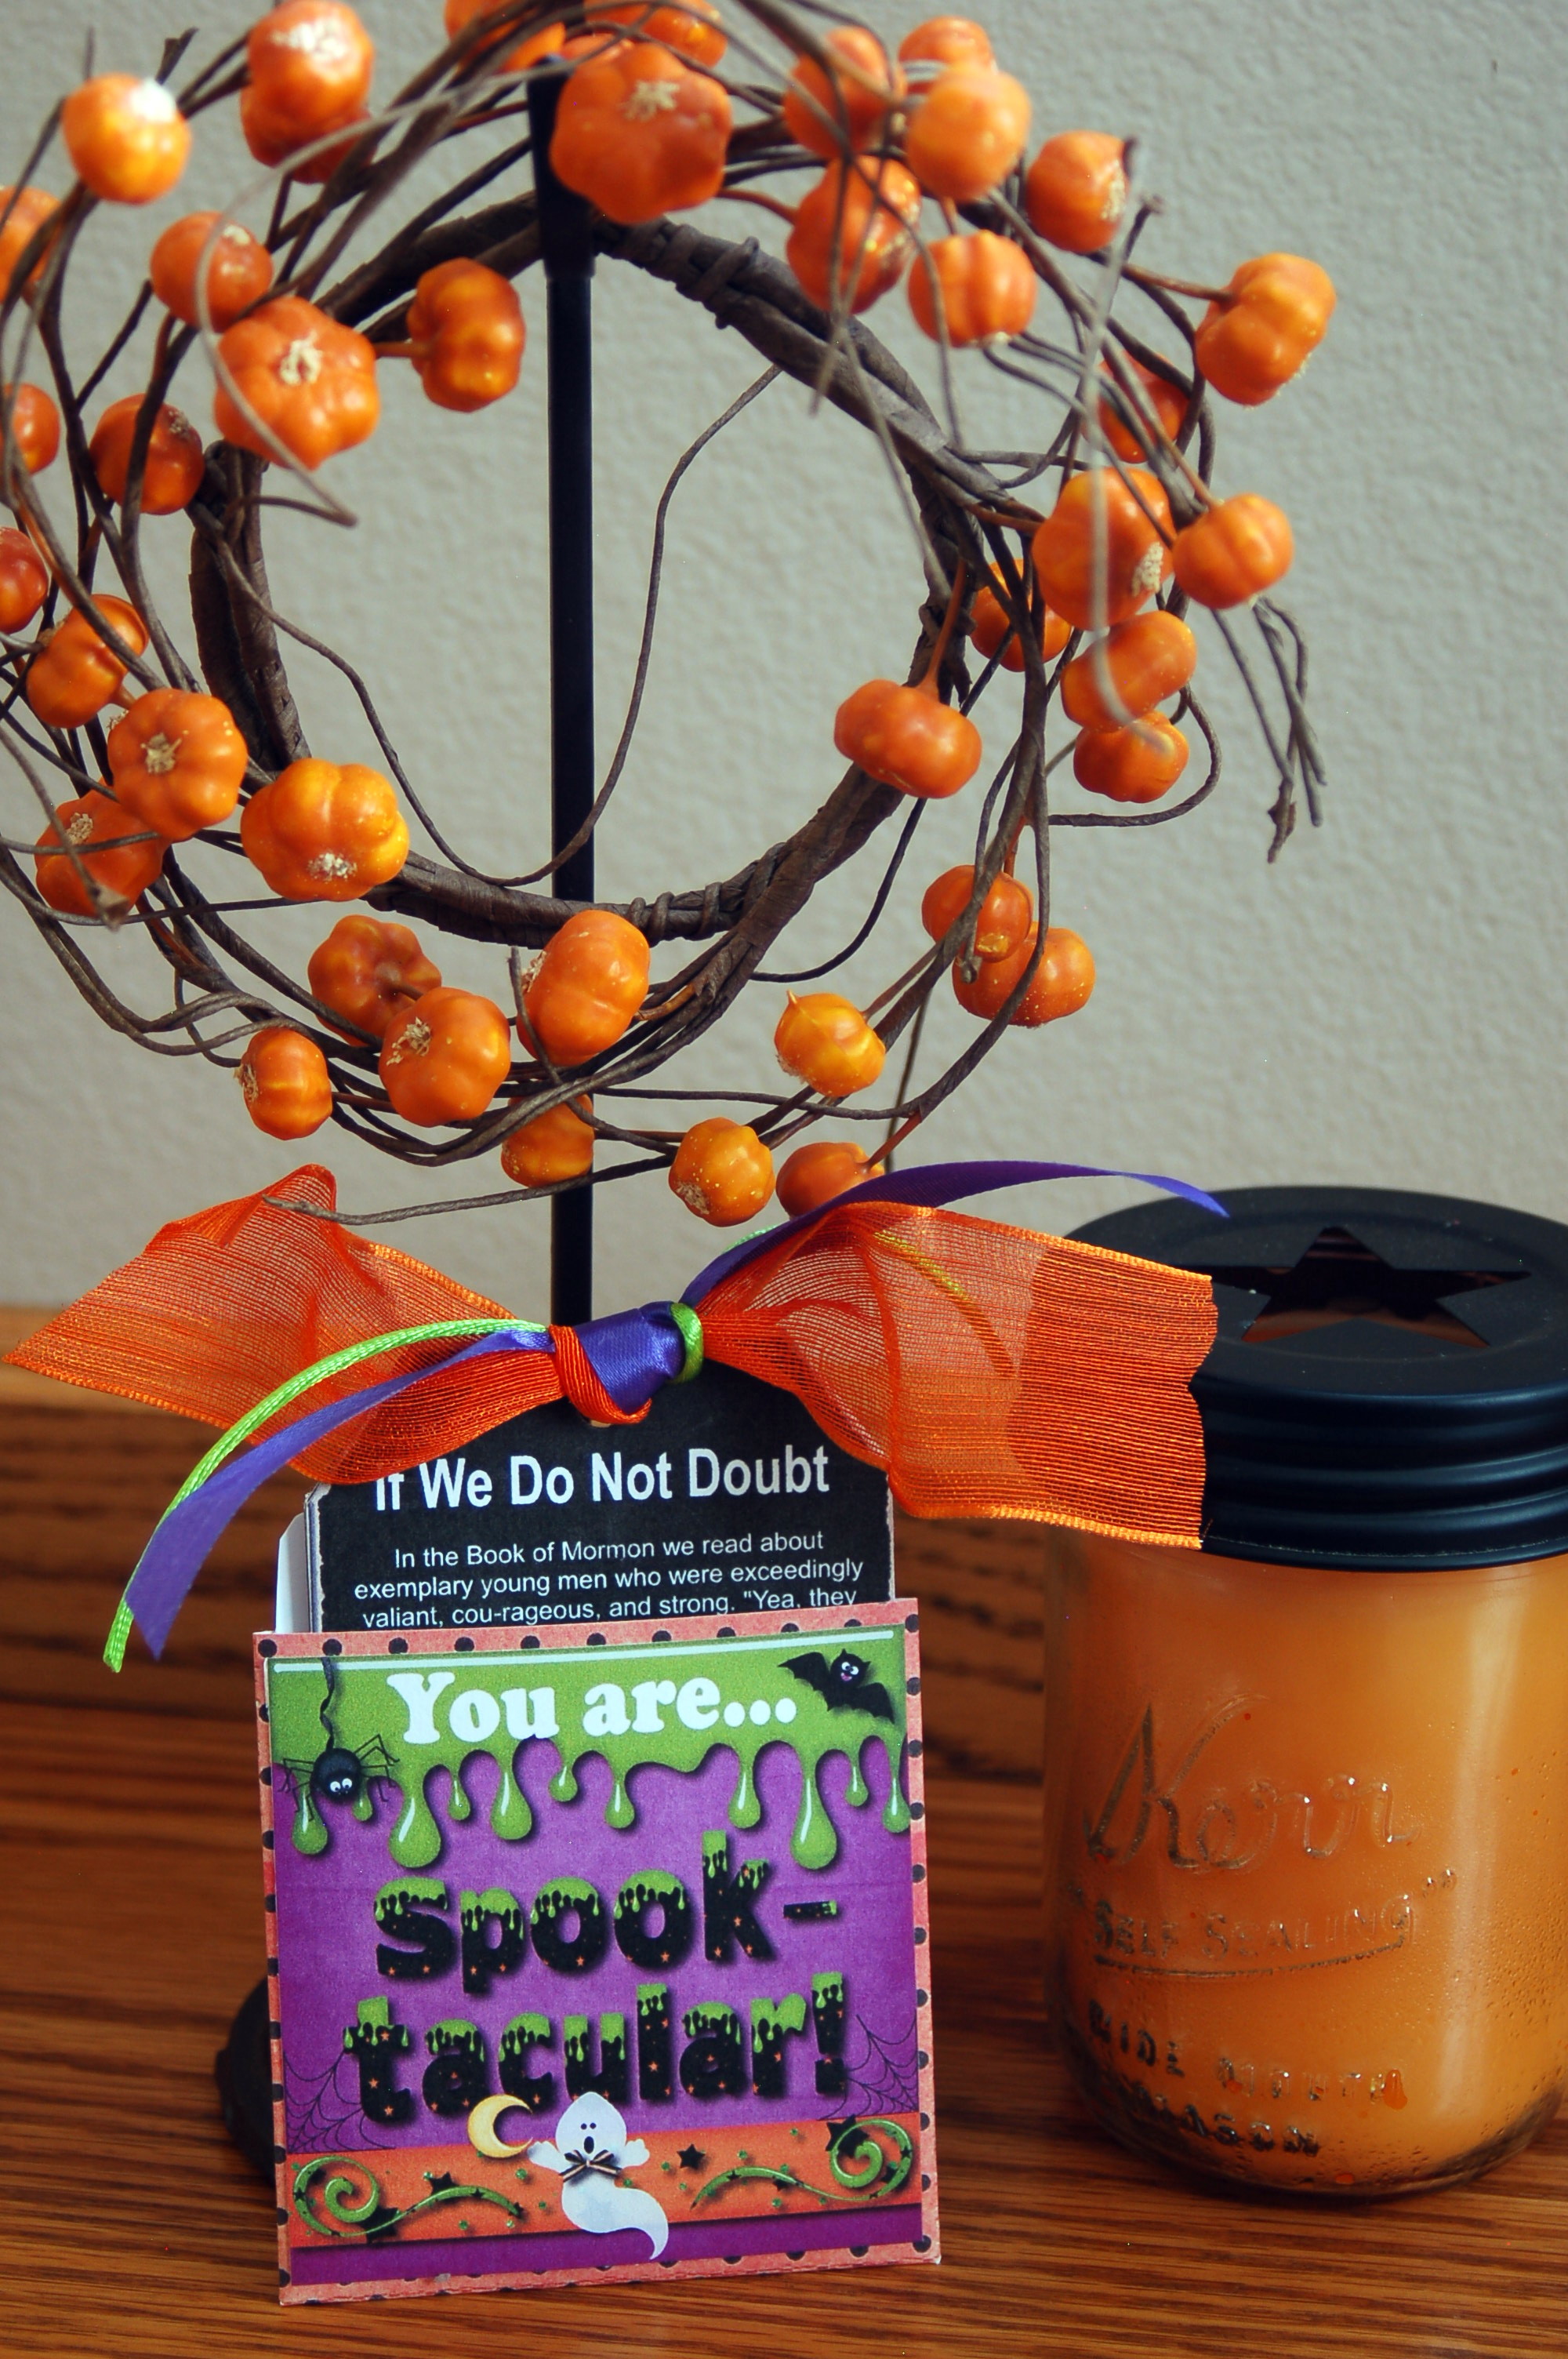
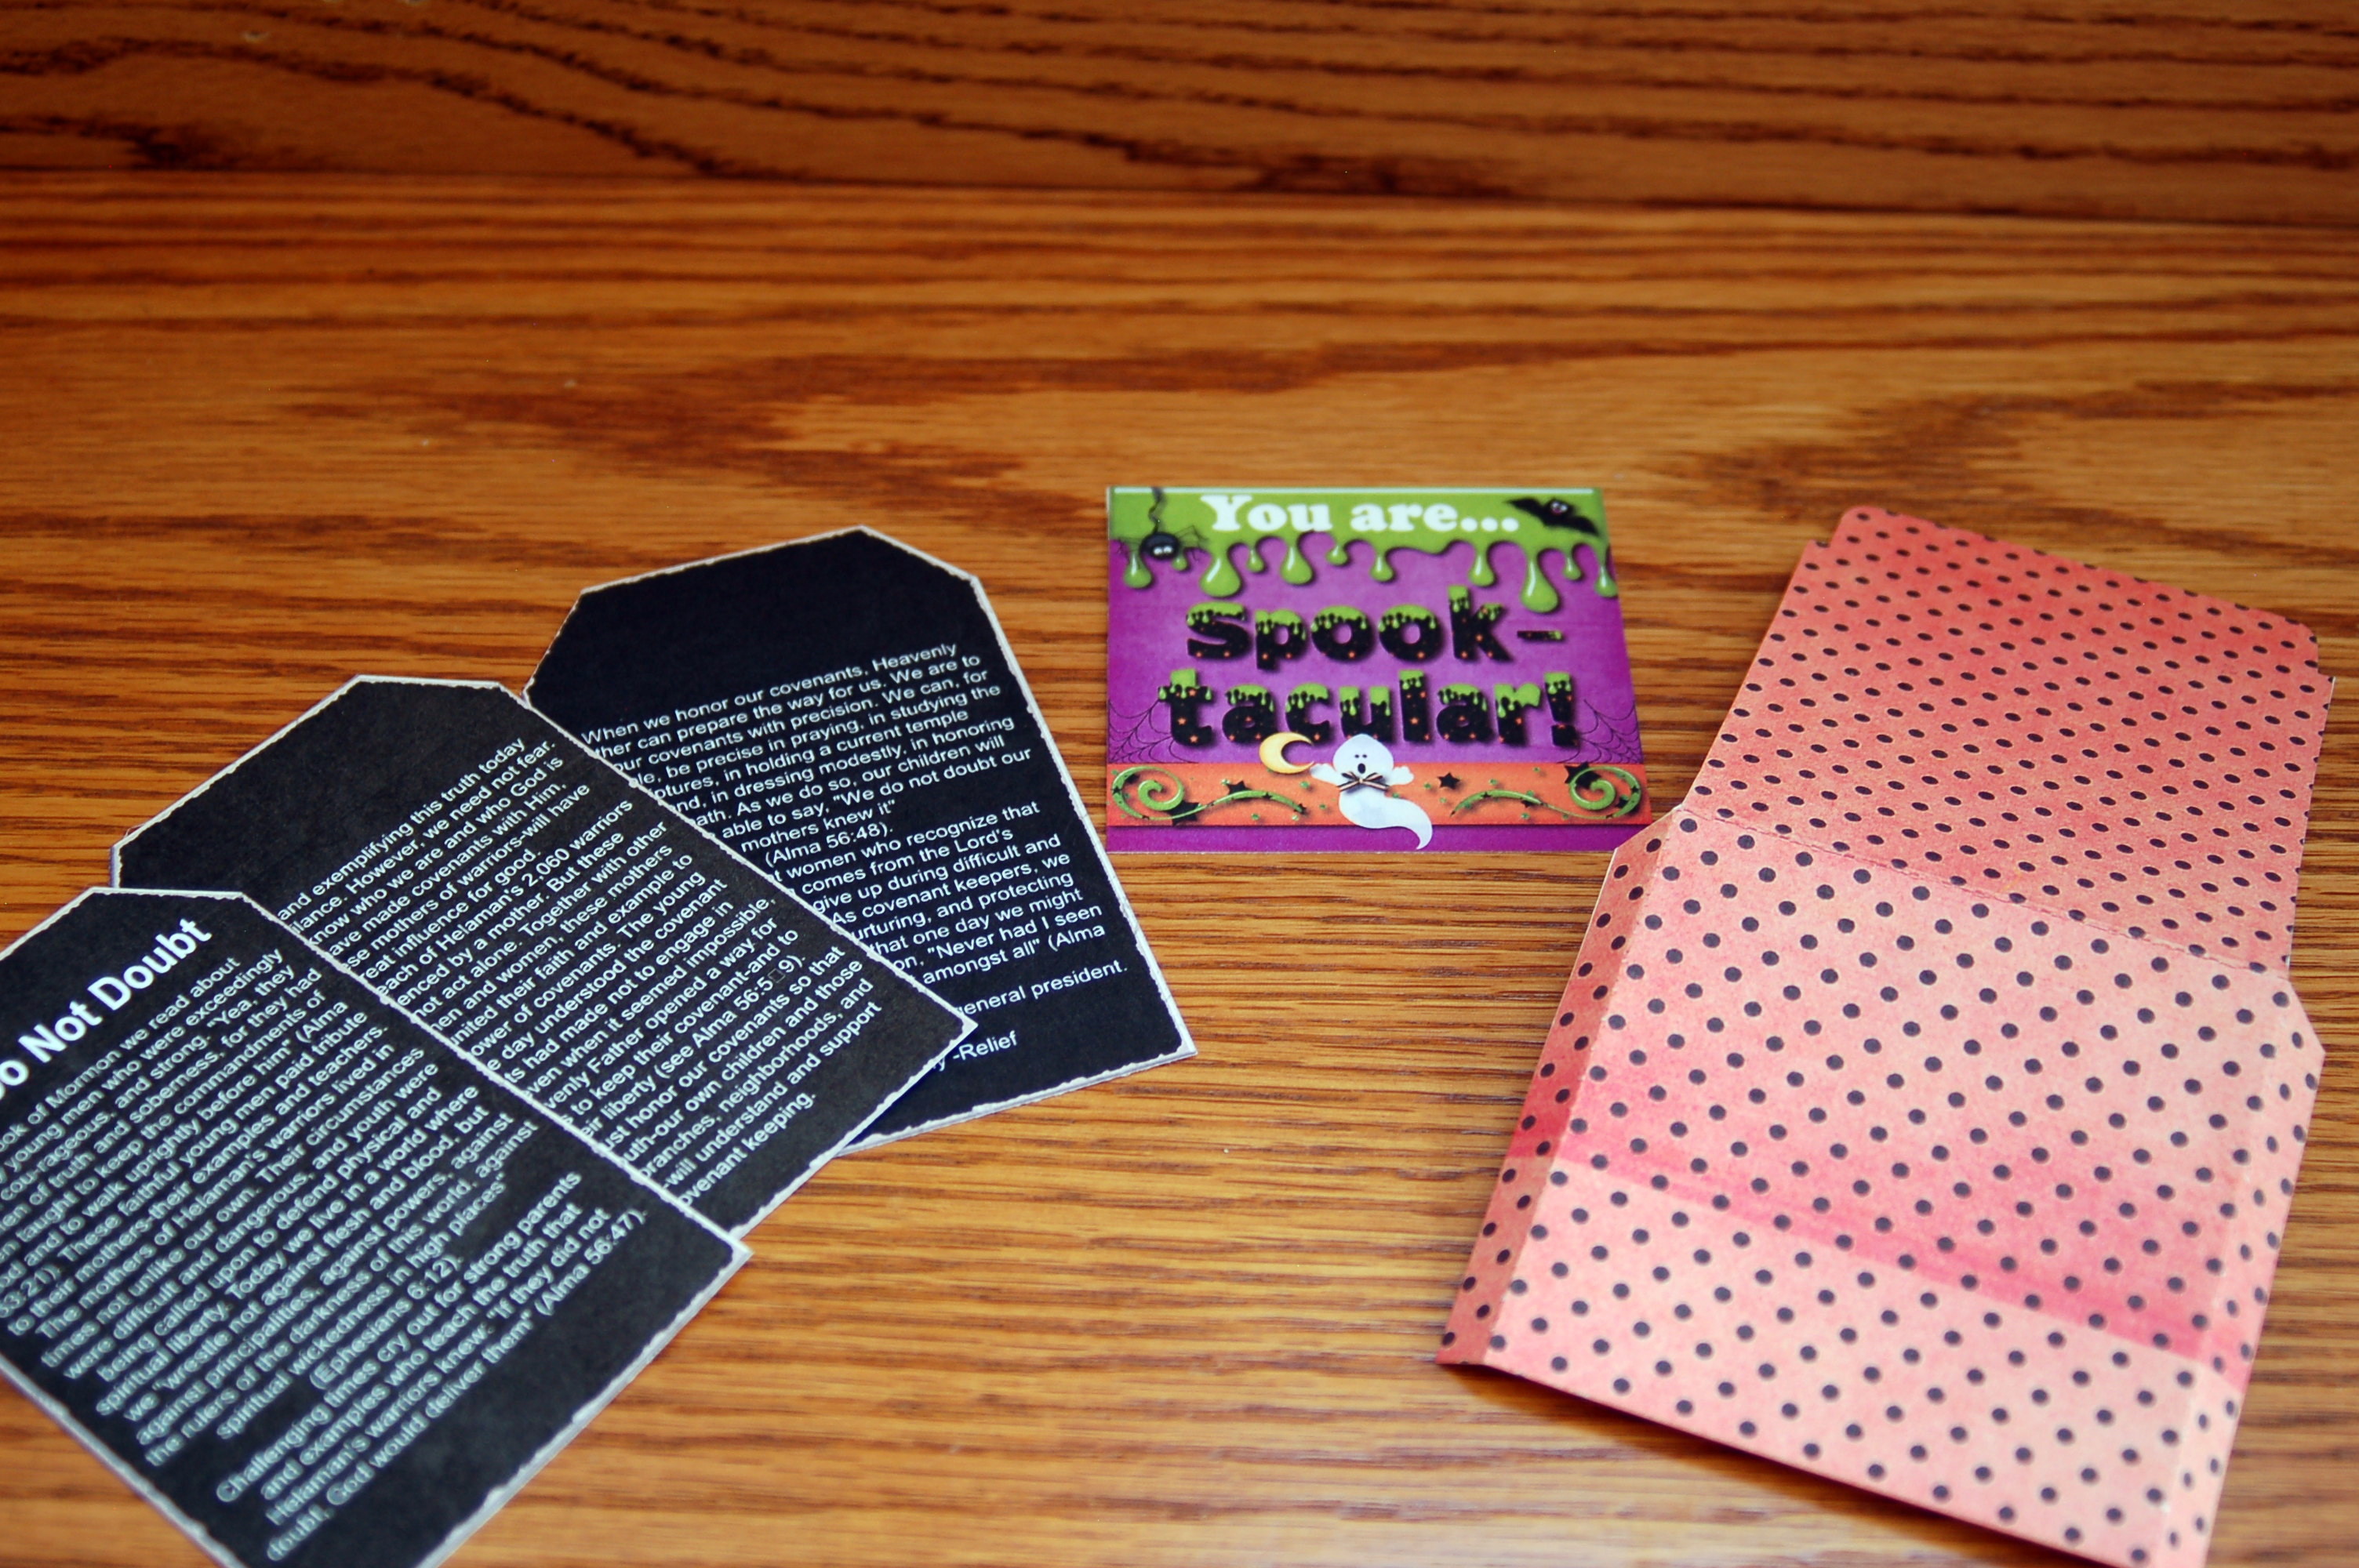
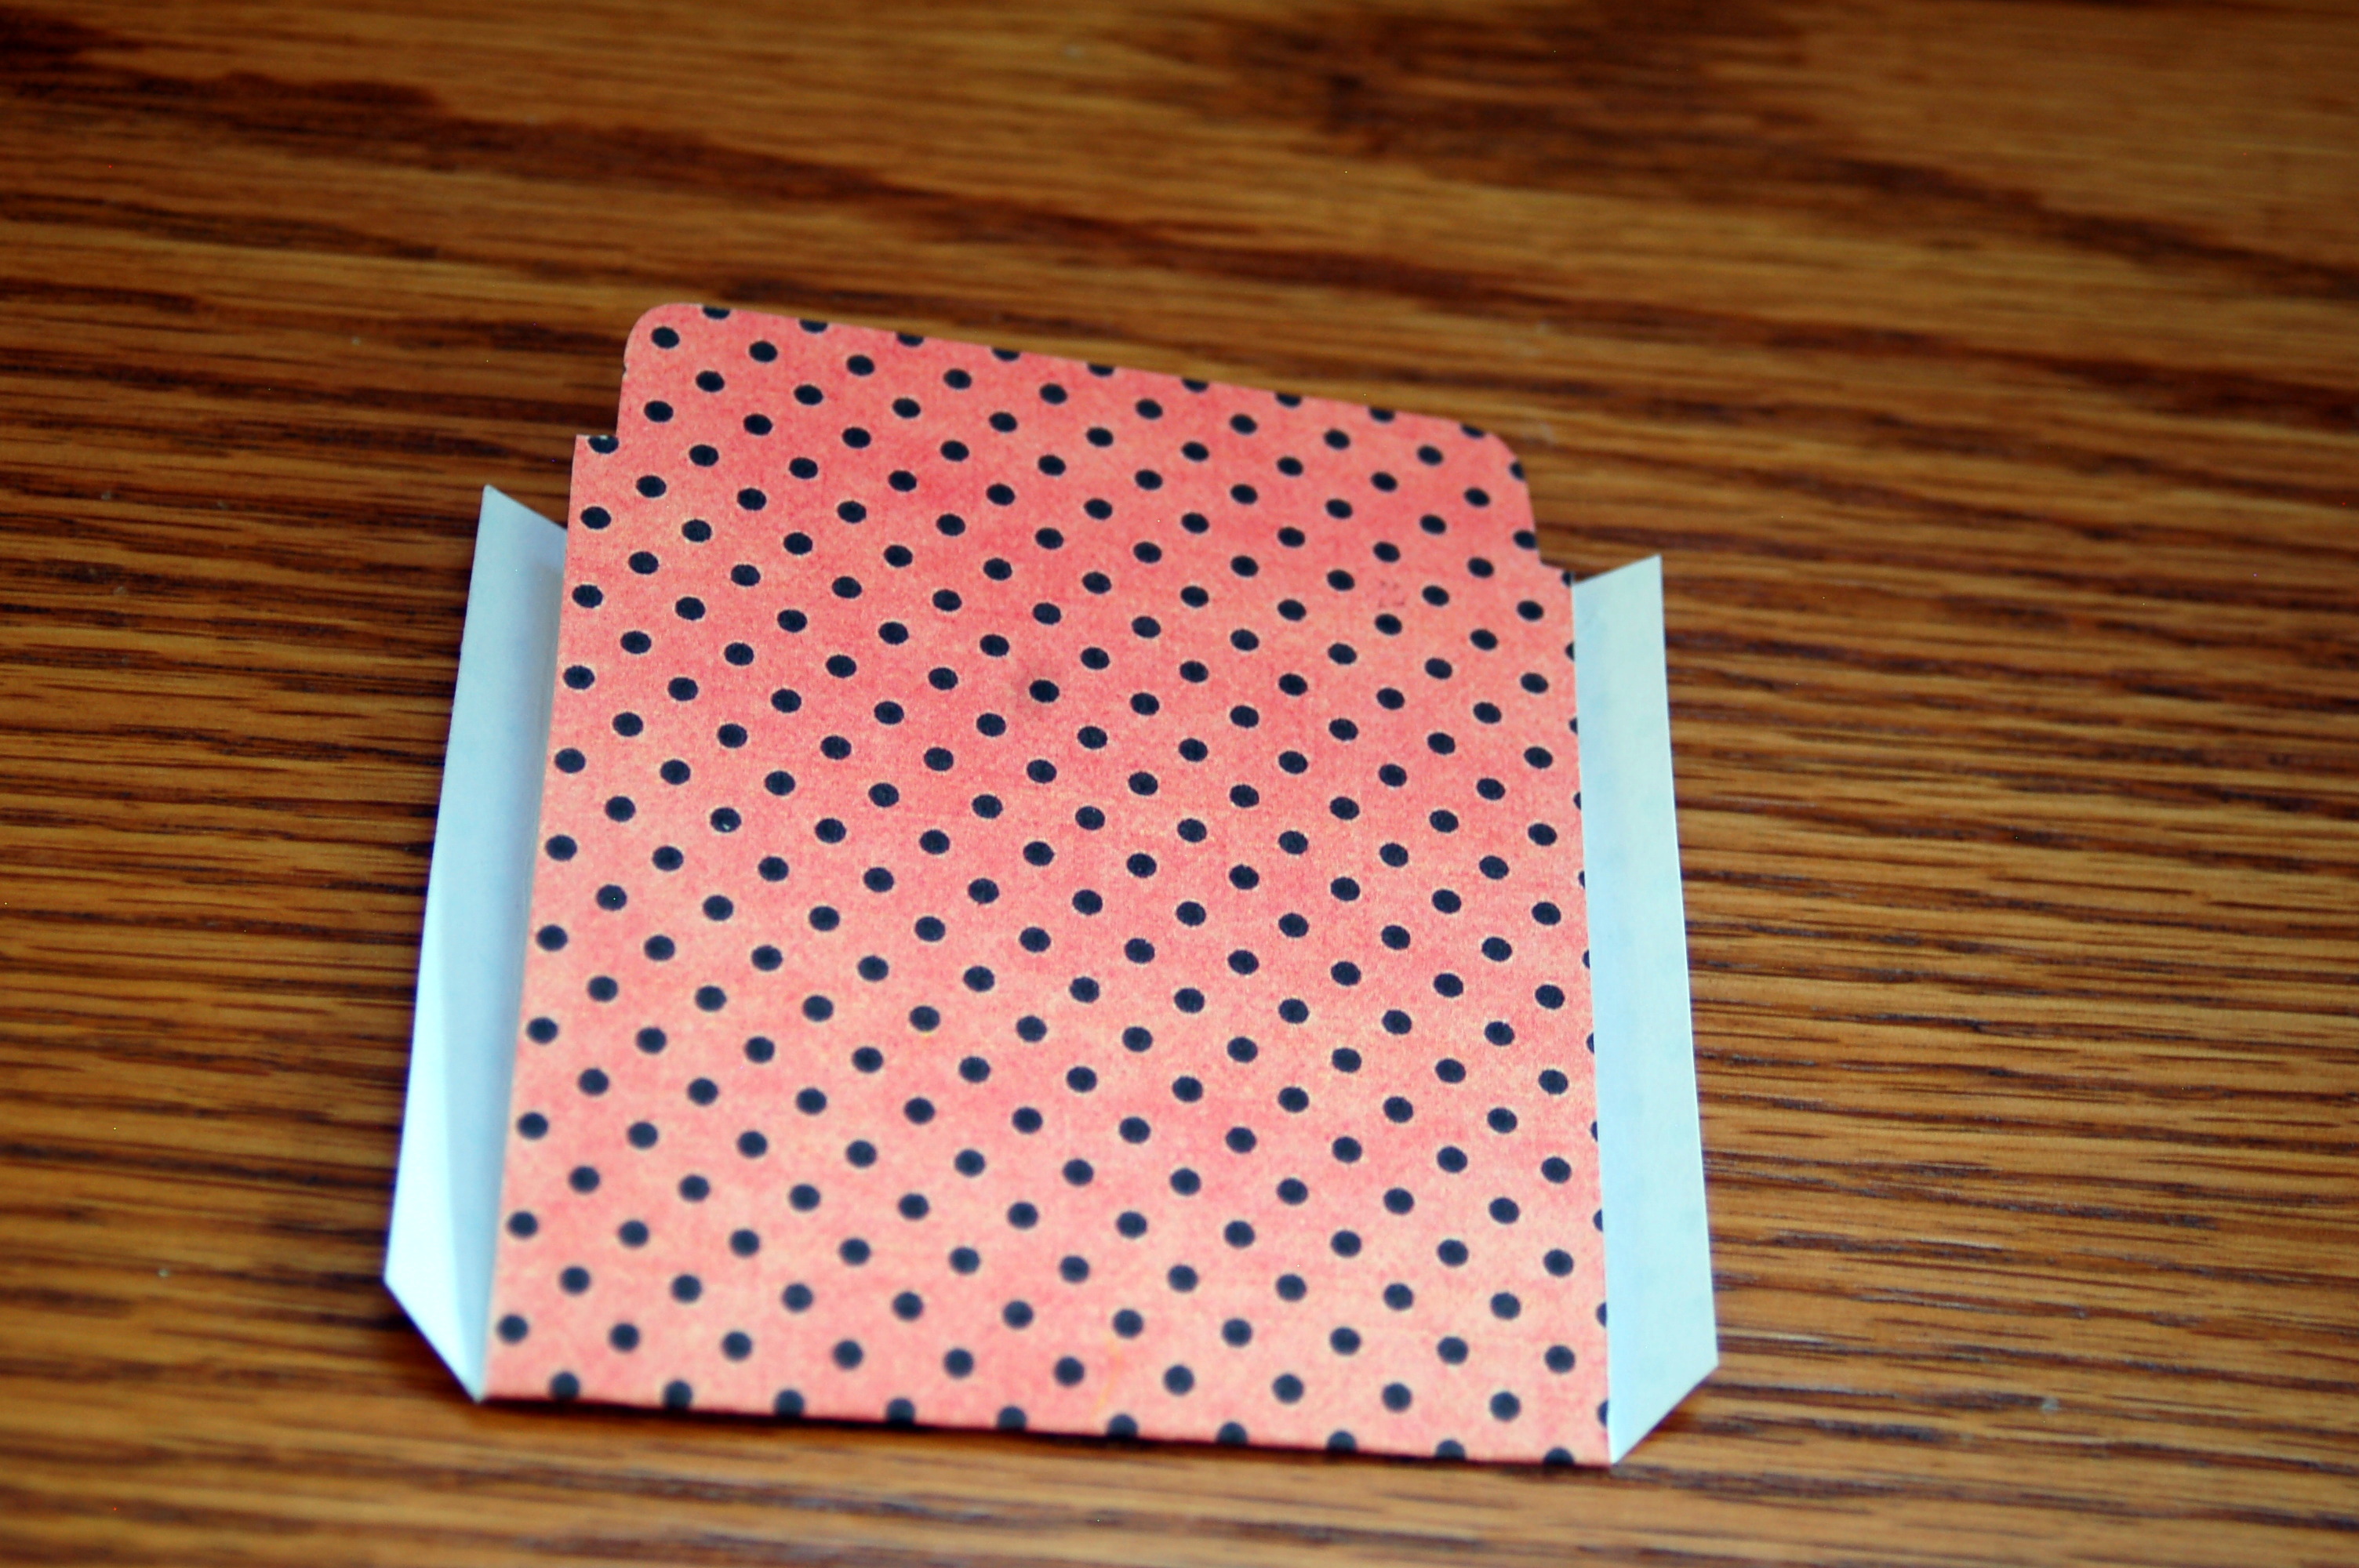
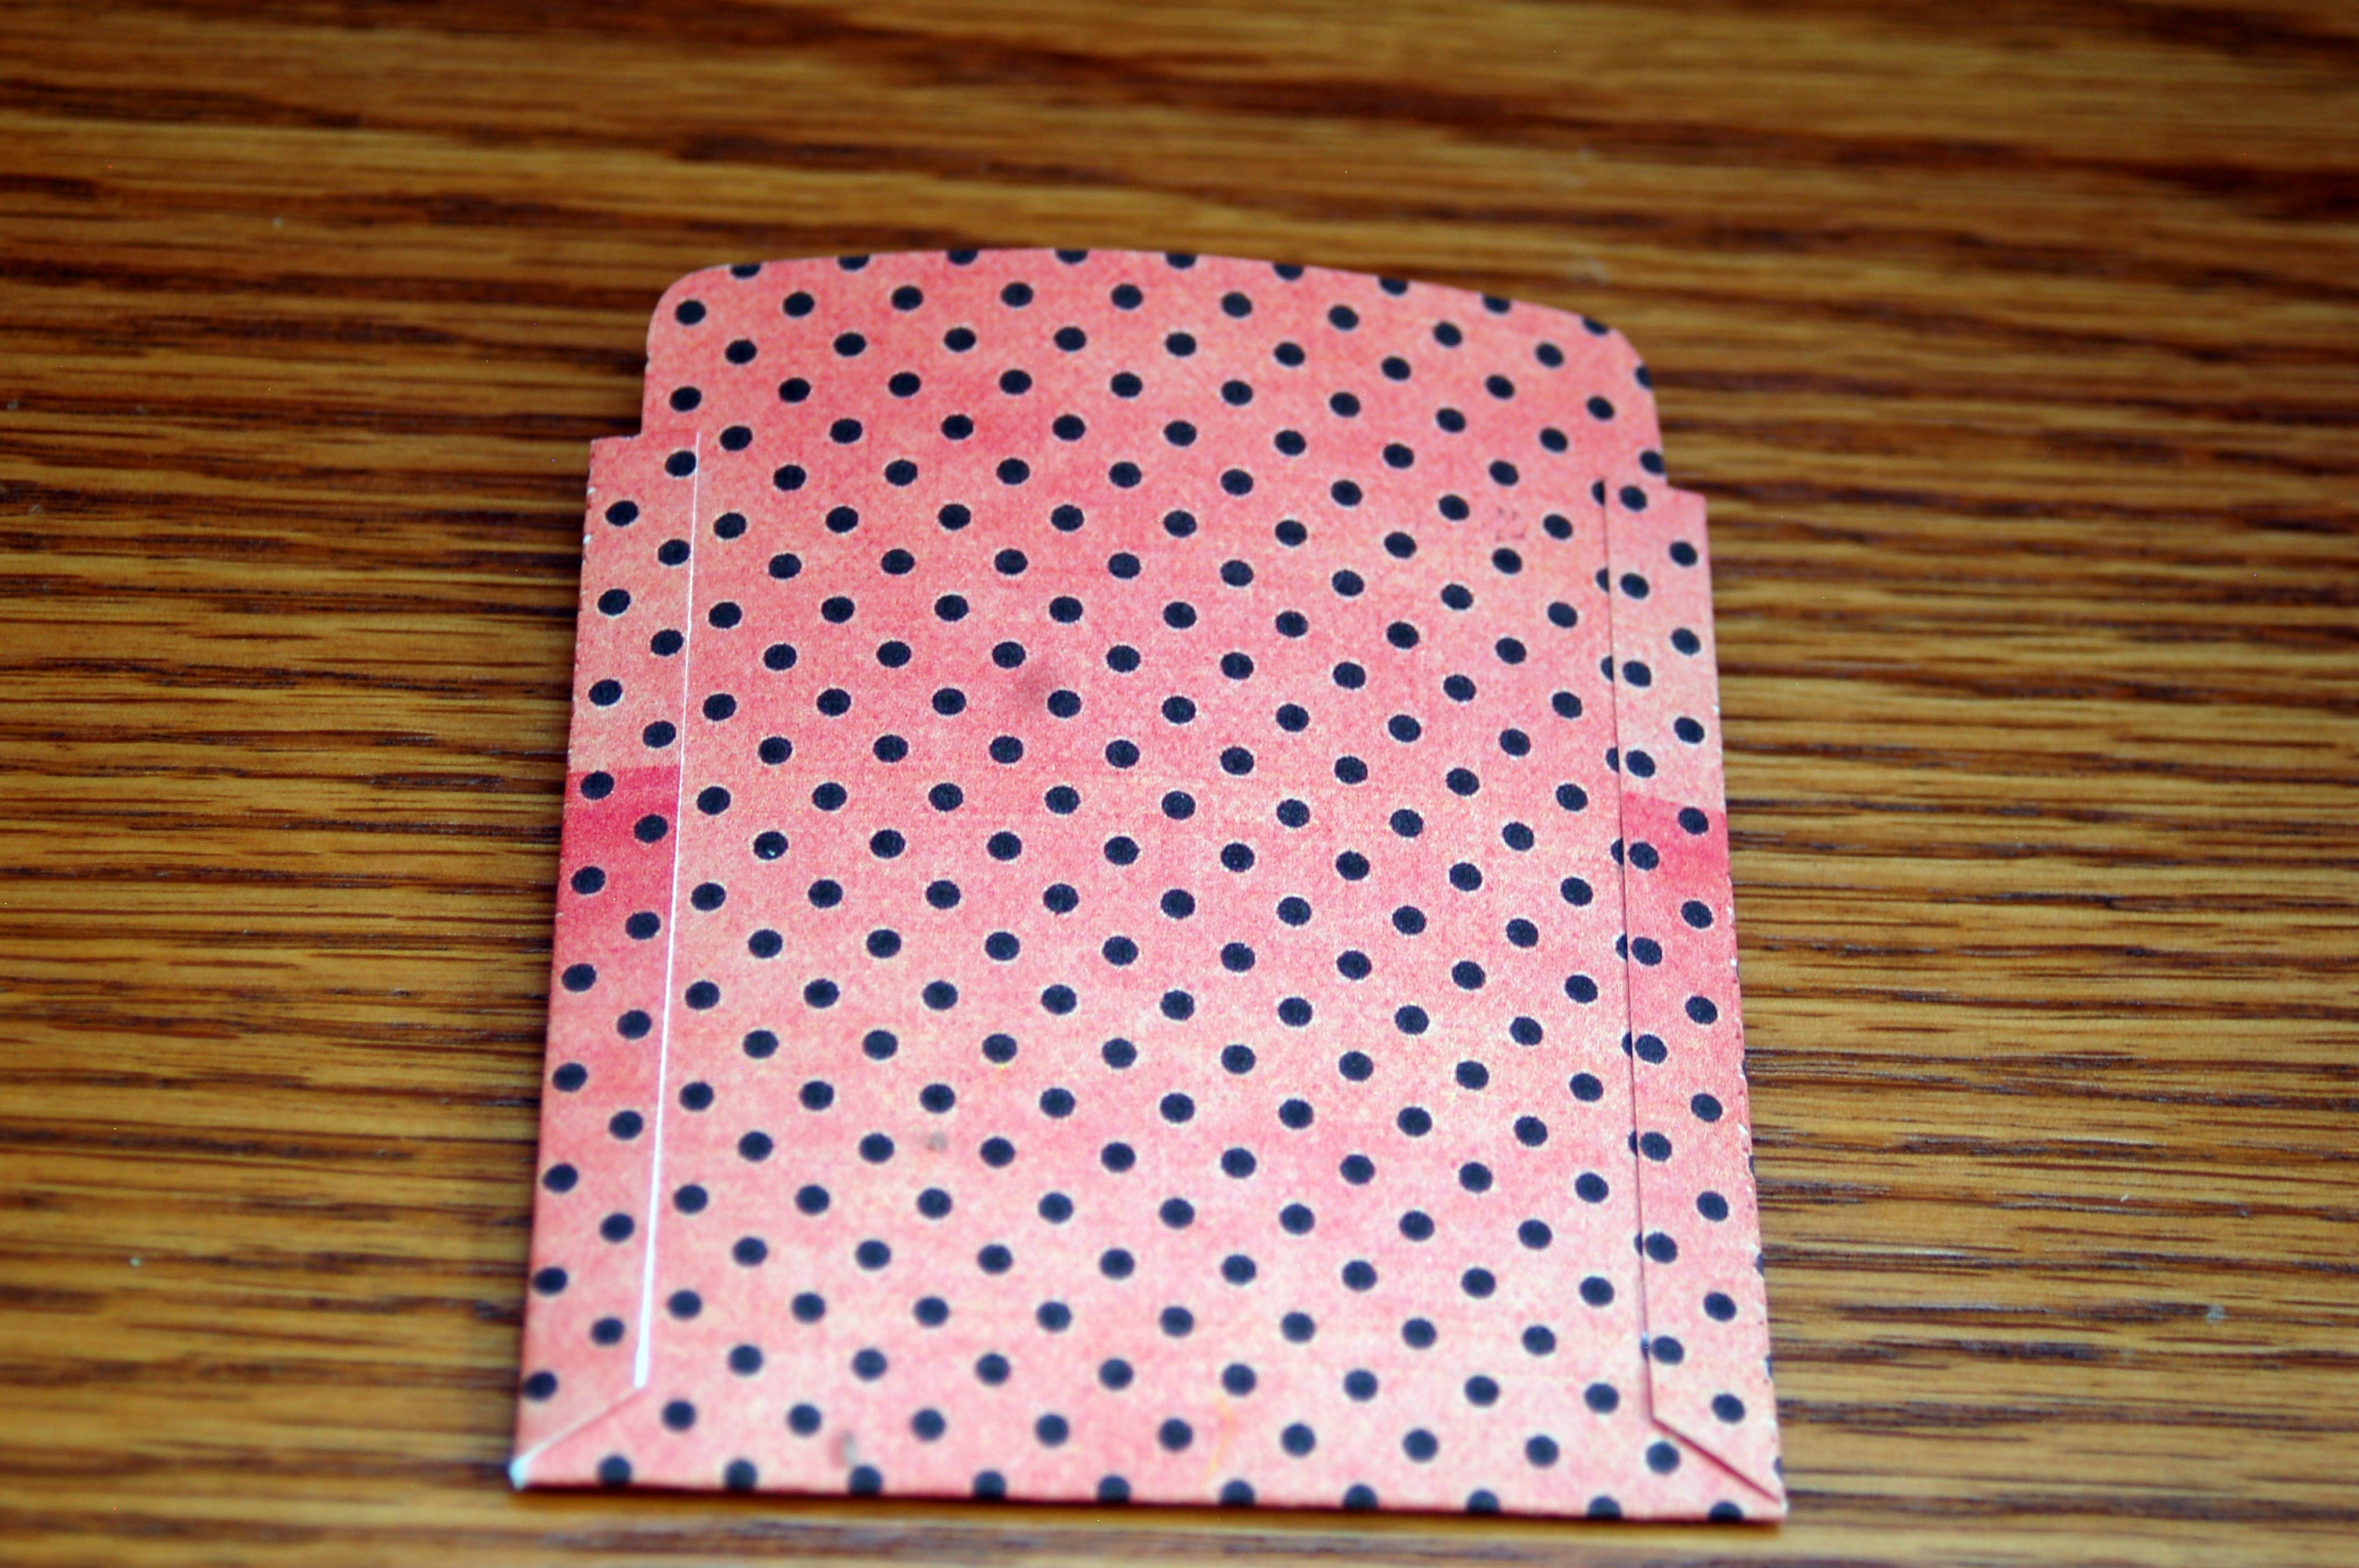
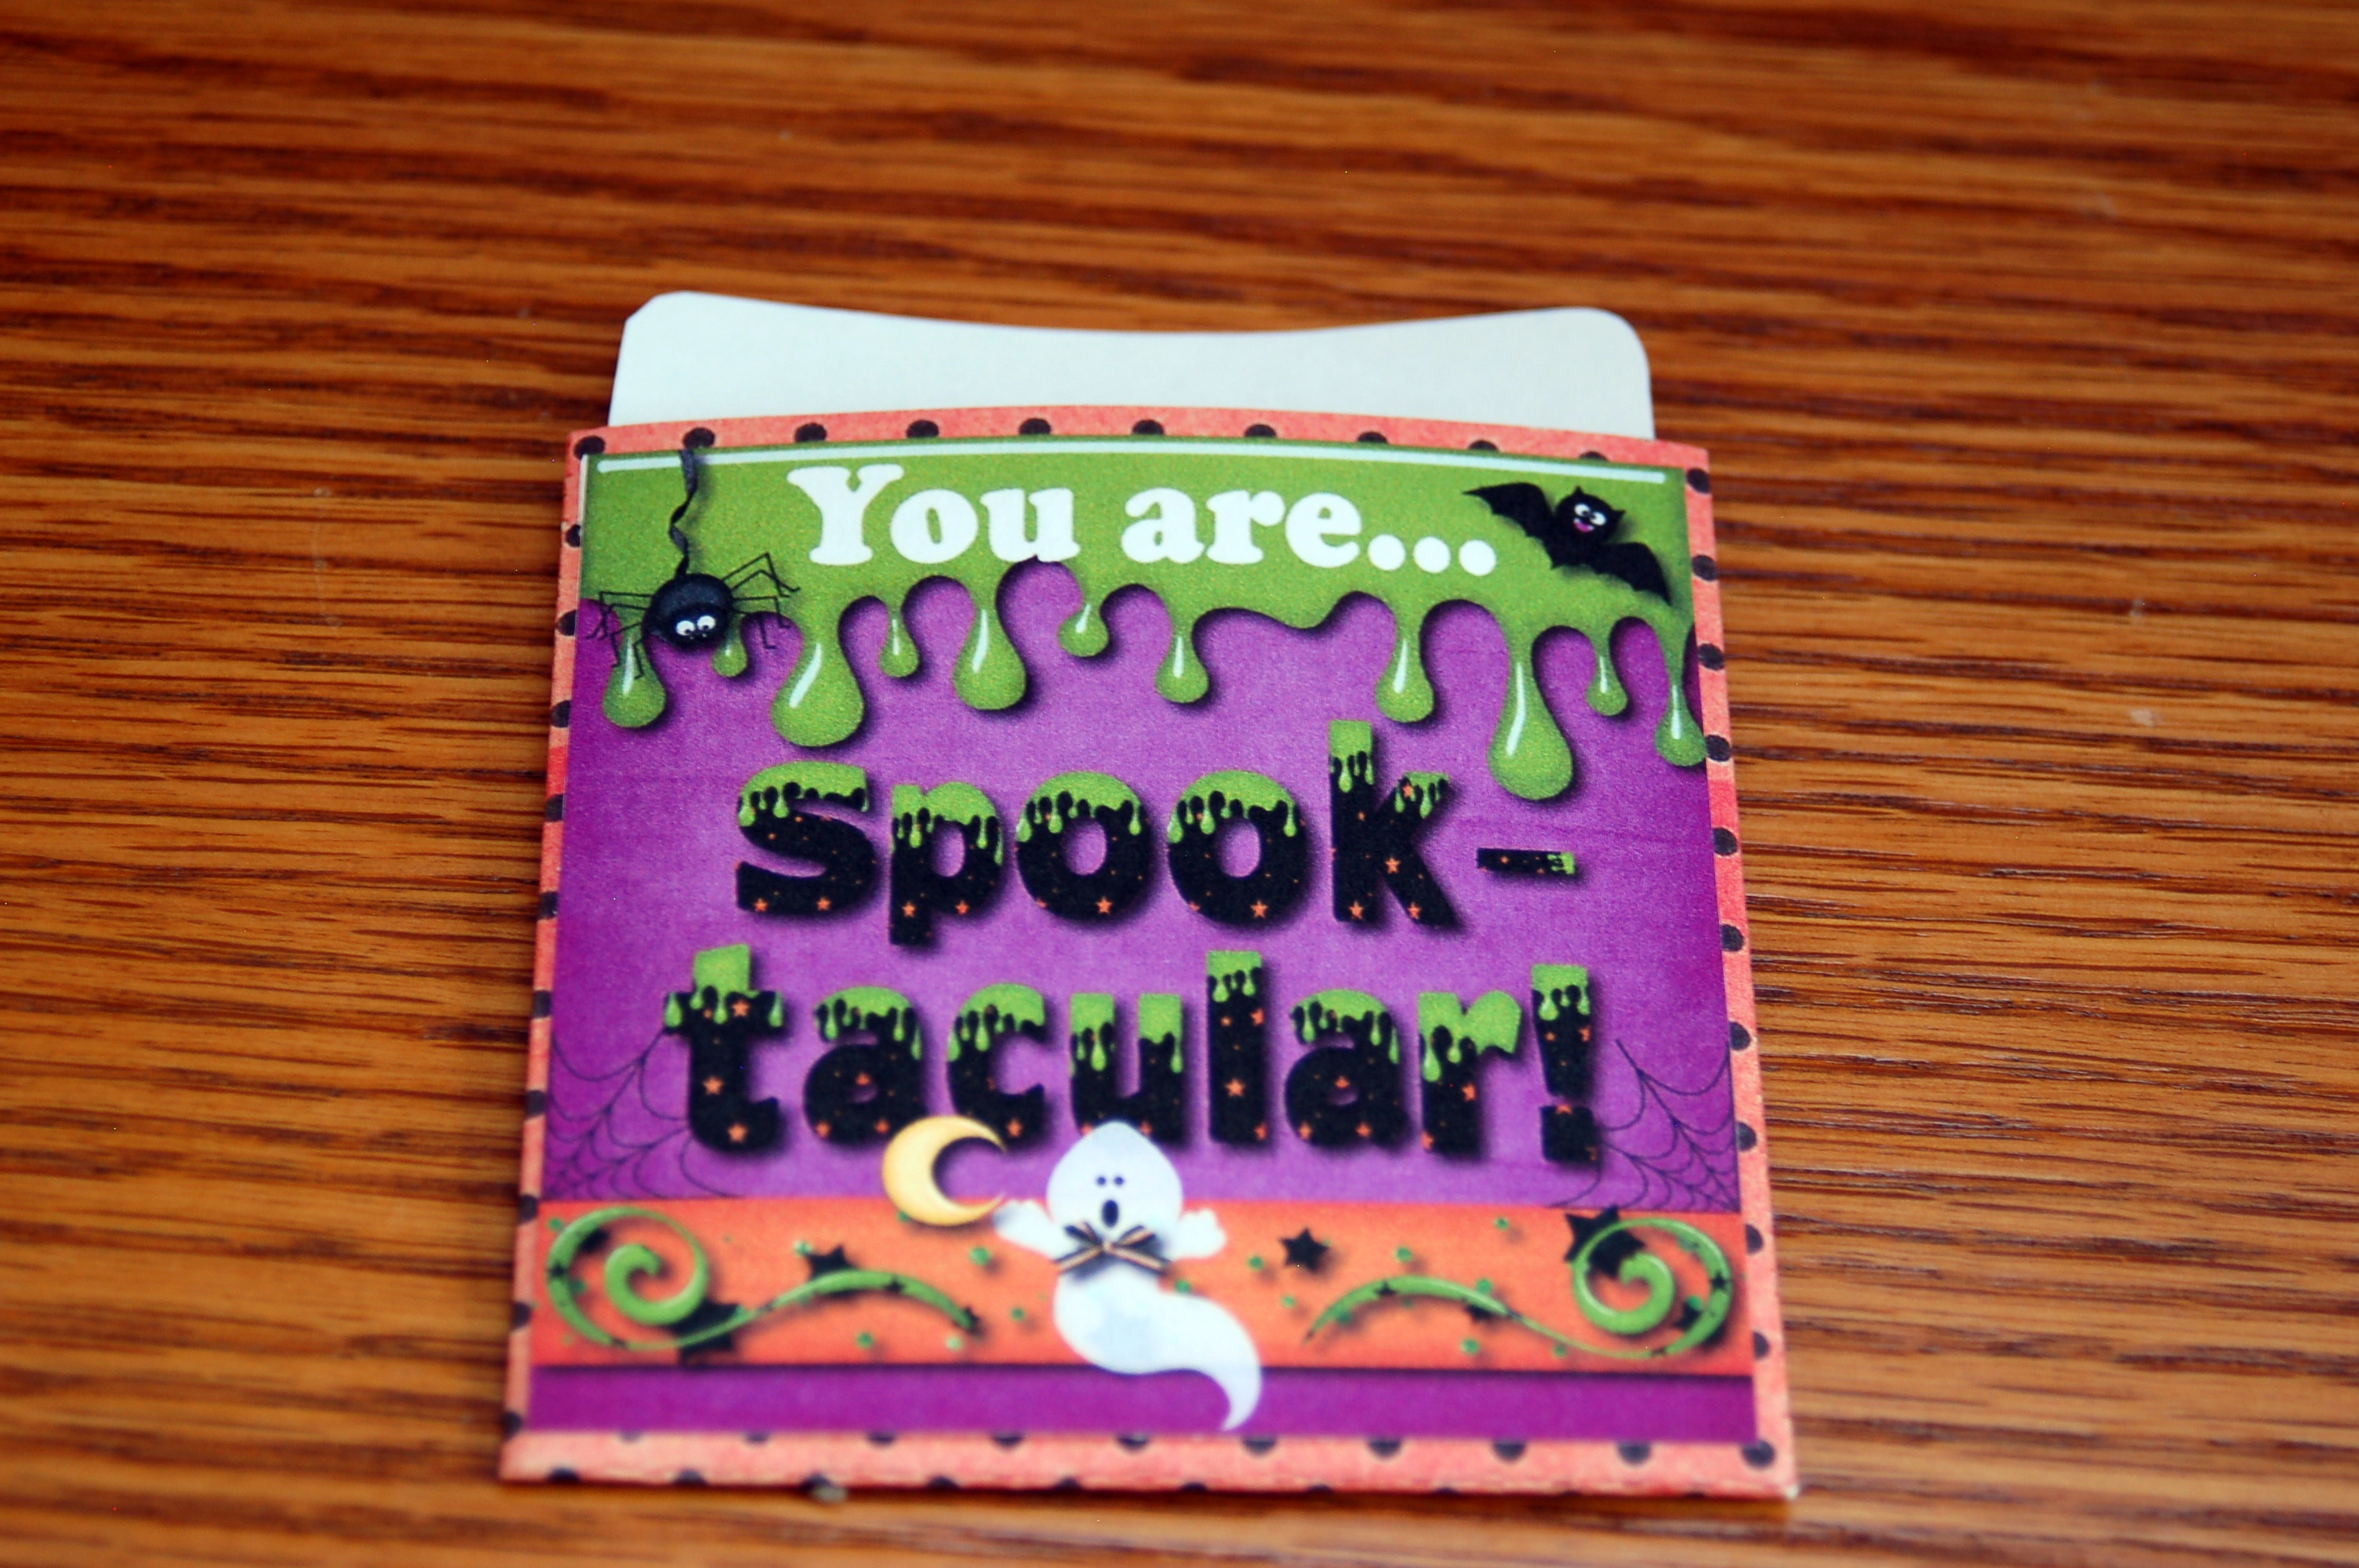
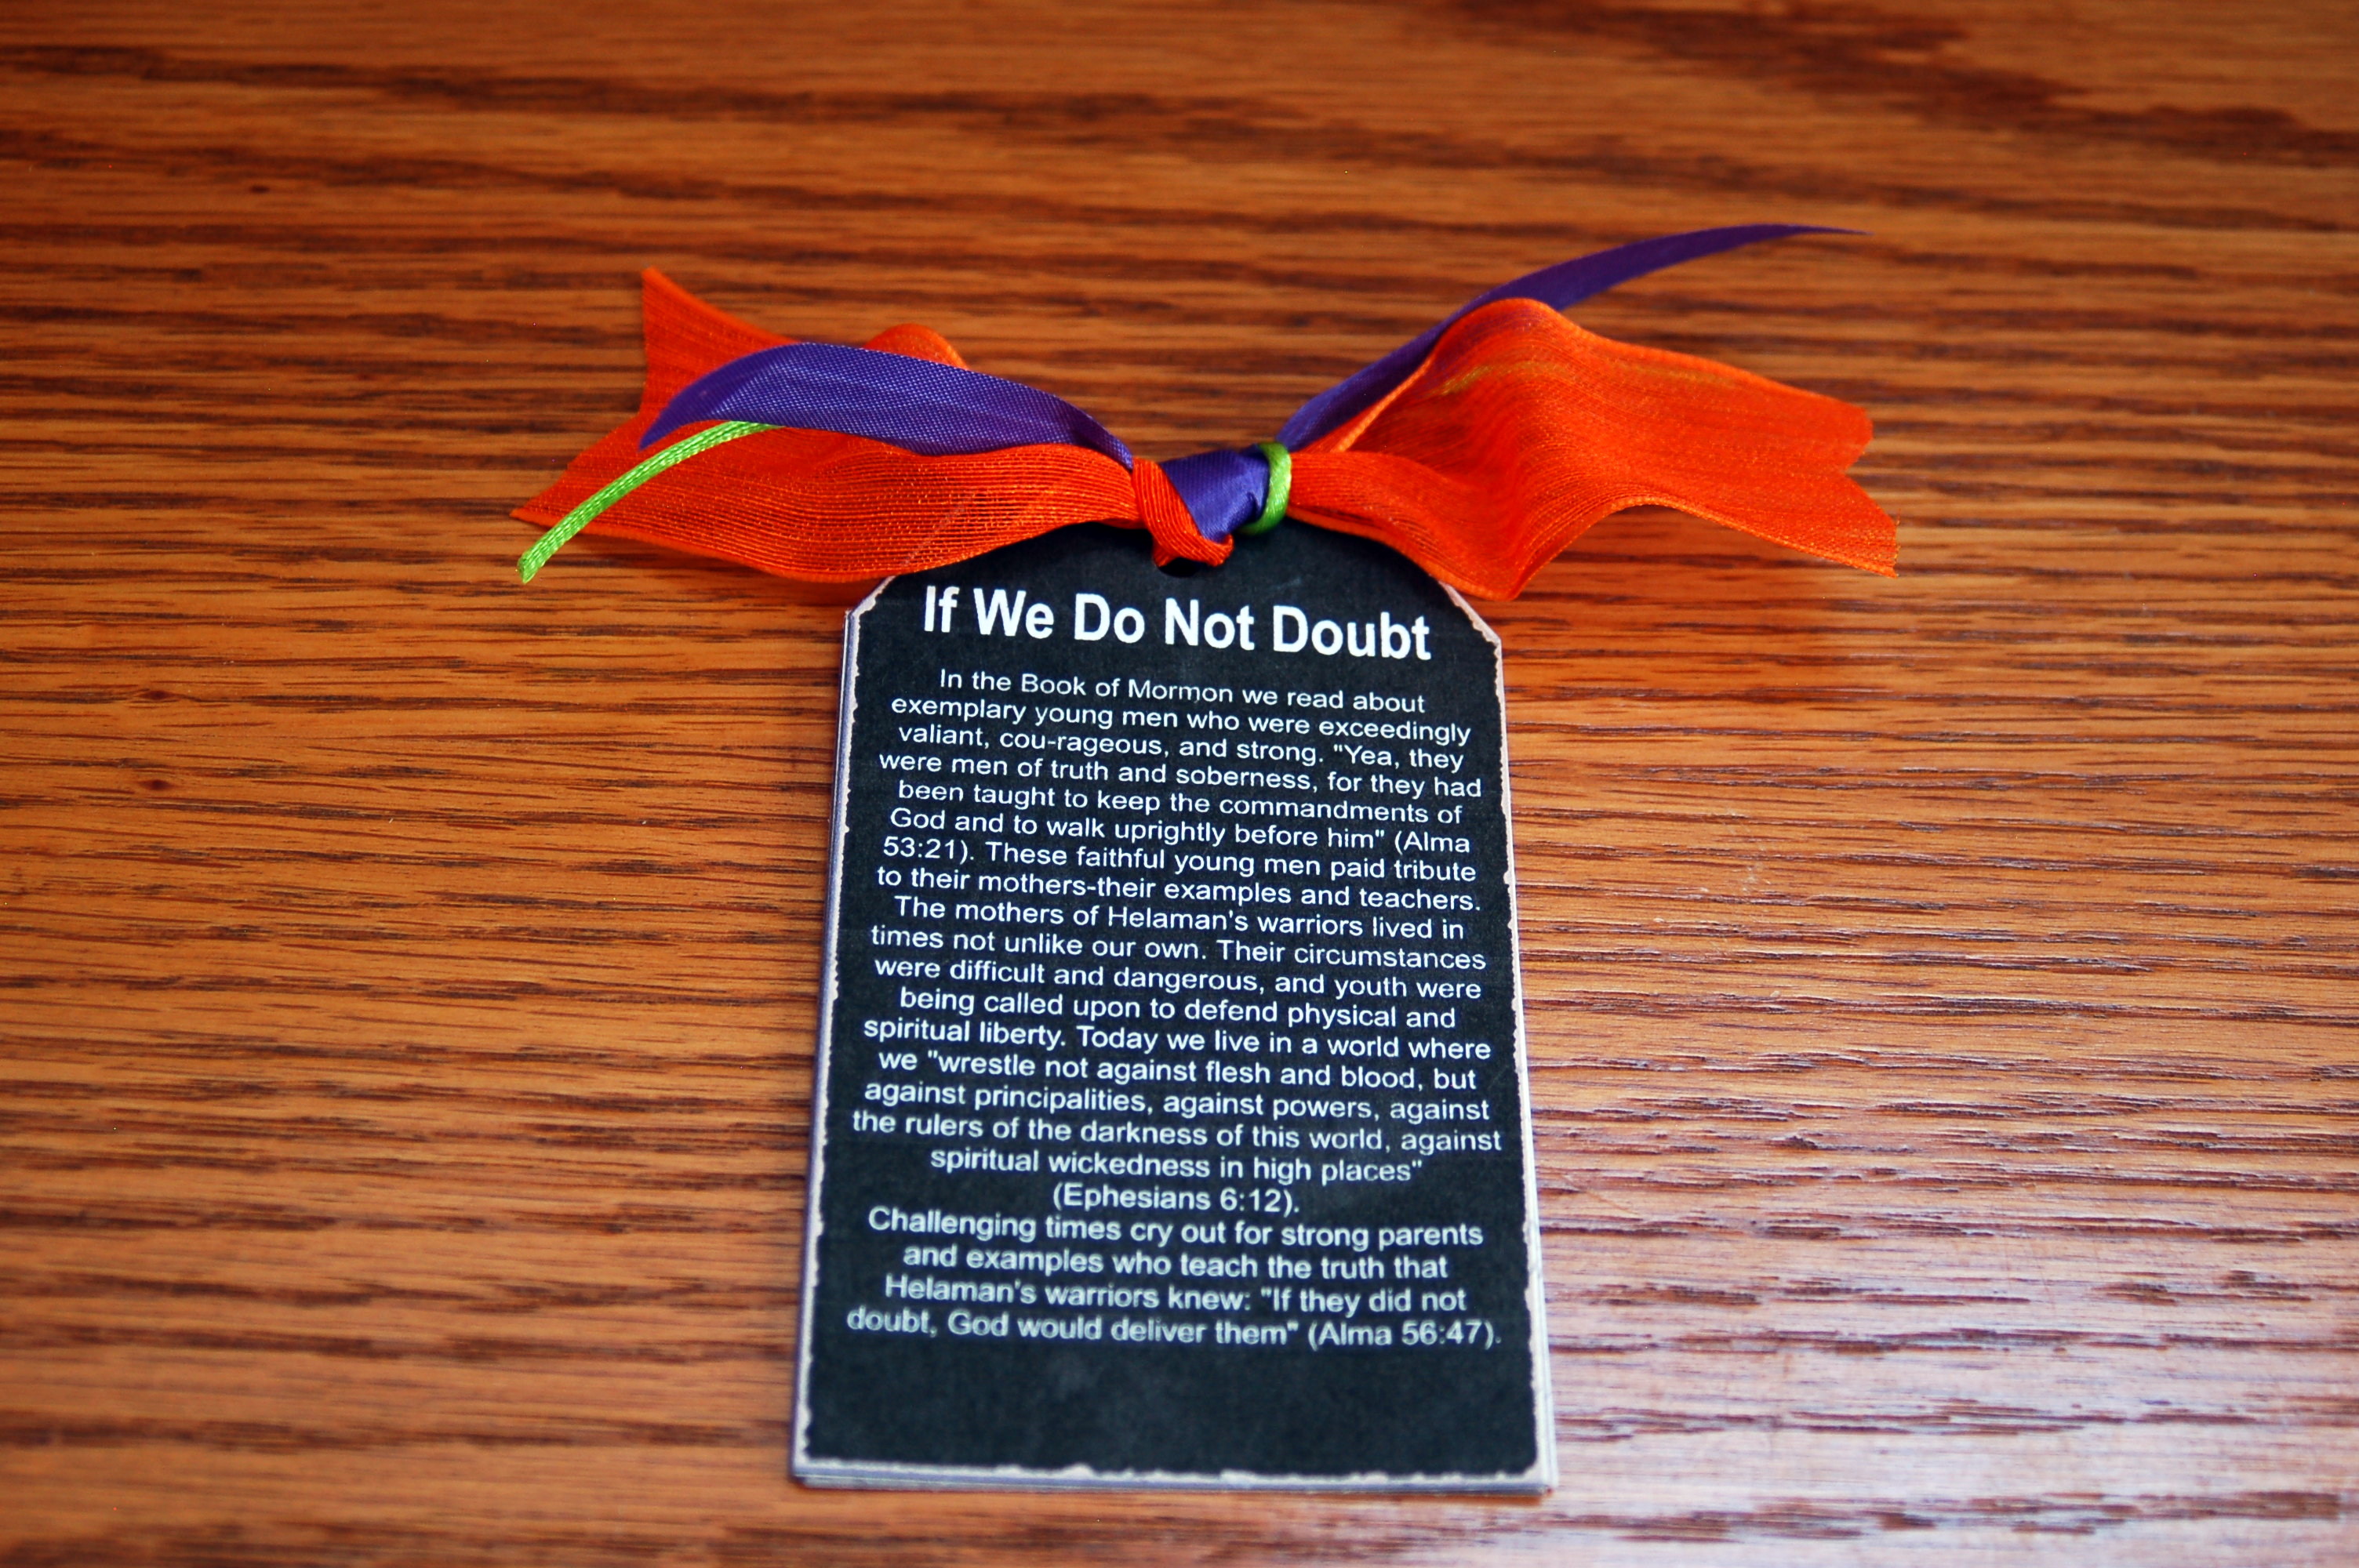
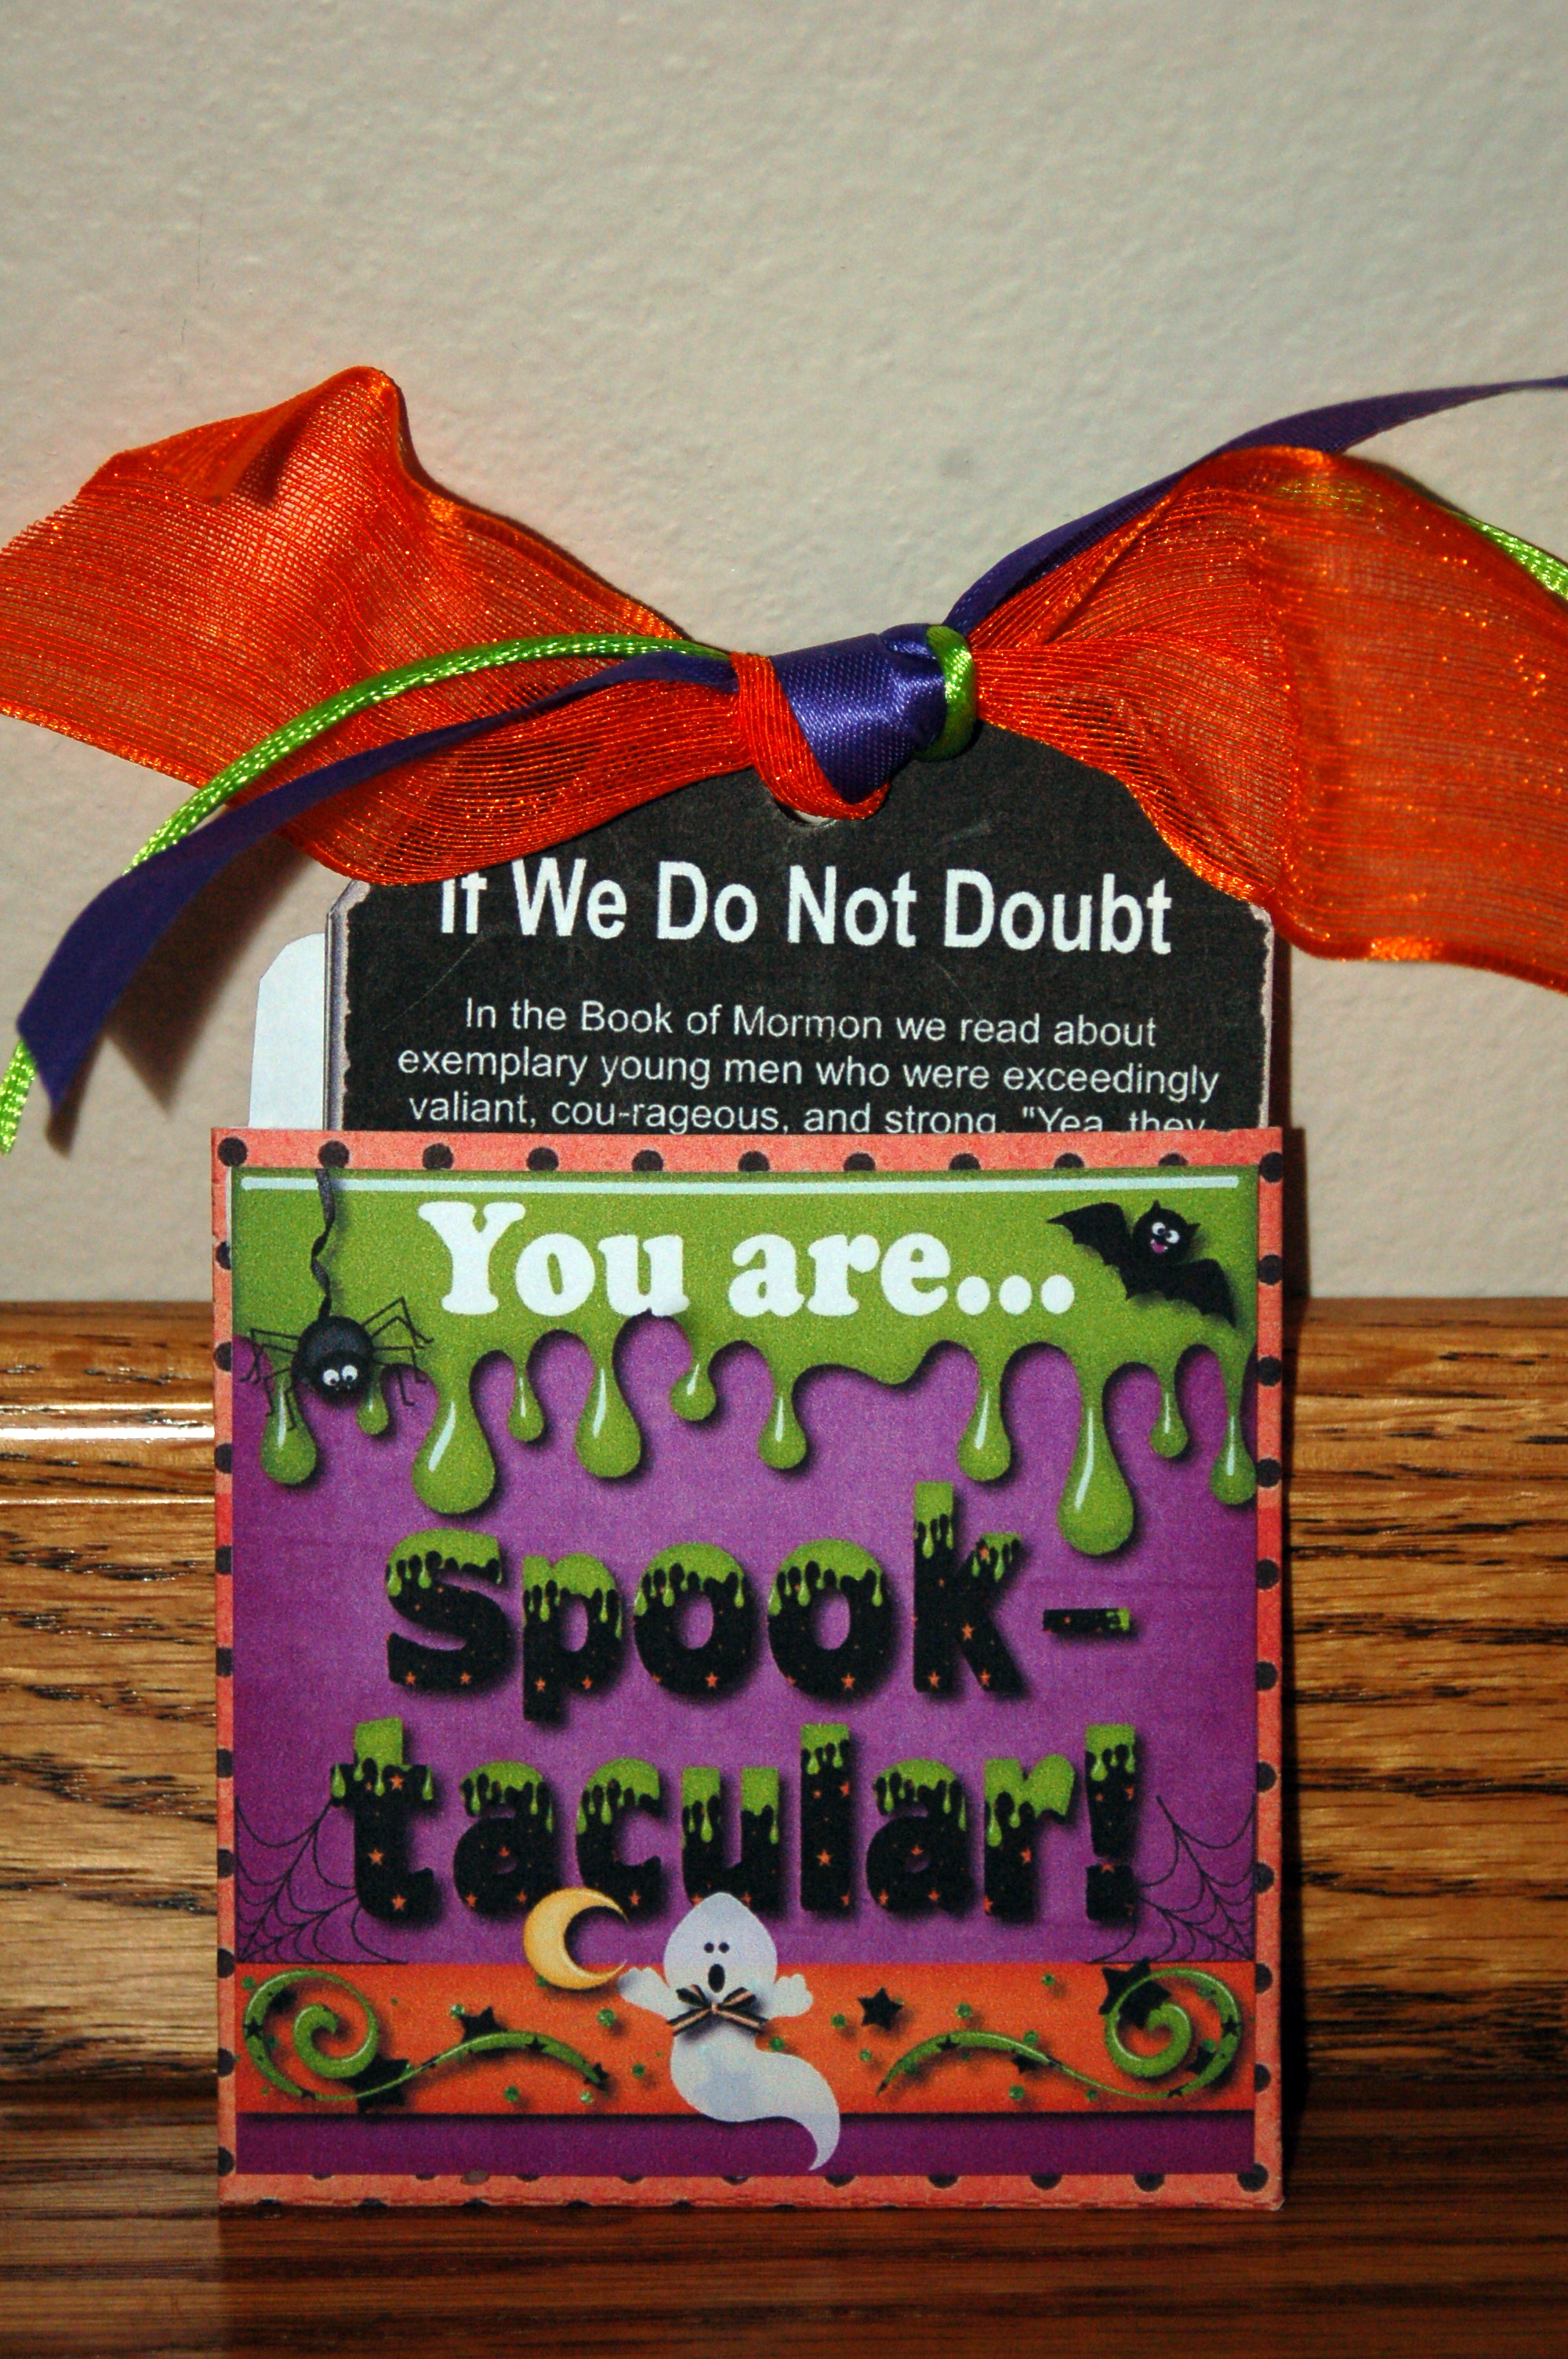
I thought that the message this month was so good, that I wanted to incorporate the whole thing into this month’s handout.  I came up with this cute library pocket holding 3 tags with the message, “If We Do Not Doubt”.  It is tradition in our house to make chocolate, carmel apples to take for a treat in Oct.  I will be doing that again this year, but I will post the how-to on the apples later!  So just imagine that this is given with an apple tied up with a cute ribbon!You need to cut out the library pocket, the 3 tags and the front panel.  Fold the library pocket and the flaps. Do not worry about the line across the front of the card, it will be covered up with the front panel.Fold the flaps to the back of the pocket.And glue or use double sided tape to hold the flaps down.Next, glue or tape the front panel on.Punch a hole in the top of the three tags and tie together with some cute ribbon.And there you have it!  Like I said, I will give this with a carmel apple, but you could also just insert a candy bar into the pocket!Here are the printables for this month.  Just right click on your mouse and either copy and paste into your favorite program, or just click print picture.  The two printable pages are in 81/2 x 11 format.

Happy Visiting!

The Little Bat Screamed Out in Fright

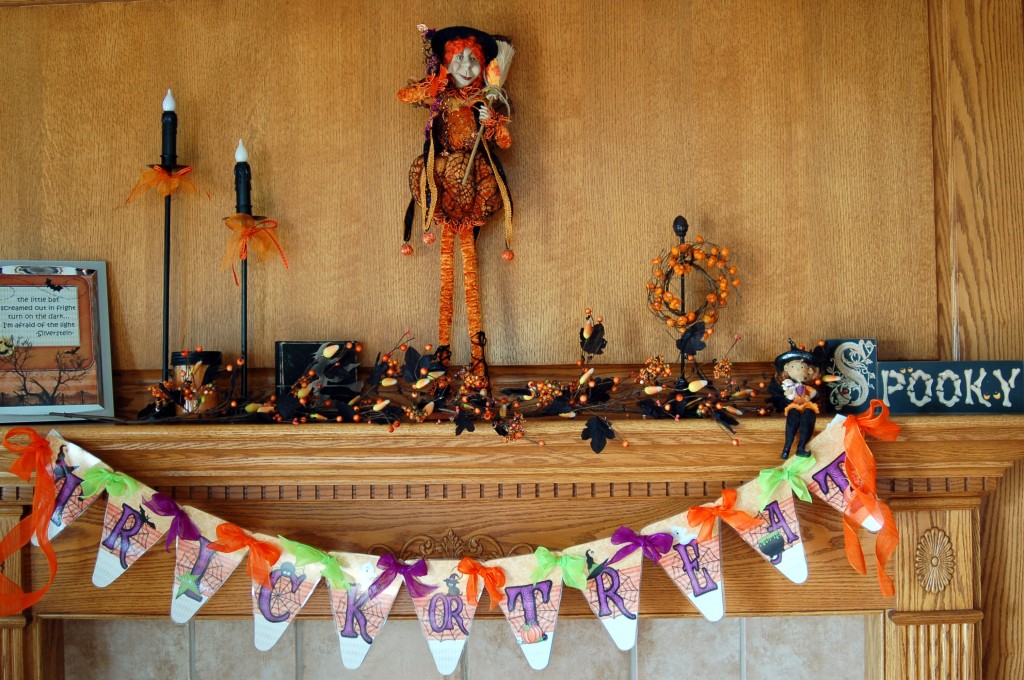
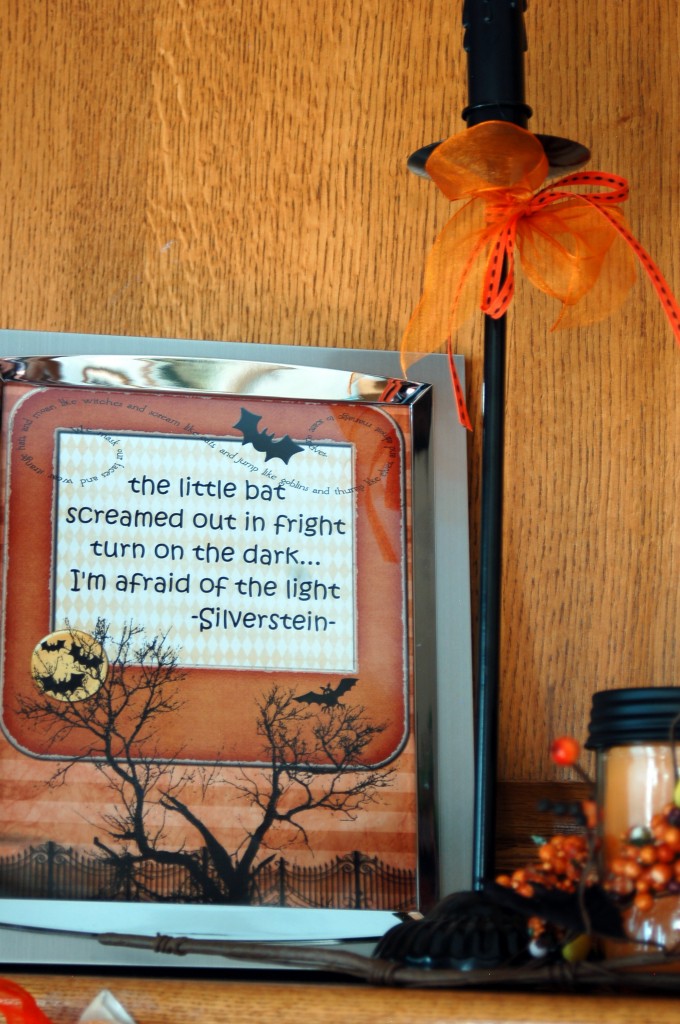
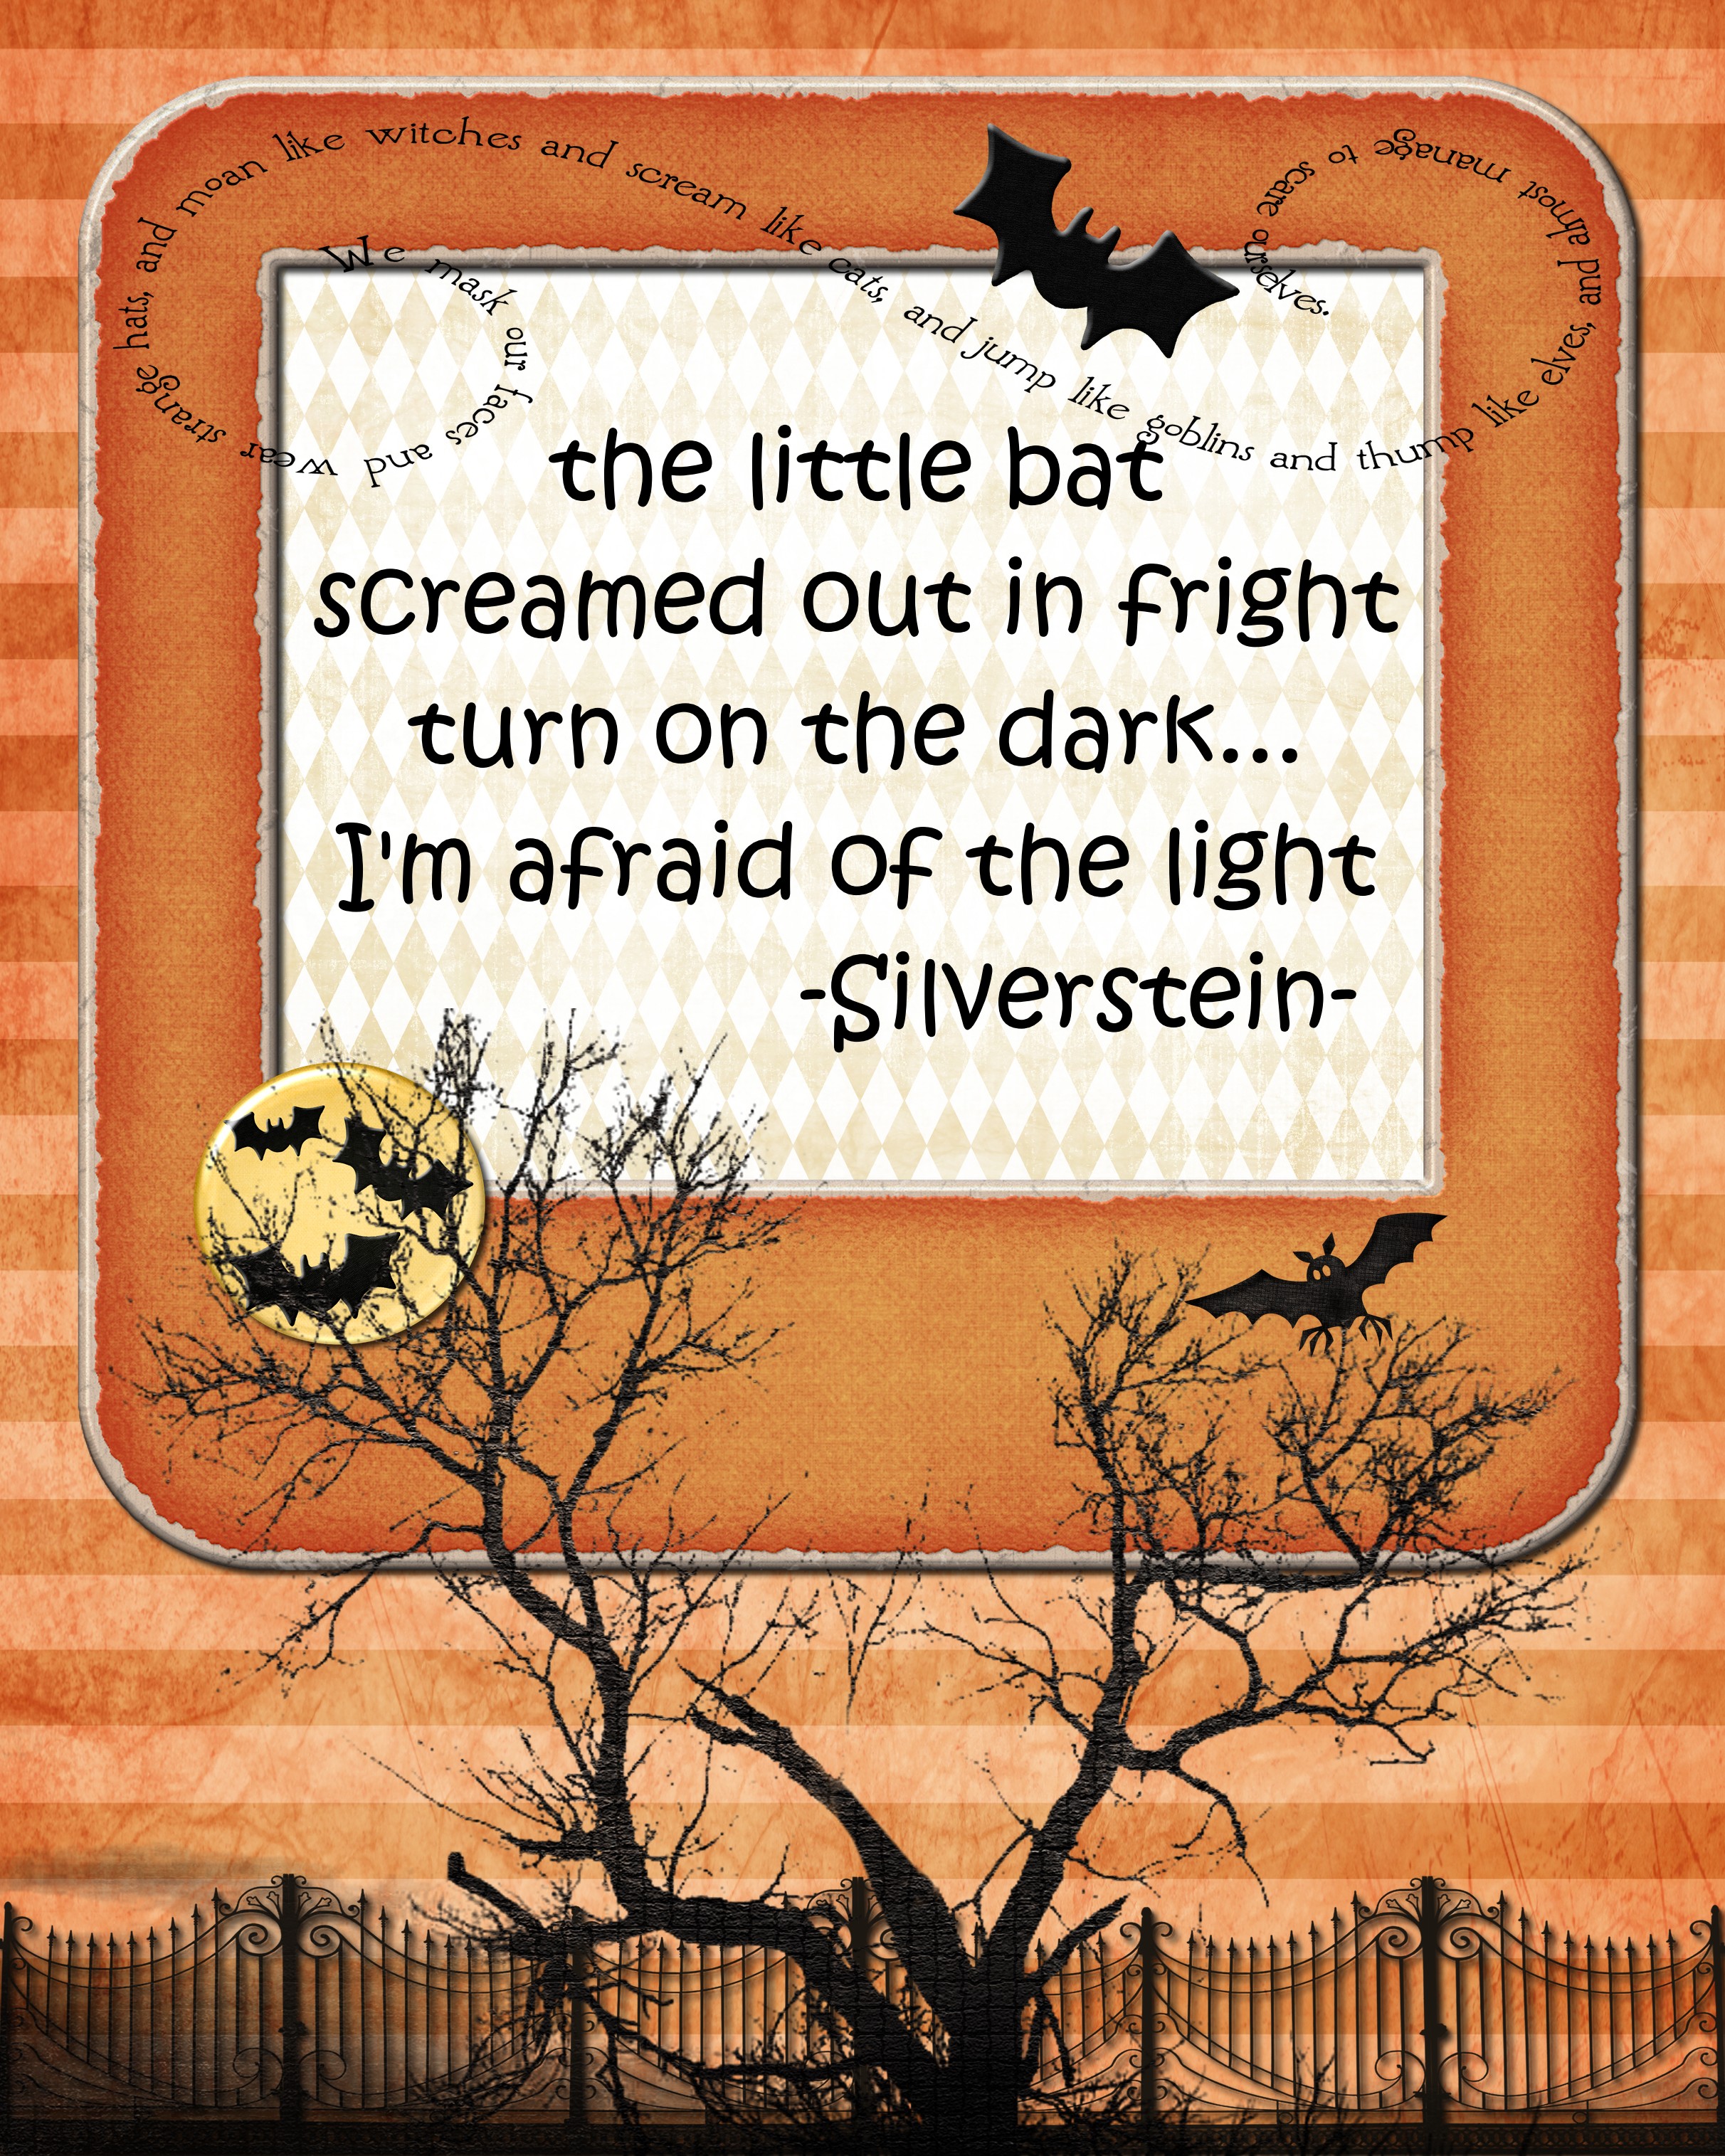
I got my fireplace mantle decorated, with the help of my super little helper!  When I picked up my granddaughter from school, I asked her what we should do today, and she said “Put out all the Halloween decorations!”  I decided that perhaps it was time and so that is what we did.  Here is the result!This is the printable that I have for you today!

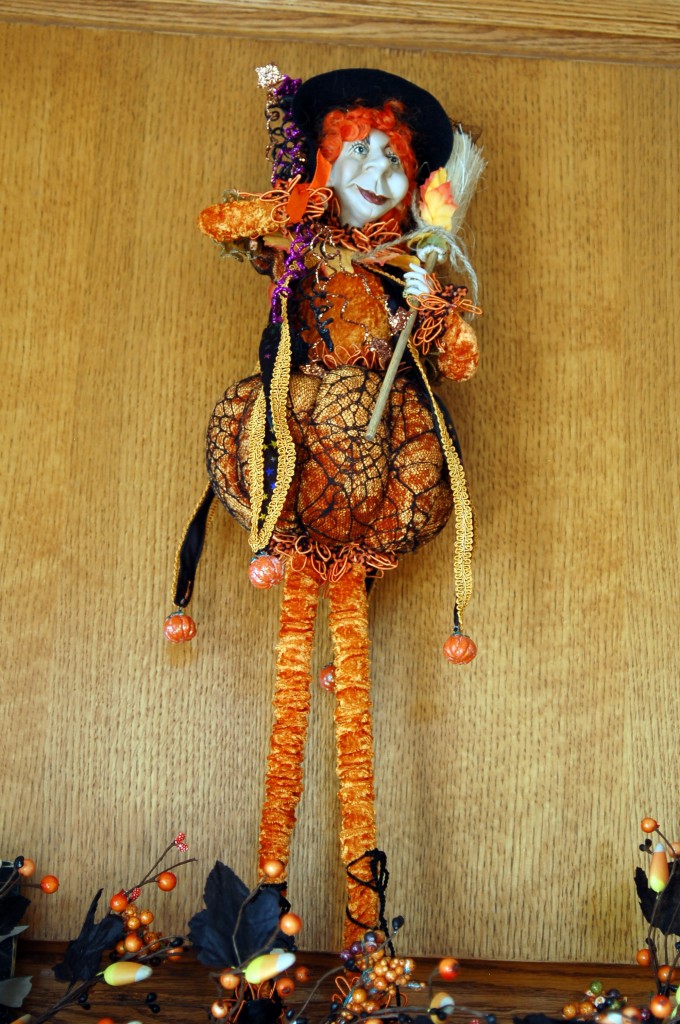
 I did it in an 8×10 format and I sent mine to Costco to print.  It cost $1.49! And it is a nice printing job!This is my little Halloween witch that I got at a little shop in Midway, Utah a couple of years ago and I just love her face and pumpkin dress!Here is the printable for you to enjoy!  As I said it is 8×10 so you can frame it if you choose.

Girl’s Night Out

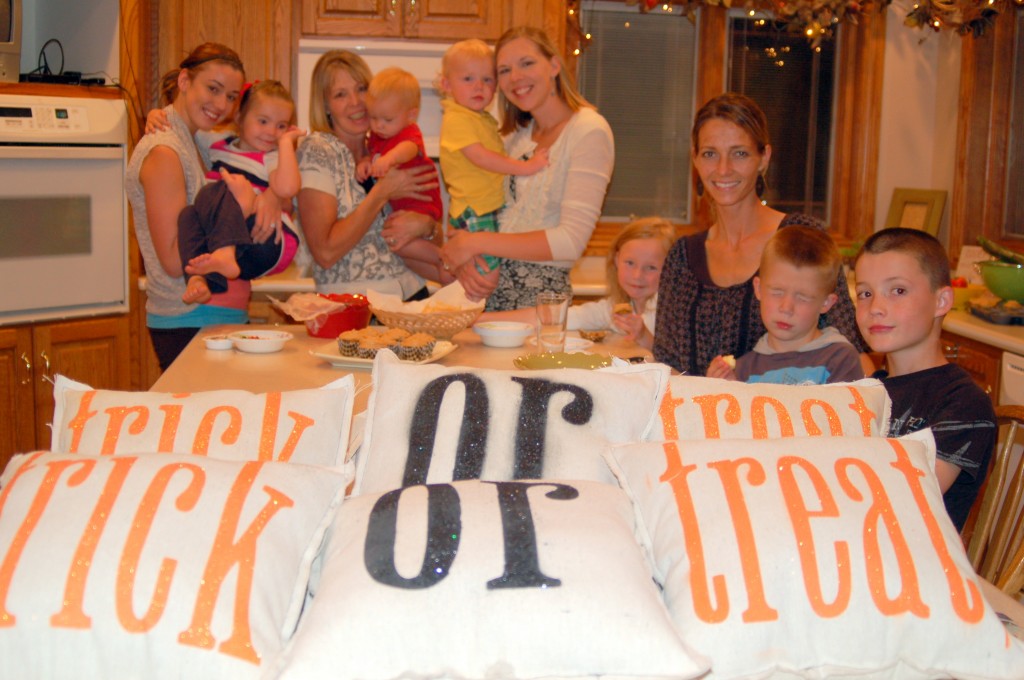
We had a fun girl’s night out last week.  My husband was gone, so when the cat’s away the mice will play, and play we did!  We hired a baby sitter for all the kids and they had a great time playing downstairs while we were upstairs.  We let them come up for the food after we were all done.  (Nice, I know!)  What a fun group!   And most of  the time the cousins are all great friends.

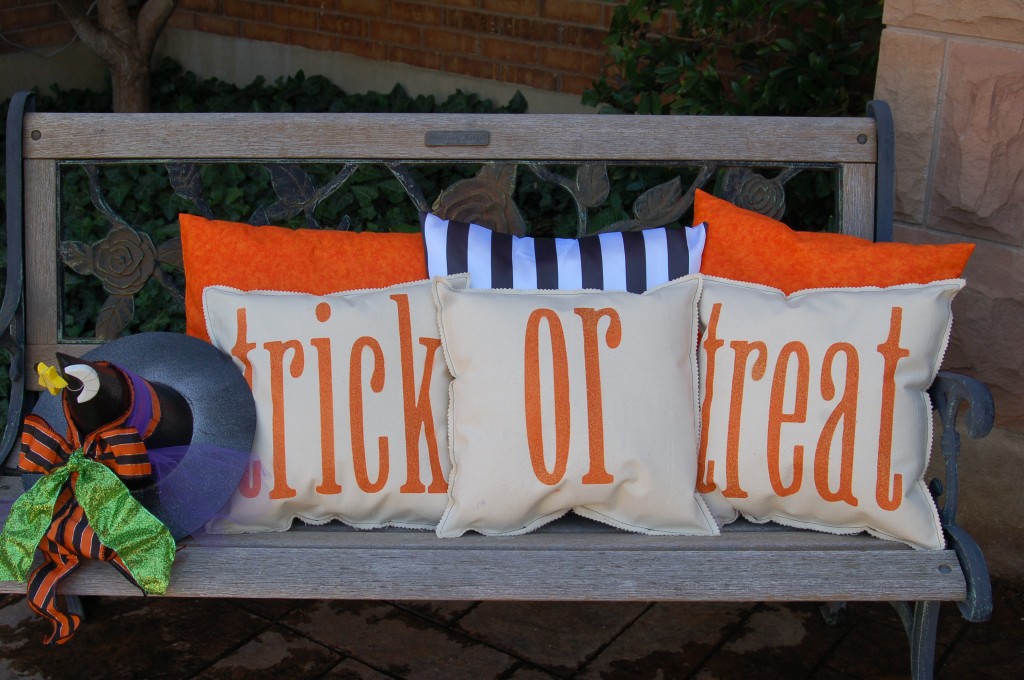
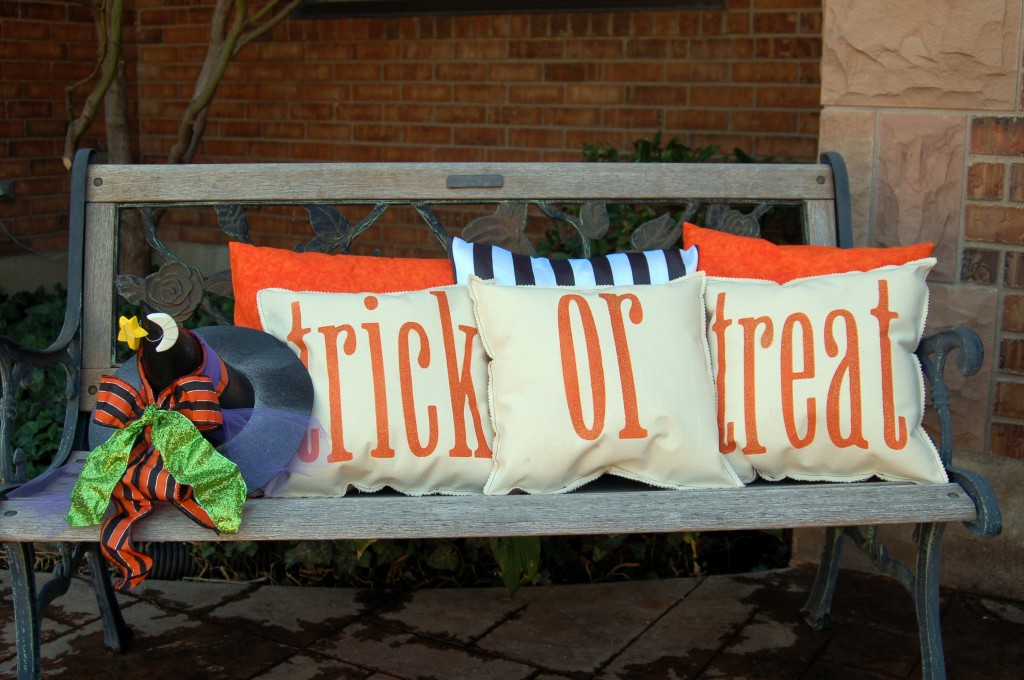
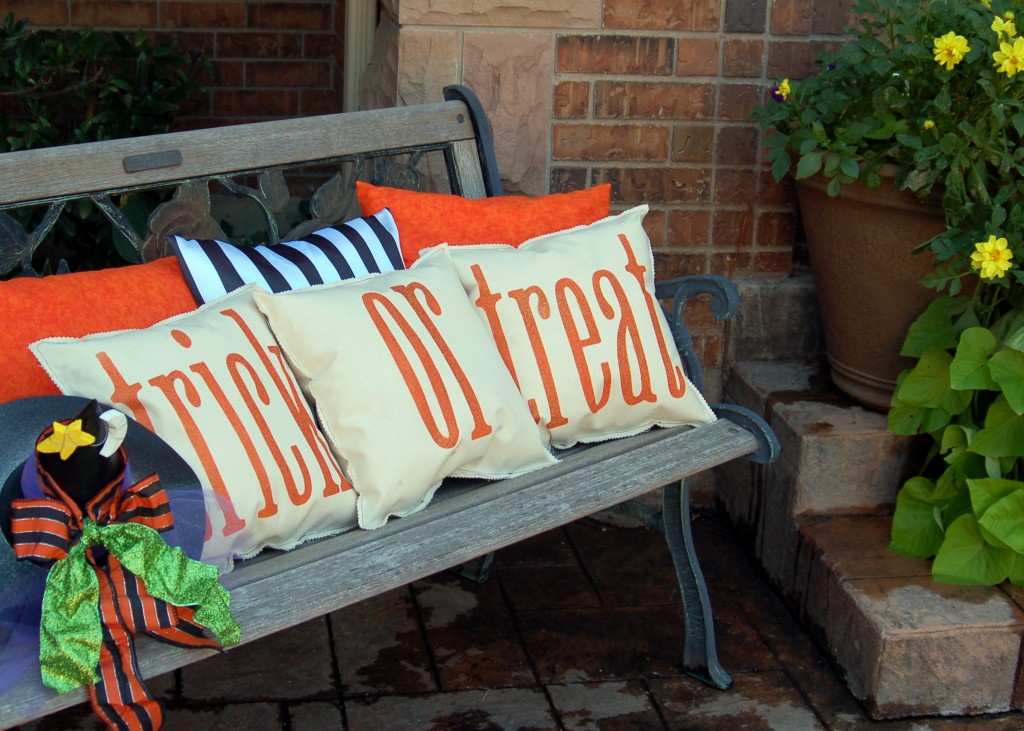
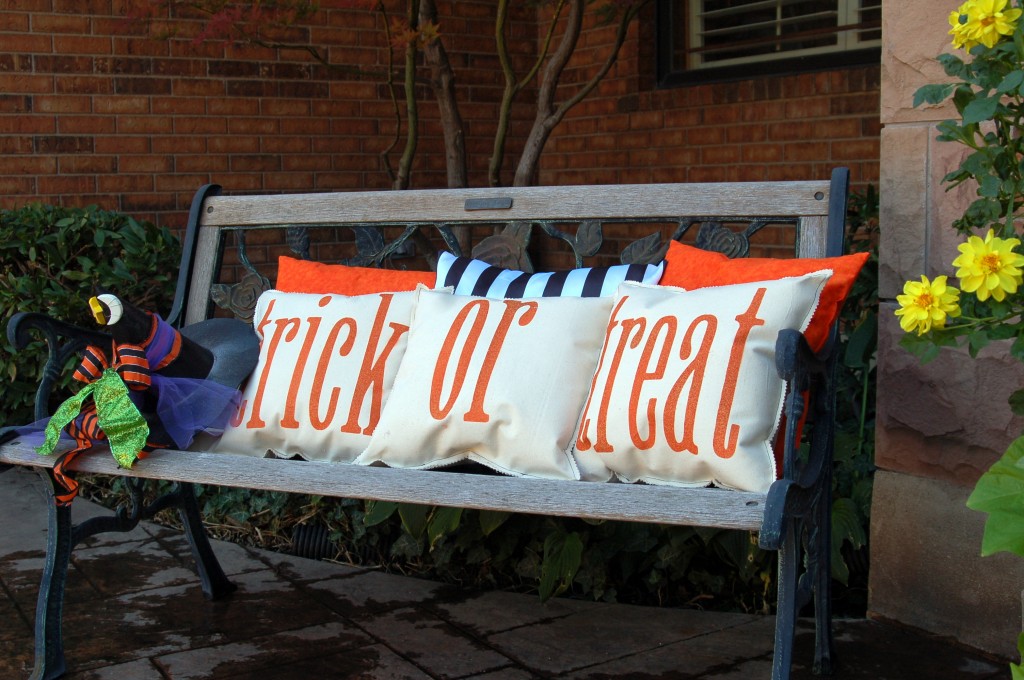
We made these pillow and I totally copied the idea from a pinterest blog.  I even made the pillows in the back like on their display. She has done a great tutorial on how to make them here so I am not going to do another one.  I will tell you what we did different, as you can see, some of them did the “or” in black paint and just used fine glitter which worked ok, but the glitter had to be sprayed with varnish to help keep the glitter from coming off.  She suggests that you go to Walmart and buy the painter canvas, which I did, but it is not a very high quality and it frays really bad, even after using pinking shears.  So I would suggest that you buy a regular piece of canvas from a fabric store.  The next thing we did different was that we found out the glitter paint did not go very far, so we painted the orange with regular spray paint and then added a glitter finish to the top.  It worked great that way!  But all in all it was fun to see how everyone’s turned out and we had a fun evening together without kids (kind of!) Here’s what mine look like!I don’t know if I can leave them outside or not, I will have to spray scotch gaurd on them if I do so the weather won’t ruin them.!I think they turned out pretty darn cute.

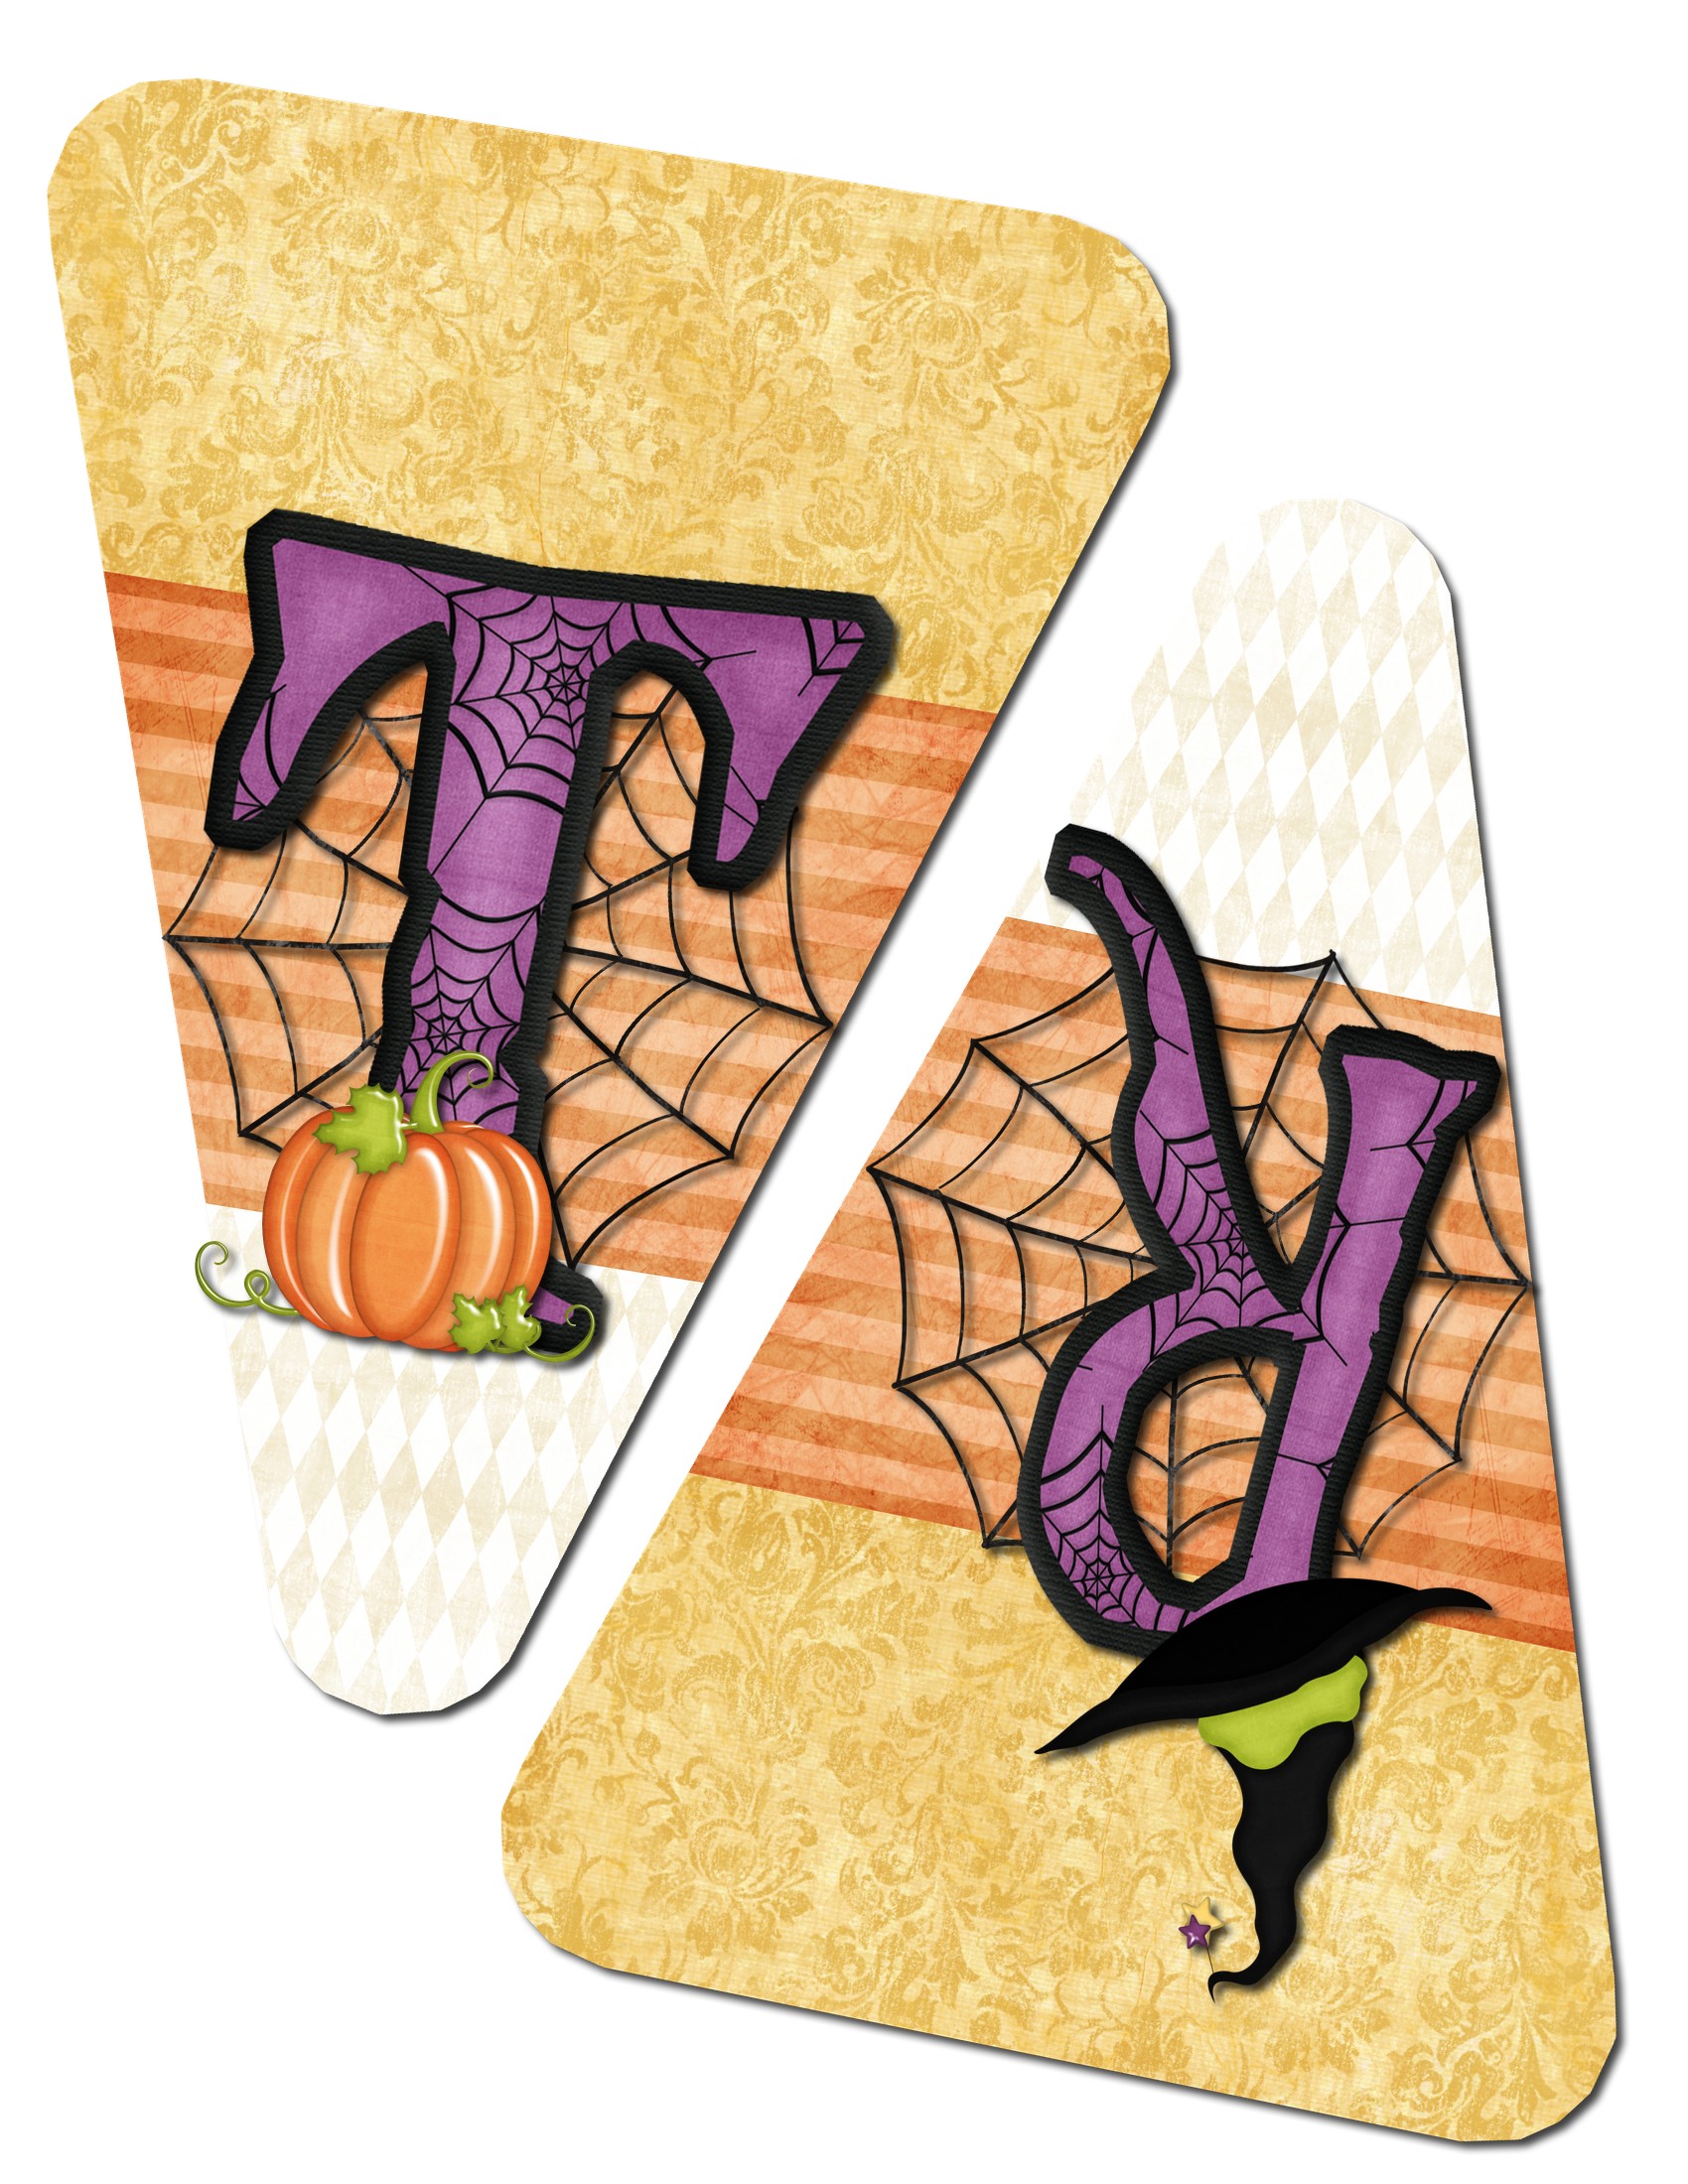
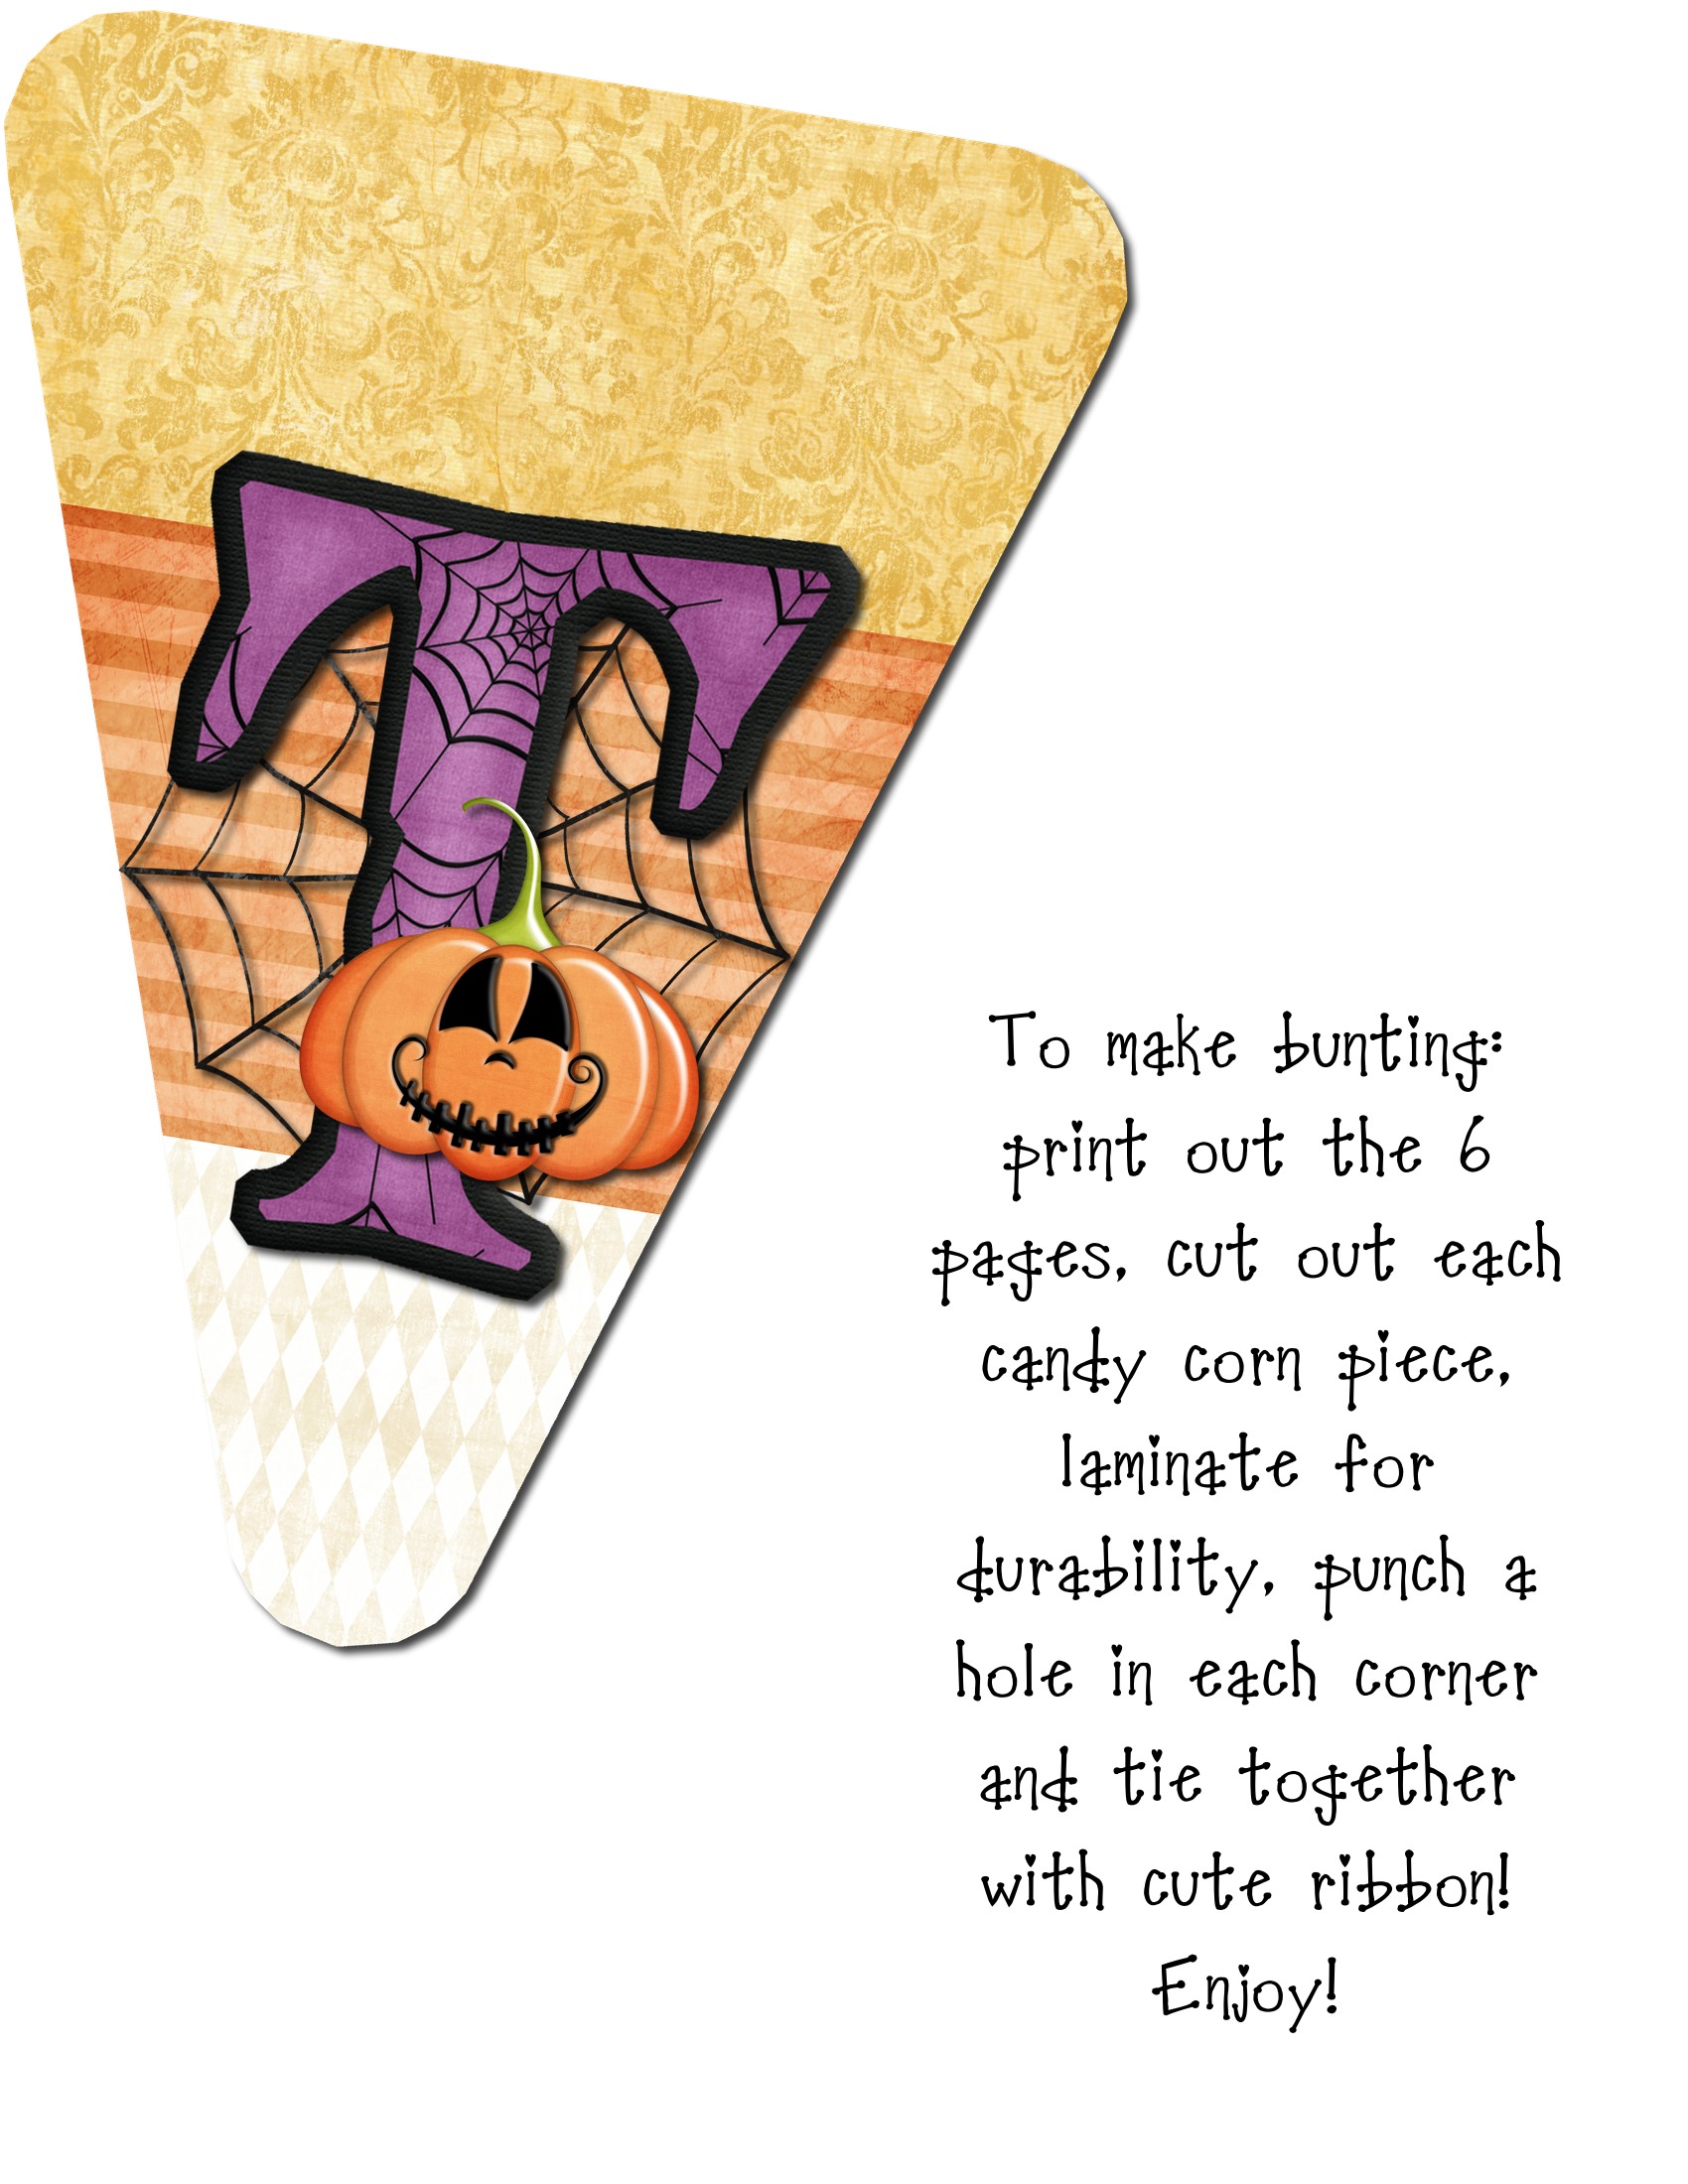
Halloween Bunting!

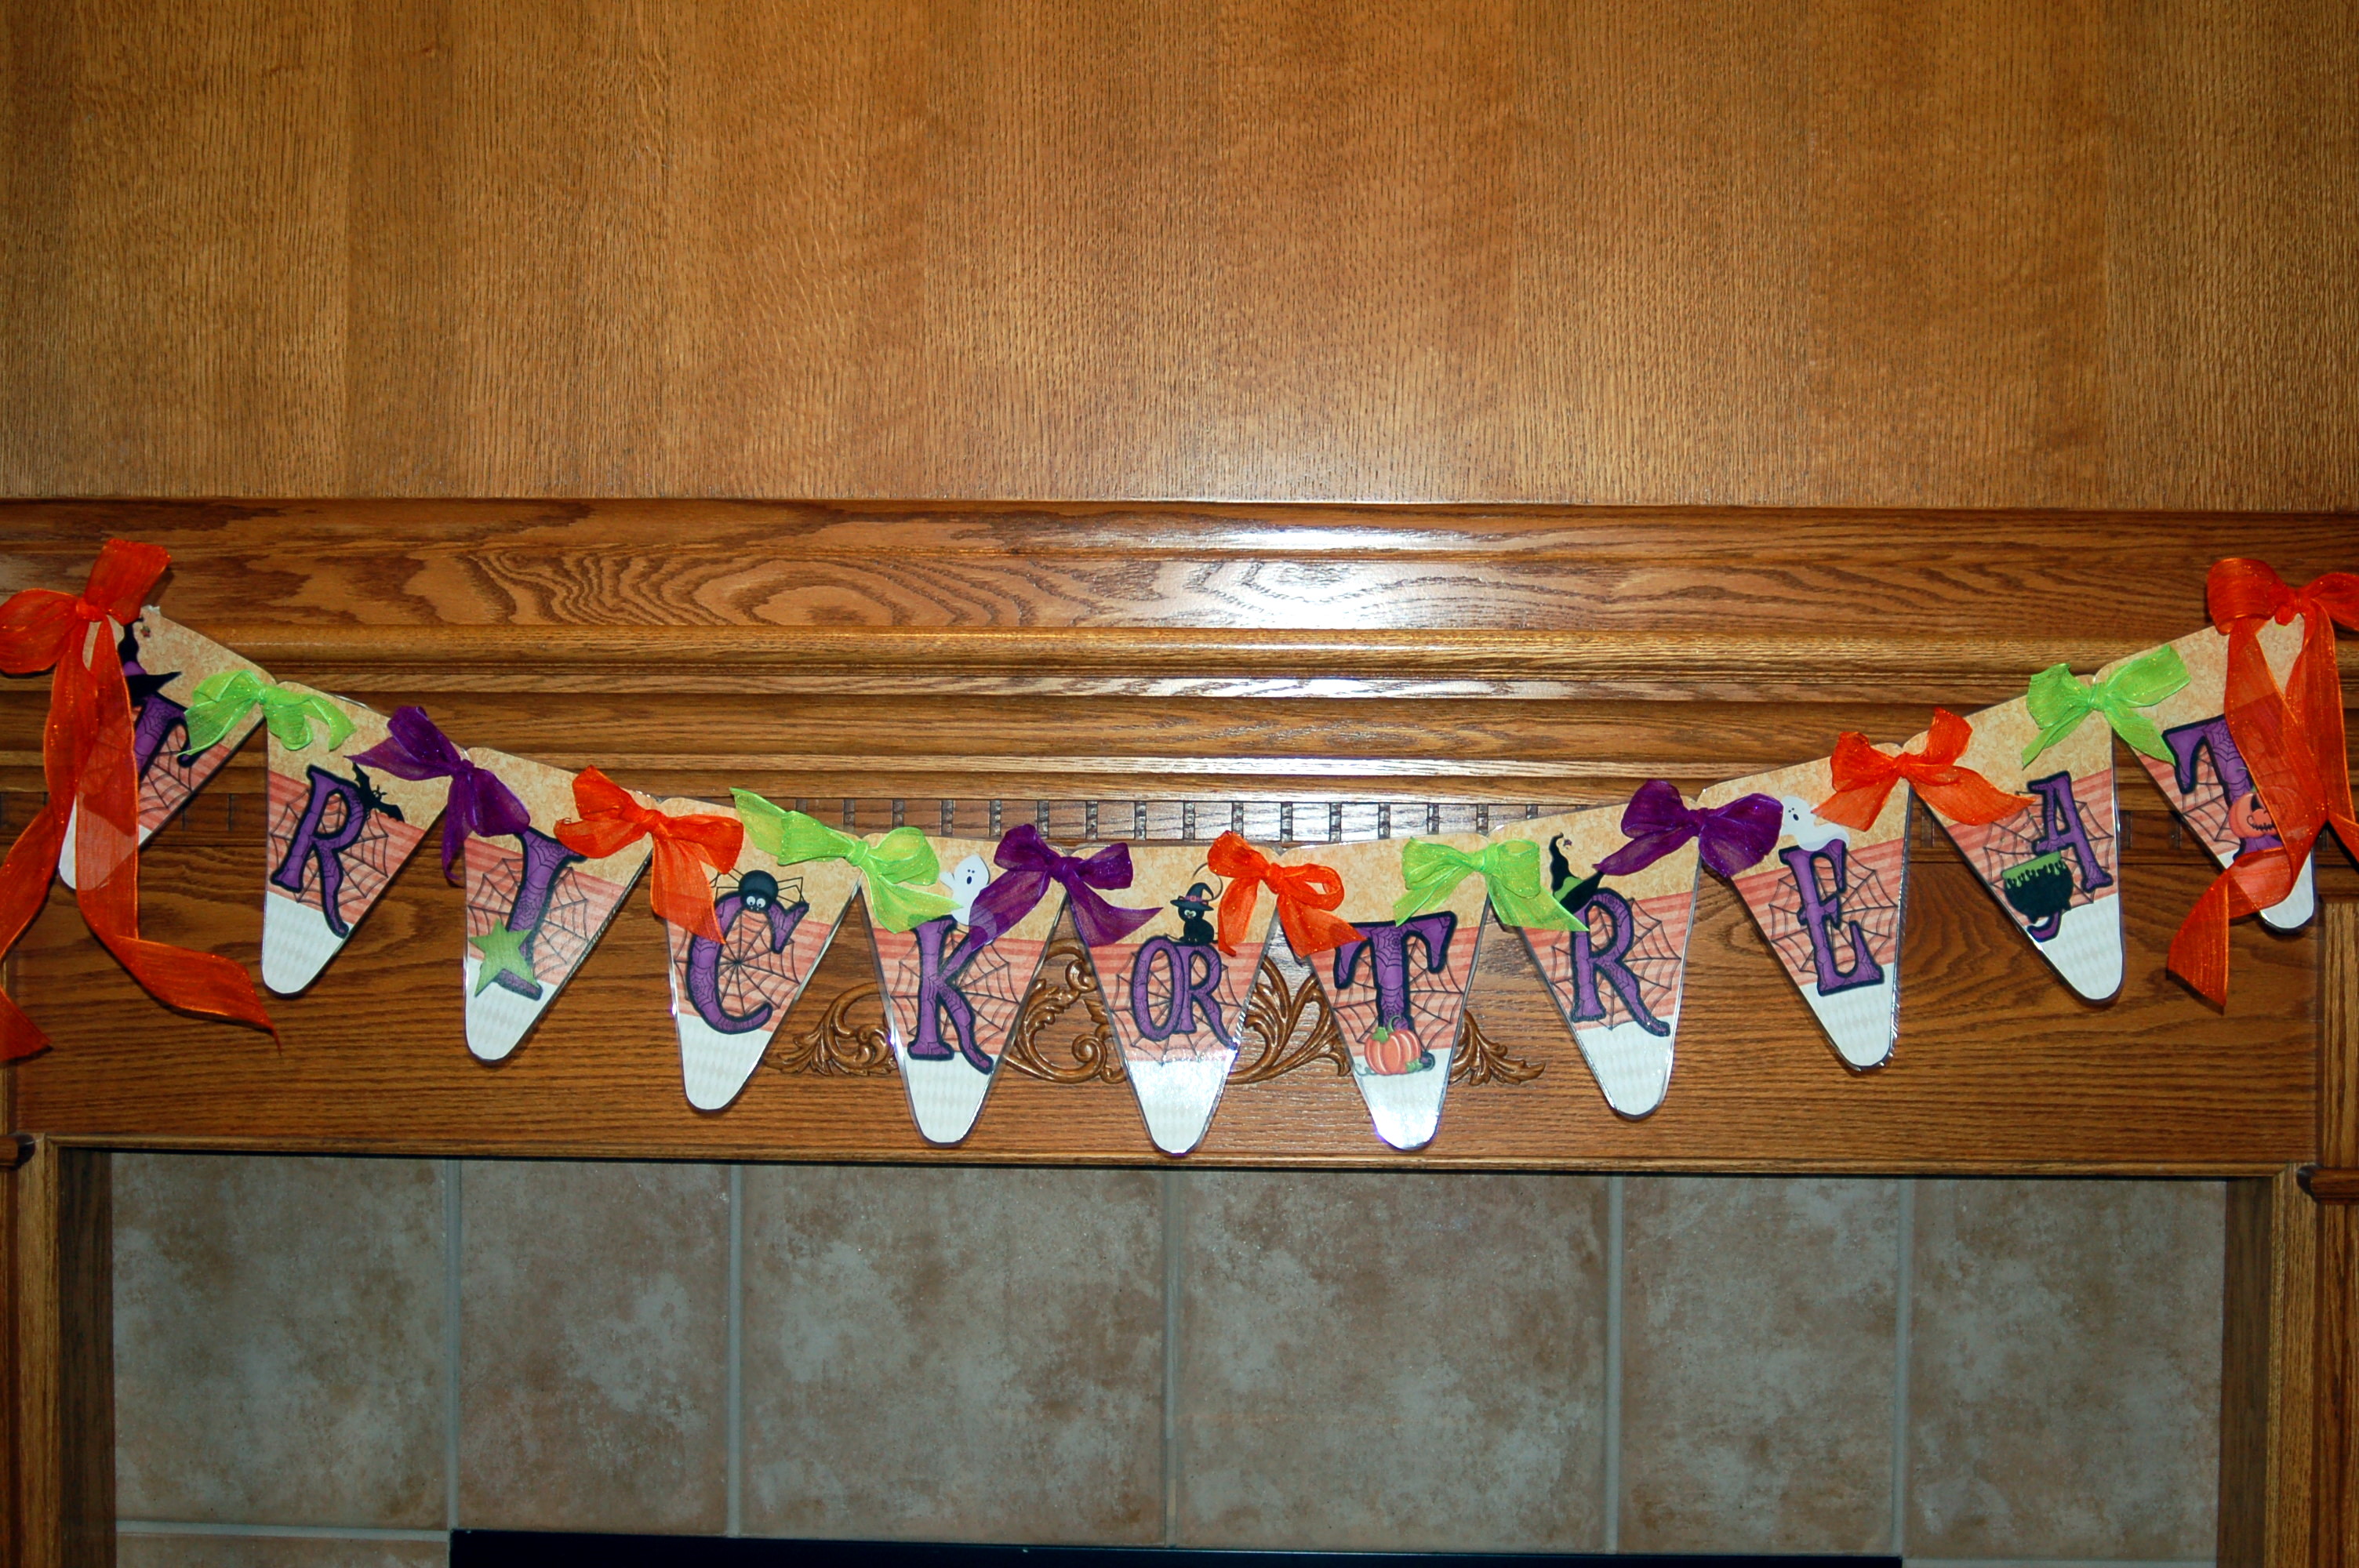
Here is a fun trick or treat bunting printable just in time to get you ready for Halloween!  Excuse my empty fireplace mantle, I took down what was on it, because it did not match and I have not yet put up my Halloween decorations. (I have been given strict orders by one of my granddaughters that I have to wait until she can help me… and she is only 5 years old!)  :)
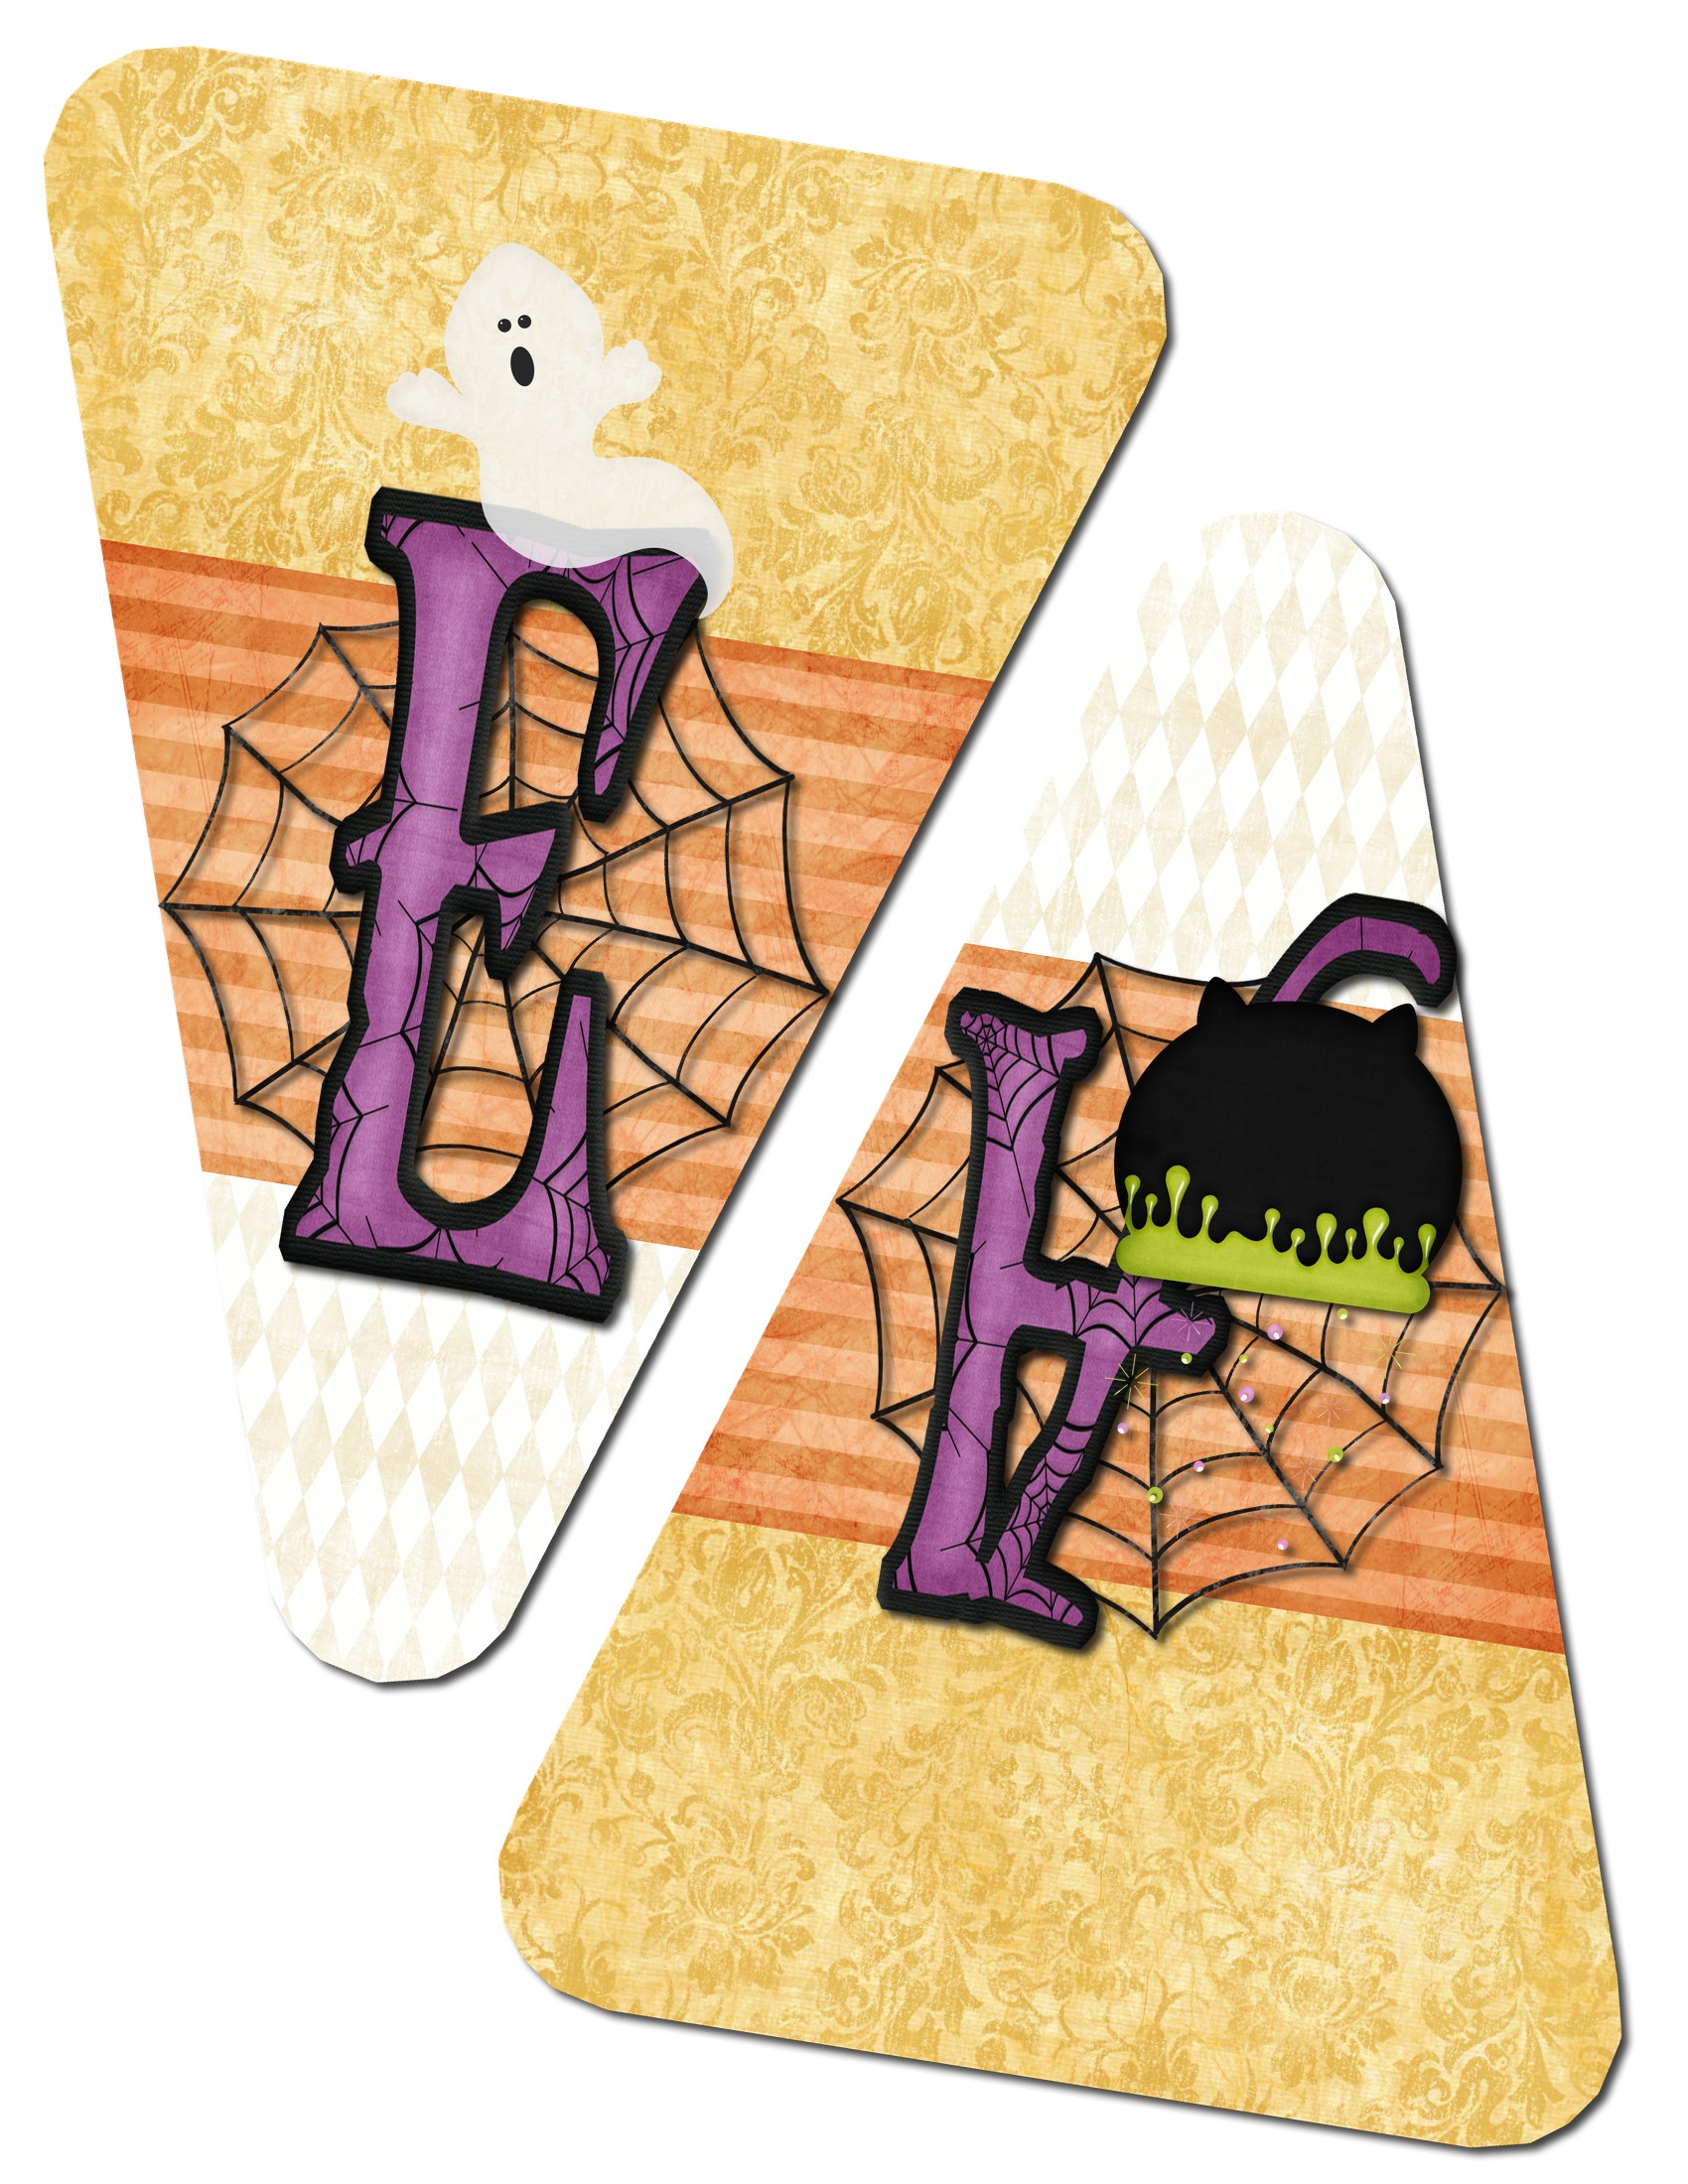
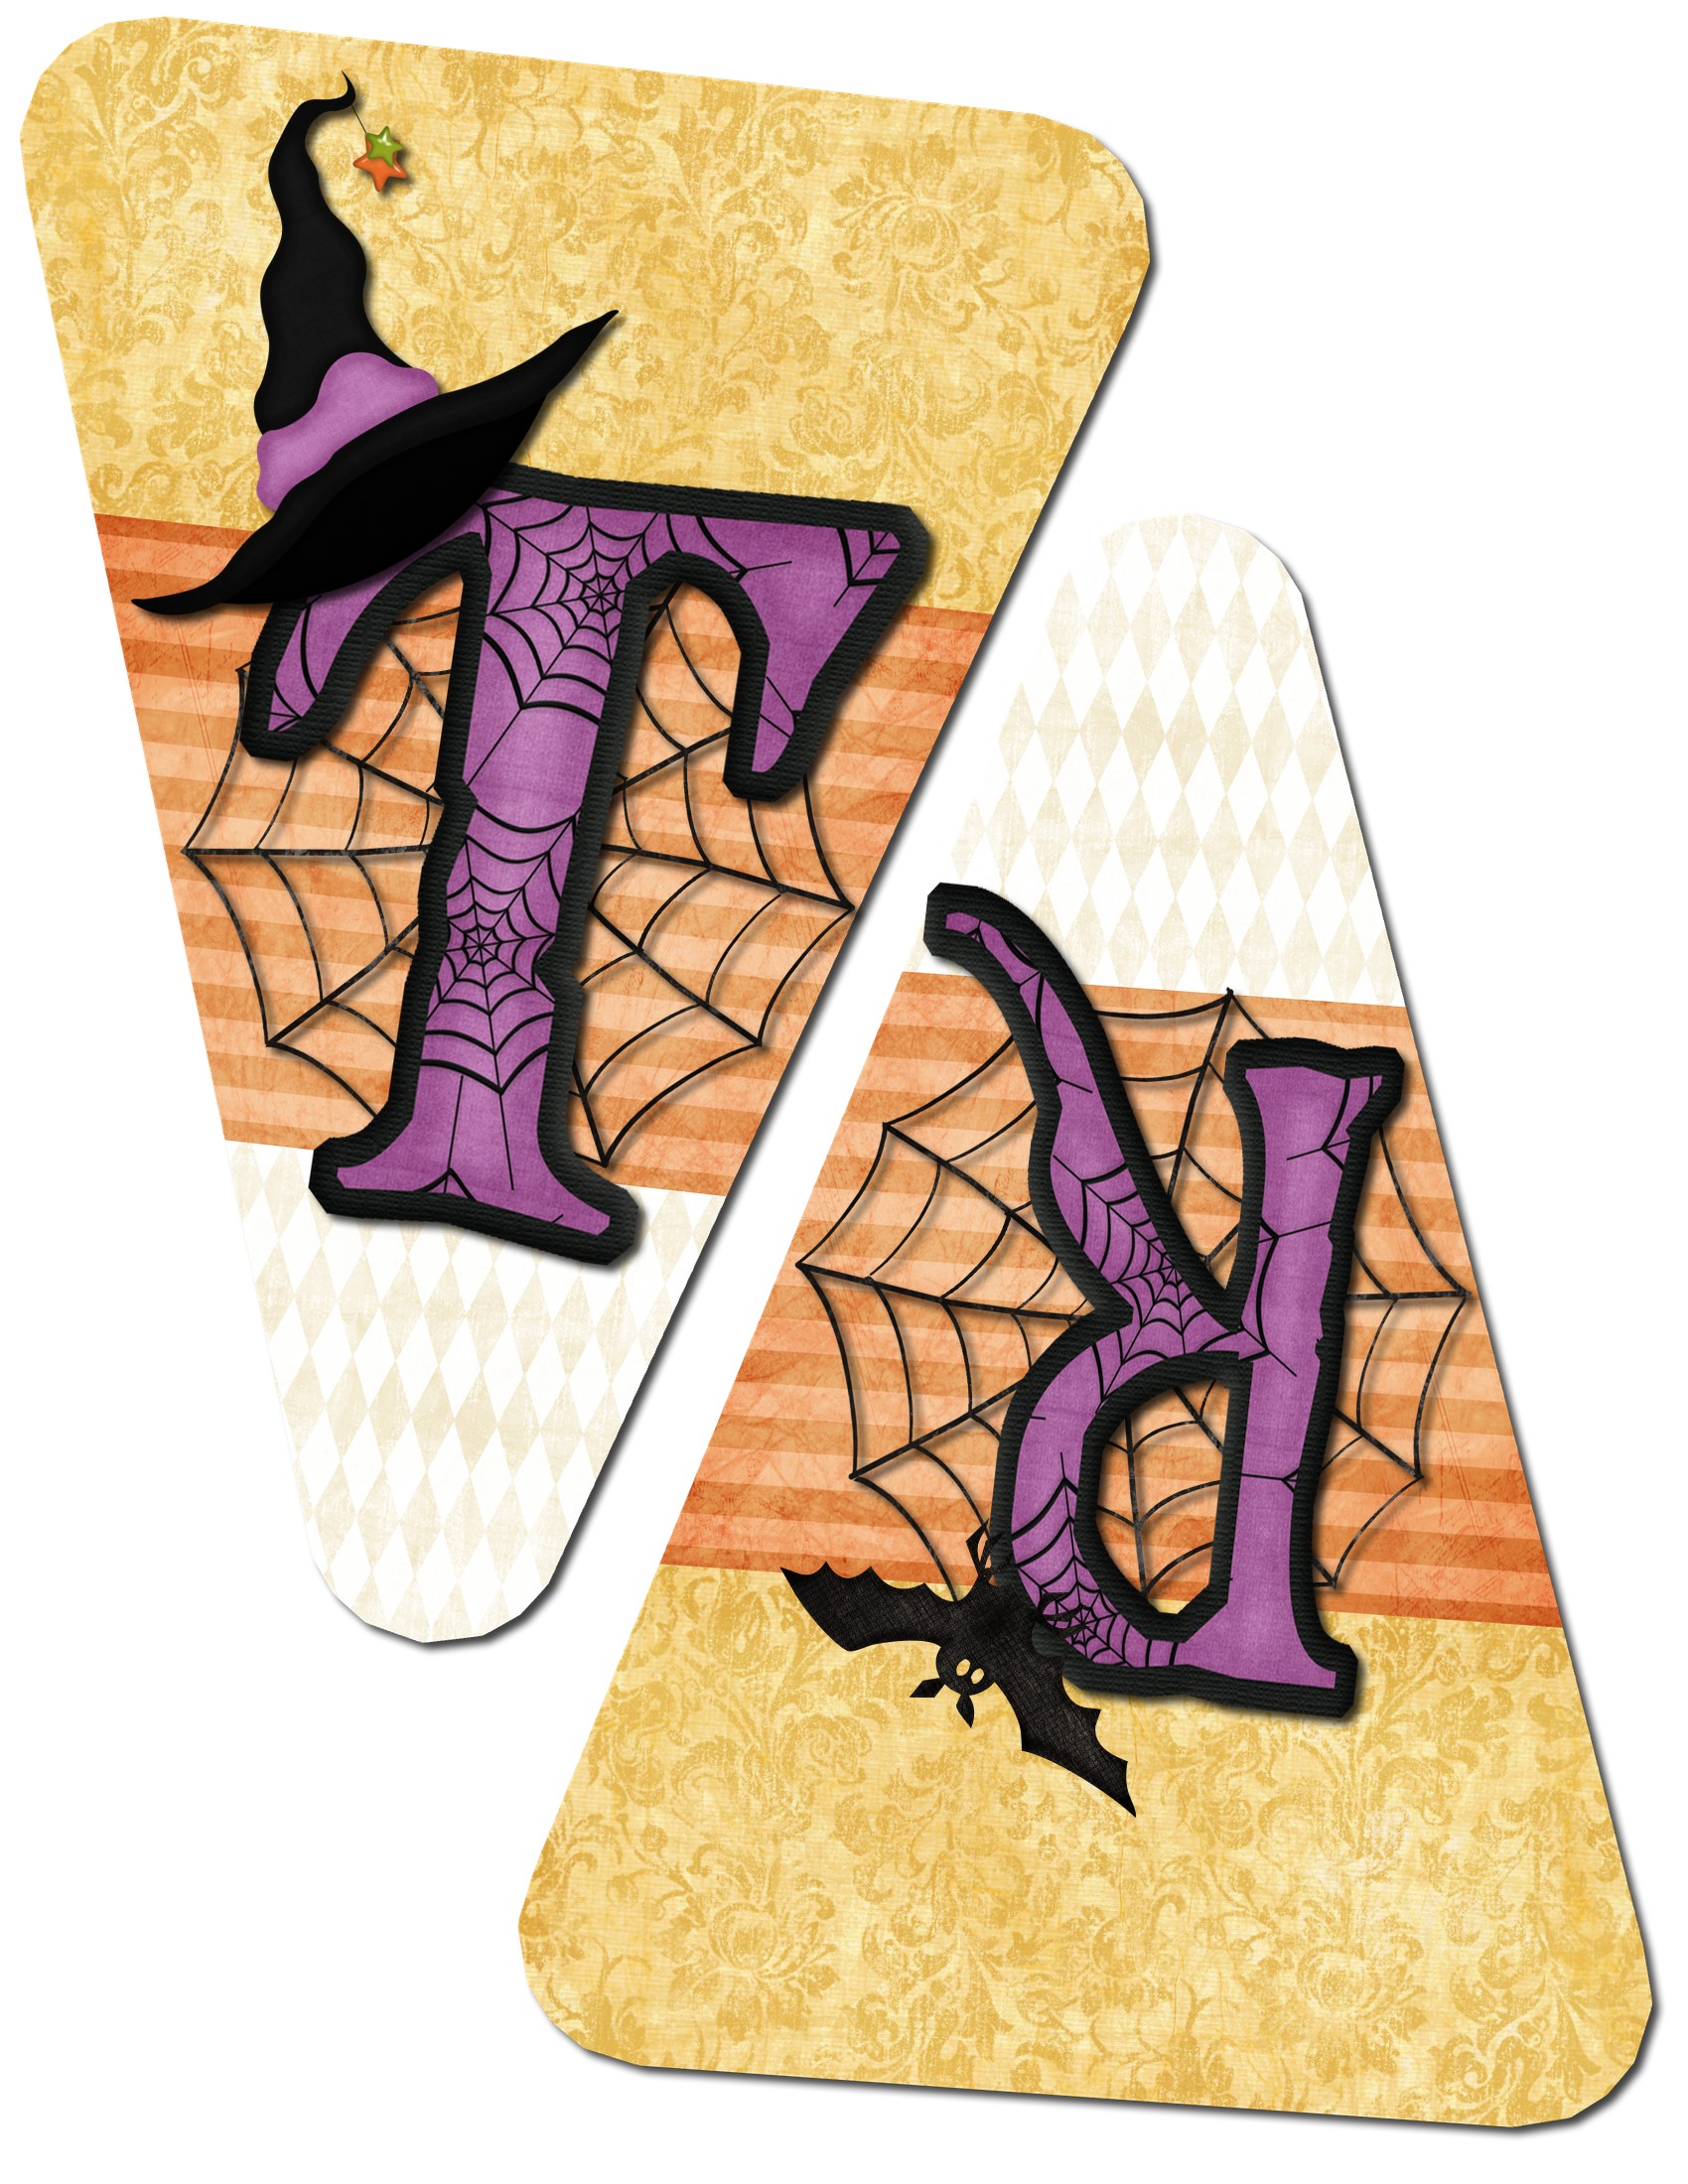
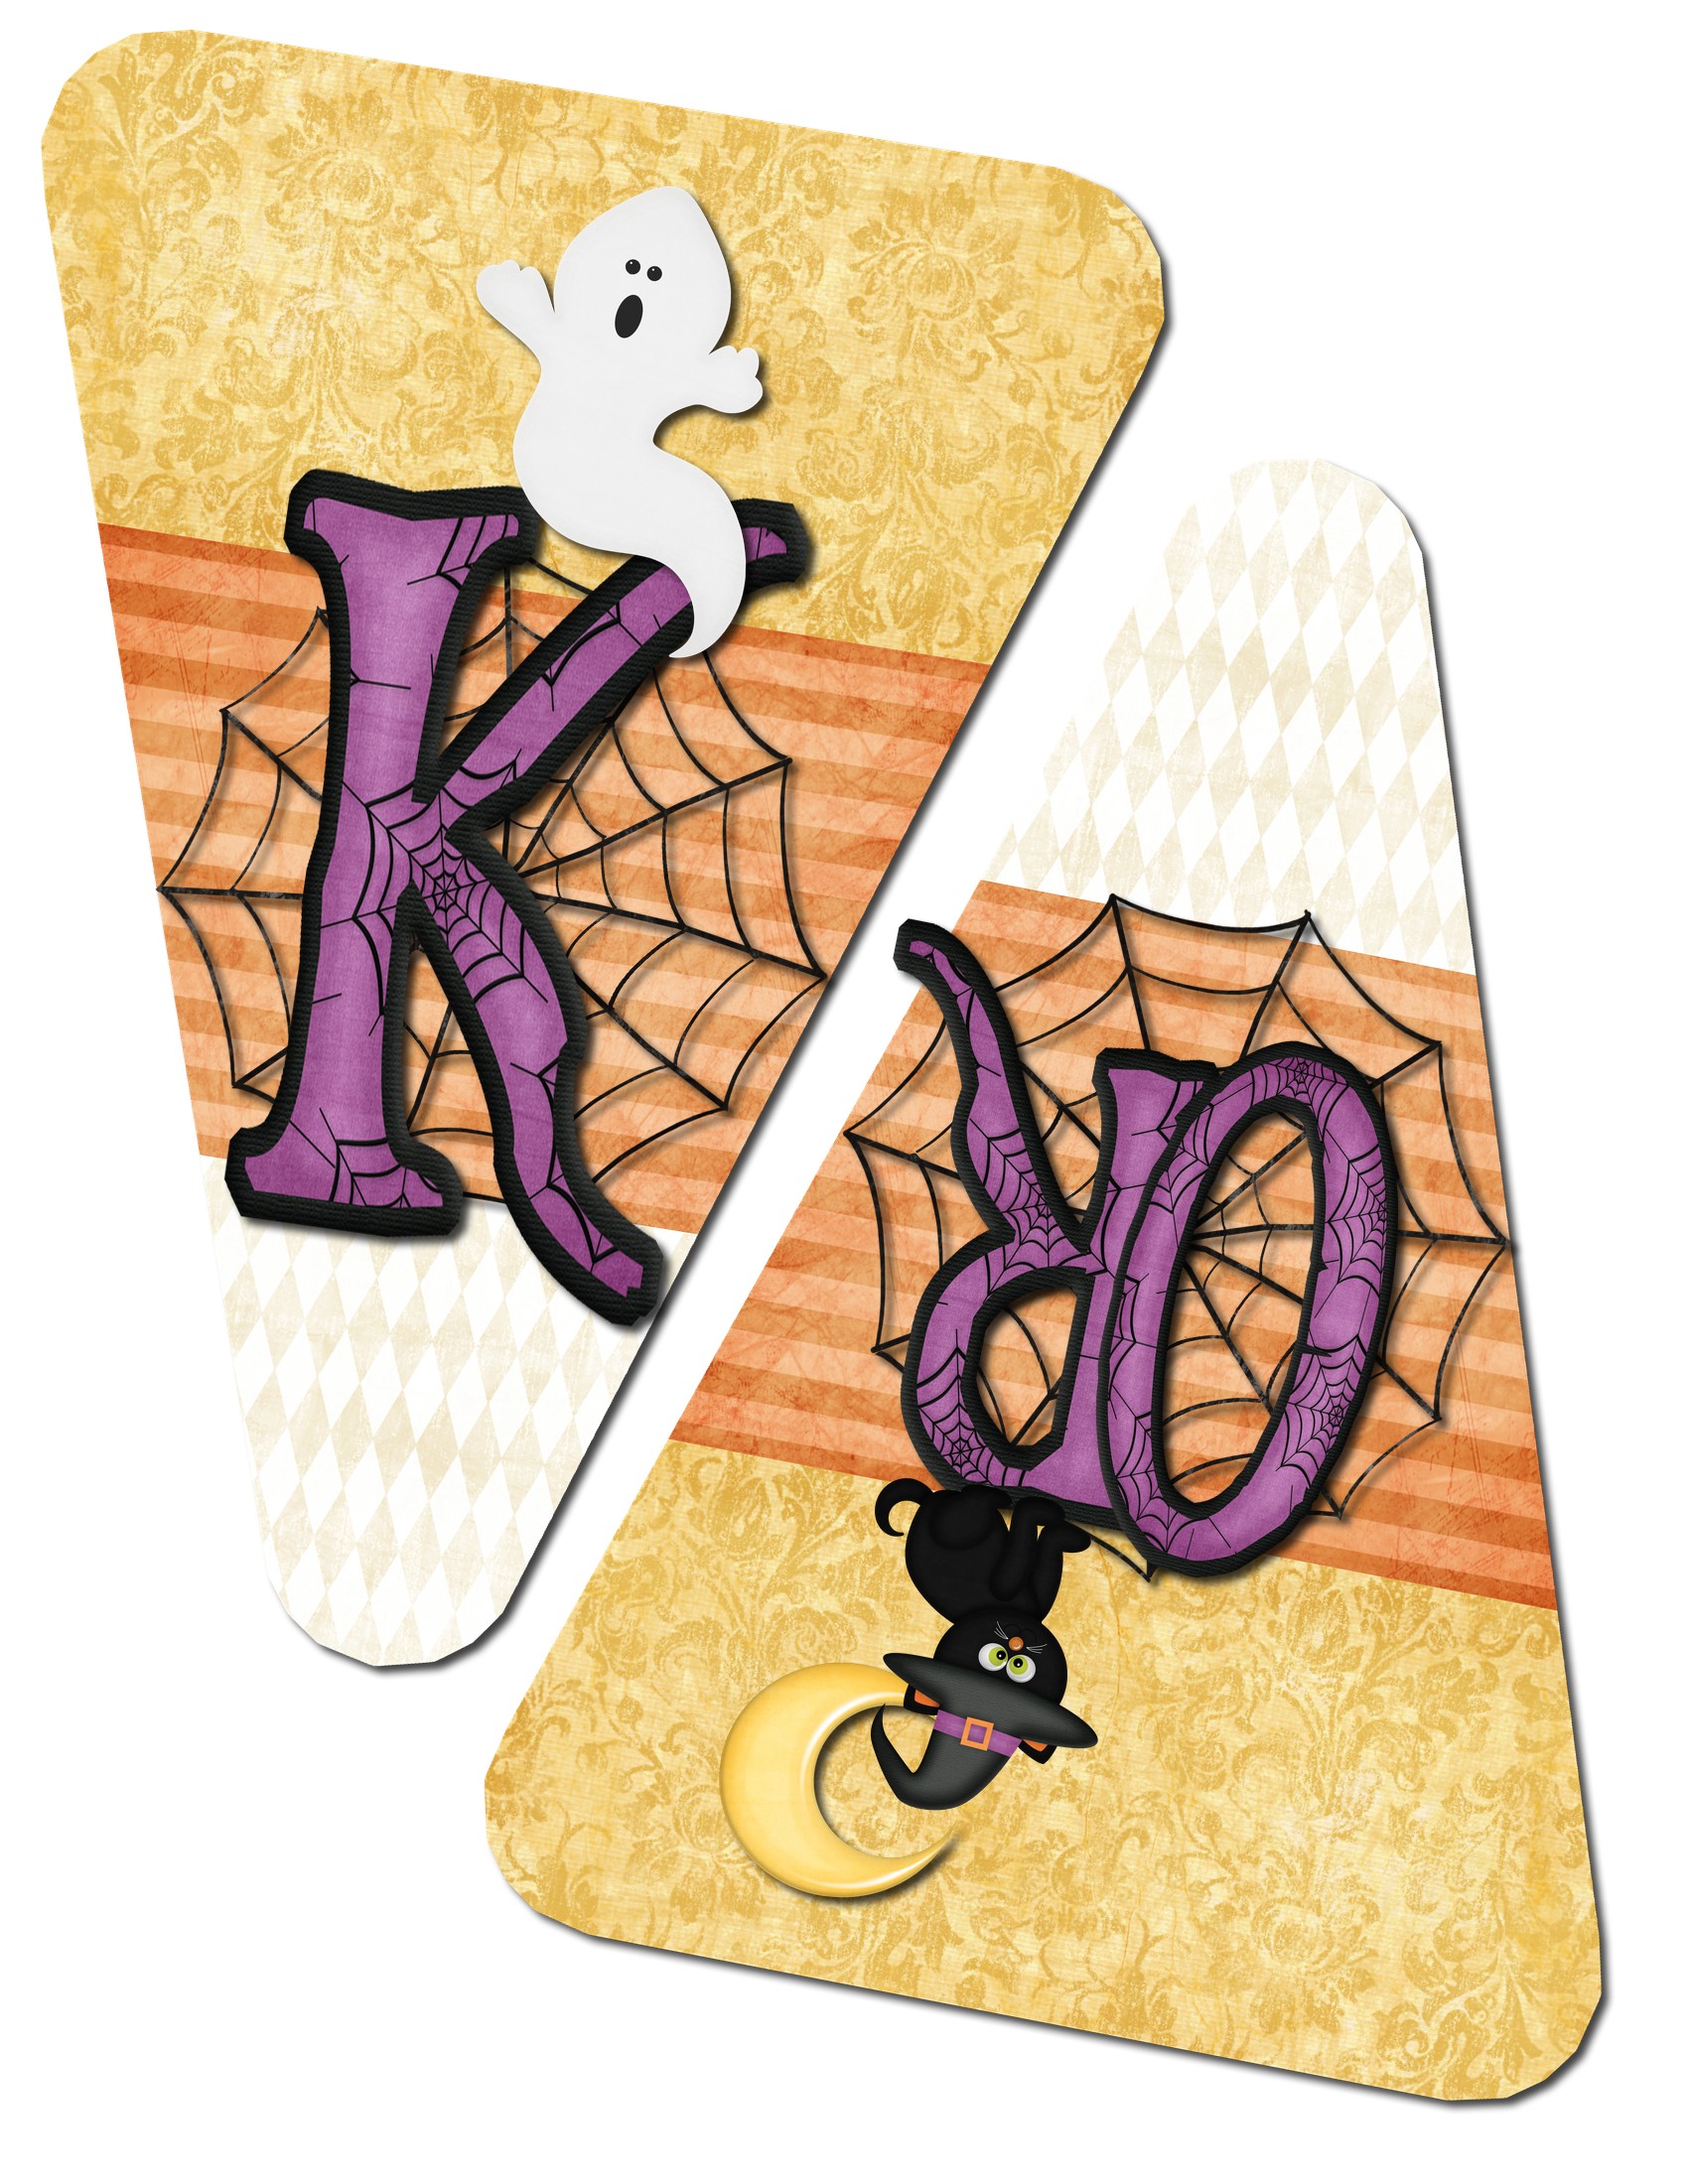
You will need to print the next 6 pages. (just double click on the image and it will show you a larger version,  then right click and go to copy, then go to your favorite program and paste and print.  The image should fill up a full 81/2 x 11 sheet of paper. Two letters per page.)

Cut out each candy corn and then laminate for durability.  Punch a hole in each corner.  I punched the first one, then used it as a pattern  for all of the others.  Lay out and tie together with ribbon.  I put streamers on the two ends!  Hang up and enjoy!

Happy Haunting!

Halloween Quilt

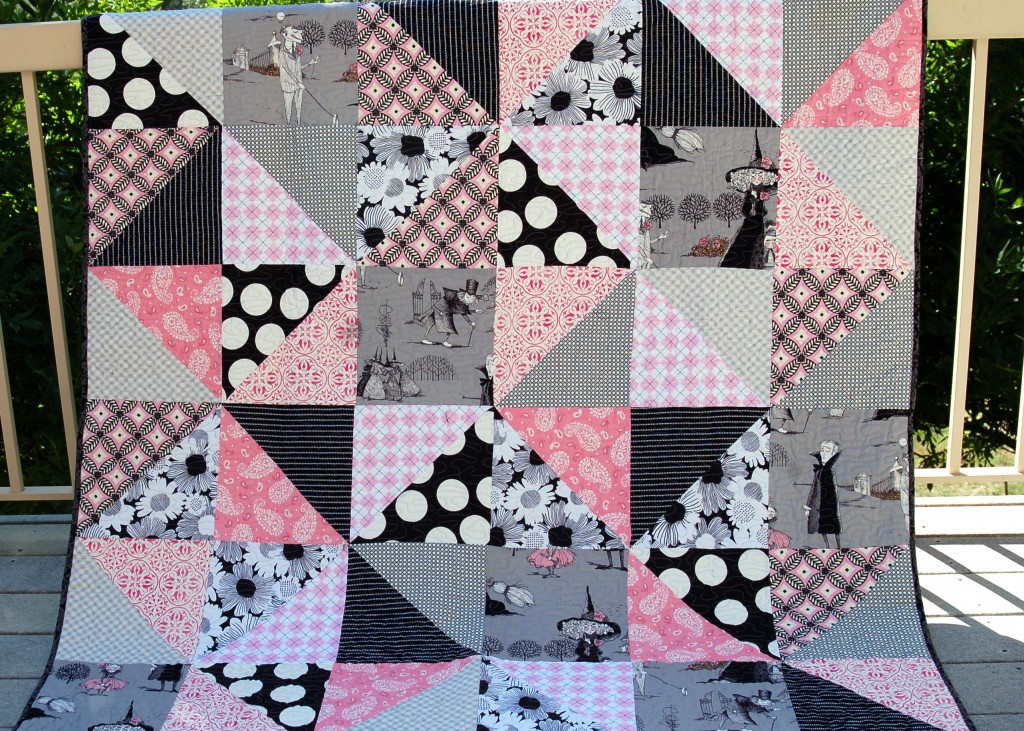
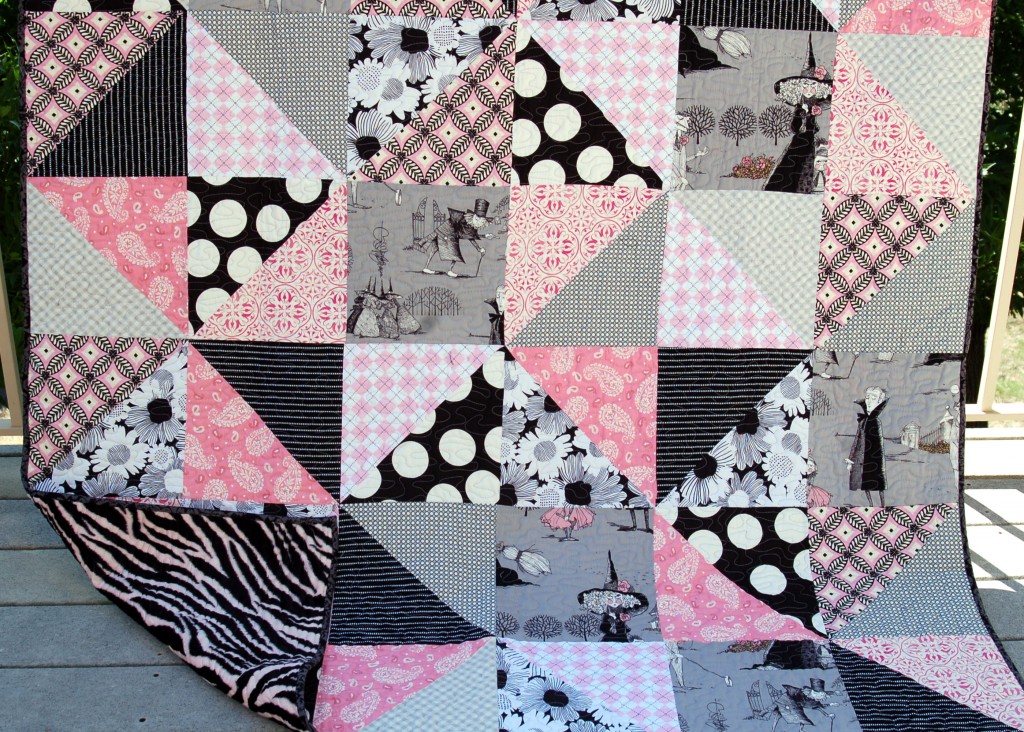
I got this kit from one of my favorite quilt shops in St. George: Lazy Daisy Cottage.  When I saw it I automatically fell in love because, well hello, it is PINK!  Not your usual colors for Halloween.  Anyway it was a super easy kit to put together and I just got it back from my quilter, Becky Albrecht.  I love how she quilted it and I love how fun this quilt turned out to be!

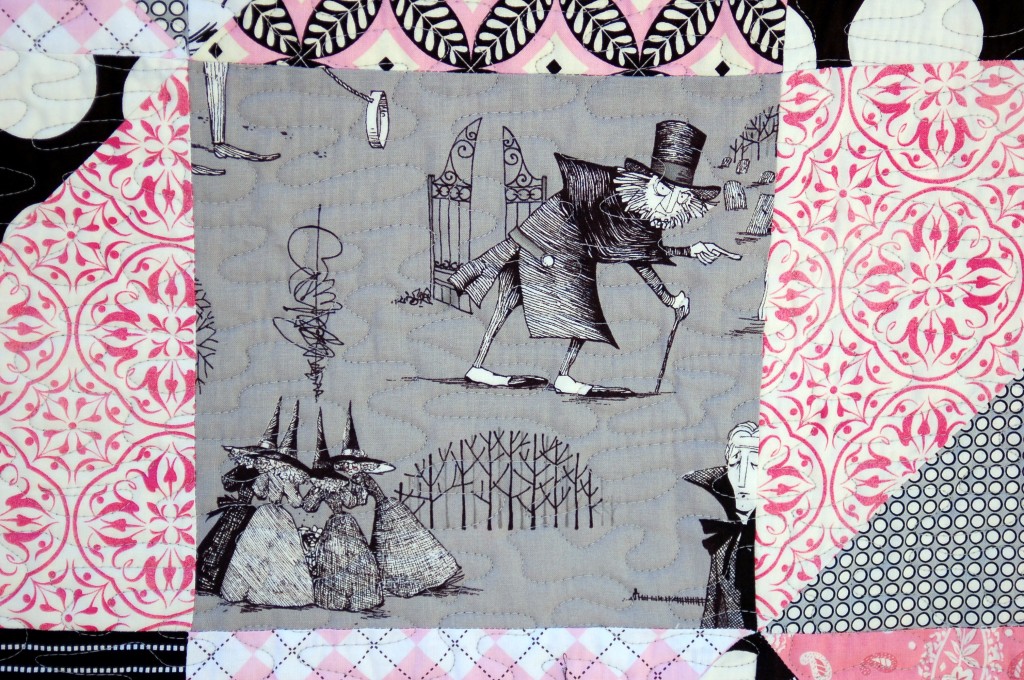
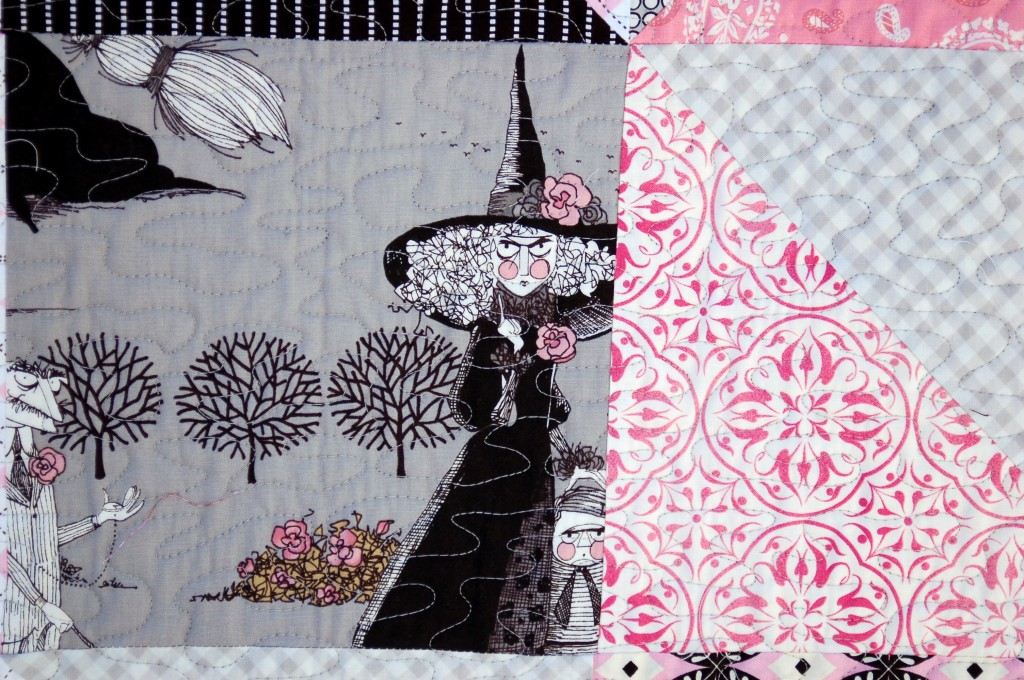
Look at these fun witches in the blocks, are they not the most whimsical, fun characters!A witch with an attitude! Does that sound like anyone that you know?The back of this quilt is pink and black zebra minky! So soft and perfect for snuggling with the grandkids to read our favorite Halloween book:  “Frank Was A Monster, Who Wanted to Dance!”

I will put a tutorial on how to do a quilt binding with the mitered corners. They really are easy if you see it done once!