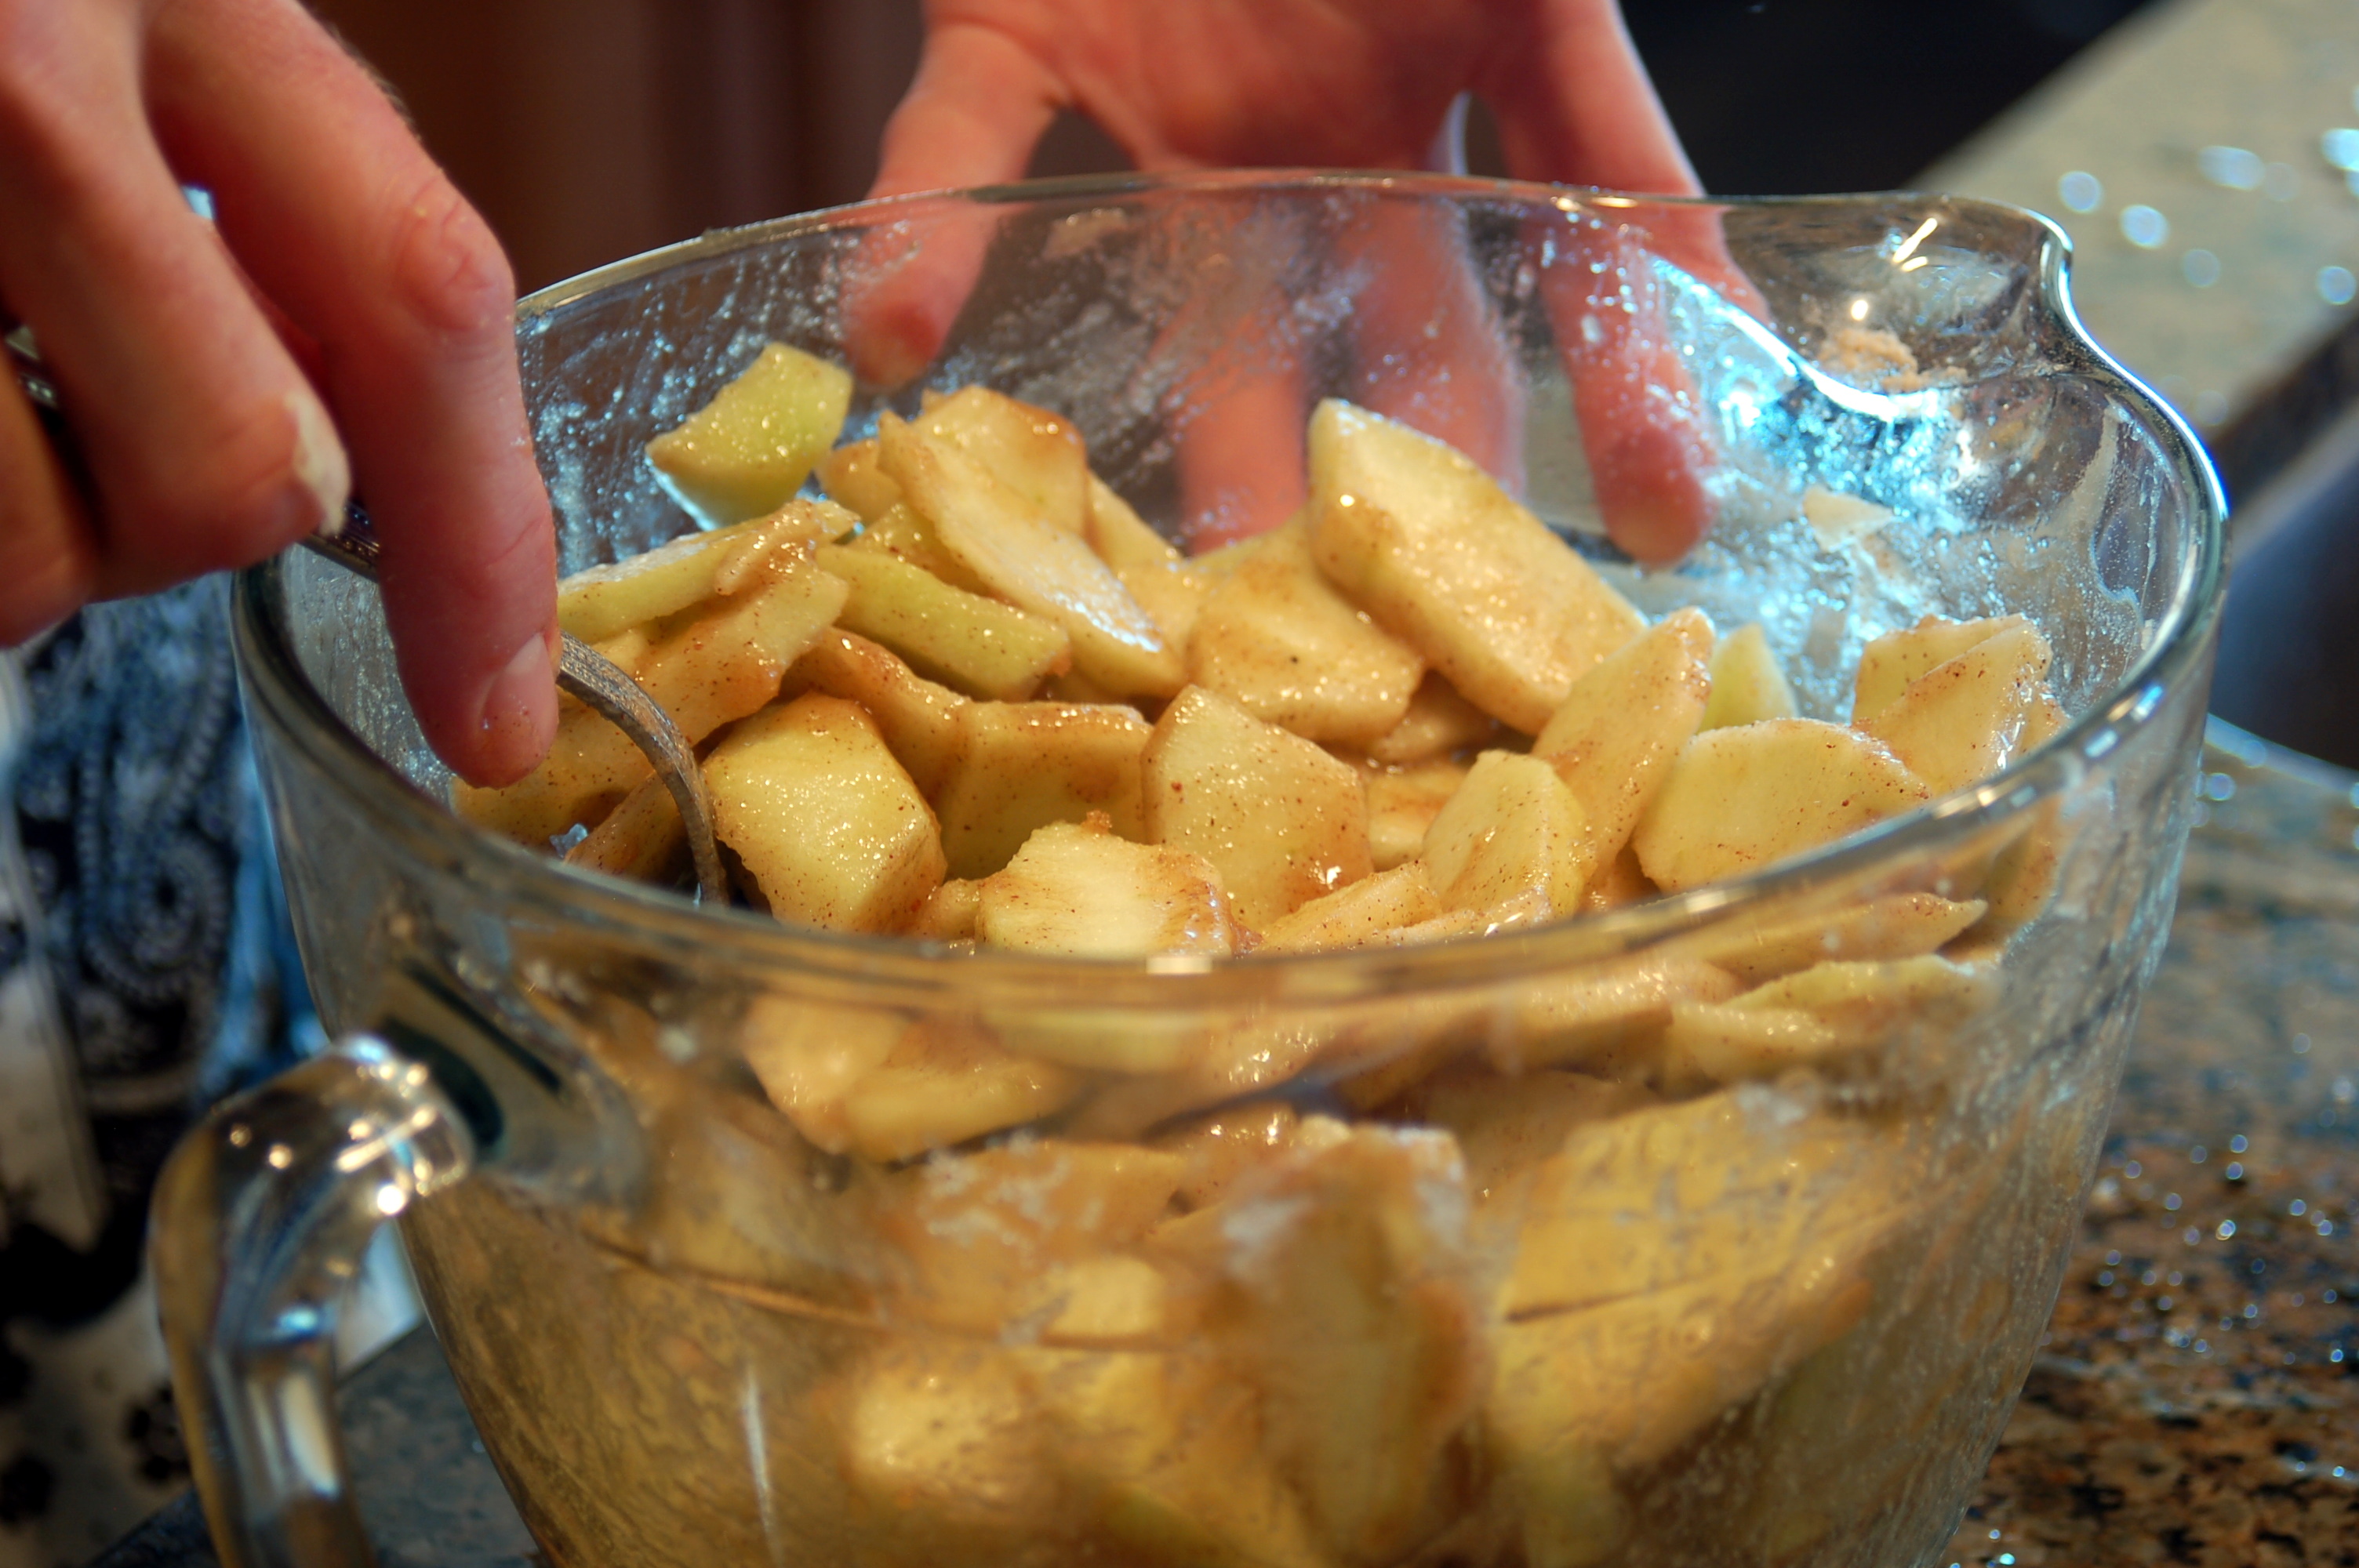
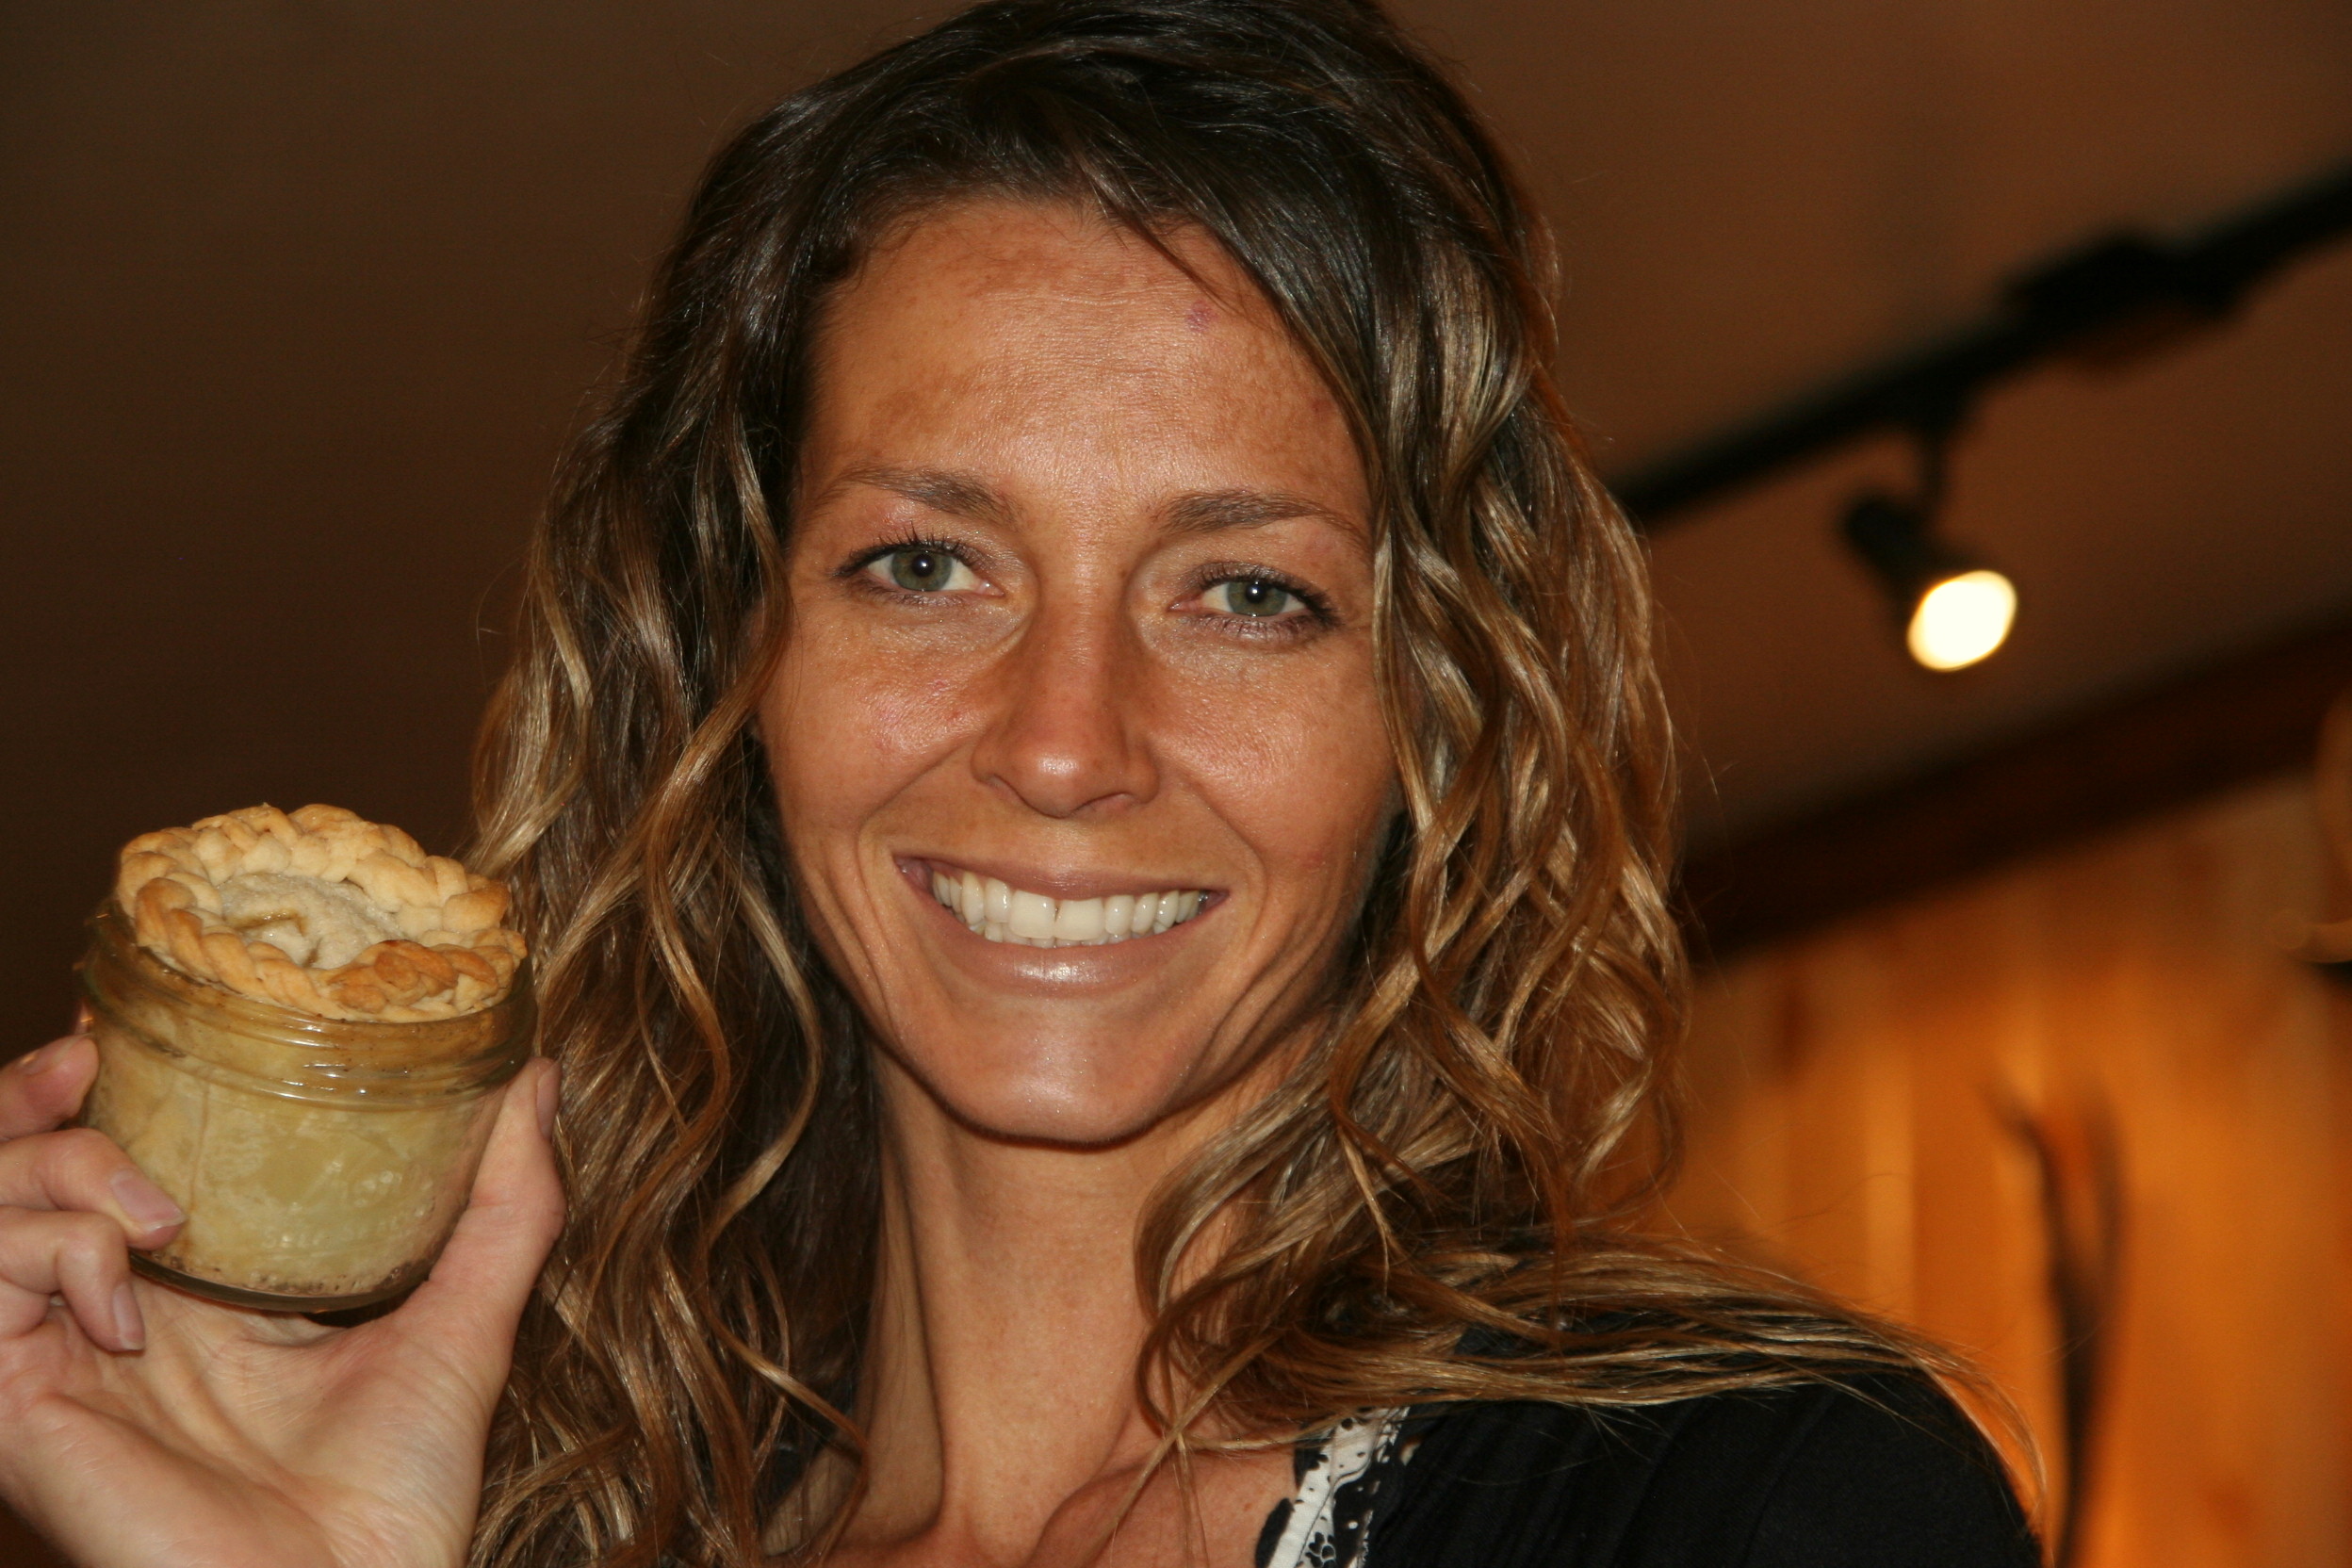
My daughter-in-law taught a class on how to make these darling pies! You can see a great tutorial here from Our Best Bites. She made little mini apple pies in glass jars. First you prepare the apples-peel and slice them, about 6 cups. Add 1/2 cup sugar, 1/2 cup brown sugar, 2 tablespoons flour, 1/2 teaspoon cinnamon, and 1/4 teaspoon nutmeg, 1 tablespoon lemon juice. Mix well and set aside.
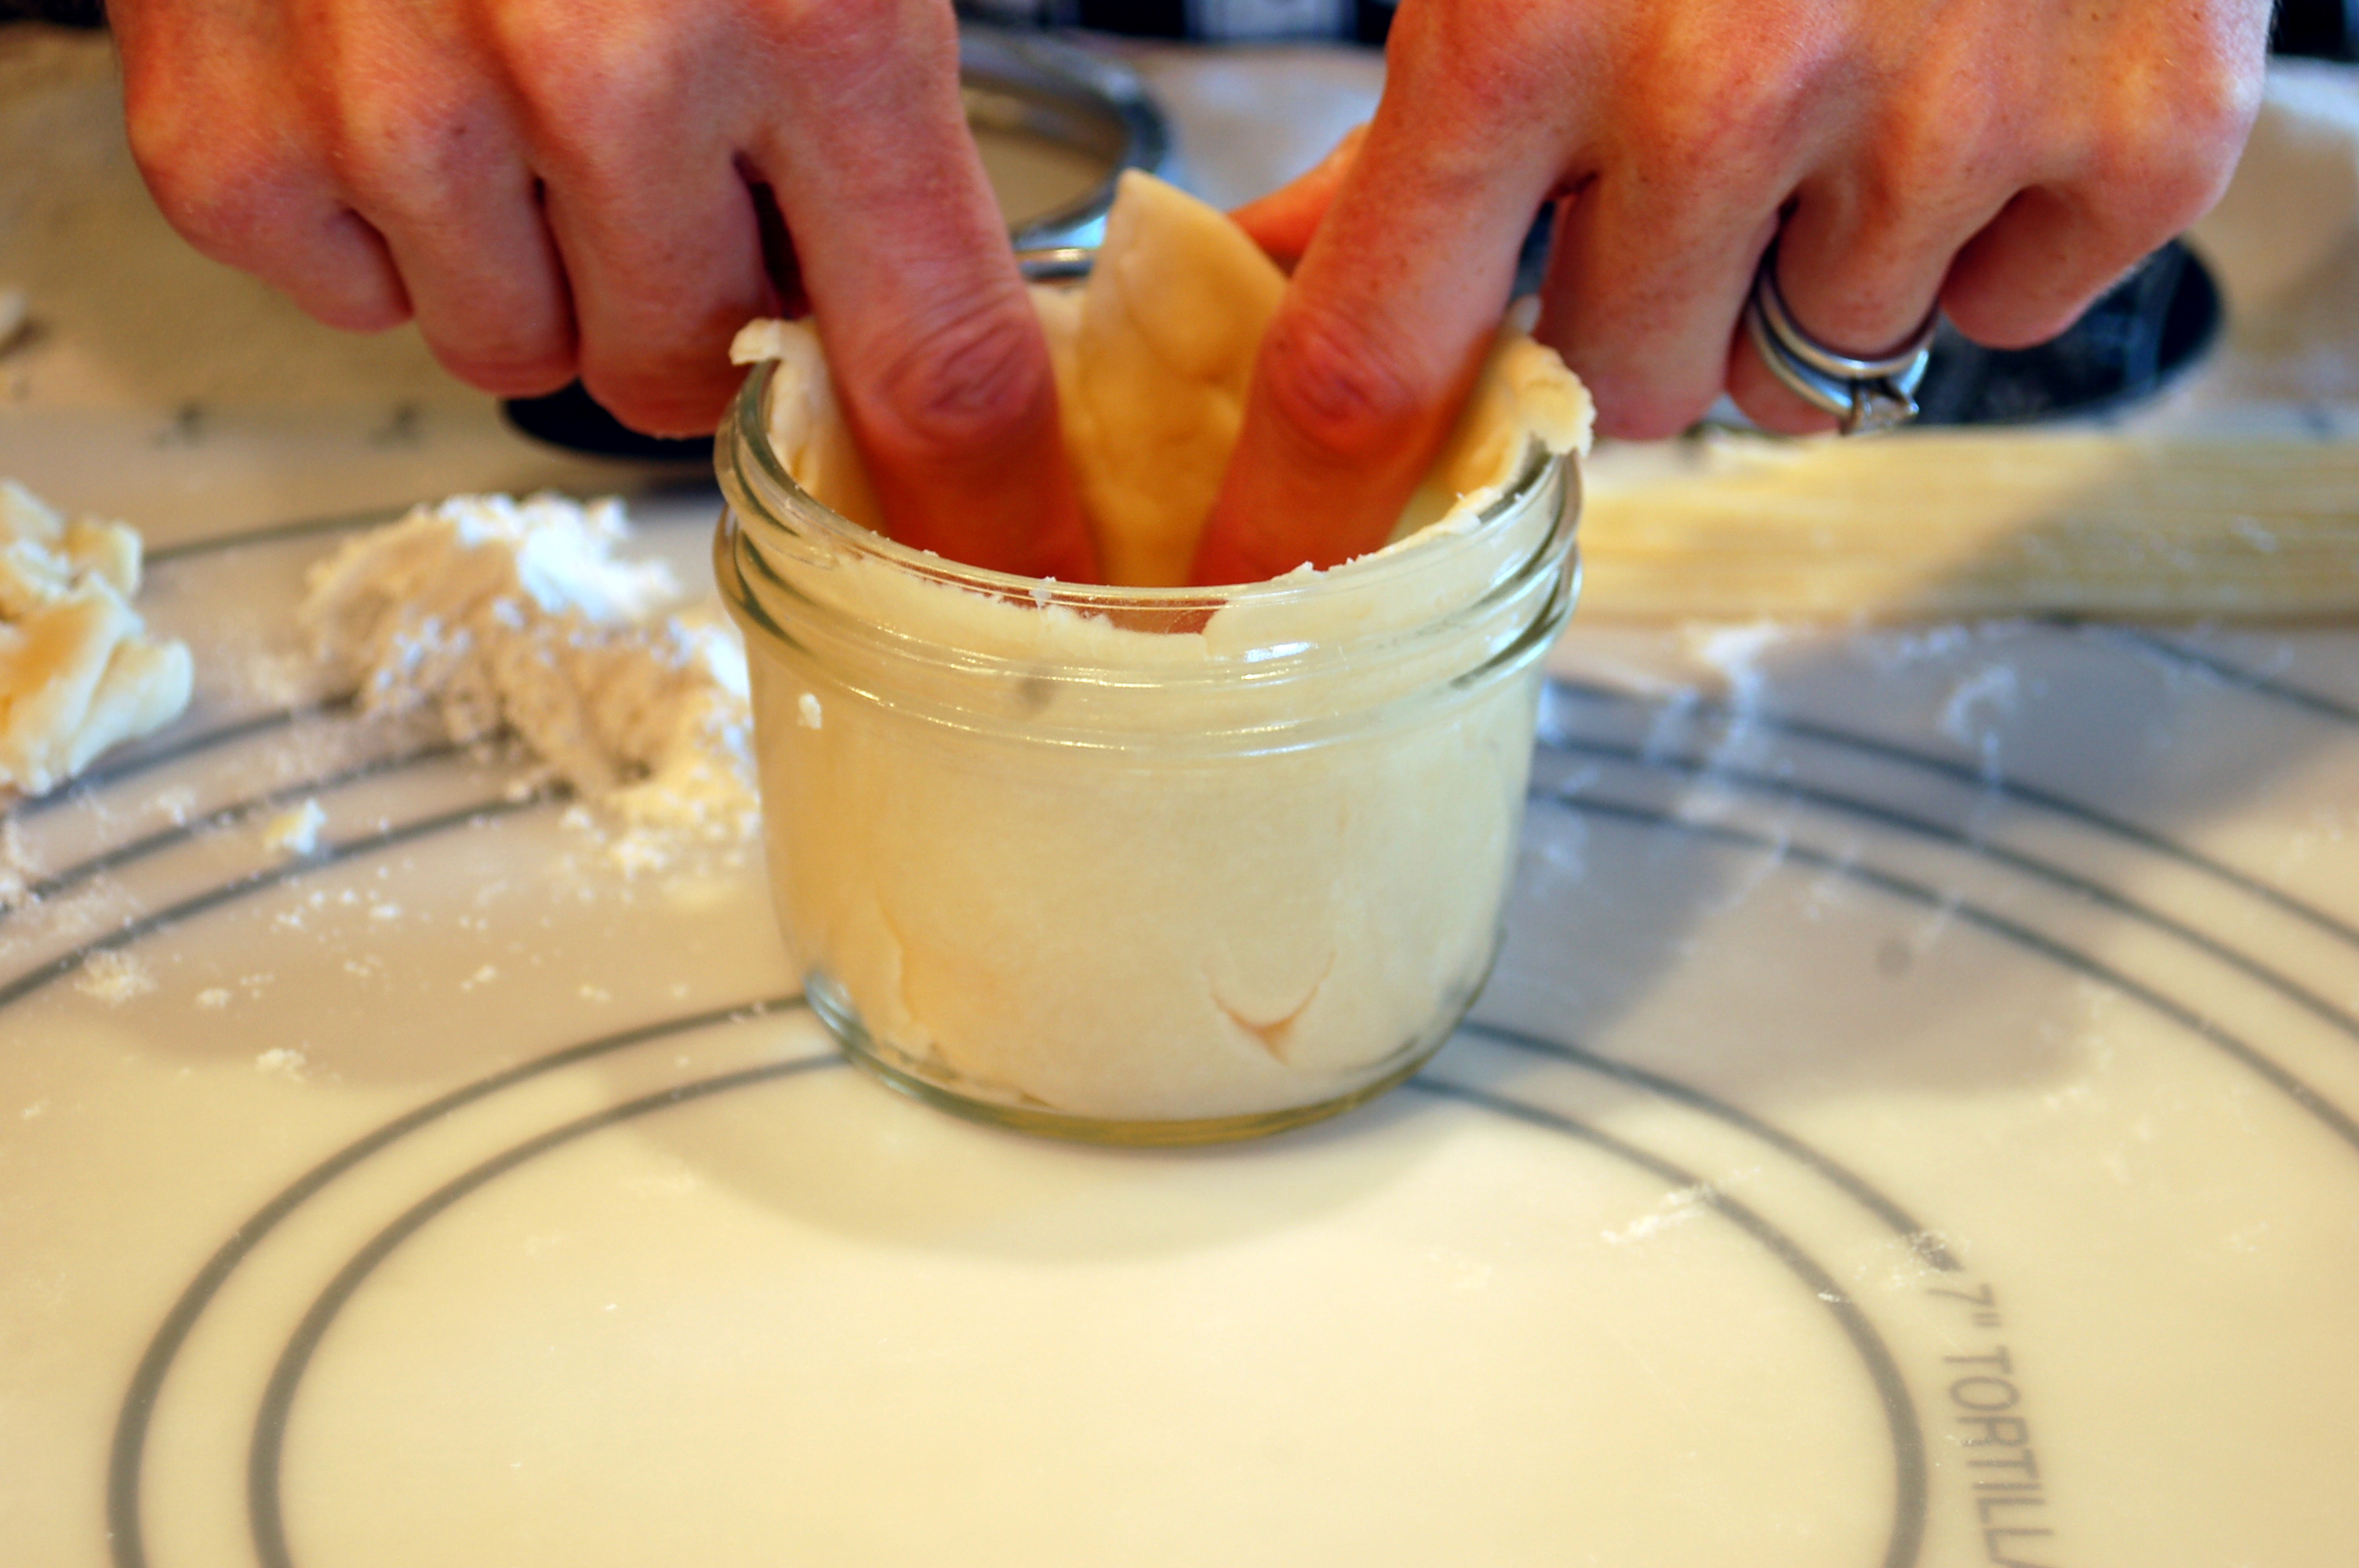
 Make No Fail Pie Crust and roll out quite thin. Using the rim of the jar, cut a round circle for the top of the pie. Then roll out another circle large enough to put down inside the bottle. Or you can just take pieces and press them into the jar. Make sure that you push the dough down into the bottom of the jar, and that you press it all the way to the top. Add prepared fruit, approximately 1/2 cup per jar. These are 1/2 pint wide mouth jars.
 Add the dough circle to the top. You will need to vent them by cutting slits in them or using a small cookie cutter, like the leaf to cut a hole in the top. Gently press down the top, so the edges of the circle are completely inside the jar. (The braided top should have been pressed down to be completely inside the jar, so learn from us!) Using a fork press the dough from the top to seal with the dough in the jar. Here are several versions of how you can make the tops…Lattice, braided edge, or leaf cutout. You could also use a crumb topping.
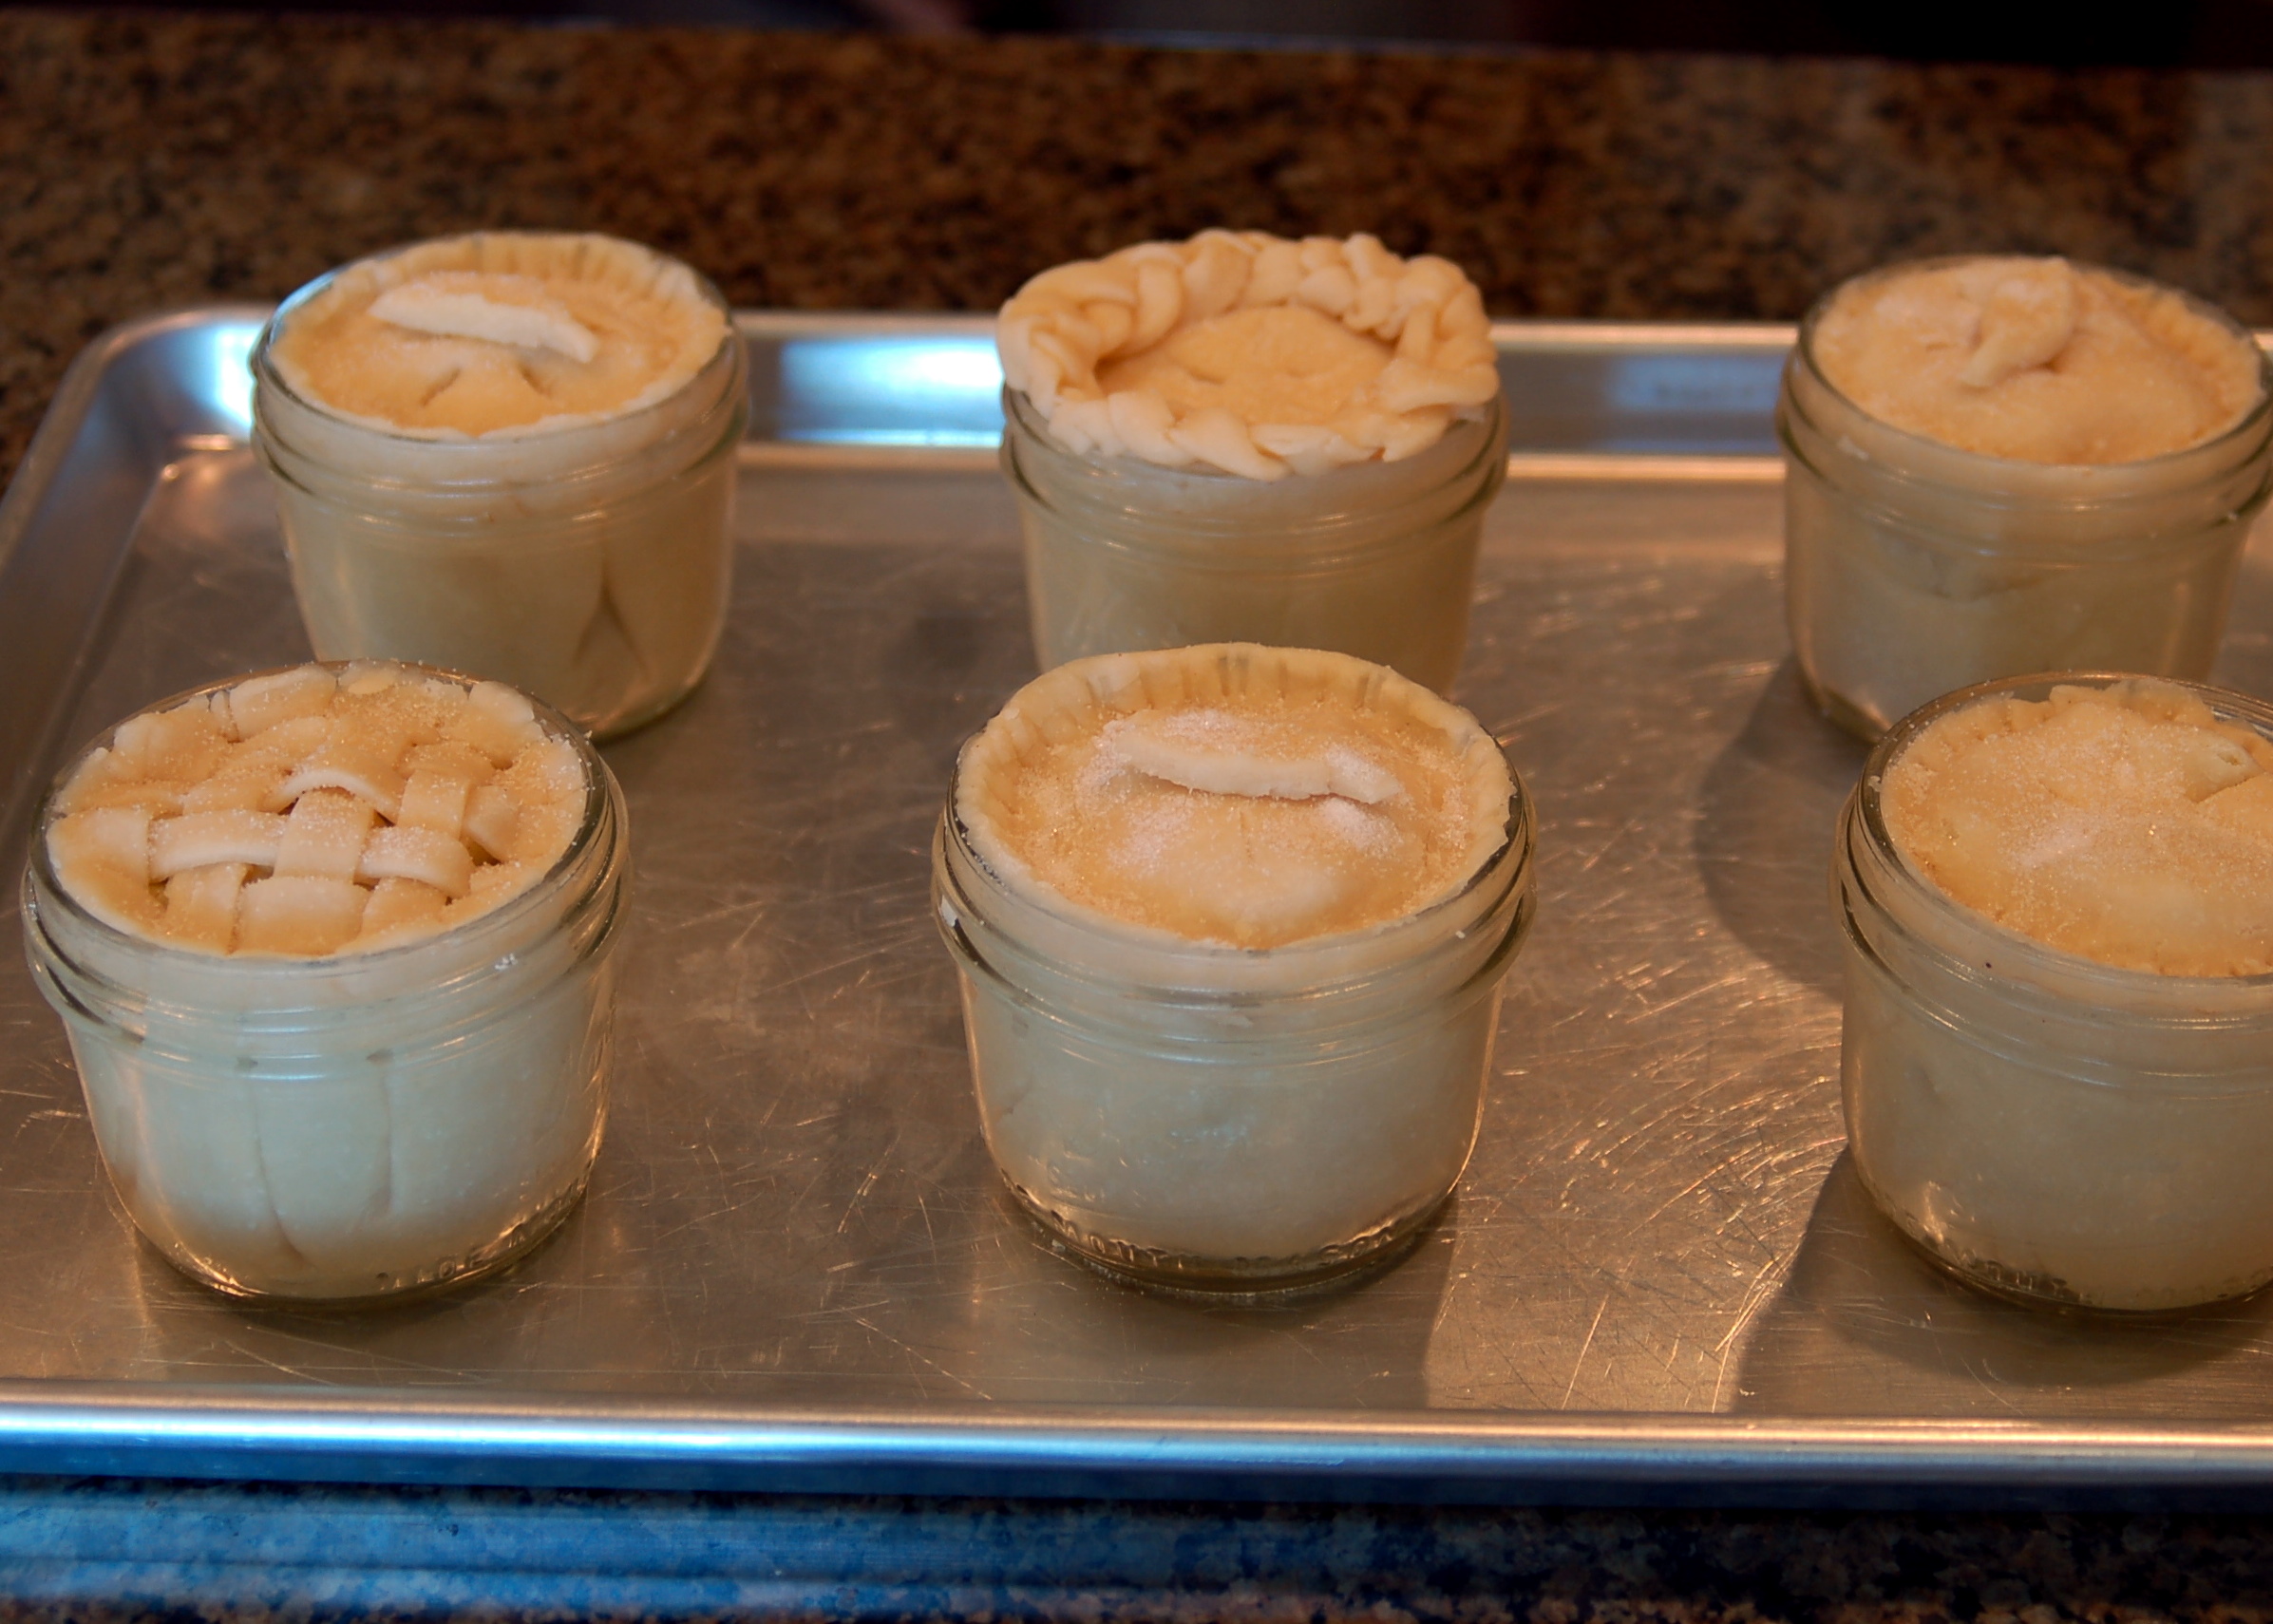 Sprinkle the tops with a little bit of sugar. You could also brush the tops with a little bit of butter before sprinkling the sugar on. Doesn’t this look Heavenly?!
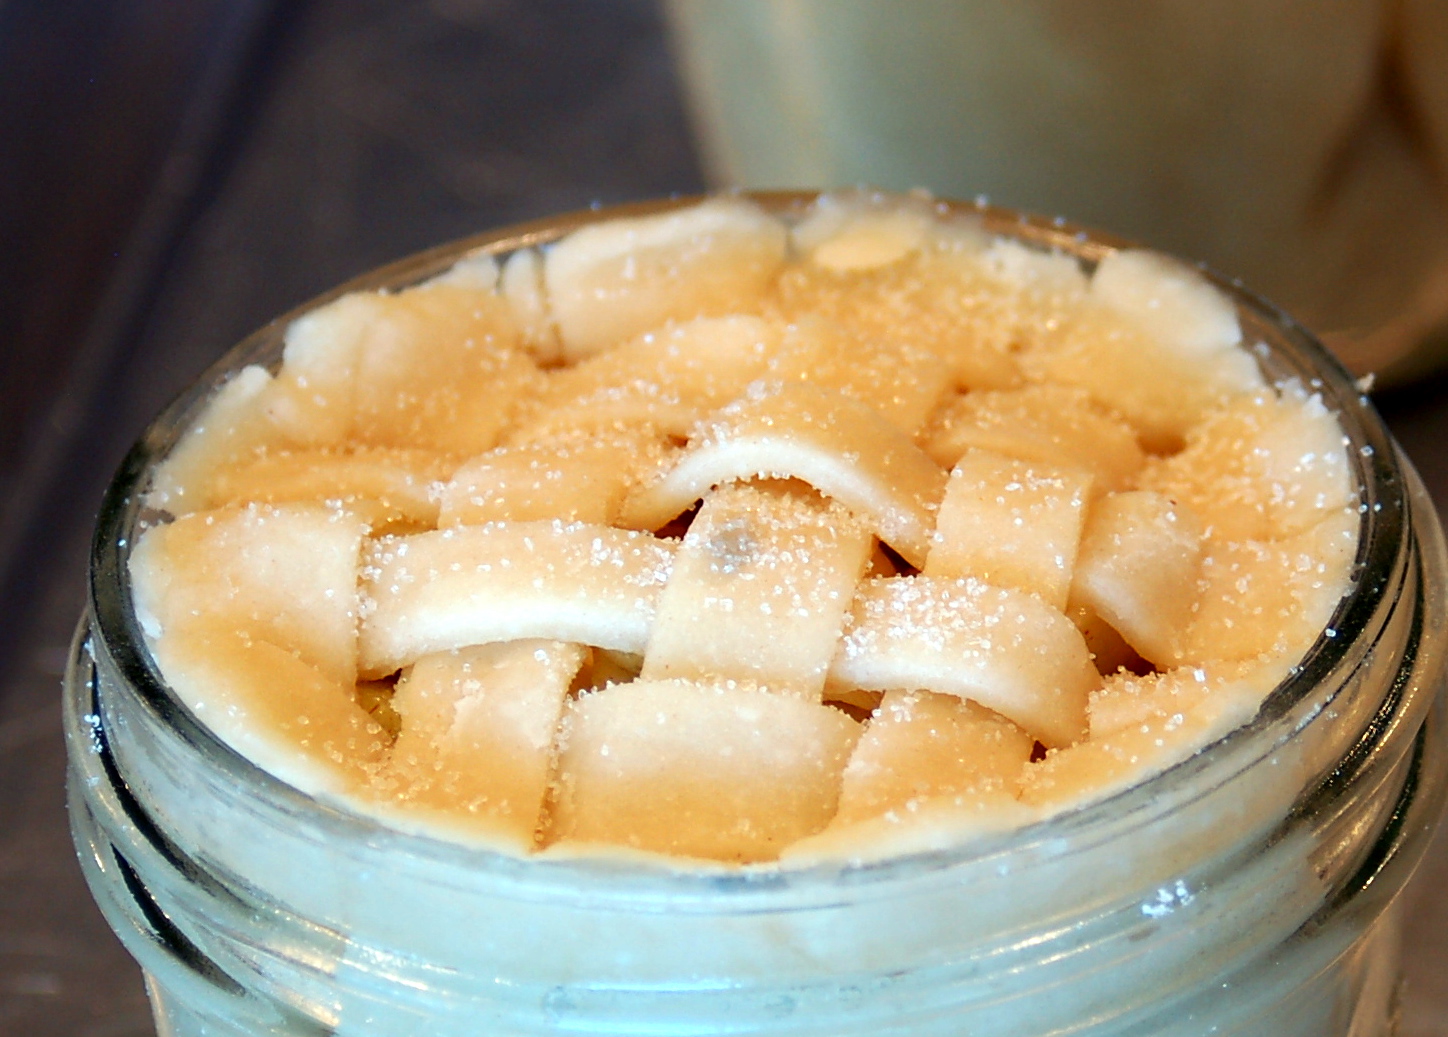 Place the jars on a baking sheet. Bake them at 375 degrees F. for 45-55 minutes or until tops are golden brown.
 After they cool down you can wipe the edges off and add these cute toppers to your jars! What a fun gift idea! The holidays are coming up soon and these would be fun neighbor gifts, or for your friends with a carton of icecream and fun scoop…you get the idea.
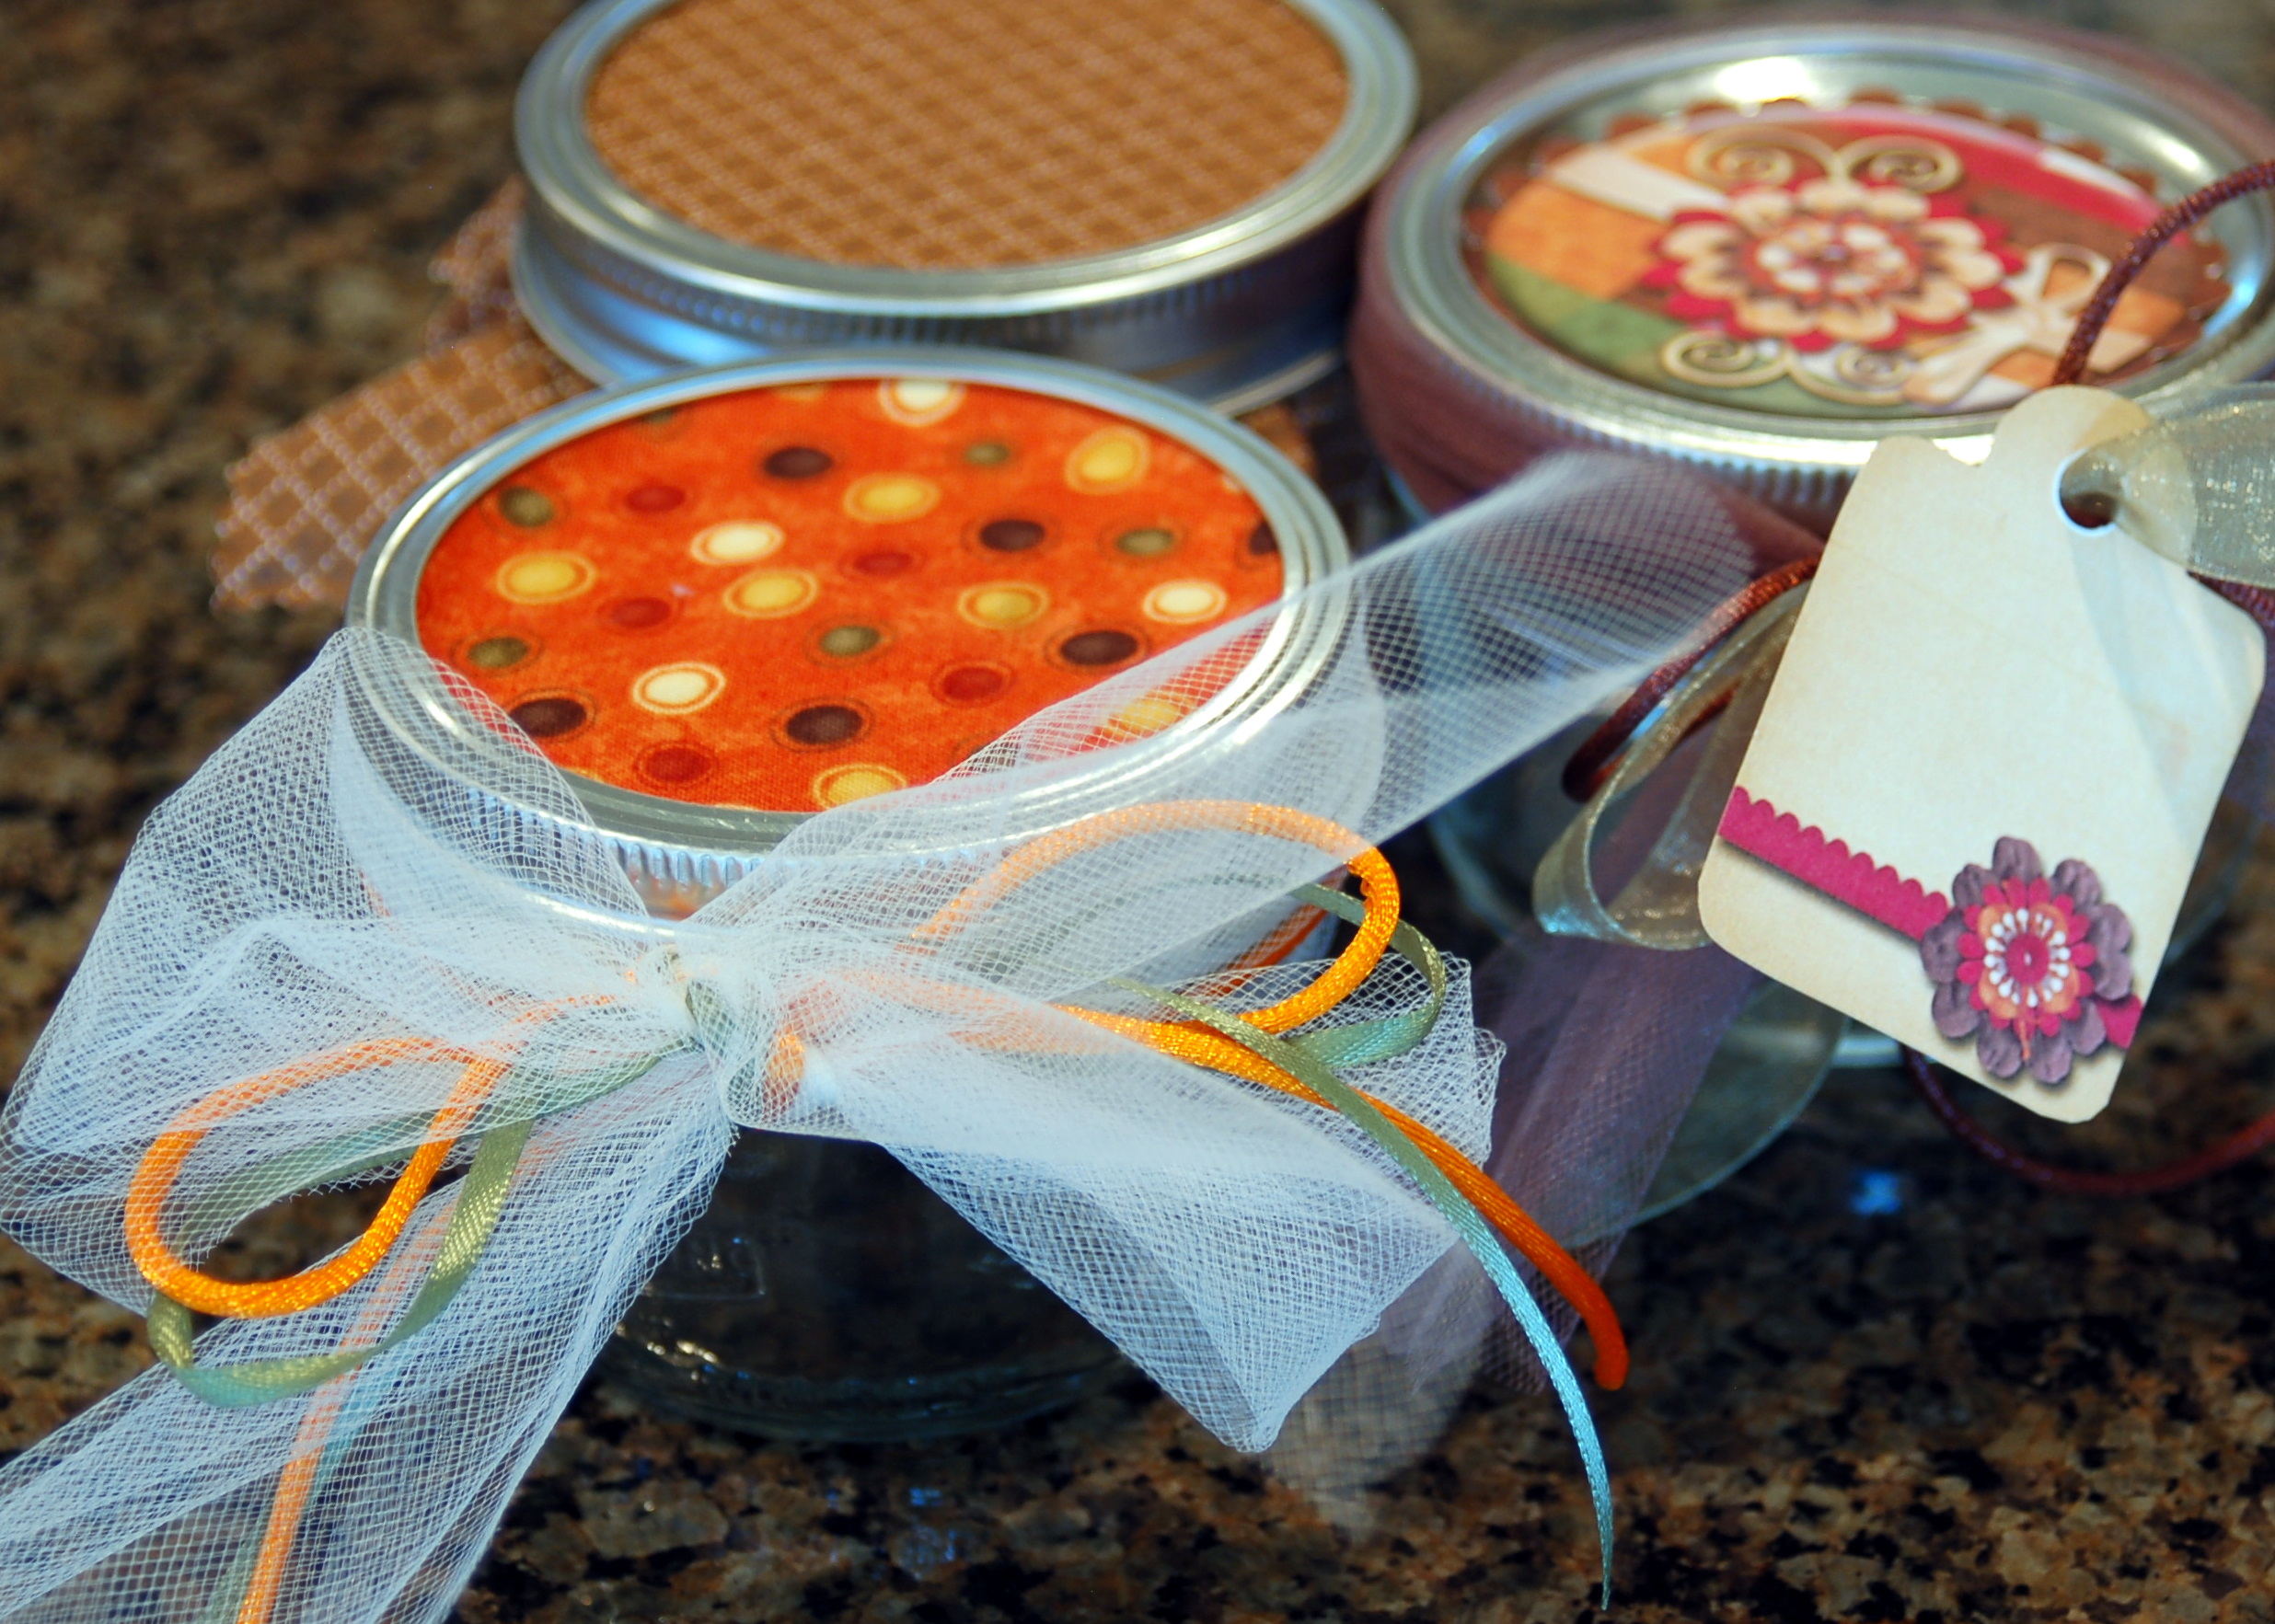 She did a great job and look how yummy they are!
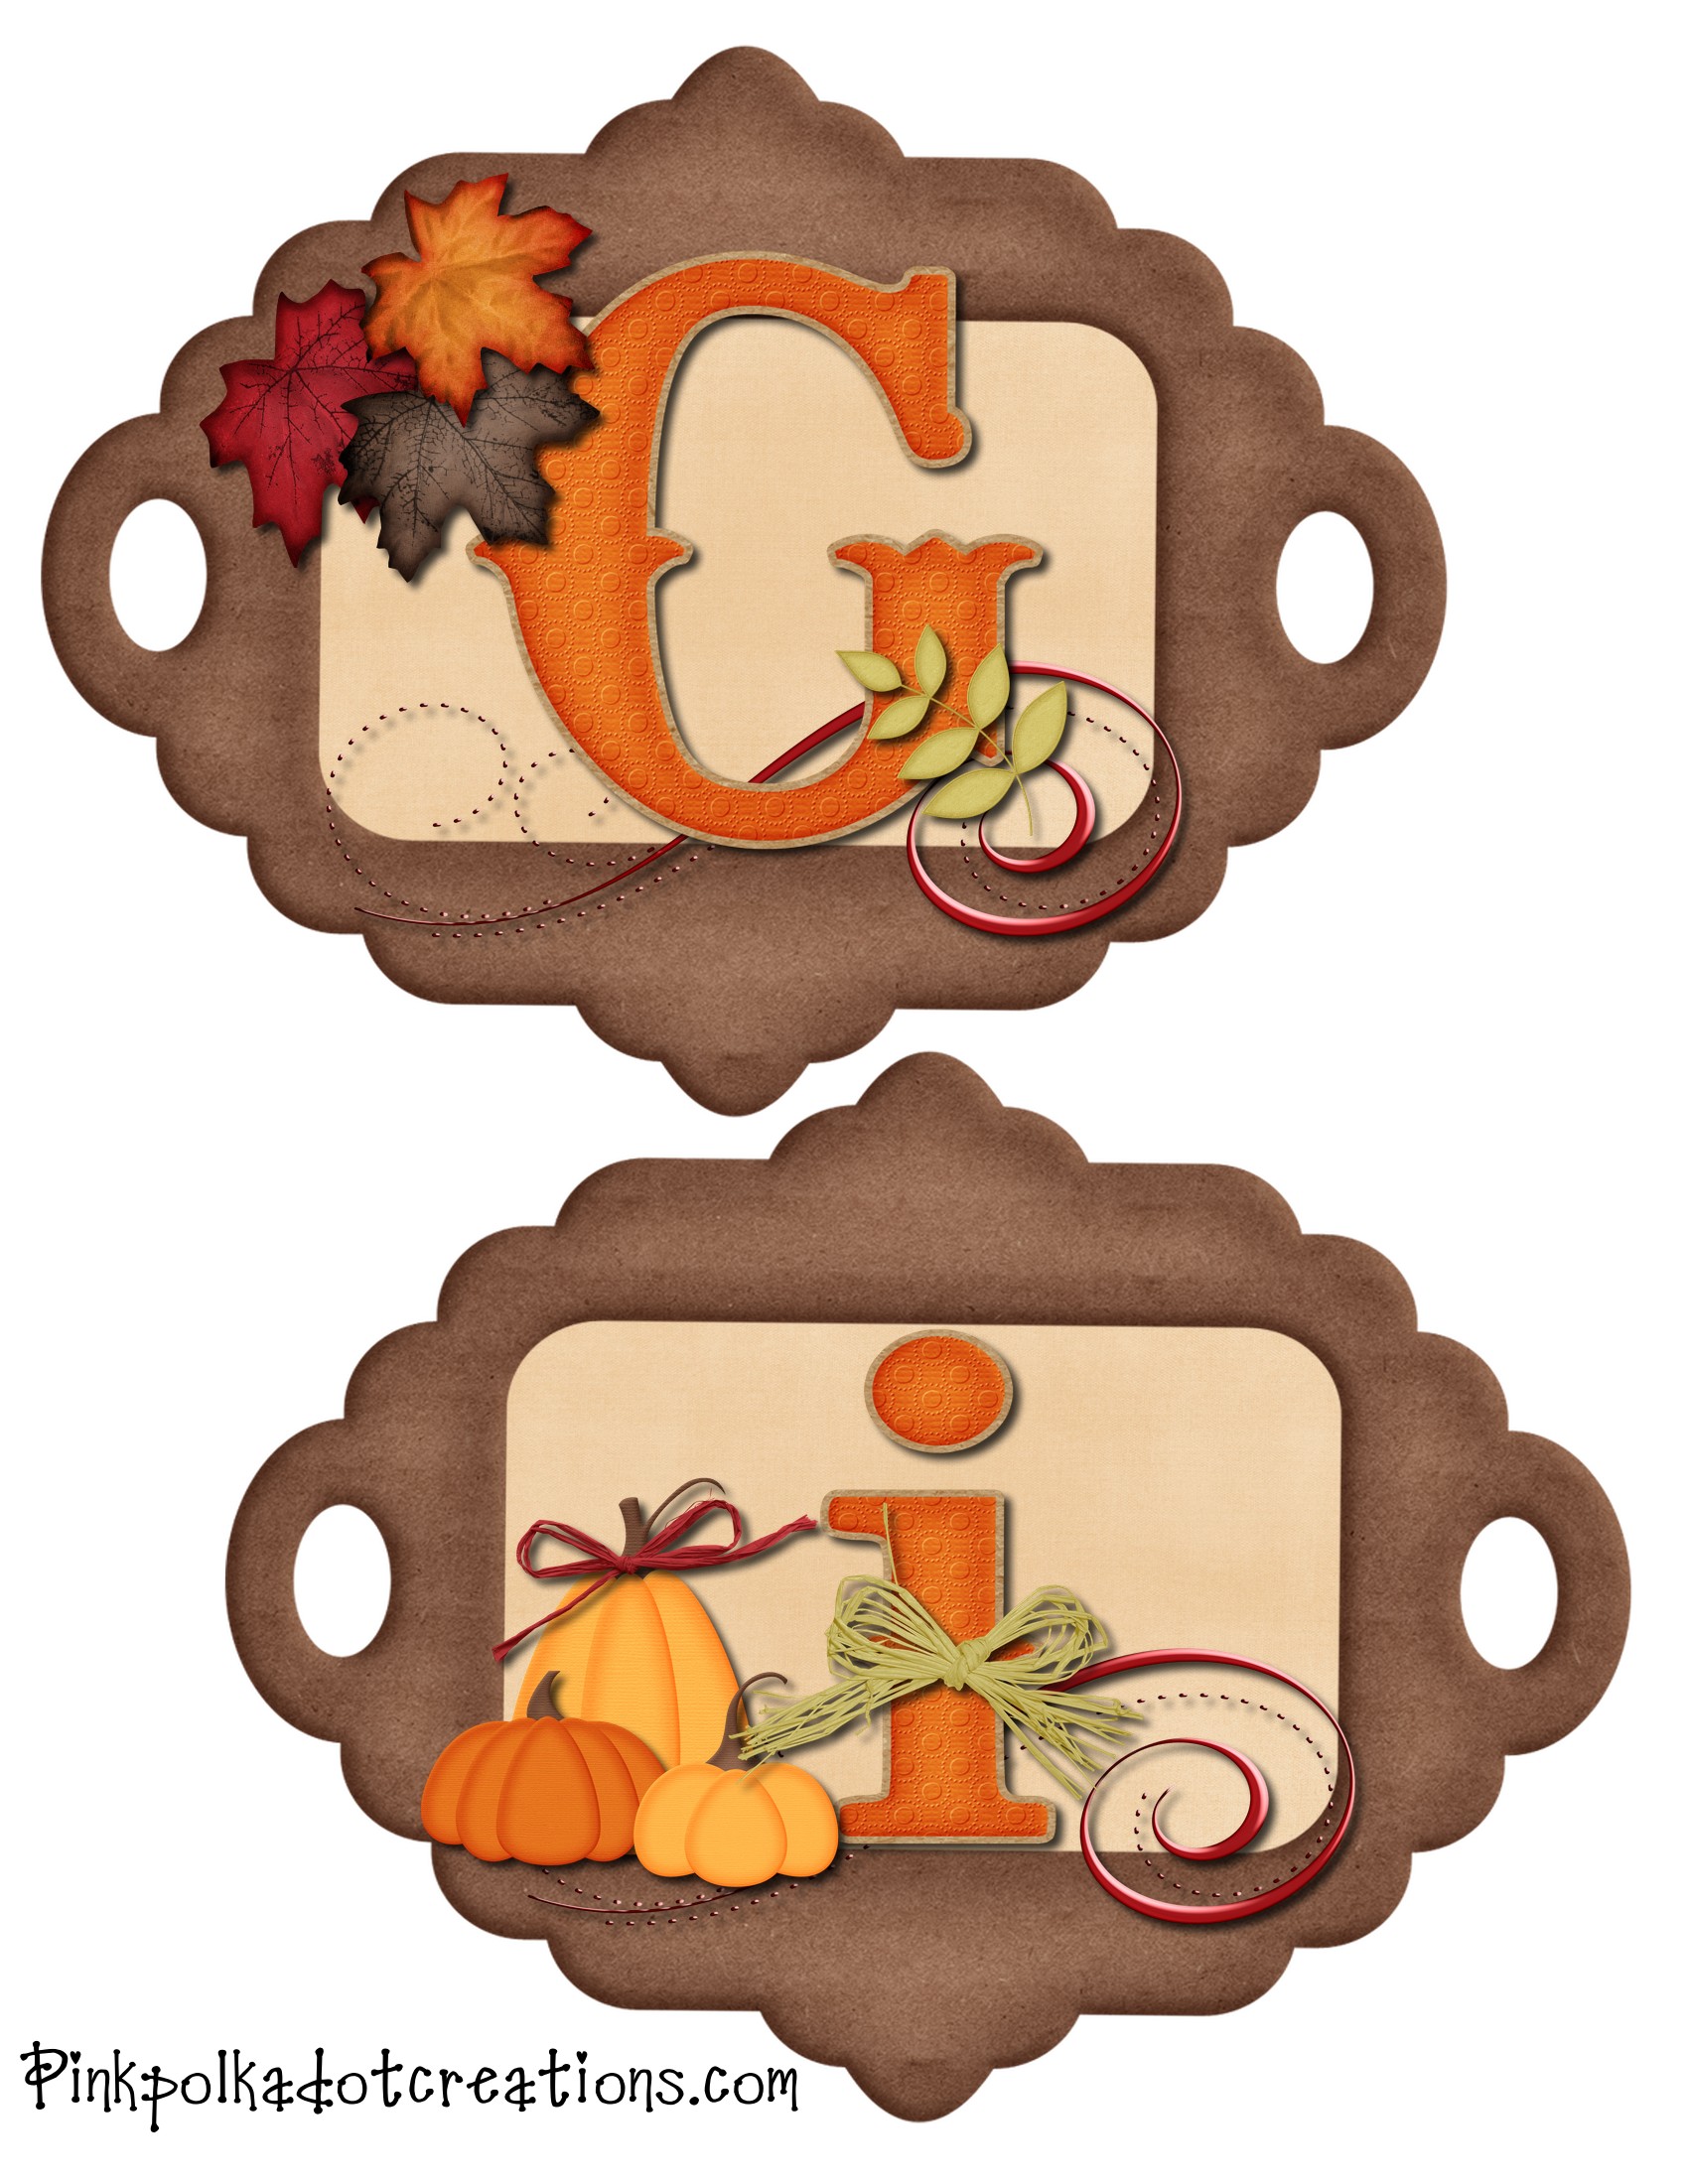
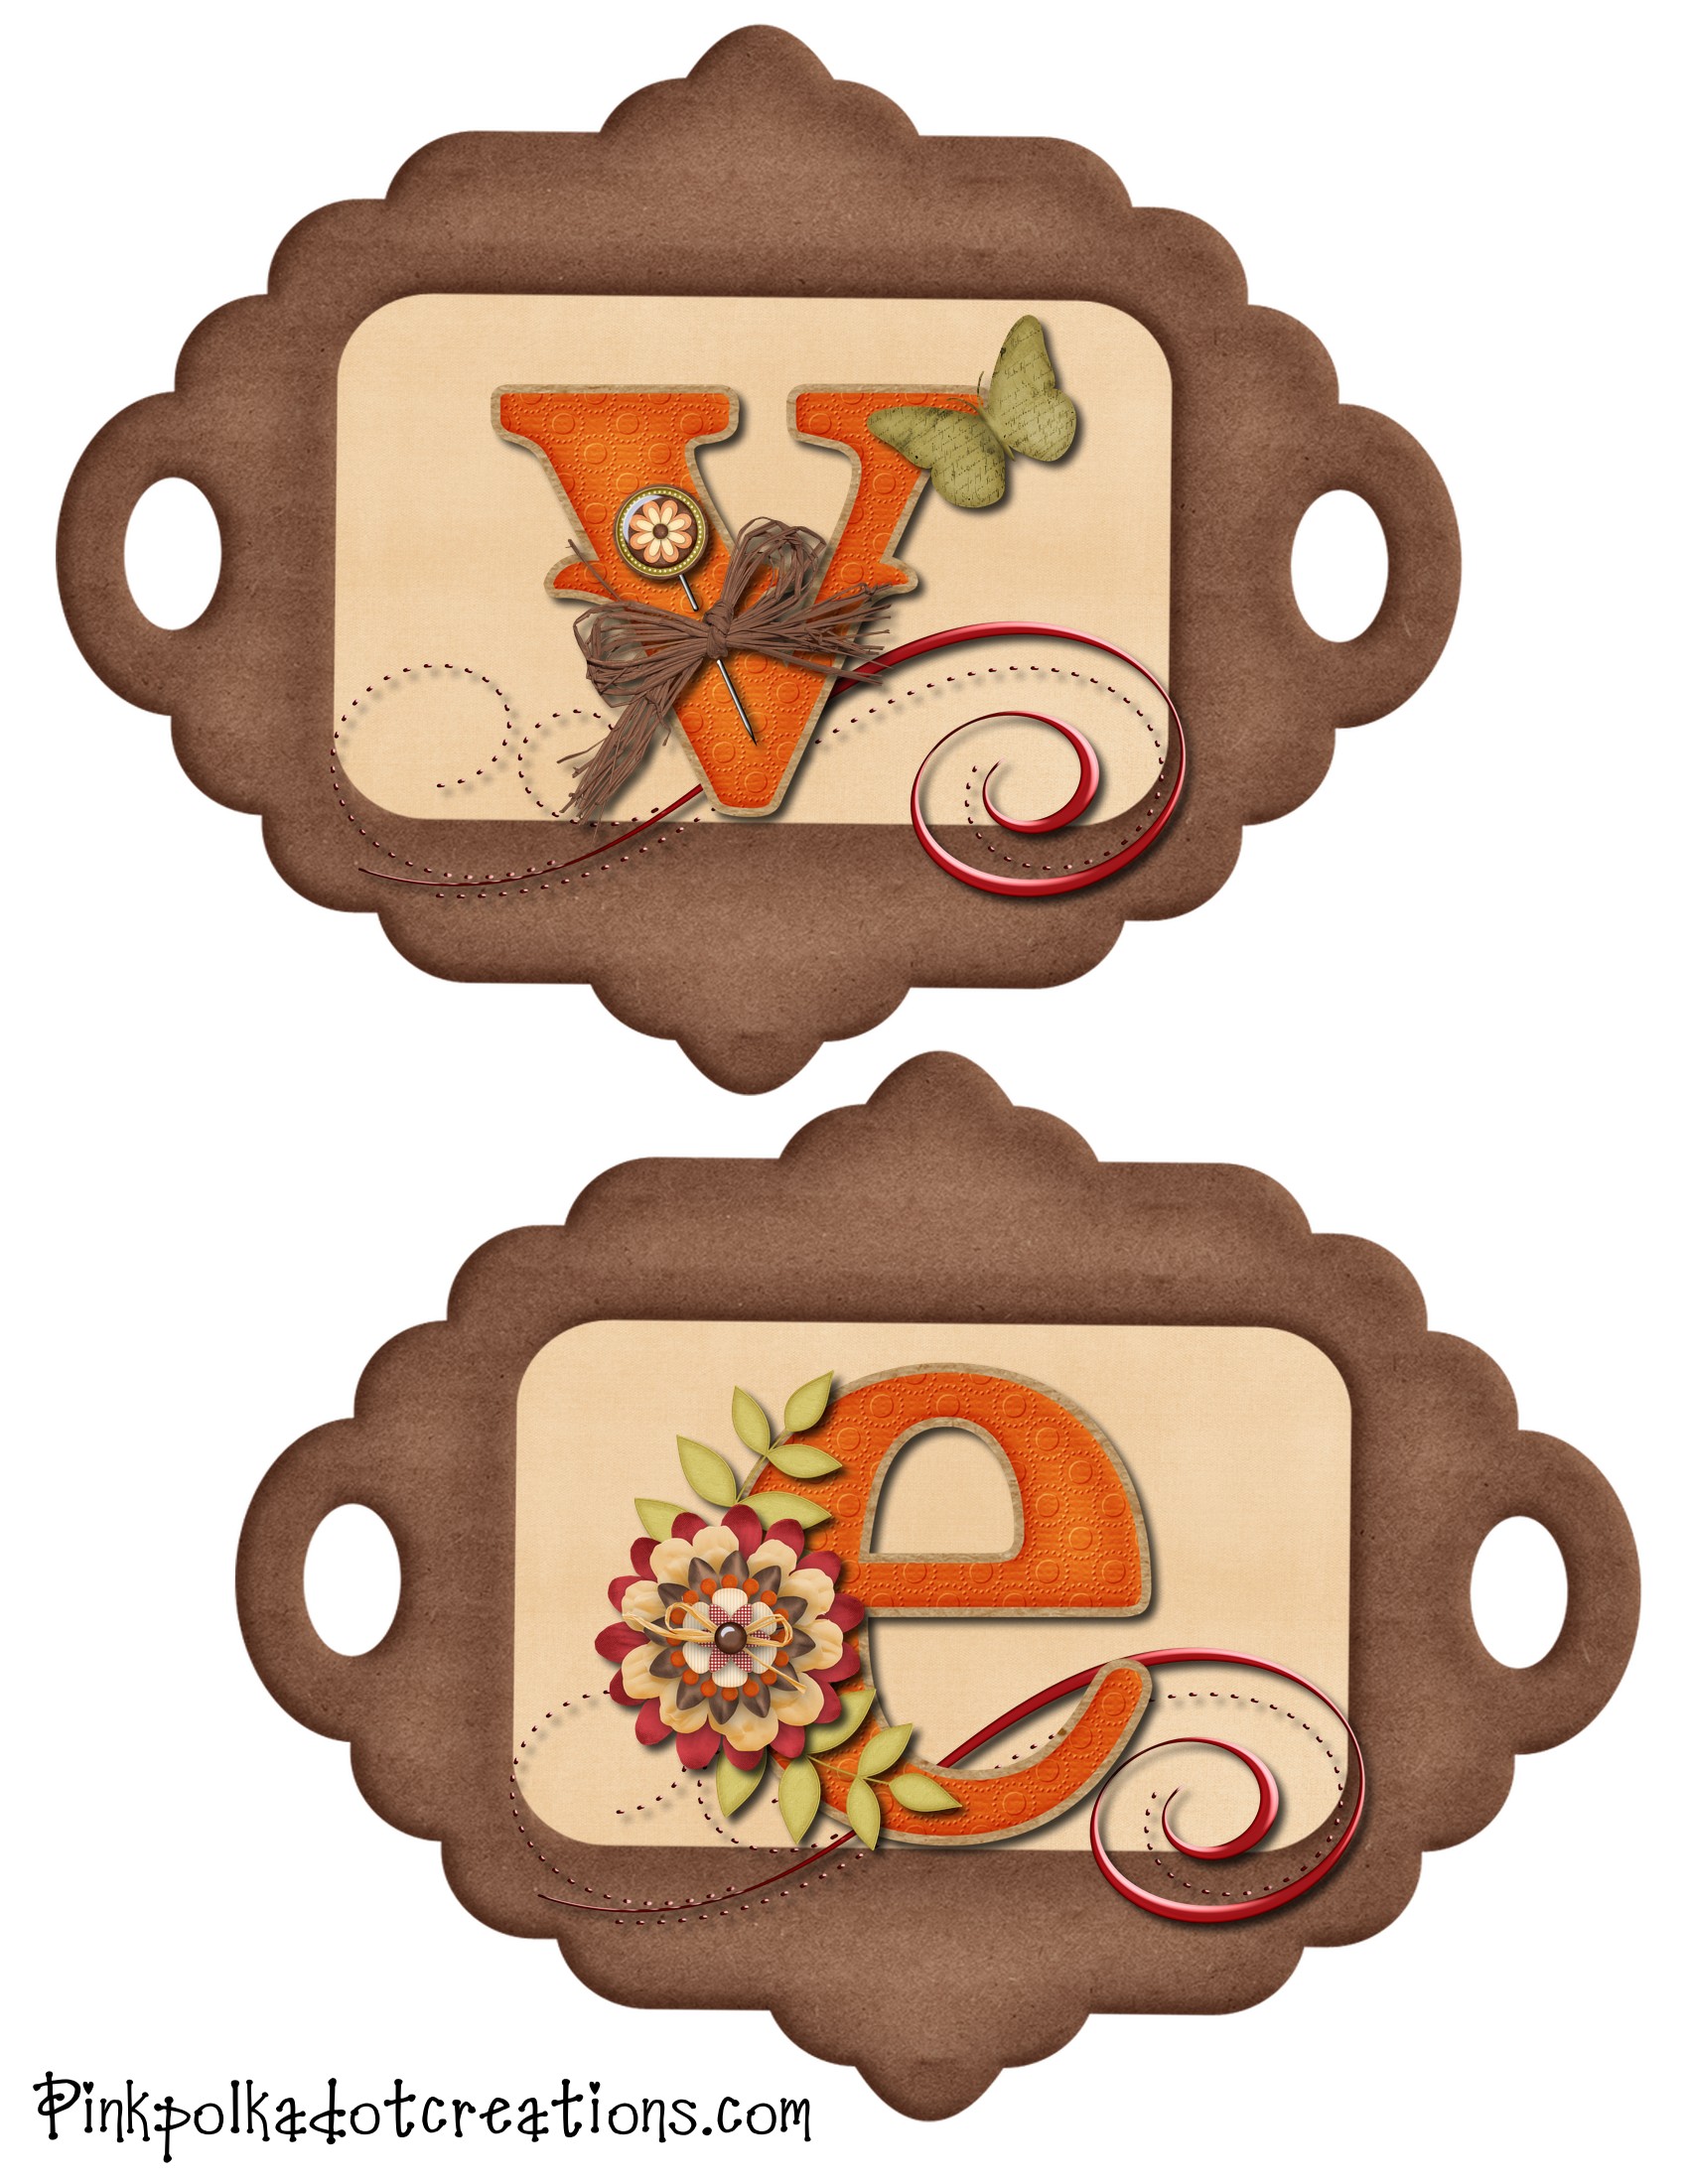
 Here is the printable for the top of the jars. Just right click and go to copy, then open your favorite program, like word, and right click and paste. These are the right size for a wide mouth lid.
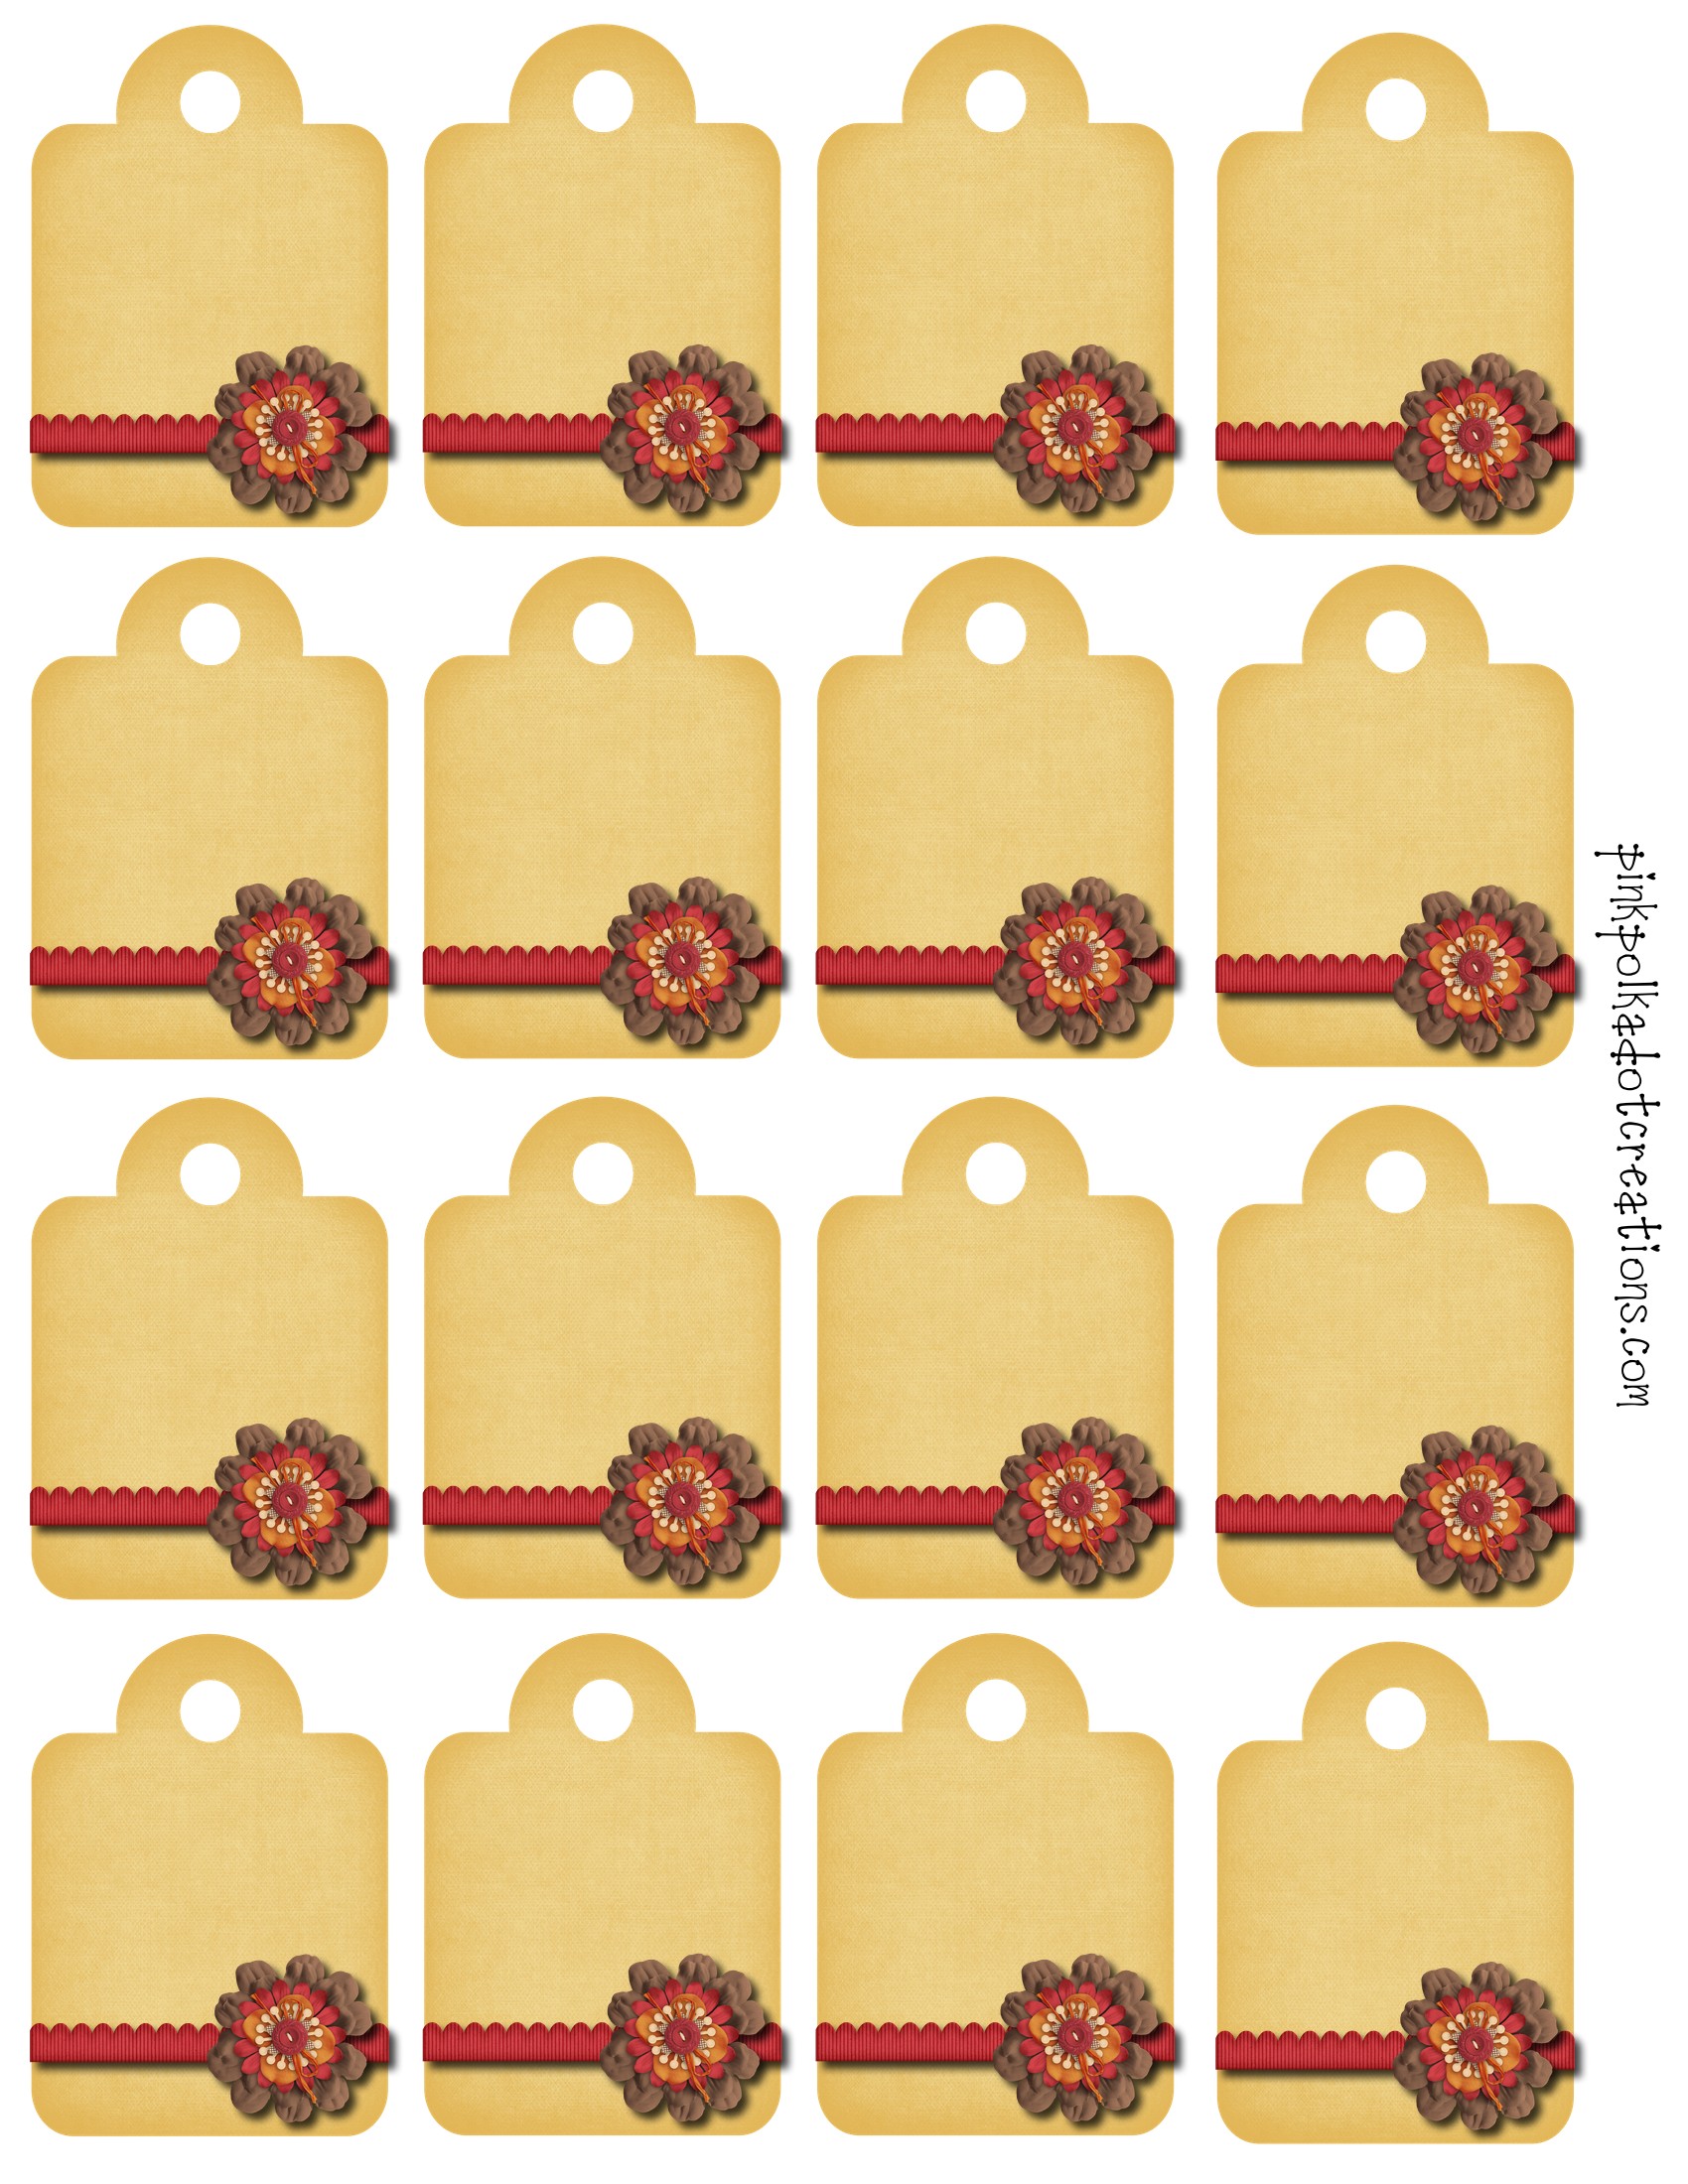
 Here are some cute tags to tie on with the ribbon.
You could buy all ready made pie crust and canned pie filling if you want a faster version of making these. I am thinking it would be way fun to do Pumpkin pies for Thanksgiving!
This is a recipe for No Fail Pie Crust, that I have in an old church cookbook. I cannot remember how long ago, but at least 20 years ago! And I know that it has stood the test of time! I have never had this recipe fail me! Just make sure that you do not over mix the dough.
Happy Pie Making!
No Fail Pie Crust Recipe
4 cups flour
1 3/4 cup shortening
1 Tbsp. sugar
2 tsp. salt
1 egg
1 Tbsp. vinegar
1/2 cup cold water
Mix flour, salt and sugar together. Beat egg, vinegar and water until thouroughly blended. Cut shortening into dry ingredients until it is the size of peas. Sprinkle egg mixture over it, a tablespoon at a time, tossing and stirring lightly with a fork. Mix until dough is just moist enough to hold together. Do not overmix or it will make a tough dough.
Form ball. Let stand for 15 minutes. Makes 4 shells or 2 double-crust pies. Bake shells 8-10 mins at 450 degrees F.







 Make No Fail Pie Crust and roll out quite thin. Using the rim of the jar, cut a round circle for the top of the pie. Then roll out another circle large enough to put down inside the bottle. Or you can just take pieces and press them into the jar. Make sure that you push the dough down into the bottom of the jar, and that you press it all the way to the top. Add prepared fruit, approximately 1/2 cup per jar. These are 1/2 pint wide mouth jars.


