I have some really exciting news to share with you before I get to my regular post! This little old blog is getting a new face lift! I am working with my web designer and I am really excited about the new changes that will be coming soon. We are going to have a fresh new clean look and hopefully it will easier to move about my site!
So stay tuned…
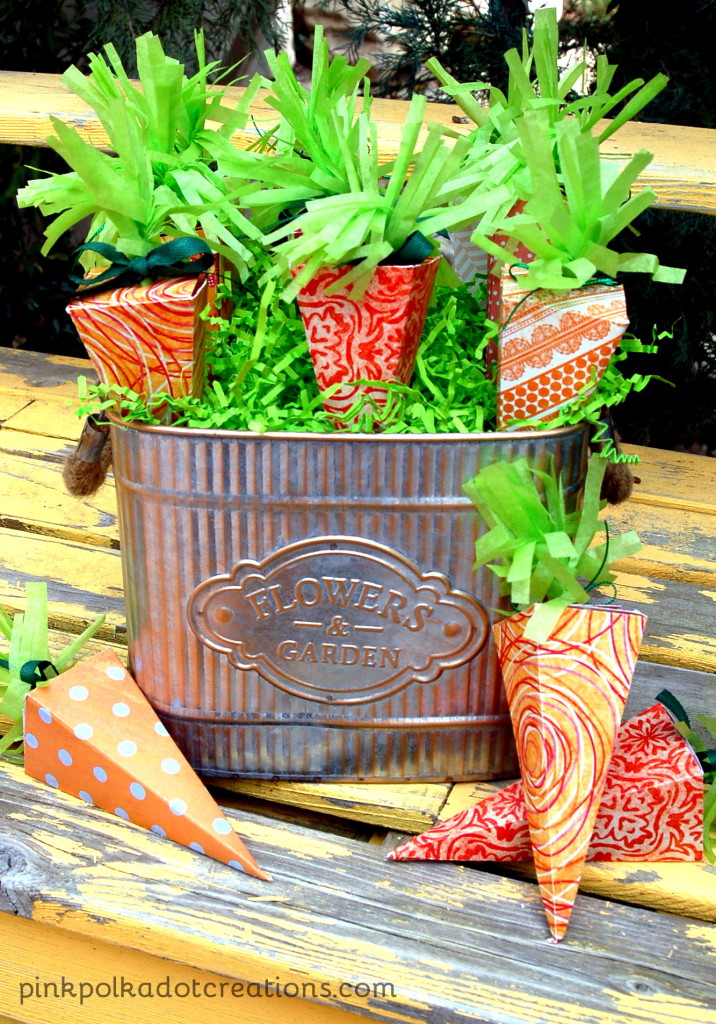
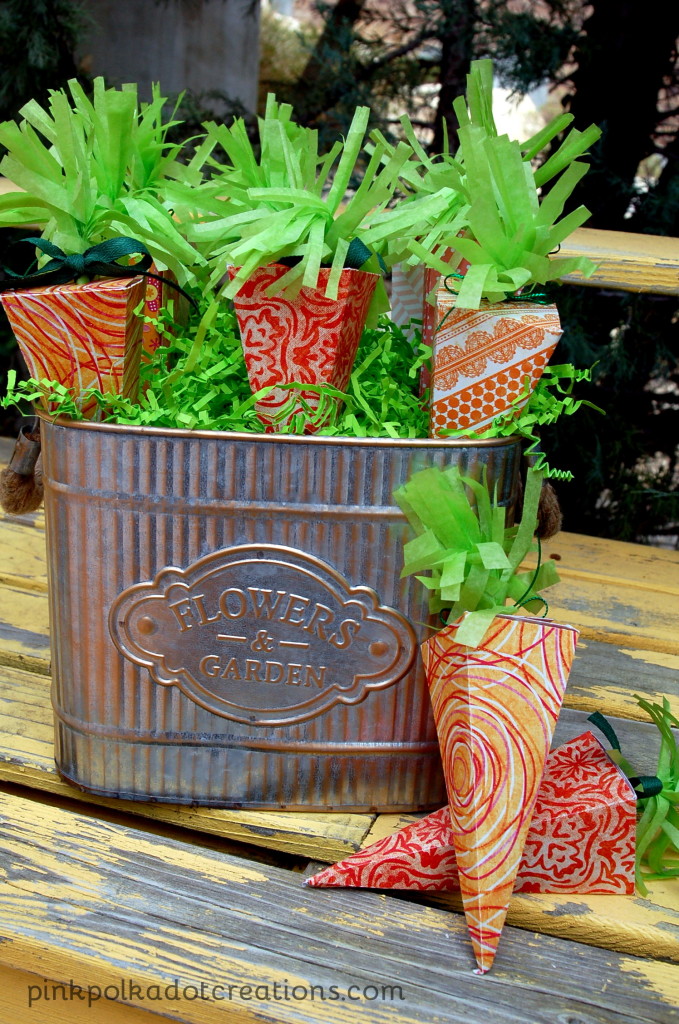
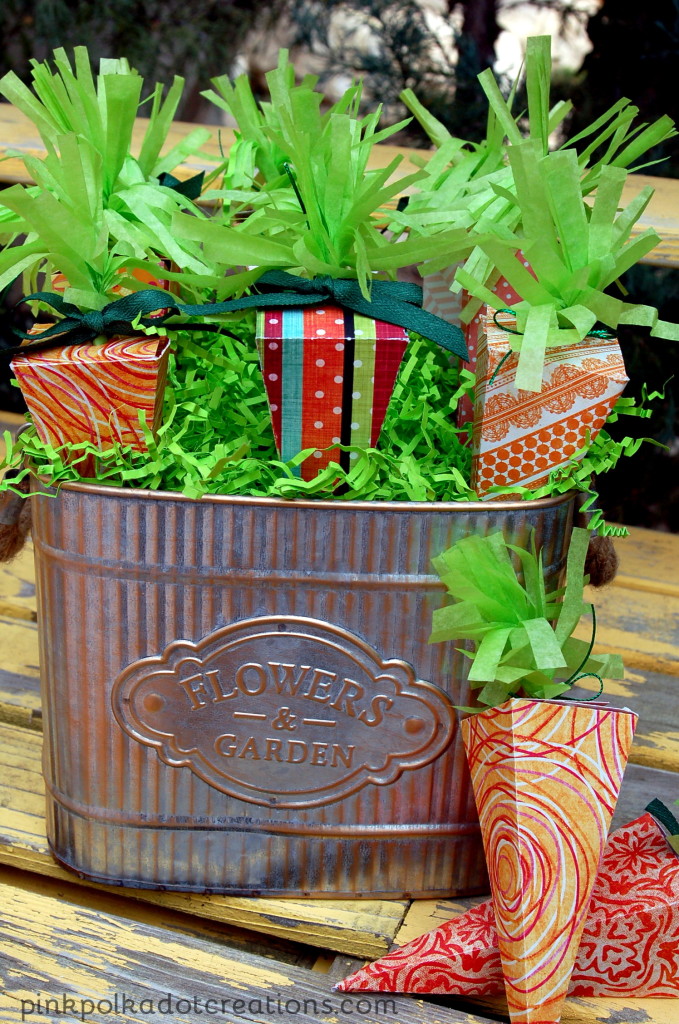
Instead of doing my regular Thursday’s Thought today, I decided that it would be fun to do a paper crafting project! And what girl wouldn’t love having 15 carats carrots for Easter?
I saw these in an ad for scrapbook paper and I decided that it would be fun to make a whole “bunch”.
These are really easy to make and they look so “Eastery”! (is that a word?)
So does anyone else want to make 15 carrots, or maybe 3 or 4?
I just have such a big family that I had to make a whole garden full of these!
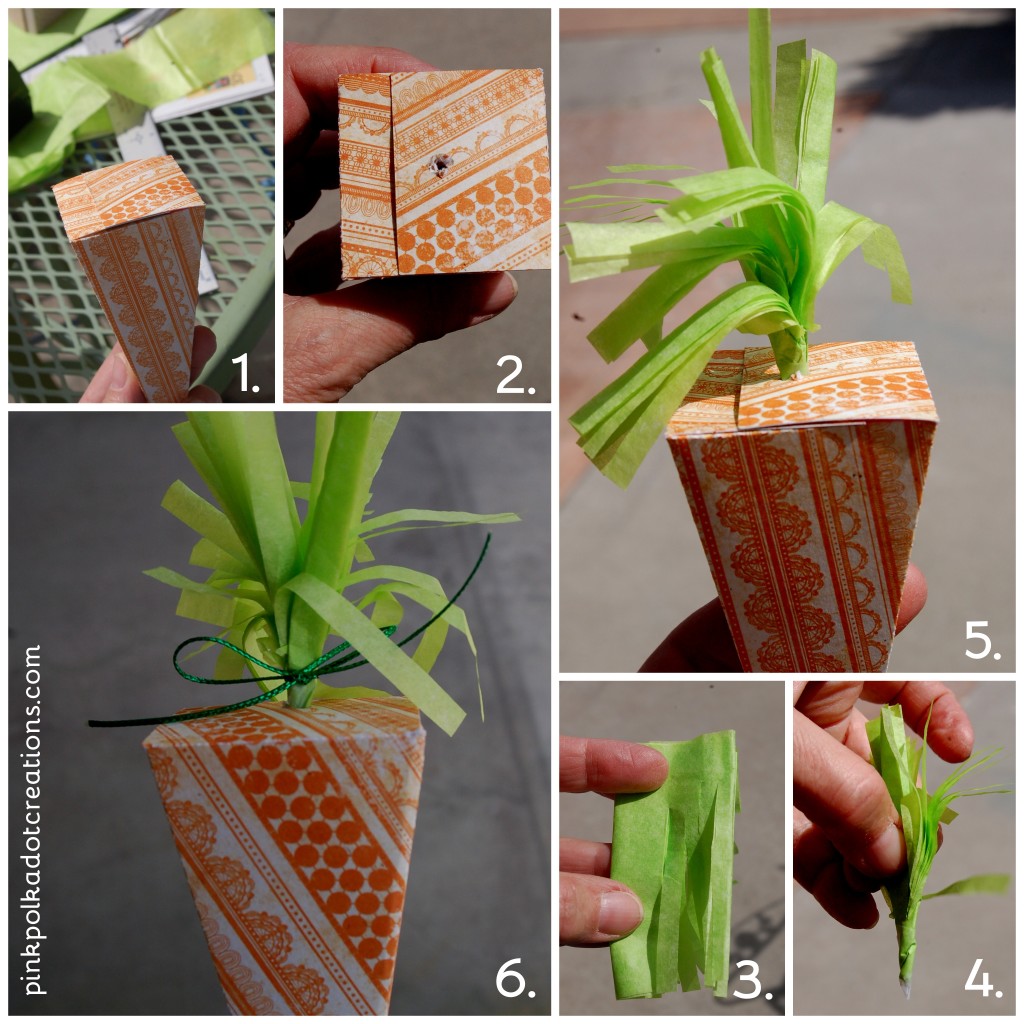
1. Cut out, fold, glue together and fill. Glue the top closed, be sure to apply glue to the two side tabs and the top flap. I tried to just glue the top flap closed and they did not maintain their shape as well!
2. Poke a hole in the middle. I just used my scissors, but you could use a paper piercer if you want.
3. Cut a strip 3″ x width of tissue paper, then cut that in half. Fold one piece into 4th and cut narrow slits to within 1/2 inch of the bottom edge.
4. Roll the strip tightly and twist together, then tape the end.
5. Insert the “grass” into the hole in the top of the carrot.
6. Tie a cute ribbon around the base of the grass. (Optional, but you know how ribbon just makes every thing cuter!)
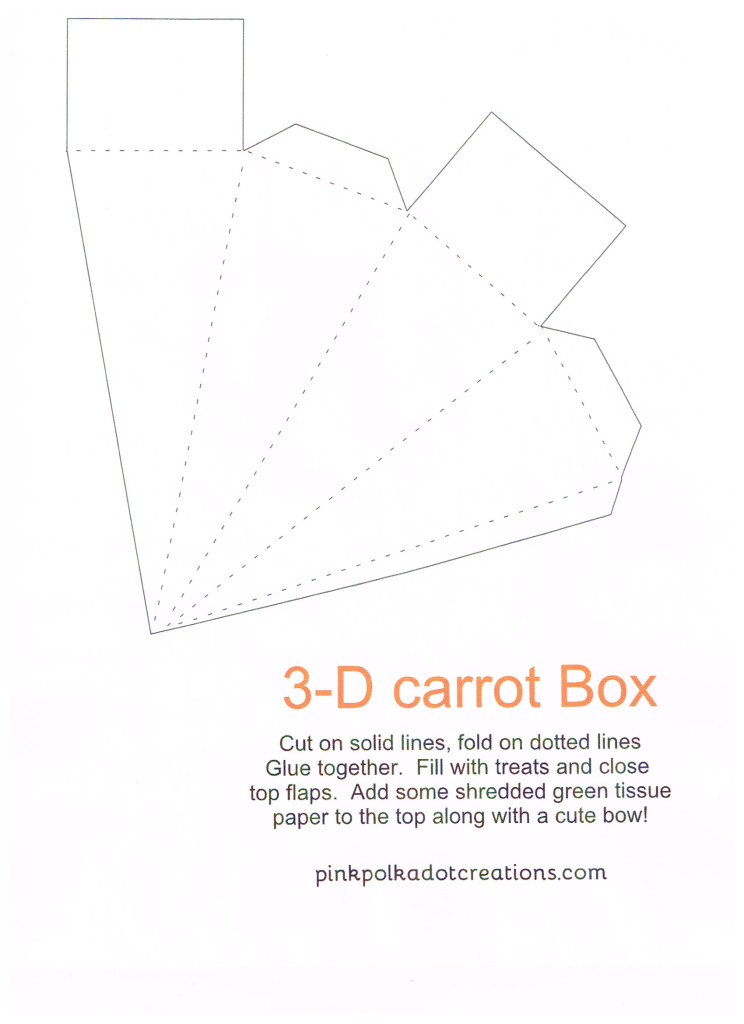
Here is the pattern for the carrot. To print, right click over image and go to “save image as” then save in a folder, or you can right click over the image and go to “copy image” then open your favorite program like Word or Presentations and right click again and go to “paste”. This is formatted to an 8.5 x 11 size.
Just print this directly on to your cardstock paper or print the pattern and cut the pattern and your cardstock together. Score on the dotted lines and then fold for a nice clean fold, or use a ruler to help you fold the lines.
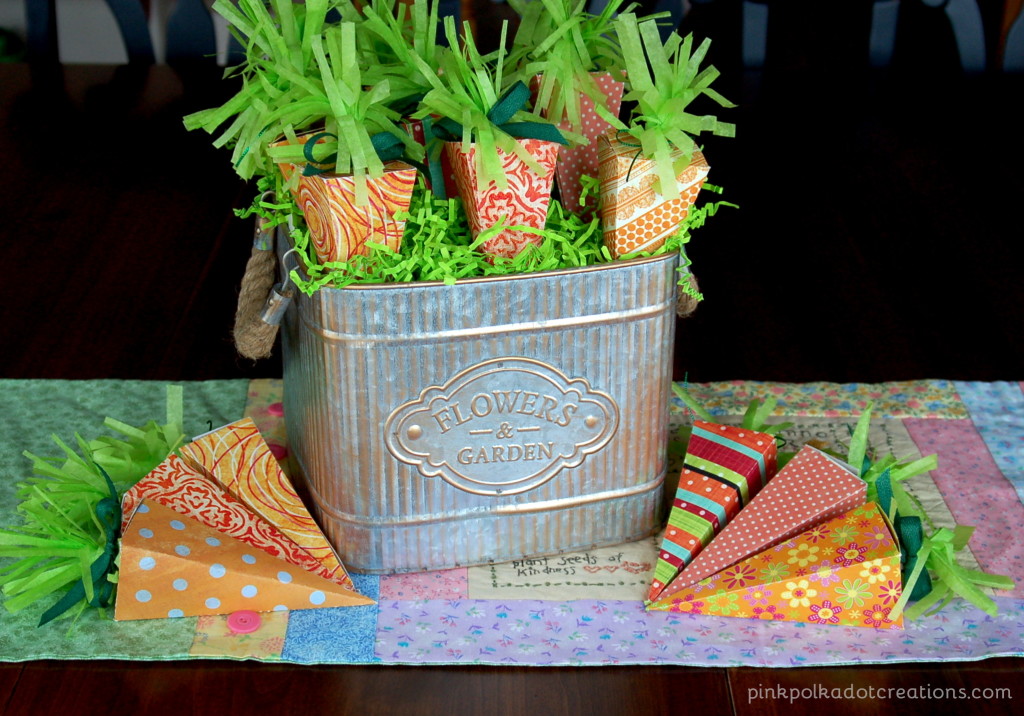
These would be darling on each place setting for your Easter dinner.
Here is my little carrot patch on my kitchen table all ready for the big day!
So does anyone else want to make a little carrot patch for their family and friends?
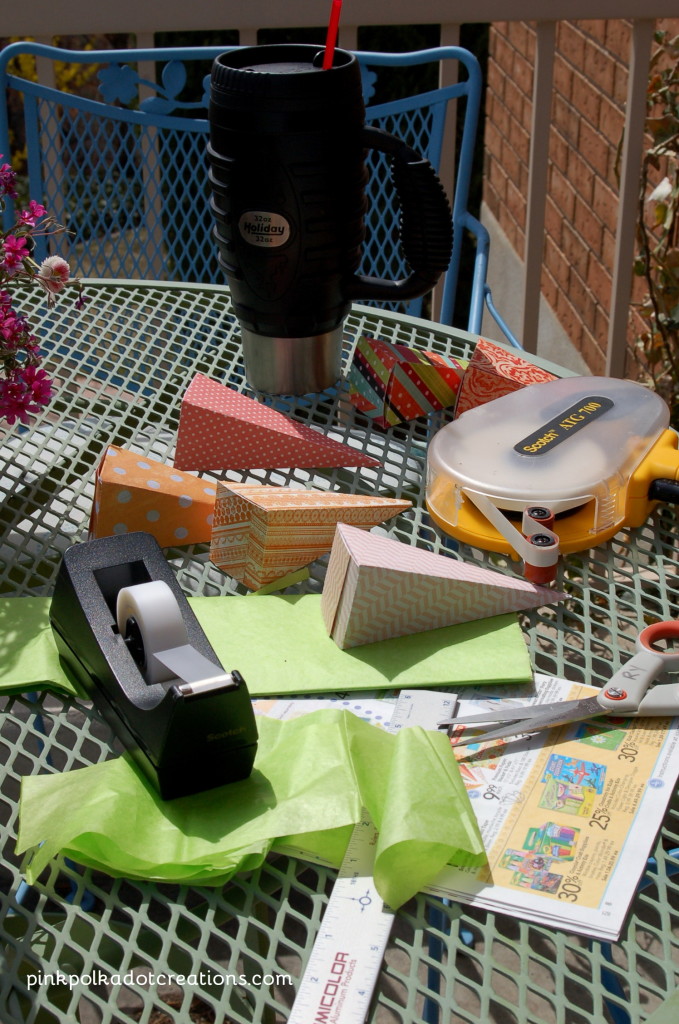
It was such a beautiful day when I made these, that I decided to work on them outside! It was great except for the breeze that kept coming up and blowing the tissue paper everywhere! Yes that is my diet Coke…it goes everywhere with me! :)
I hope you have a 15 carrot day today!
Thanks for Visiting! Love Ya!
Keep in touch…Like on Facebook and Pinterest



Where did you get the bin they are in that is so darn cute love the handles front just all of it. These carrots are so cute.
Carrie, How fun to hear from you! I got that bin at Home Goods in Arizona, but you could check the one here in Utah.
So cute! And I have just the perfect container I picked up at the thrift store. Thanks for sharing!
Don’t you love it when you already have what you need to make a fun project! :) Have a great day.
Oh my gosh; these are so adorable!
Thanks for joining the Link Up this week!
Very cute!
Wouldn’t it cute to fill them with tiny candies for the kids! I love this idea, they are adorable.
P.S. I am a grandma of 14 and check your blog every month for visiting teaching idea’s and everything else!
Linda, That would be a great idea! Isn’t being a grandma the best thing ever?! Thanks for taking the time to write your kind comment. Hope you have a great day! Rita