This weekend we are doing a Girl’s Craft Retreat and this painted board is one of my projects! I did one of these here and I told you that I would show you how to make one, so here it is! I have a great little trick for you that will help you get clean, crisp lines with no paint seeping under.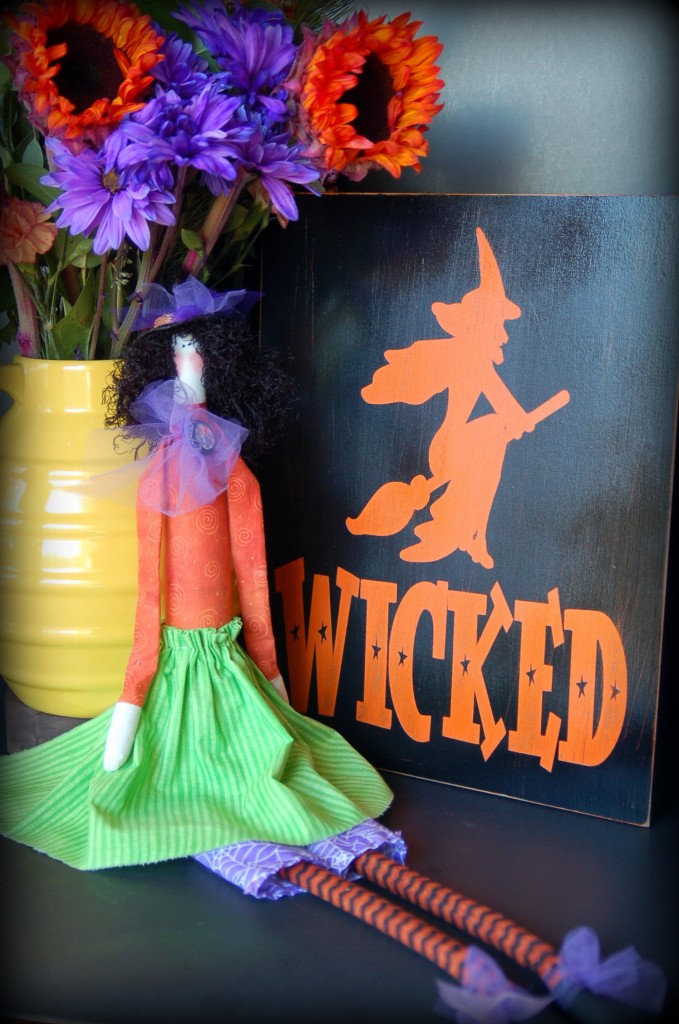
So does anyone want to make a fun painted board?
You can do this project on any piece of wood. I did these on a framed piece, so they will stand on their own, but you could use a 2 x 12 cut to size. The size of this board is 11″ x 14″. The first thing you need to do is paint the color that you want to show through. In this case, it is the Pumpkin Orange. I painted two coats because I like to distress it a lot and this gives me one more layer to work with! (sorry about the poor quality of the picture, it was late at night and the lighting was horrible!) One really important thing about this project is that you need to let the paint dry really, really well. Don’t try to hurry it!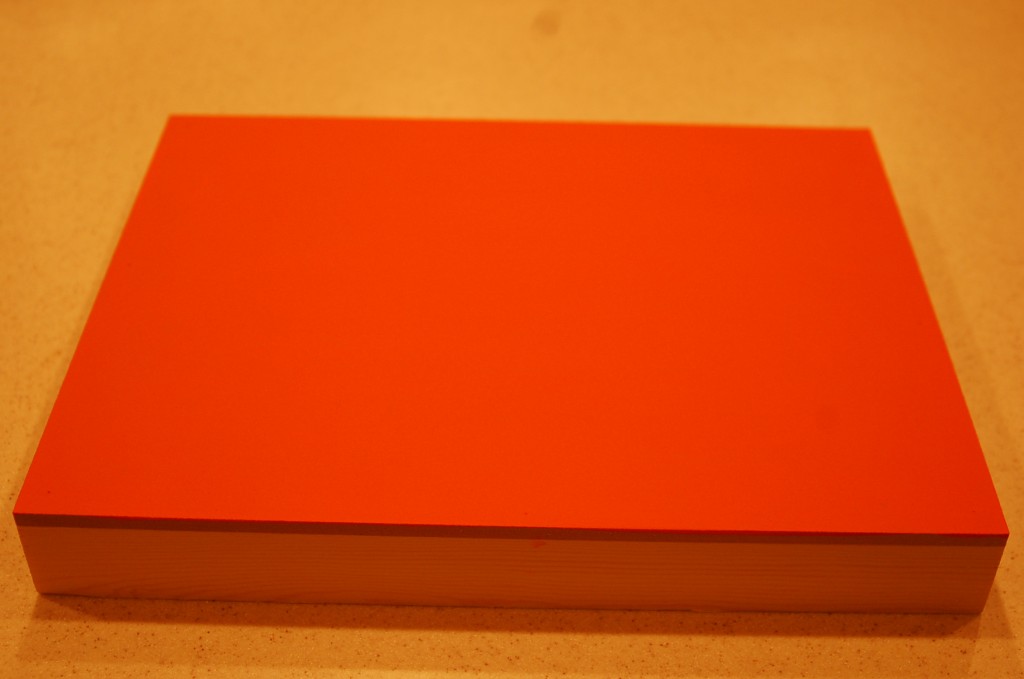
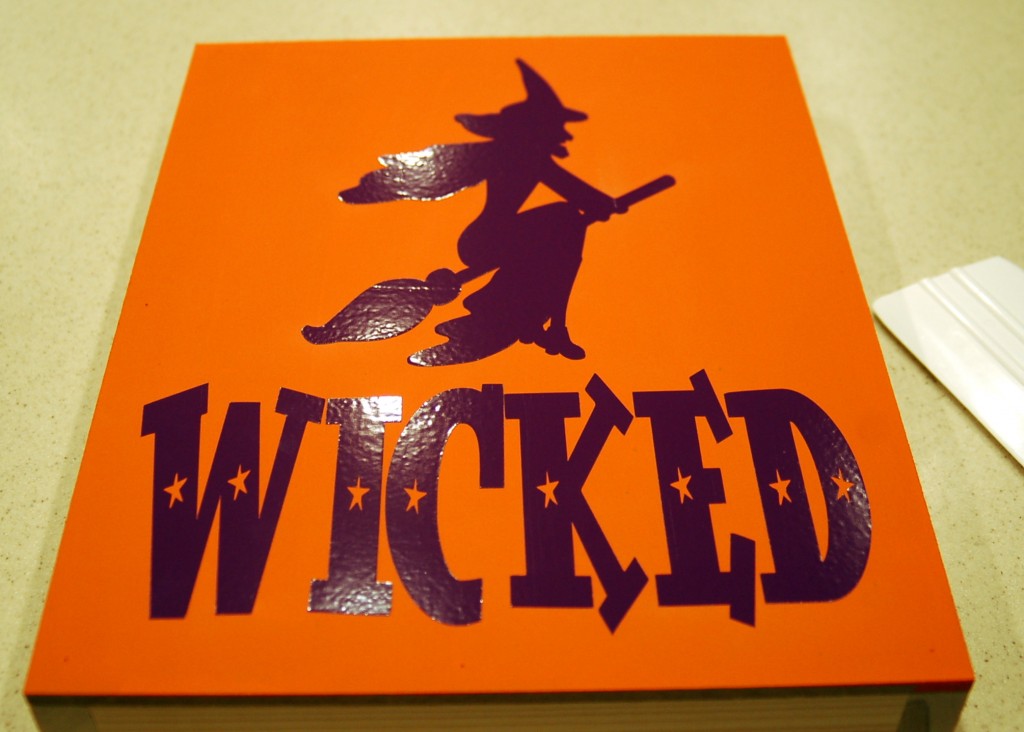
After the paint has dried, apply your vinyl. I used this beautiful purple vinyl because it is not going to show when our project is finished! Rub it down really well and go around all the edges good.
Here is my image for the vinyl. If you have the ability to import to your vinyl cutter, you can just “save image as” and use this to make your own “Wicked” board.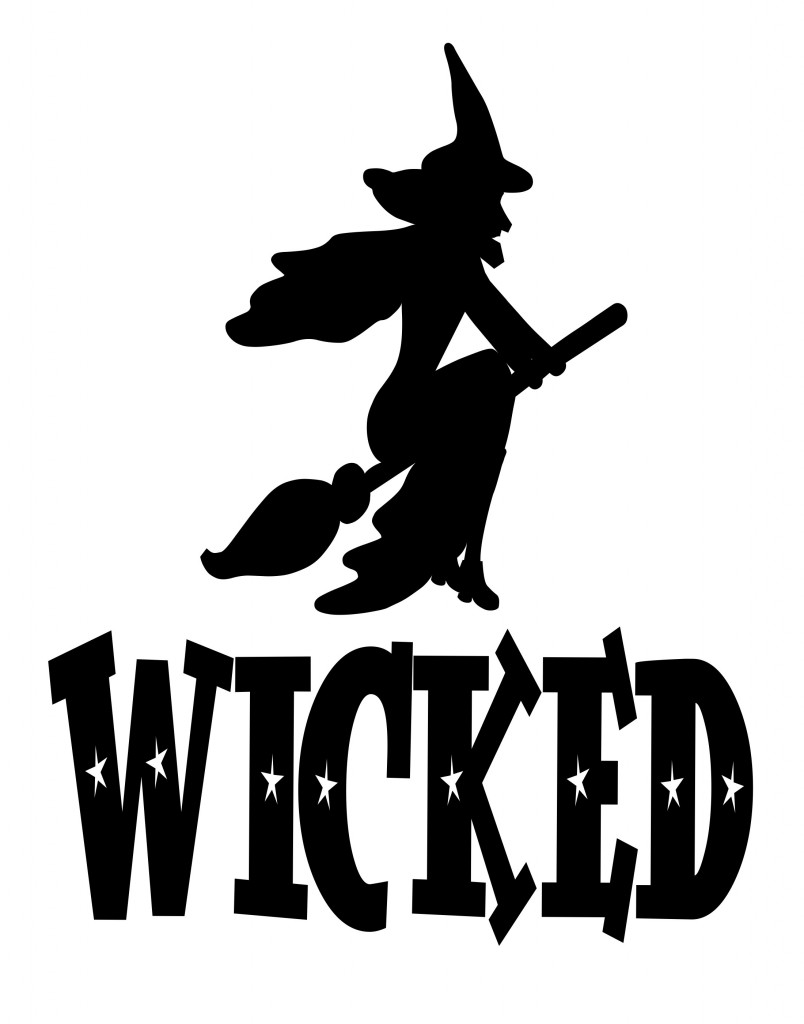
Here is my secret little trick: paint a coat of mod podge over the entire top of the board. This will prevent any seepage, because the mod podge seals it! Let this dry really well! 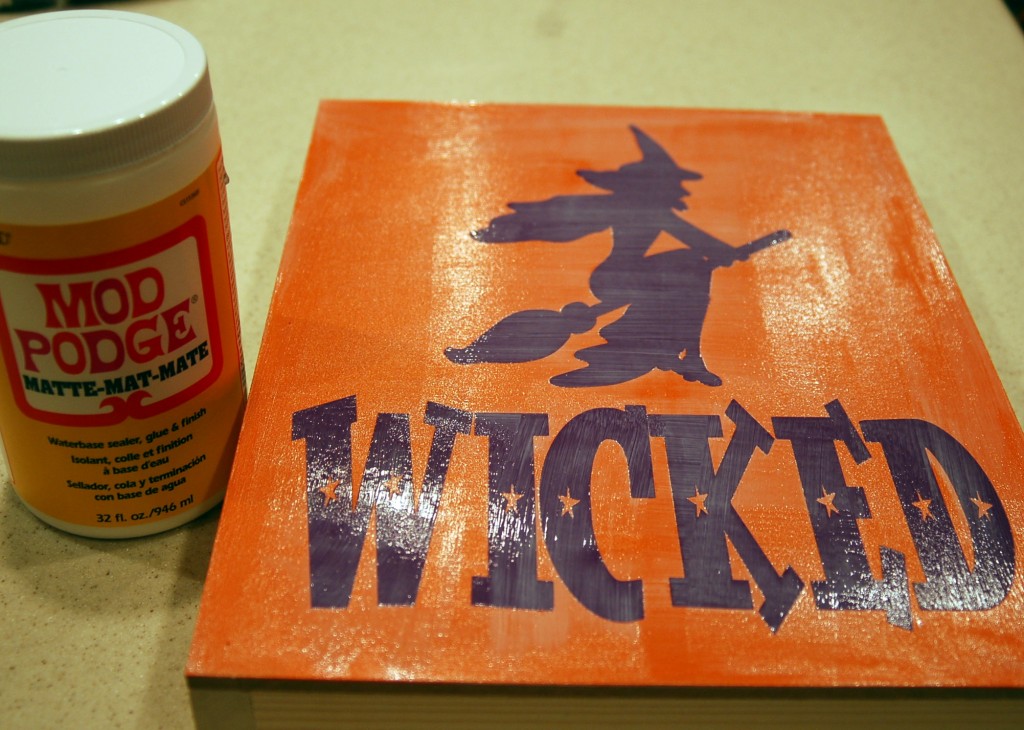 Next you will paint 2 coats of the top color. In this case, Black. Again, you will need to let this dry really well.
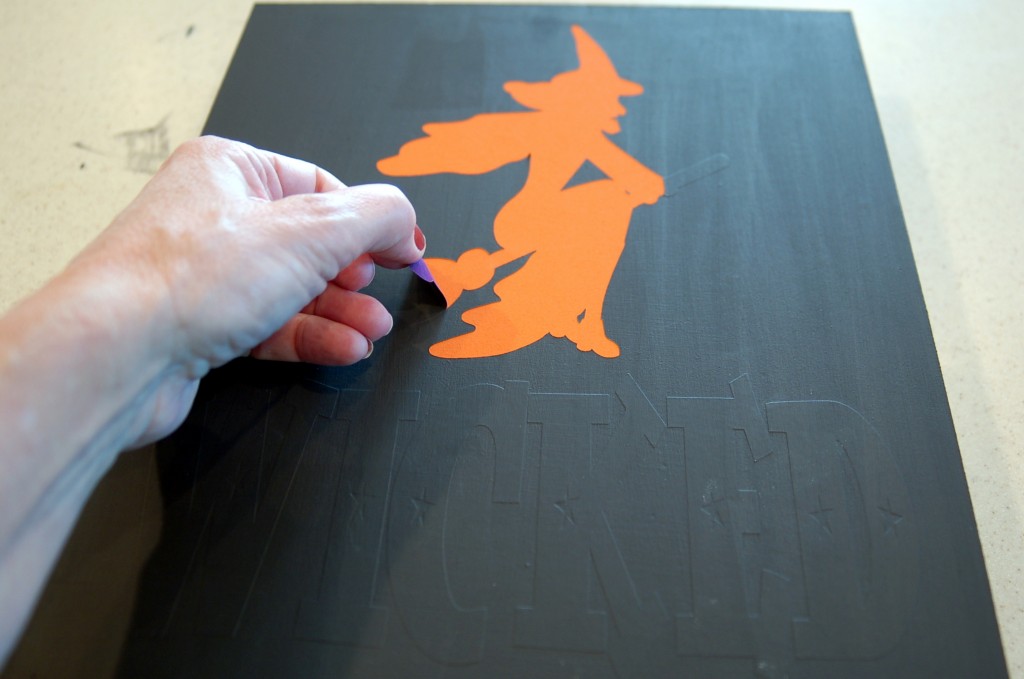
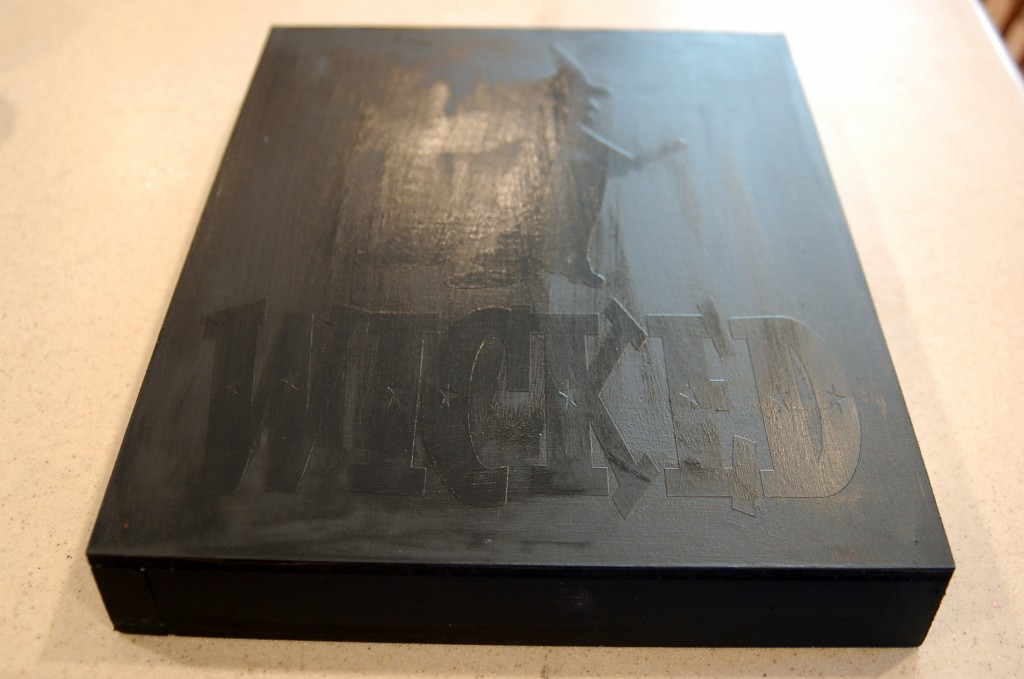 Now you will peel the vinyl off the board, revealing the orange pattern.
 Sand all the edges and then sand the entire front. This will drag some of the color into the other color. In some places I sanded right down to the wood.
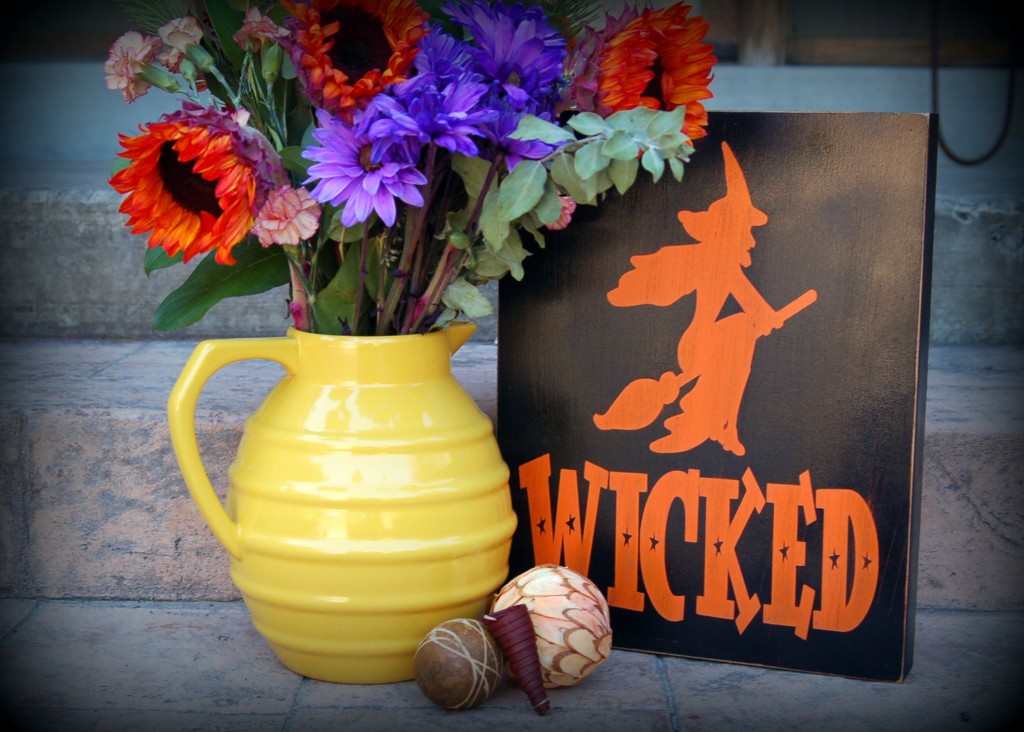
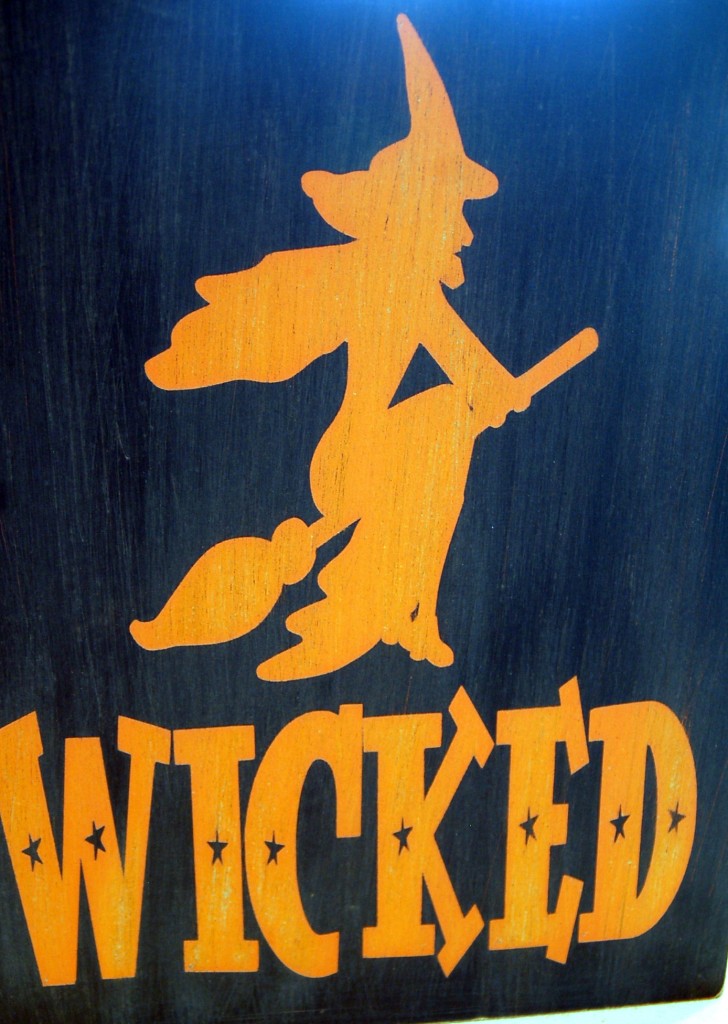 I did a light spray of varnish to finish it off, and I think that it turned out just “wickedly!” Here is my little Halloween display. I love these flowers that my neighbor brought over to me because I did a “very small” vinyl job for him. I definitely got the better end of that deal!
 Have a great weekend everyone! Love Ya!
This post is from pink polka dot creations. If you are not reading it from our feed, it has been STOLEN. Please contact Rita to let us know. Please enjoy the posts!



This came out great!! TFS!! Stopping by from I Heart Nap Time linky party.
Here is what I shared: http://craftybrooklynarmywife.blogspot.ca/2012/09/another-fur-baby-coat.html
Love it!
So super cute!! Very creative! I would love for you to come link up your awesome blog to my Get Social Sunday party!
http://alivedinhome.blogspot.com/2012/09/get-social-sunday_16.html
I love it!
I’m hosting my first linky party – would love for you to join in:
http://westernwarmth.blogspot.com/2012/09/weekend-warmth.html
Thanks,
Bobi
Oh my gosh this is so cute! I hope you will link up to my Wickedly Creative Halloween Ideas Party if you haven’t already.
http://www.itsybitsypaperblog.com/2012/09/2012-wickedly-creative-halloween-ideas.html
That looks great! And I LOVE your tip about using the mod podge! Would love for you to link up to the Pomp Party!
http://www.createcraftlove.com/2012/09/pomp-party-36.html
What a fun board…I really need to buy a machine to cut out all these fun vinyl designs! I love this one!!!