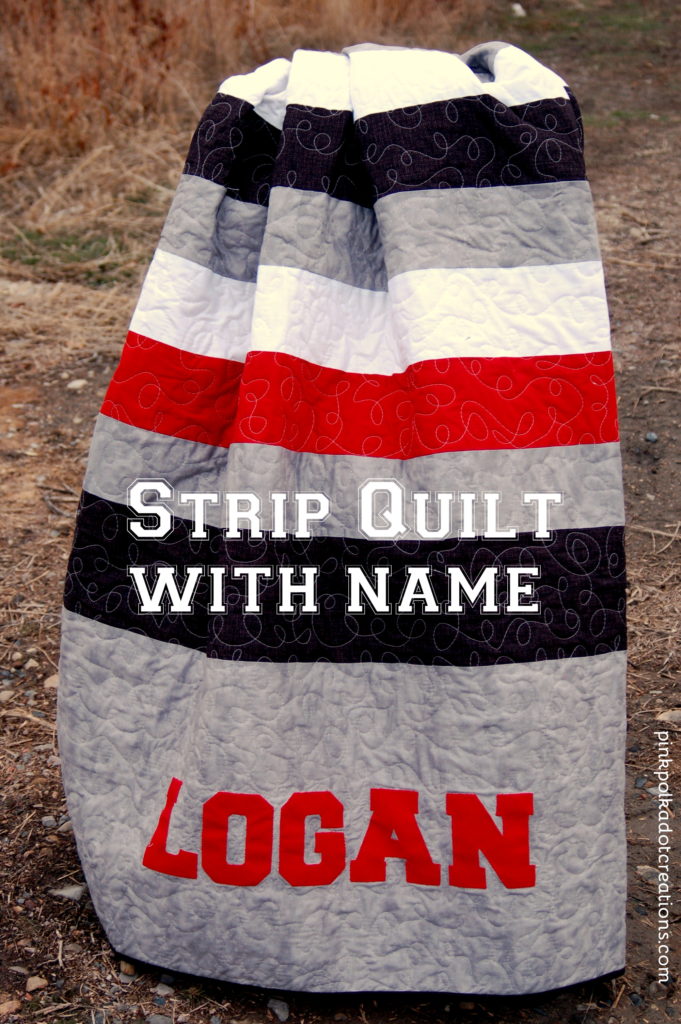
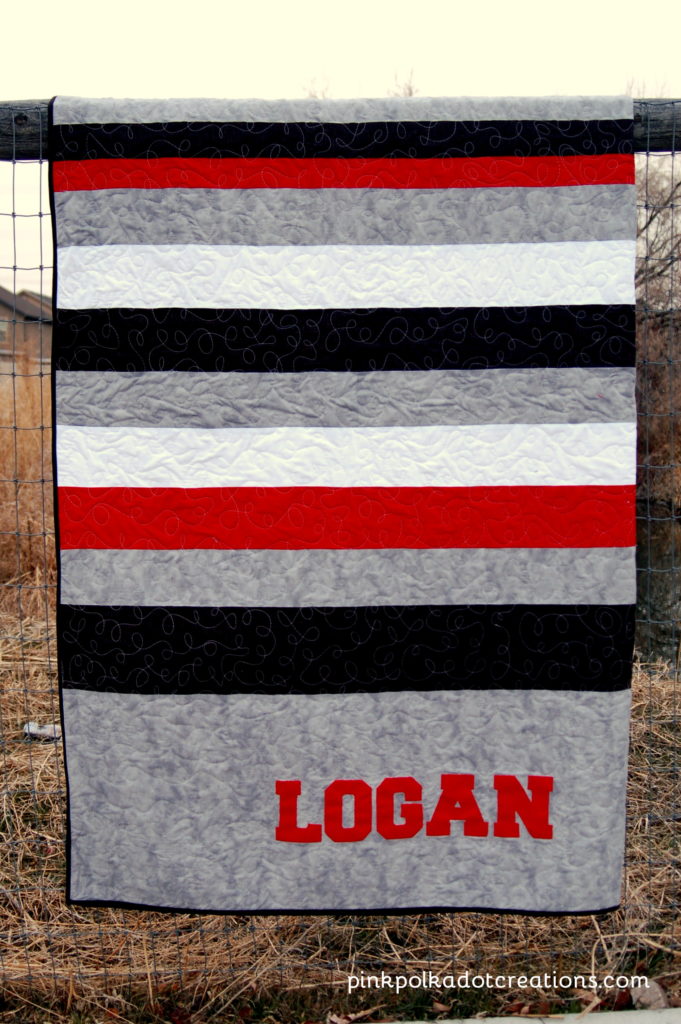
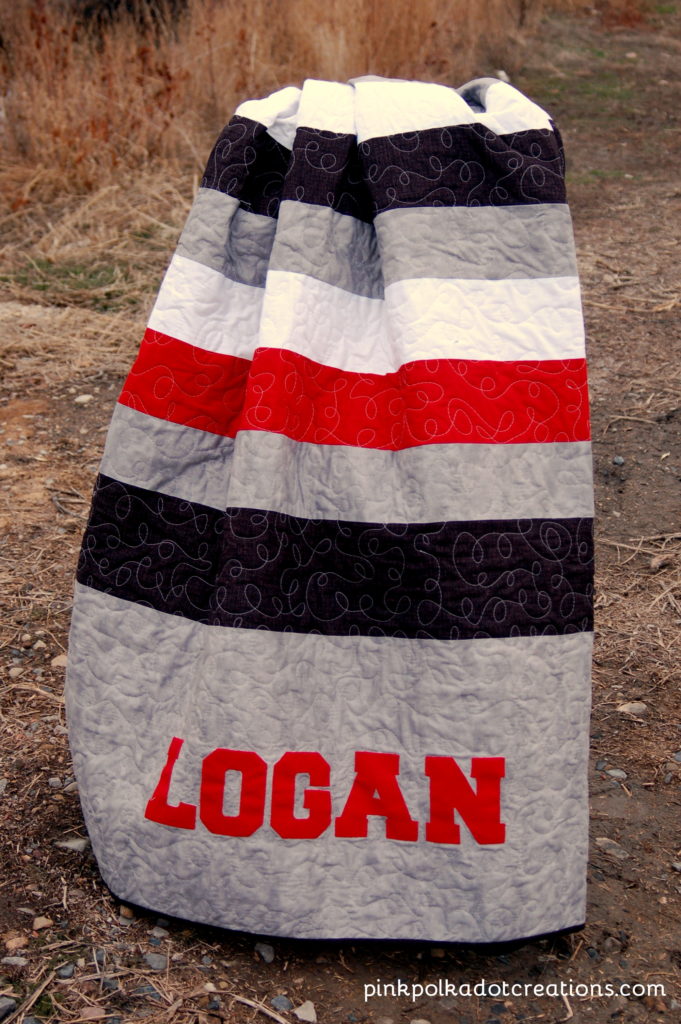
A few days ago, I showed you a Plaid Flannel Quilt that my daughter made. Today I want to show you how to Make a Strip Quilt with Appliqued Name!  This quilt is simply strips sewn together to the length that you want! There are several different sizes of strips. My daughter wanted this quilt to fit a queen size bed, so the dimensions are 60″ x 80″.
She knew the colors would be red, black and gray and it turned out amazing! The strips range in sizes from 2.5″ to about 18″ for the bottom border.
We were able to buy some fabrics that were already 60″ wide and some fabrics we cut strips from a 60″ length of fabric. There were a couple of strips that she had to piece, but this quilt went together very quickly!
For the name, we printed the letters from the computer. After that, we traced them onto wonder under. She ironed the wonder under onto the red fabric and finally ironed the letters to the bottom of the quilt. She asked me to do the applique sewing around the letters…and then it was ready to quilt! My daughter did an all-over loopy pattern for the quilting. We did not outline the name, but we did do some close stitching all around the letters to make it stand out.
She asked me to sew the binding on with the machine. But she did all the hand stitching on the binding. Here is a tutorial for how to put binding on a quilt.
Again, this quilt was easy to put together. You could make it any size that you want by adjusting the width, and the amount of strips that you use.
So that is how to Make a Strip Quilt with Appliqued Name.
You could also make this quilt in your favorite team colors and name. It would be fun to take to all the games to show your school pride!
Do you see a strip quilt in your future? They are fun to make and you can personalize them to any color and name!
Thanks for Visiting! Hope your day is AWESOME!


Have you ever made a tee shirt quilt? I have all the squares cut but am not sure which way will be the easiest.
I don’t go to the drive-up window because I like going inside because they are all so nice.