On Monday, I told you about my fun week last week…well, today I have one of the sweet purchases that I made!
I found this at “All that stuff in the Barn” in Midway, Utah.
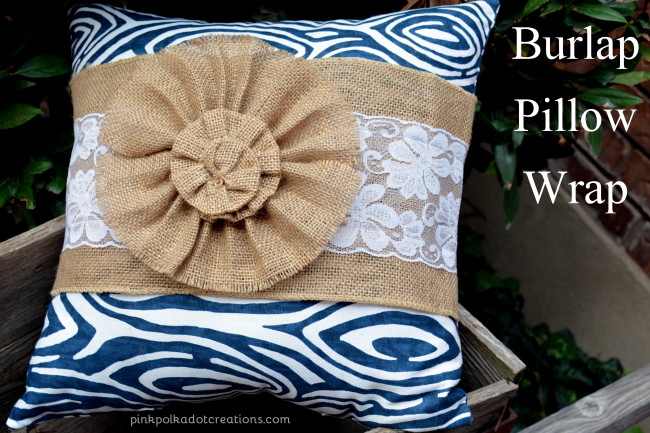 I love this beautiful burlap pillow wrap! It is so simple, yet so sophisticated.
Start with a simple pillow. I made this pillow a 15 x 15″ size. It is a simple square that you sew around all 4 sides…leaving an opening to stuff. I used the stuffing from a cheap bed pillow. (You can get these at Wal-Mart for about $2.50) Stuff the pillow and sew the opening closed.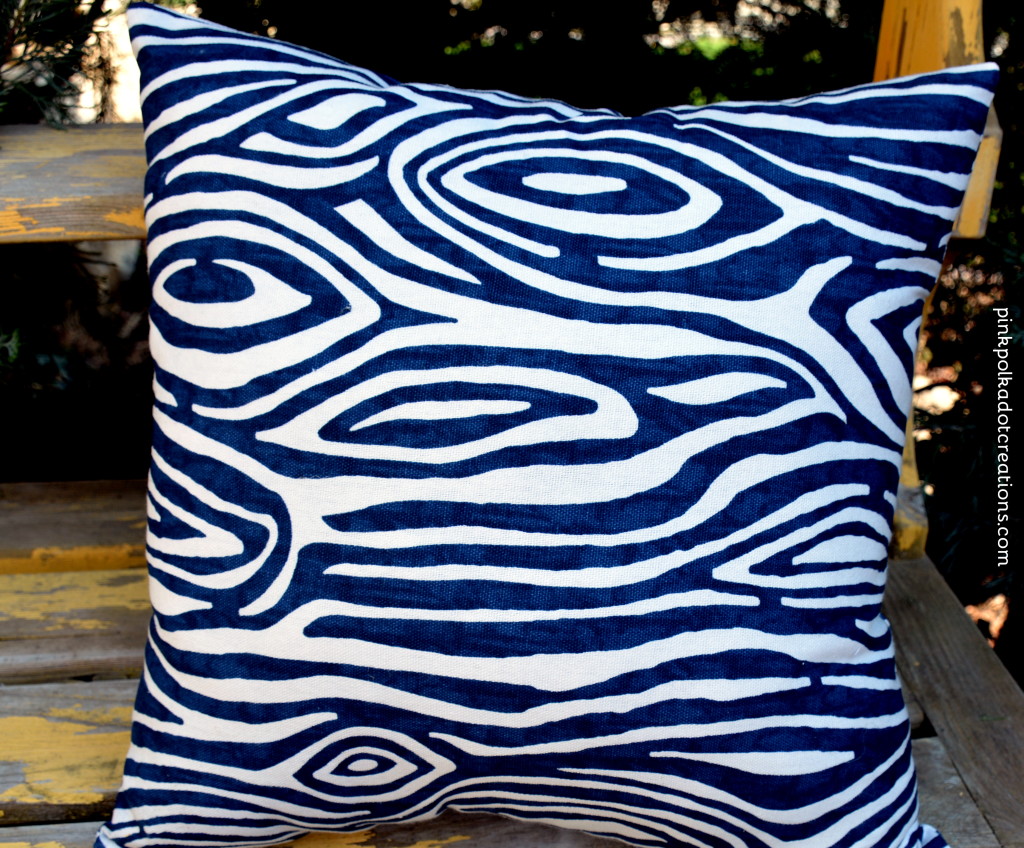
+
=
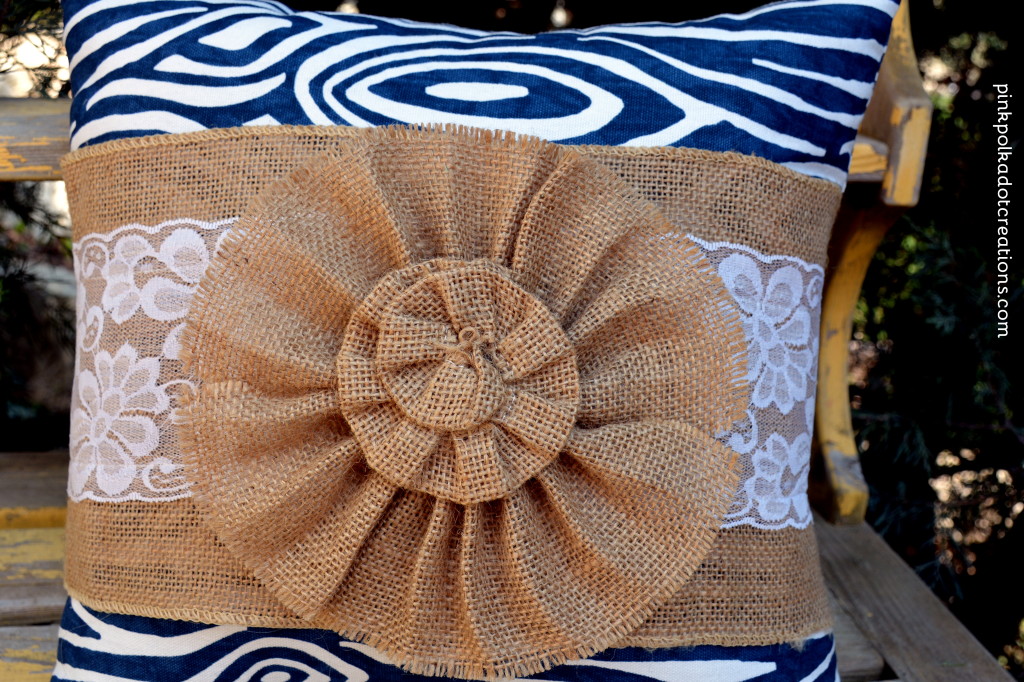 You could make this wrap in any fabric. I love the burlap though, it just gives it such character!
This pillow and wrap are very simple, they are a fun beginning sewing project, if you are just learning to sew…this is a great project for you!
To make a burlap pillow wrap for a 15-17″ pillow:
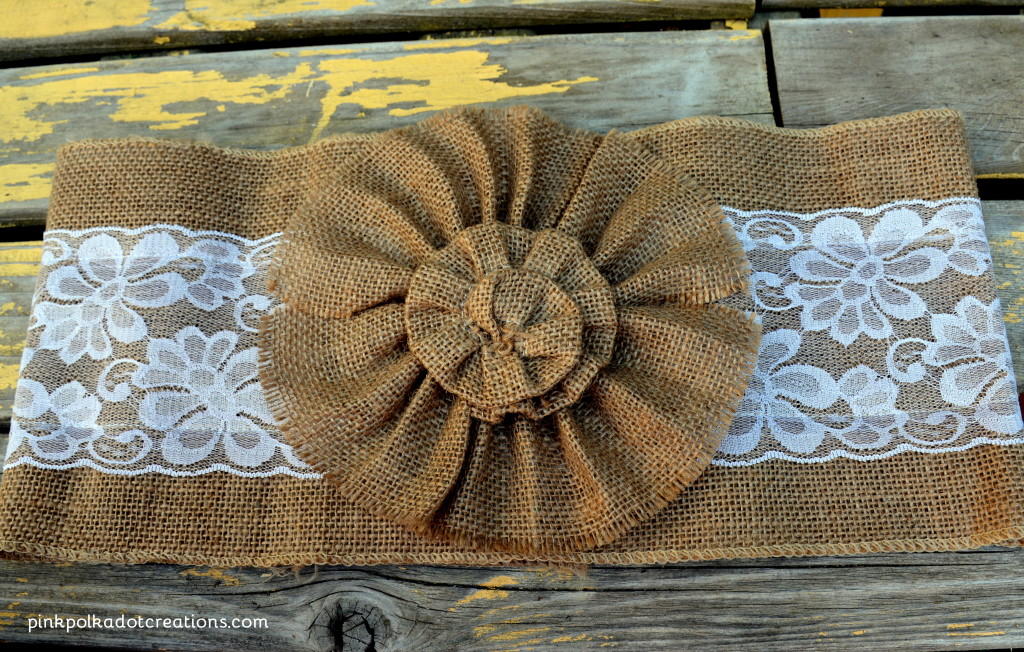
Cut a strip of burlap to 36 x 7 inches. Serge or zig-zag the edges to prevent fraying. Sew a 7 inch wide lace to the center. Embellish as desired. This flower is just a 3.5 inch strip that is gathered into a circle. (The length will depend on how gathered you want the flower to be.) The center of the flower is 3 inches wide. Fold in half so there are no raw edges showing, gather and hot glue or stitch into place.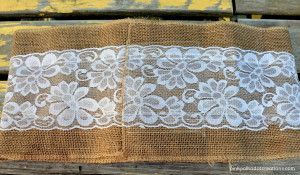 (Back view)
Stitch Velcro horizontal to the edges, making the pillow wrap adjustable. Stitch two rows of Velcro, one at the top of the lace and one at the bottom.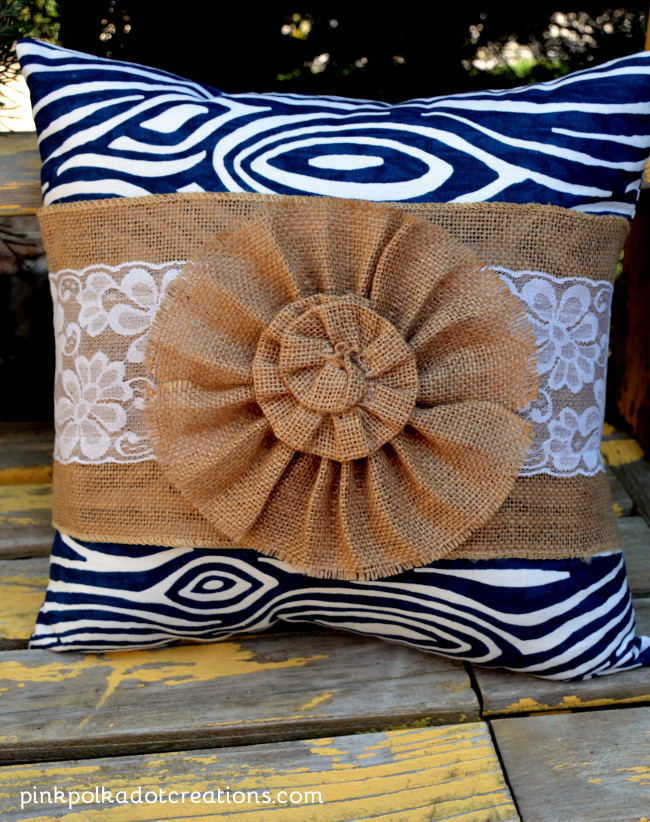 So there you have a very fun, pillow wrap, that is a cinch to make! I think that I need to make a bunch of these! This navy blue pillow is going to go in my living room with my robin egg blue chair. I think this pillow will accent that chair beautifully!
Do you need a fun little pop of color to spruce up one of your rooms? This is a very easy, simple, inexpensive way to do that! I think that these would also be fun for my outdoor living spaces!
Thanks for Visiting Today!
Laundry room update—I got my laundry room all painted and I am now working on all the decorating pieces! I am loving the new colors! Reveal is coming!



It is absolutely gorgeous and yet so simple…thanks for sharing this idea!
Roswitha, you are welcome. I hope that you enjoy this and can make some for yourself. They are such a fun, easy project!
Rita
Love this. Thanks for the instructions.
Connie, you are welcome. I hope that you enjoy this and can make some of your own!
Rita