I made this quilt for my grandson’s baptism. It is made with all minky fabric and so it is very soft and cuddly! And it was fun to make because you quilt it as you go and so once you are done sewing the quilt together, you have also quilted it!
Is this not the cutest kid you ever did see?!! :)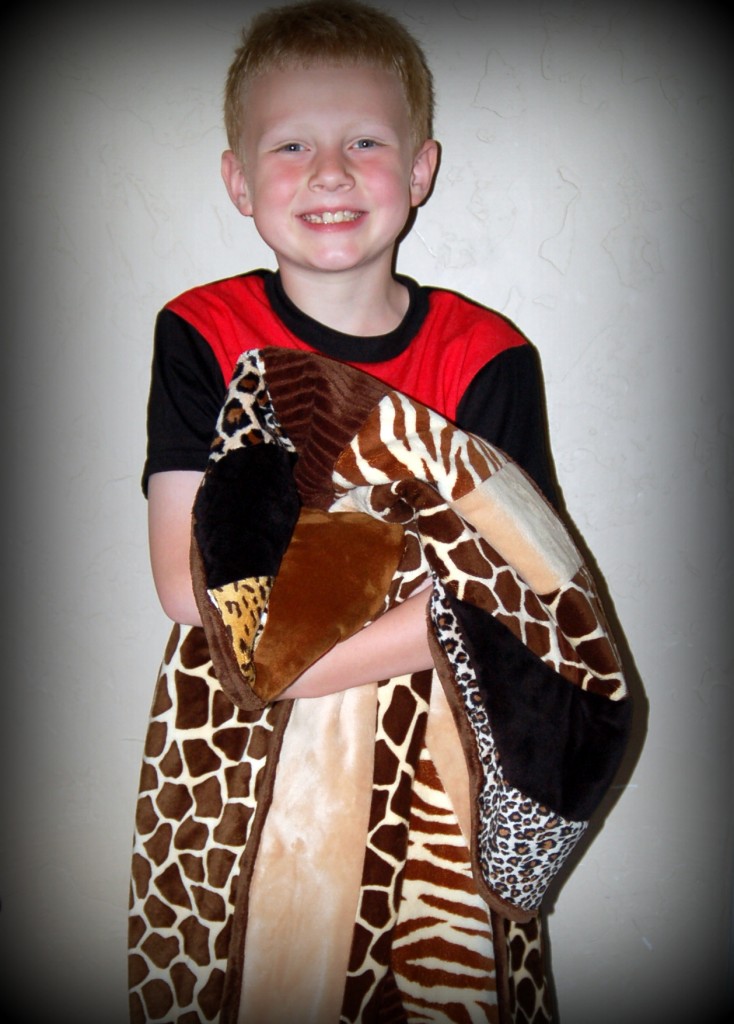 So does anyone else want to make a minky quilt? I bought this as a kit, but you could easily buy the fabric and make your own.
You will need:
11-5″ x 60″ strips of Minky, this kit had 7 different patterns of fabric.
Backing- 1 1/2 yards minky
Thin Batting: 48″ x 60″
Binding: 1/3 yard minky
One can of spray adhesive- recommend 505 spray
The finished size is 48″ x 60″
Lay the batting on the floor. Place the backing fabric centered exactly on top of the batting, RIGHT SIDE UP, making sure it is square. Fold the backing fabric down about half way. Spray the 505 adhesive along the batting in about an 8-10″ row. Lay the backing fabric down, smoothing as you go. Repeat in sections until backing is all adhered. Turn over so batting is on top. Trim backing to match batting.
Arrange your strip in the color order you like. Your strips will be going vertical. Mark center of batting going top to bottom. Start with your center strip and spray into place. With right side up. Reposition if necessary. Place your next strip on top of the first with right sides together and keep edges even. Pin in place every few inches. A walking foot is recommended for sewing on minky fabric. (If you don’t have a walking foot, lengthen your stitch length to about 4). Stitch together along one side, using a seam allowance of approximately 3/8″.
Spray a row of adhesive on the batting and flip and hand press the newly sewn row. Repeat with opposite side of center piece.
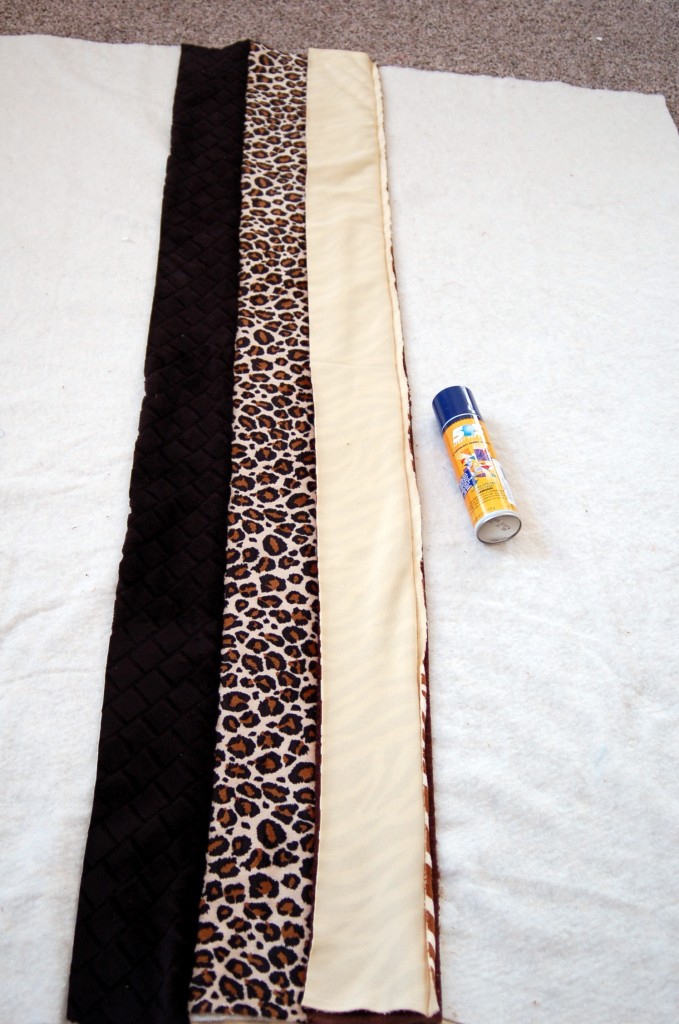 Pin your next strip on the opposite sides. This way you can sew two sides, then spray and flip and pin 2 more. Continue attaching rows until you reach the edges.
(I showed the corner folded over in this picture, so you could see how I layered everything)
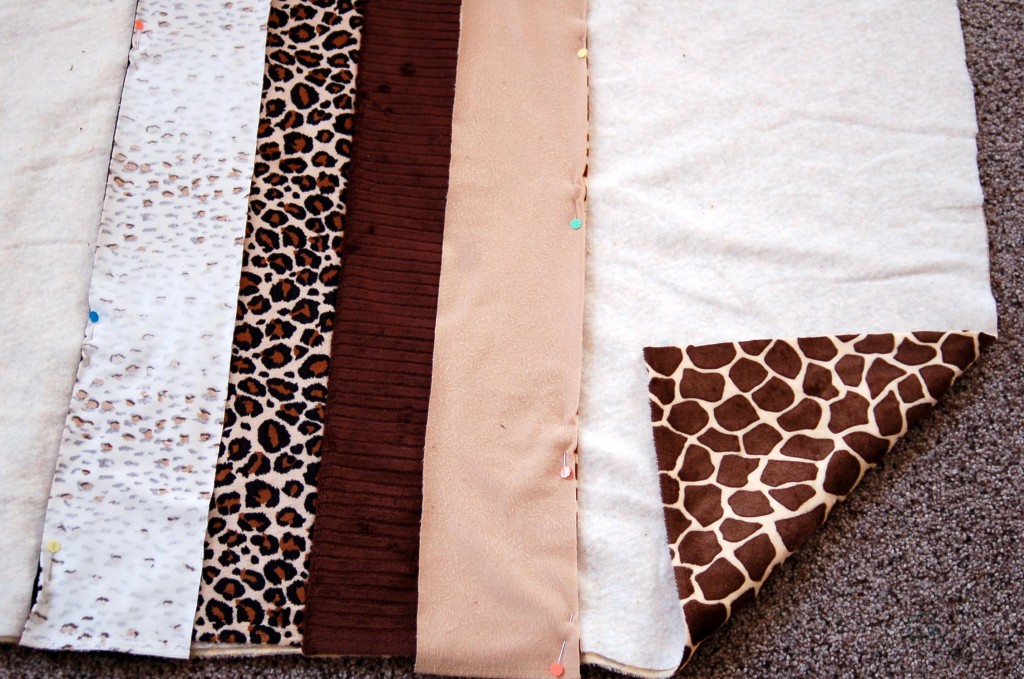 When complete, square up the edges and attach binding as follows:
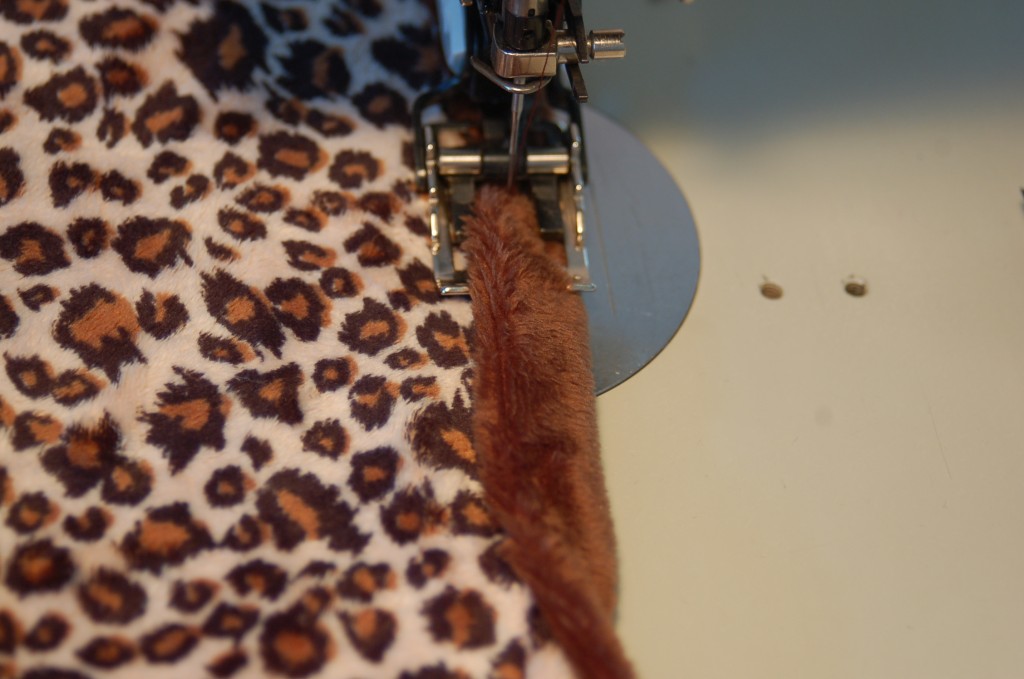
Cut 4 strips 2 1/2″ wide and sew together end to end. Sew it to the BACK of the quilt mitering the corners as you go. (Go here for a binding tutorial on how to miter the corners) 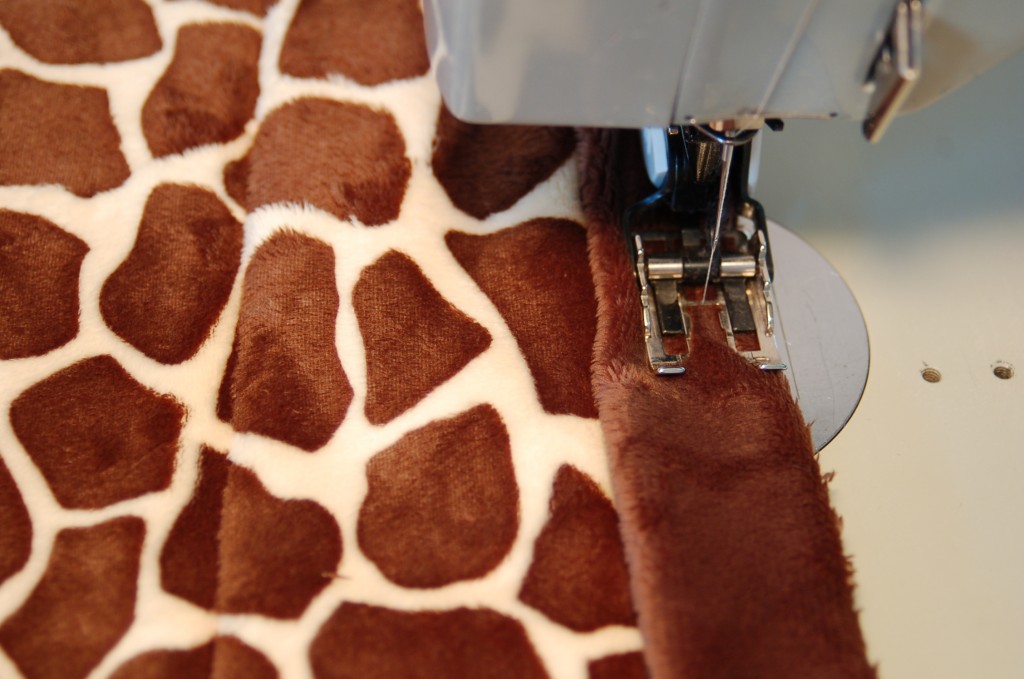 Turn it over to the top and fold under excess fabric. Place the folded edges over stitching line and stitch in place. Make sure you catch the fabric, not just the “fluff”.
(I really had a hard time with this binding, even with a walking foot. I think that if I were to make another one, I would just use a cotton fabric for the binding!)
 I then sent the quilt to have the embroidery work done! I love how it turned out!
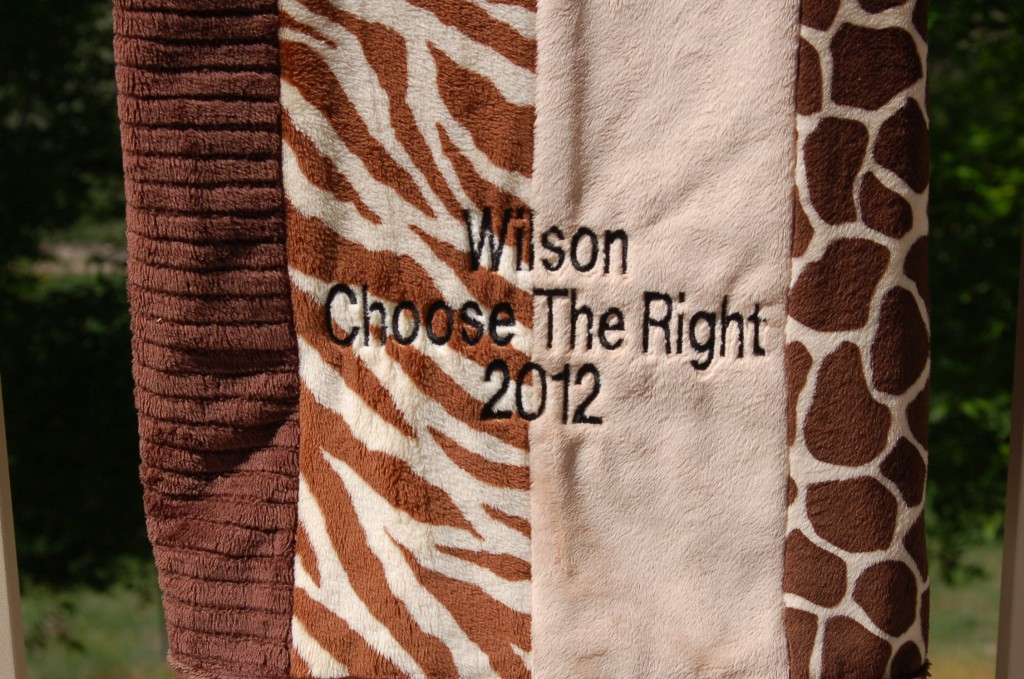 And I think that he did too!
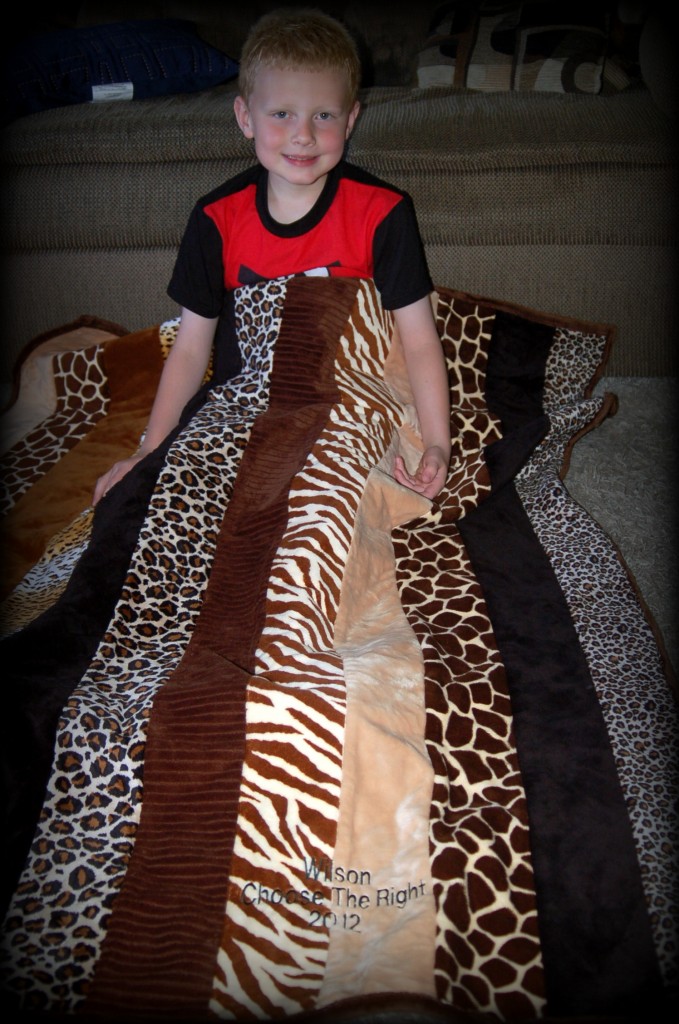


He’s adorable & so is the blanket! Who wouldn’t love a minky?! You are SO talented!
Thanks Deea, you are so kind! It really was a fun quilt to make and I would like to make a fun girl one just to wrap up in!
I really love your idea on this. I have been looking for ways to use up my Minky material, but had no clues. Thank you for sharing the tutorial instructions to go along with it. I’m still a newbie at sewing and your step by step instructions, as well as, your photos, will help a lot. :) And your model says it all in his face. :) He’s such a cutie.
Thanks so much. This was very helpful!!