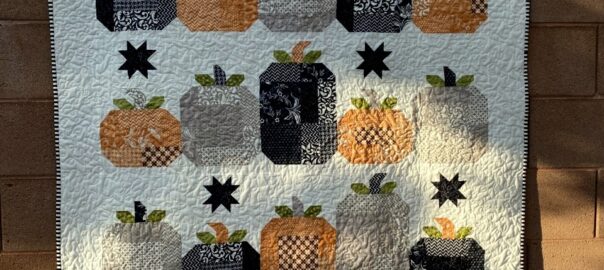
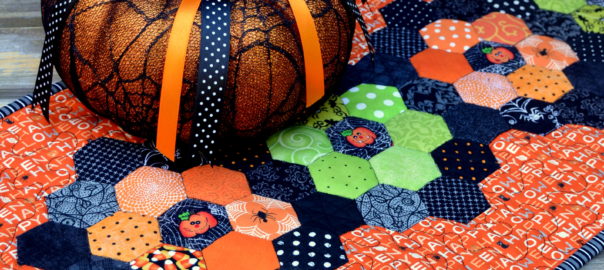
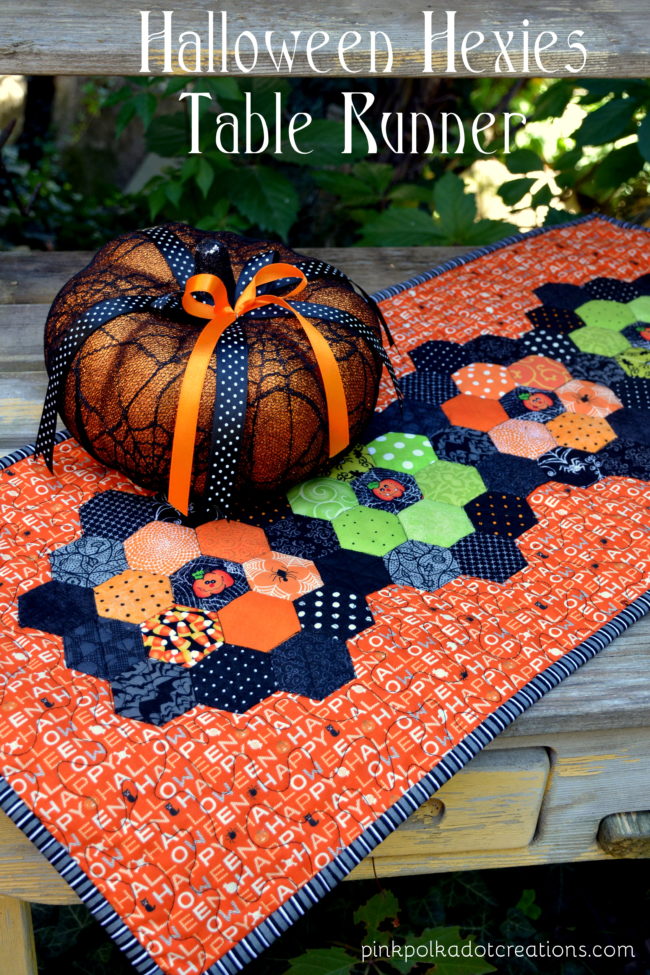
Hocus Pocus Quilt
I hope that none of you faint when you see that I have actually posted something other than my ministering handouts!!!!!!
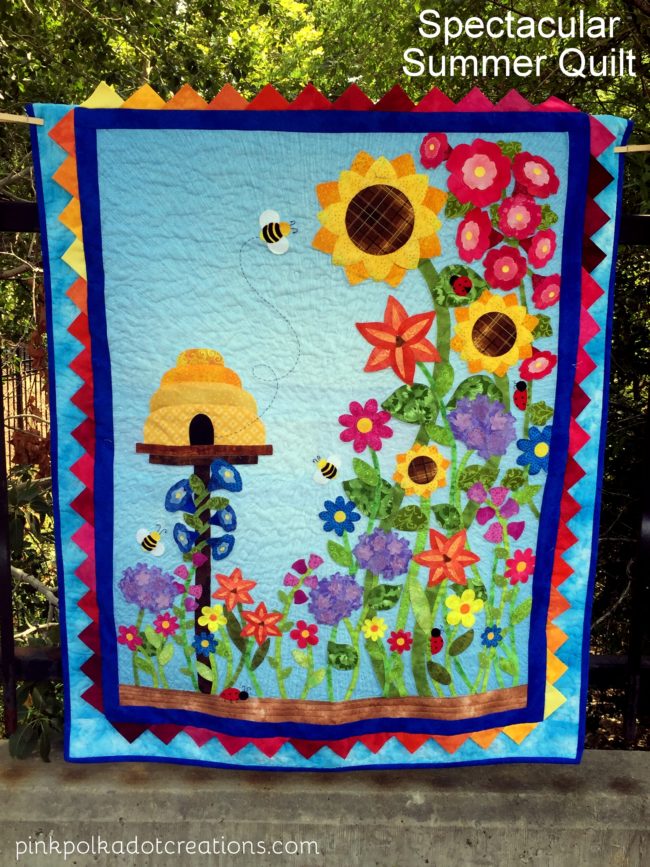
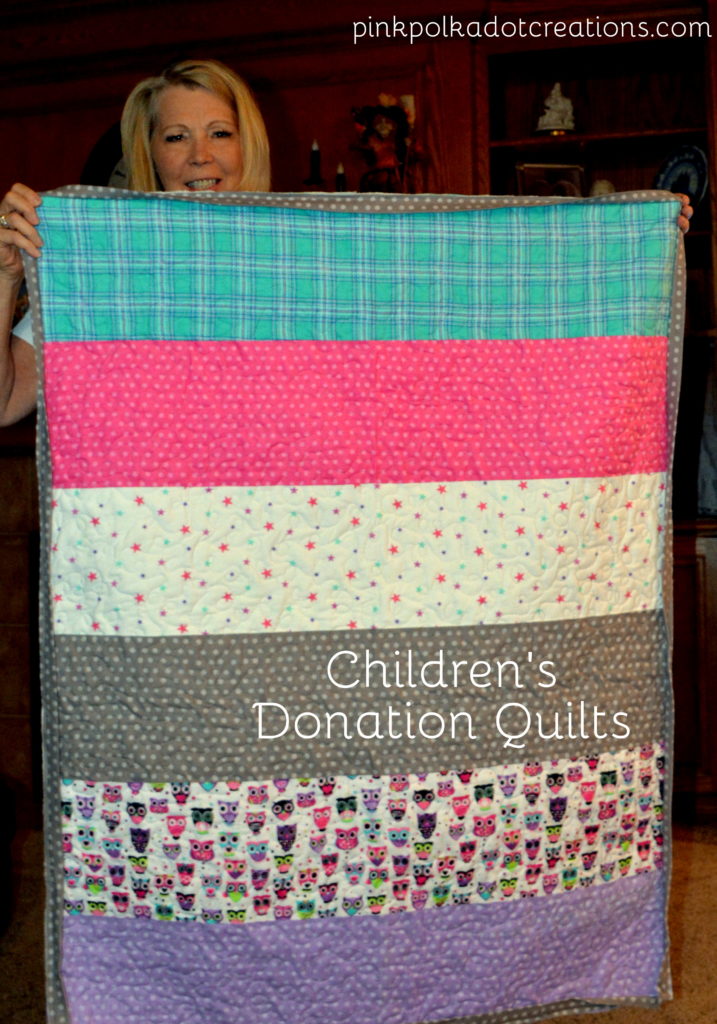
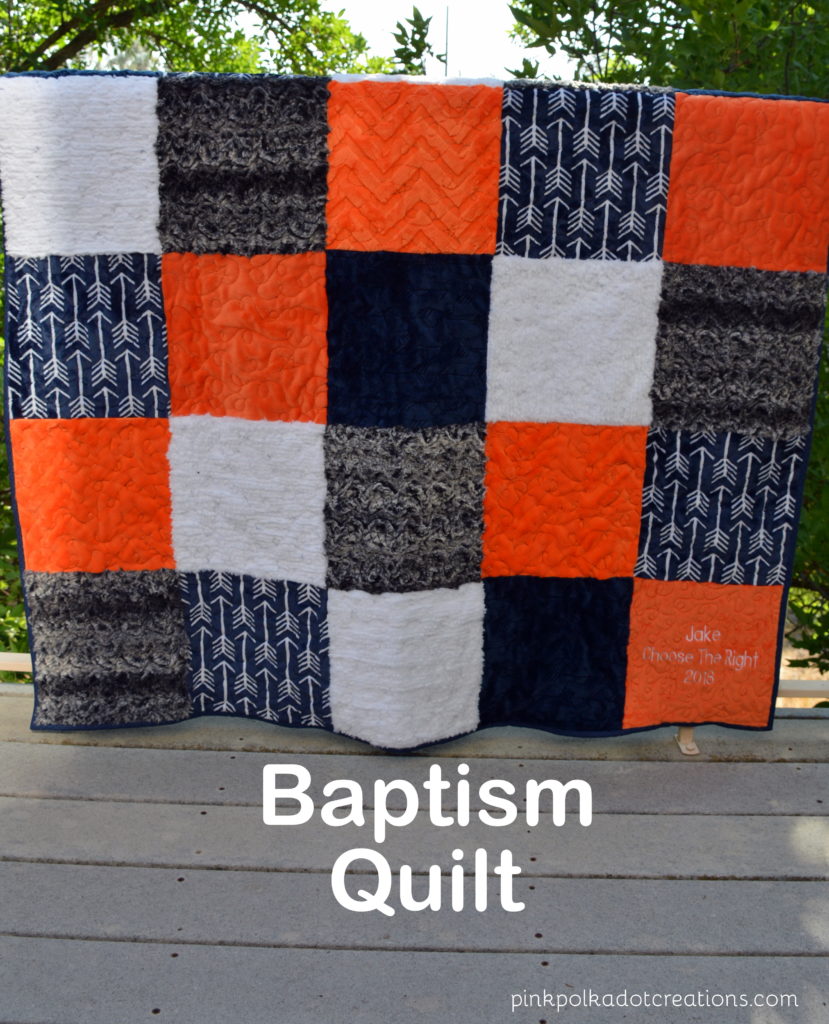
I have kind of gone into hiding the last few years with some family health issues and I have not done much sewing. This is the first quilt I have made in the last couple of years!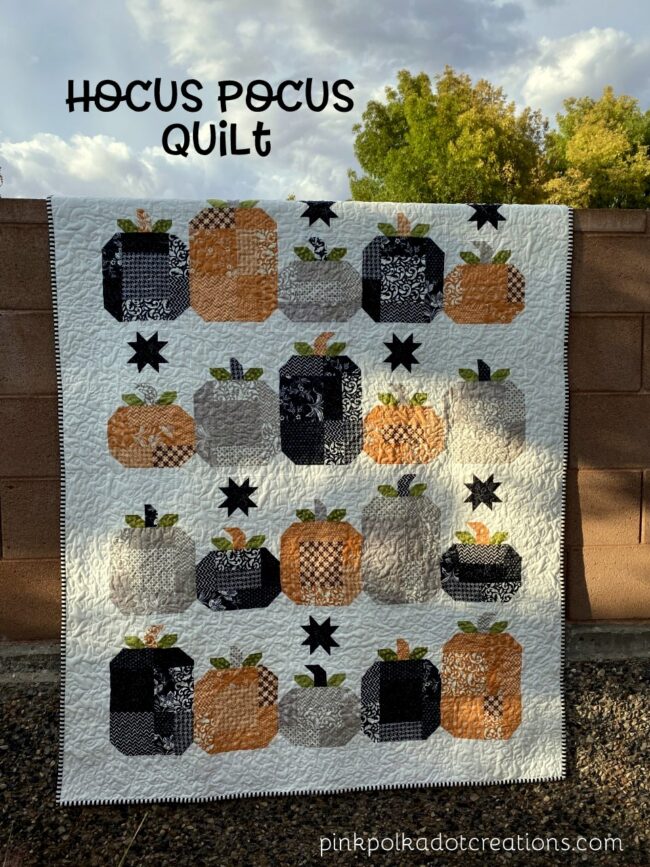 Continue reading


 Isn’t he just the cutest angel ever??? :)