I made this turquoise maxi dress from this tutorial. It takes 30 minutes to make this dress…really! I changed my dress up a bit from the tutorial, in that I took the sides in under the arms to make it more fitted and I turned the edges in on the neck, sleeves and hem. You could leave all these edges raw because they will not fray, but I like the finished edges better. (I am just weird that way!)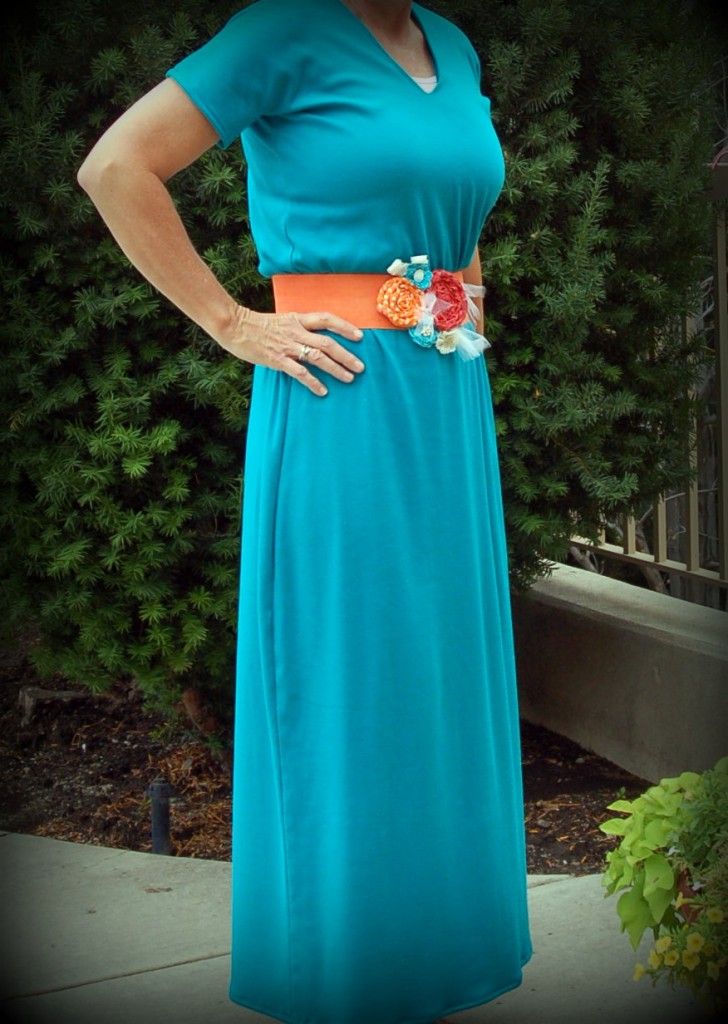 To make the belt, I used 3″ wide elastic, measure it around your waist and cut to fit. Zigzag both of the ends to prevent any fraying and then sew a strip of Velcro in the middle. (on both ends of course)
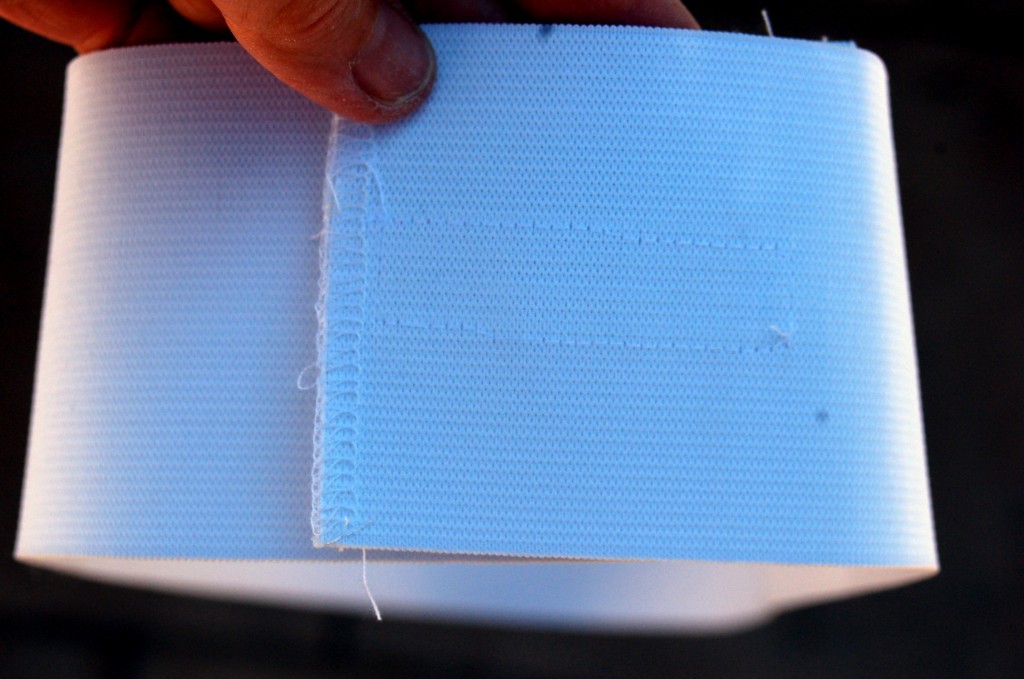
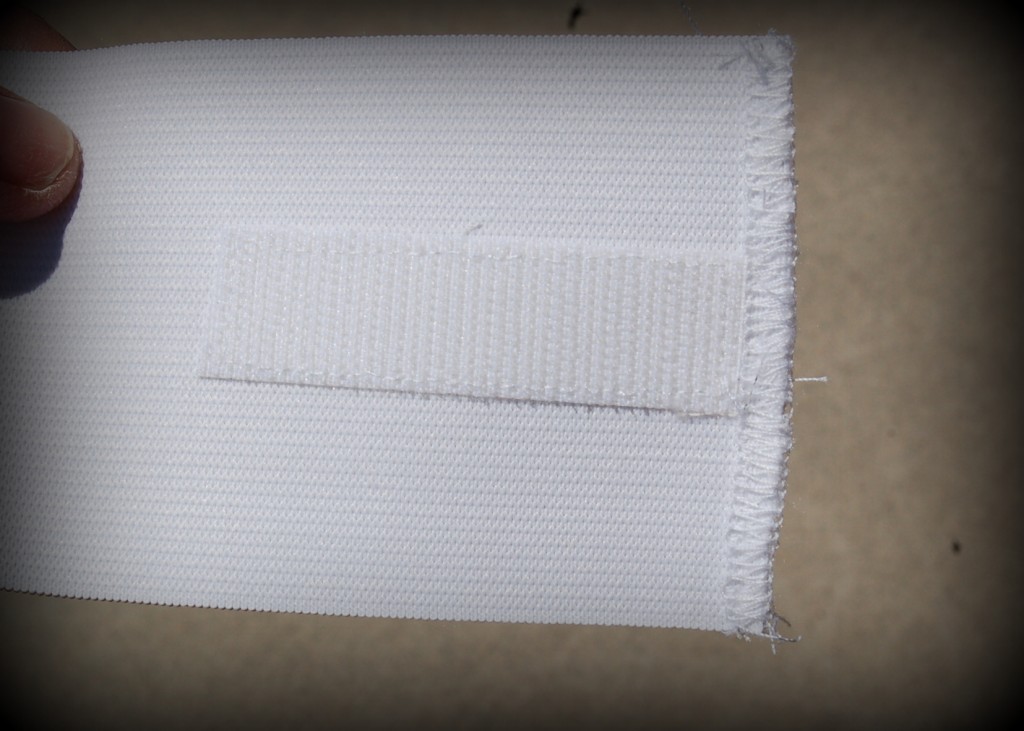 So that when it is closed it will look like this. I then dyed the elastic a tangerine orange color.
 Next you will need to make the flowers. I found this tutorial on how to make the rolled fabric flowers and it is the best one that I have every tried. You start with pipe cleaners. I used 4 for the large flower and 3 for the polka dotted flower. Twist the pipe cleaners together like this into one long pipe cleaner.
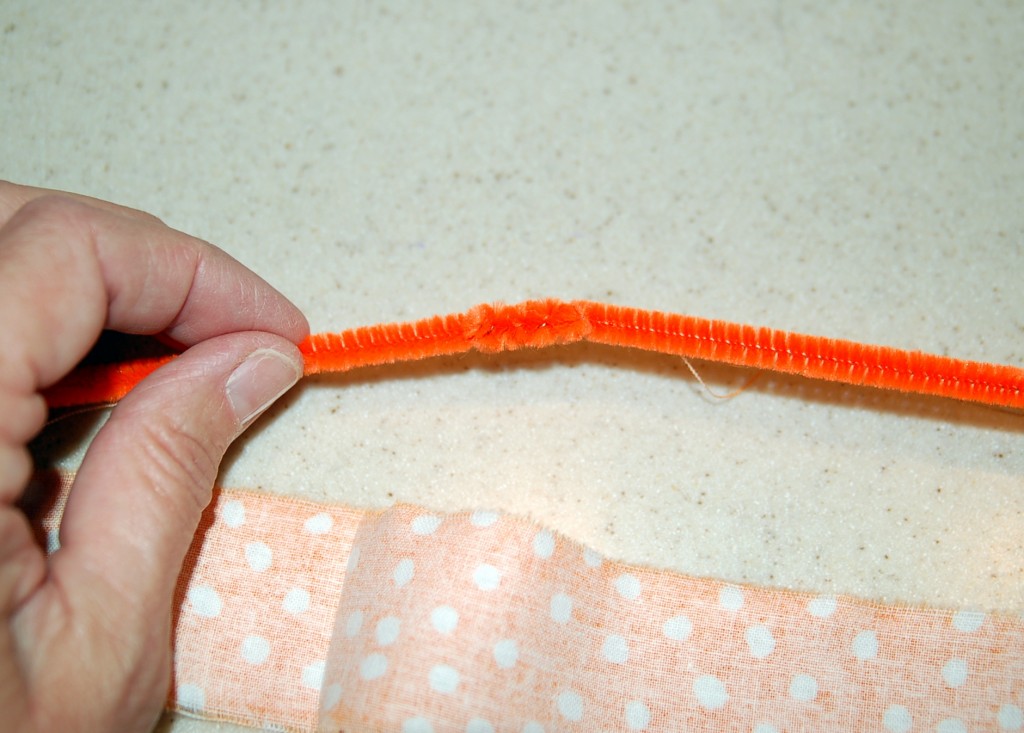 Tear strips of fabric 1 inch wide and start at one end and twist the fabric around the pipe cleaner and glue with hot glue. If you run out of fabric, before you get to the end, simply start another strip. You will not want to wind the fabric too tight, it makes it more shabby chic to have the fabric loose.
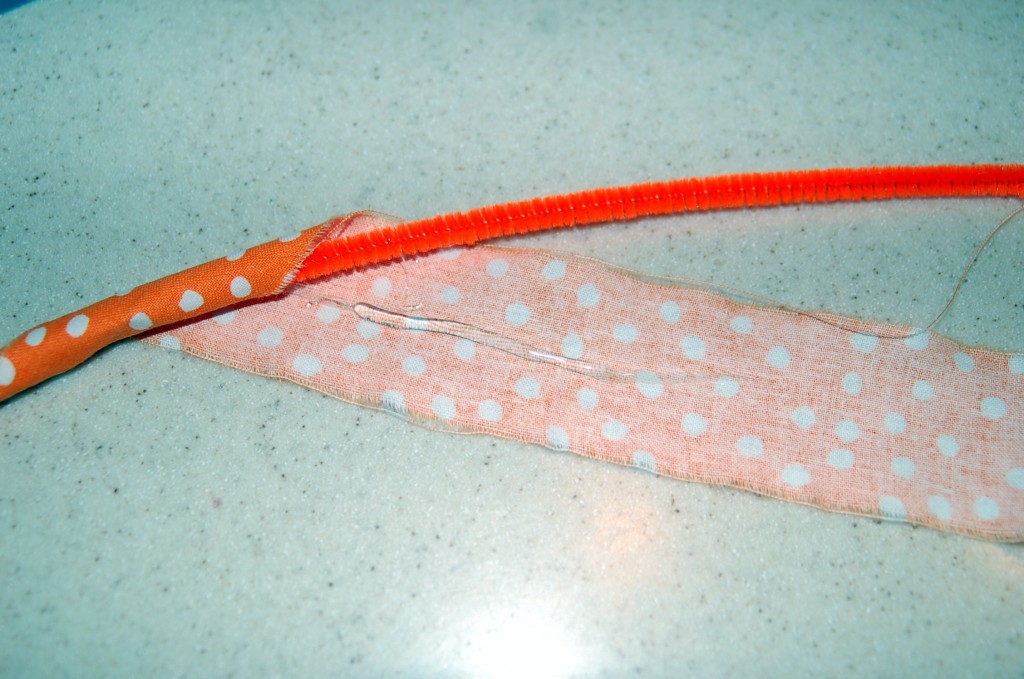 Leave a small tail at the end like this.
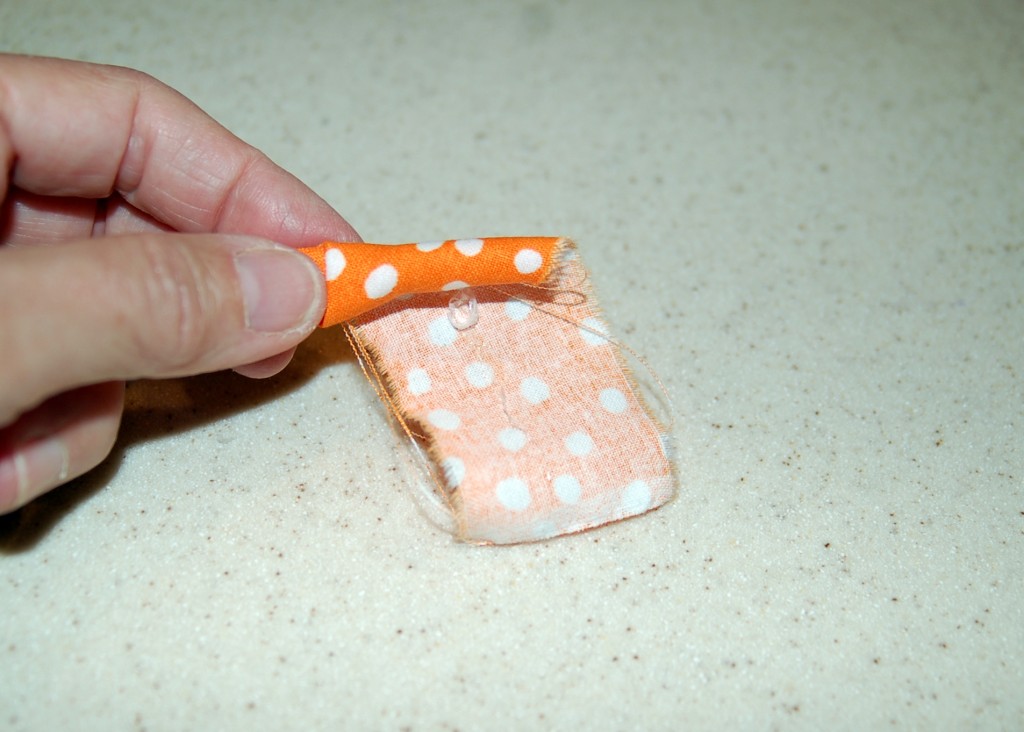 Simply start rolling the covered pipe cleaner into a circle, keeping it tight in the center. The pipe cleaner in the middle makes the rolling part really easy!
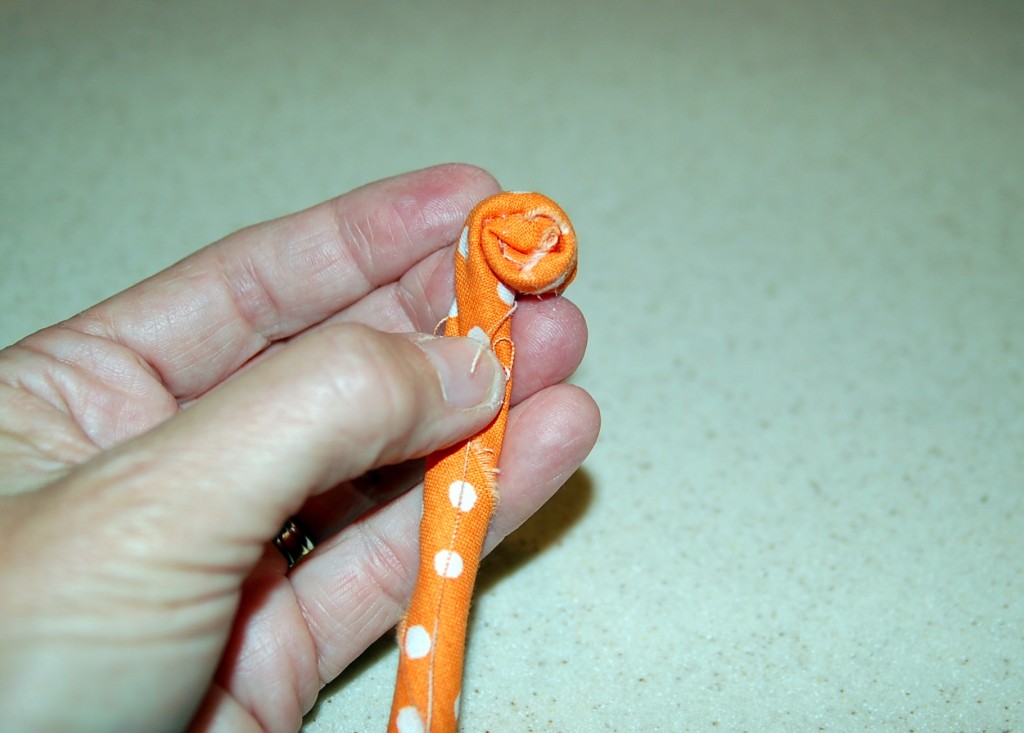 You will do a roll, roll, twist technique then put a dab of glue. Repeat to the end of the pipe cleaner.
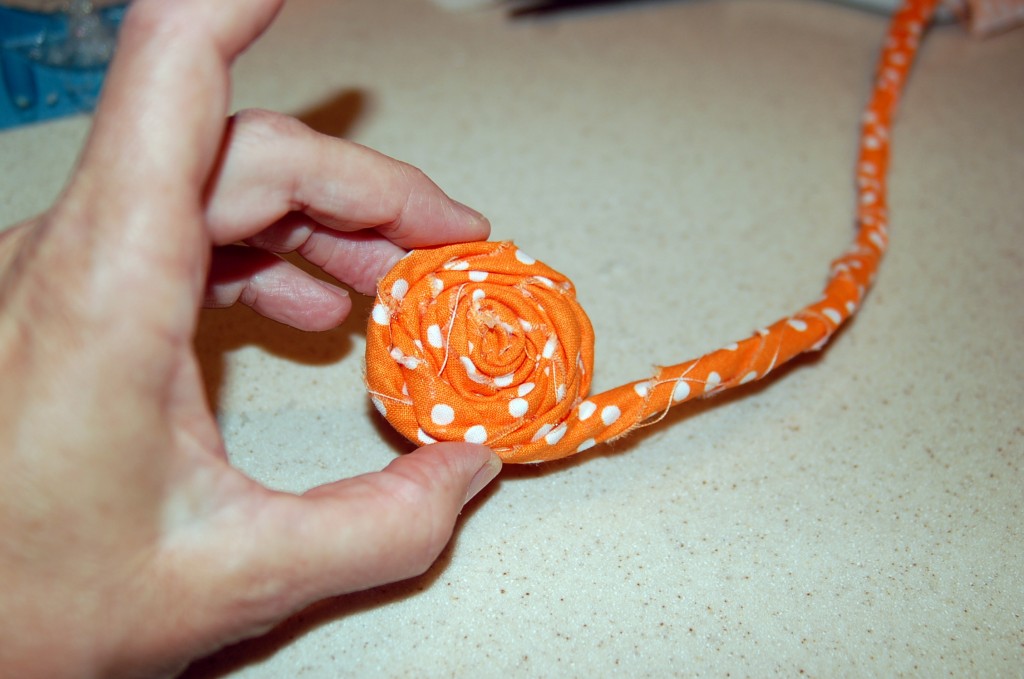 When you get to the end of your strip, tuck the end of fabric that is left, to the back and hot glue it.
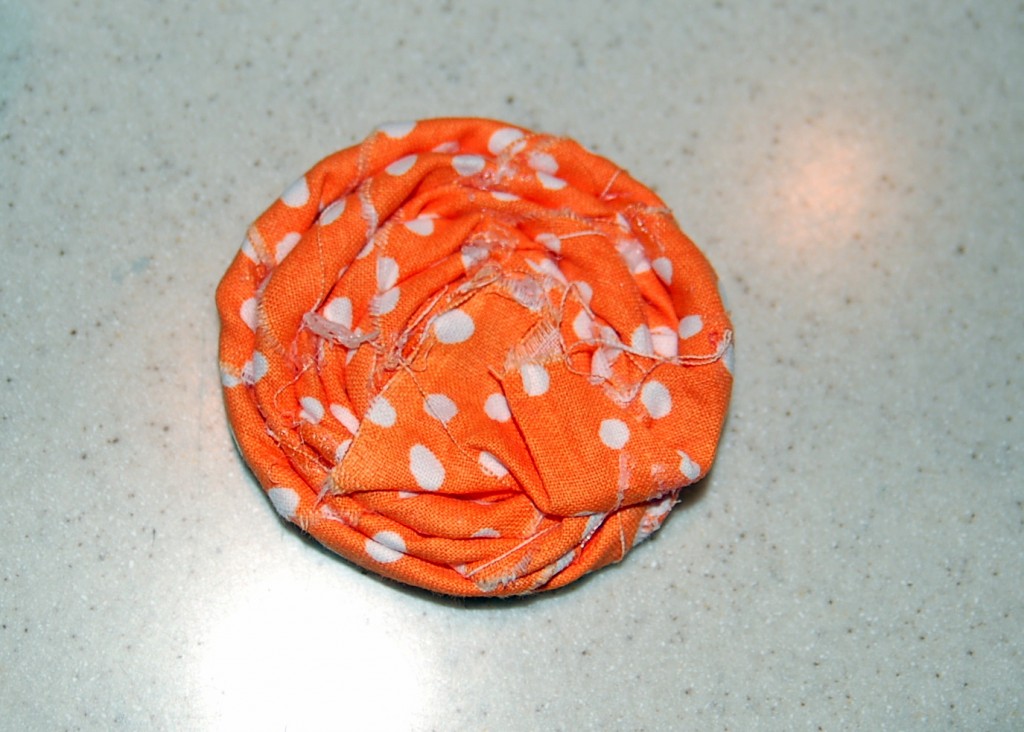 I made two rolled fabric flower and two turquoise folded fabric flowers. To make the turquoise flowers go here for a full tutorial and pattern. The white flower is simply lace gathered into a circle and a button. Add some lace “leaves” and tulle filler. Arrange them how you want them to be and hot glue onto a piece of felt, then cut the felt around the flowers, keeping close to the edges. Glue or stitch the group of flowers to the belt extending the flowers over the edge of the belt just a bit, so that you cannot see where it meets together at the velcro.
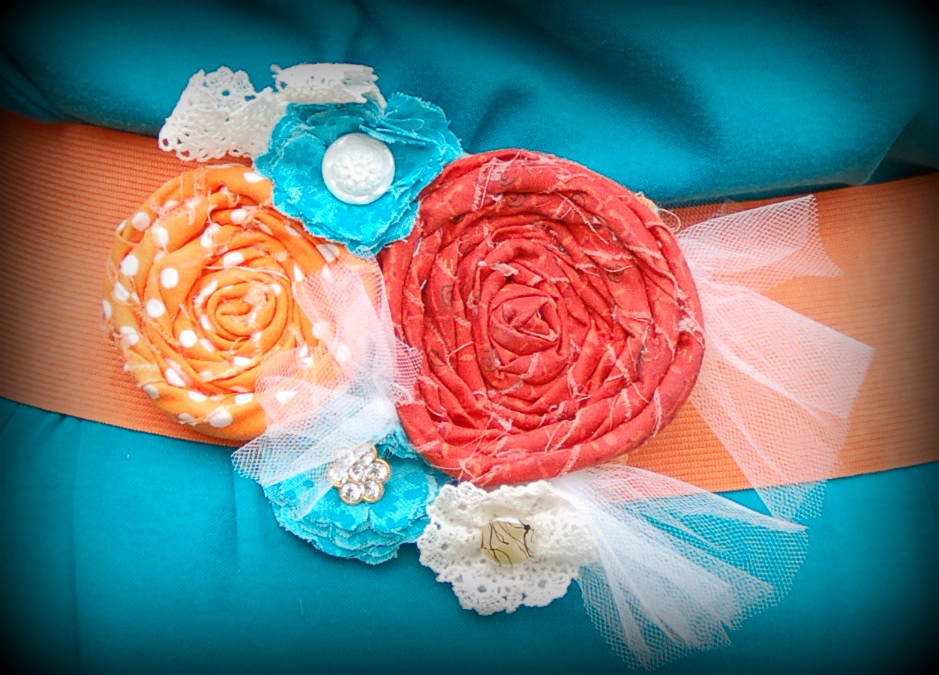 And there you have it! These are so fun and you could customize them to any outfit that you have. I am sure that I will be making more of these!
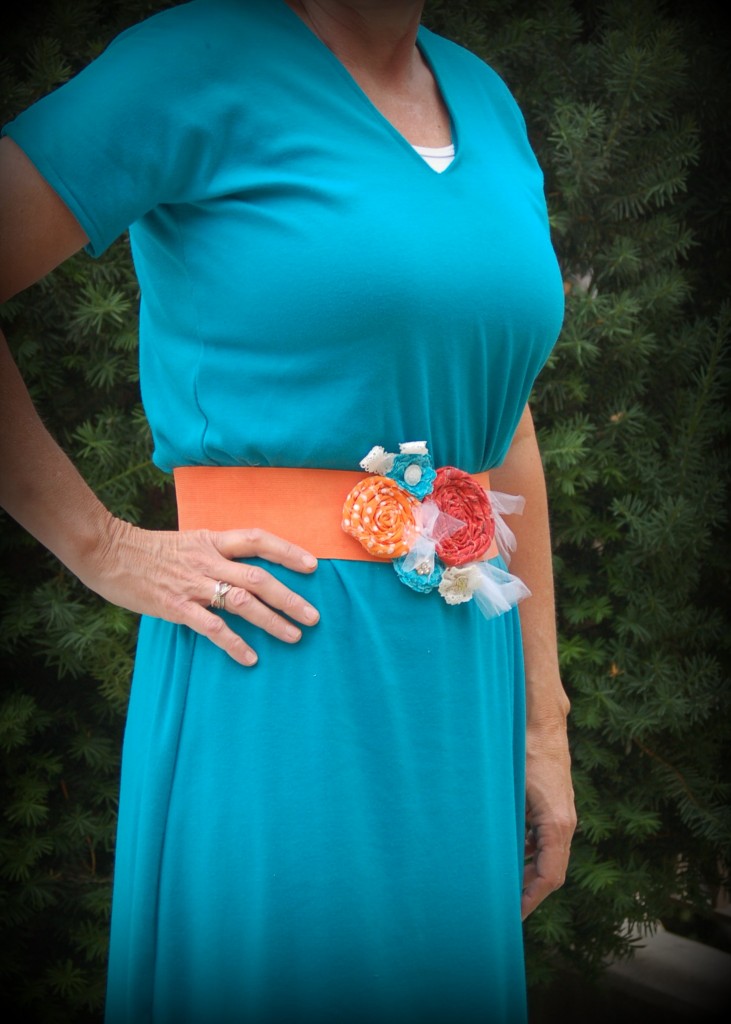 This was a fun outfit to make and I have not sewn any clothes for a long time, so it was fun to make this dress and belt for a change. This would also be a great project for my granddaughter, because the dress is simple straight lines! I think that sewing lesson #3 might just be on the horizon. :)


Very cute and clever! Thank you for sharing!
So cute! I love that you altered a bit for a more flattering fit. I used the same tutorial as you did when I made mine and I felt like I was wearing a bag =/ It just highlighted all my “lady lumps,” lol.
That is exactly how I felt before taking it in a bit! Thank you for taking the time to comment, I appreciate your support!
Way cute!
So cute and fun!
Love this! I love the colors you used! I pinned this too.
Thank you so much for your comment and for your support! I really appreciate both of them:)
Both the belt and dress turned out great!
Very cute, the colors go great together.
This is great I love the tutorial. I have never thought of using a pipe cleaner. Feel free to stop over to my site as well! http://www.iheartpears.blogspot.com
So cute! I love maxi dresses and this one is adorable! Thanks for the tutorial :)
What superb colours for summer! :)
Oh, I love this! So pretty!!! Thank you for sharing this at my Make it Pretty Monday party at The Dedicated House. Hope to see you again tomorrow. Toodles, Kathryn @TheDedicatedHouse