I am so excited about this project because the main material used is RIBBON, and you all know how I feel about ribbon! :)
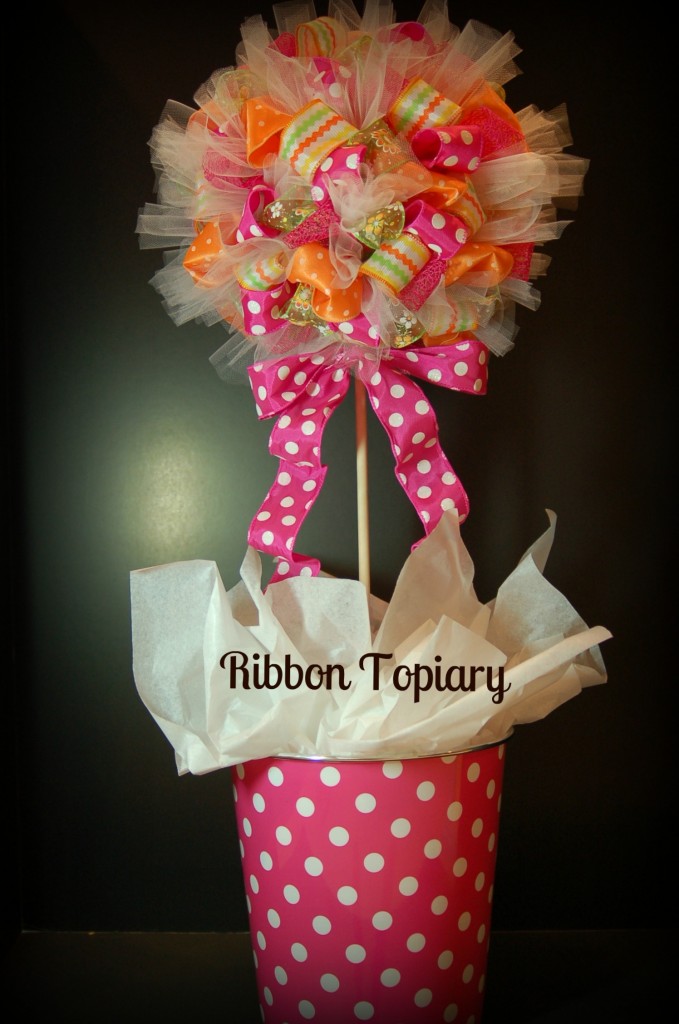 I am using this as part of my decor for outside on my front porch but you could use it in so many other ways. They would be great as decorations for a party or shower, you could do it in a color theme for all the different holidays. Red, white and blue for the summer, maroon and green for Christmas, pink or blue for baby showers, or just use the colors in your home for a fun home decor accent!
So does anyone want to make a ribbon topiary? I have taken lots of pictures for this tutorial, but do not let that discourage you into thinking that it is hard because it is a very simple project and one that you can do in front of the TV because you really don’t have to think too much! (My kind of project!)
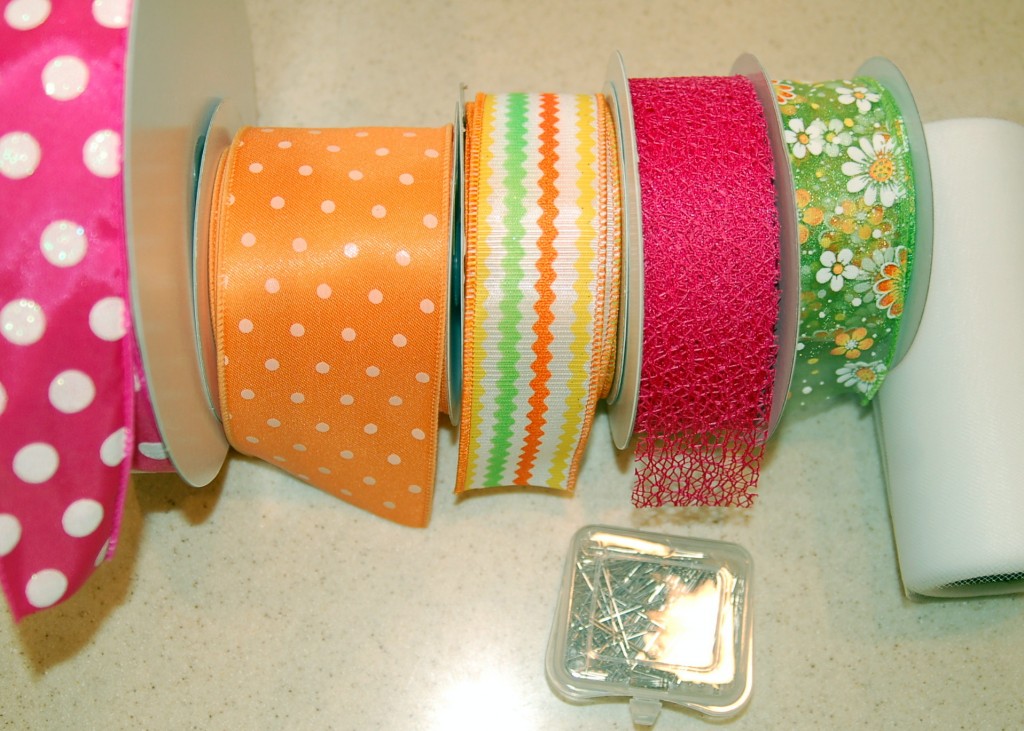
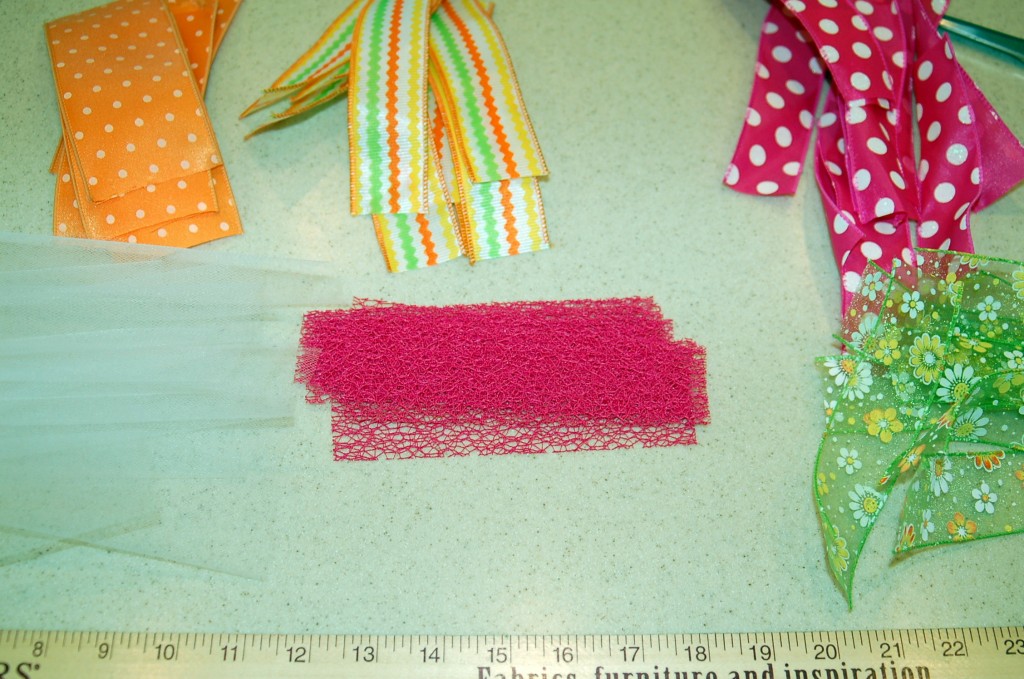
First you will need a 6 ” Styrofoam ball and a dowel. I cut the dowel in half but you can make yours whatever height you would like.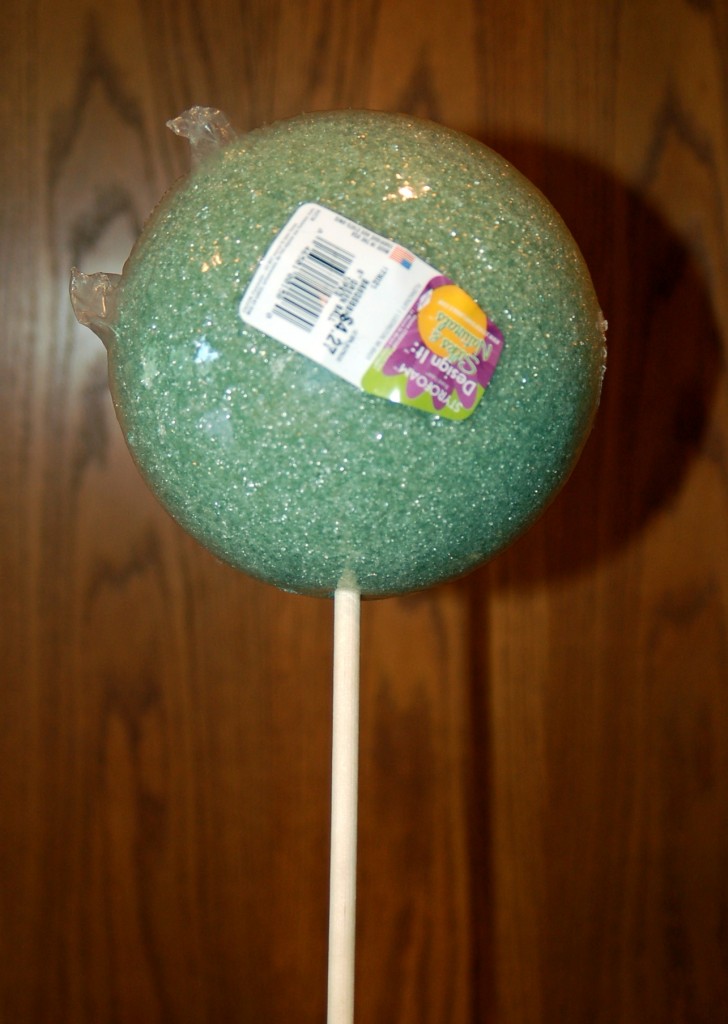 Then you will need ribbon. The kind with the wire works best, but the pink mesh that I used is very stiff, so it worked well also. You will also need tulle. The sheer green ribbon does not show up as much and I used it more to fill in the spaces. You also need a bunch of straight pins.
 You will want to cut everything into 6″ lengths.
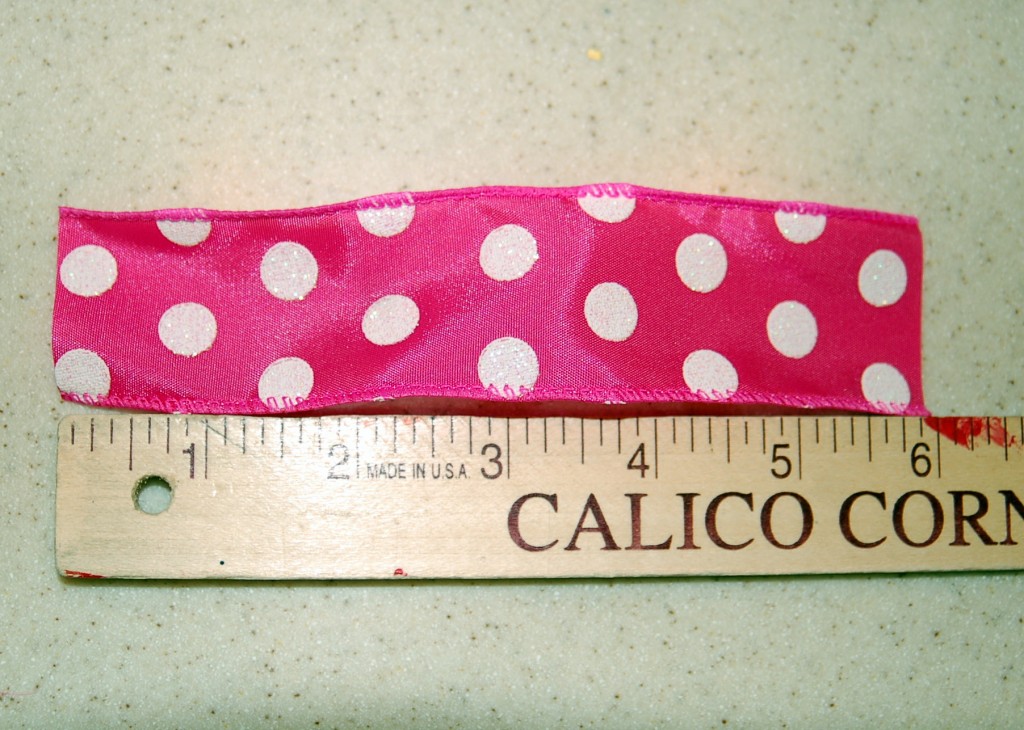 I cut a bunch up and had them ready. I started with 20 each and that was not enough, so I cut another 20 or so. I used less of the orange because it was wider and showed up more and I used more of the green as I said before.
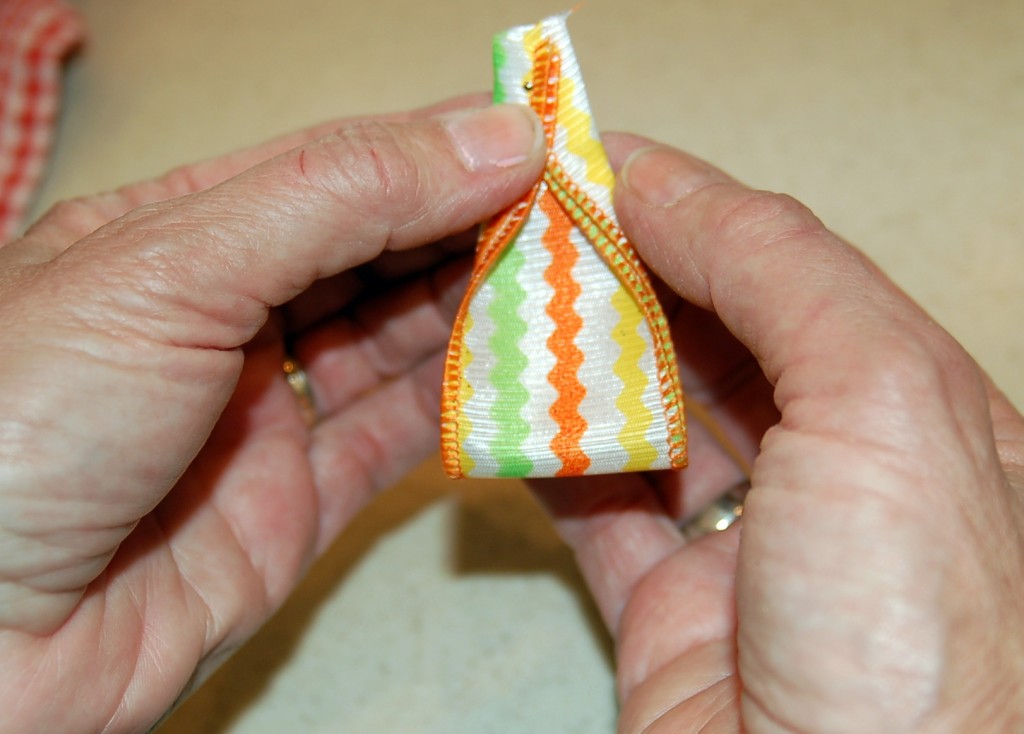
 Now let’s get started putting this baby together. You will want to fold the ribbon in half to 3″ and then fold the sides in to the middle and put a pin in it to hold all of the layers.
  Then simply push the pin into the Styrofoam ball…
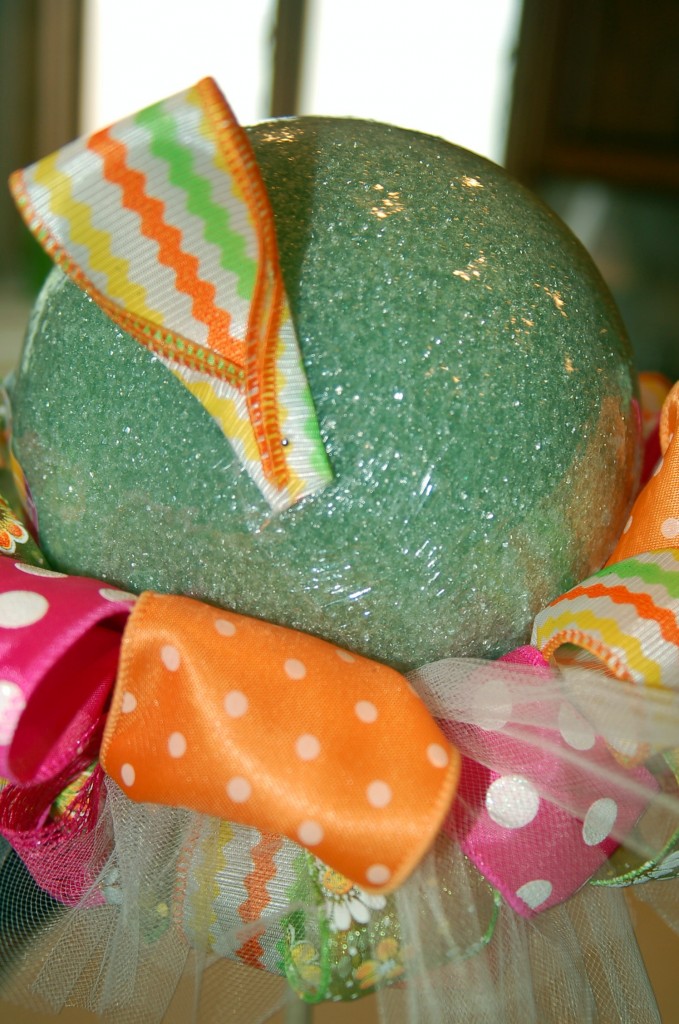 And flatten out the loop. Of course you will want to put it closer than I did here!
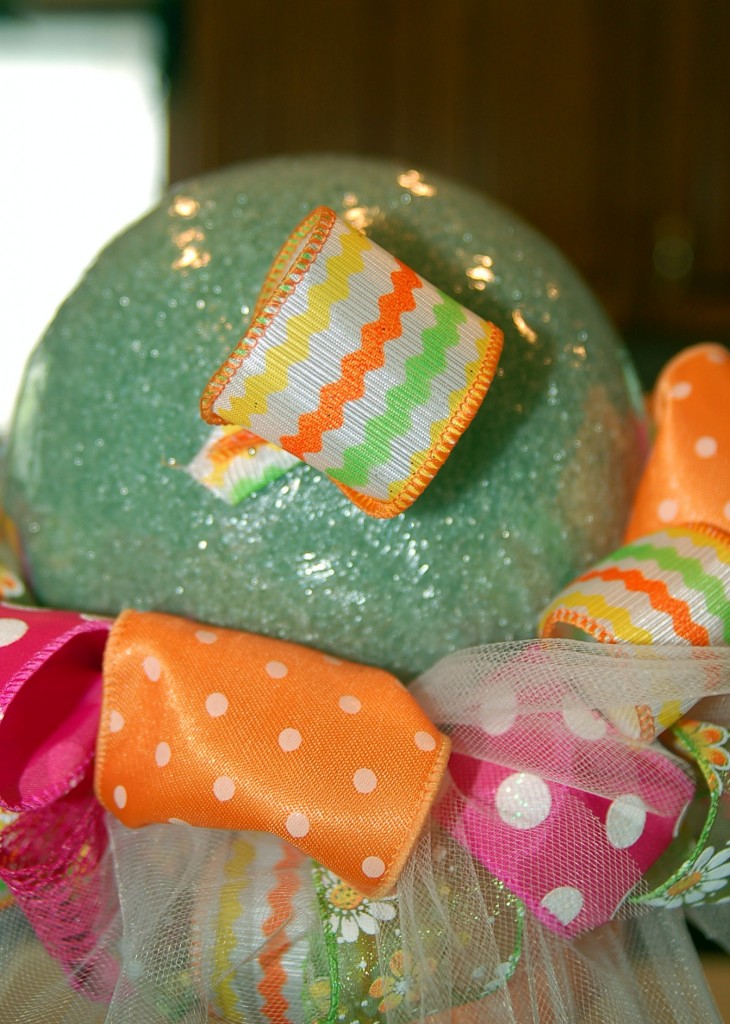 To put the tulle in, just twist the middle and put the pin in.
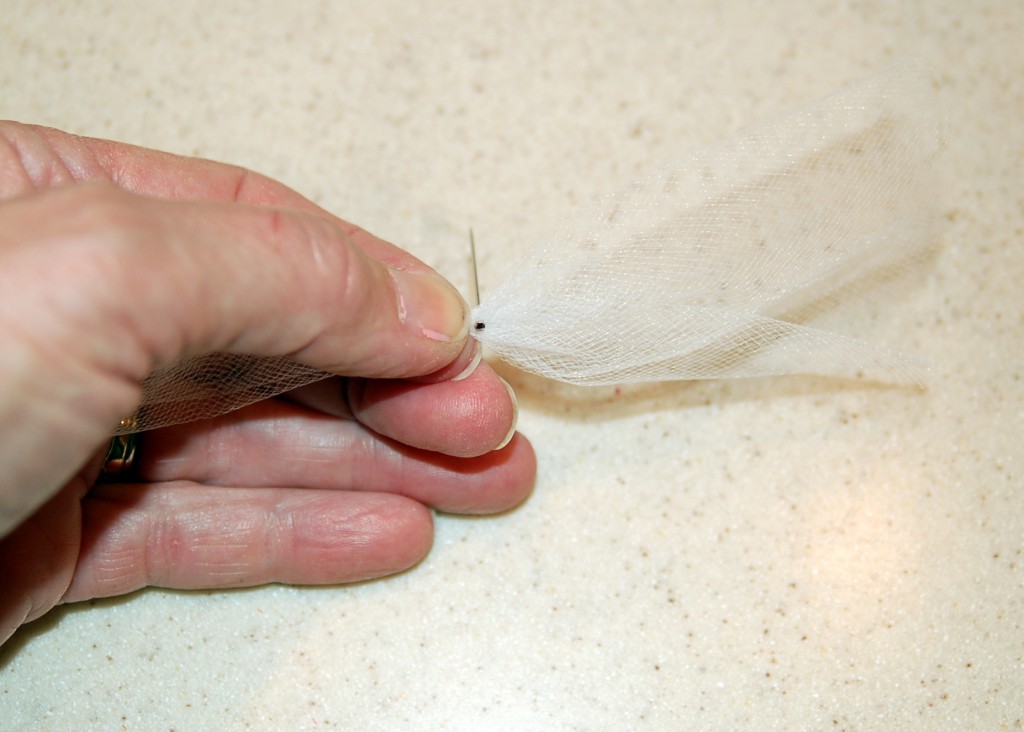 Simply start pinning all the ribbons on and add tulle where you have a little bit of a gap.
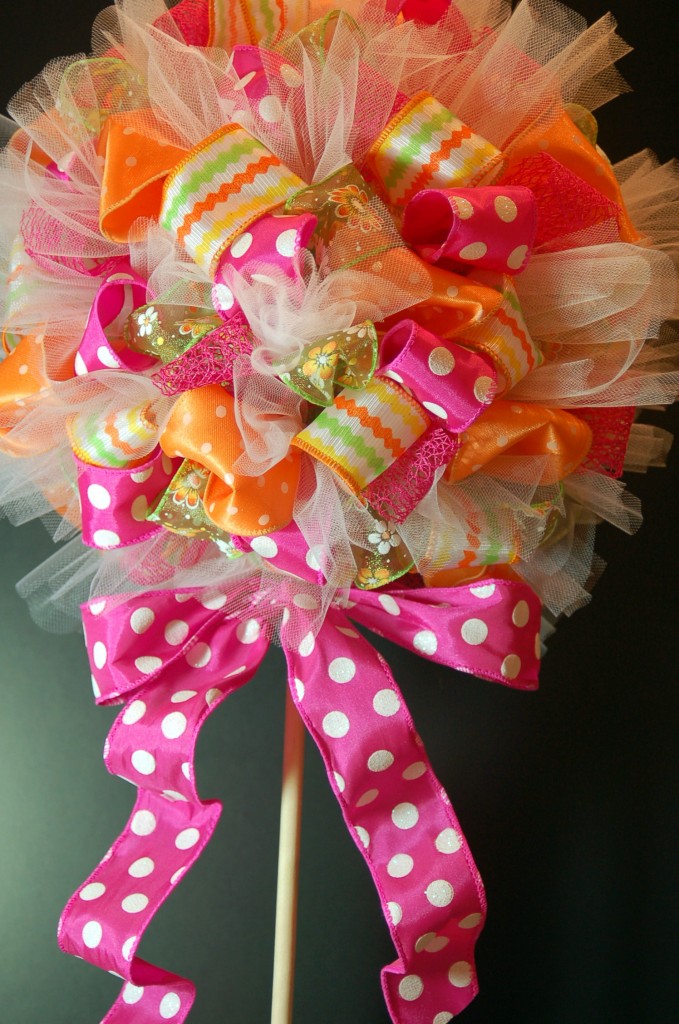
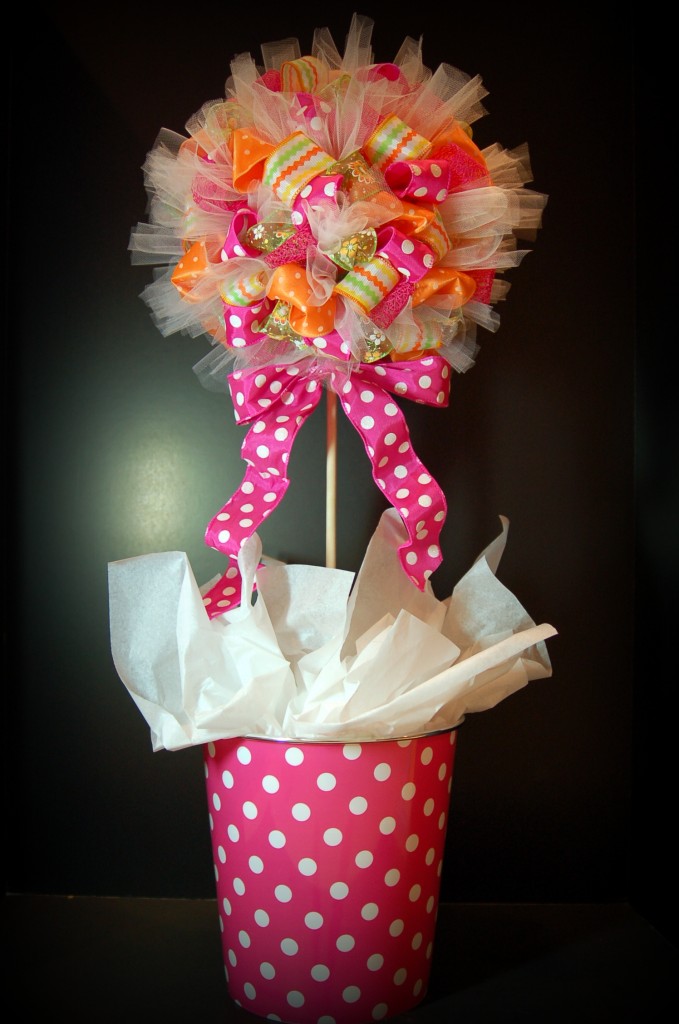
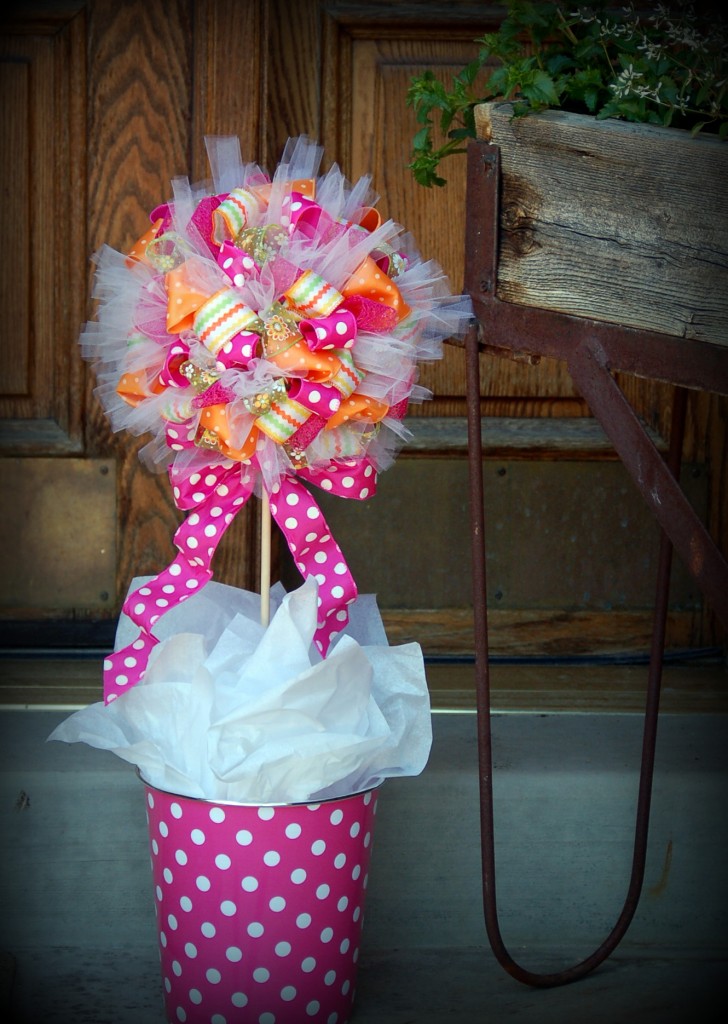
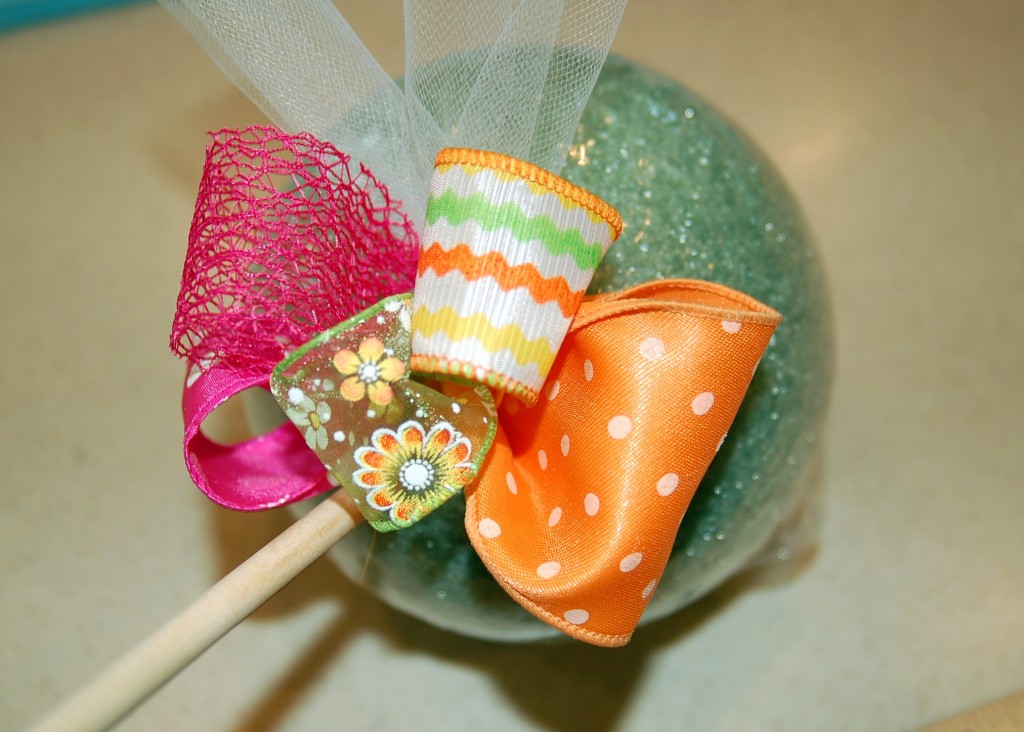 Fill in the entire ball, tie a big bow at the bottom and Ta Da! How cute is that?
 I found this cute bucket at Tai Pan and since I am putting my topiary outside I needed it to have a little weight to it so the wind would not blow it over, so I put some plaster-of-Paris in the bottom of my bucket. If you are using yours for indoors you could just put some floral foam in the bottom of your bucket, although you may need a little weight so that it makes up for being top heavy.
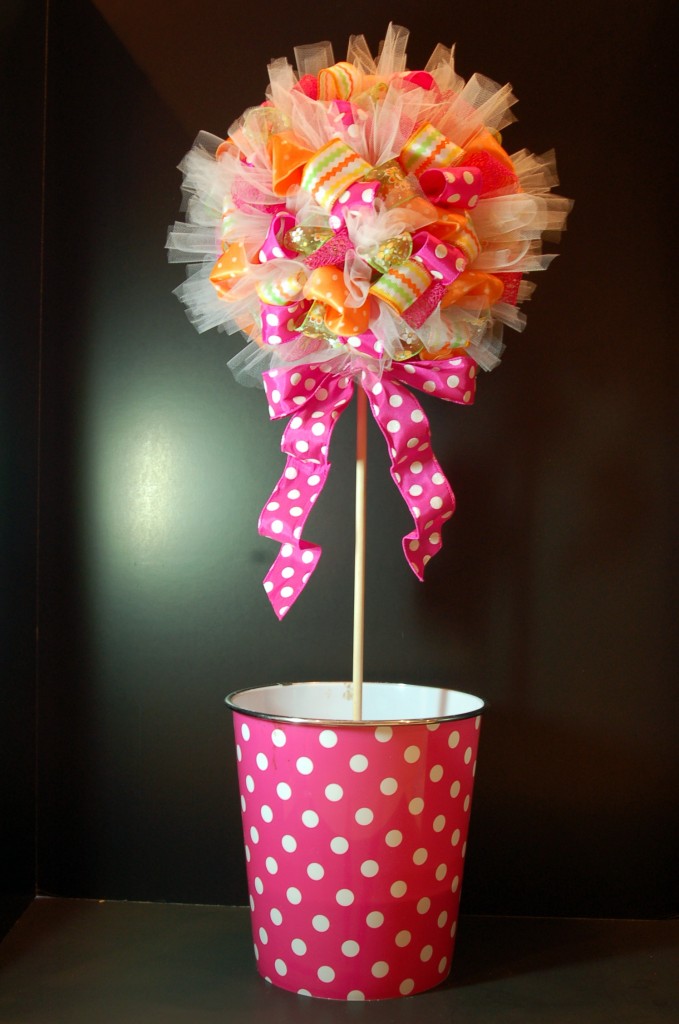 Next I just added some white tissue paper to the bucket. You could also use paper grass or even just more tulle!
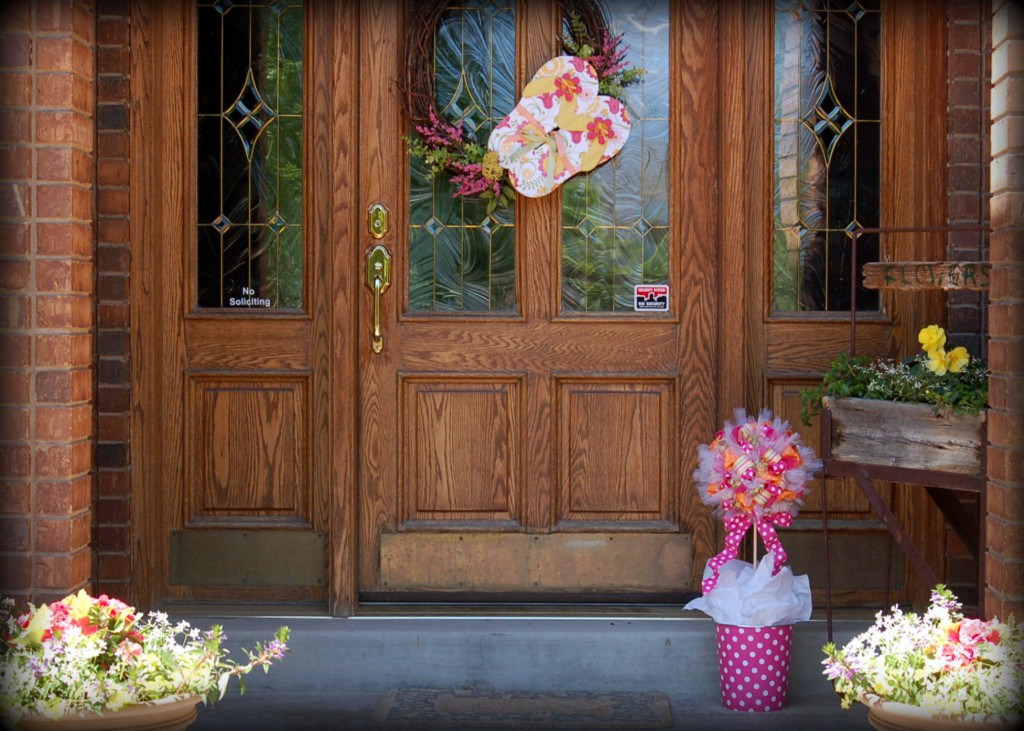
 Here is what it looks like on my front porch along with my flip flop wreath!
 So what do you think? Are you ready to make one for you now?


Love it Rita–it is so cute. Good job!
LOVE LOVE LOVE the ribbon you used!!! The colors are soooo pretty!!!!
Thanks for sharing at The DIY Dreamer… From Dream To Reality!
gorgeous, I love the colours on this. I’ve come by from the DIY Dreamer
Thanks so much for visiting, I hope that you will join me often! Thanks also for your kind comment, I love comments!
Oh my crafty!!! This is the coolest. thing. ever. Love this! New follower from the Ginger Snap Crafts Wow Me Wednesday Party. Pinned.
Thanks so much for the sweet comment, I am so glad that you found us. I hope that you will join me often!
This topiary makes me SO happy! It’s festive and fun and pretty and I agree that it would be great with specific holiday colors. How fun! Thank you for sharing~ :)
You are welcome. I am already thinking this would be a fun project for the fall and again for Christmas! I would probably add lights for Christmas though!
Alright, you are so creative!!! It’s so cute! Thank you for sharing this at my Make it Pretty Monday party at The Dedicated House. Hope to see you again on Monday. Toodles, Kathryn @TheDedicatedHouse
great tutorial – thank you . it looks fab x
i want to make this as centerpieces for a baby shower. Do you think this will work if I use fabric instead if wired ribbons? Found some awesome fabric swatches of .99, that would look beautiful.
Deborah, I think that fabric would work great. You might want to spray it with spray starch and iron your fabric to give it a little more stiffness. You could also wire the loop part and leave the edges out to make it fuller. Let me know if that works!
Rita
what size pot did you use how much ribbon total
Barbara, You will need about 7 yards of each color. I used more of some colors than others as I said in the post. I am not sure what size the pot is, but I would guess about a 12 inch pot. You really can use whatever size you want, depending on how tall you make the topiary. Hope this helps.
Rita
Can you please tell me where you purchased the pink bukets with white polka dots?
Tracey, I found the bucket at Tai Pan, but they have gone out of business now. Sorry. I do not know where else you could look, unless you just google pink polka dot buckets. Good luck!