I have some exciting news to share with you today! I am going to be showing how to make these candy jars on Good Things Utah
on Monday, Oct. 8th at 10 am. I would love for you to join me and watch the tutorial of how to put these cute little babies together!
But for all my readers, here is the tutorial for you to make an “Eye” Candy Jar like these that we made at our craft retreat. They are so easy to make and yet are so darling! The thing that I love about these jars is that you can eat the candy after the holiday is done and then fill it up again for the next holiday! Apparently they make “Peeps” for most every holiday! Something that I didn’t know because I don’t like to eat them.
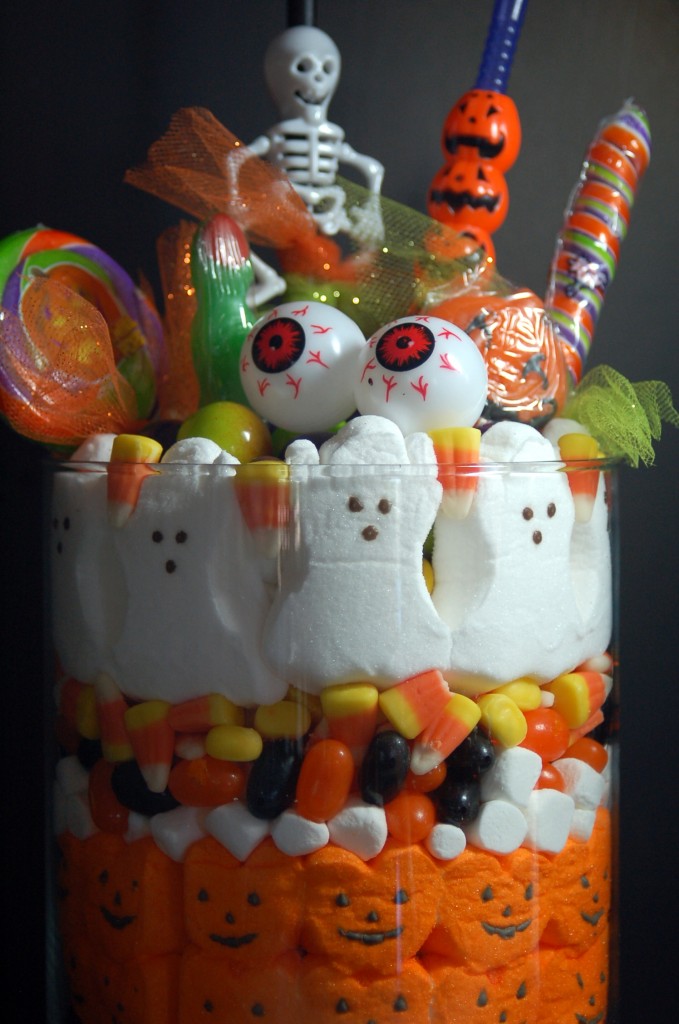 I did a girls night out with my girls, because I have not done one for a long time and I thought that they would all enjoy doing this project! :)
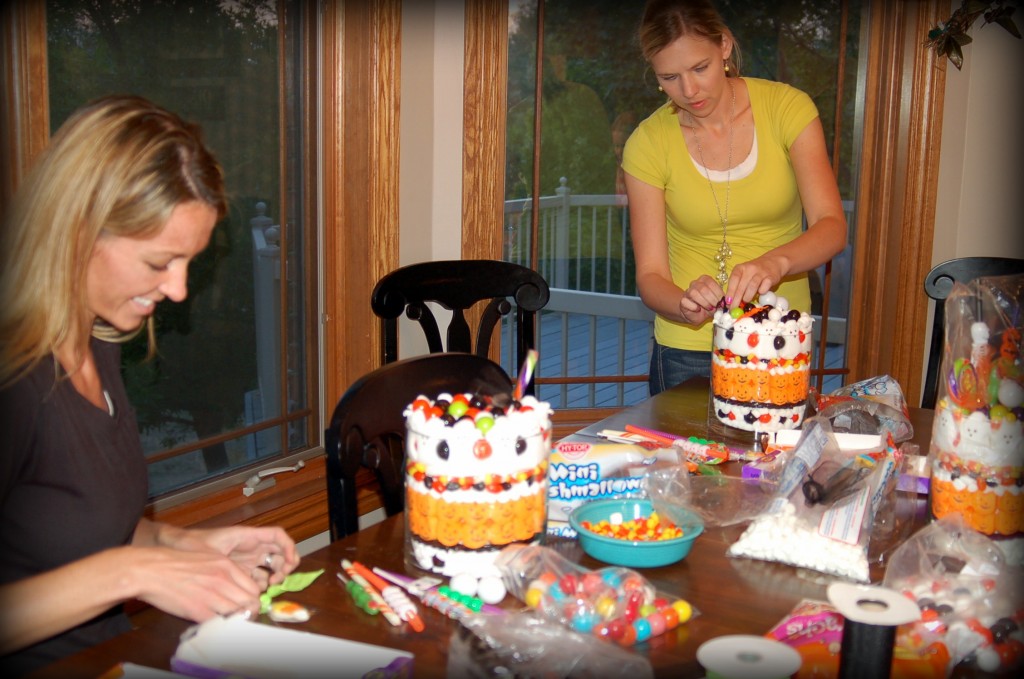
I got all the supplies for them and we went to town: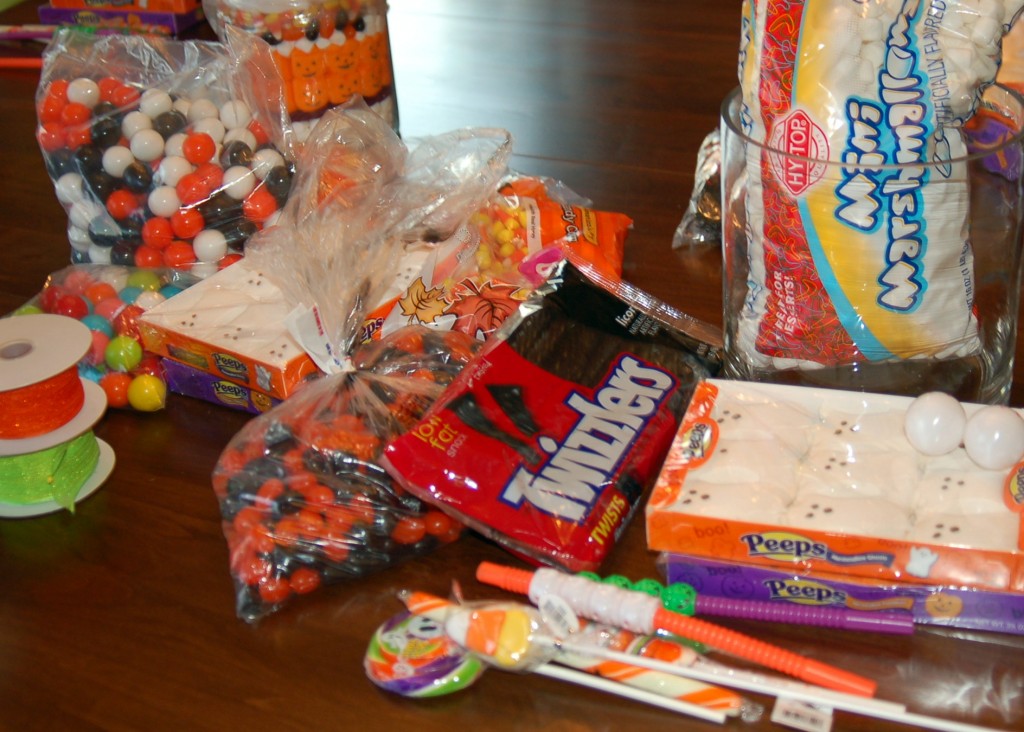 Here they are all very busy working…
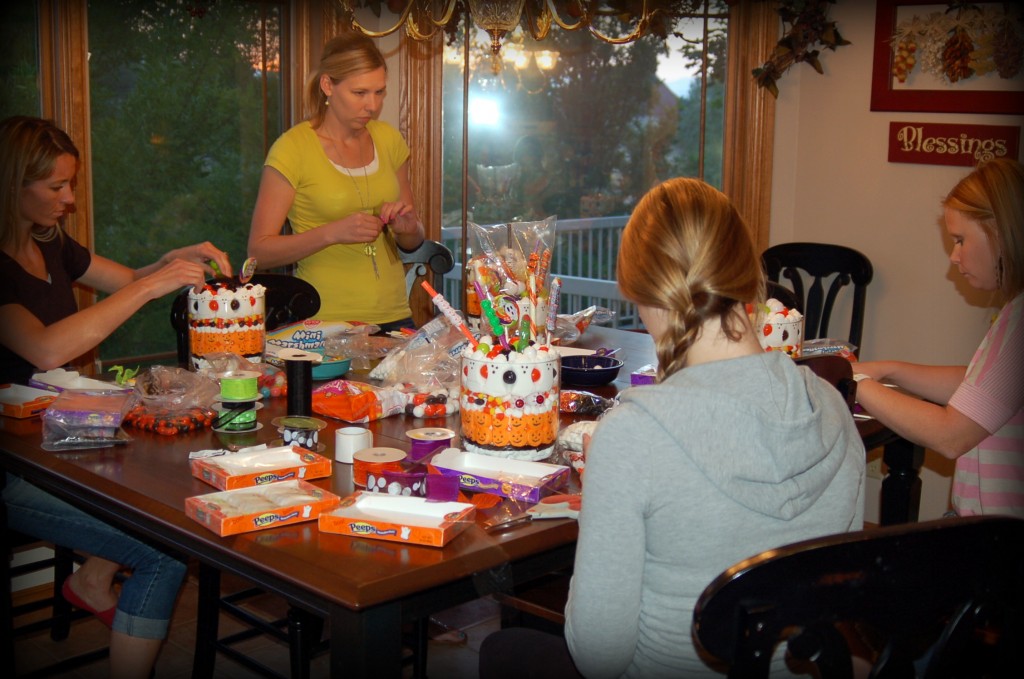 and Texting…
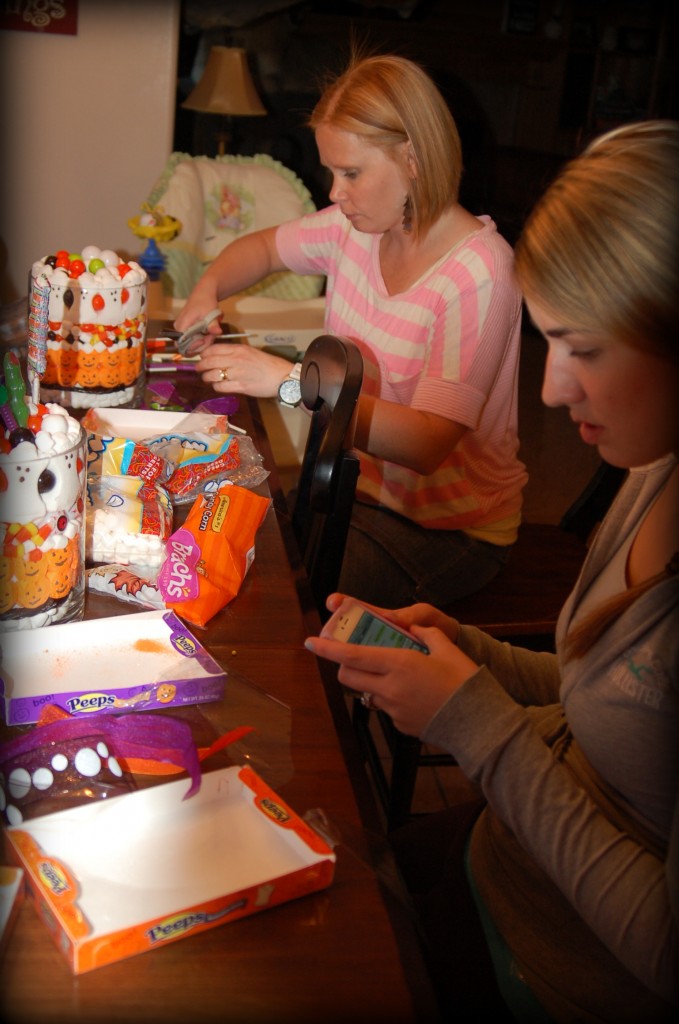 and laughing and having a good time!
 And look at all the fun they created!
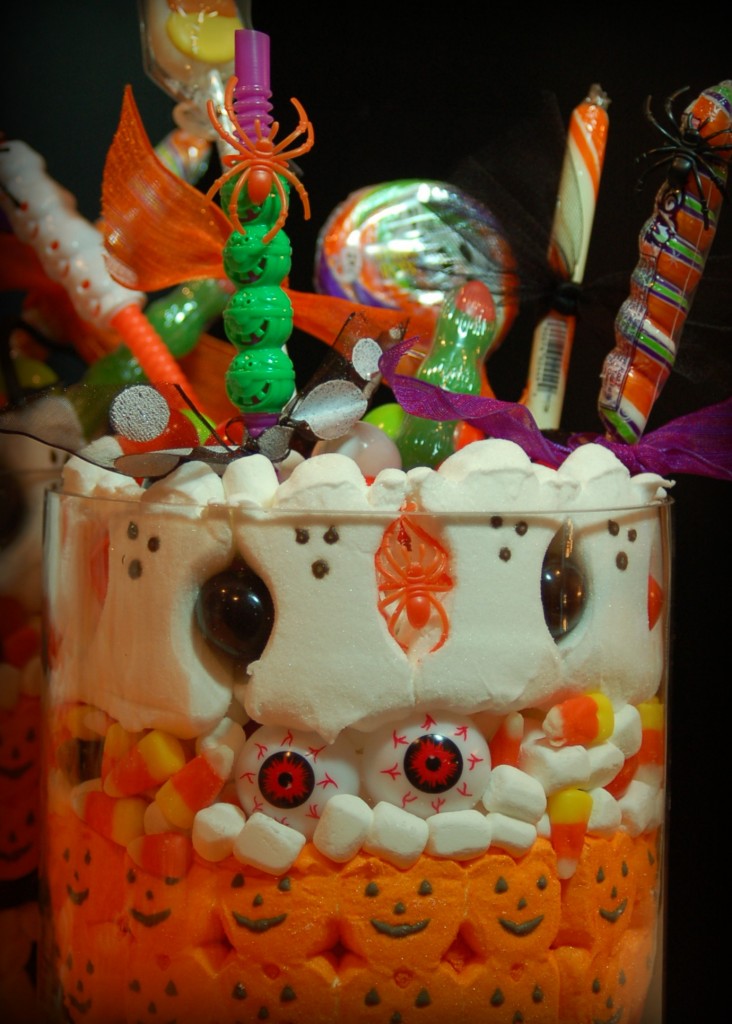
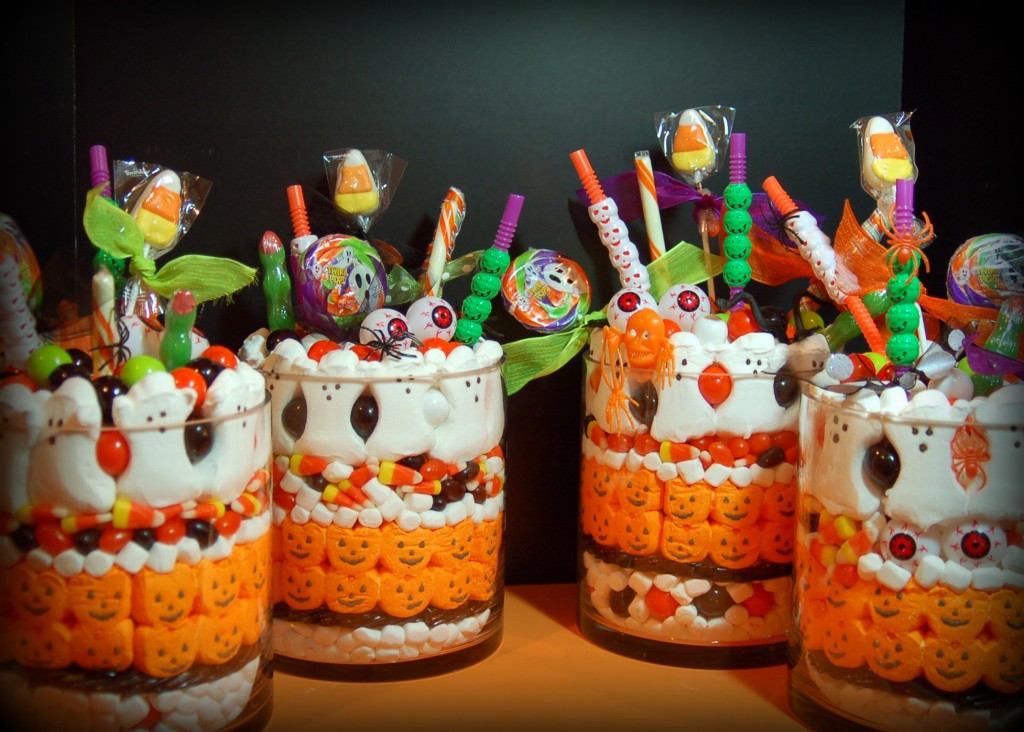 I love this one with the “eyes” peeking out at you!
 I was able to get one good picture without someone pulling a face, or sticking a straw up their nose or some other childish thing. If you give a gal a night out away from kids and husbands, you just never know what you are going to get!:)
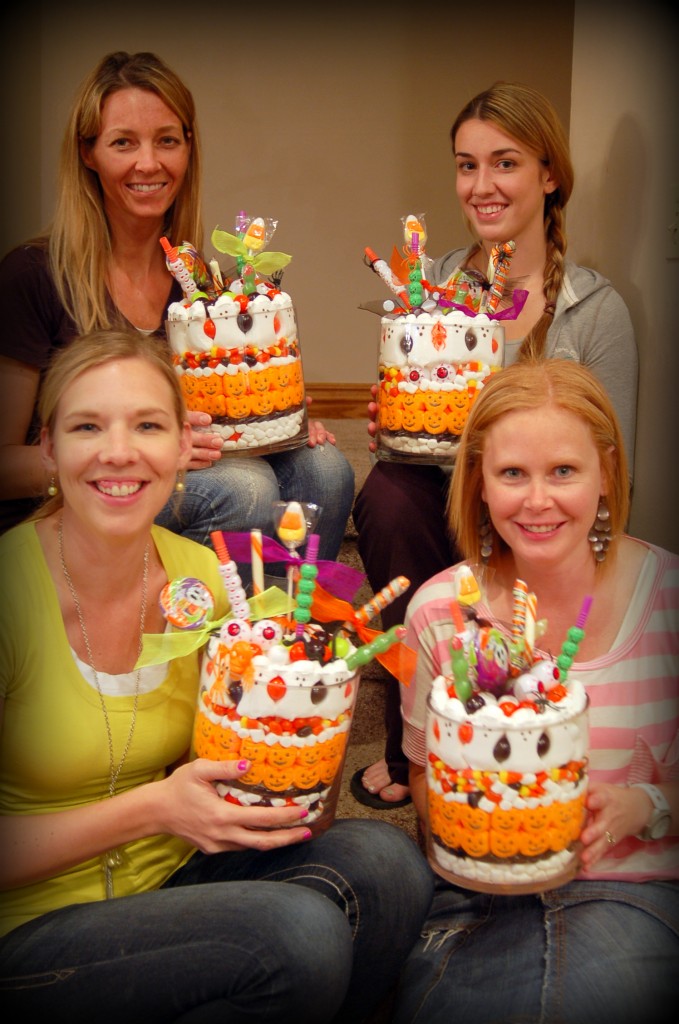 So does anyone else want to make an “Eye” Candy jar?
Supplies needed:
Clear straight edged cylinder or square vase
Big bag of miniature marshmallows
Seasonal Candies: I used peeps, black licorice, candy corn, jelly beans, and gumballs (can also use seasonal M & M’s or any other seasonal candies)
Suckers, fun straws, fake spiders, or plastic eyeballs to decorate the top,
To get started you will need a vase. You can use any size that you want. Put a layer of mini marshmallows in the bottom of the jar.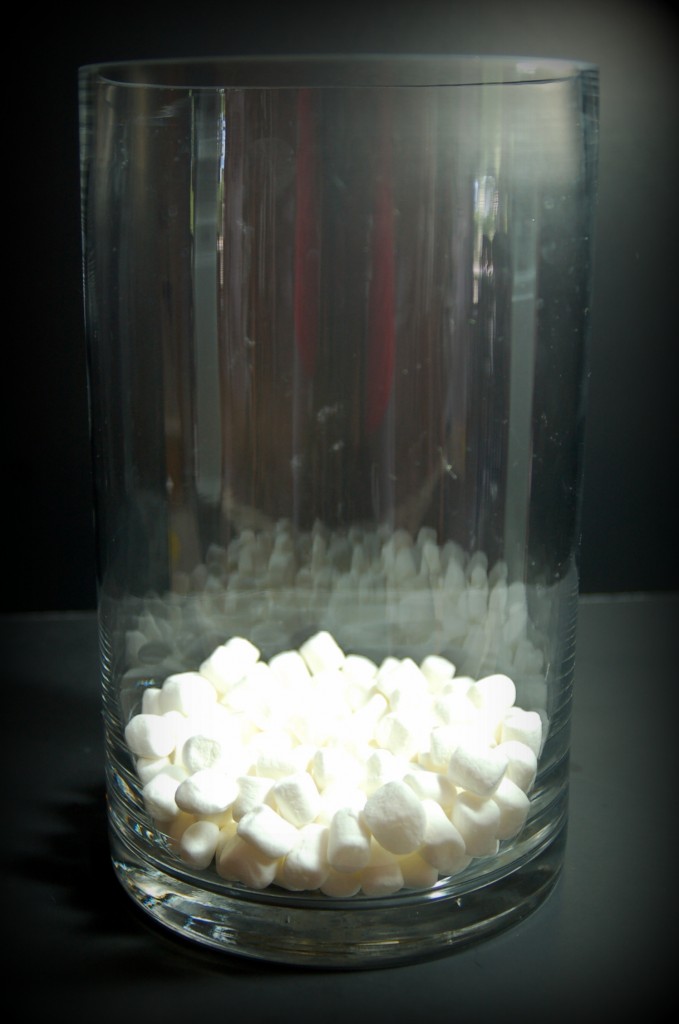 Then add a row of licorice on top of the marshmallows. (There are a lot of reflections going on with the glass, sorry)
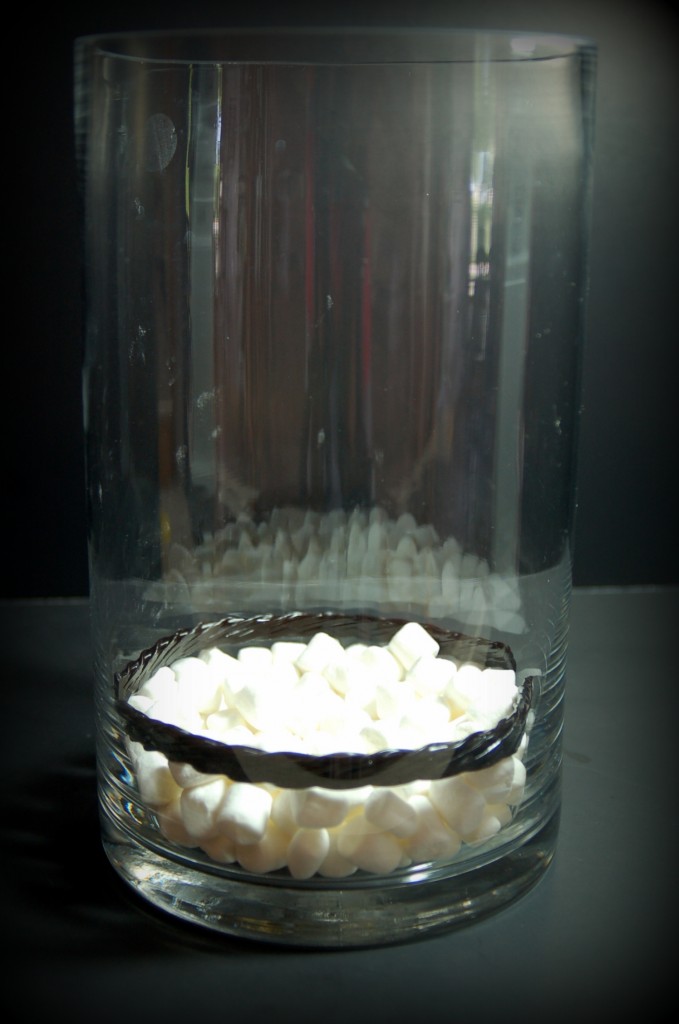 Next you will make a row with the peeps. Just line them up around the inside of the jar on top of the licorice.
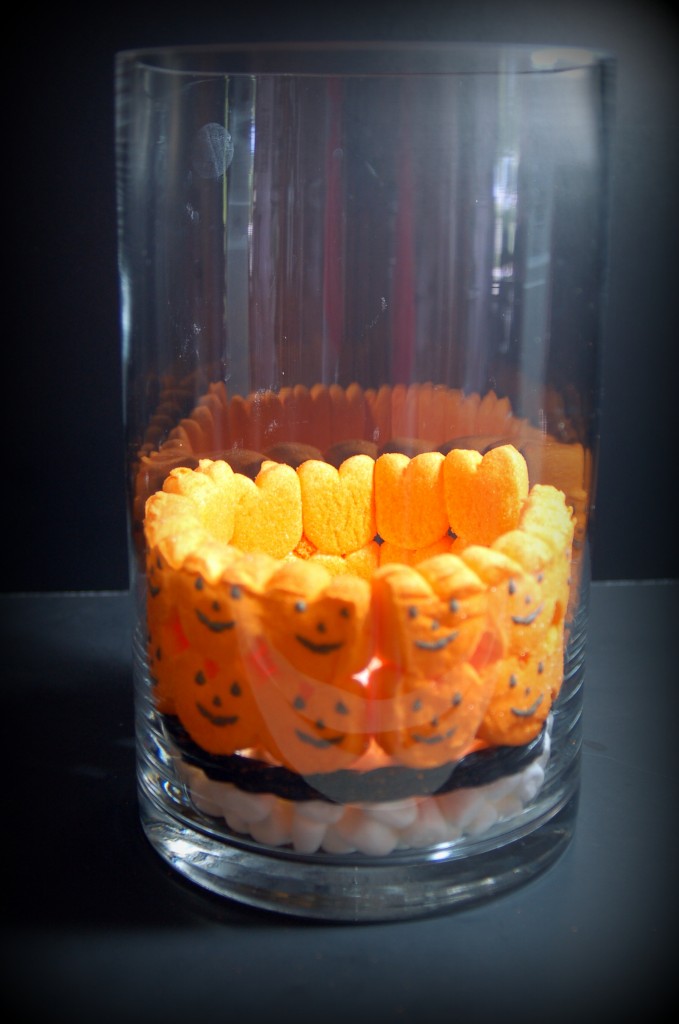 You will have an open middle with nothing in it.
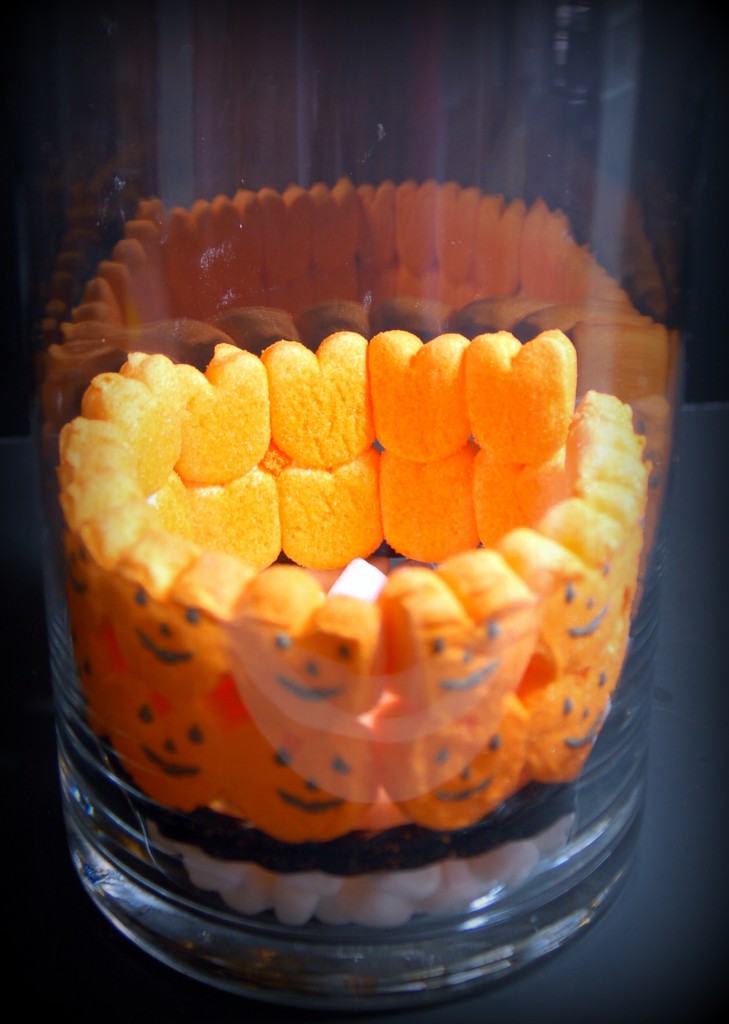 Fill up the middle with more mini marshmallows. You will want to go just a little above the peeps to make the next layer.
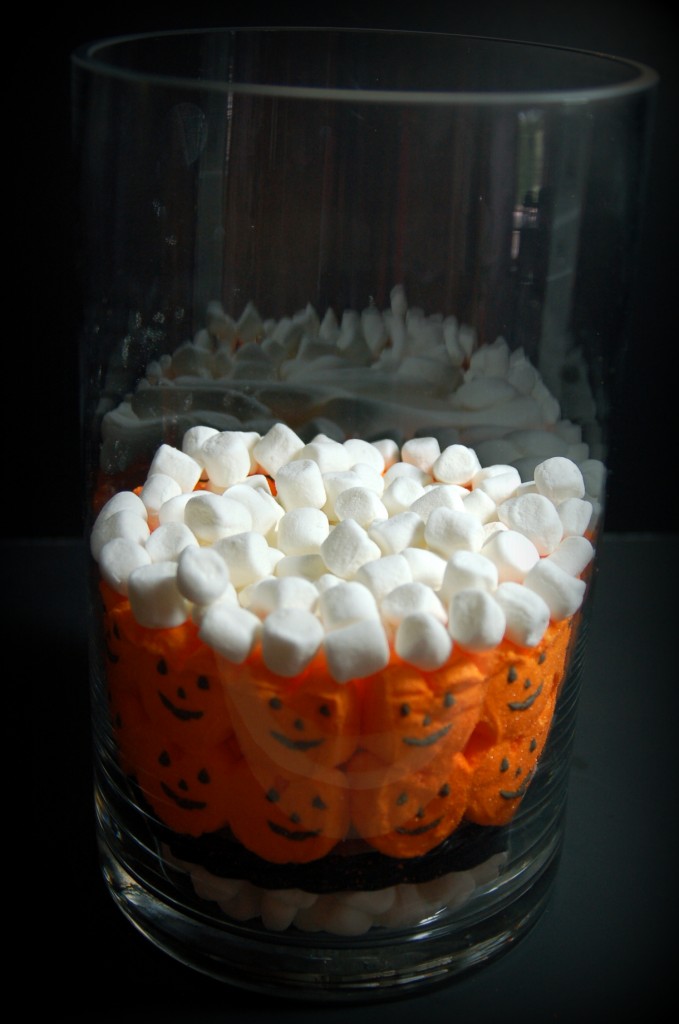 Next add some jelly beans all around the edges.
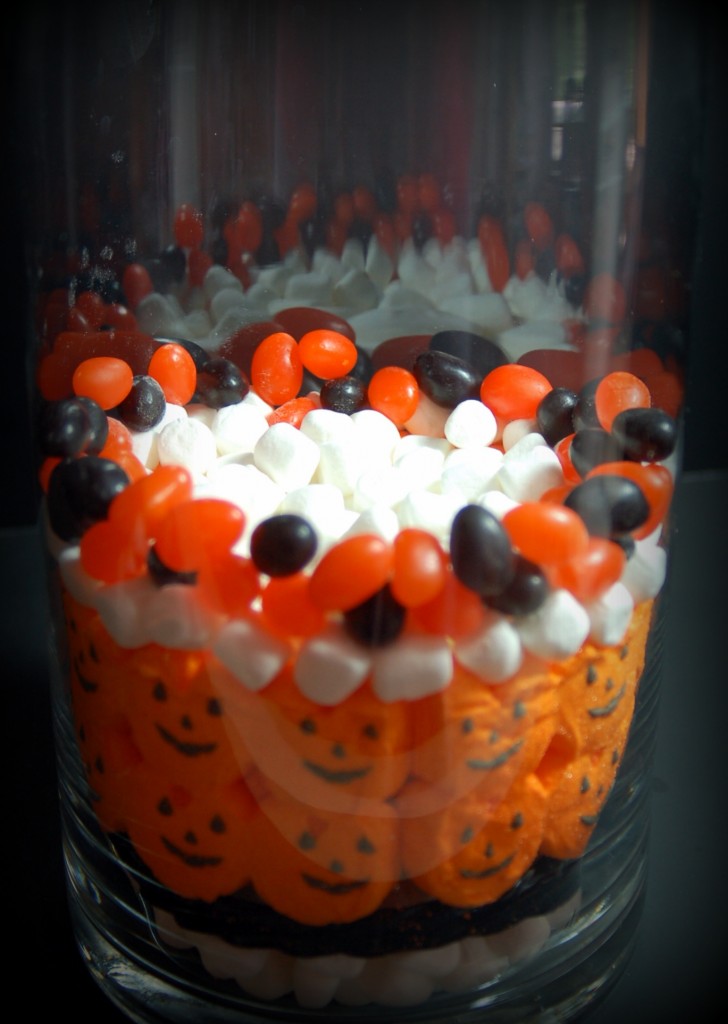 Then do a layer of candy corn. Keep filling up the center with marshmallows to hold all the candies in place.
 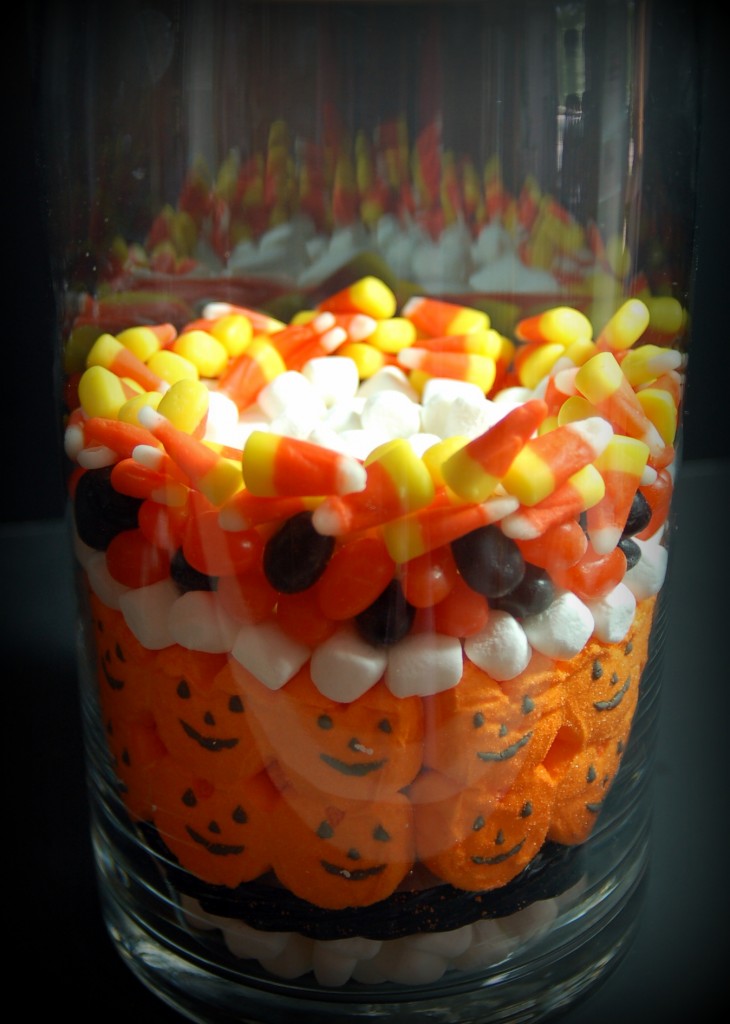 Continue with another row of peeps and fill the middle with marshmallows again. We added gumballs to the top, then add some fun straws, suckers tied with ribbons, spiders, plastic eyeballs or any other embellishments that you can find and you are all done! So Easy yet so Cute!
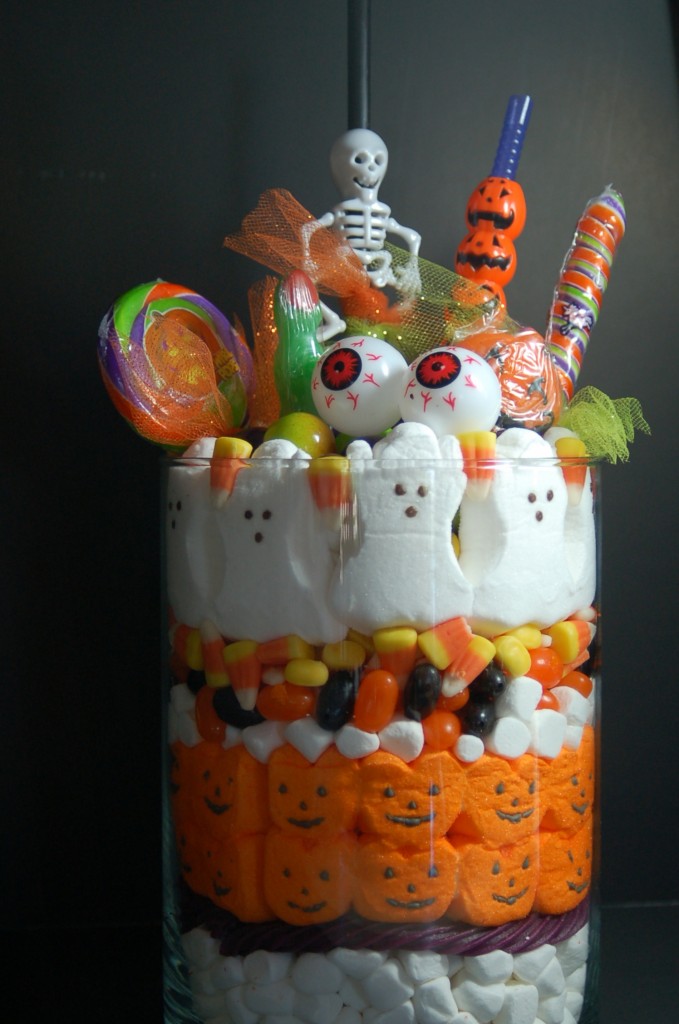 Thanks Kathy, for teaching us how to make these at our retreat! Everyone had so much fun!
Happy Haunting Everyone! Love Ya!
Remember to join me Oct 8th at 10am on Good Things Utah!
This post is from pink polka dot creations. If you are not reading it from our feed, it has been STOLEN. Please contact Rita to let us know. Please enjoy the posts!


My Mom is awesome! Thanks for the fun night.
These are adorable and what a great idea for a girl’s night out. If you get a chance I would love for you to come link up at my Pin Party.
http://sarahdawndesigns.blogspot.com/2012/09/pintastic-monday-link-party-10.html#.UGC99K4-WnA
OMG – these are so adorable – thanks so much for sharing! I think that this will make a great project to do with the kiddos :)
Yes, I am sure they will love it, especially if they can eat any of the leftovers!:)
How adorable! How do I get invited to on of your girls night out! What a wonderful lady you are to share your talents with those you love!
You are so sweet! Thanks for your kind comment, I love to hear from all of my readers and wish that there was a way for us all to have a fun girls night out, wouldn’t that be great?
So cute!!! I will definitely have to watch Good Things Utah that day. (I made your spaghetti sauce the other day, it was delicious!)
Sarah, thanks so much for all of your support! I love to hear from you. Have a great day.
Rita
This is awesome…. I’ll have to plan on making this a couple of times. For grandkids and child care…. Thank you for sharing!
You are welcome. I am pretty sure that all of the kids will love it, both young and old!
These are the cutest!! Thanks so much for linking up today! I love everything you’ve linked up. I can’t wait to put one of these together!
Thank you for your kind comment. These candy jars really are fun to do and I love that you can really get creative and use just about any candy in them for any holiday!
How cute is that! Dropping by from Make it pretty!
These are AWESOME! :-) And I love trifles! :-)
What a great girl night out project!! I must say I love the one with the eye balls peeking out of the center:-) Too cute!!!
Such a fun fall thing to do. Might need to have a girls night for this!
I absolutely fell in love with this jar and have become possessed to do one. I didn’t have the same jar but used one I thought would work. It did not! I have taken it apart no less than 5 times and had to re-sort out the candy!! How do you keep the candy from spilling into the row below it?? That was my worst part! Your rows are so even and lovely. I am going to Home Goods right now to find a similar jar to yours so I can start out right. But, please, if you have any tips on keeping the rows straight, I’d sure appreciate it. It’s been so frustrating up till now.Thanks!
Carmela, Did you fill the middle of your jar with mini marshmallows like it says in this post? That is what holds everything in place. I hope that your jar turns out great! Happy Halloween!