Do you want to know why this is the best ever Halloween Countdown?
1-it is super cute!
2-it is easy to put together!
3-you can throw it away when you are done, no storing for next year!
4-you probably have most of the supplies already!
5-your kids will LOVE it!
6-you will be known as the best mom/grandma/aunt ever!
7-this countdown is for 13 spooky days, not 31 which is an overkill!
Is that enough reasons or do you need one more, all of the work has been done for you and all you have to do is print, cut, gather supplies and put it together, how easy is that?
So does anyone what to make a darling Halloween countdown for all of your kiddos?
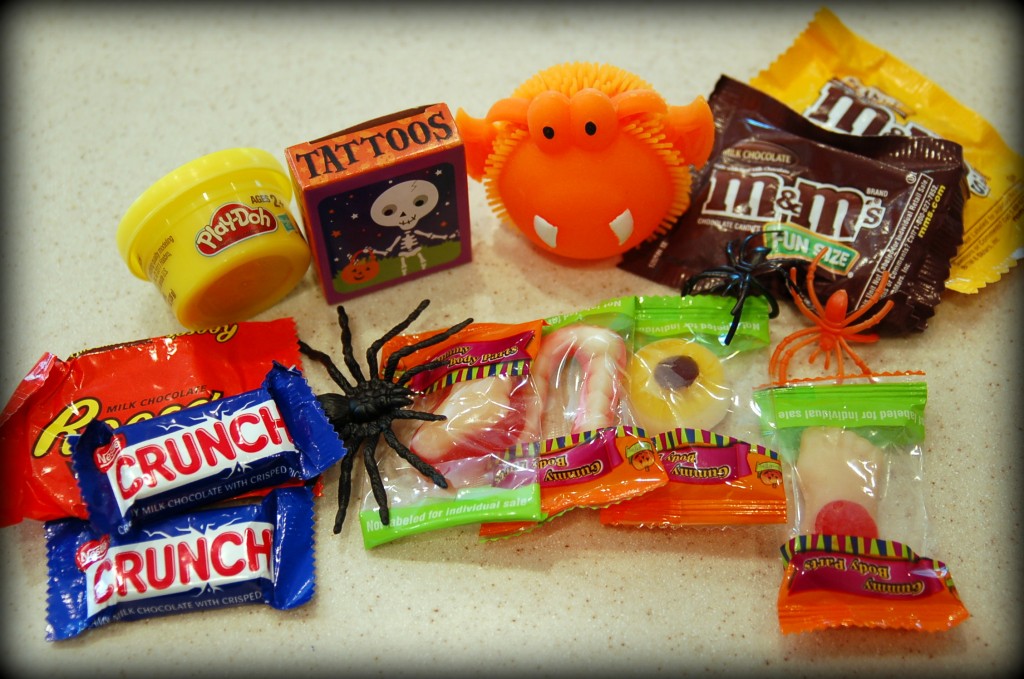
First gather up your supplies, I used candy, temporary tattoos, play dough, plastic spiders, and spider rings, and a fun light up squeeze ball. I found some gross gummies that are different body parts!
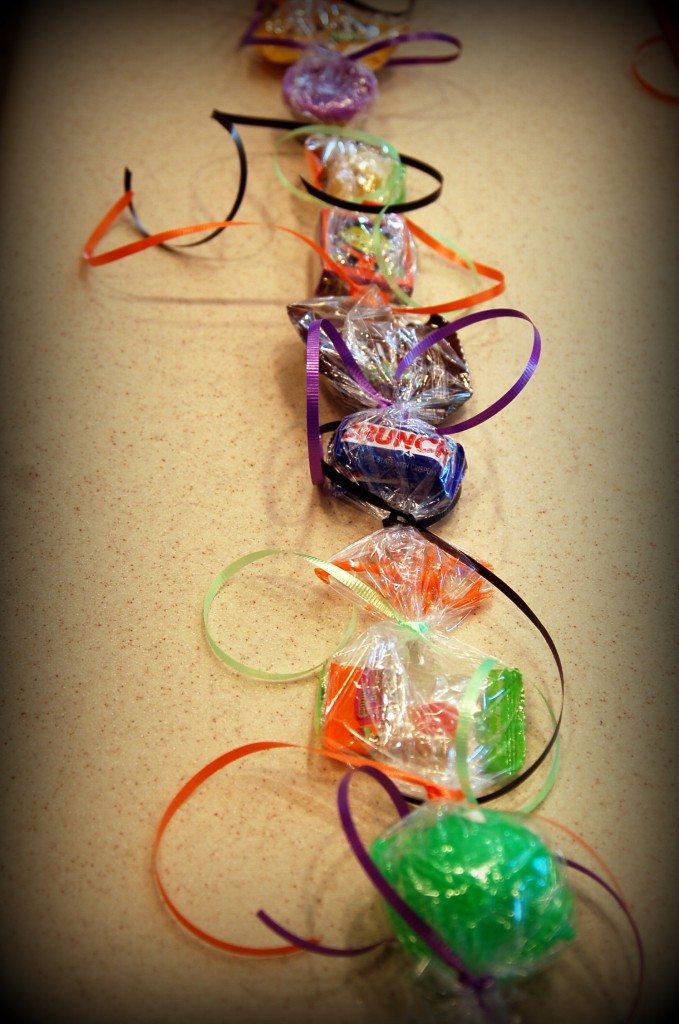
 First, you will want to pull out about 5 feet of plastic wrap. I used the inexpensive brand, because it does not cling and stick together and therefore is easier to work with. Line up 13 different goodies down the middle of the plastic wrap, leaving a space in between to tie it up.
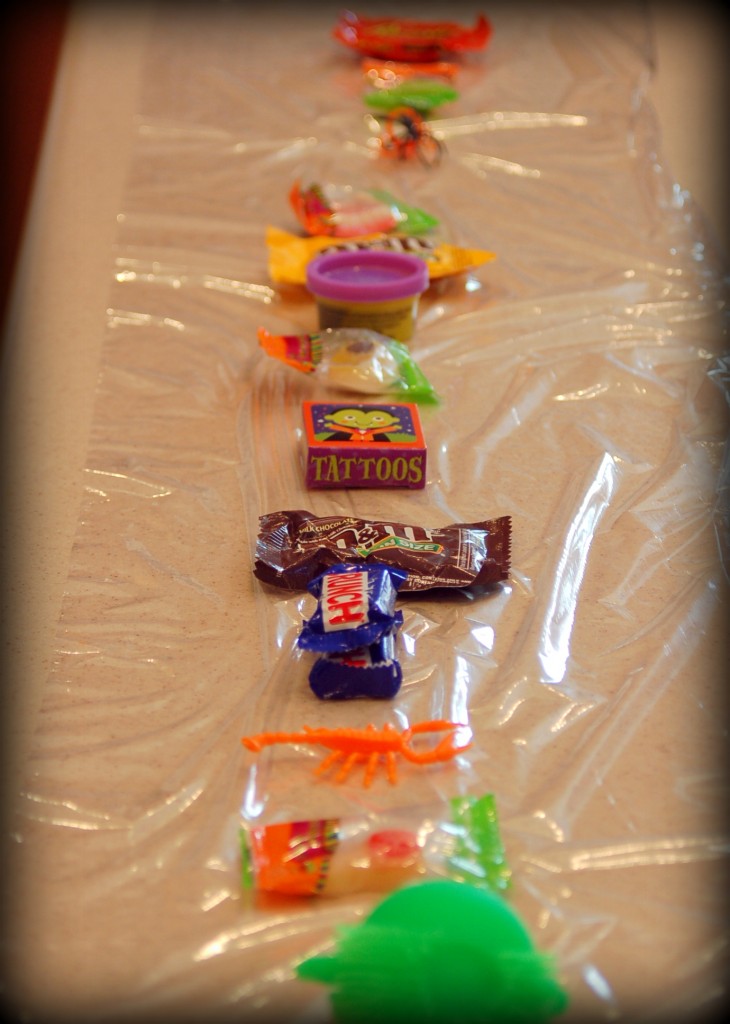 Fold over one side of the plastic wrap…
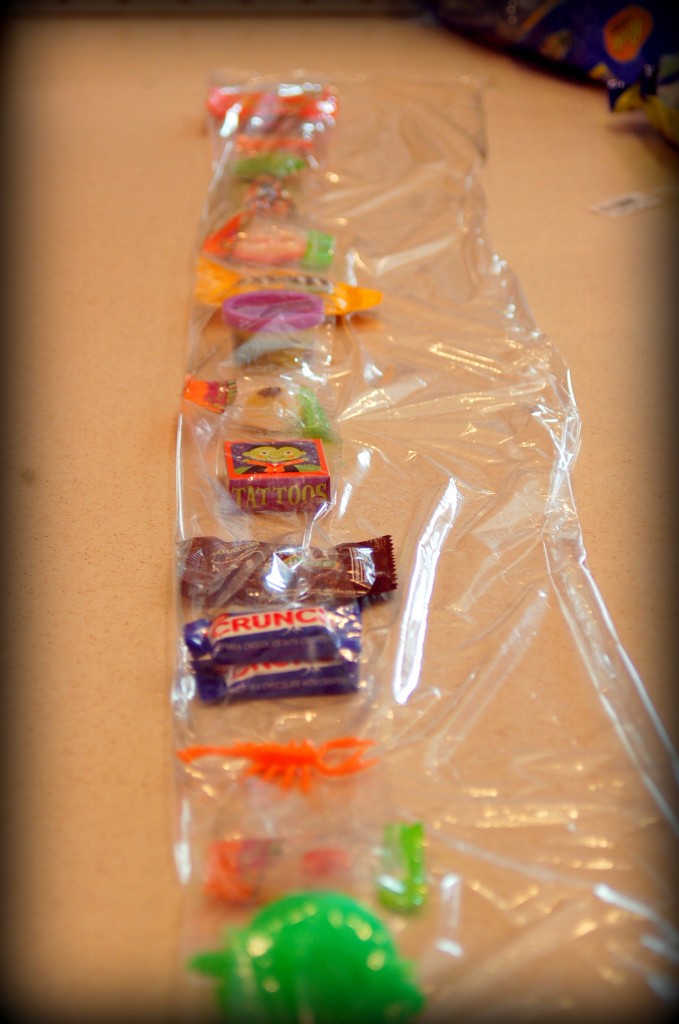 Then fold over the other side, encasing all of the goodies.
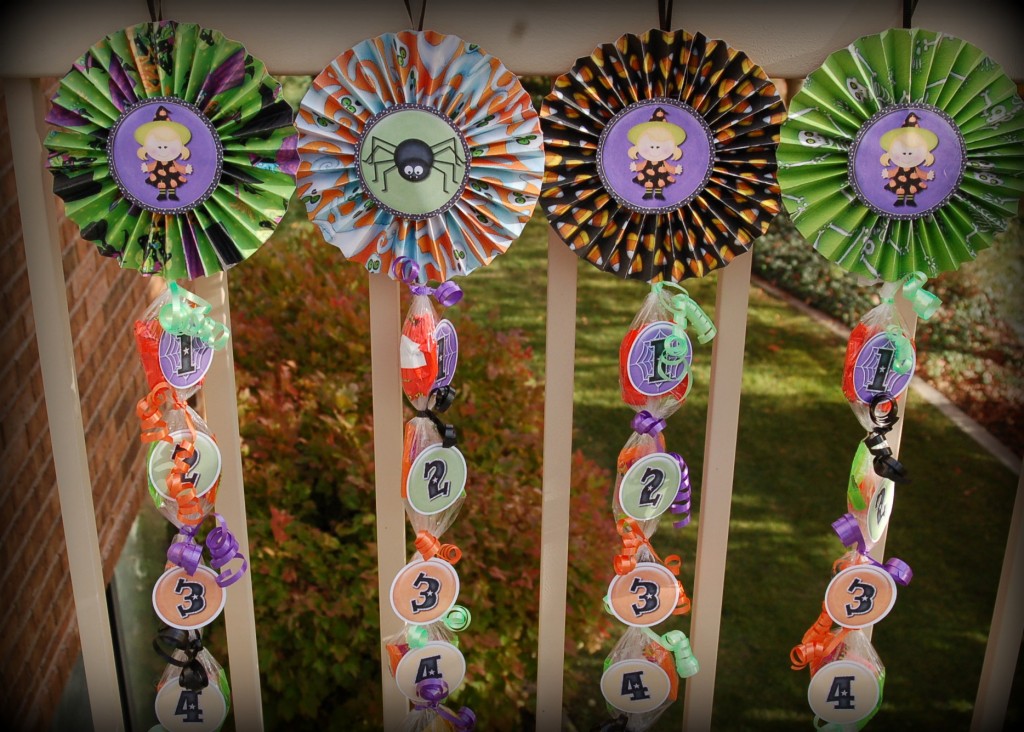
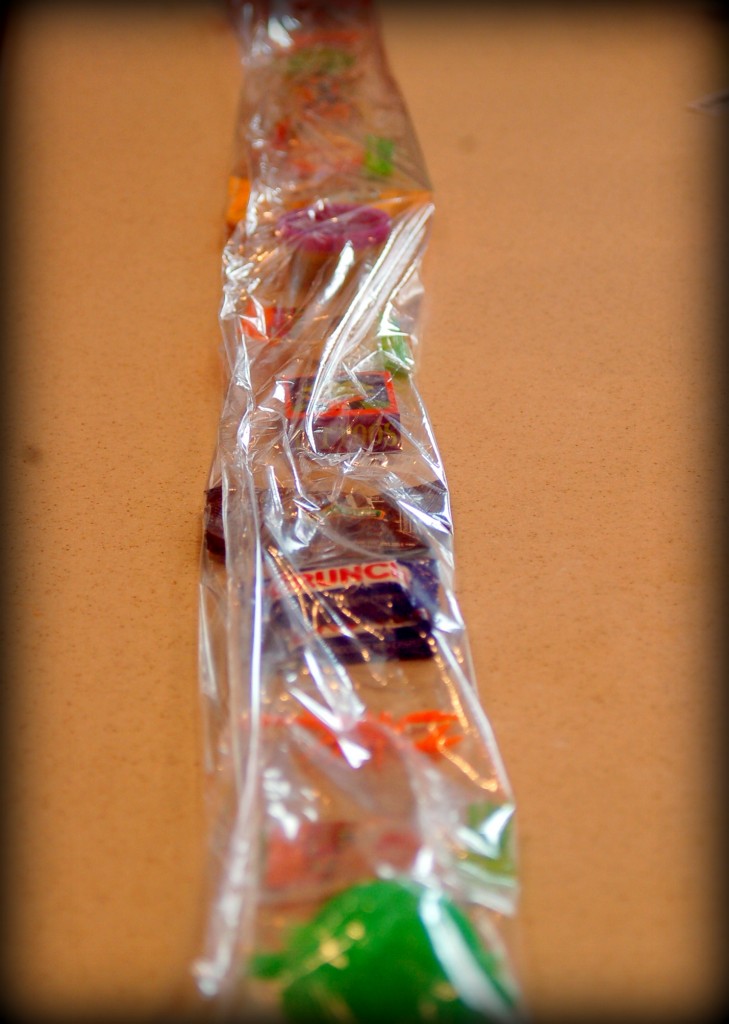 Tie between each treat with ribbon. Make sure you tie the top and the bottom. I used curling ribbon, but you can use any ribbon that you have. If using curling ribbon, you can curl the ends now.
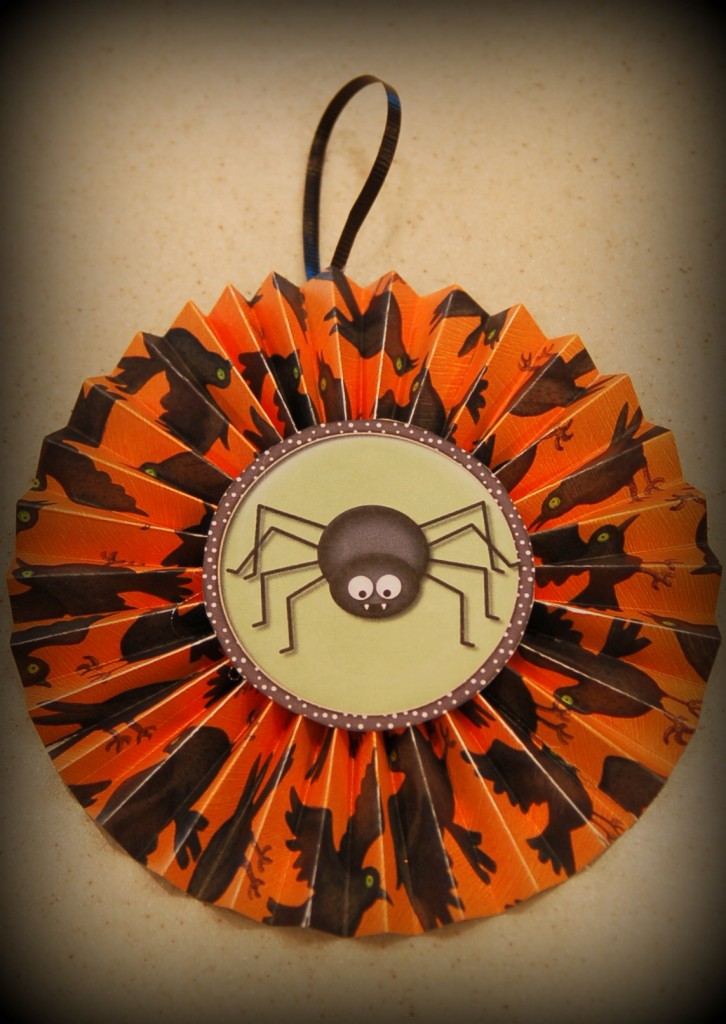
 Next, you will want to cut out the topper. If you want to make a lollie to put it on you will need 3- 3″ x 12″ pieces of scrapbook paper. Score it every 1/2 inch and fold it accordion style. Glue or tape it end to end and then into a circle. Push it flat and hot glue to hold it flat. Glue the front to the lollie. You could skip this lollie and just put the circle topper on the top of your countdown.
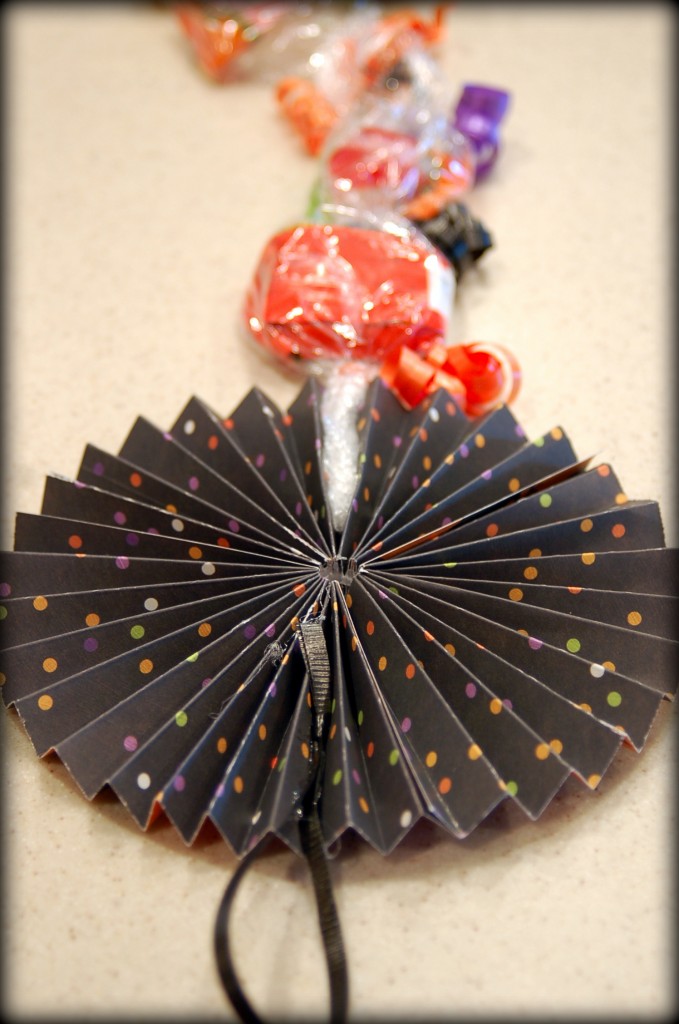
  Next you will want to hot glue the plastic wrap to the back of the lollie and also a piece of ribbon to the top so that you can hang it.
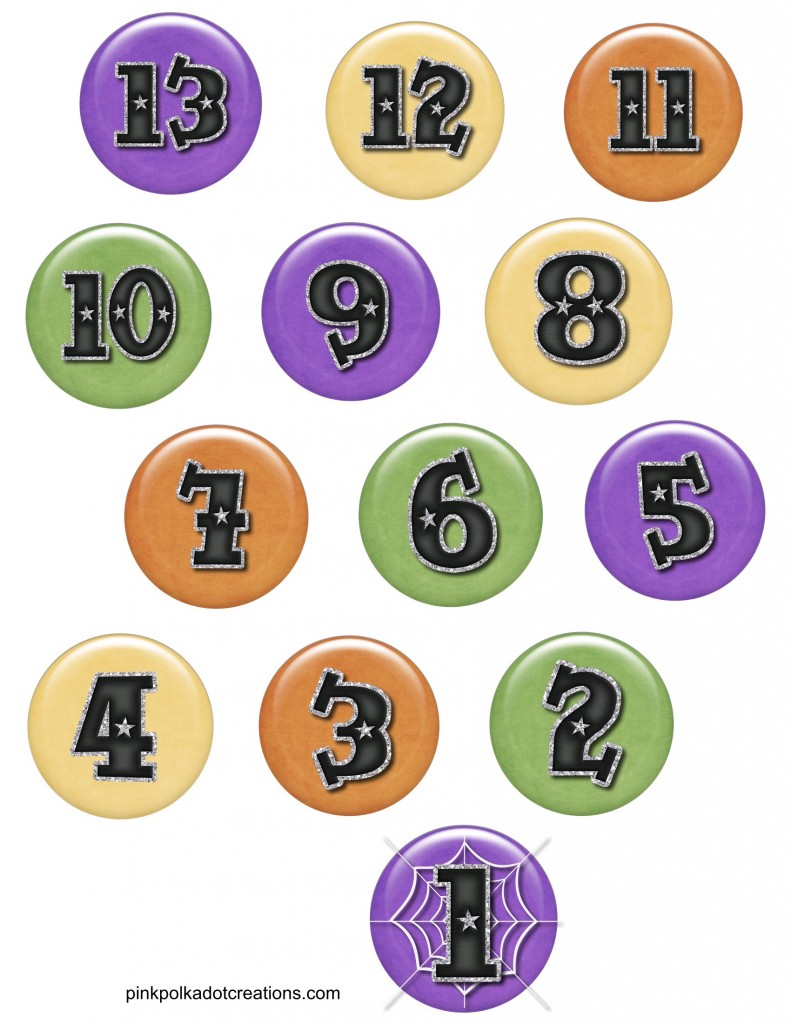
 Next you will want to punch the numbers out with a circle punch if you have one and just use double sided tape or a tape runner to stick them to the front for each of the 13 days.
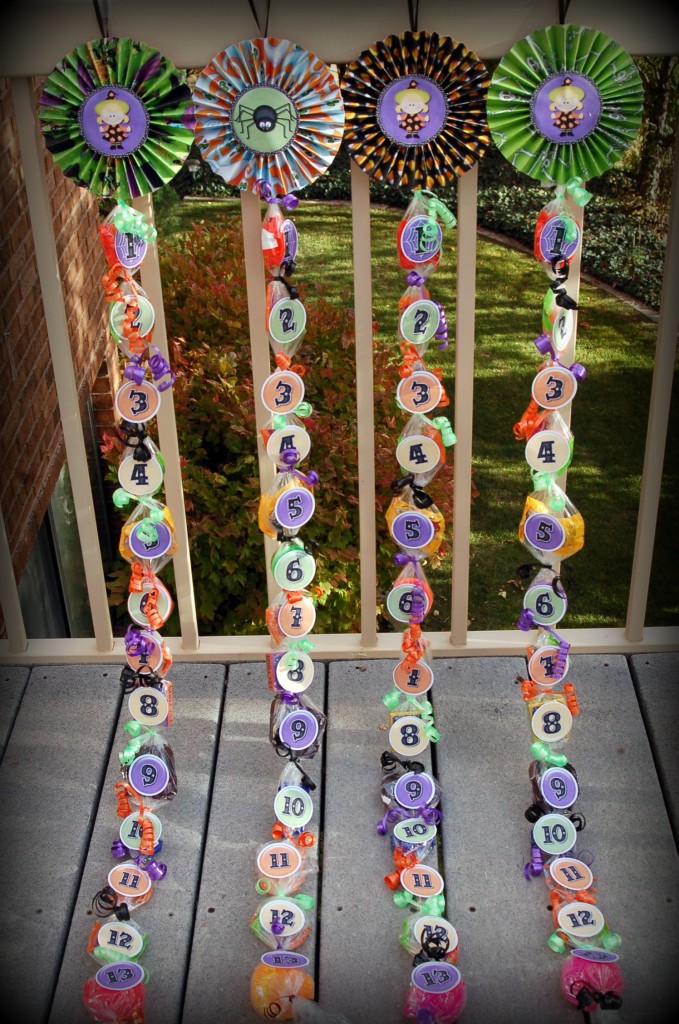 The kids can then just cut one day off at a time. You will want to start on Oct 19th if you want it to end on Halloween day, or Oct 18th if you want it to end on Halloween eve.
Here are the printables for the topper and for the days, to print, just right click and go to “save image as”, then save in one of your pictures file and print from there. Or simply copy and paste. 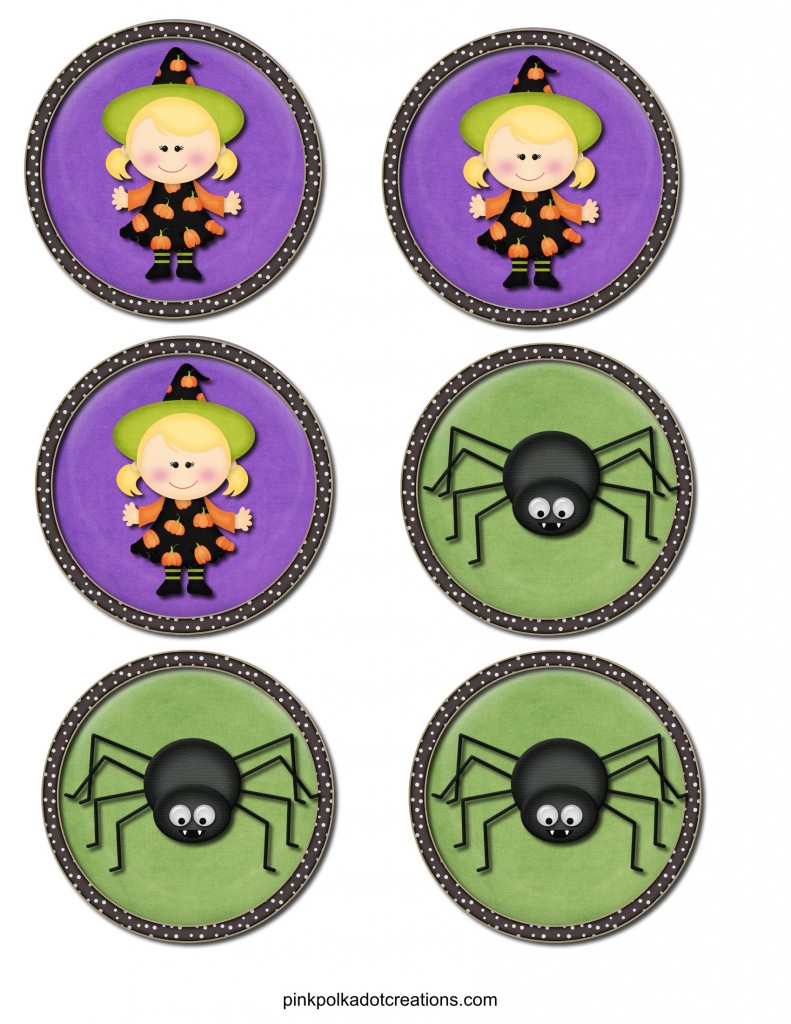
 This is a great project for you to do this weekend! If you are a grandma doing these and have to mail them, they will fold up very compactly and do not weigh a lot, so they are a great suprise that you could mail to the grandkids!
Have a great weekend everyone! Love Ya!
This post is from pink polka dot creations. If you are not reading it from our feed, it has been STOLEN. Please contact Rita to let us know. Please enjoy the posts!



How perfectly cute. This will be a great craft to invite my daughter’s friends and their mothers over to do. Thank you!
What a fun idea, to make a party out of making them! Thanks for sharing!
Thanks for visiting and commenting at OneCreativeMommy.com. I’d love it if you linked up some of your great ideas at One Creative Weekend on my site. The party is open Fridays-Wednesdays every week. Hope to see you there!
I love this countdown and your adorable printables!
CONGRATS!!!! You have been featured at The DIY Dreamer.. From Dream To Reality! Come on over and grab your featured button, you deserve it!
http://thediydreamer.com/2012/10/from-dream-to-reality-linky-party-39/