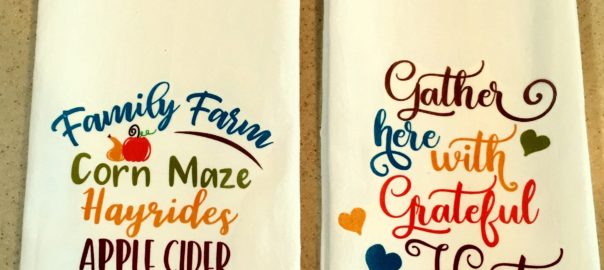
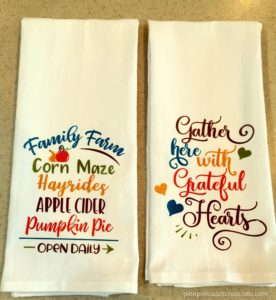
Today I have some fun Harvest Dishtowels to show you! They were so fun to make that I also decided to do a darling t-shirt!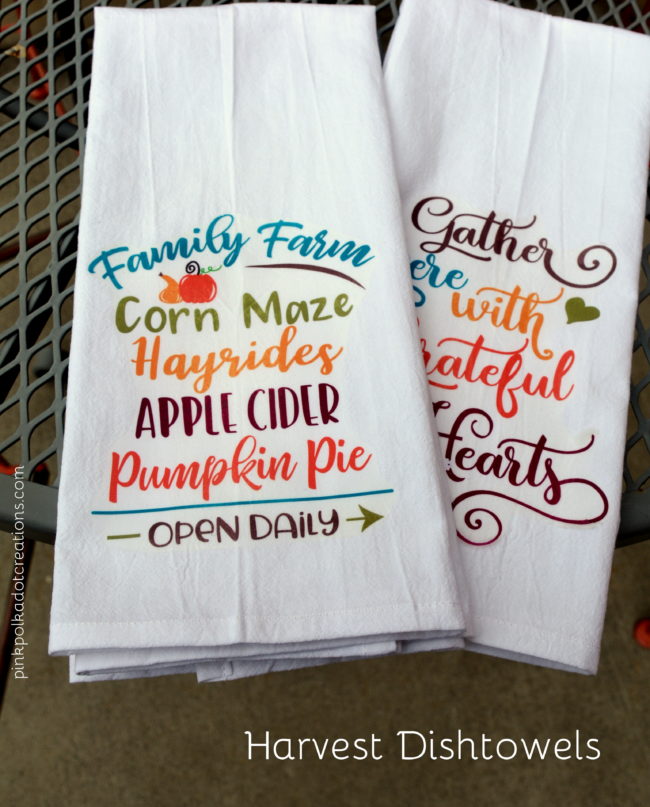 Look at the fun fonts and the colors in these cute lettered images!
You can find the images here, at The Hungry JPEG.
Once you download the images, you simply print the image you want, on to iron-on transfer paper. I found the transfer paper on Amazon. You can order for white fabrics or for dark fabrics. If you are doing images that have writing on them, you will want to reverse the image before you print it on the paper!
Then it is simply a matter of ironing on your design!!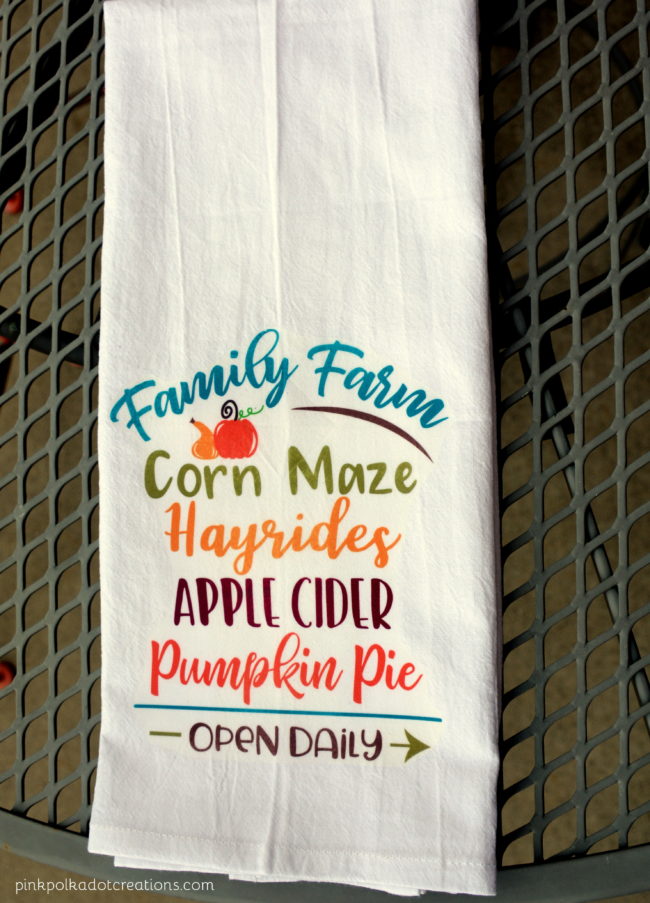 Here is a close-up of this image. This is such a fun sign and it is perfect for your kitchen all through the fall months!!!
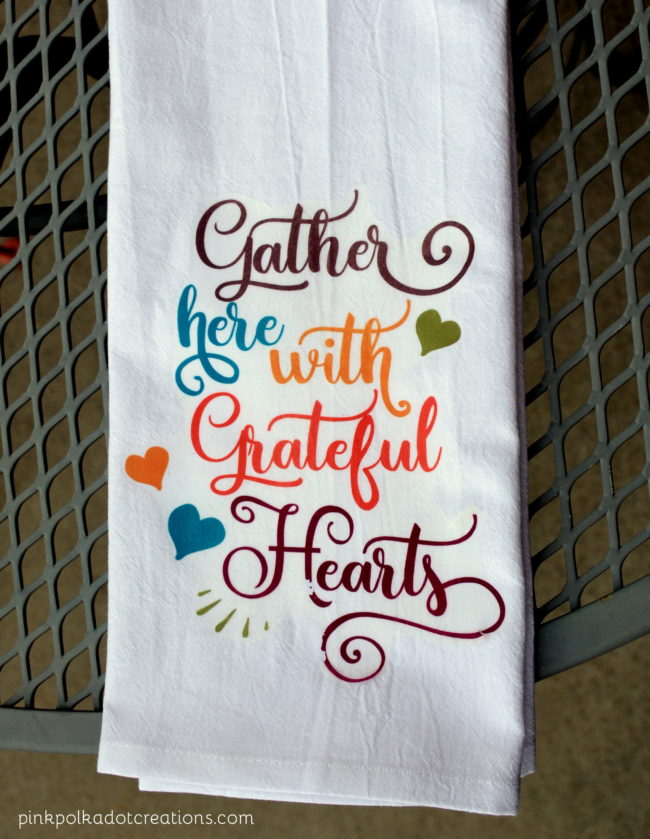 And this one is perfect for fall and especially for Thanksgiving.
You can see that I missed a spot on the “H” when I ironed this one. Be careful when you are ironing on your transfer…you can go over it again.
I just pulled it off instead of being more patient!!
 But this is the second set and as you can see, this set turned out better!
These dishtowels are great quality and are a great size. They have a loop at the top for hanging.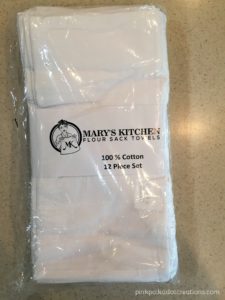 You can find them here: at Mary’s Kitchen.
So those are my Fun Harvest Dishtowels!
But I had so much fun with them, that I decided to make a t-shirt too!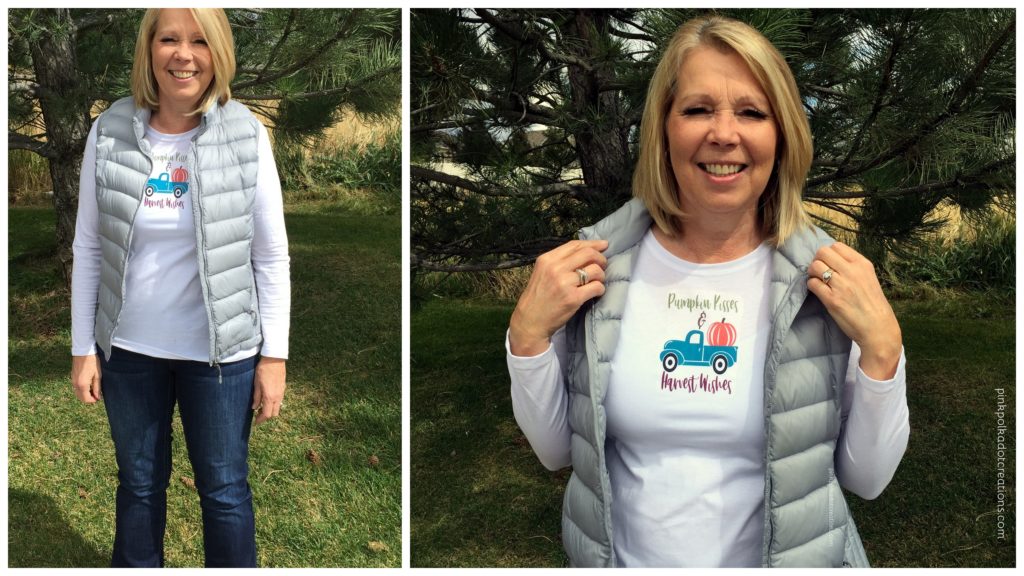 Isn’t this truck image with the pumpkin in the back just the cutest??? I just couldn’t resist! I bought a simple long sleeve t-shirt from Wal-mart and made a fun custom t-shirt!
It says…Pumpkin Kisses…Harvest Wishes.
Have you done any fun all projects? I would love to hear about them!
Thanks for Visiting…Have a wonderful Day!


These are soooo cute! Thanks for sharing!
Toni, Thanks for taking the time to write your kind comment. I love hearing from you! Hope you have a wonderful day!
Your talents never cease to amaze me!
Marcia, These were really fun to make and they are easy to do…my kind of projects lately! :) Hope you are having a wonderful day!
Rita, do you know if you can convert these files to jpeg, then send it digitally to be copied at any copy store if the transfer paper was provided?
Just googled it and the answer is no.
Toni, Thanks for your research. I appreciate it.
Hi I love your designs! I was wondering what transfer paper you used for them? thanks for any info. Kim
Kim, I used Avery #8939, Light Fabric Transfers. They have a white background and need to be used on white fabric. If you want to do them on dark or colored fabric you will need to get the dark fabric transfers. I just ordered mine on Amazon. Hope this helps.
Rita, I love these and I’m attempting to make some but I was wondering if you simply cut around the design and then pressed it on your article? When I went into Avery it said to cut them out with a special machine so that none of the white showed. Yours looked great if all you did was cut around the design and cut out- so much easier especially since I don’t have the machine to digitally cut them
Kristine, I just cut around mine with scissors. I trimmed fairly close, but did not cut around all of the details. As long as you have white fabric that you are ironing on to, the white background does not show up. Hope this helps.