I have a fun project, if you need one for this weekend! It is fairly inexpensive, depending on what flowers and ribbon you use and you don’t have to think very hard to make it, so put on a good movie or in our household a good ballgame! We watched the Utah football game…go Utes! My daughter and I got together this weekend to make these. It was so much fun and we have not really done very many craft nights since she started working, so we were way overdue for another one!
 You start with an 18″ straw wreath, and LOTS of coffee filters. I used about 400 coffee filters. Mine is probably a little too full, you could space your filters out a little bit more and only use about 350 coffee filters. My daughter got really carried away and used over 600 filters on hers, but once she started putting them so close together, she had to finish it that way. It still looked great, but you really don’t need that many. The cost of the straw wreath was $5 at Hobby Lobby and all florals were half off that day, so we scored with the wreath only costing $2.50! The coffee filters were $1.25 per package of 200 ( I used two packages),so another $2.50 and my wreath only cost $5.00 plus whatever flowers and embellishments that you use!
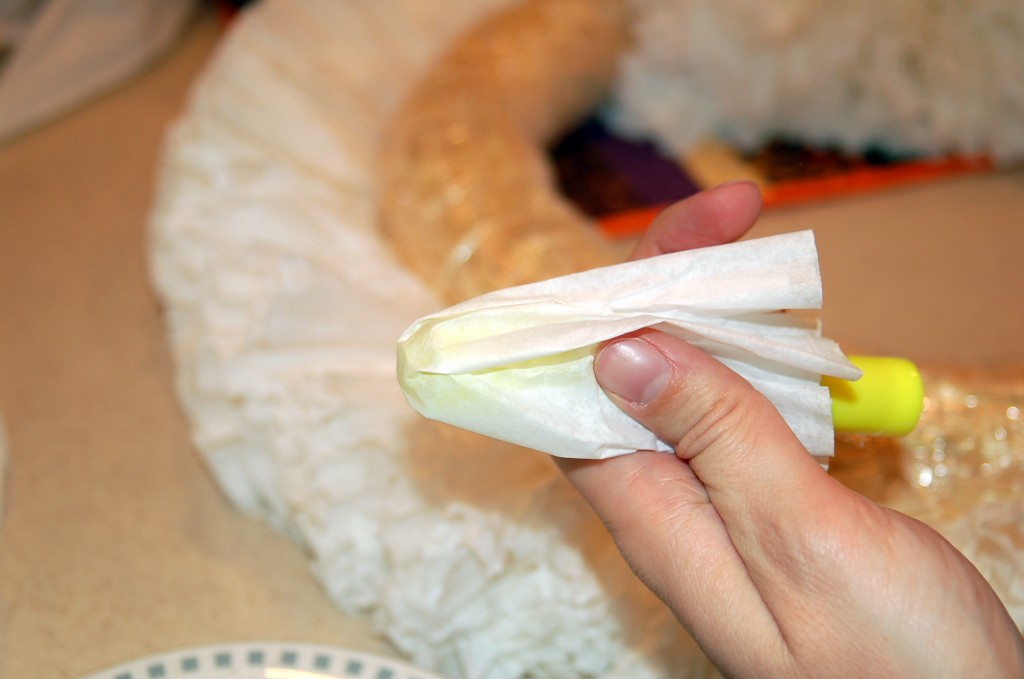
Start around the outside first, and go all the way around. We just started putting them on and soon learned that it was better to go all the way around the outside first.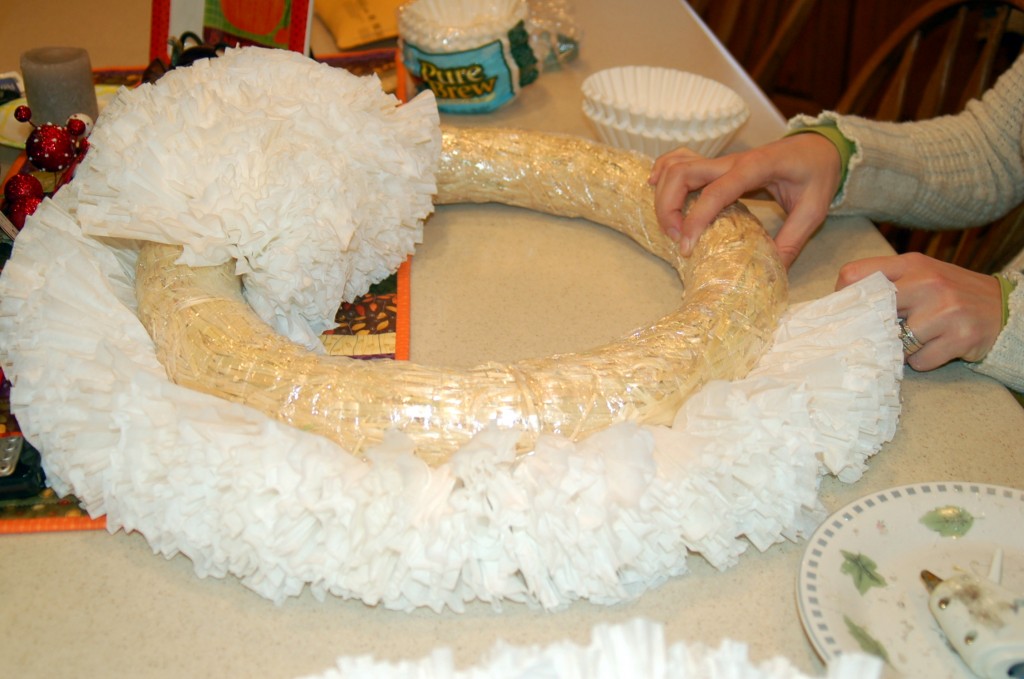 Take a coffee filter and center it around a marker like this. This keeps you from burning your fingers with the hot glue. (I however, was struggling even with the marker and managed to burn myself 3 times! It takes talent…I know!)
 Then add a dab of hot glue to the end. (You gotta love the glue gun..it is well loved!)
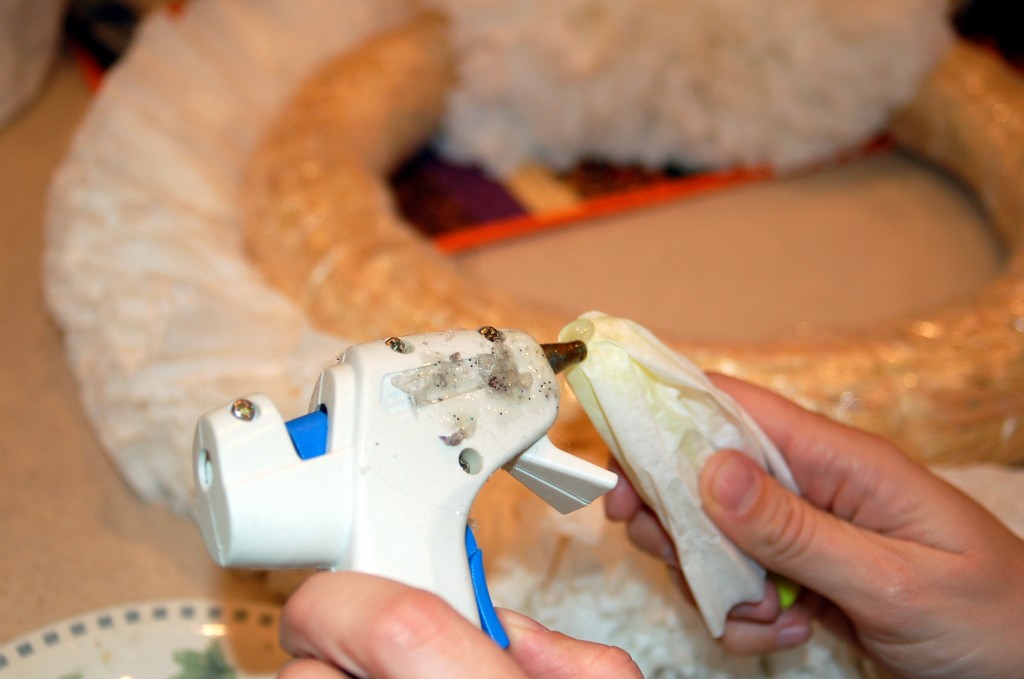 Then hold it onto the wreath for a few seconds to make sure it is secure. We left the plastic wrap on the straw wreath and it worked just fine and we did not have the mess of the straw all over!
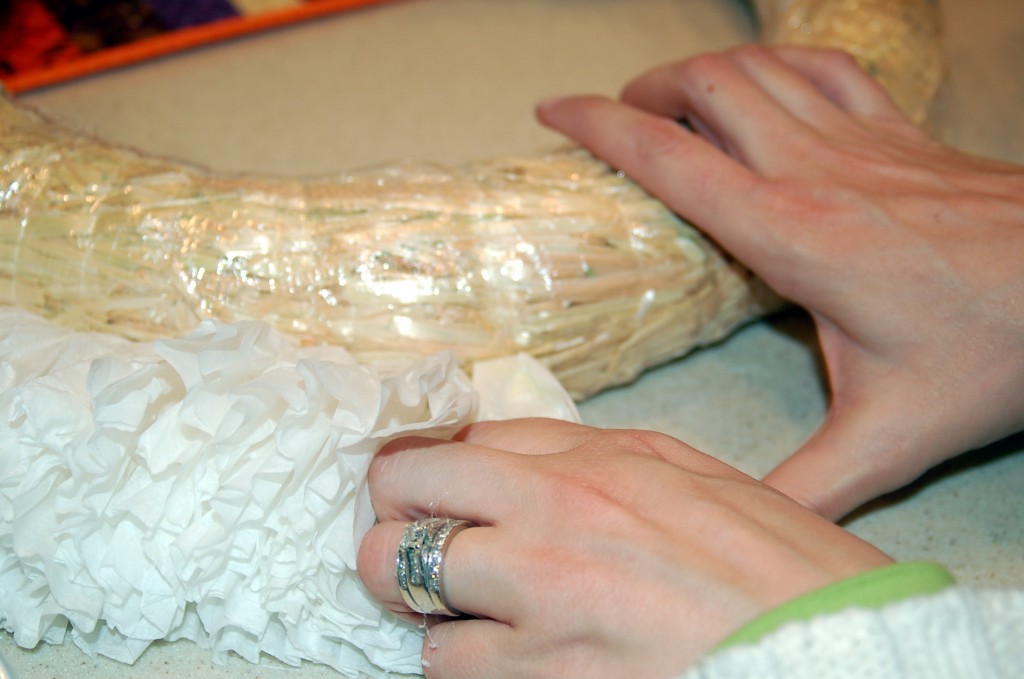 Go all the way around the outside. Make sure that you do not go too far down on the side, so that the wreath will lay flat against your door or wall. After you do the outside, then go around the inside center and then just start filling in all of the middle. Like a already said, we probably put our filters a little closer together than we should of. If you space them out a little more I think that it would be a little more rufflely! (Is that a word?)
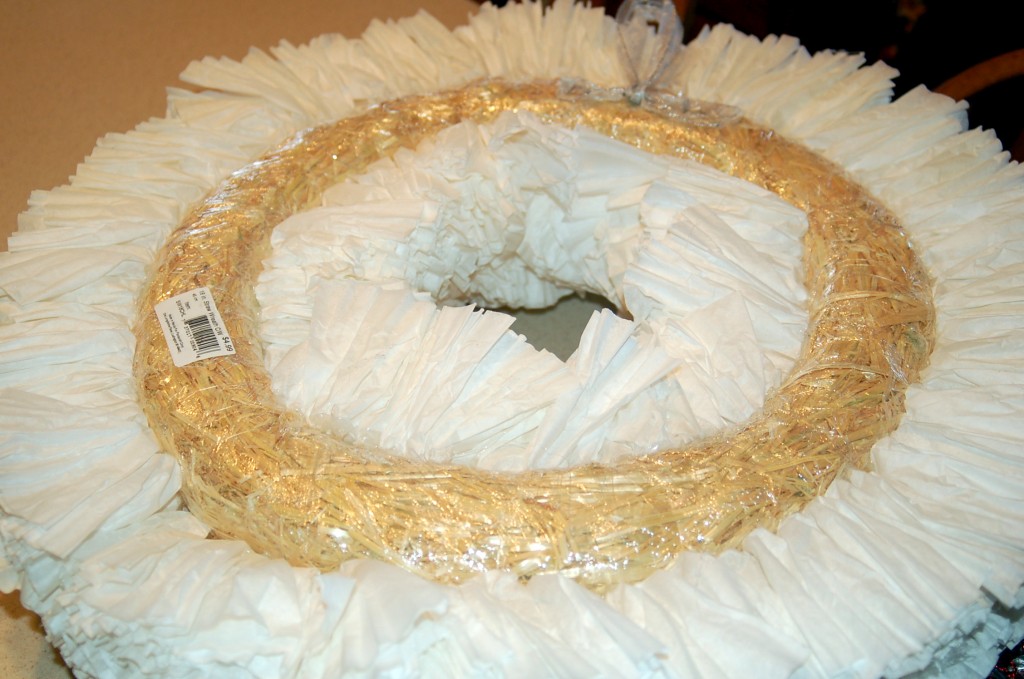
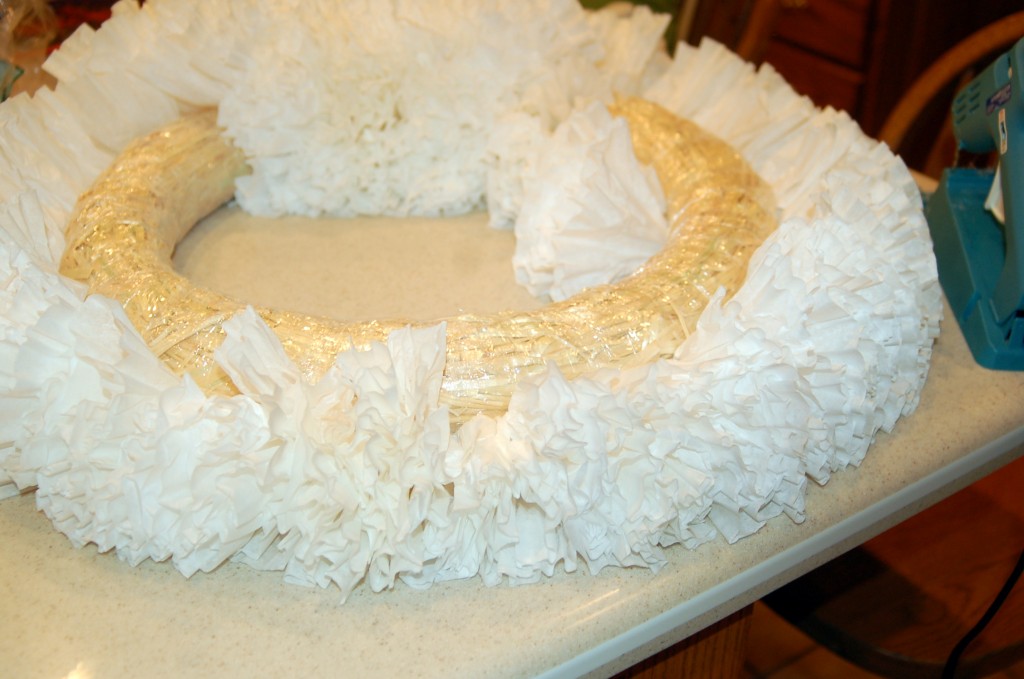 This is what it looks like from the back! I hot glued and stapled a ribbon to the top to hang it with. I have seen this wreath with just the coffee filters and no embellishments and it is beautiful that way too!
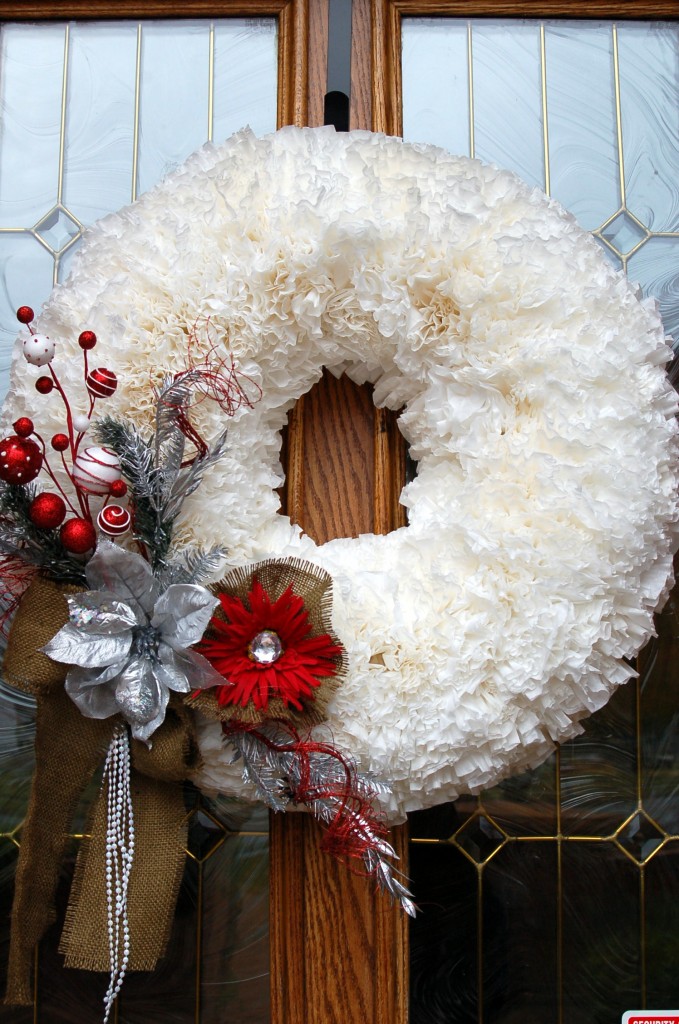
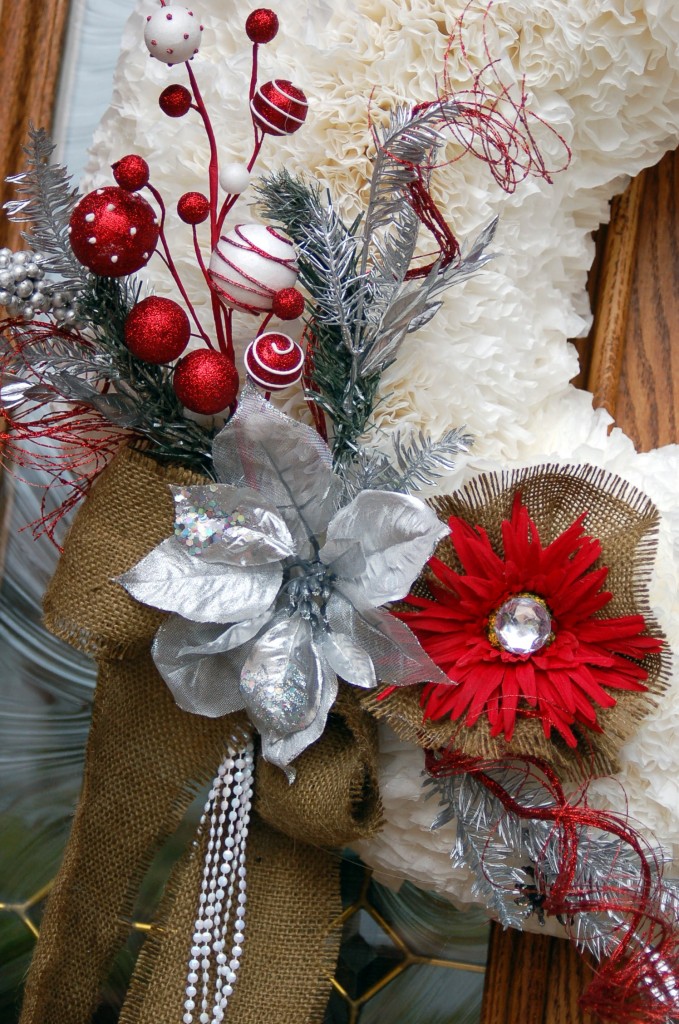
 I added some silver sprigs, a silver poinsettia, a red flower backed with a burlap ruffle, some red sparkly curls, a sprig with red and white balls, and a burlap bow and white beads.
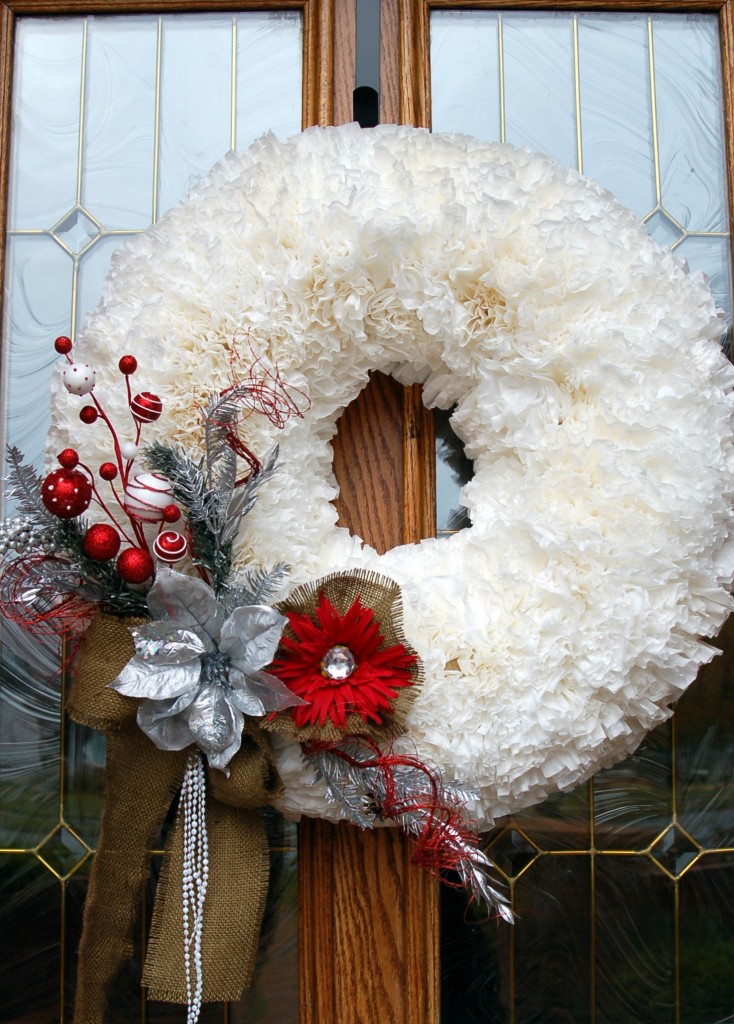 Here is a close up of the embellishments.
I am thinking that these would be cute for Valentines day and spray paint the wreath red after you get the filters on! Or how about green for St. Paddy’s Day? They really are fun to put together because you can just sit and make them without to much thought and some days no thinking is a good thing!
I linked this to I heart nap time, and My Crazy Beautiful Life

 Continue reading


