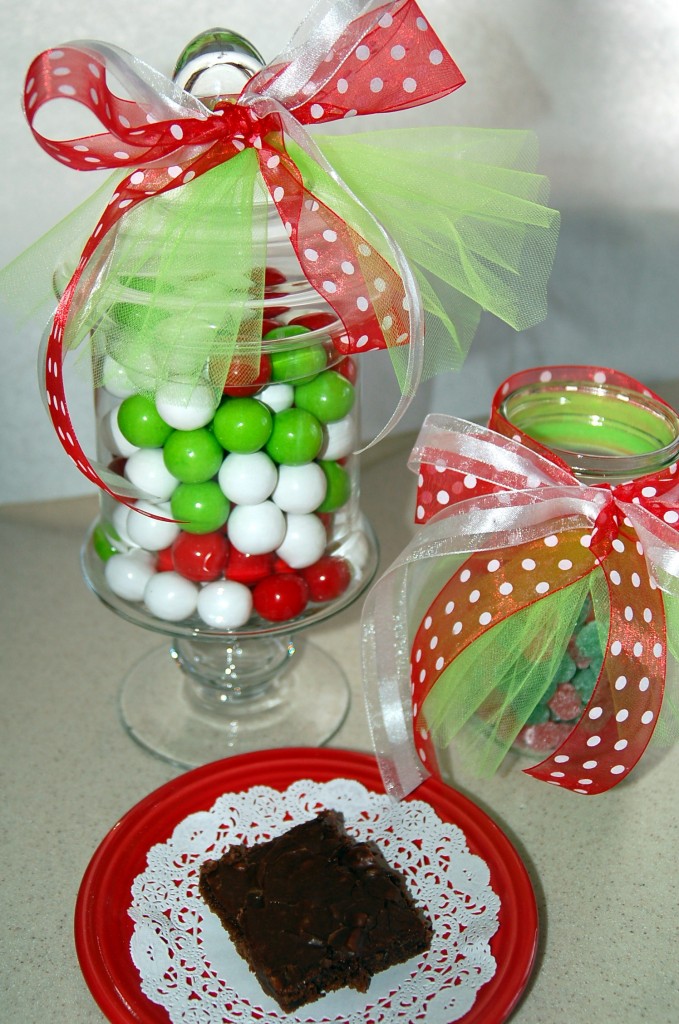
Category Archives: Recipes

Anise Candy

Today’s candy is a very old recipe that I remember my mom making for Christmas.  I have not made it for years, but ran across the recipe the other day and decided in honor of my mother that I would make this!  It is a hard tack candy that you could actually use to make suckers with, but I just made it the way my mom used to.  For those of you who do not know what Anise is, it is a black licorice type flavor.
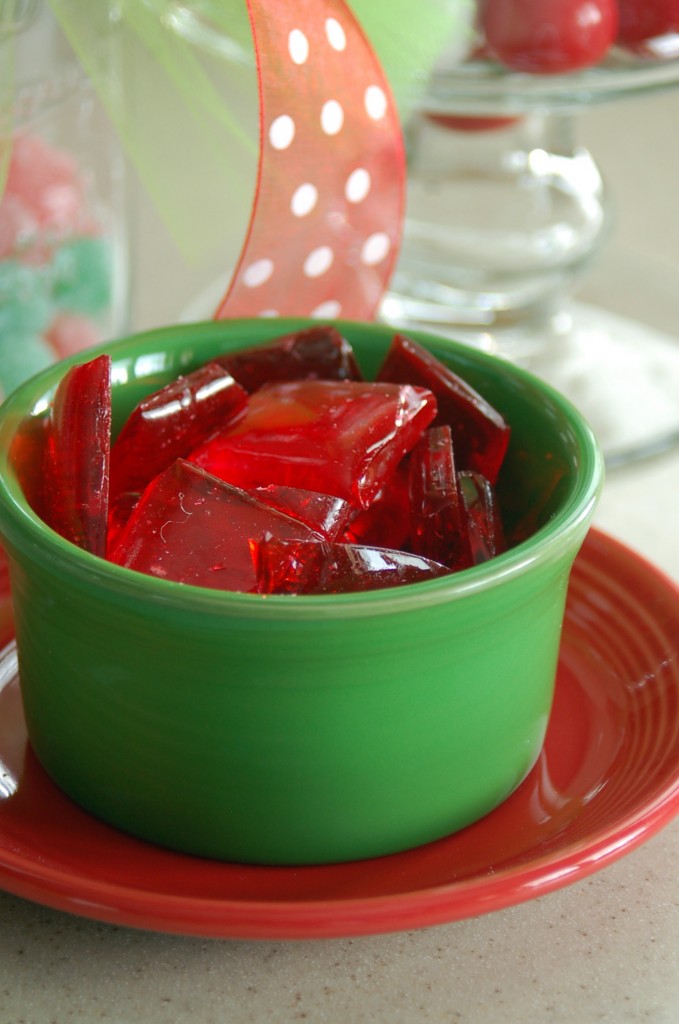
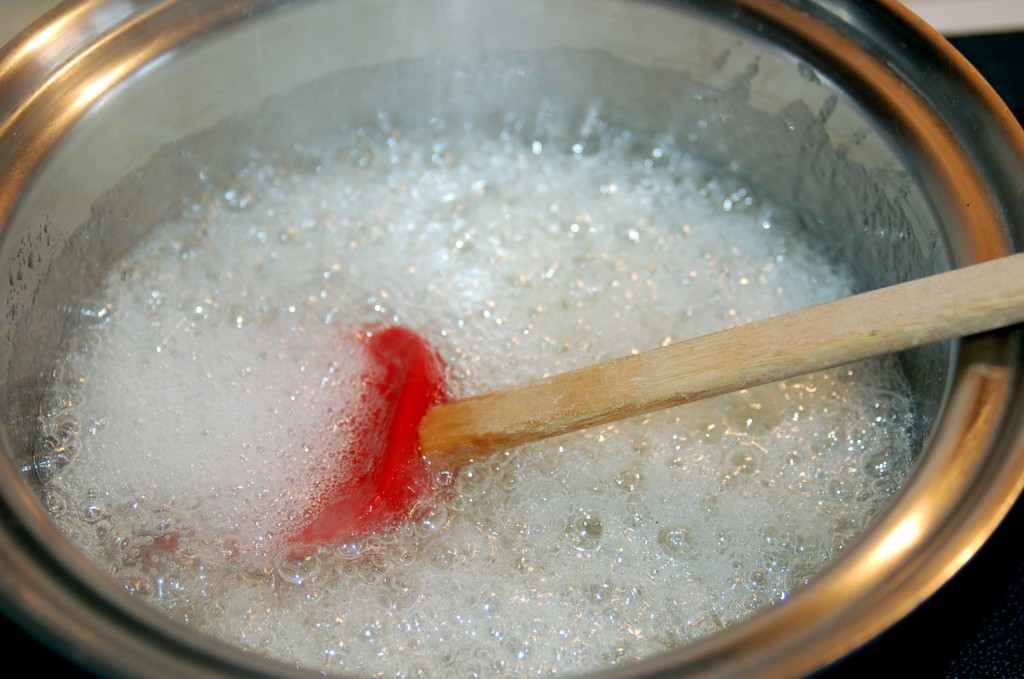
So let’s make some Anise Candy!  First you are going to put 3 cups sugar, 1 cup corn syrup and 1/2 cup water in a large kettle.  Bring to a boil.

You will let it boil to the hard crack stage.  To test if it is at the hard crack stage, drizzle a small amount of the candy into a bowl of cold water, like this.
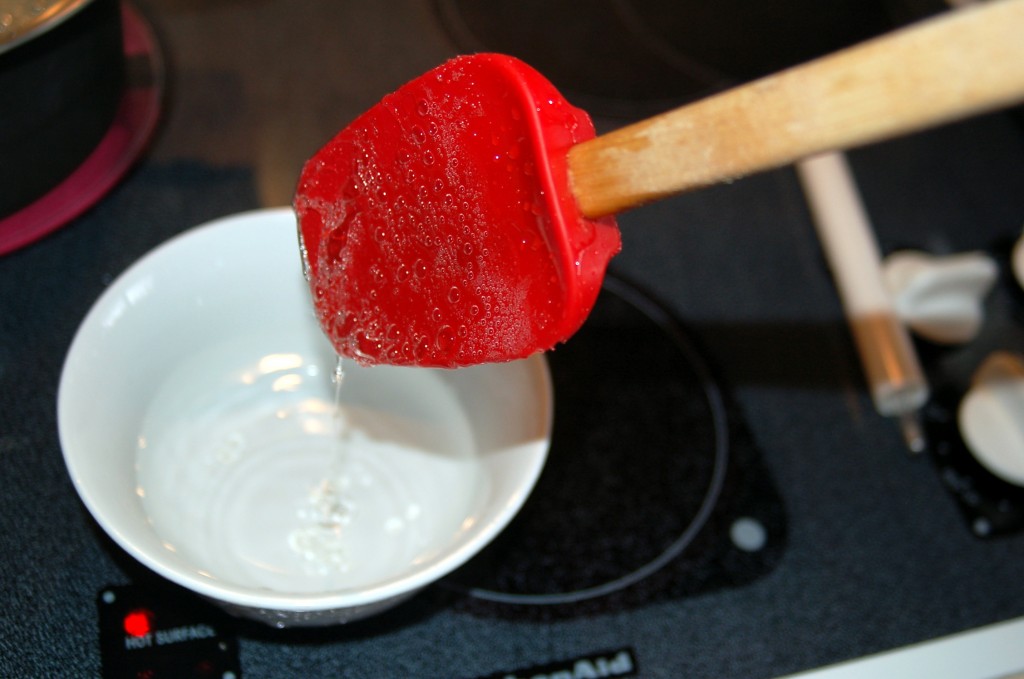
When the candy come out hard and brittle, it is at the crack stage,  if it is soft and pliable you need to keep boiling it until you reach the crack stage.  I tested my about 3 times, until I got it to where I wanted it.  If you have a candy thermometer, you could also use that, you need to reach 300-310 degrees F, but I am showing you the good old fashioned way to test it! :)

When it gets to crack stage, add 1/2 tsp red food coloring and 1/2 tsp anise oil.
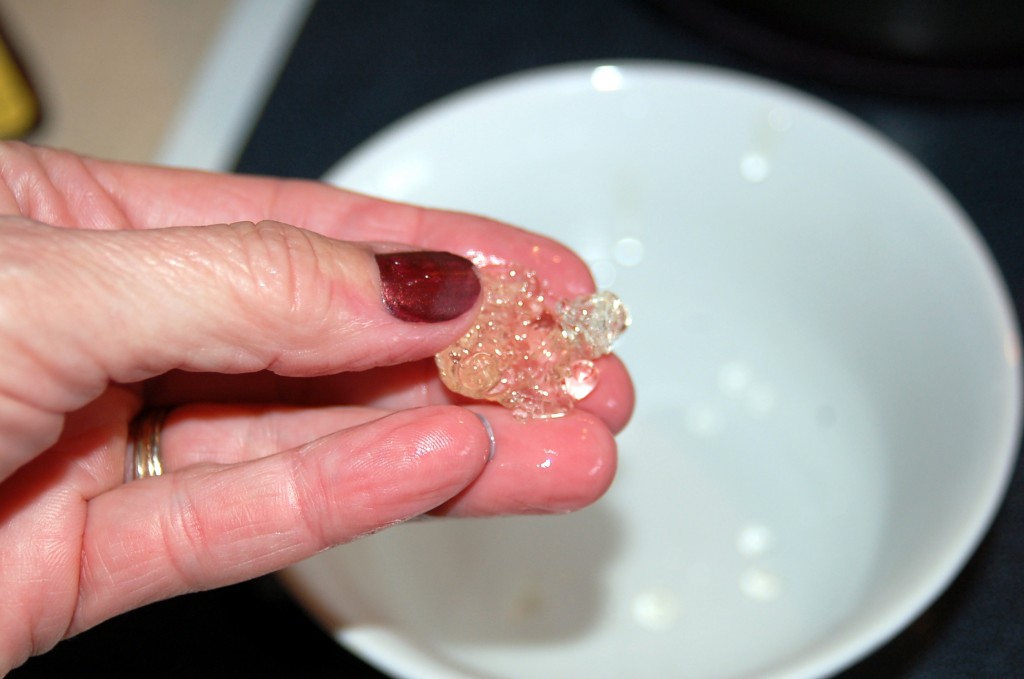
Pour out onto a buttered cookie sheet  and let cool just a bit. (sorry about the flash spots in this picture, but the candy is so shiny that it just kept reflecting)
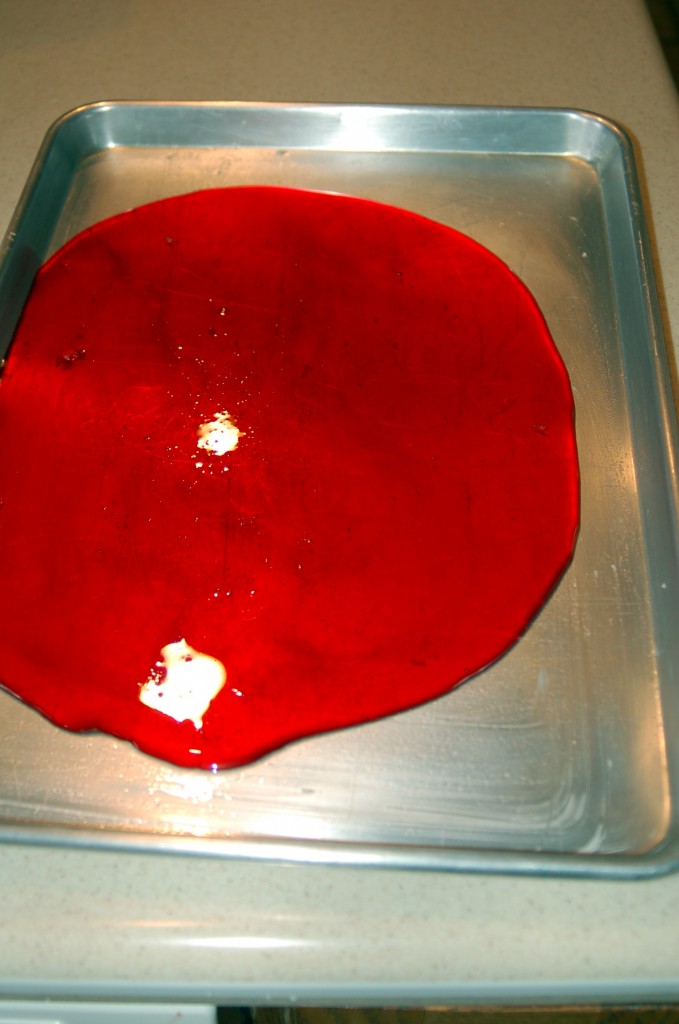
When slightly set, mark off in squares.  (I actually do not remember my mother doing this, I remember her just using the handle of a butter knife and breaking it into pieces, but I have this step written in my recipe, so I tried it!)
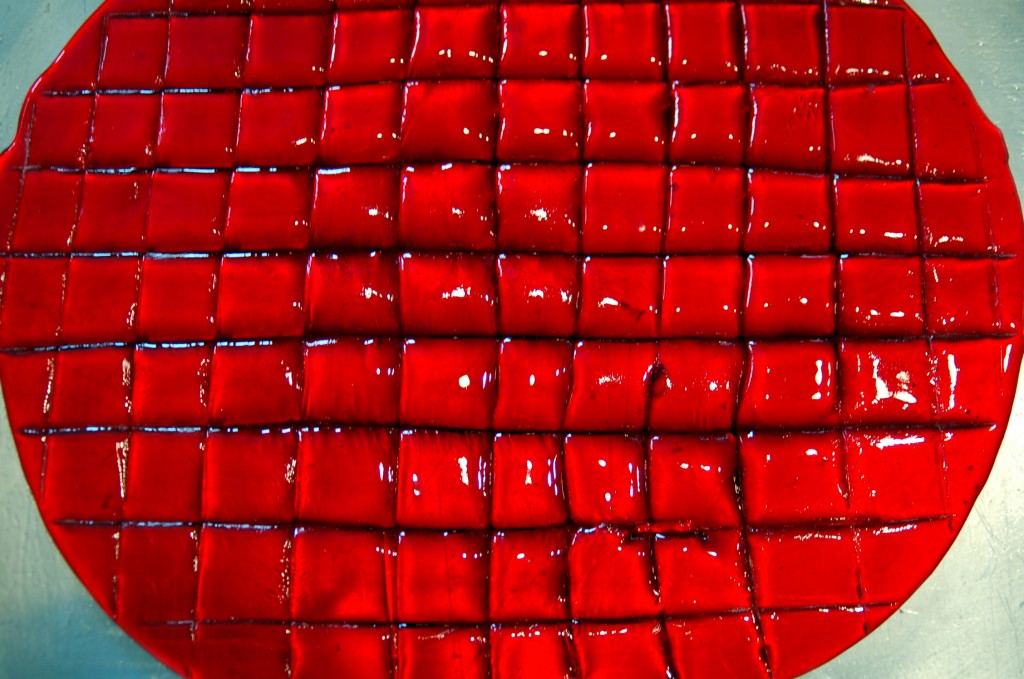
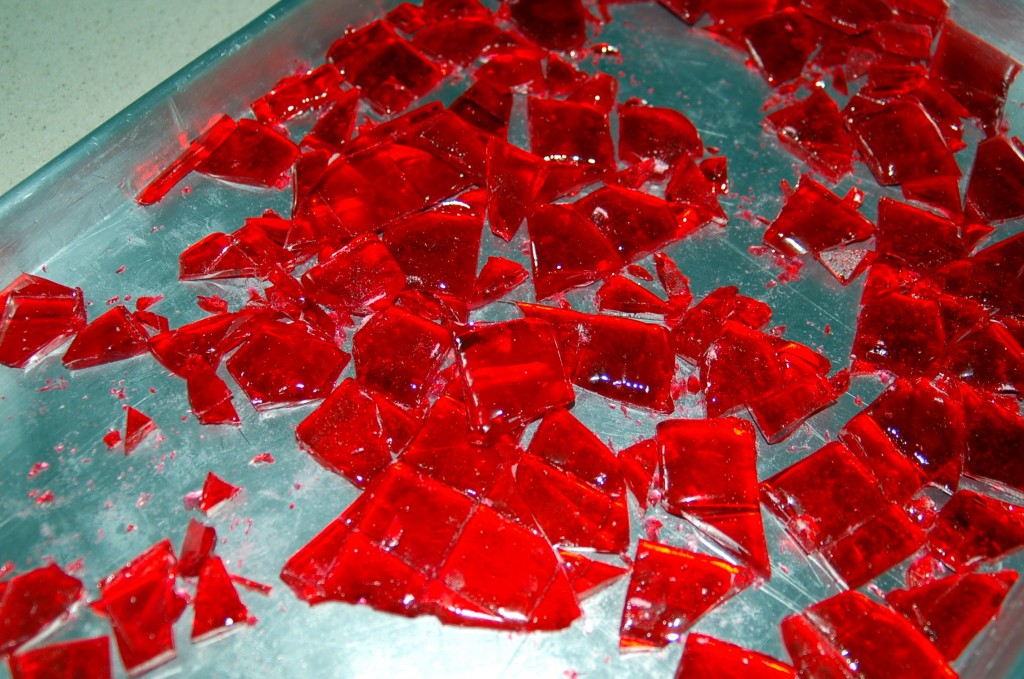
After it has cooled off, break into pieces.  Maybe this is why my mom just broke it with the handle of the knife, because it just kind of breaks into pieces!  But it looks so pretty!
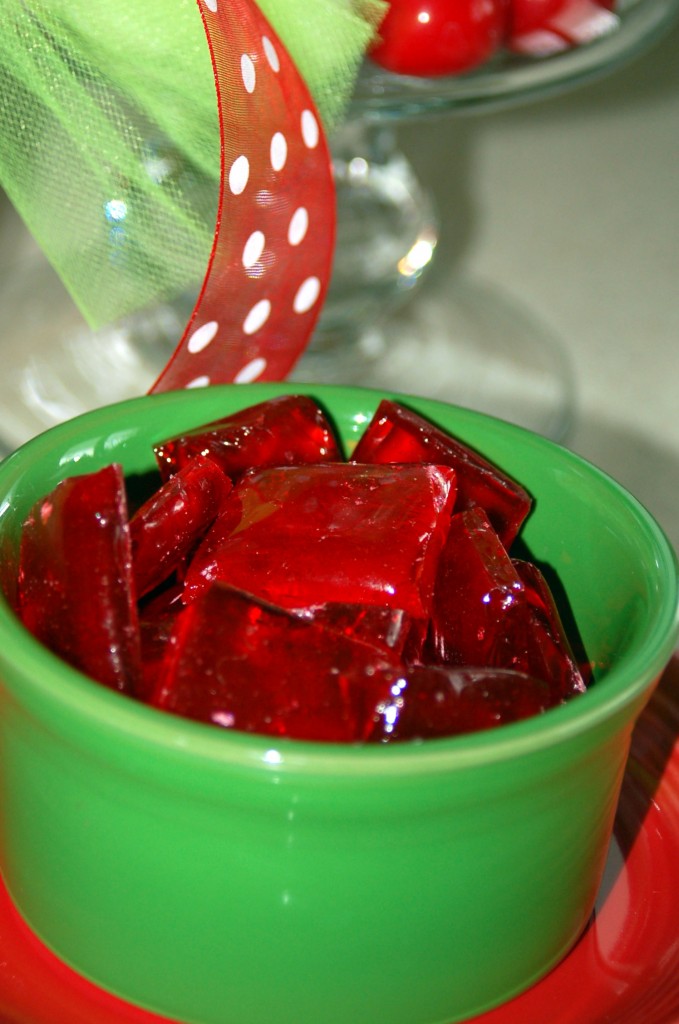
Put all those pieces into a bowl and look at how festive they are.  They are also fun to add to plates of cookies or fudge etc to just add some bright color!
Here is the recipe:

Anise Candy

3 cups sugar

1 cup white syrup

1/2 cup water

Put in kettle and bring to a boil.  Cook to crack stage.

add: 1/2 tsp red food coloring

1/2 tsp anise oil

Mix and pour into buttered cookie sheet.  When slightly set, mark off in squares.  Cool and then break into pieces.

Truffles!

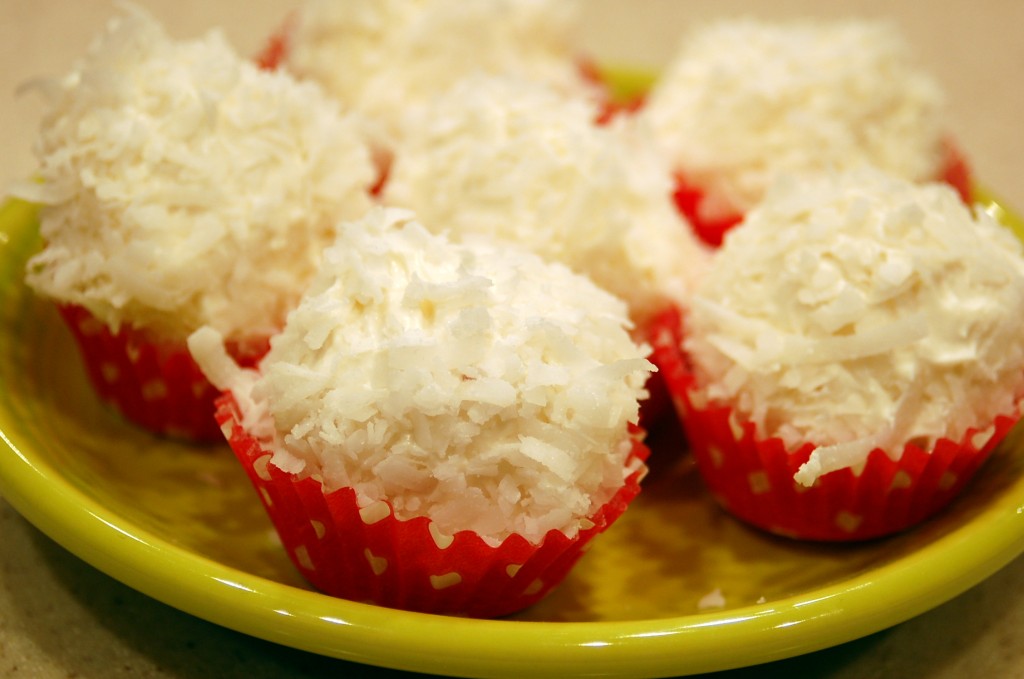
I have a sweet friend, Deea, who started her blog, Sprinkle Some Sunshine, about the same time that I started mine.  It is a cooking blog and she has some really great recipes!  I got both of these recipes from her!   These would be great for gifts, party treats, dinner place settings, or just as a snack! This first one is called Snowball Truffles.  It is white chocolate and coconut and they are so delicious…like Heaven…I’m in Heaven!  Go here for the recipe and a great tutorial on how to make them!
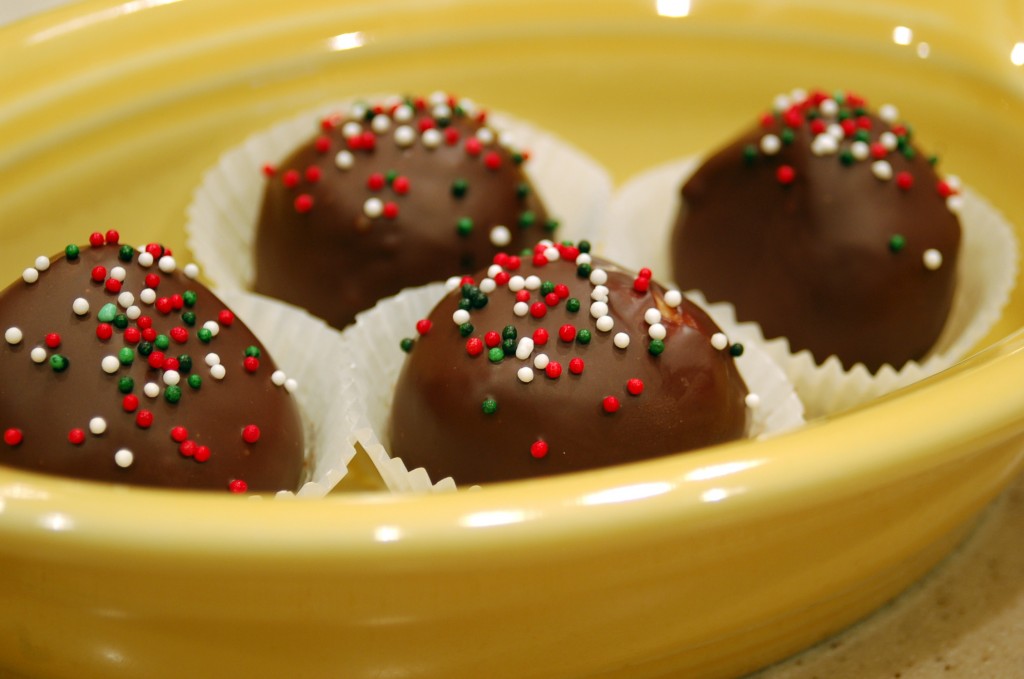
These next ones are Peanut Butter Balls.  They are just as good as a peanut butter cup!  These are two of my favorite flavors…peanut butter and chocolate.  I think I have made some variations of these every year for Christmas.  But these are so good and they are really easy to make and they look so festive with the sprinkles on top!
Go here for the recipe and tutorial on how to make them.  Leave Deea a comment and tell her how much you love these recipes.  She will love it!I am still busy this week, cooking, shopping, wrapping, and trying to get everything ready for this weekend, so we can celebrate with our married kids.  But I did spend the morning crafting and then lunch with friends.  I have so much to be thankful for when it comes to great friends!  I think that I have the best!

Are you ready for Christmas?  It is going to be here before we know it!

White Chocolate Cookies and Cream Fudge

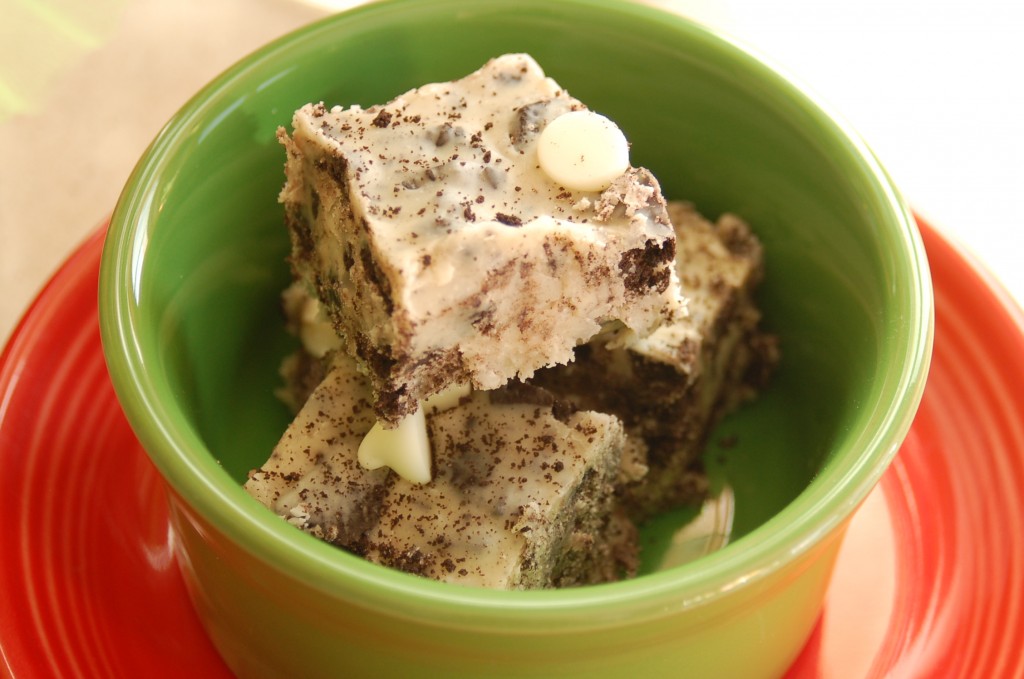
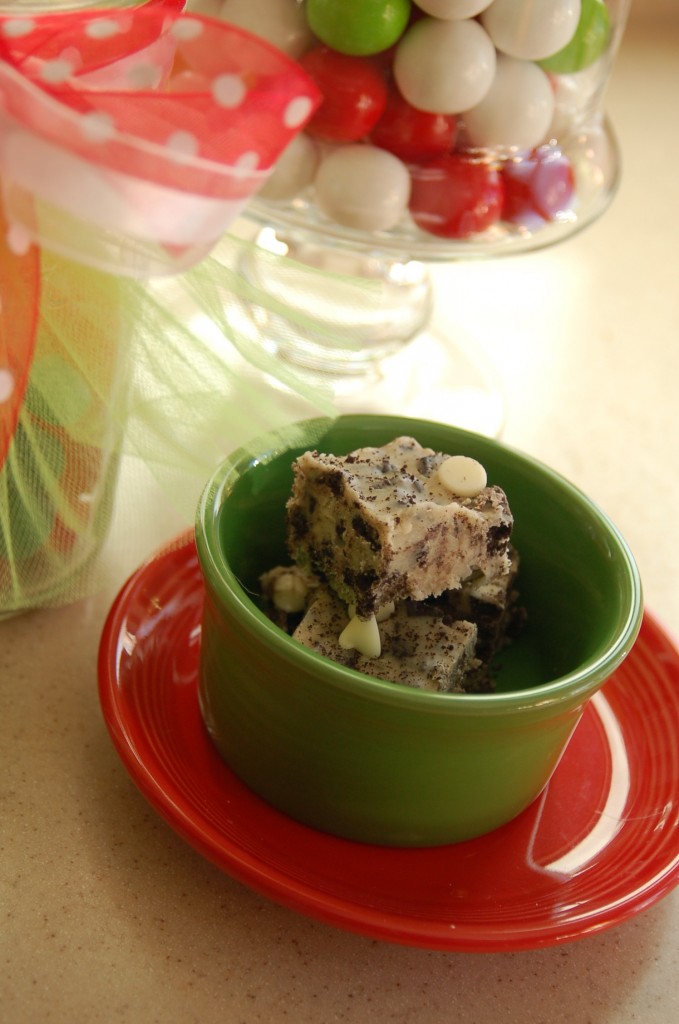
My daughter brought this fudge to our Sinterklaas party last weekend and everyone loved it.  One of my granddaughter’s favorite candy bar is Hershey’s Cookies and Cream, and she told her mom that this fudge taste just like her favorite candy bar!

She found the recipe here, on Pinterest.

White Chocolate Cookies & Cream Fudge (adapted from Amanda of Fake Ginger’s Recipe)

2 1/4 c white chocolate chips

+ 1/2 c white chocolate chips, reserved (or any kind of chocolate chips)

1 can (14 oz) sweetened condensed milk

3 c Oreo cookies, chopped

reserve 1-2 tbsp Oreo crumbs for dusting the top layer of the fudge

1 tbsp vanilla extract

Directions:

Combine 2 1/4 c white chocolate chips and sweetened condensed milk and melt over low heat in a saucepan taking care to stir frequently and watch it so the mixture doesn’t burn (you could also probably do this in the microwave but I haven’t tried it).  When mixture is melted and smooth, add vanilla extract.  Then add the chopped Oreo cookies and stir.  Pour mixture into 9 x 9 foil-lined or parchment-lined pan.  Then lightly press 1/2 c white (or regular/dark) chocolate chips into the top layer.  The fudge will start to set up fairly fast and just press the chocolate chips in lightly.  Dust top layer with 1-2 tbsp Oreo crumbs if desired.  Place fudge in freezer for at least two hours to fully set up.  Remove from freezer, slice, and serve at room temperature.   Store extra in the freezer or fridge and it will likely keep for month(s).  It will keep for much longer than you’ll be able to keep it around.

Don’t overchop your Oreos if you want really white fudge.

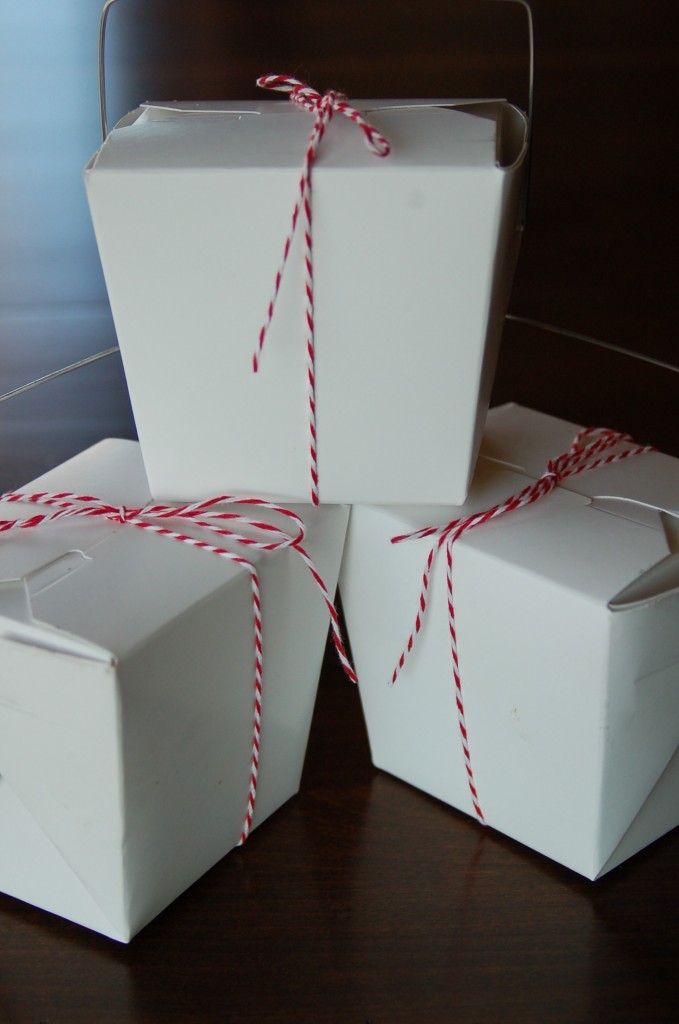
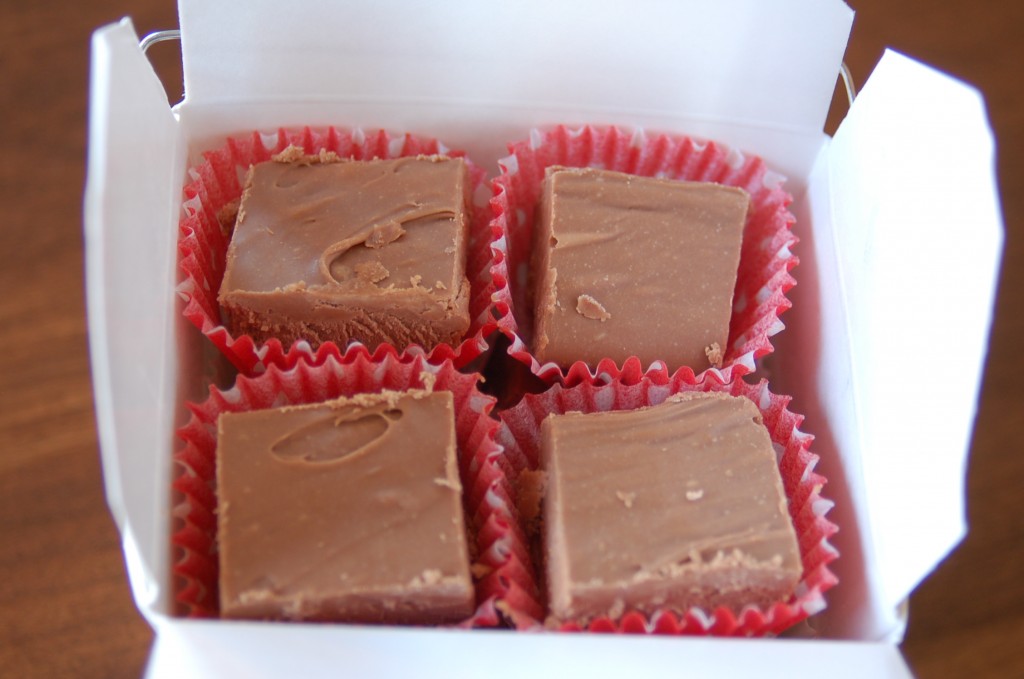
A fun way to package your fudge to give it away, is to put it into Chinese take out boxes!  I found mine here at Gygi’s and I just simply tied it with bakers twine, which I also got at Gygi’s.  It is very simple, but cute!  You could also use a cute ribbon, or twine etc to tie up your boxes with.(This is some of my regular fudge), but I put little candy papers inside to put the fudge in, so it did not all stick together and it makes a cute presentation!Do you have a favorite fudge recipe?   I would love to hear about it!

Texas Sheet Cake

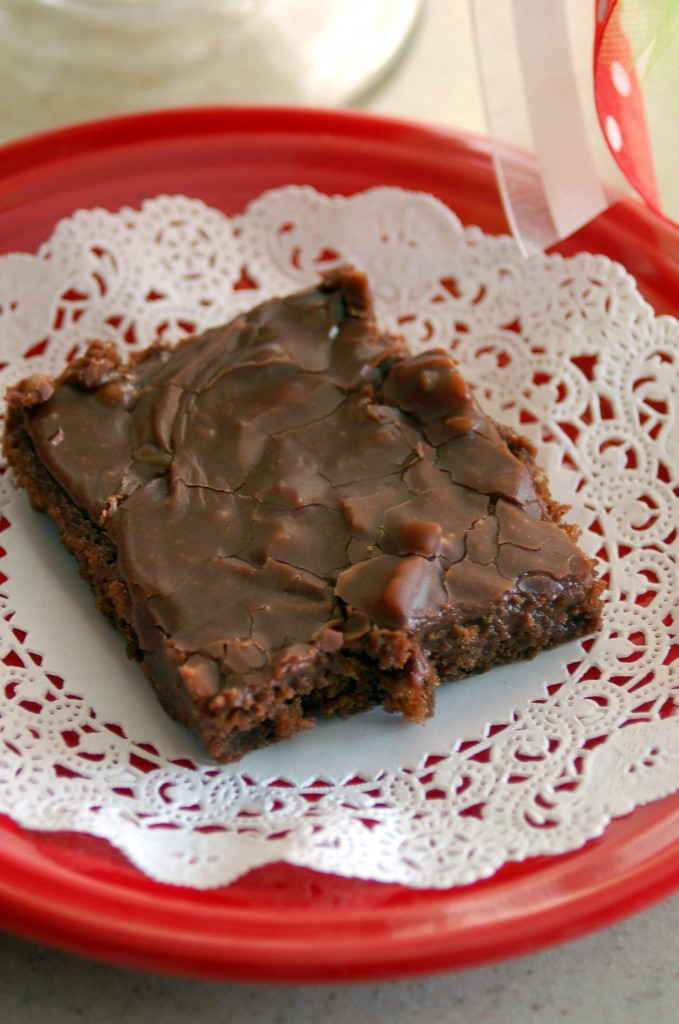
We had two parties last weekend and I had to take a dessert to one of them for a big crowd, so I made a big pan of Texas Sheet Cake. It is a very moist, cake and you add the frosting while the cake is still warm to keep it that way.

This recipe comes from my husband’s Aunt Krista, and I think that she gave it to me at one of my bridal showers!  (So it is really old!)  I love the hint of cinnamon with the chocolate, it gives it such a good flavor. I also love that I usually have all the ingredients on hand for this cake and I don’t have to go to the store for anything!

Texas Sheet Cake

1 cup margarine

1 cup water

1/4 cup cocoa

Put in small kettle and heat until margarine is melted and it comes to a boil.  Put  flour in mixing bowl and  pour melted mixture over the flour and mix then add the sugar.

2 cups flour

2 cups sugar

Add:

1 tsp soda

1/2 cup buttermilk

2 eggs

1 tsp vanilla

1/4 tsp salt

1 tsp cinnamon

Beat all together.  Put in a greased and floured 11 x 16″ pan.  Bake at 400 degrees for 20 minutes.

Chocolate Frosting

1/2 cup margarine

1/3 cup milk

1/4 cup cocoa

Mix in kettle, stir and bring to a boil.  Remove from heat and stir in:

3 1/2 cups powdered sugar

1 tsp vanilla

1 cup nuts, chopped.

Let it cool slightly and frost warm cake.  Enjoy!

Doesn’t this look like a party?

Fudge, Fudge, Call the Judge!

Am I showing my age, by the title?  How many of you remember, as a child, jumping the rope to that chant?  How many remember even jump roping as a child?   Oh, the good ol’ days.

Today this recipe comes from my special friend, Susan.  She is my exercise partner, my lunch friend, my sounding board, and my personal gardening expert! What more could a girl want?

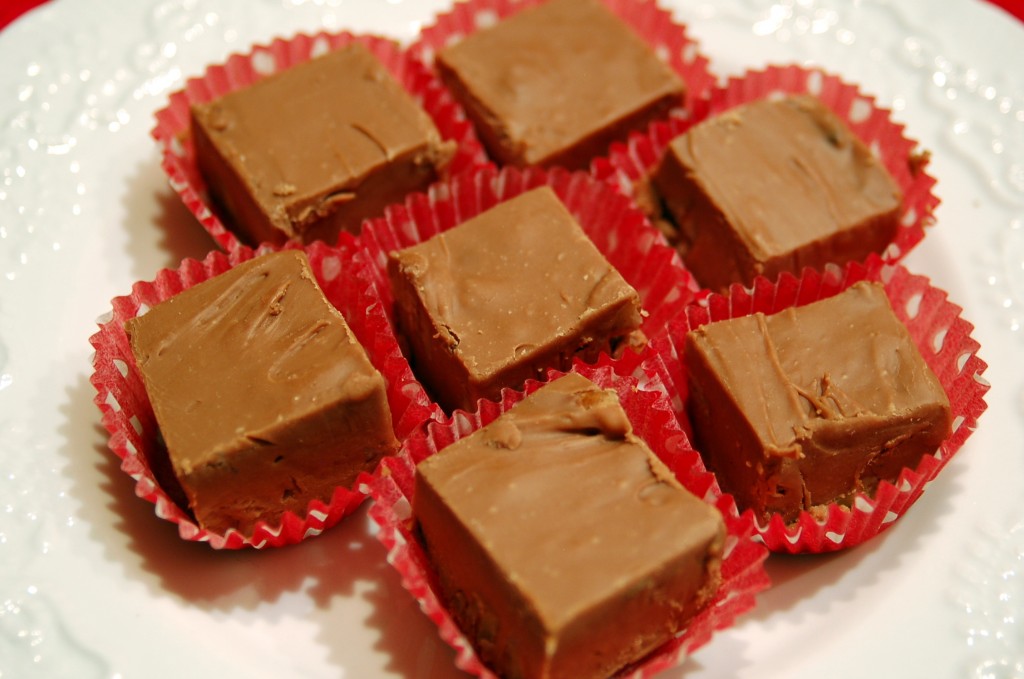
This recipe is very rich and creamy, and I have made it many times and not once has it ever gone sugary!  It makes a big batch,( 2 pans full) which is perfect for gift giving! Are you ready to make some?

Susan’s Fudge

4 ½ cups sugar

12 oz. canned milk

Boil for 10 minutes, stirring constantly so it does not scorch!

3 bags of chocolate chips (I used milk chocolate, but you could use semi-sweet)

7 oz. jar marshmallow cream

½ lb butter

1 Tablespoon vanilla

Chopped nuts, if desired (I used about 1 ½ cups)

Add hot mixture and mix till dough consistency or 10 minutes in Bosch mixer.  Pour into 2 buttered 9 x13 pans.  Let cool.  This recipe freezes well.

You could add some candy canes and gumball to decorate.  Wrap in cellophane and tie with a big bow, or you could put them in Chinese take out cartons, etc.  I will have some fun ideas you can do with the take out cartons.

Are you ready to go make some yummy fudge?  This is so great, because you can get it all made up and put it in the freezer before your holidays get too much more hectic, and all you have to do is pull it out and let it thaw a bit and you are good to go! (Sometimes, I must I admit, I can’t wait that long!) This is a perfect gift for neighbors, Visiting Teaching, co-workers, friends and your family!

Salted Caramel Butter Bars

How many of you did the Black Friday thing?  I do not do that anymore, but my daughter did and I have to tell you what happened to her!  She decided to meet up with one of her friends and they decided to meet at Wally World at 10:00 pm.  My daughter left her home at a little after 9:00 pm to drive about 15 mins away.  (She wanted to get there a little bit early.)  She pulled onto the freeway and looked up ahead and the traffic was stopped!  There was a 4 car pile-up wreck, and the freeway was totally blocked!  It took her almost an hour and a half to go 15-20 miles!  Needless to say she did not get very much of what she had set out to get, because she was 1/2 hour late.  (Oh how I do not miss those days!)  They then went to Kohl’s for the midnight opening and the line was clear down around the store, but at least she got the things that she wanted in there!  She got home at about 1 am and went to bed for a couple of hours and then got up and ordered some more things online!  Oh my! What we as mothers don’t do for our little beloved children!  Boy am I glad that all of my little beloveds are grown and I can just go to bed at night!
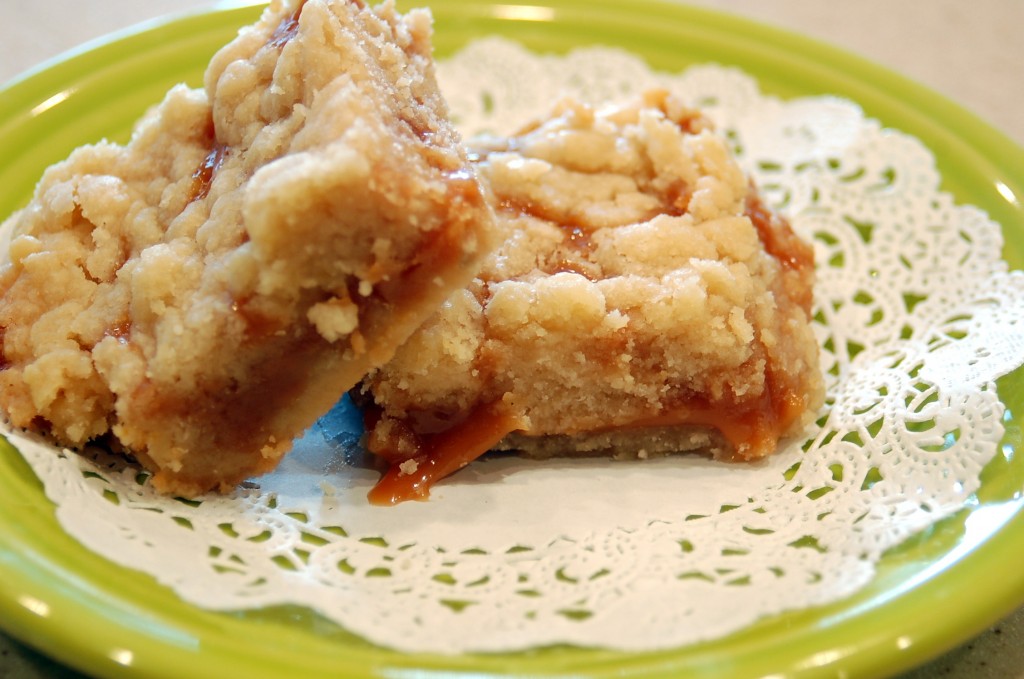
So here is a recipe for all of you that did the Black Friday thing and need to reward yourself just a little bit.  One word of warning, these are very, very rich but very, very yummy!
My daughter made these and brought them for Thanksgiving.

Salted Caramel Butter Bars

For the Crust:
1 lb. salted butter room temp
1 cup sugar
1½ cups powdered sugar
2 Tbs vanilla
4 cups all purpose flour
For the Filling:
1 bag 14 oz. caramel candies (about 50 individual caramels), unwrapped or 14 oz Peters   caramel
1/3 cup milk or cream
½ teaspoon vanilla
1 T. coarse sea salt (optional)
To make the crust:
In a large bowl, combine the butter and sugars. Using mixer on medium speed, beat together until creamy. Add the vanilla and beat until combined. Sift the flour into the butter mixture and beat on low speed until a smooth soft dough forms.
Spray a 9×13 inch baking pan lightly with non-stick cooking spray. Press one-third of the dough evenly into the pan to form a bottom crust.
Preheat to 325F.
Bake until firm and the edges are a pale golden brown approx 20 minutes. Transfer pan to a wire rack and let cool about 15 minutes.
While the bottom crust is baking and the remaining dough is chilling, make the caramel filling. Place the unwrapped caramels in a microwave-safe bowl. Add the cream. Microwave on high for 1 minute. Remove from the microwave and stir until smooth. If caramels are not completely melted, microwave on high for 30-second intervals, stirring after each interval, until smooth.
Pour the caramel filling over the crust.  If you are going to salt the caramel sprinkle it on caramel layer now.
Remove the remaining chilled dough from the refrigerator and crumble it evenly over the caramel.
Return the pan to the oven and bake until the filling is bubbly and the crumbled shortbread topping is firm and lightly golden, about 25 – 30 minutes.
Let cool before cutting into squares
When I make these I  just use 14 oz of the  Peters caramel, then you do not have to unwrap all the individual caramels. I am lazy that way!)
Have a great weekend!

Grandma’s Icebox Pie

I have a recipe for you today that was a secret in my husband’s family for many years! My husband’s grandma would make this pie every year for Thanksgiving.  I mentioned that I would like the recipe, and everyone just laughed and told me that I would never get it from Grandma.  They said that Grandma  always made the pie and so I didn’t need the recipe.  A few years later I was talking to Grandma and just decided to asked her for the recipe, and well, guess what?  All you have to do is ask!  I have very fond memories of Grandma every time I make this pie.  Grandma had the loving nickname of Grandma AlkaSeltzer!  Not because her cooking was bad, quite the opposite!  She was such a fantastic cook and she cooked everything, and I mean everything!  You had to try it all and by the time you did you were so stuffed that you were almost sick.  But what a way to go!:)  I am so glad for the fond memories that I have of Grandma and Grandpa.

This pie is so rich that you can only eat just a sliver of it.  At least at a time!

Okay, shall we make an Icebox Pie?

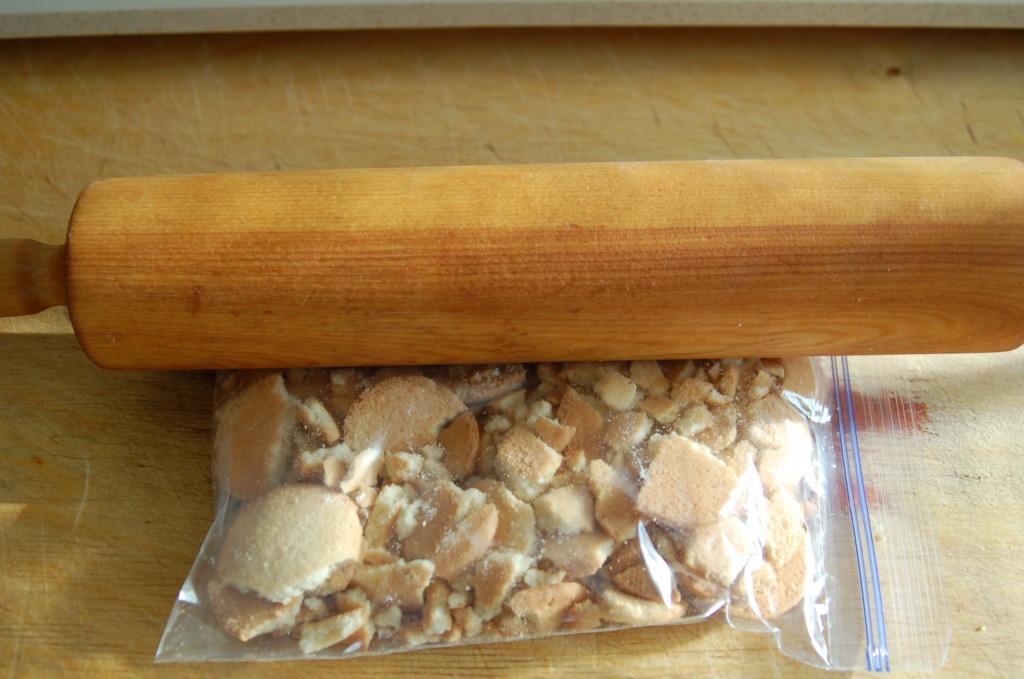
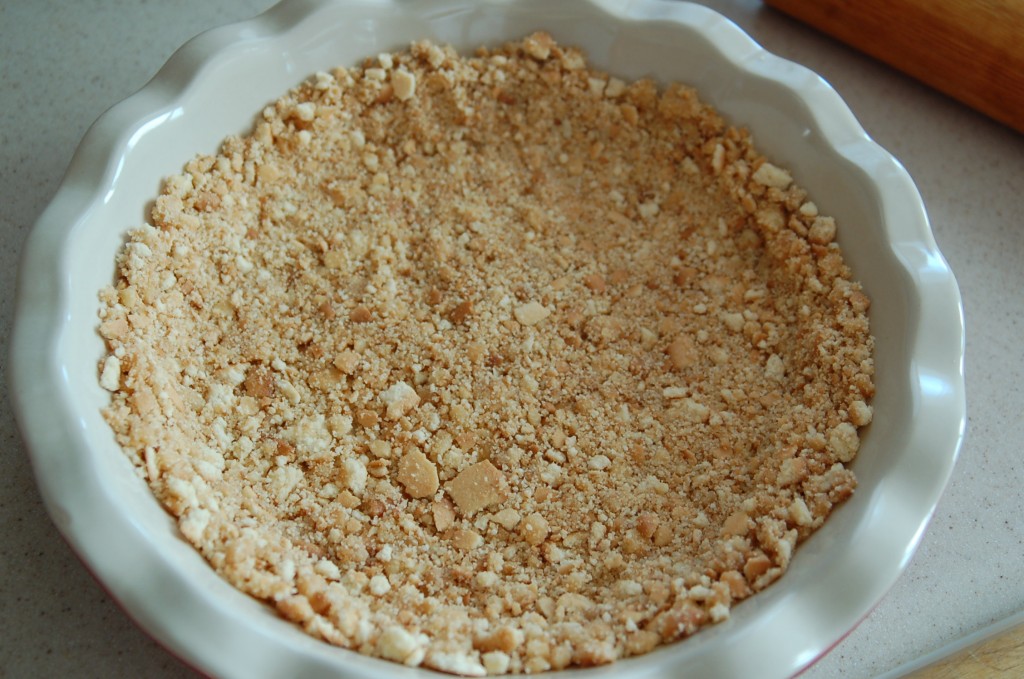
First you will need to crush 1/2 box of vanilla wafers.  Just put them in a zip lock bag and let all the air out and seal it.  Use a rolling pin, a glass or a jar to crush the cookies into crumbs.  Melt 1/4 c. butter and add it into the zip lock bag and mix it well to make a cookie crust.

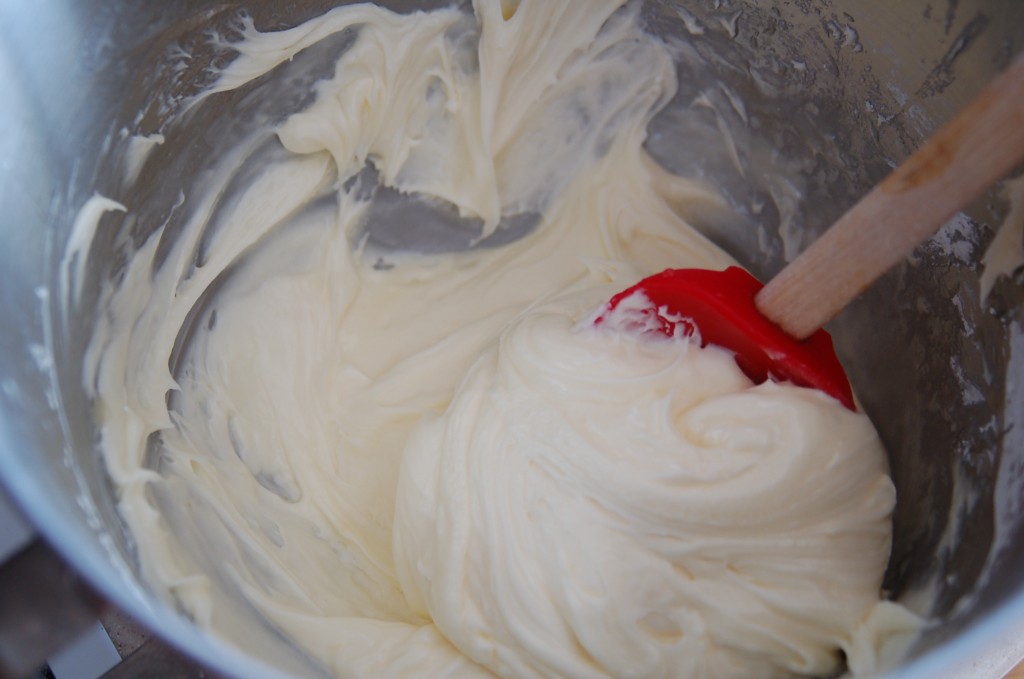
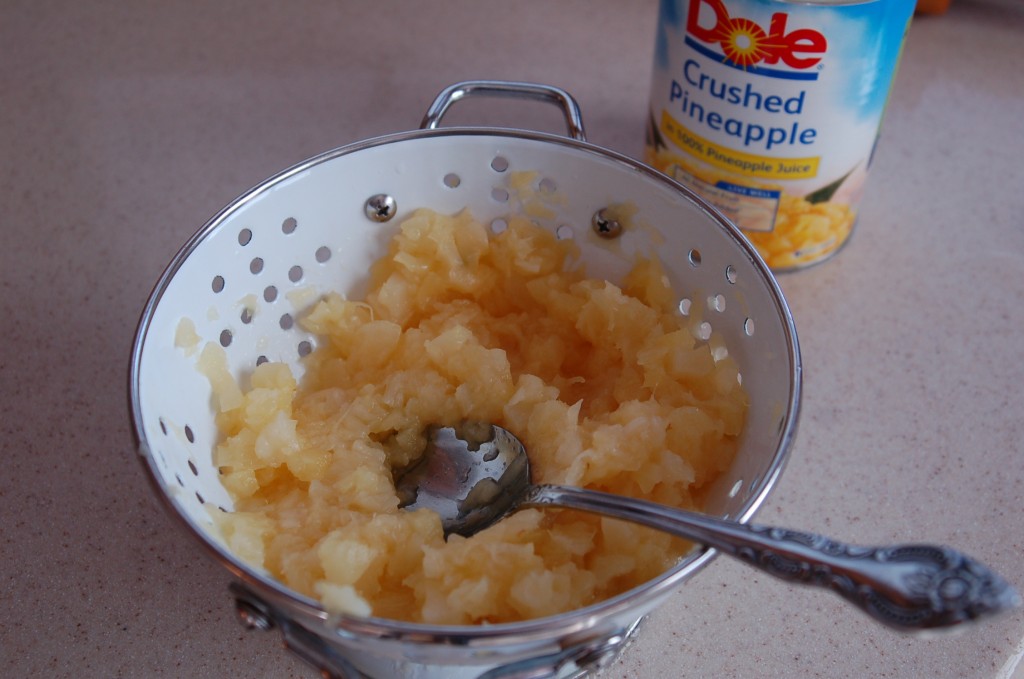
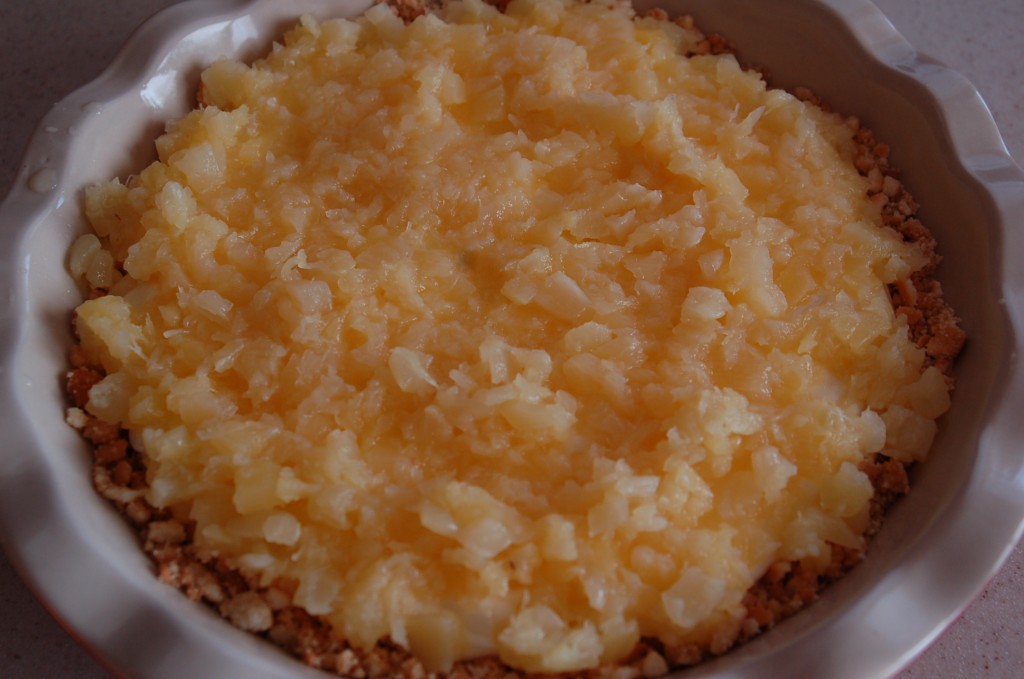
Put the crumbs into the bottom of a pie dish and using your fingers pat it down in the bottom and up the sides a bit.Next mix 1/2 cup butter and 2 eggs and 1 lb powdered sugar until smooth and creamy.  I know that some of you will not want to try this recipe because it has raw eggs in it!  But all I can say, is to use good quality, fresh eggs.  I have been making this pie for years and no one has ever gotten sick.  I have tried to substitute other things for the eggs and have not liked the quality of them, so I have gone back to using the eggs.  If there is anyone out there that has a good substitute, please let me know!Put the filling into the pie crust, (for some reason I did not take a pic of that, so just pretend ok?)  Next take a can of crushed pineapple and drain it really well.  Take the back of a spoon and press all the juice out.  You want the pineapple to be as dry as possible.Layer the pineapple on top of the filling.  Cover with plastic wrap and refrigerate over night. (This is great, because you can make it the day before!)
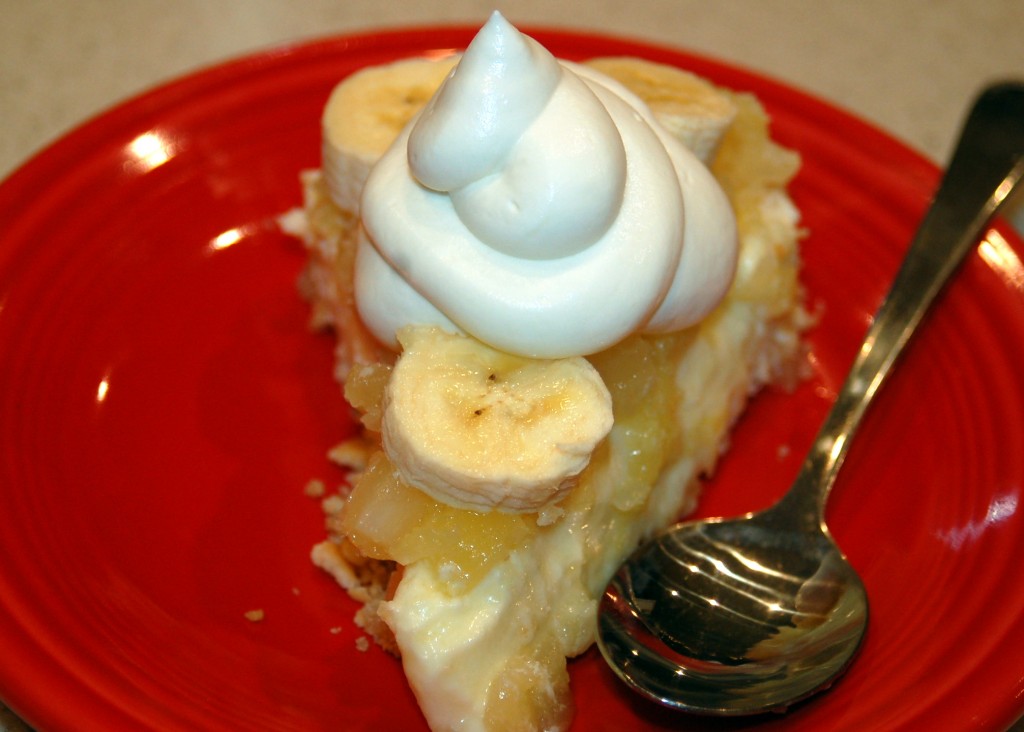
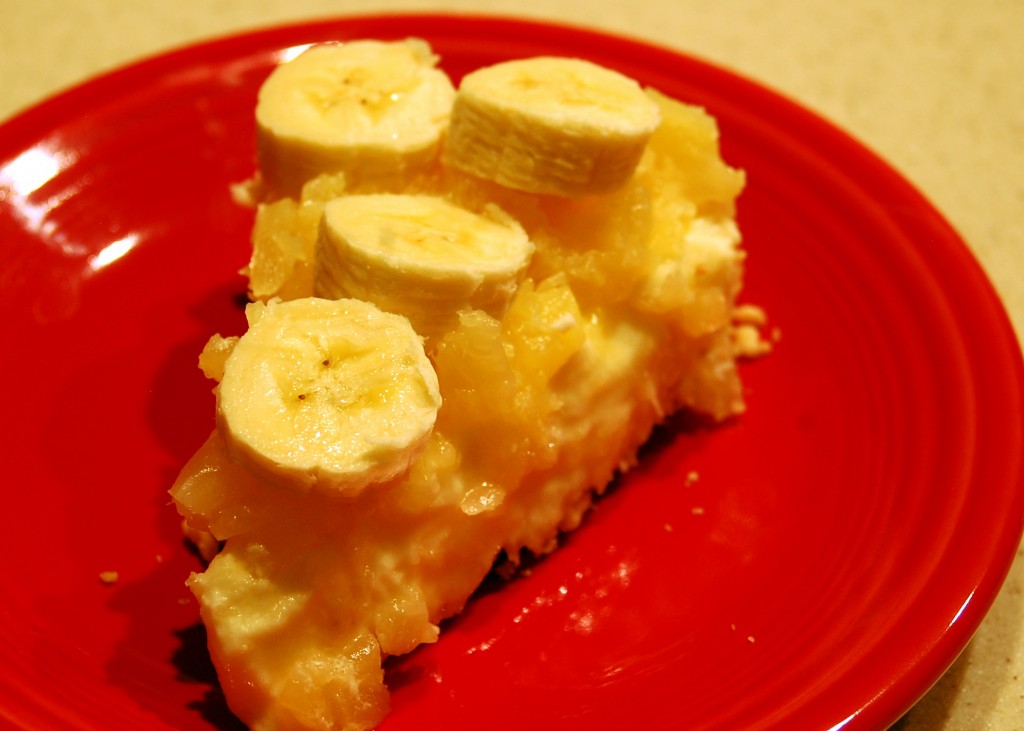
Just before serving, slice fresh bananas on the top. (sorry about this picture the lighting was horrible)Then add a dollop of “REAL” whipped cream.  The fake stuff does not cut it here, you have to have the real thing!  When I make whipped cream, I use powdered sugar instead of granulated sugar.  A tip that Grandma AlkaSeltzer taught me!

A word of warning:  This pie is very addicting!  You start out with just a sliver, but before you know it, you need another sliver only just a little bit bigger, then you have to have another….well you get the idea!

 Here is the recipe:

Grandma’s Icebox Pie

1/2 box vanilla wafers-crushed

1/4 cup melted butter

Mix together and pat into the bottom of a pie dish and up the sides.

1 lb. powdered sugar

1/2 cup butter-softened

2 fresh eggs

Mix in mixer until smooth and creamy.  Carefully spoon onto the cookie crust.

1 can crushed pineapple-well drained

Spoon pineapple on top of filling.  Cover with plastic wrap and refrigerate overnight.  Before serving add sliced bananas to top and add a dollop of real whipped cream.

Refrigerate any leftovers.

Apple Braid

What says fall more than apples!

 I decided to make an Apple Braid for dessert.  It smelled so good cooking and it warmed up the house as well as the soul!

Braided bread looks like it is hard to do, but it is really very easy–so let’s get started.  You will need on loaf of bread dough.  I used frozen Rhodes Bread, but you can use your own homemade recipe, or you can even buy scone dough at a lot of your bakeries.

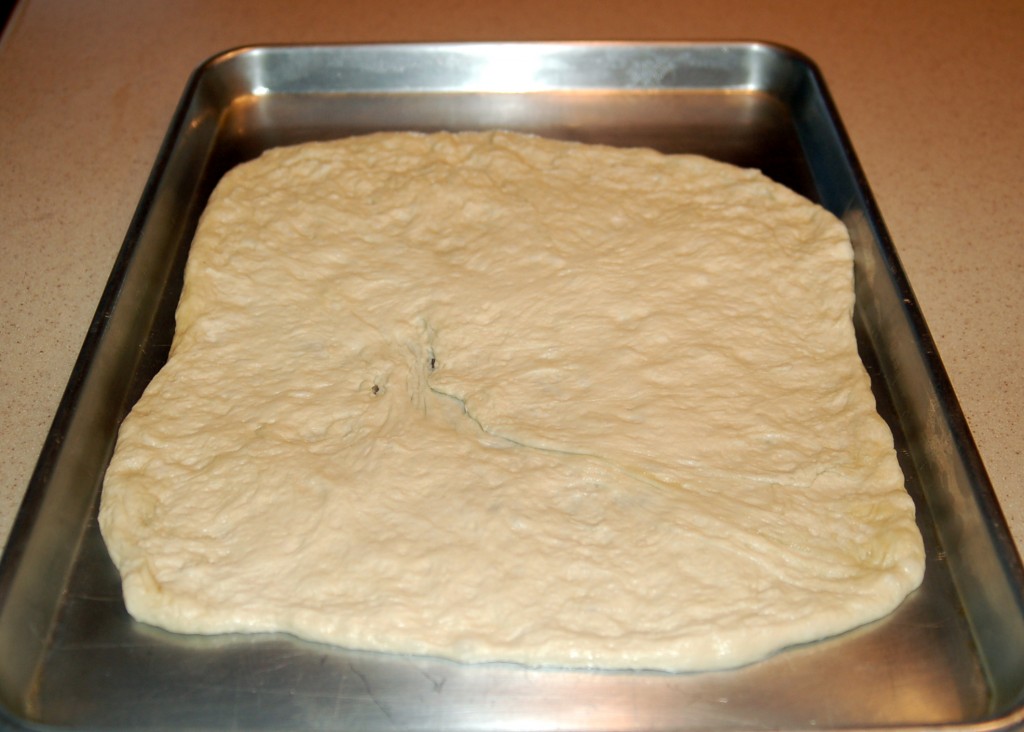
Roll the dough out a little bit , then place on a baking sheet that has been sprayed with cooking spray. With your fingers, spread the dough out into a rectangle on the baking sheet.  You kind of have to work with the dough to get it to stretch out.

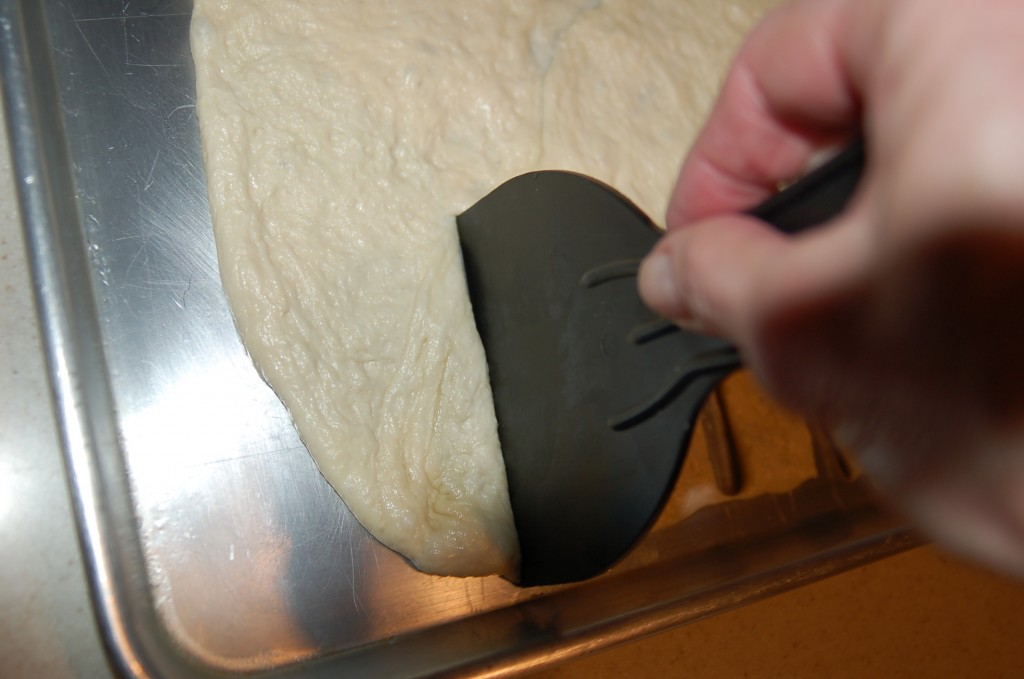
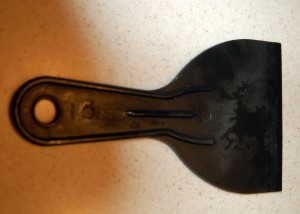
Using a 4″ putty knife, cut the dough into 1 inch slits like this.

You read that right!  I use a regular putty knife (a new one, not one I used to scrap paint with!)  I learned this trick in a bread class that I took a few years ago!  Just just go to the hardware store and buy a plastic 4″ putty knife to keep in your kitchen drawer!

(Sorry about this picture, I was in a hurry and only took one pic, and this was it!)

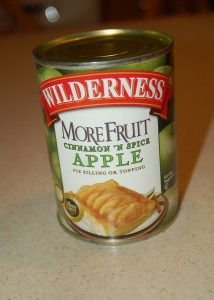
 For the filling, I used this canned apple pie filling.  You could make your own filling, just make sure that you cook that apples part way before filling the braid.  You could use any kind of fruit, that you would use for a pie!  Another version that is good is a cinnamon crumb with nuts added to it!

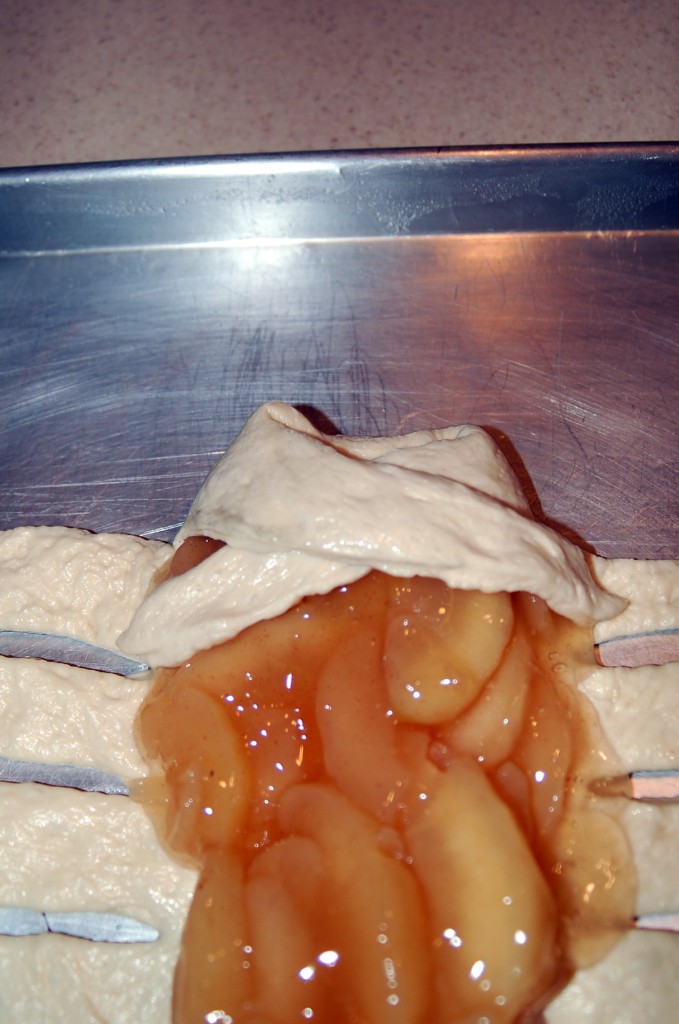
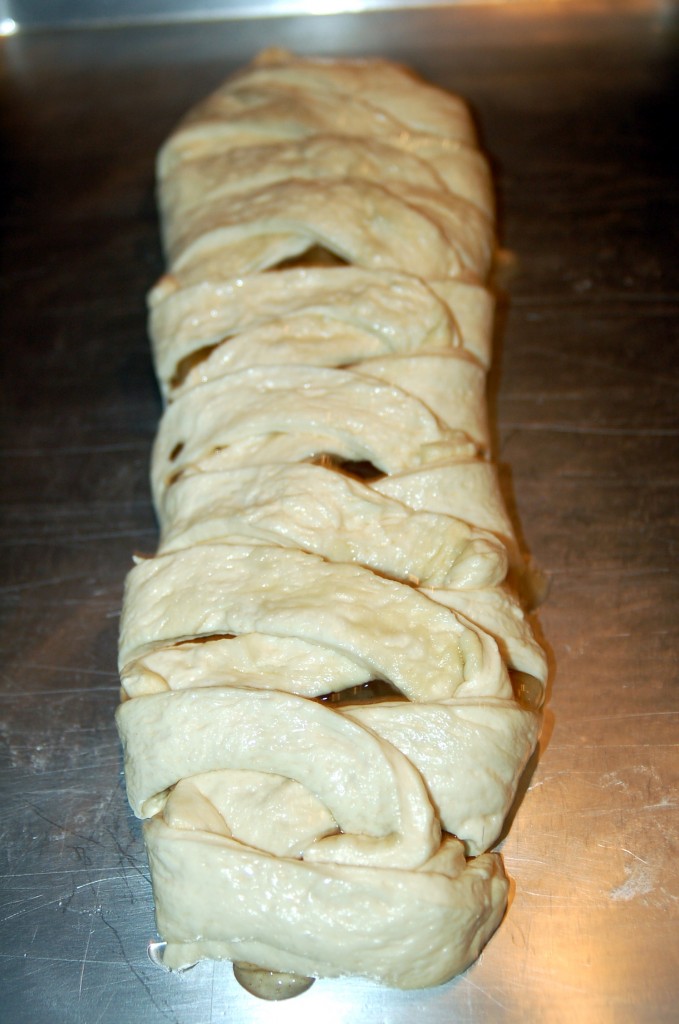
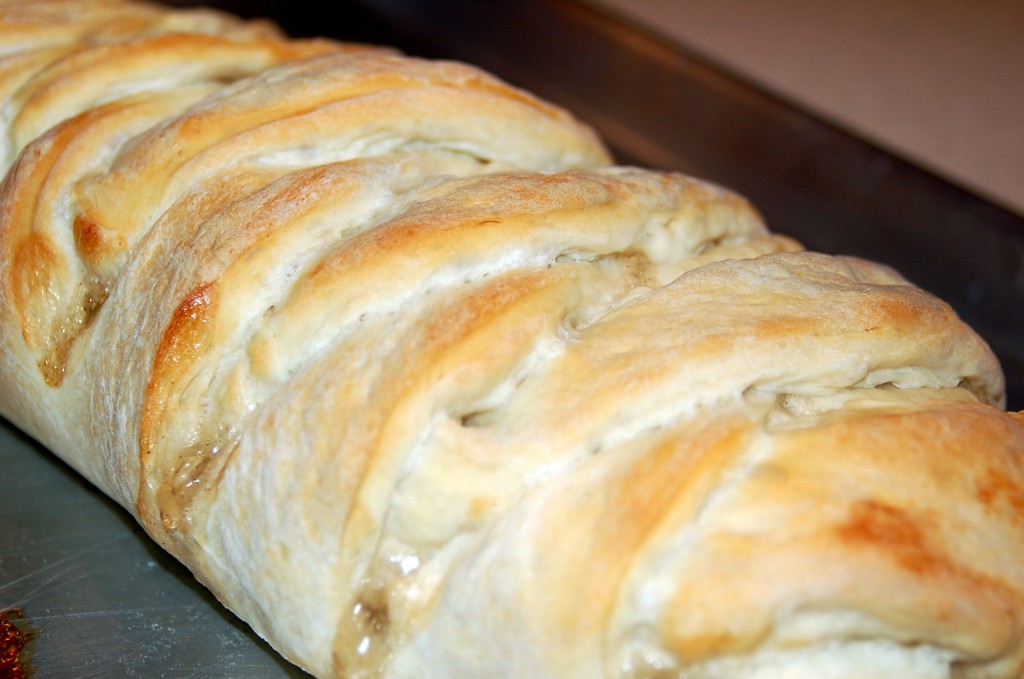
 Spread the filling down the center of the braid.  Then start braiding.  Fold the first strip over the top of the filling on a diagonal to the second strip. Go back and forth like this all the way down.  Tuck the ends in to secure.

 This is what it will look like.  Cover the pan and let it raise for about 20-25 mins.

 Bake at 375 degrees F  for 25-35 minutes, until golden brown.  I learned at that same bread class that you can tell when bread is done by looking at the bottom.  If it is a golden brown on the bottom, the bread is done.

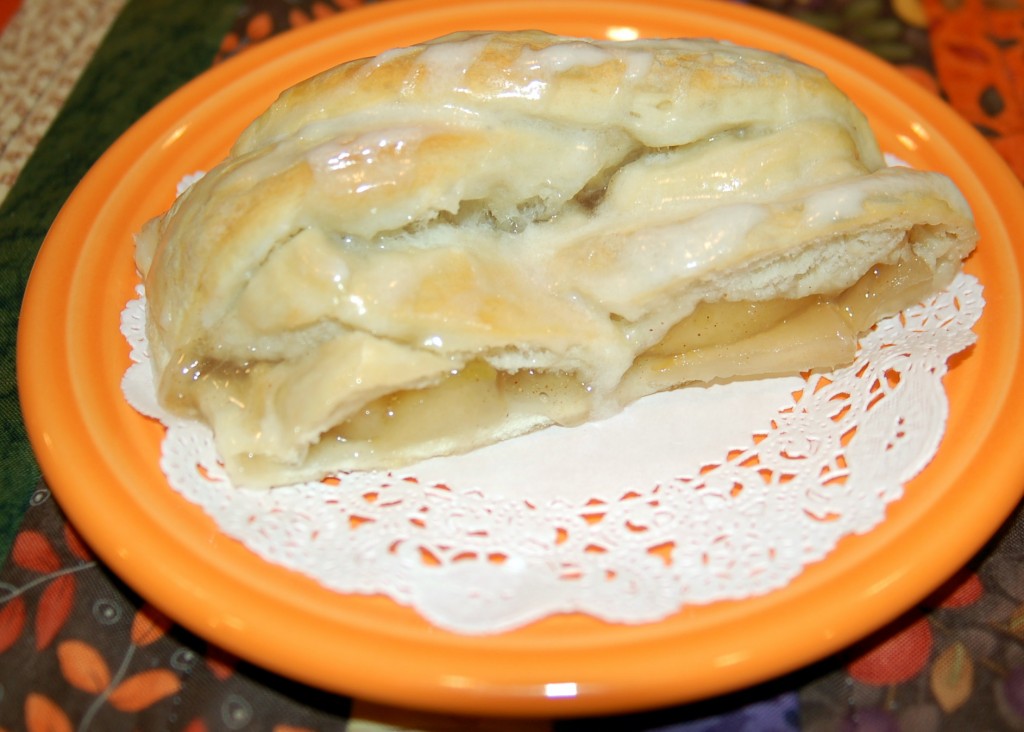
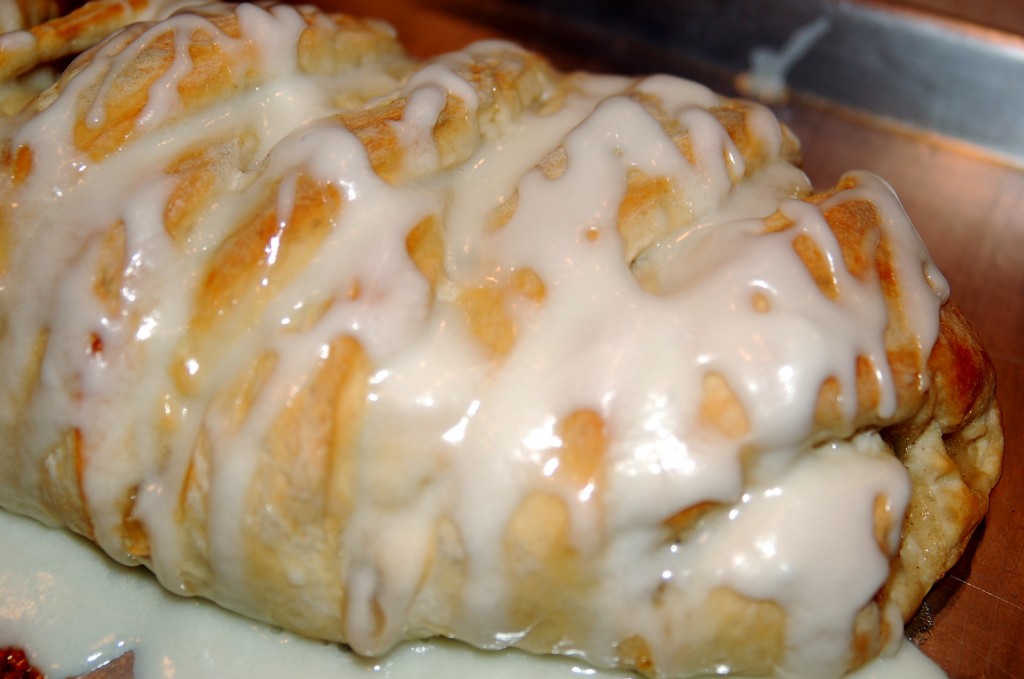
Let the braid cool for 15-20 minutes and then drizzle with a glaze of: 1 cup powdered sugar, 1/4 c. softened butter, 1/2 tsp almond extract, mix this together then add 1-2 TBLS of milk, a little at a time,  just until thin enough to drizzle.

Looks delish!

What kind of fall desserts are your favorite?  I hope that you will try this one because you just might want to add it to your list!

Mom’s Chili

This recipe is one of those that you just can’t hurry…but is worth the wait!

Is there anything better than a good hearty bowl of chili on a cold, and dreary day?

Mom’s Chili Beans

1 1/2 -2 cups red kidney beans-rinse well, then soak in a big kettle, (covering beans with hot water) for a couple of hours, then simmer over low heat until done (2-3 hours). You may need to add more water, so the beans do not boil dry.

Brown 1 lb hamburger,

add 1 onion diced and

1 green pepper-chopped

Add to beans along with:

1 large can diced tomatoes, or 3-4 cups tomato juice (I usually do a combination of juice a 1 small can tomatoes)

1 1/2 tsp salt

1/8 tsp paprika

1/8 tsp cheyenne pepper

1 bay leaf

1-2 tsp chili powder (depending on how spicy you want it!)

Simmer beans and rest of ingredients all together for 1/2 hour.  Remove bay leaf before serving. To serve you can top with shredded cheese, sour cream, corn chips, bread cubes or croutons.  Serve with a big slice of bread or your favorite crackers!

Great comfort food!


Apple Pie in a Jar!

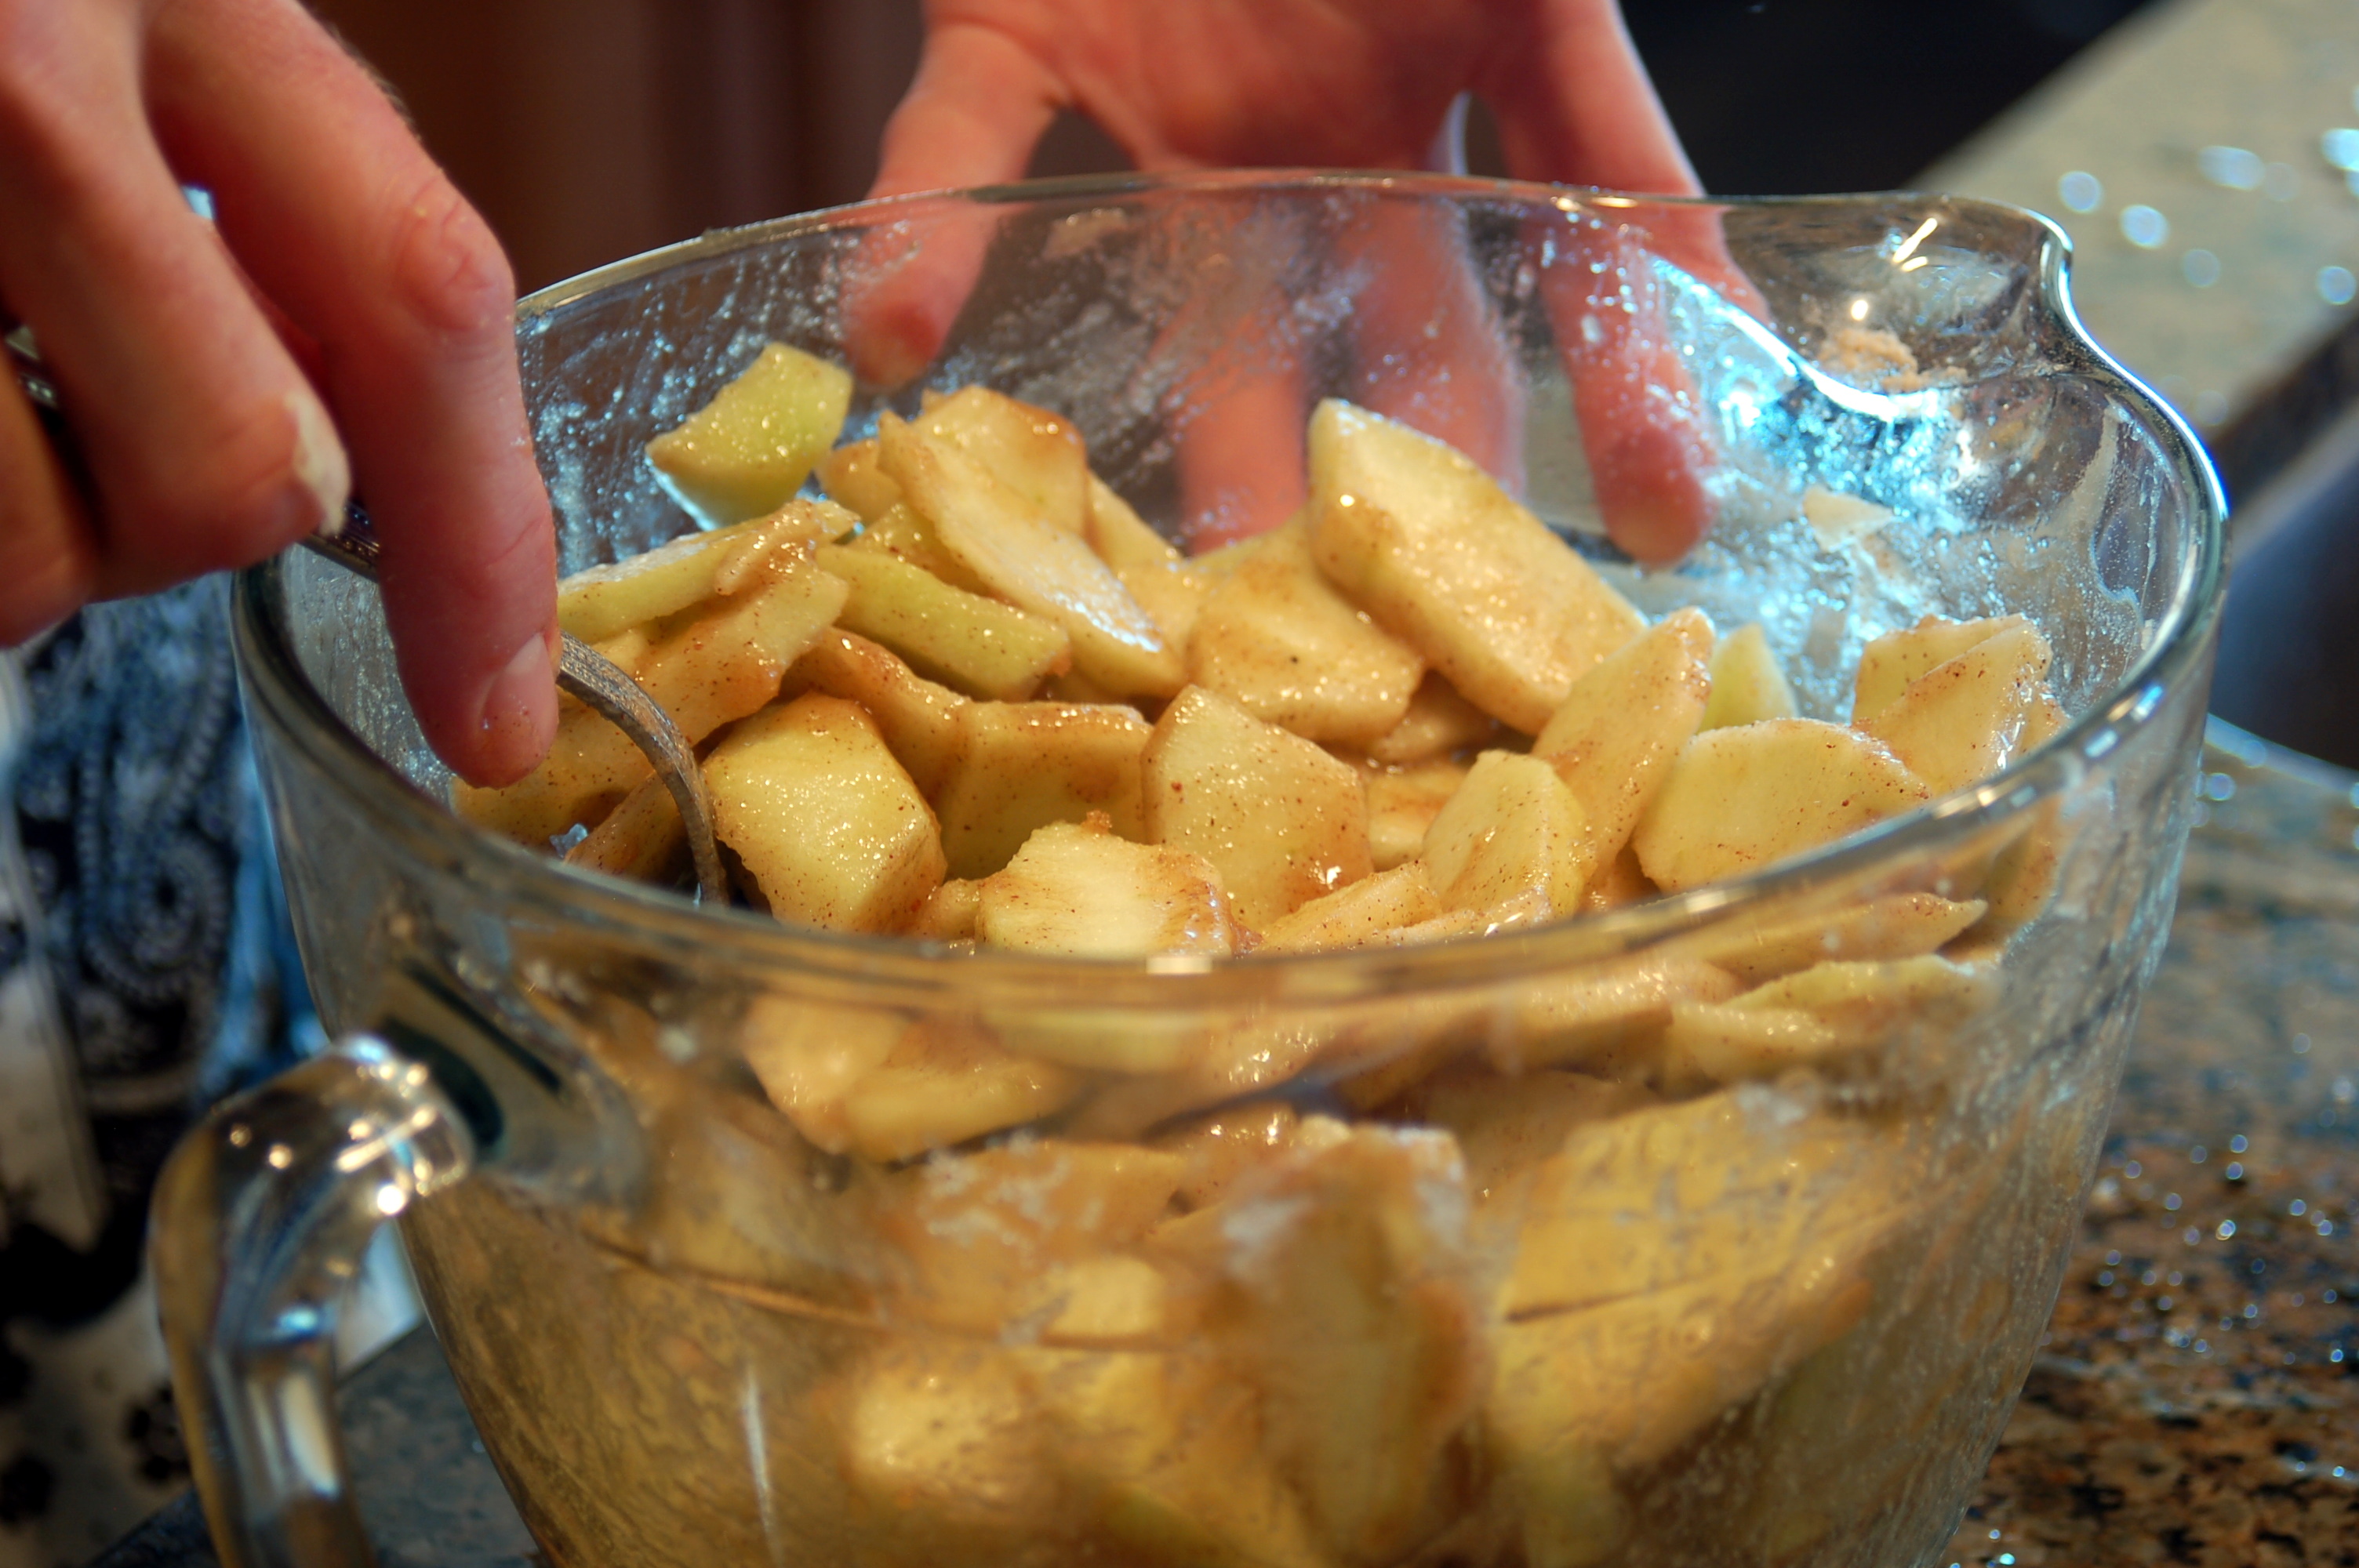
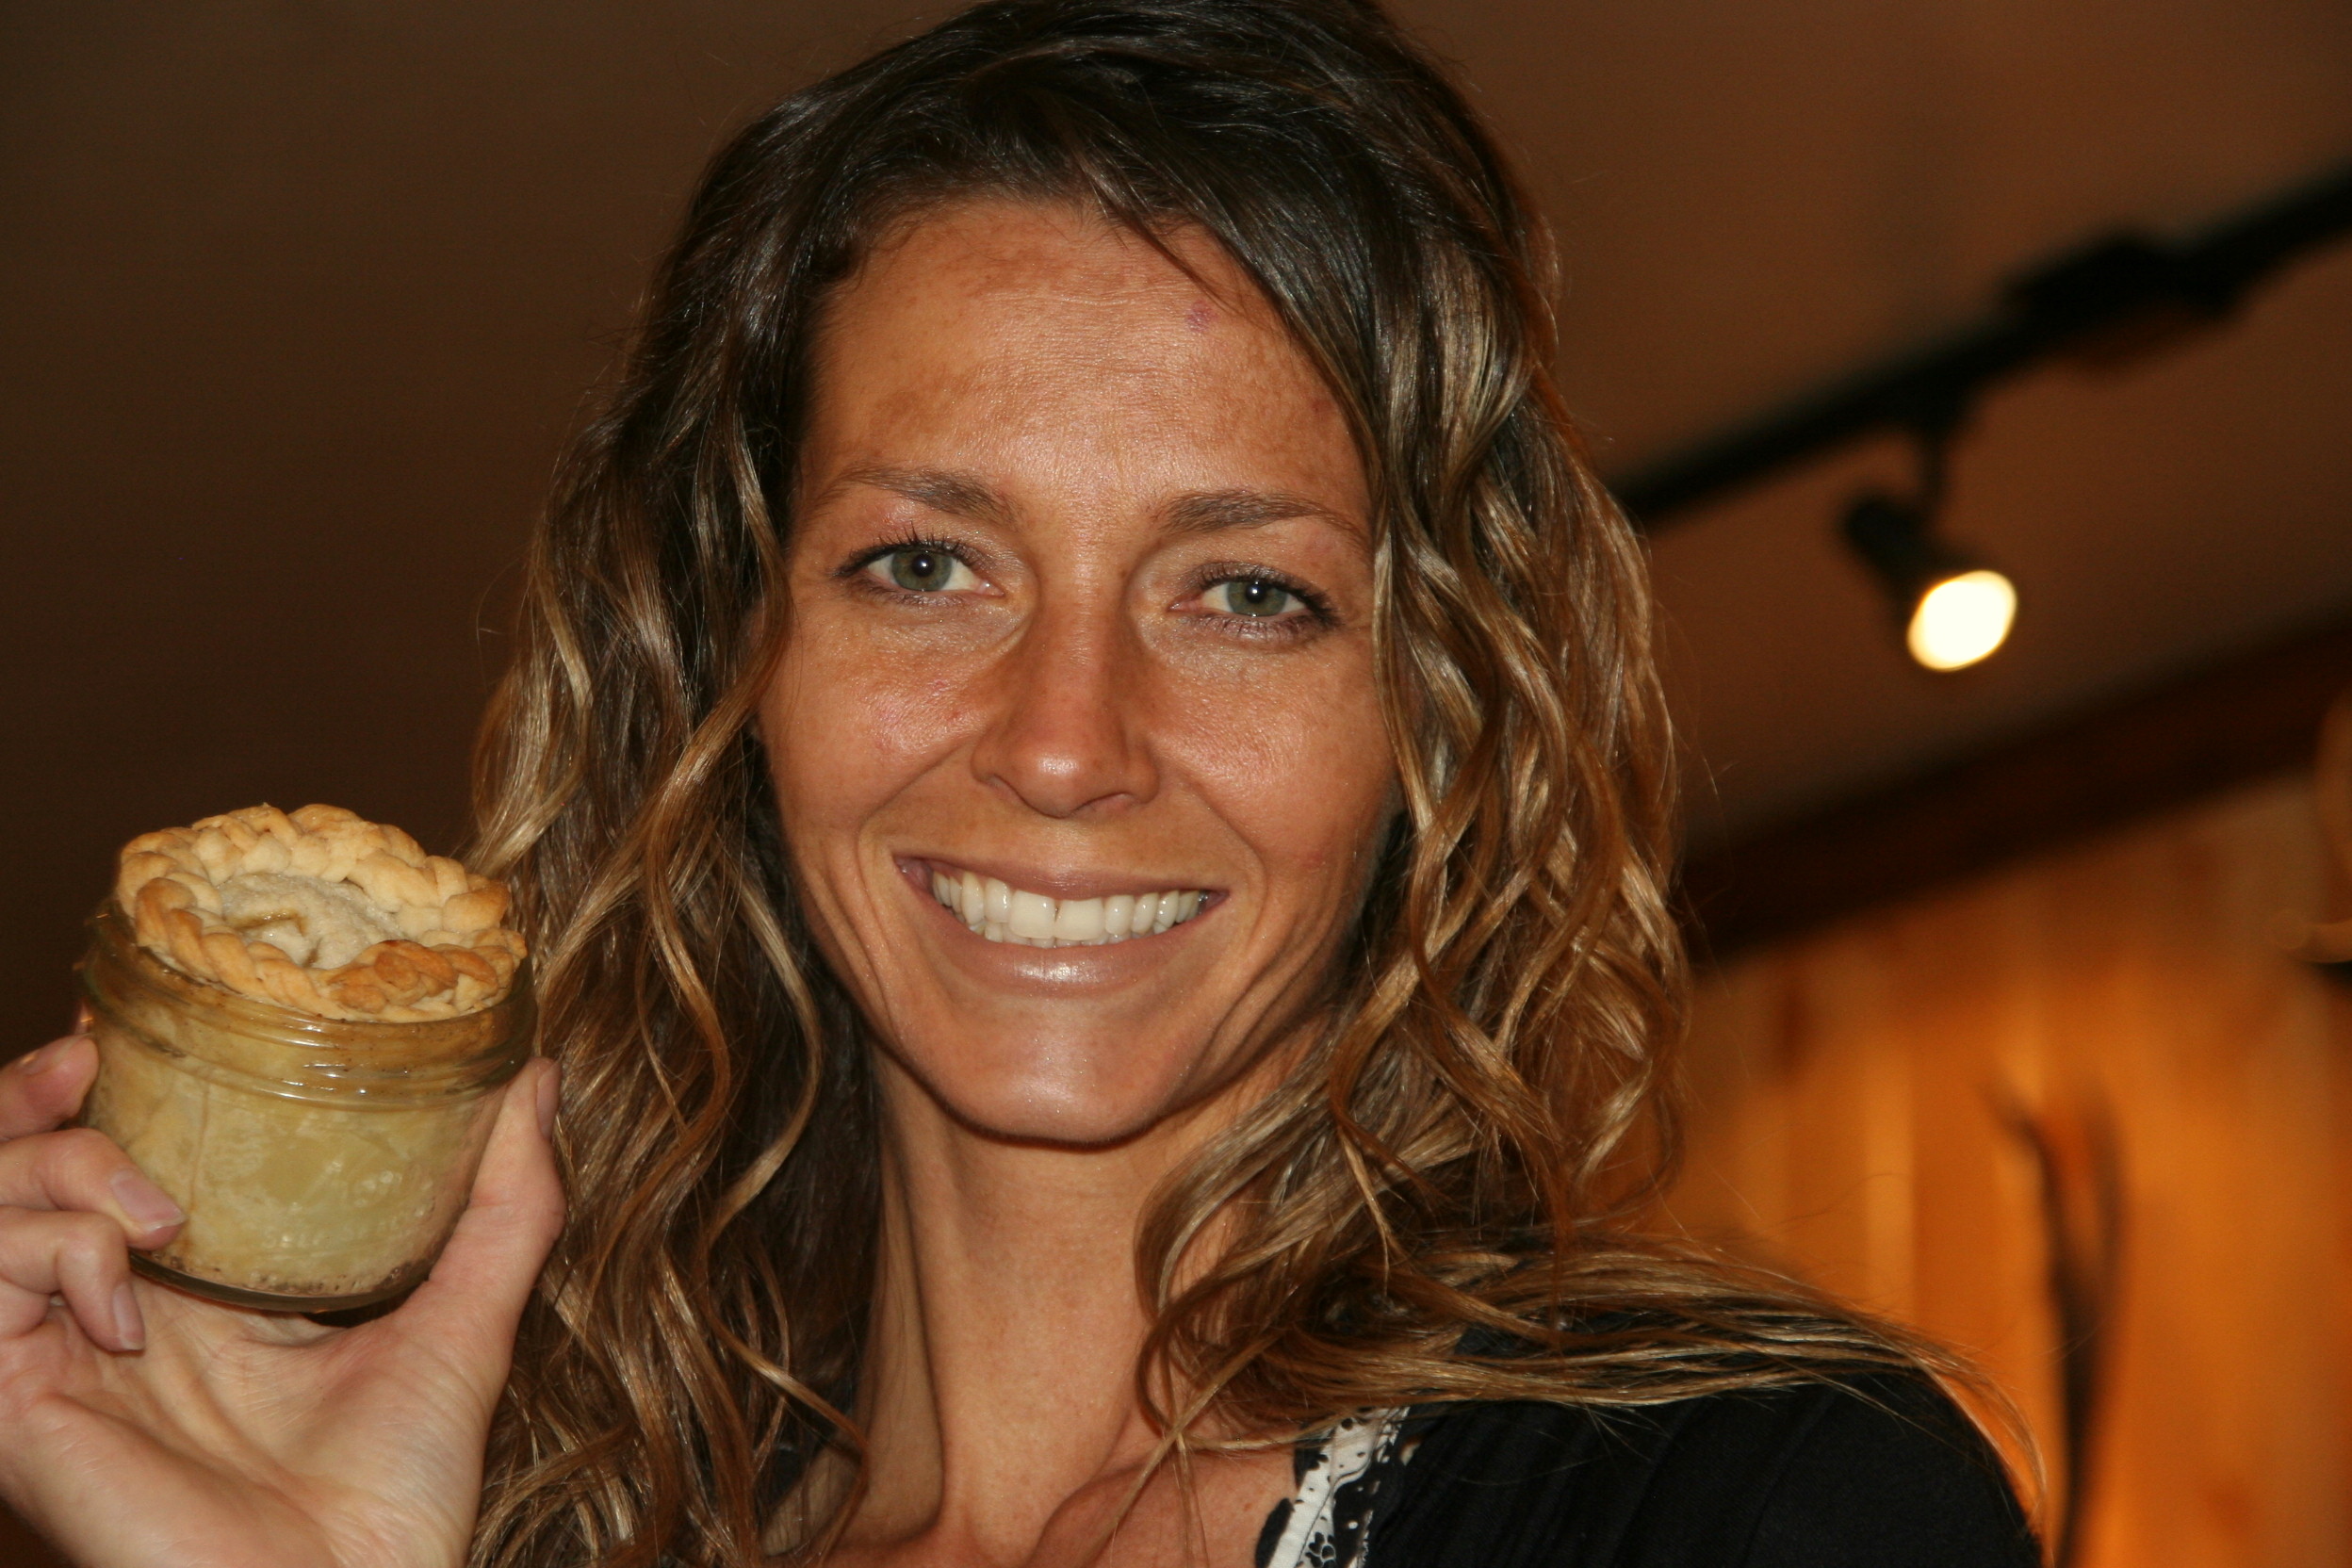
My daughter-in-law taught a class on how to make these darling pies! You can see a great tutorial here from Our Best Bites.  She made little mini apple pies in glass jars.   First you prepare the apples-peel and slice them, about 6 cups. Add 1/2 cup sugar, 1/2 cup brown sugar, 2 tablespoons flour, 1/2 teaspoon cinnamon, and 1/4 teaspoon nutmeg, 1 tablespoon  lemon juice.  Mix well and set aside.

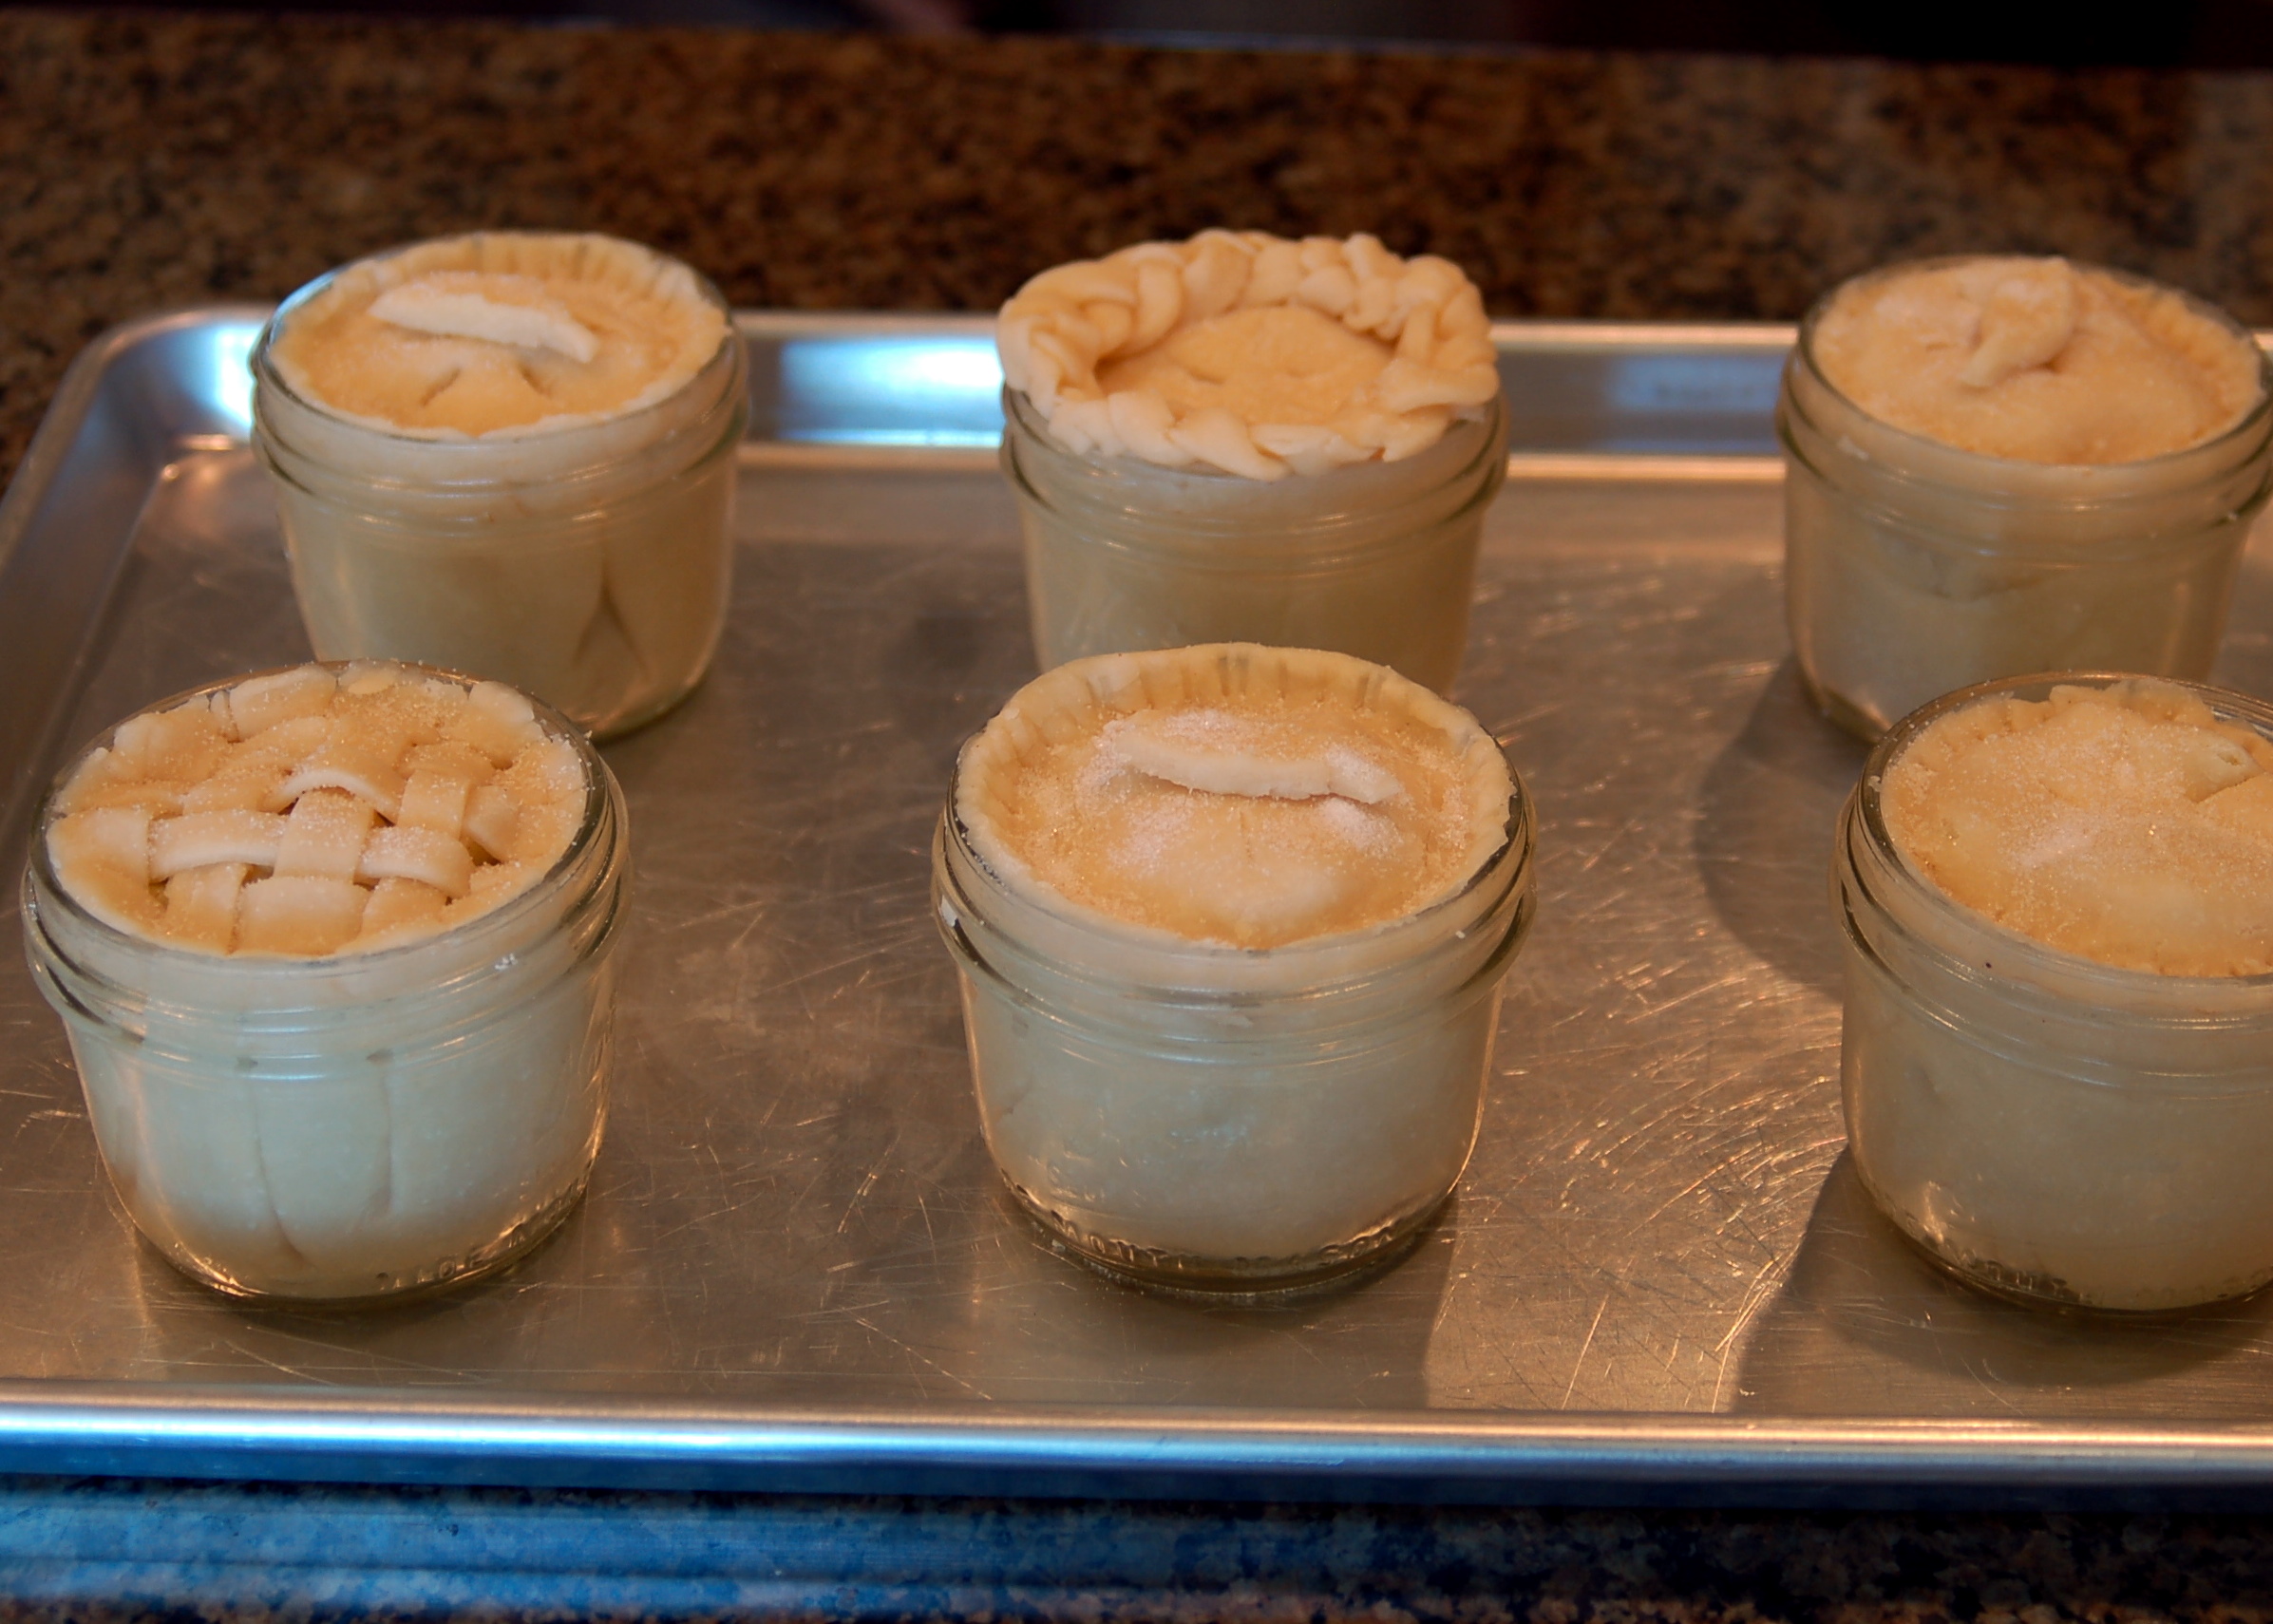
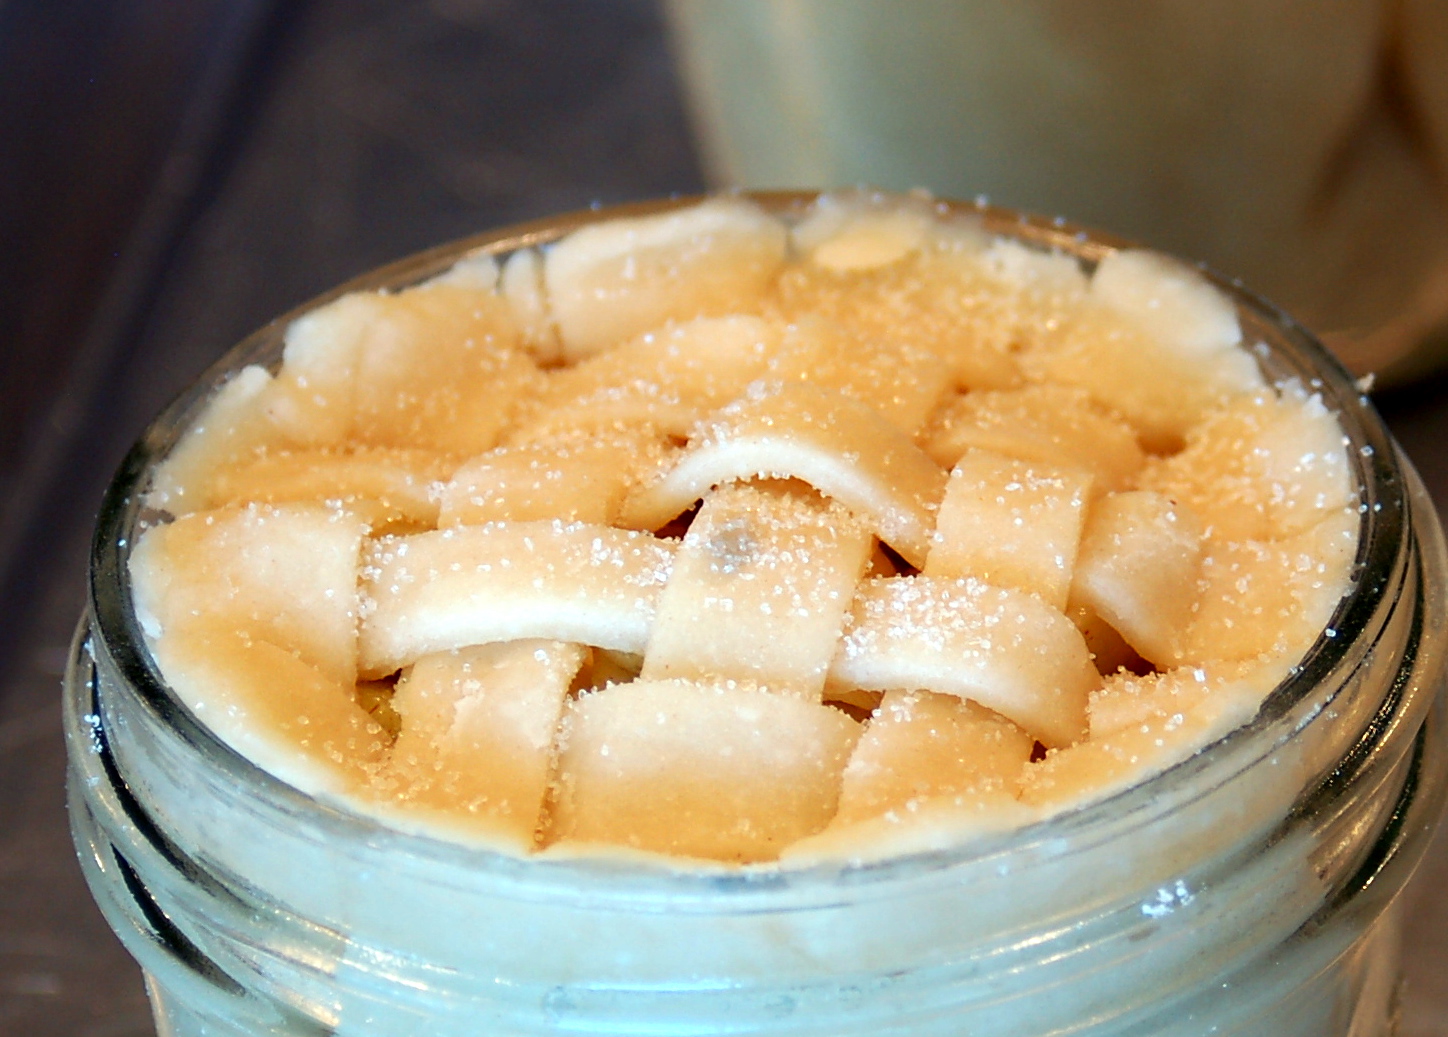
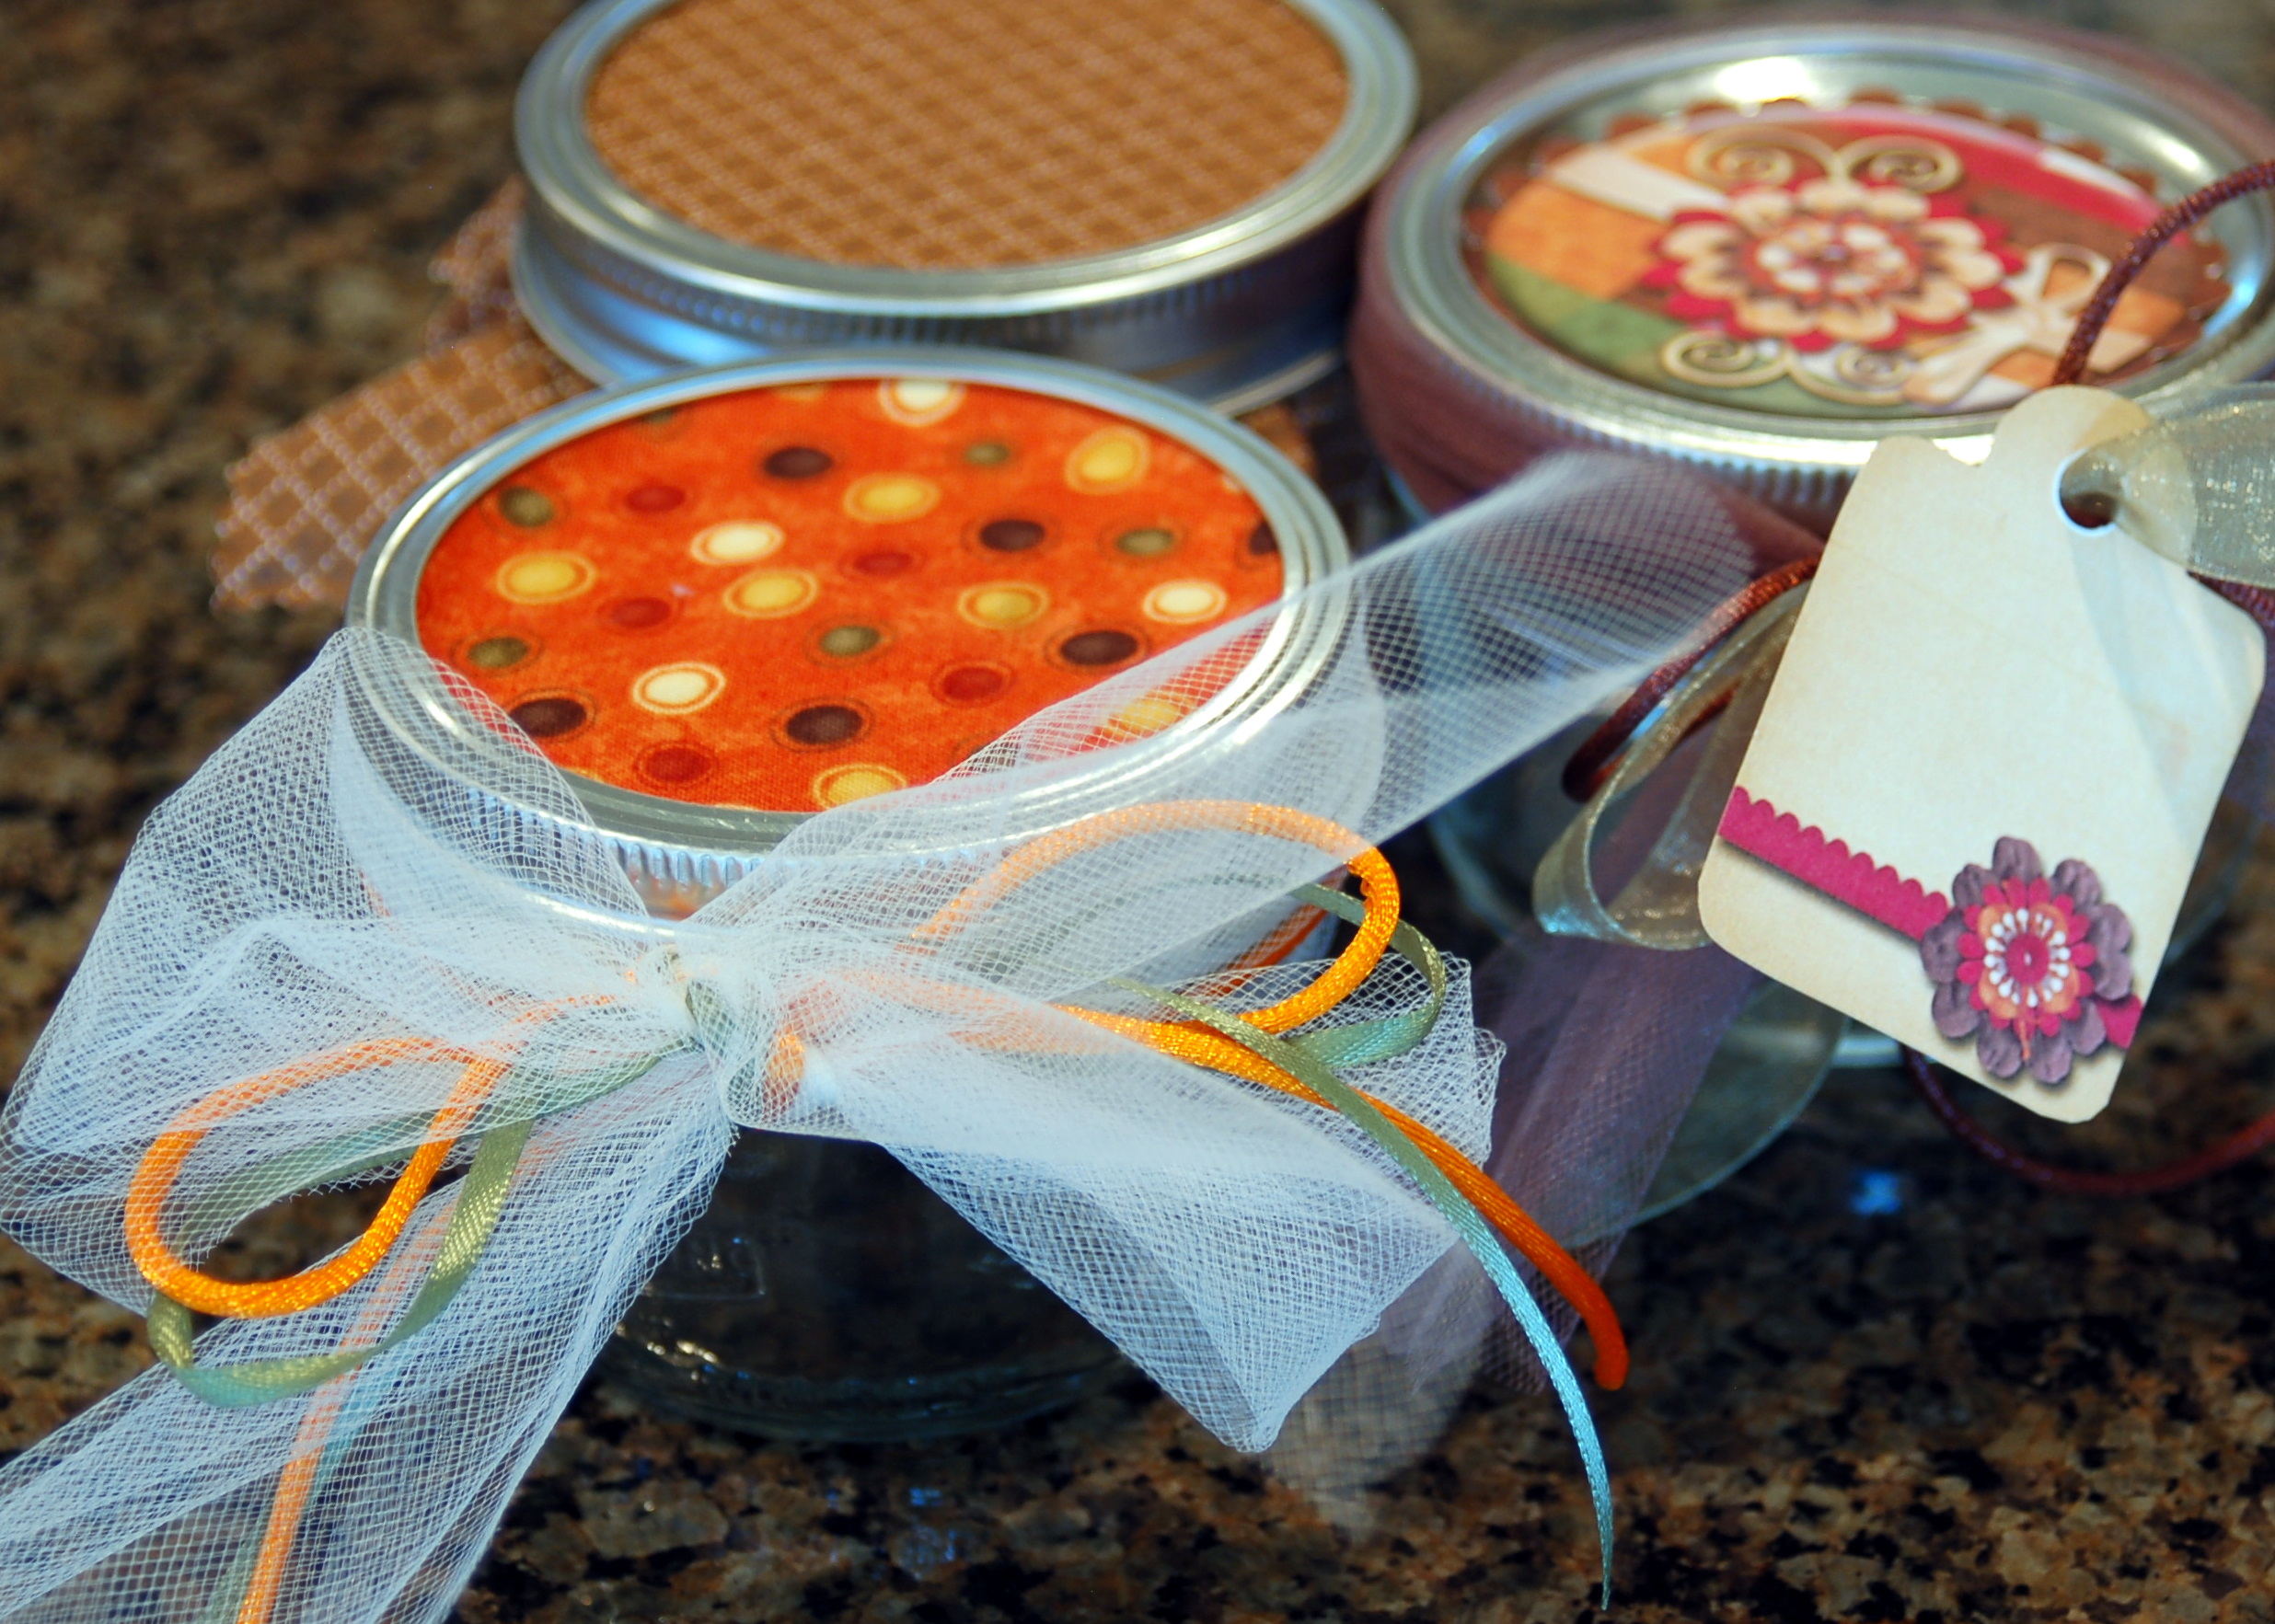
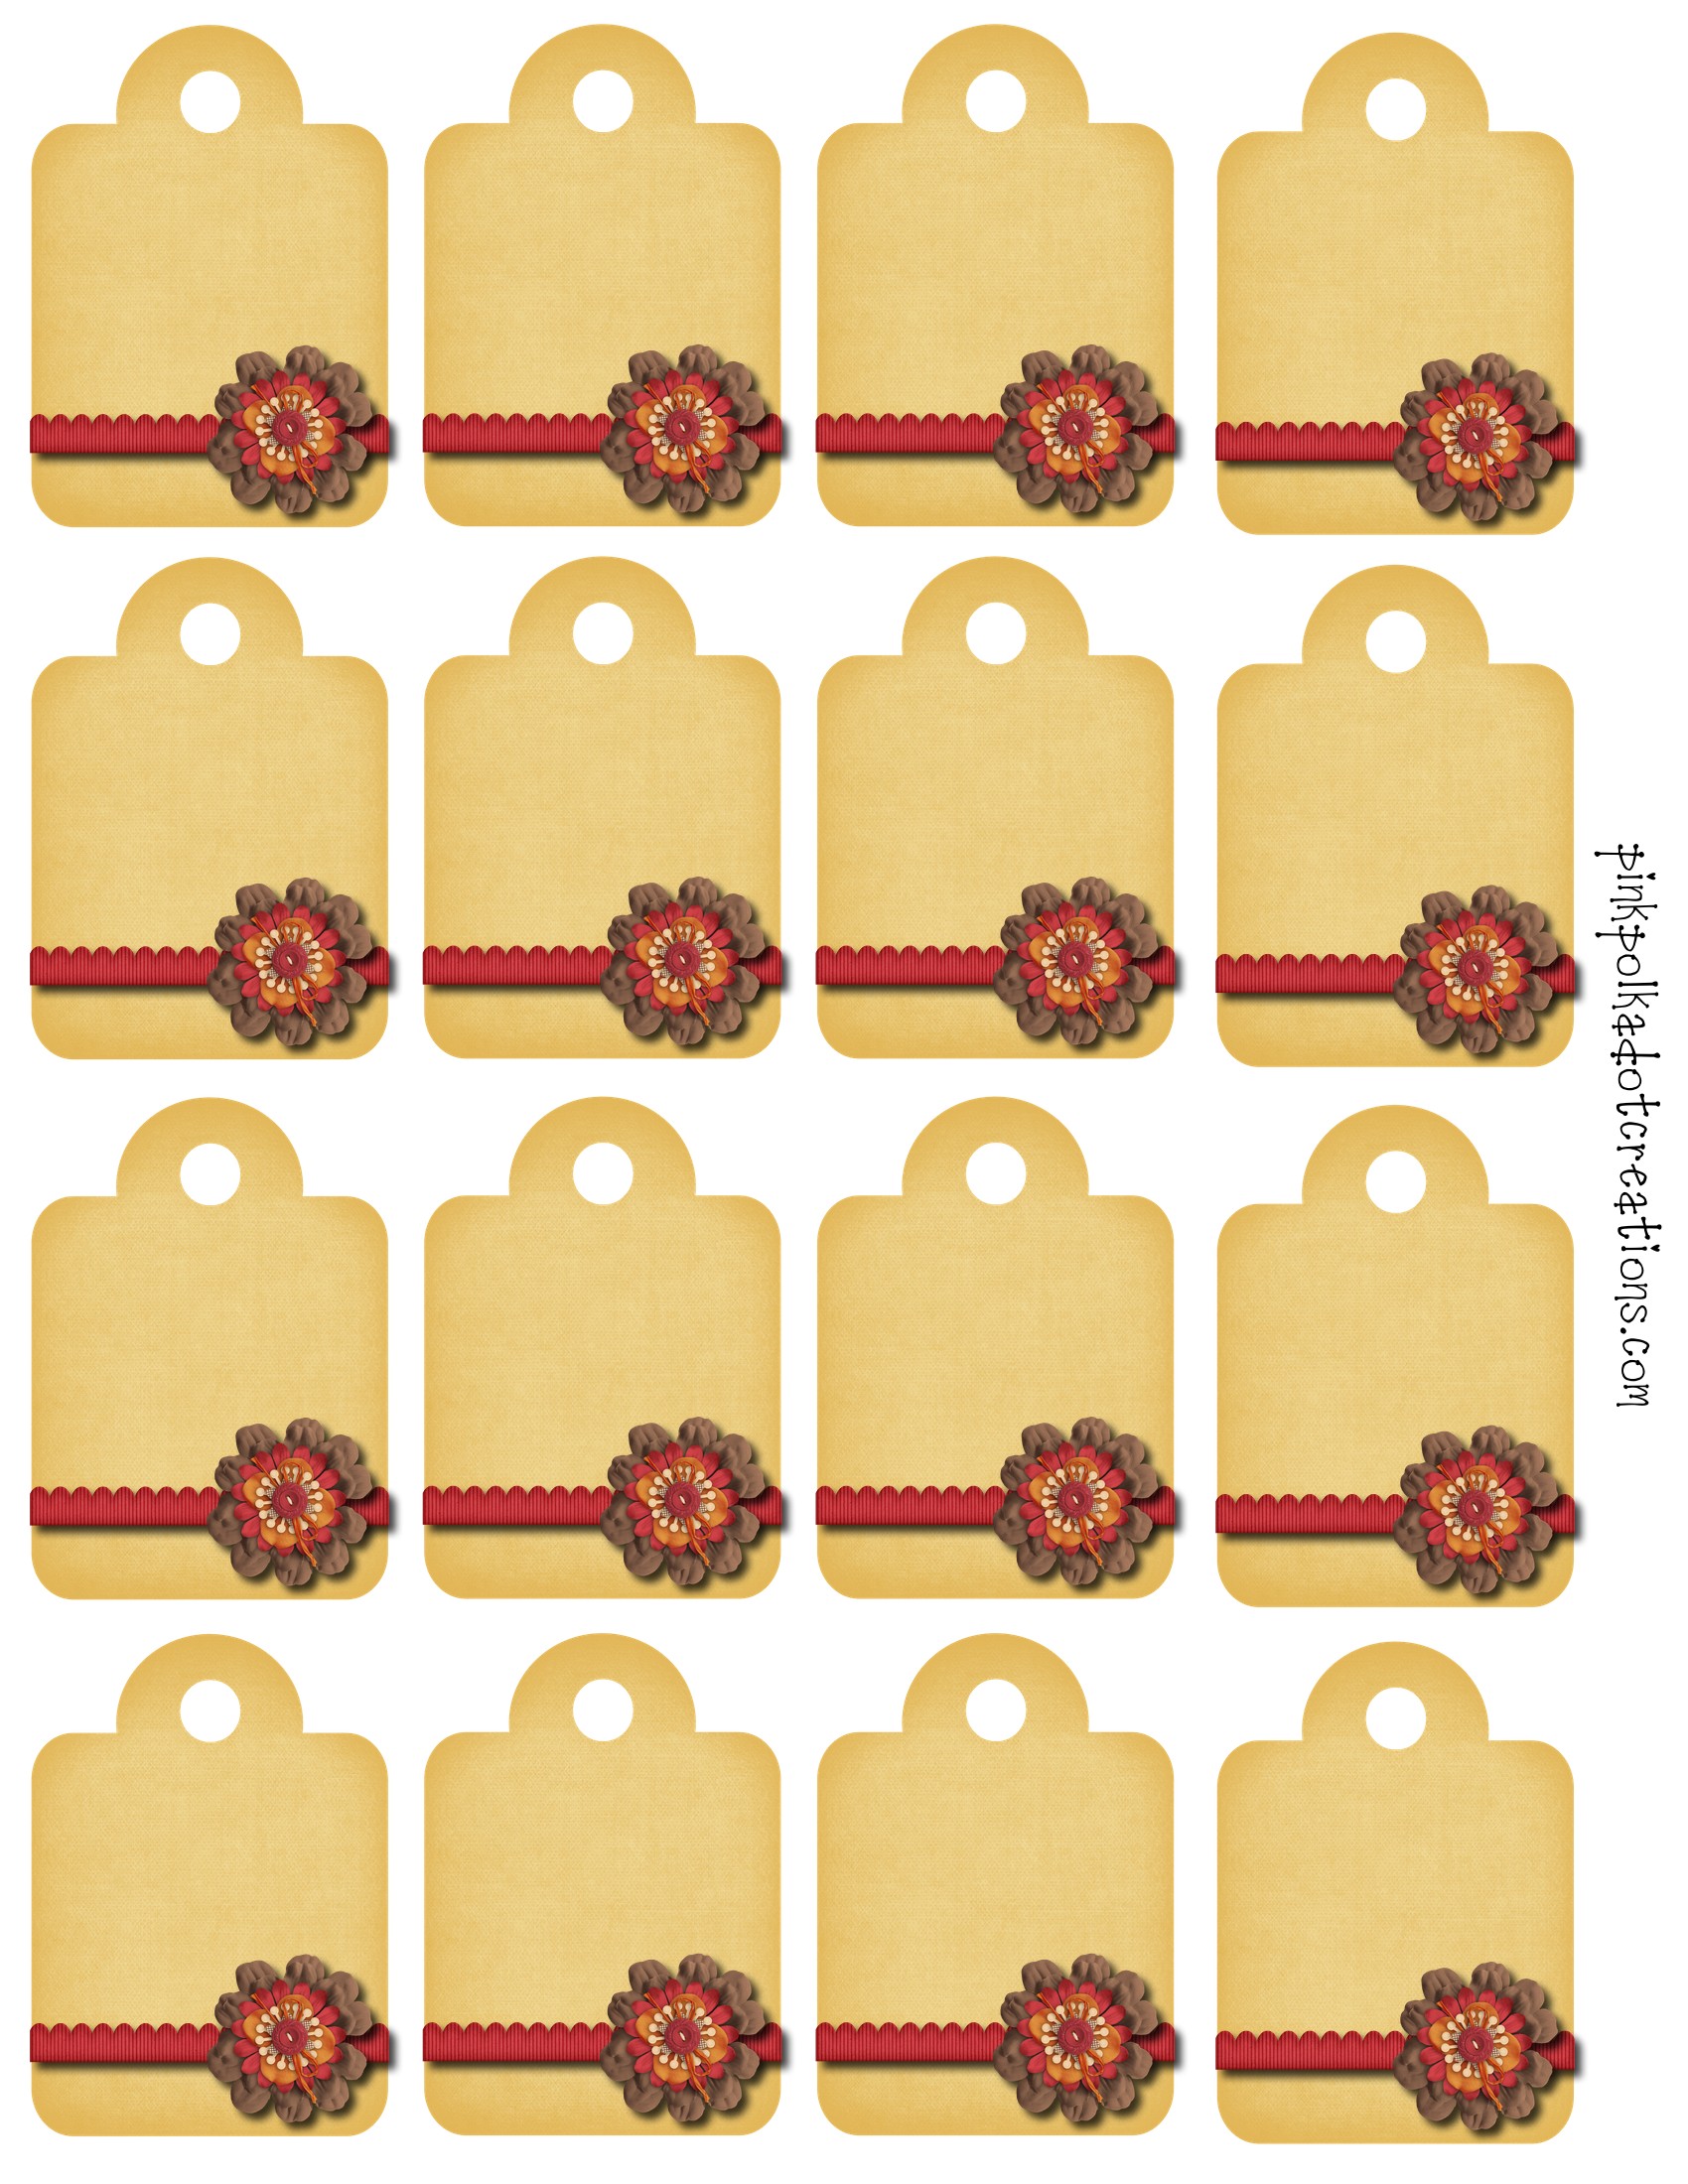
Make No Fail Pie Crust and roll out quite thin.  Using the rim of the jar, cut a round circle for the top of the pie.  Then roll out another circle large enough to put down inside the bottle.  Or you can just take pieces and press them into the jar.  Make sure that you push the dough down into the bottom of the jar, and that you press it all the way to the top. Add prepared fruit, approximately 1/2 cup per jar.  These are 1/2 pint wide mouth jars.Add the dough circle to the top.  You will need to vent them by cutting slits in them or using a small cookie cutter, like the leaf to cut a hole in the top.  Gently press down the top, so the edges of the circle are completely inside the jar. (The braided top should have been pressed down to be completely inside the jar, so learn from us!) Using a fork press the dough from the top to seal with the dough in the jar.  Here are several versions of how you can make the tops…Lattice, braided edge, or leaf cutout.  You could also use a crumb topping.Sprinkle the tops with a little bit of sugar.  You could also brush the tops with a little bit of butter before sprinkling the sugar on.  Doesn’t this look Heavenly?!Place the jars on a baking sheet. Bake them at 375 degrees F. for 45-55 minutes or until tops are golden brown.After they cool down you can wipe the edges off and add these cute toppers to your jars!  What a fun gift idea!  The holidays are coming up soon and these would be fun neighbor gifts, or for your friends with a carton of icecream and fun scoop…you get the idea.She did a great job and look how yummy they are!Here is the printable for the top of the jars.  Just right click and go to copy, then open your favorite program, like word, and right click and paste.  These are the right size for a wide mouth lid.Here are some cute tags to tie on with the ribbon.
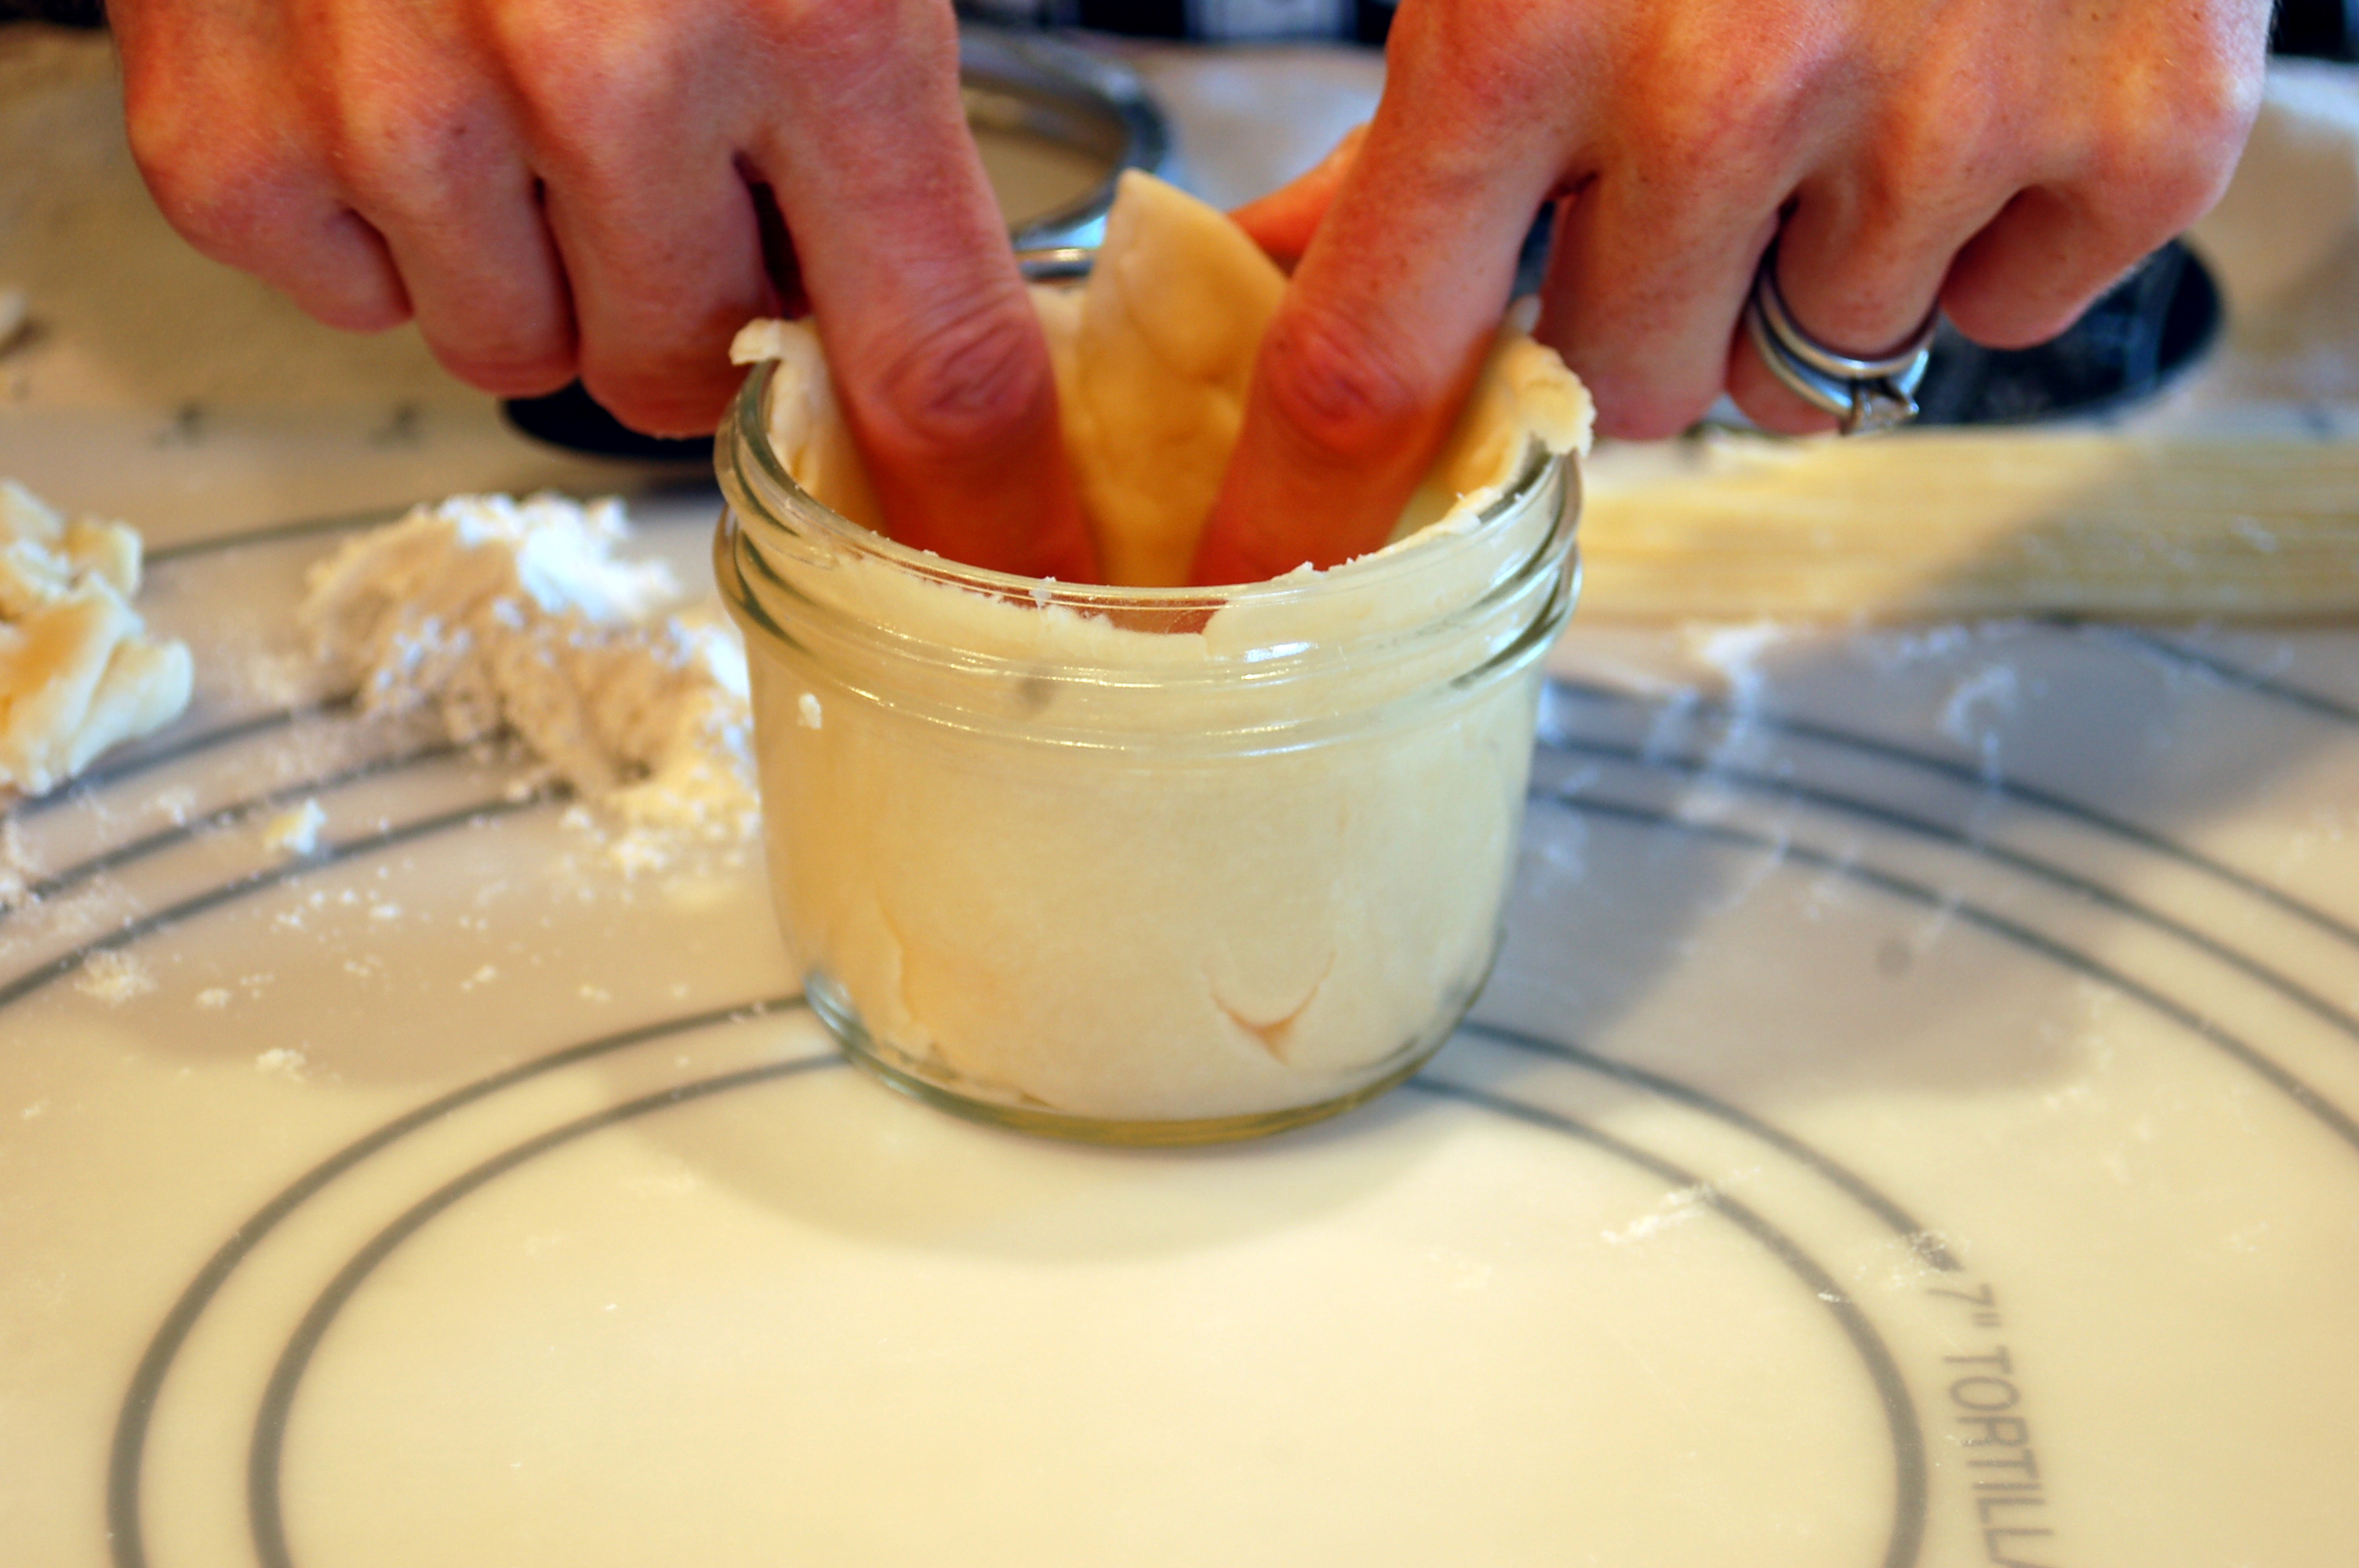
You could buy all ready made pie crust and canned pie filling if you want a faster version of making these.  I am thinking it would be way fun to do Pumpkin pies for Thanksgiving!

This is a recipe for No Fail Pie Crust, that I have in an old church cookbook.  I cannot remember how long ago, but at least 20 years ago!  And I know that it has stood the test of time! I have never had this recipe fail me!  Just make sure that you do not over mix the dough.

Happy Pie Making!

No Fail Pie Crust Recipe

4 cups flour

1 3/4 cup shortening

1 Tbsp. sugar

2 tsp. salt

1 egg

1 Tbsp. vinegar

1/2 cup cold water

Mix flour, salt and sugar together.  Beat egg, vinegar and water until thouroughly blended.  Cut shortening into dry ingredients until it is the size of peas.  Sprinkle egg mixture over it, a tablespoon at a time, tossing and stirring lightly with a fork.  Mix until dough is just moist enough to hold together. Do not overmix or it will make a tough dough.

Form ball.  Let stand for 15 minutes.  Makes 4 shells or 2 double-crust pies.  Bake shells 8-10 mins at 450 degrees F.