Category Archives: Fashion

Skirt Extender Slip

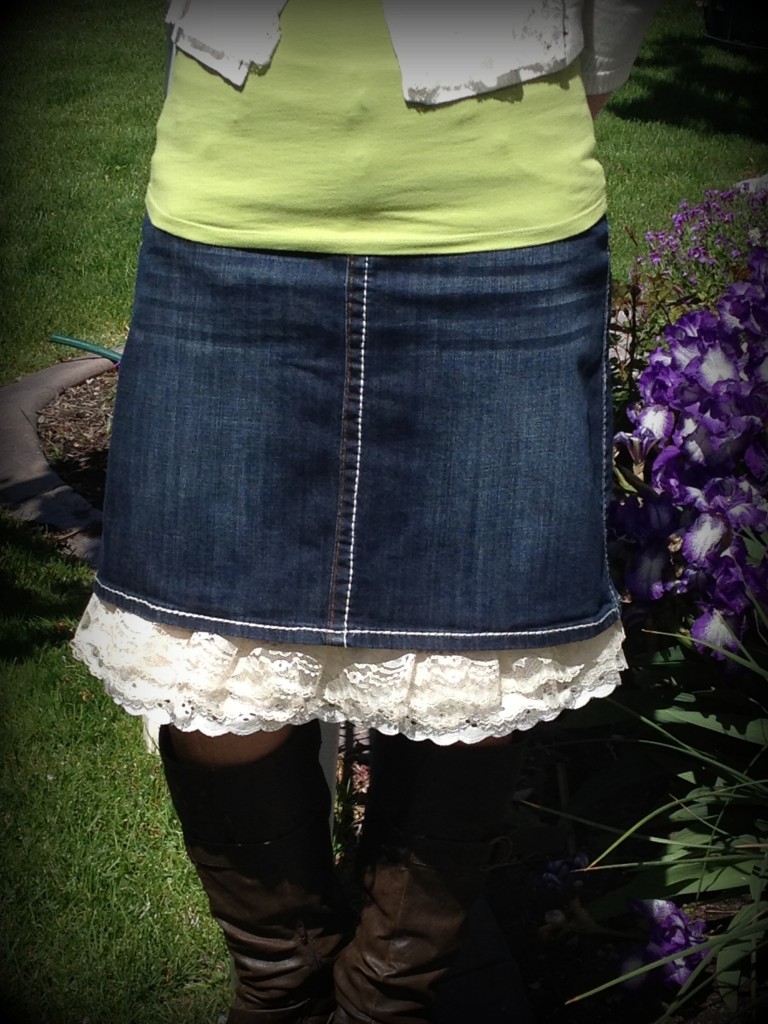
This project is a perfect fix for that skirt or dress that is just a tad too short and it makes your outfit look so cute with all the ruffles.  Don’t you agree?

I really like the look that this slip gives and it is really an easy project.  So does anyone want to make a skirt extender slip?

Continue reading

Headband Tutu’s

I saw these made up at a boutique last fall, and thought what a cute idea it would be for my three granddaughters!  They love to dress up and pretend that they are princesses, so I thought they might love to play in these little tutu’s.
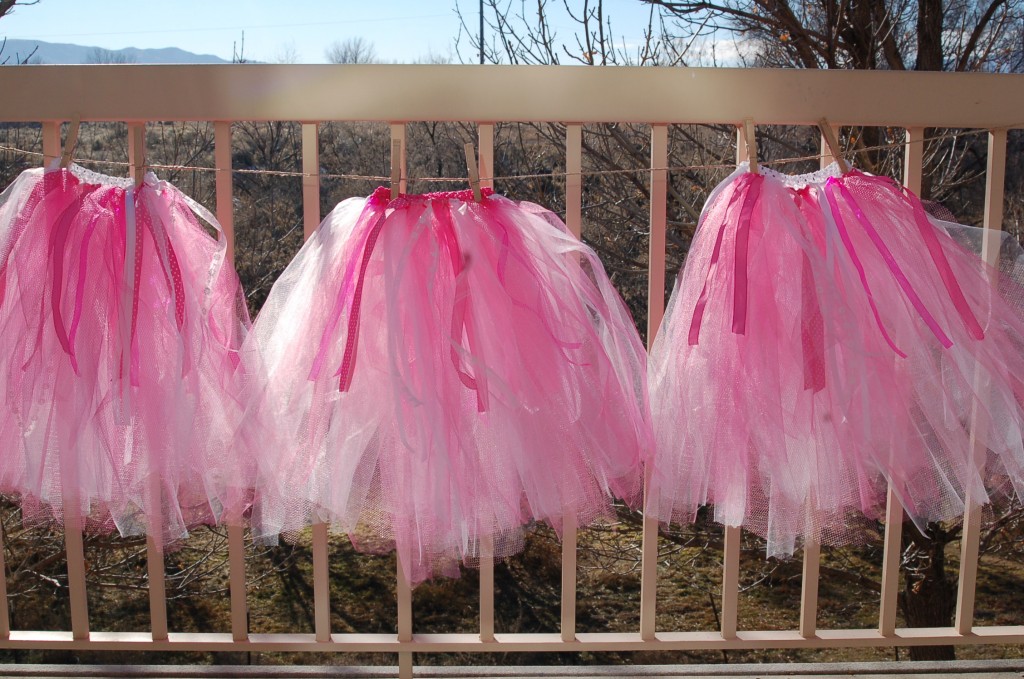
They were really fun to make and you could do any color combination that you would like. There is also no sewing involved!  So, who wants to make a tutu?

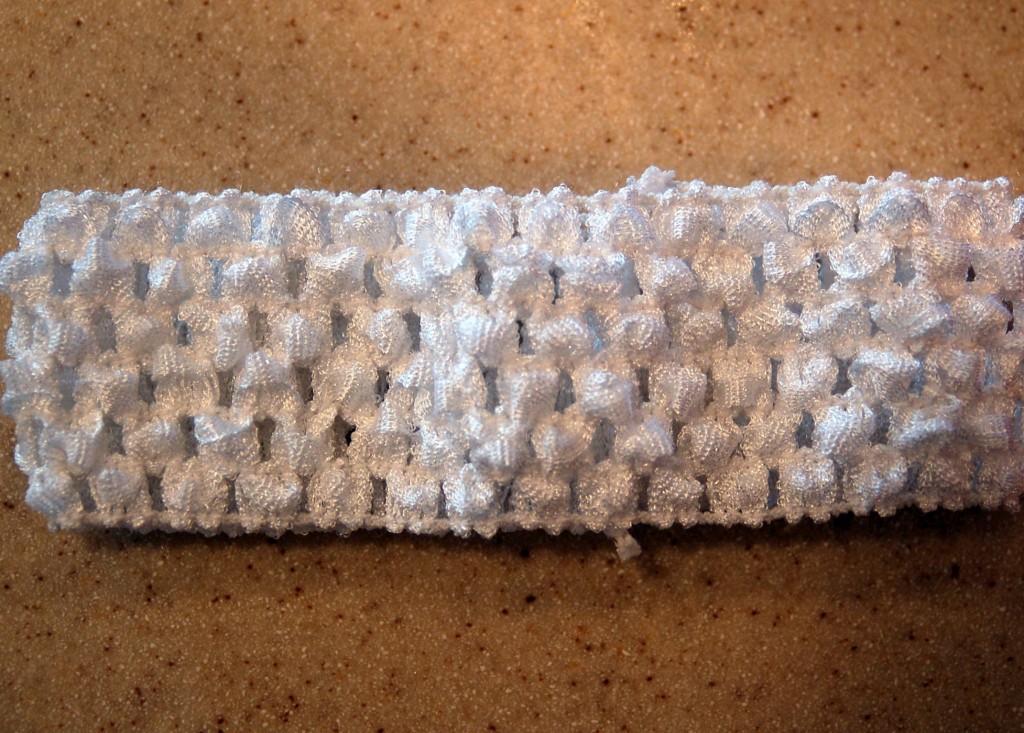
First, you will need one of these stretchy elastic headbands or you can just buy the elastic and make it into a headband.  I found white and pink ones.
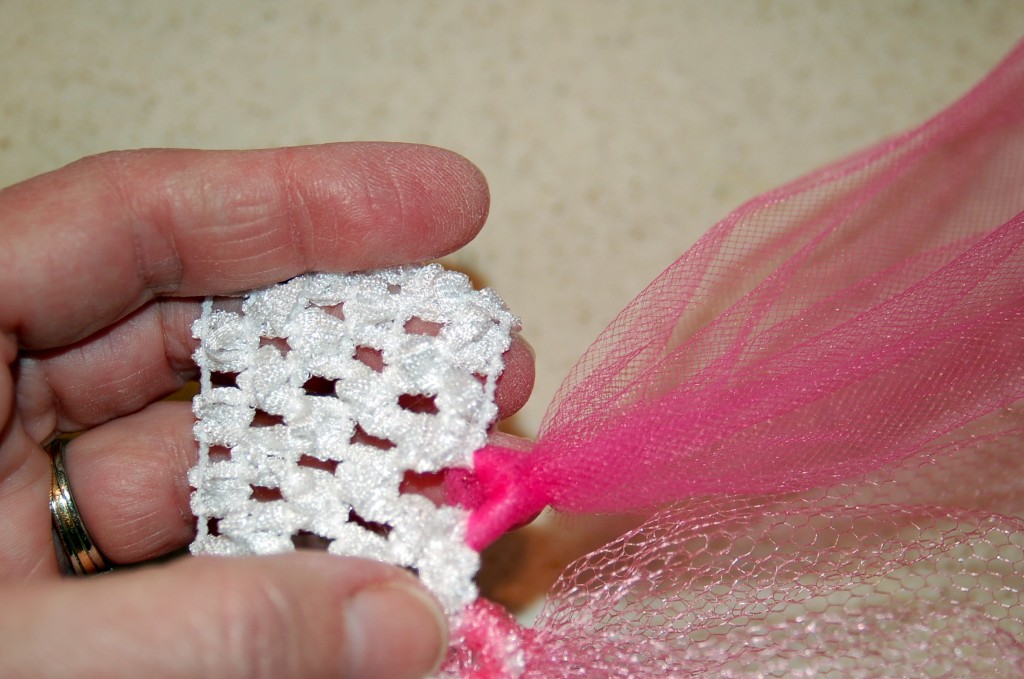
Then you need whatever color tulle you like.  I chose white, light pink, and dark pink.  I just used the tulle that comes on a bolt and all I had to do is cut the lengths that I needed.   My granddaughters are still fairly small, so I used a 36 inch length and when they are tied they are about 17 inches long.  The skirts are also are pretty full, so they are not quite that long when they are wearing them.   You can make them as long or as short as you would like.  Fold the length of tulle in half and put the loop through one of the holes like this:
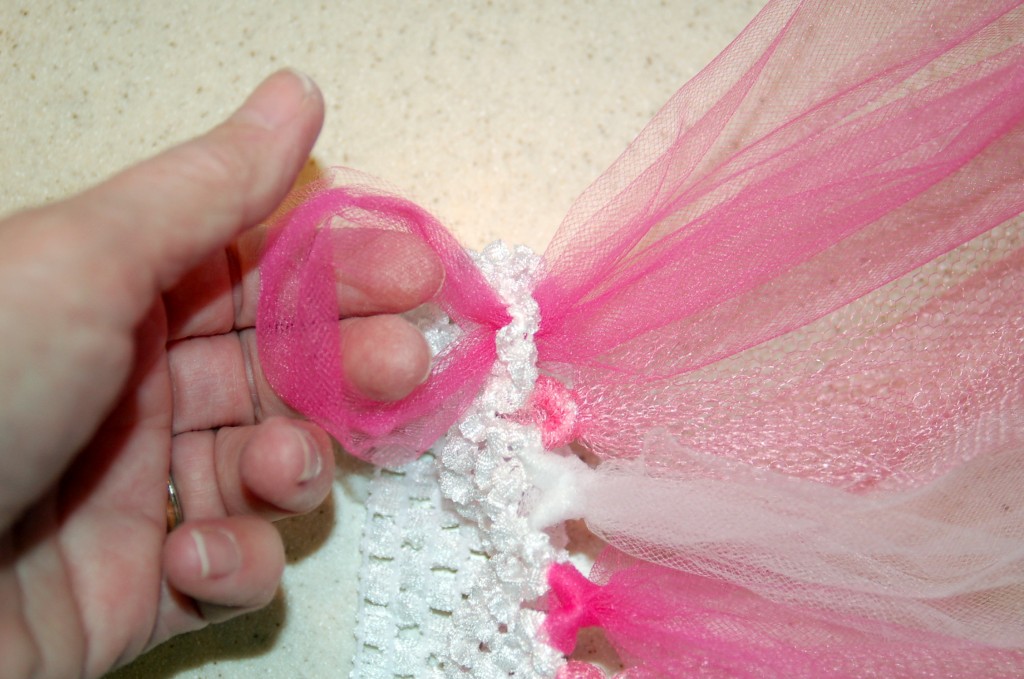
Then put the ends, through the loop:and pull tight like so.
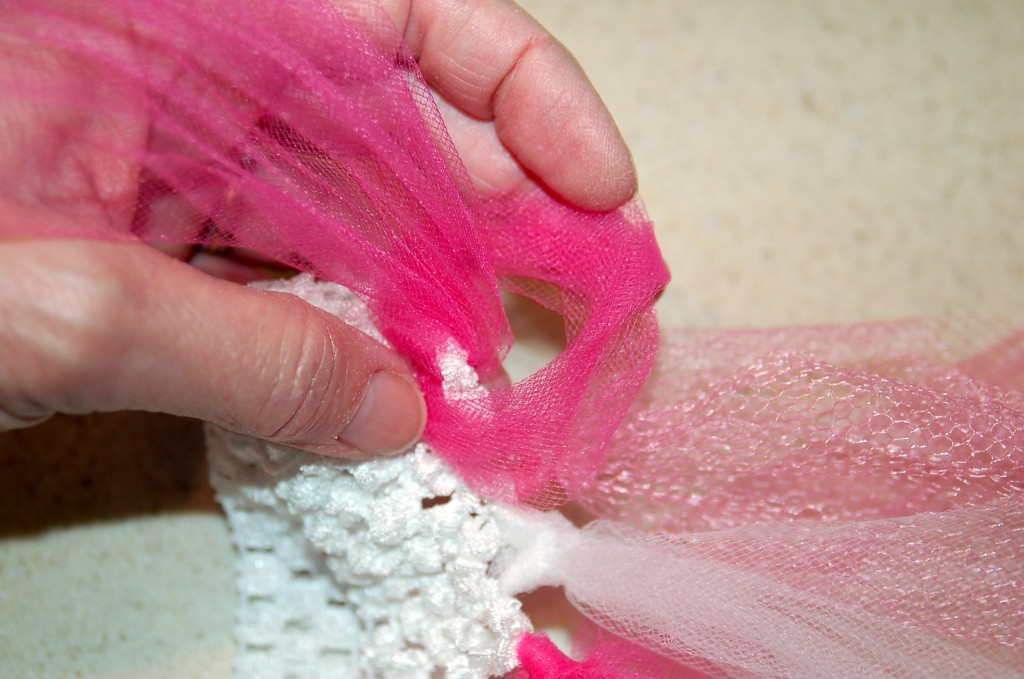
I skipped every other hole and tied a different color in it,
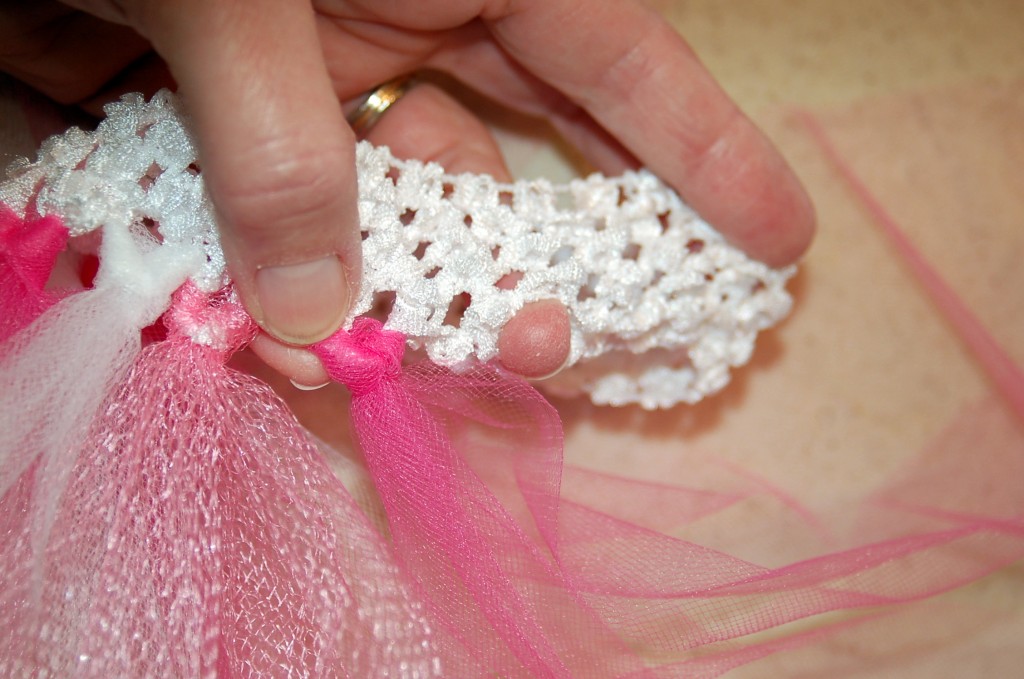
repeating until I had gone all the way around.
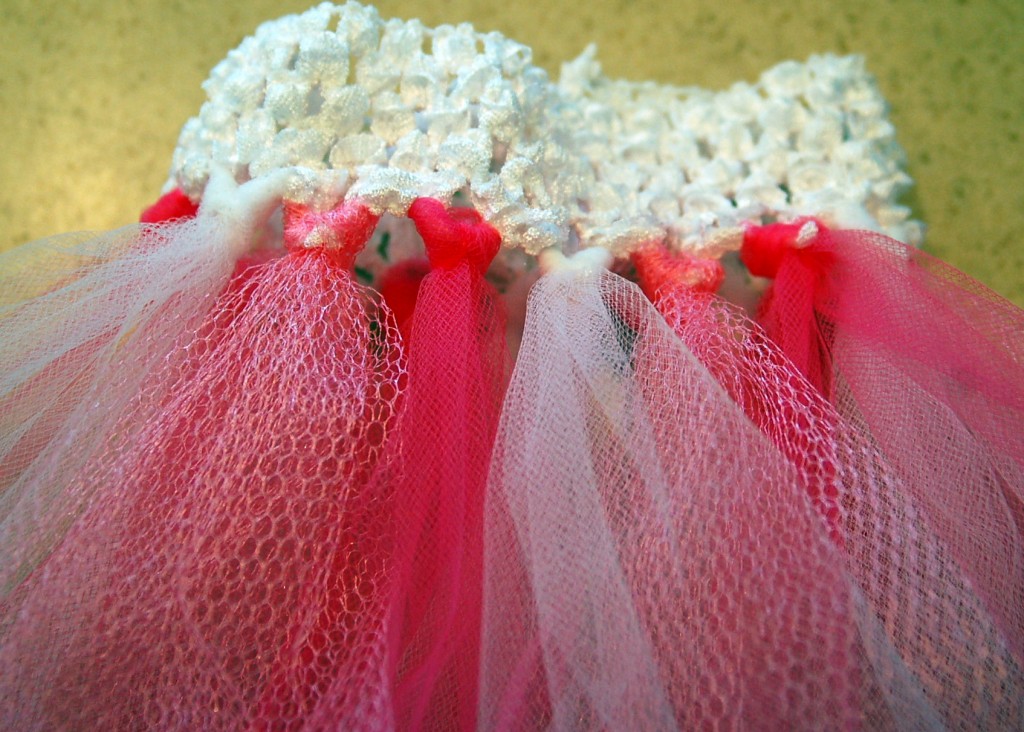
Then do one more row of tulle.  I went directly above the first row and tied the same color as I had on the bottom row.  You can mix it up if you wanted to, but I like the look of the colors being a little bit more grouped.
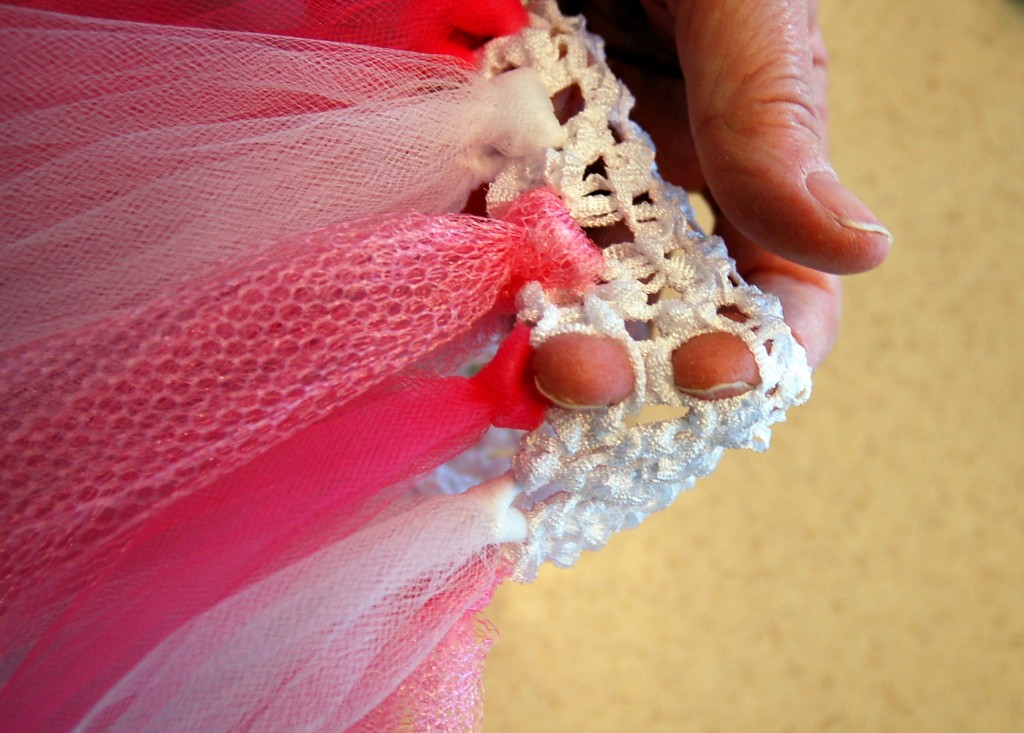
Then I went in between the rows of tulle and tied different lengths and colors of ribbon the same way as I had tied the tulle.  Tie the ribbons all the way around mixing the different ribbons as you go.  You could add flowers or beads or buttons on the ribbons at this point but I felt like these were great just the way they were.
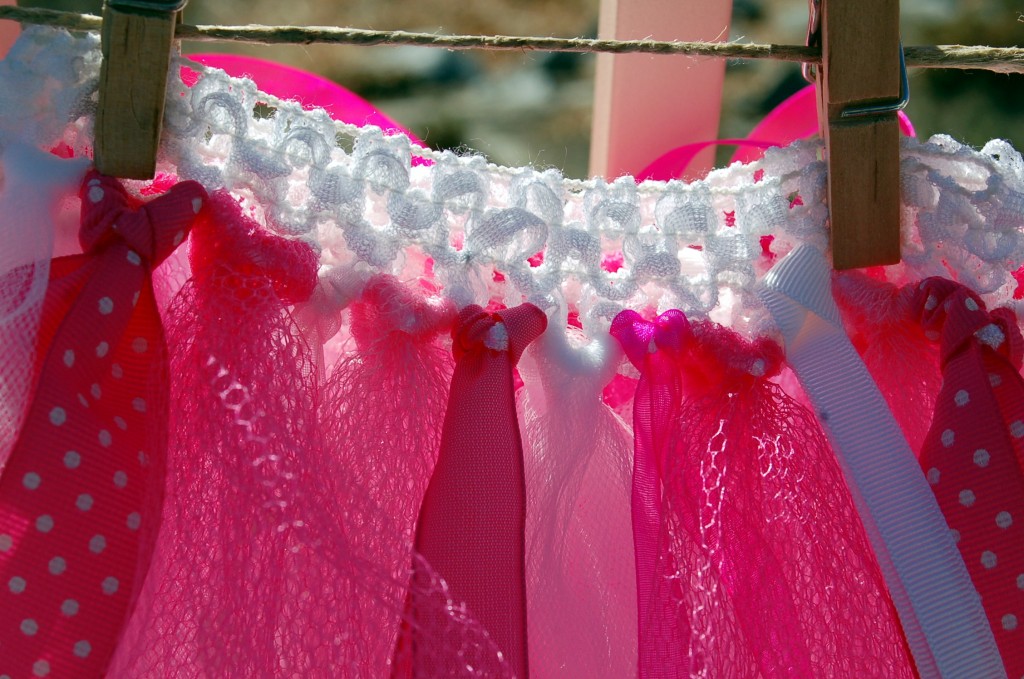
So cute and no sewing!
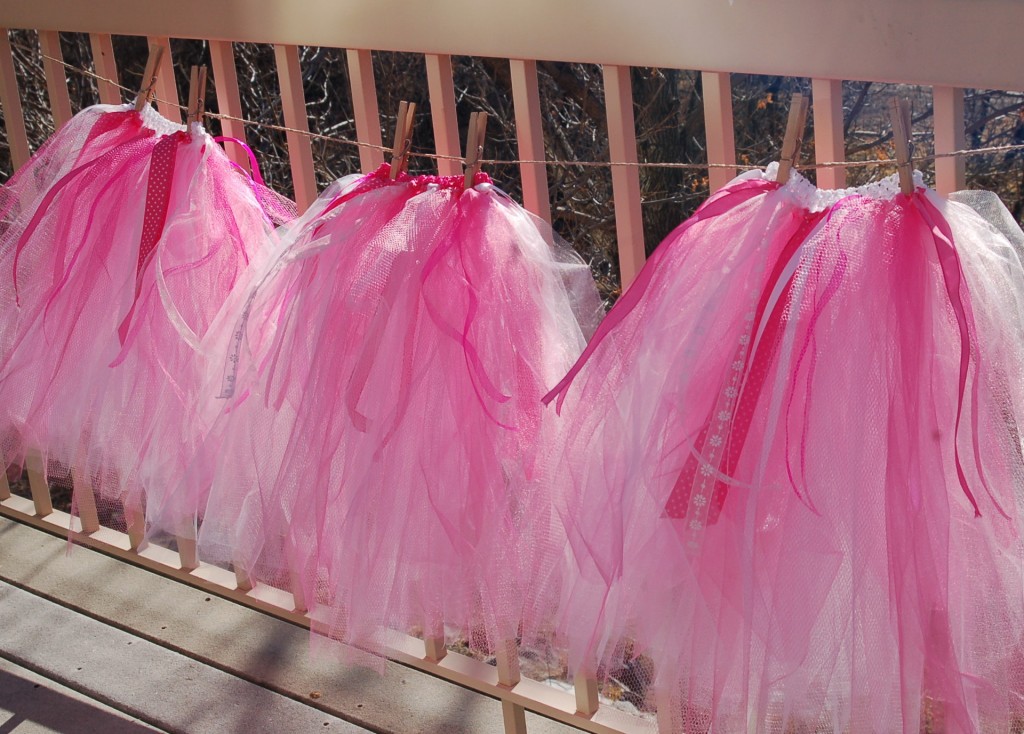
We are going to have a Princess Tea Party this week, so I will show you what they look like on the little girls after we have our party.


Ruffled Scarf

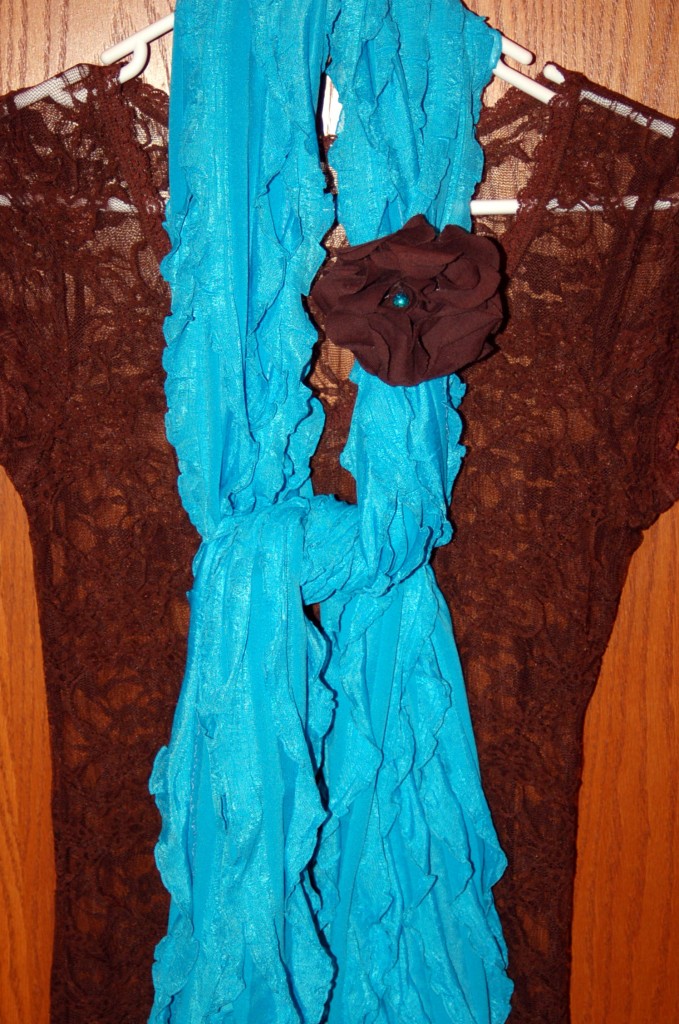
My sister gave me this darling ruffled scarf for Christmas and I love it, with the flower pin and all!  Our winter this year in Utah has been extremely mild and I find myself just grabbing a scarf when I go out the door instead of a jacket, so I have loved wearing this one with all the ruffles! I think it makes me look oh so pretty. :)

My sister made this scarf and so of course I wanted to make some more, because I love how cute the ruffles are and how easy it is to make!

So do you want to make one too?

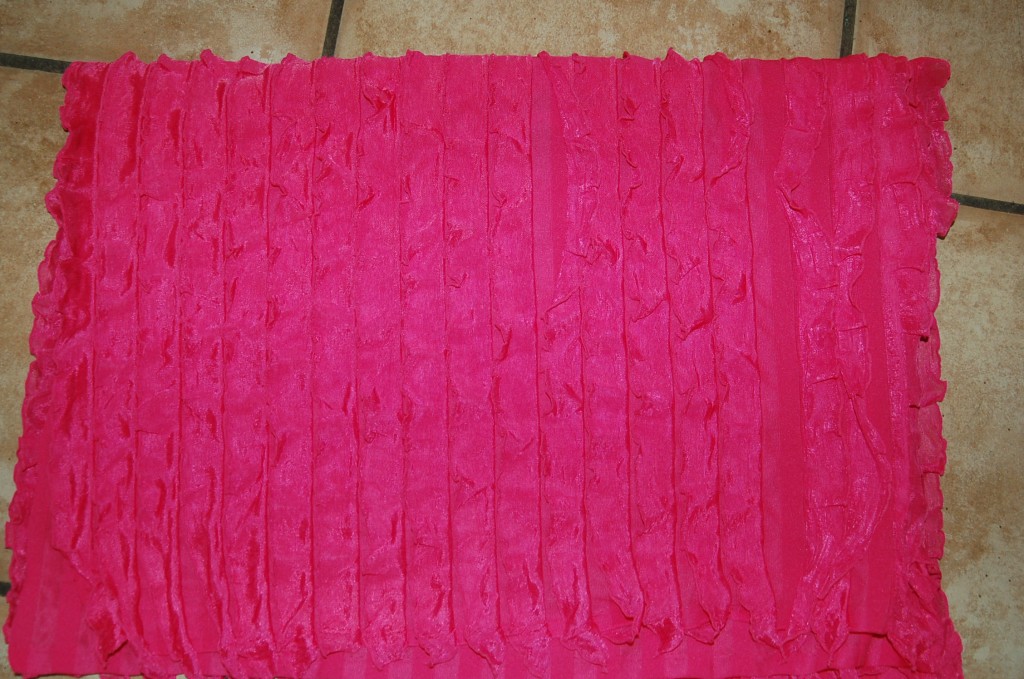
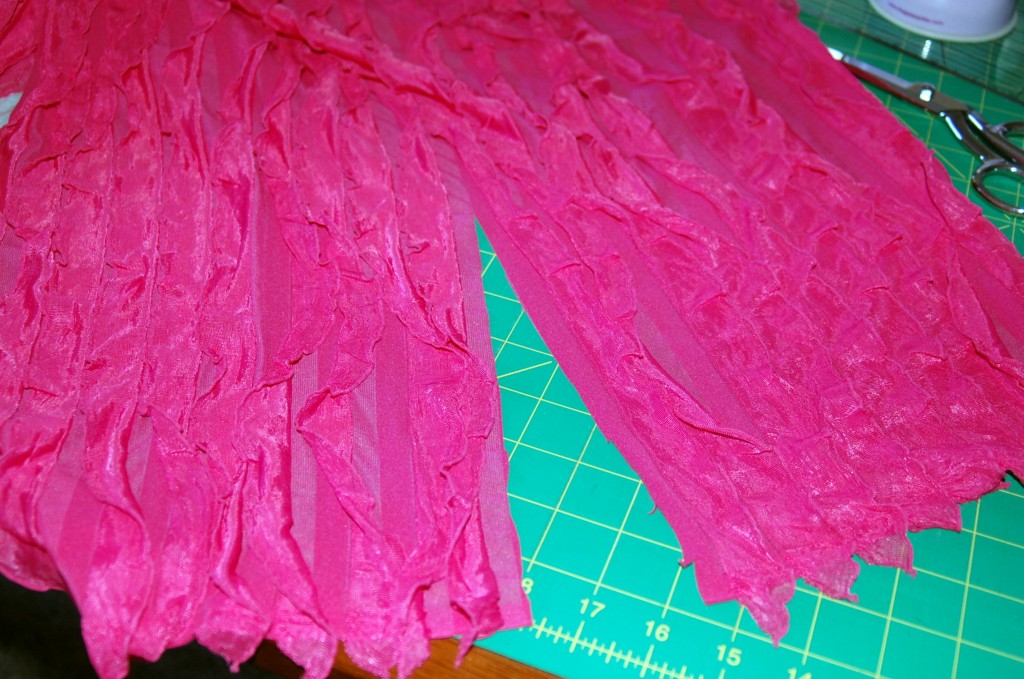
First you will need 1/4 yard of the ruffle fabric like this:

I bought 1/2 yard, so that I could make two scarfs, so I had to cut the fabric in half.  Just cut right along the line in between one of the rows of ruffles so that it is 1/4 yard wide. (9 inches)  If you want a little bit fuller scarf you could also use 1/3 yard. (12 inches)

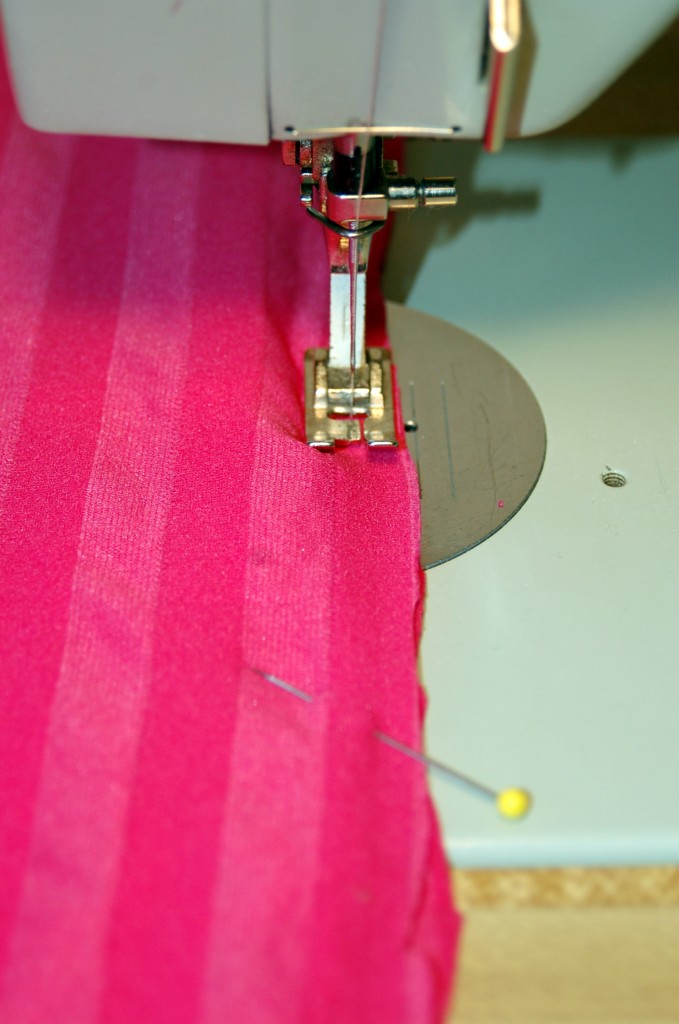
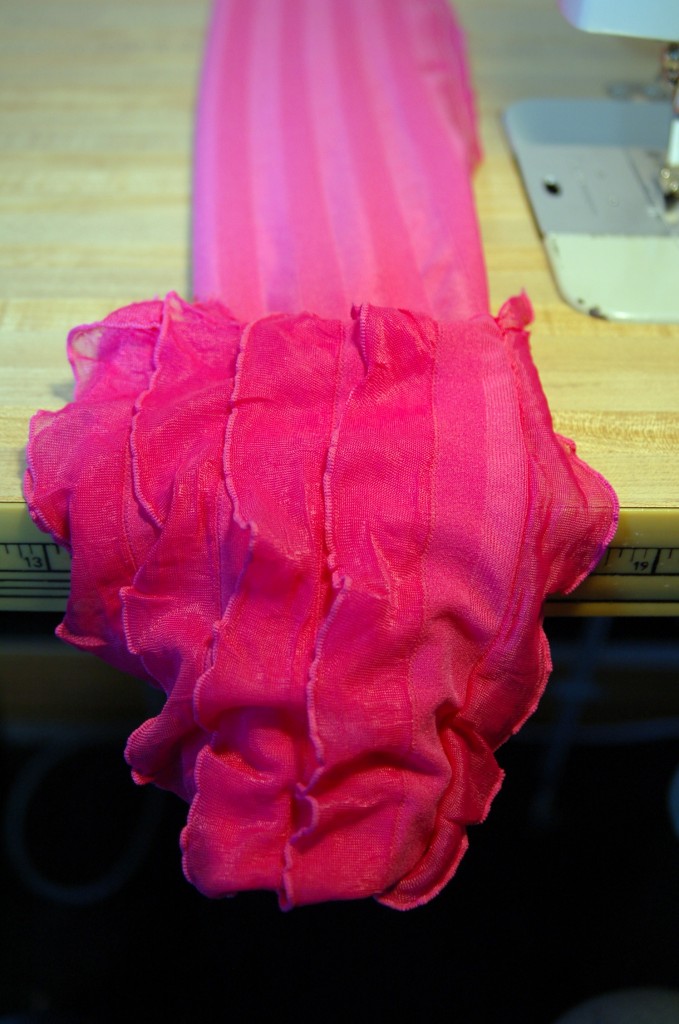
Fold fabric in half  with right sides together along the long side and sew a 1/4″ seam.  You do not have to pin the ruffles down because you are sewing along side of the ruffle. Just make sure you tuck them in, so you don’t catch them in the seam.
Then simple turn your tube inside out!  

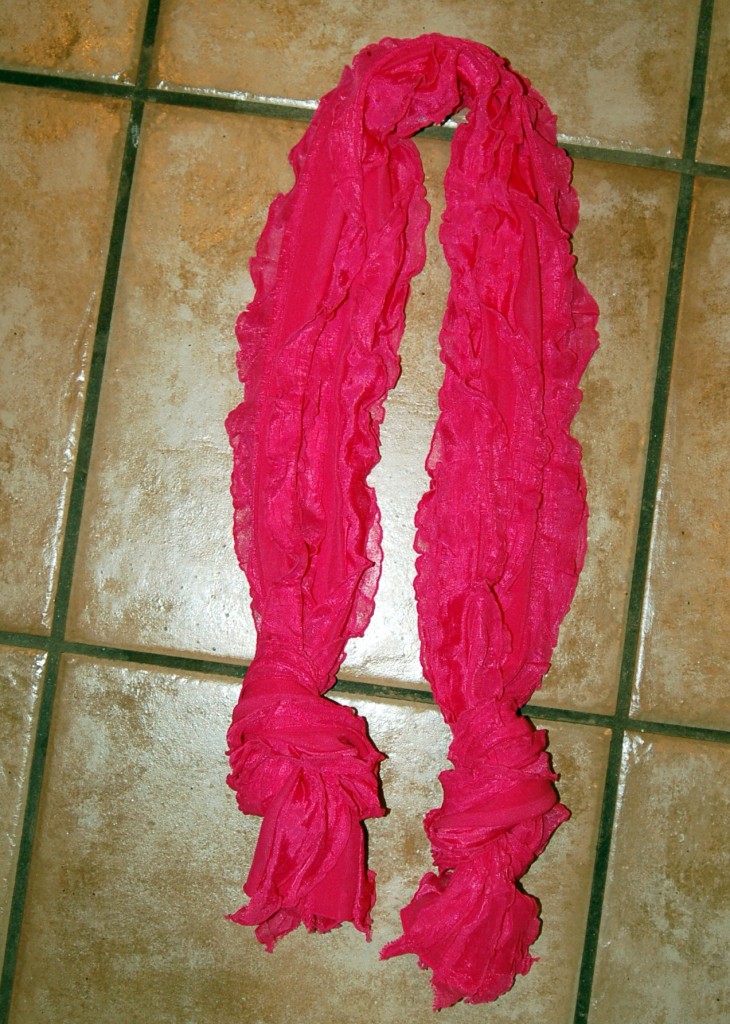
You are done, there are no hems because the fabric does not fray and already has a finish on it. Wasn’t that Easy Peasy!

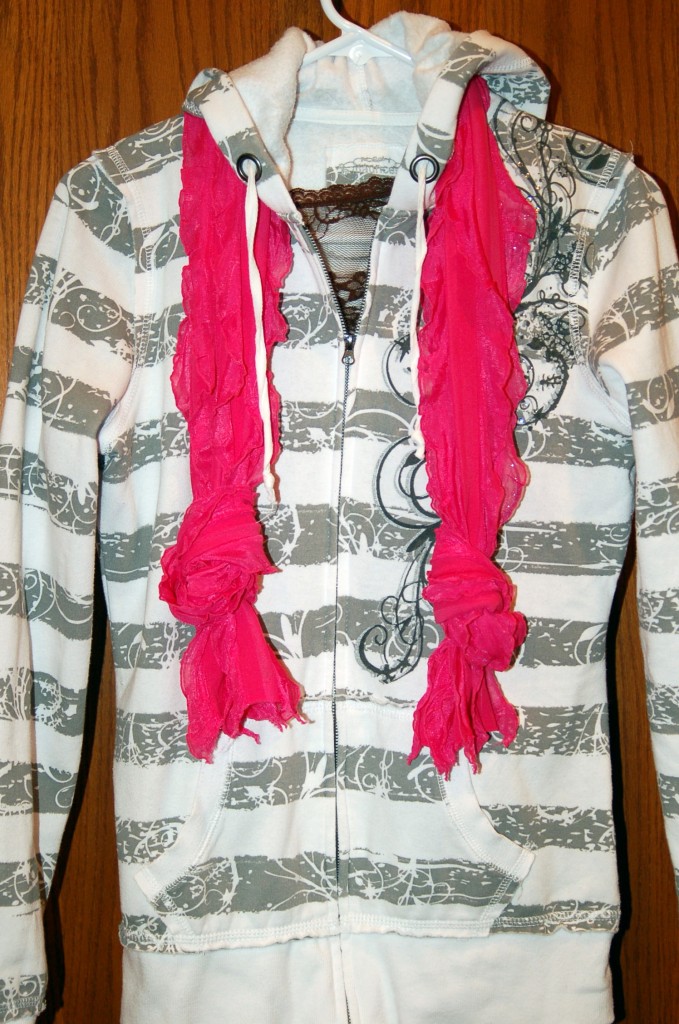
I tied knots in the end and look at how it finishes off the look of my jacket!

I love these scarves and think that perhaps I might need one or two other colors.  We got the fabric for these scarves at Hobby Lobby.  They have a few solid colors, but if you want a striped fabric like I used on my ruffled skirt, you will have to go to a fabric or quilt shop.

So are you now ready to go make a scarf or two?  I think that this pink one is perfect for Valentines Day, or perhaps a red one would look great!  Or I could put a red and white one together!  Oh what possibilities!

Ruffled Purse

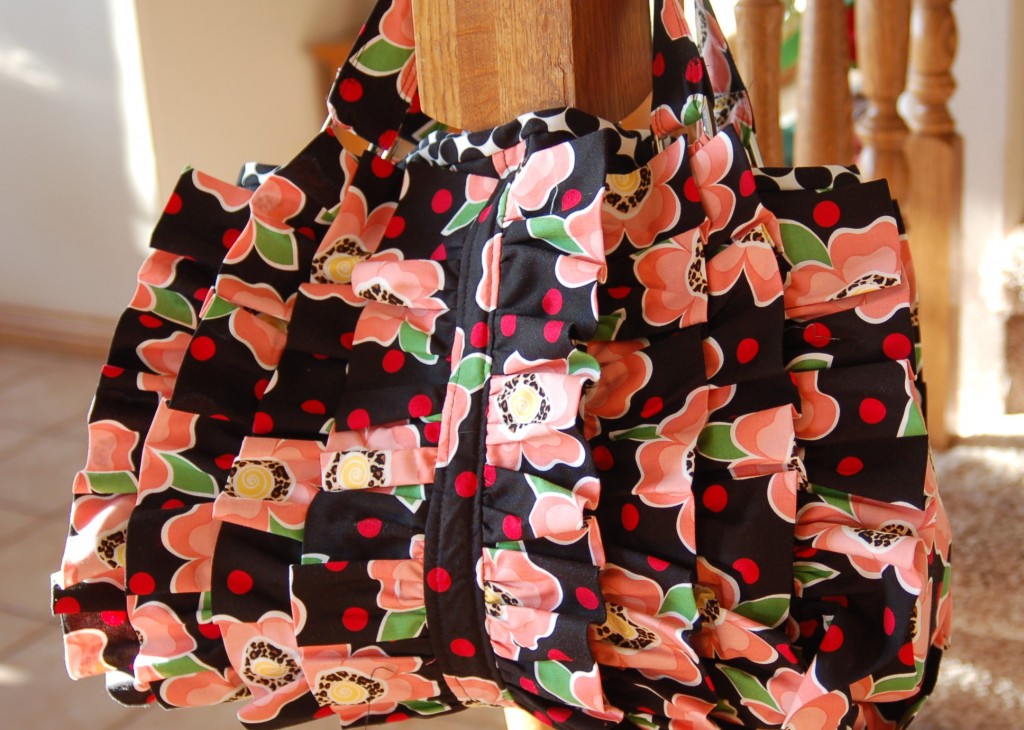
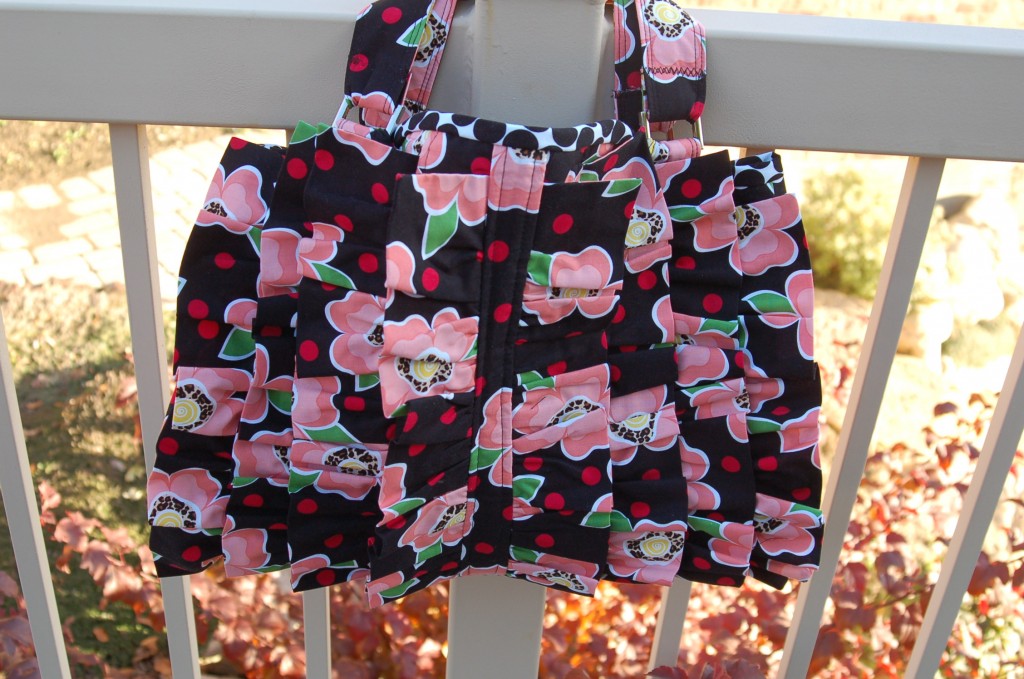
I think that I am like some of you in the fact that I love purses and I love ruffles.  So when I saw this pattern last spring to make this purse I just knew that I had to have it!  This has been one of those projects that I was excited to do, but finding the time was a bit difficult because life just got in the way.  I didn’t really need it for anything other than the fact that I just wanted it!  So it kind of got put on the back burner, but now that it is done I am thrilled that I finally finished this project and I love the way that it turned out!

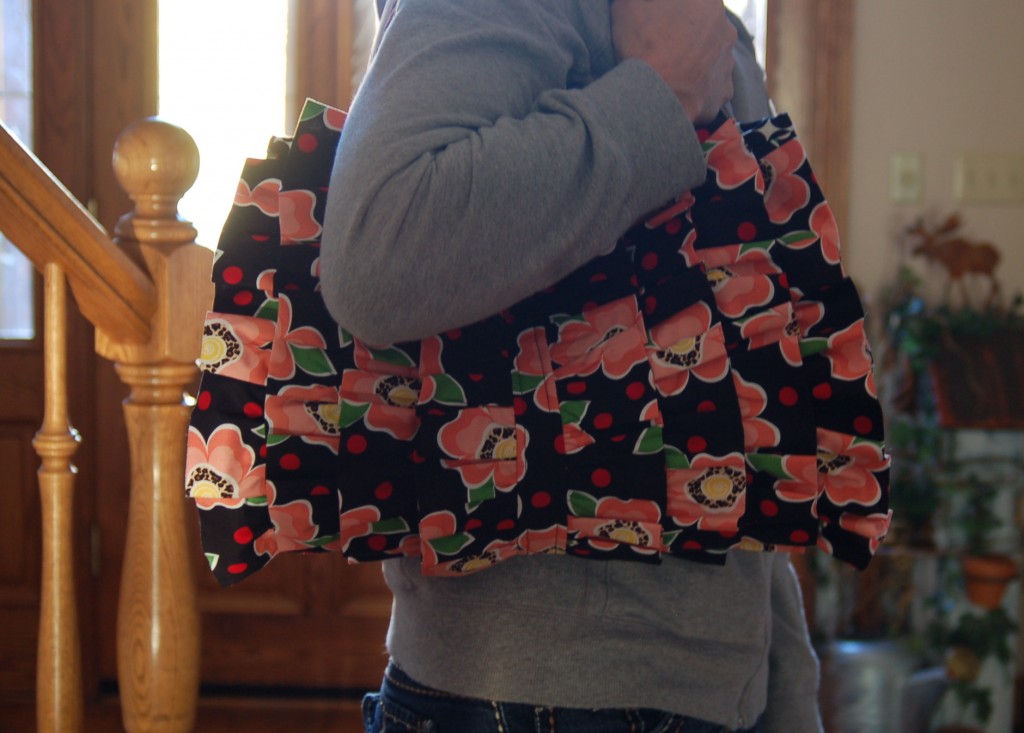
It does not have really long straps, which I like, because I can just tuck it up under my arm.

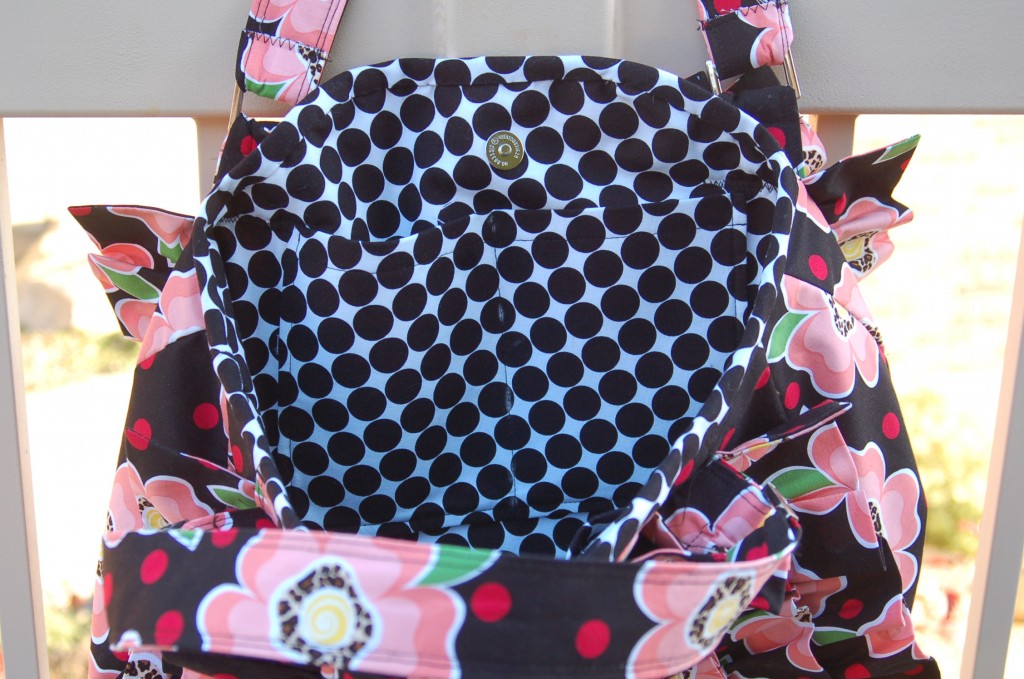
It is a big, spacious bag, 15 1/5″ wide x 12″ tall.  It has two pockets in it, which I made into 3 pockets. and it is so roomy inside.  I love the black polka dot lining.  I guess I should have used pink polka dots :) :)This is the pattern: It came from Izzy &Ivy and it is called Petunia! The instructions and the  pattern were great and pretty easy to follow.  However, this is probably not a project for a beginning seamstress.

 Now that I have made one, I may just have to make another bag in the spring!

Or maybe not.

Imelda Marcos’ Worst Nightmare!

One of my husband’s nickname for me is “Imelda” and my reply to that is, “I wish!” But I am sure that this post would be her worst nightmare…

A SHOE MAKE-OVER!

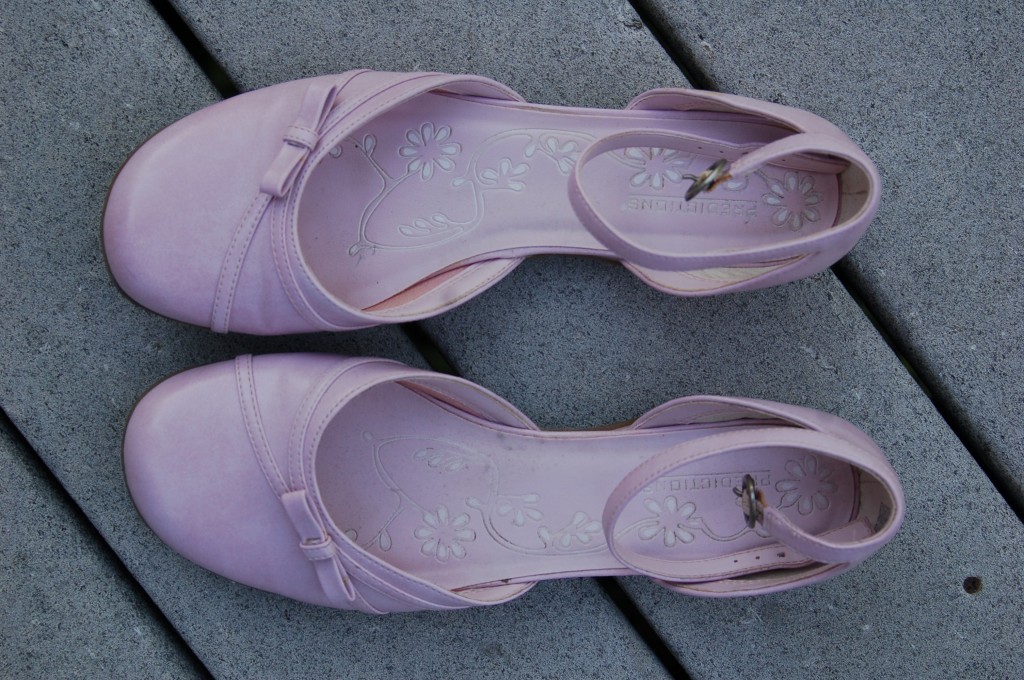
My niece told me about a shoe makeover that she had done and so I decided to try it out.  I had this cute pair of shoes but I had only worn them a couple of times because of the color.  They are not pink and they are not lavendar, they are somewhere in between, and while the color is ok, I just did not have anything to wear them with, thus, the makeover!

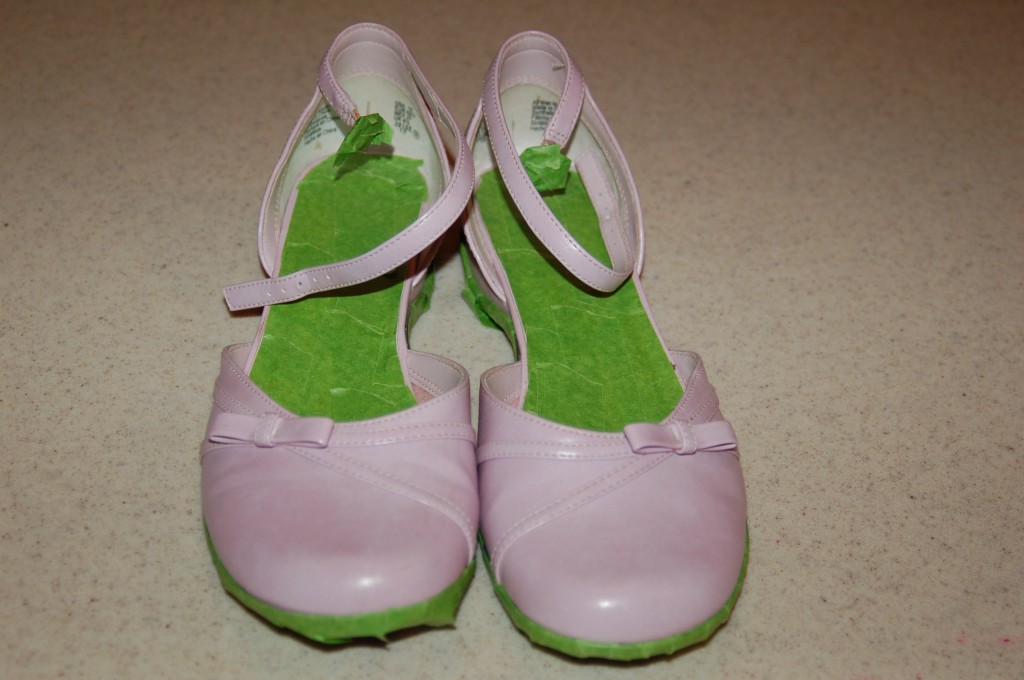
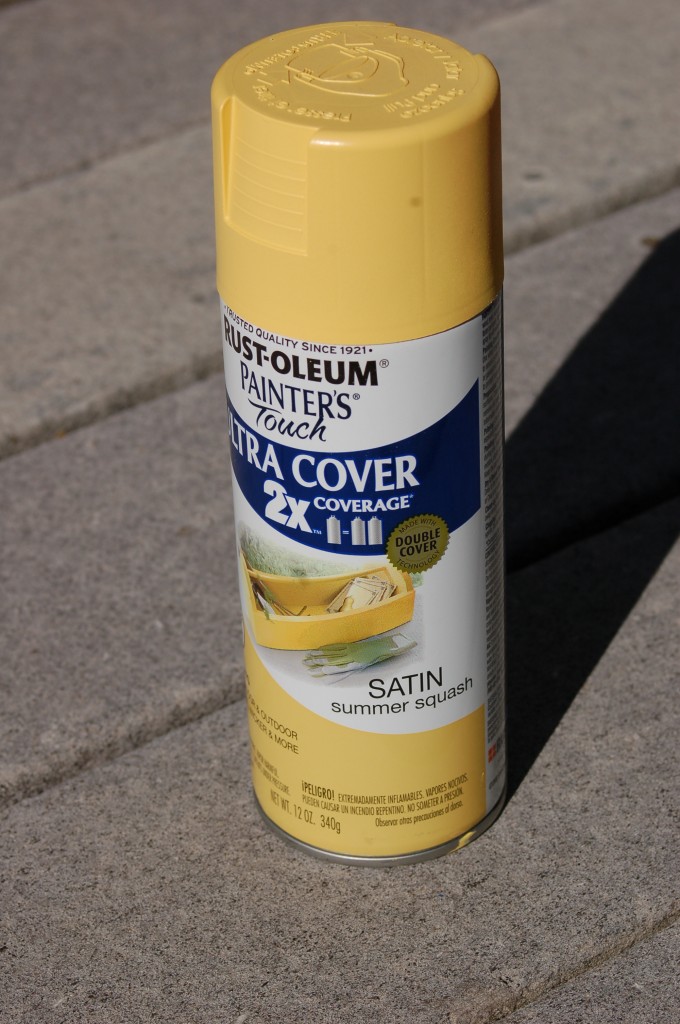
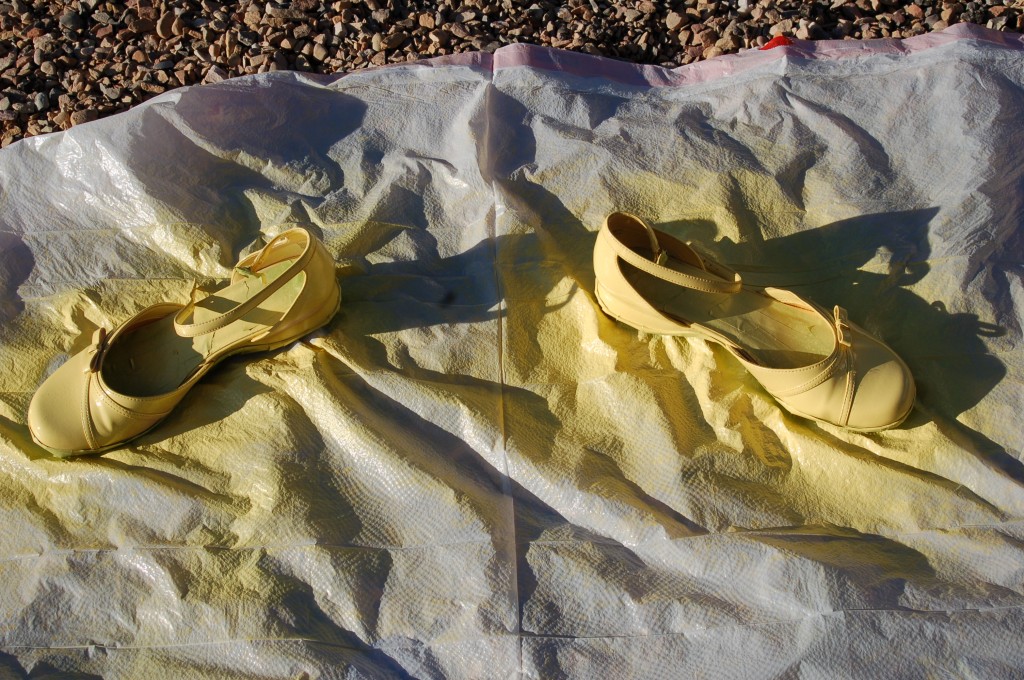
First, you have to tape all around the sole and the inside of the shoes.  This part took the longest by far.  I had a hard time getting the painters tape to stick to the rubber sole.  I had to just use little pieces to make them contour around the toe and the heel.  You will also want to tape the inside so your foot is not touching the spray paint.  I covered the buckle because I wanted it to remain the same color.I used this ultra cover paint because it really does cover better than the regular spray paint. (And the fact that I already had the paint, so this make-over cost me nothing but my time!  My husband also really likes that.)I gave them three light coats with quick, short sprays.Remove all the tape and enjoy a new pair of shoes!

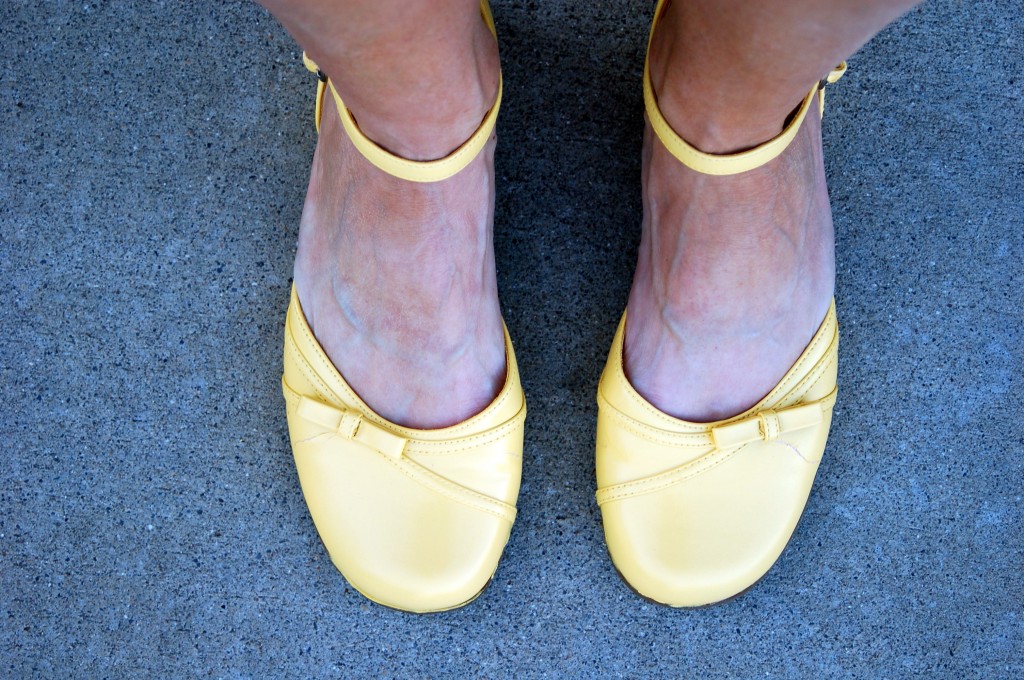
This next picture reminds me of the book series “No.1 Ladies Detective Agency” where Mma Mukutsi says that her shoes talk to her and they compliment her or give her advice.  If these shoes could talk I think that they would say “we look great, thanks Mma Mukutsi!”So what do you think!  They match this sweater perfectly and I have a whole new looks with these shoes!

These shoes are fun, but I am afraid that the paint is going to scratch easily, so I will not wear them for every day. (but I can always touch them up with another quick spray of paint if I need too!)