Category Archives: Tutorials

Fall Bunting

I promised everyone that I would have an idea to go with the fall banner that I posted here.

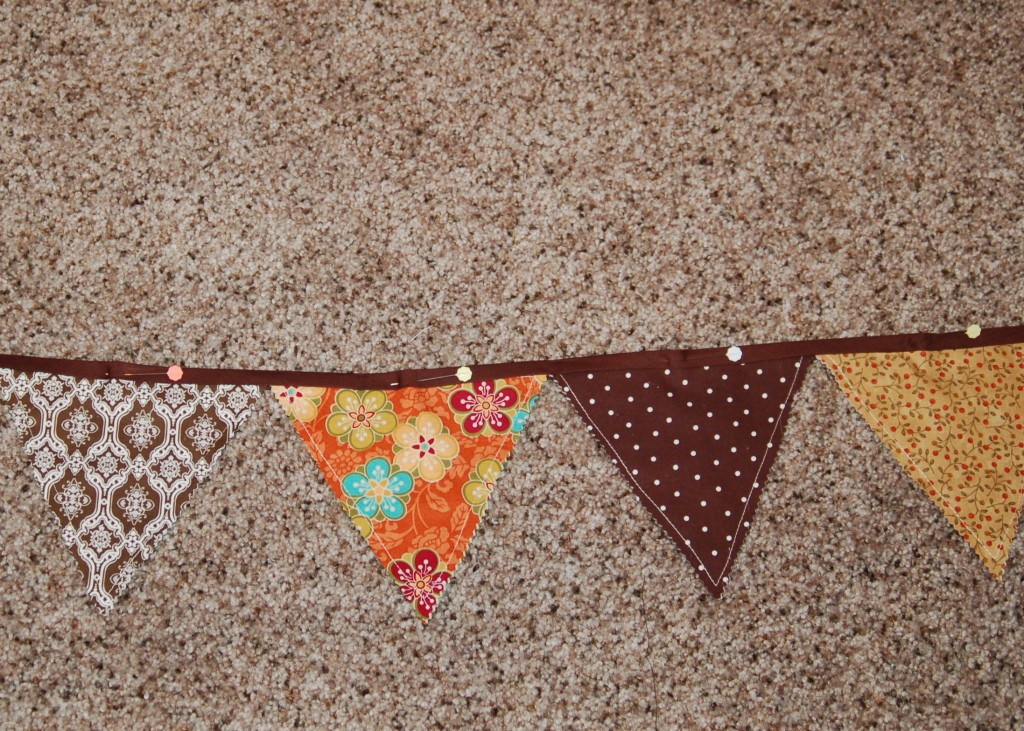
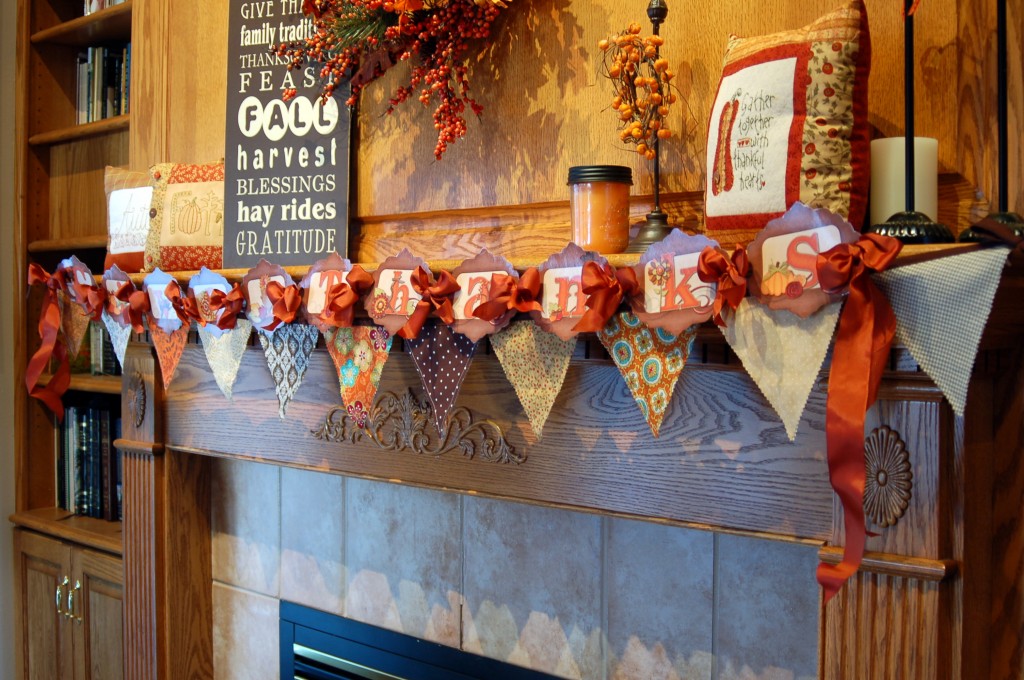
This is a fun, super easy fabric fall bunting.  They are quite the thing right now and I can see why so many people love them.  They are fast, easy, inexpensive and they add so much to your decor or to any party!  You can make a bunting out of fabric, paper, wood, metal, or just about any medium that you can think of!  Here is my bunting on my fireplace, but you coulld hang it above your Thanksgiving table, drape it over a picture or a chalkboard, or in a window.  So many possibilities!
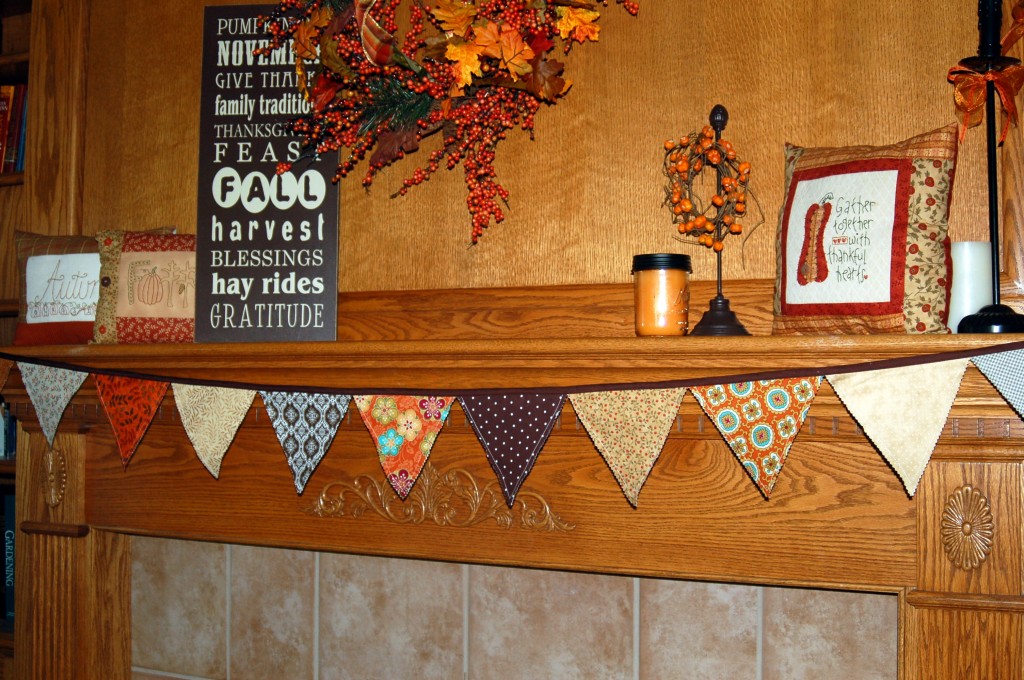
So let’s get started making a fabric bunting!  I made this bunting double sided so that if I hang it over my island in the kitchen, it looks great from both sides.

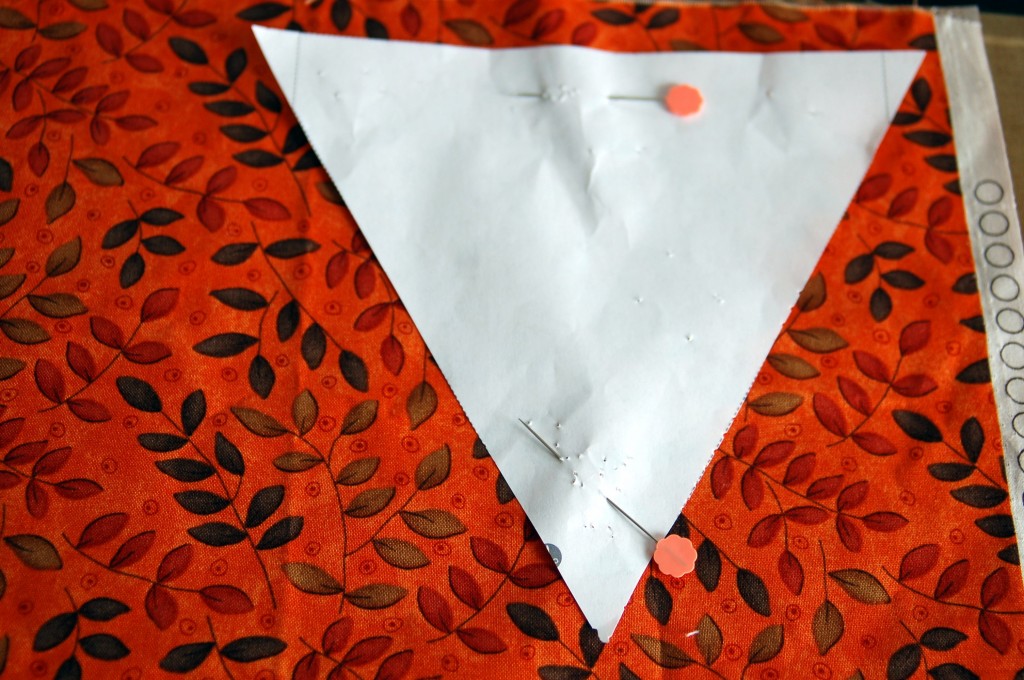
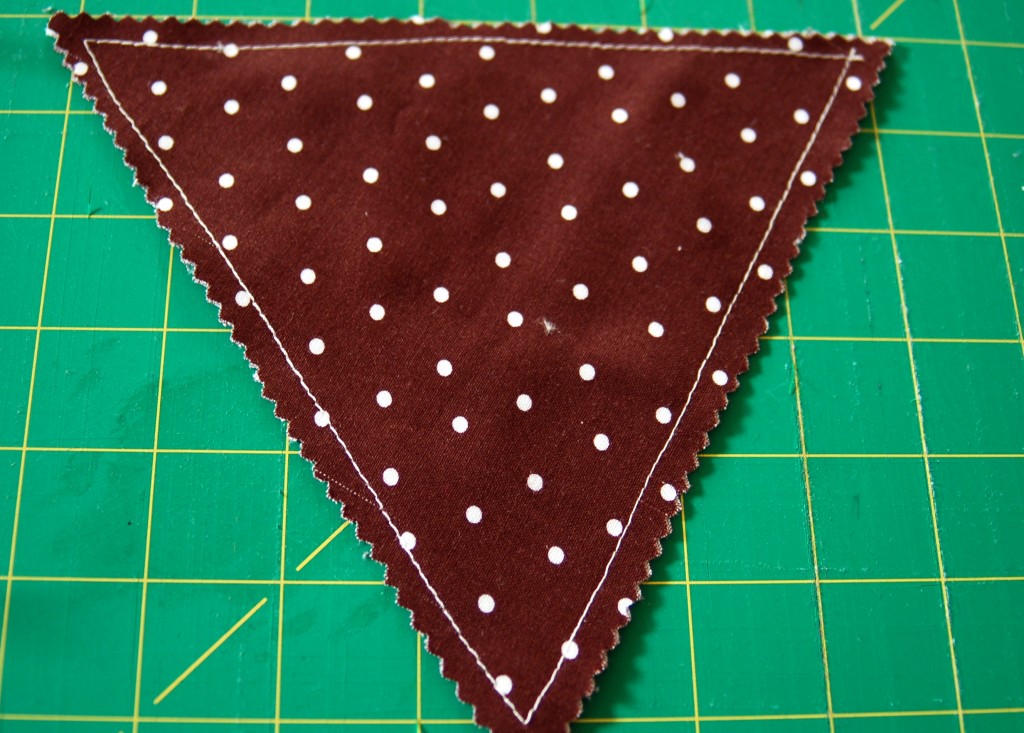
First make a pattern.  I used a 7 inch triangle.  Pin to your fabric with wrong sides together. Right sides out obviously:)This is  a great way to use up all of your fabric scraps, and you can make your triangles as big or as little as you want them to be.  I did and odd number of triangles (11) because to me that just looked better.
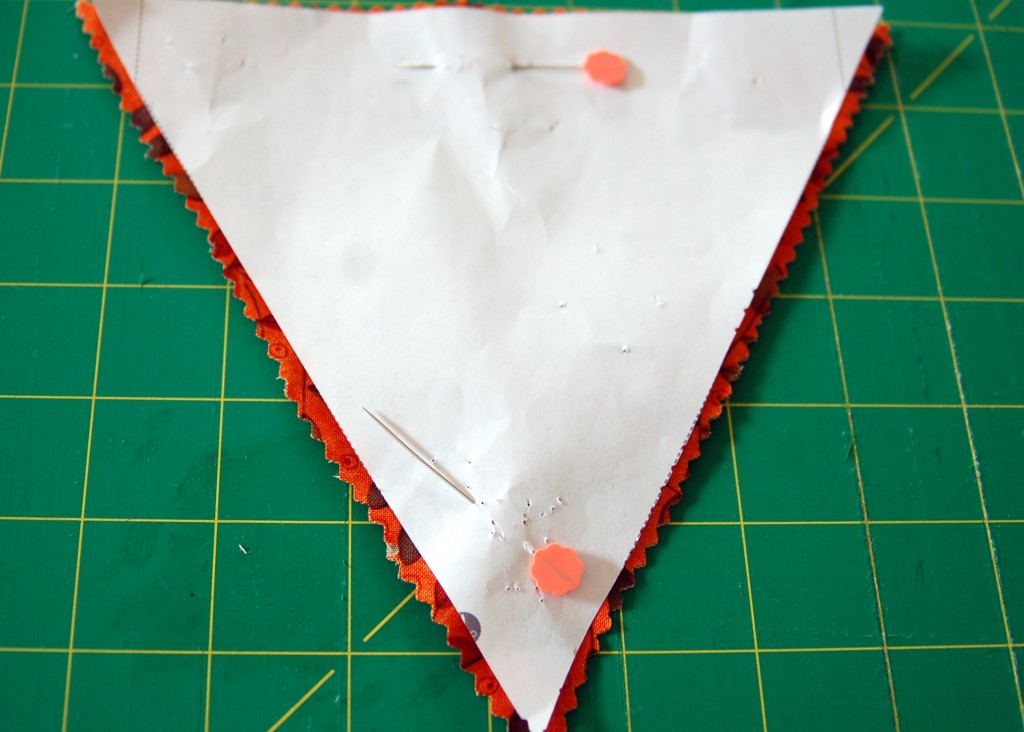
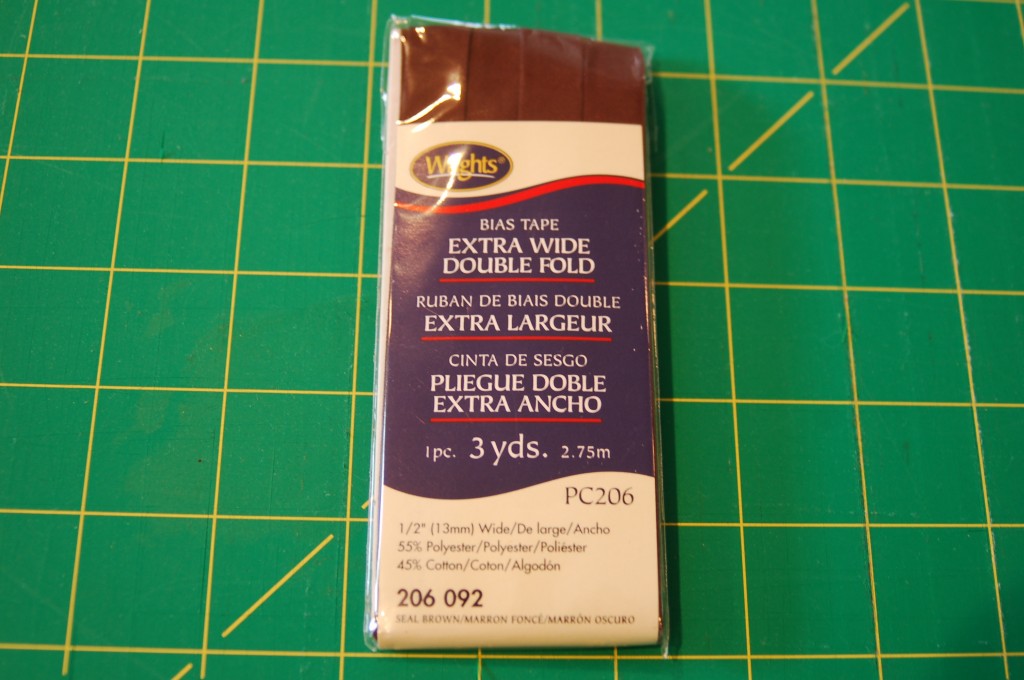
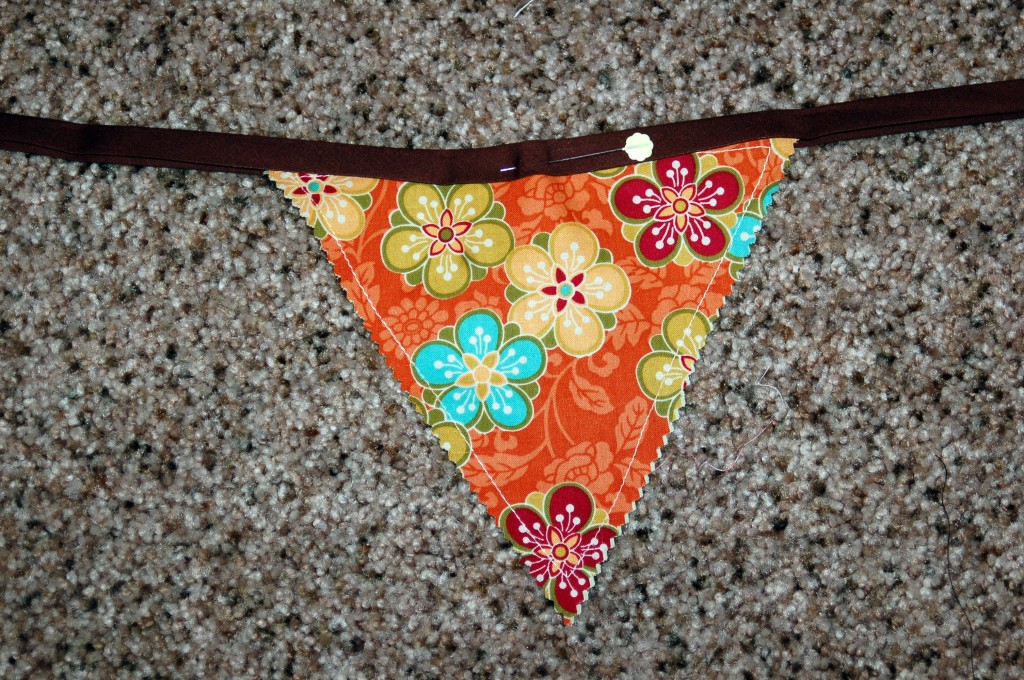
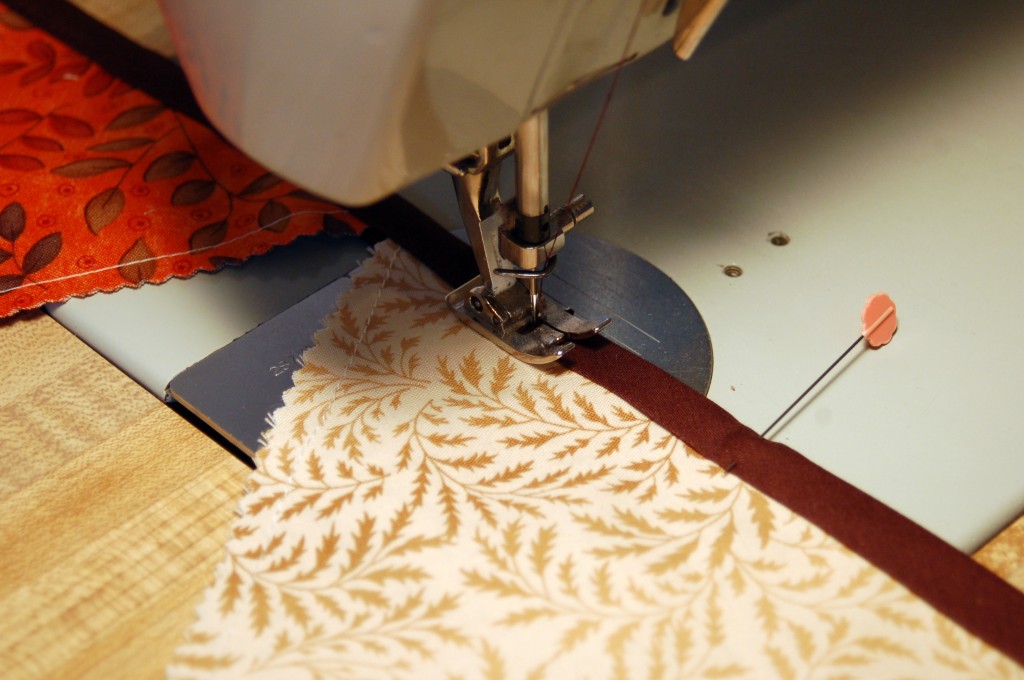
 Cut around your pattern with pinking shears if you have them, if not regular scissors or your trimmer blade will do. Next, sew 1/4 inch seam all the way around through both layers of fabric.You will need one package of bias tape, this is the extra wide width and I liked it because it was easier to work with.Find the middle of the bias tape and the middle of one of your triangles.  Pin the triangle inside the tape.  Make sure you have the shorter width of the fold on the front where you will be sewing so that you make sure to catch it in the back when you sew the seam.Pin all of the triangles in the bias tape according to how you want them placed.Sew your seam close to the edge of the bias tape edge making sure you catch the triangle and the back of the bias tape. This really is simple if you have pinned it all ahead of time.  Make sure the triangle edges are touching each other, you can overlap them a bit if you want to, but I just made sure that they were butted right up to each other.See how simple and easy that was, and look how much they can add to you fall decor!Here is a picture of my bunting with my fall banner that I posted earlier.  I think that they look so cute together!  I just think that the possibilites are endless with these buntings!You could totally do this bunting with no sewing.  Make the triangles only one layer and glue, staple or tape to a fun ribbon, ric rac or cording!  Oh the possibilities!
What are some of the fun ways that you decorate for fall?  I would love to here from you!


Apple Pie Caramel Apples!

We made our caramel apples last weekend.  They are so yummy and really quite easy to do.  My family all prefer these caramel apples to the ones dipped in milk chocolate and candies.  So this year, this is the only kind we made.  But you could definitely use milk chocolate instead of the white, and candies or nuts, instead of the cinnamon/sugar!

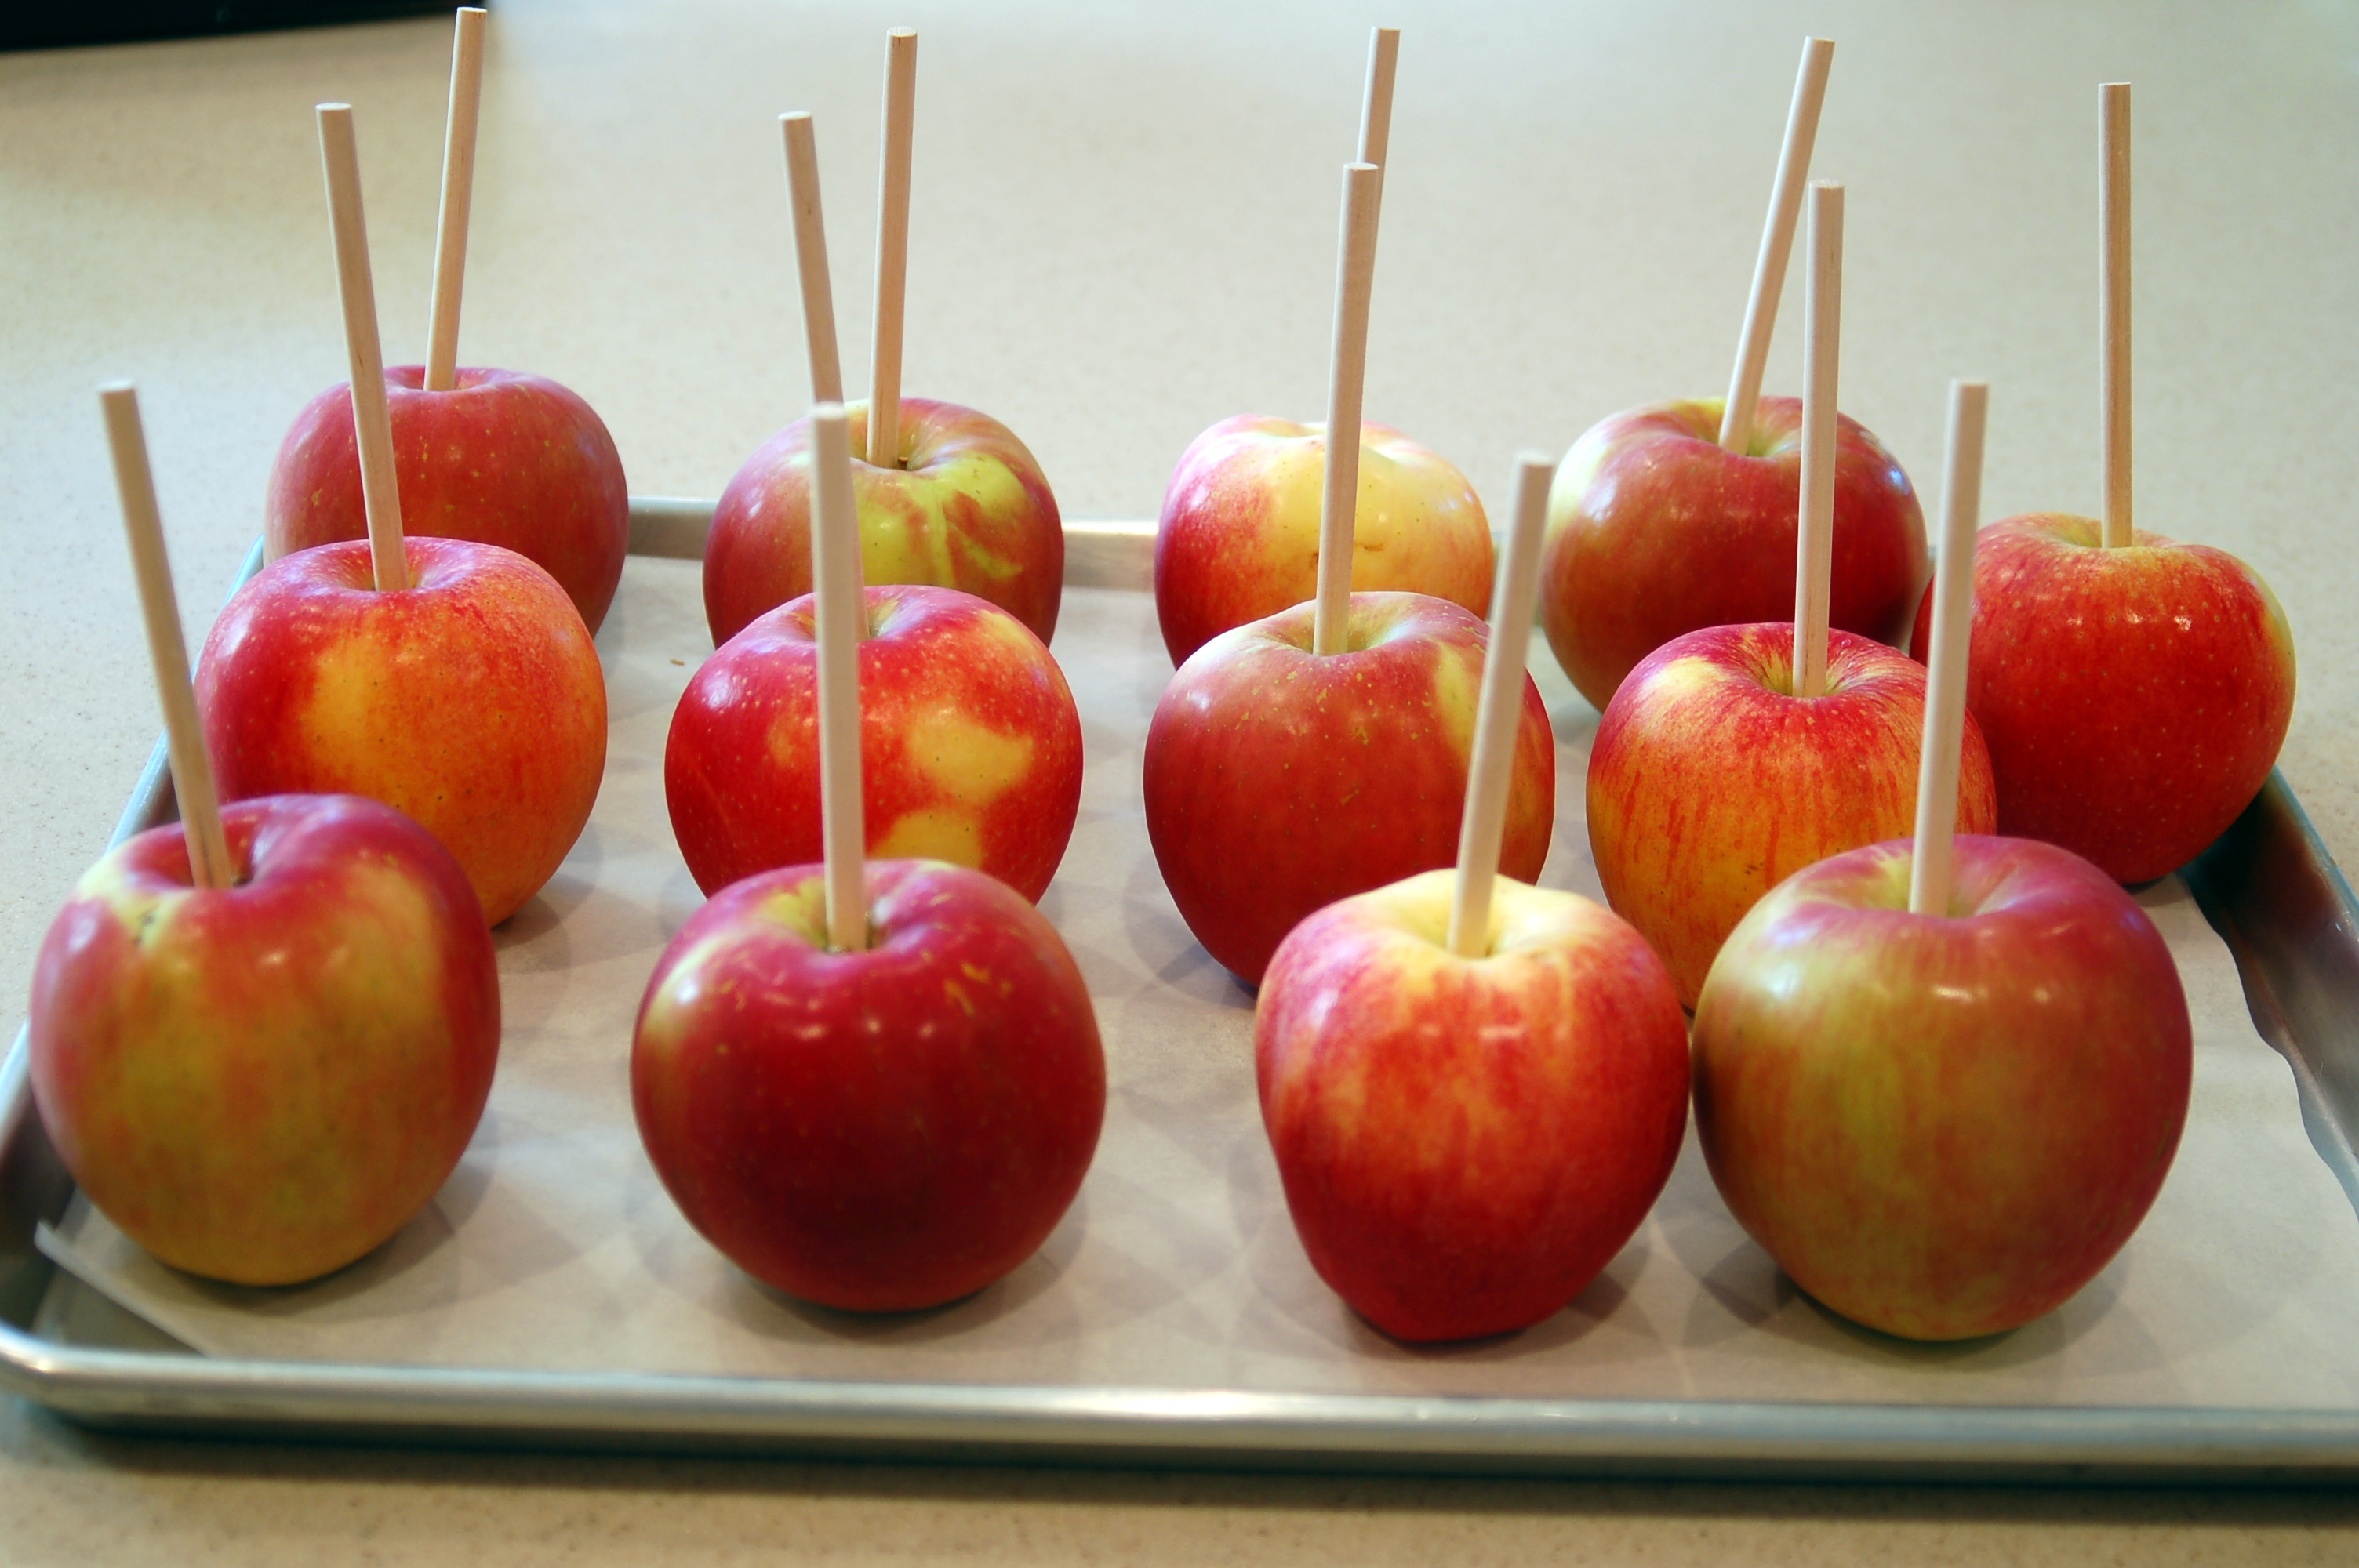
First you need to wash your apples to get all of the wax off.  You can use warm soapy water.  Then make sure that they are completely dry.  Put a wooden stick in the center of each apple and then refrigerate for at least an hour to make sure the apples are cold. I used Fuji apples because they are my very favorite kind of apples!

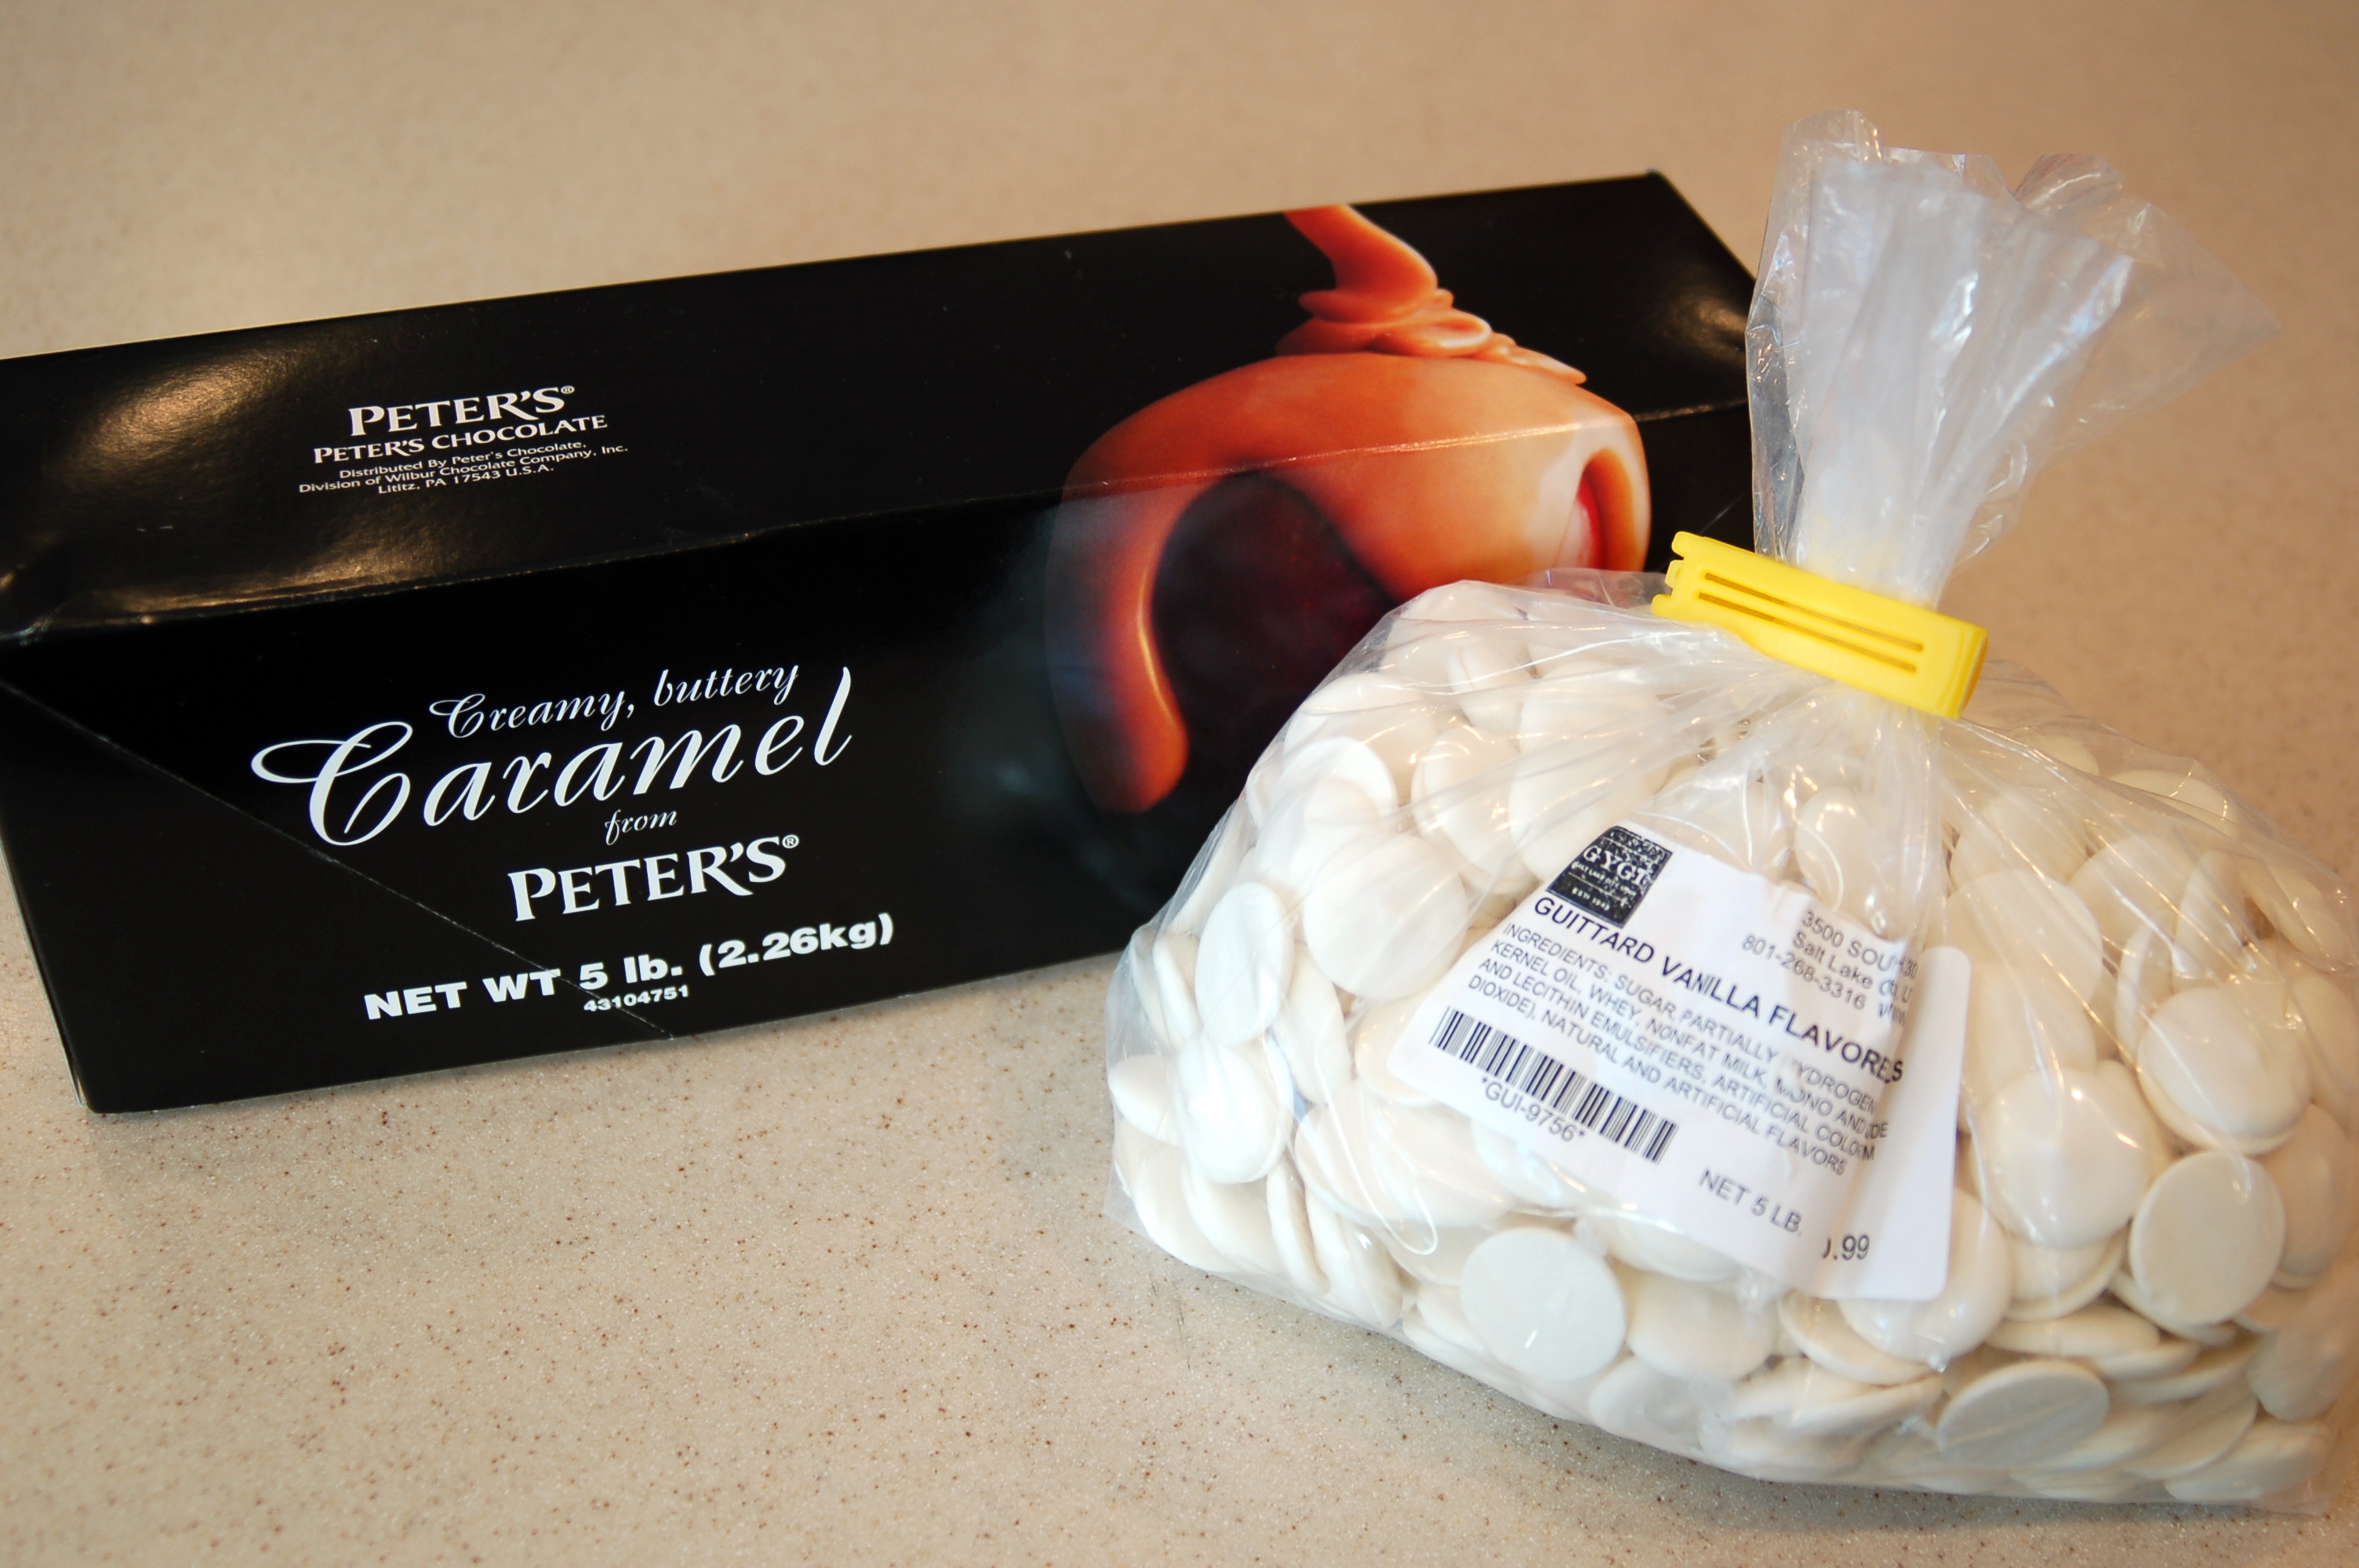
To make “Apple Pie” caramel apples you will need this yummy Peters Caramel that you can buy here.  I also used the Guittard Vanilla Flavored  white chocolate from the same place.Cut off about 1/4 of the loaf of caramel and put into a large microwaveable measuring cup or bowl.  I like to use a 1 1/2 quart bowl that I have because it is kind of skinny and tall, just right for dipping an apple into!  A 4 cup measure will work also.  Melt your caramel in the microwave.  Cook on high for 1 minute.  Stir.  Cook on 50% power for 1 minute.  Stir again.  Repeat at 50% until thoroughly melted, being careful to avoid scorching.  Dip apples into melted caramel and let caramel drip off the end of apple.  You can dip all the way or about 3/4 of the way, whichever you prefer.  I take a spoon and scrape off the bottom of the apple so there is no carmel on the bottom.  This helps so there is not a big puddle of caramel on the bottom of the apple. Repeat until all the apples have been dipped in caramel. Place dipped apples on a parchment covered baking sheet. Depending on how many apples you are making, you may have to melt more caramel.  A 5 pound box of caramel will cover about 15-18 large apples. Put apples back in fridge to cool.Prepare a bowl of sugar and cinnamon mix.  I used about 3/4 cup of sugar to 1 tablespoon of cinnamon. (That is really just a guess, because I just dump until it looks good!  I like quite a bit of cinnamon in mine.) Melt your chocolate in microwave on 50% power for about 1 min.  Then stir.  Repeat until chocolate is melted.  Be careful not to burn!  Dip the caramel apples into the chocolate and let the excess drip off.  Then immediately spoon the sugar/cinnamon mixture over the chocolate.  I do this over a wide bowl, this is like sprinkling glitter onto glue.  It will only stick where the chocolate is.

Put some of the melted white chocolate into a ziplock baggie with the corner cut off very small, or use a pastry bag with a small tip.  Pipe squiggly lines up and down the apple to make it look oh so pretty! Let all the chocolate set up and then you can tie them up in a cellophane bag with a cute ribbon!   YUMMM!

This is a great gift idea for teachers, friends or heck, is there anyone who would not love to recieve one of these?Next is how to cut a caramel apple!

First you cut on both sides of the stick, along the core.Then turn the apple 90 degrees and cut again on both sides of the stick, along the core and you have perfect little wedges that are just the right size for serving and EATING!

T-Shirt scarf

My sister and I were at our dad’s house, and she showed me how to make this cute t-shirt scarf.  (Dad was a good sport and went along with all this bloggy stuff!)

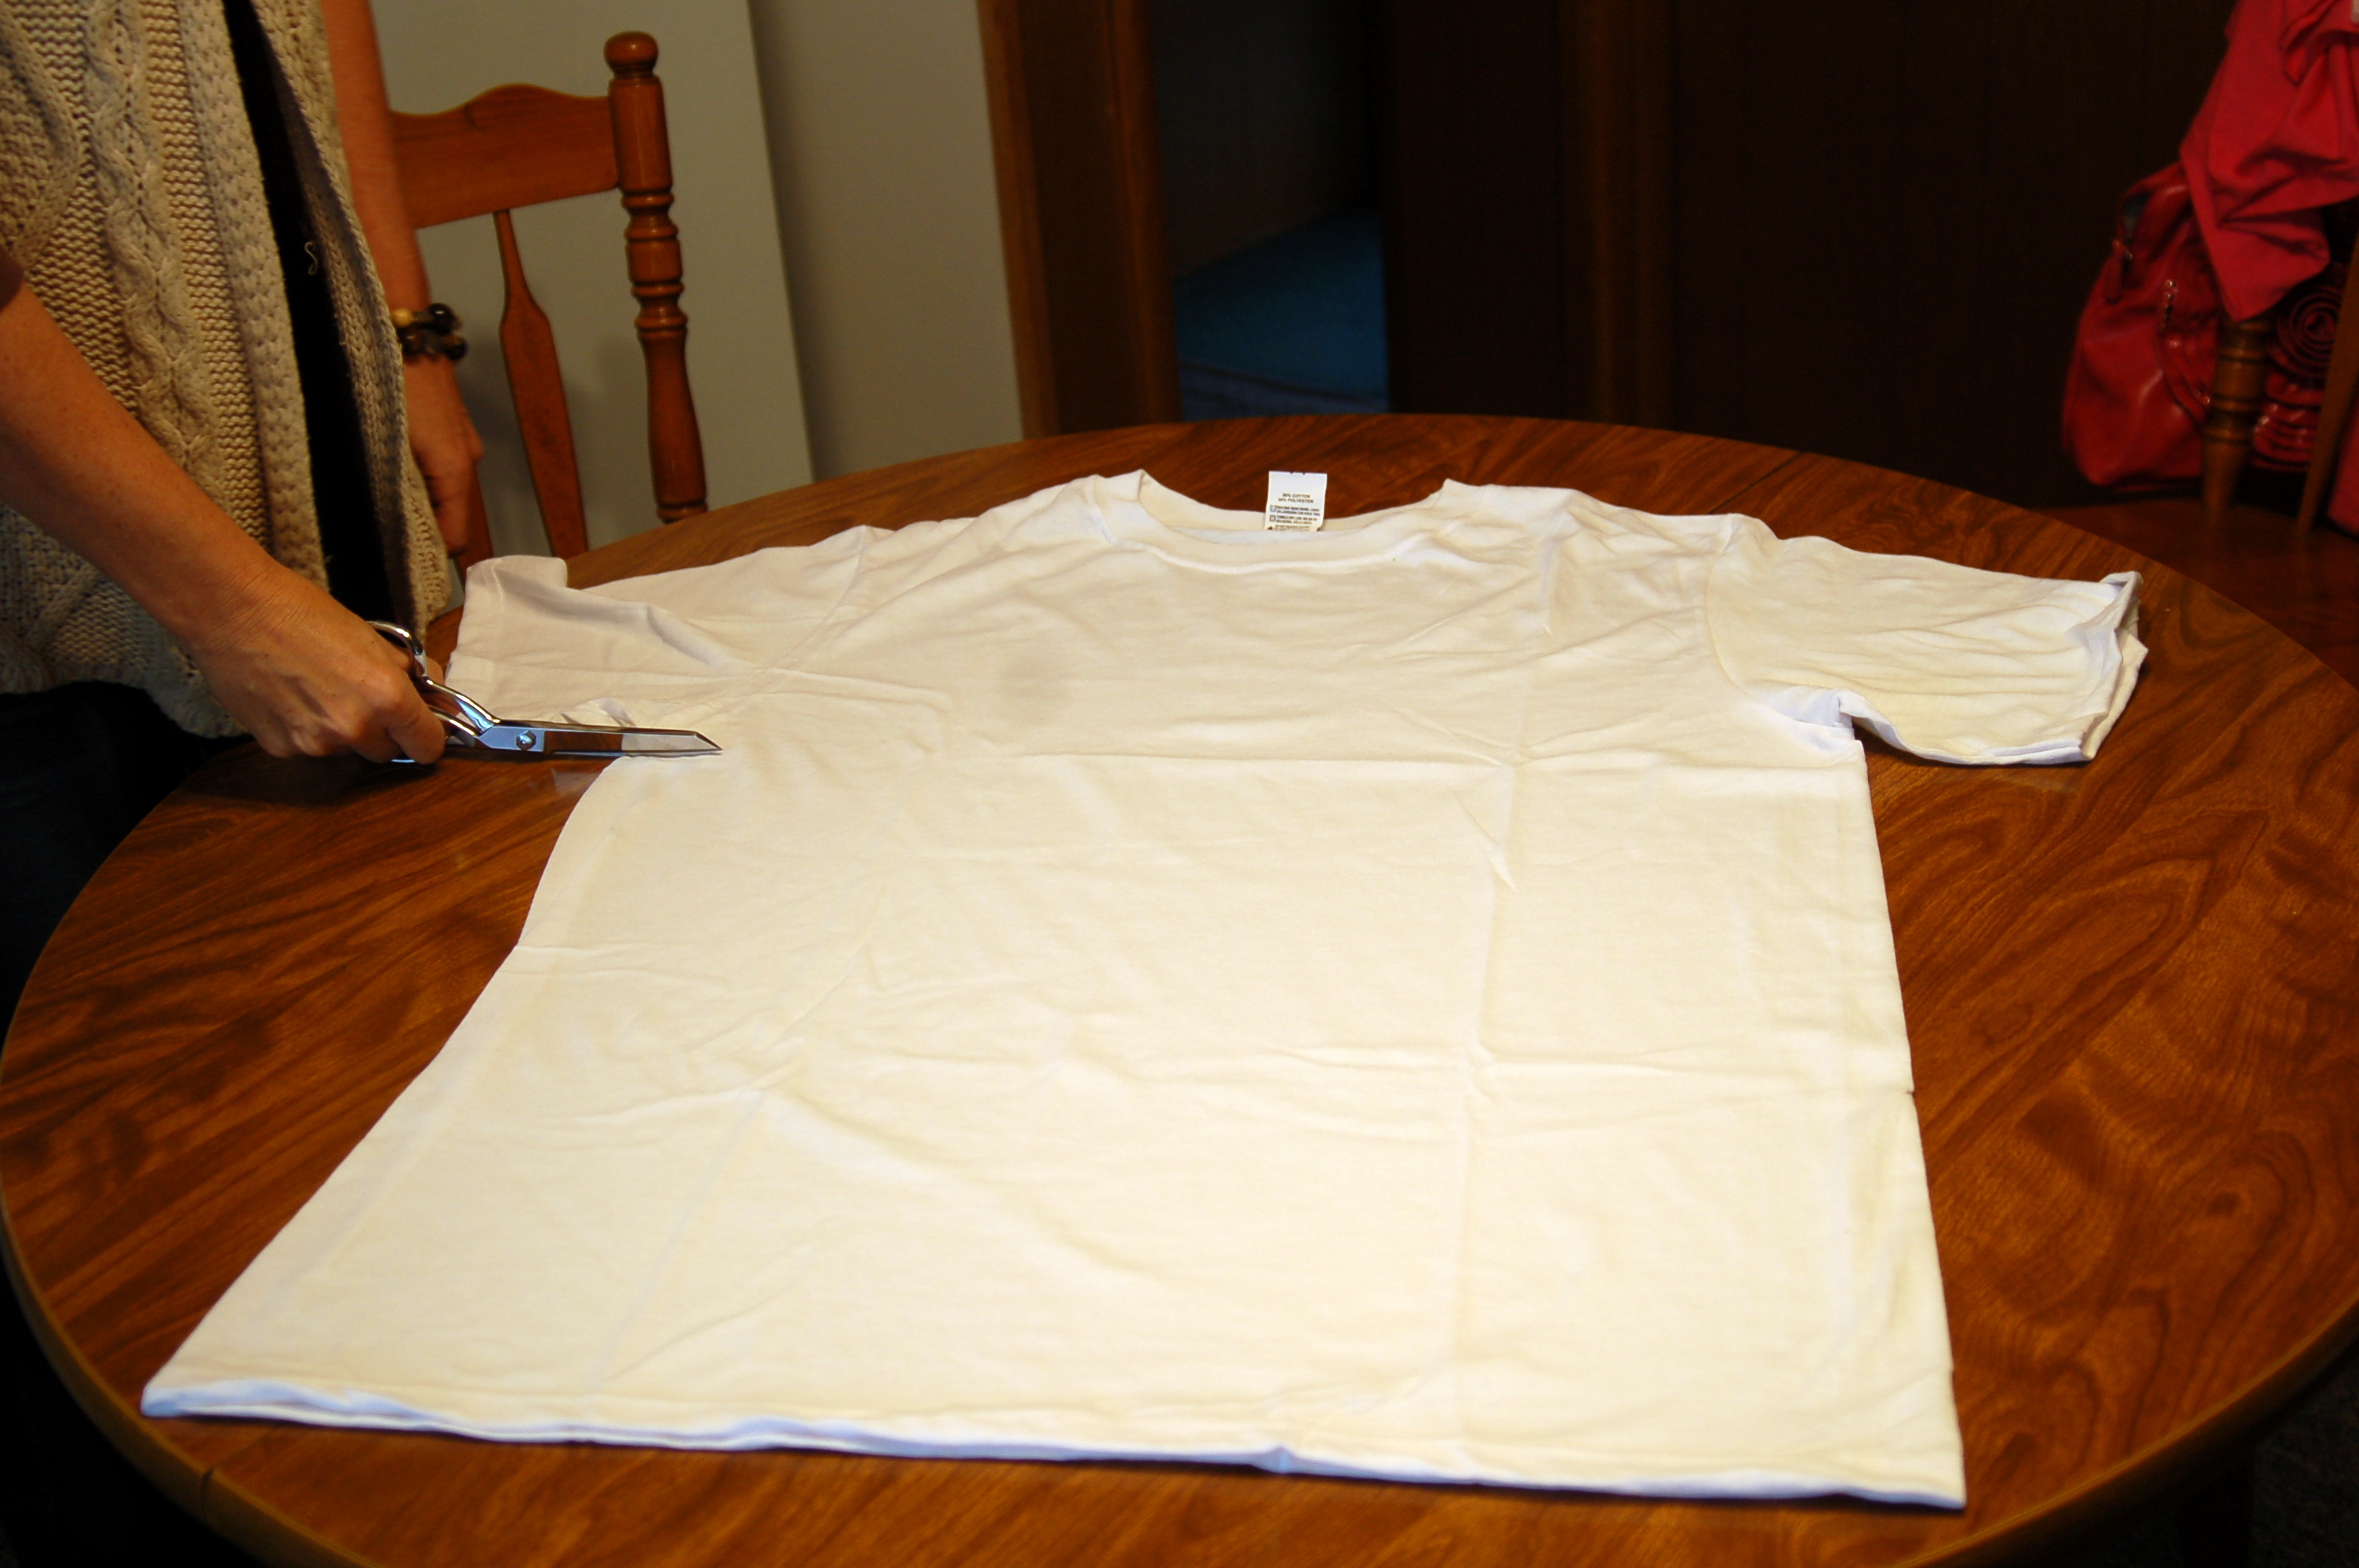
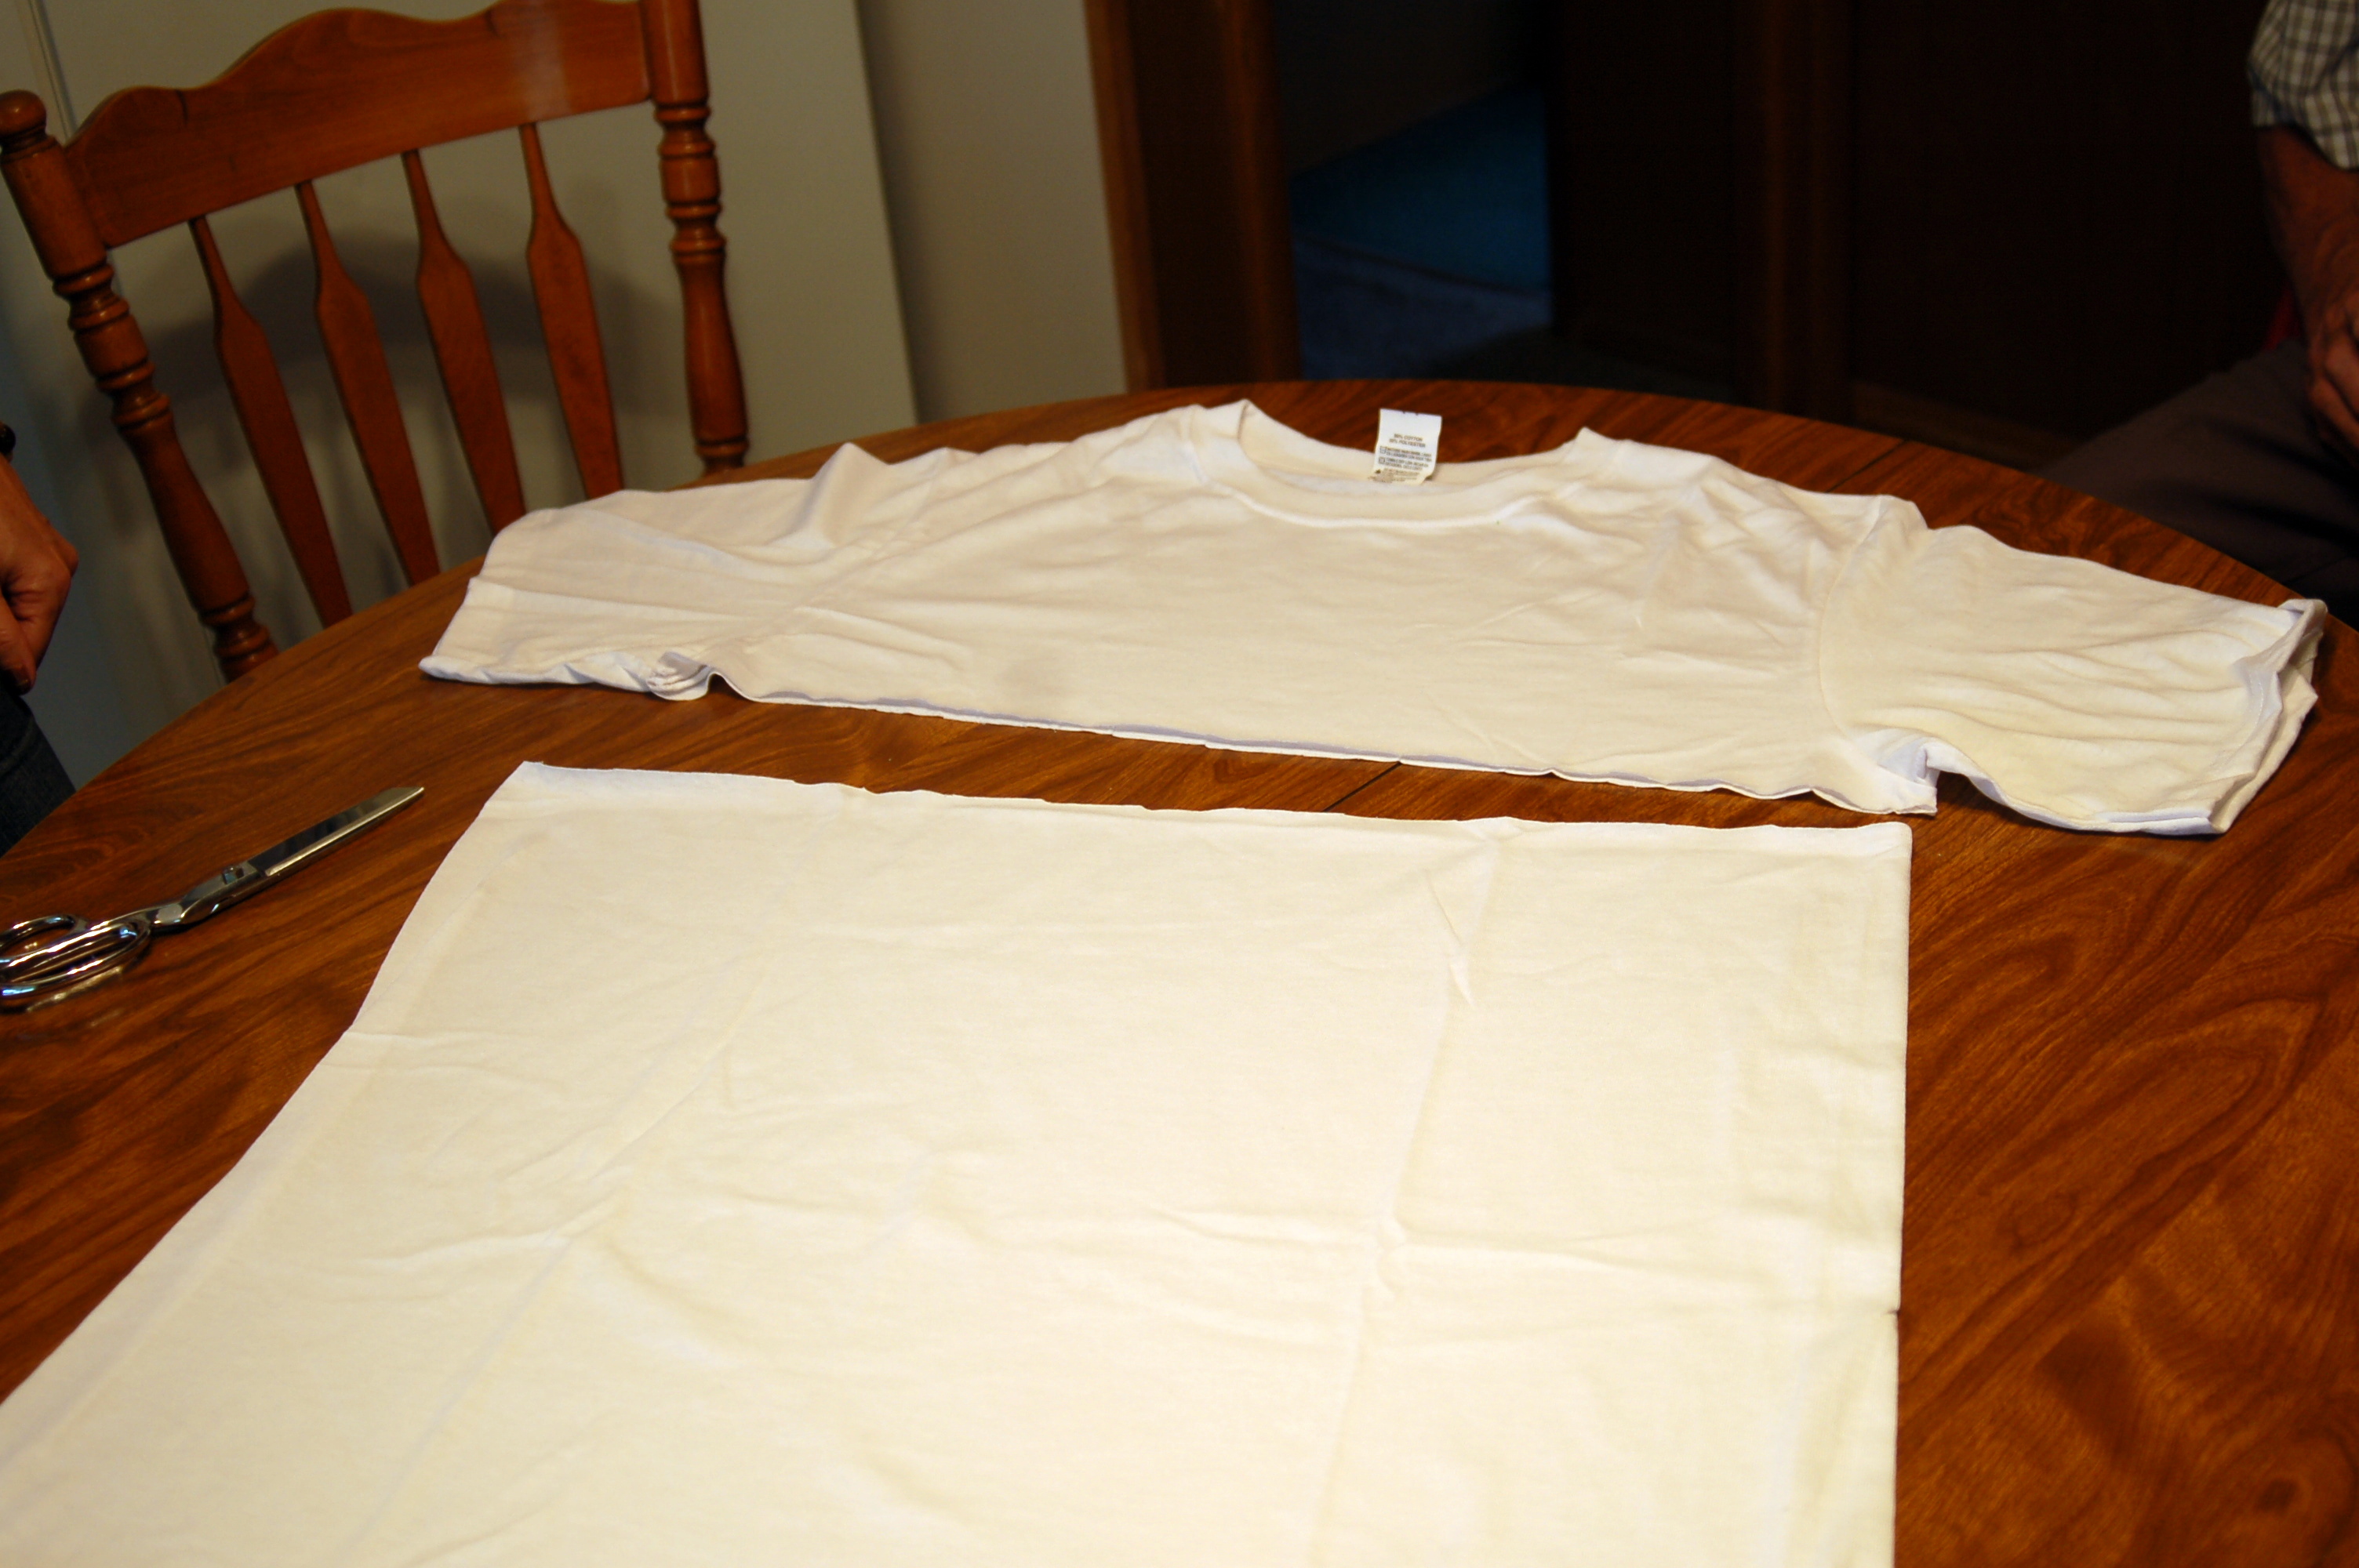
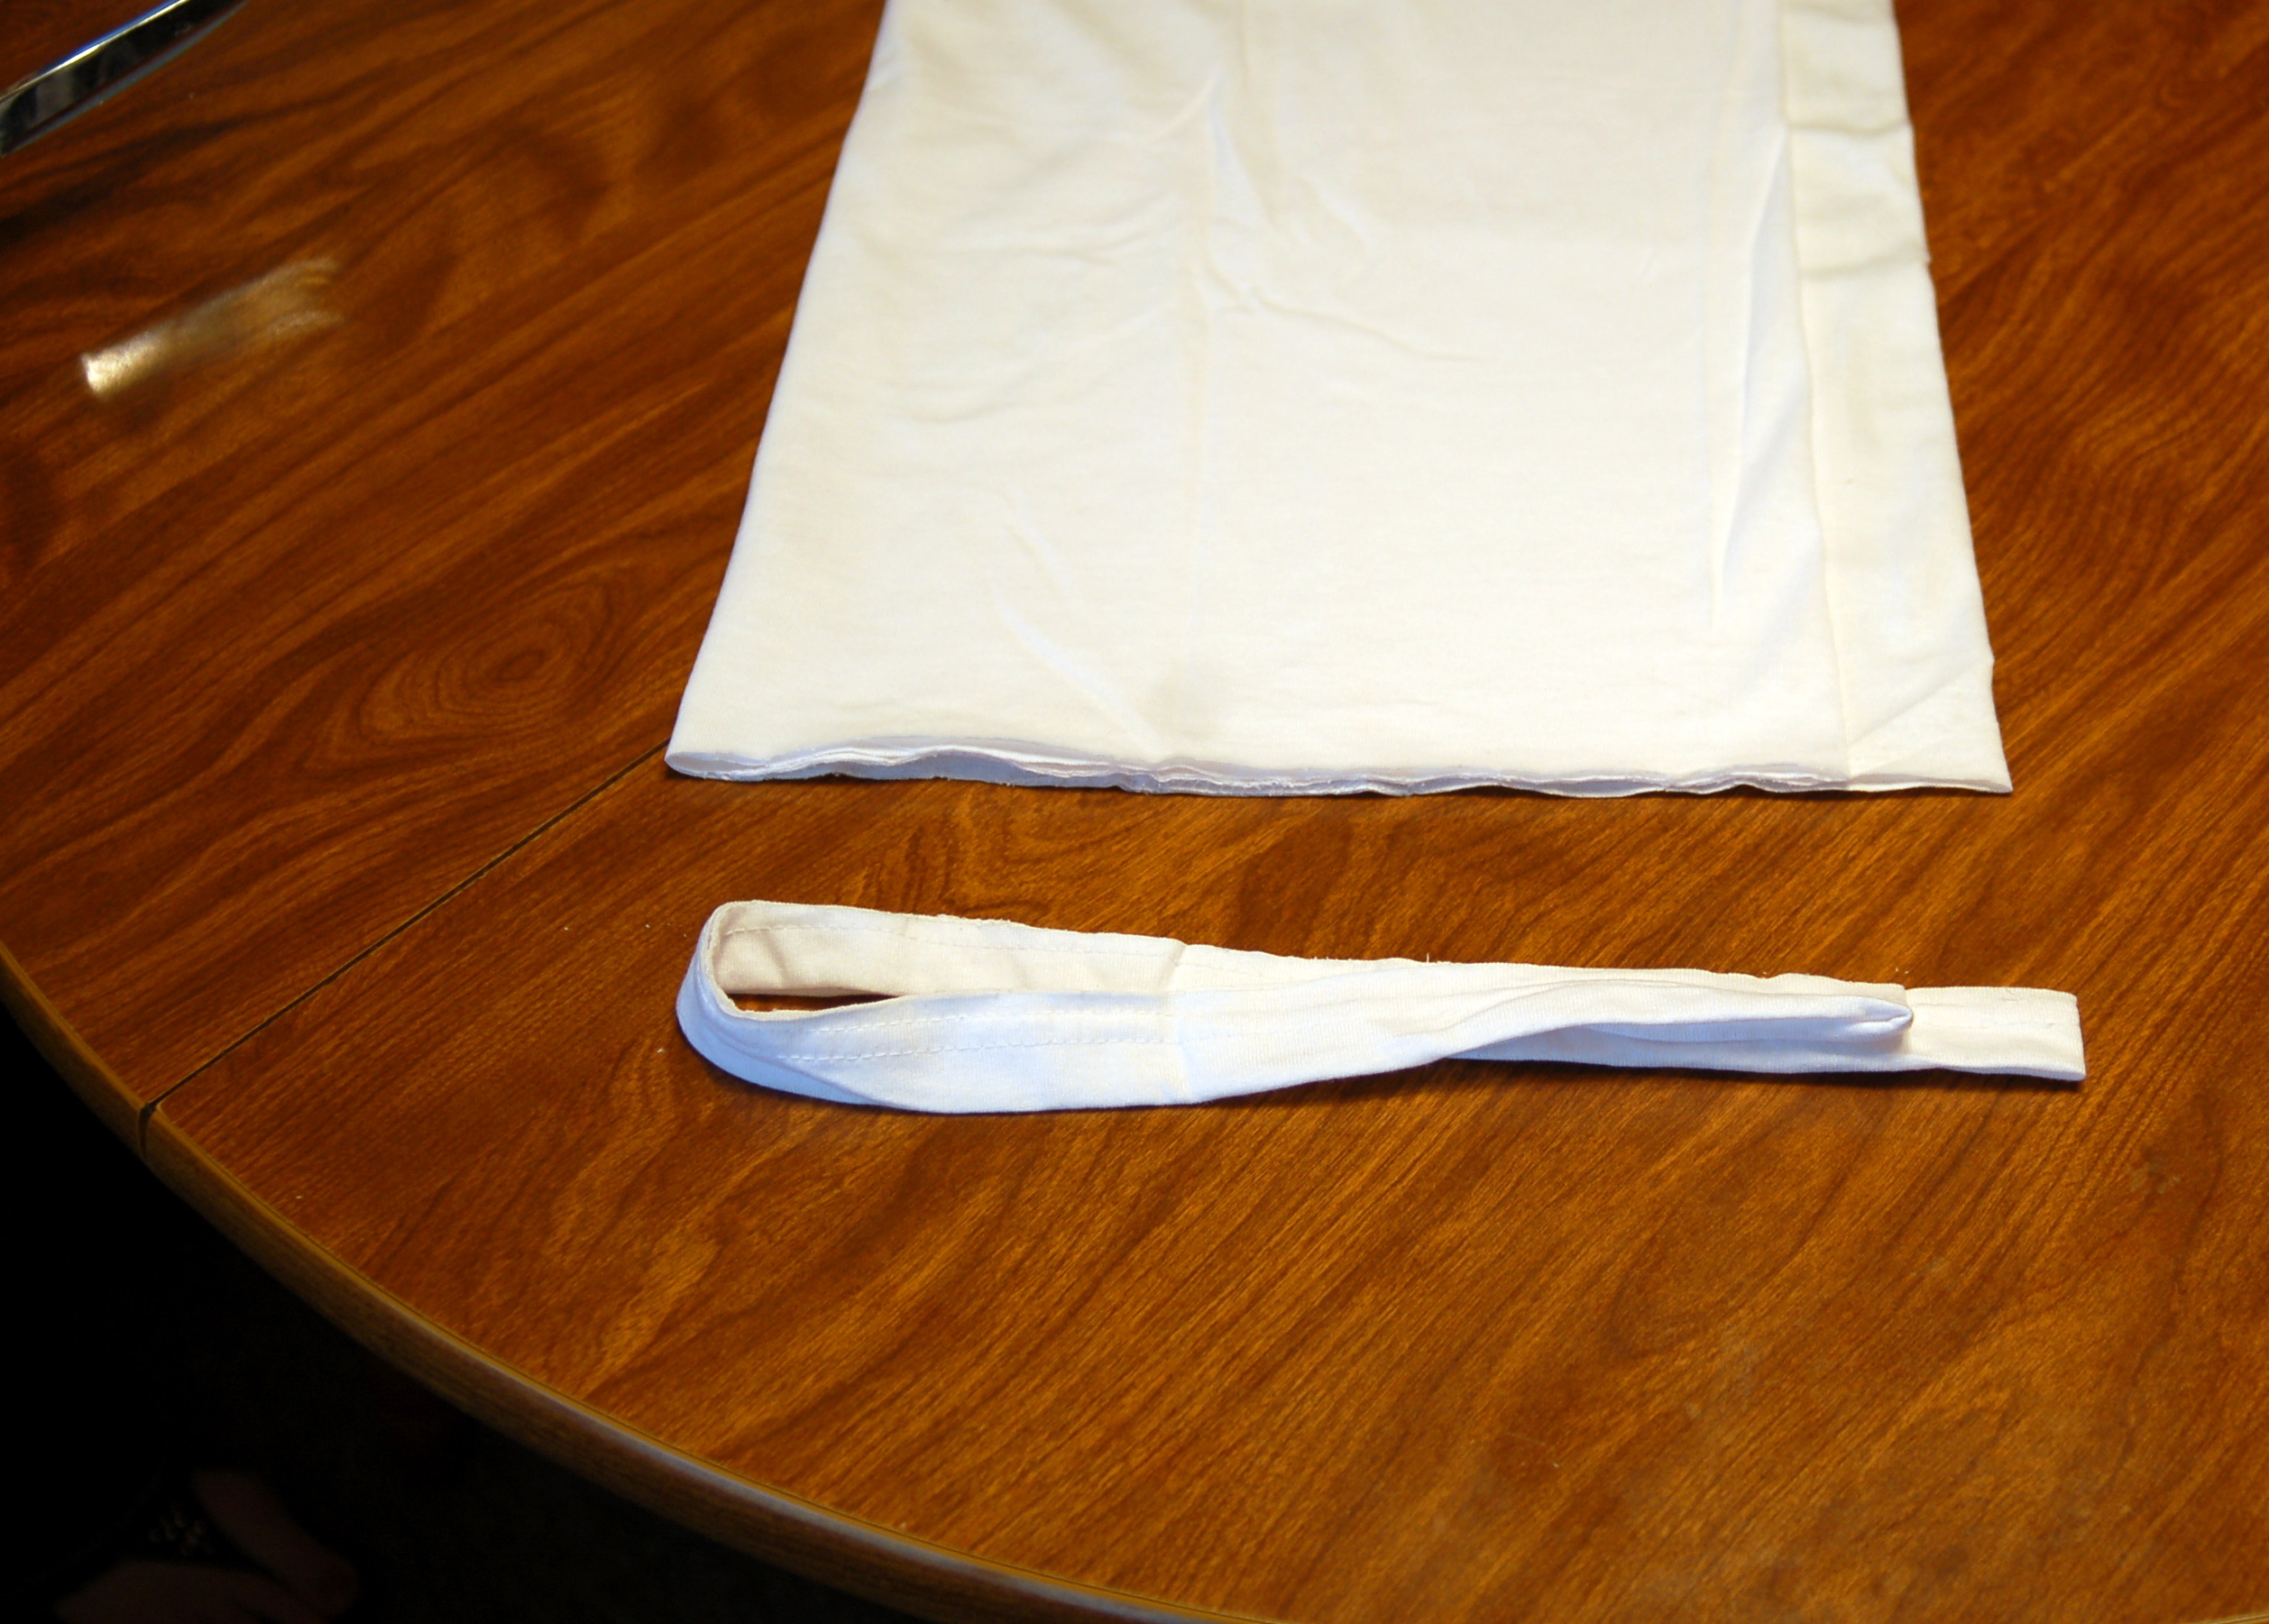
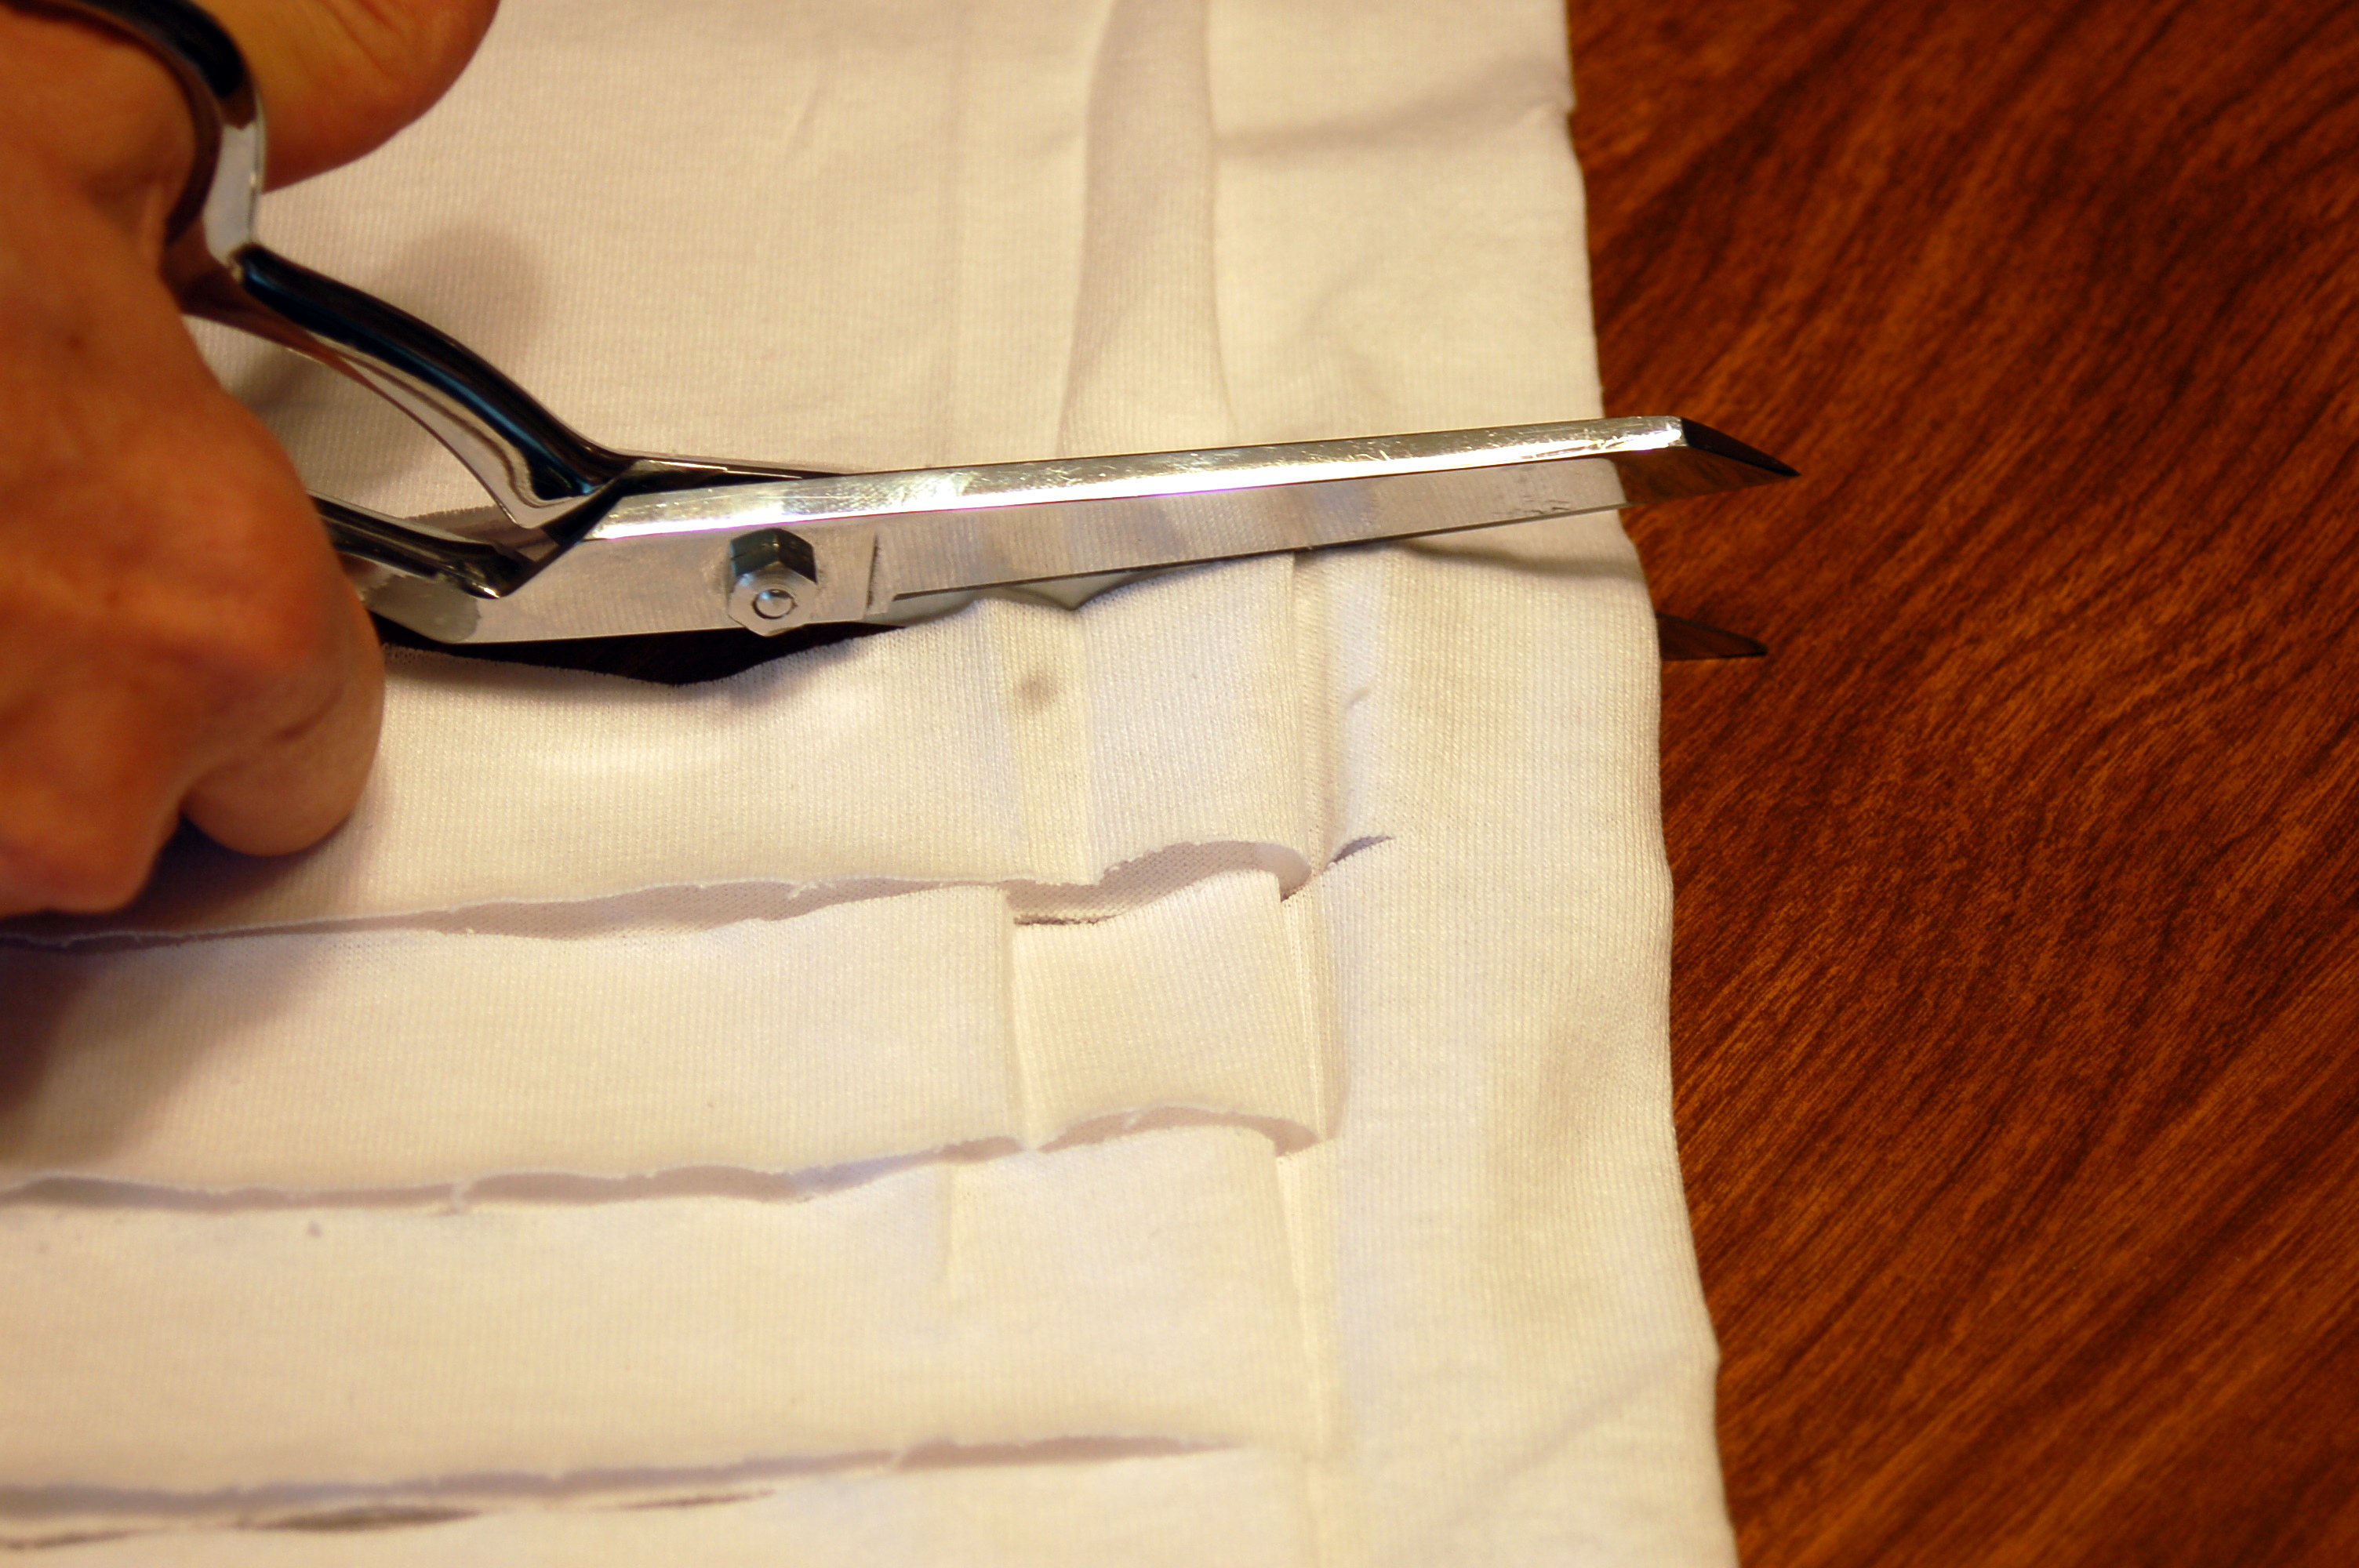
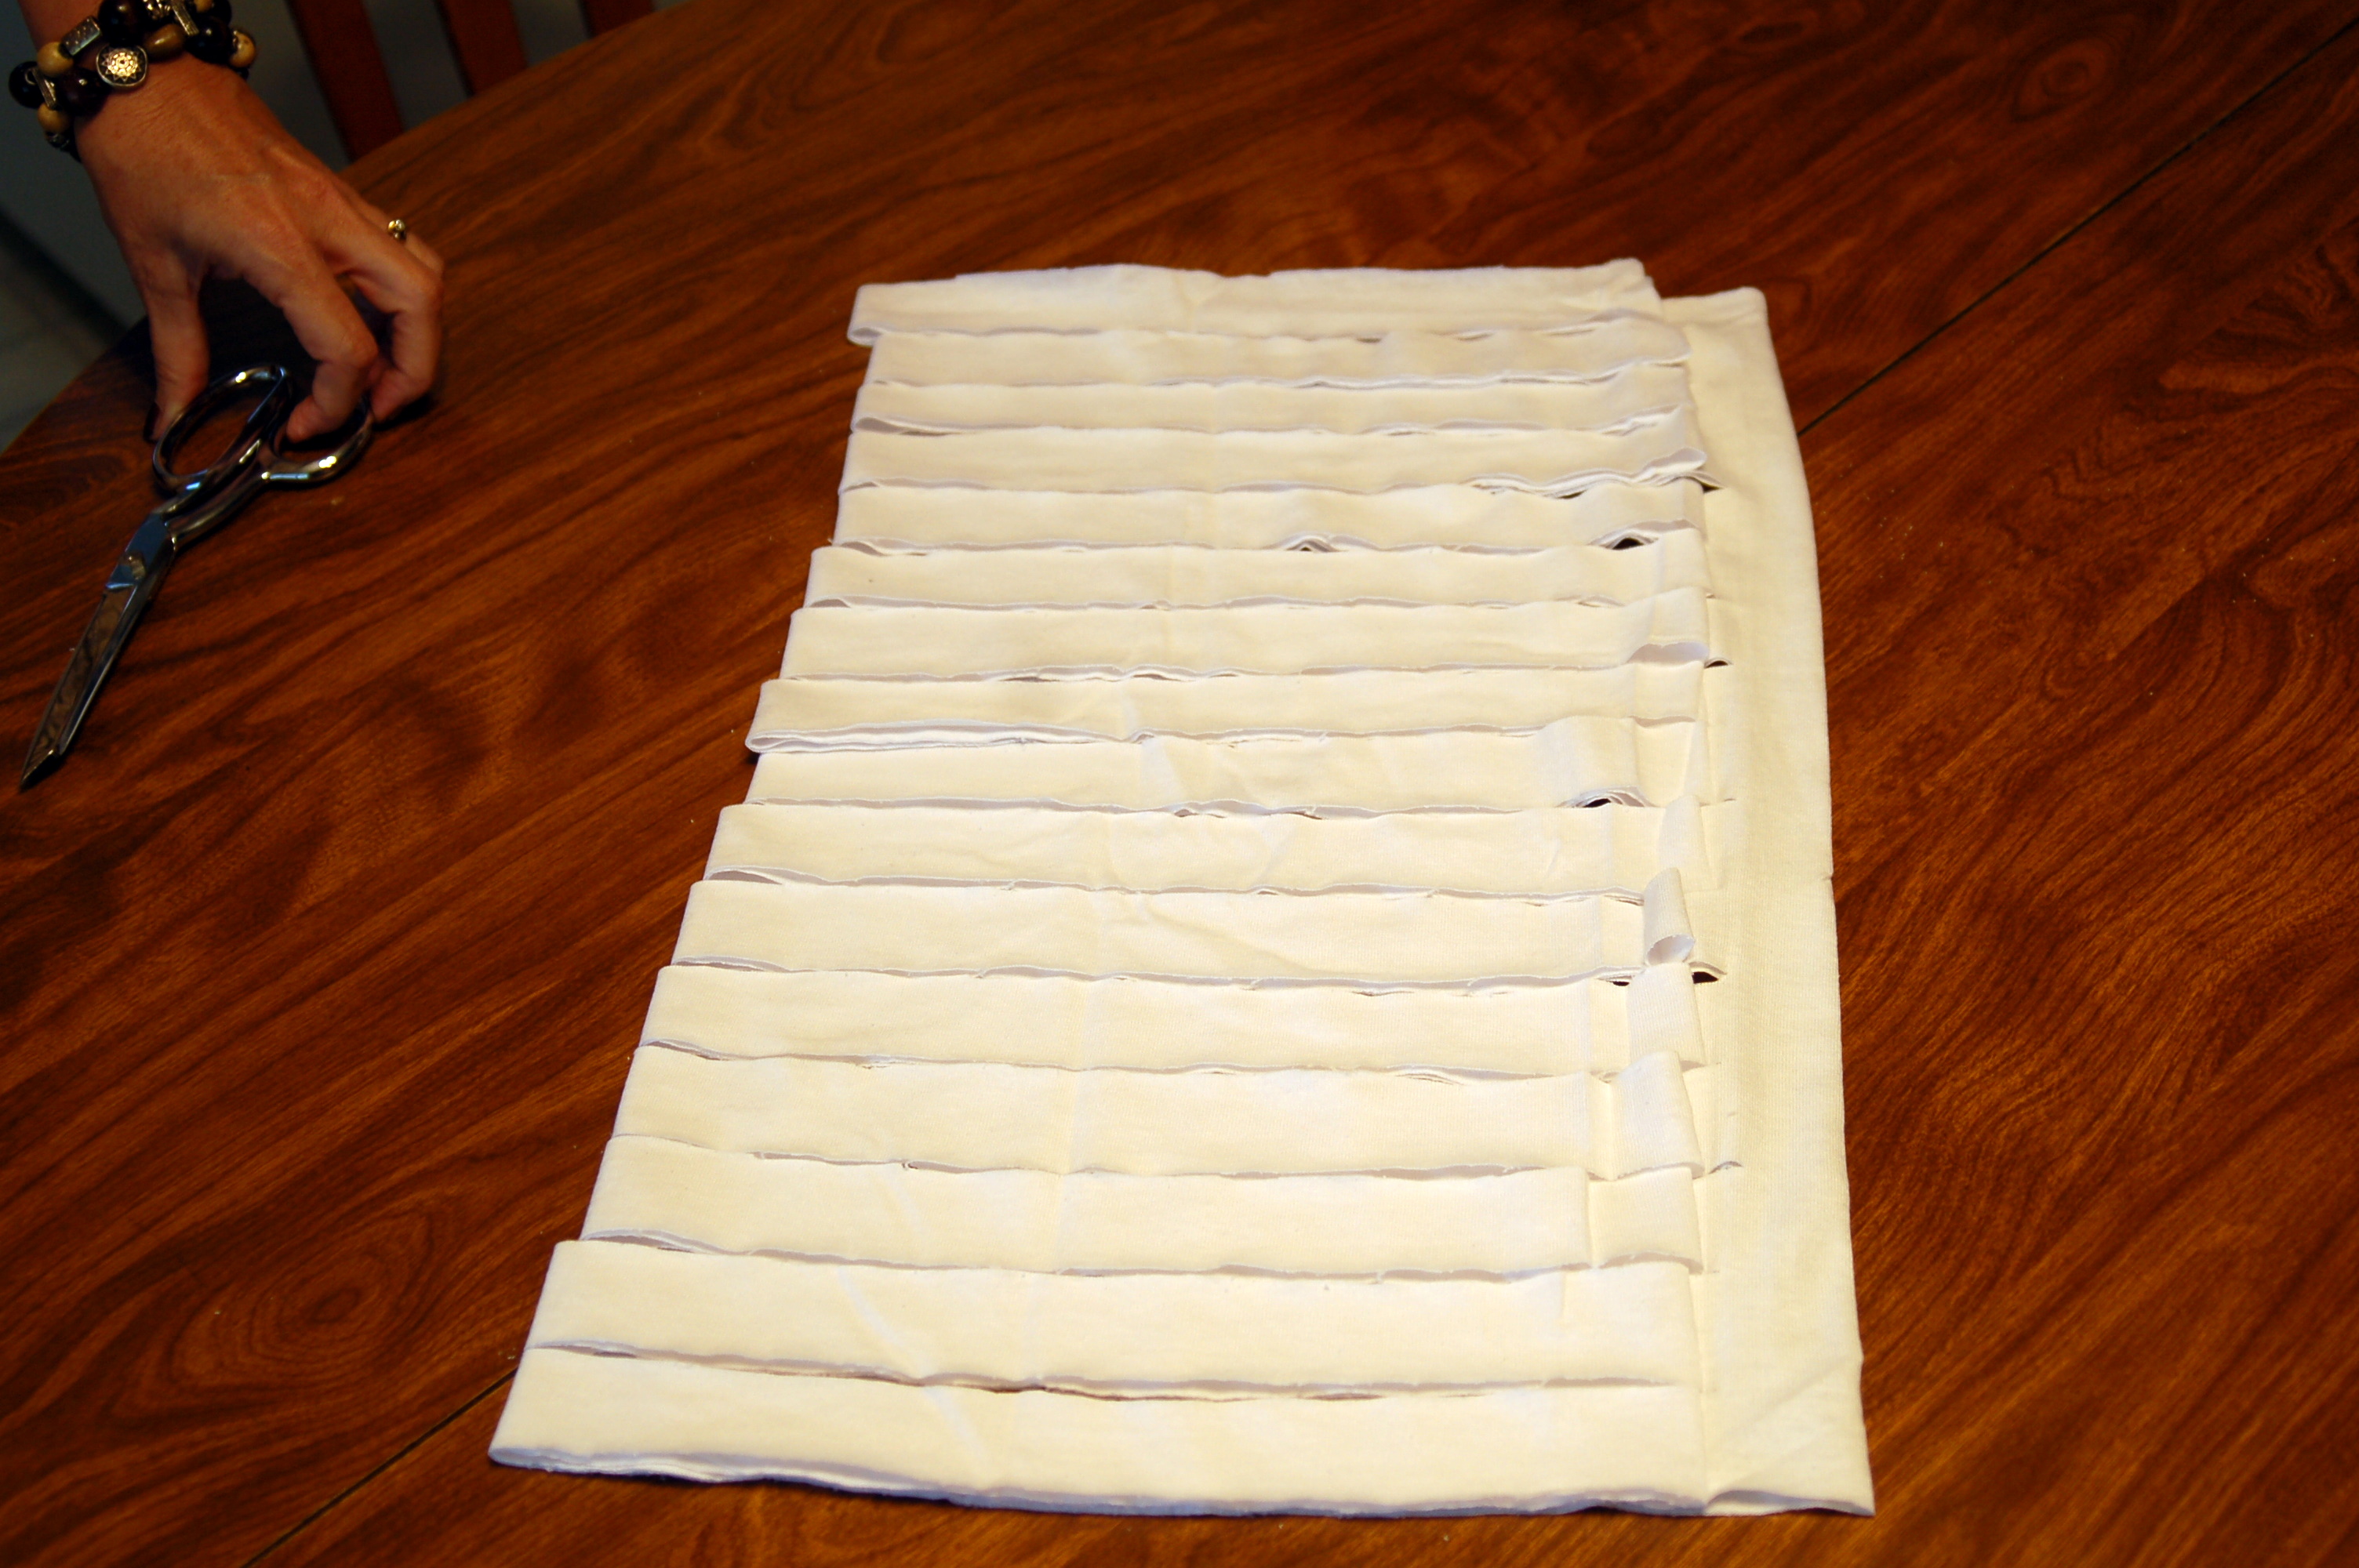
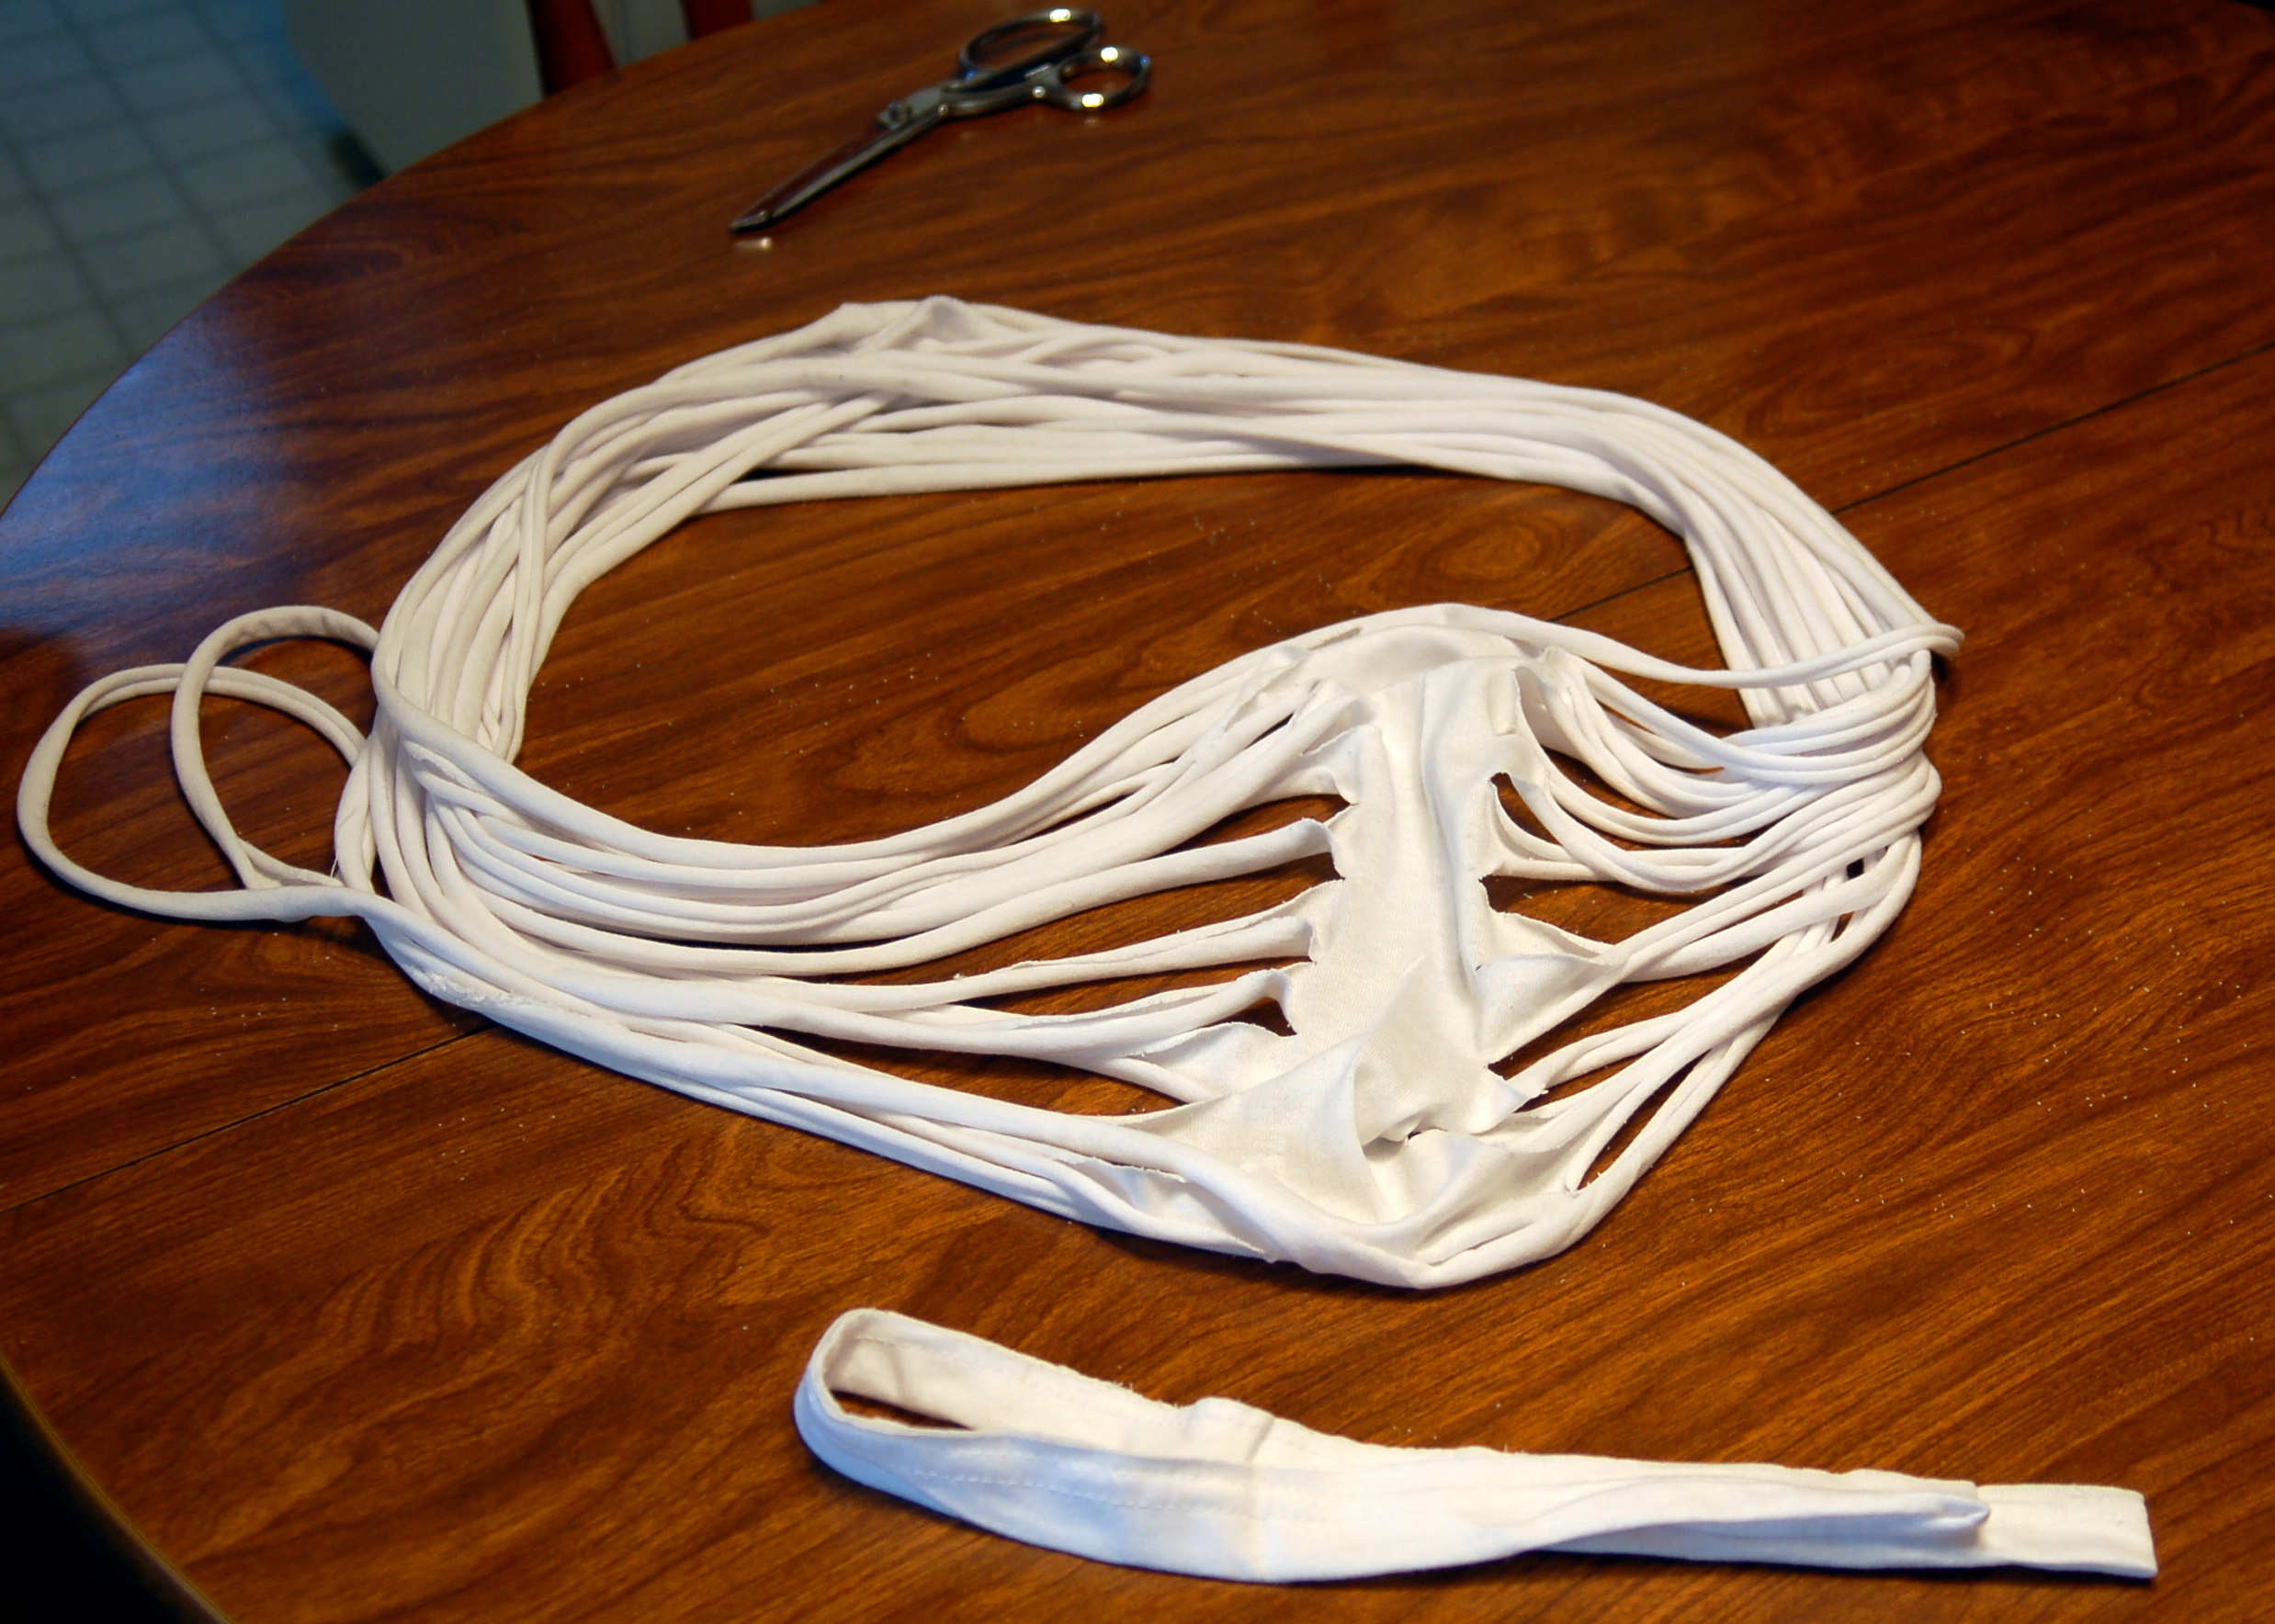
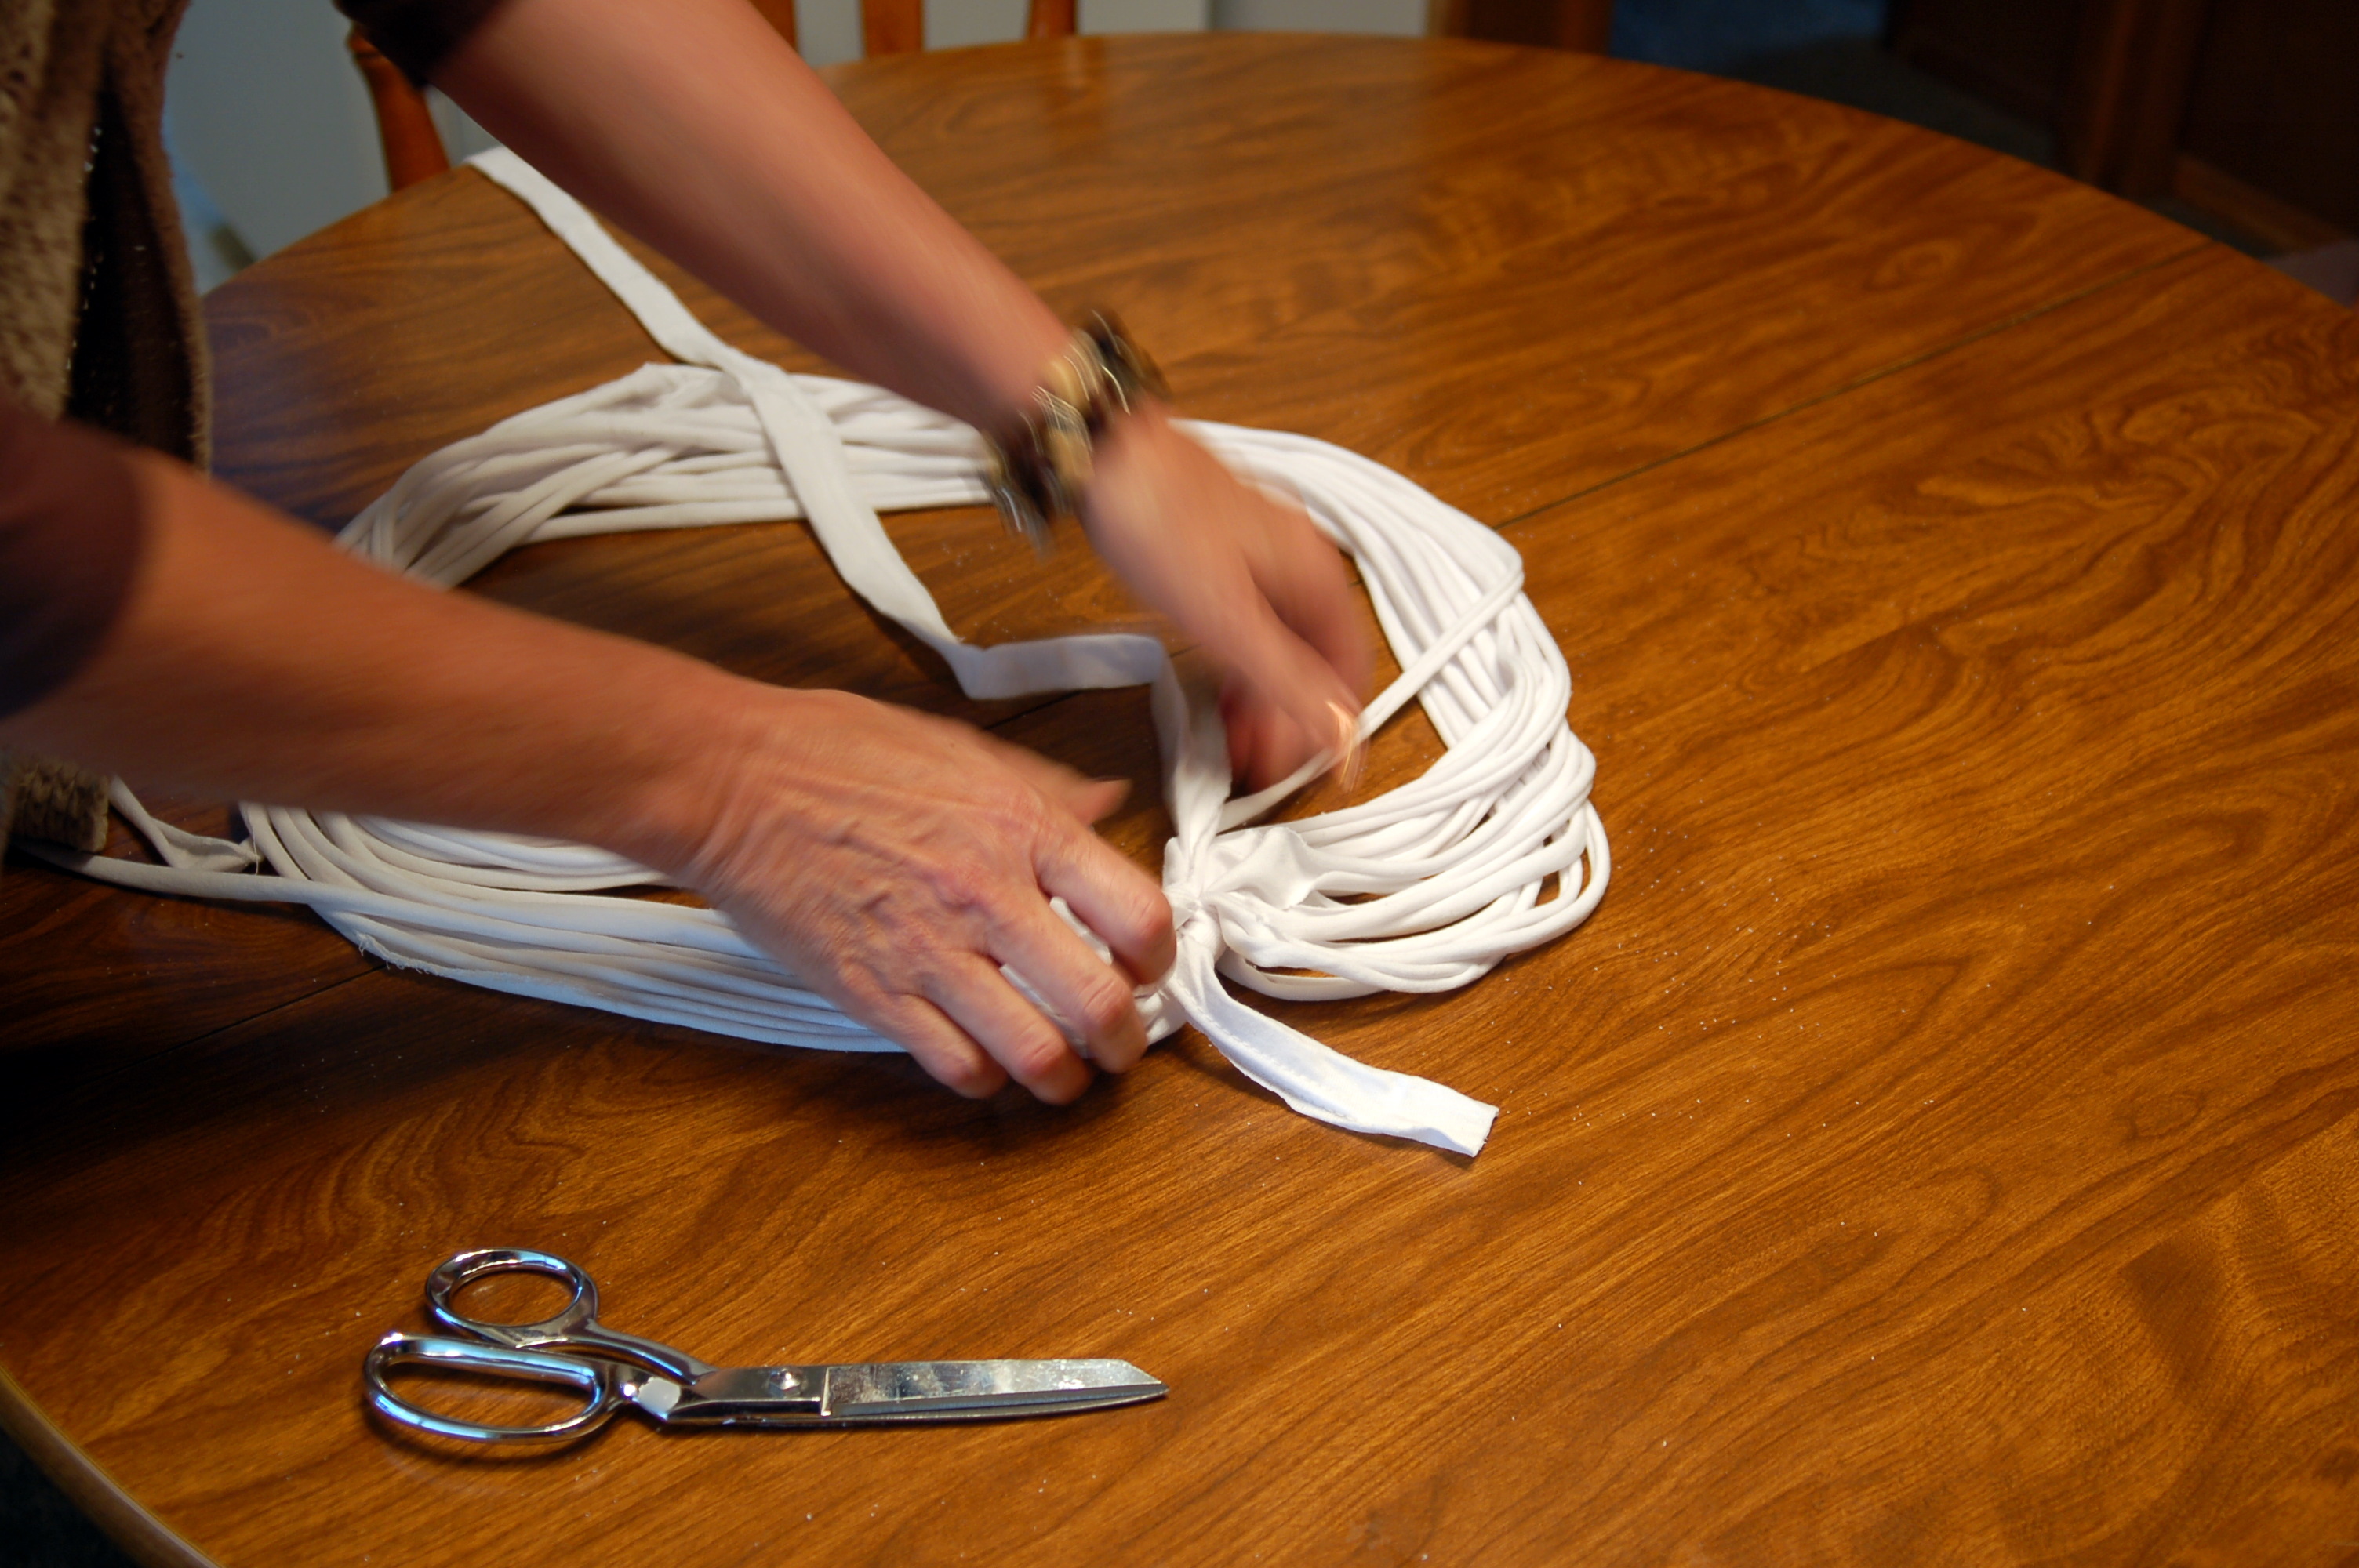
Take an XL t-shirt and cut straight across the body from side to side, right under the arms.Like this!Then fold the t-shirt over so one side is about 1 inch away from the other side.  Cut off the hem.Start cutting 1-2 inch wide strips and cut just past the fold ..like this.Continue cutting the entire length.Hold on to the uncut part and pull each strip out and stretch it out all the way.  This curls the edges.Then open up the circle, so it looks like this.Take a piece of the cut off hem and tie a knot  around it. Tuck the ends into the layers.
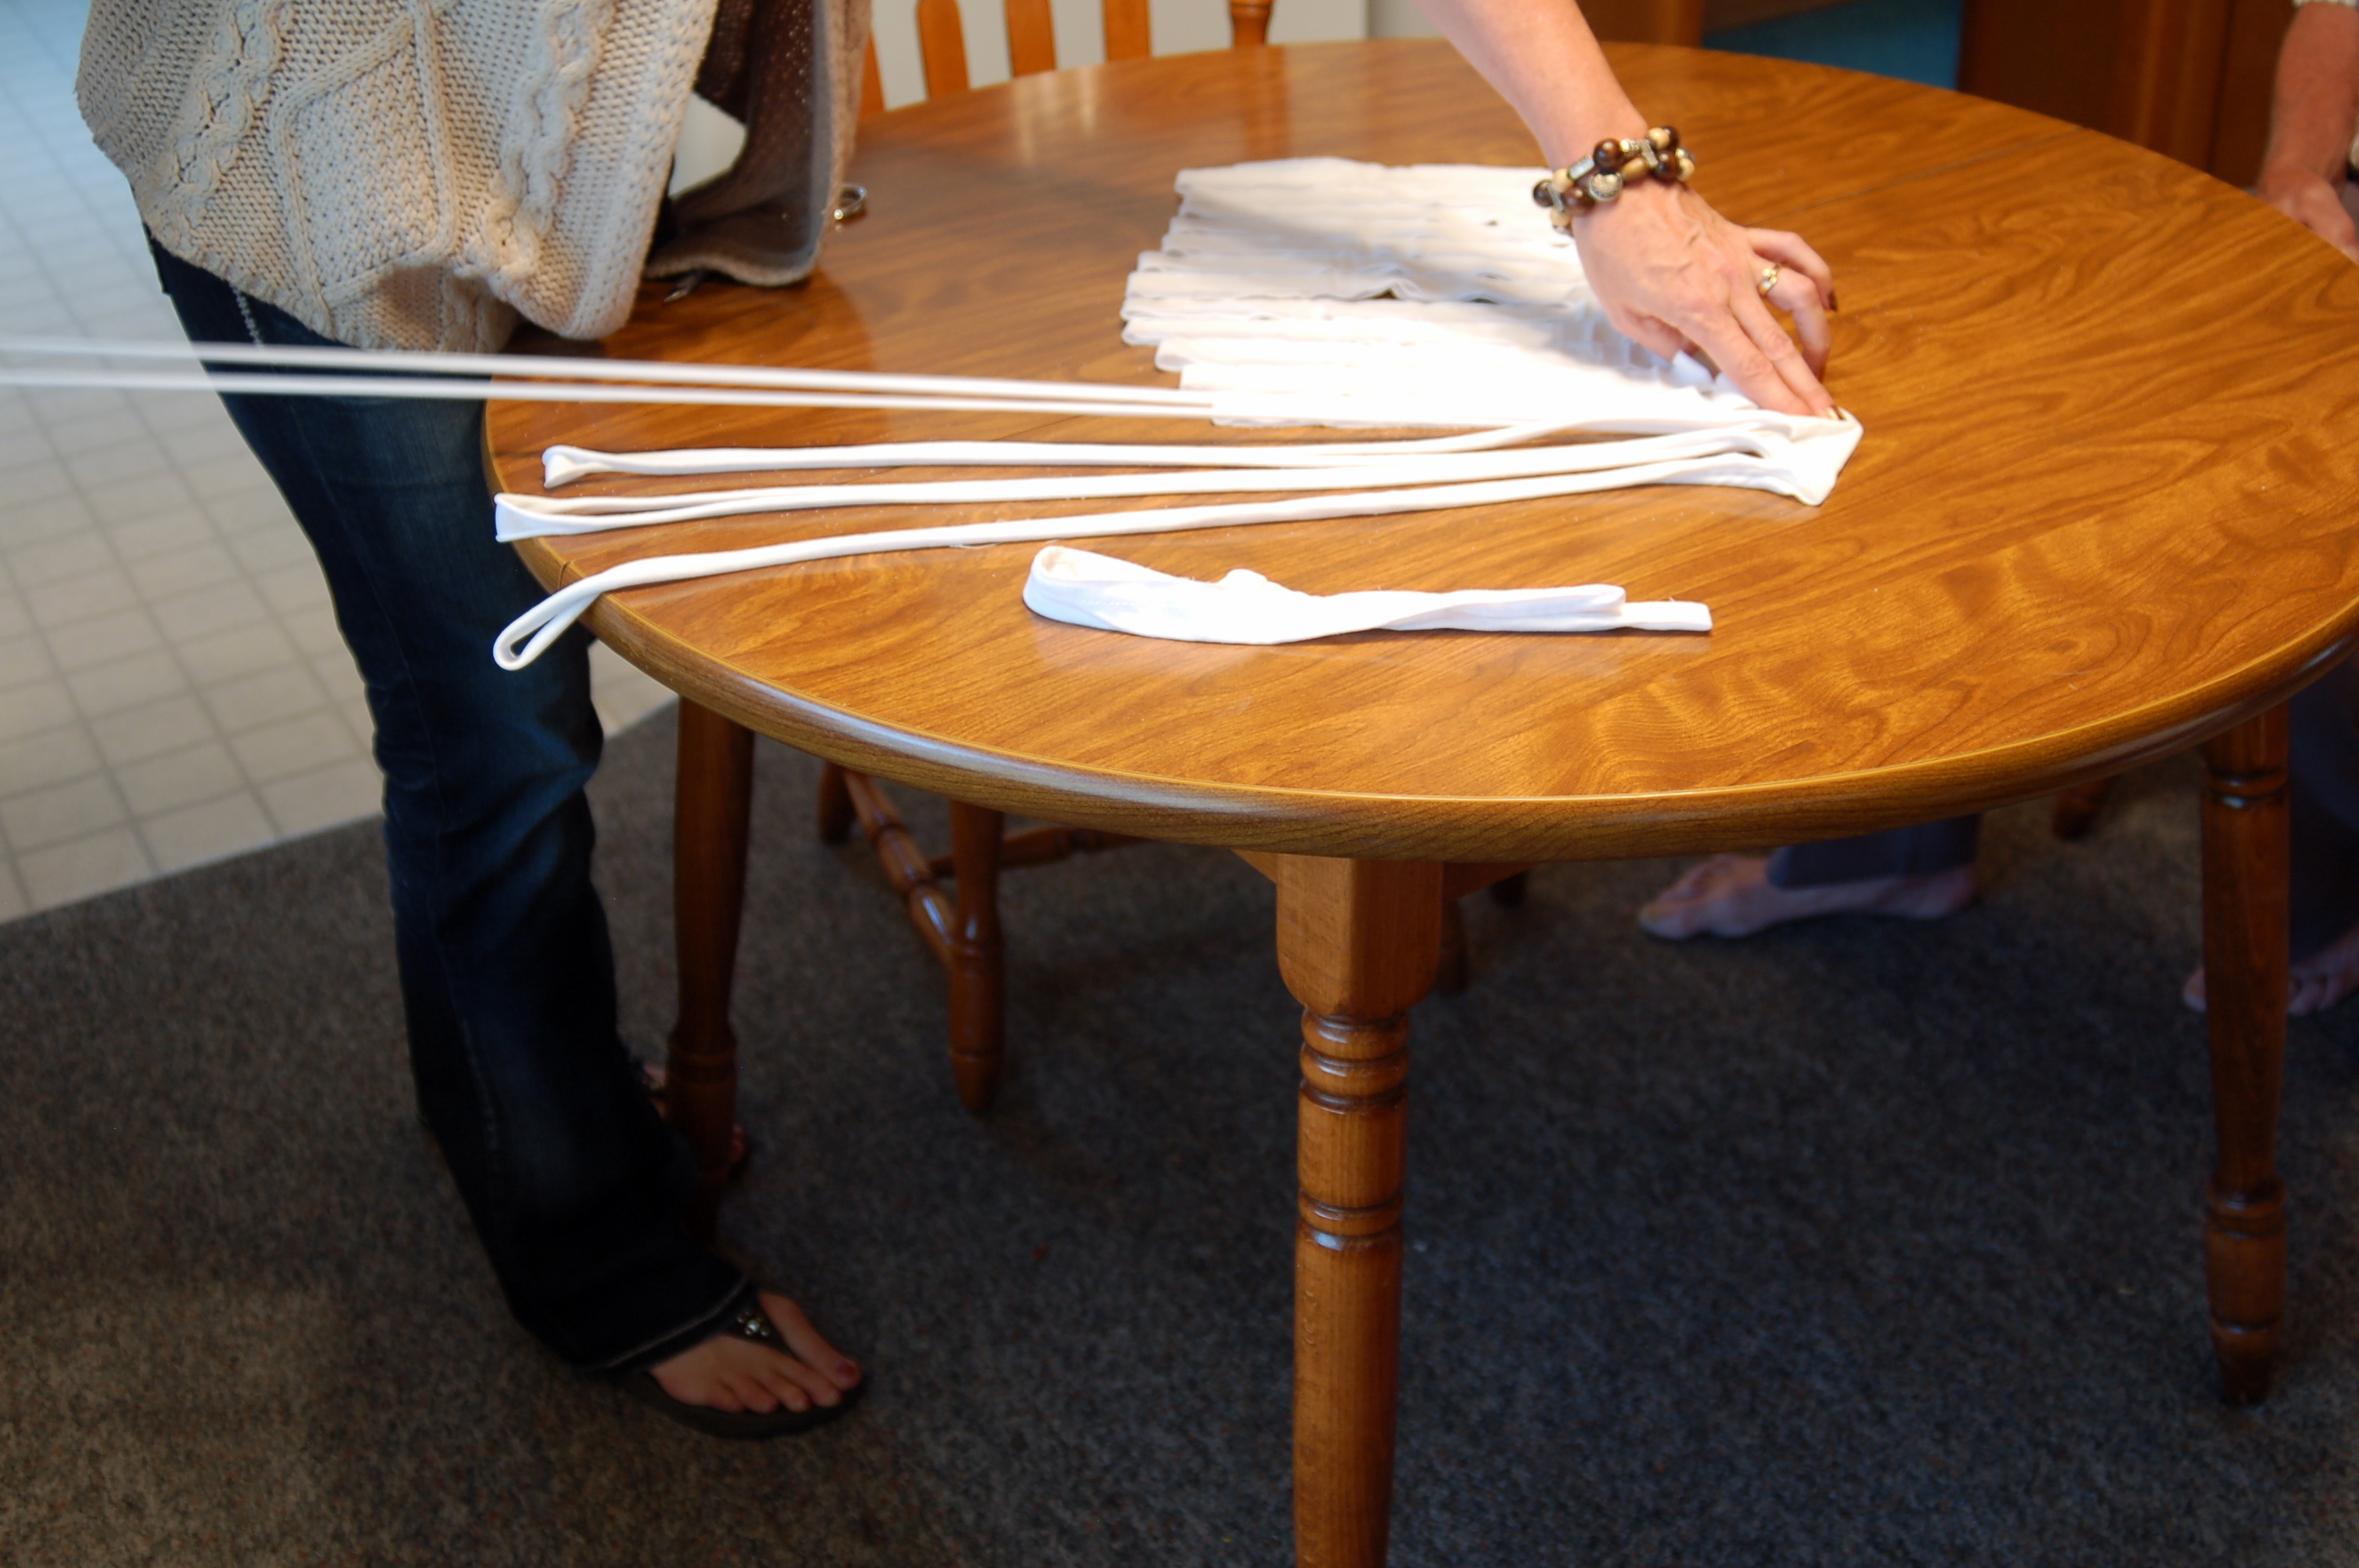
And there you have it!  An easy, cute, inexpensive infinity scarf!

This is another version of the infinity scarf…I cut all the way across the  t-shirt into 1-2 inch wide strips and stretched them out, so I had several separate loops, then just hooked them together with a cute pin!  You can make this one as full as you like. In this version, you could actually get 2 scarves out of one t-shrt!  One for you and one to share!

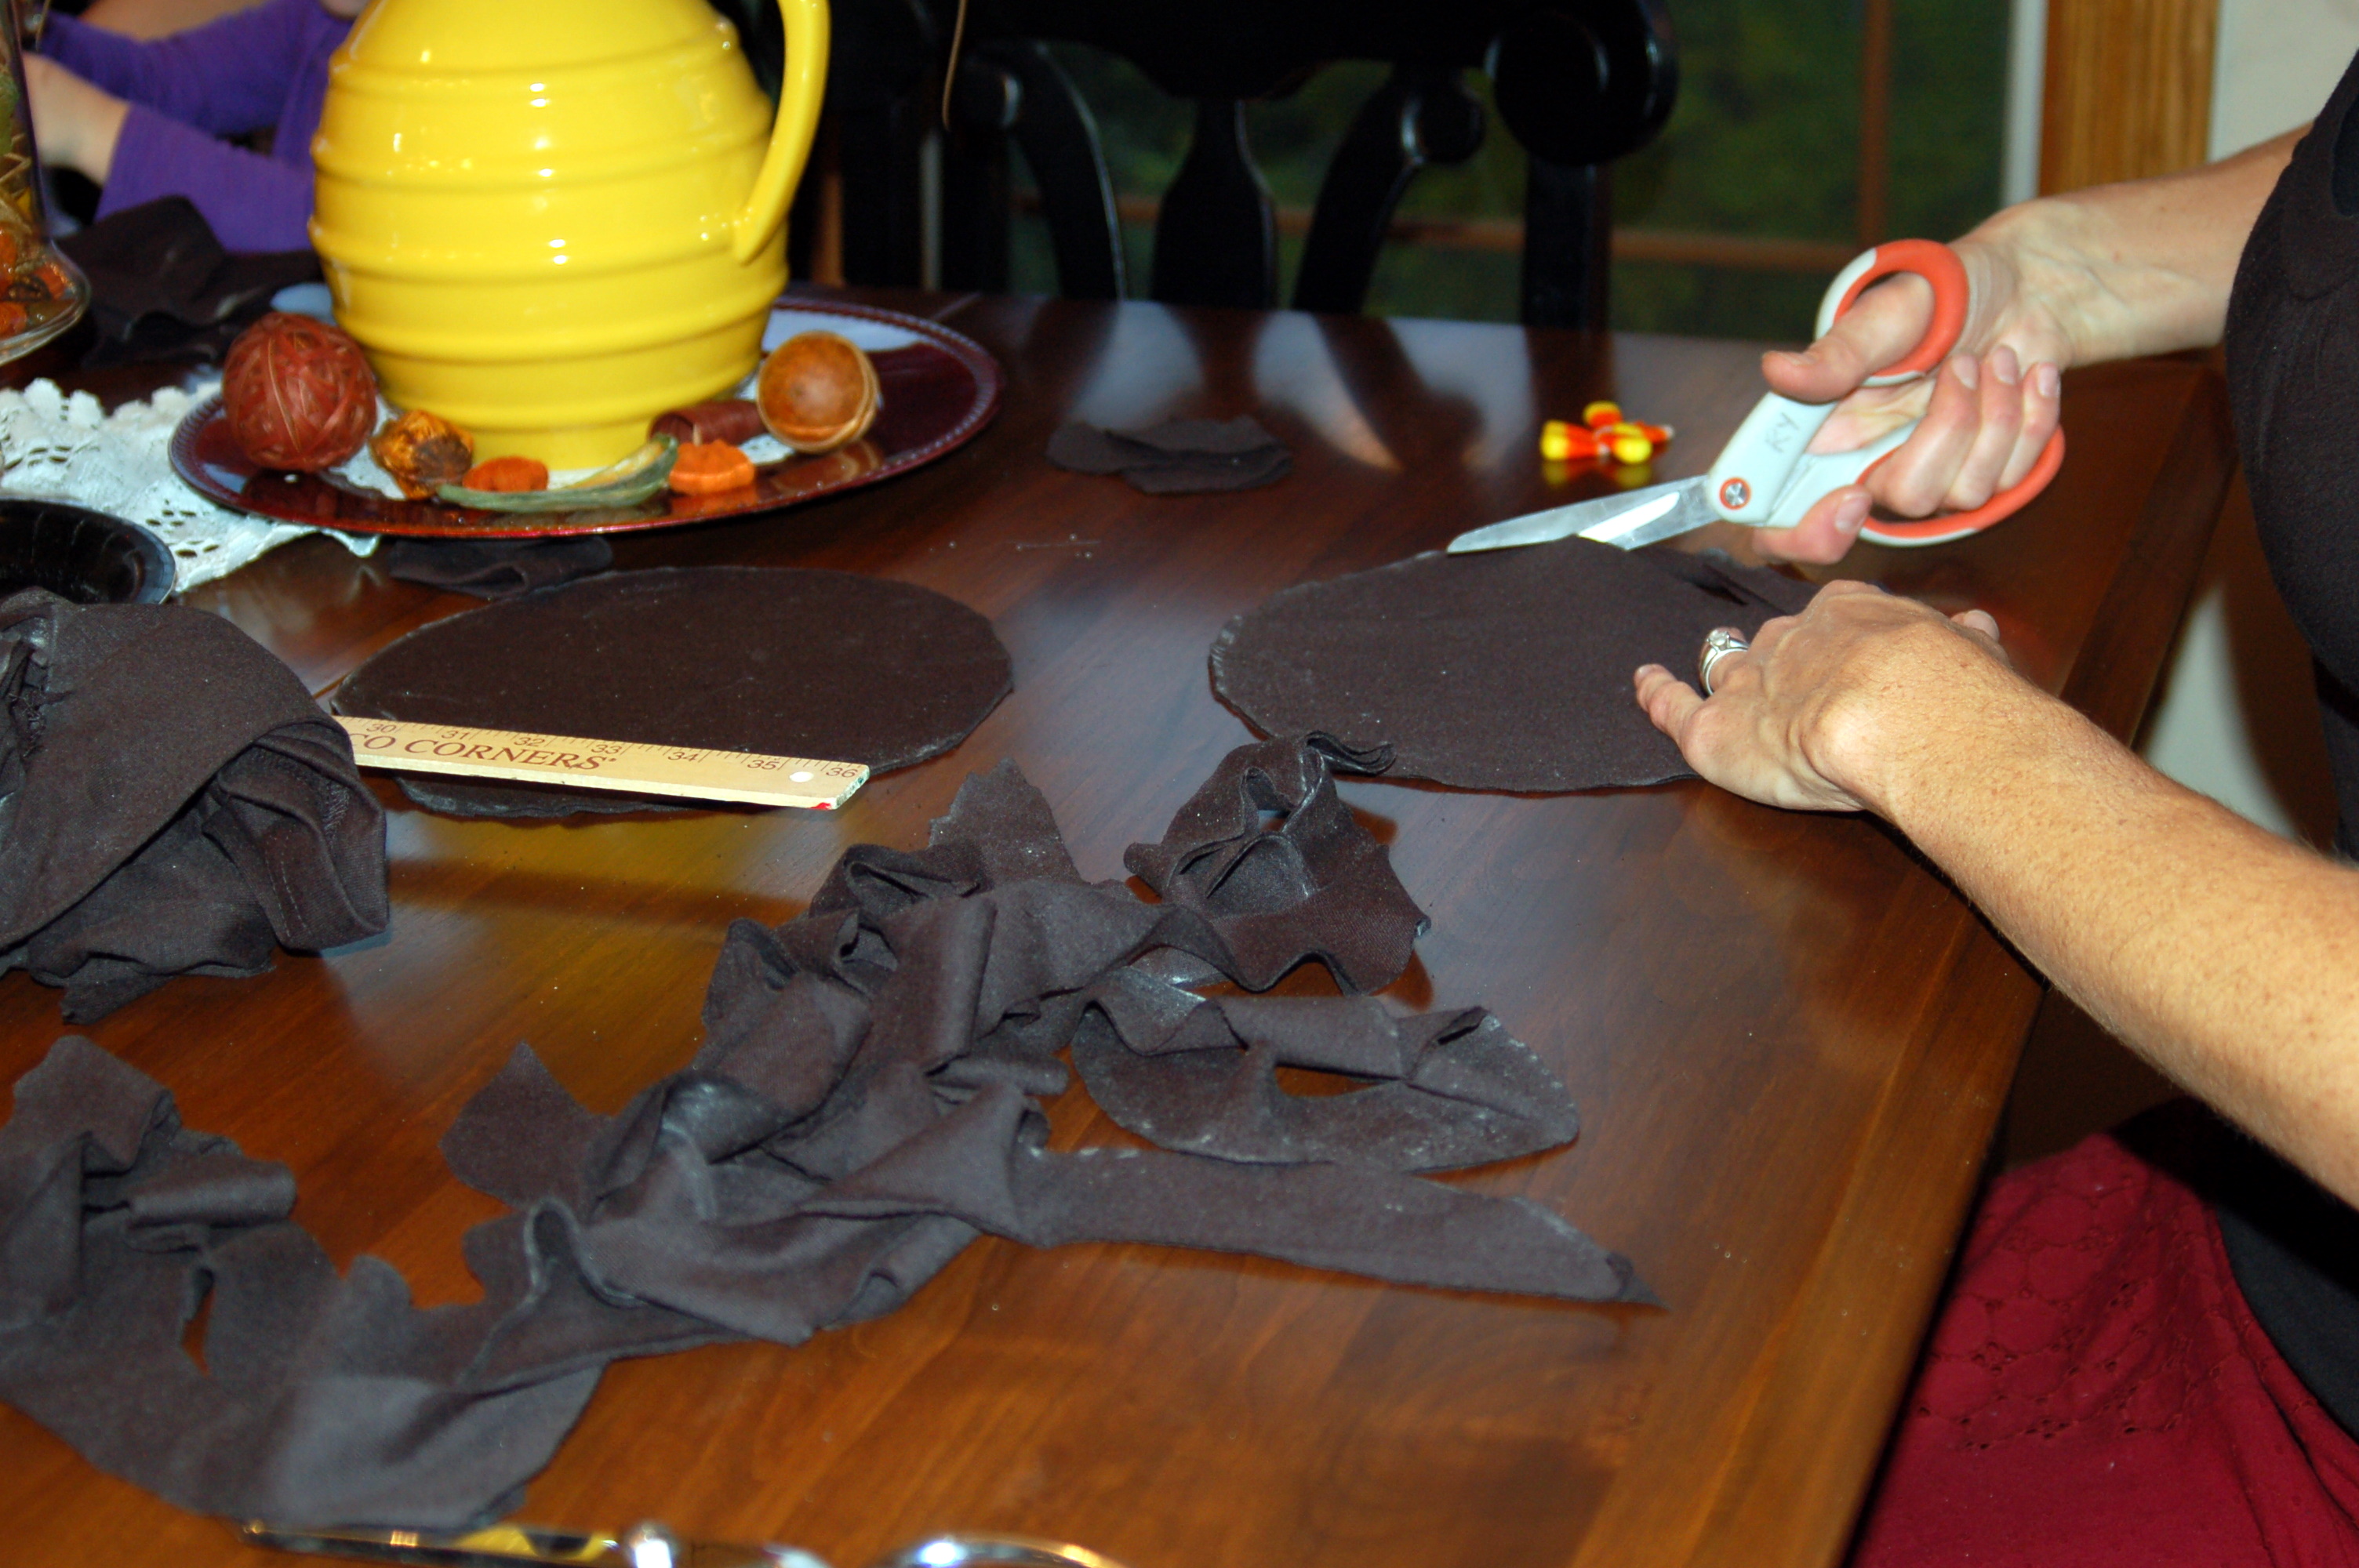
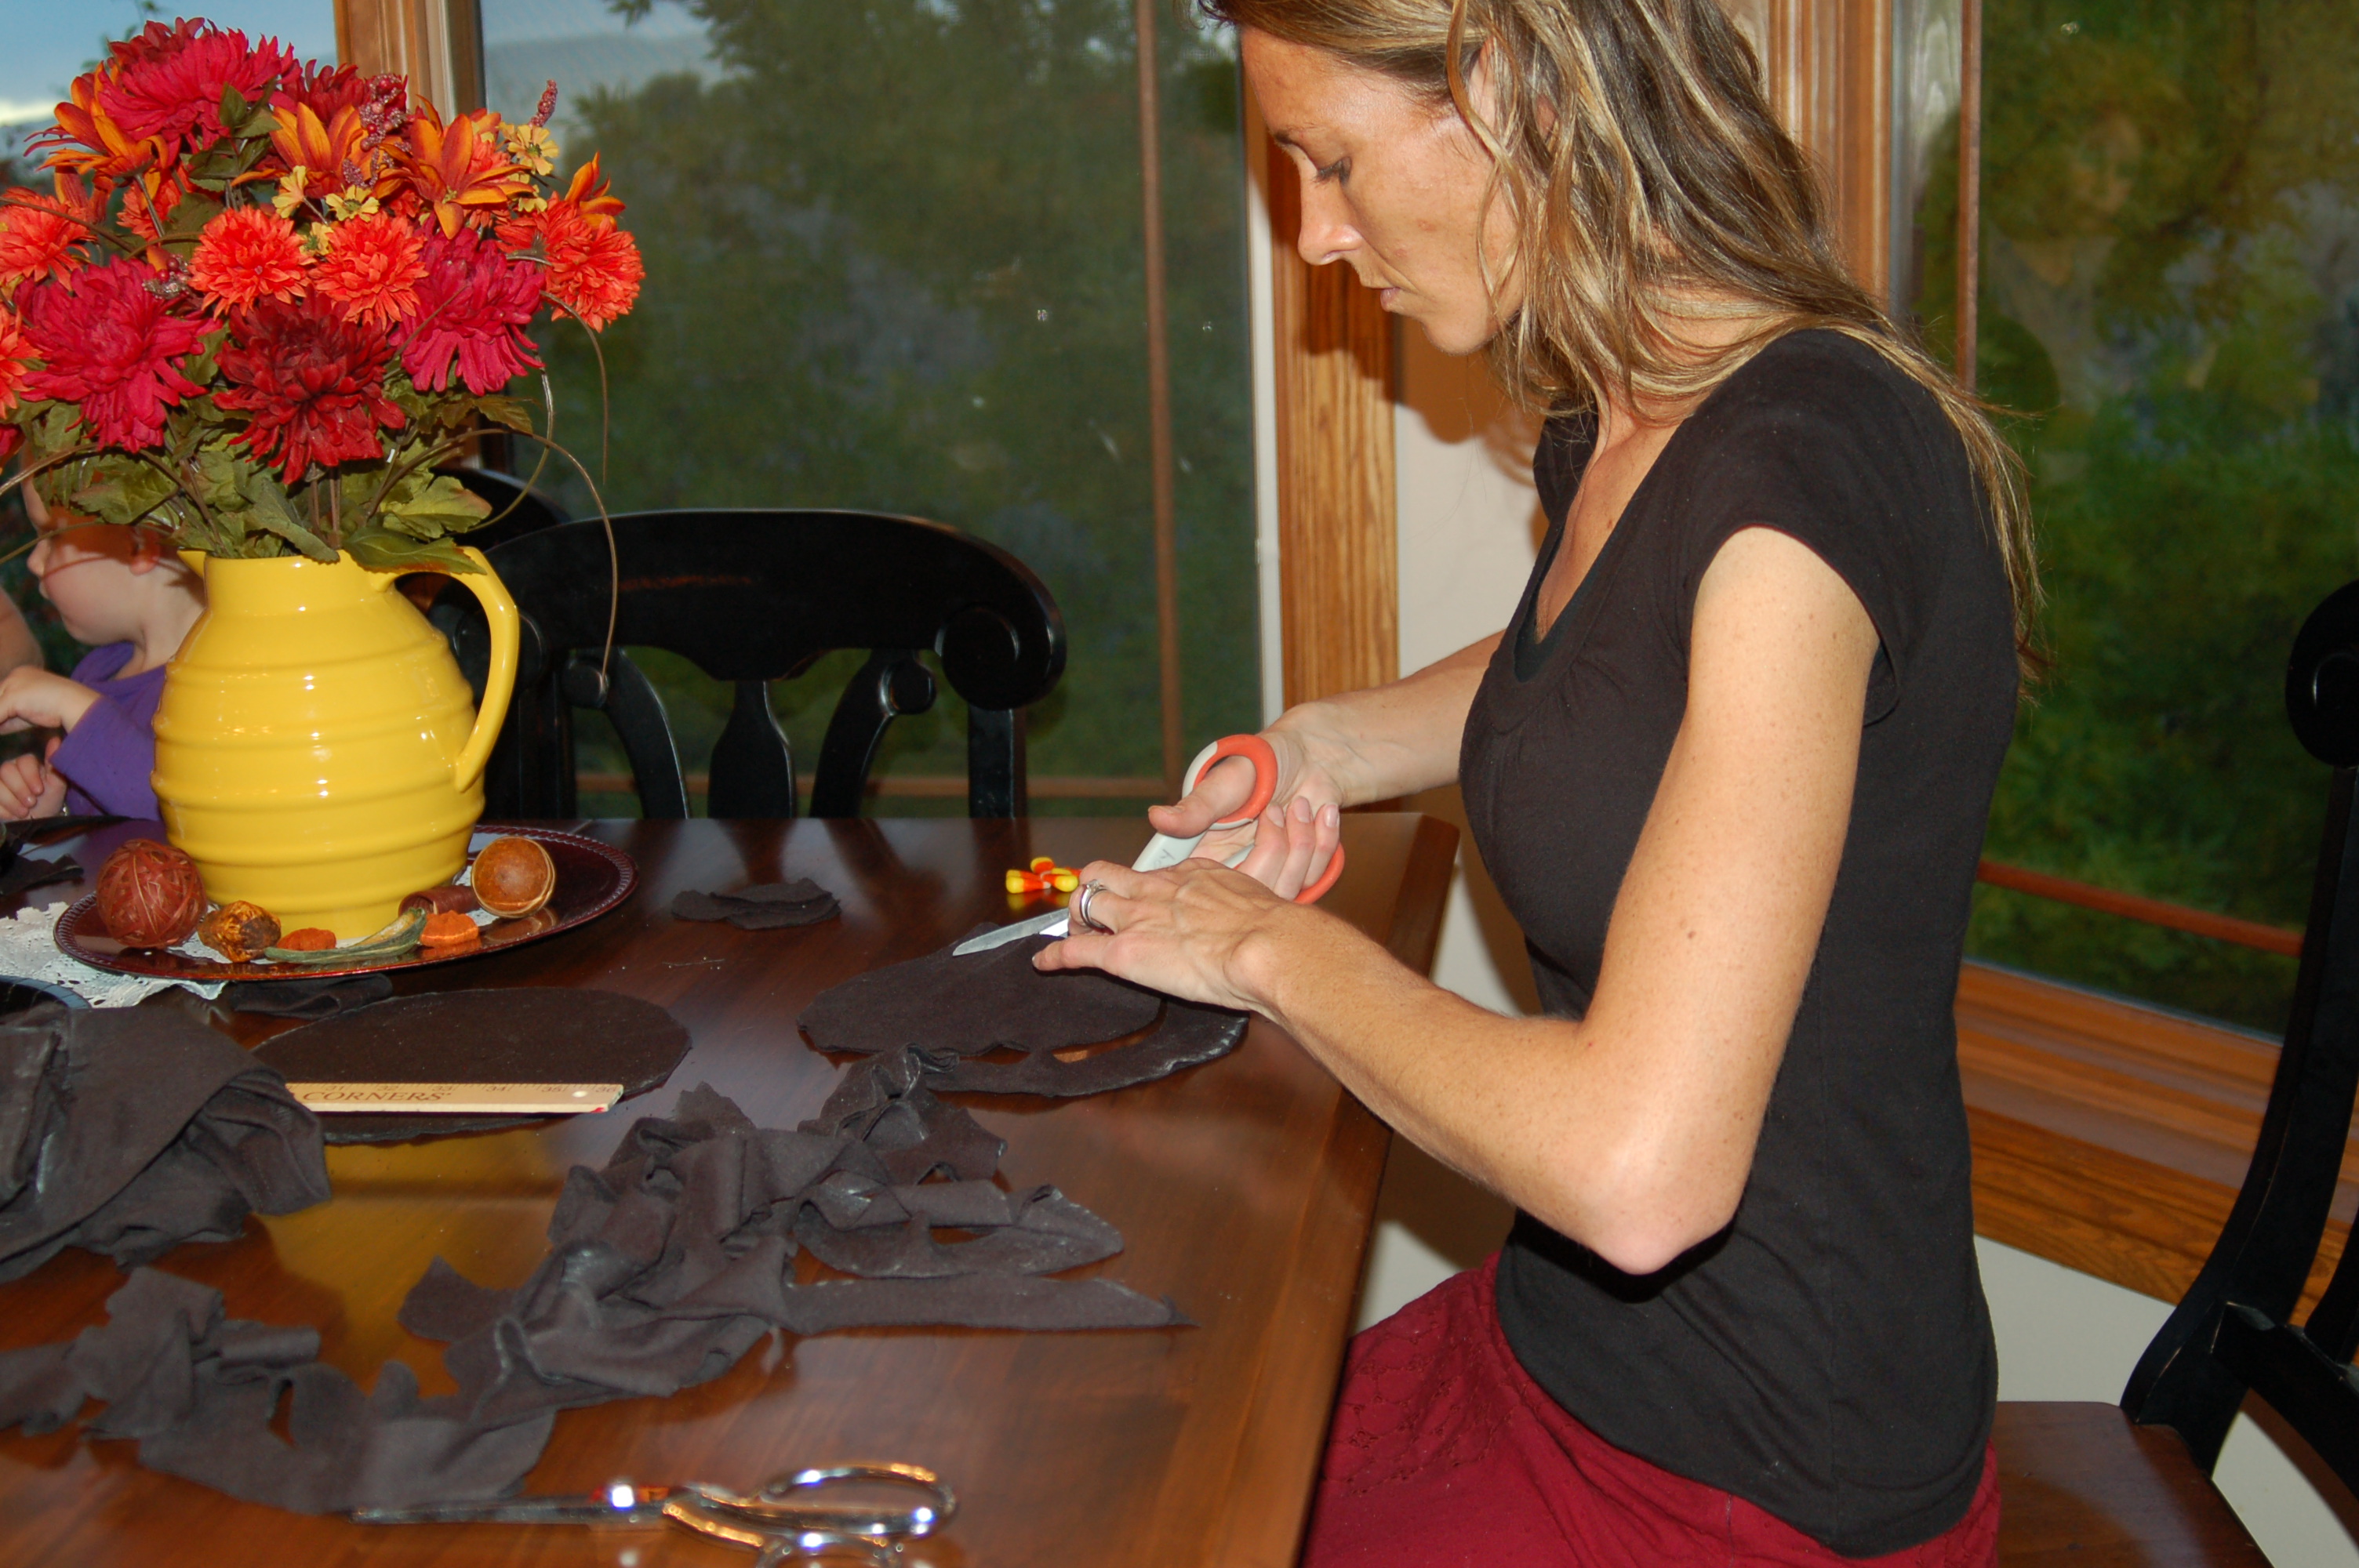
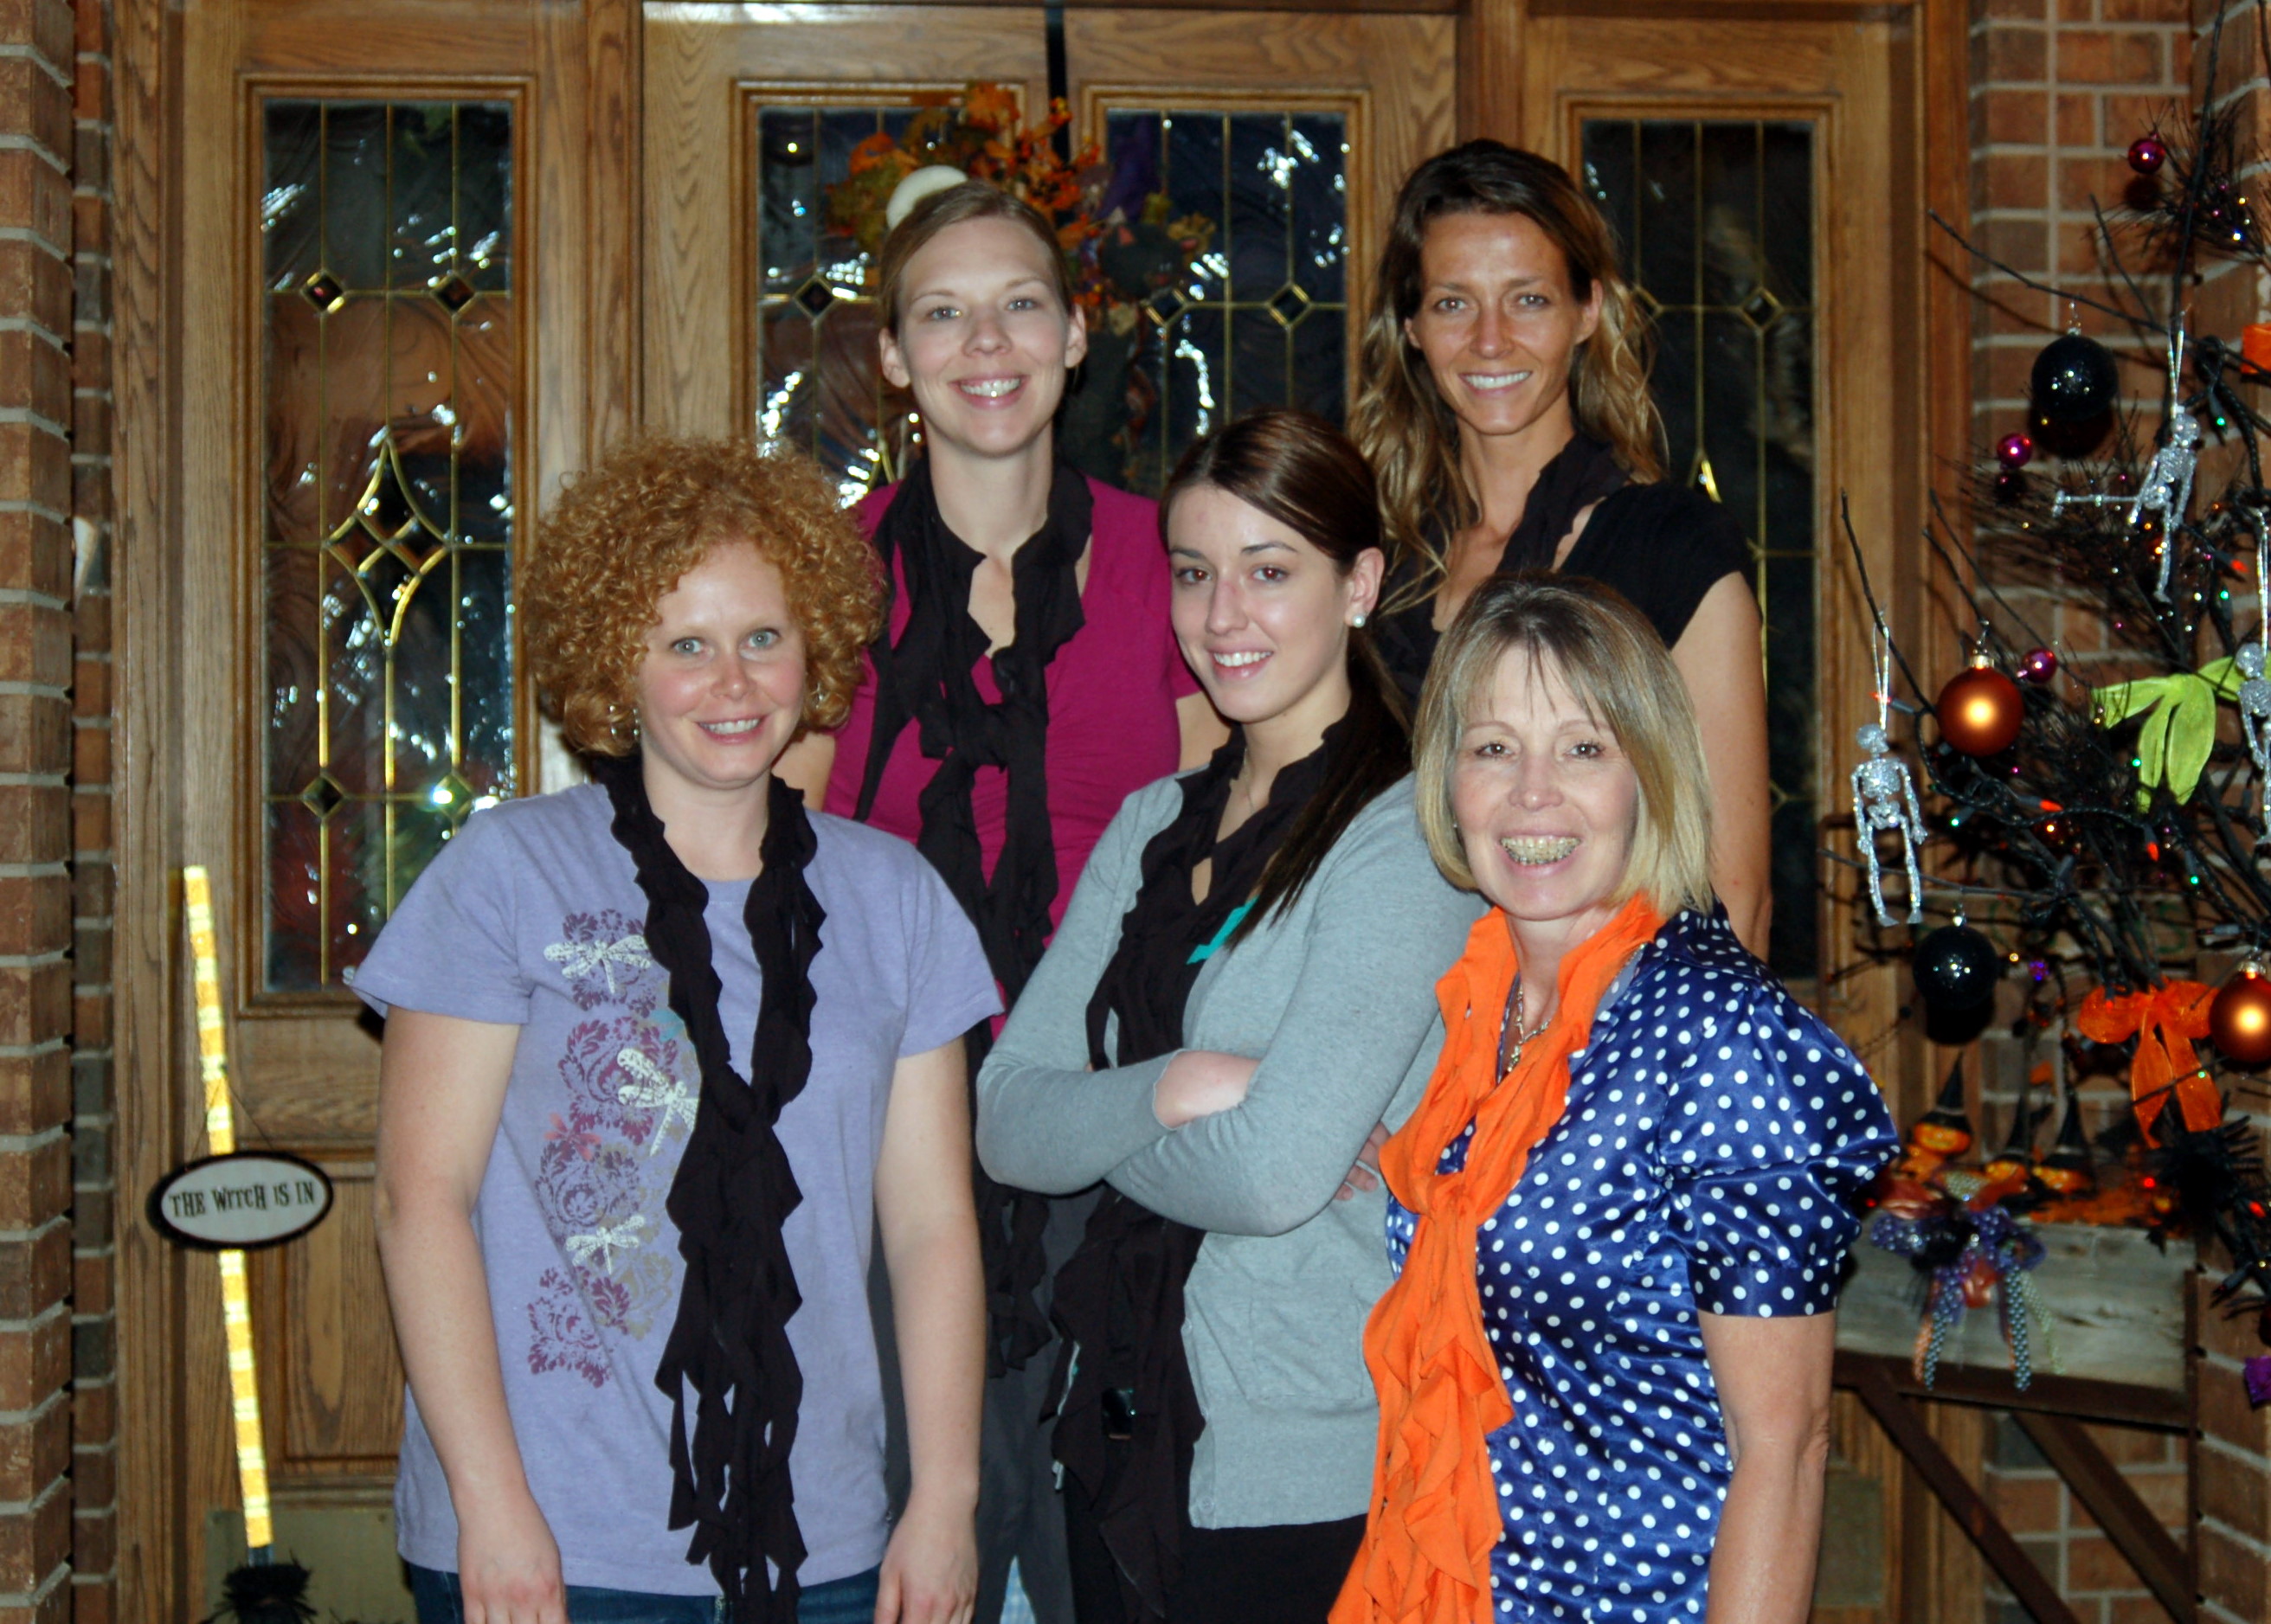
Then the girls and I made these ruffled t-shirt scarves! I saw this idea on Pinterest here. There is a full tutorial there if you want to see it. But basically all you do is cut 8-12 circles out of an XL t-shirt. (Just trace around a 9″ paper plate)

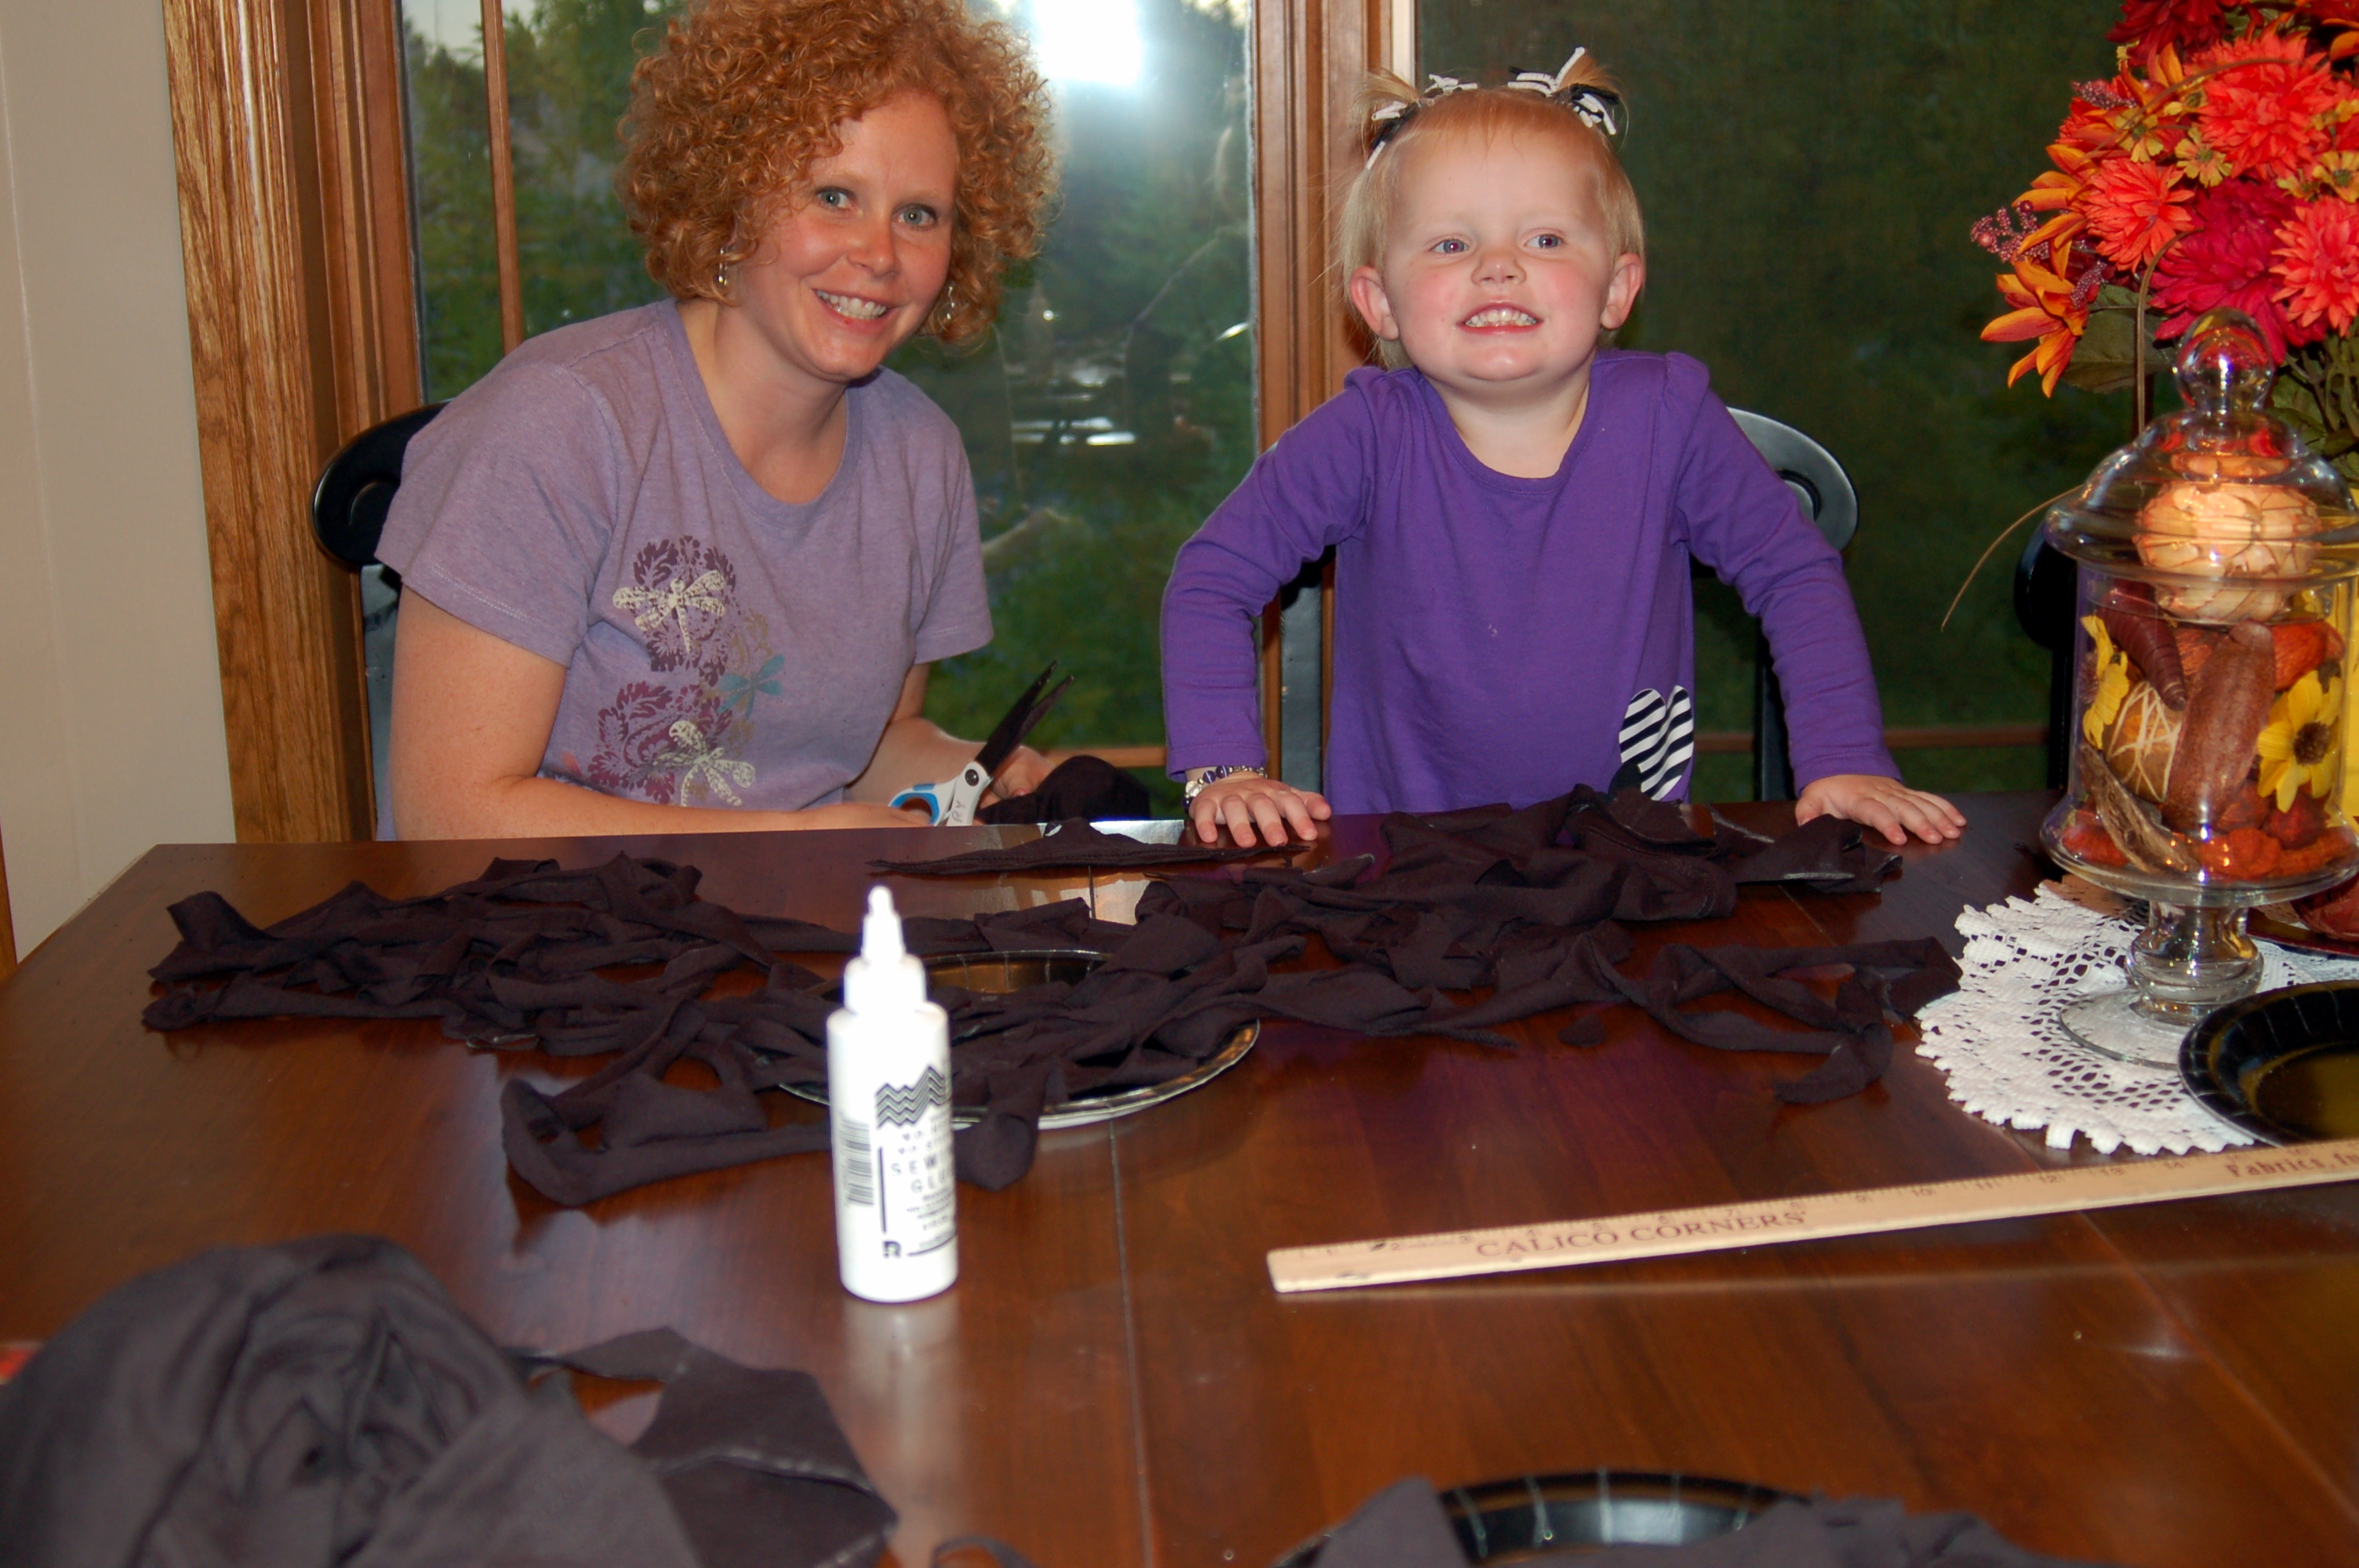
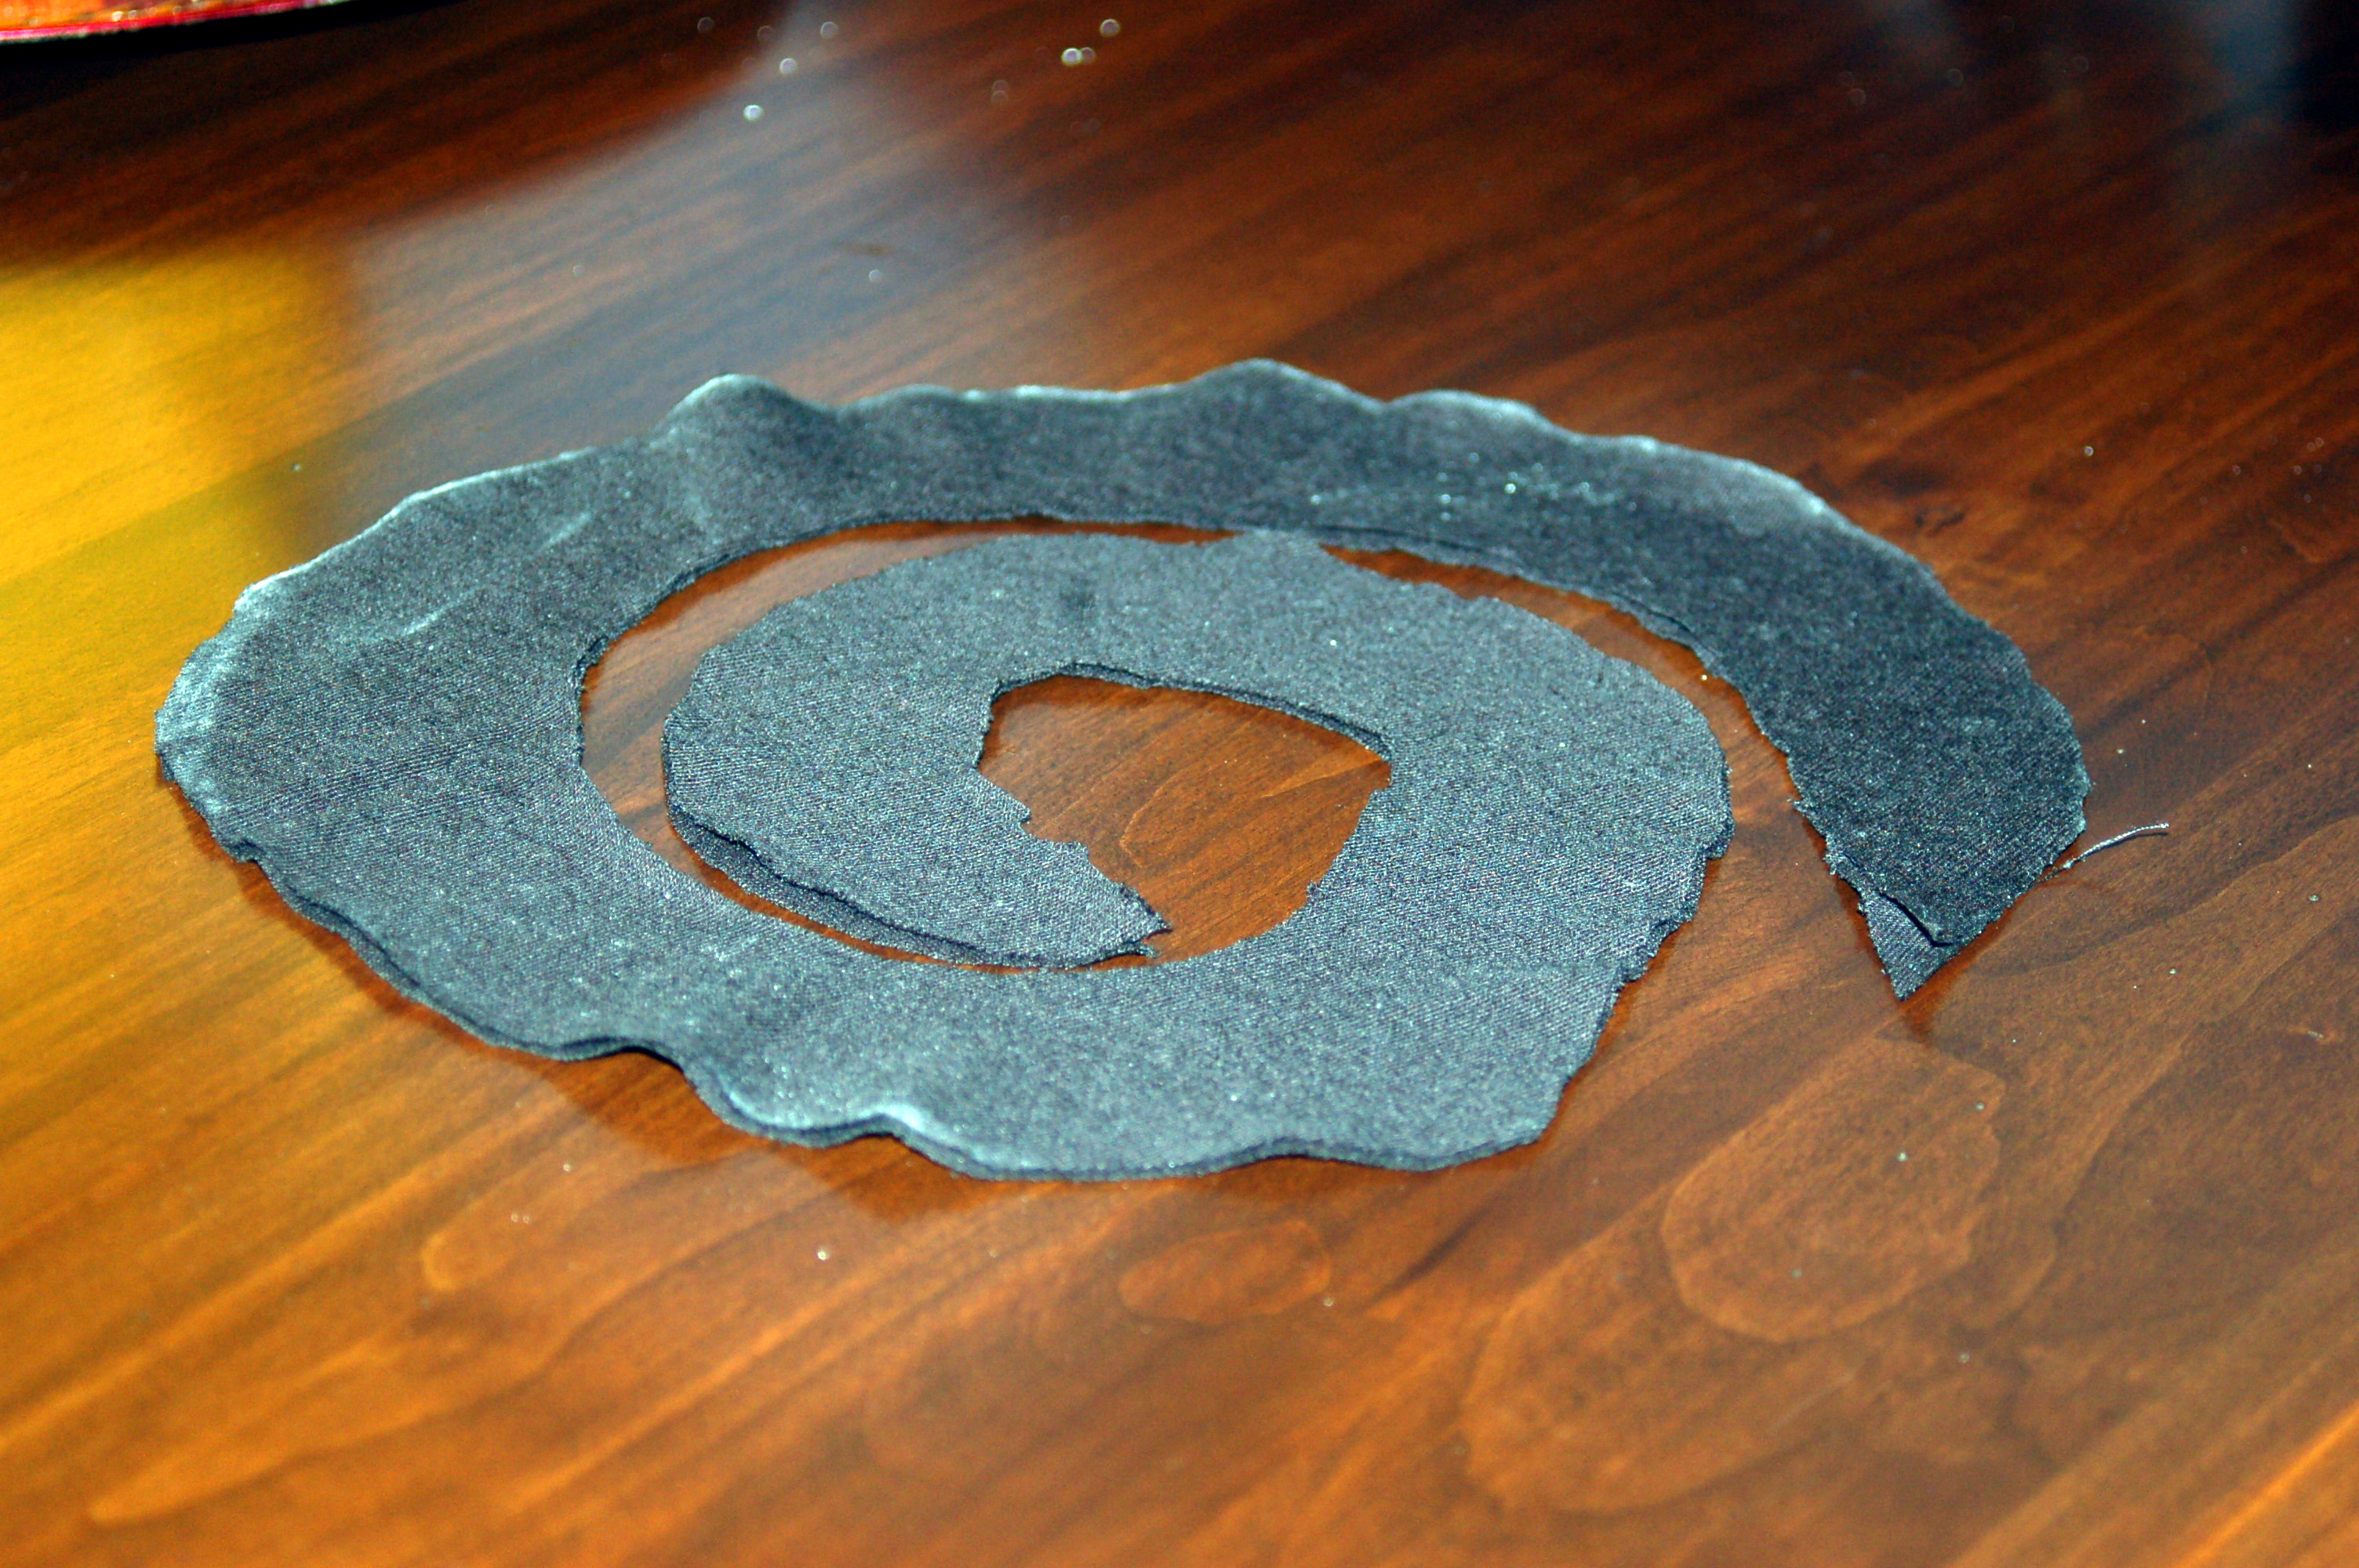
Then you will cut each of the circles into a spiral.We had lots of helpers, this is our littlest princess, (Isn’t she a doll?)This is what the spiral will look like. Then Just stretch each spiral out and pull along the length of it to curl the edges. That is what makes the ruffles.  I forgot to take a picture of the next step, but just take two pieces and glue together end to end with fabric glue, to make a long strip.  Let dry, then lay all the strips out and using one of the strips, tie them all together in the middle and just let the ends hang down with the rest of the strips.  Easy Peasy and NO SEWING!  These would make darling gifts for the Holidays!  (If you are having a hard time understanding this last step go to the link for a better tutorial.)So what do you thiink?  Do you want to try one now?I added a cute little pin to mine and this is about as dressed up as I will get for Halloween!

If you try this out I would love to see what you have done!  What other crafty things have you been doing?

Quilt Binding Tutorial

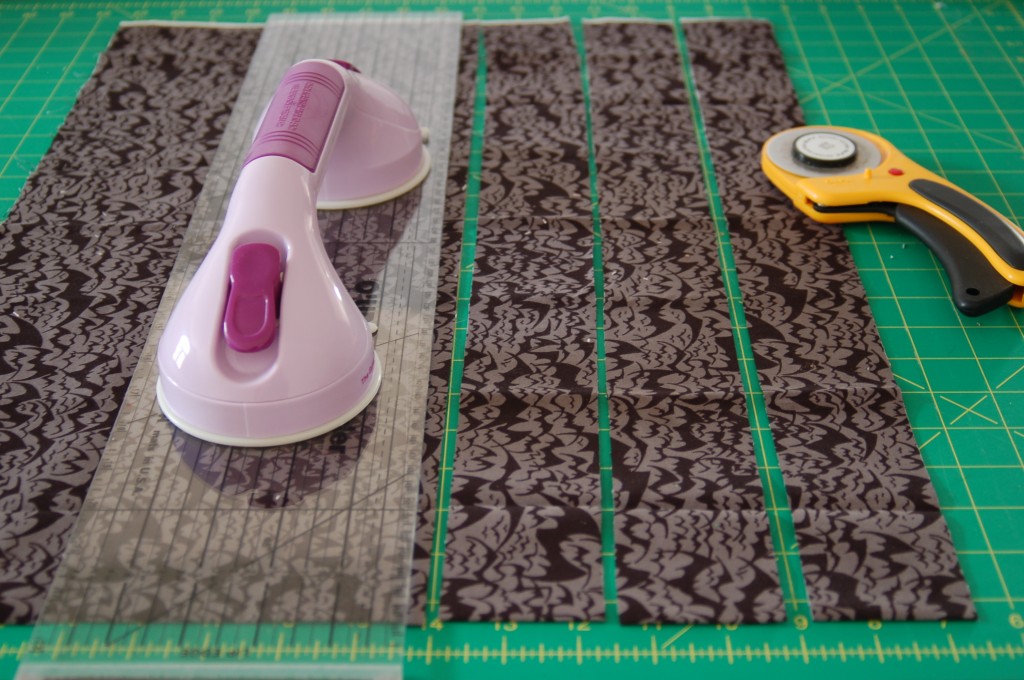
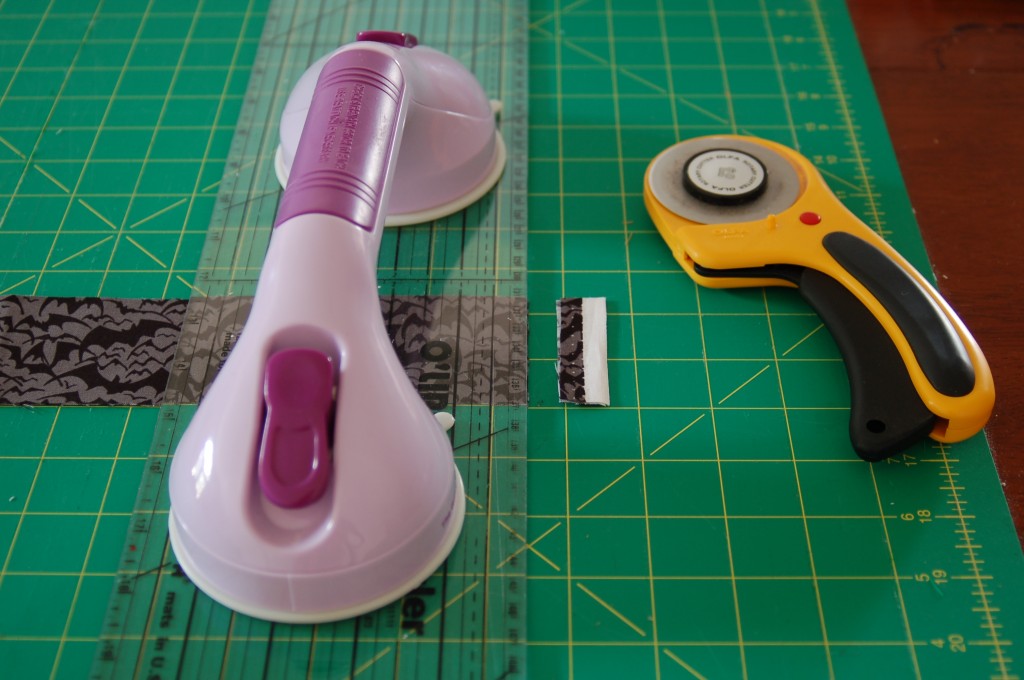
The binding on a quilt can really finish off a quilt and make it look professional.  It is a fairly simple thing to do and if you know a couple of techniques, it makes it really quite easy!  We are going to do a binding with mitered corners.  The first thing you need to do is to cut your fabrics into strips.  I am doing straight strips on this quilt, but you could also do bias strips, especially if you are going to do rounded corners or scallops.  I cut this binding into 2 1/4 ” strips.

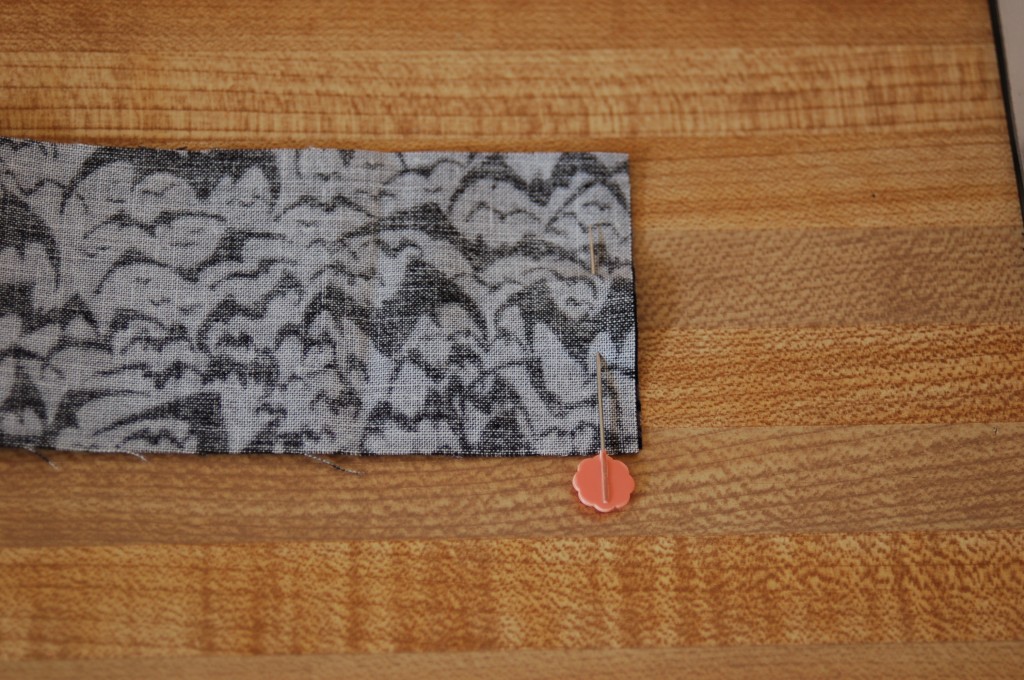
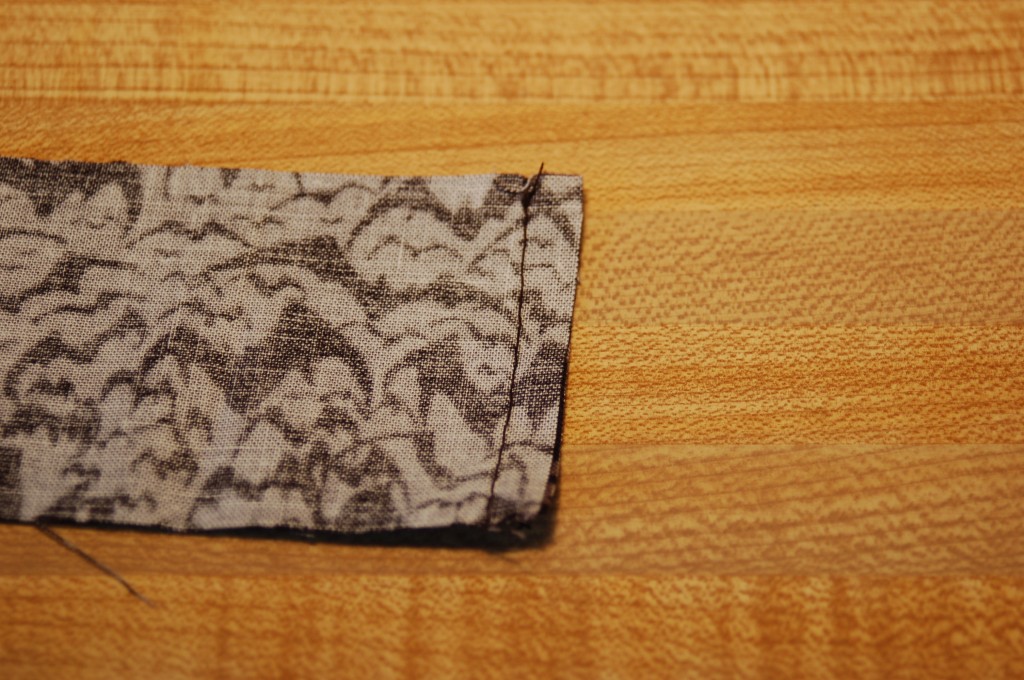
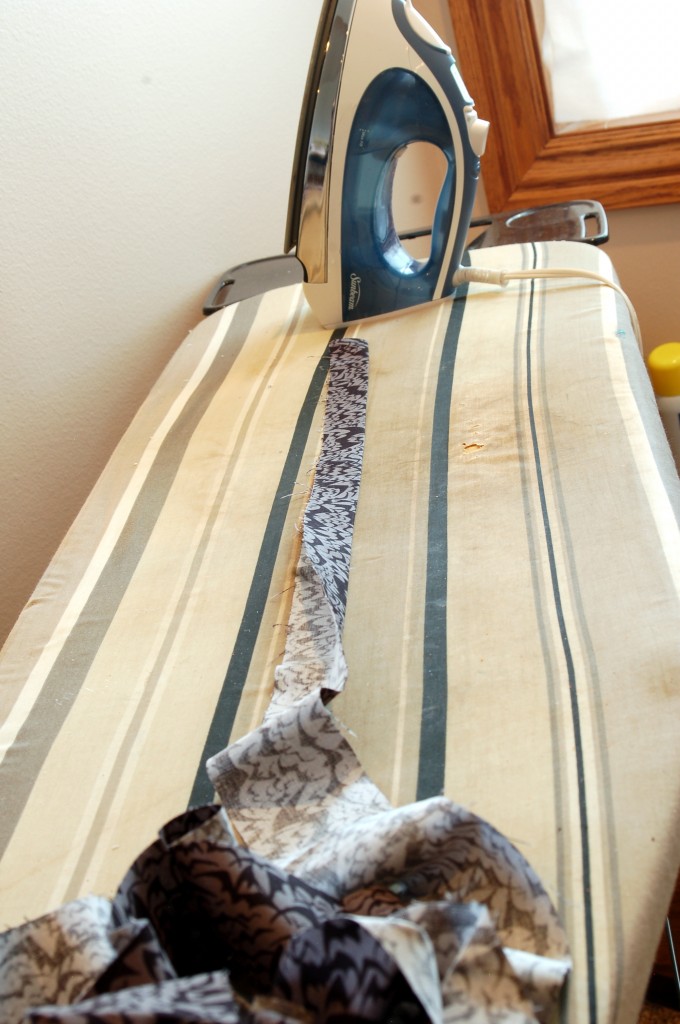
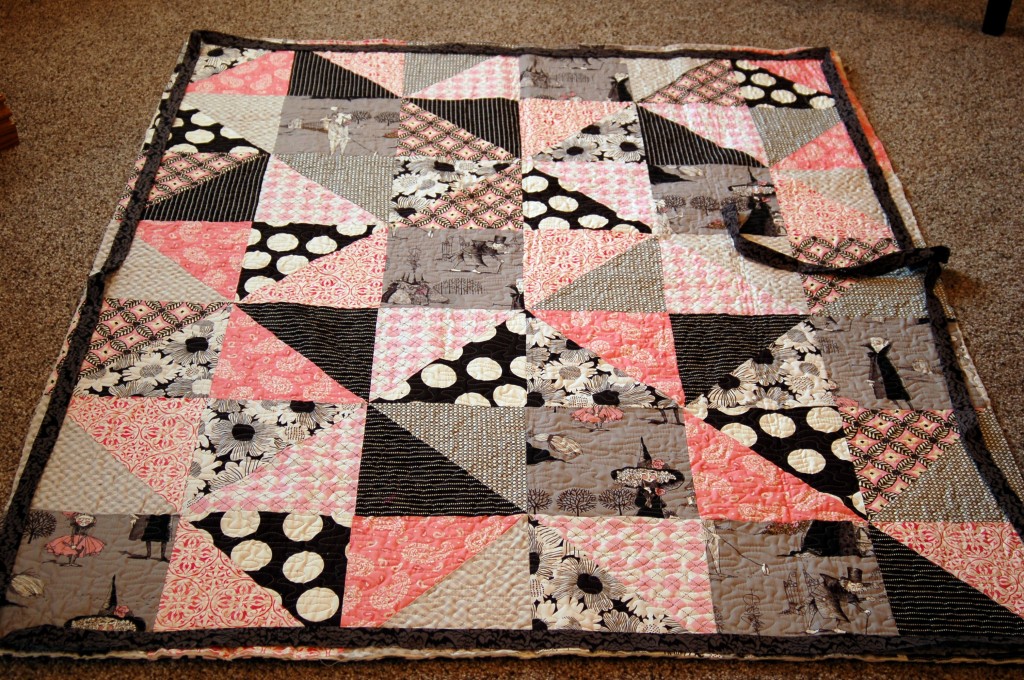
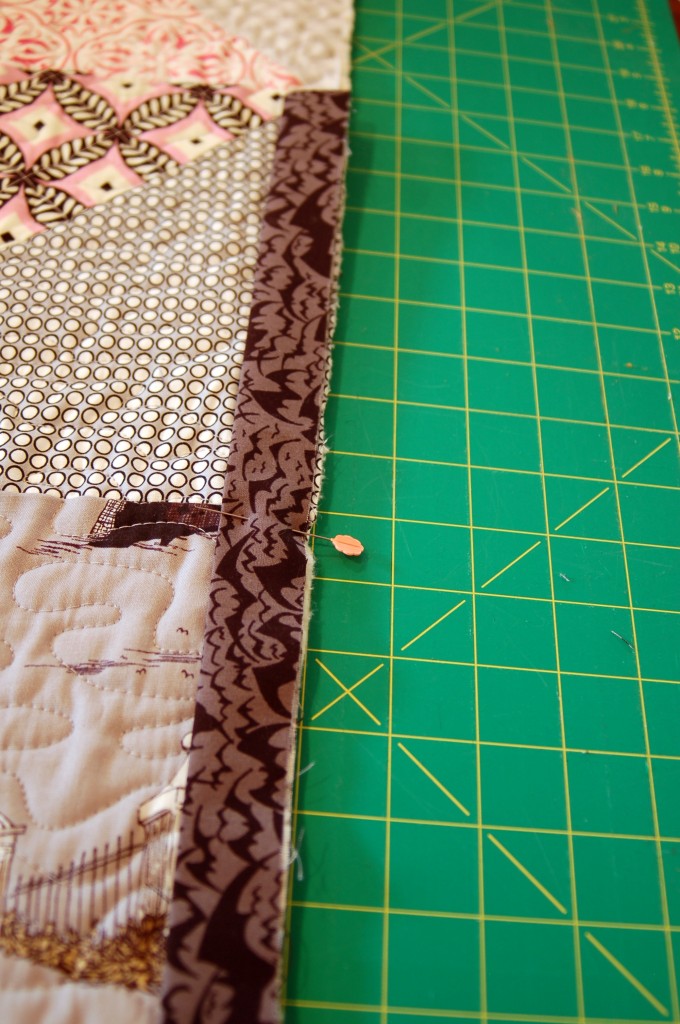
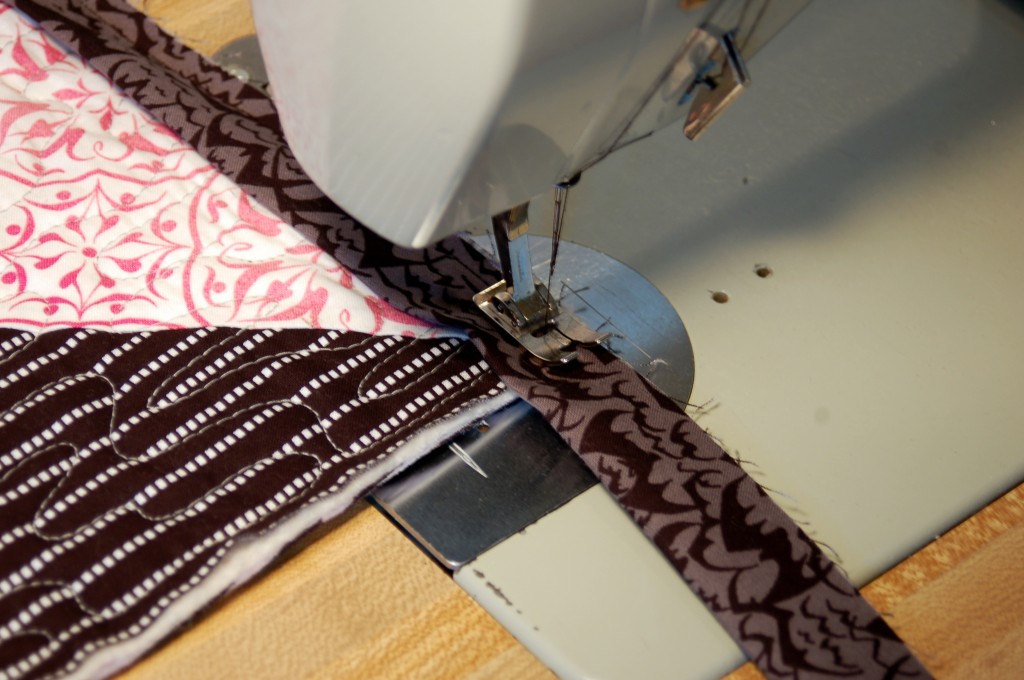
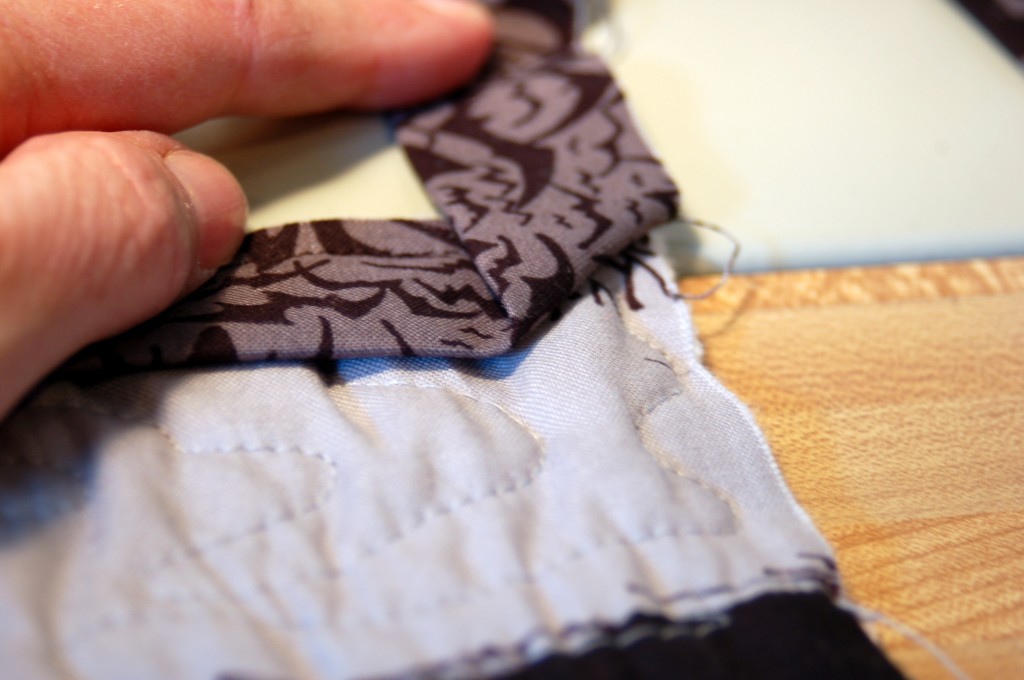
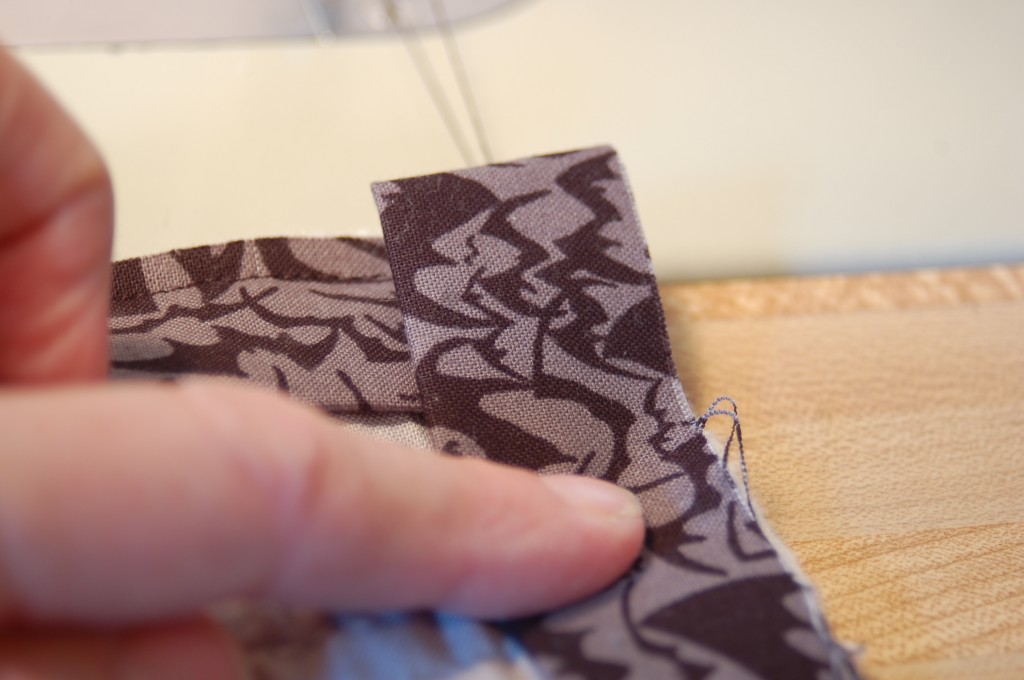
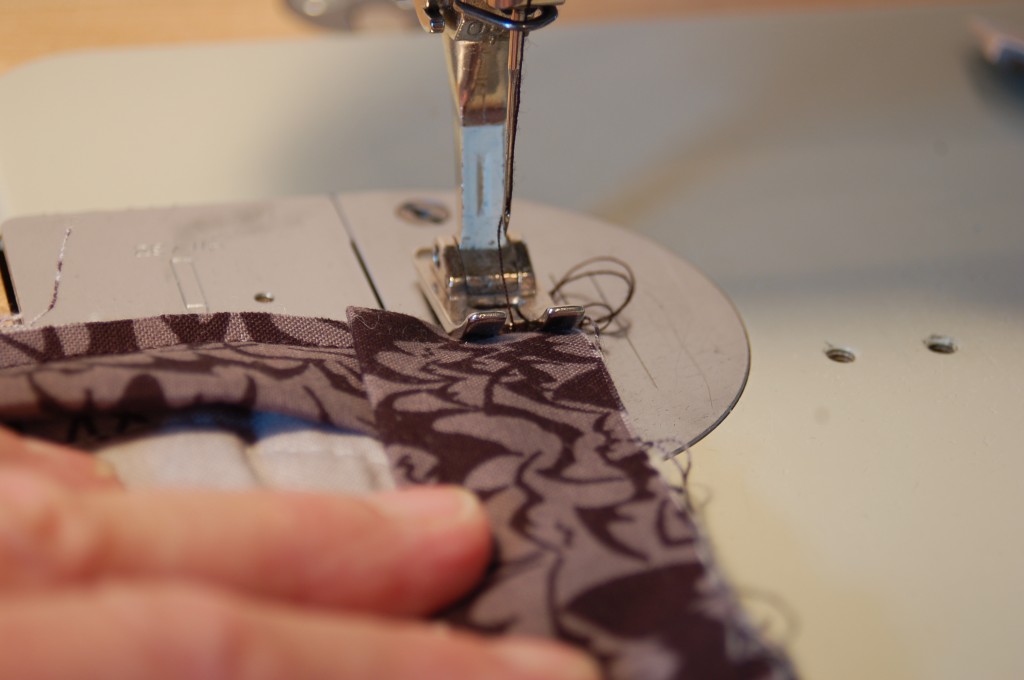
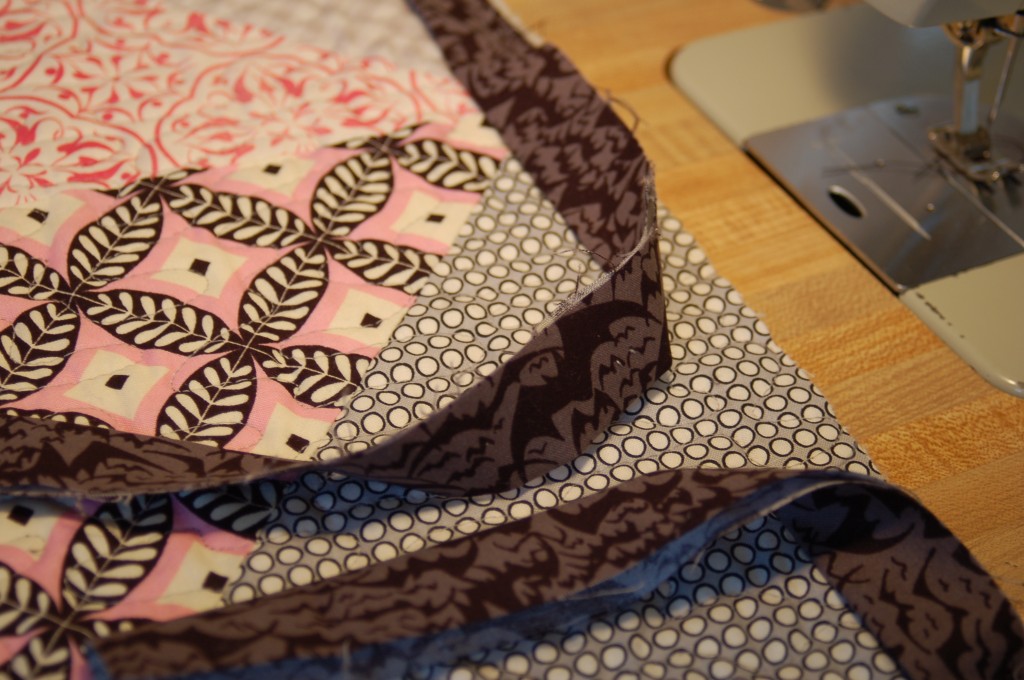
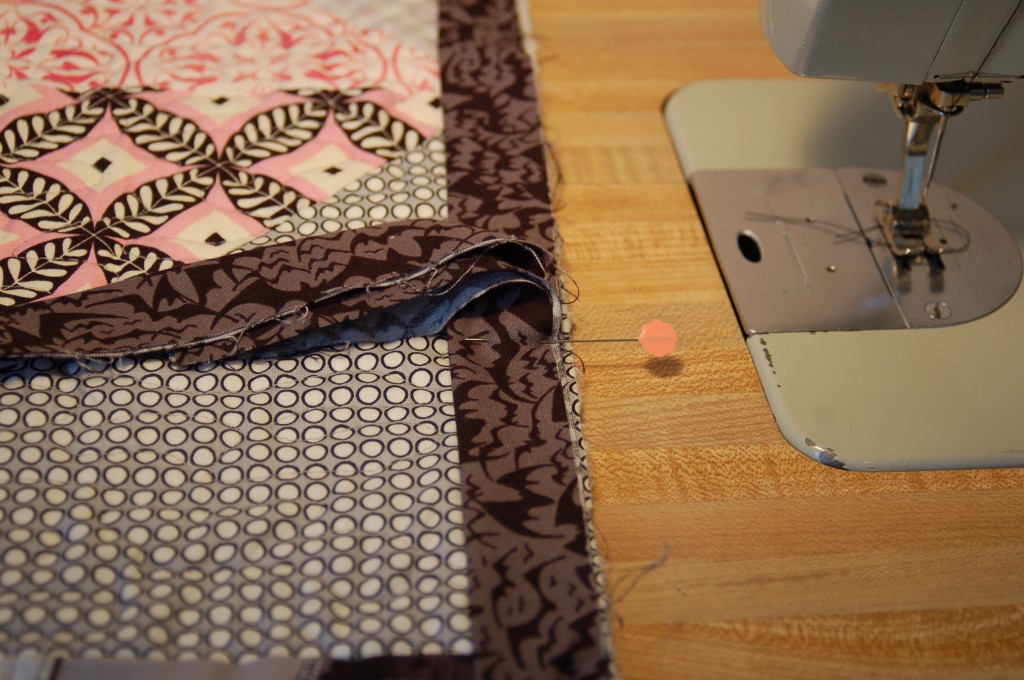
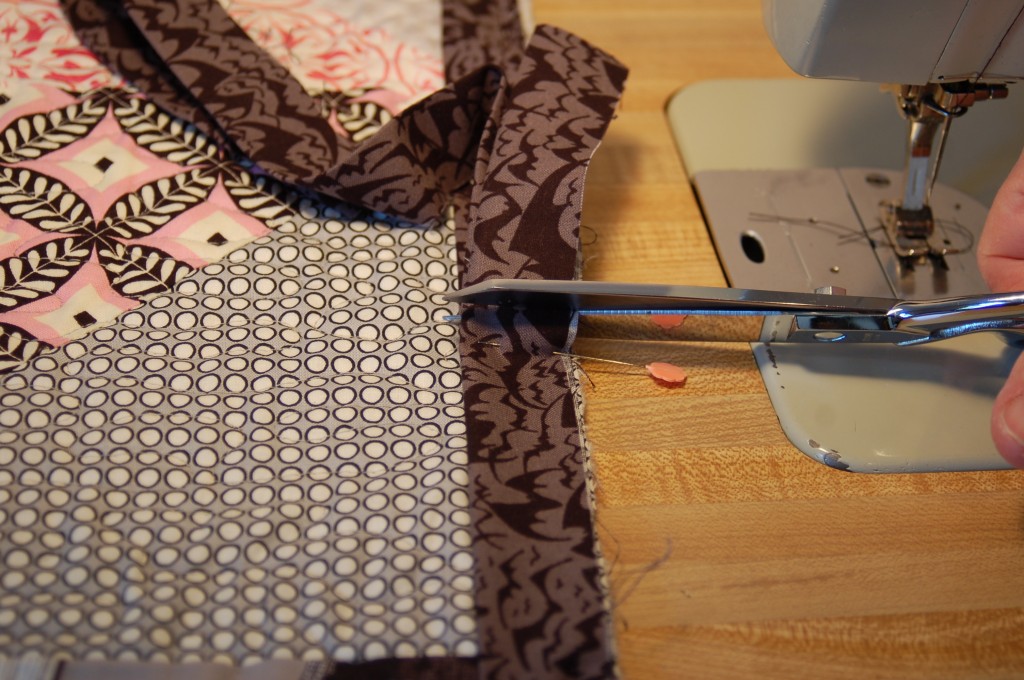
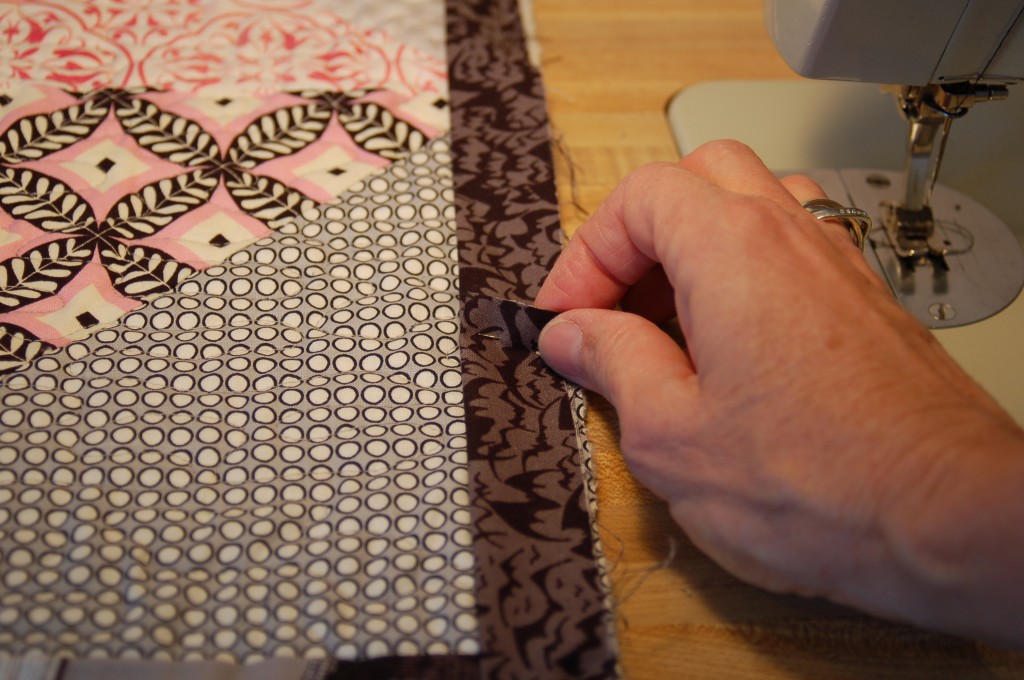
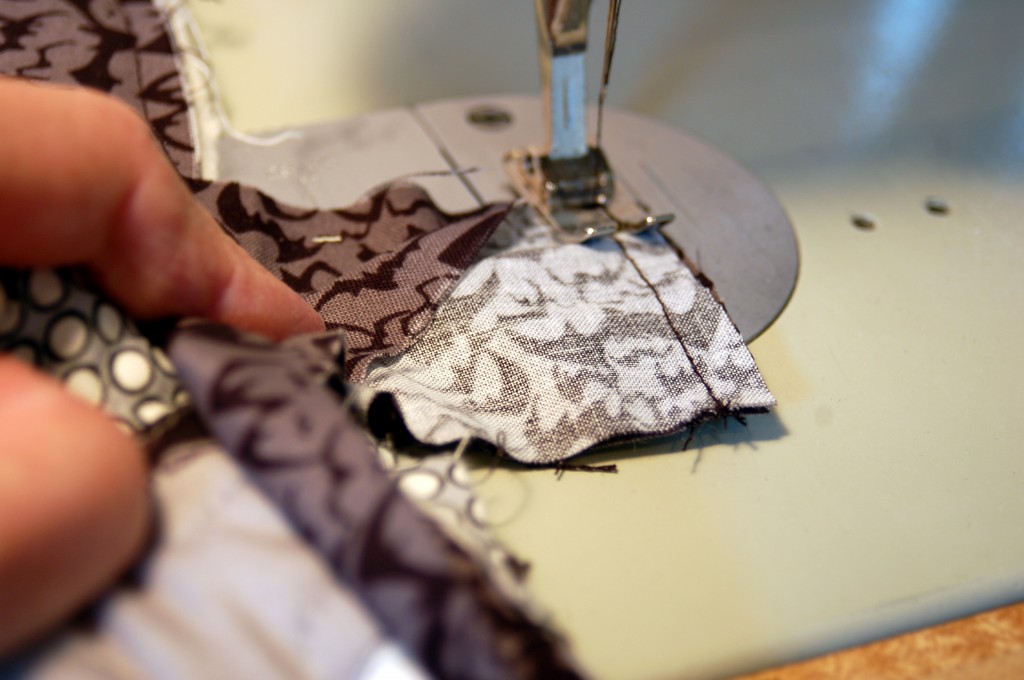
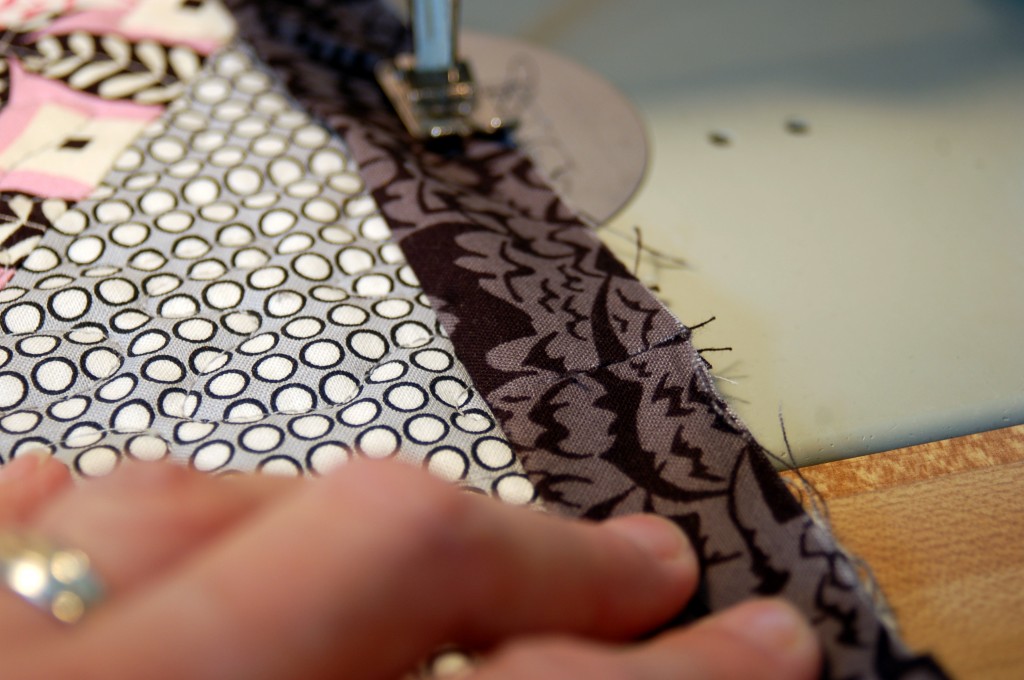
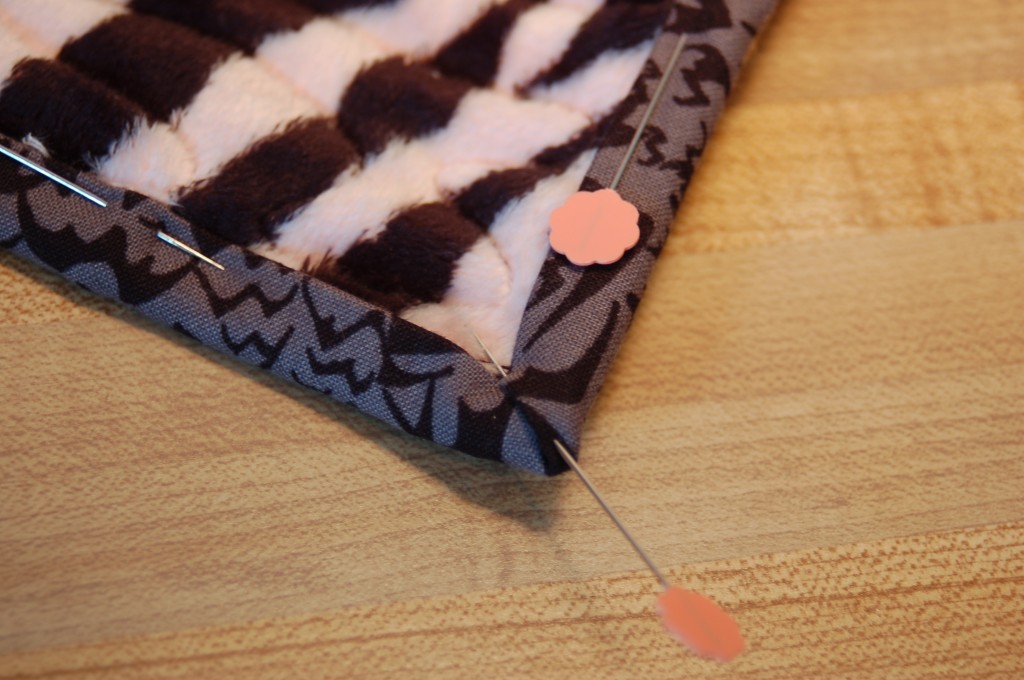
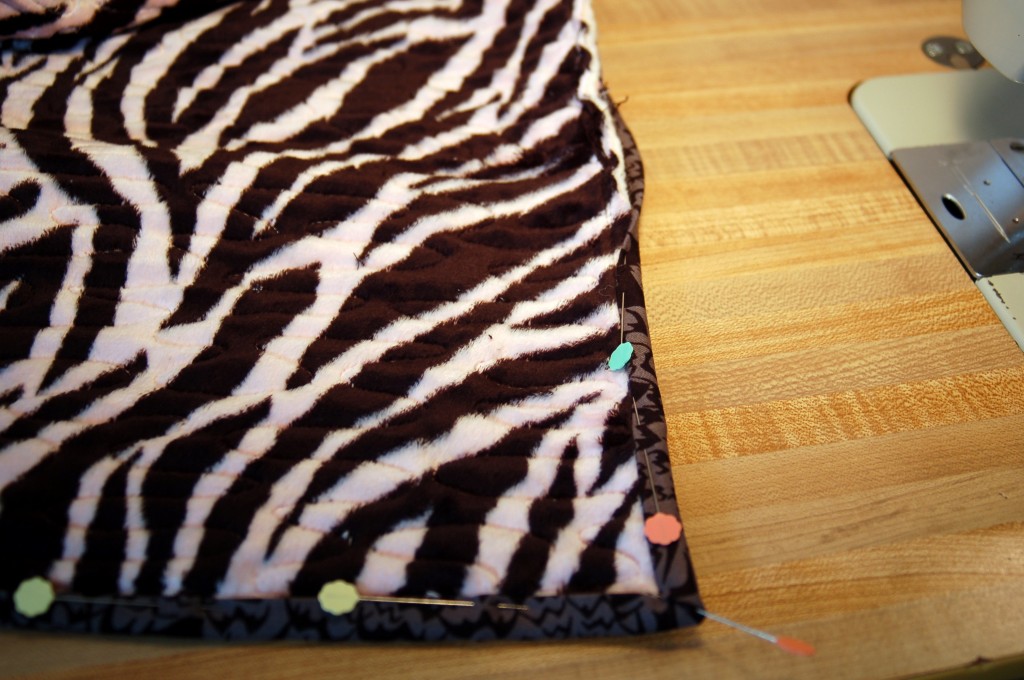
Cut off all the selvages.Pin two strips right sides together.With right sides together, sew a 1/4″ seam.  Continue sewing all the strips together into one long strip, until you have enough to go all the way around your quilt.  I used 6 strips for this quilt. It is just a small lap quilt.Then fold the strip in half wrong sides together and press with a steam iron.  (Don’t you love the ironing board cover?  I guess it is about time for a new one, but you can tell that it has been well loved!)  :)Roughly measure the strips all the way around your quilt, making sure that you have no seams meeting right at the corners.  Adjust where you start, if a seam meets at a corner.Pin where you started marking the binding.  You do not need to pin all the way around you just need to pin the start.  You will want to start sewing about 6-8″ away from the end of the strip. (This is so you can finish off the end of the binding)Start sewing the binding on with 1/4″ seams. Sew to within 1/4″ of the corner.You are going to turn your quilt, but not with the needle down.  Lift the needle (You do not cut the thread either)  turn the quilt and binding  and lift the binding to make a 45 degree angle to the corner.Then fold the binding straight down on top of the 45 degree angle.Put your quilt under your pressure foot and start sewing a 1/4″ seam down your second side.Repeat this process for the other 3 corners and sides.  When you get back around to where you started, quit sewing about 6″ before you get to the other tail.Take quilt out from the machine holding both strips together put a pin in where they meet.Cut off the excess binding 1/4″ away from your pin.Like this.Then open up both of the binding ends and with right sides together you will sew a 1/4″ seam.  This is a little bit hard especially if you have not left enough room to work with.  But just bunch up the quilt a little bit until you can stitch the ends together.Then refold the binding and I just do a finger press here.  Continue sewing the binding to the quilt and it will come out exactly to the right measurement!Next come the most time consuming part. So plan for a good tv show or an evening or two to sew around the binding by hand.  You will want to pin as you go to hold the binding in place.  You are wrapping the binding around to the back and doing a blind stitch on the back of your quilt.  Be sure to take tiny stitches!  Like I said this is the most time consuming! When you come to the corners, they will just automatically lay into place.  Fold one side down and the other side will fold to a point!   How cool is that!So there you have it.  Not so bad Huh?  And look at how beautifully it finishes the edge of a quilt!  (My quilt was machine quilted, and my quilter always sews a seam all around the edge and trims it for me.  If you are quilting your own quilt, be sure to do this before you start to put the binding on, so that the top and bottom are even.

Happy sewing!  I would love to hear of your quilting projects if you are willing to share!

Imelda Marcos’ Worst Nightmare!

One of my husband’s nickname for me is “Imelda” and my reply to that is, “I wish!” But I am sure that this post would be her worst nightmare…

A SHOE MAKE-OVER!

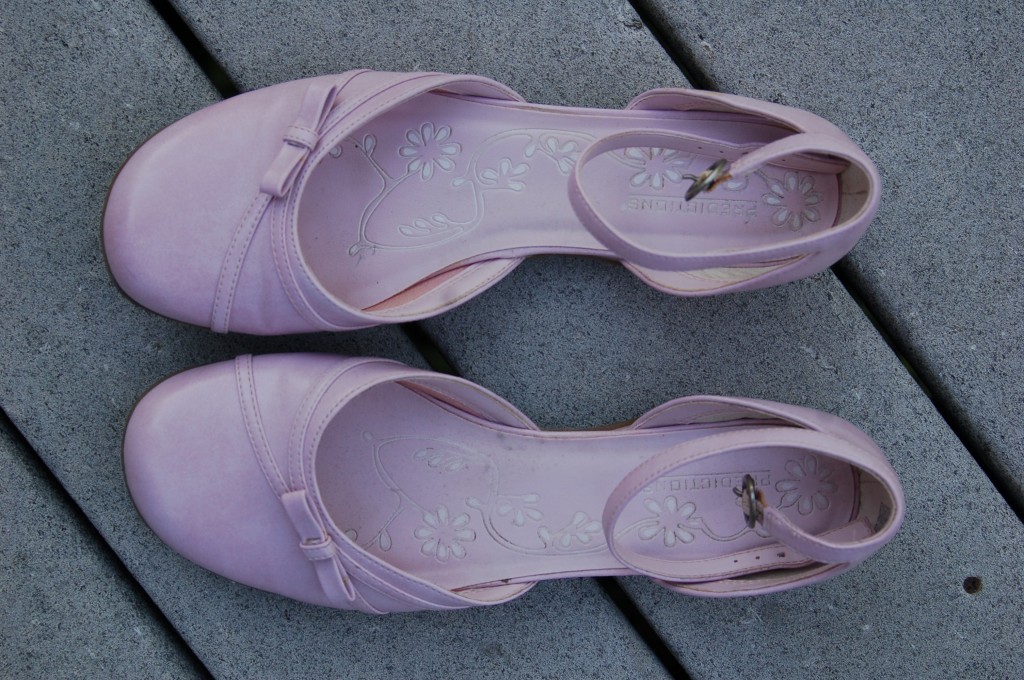
My niece told me about a shoe makeover that she had done and so I decided to try it out.  I had this cute pair of shoes but I had only worn them a couple of times because of the color.  They are not pink and they are not lavendar, they are somewhere in between, and while the color is ok, I just did not have anything to wear them with, thus, the makeover!

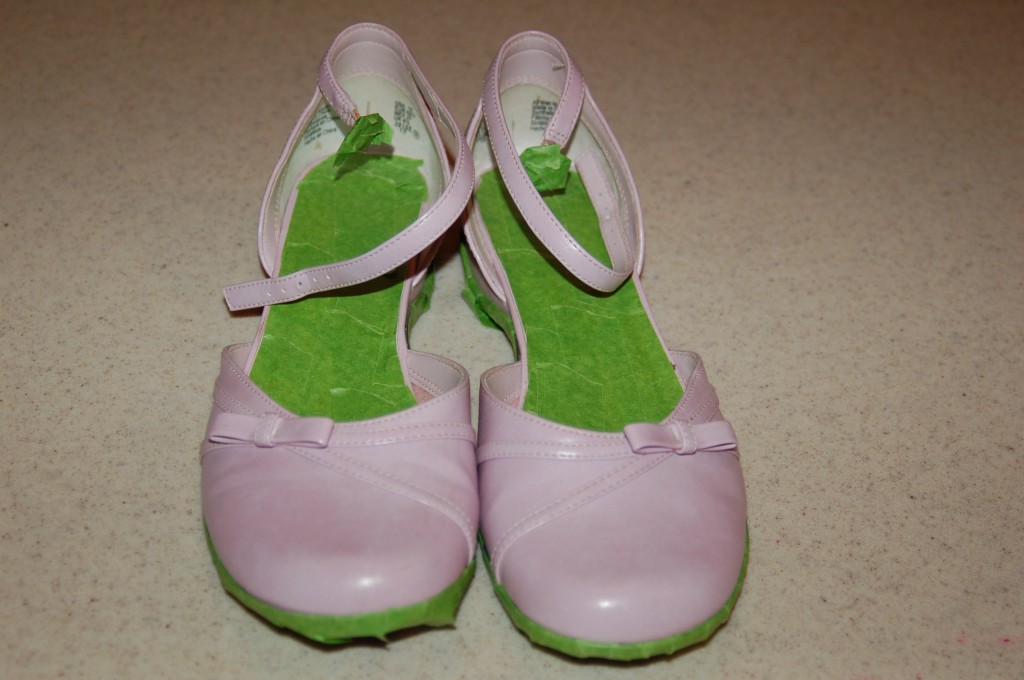
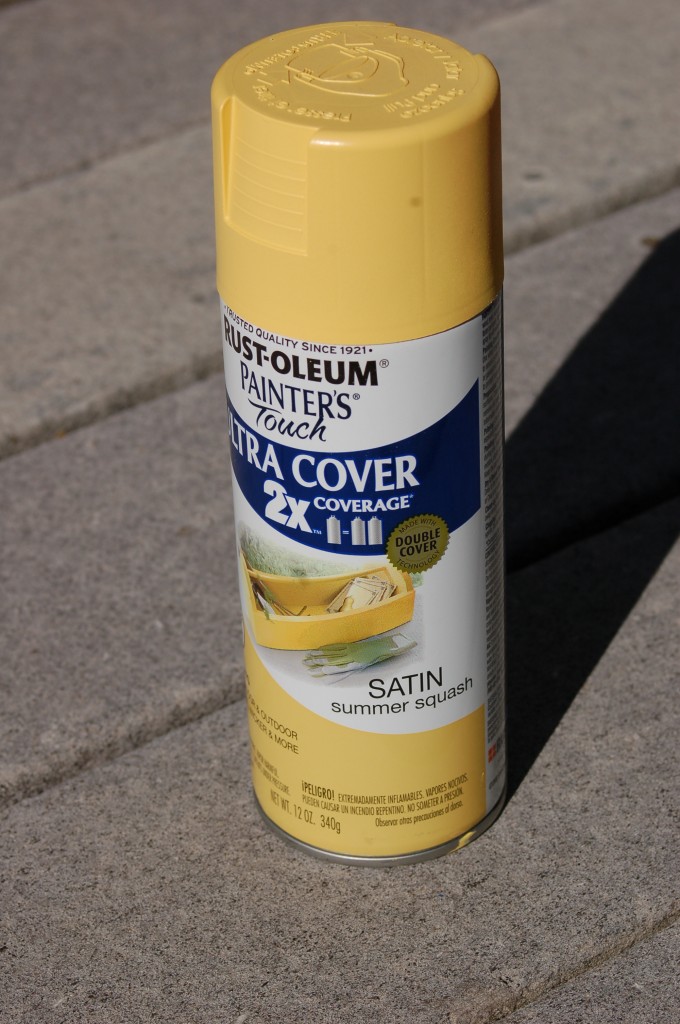
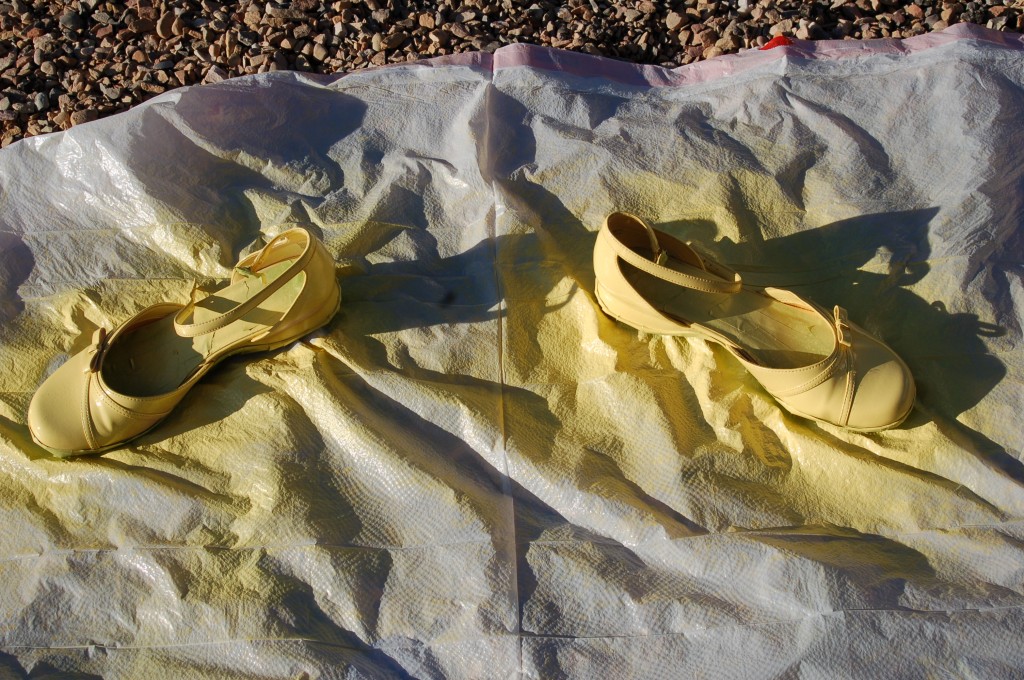
First, you have to tape all around the sole and the inside of the shoes.  This part took the longest by far.  I had a hard time getting the painters tape to stick to the rubber sole.  I had to just use little pieces to make them contour around the toe and the heel.  You will also want to tape the inside so your foot is not touching the spray paint.  I covered the buckle because I wanted it to remain the same color.I used this ultra cover paint because it really does cover better than the regular spray paint. (And the fact that I already had the paint, so this make-over cost me nothing but my time!  My husband also really likes that.)I gave them three light coats with quick, short sprays.Remove all the tape and enjoy a new pair of shoes!

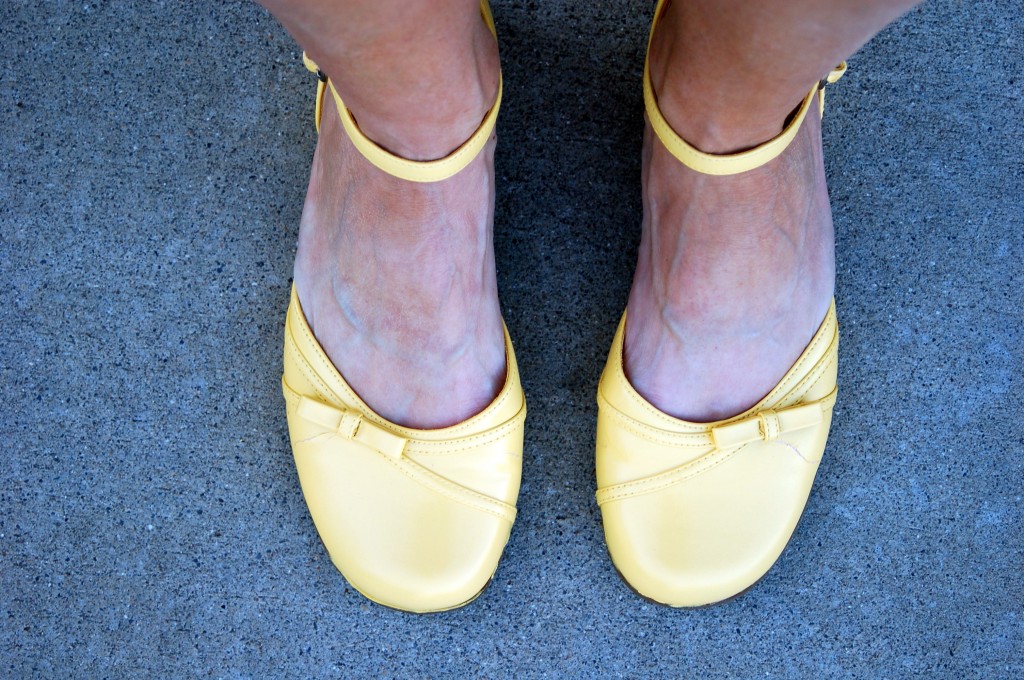
This next picture reminds me of the book series “No.1 Ladies Detective Agency” where Mma Mukutsi says that her shoes talk to her and they compliment her or give her advice.  If these shoes could talk I think that they would say “we look great, thanks Mma Mukutsi!”So what do you think!  They match this sweater perfectly and I have a whole new looks with these shoes!

These shoes are fun, but I am afraid that the paint is going to scratch easily, so I will not wear them for every day. (but I can always touch them up with another quick spray of paint if I need too!)