I promised everyone that I would have an idea to go with the fall banner that I posted here.
This is a fun, super easy fabric fall bunting. They are quite the thing right now and I can see why so many people love them. They are fast, easy, inexpensive and they add so much to your decor or to any party! You can make a bunting out of fabric, paper, wood, metal, or just about any medium that you can think of! Here is my bunting on my fireplace, but you coulld hang it above your Thanksgiving table, drape it over a picture or a chalkboard, or in a window. So many possibilities!
 So let’s get started making a fabric bunting! I made this bunting double sided so that if I hang it over my island in the kitchen, it looks great from both sides.
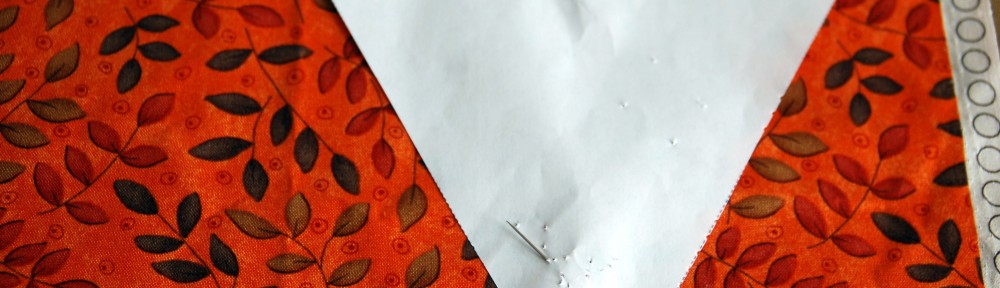
First make a pattern. I used a 7 inch triangle. Pin to your fabric with wrong sides together. Right sides out obviously:) This is a great way to use up all of your fabric scraps, and you can make your triangles as big or as little as you want them to be. I did and odd number of triangles (11) because to me that just looked better.
Cut around your pattern with pinking shears if you have them, if not regular scissors or your trimmer blade will do. Next, sew 1/4 inch seam all the way around through both layers of fabric.
 You will need one package of bias tape, this is the extra wide width and I liked it because it was easier to work with.
 Find the middle of the bias tape and the middle of one of your triangles. Pin the triangle inside the tape. Make sure you have the shorter width of the fold on the front where you will be sewing so that you make sure to catch it in the back when you sew the seam.
 Pin all of the triangles in the bias tape according to how you want them placed.
 Sew your seam close to the edge of the bias tape edge making sure you catch the triangle and the back of the bias tape. This really is simple if you have pinned it all ahead of time. Make sure the triangle edges are touching each other, you can overlap them a bit if you want to, but I just made sure that they were butted right up to each other.
 See how simple and easy that was, and look how much they can add to you fall decor!Here is a picture of my bunting with my fall banner that I posted earlier. I think that they look so cute together! I just think that the possibilites are endless with these buntings!
 You could totally do this bunting with no sewing. Make the triangles only one layer and glue, staple or tape to a fun ribbon, ric rac or cording! Oh the possibilities!
What are some of the fun ways that you decorate for fall? I would love to here from you!