Tag Archives: crafts

Halloween Tree

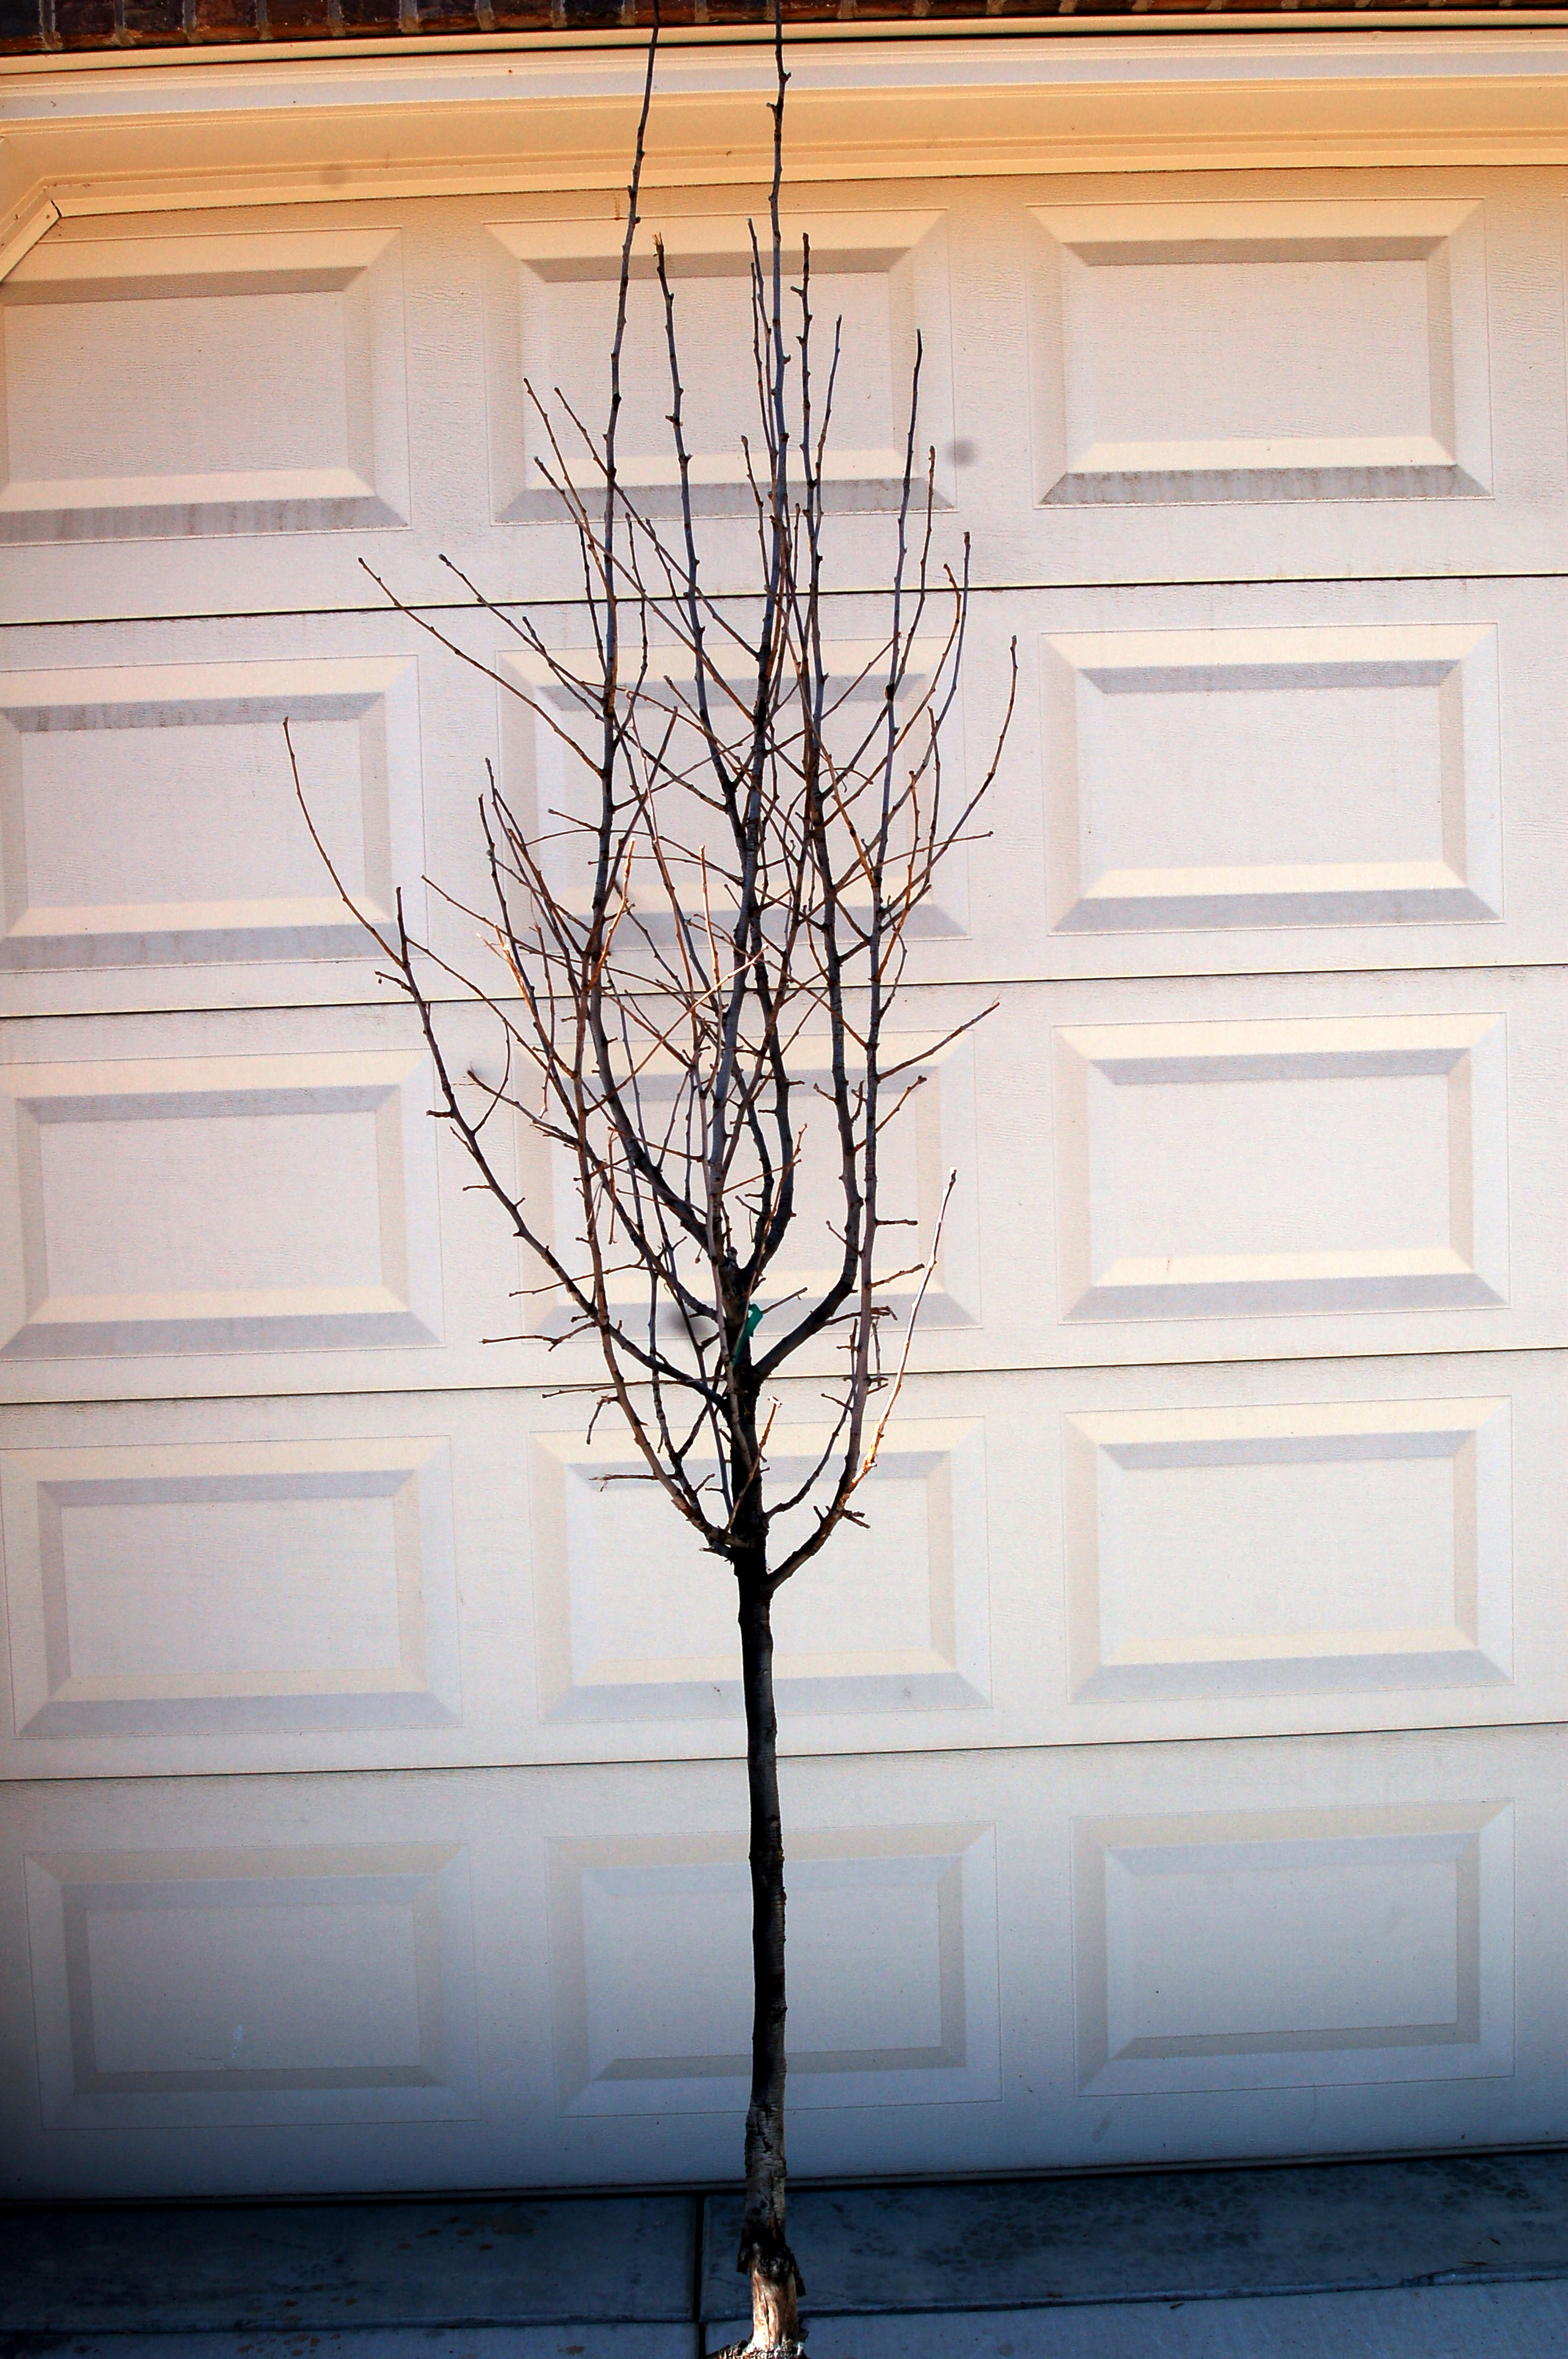
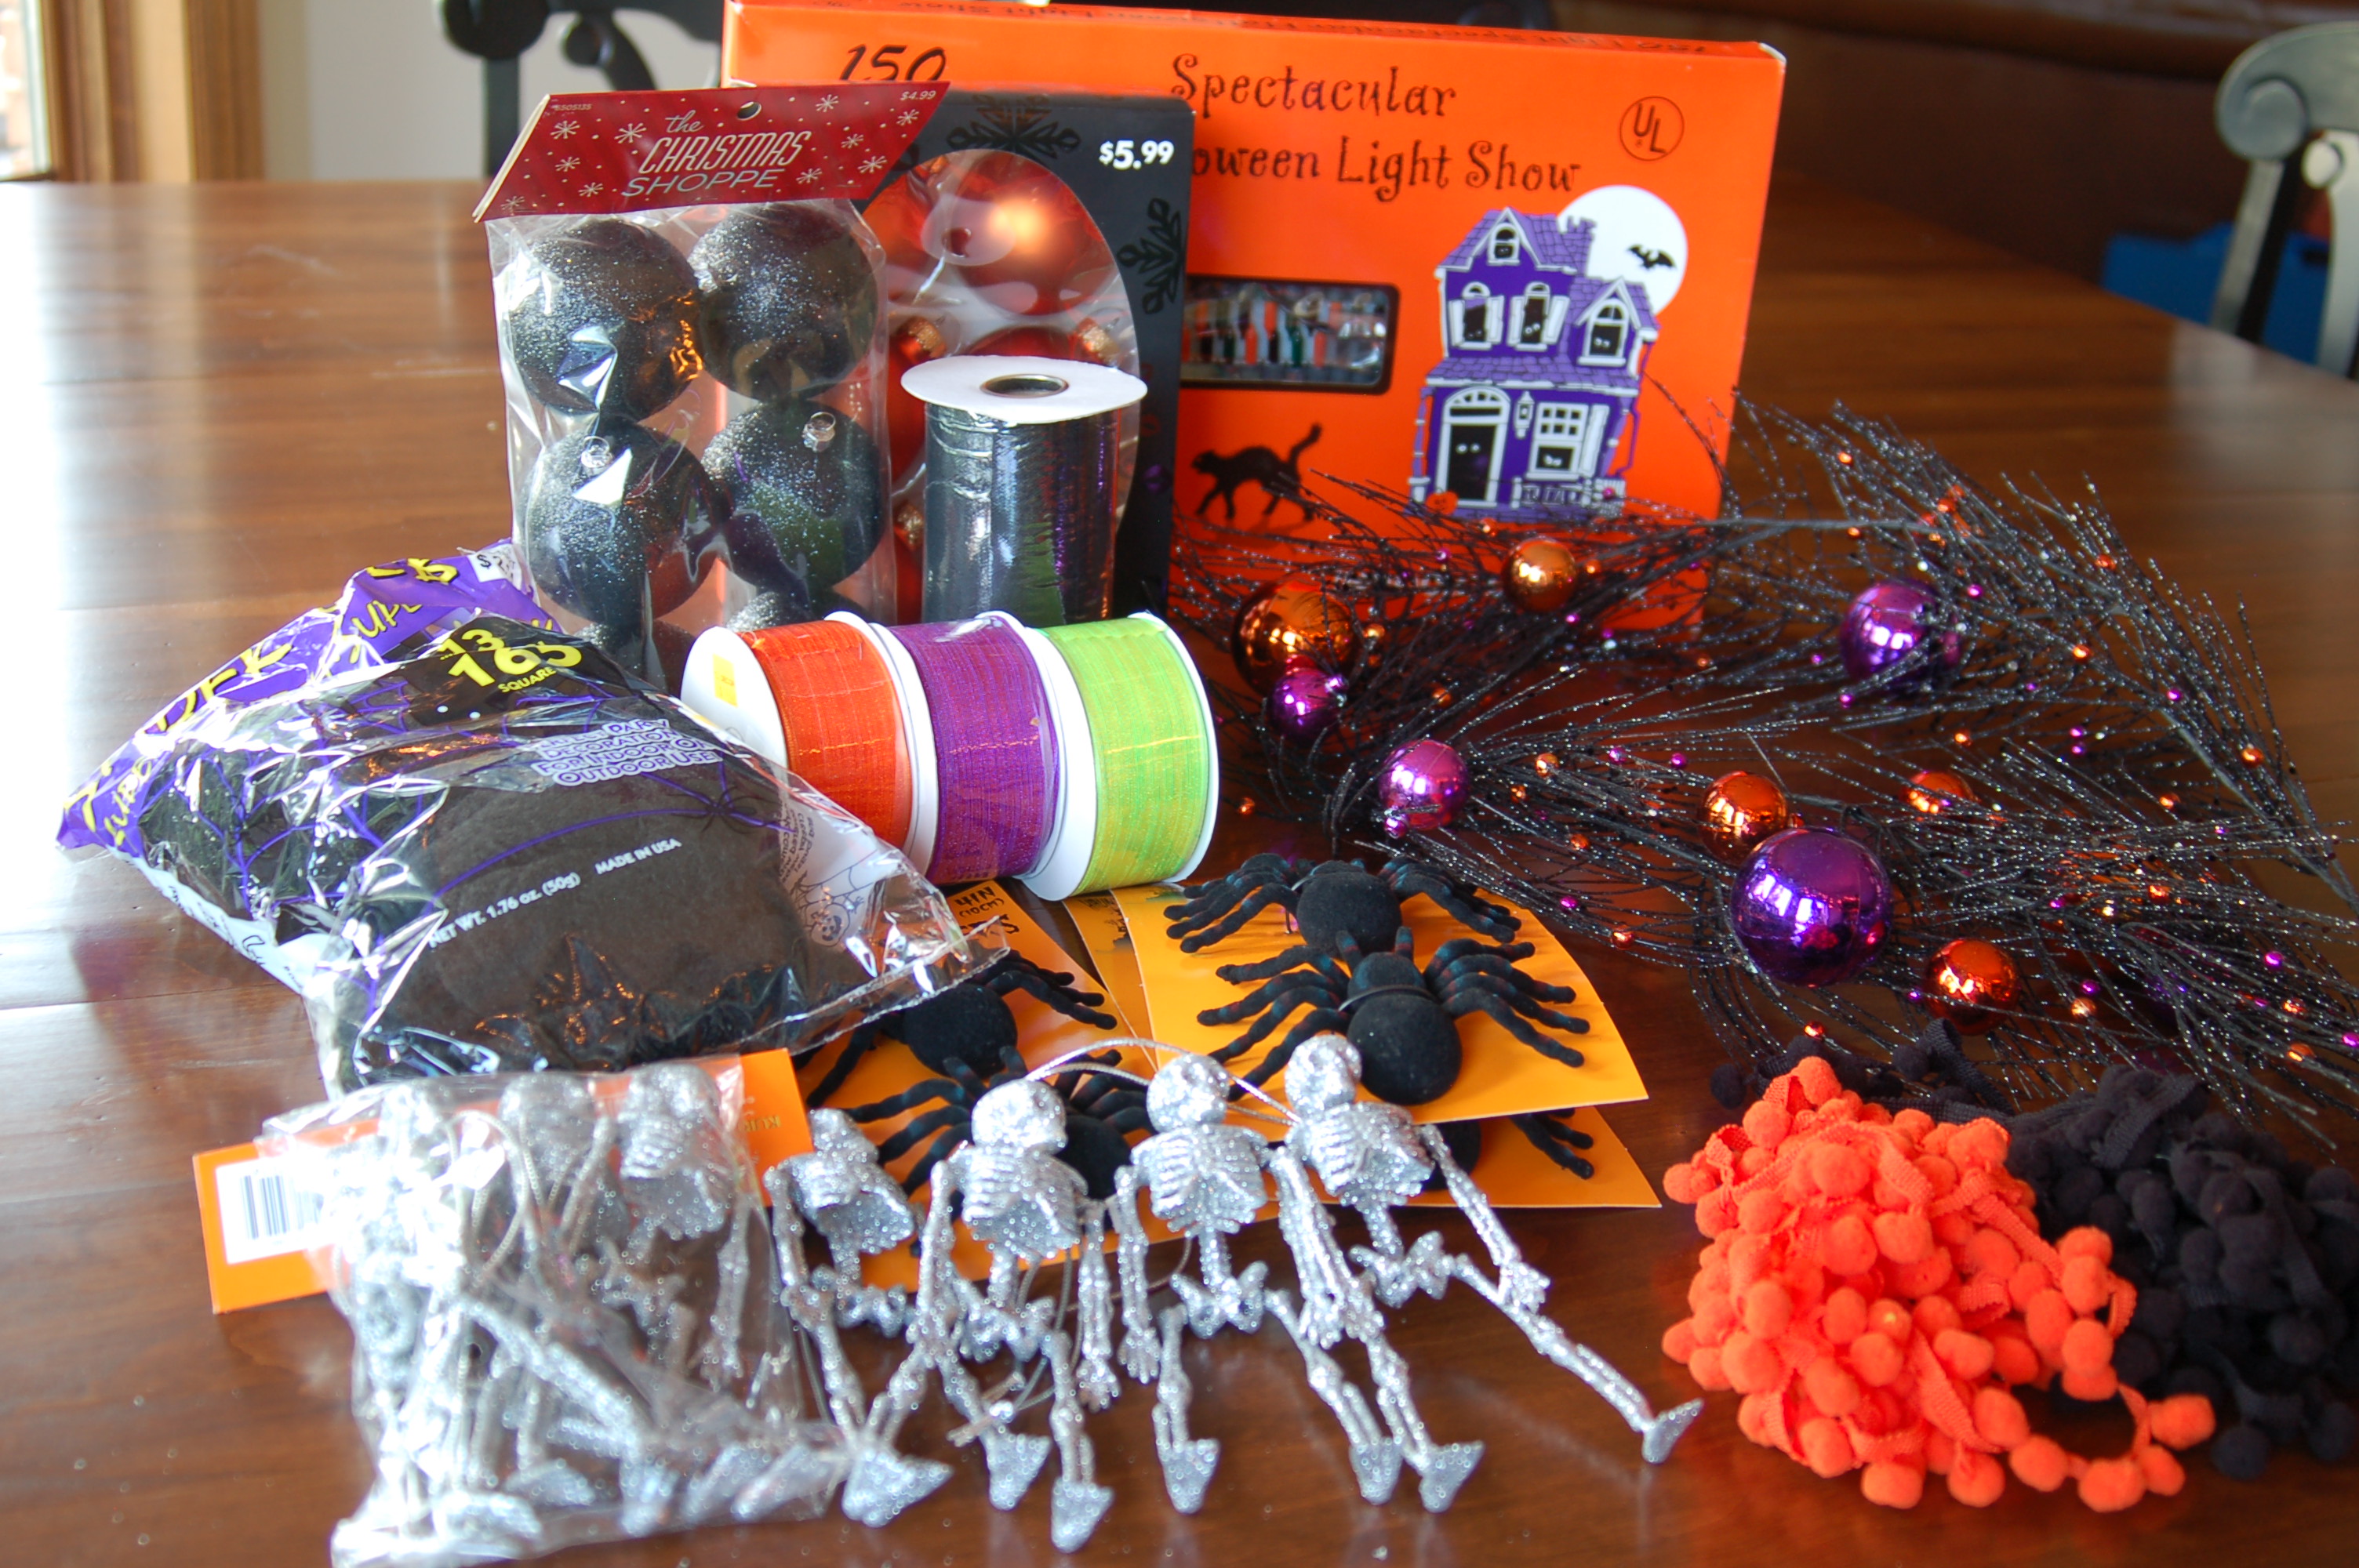
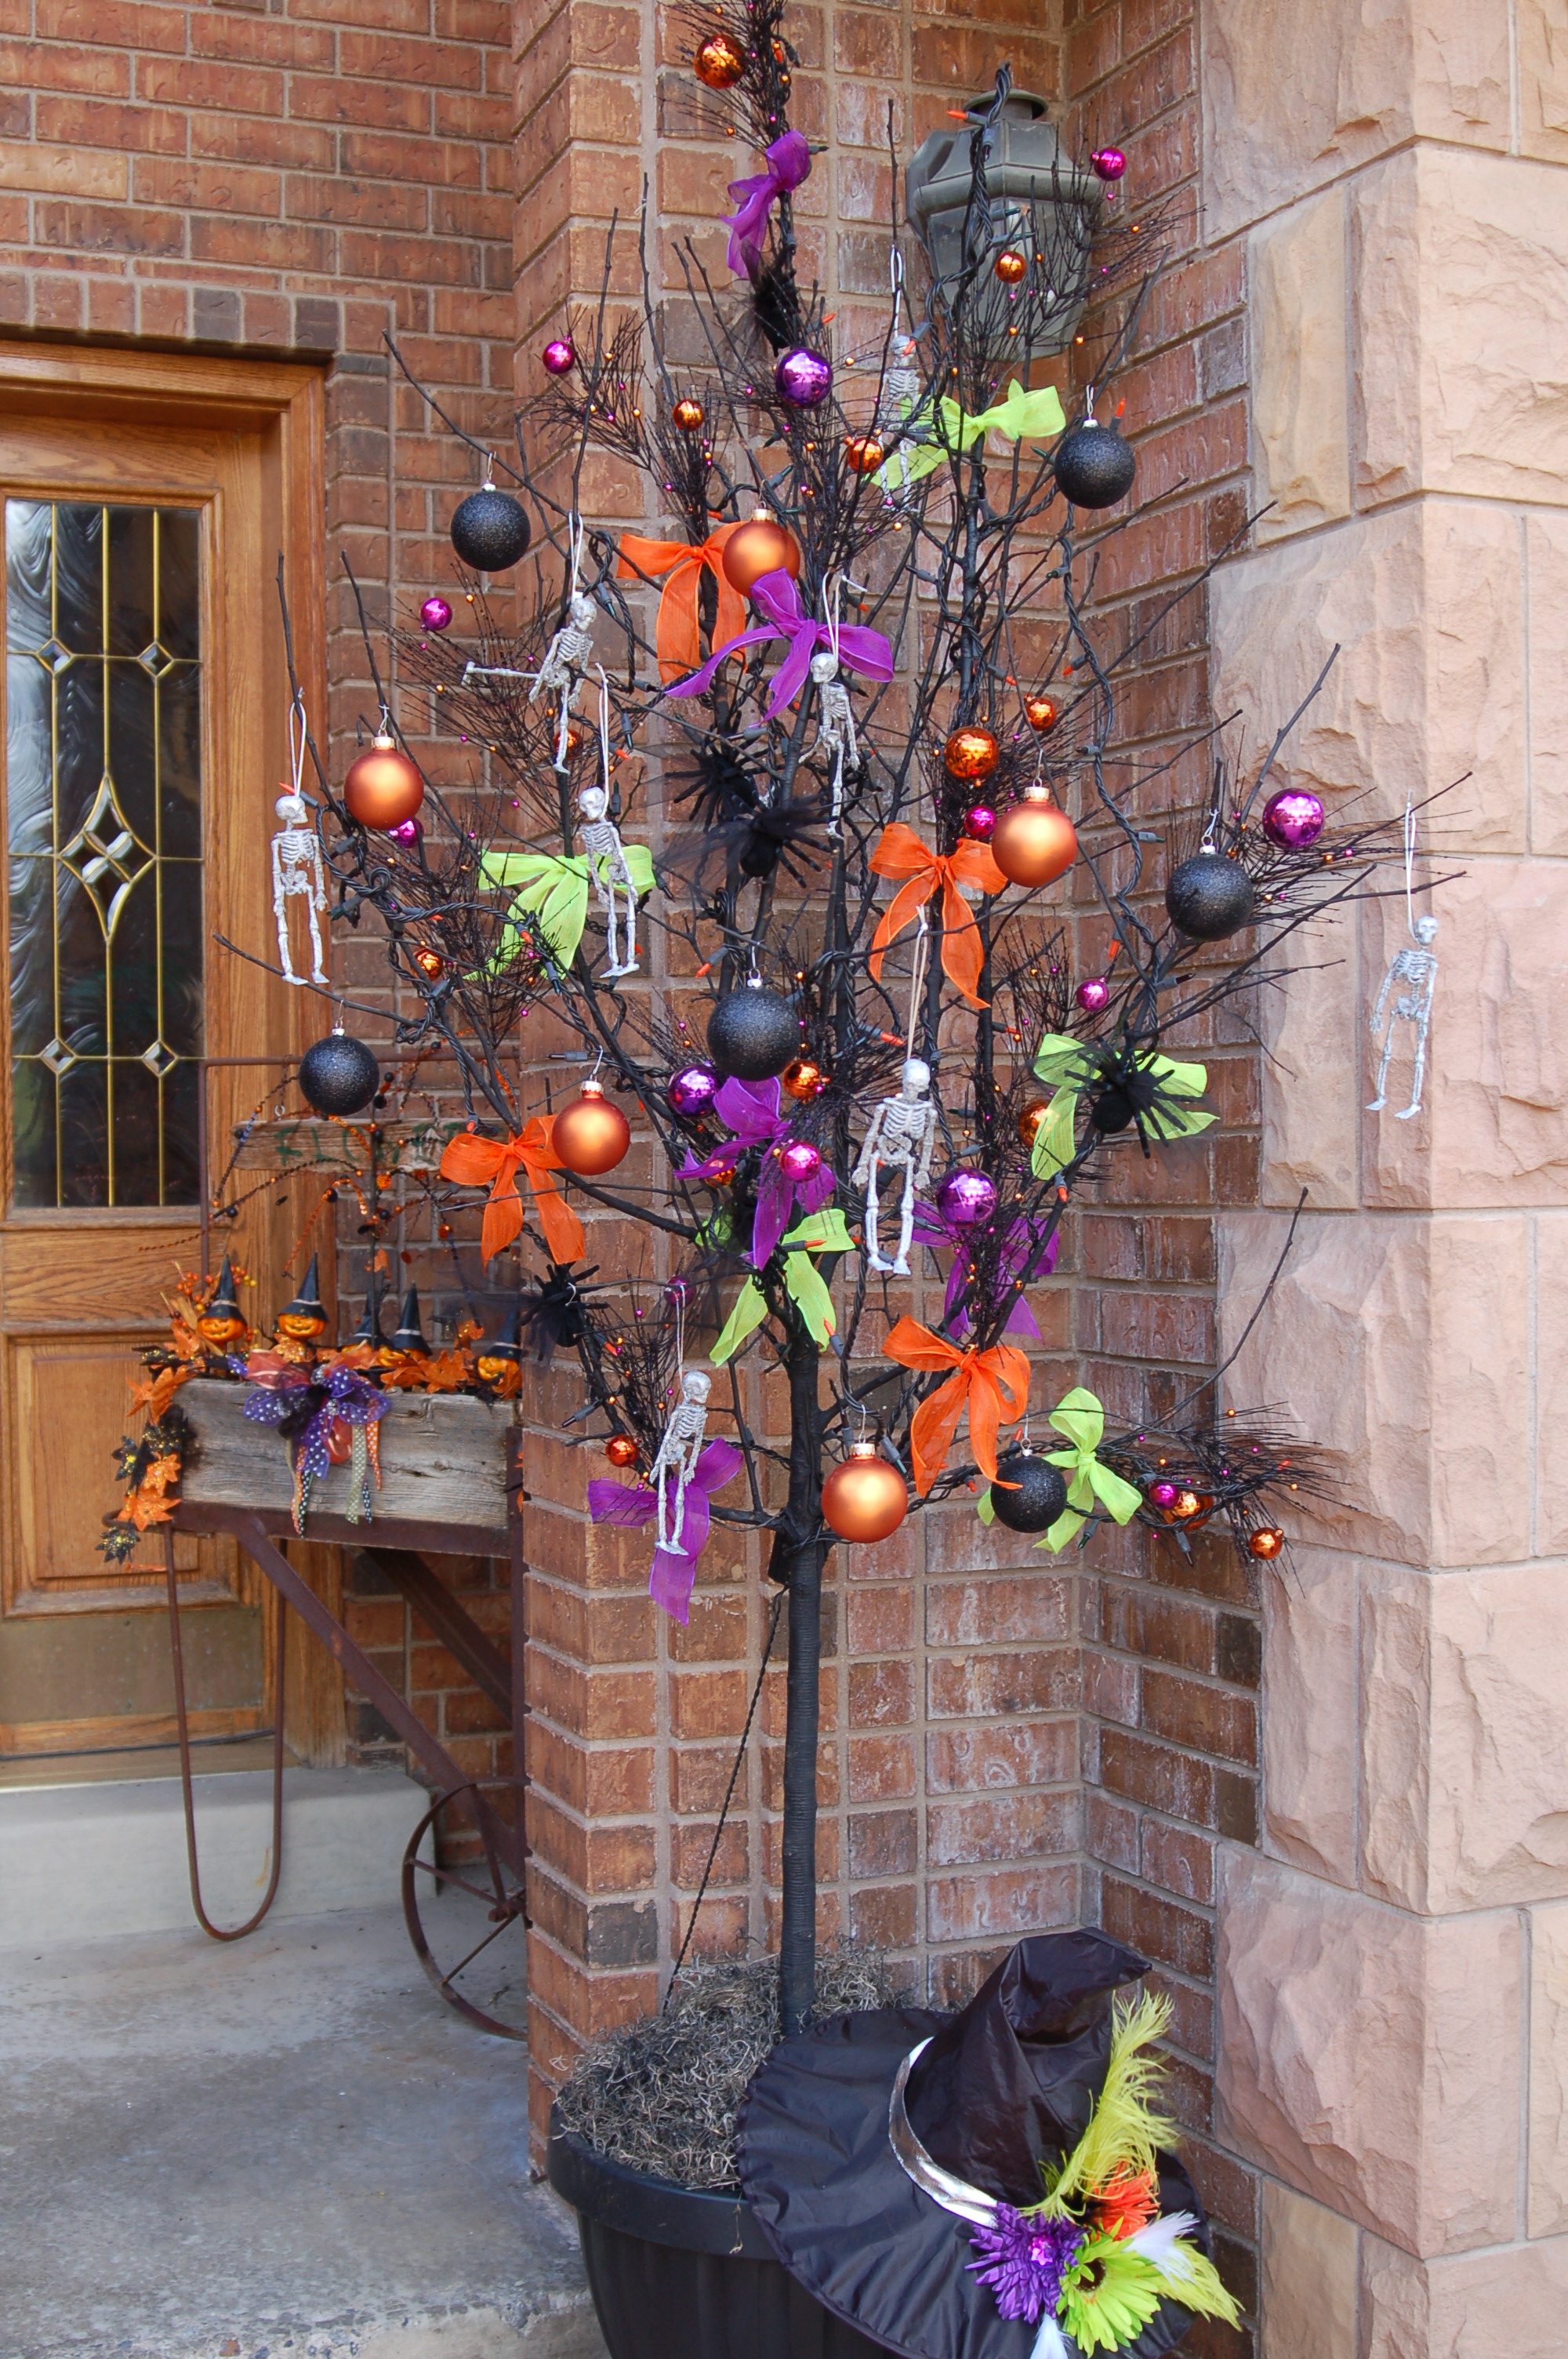
My daughter had this dead tree that she brought over to me and said that it would be perfect for a Halloween tree!  What do you think?

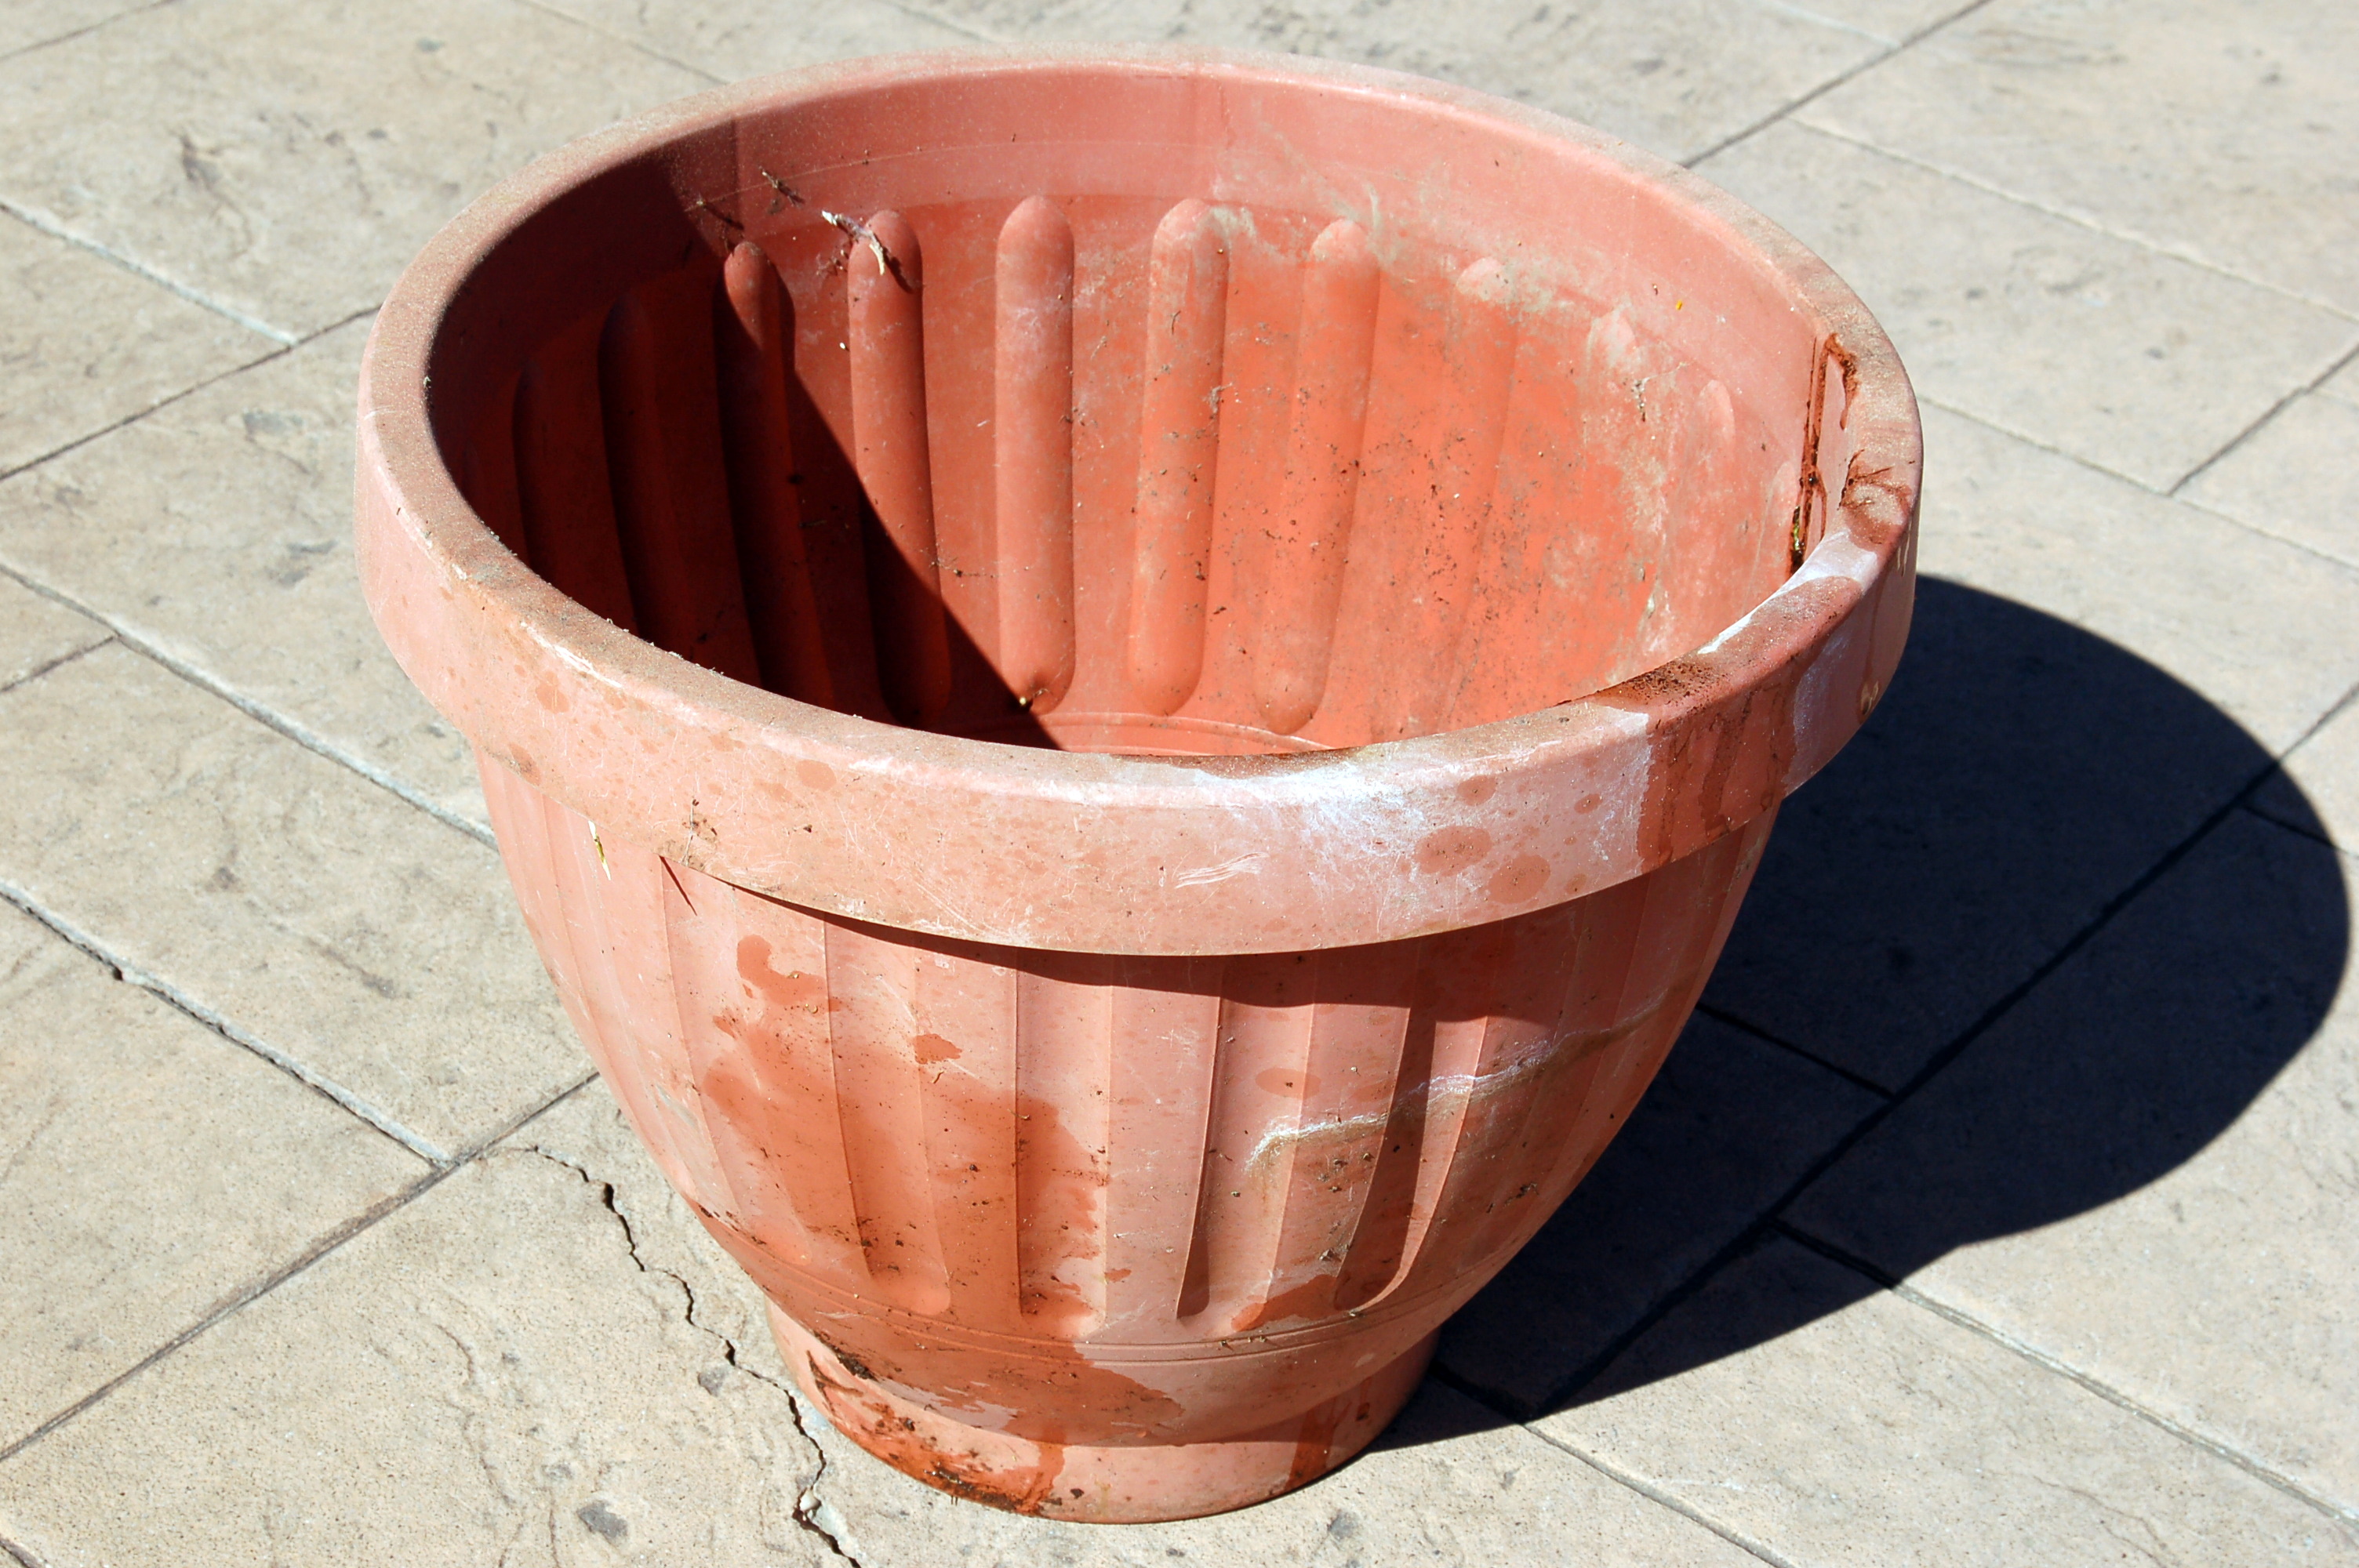
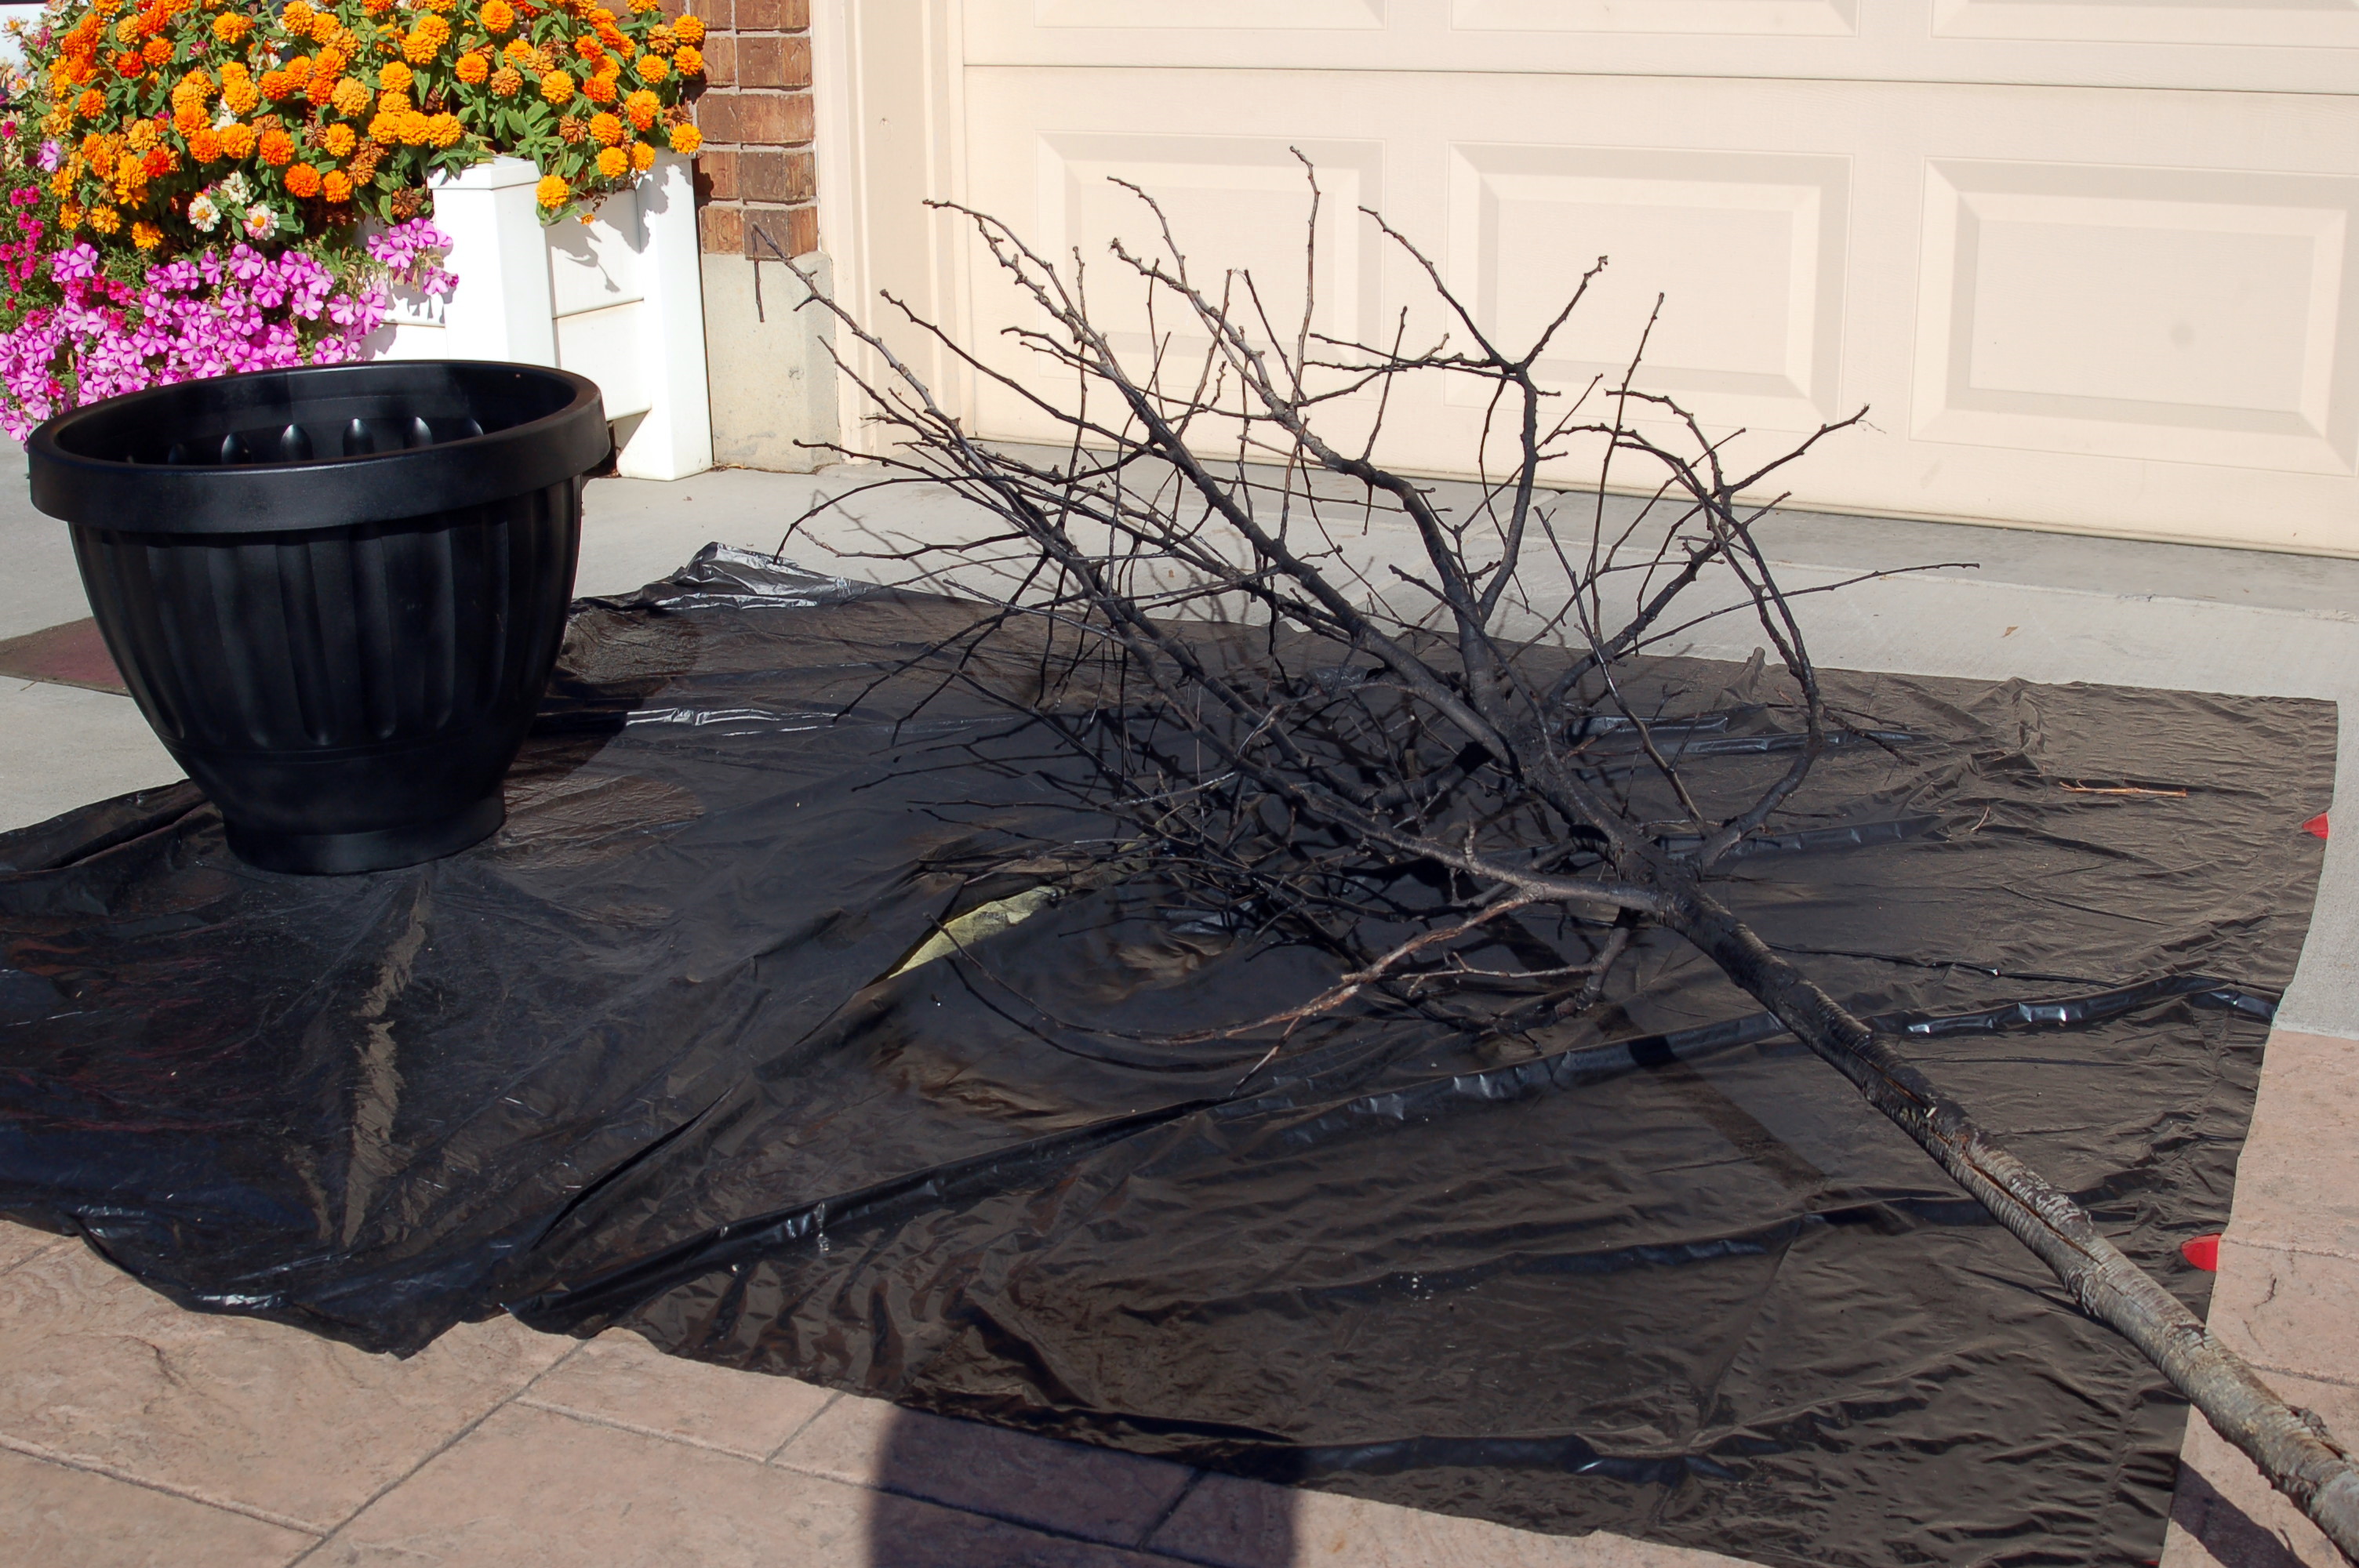
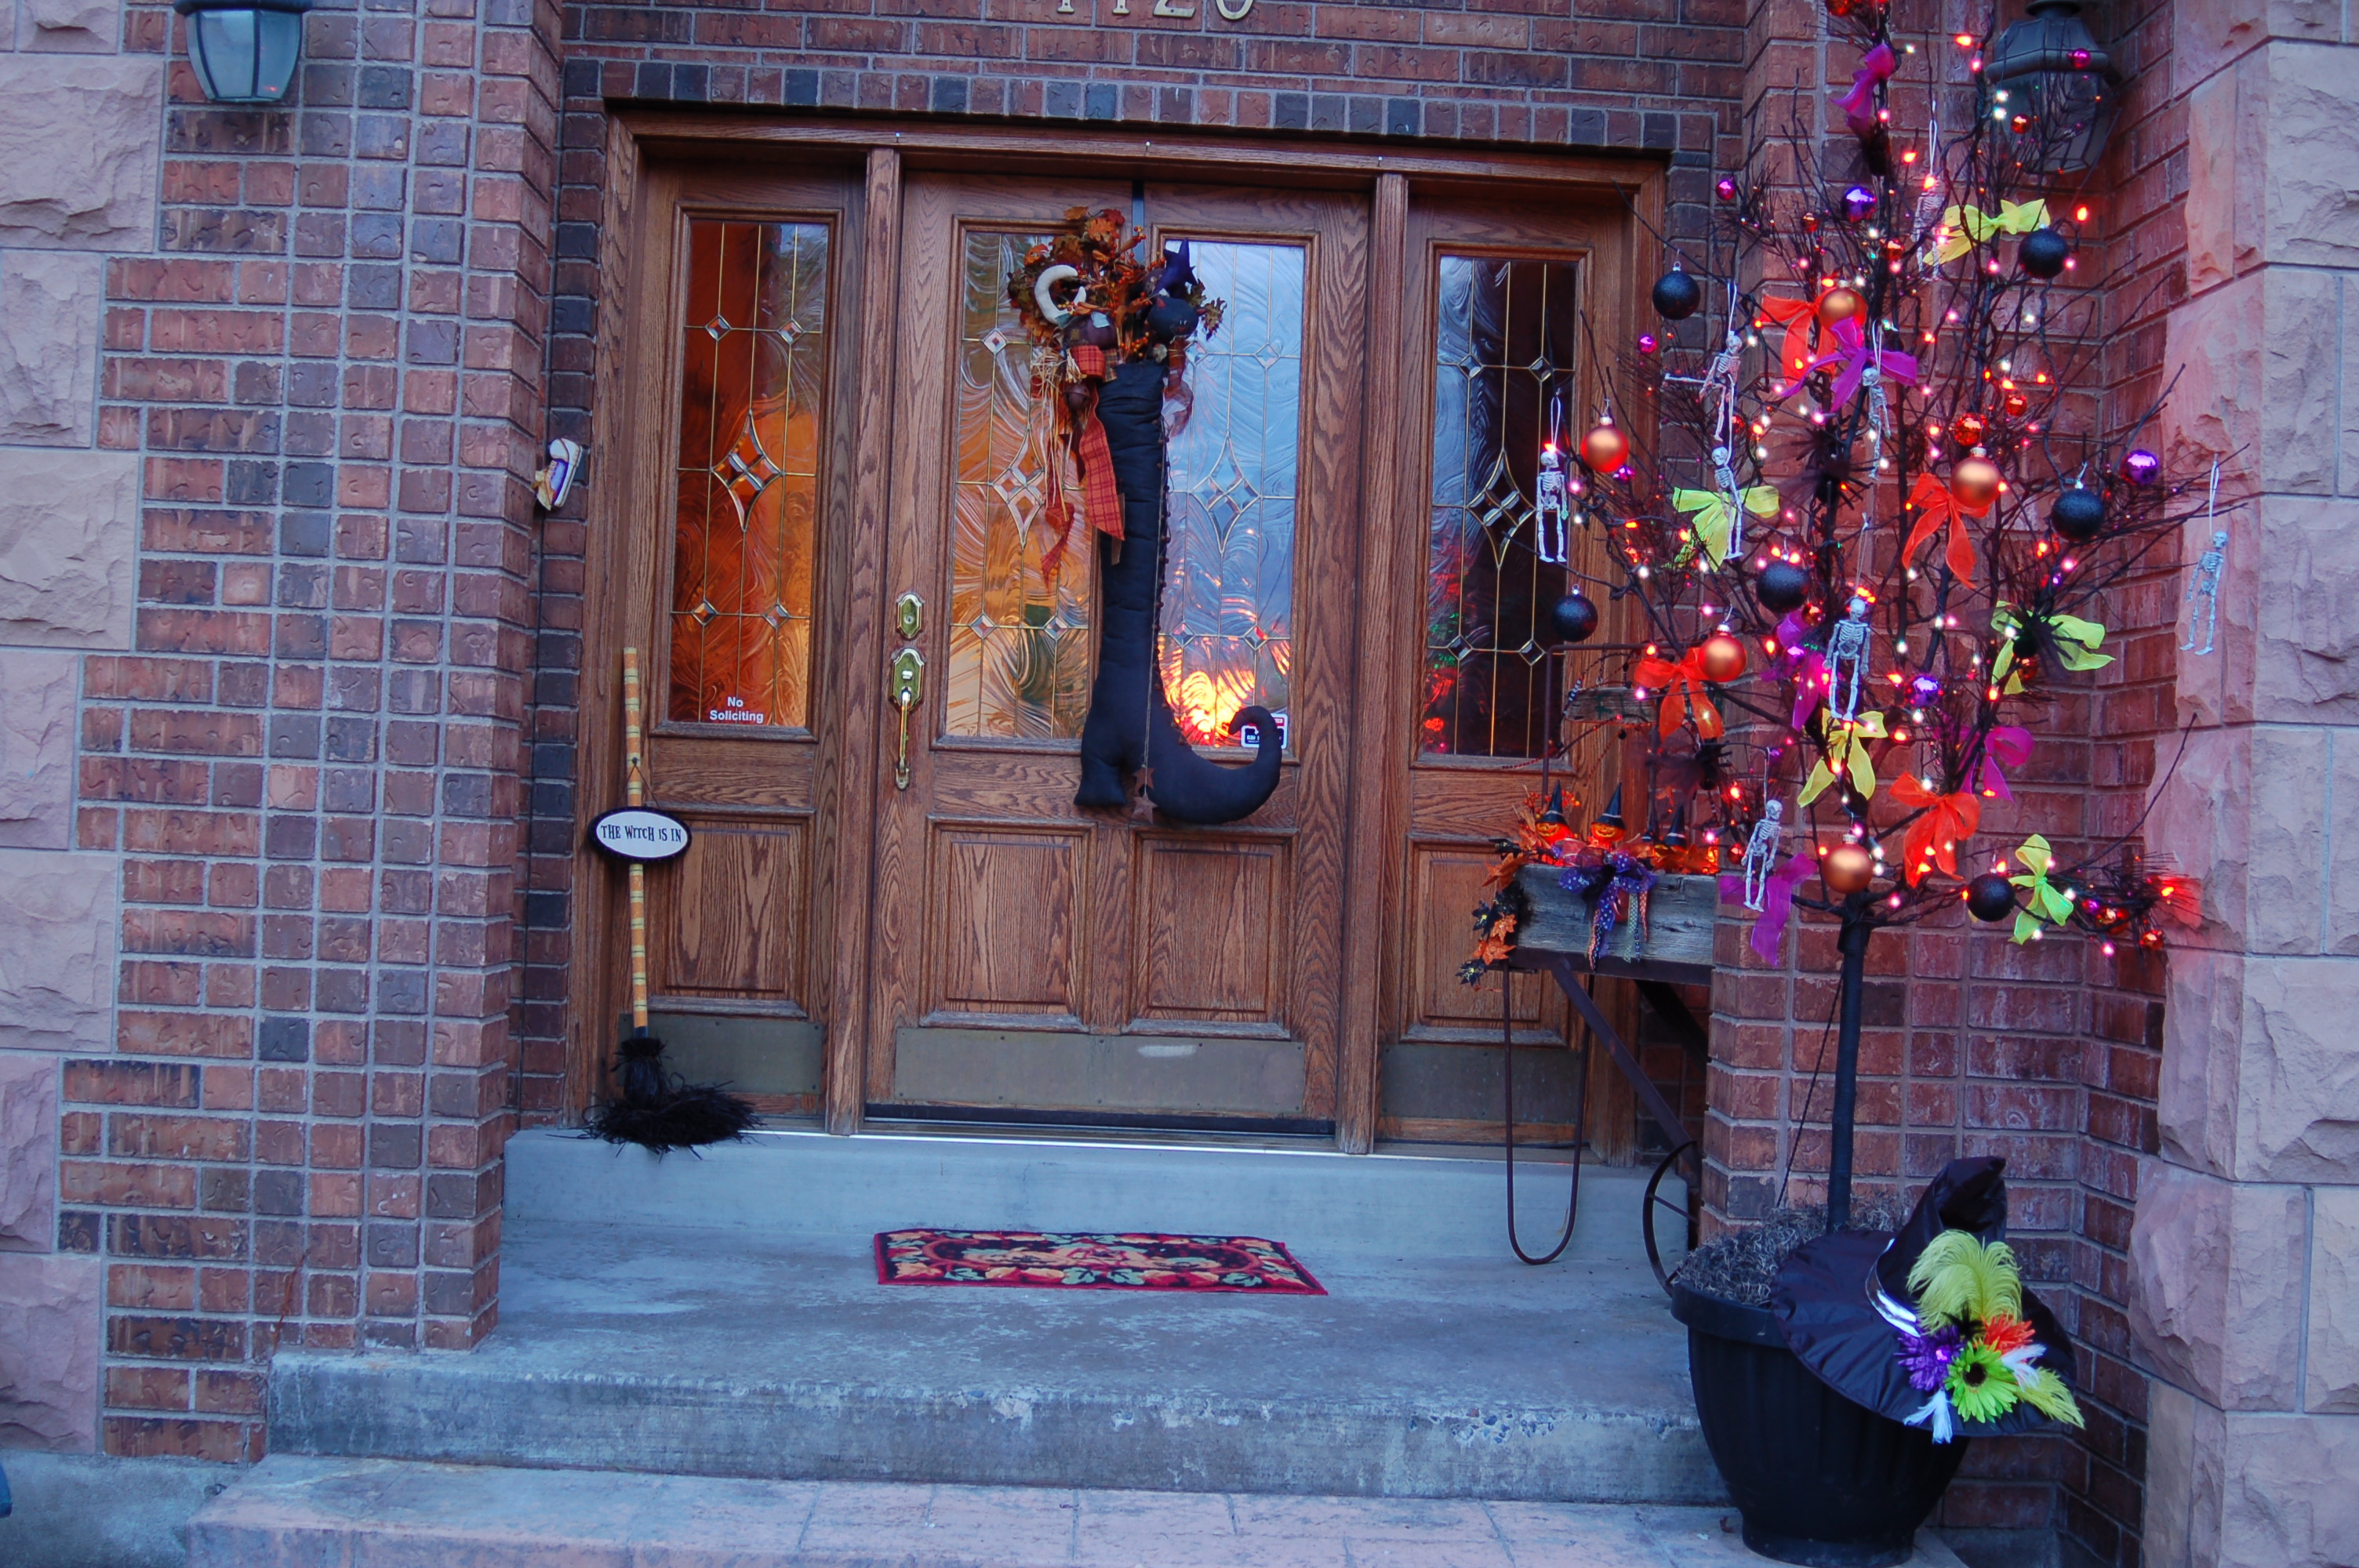
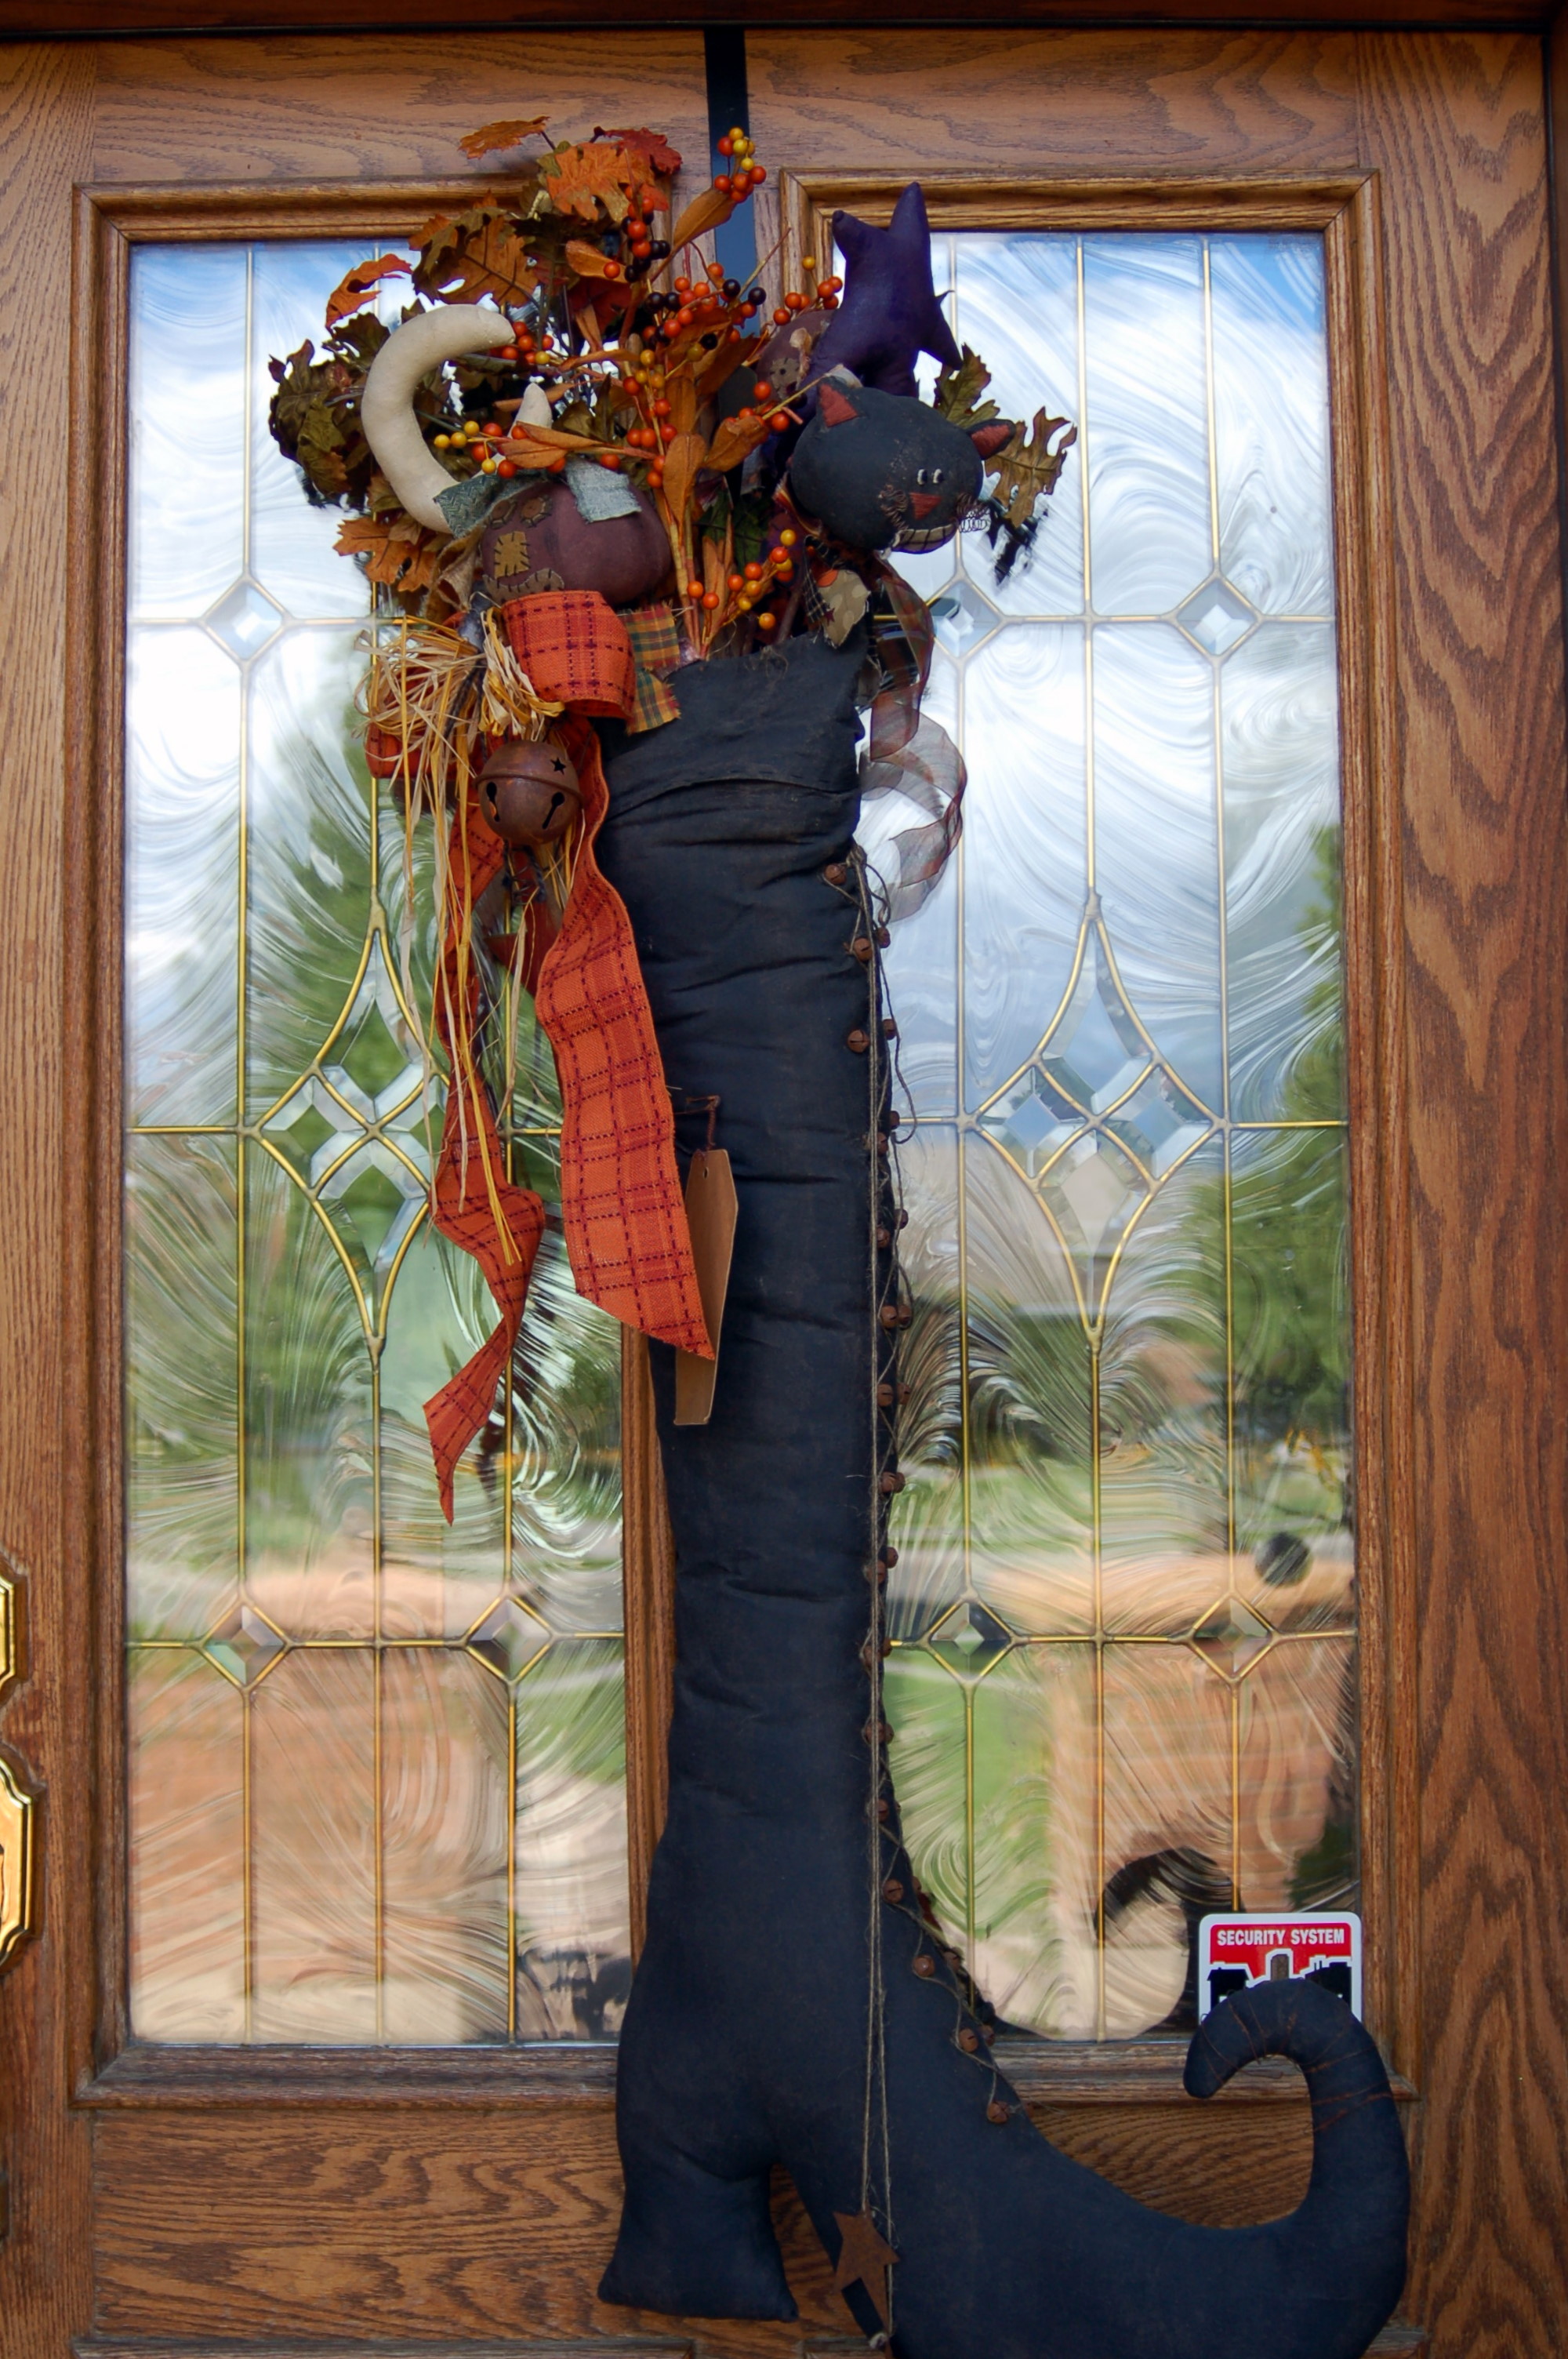
I had this old, yucky pot, stains, cobwebs and all! And I spray painted the pot and the tree and…Added a bunch of decorations.And this is what I got! I added the witch hat to the base of the tree and this is what it looks like at dusk.This is my little flower cart on the front porch.My favorite find at Swiss Days a couple of years ago!It’s beginning to look a lot like… Halloween!

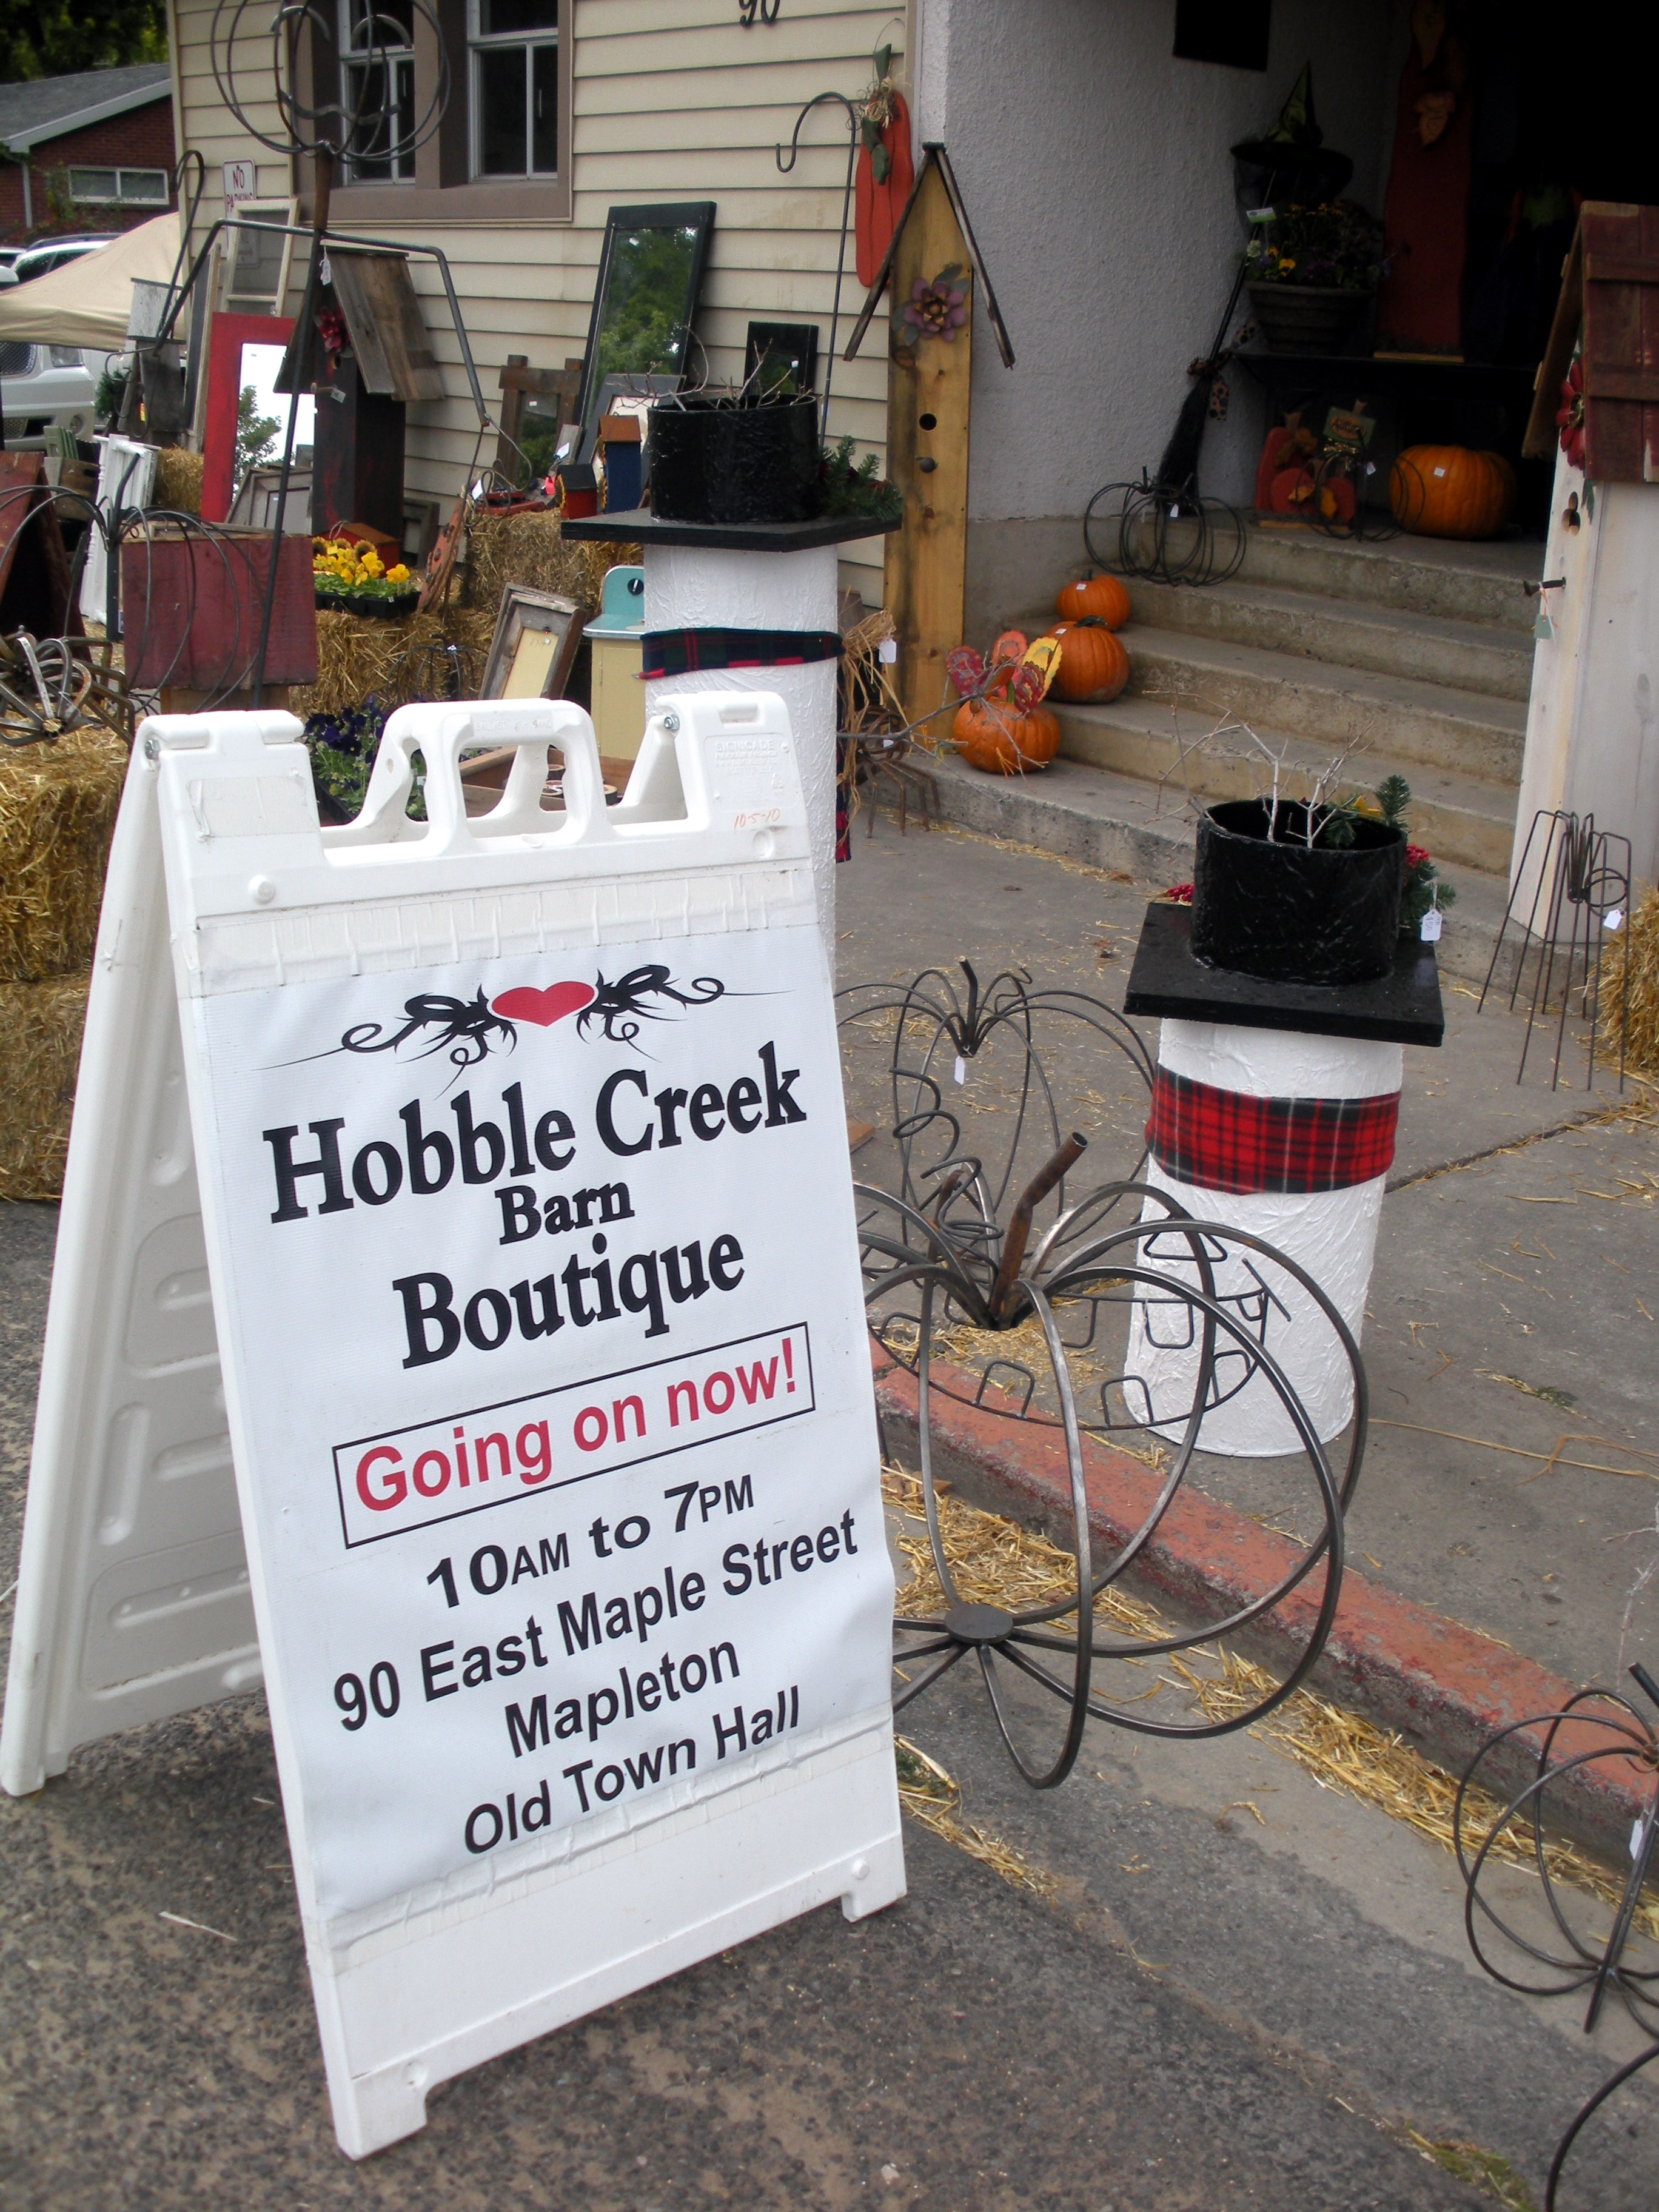
Hobble Creek Barn Boutique!

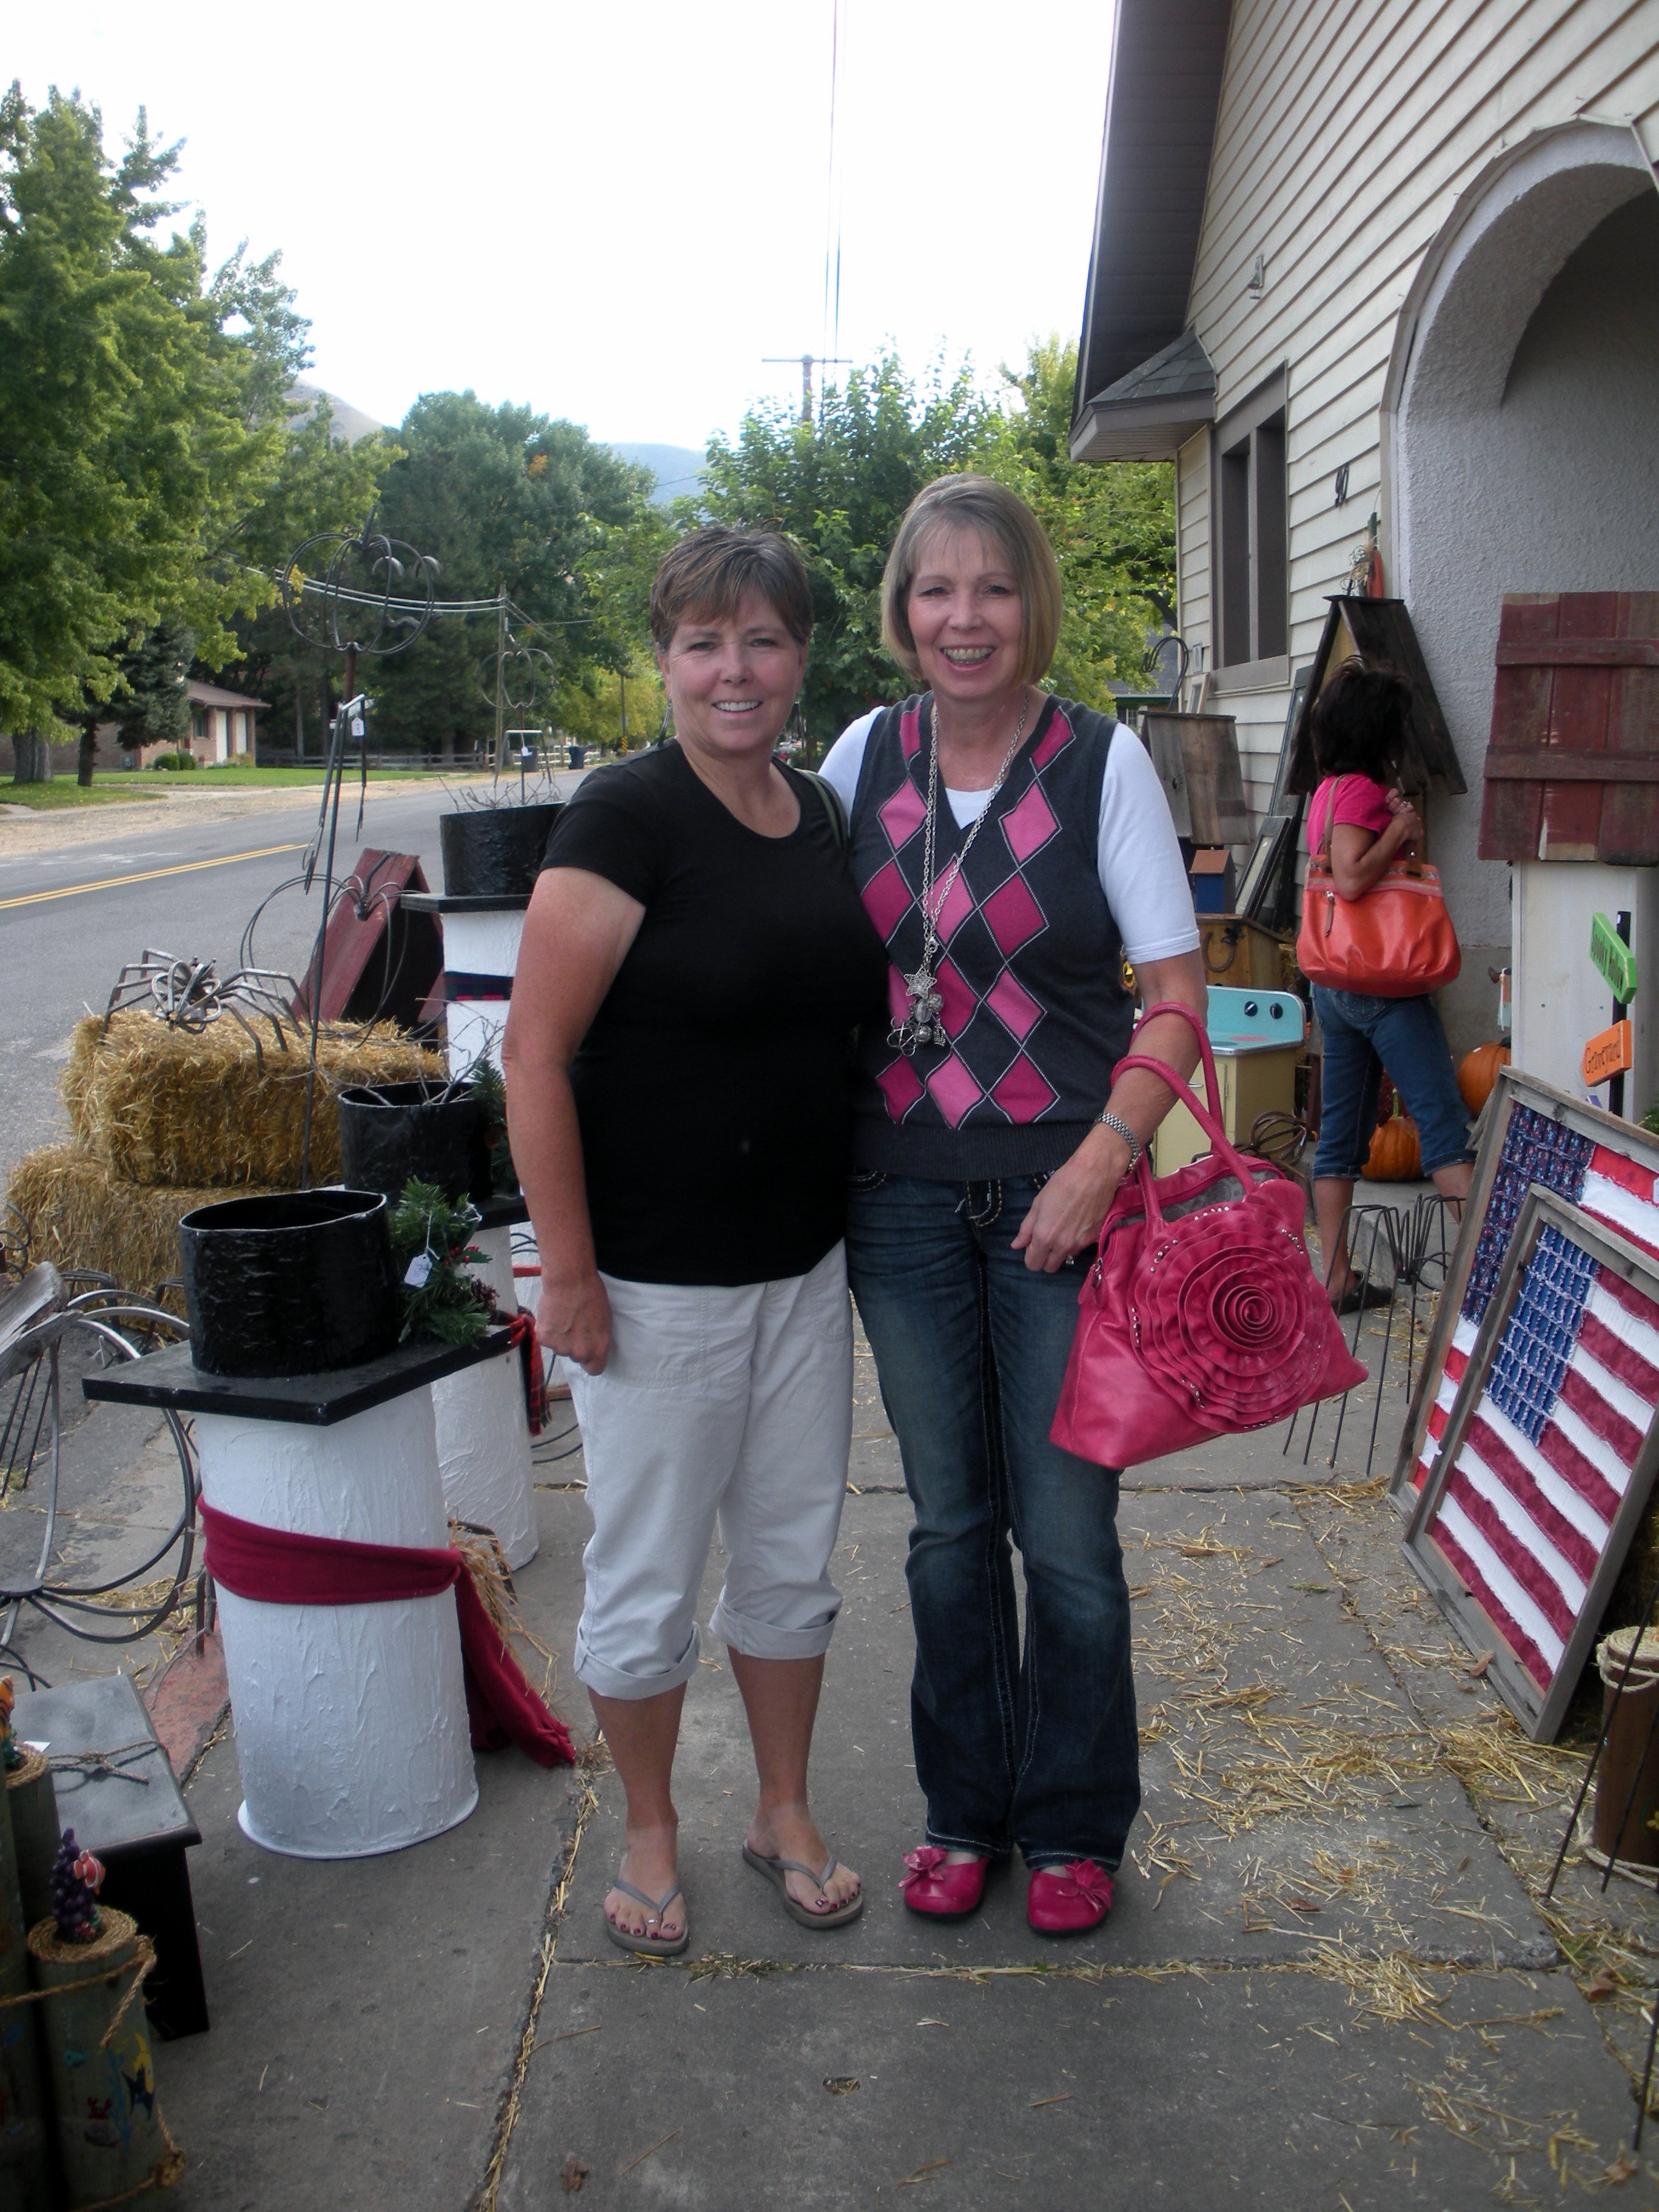
My friend, Sue and I went to the Hobble Creek Barn Boutique in Mapleton.  It was great to spend most of a day with a good friend!  I have not been to this boutique in many years and it was a fun liitle place with some things that I had never seen before.  We got several ideas for new projects as well as some great purchases. We went to several other stores and to lunch, it was totally a friend’s day out together and it was great to get away.

I love the metal and vintage things that they had outside on the sidewalk before you even go into the building!

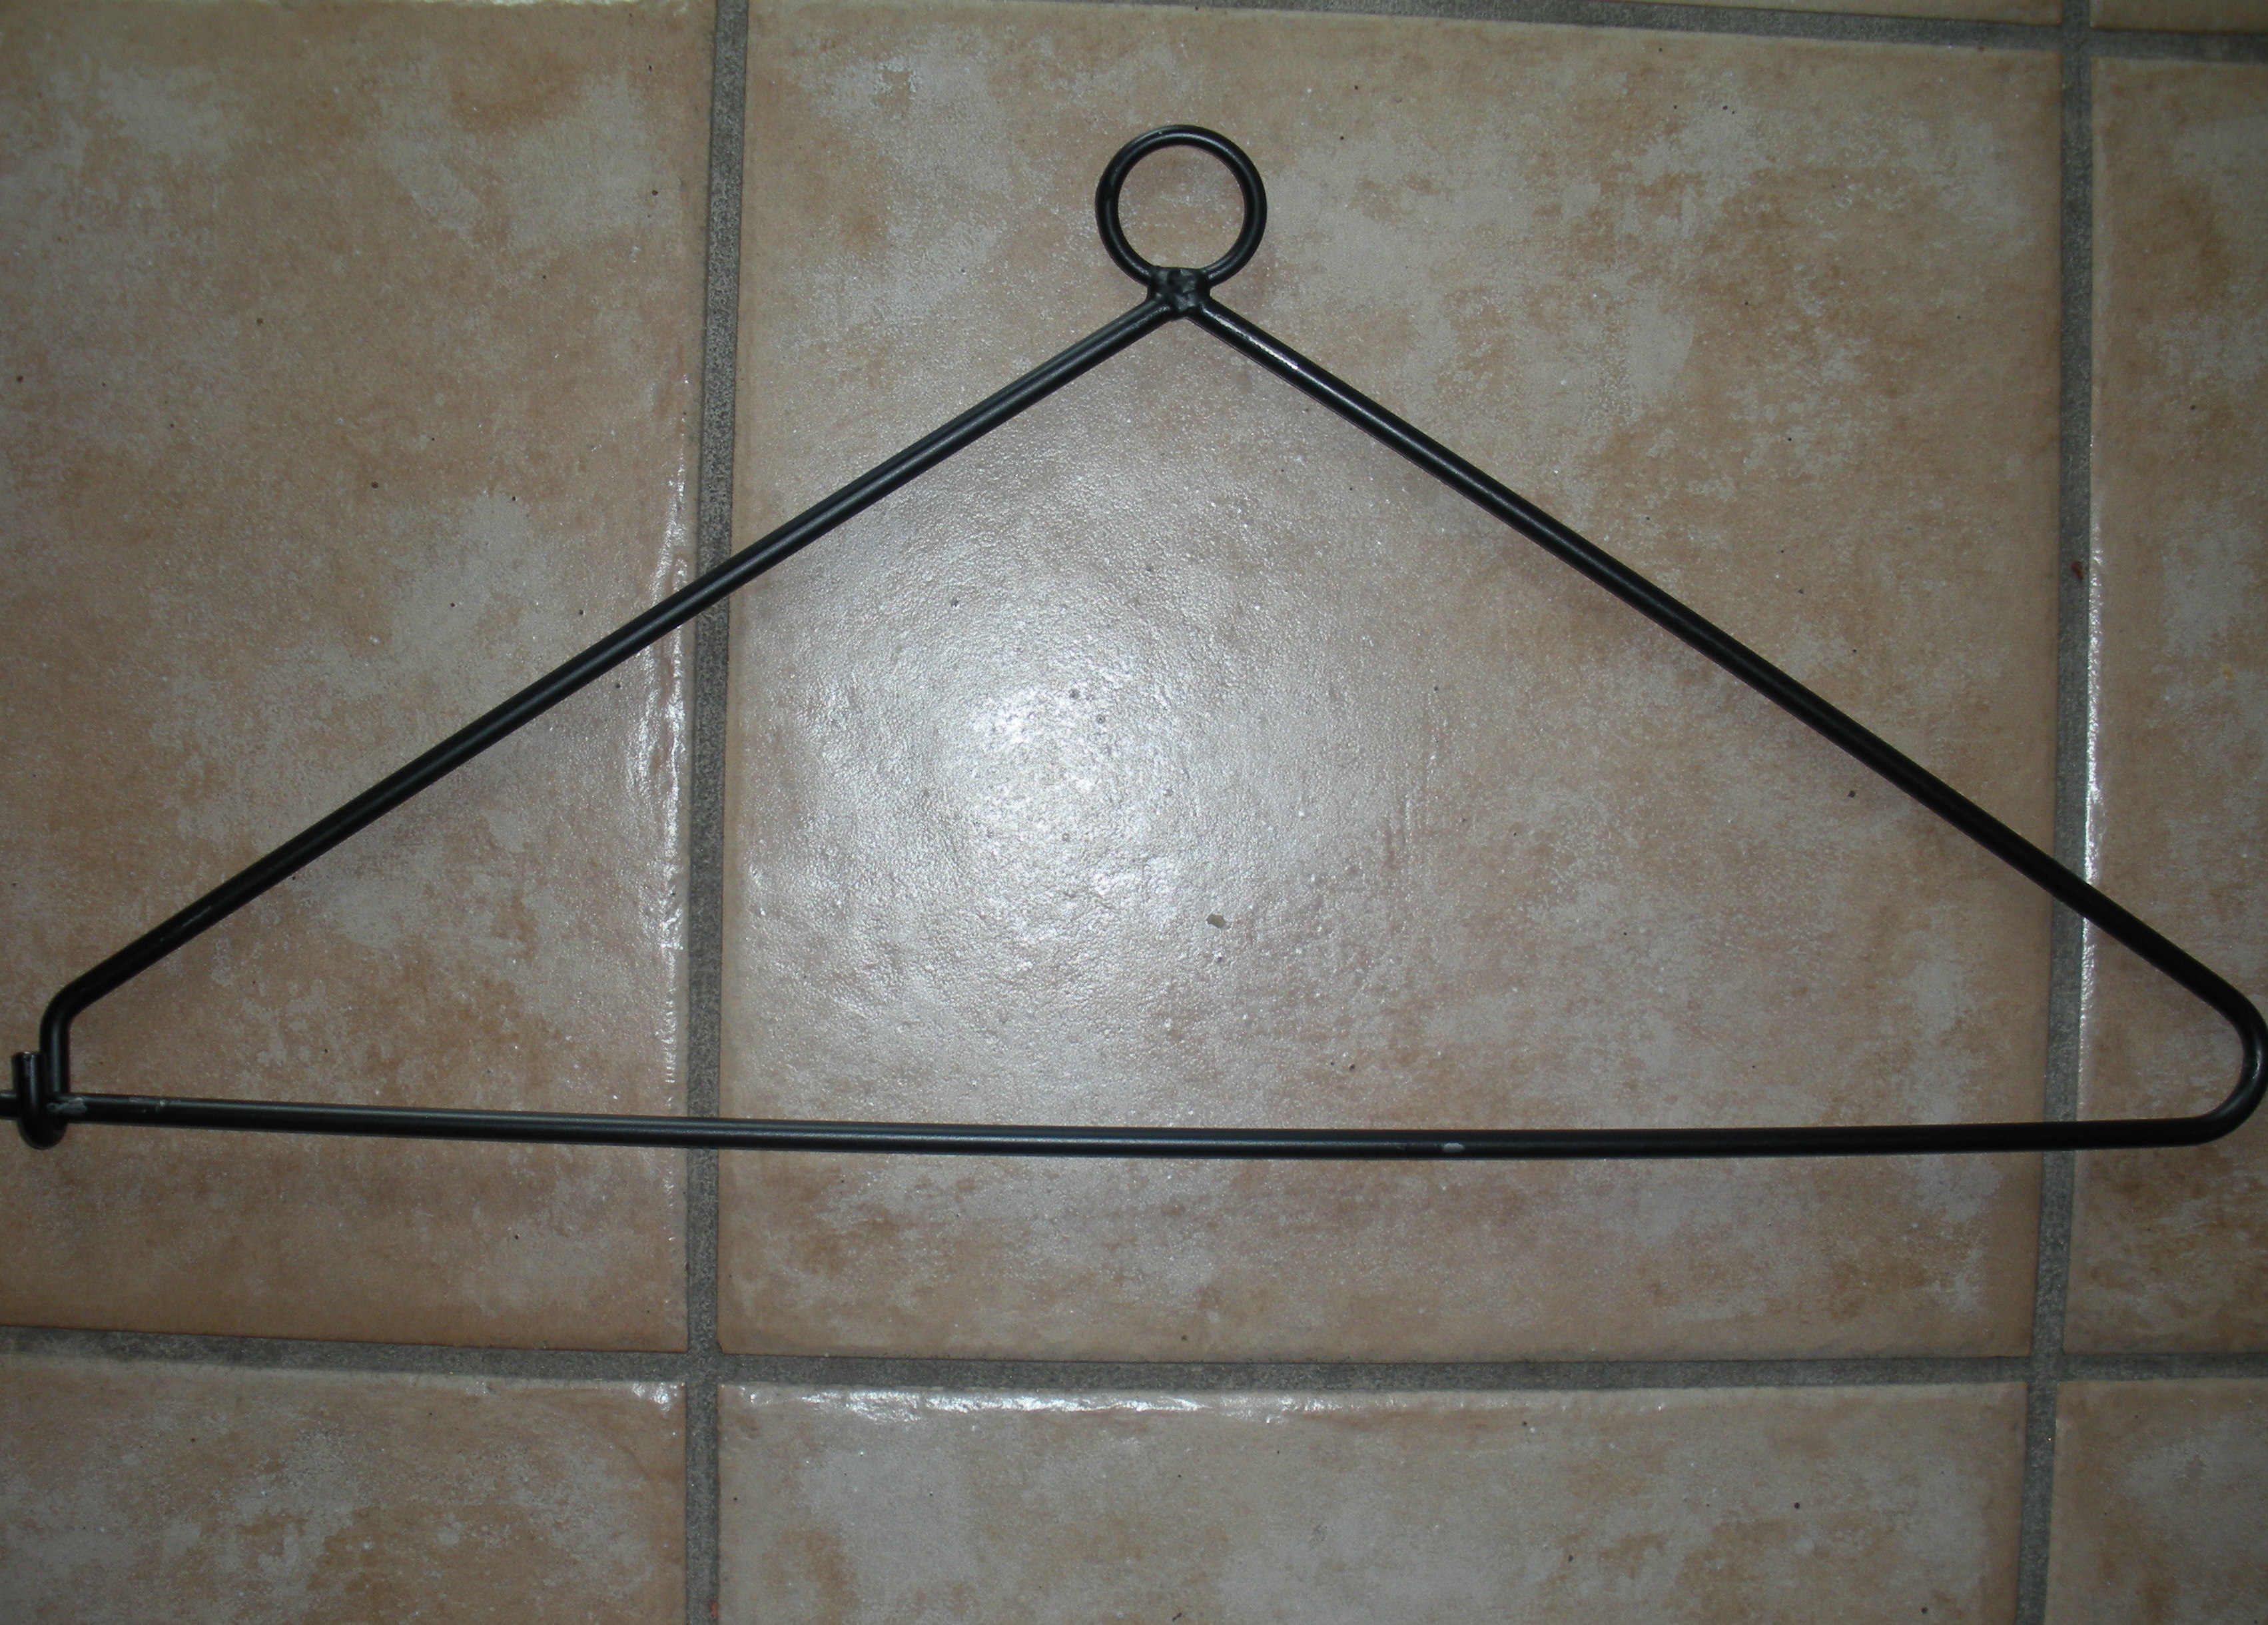
We saw pumpkins, snowmen, americana flags, bird houses, framed mirrors,all kinds of jewelry, clothes, and  of course yummy treats.  They had a little bit of everything!This was one of my purchases of the day.  Does anyone know what I will do with it?  Stay tuned for a project that is yet to come!


Girl’s Night Out

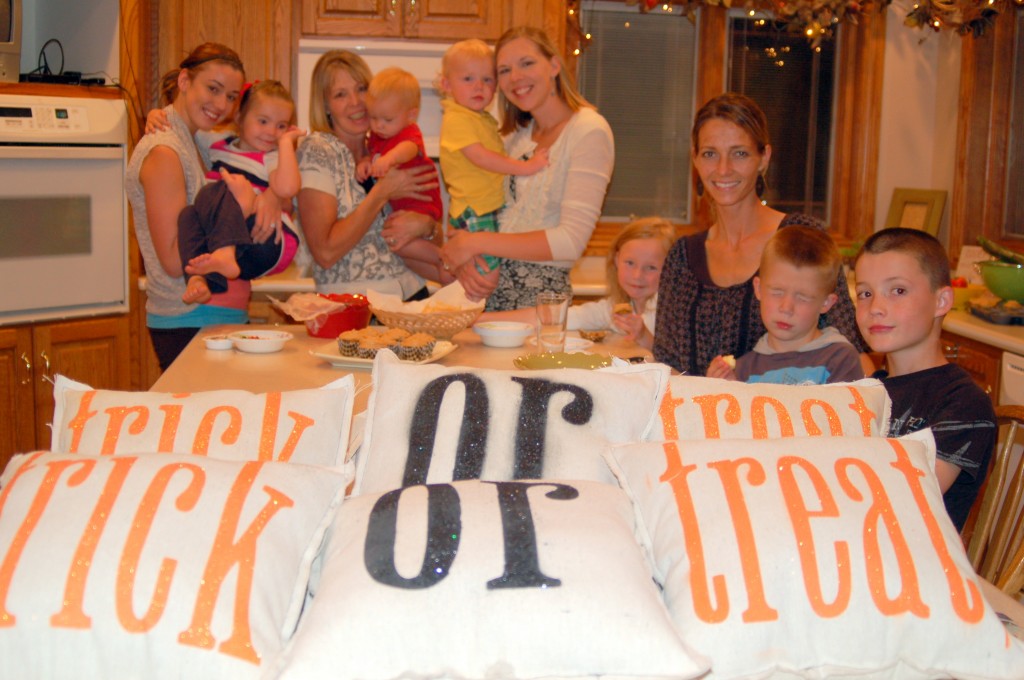
We had a fun girl’s night out last week.  My husband was gone, so when the cat’s away the mice will play, and play we did!  We hired a baby sitter for all the kids and they had a great time playing downstairs while we were upstairs.  We let them come up for the food after we were all done.  (Nice, I know!)  What a fun group!   And most of  the time the cousins are all great friends.

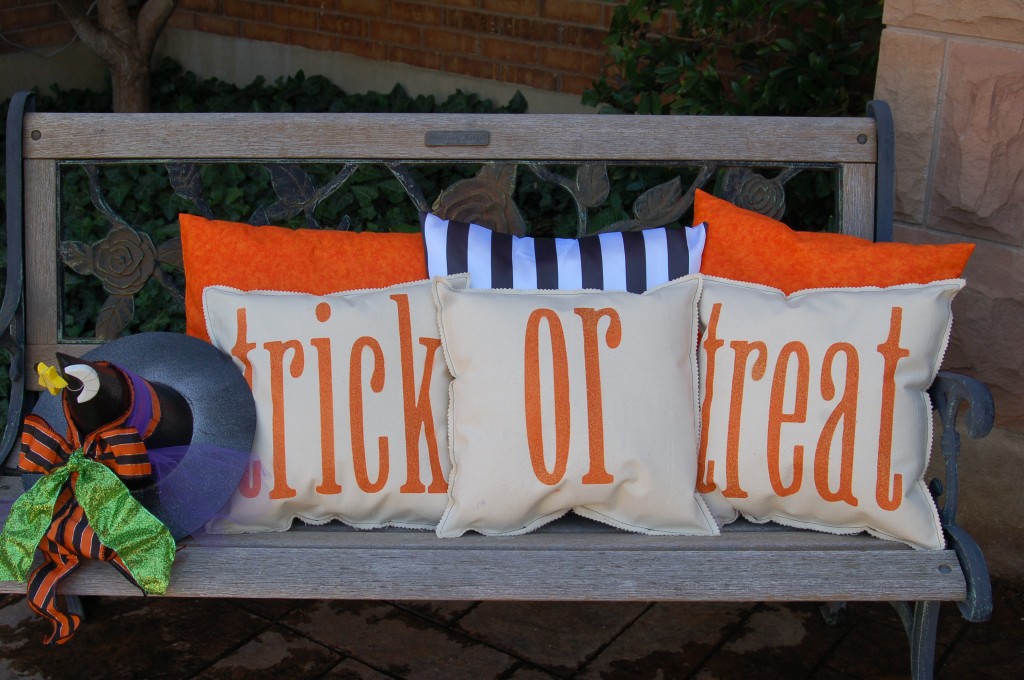
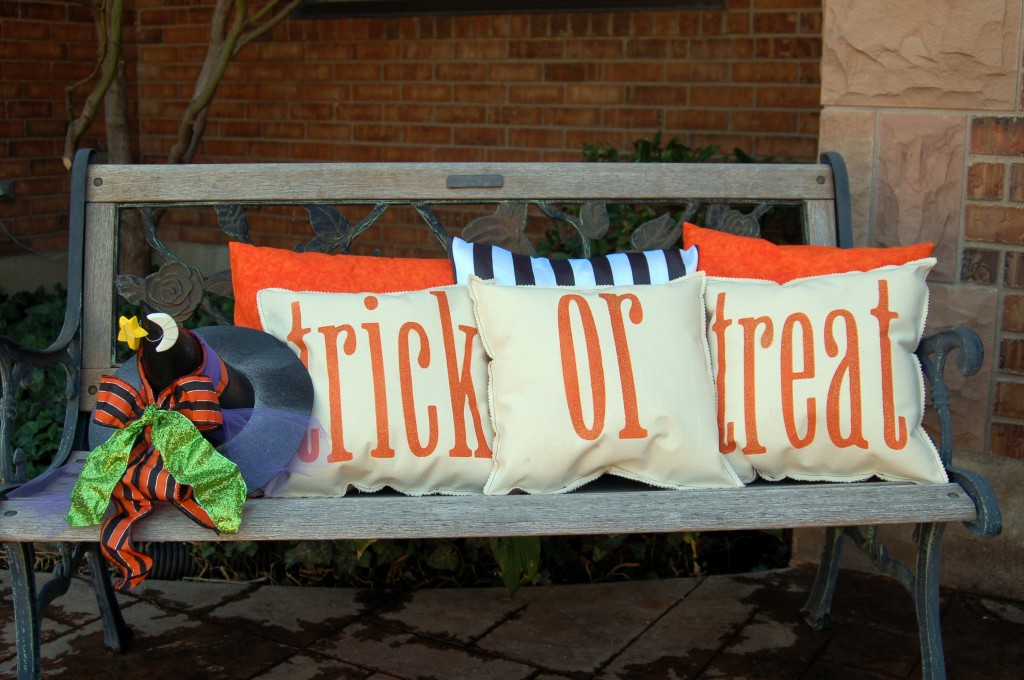
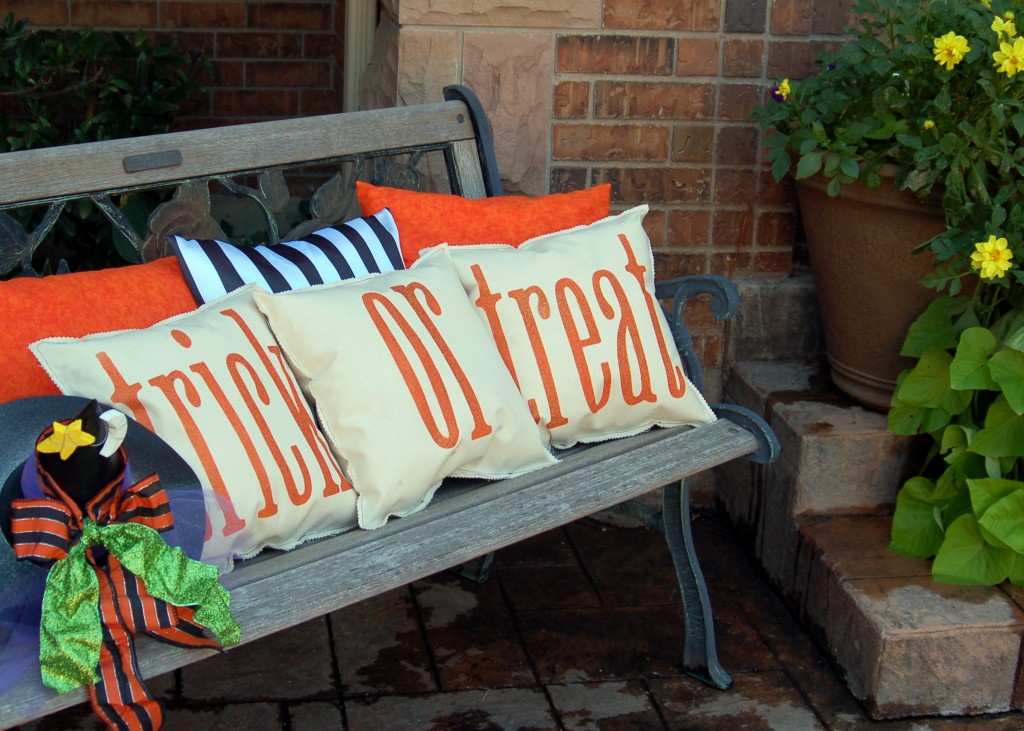
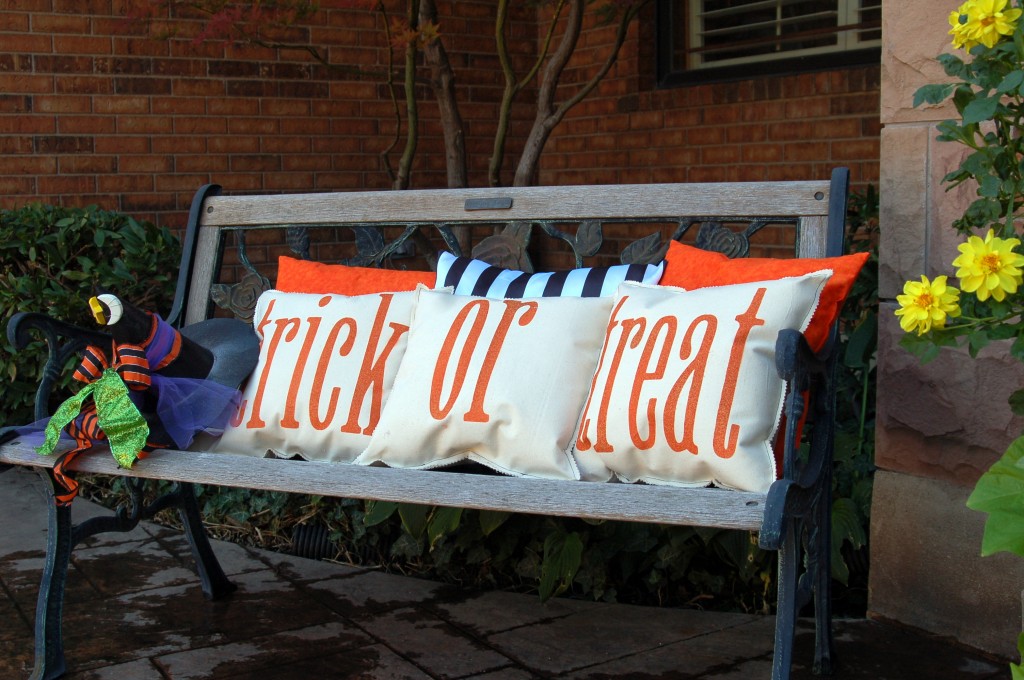
We made these pillow and I totally copied the idea from a pinterest blog.  I even made the pillows in the back like on their display. She has done a great tutorial on how to make them here so I am not going to do another one.  I will tell you what we did different, as you can see, some of them did the “or” in black paint and just used fine glitter which worked ok, but the glitter had to be sprayed with varnish to help keep the glitter from coming off.  She suggests that you go to Walmart and buy the painter canvas, which I did, but it is not a very high quality and it frays really bad, even after using pinking shears.  So I would suggest that you buy a regular piece of canvas from a fabric store.  The next thing we did different was that we found out the glitter paint did not go very far, so we painted the orange with regular spray paint and then added a glitter finish to the top.  It worked great that way!  But all in all it was fun to see how everyone’s turned out and we had a fun evening together without kids (kind of!) Here’s what mine look like!I don’t know if I can leave them outside or not, I will have to spray scotch gaurd on them if I do so the weather won’t ruin them.!I think they turned out pretty darn cute.

Imelda Marcos’ Worst Nightmare!

One of my husband’s nickname for me is “Imelda” and my reply to that is, “I wish!” But I am sure that this post would be her worst nightmare…

A SHOE MAKE-OVER!

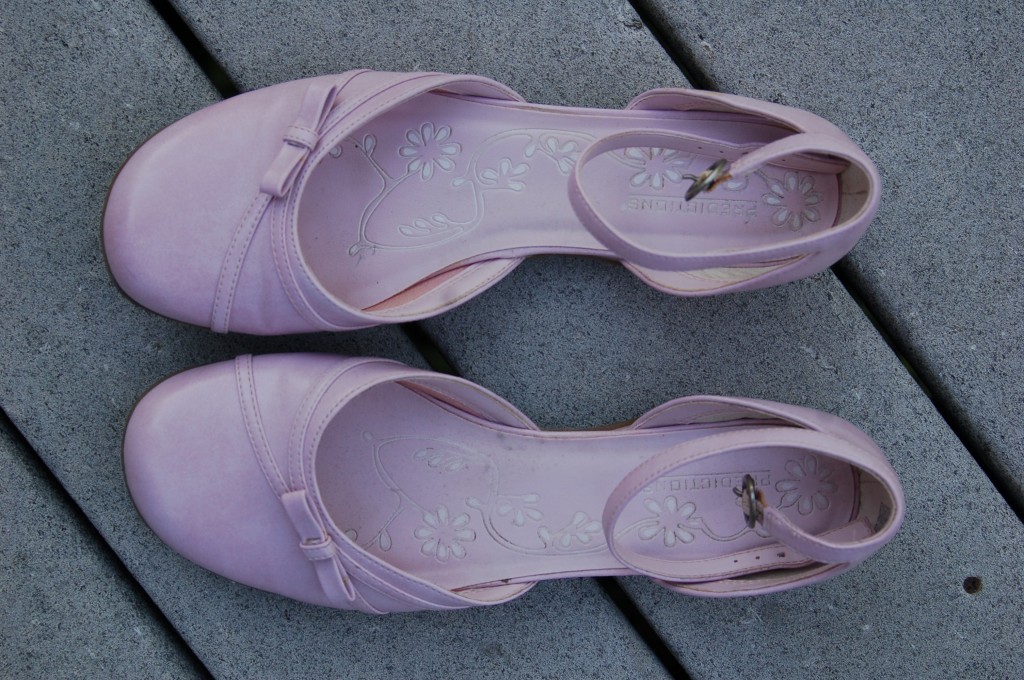
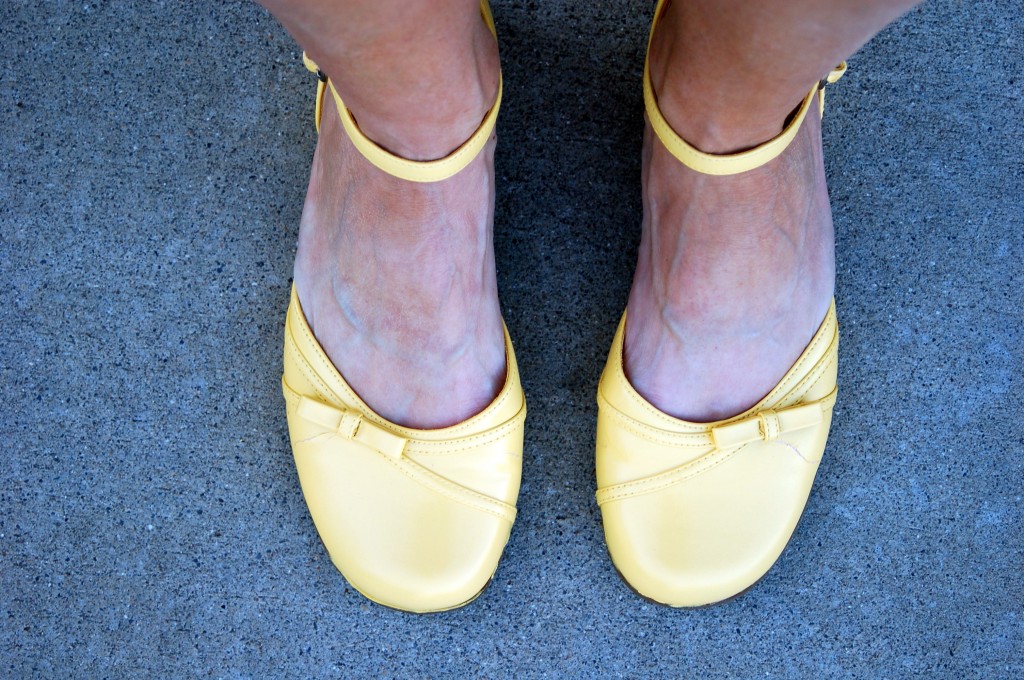
My niece told me about a shoe makeover that she had done and so I decided to try it out.  I had this cute pair of shoes but I had only worn them a couple of times because of the color.  They are not pink and they are not lavendar, they are somewhere in between, and while the color is ok, I just did not have anything to wear them with, thus, the makeover!

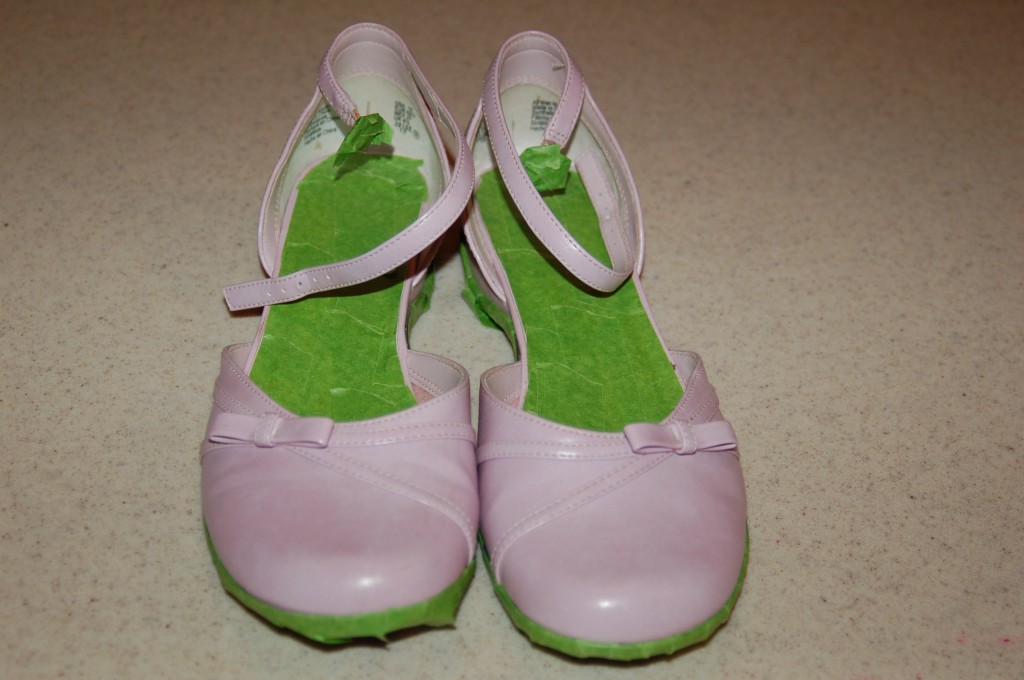
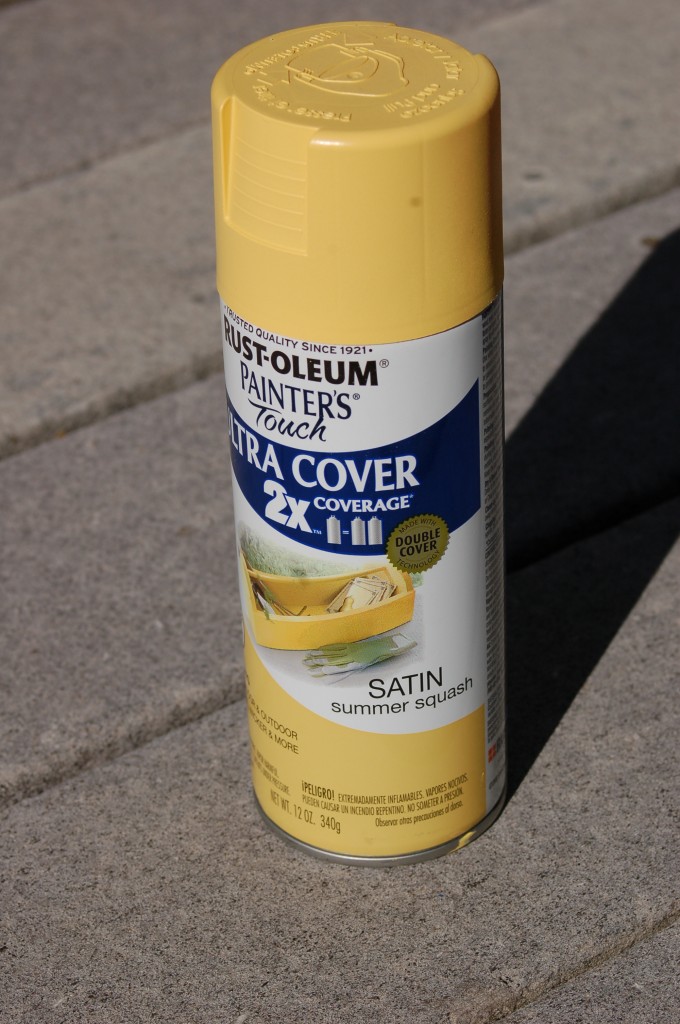
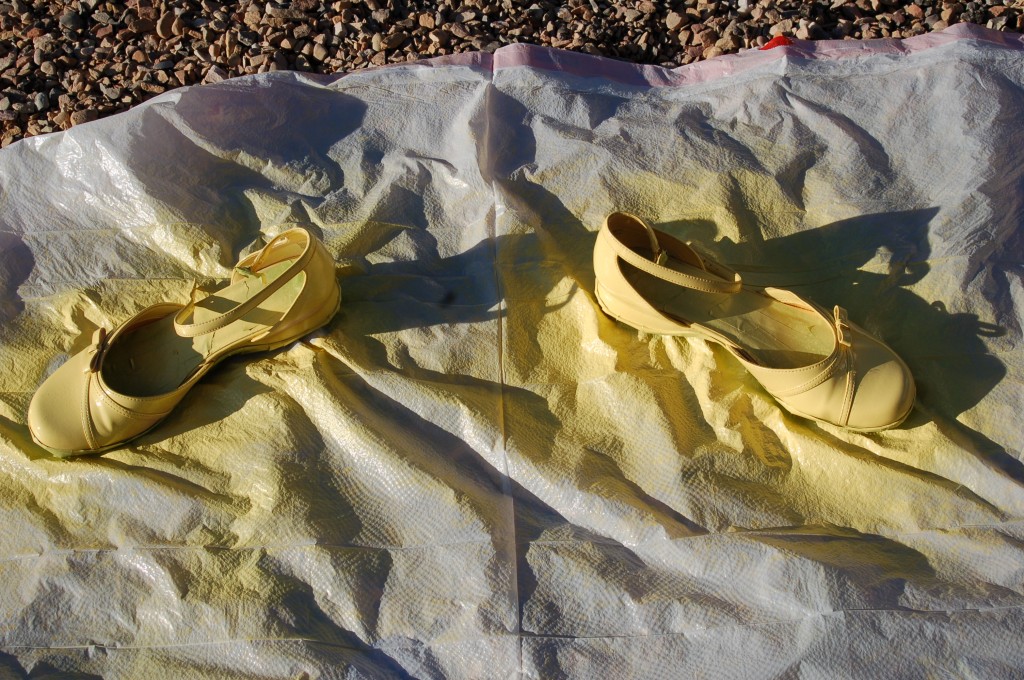
First, you have to tape all around the sole and the inside of the shoes.  This part took the longest by far.  I had a hard time getting the painters tape to stick to the rubber sole.  I had to just use little pieces to make them contour around the toe and the heel.  You will also want to tape the inside so your foot is not touching the spray paint.  I covered the buckle because I wanted it to remain the same color.I used this ultra cover paint because it really does cover better than the regular spray paint. (And the fact that I already had the paint, so this make-over cost me nothing but my time!  My husband also really likes that.)I gave them three light coats with quick, short sprays.Remove all the tape and enjoy a new pair of shoes!

This next picture reminds me of the book series “No.1 Ladies Detective Agency” where Mma Mukutsi says that her shoes talk to her and they compliment her or give her advice.  If these shoes could talk I think that they would say “we look great, thanks Mma Mukutsi!”So what do you think!  They match this sweater perfectly and I have a whole new looks with these shoes!

These shoes are fun, but I am afraid that the paint is going to scratch easily, so I will not wear them for every day. (but I can always touch them up with another quick spray of paint if I need too!)

Fall Table Arrangement

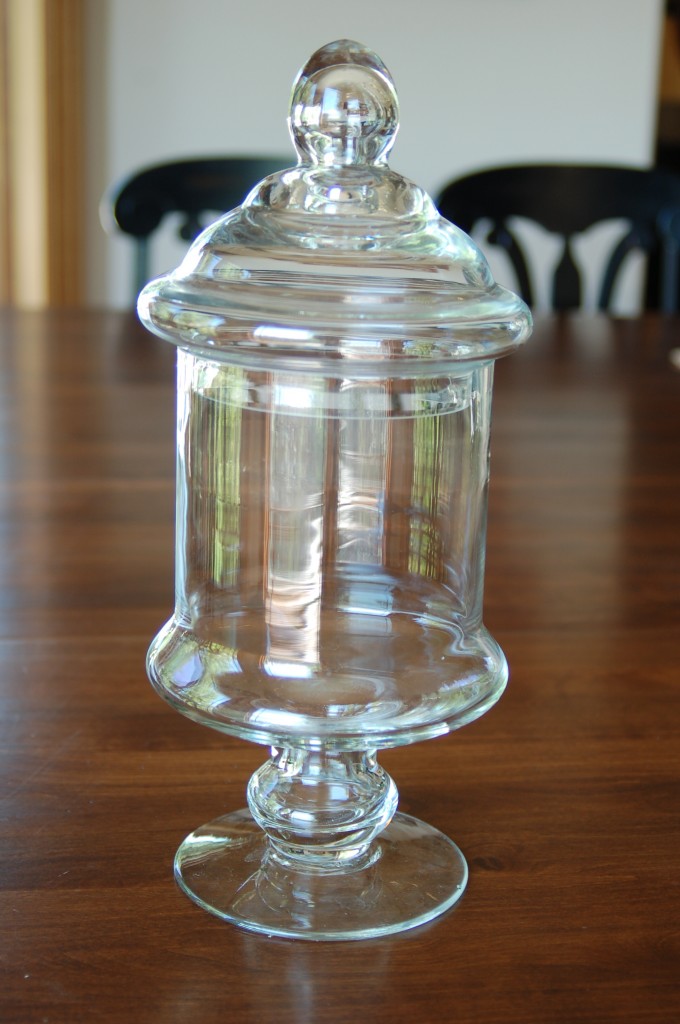
 I have this glass  jar that I change for every holiday.

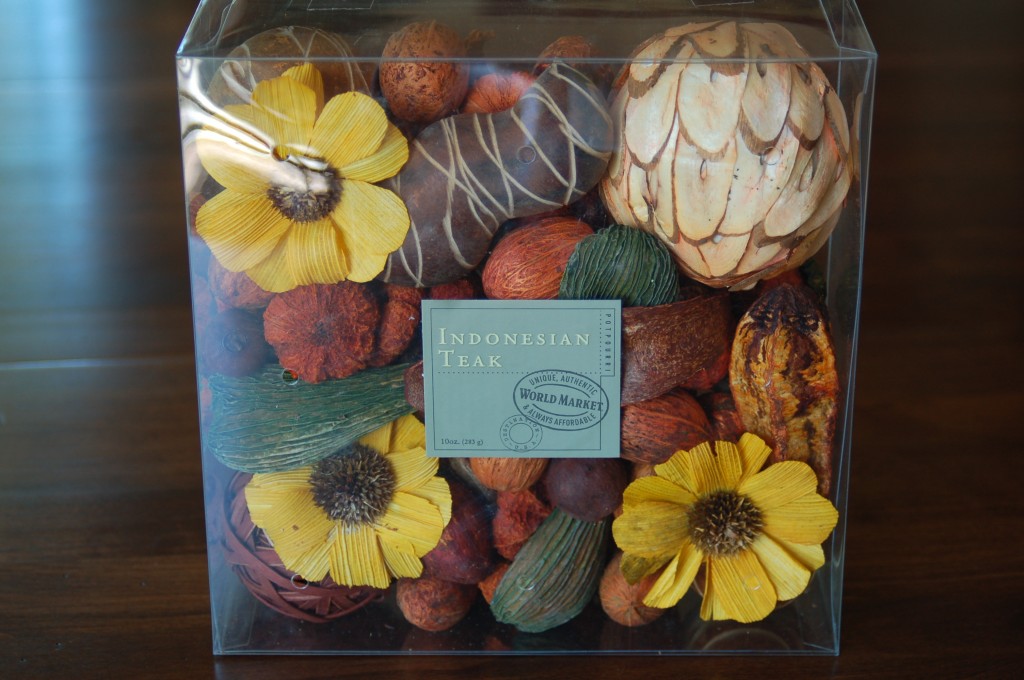
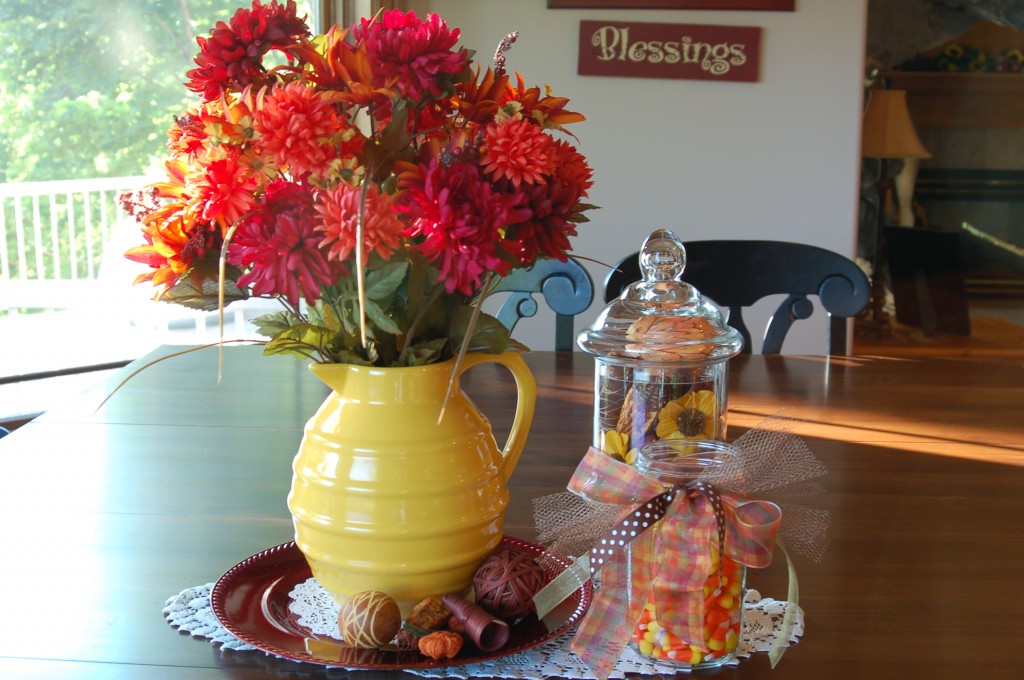
I added this lovely box of potpourri that I bought at the World Market in Park City.  If you have never been there it is a great little place to visit.  They have unique and authentic home decor, dishes, kitchens utensils, outdoor/patio, clothes, jewelry, rugs, bath things and fun foods from many places around the world!I plopped a bunch of flowers from Hobby Lobby into my yellow pitcher, literally, set it on a red charger plate with a doily and sprinkled a few pieces of the potpourri on the plate. Then I put some candy corn into a mason jar and tied it with some ribbons and added my  jar filled with the potpourri and I can feel and smell fall in the air!


T-shirt Bag

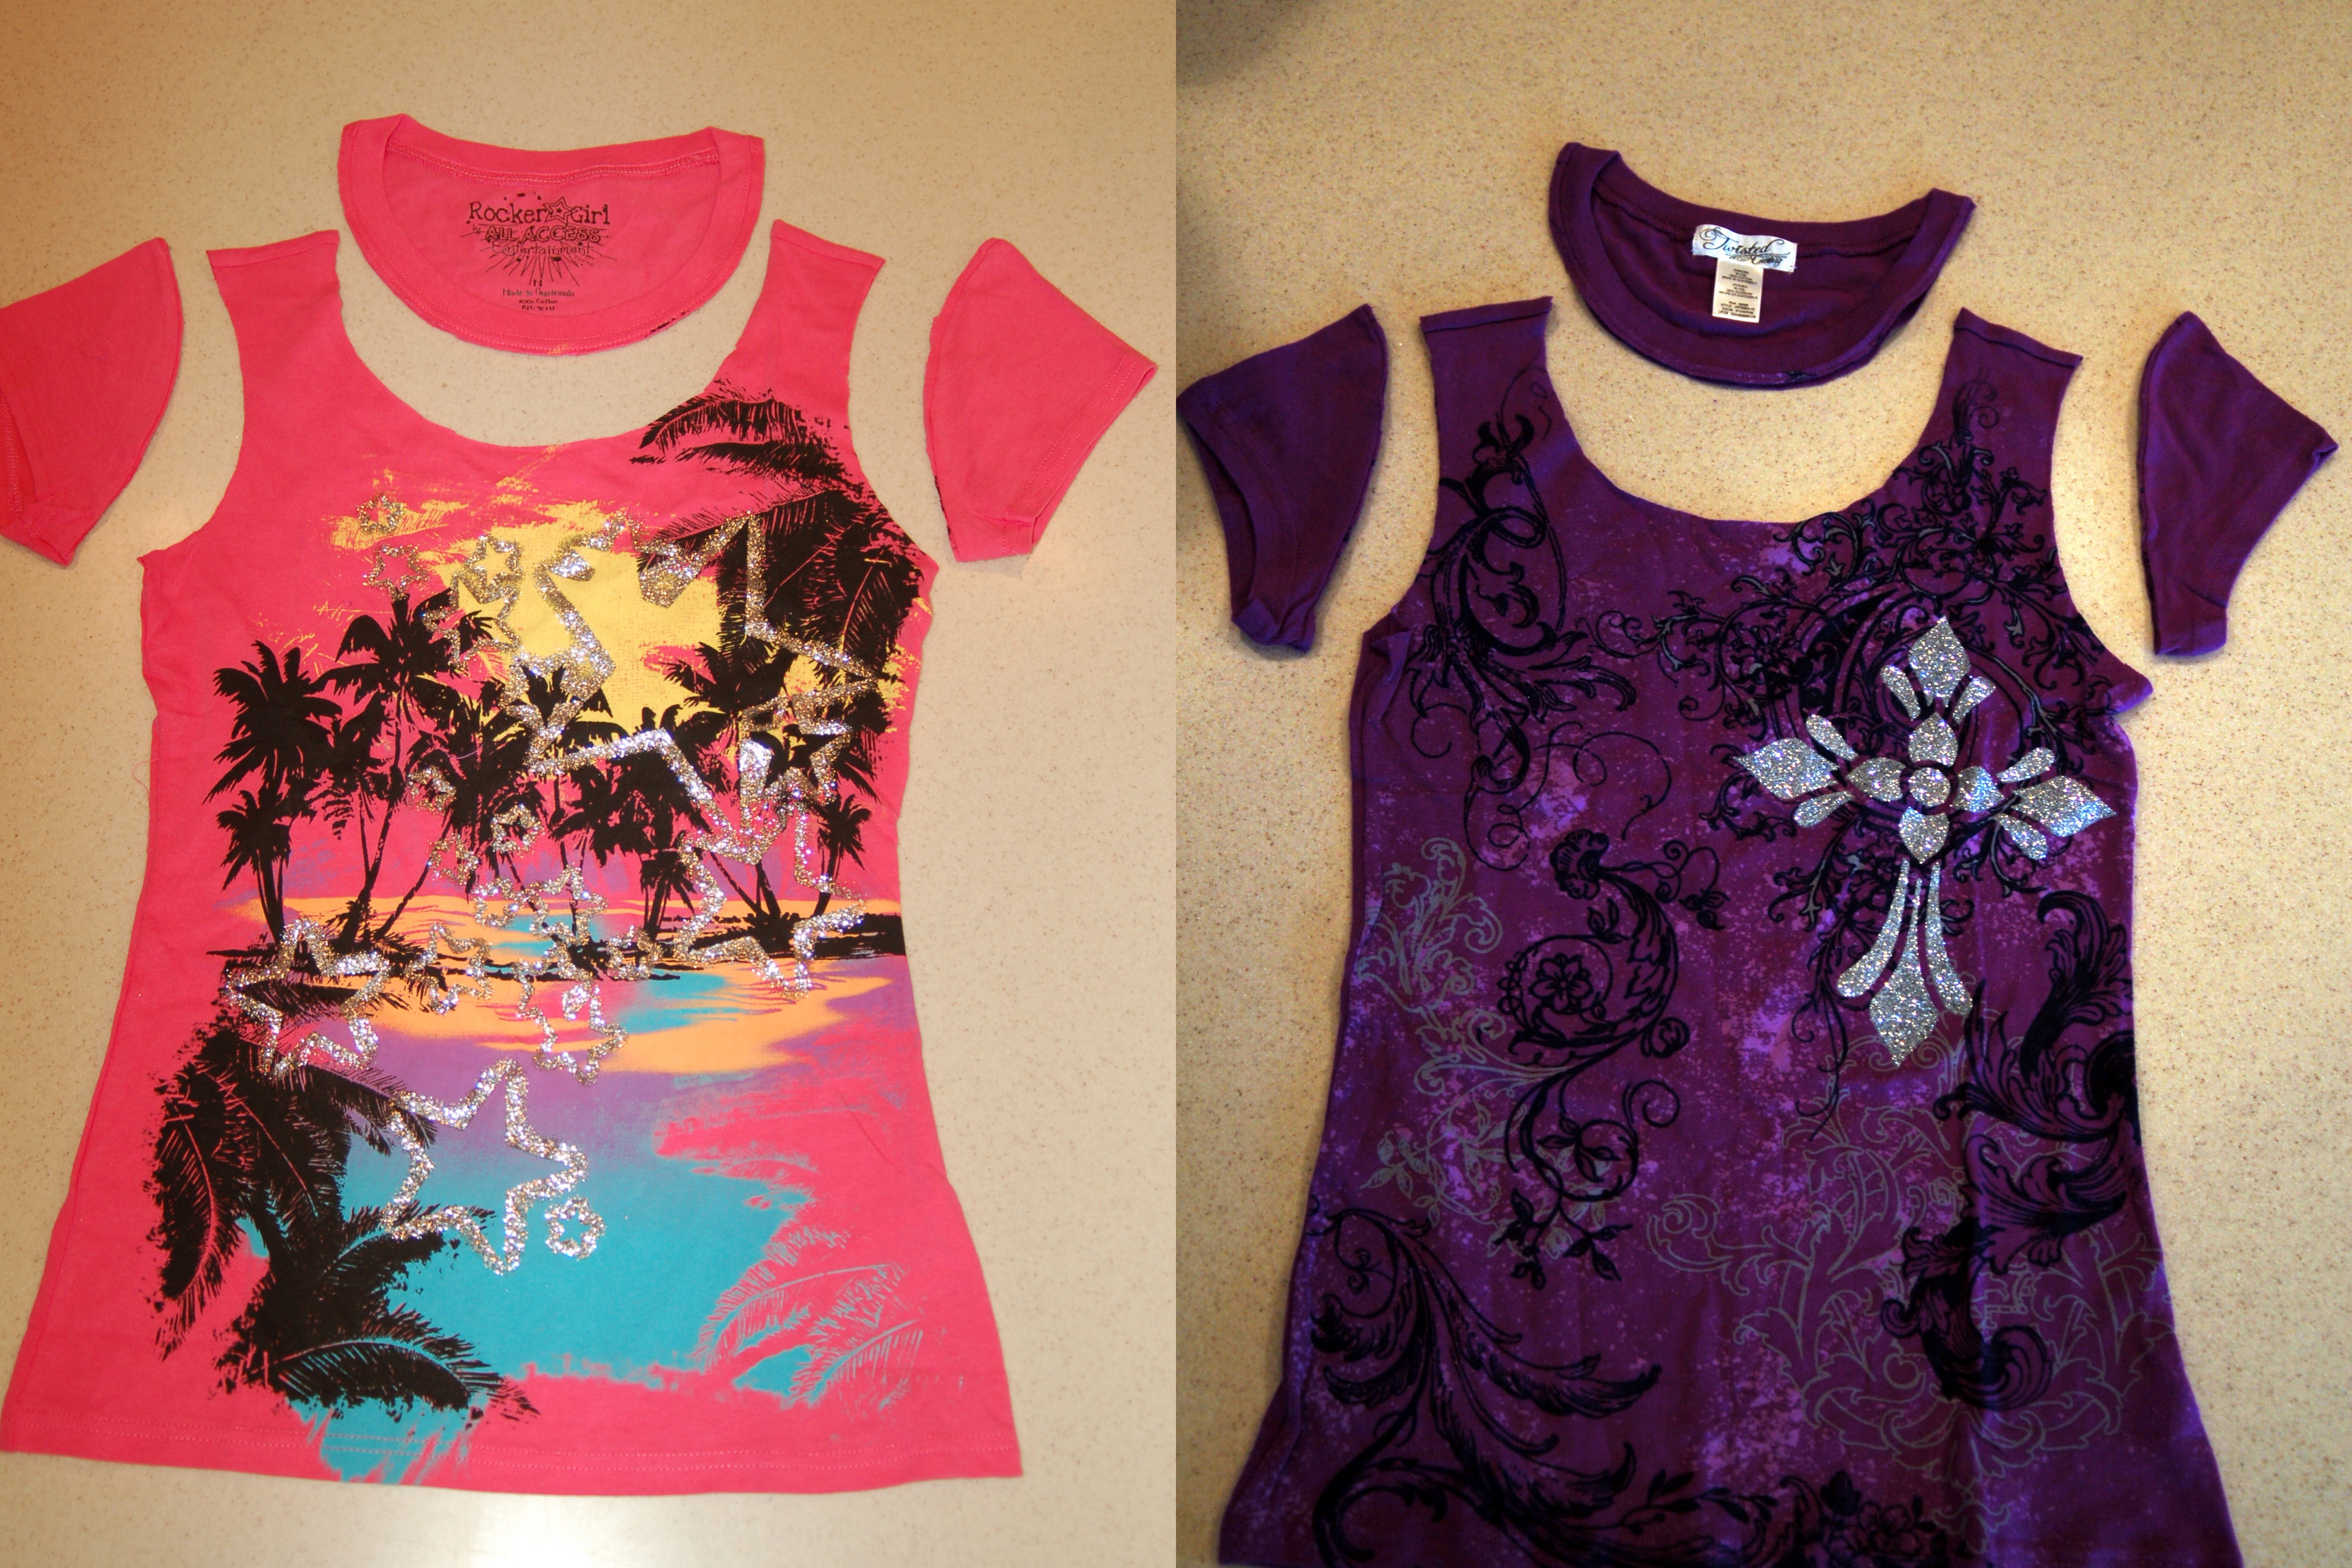
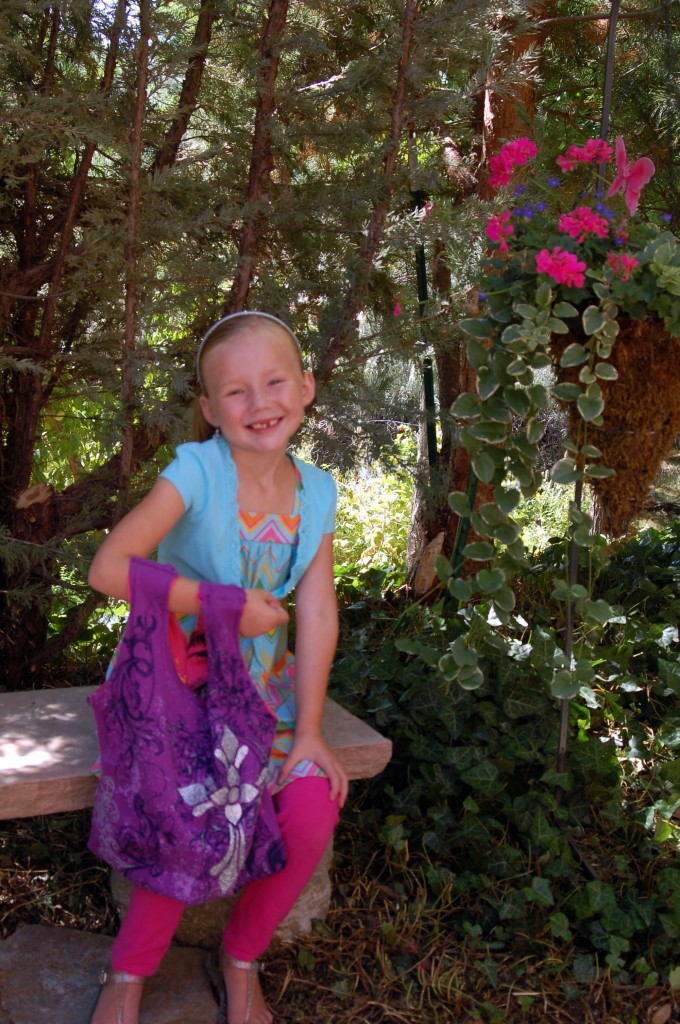
My daughter made this reversible bag for my granddaughter from two  t-shirts that she bought on clearance!
You need two t-shirts that are the same size.

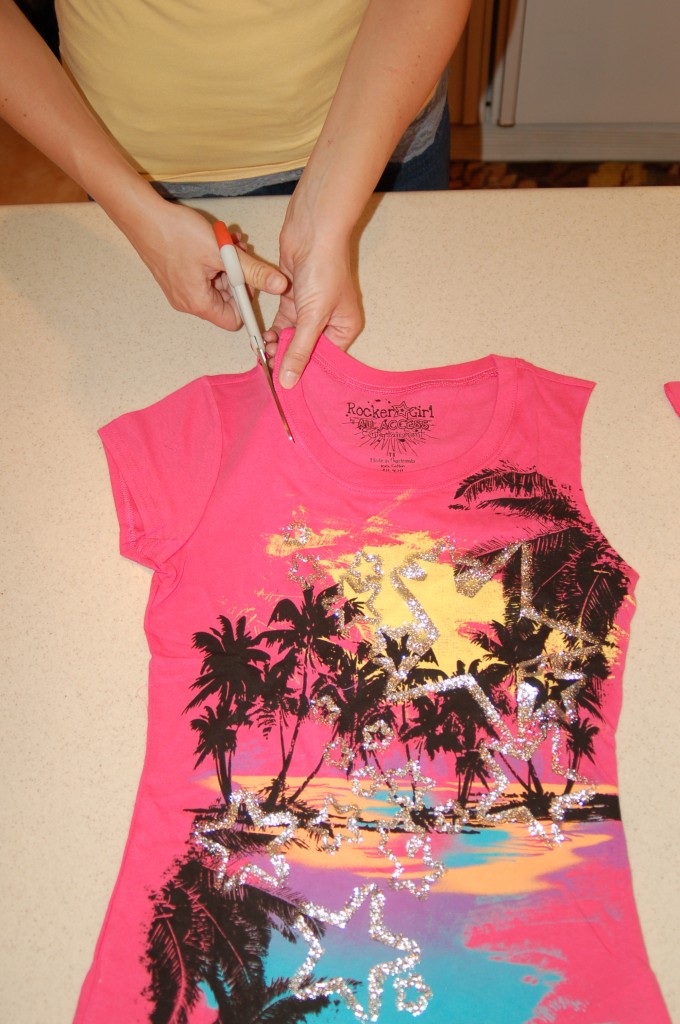
Cut off the sleeves and around the neck,So they look like this.Put them inside of each other and cut whatever length you want the bag to be.
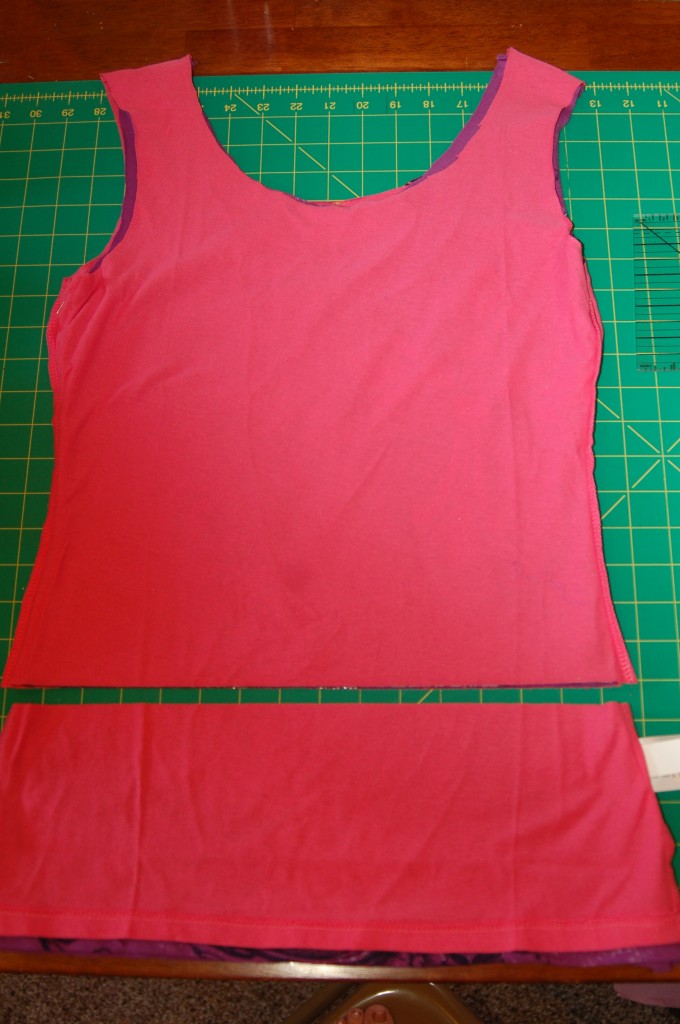
 Sew across each of the bottoms separately, right sides together.
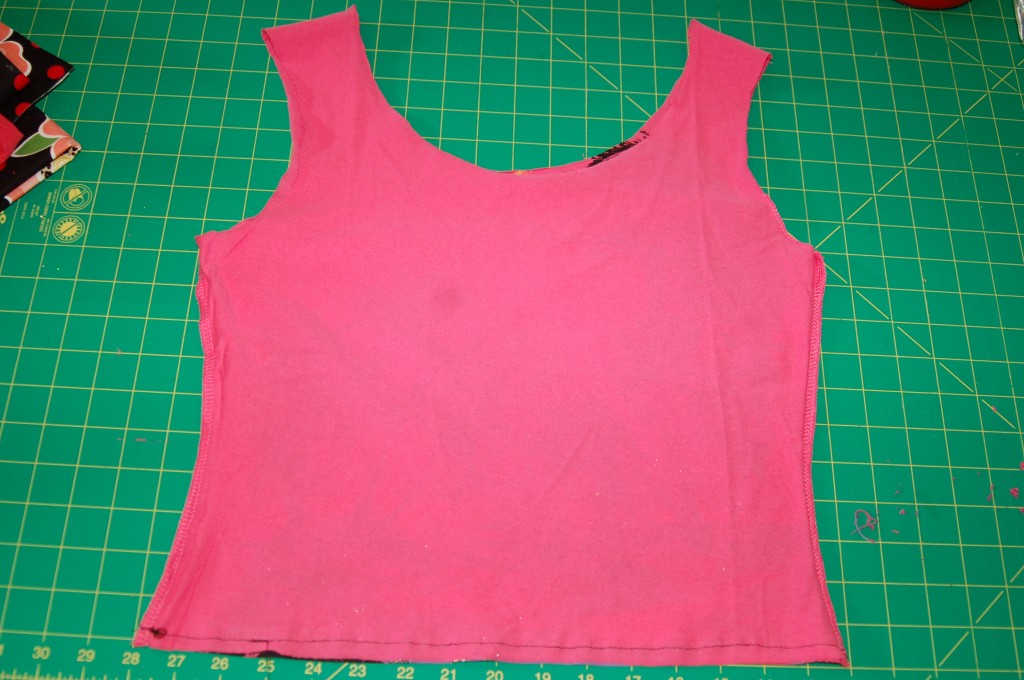
Put t-shirts inside of each other with wrong sides together (right sides showing) Pin neck and armholes together, matching seams at the shoulders.
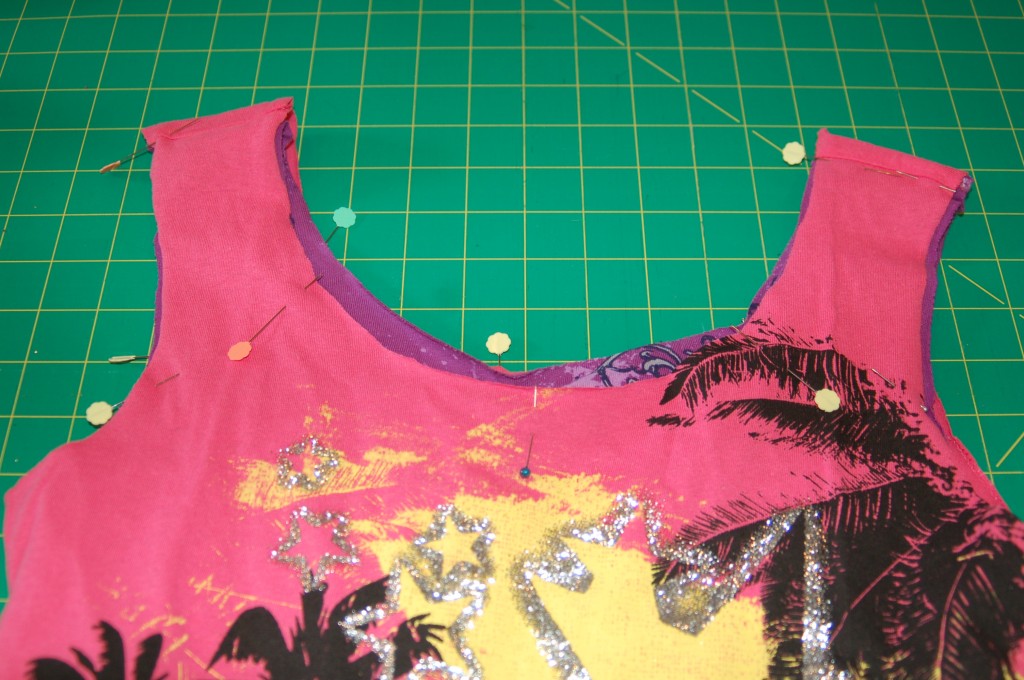
Sew 1/4″ seam around each armhole and the neck.  Stretch the edges a little bit to make the knit fabric curl. (This finishes the edges a little bit.)
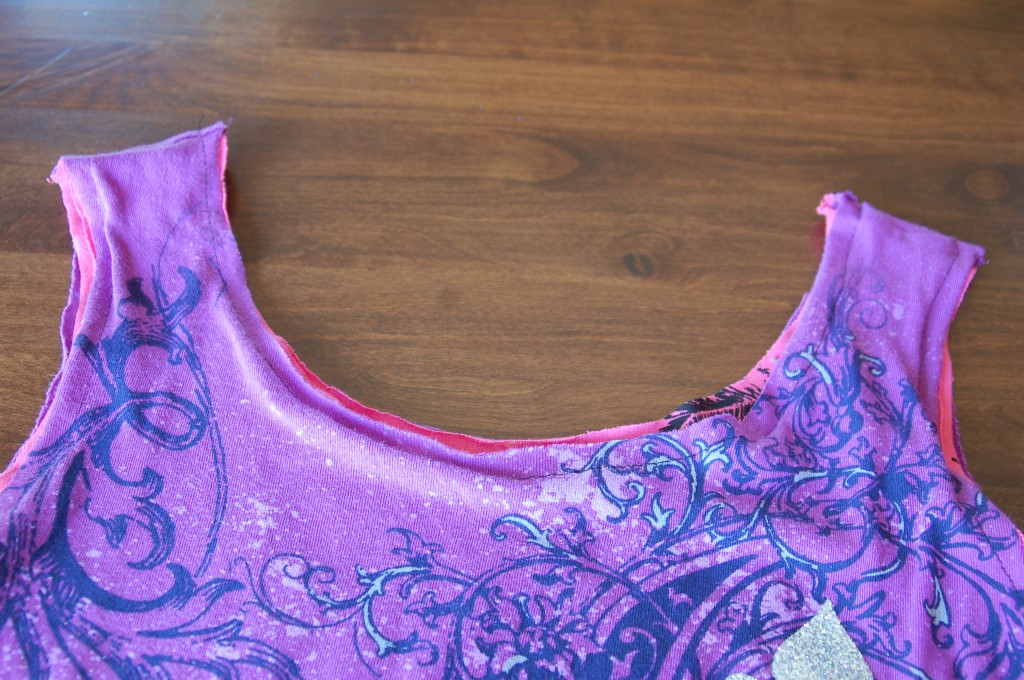
 Here is the pink version and she could not be any happier!
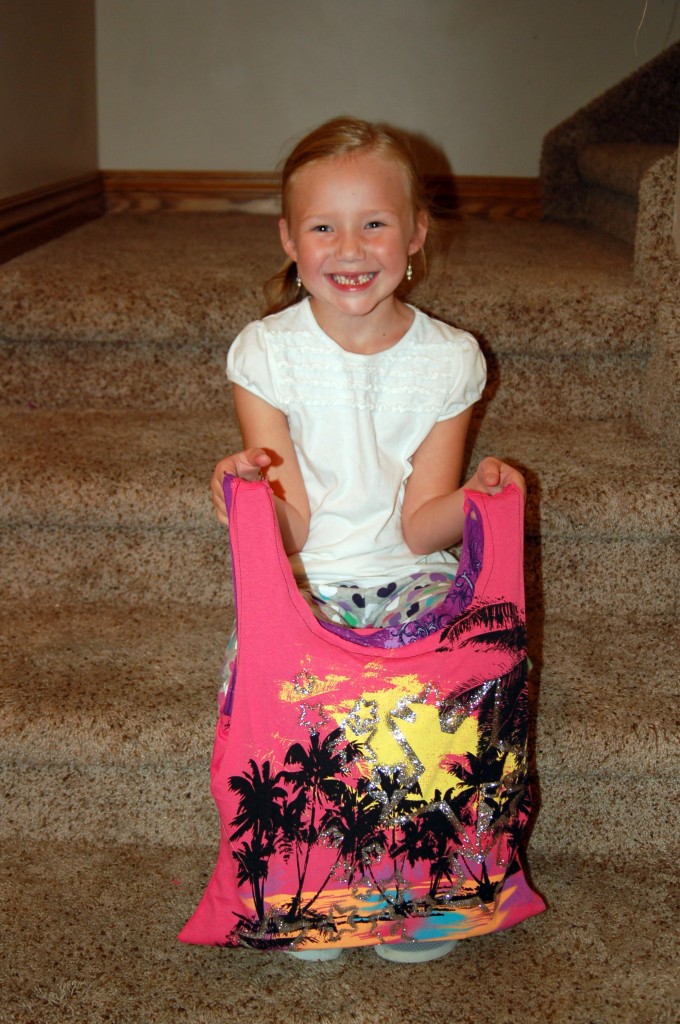
 I can think of a lot of fun uses for these bags,  you could use old team shirts and make a fun bag to take to games to carry your stadium blanket and goodies in, or you could do like my daughter’s neighbor did and make them for a fun take home gift for a little girl’s party.  They would also make great recycled bags for the grocery store.

You can also do these with just one t-shirt, and if  you do that you simply have one seam to sew on the bottom to close up the bag.  Make sure you stretch the fabric a bit on the “handles” so that the edges will curl.

Happy sewing, if you make one of these I would love for you to tell me about it!