Category Archives: For the Home

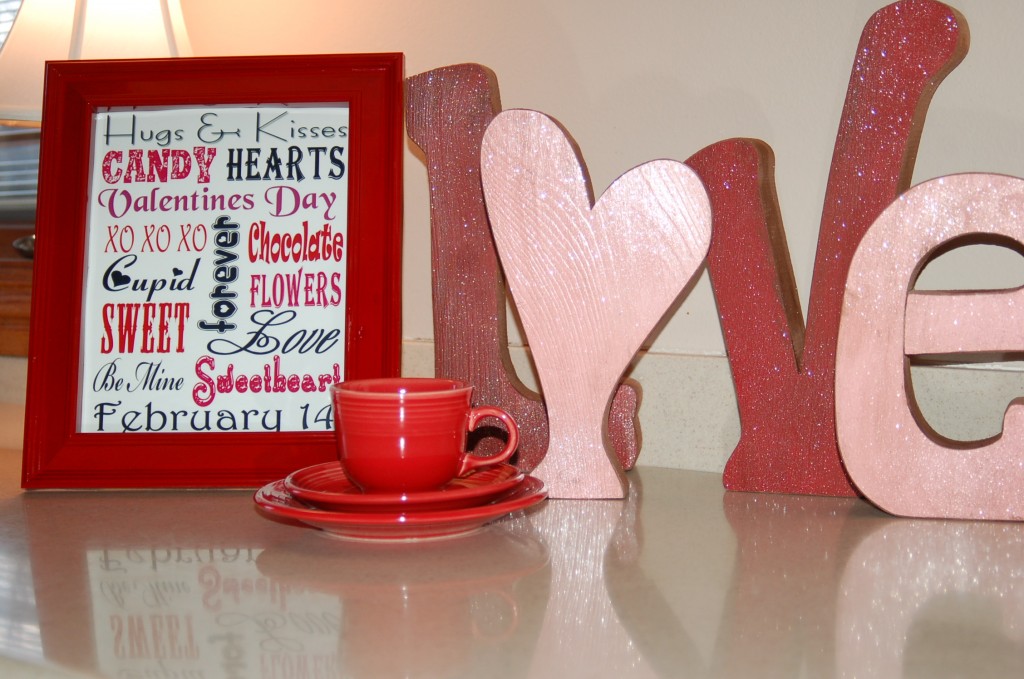
Valentines Subway Art

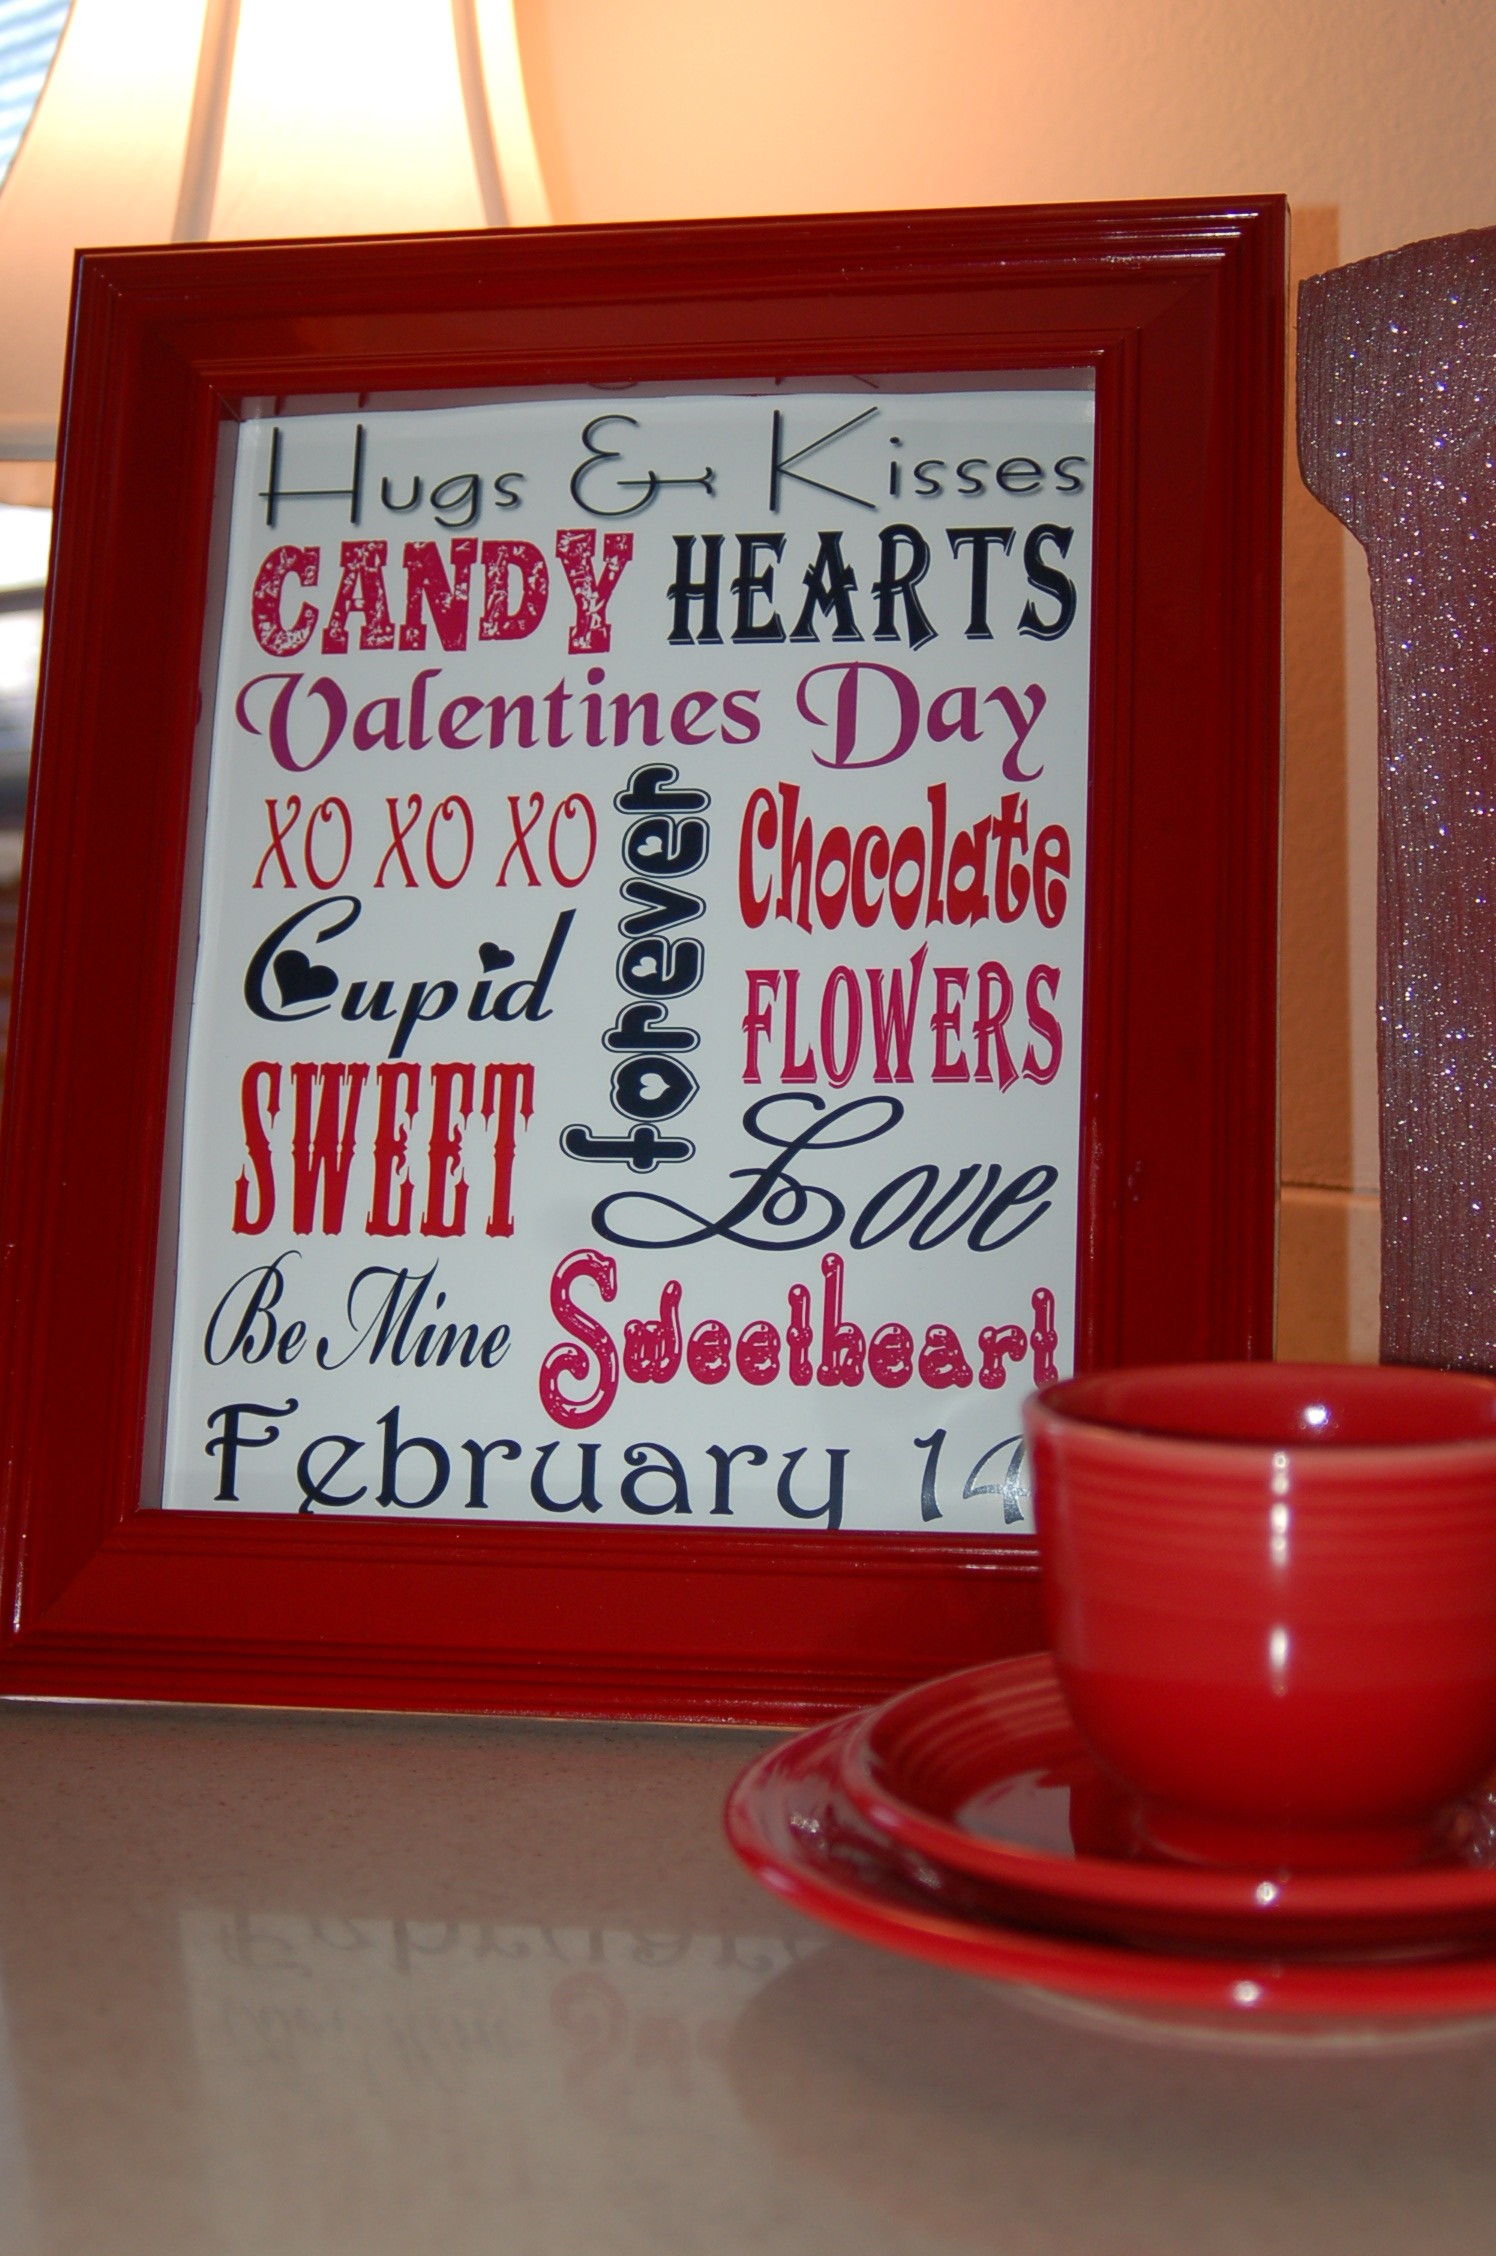
Is it too early to put out Valentine decorations?  I know the stores had them out the day before Christmas, but that is just plain crazy!  I know that there are a few of these already out there in blog land but I wanted to create my own version of a Valentines subway art.  It was fun to create and I think that perhaps I shall have to try my hand at this for Easter!

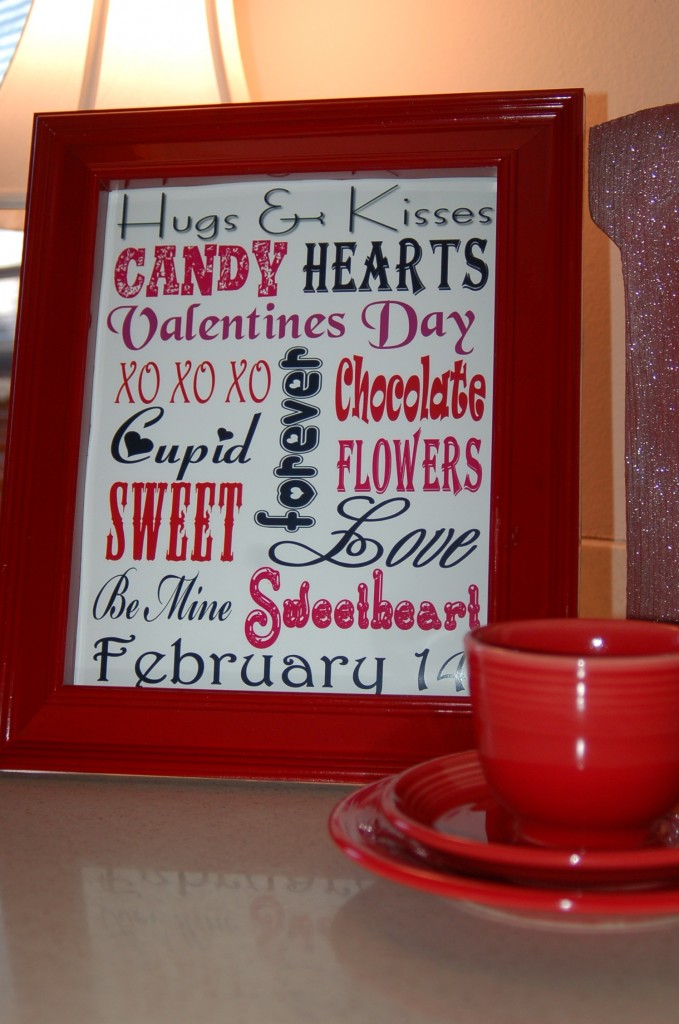
I found this frame at the dollar store and I spray painted it with a Krylon, red gloss paint.  The color really adds to the overall look of this project.

Here is the printable for you to use!  Just right click and go to copy, then open your favorite program like Word, or Presentations and right click again and go to paste.  The original is 8 x 10, but you can re-size it to whatever you would like.  I had mine printed on glossy card  stock and I think it looks great!

I have mine on my kitchen counter and it really brightens up my kitchen on these cold, dreary, winter days and makes me happy! :)   These would be a great little gift for teachers, friends, sisters, SELF etc!

Ruffled Christmas Pillow

I made some of these pillows for gifts and I love the way that they turned out!  It took me a little more than a hour to sew each one, so it is definitely a project that you could do in an evening!
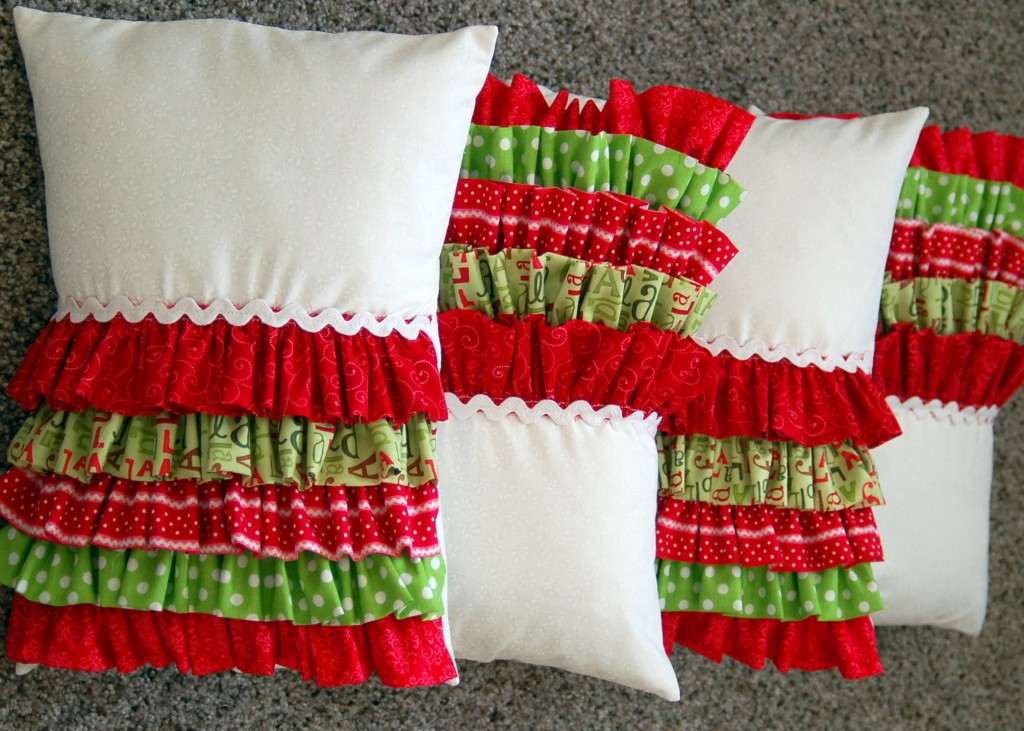
So, let’s make a pillow or two!

Supplies:

12″ x 16″ pillow form

5″ x 32″ strips- you will need five different fabrics

1/2 yard fabric for pillow front and back (I used white on white fabric)

1/2 yard ric rac or ribbon

Cut one pillow front 12 1/2″ x 16 1/2″  rectangle, cut two 12 1/2″ x 10 1/2″ rectangles for the back.  Cut ruffles 5″ x 32″.  Fold ruffle strips in half lengthwise, wrong sides together and press.
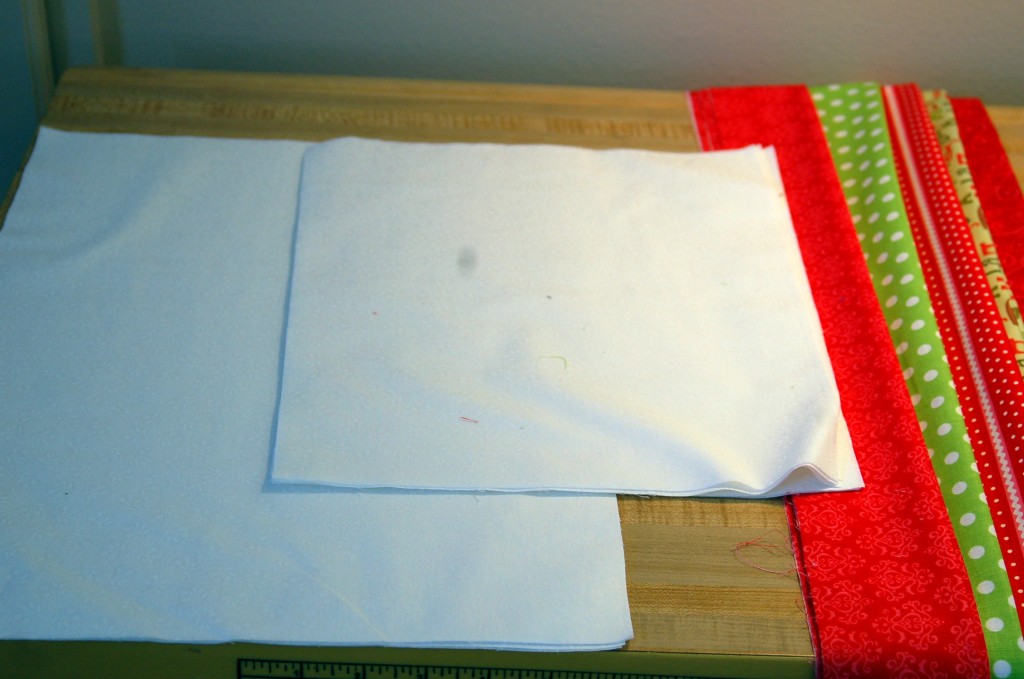
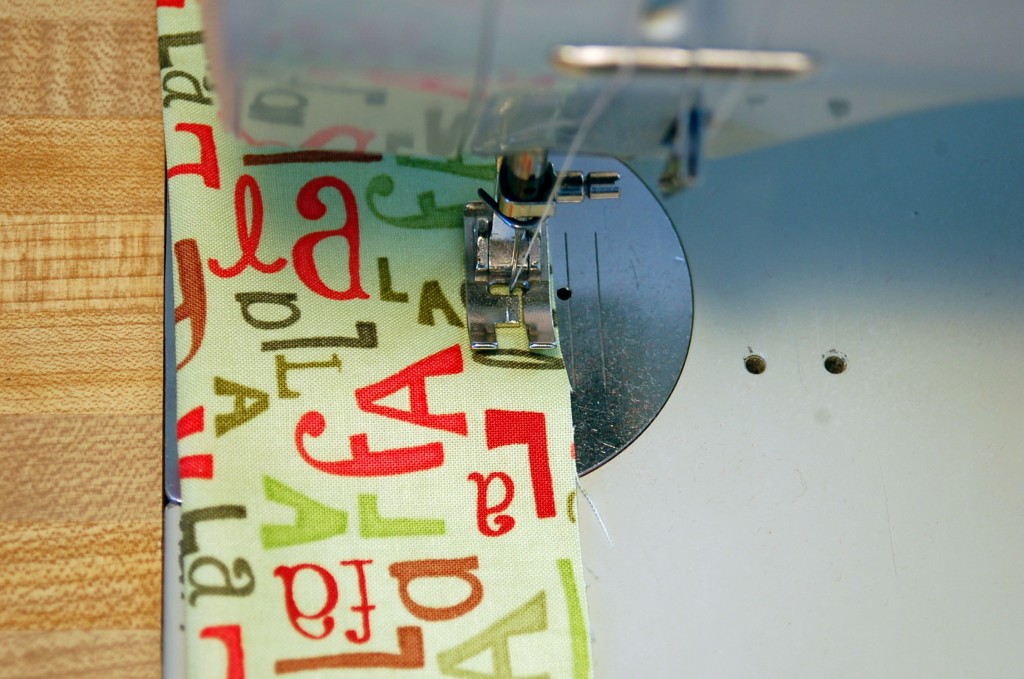
Sew a gathering stitch 1/4″ from edge along the long raw edge of the ruffles.  Pull gathers until ruffles measure about 12 1/2″ long.
Next, mark on your pillow front fabric:

1st row:  3″ from edge

2nd row: 4 1/2″ from edge

3rd row:  6″ from edge

4th row:  7 1/2 ” from edge

5th row: 9″ from edge

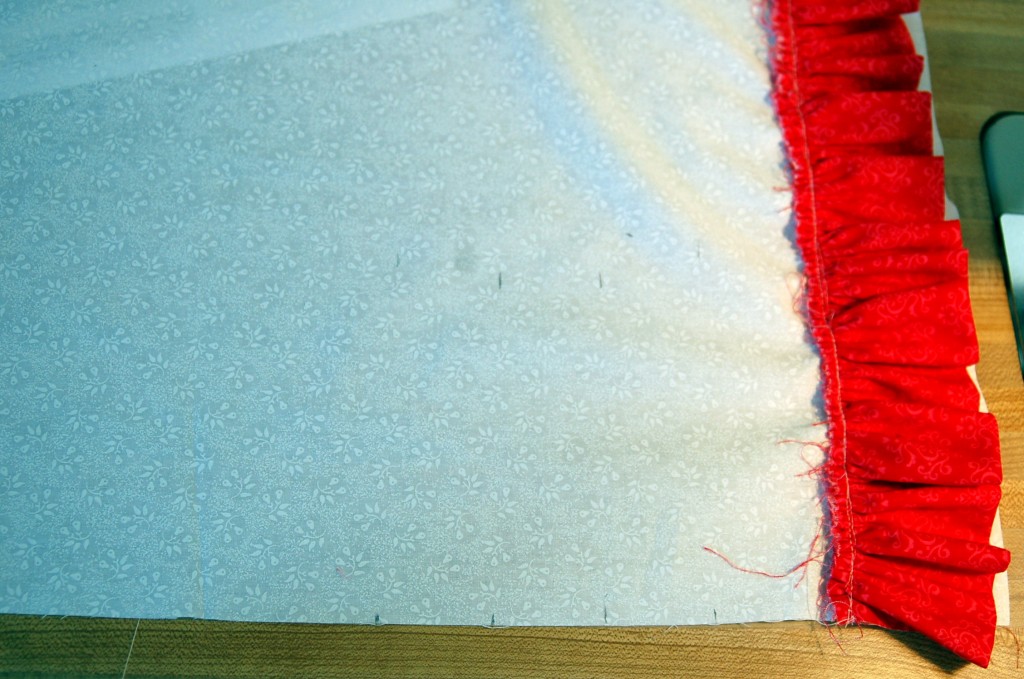
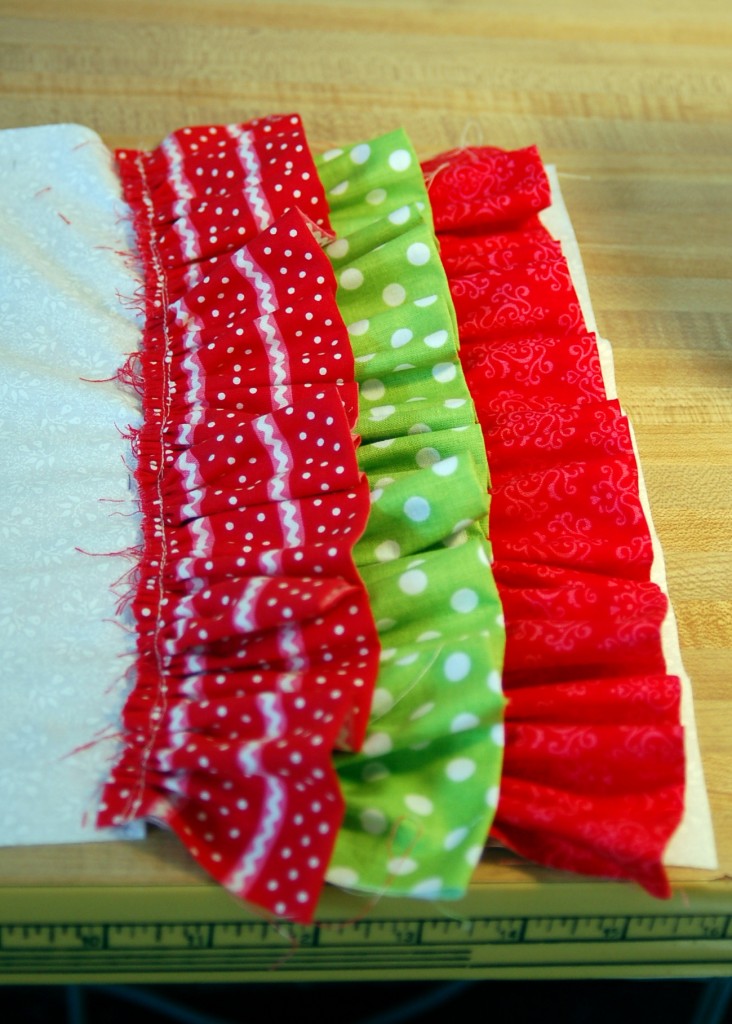
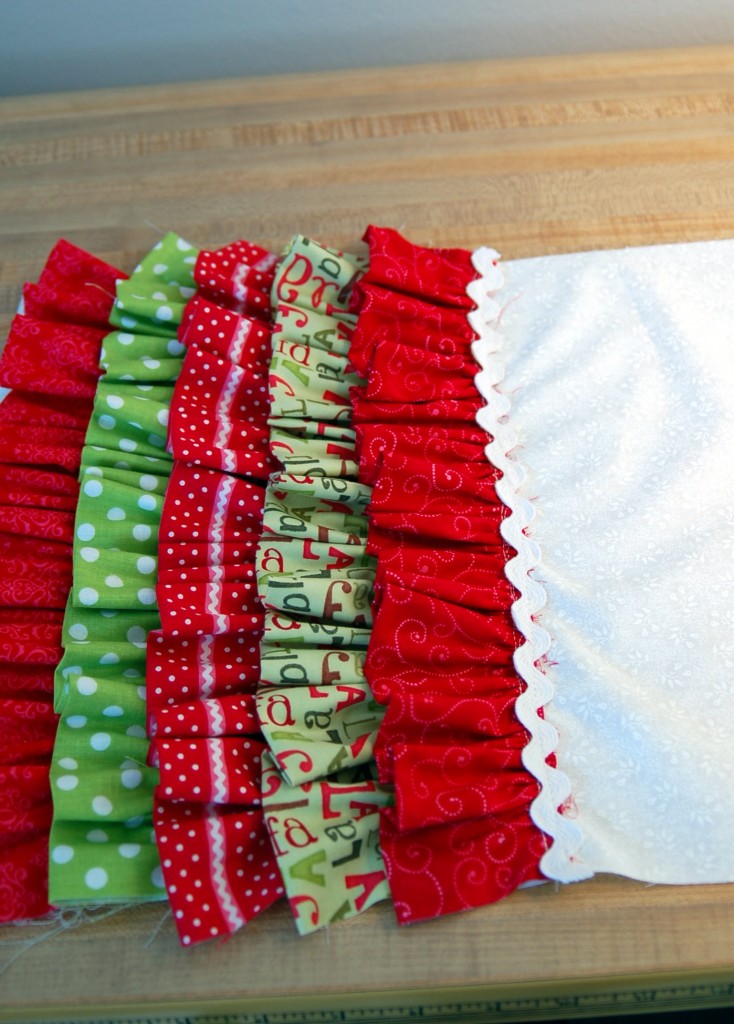
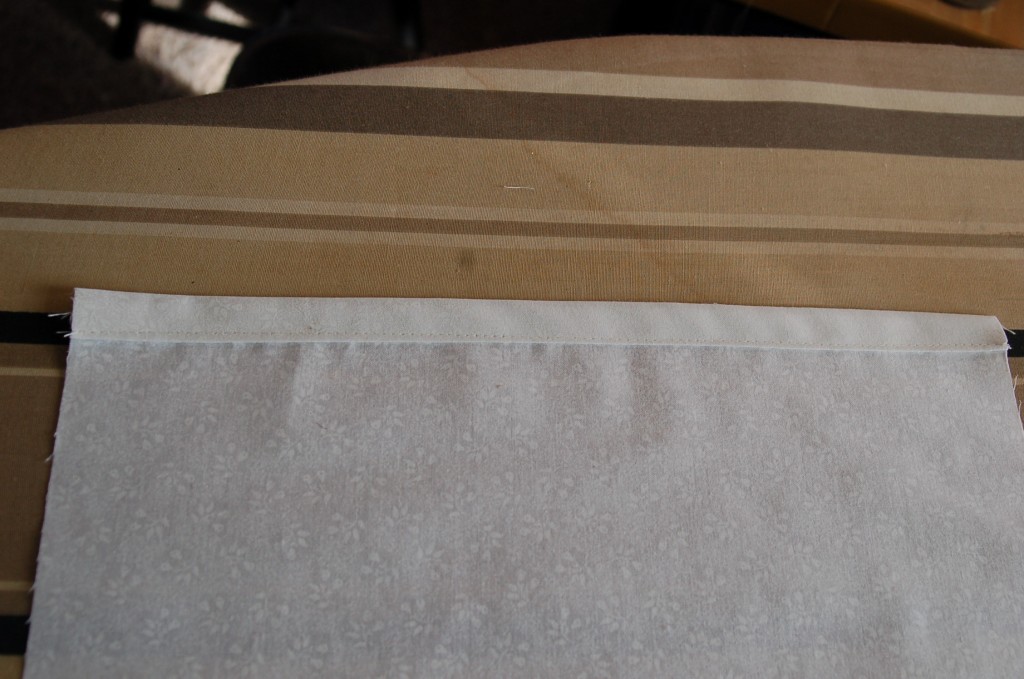
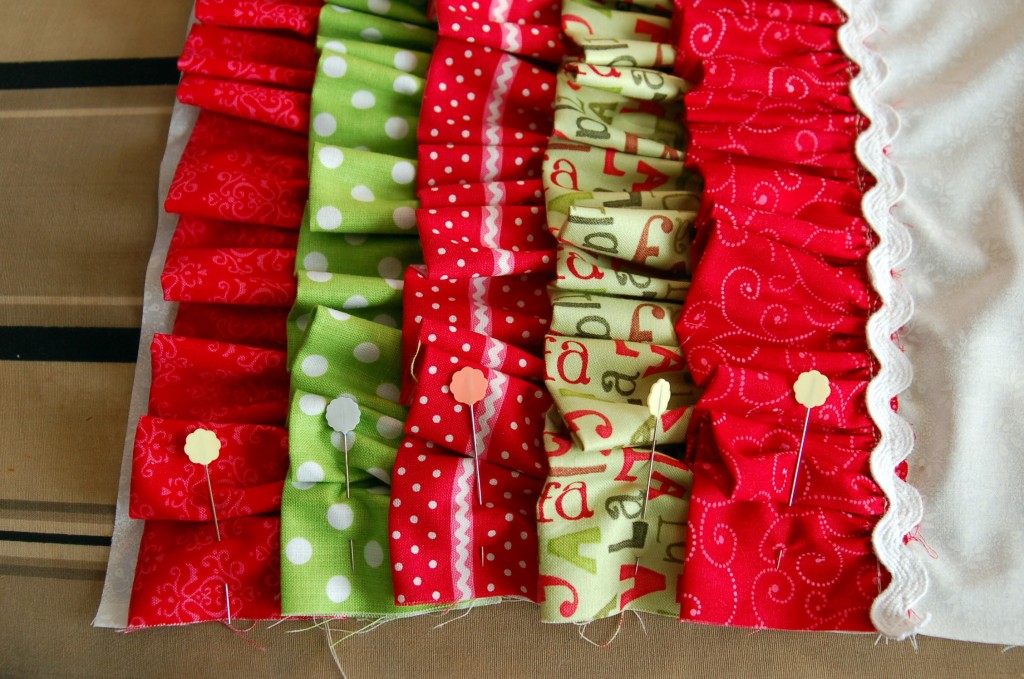
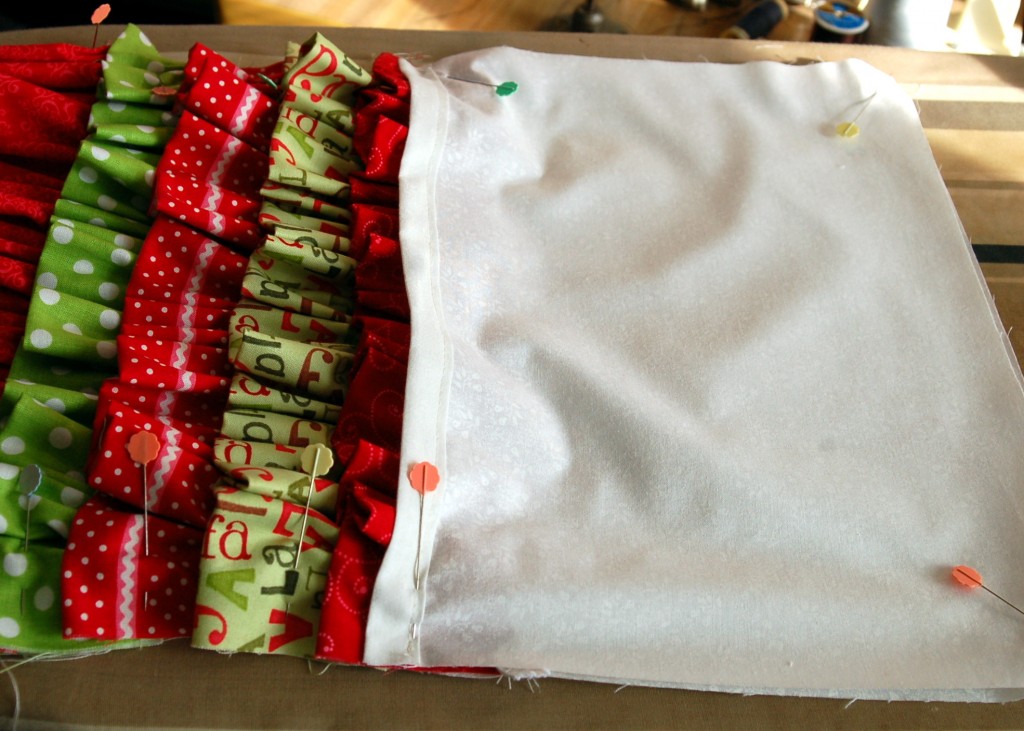
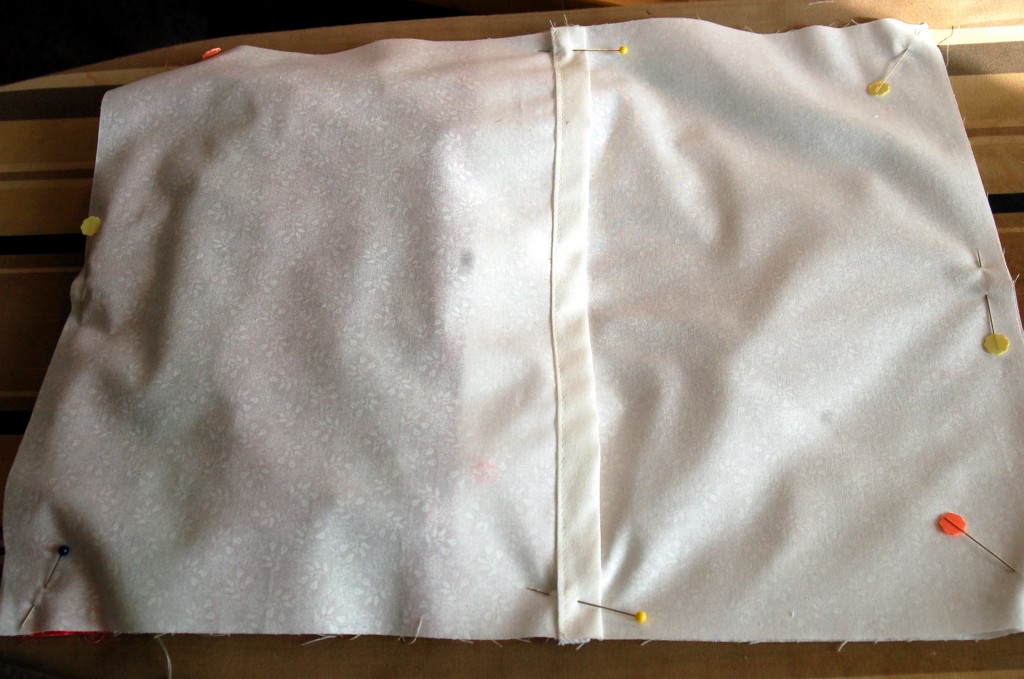
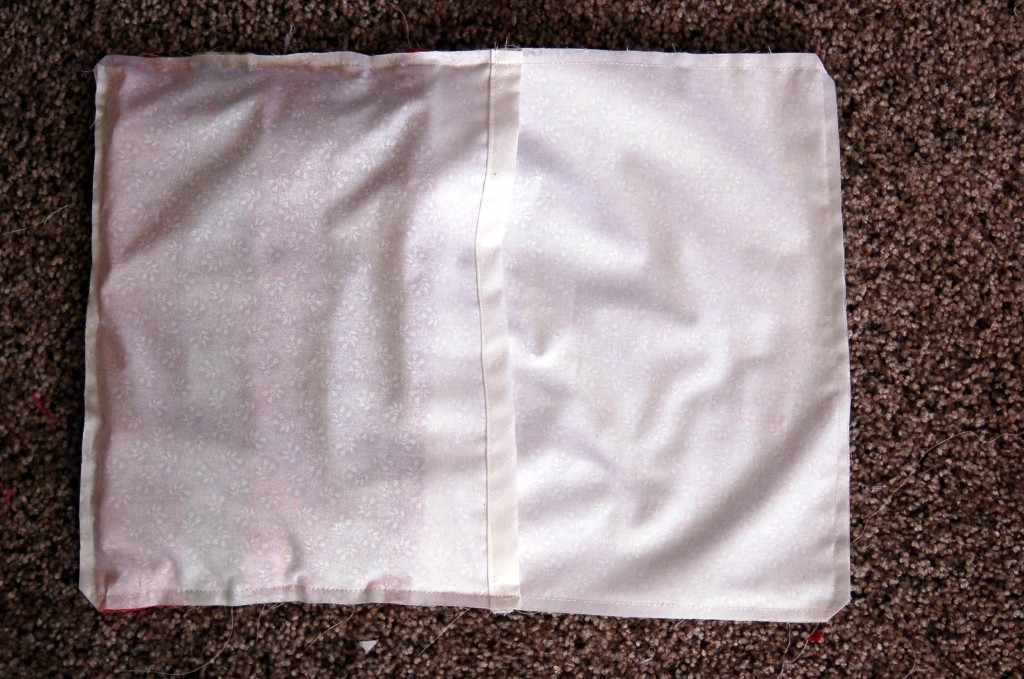
I marked on both edges and down the middle.  Beginning with the first ruffle, line up the raw edge with the marks that you made and stitch gathered ruffle to pillow .  Continue sewing on all five ruffles matching the raw edge with the marks you made.After all five ruffles are sewn on, you can cover the last seam with ric-rac or ribbon.  Or you could  just leave the raw edges. Next take the two back pieces and on the 12 1/2 ” side, fold down to the wrong side, 1/2″ and press and then fold down 1/2″ again and press.  Stitch close to the inside edge as shown.Pin all of your ruffles so that they are even with the edge of the pillow.Place one of the back pieces onto the pillow.  Right sides together and pin.Then pin the other side overlapping the first piece by about 2″Stitch all the way around the outside of the pillow and trim the corners.Turn through overlapped opening and gently poke corners.
Woot, Woot!

You have made a ruffled pillow!  All you have to do is insert the pillow form!Now all you need to do is find a nice warm blanket and a good book, or movie and you are set!
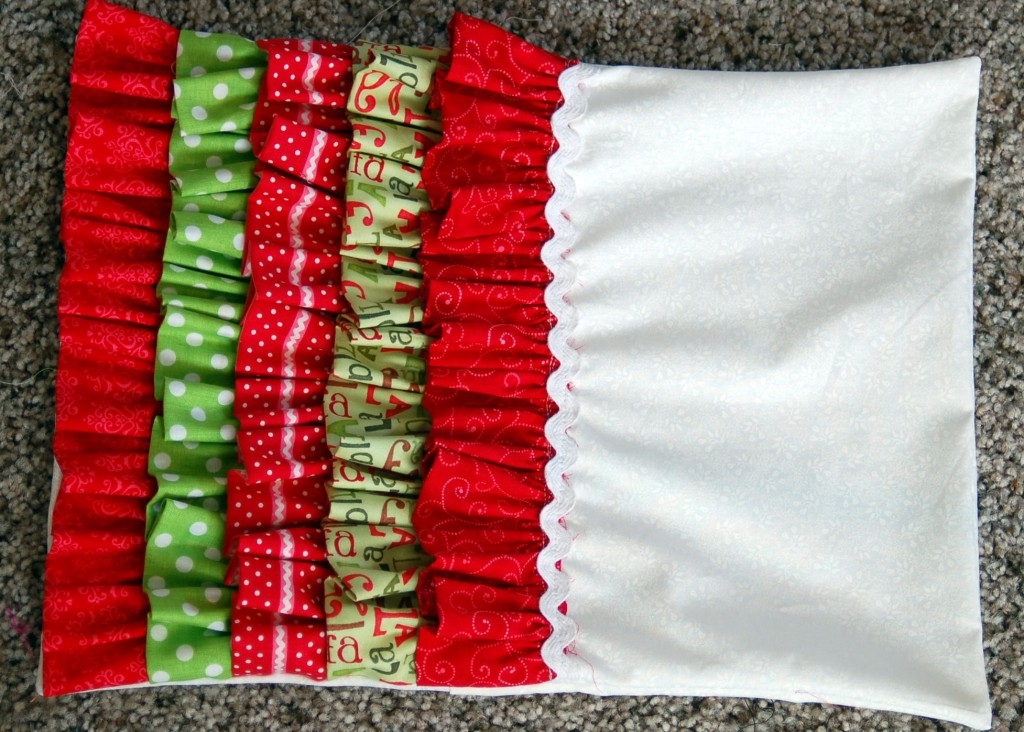
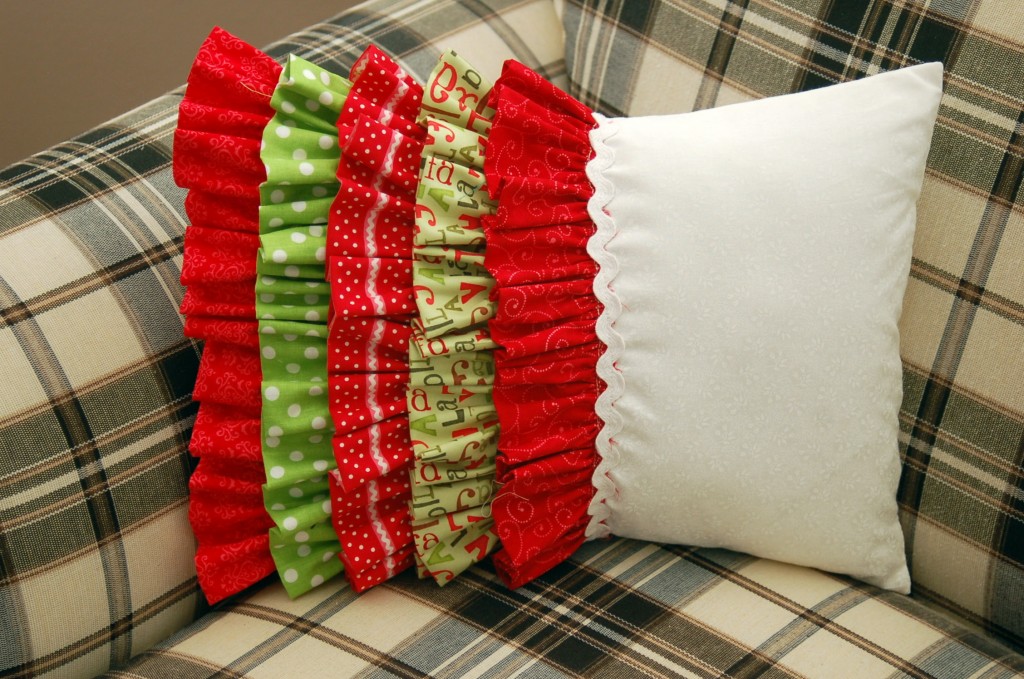
May you all find a moment to wrap up with a pillow, blanket and hot chocolate and remember the true meaning of Christmas & the real Reason for the Season!

Framed Ornaments

My daughter and I did another craft together!  I think that is a record for us to do two projects in about 1 weeks time!

My daughter found the idea on Pinterest.  If you have never looked at Pinterest, you need to go there.  Just click here and you can follow me!

This is a cute, fun, easy craft that you can complete in couple of hours!

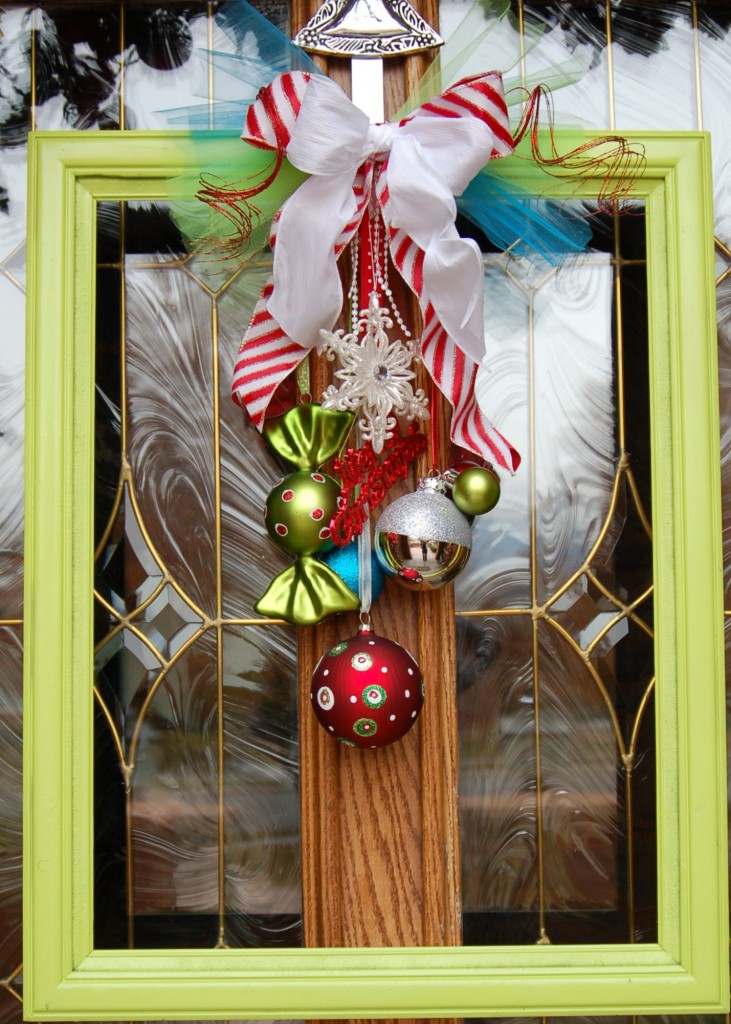
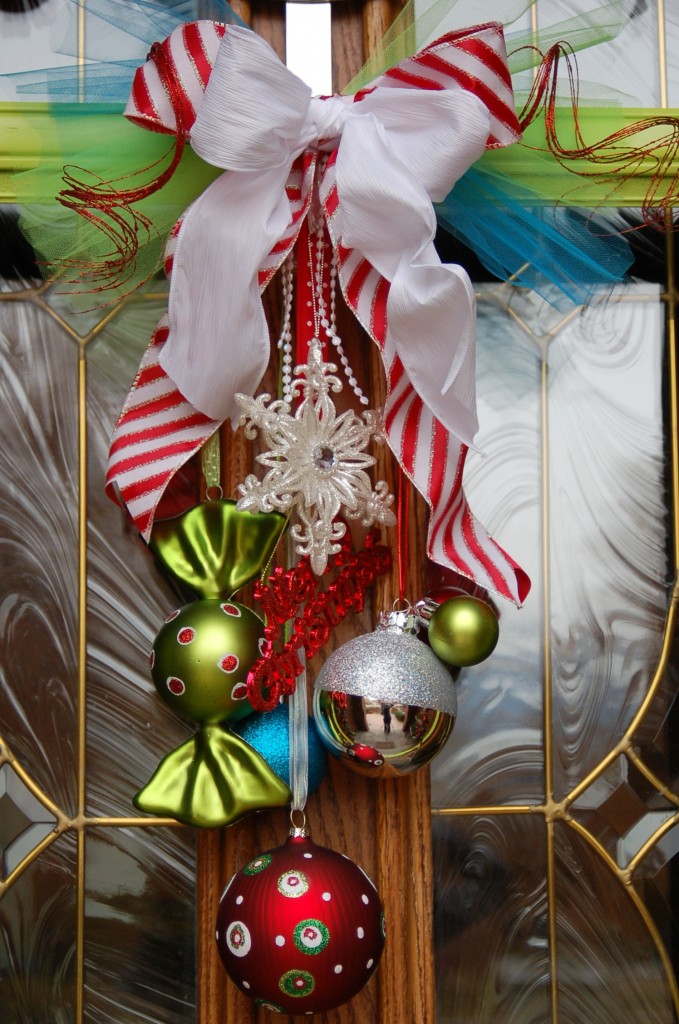
It is framed Christmas ornaments!

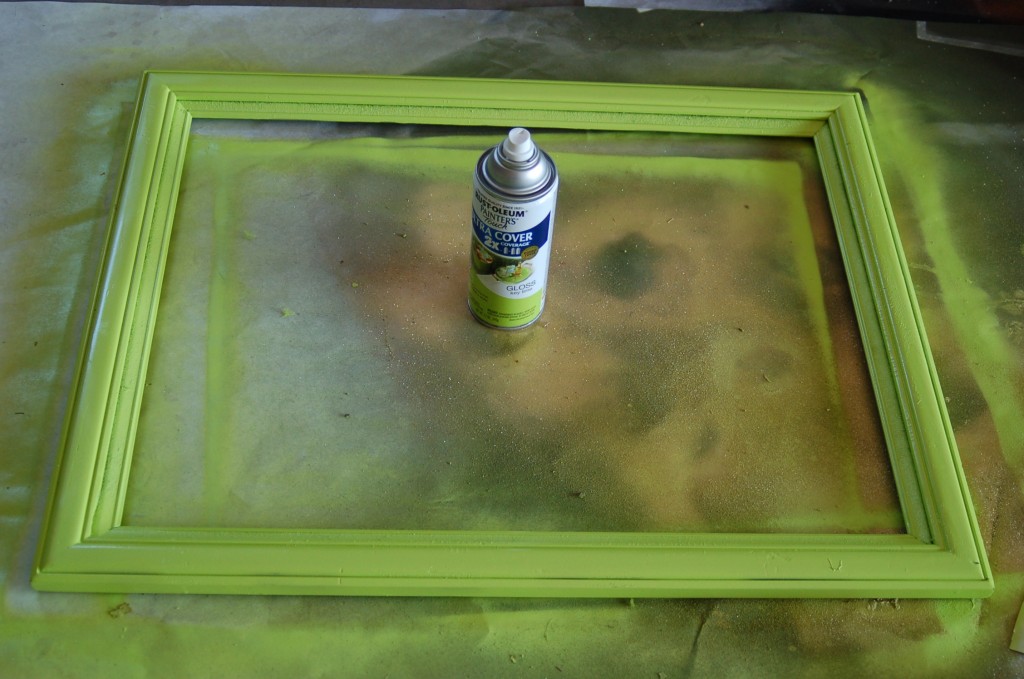
First of all, you need to start with a frame.  This is one that I picked up at the DI and I took the picture and glass out and spray painted it lime green. (This frame was a little bit bigger than I would have liked, but it was the only one they had that would work!  The thicker the frame, the better!)

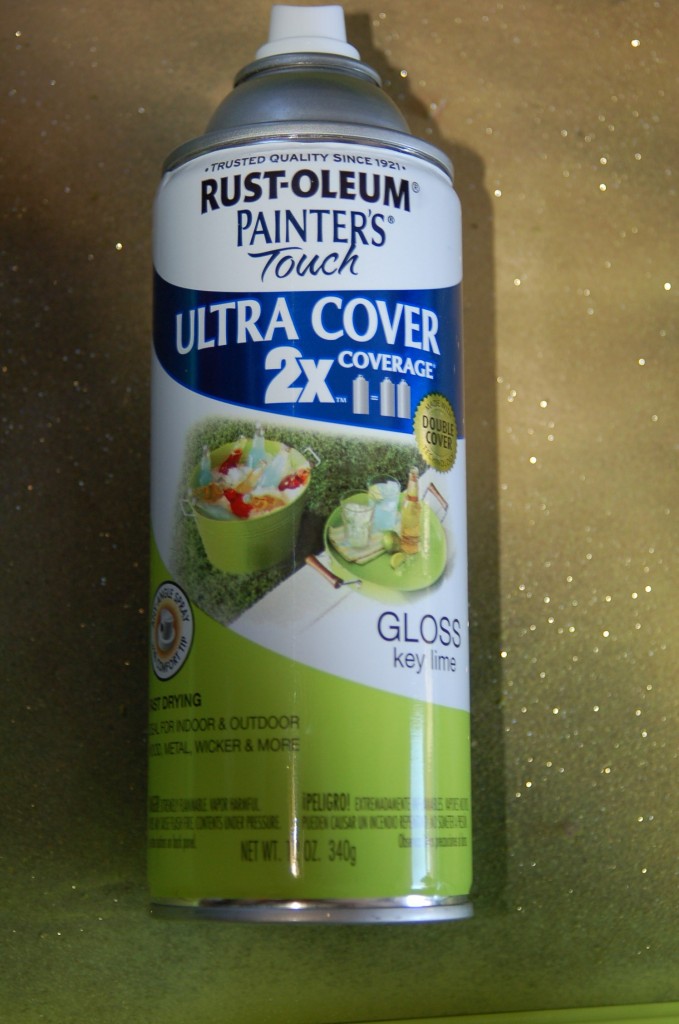
I used this Rust-oleum ultra cover, 2x paint.  I love this stuff!  It really covers well and I only have to do a couple of coats!  This color is Key Lime Green!

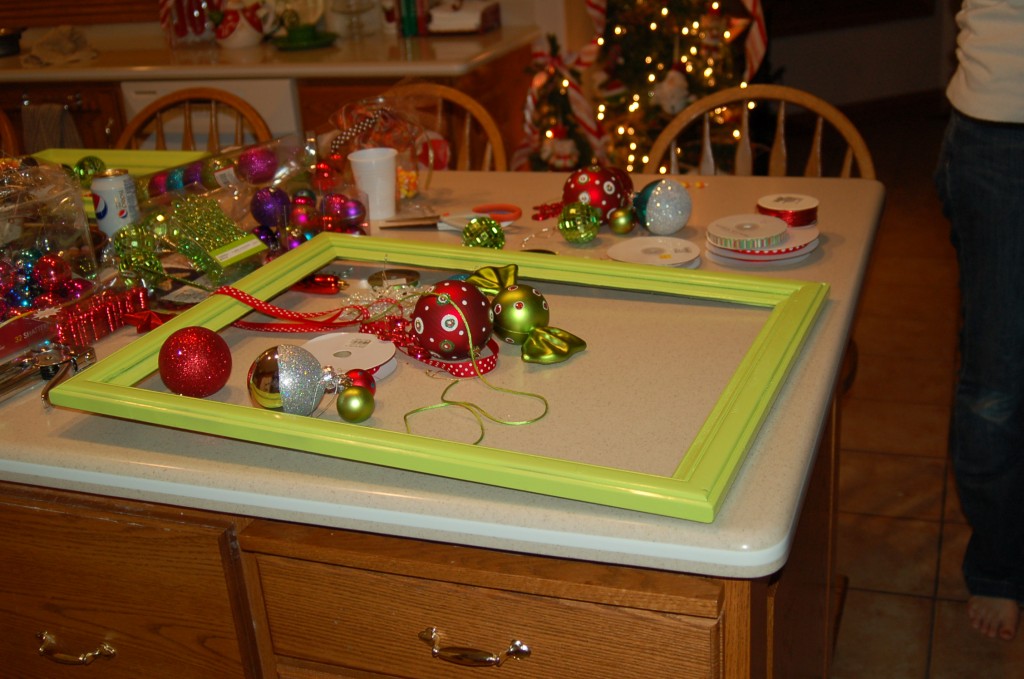
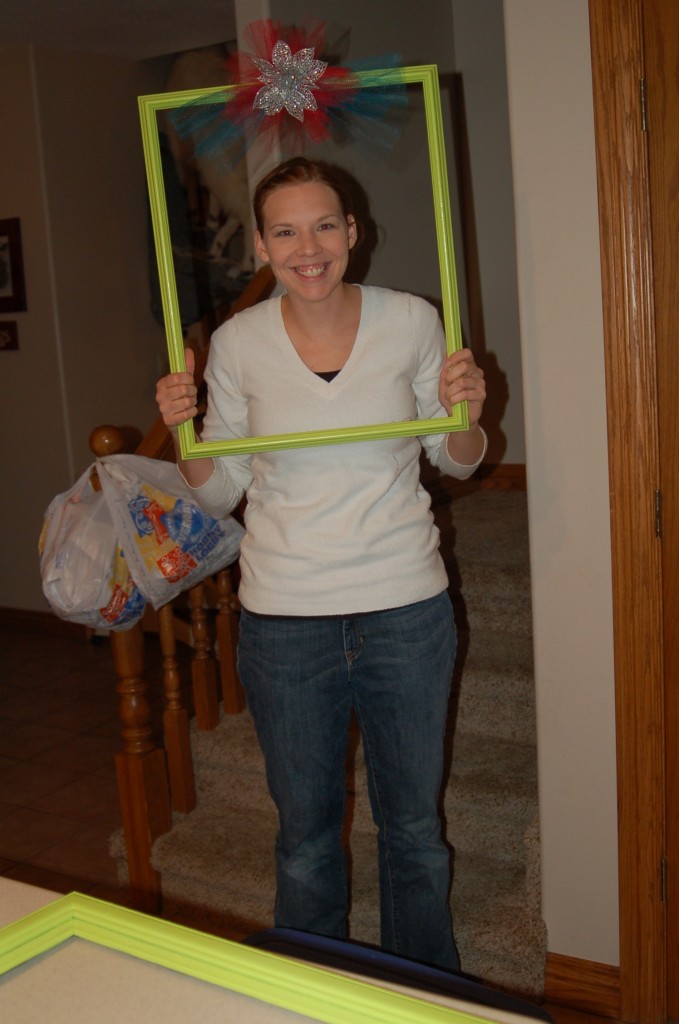
After painting the frame gather all your supplies together.  We hung each of the ornaments on a ribbon at varying lengths.  We then just used a staple gun and stapled the ribbons to the back of the frame.This is the bow that my daughter was experimenting with, but then changed the silver flower to a big candy cane striped ribbon.  I told her that I needed a picture of the frame and this is what I got!  Just a goof off!  (do you love the plastic bags hanging on the stair railing?  This is the catch-all area of my house!)
We added a big bow, tulle, curly cues, and beads to the front of the frame.I think that it looks quite festive and I am starting to get the Christmas Spirit!  I have most of my decorating done, and it is a good thing, because this week a lot of the parties will start at our house!What are some of your favorite Christmas decorations?  Have you had them for a long time and are they priceless, or are you getting/making a lot of new, updated things?  I have a couple more projects that I am working on and hopefully I will be able to get them done this week, before the parties!  I will share when they get finished.

Thanksgiving Table Centerpiece

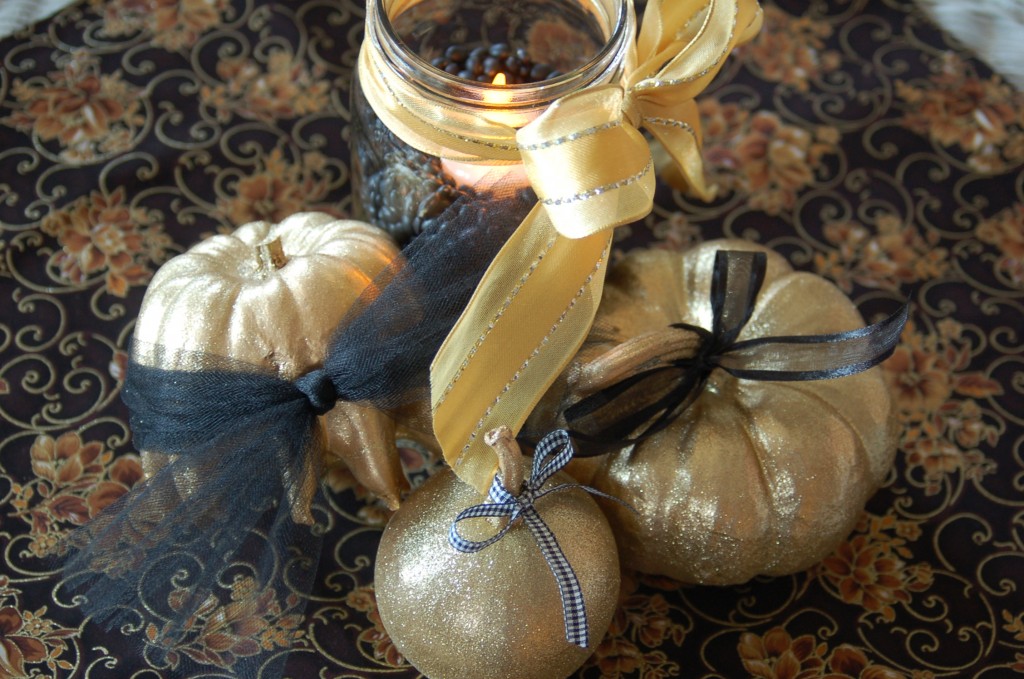
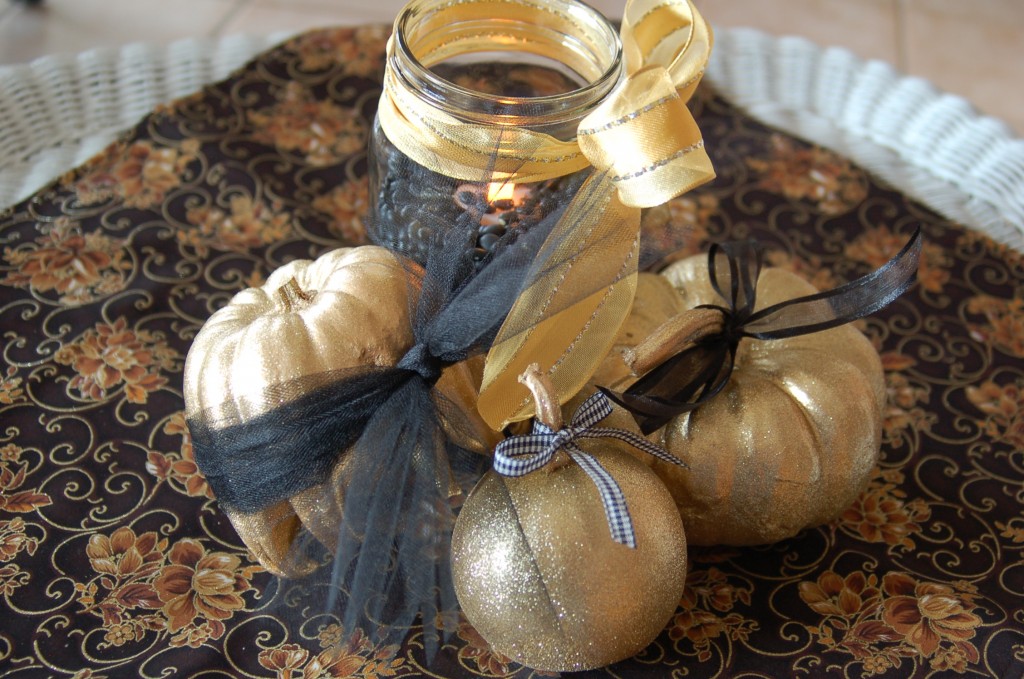
I had to make some centerpieces for a small dinner last weekend and this is what I came up with.  I thought that they looked festive without too much work!

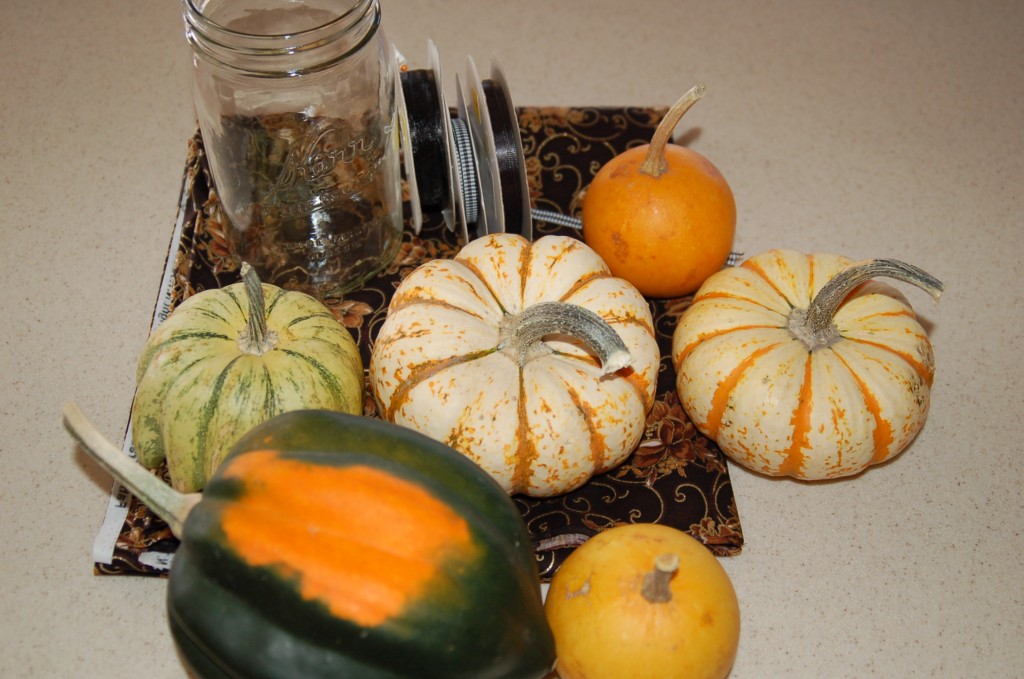
I found this black fabric with gold glitter in the design, so I thought that I could just use the gourds and pumpkins leftover from Halloween. I used the gold Krylon Glitter Blast spray paint to paint them and then just simply tied ribbons and tulle on them.  For the jars, I filled them up with black beans and put a battery votive candle down in the beans.  Then I tied the jars with a pretty metallic gold ribbon…

And  I think that they turned out pretty cute with out a lot of time or money!  You could also put popcorn kernels, candy, rice, or just about anything in the jars to make your candles.  I think I will have to use this idea again for Christmas, with red and green candies in the jar!

 Do you have any fun, easy ways to decorate your tables?  I would love to hear from you!

Give Thanks Banner

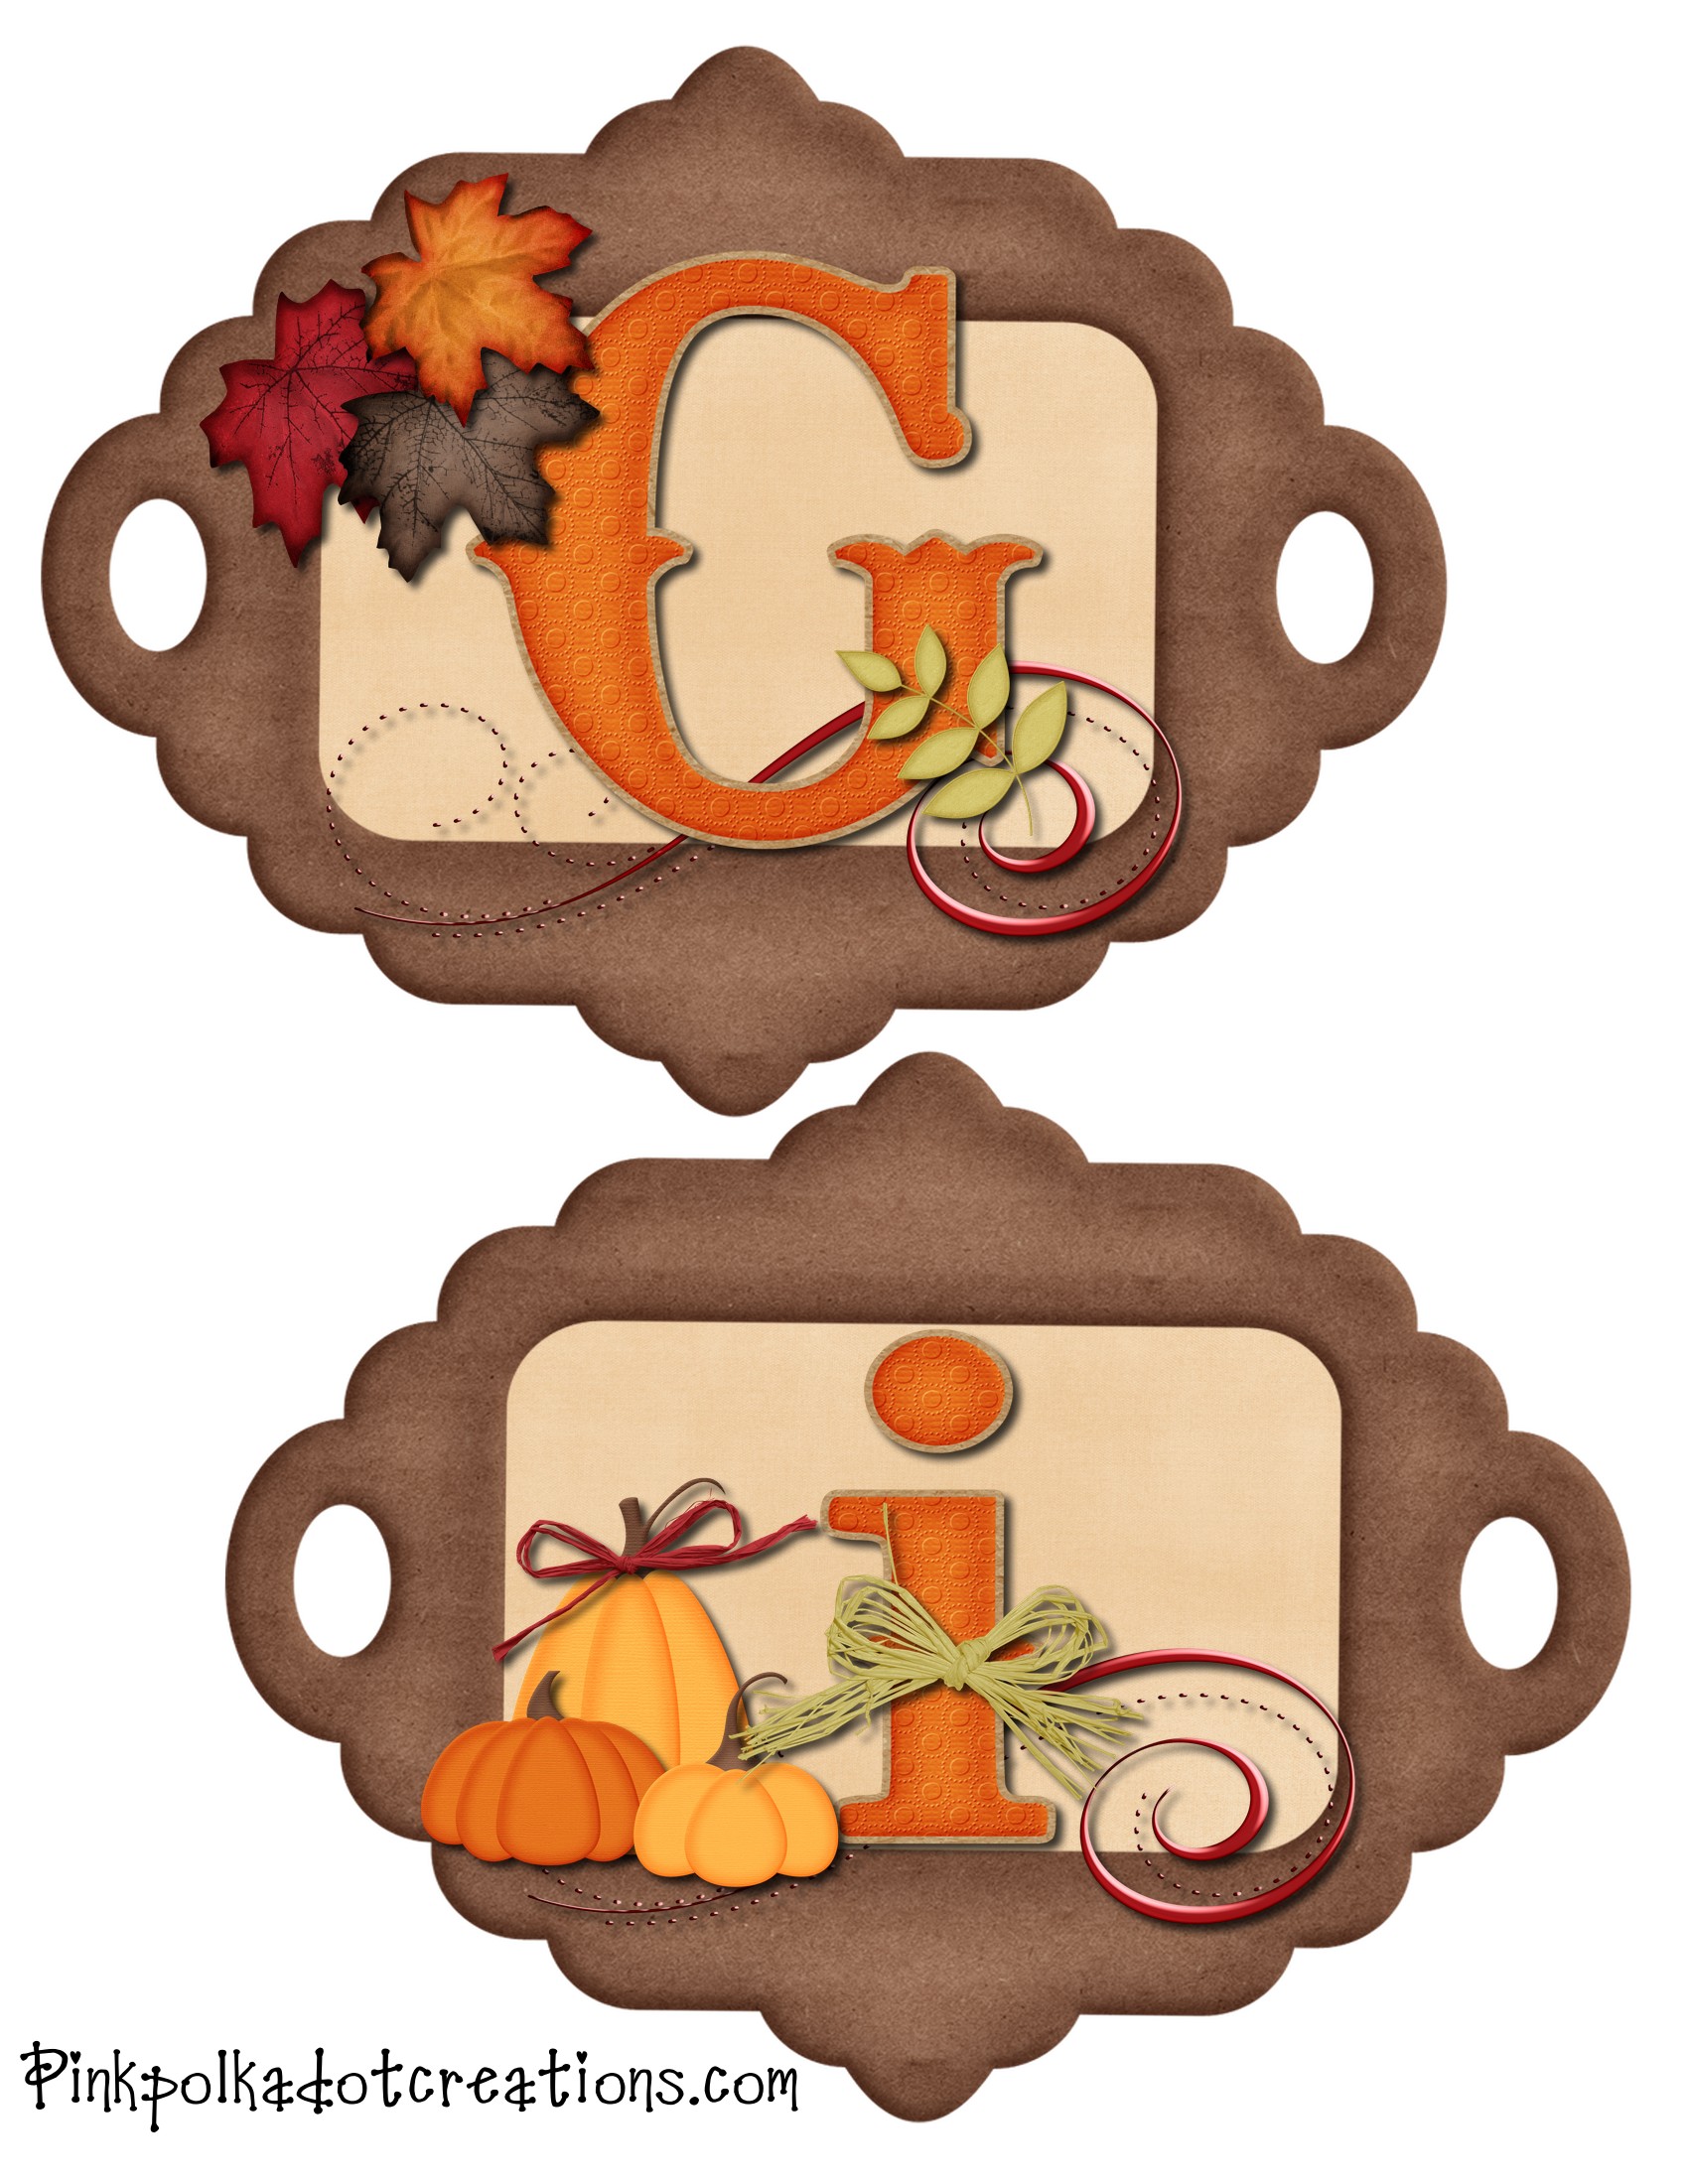
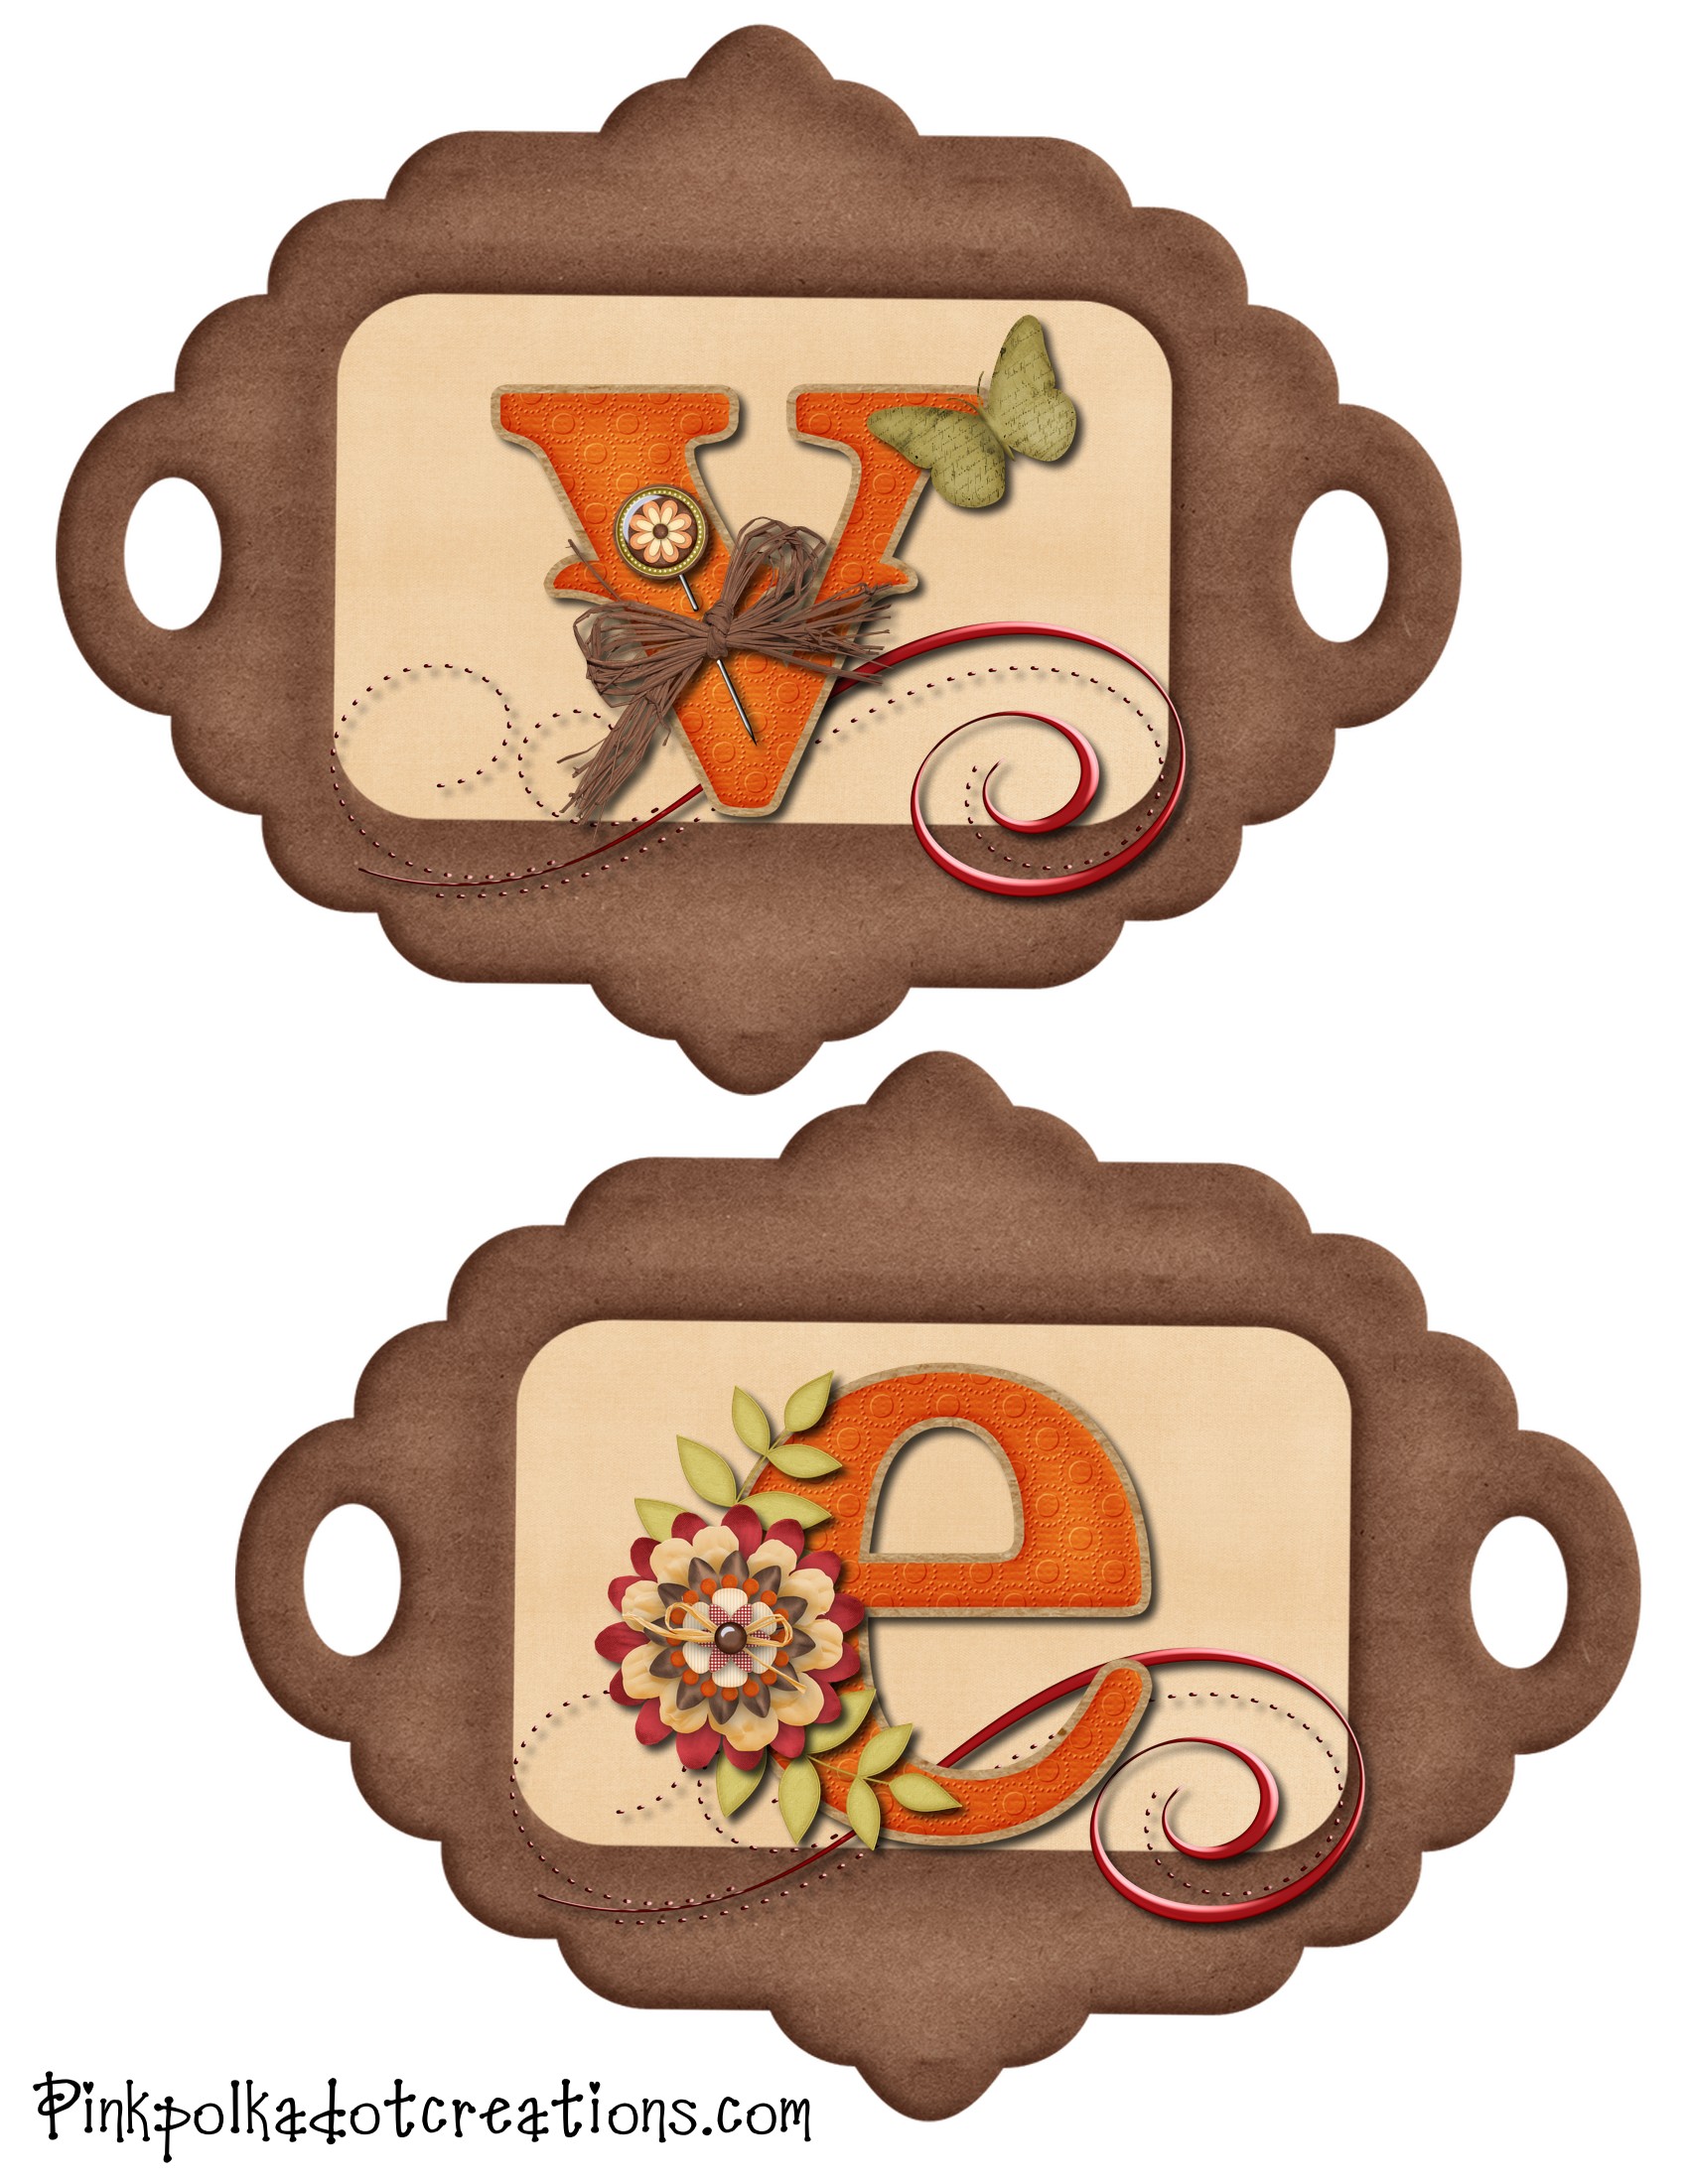
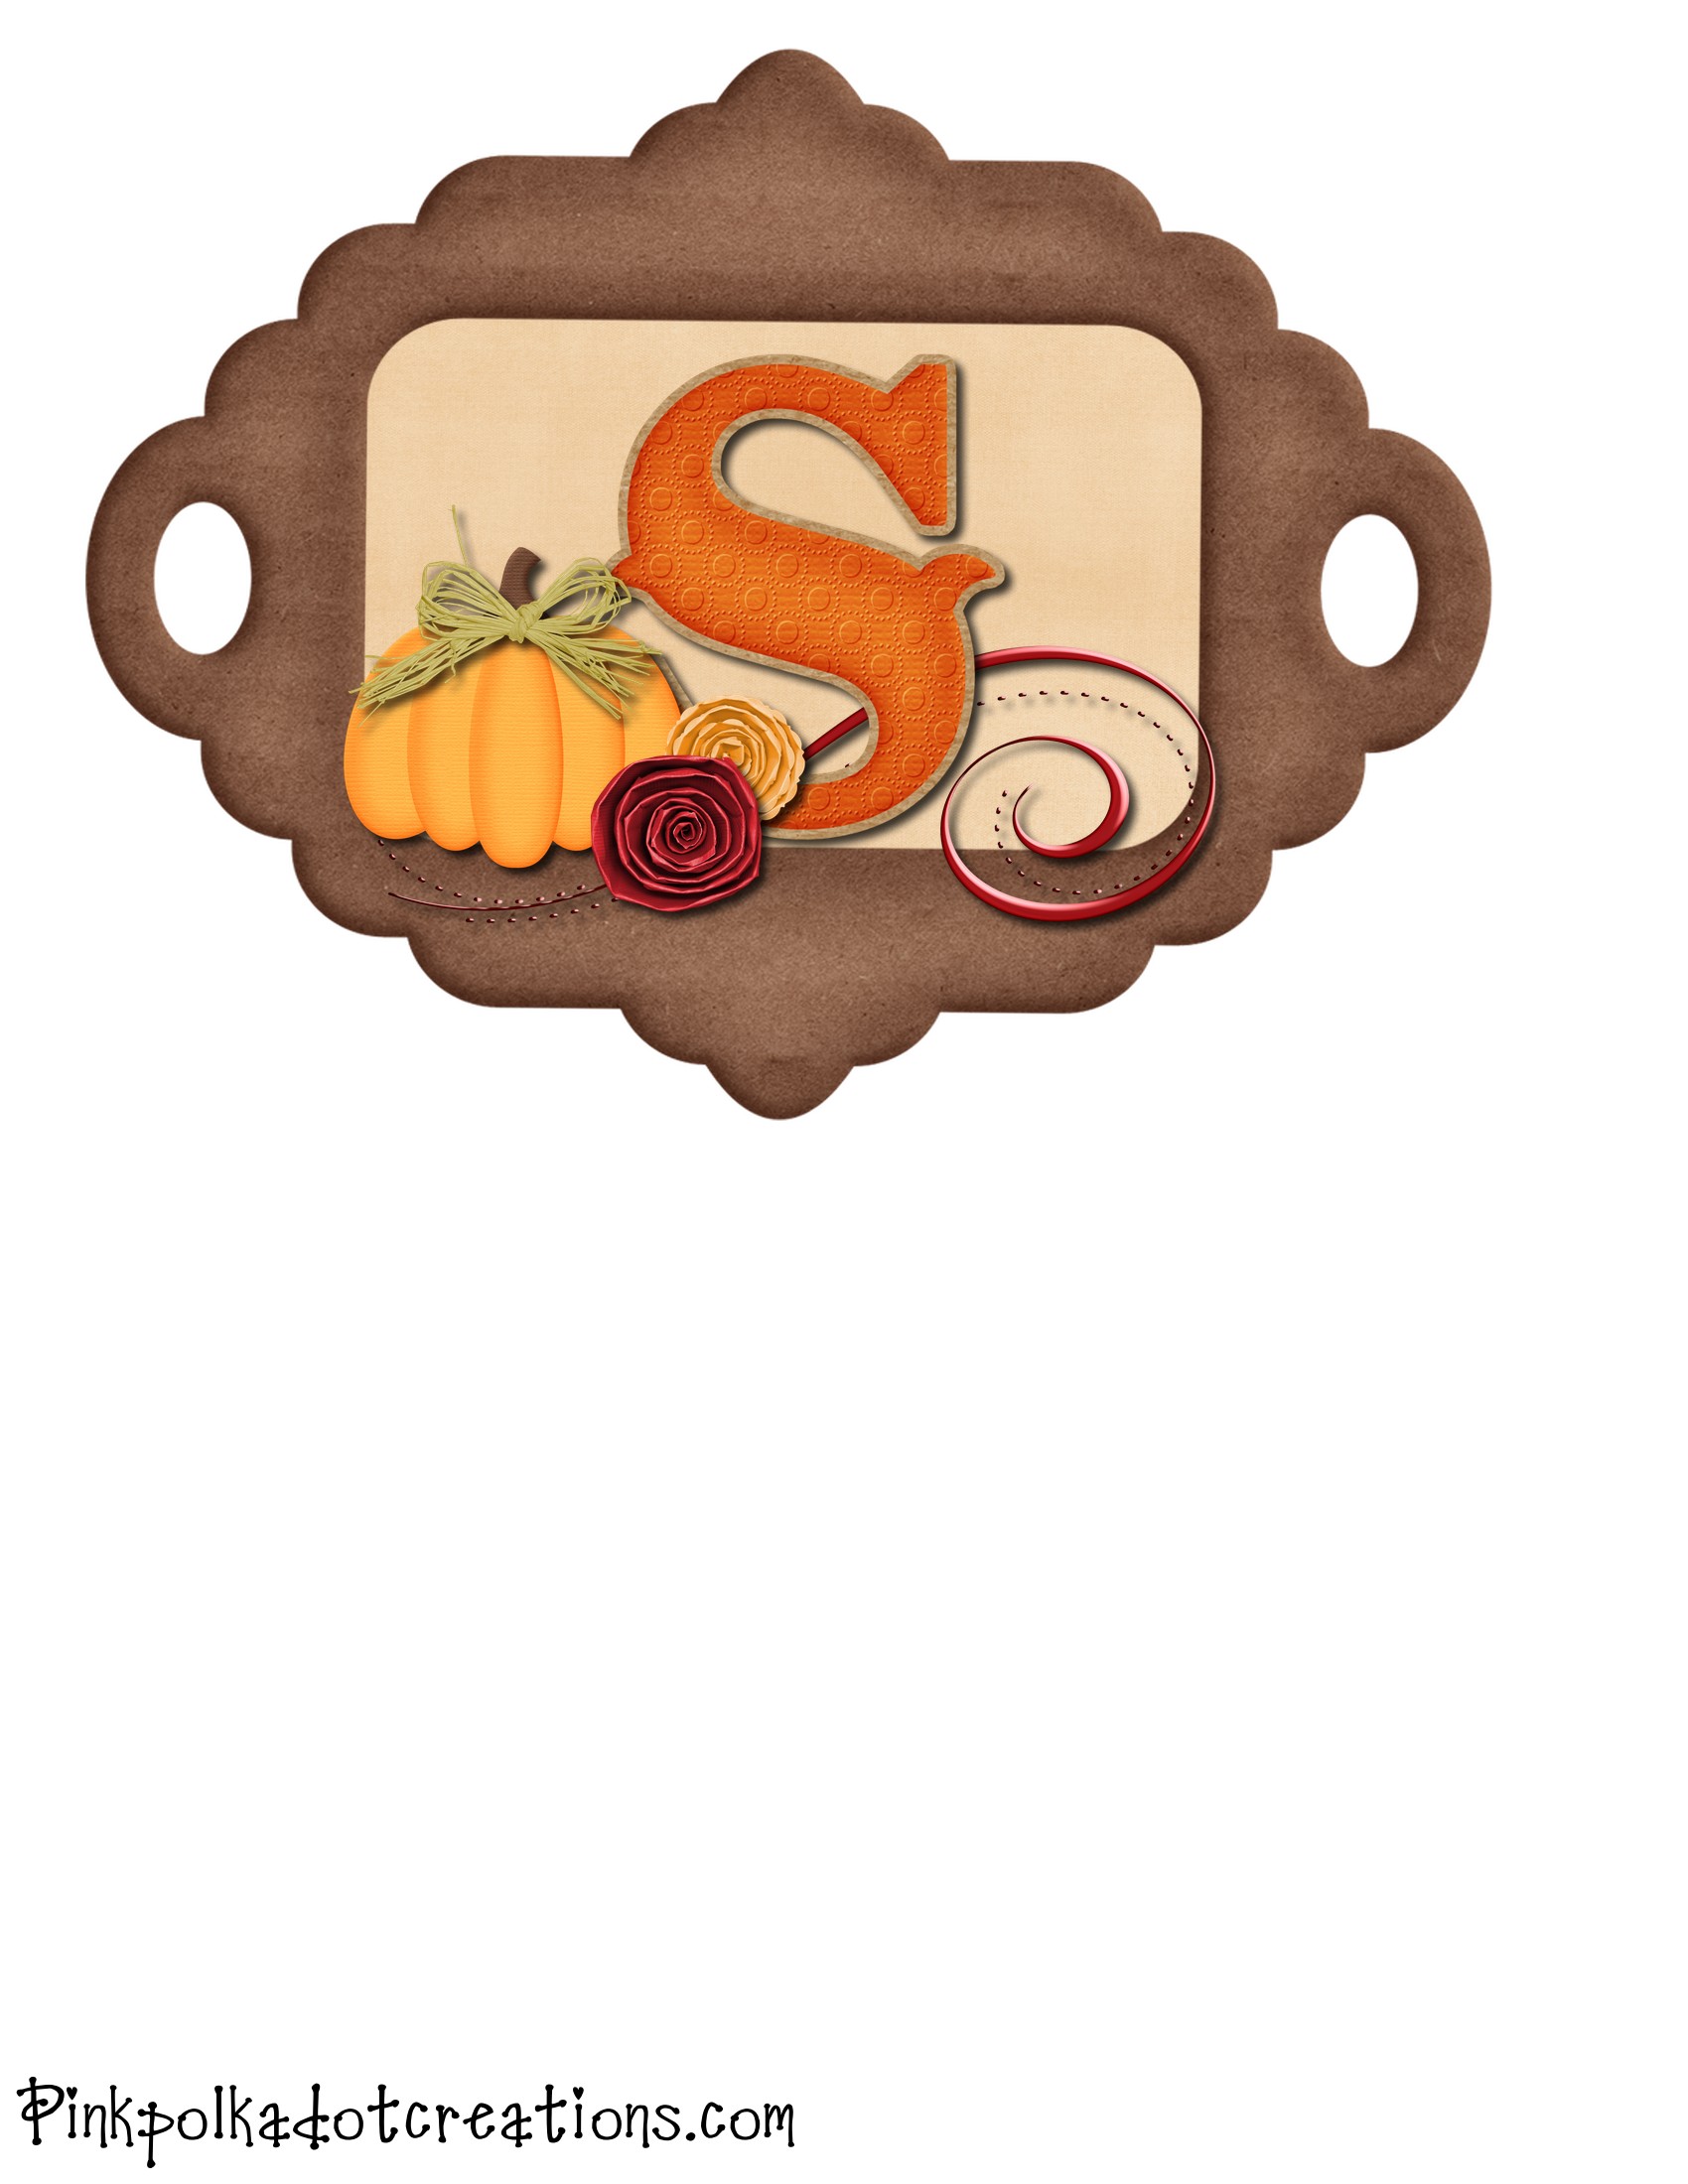
Here is the  cute “Give Thanks” banner that I did as the guest post last week.  It is a free printable, that you just print out, laminate if you wish and tie together with cute ribbon.  This would be cute hanging above your Thanksgiving table, a doorway, or on your fireplace.  (Look how cute it is with my Thanksgiving subway art board, that I made at Landee’s craft night!)

Here are the printables.

To print, just right click and go to copy.  Then open your favorite program, like Word,  right click again and go to paste.  They are in an 81/2 x 11 format, so you can just print them.  You can also email them to your favorite printer.  In my area (Utah) you can send them to Alphagraphics and they will print them for about 55 cents each and that is on card stock.  So that is pretty inexpensive!

I used an oval paper punch to punch out the holes, but you could just use a regular punch, or cut them out with your scissors.  The ribbons cover up the holes, so you do not see them anyway.

Happy Thanksgiving!


Halloween Tree

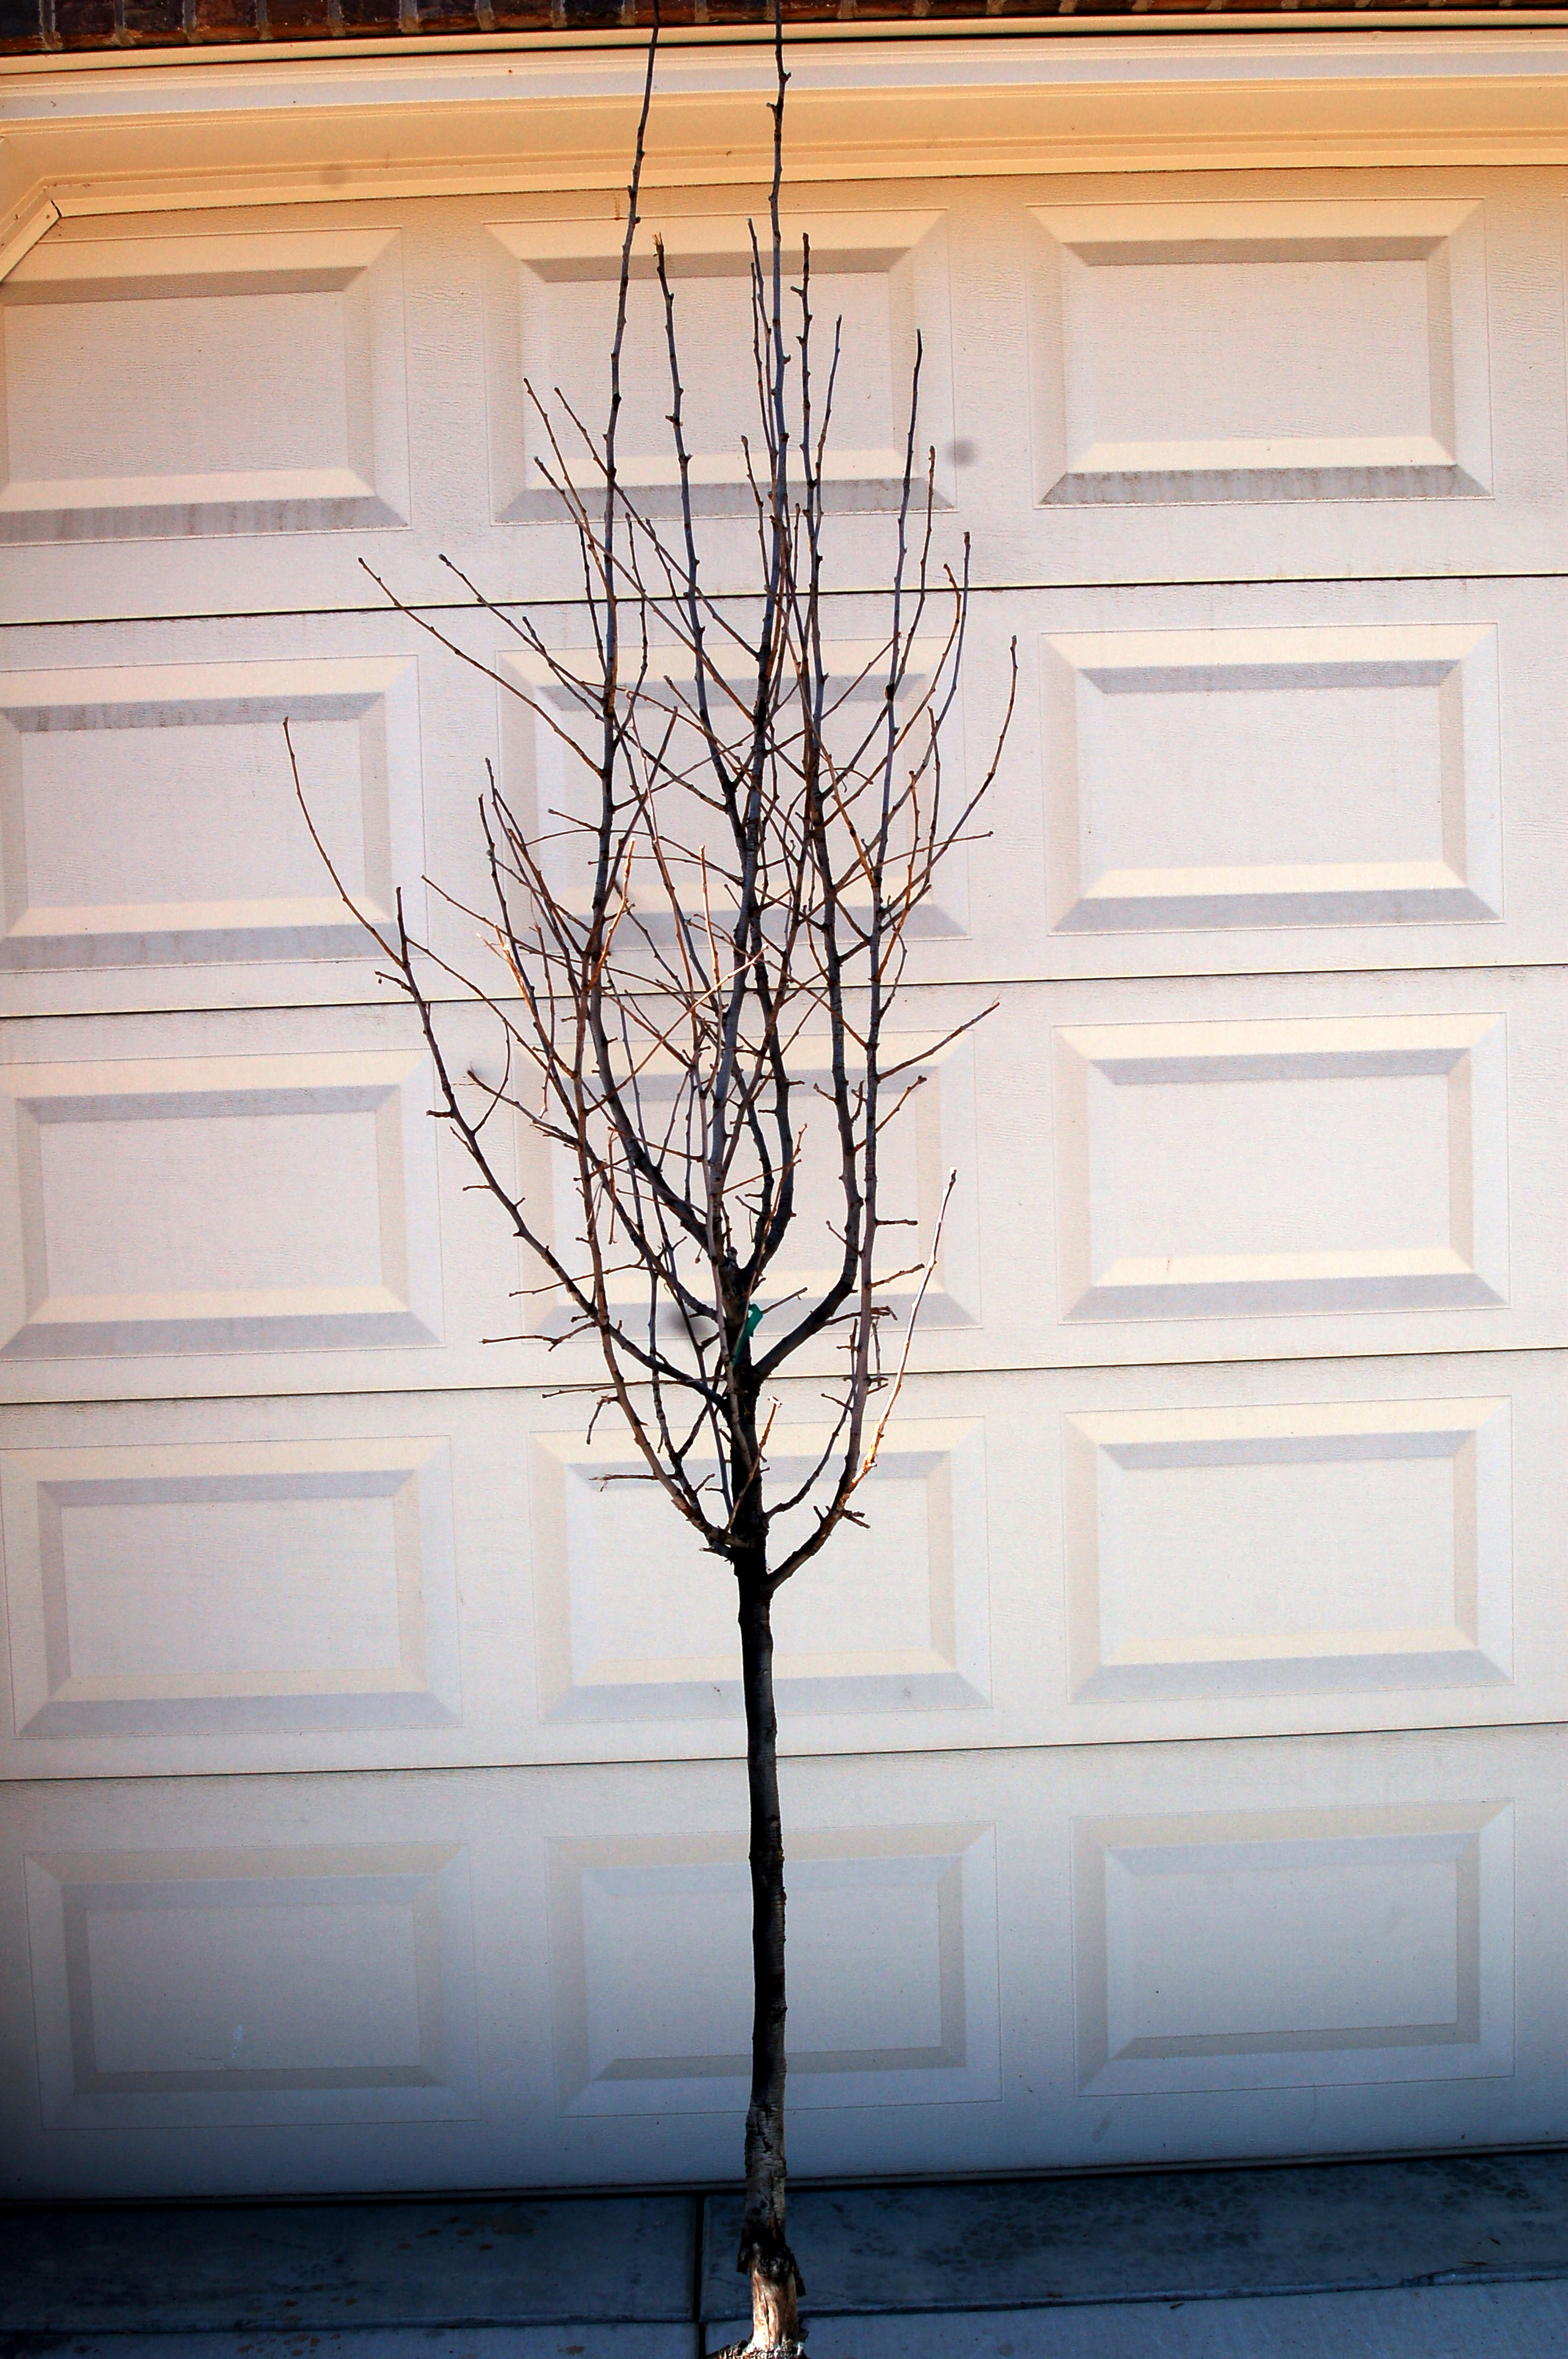
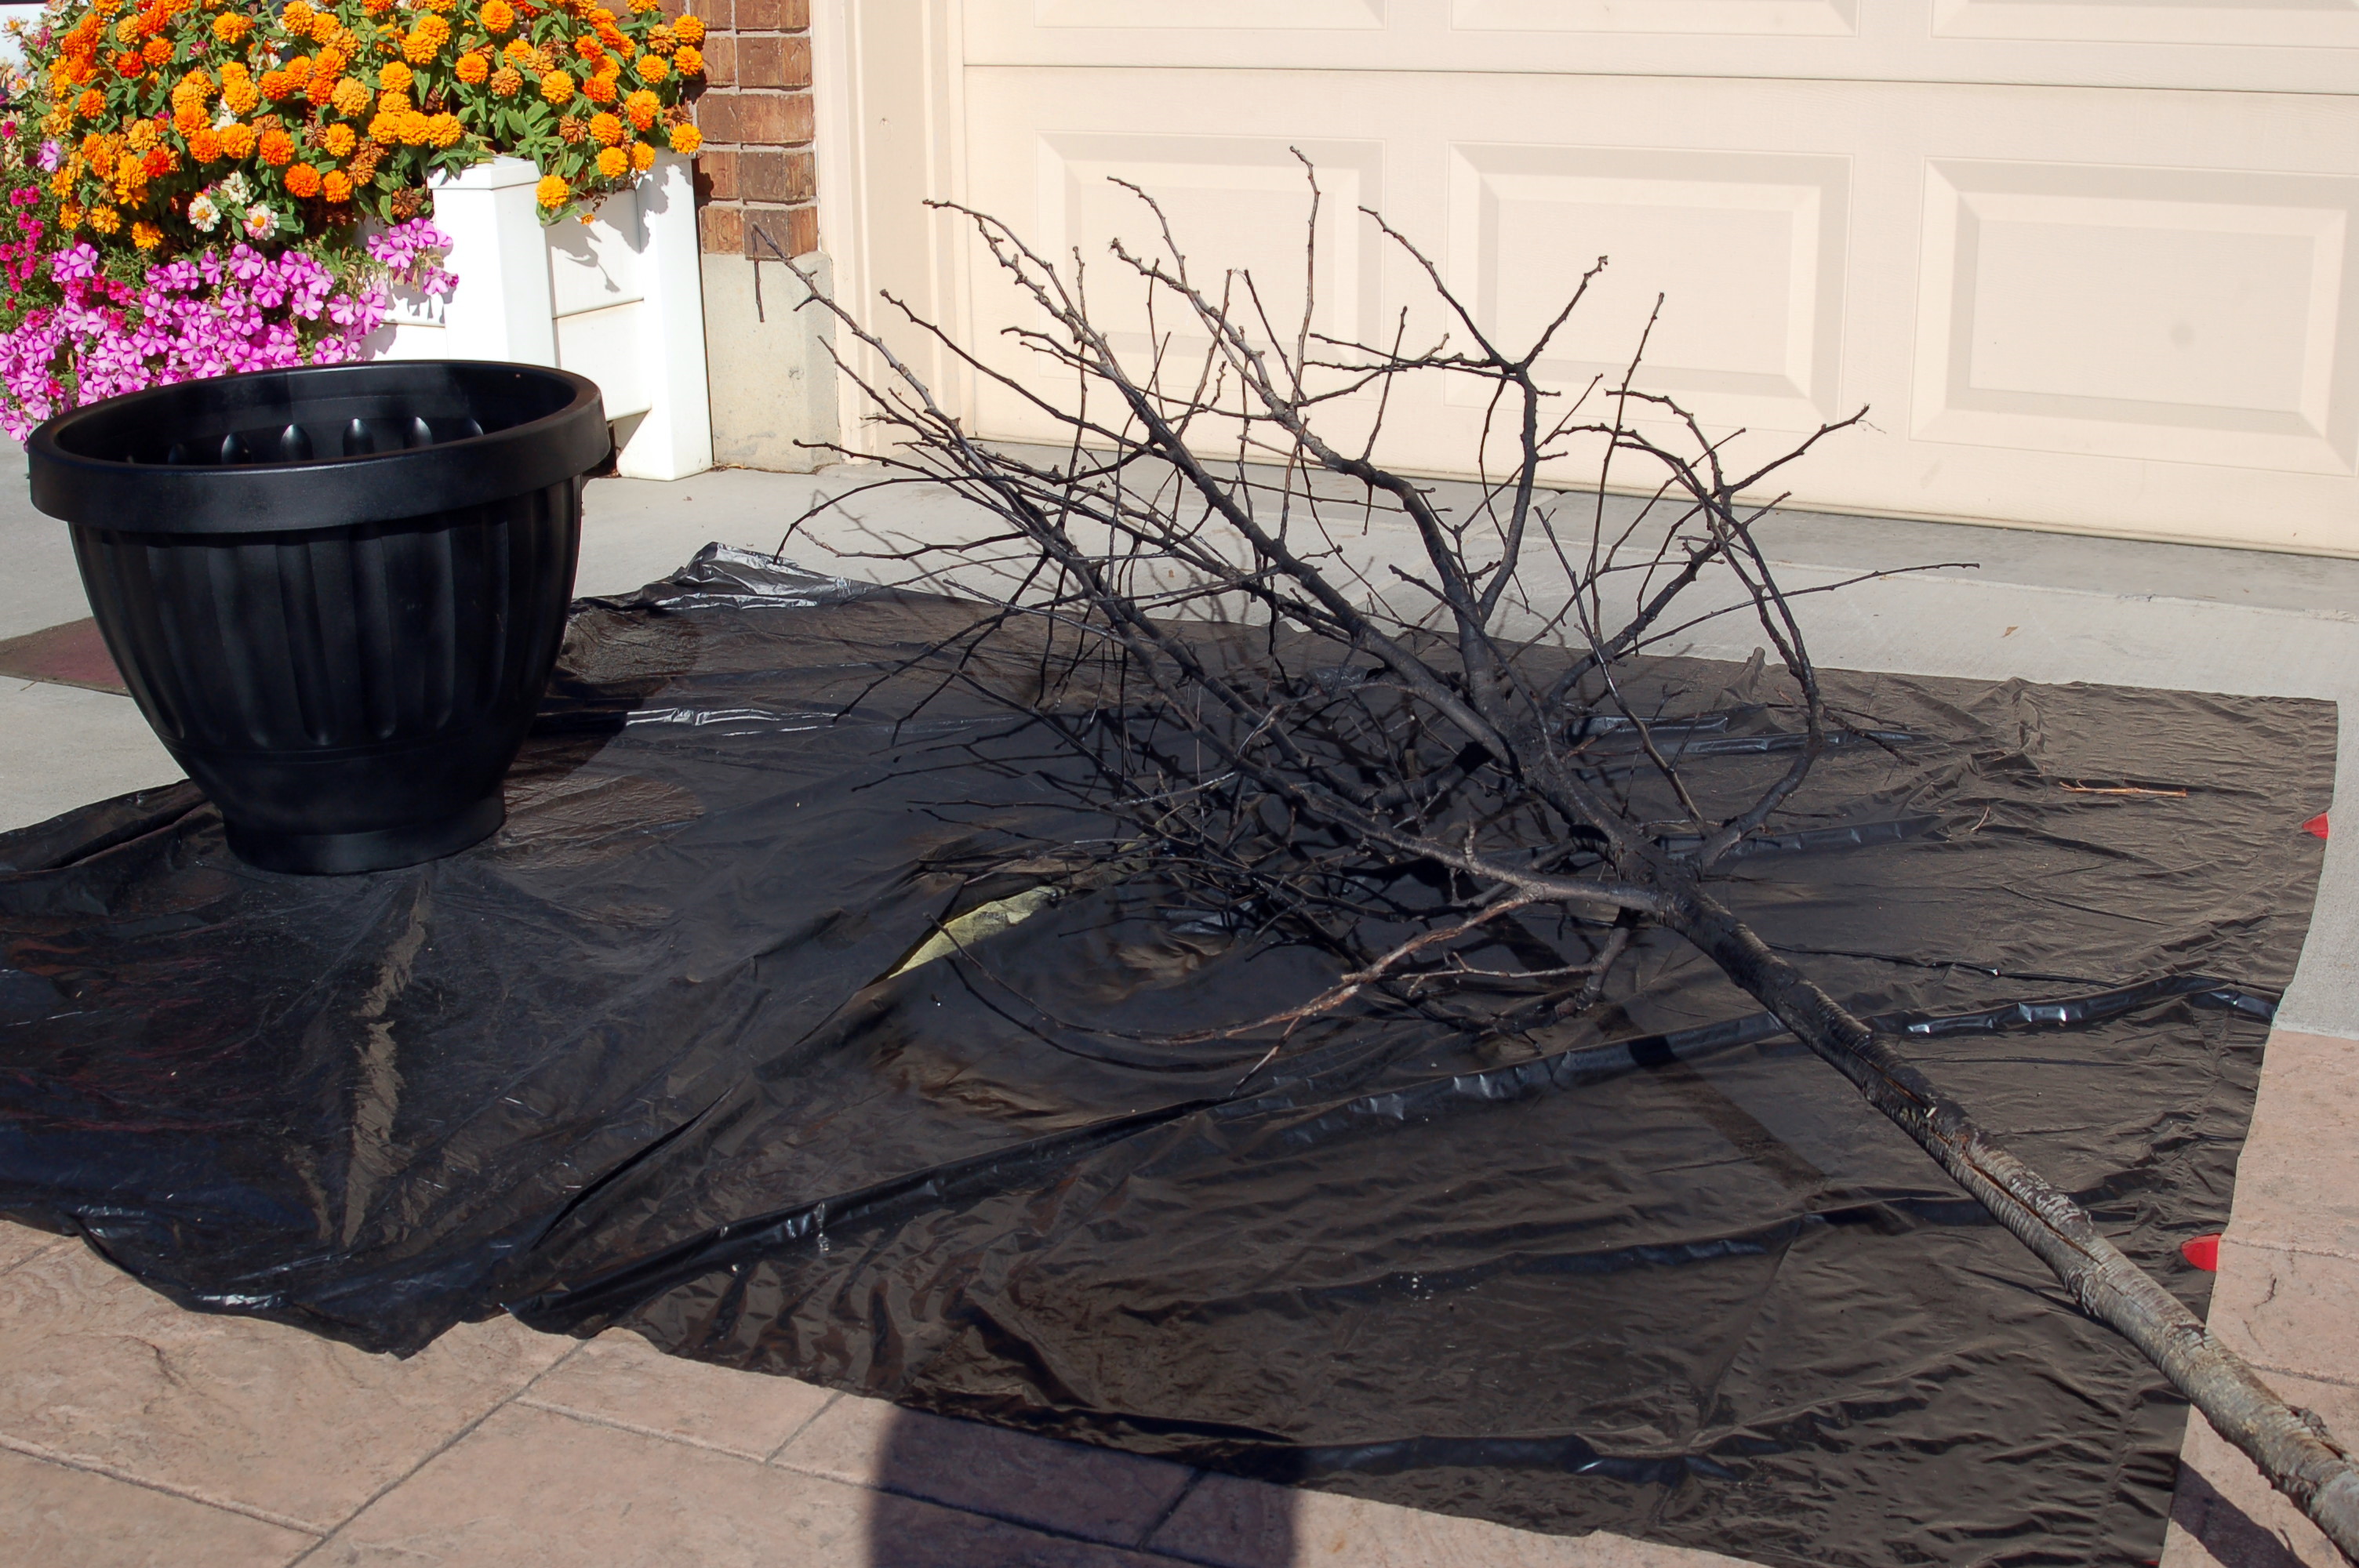
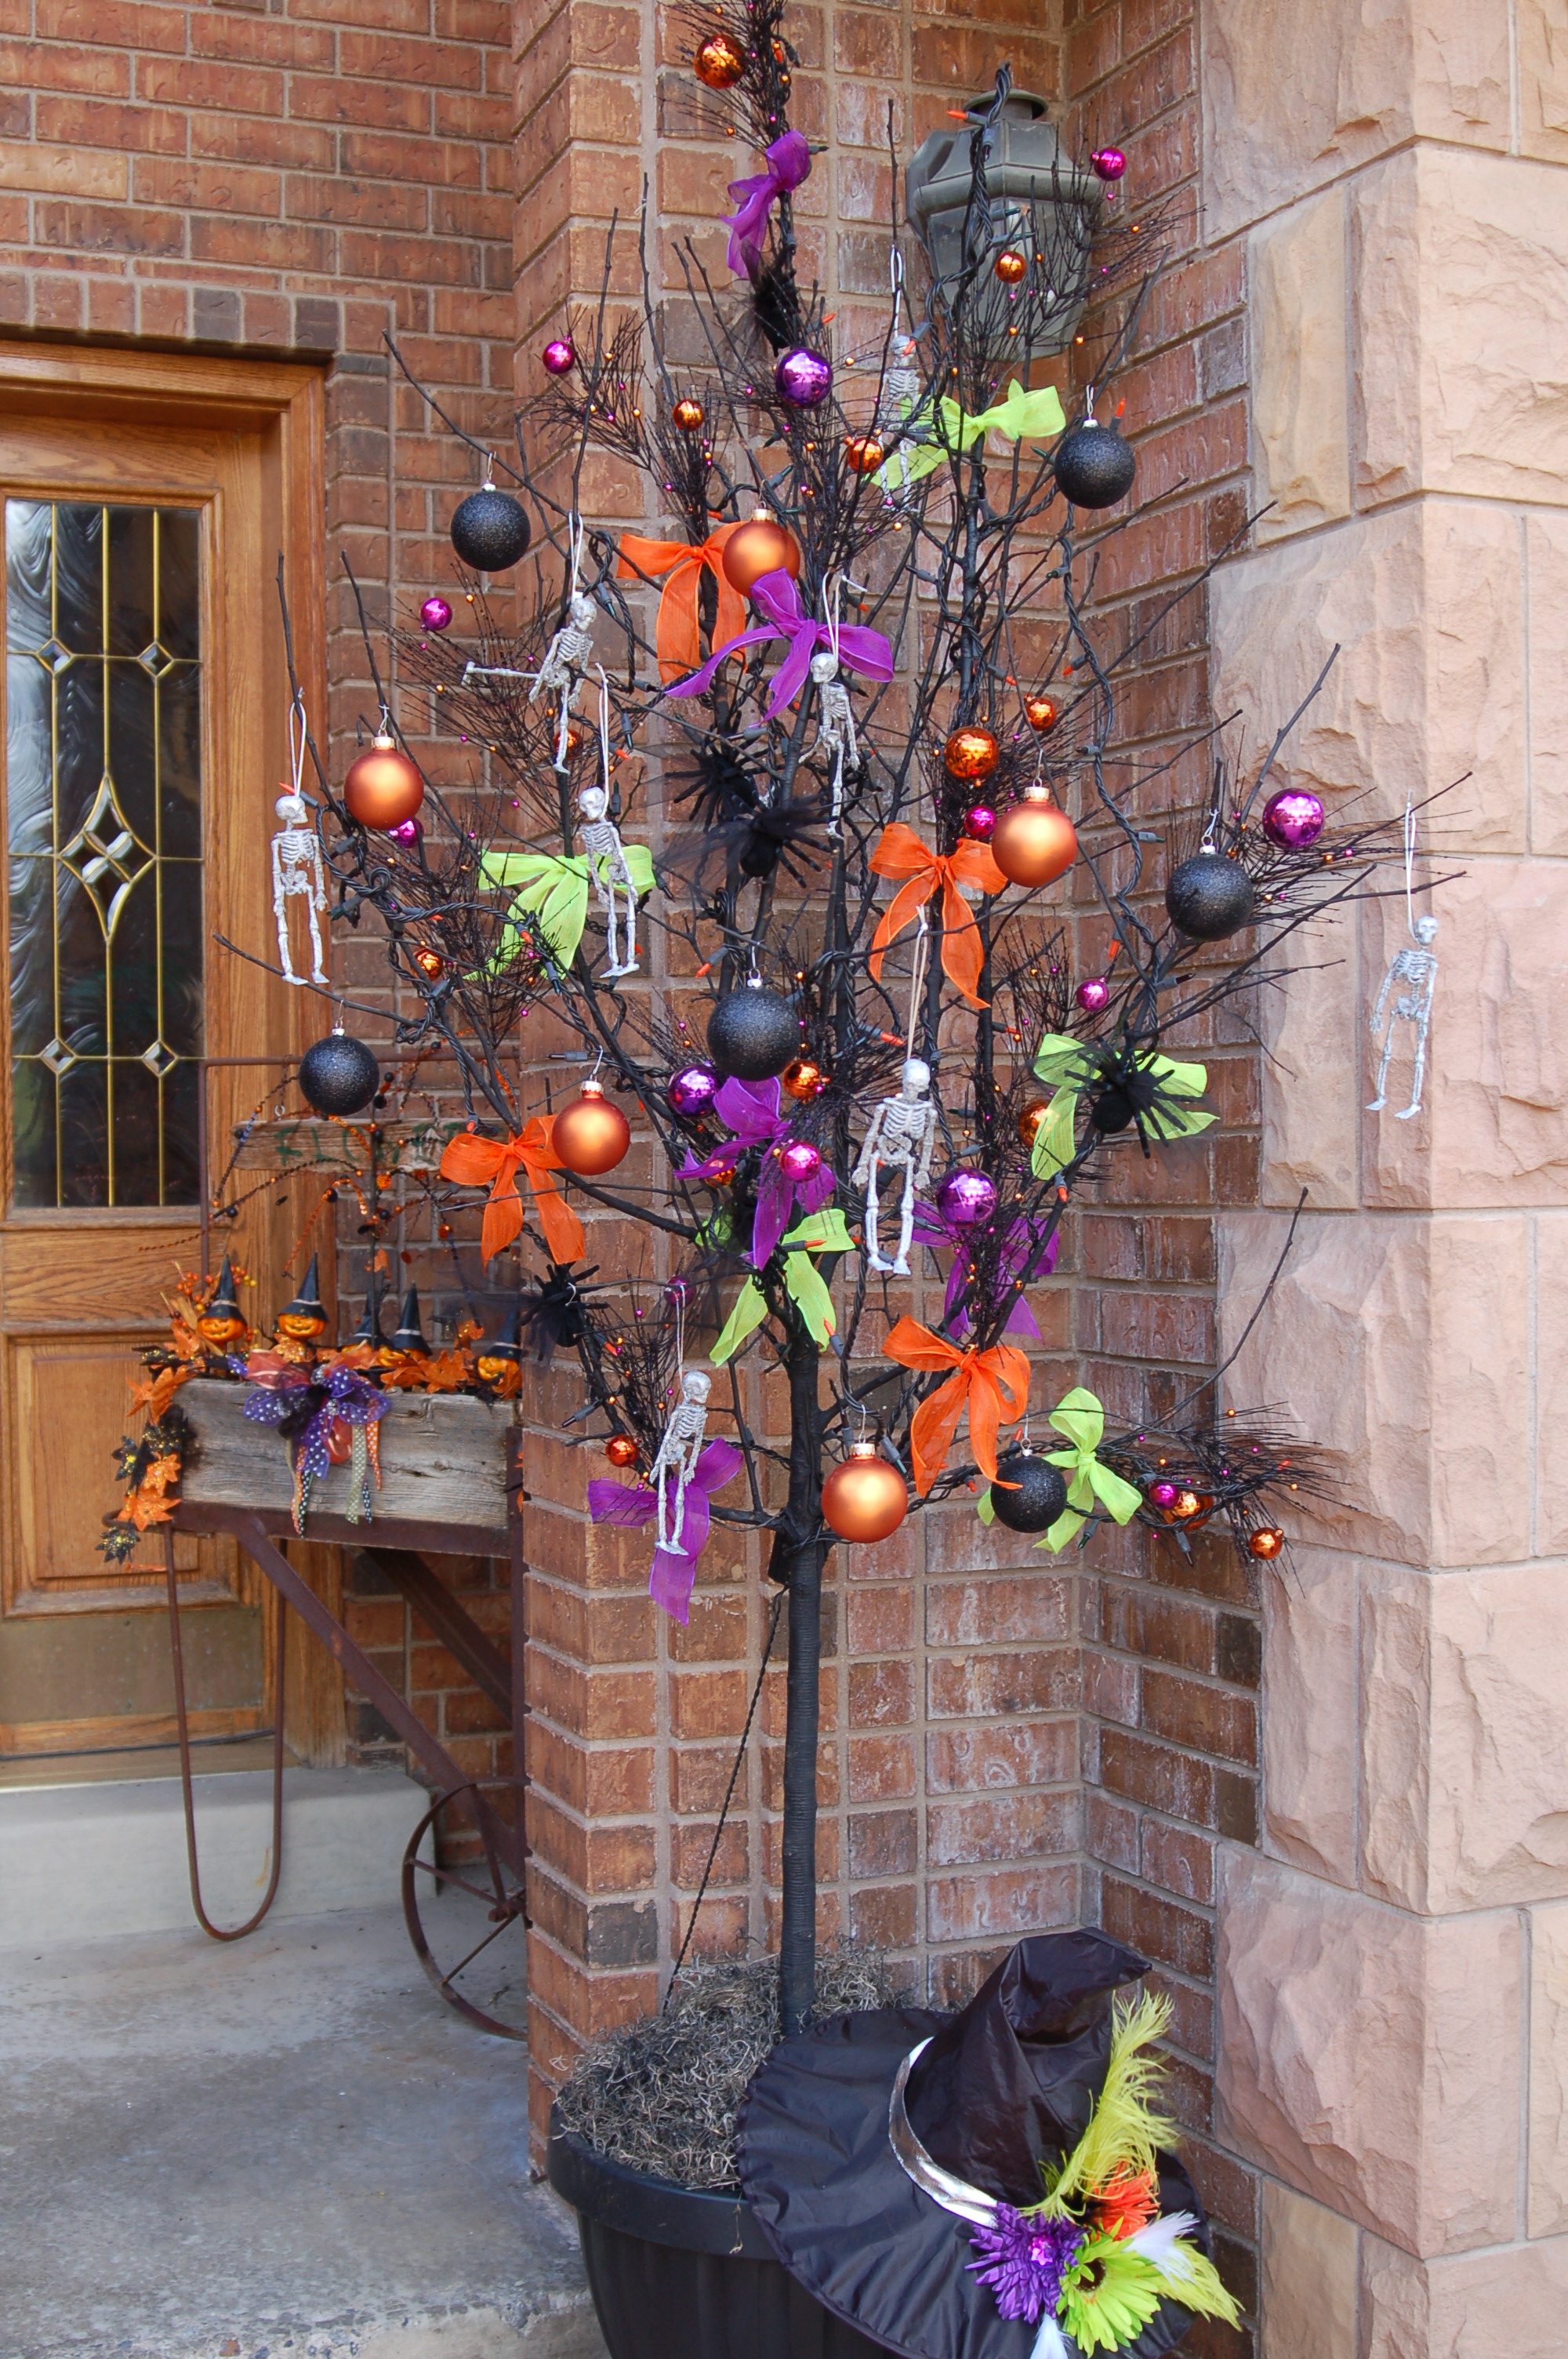
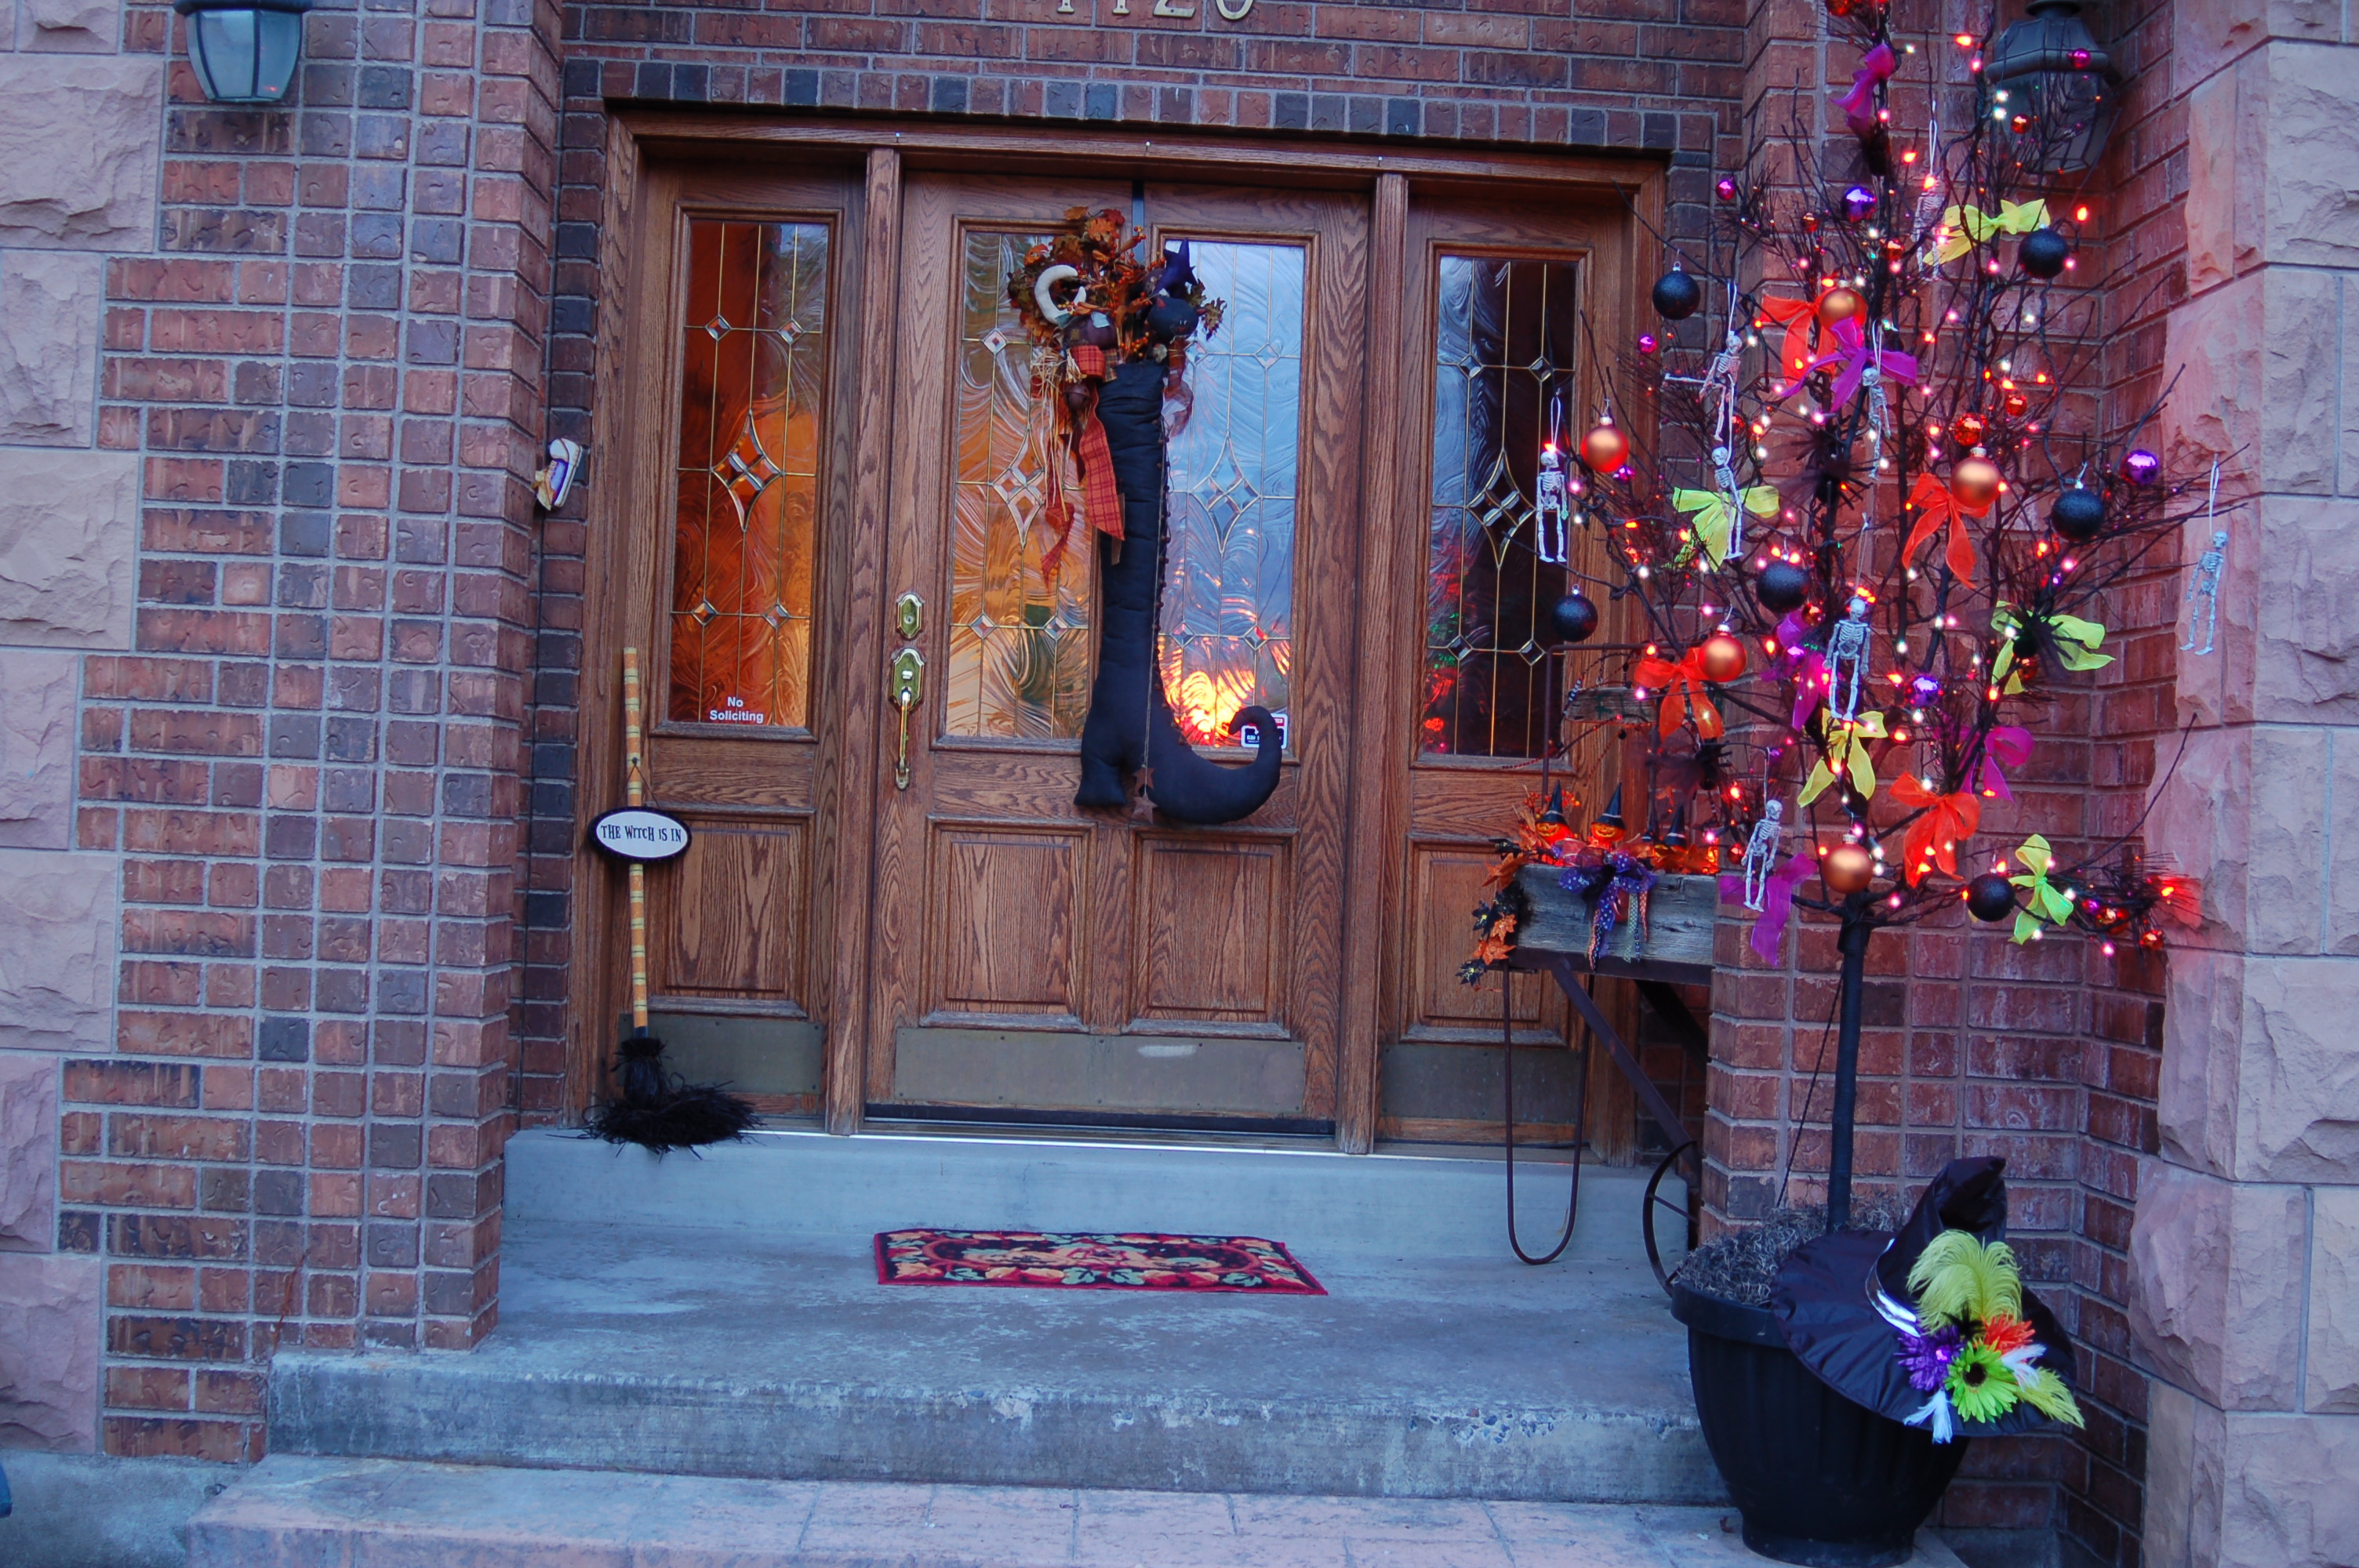
My daughter had this dead tree that she brought over to me and said that it would be perfect for a Halloween tree!  What do you think?

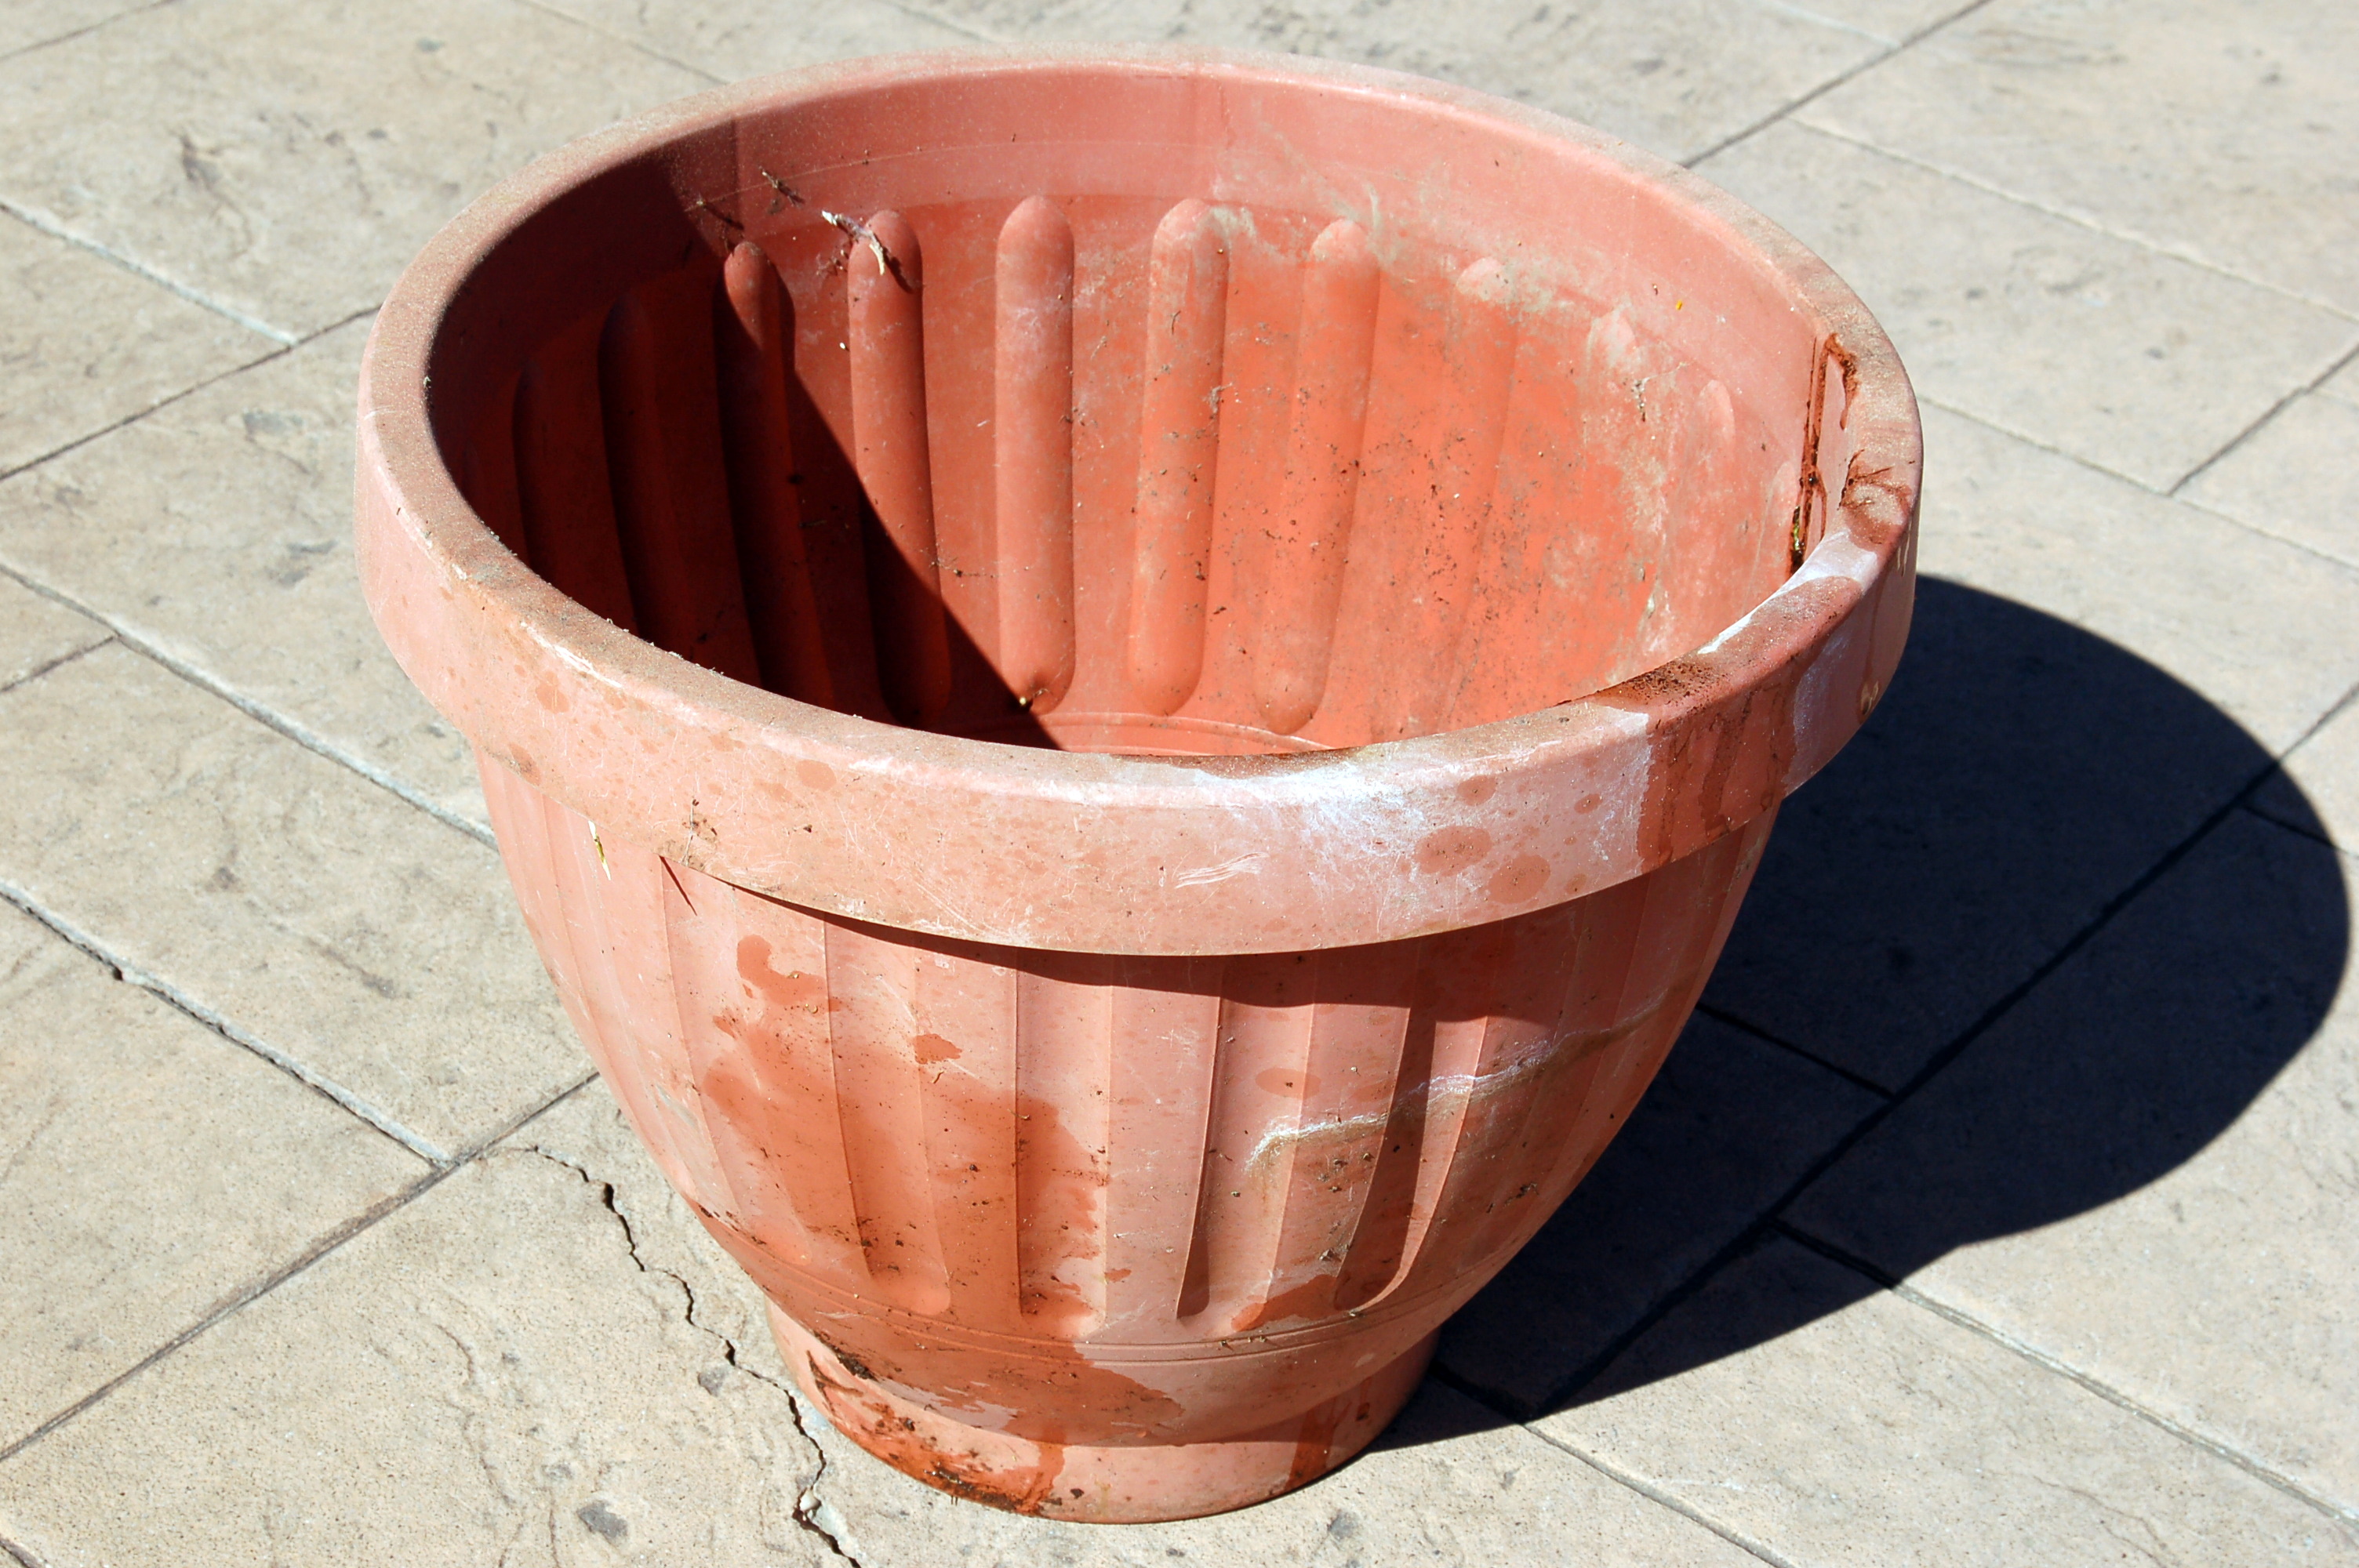
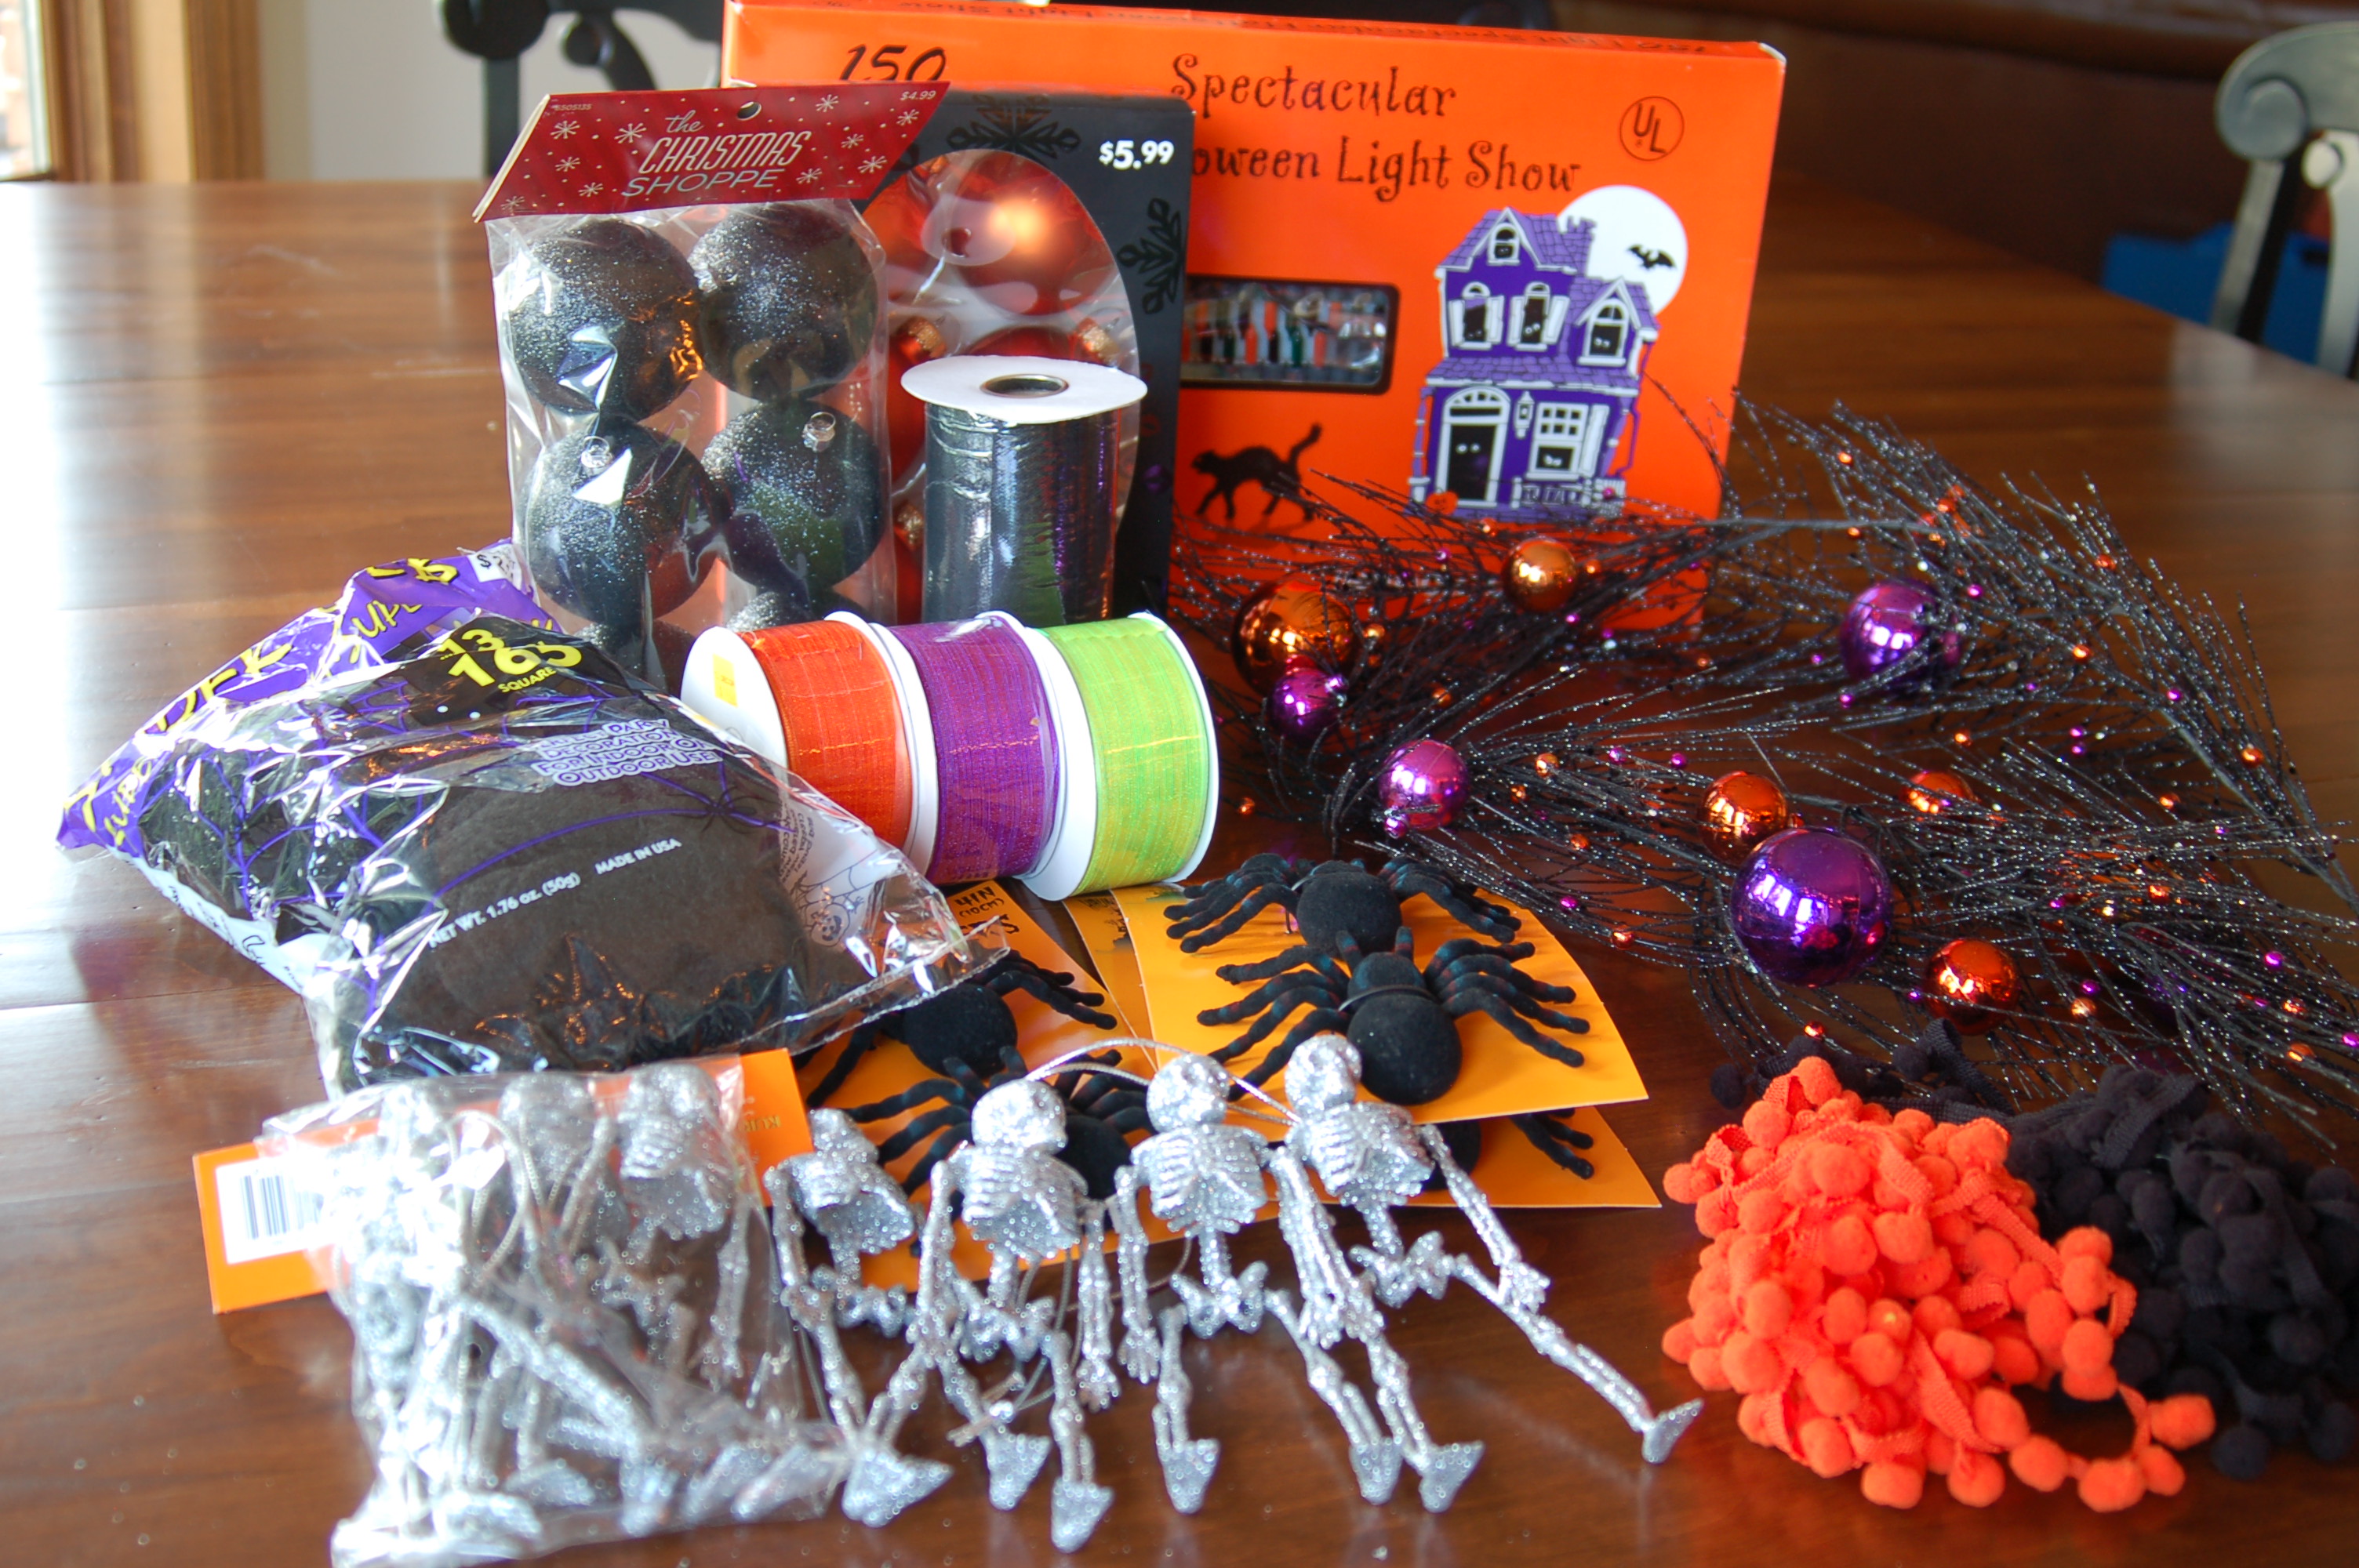
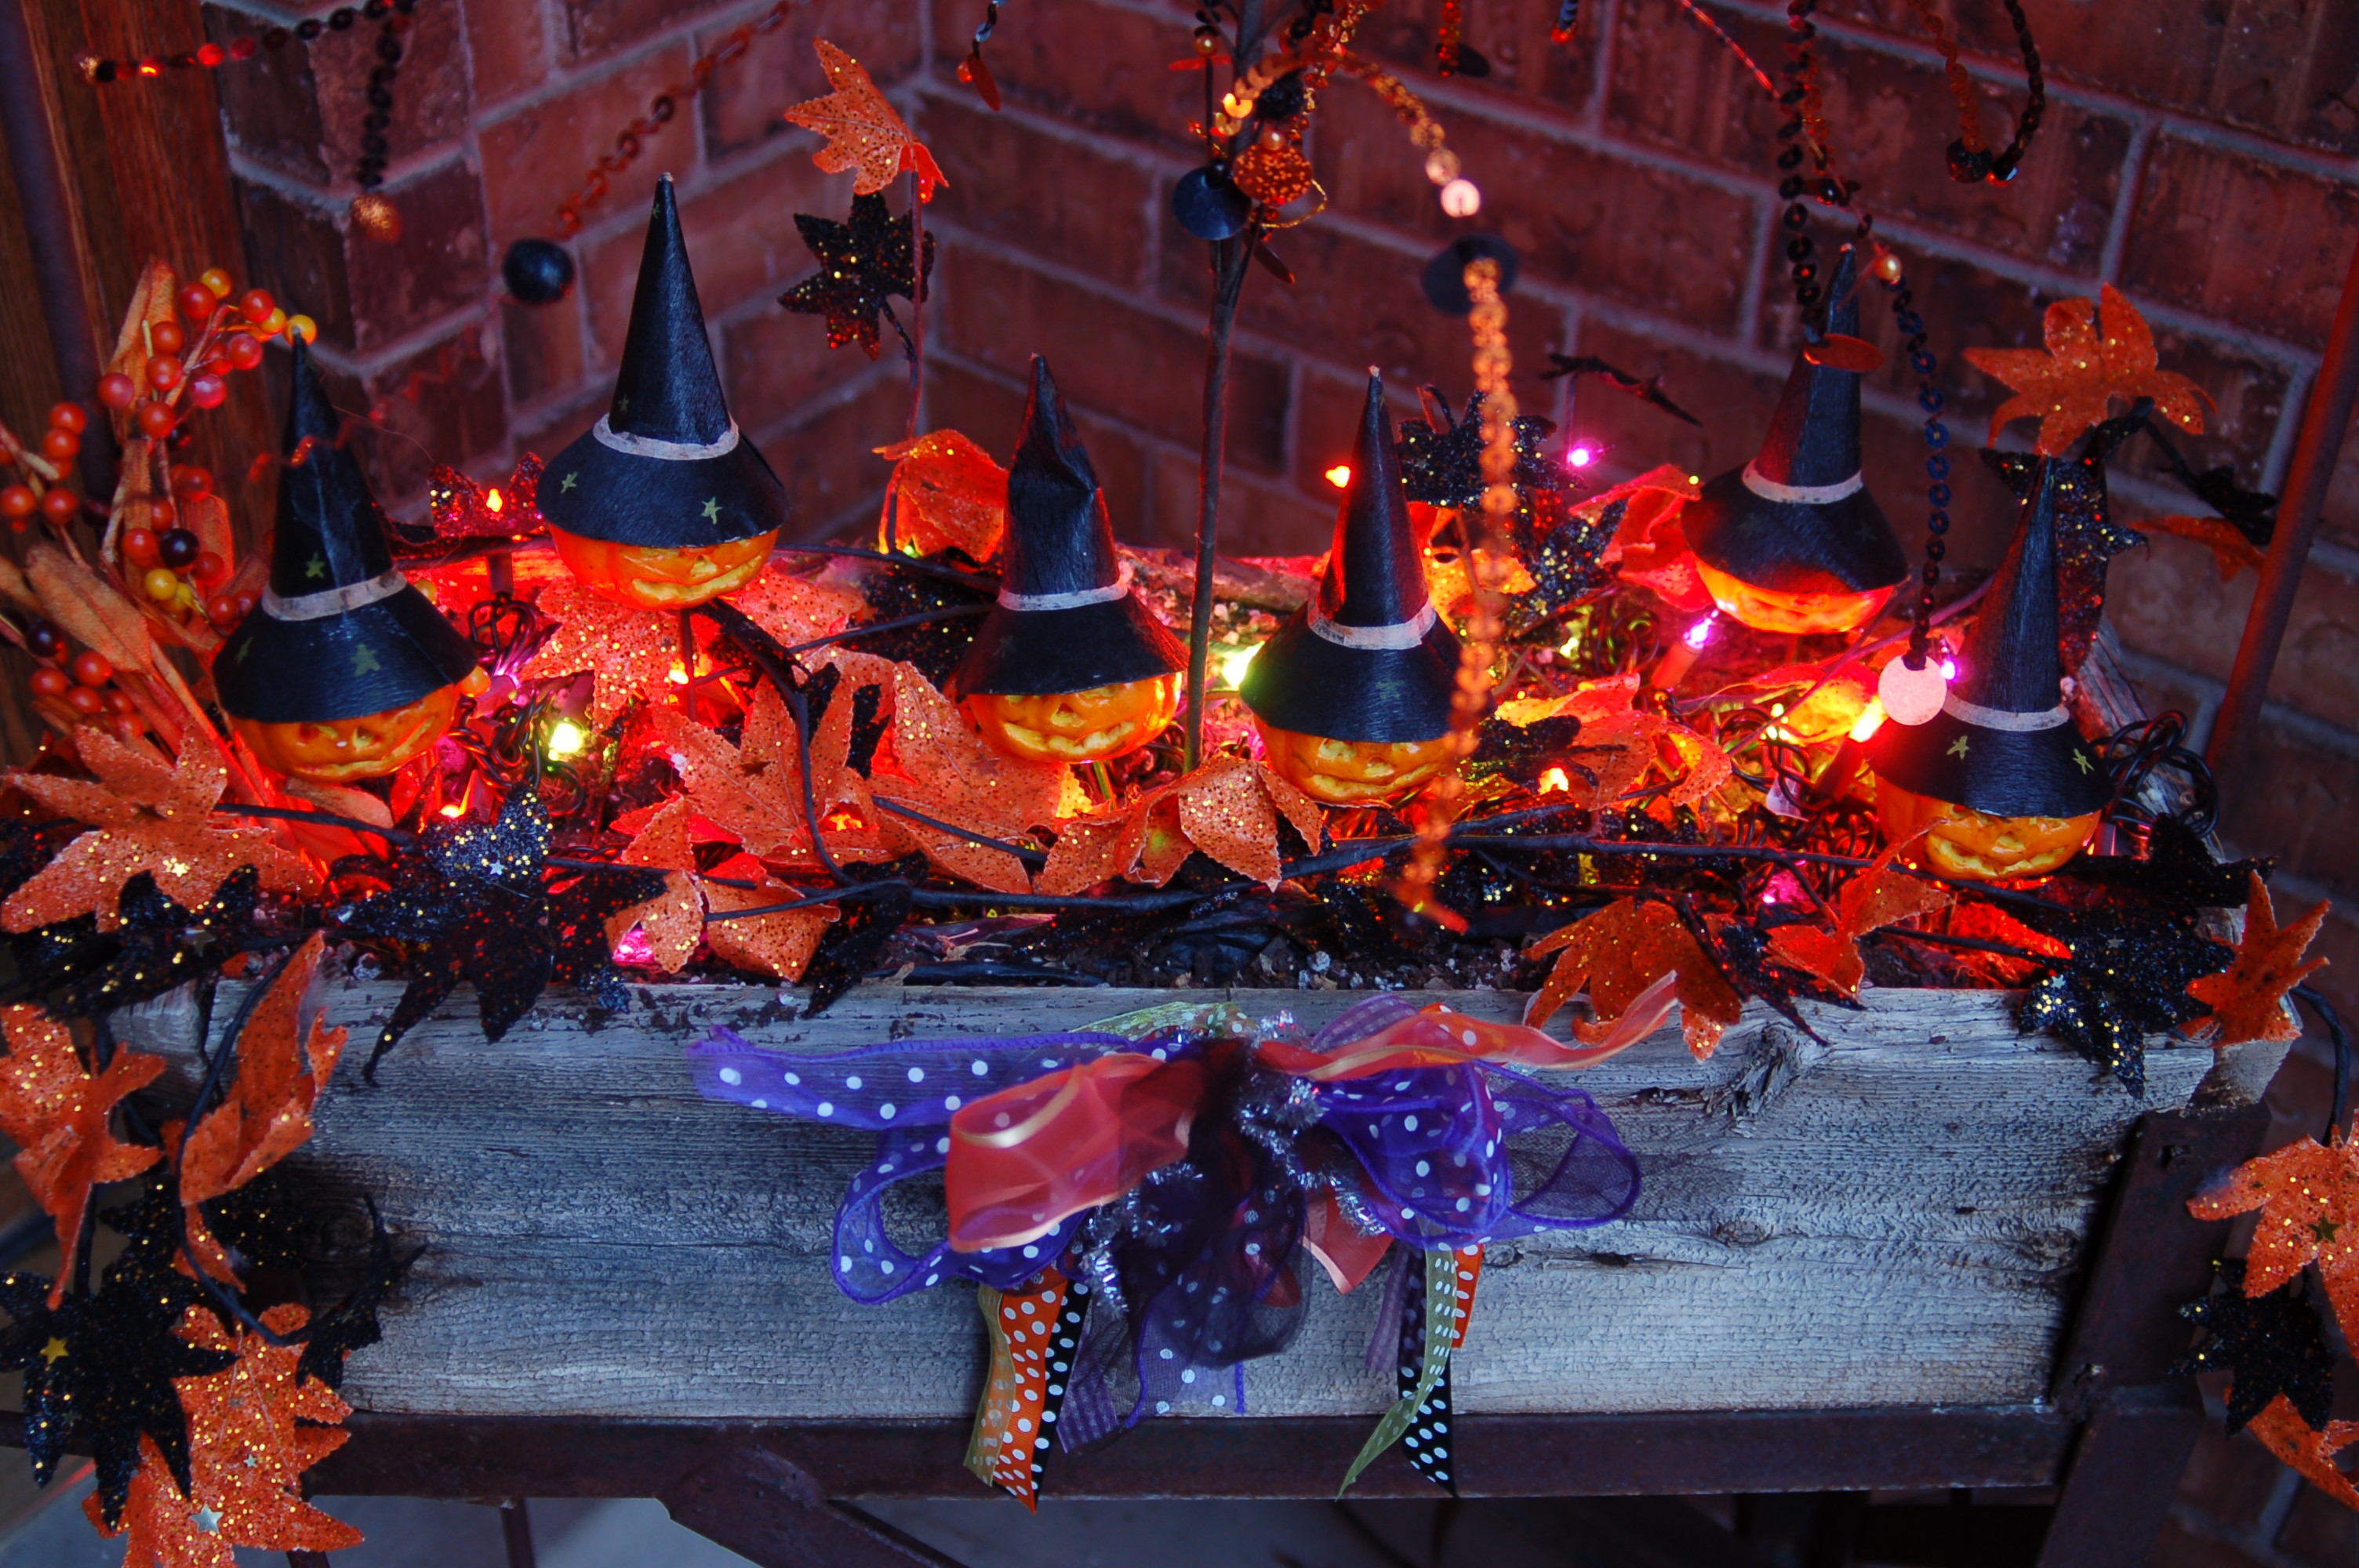
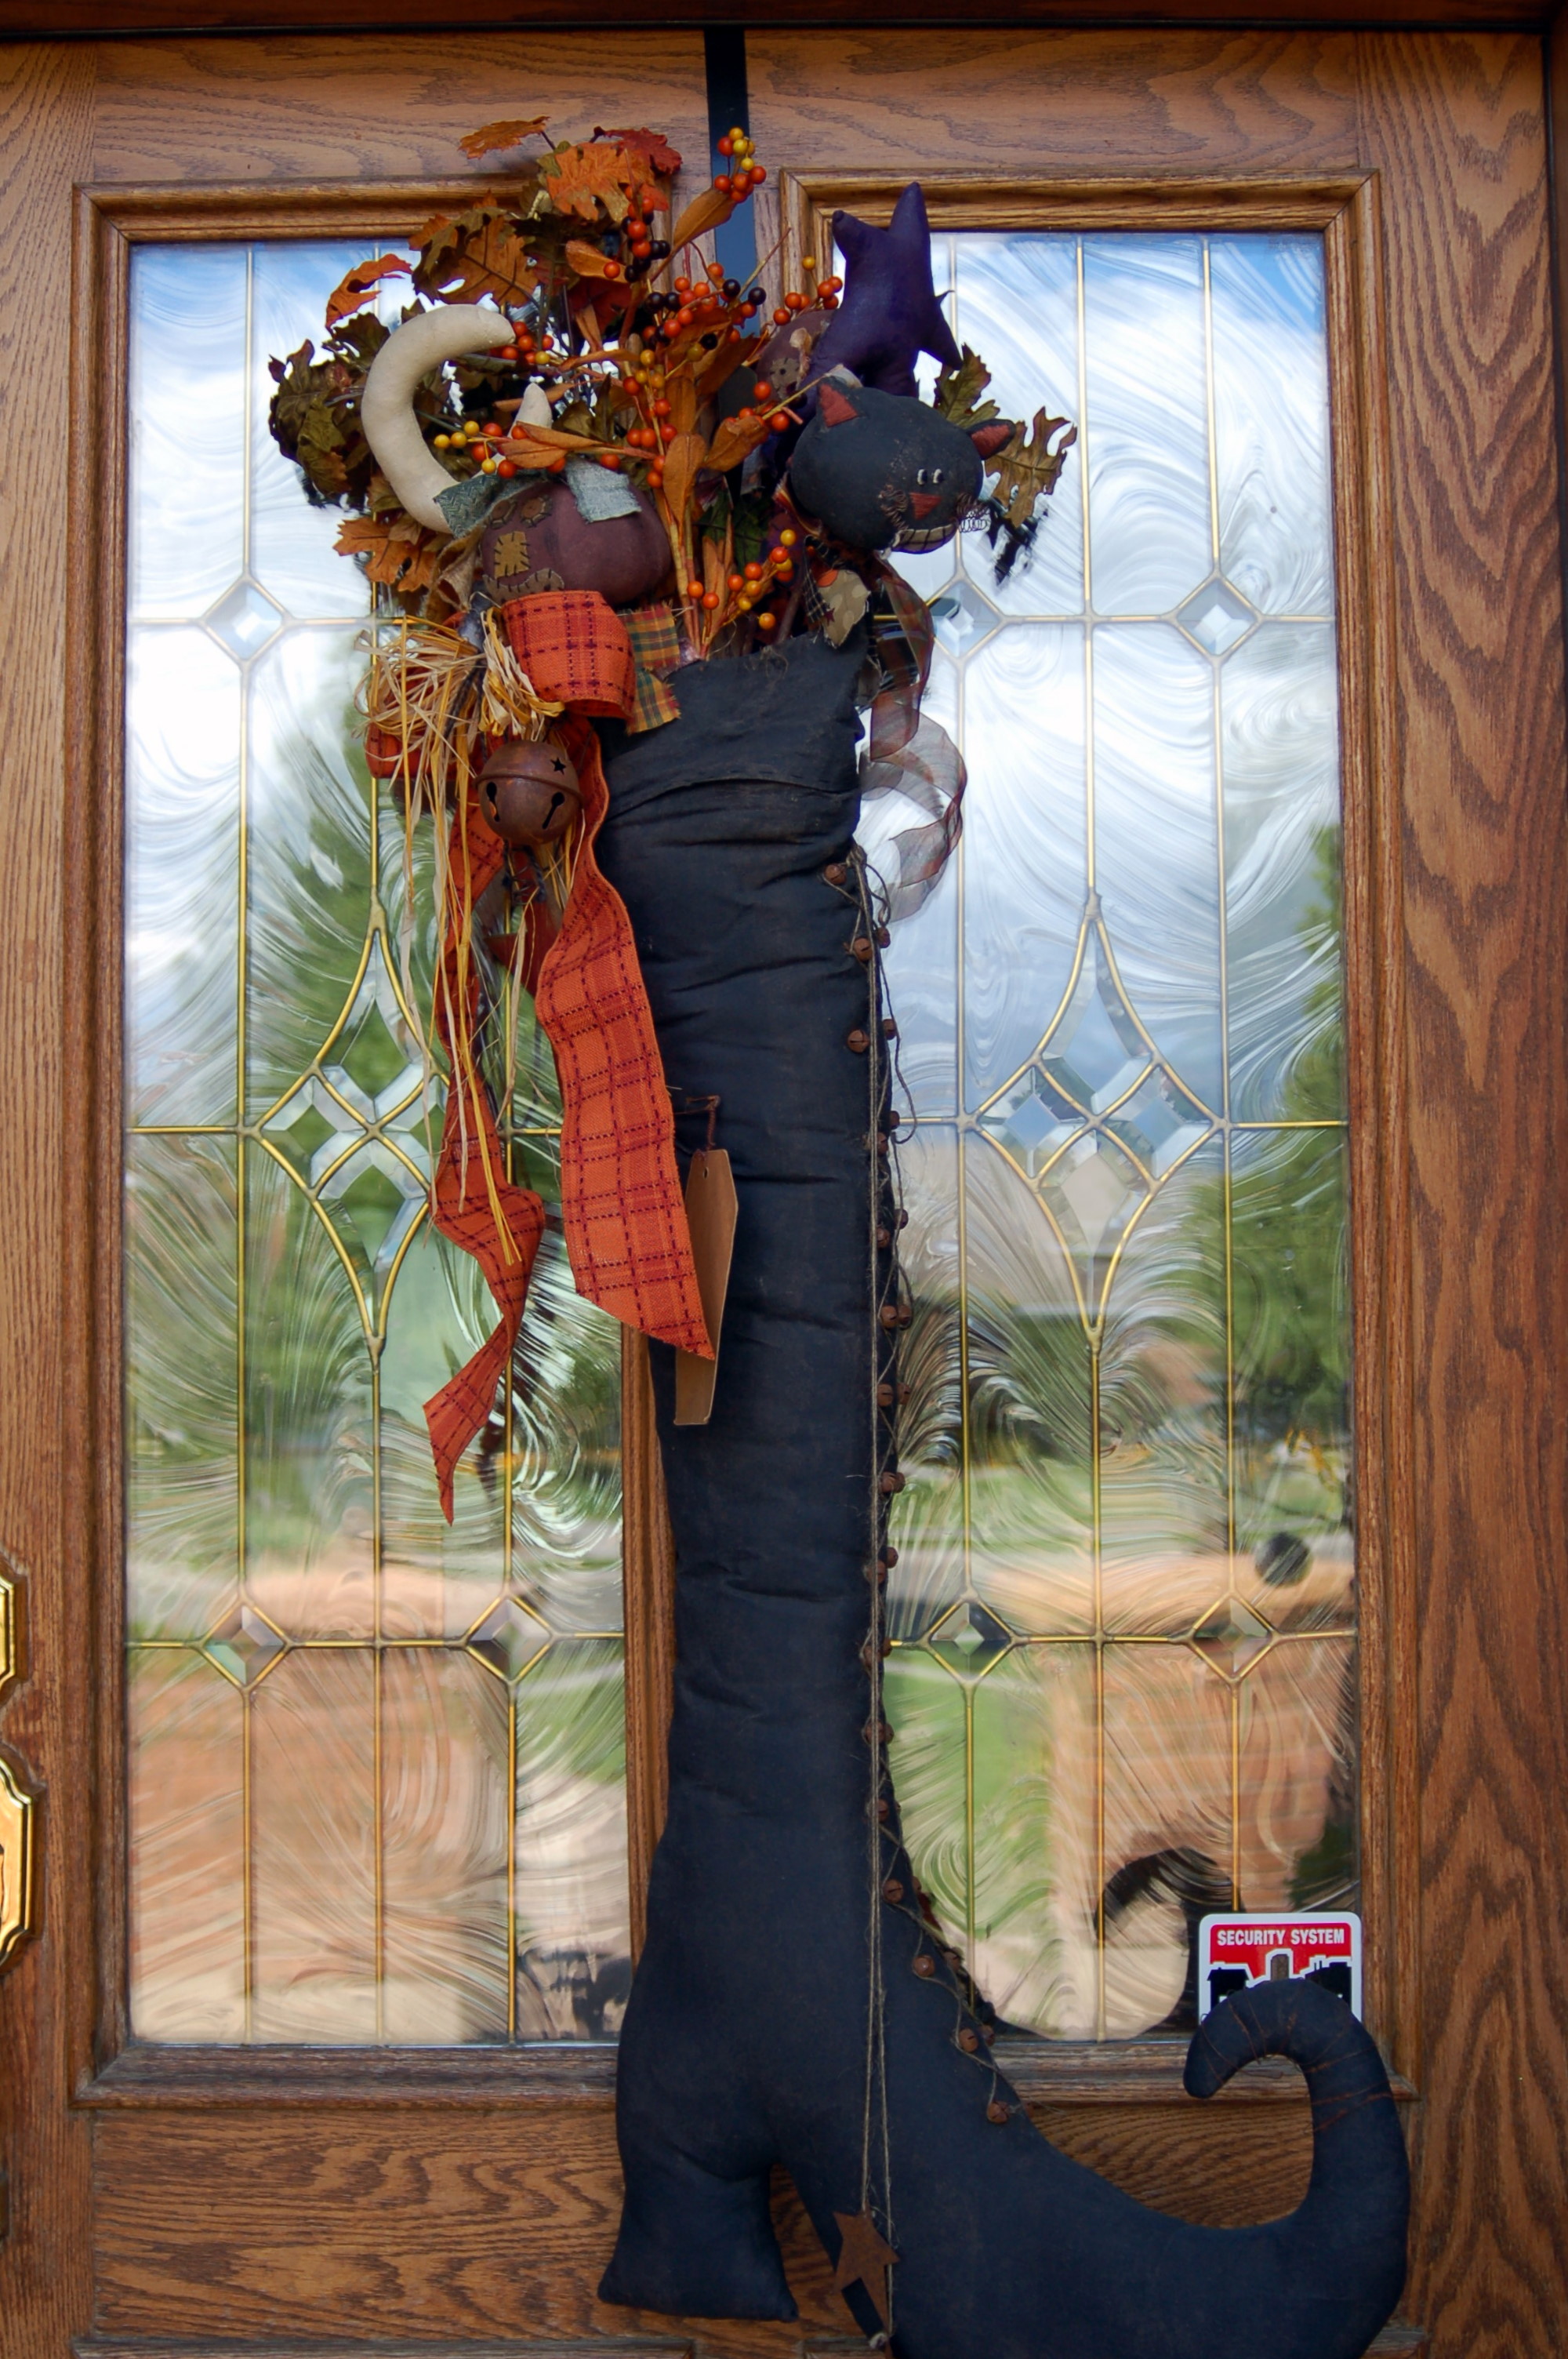
I had this old, yucky pot, stains, cobwebs and all! And I spray painted the pot and the tree and…Added a bunch of decorations.And this is what I got! I added the witch hat to the base of the tree and this is what it looks like at dusk.This is my little flower cart on the front porch.My favorite find at Swiss Days a couple of years ago!It’s beginning to look a lot like… Halloween!
Cute Tissue Paper Coasters!

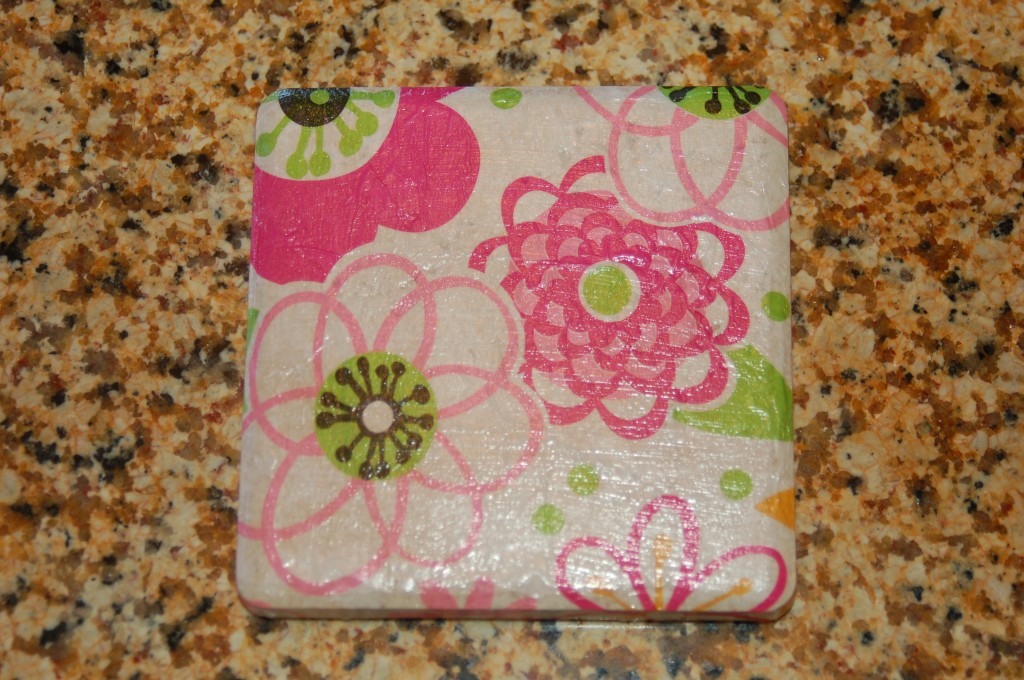
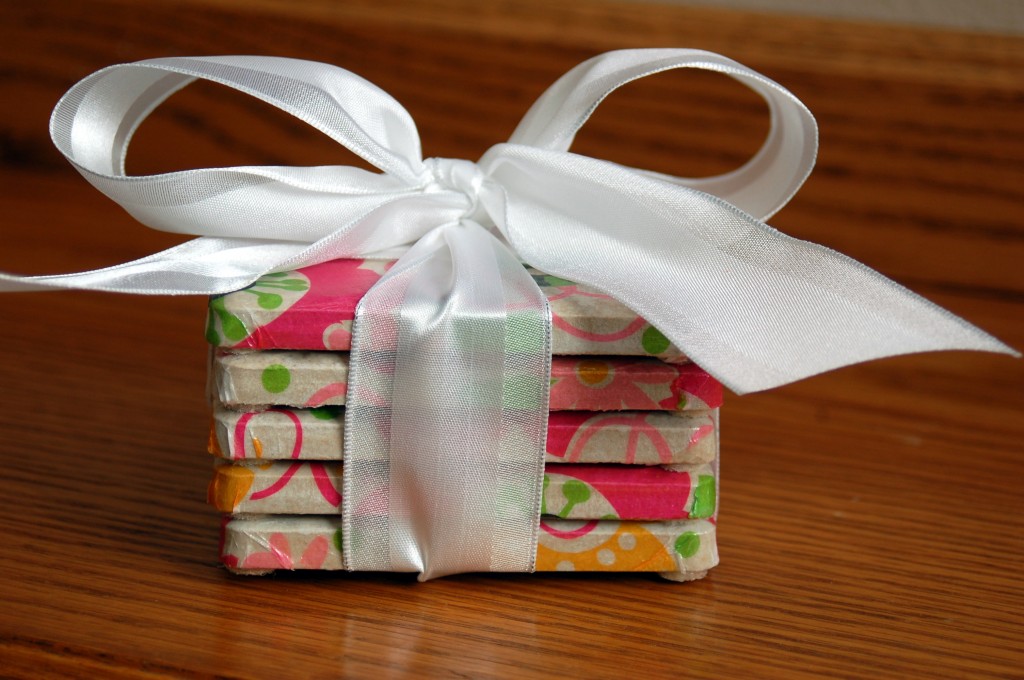
My daughter made these coasters and they were super simple and would make a great gift for neighbor gifts for Christmas, Birthdays, wedding gifts, thank you gift or just because.  I think that they would even be cute for Halloween!

(mm, I think I feel another project coming on!)

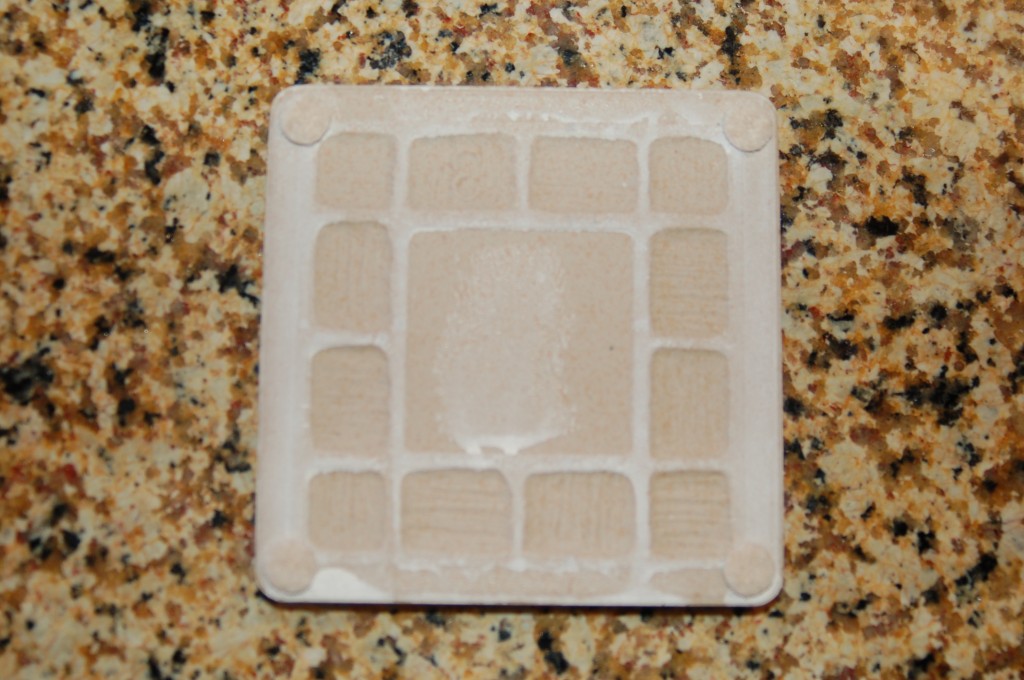
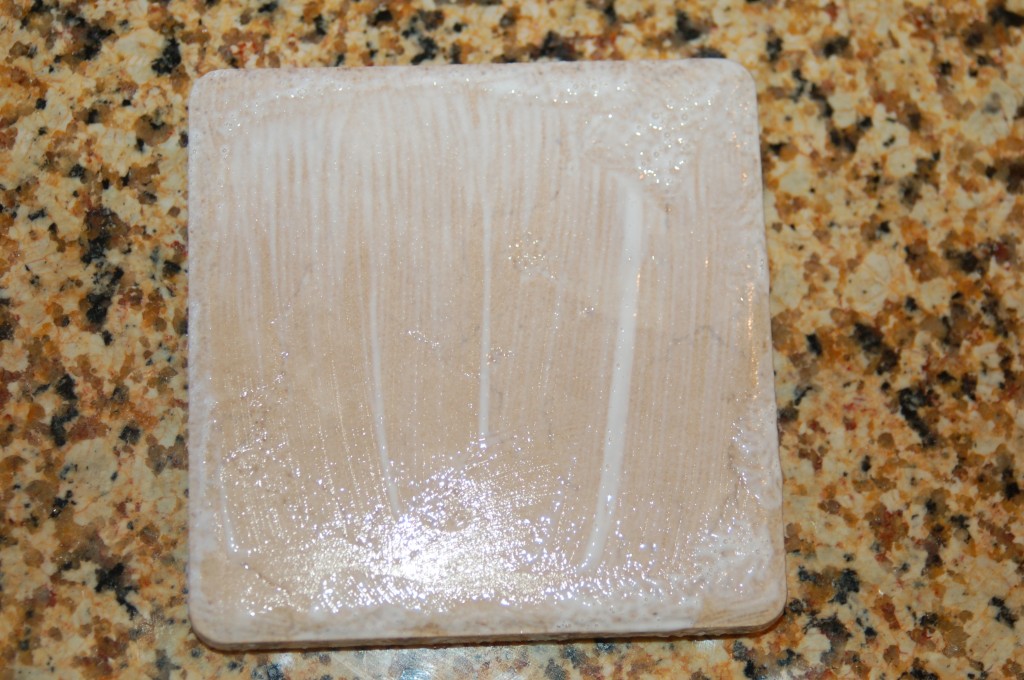
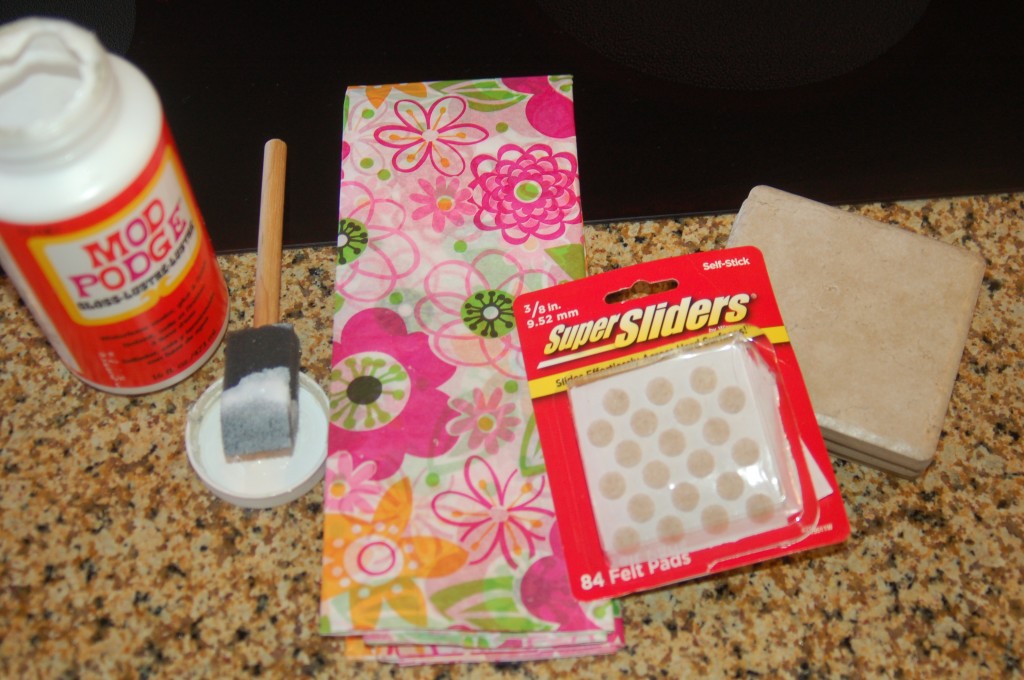
Here is the line-up of supplies:  Mod Podge, tissue paper, 4 inch tiles (from Lowe’s), and felt pads.

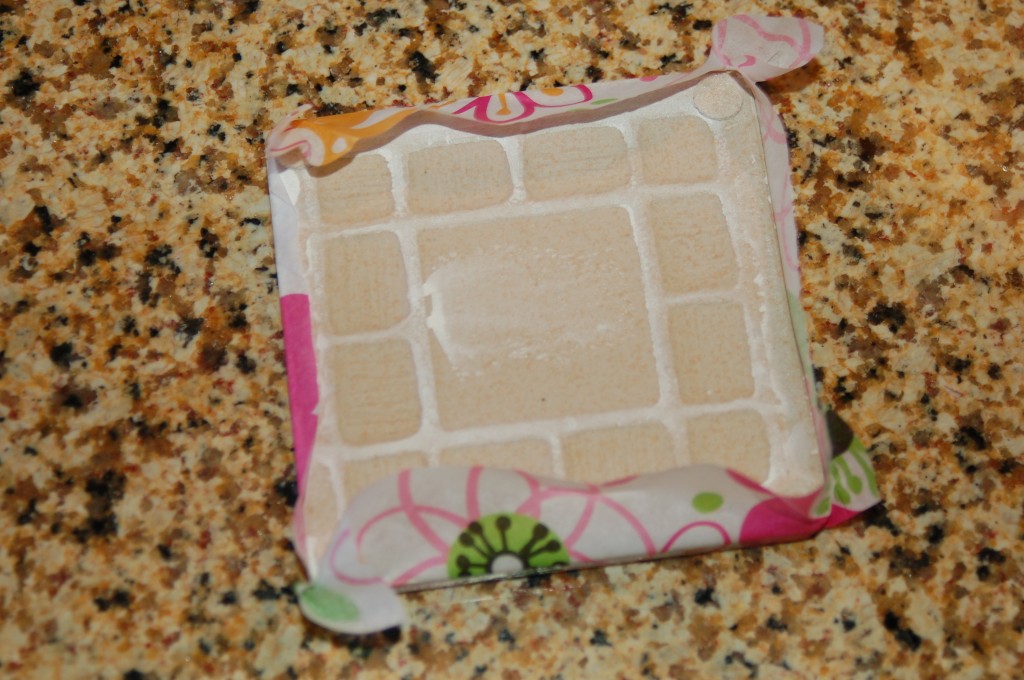
First apply the felt pads to the back on all 4 corners.Apply the Mod Podge to the front and all the sides of the tile.Have a piece of tissue paper already cut to about 5-6 inch square and apply it to the top of the tile and wrap around all of the edges, Make sure to rub it a little to get any bubbles out. Contour it around the corners. You will have some tiny creases here but that is ok.Let it dry and then tear, or use sandpaper to remove the excess paper on the bottom.  Apply 1-2 more coats of Mod Podge to seal it good.Tie them up with a cute bow and you have a darling gift for someone you love!  There are all kinds of possibilities in the paper that you could use to make these, so get creative and make a set today!


The Little Bat Screamed Out in Fright

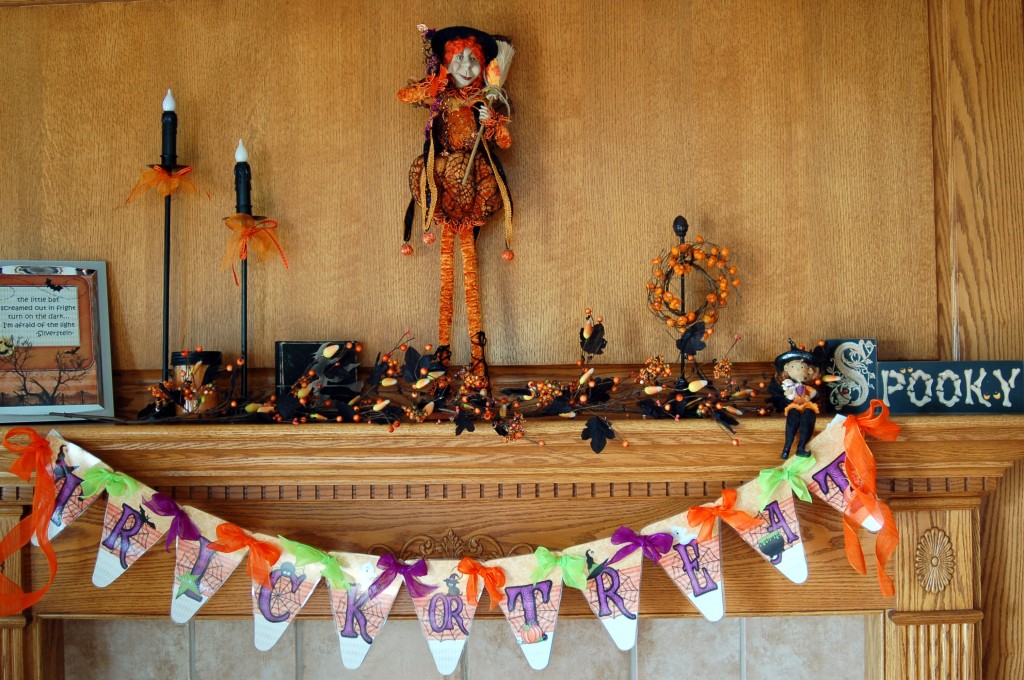
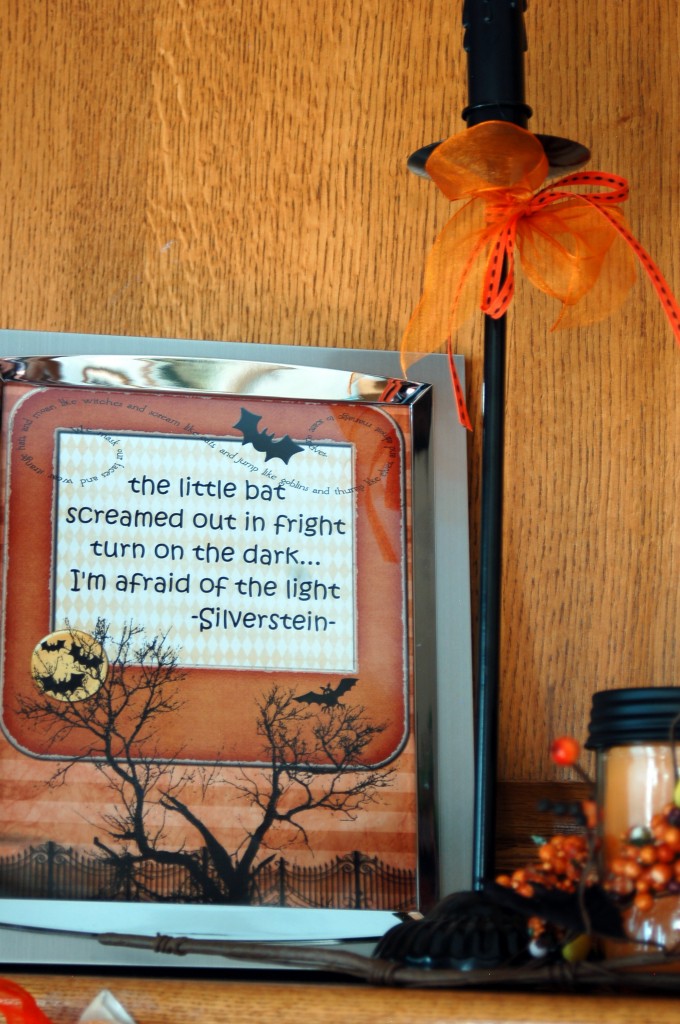
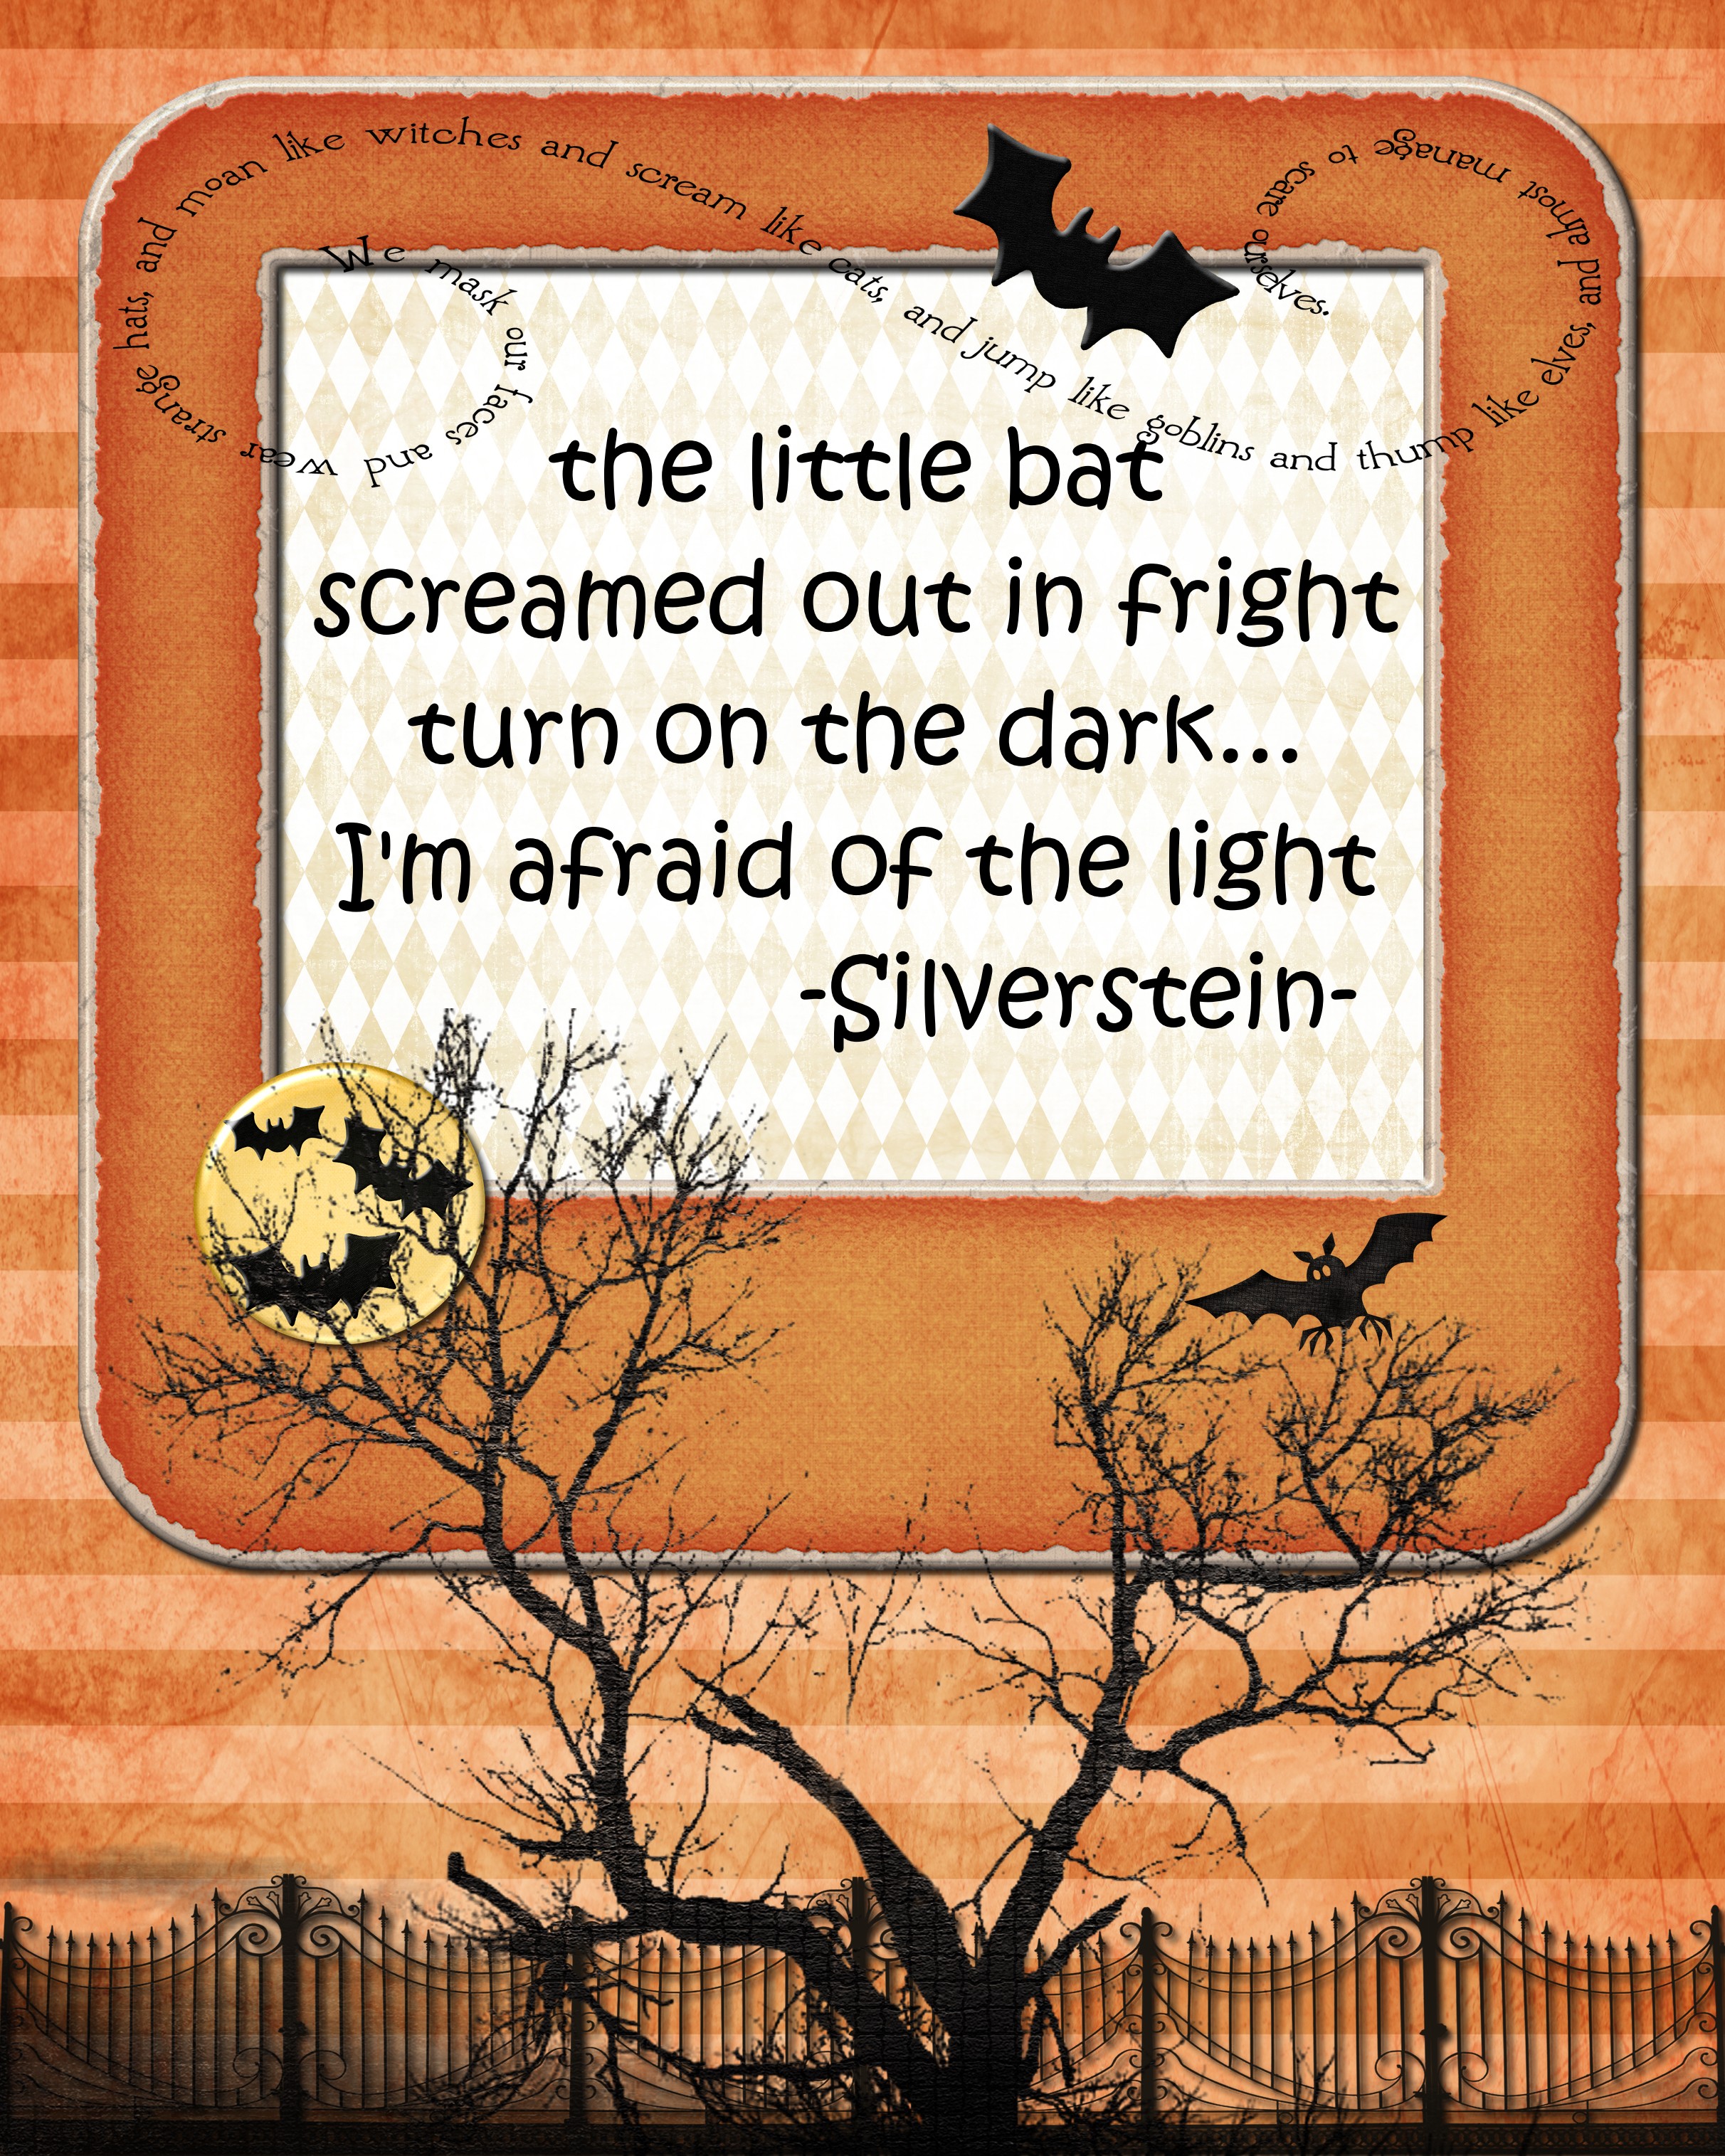
I got my fireplace mantle decorated, with the help of my super little helper!  When I picked up my granddaughter from school, I asked her what we should do today, and she said “Put out all the Halloween decorations!”  I decided that perhaps it was time and so that is what we did.  Here is the result!This is the printable that I have for you today!

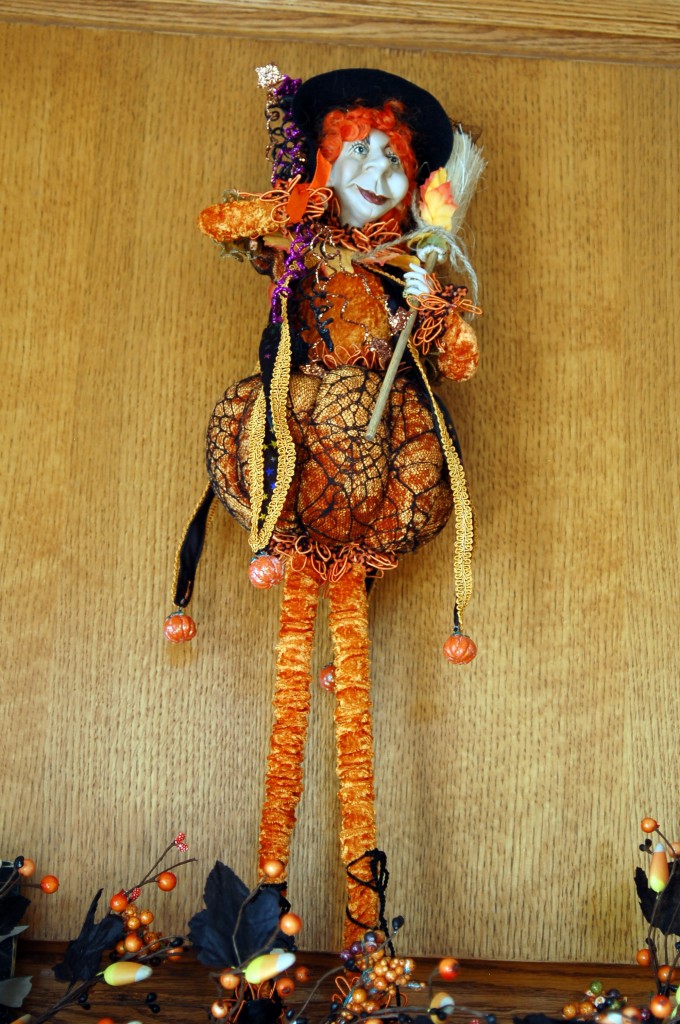
 I did it in an 8×10 format and I sent mine to Costco to print.  It cost $1.49! And it is a nice printing job!This is my little Halloween witch that I got at a little shop in Midway, Utah a couple of years ago and I just love her face and pumpkin dress!Here is the printable for you to enjoy!  As I said it is 8×10 so you can frame it if you choose.

Girl’s Night Out

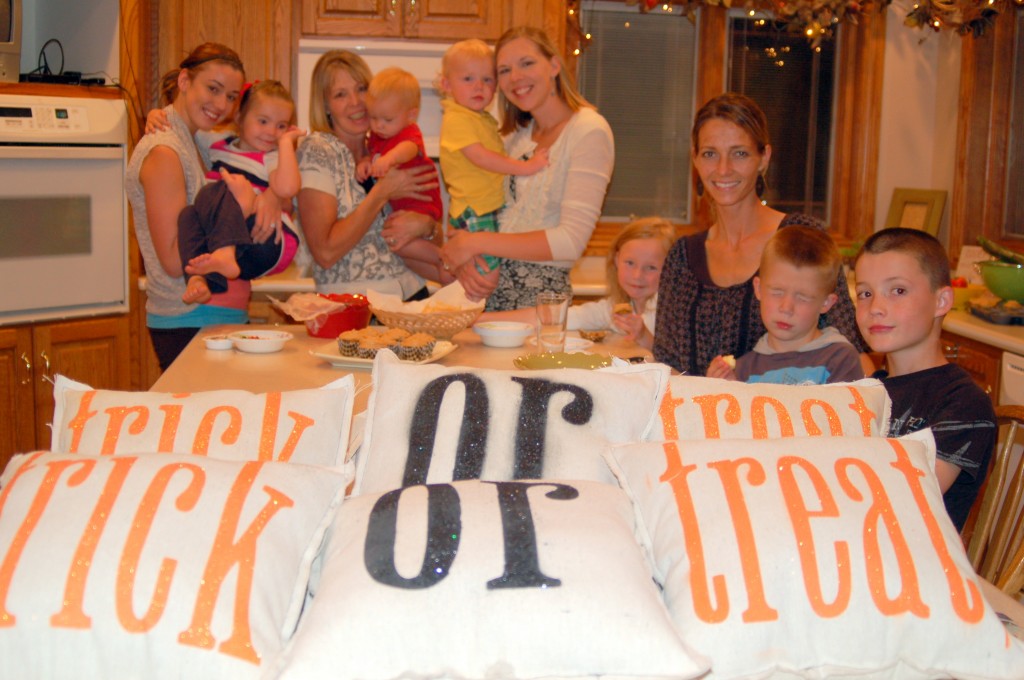
We had a fun girl’s night out last week.  My husband was gone, so when the cat’s away the mice will play, and play we did!  We hired a baby sitter for all the kids and they had a great time playing downstairs while we were upstairs.  We let them come up for the food after we were all done.  (Nice, I know!)  What a fun group!   And most of  the time the cousins are all great friends.

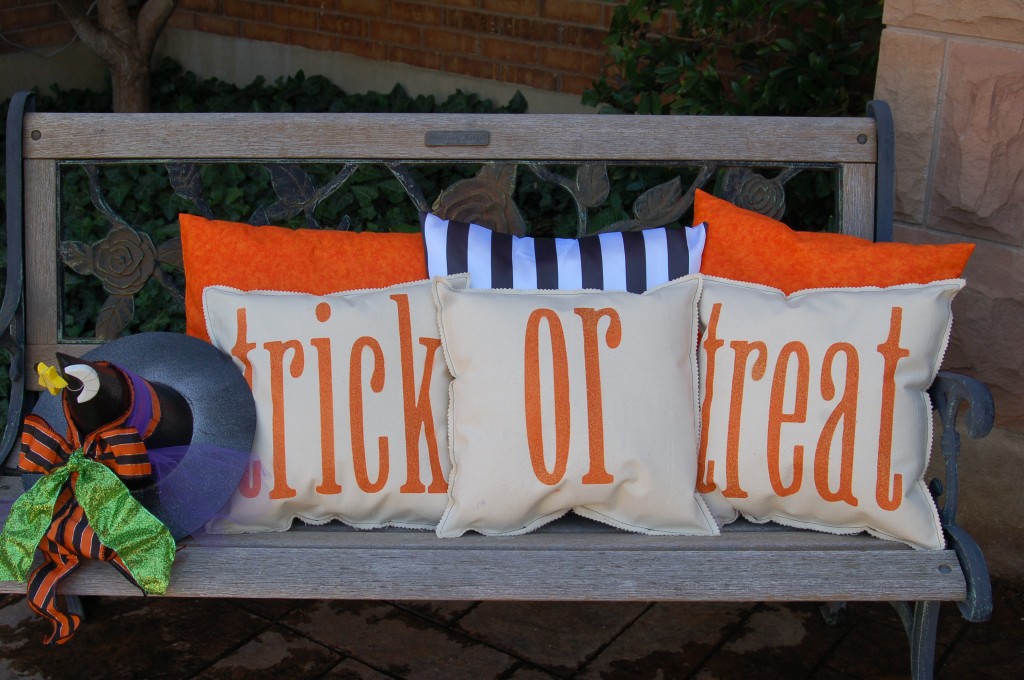
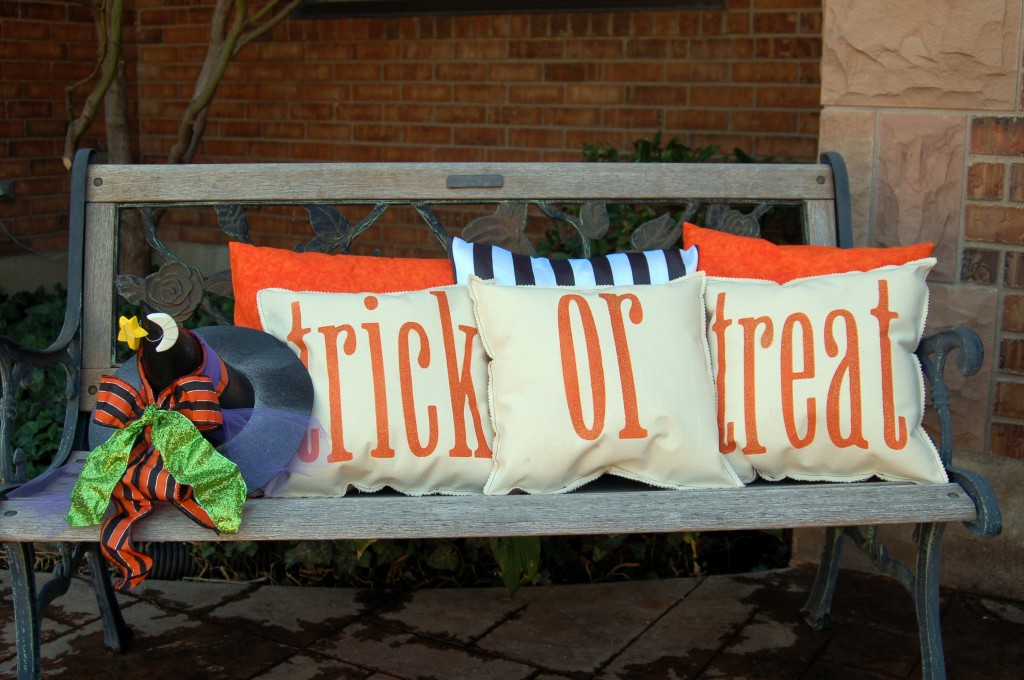
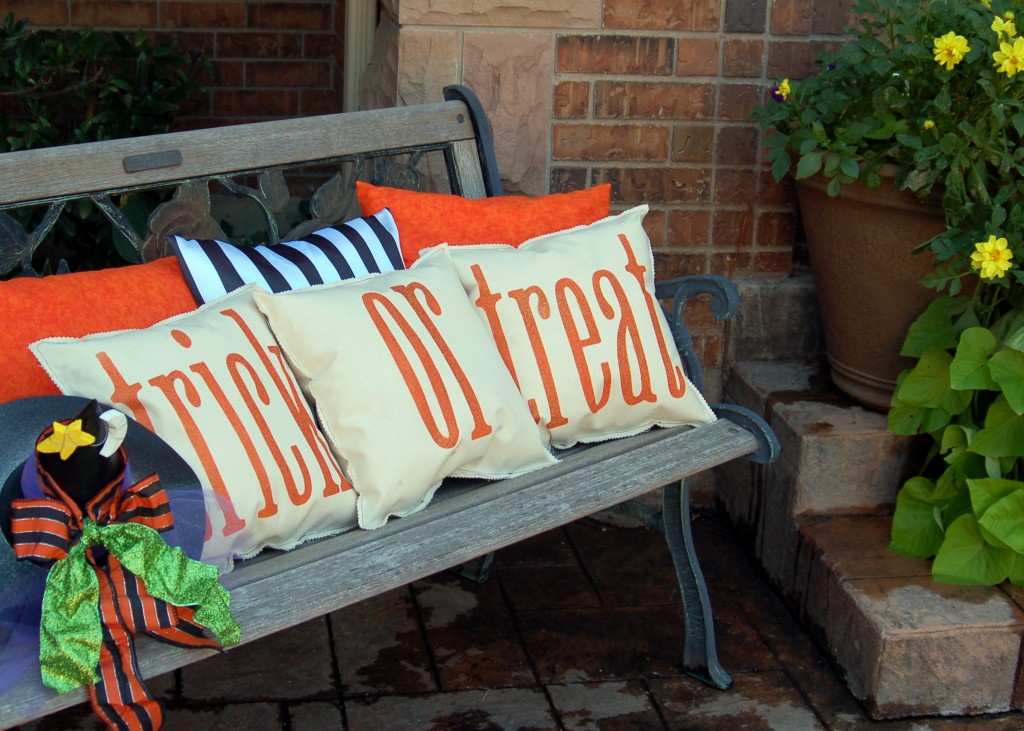
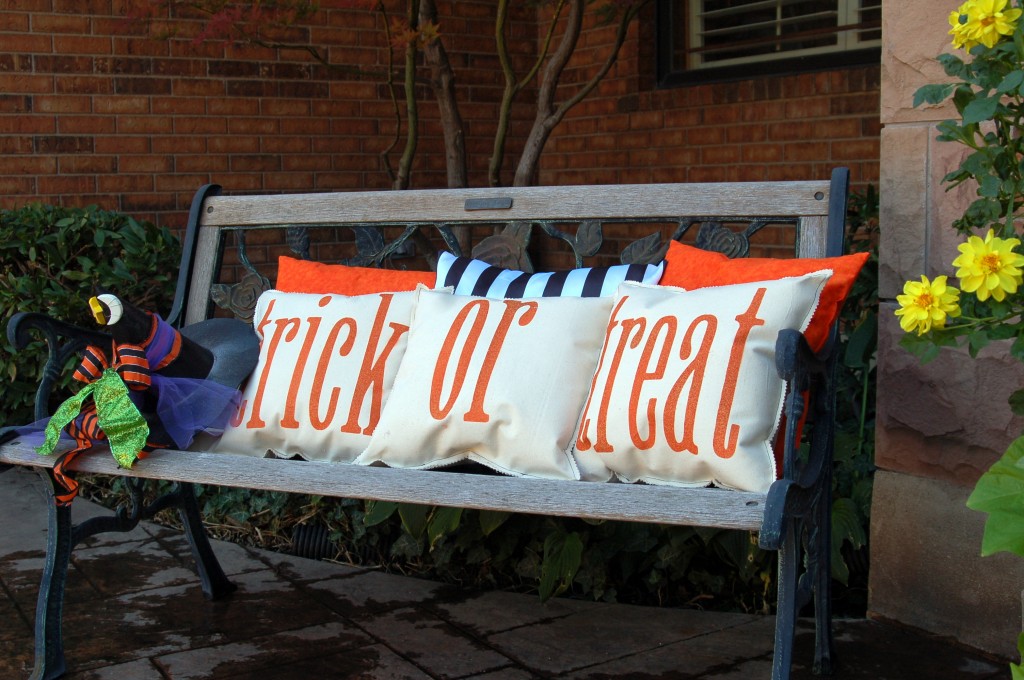
We made these pillow and I totally copied the idea from a pinterest blog.  I even made the pillows in the back like on their display. She has done a great tutorial on how to make them here so I am not going to do another one.  I will tell you what we did different, as you can see, some of them did the “or” in black paint and just used fine glitter which worked ok, but the glitter had to be sprayed with varnish to help keep the glitter from coming off.  She suggests that you go to Walmart and buy the painter canvas, which I did, but it is not a very high quality and it frays really bad, even after using pinking shears.  So I would suggest that you buy a regular piece of canvas from a fabric store.  The next thing we did different was that we found out the glitter paint did not go very far, so we painted the orange with regular spray paint and then added a glitter finish to the top.  It worked great that way!  But all in all it was fun to see how everyone’s turned out and we had a fun evening together without kids (kind of!) Here’s what mine look like!I don’t know if I can leave them outside or not, I will have to spray scotch gaurd on them if I do so the weather won’t ruin them.!I think they turned out pretty darn cute.

Cake Stand

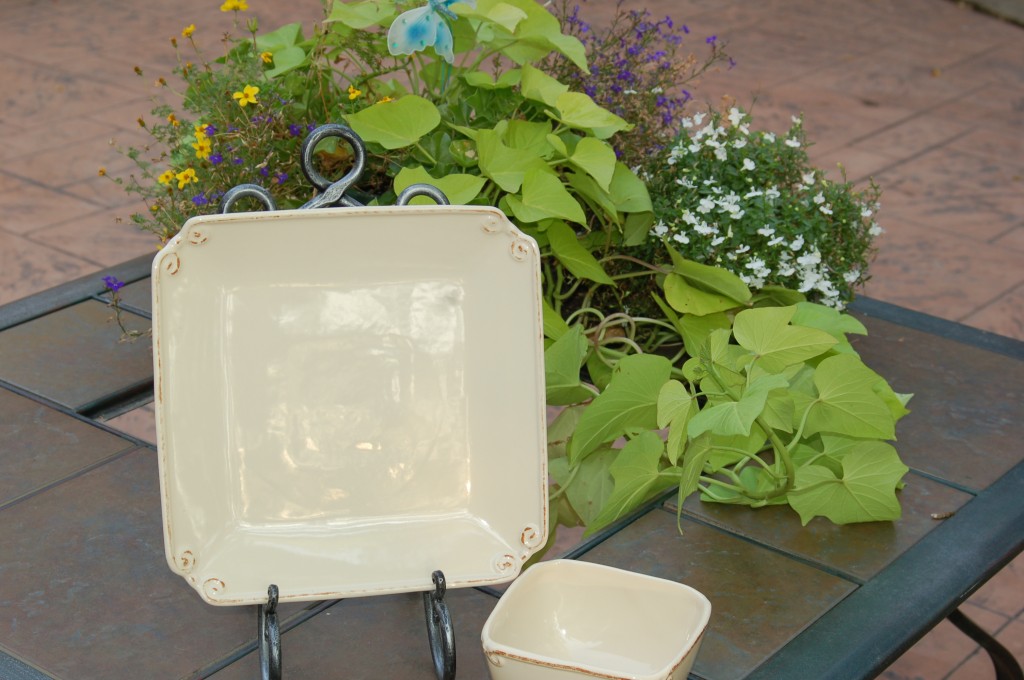
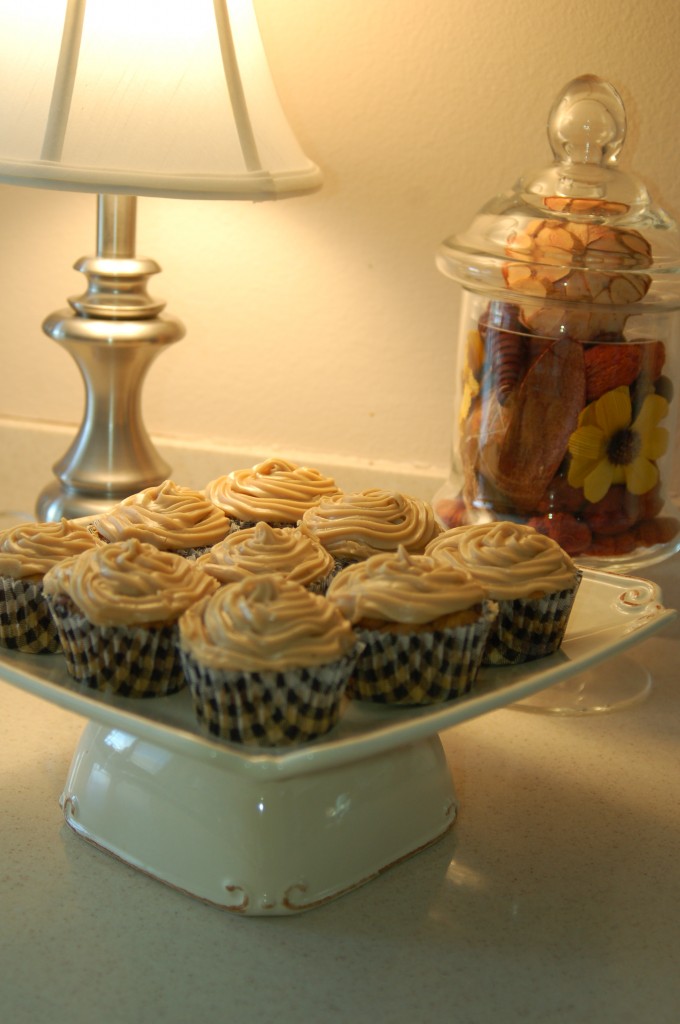
There are a lot of cake plates out there in blog land, and I love them!  But I only have so much room in my cupboards to store them, so that is why I love my cake plate!  This is what you need to make this cake stand:  A cute plate and a matching bowl, it is best to have a bowl with a broad bottom. I got these from Tai Pan.

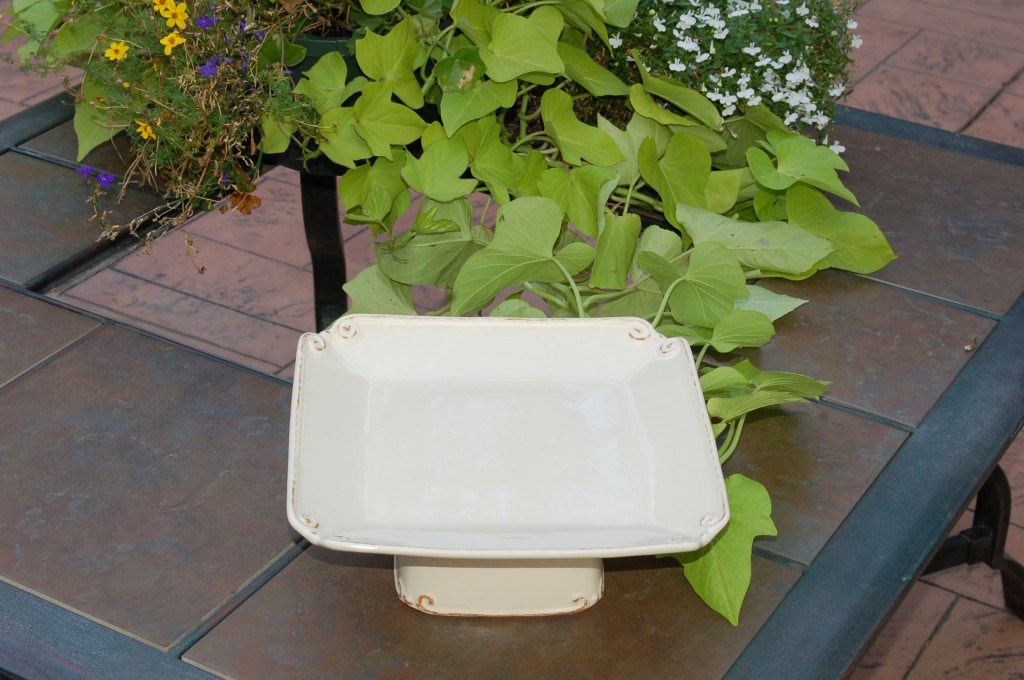
All you have to do to make this cake stand is to place the bowl upside down and place the plate on top of the bowl. Because it has a broad base it is very stable. At this point, if you want to glue the plate together to make it permanent, use a good glue like the e6000 or a good silicone glue.I chose to leave my plate and bowl separate, so I can store them individually and also use them separately if I want to.  But I think they look beautiful together as a cake stand too!