Category Archives: Crafts

Getting Ready for Our Halloween Party

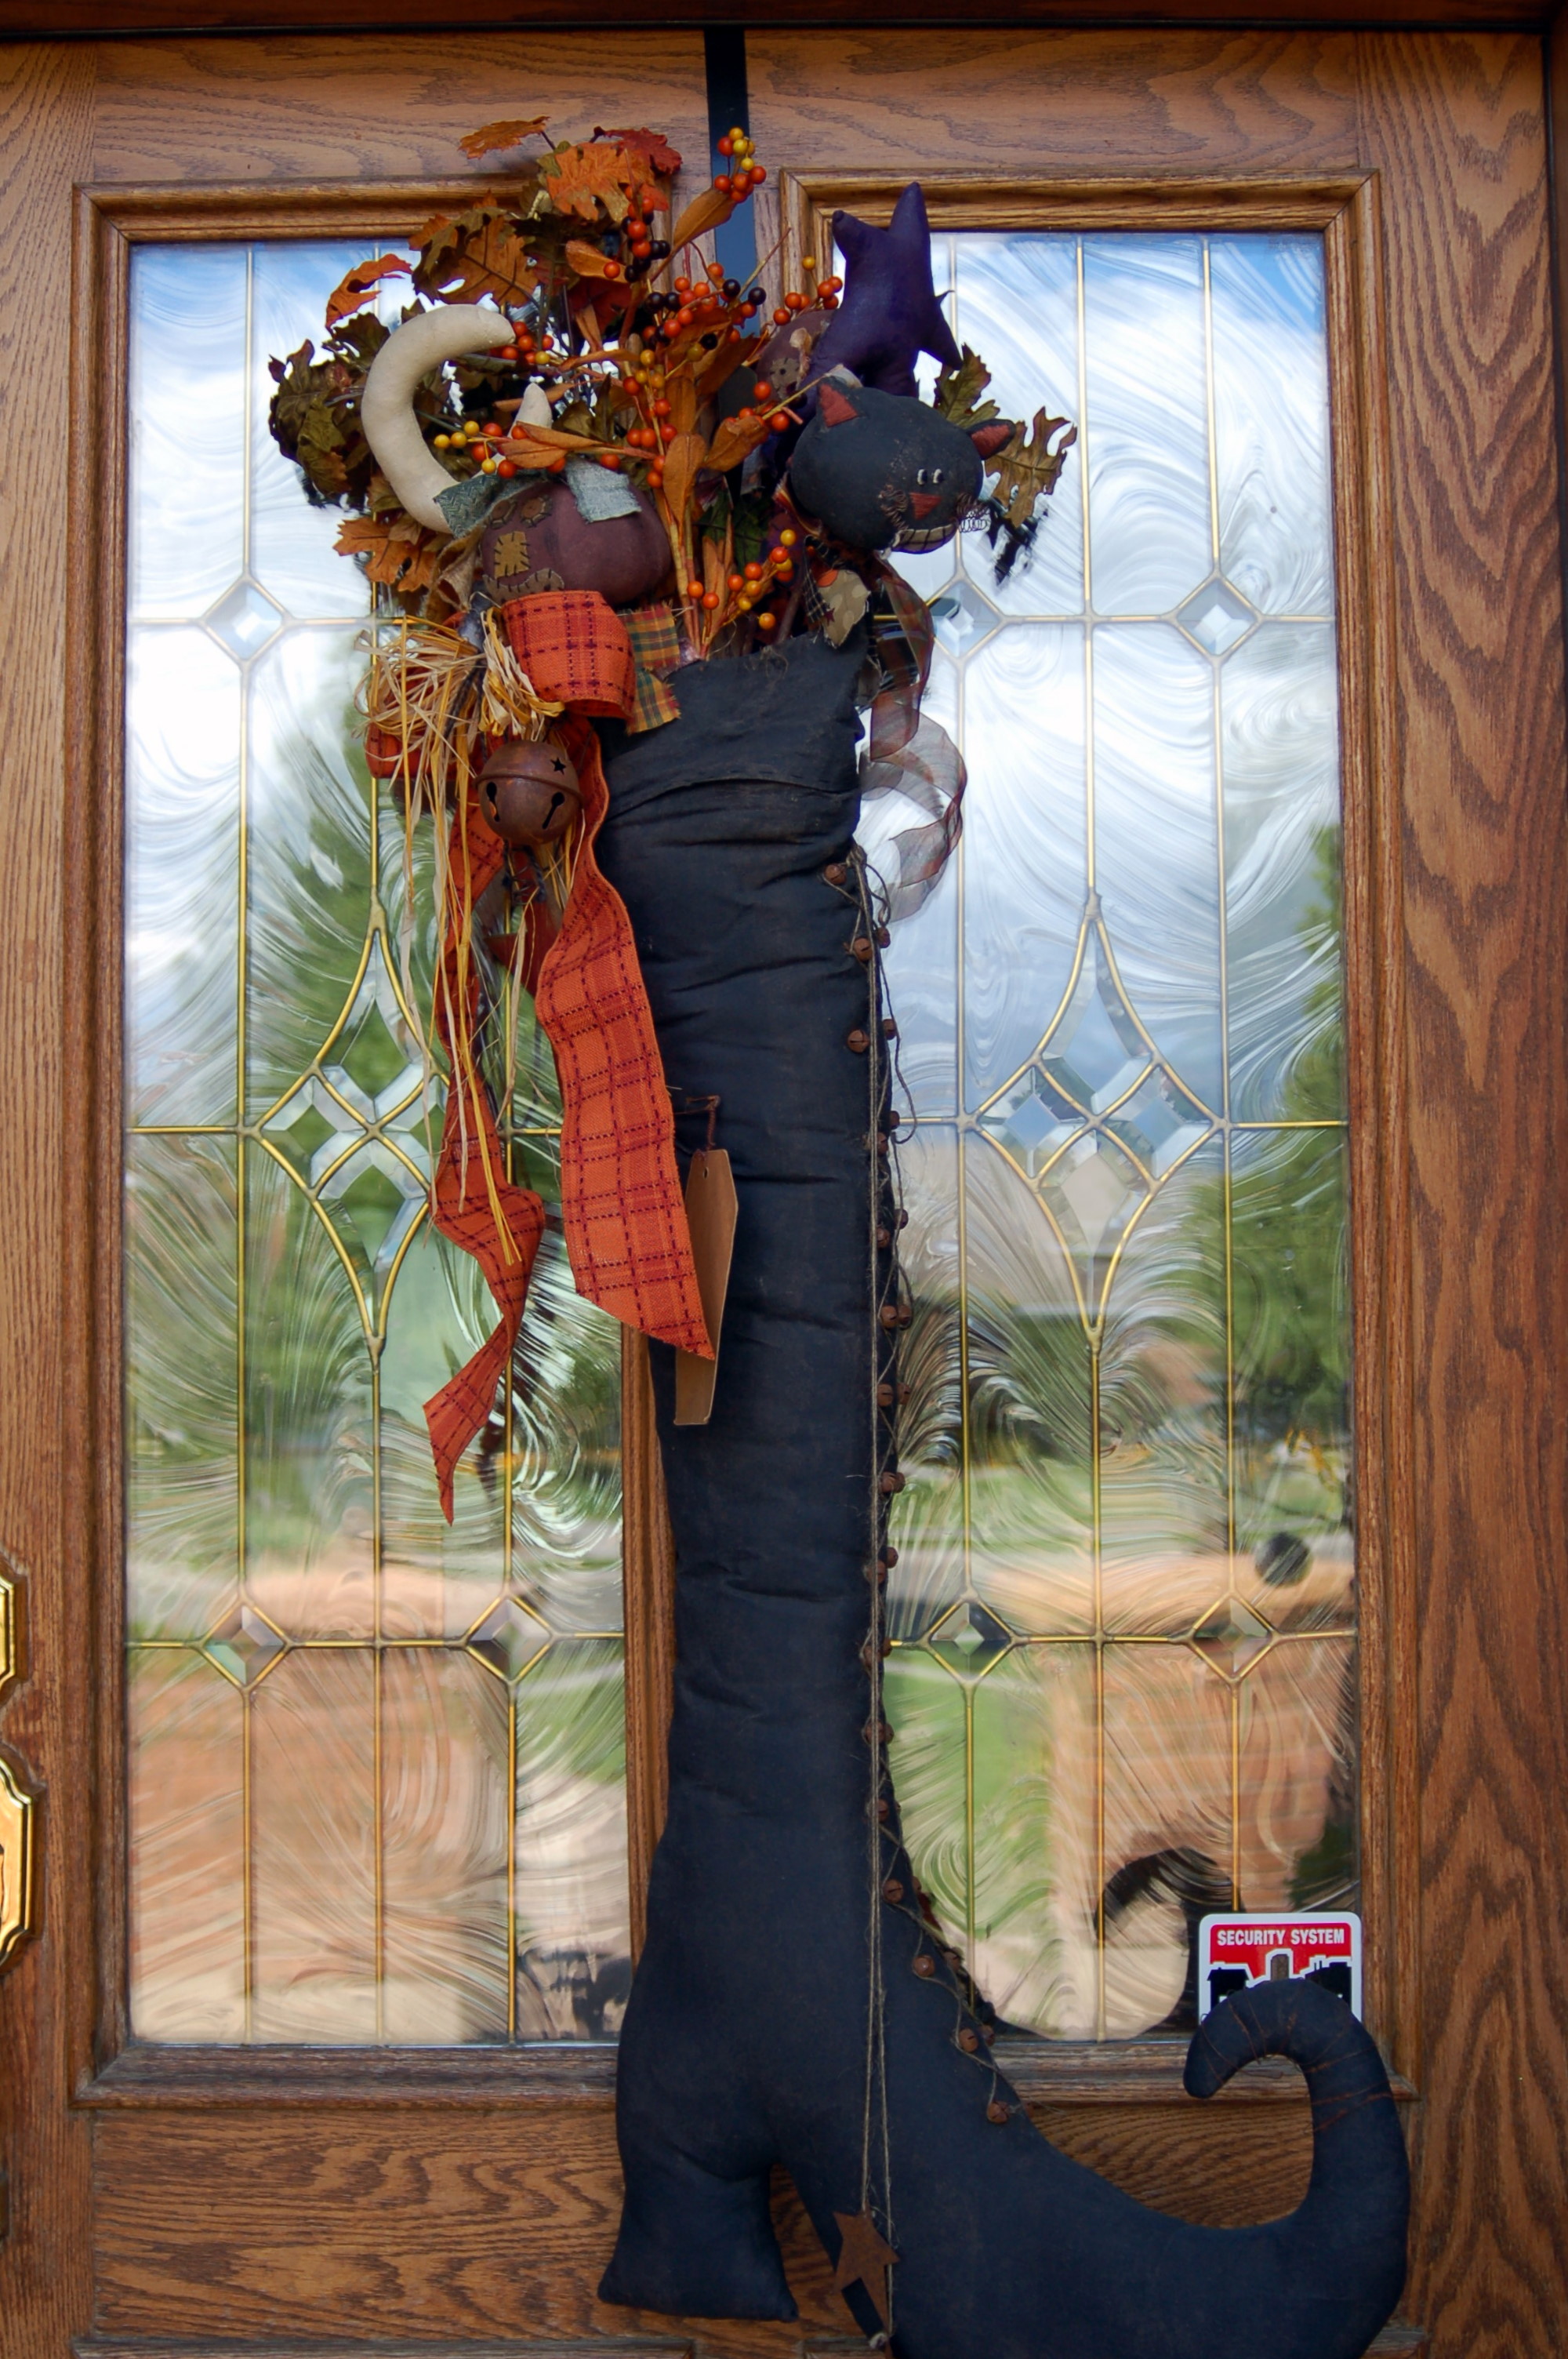
I have been baking, cooking and crafting up a storm the past couple of days trying to get ready for our Halloween Party this weekend!  Thank goodness for Pinterest, I got tons of ideas.

Here’s what I have been up to:

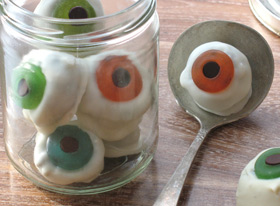
Edible Eyeballs

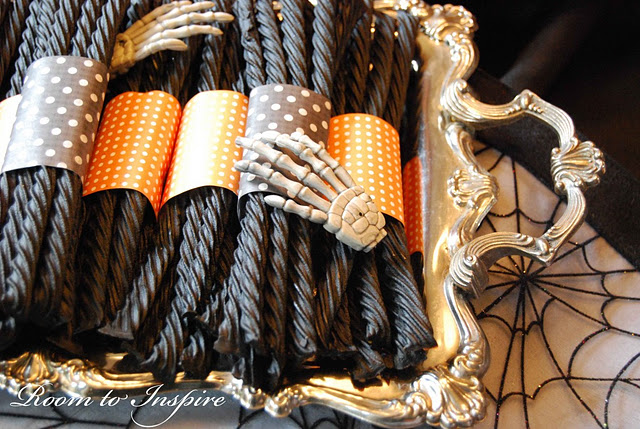
Black Licorice Skeleton Hands

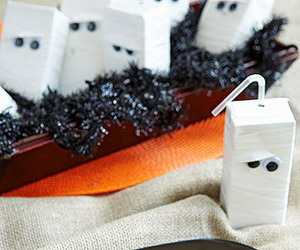
Juice Mummy Box

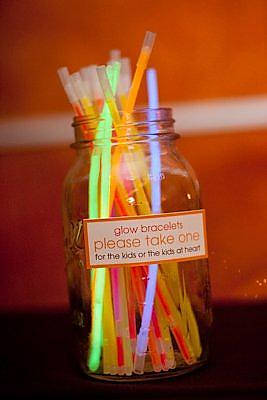
Glo Sticks in A Jar

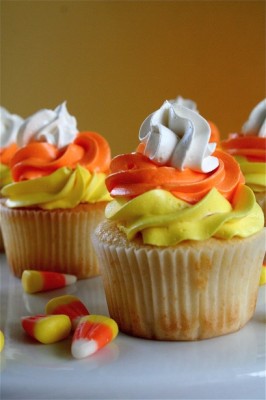
Candy Corn Cupcakes

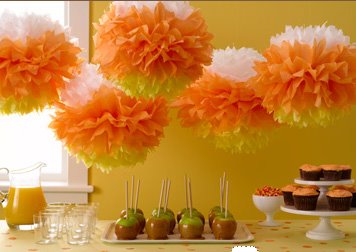
Candy Corn Pom PomsI made Halloween mini donuts, Halloween Crunch Popcorn, and that is not any of the food part yet!  Whew! What are you doing for Halloween?  I know lots of you are helping at the schools and in your work places.  I love Halloween, I think that it is my 2nd favorite holiday only next to Christmas!

Remember This?

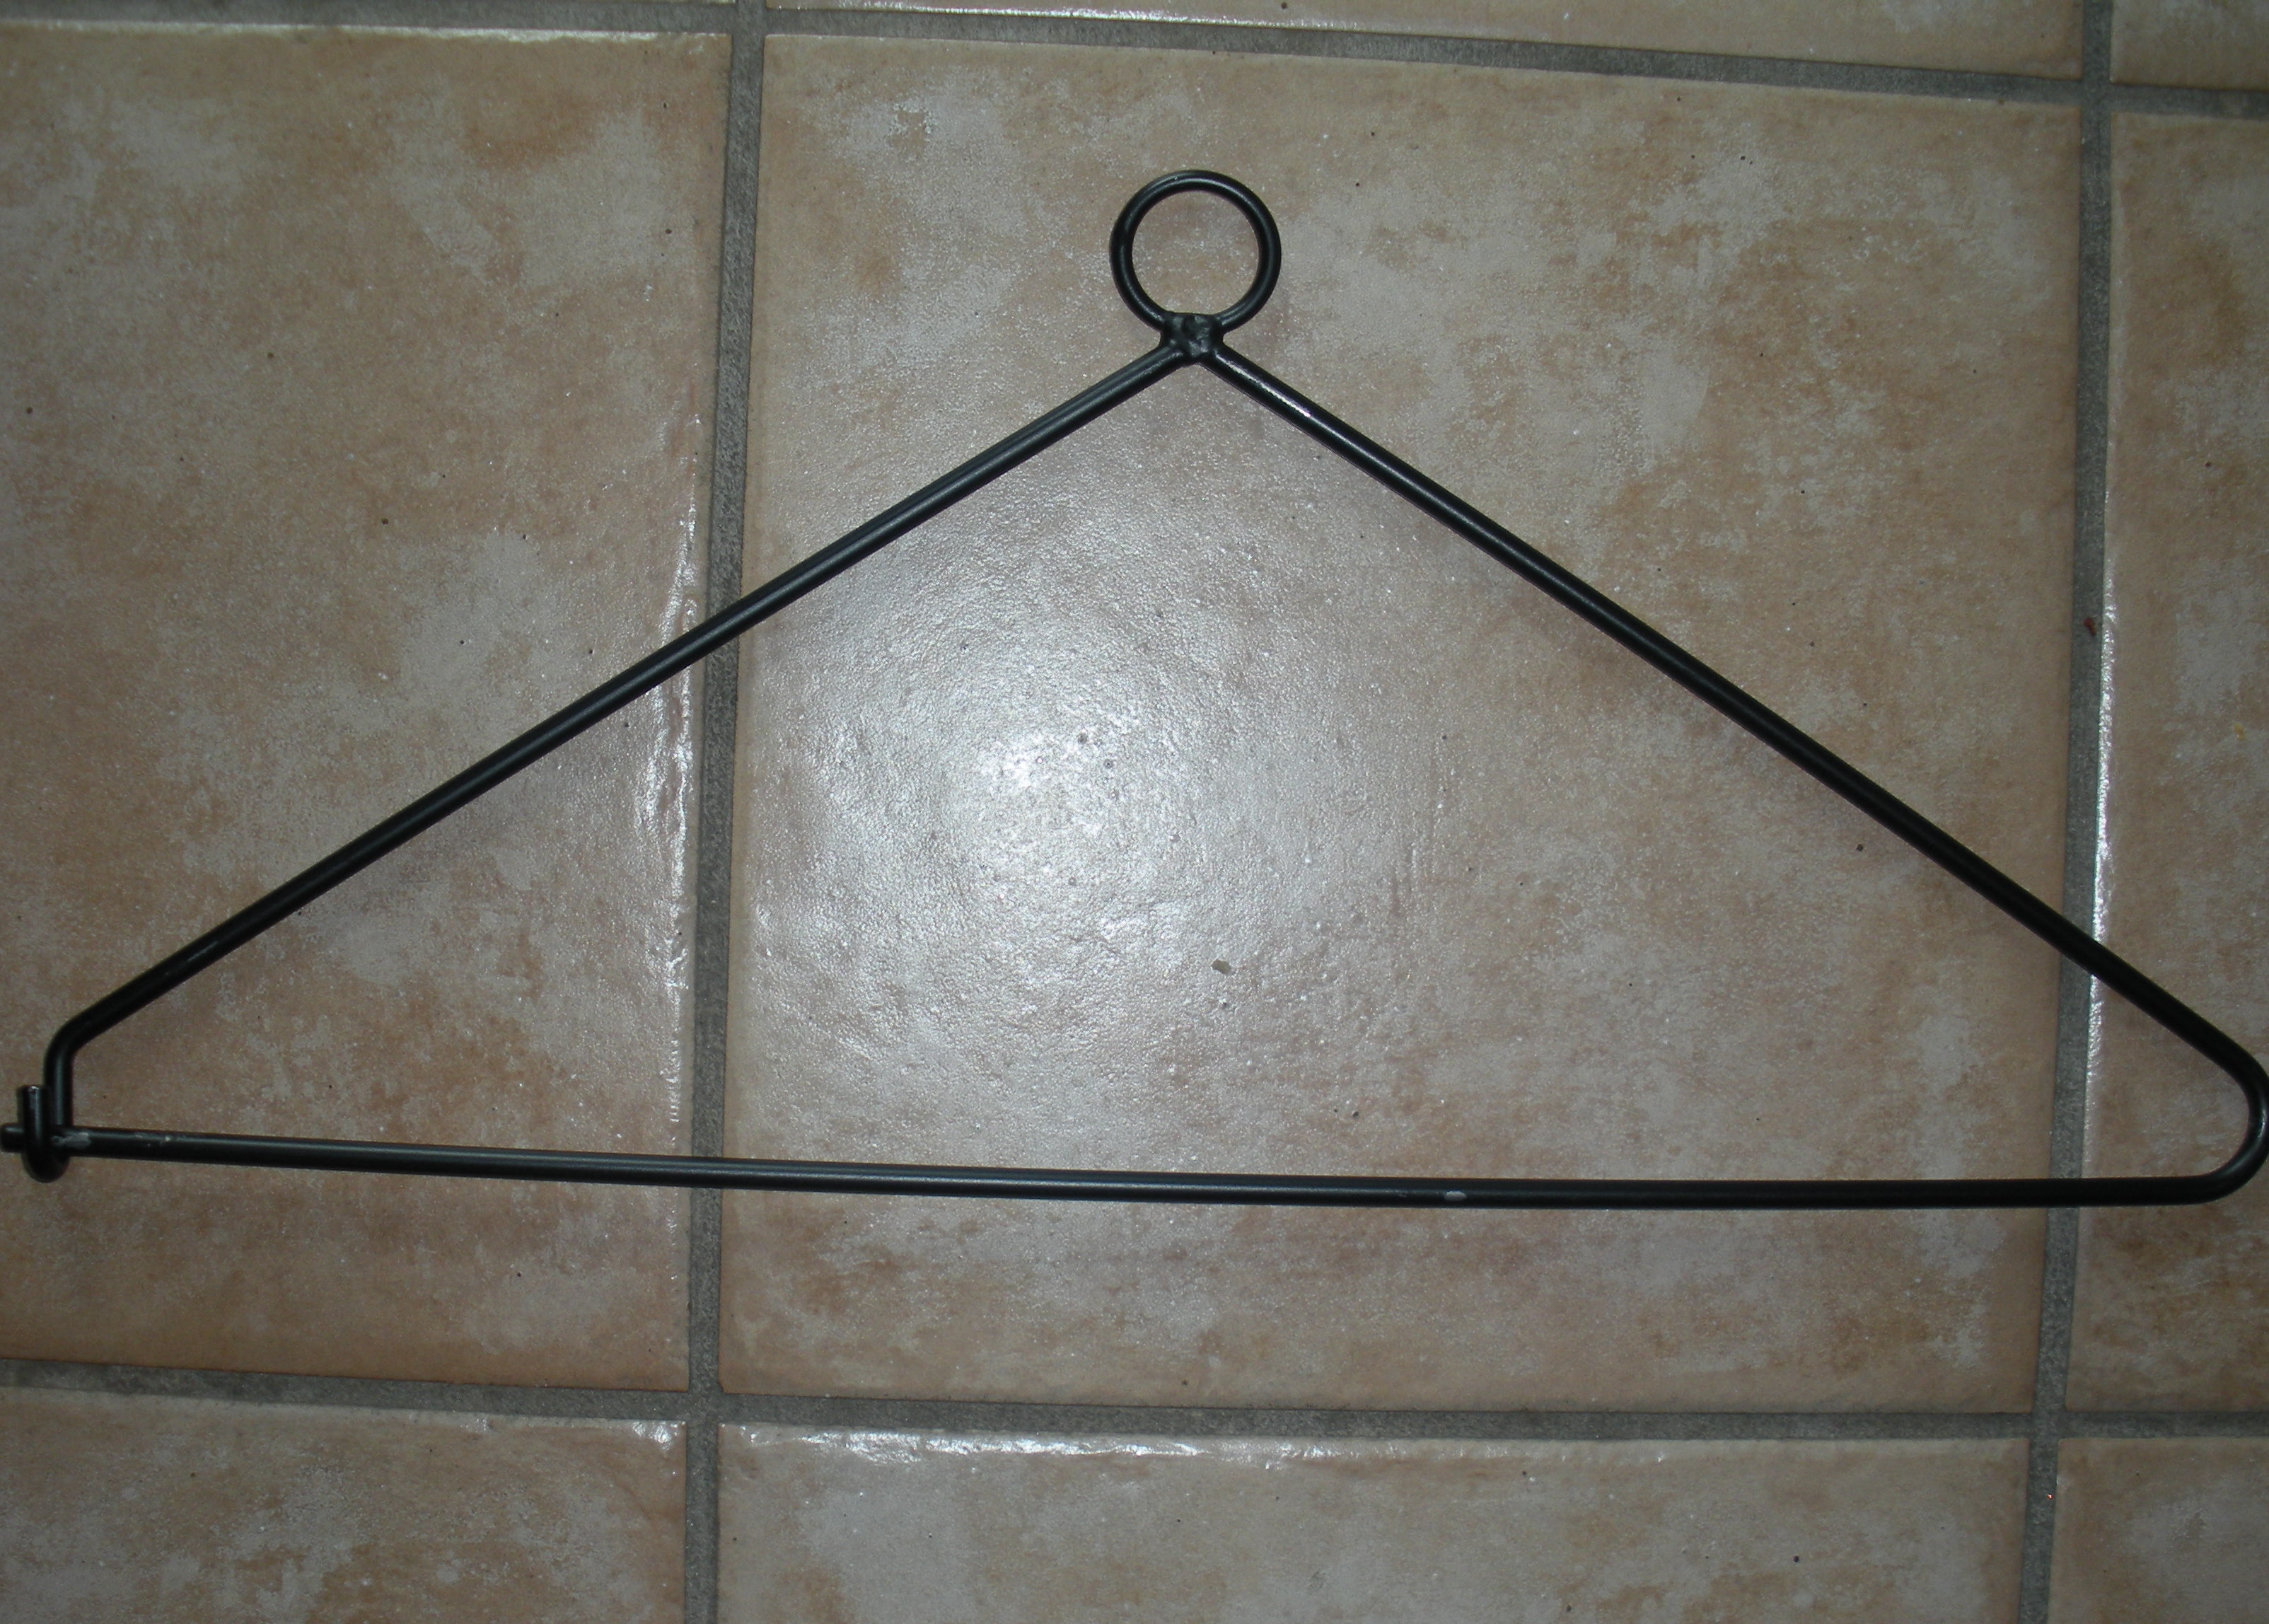
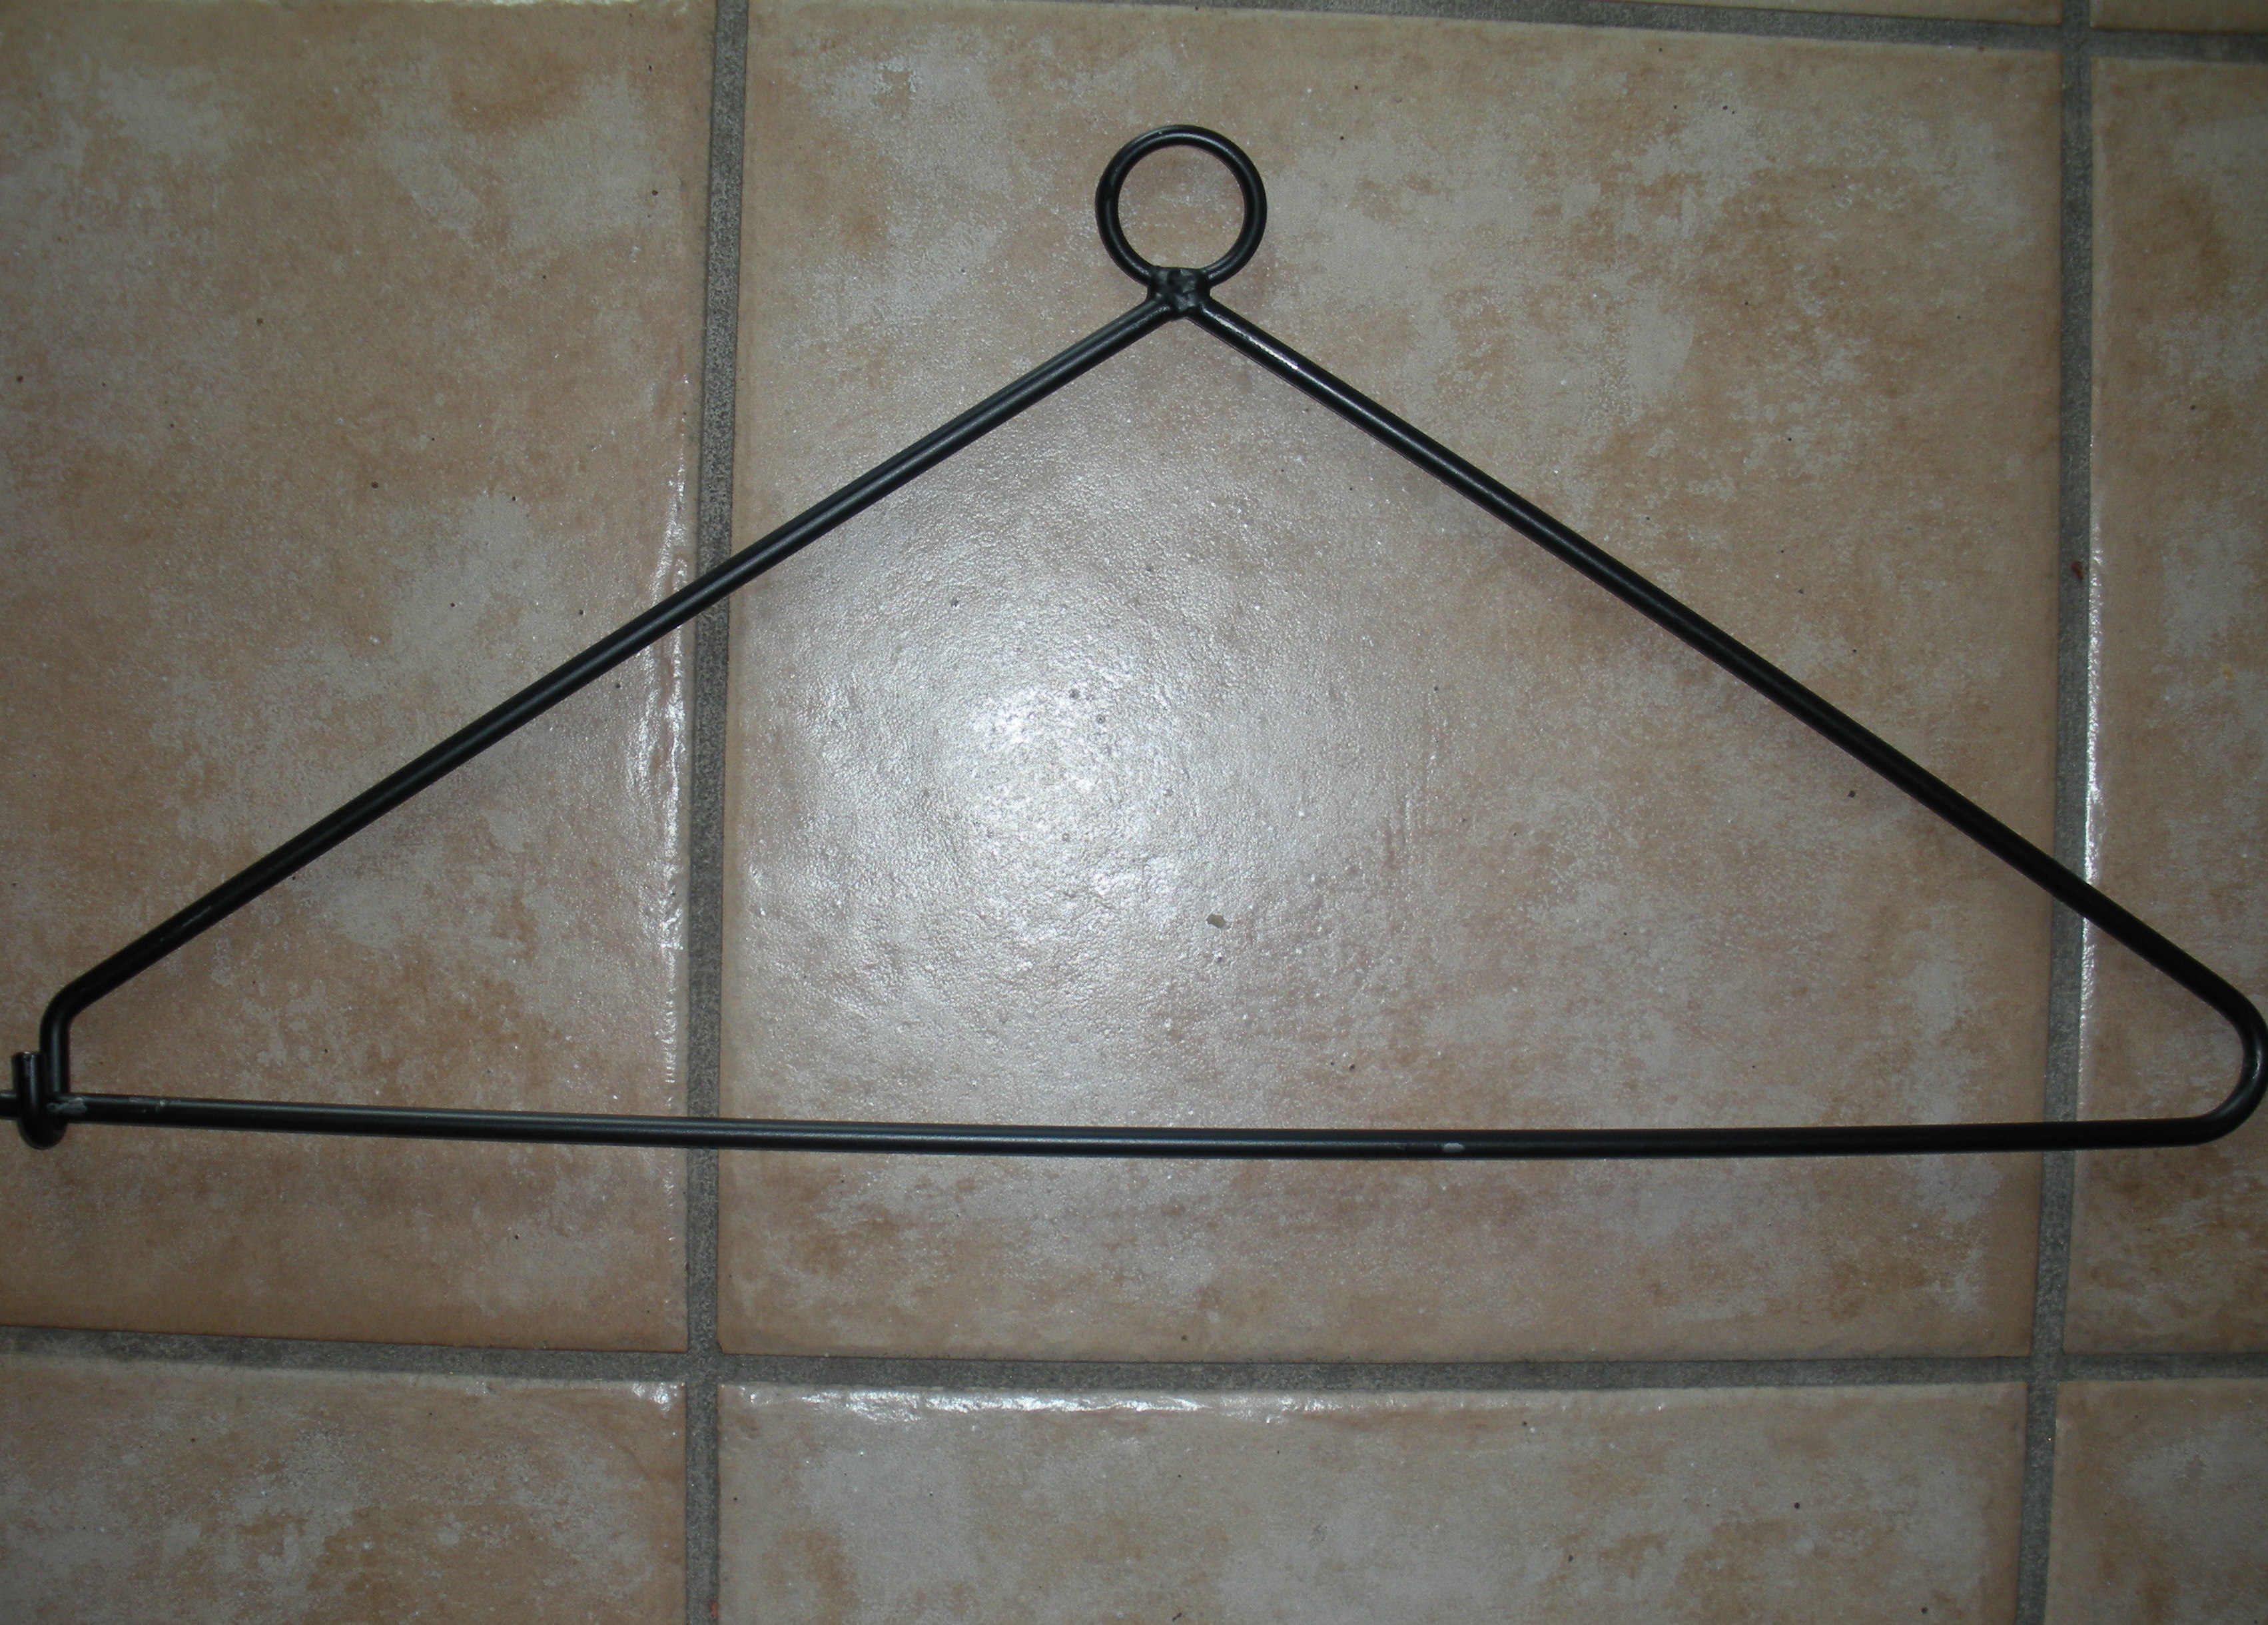
Do you remember when I asked if anyone knew what I was going to use this for?  One of my readers actually had a great suggestion, she said that she would use it to hang a quilt on!  I think that was a super idea and I may just have to try to get another one!

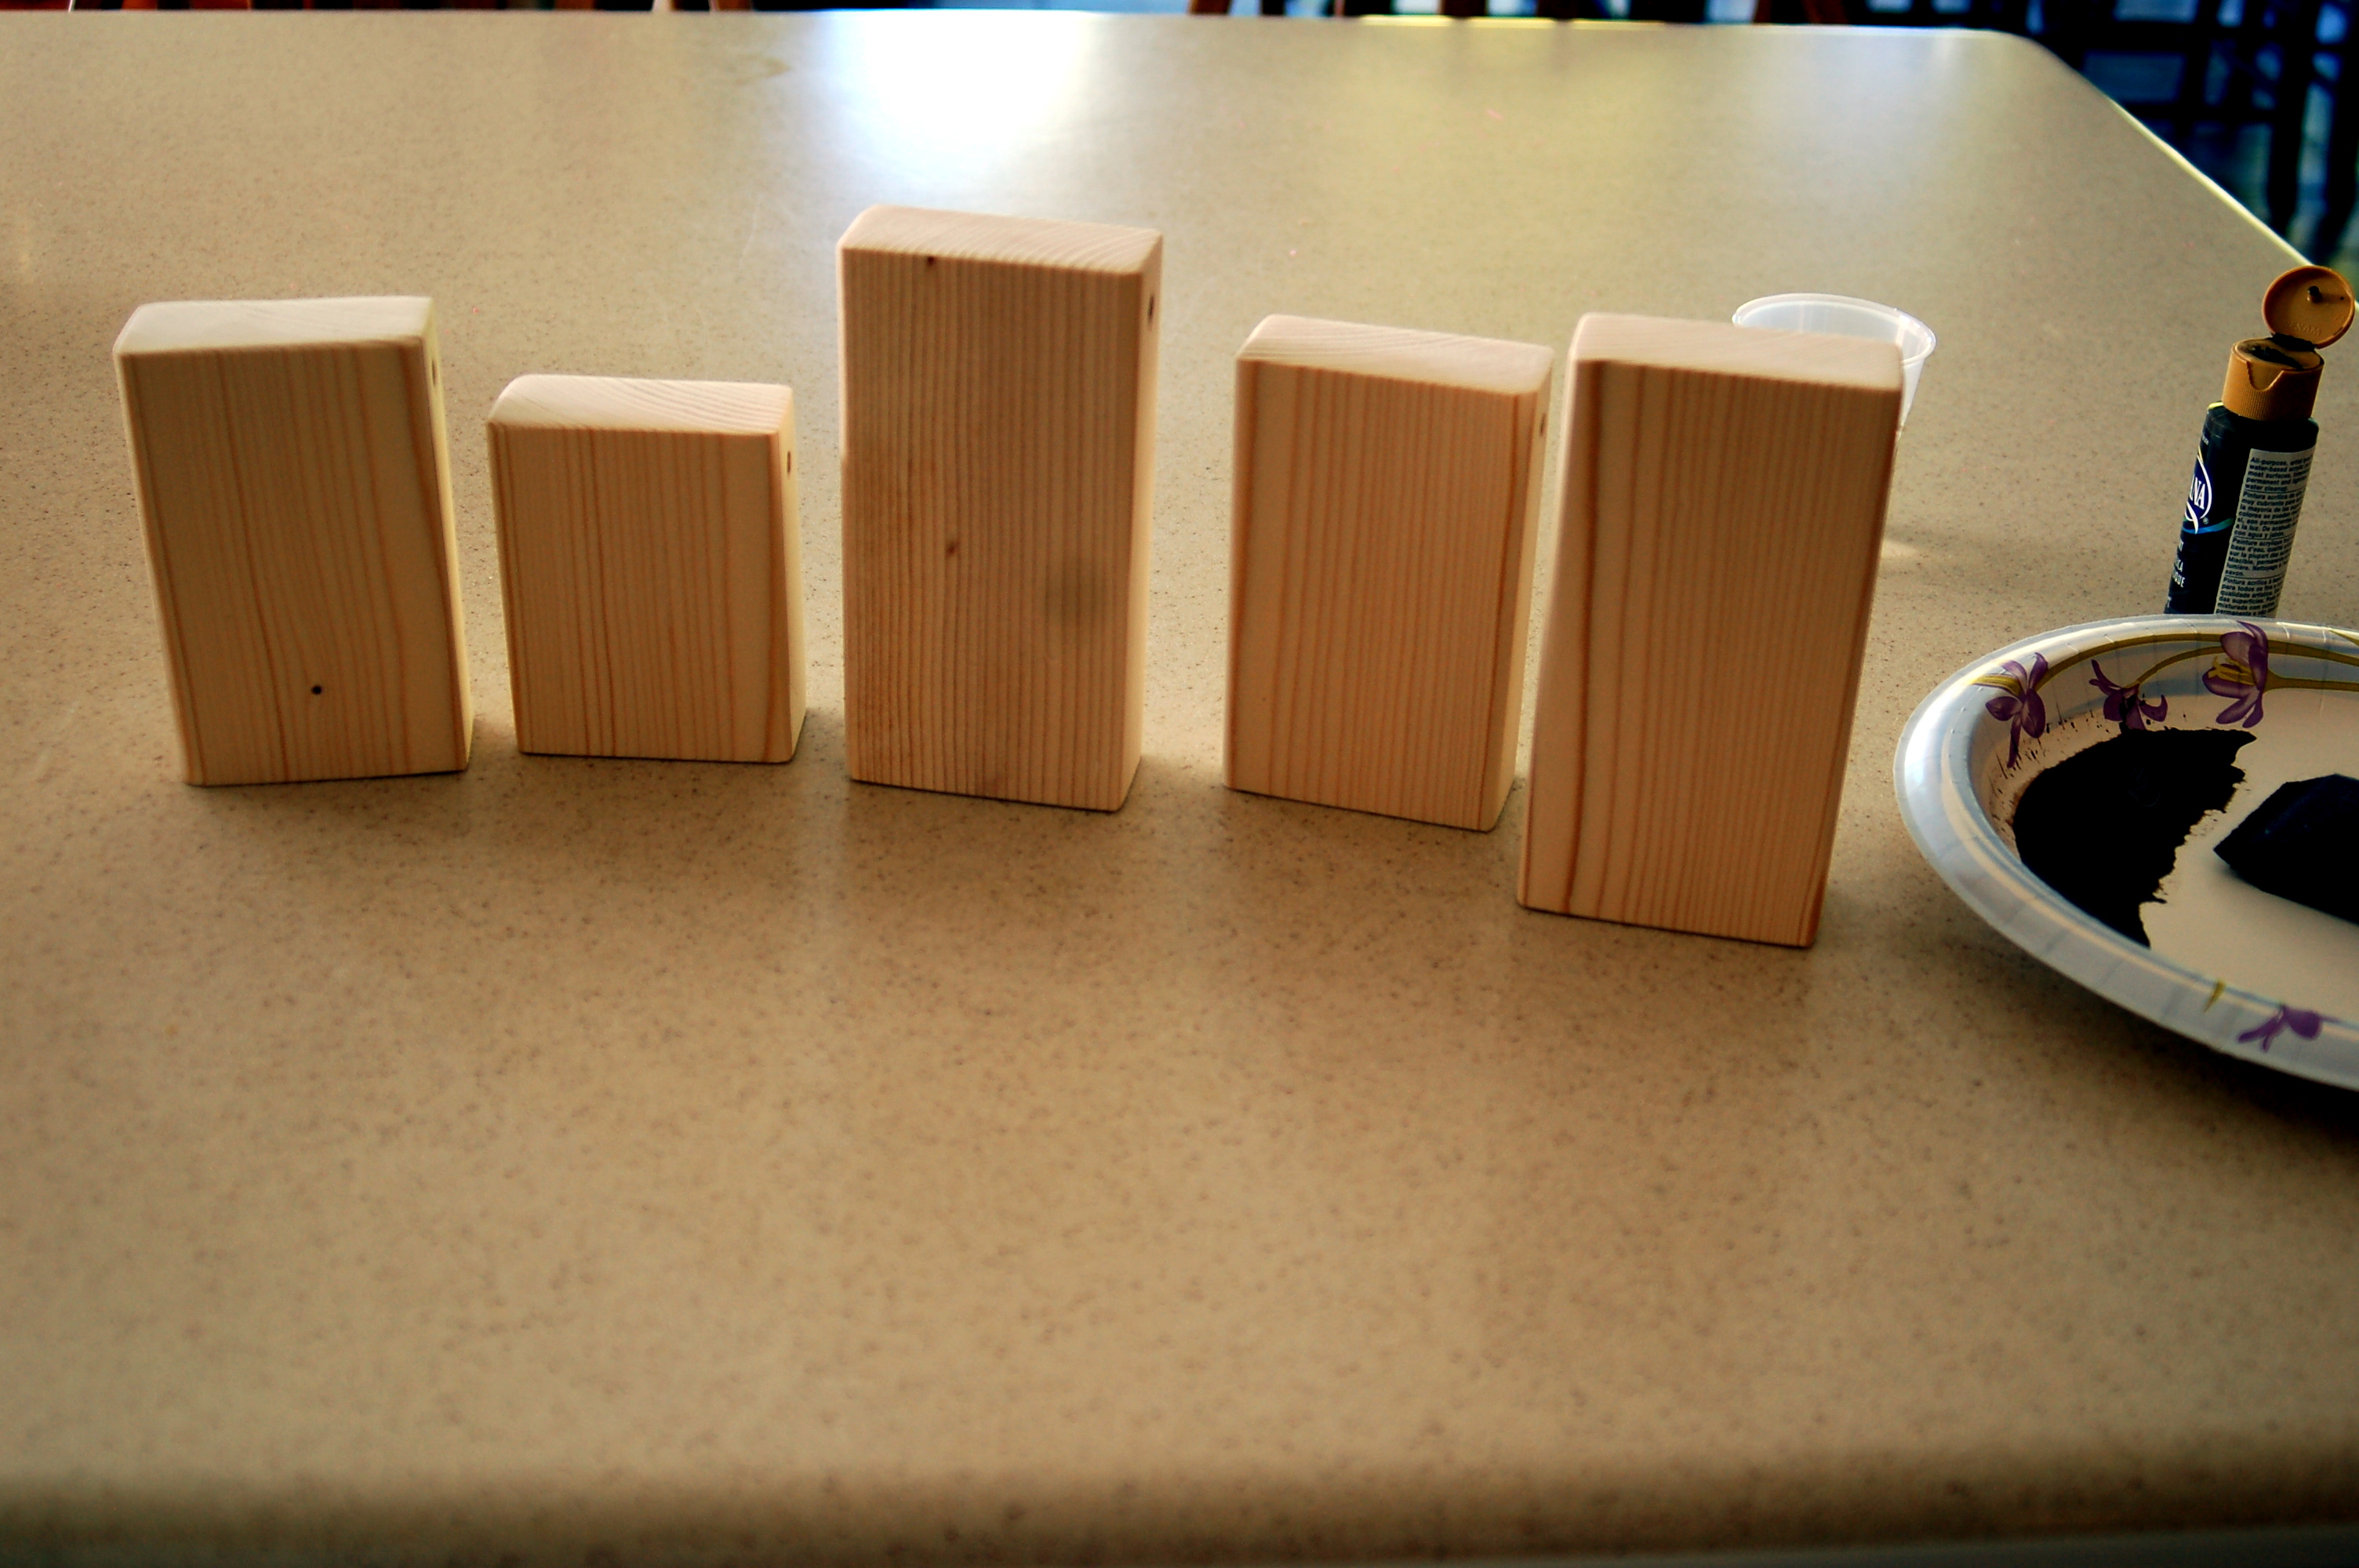
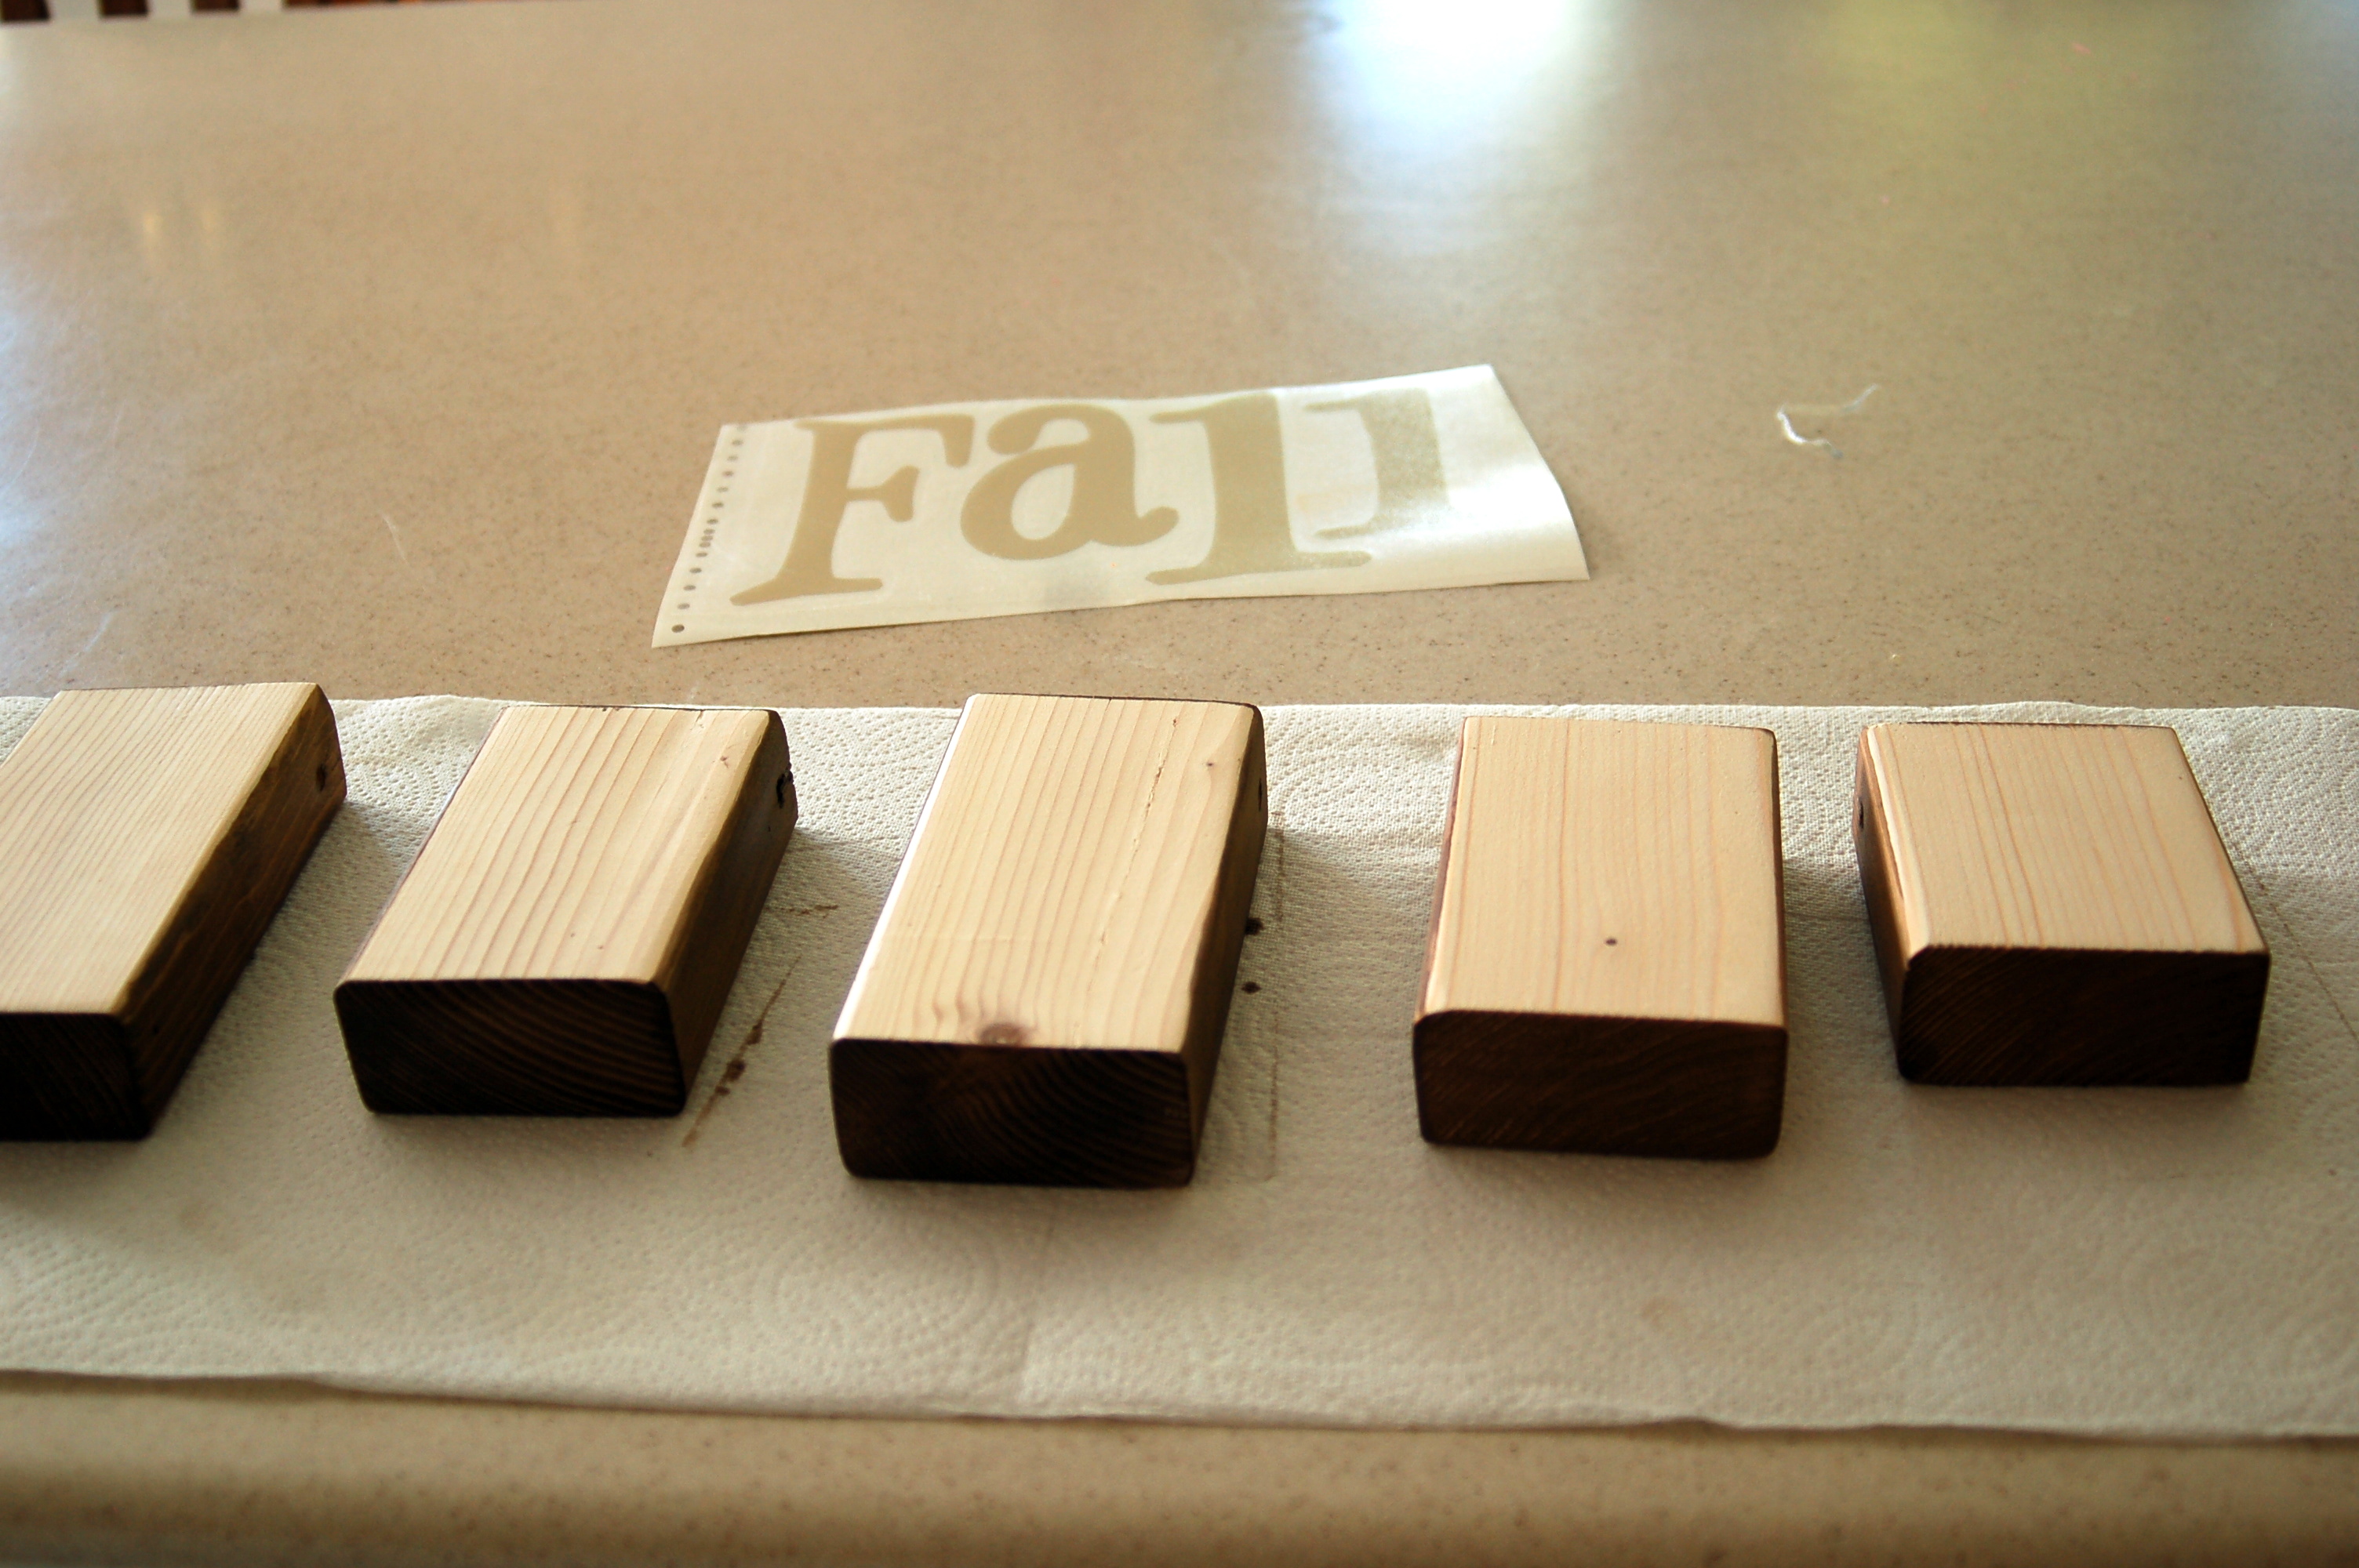
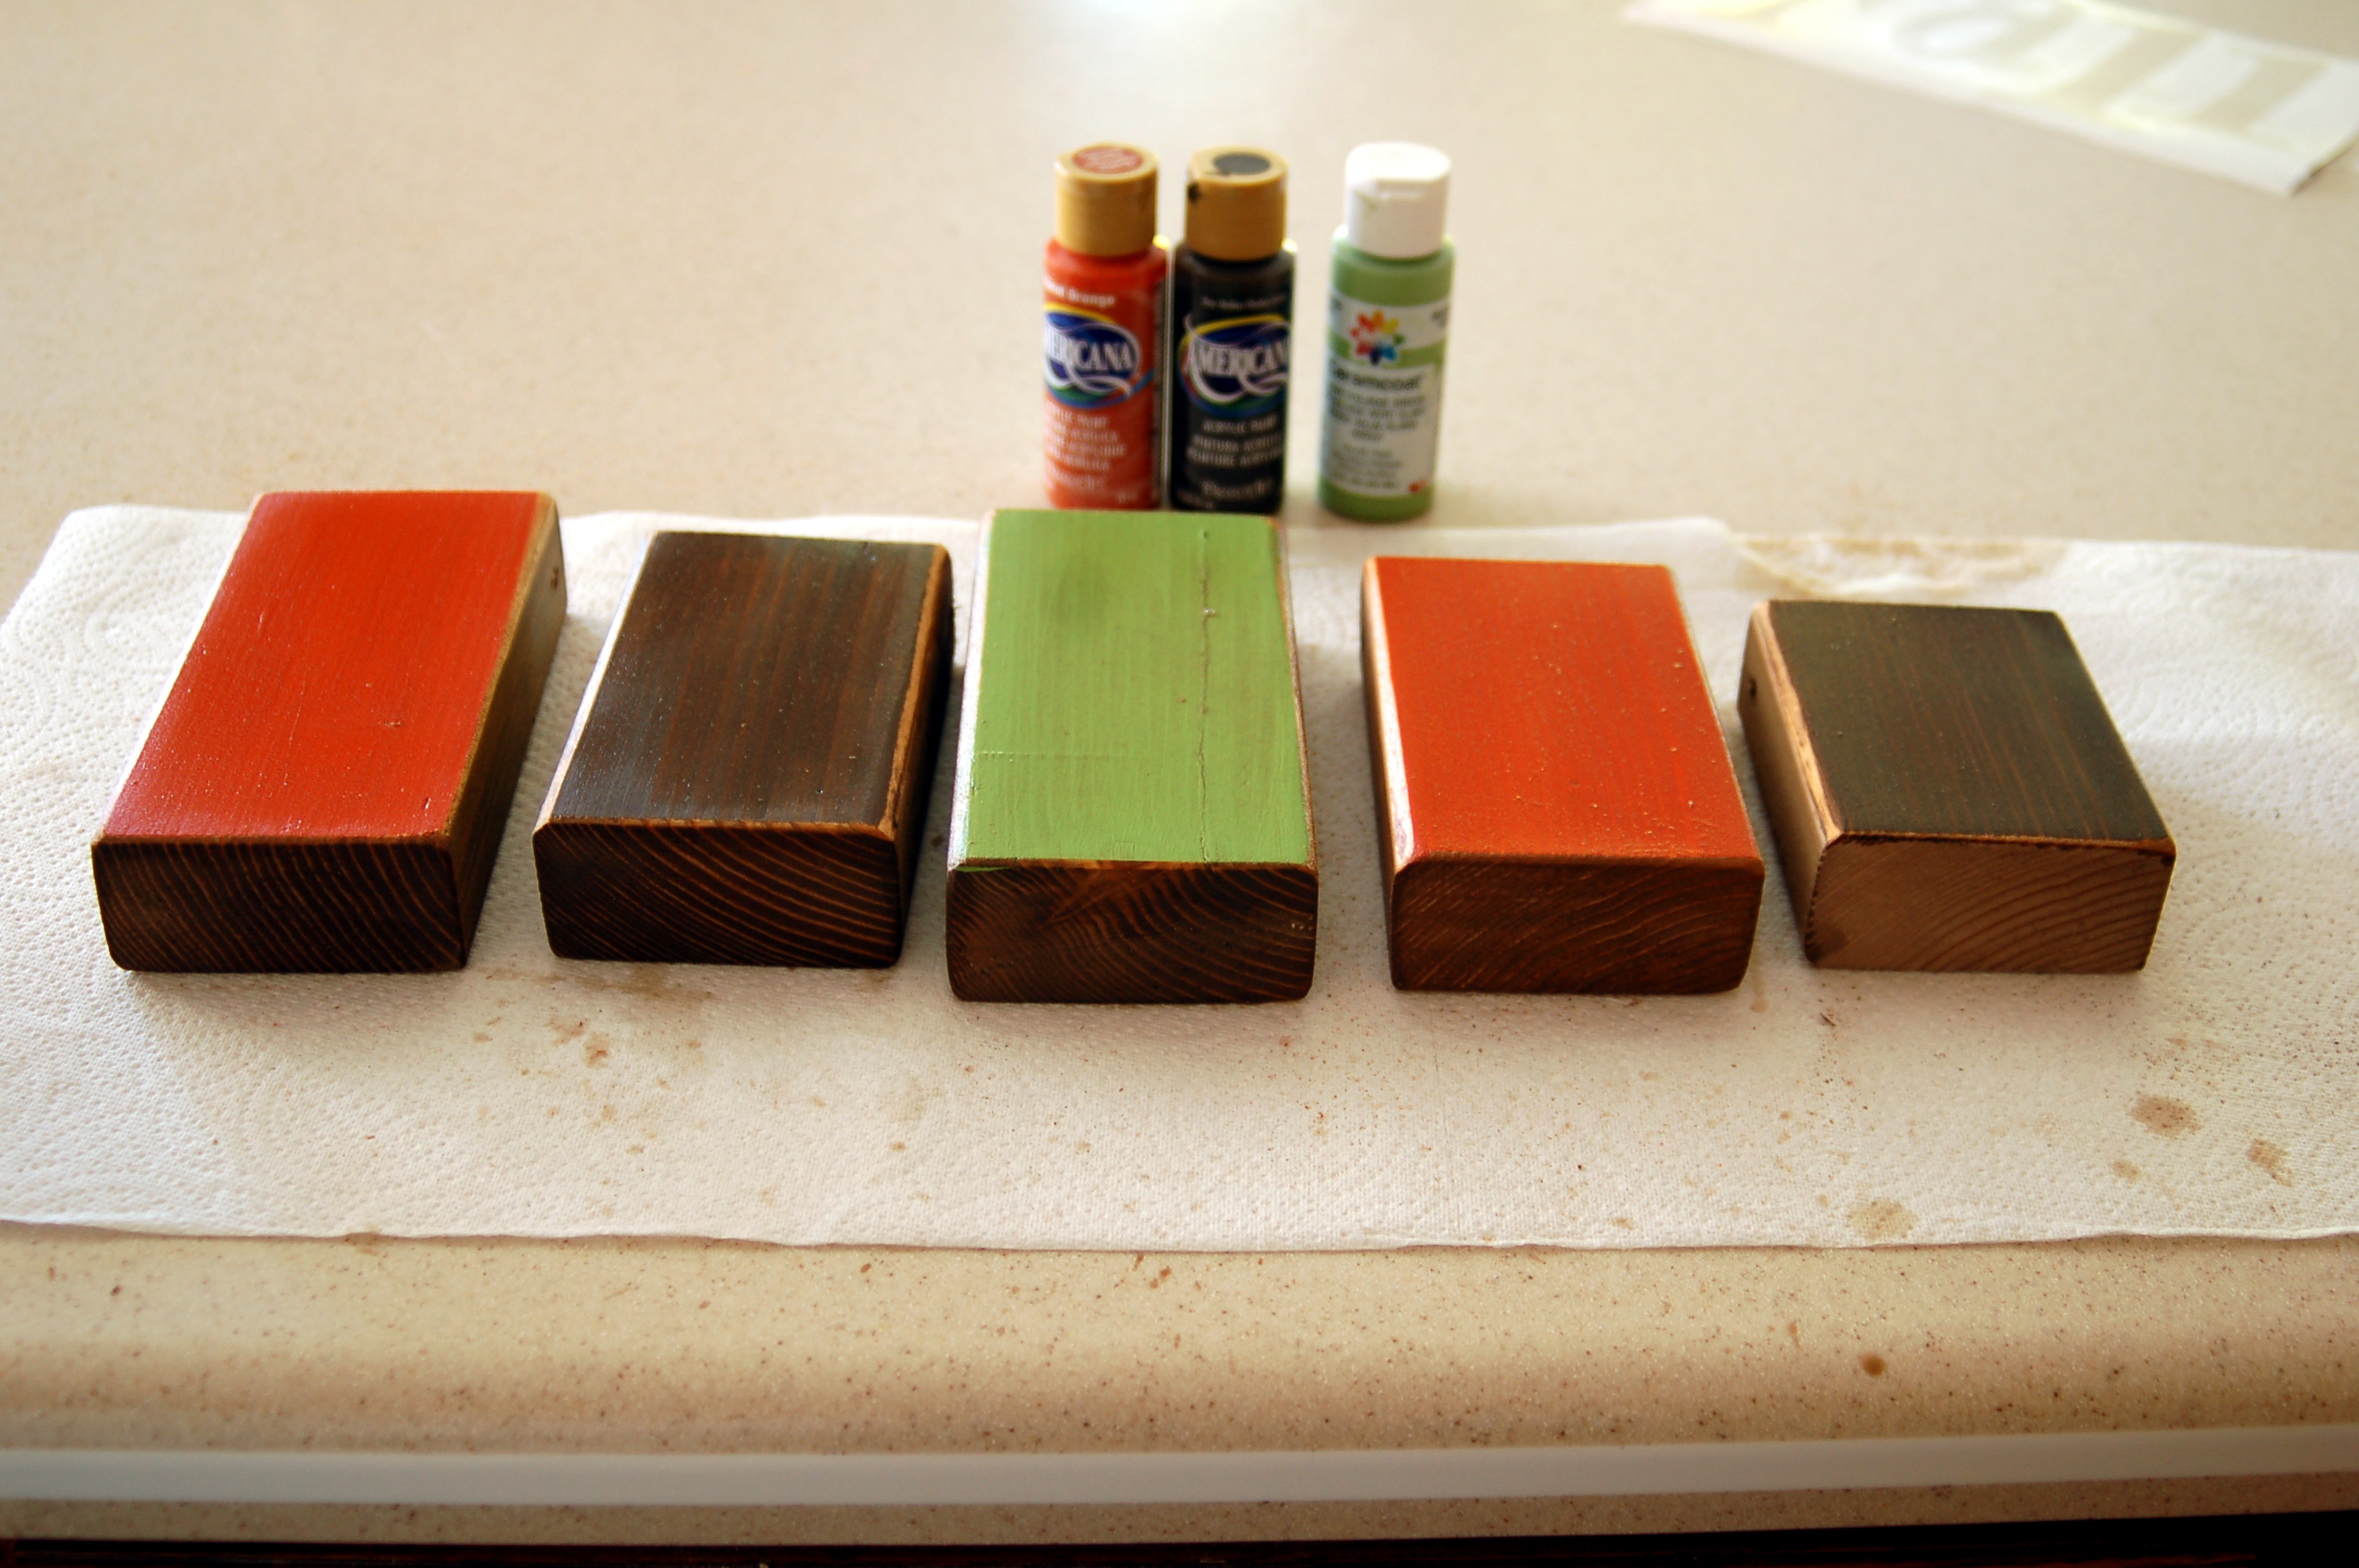
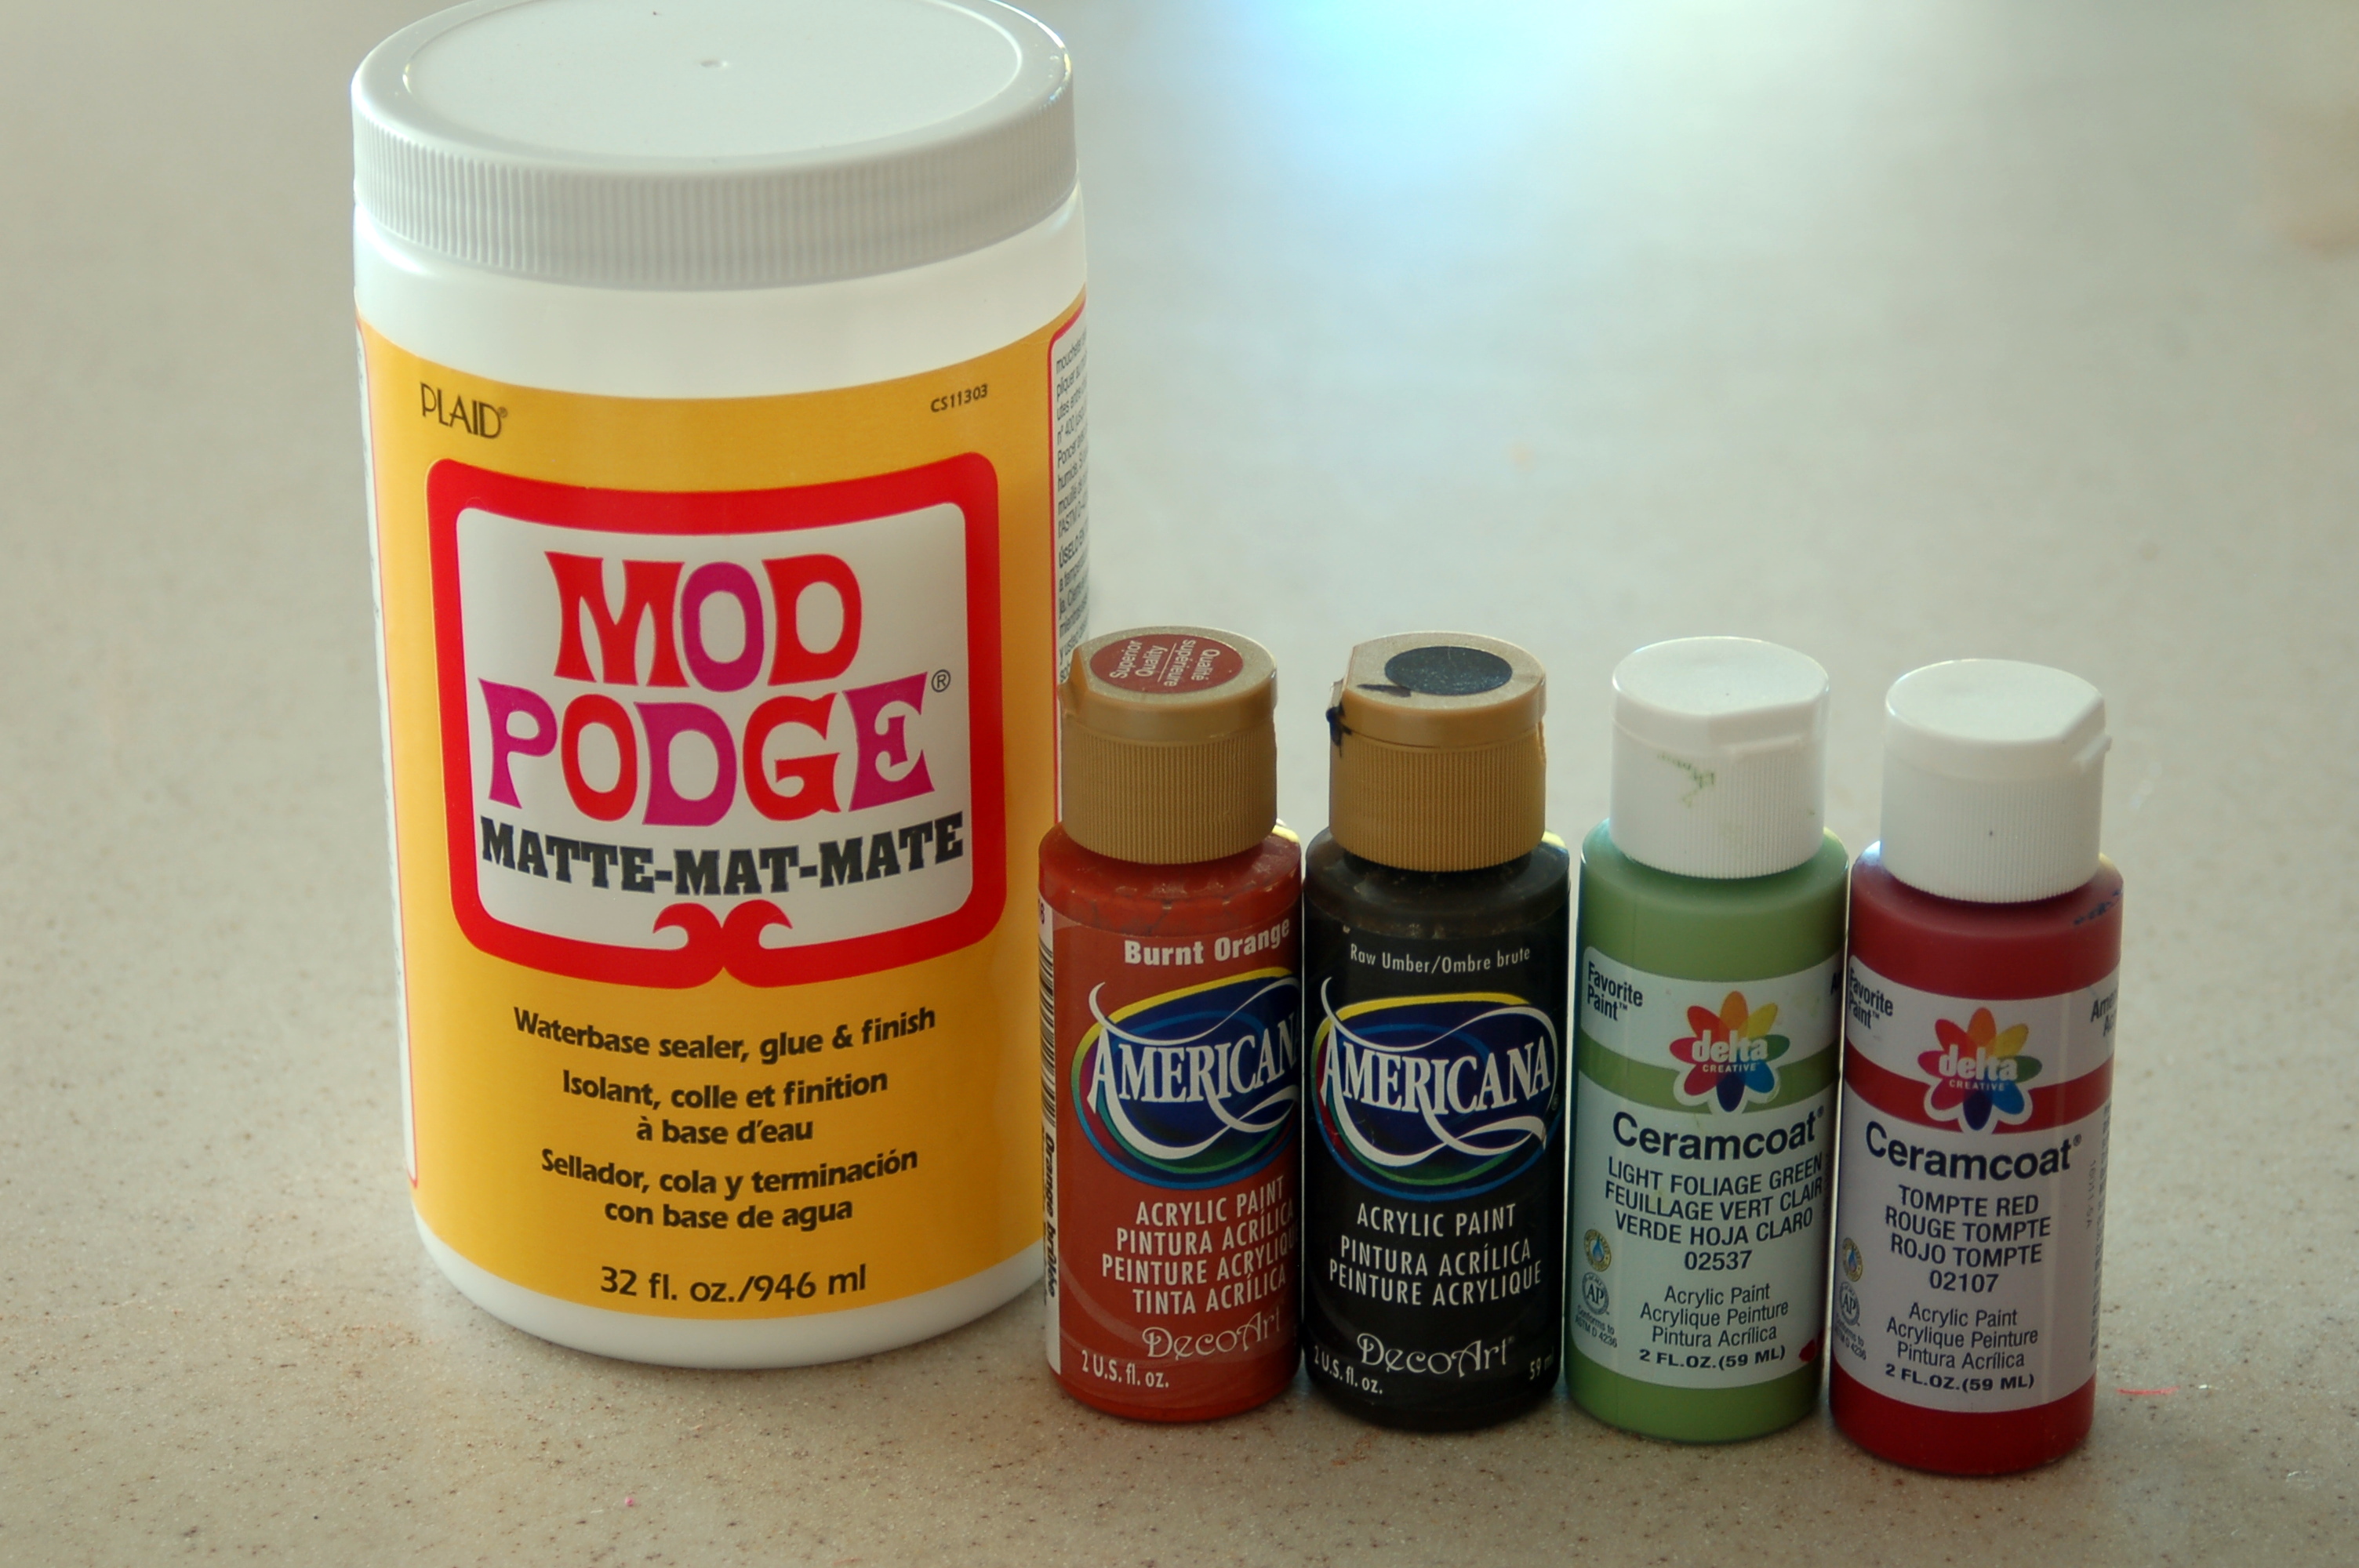
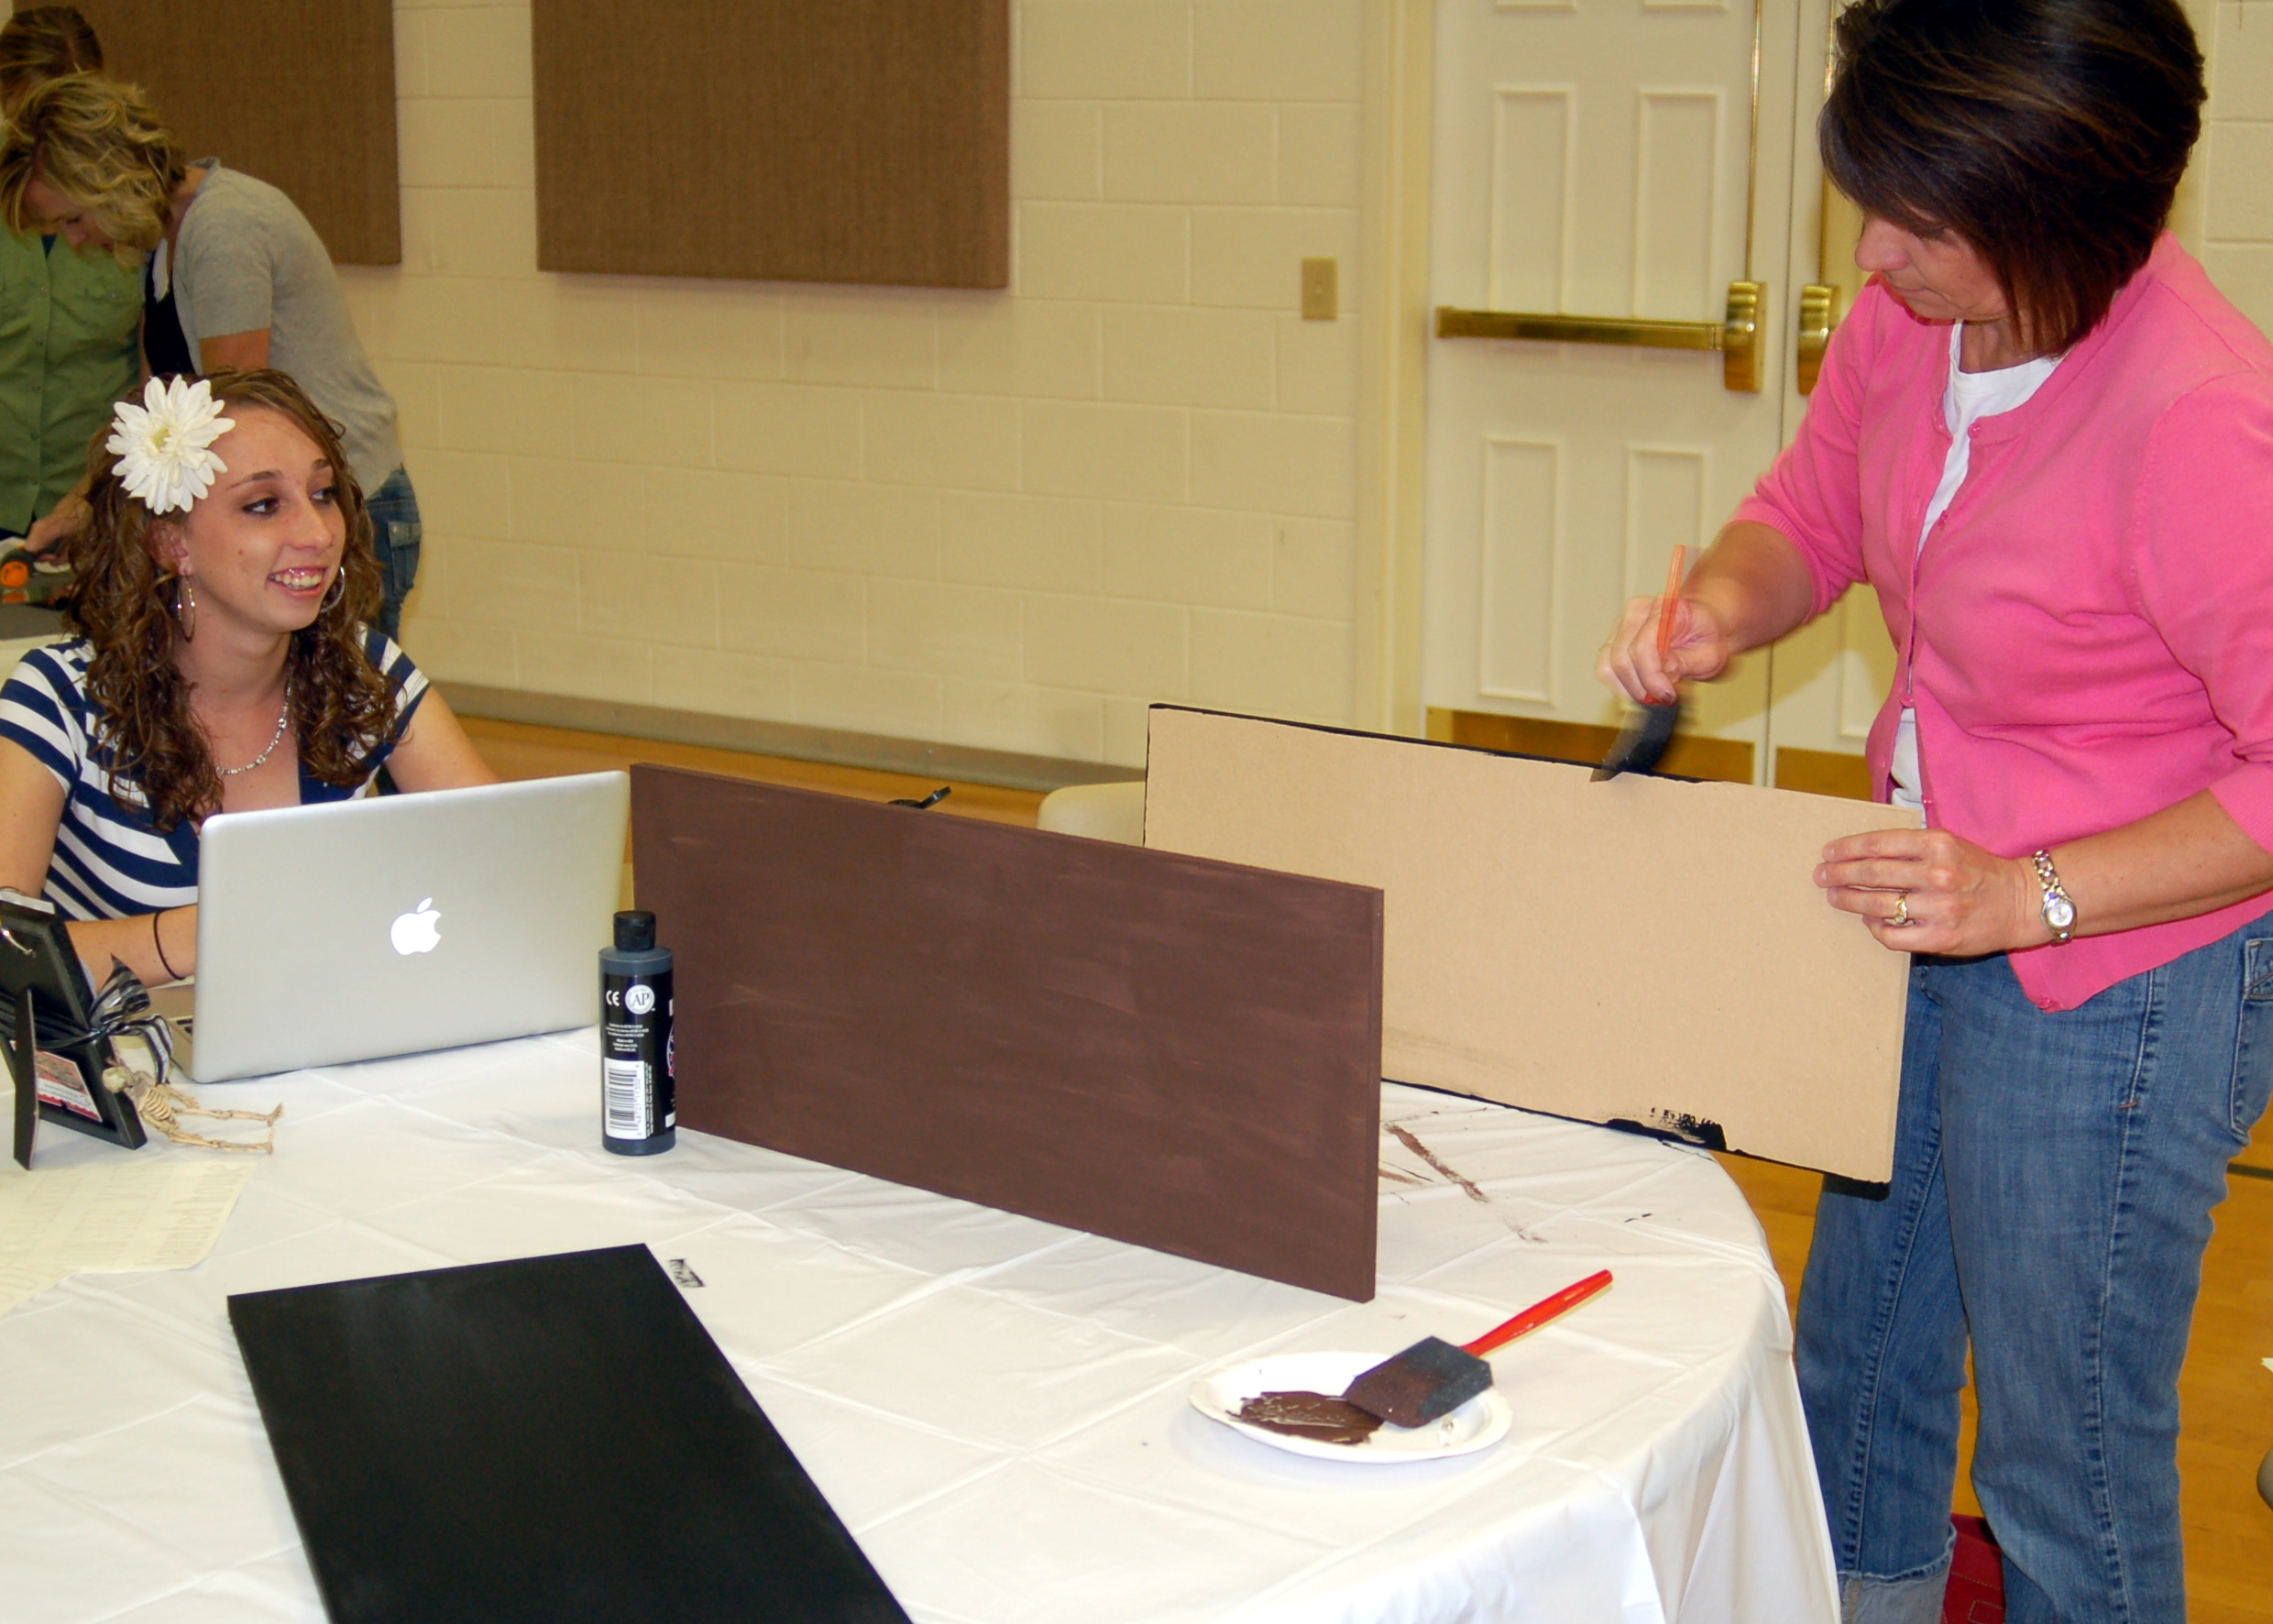
But what I had in mind when I bought this hanger, was to put wooden blocks on it to spell out a word.  My friend, Sue, that went with me to the Hobble Creek Boutique, bought one too and she and her husband cut out these blocks for me!  They have a hole drilled through the top so we can hang them.First, I did a wash around the edges with Raw Umber paint and a lot of water.Then I painted these three colors on the front side of the blocks, after they were dry, I sanded the edges and did a wash with the raw umber/water mix to add the distressed look.These are the products that I used.  I used Ceramcoat paint: Light Foliage Green and Tompte Red.  I also used Americana paint in Burnt Orange and Raw Umber.  I used Mod Podge as a varnish and a sealer for the wood.  It also helps the vinyl stick a little better.  You may be wondering what I painted with the red…well, I painted the backside of the blocks with the red and the green..I added some vinyl letters, some fall leaves and a little ribbon and whaalah!Then on the back where I had painted the red and green, I added the letters for NOEL and used some red rhinestones for the berries on the holly.  Now I have two different holiday decorations for the price of one! You can’t beat that!  Of course for Christmas, I will add a new ribbon.I love this, now I can use the fall hanging through Thanksgiving and I just have to turn the blocks around, add a new ribbon, and it is ready for Christmas!

Have you started thinking of Thanksgiving and Christmas already?  Sometimes I think we get ahead of ourselves.  When my children were little, I used to have most of my Christmas shopping done in October!  But boy, not anymore!  I am usually making, baking,wrapping and buying until the last minute!

So for now let’s just enjoy:

Happy Halloween Hauntings!

T-Shirt scarf

My sister and I were at our dad’s house, and she showed me how to make this cute t-shirt scarf.  (Dad was a good sport and went along with all this bloggy stuff!)

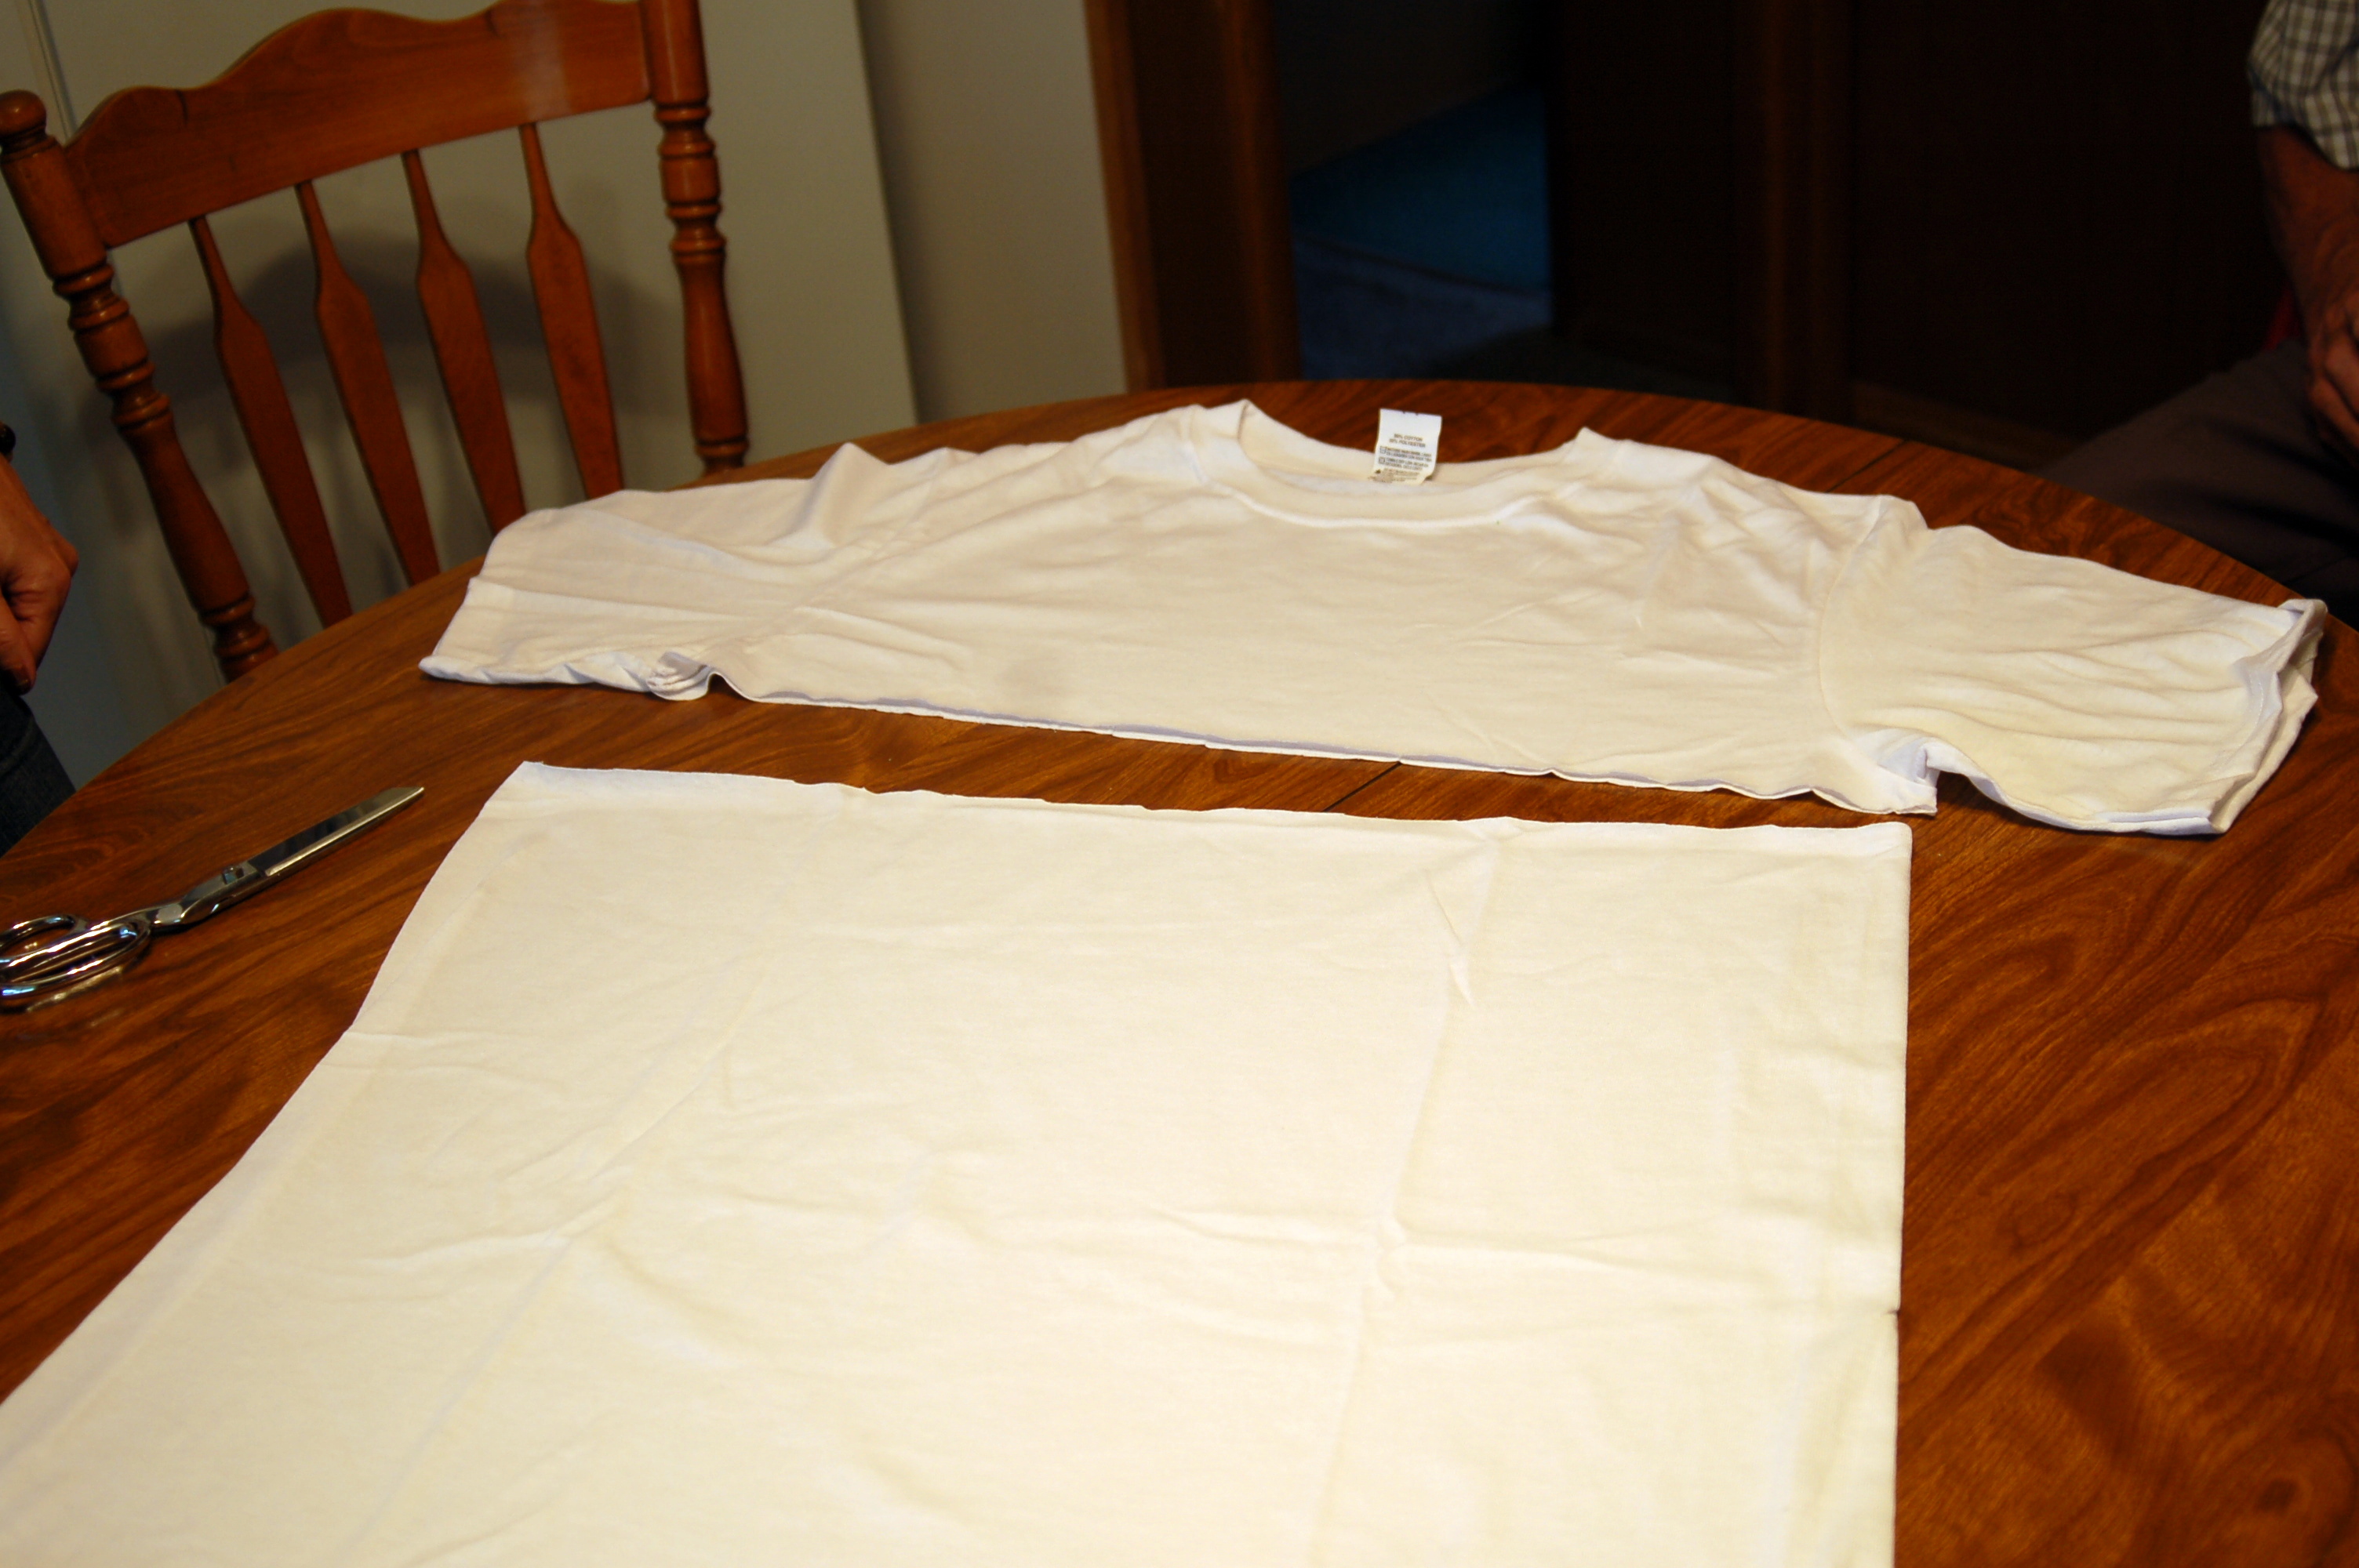
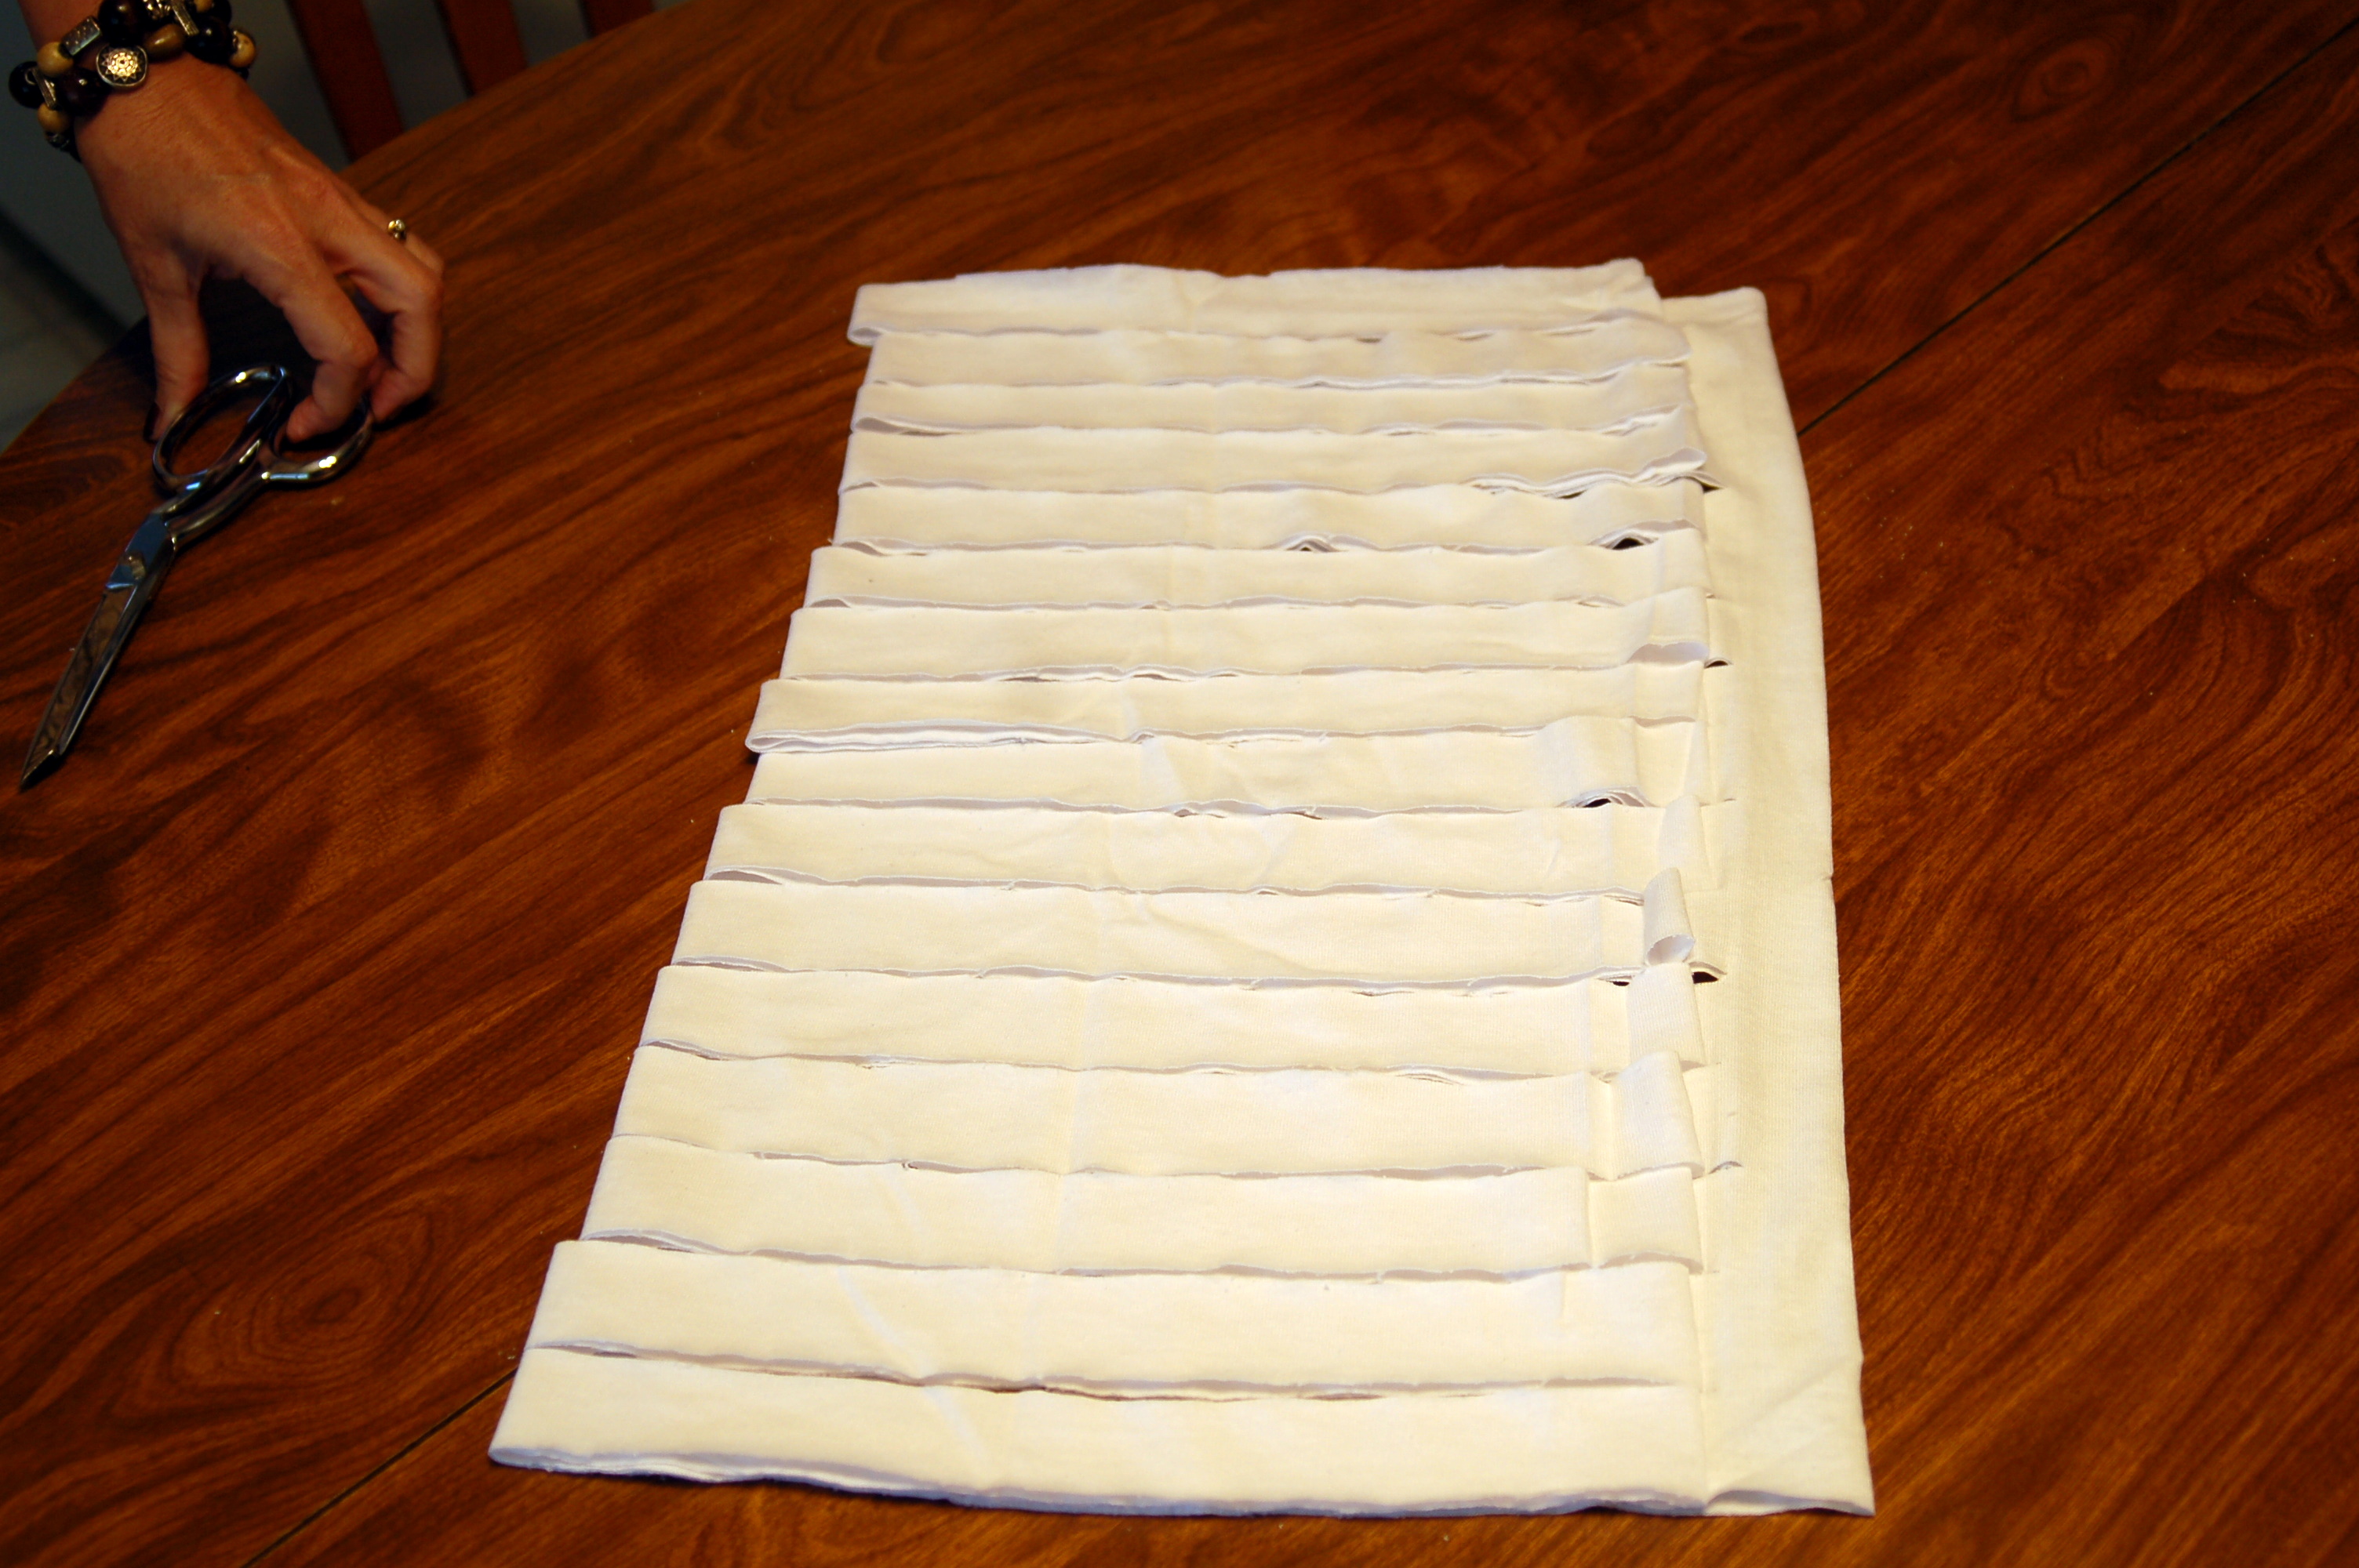
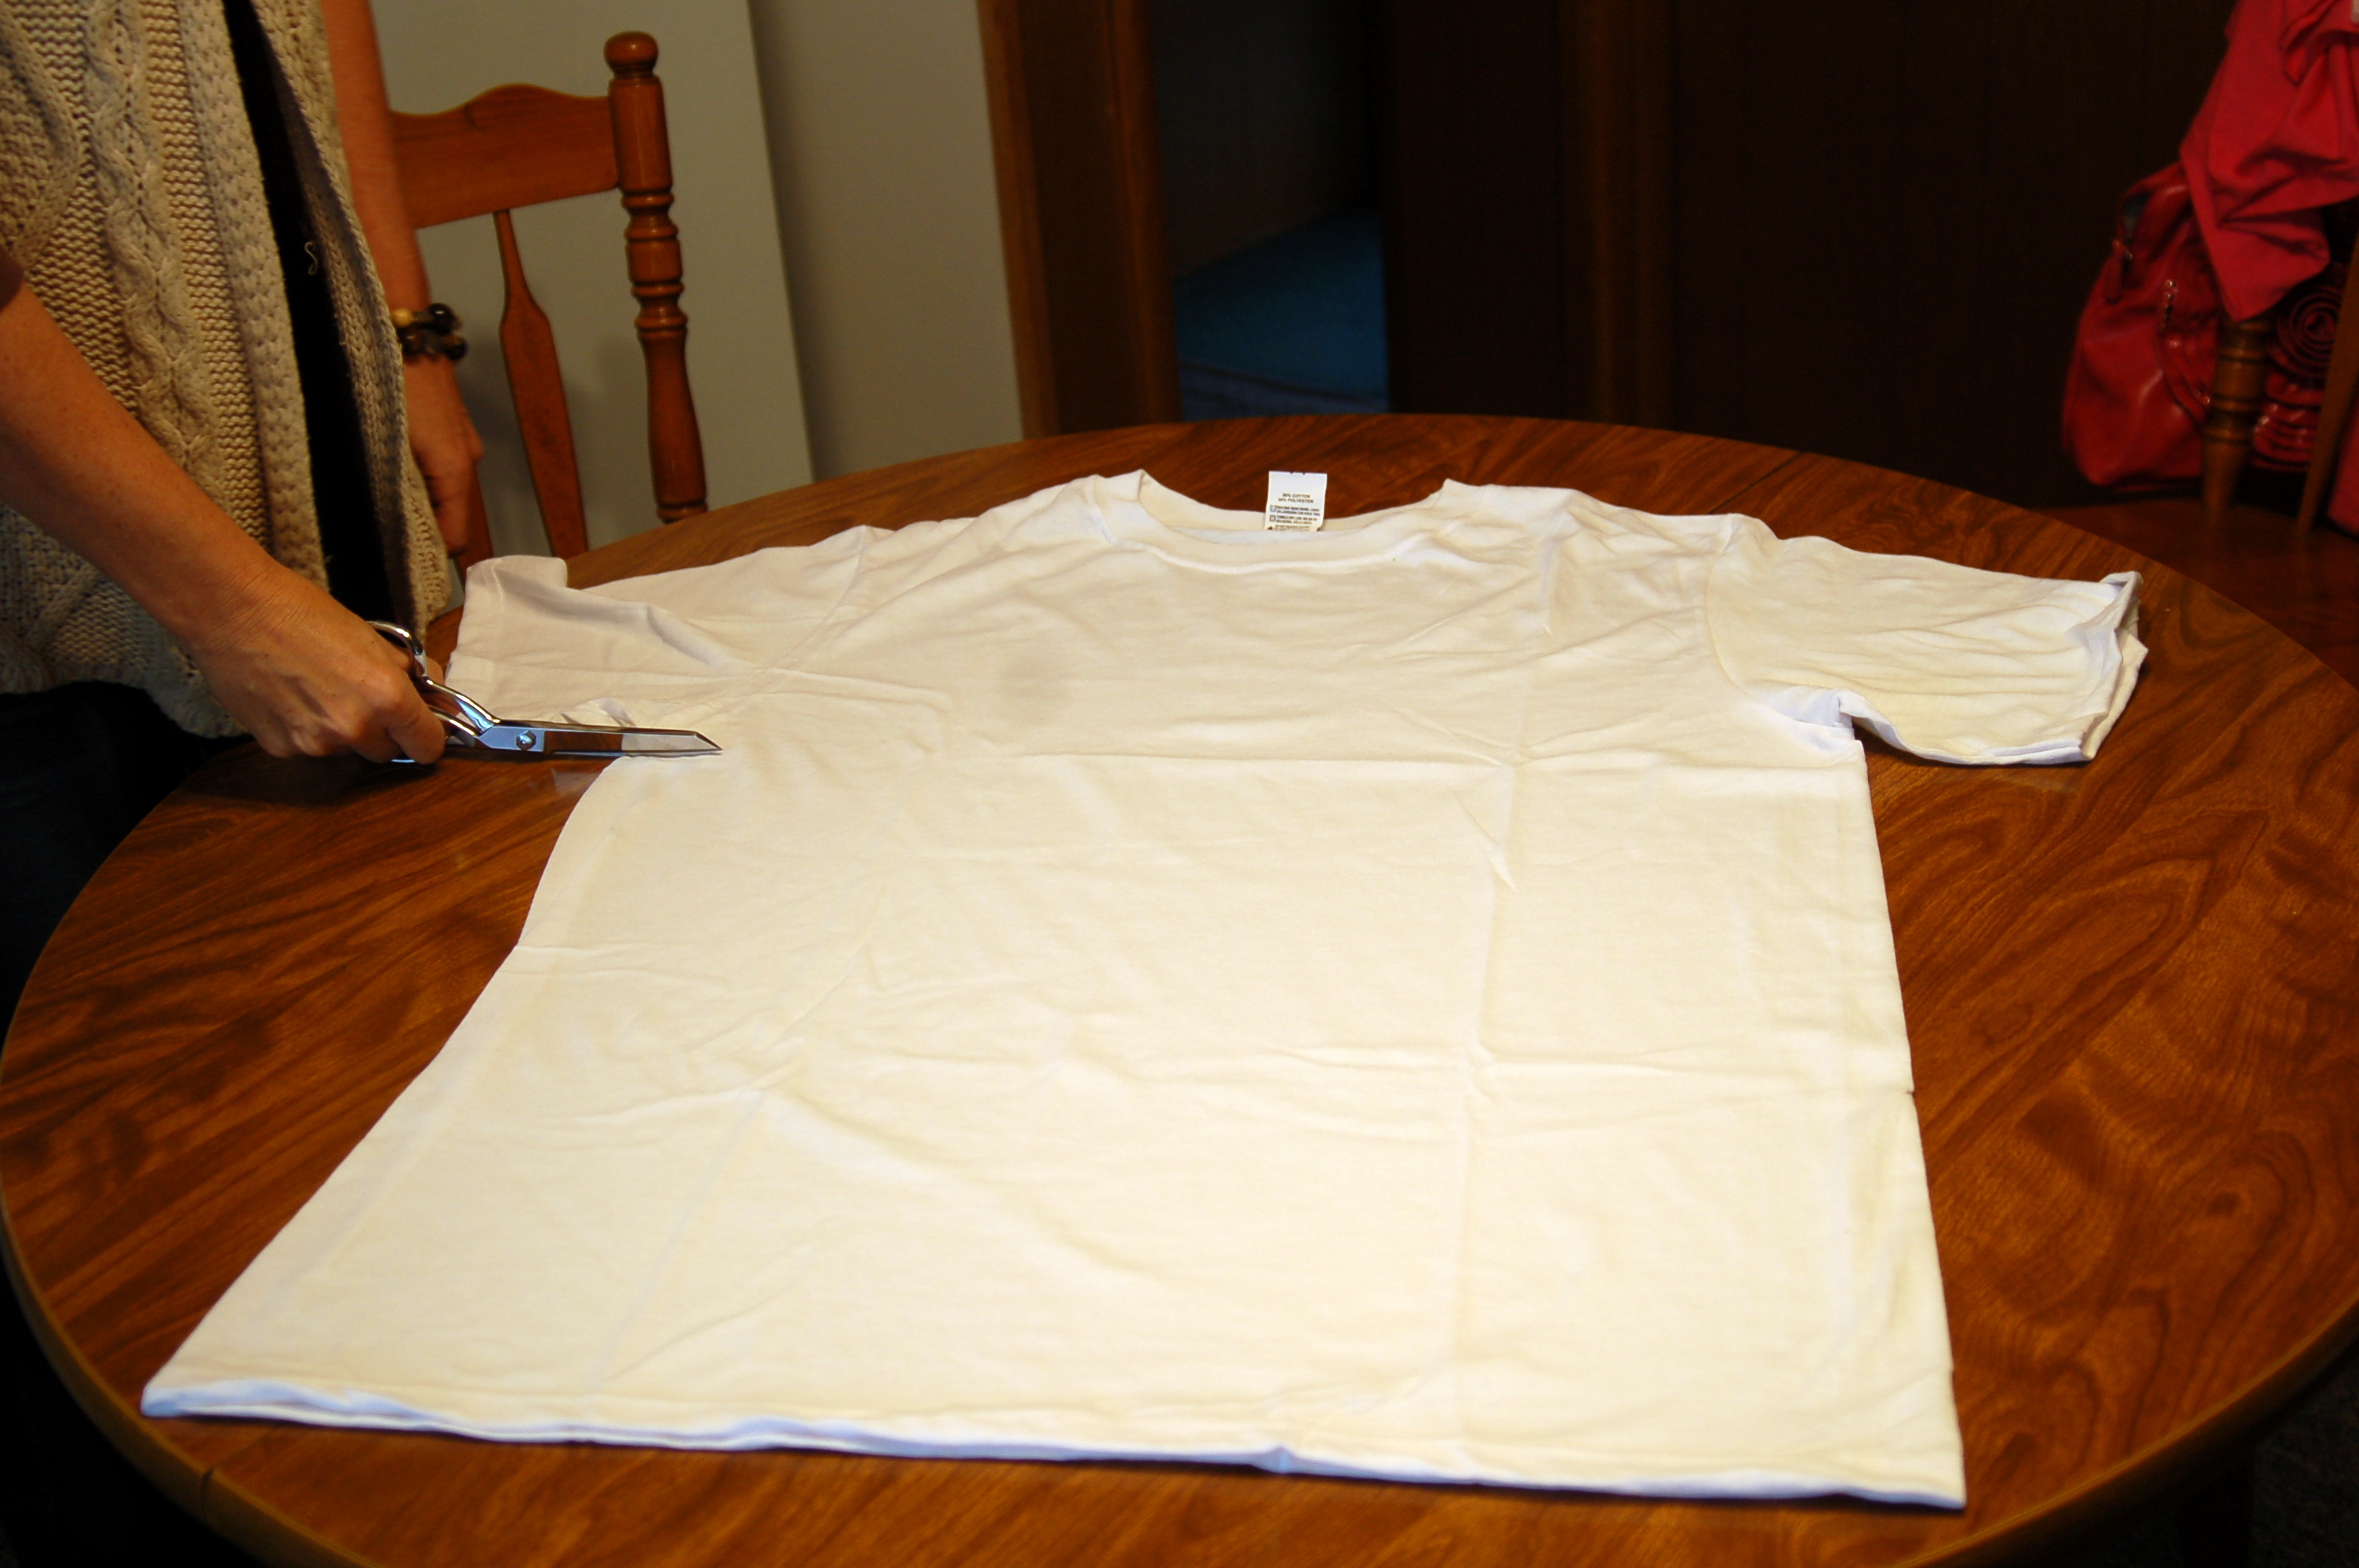
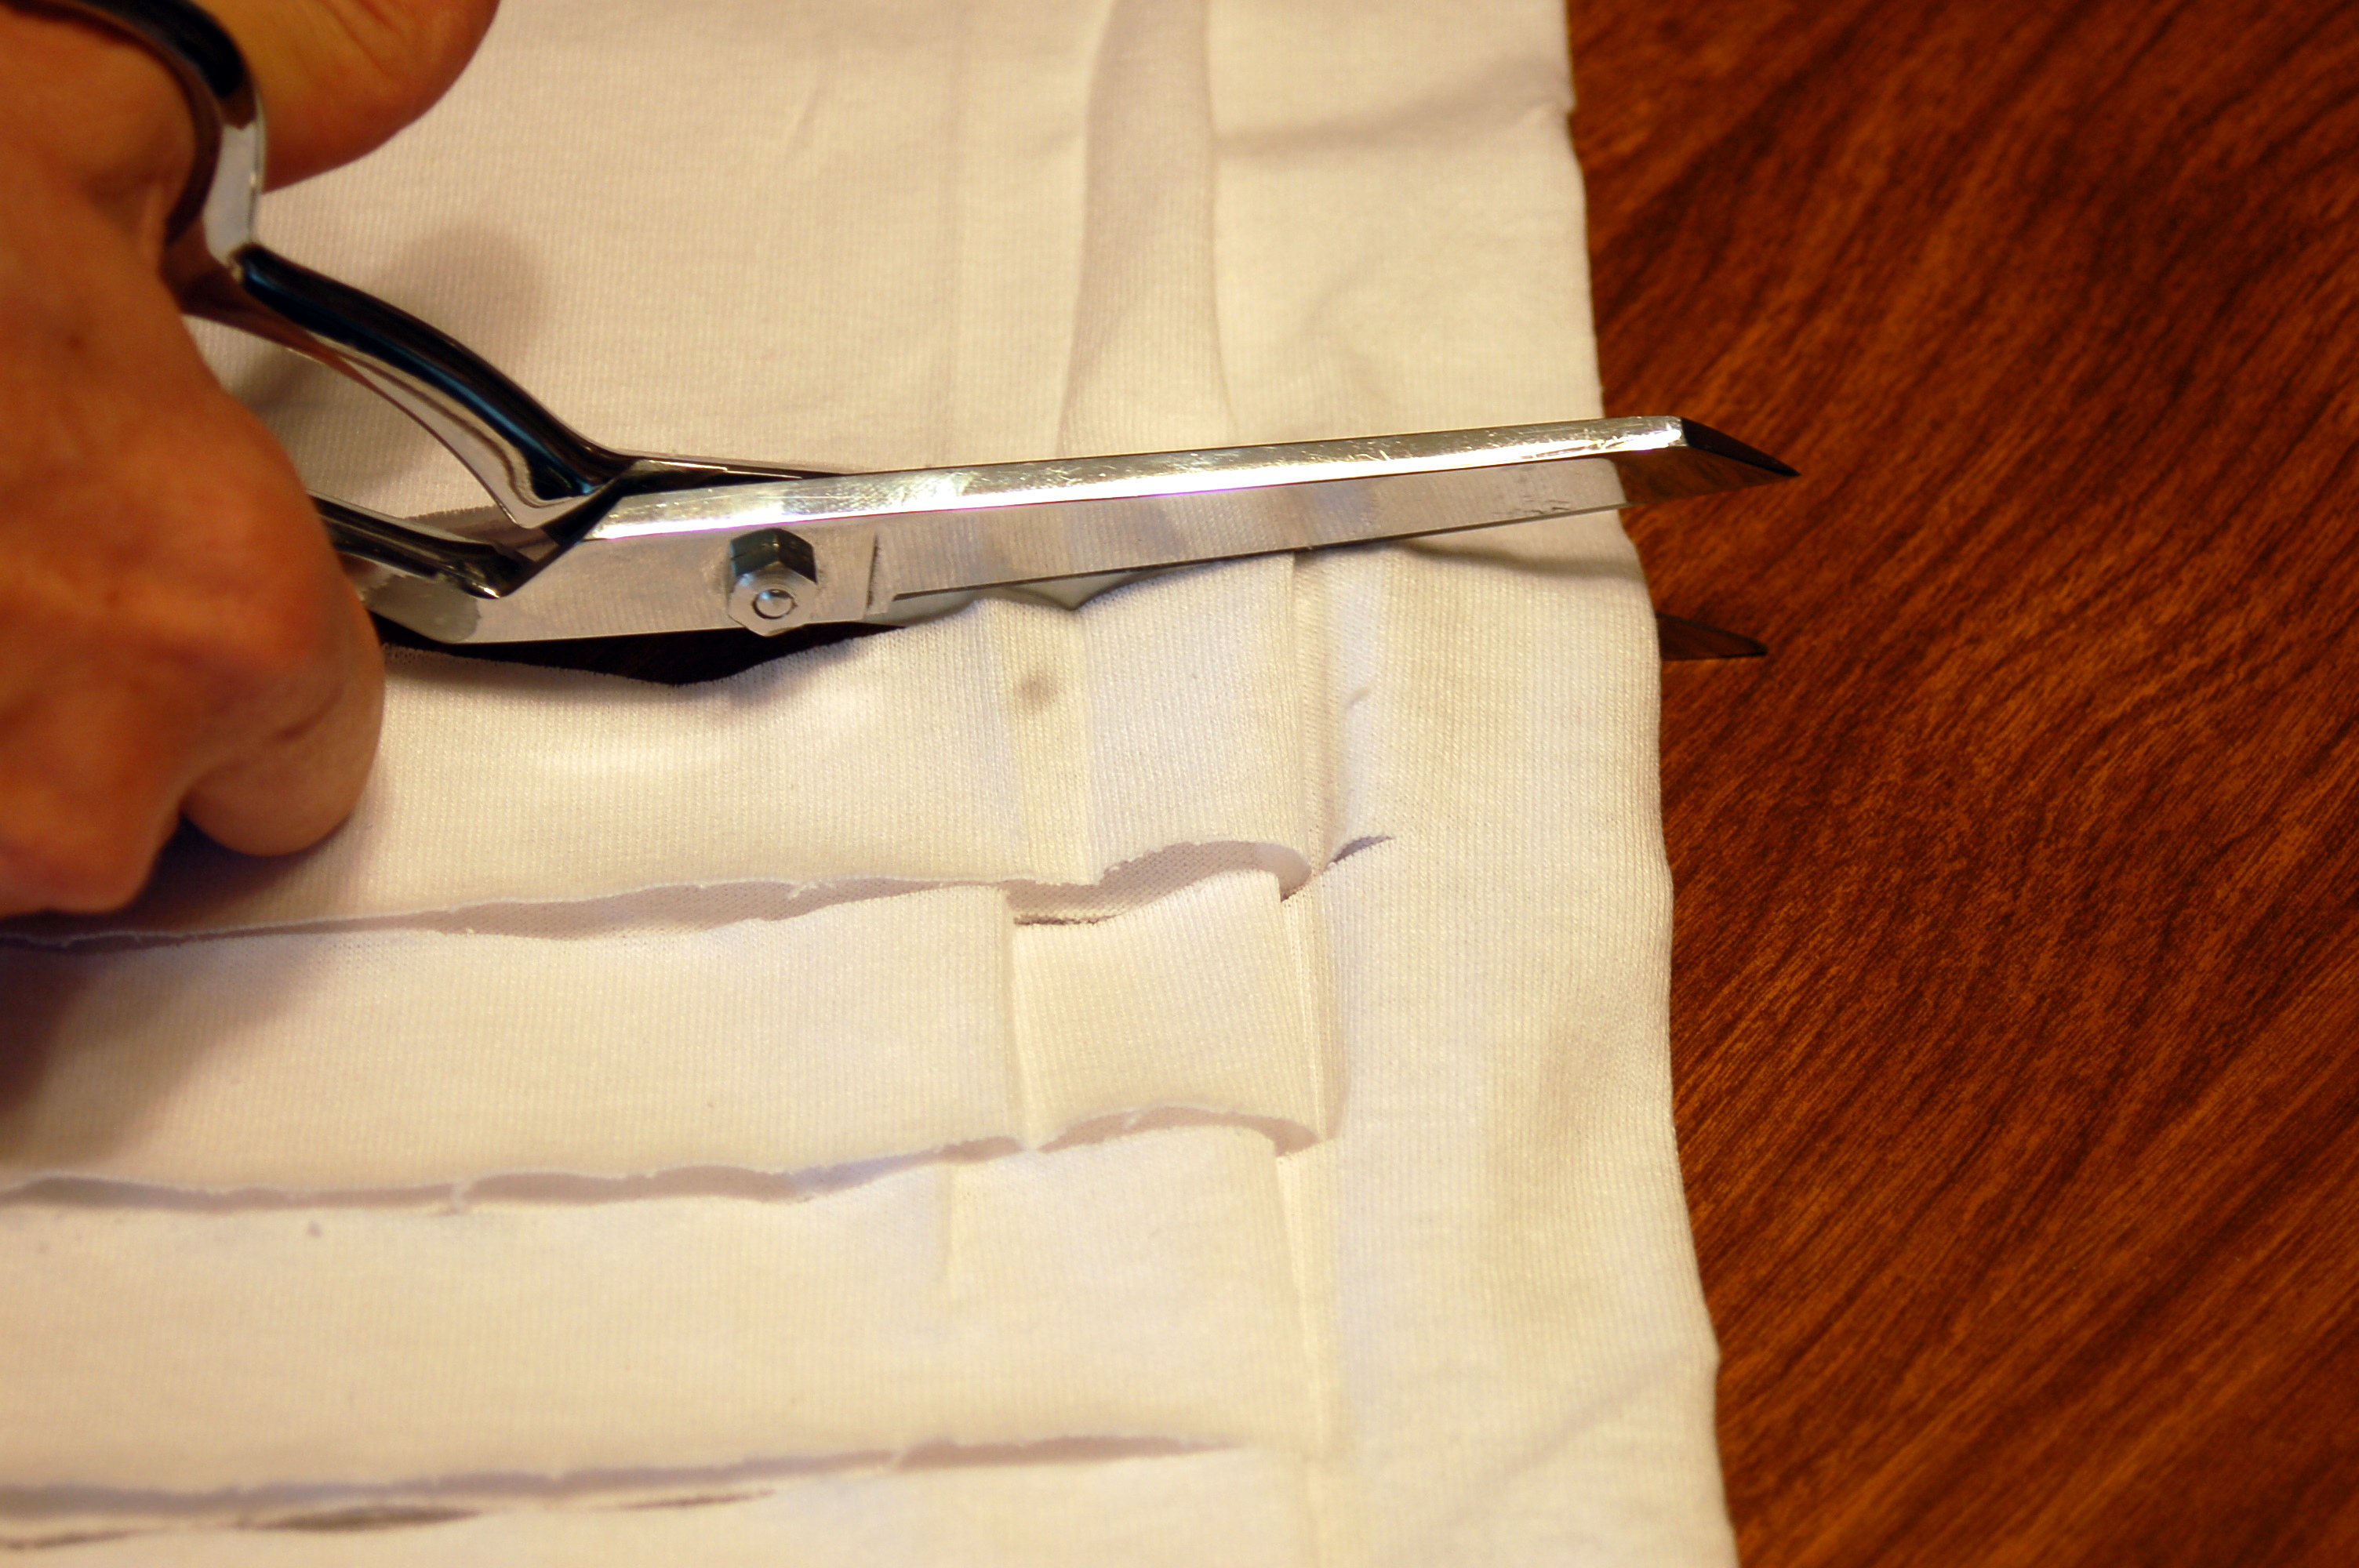
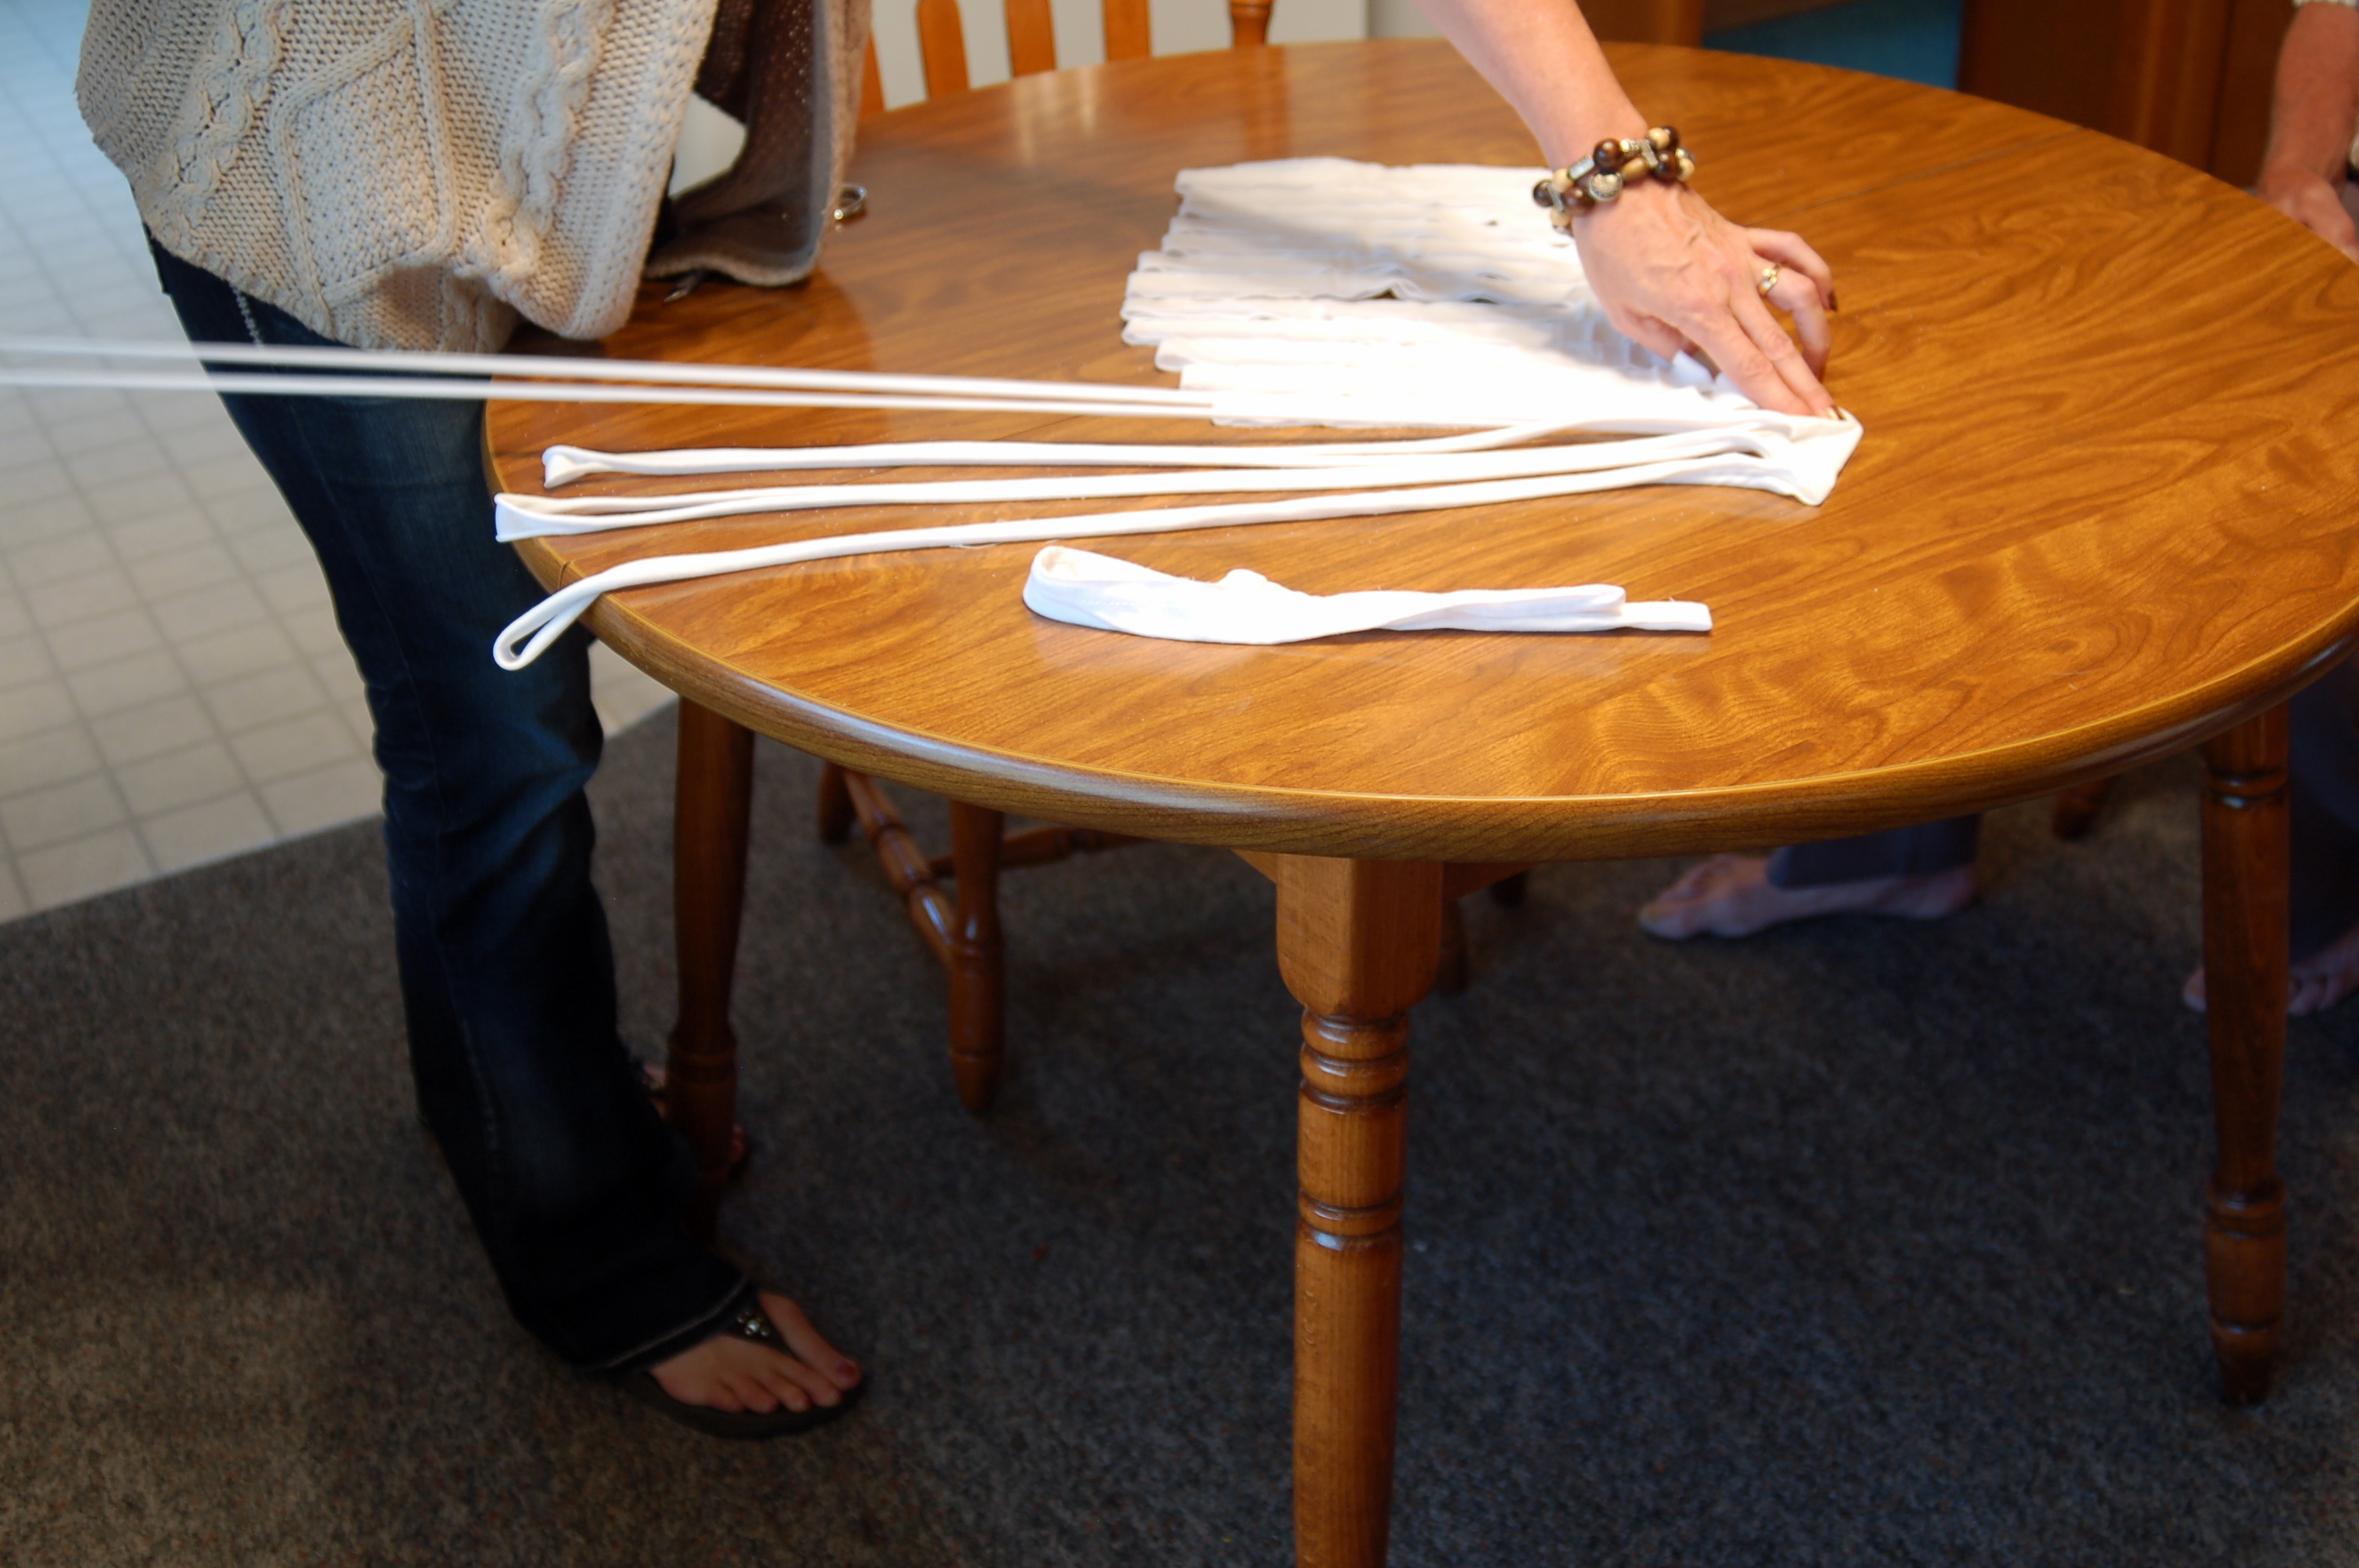
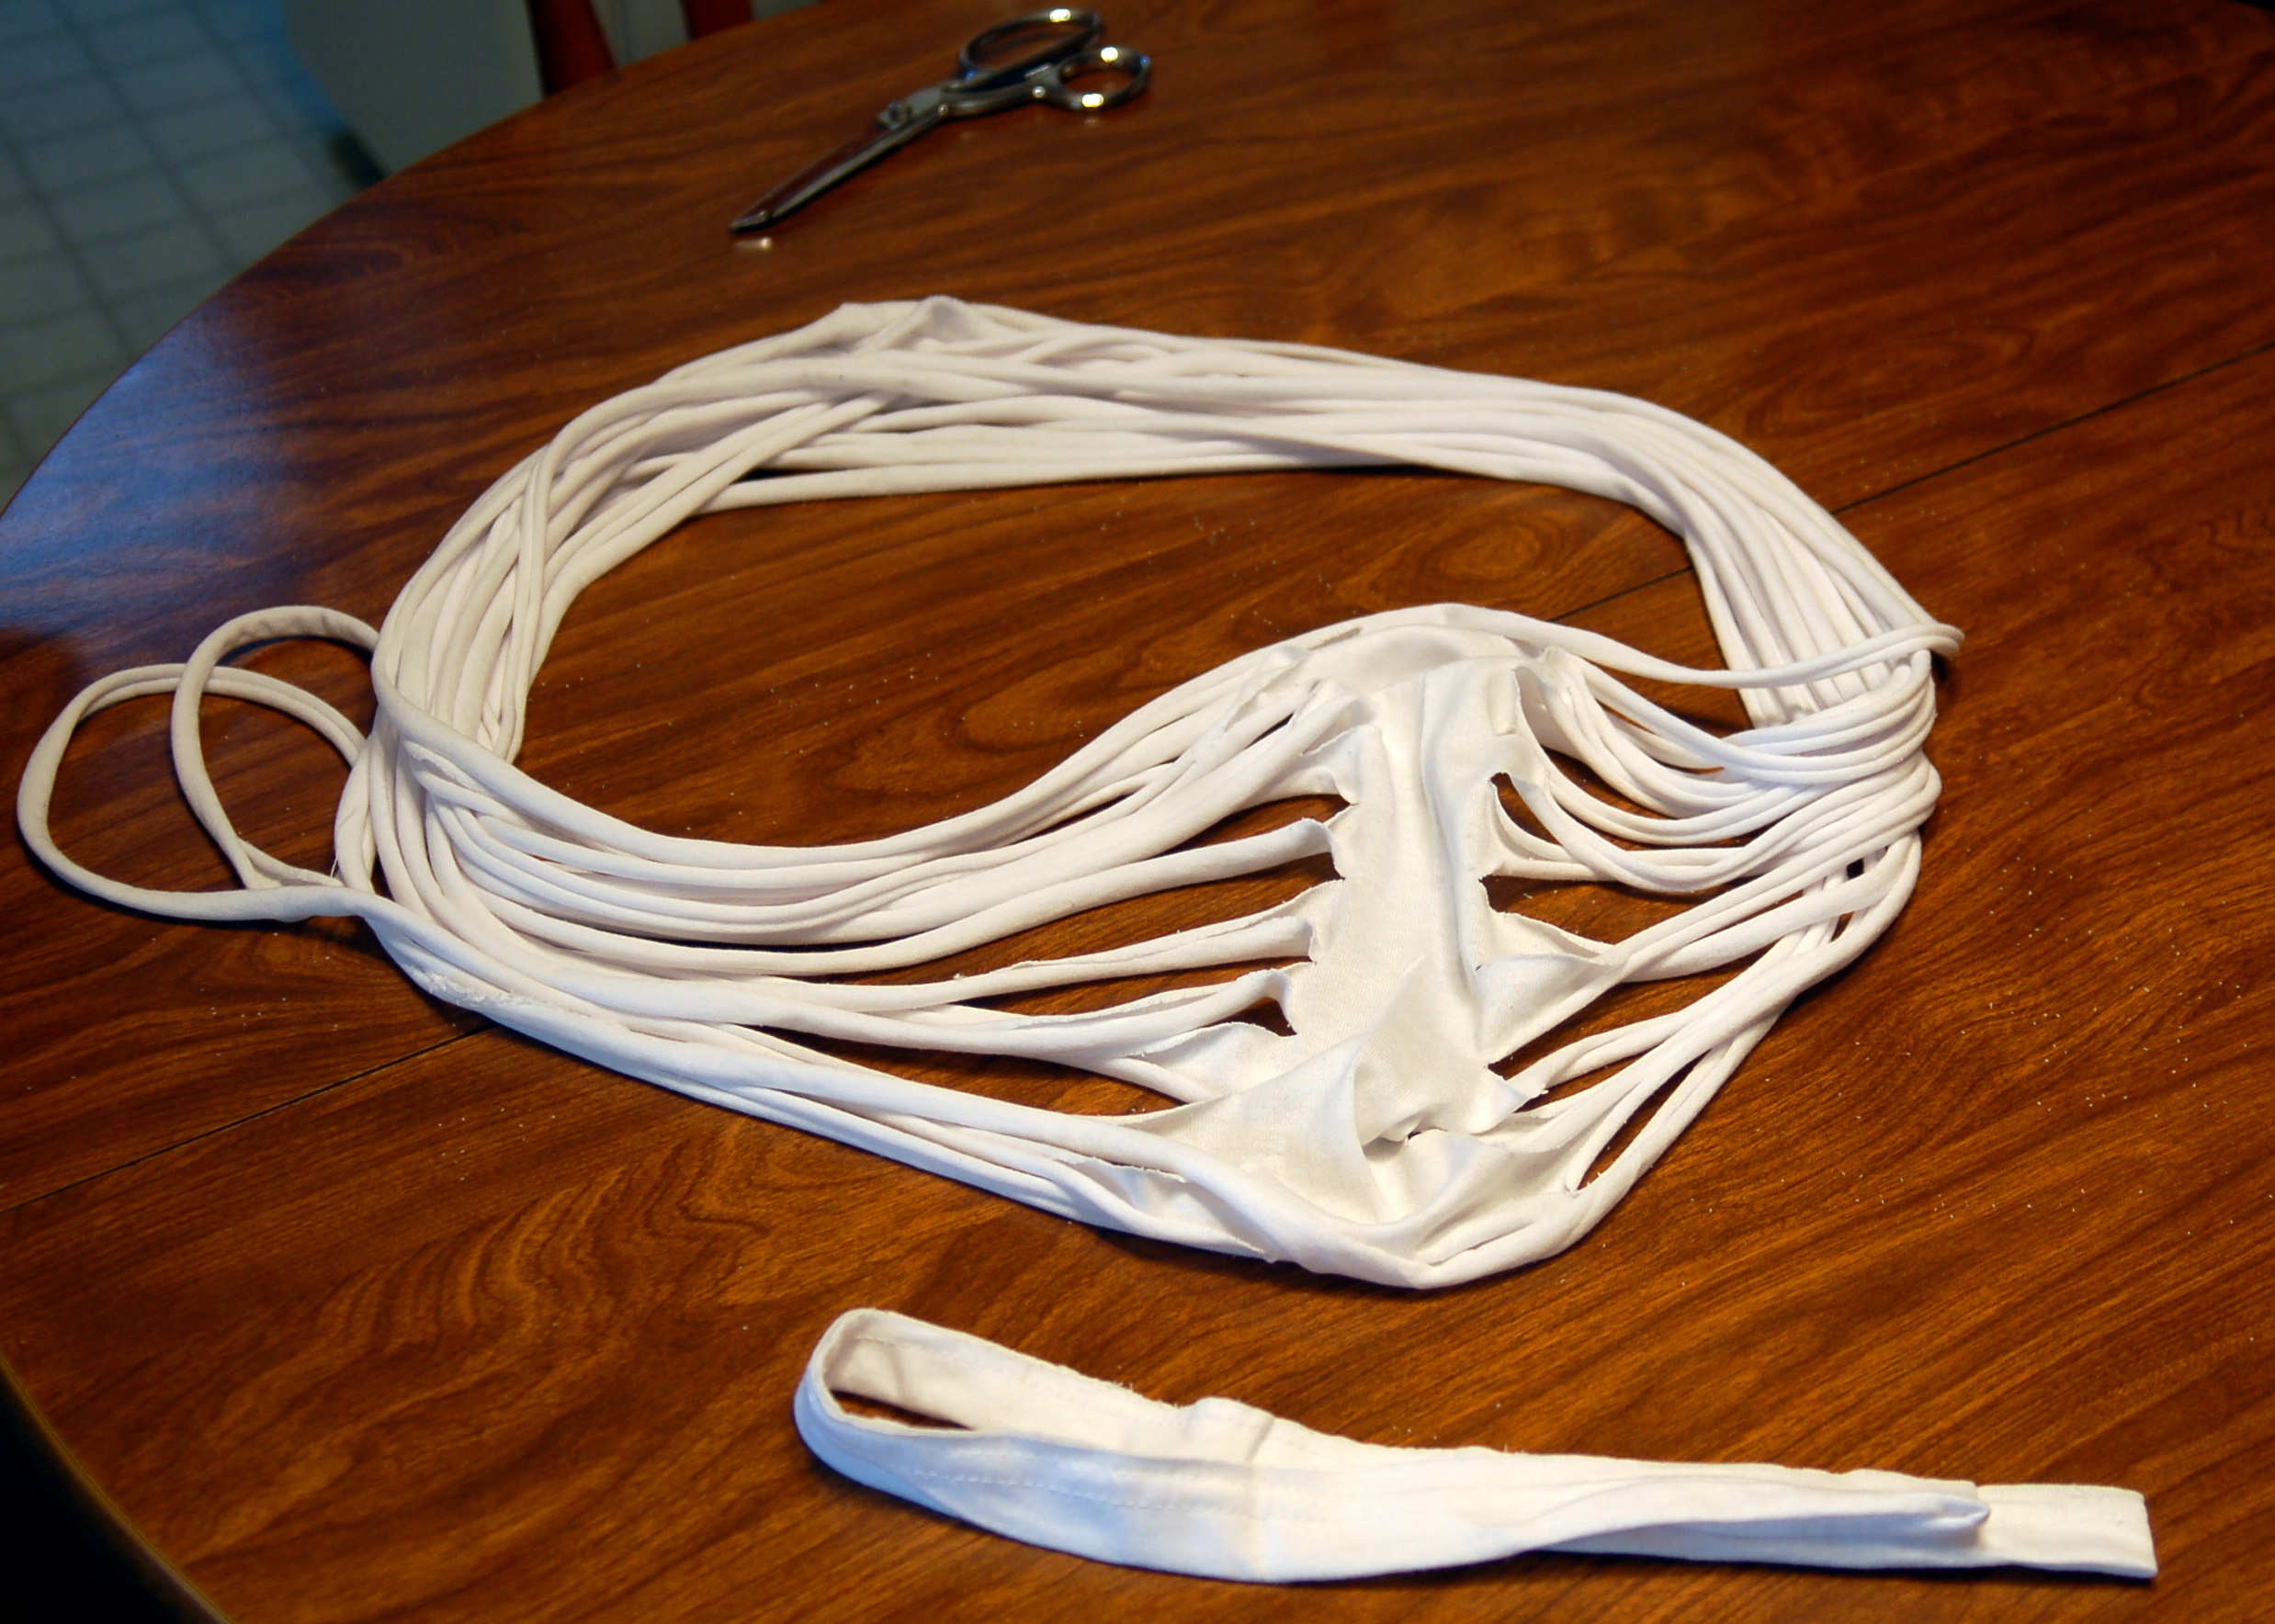
Take an XL t-shirt and cut straight across the body from side to side, right under the arms.Like this!Then fold the t-shirt over so one side is about 1 inch away from the other side.  Cut off the hem.Start cutting 1-2 inch wide strips and cut just past the fold ..like this.Continue cutting the entire length.Hold on to the uncut part and pull each strip out and stretch it out all the way.  This curls the edges.Then open up the circle, so it looks like this.Take a piece of the cut off hem and tie a knot  around it. Tuck the ends into the layers.
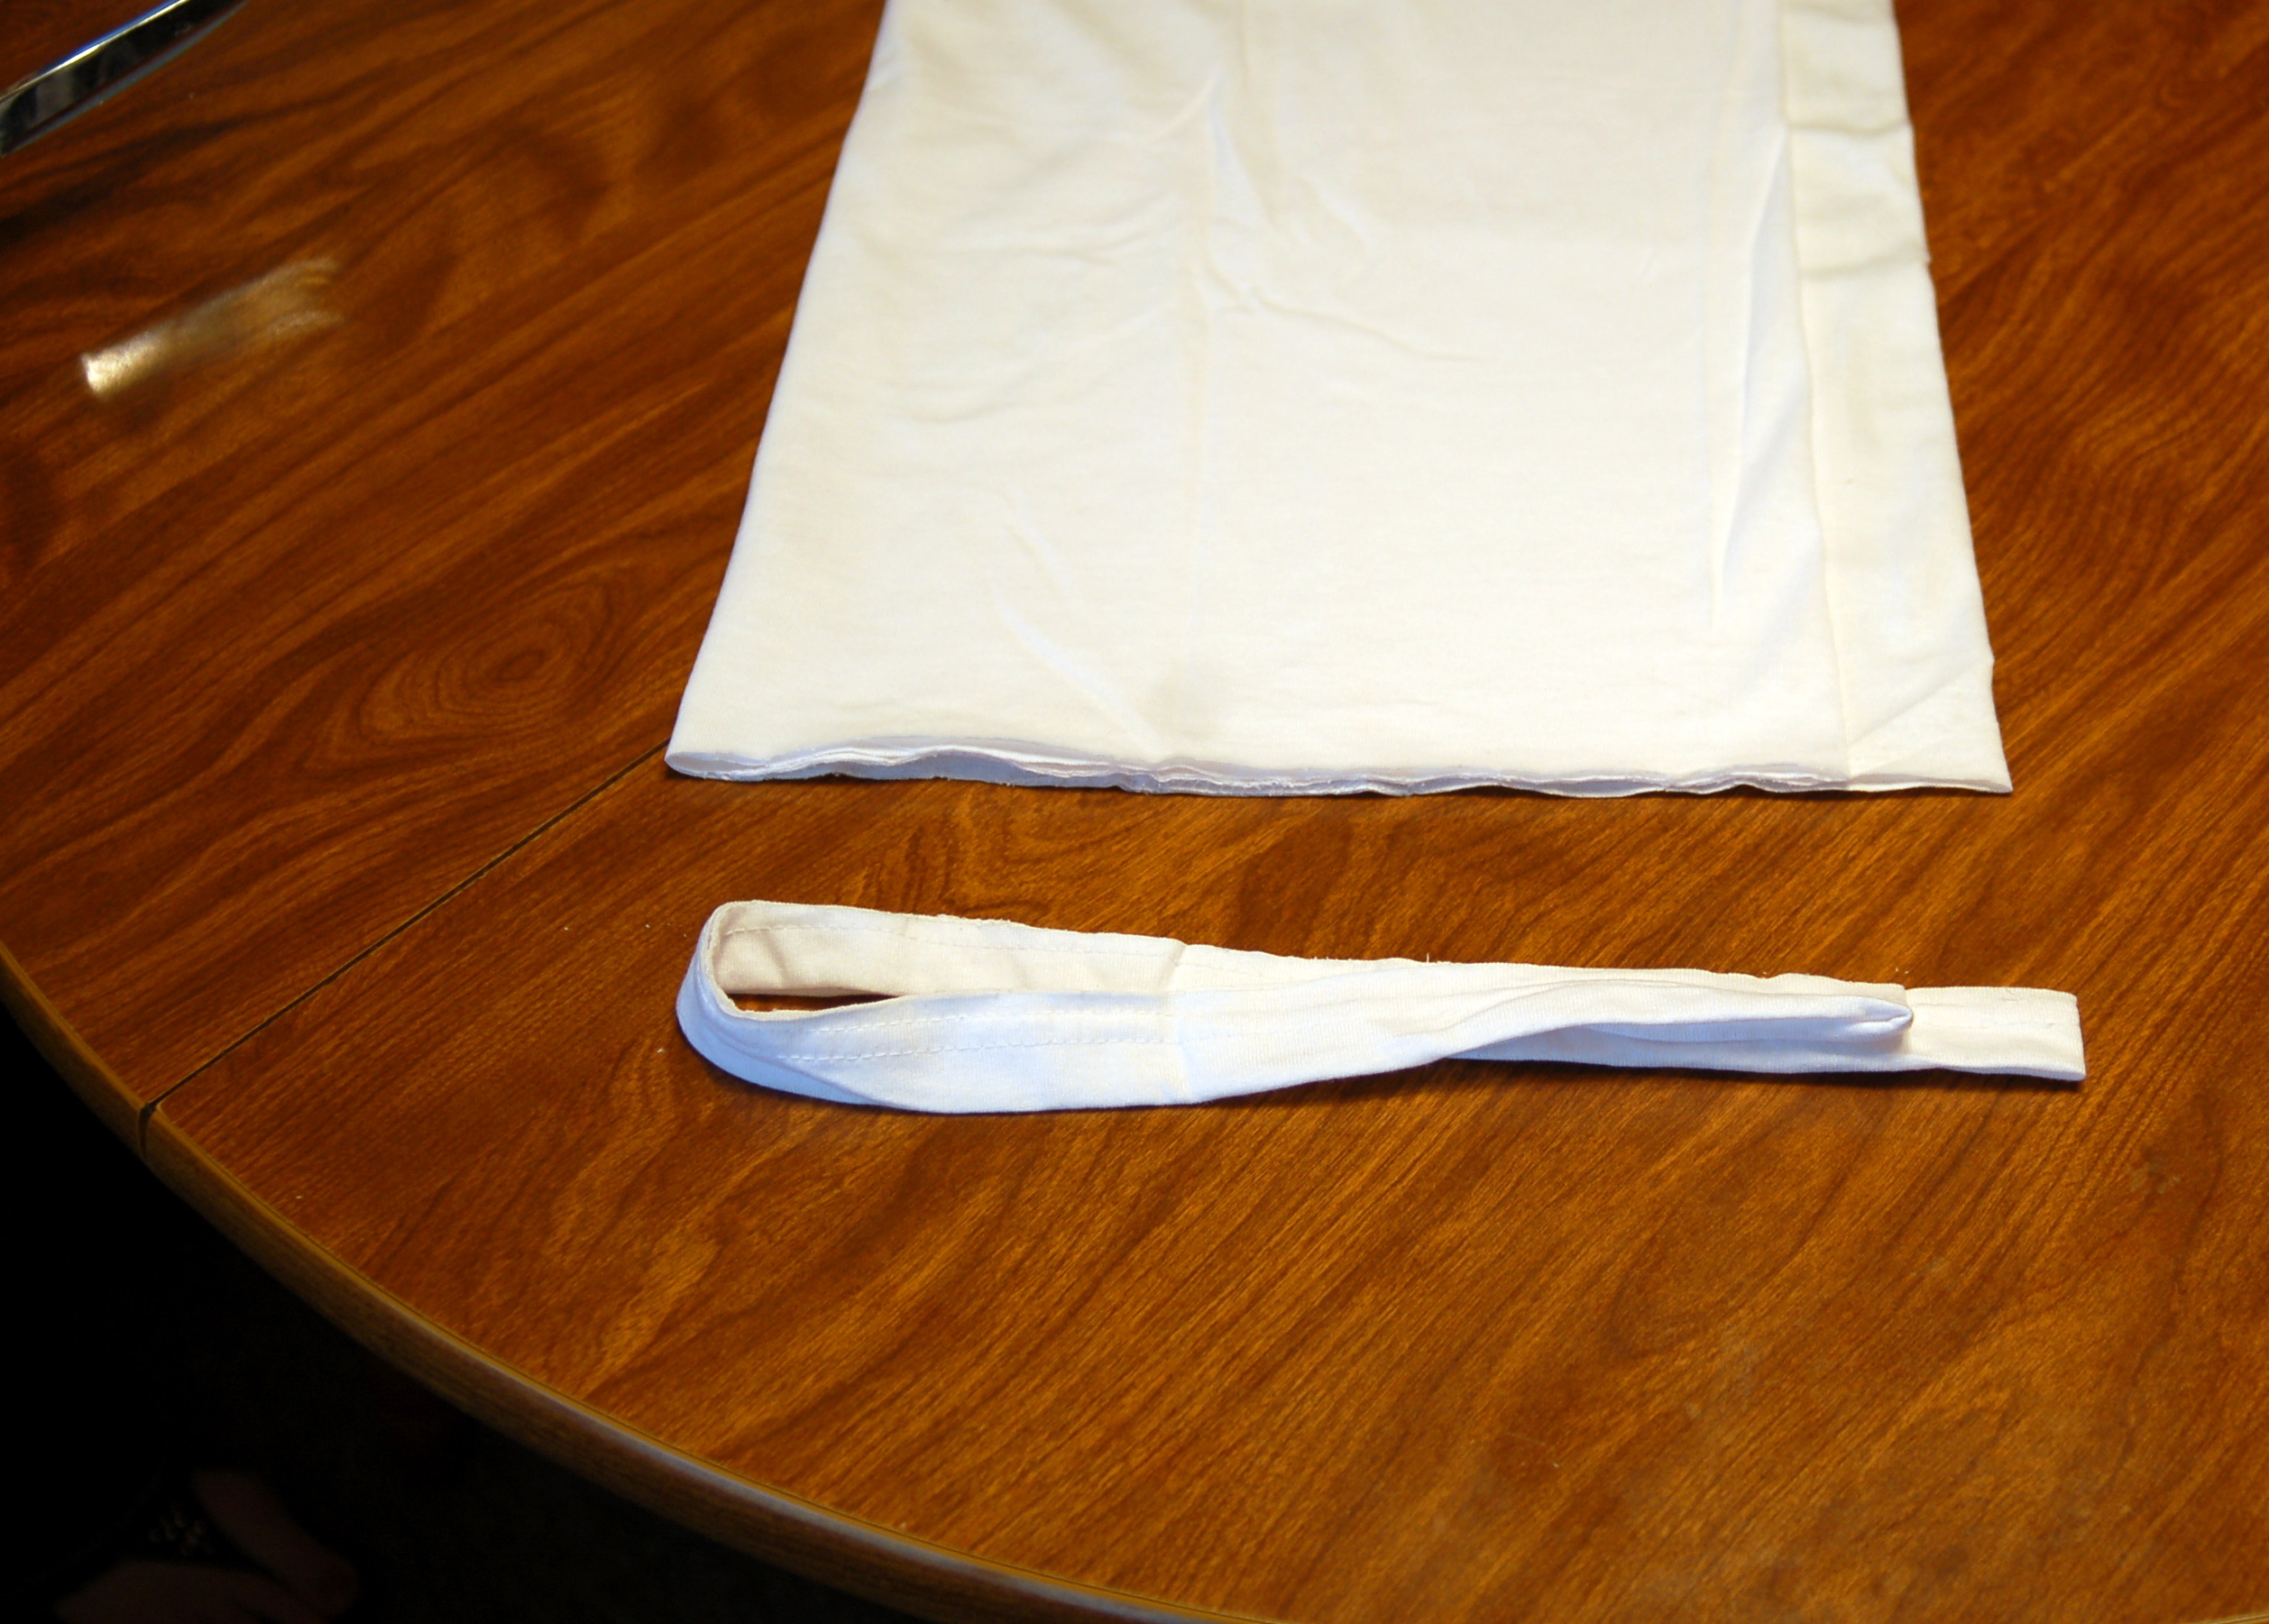
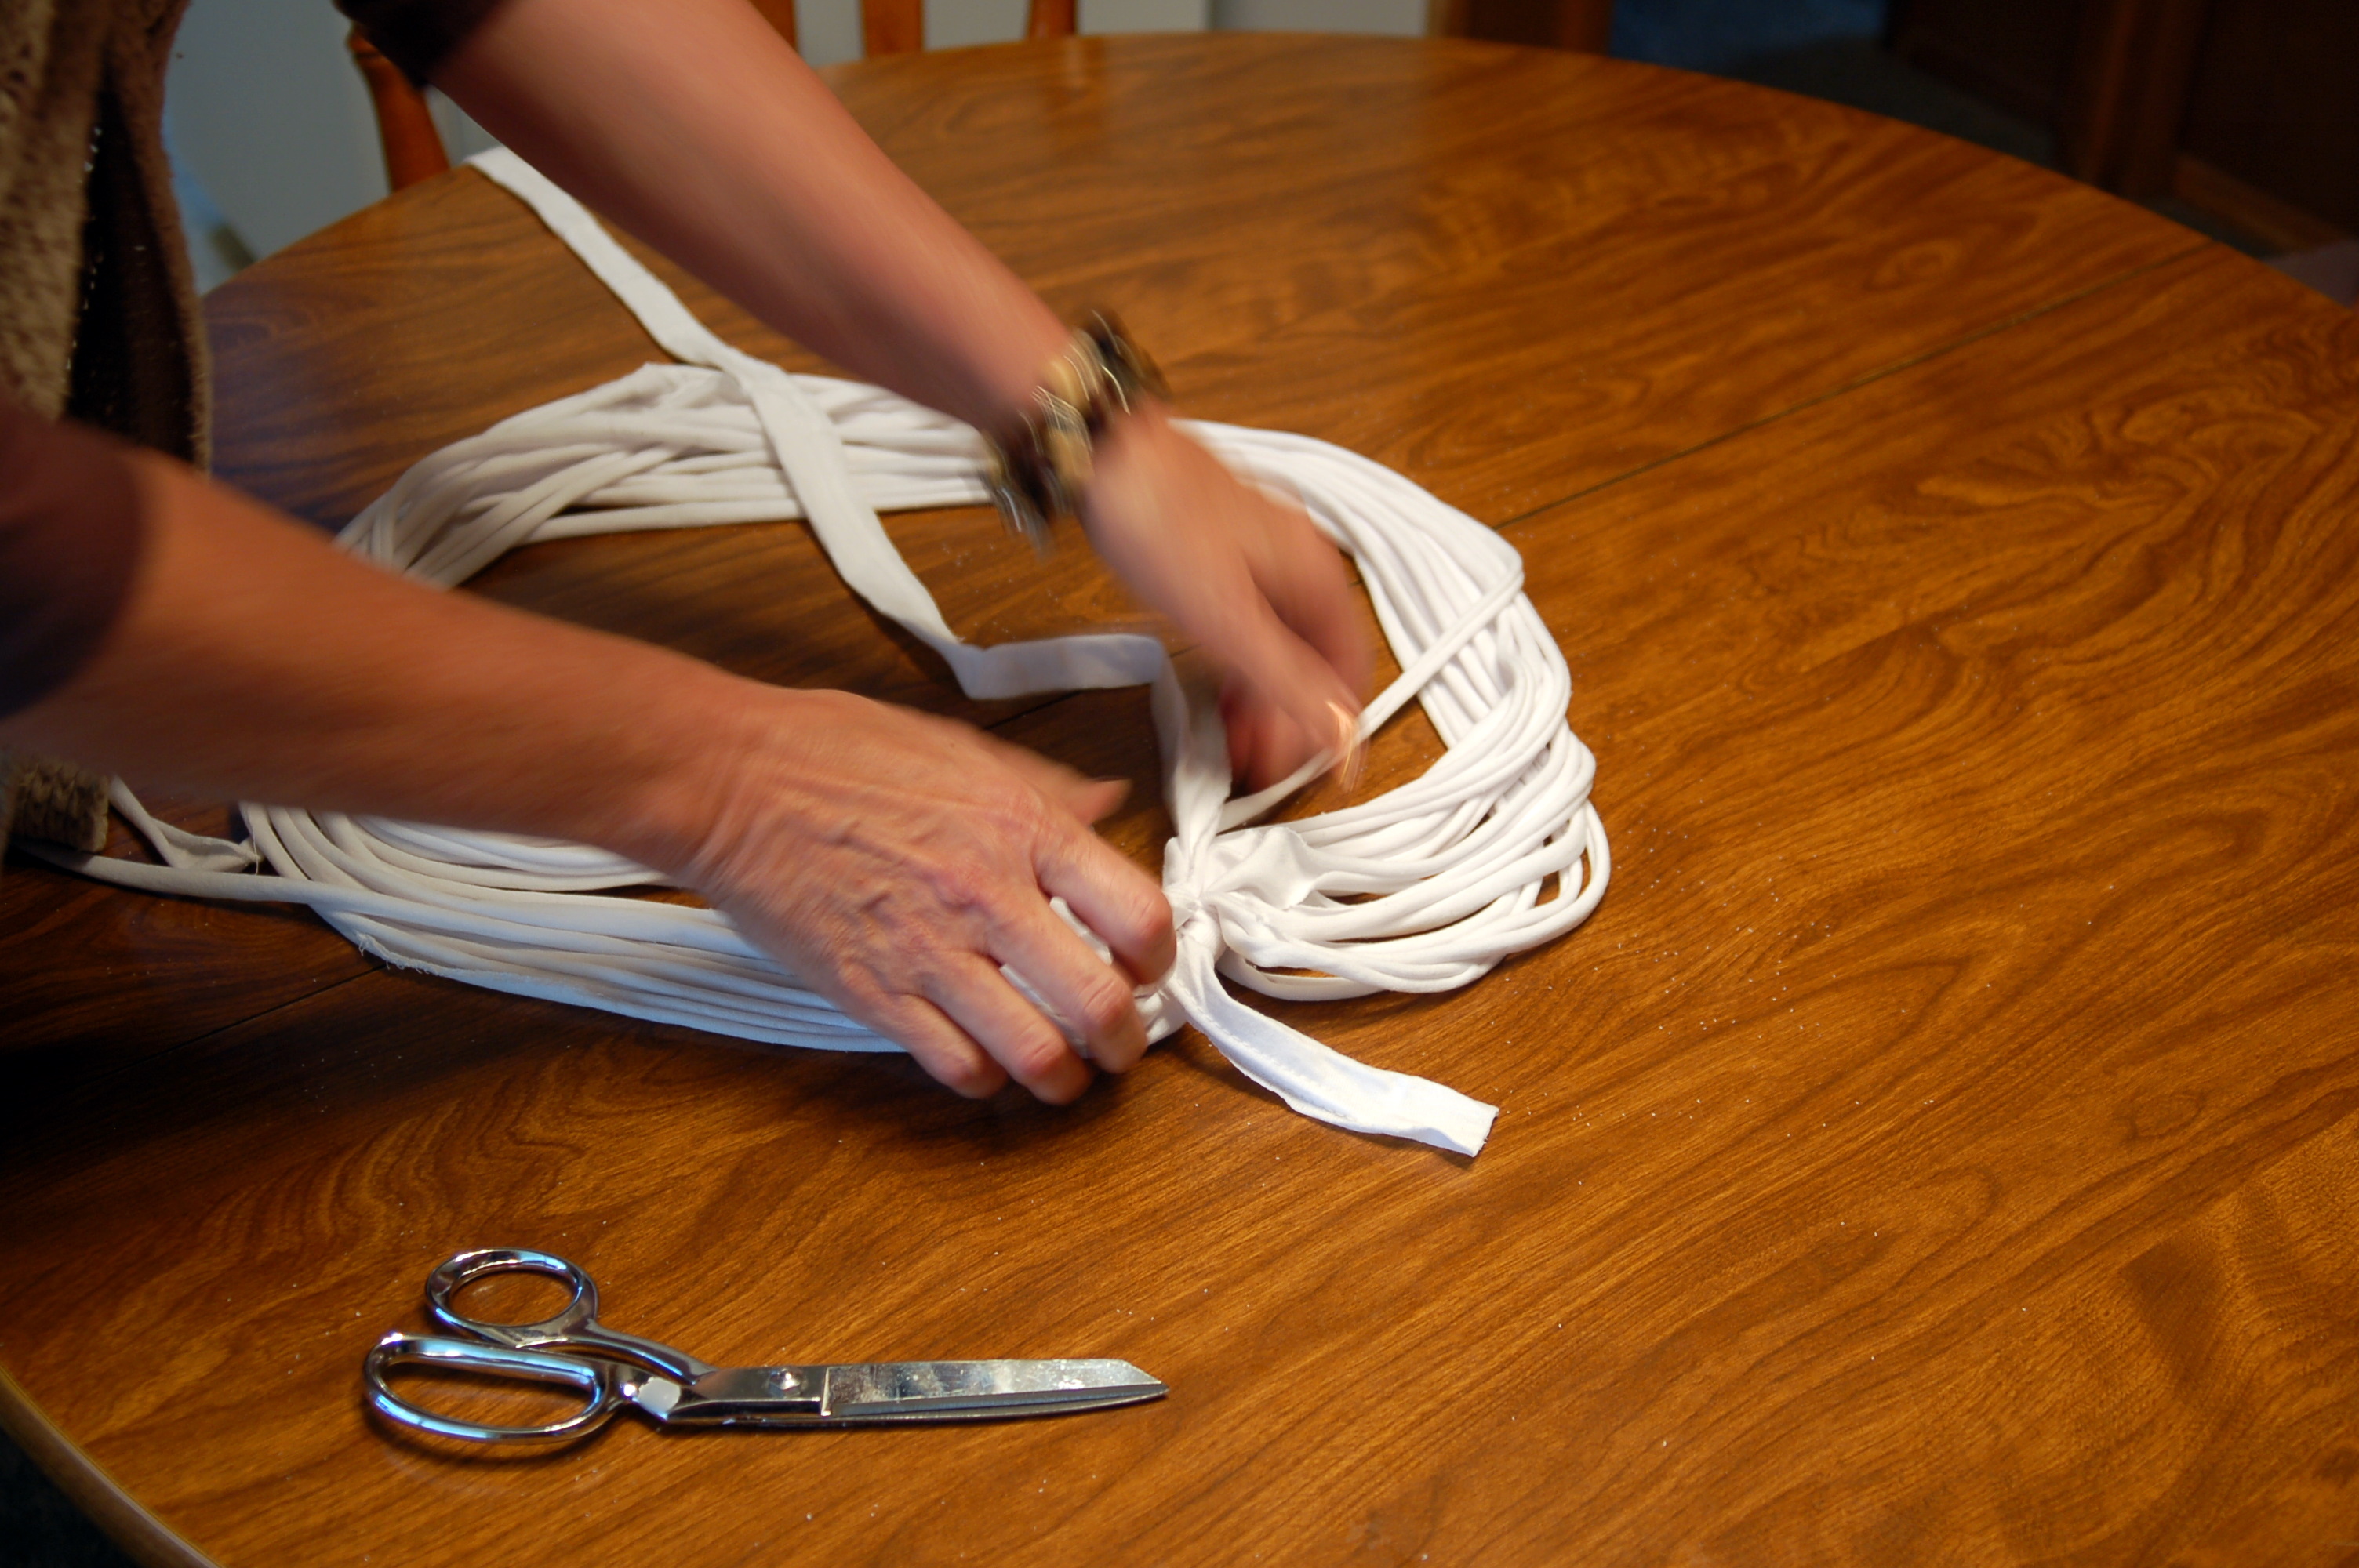
And there you have it!  An easy, cute, inexpensive infinity scarf!
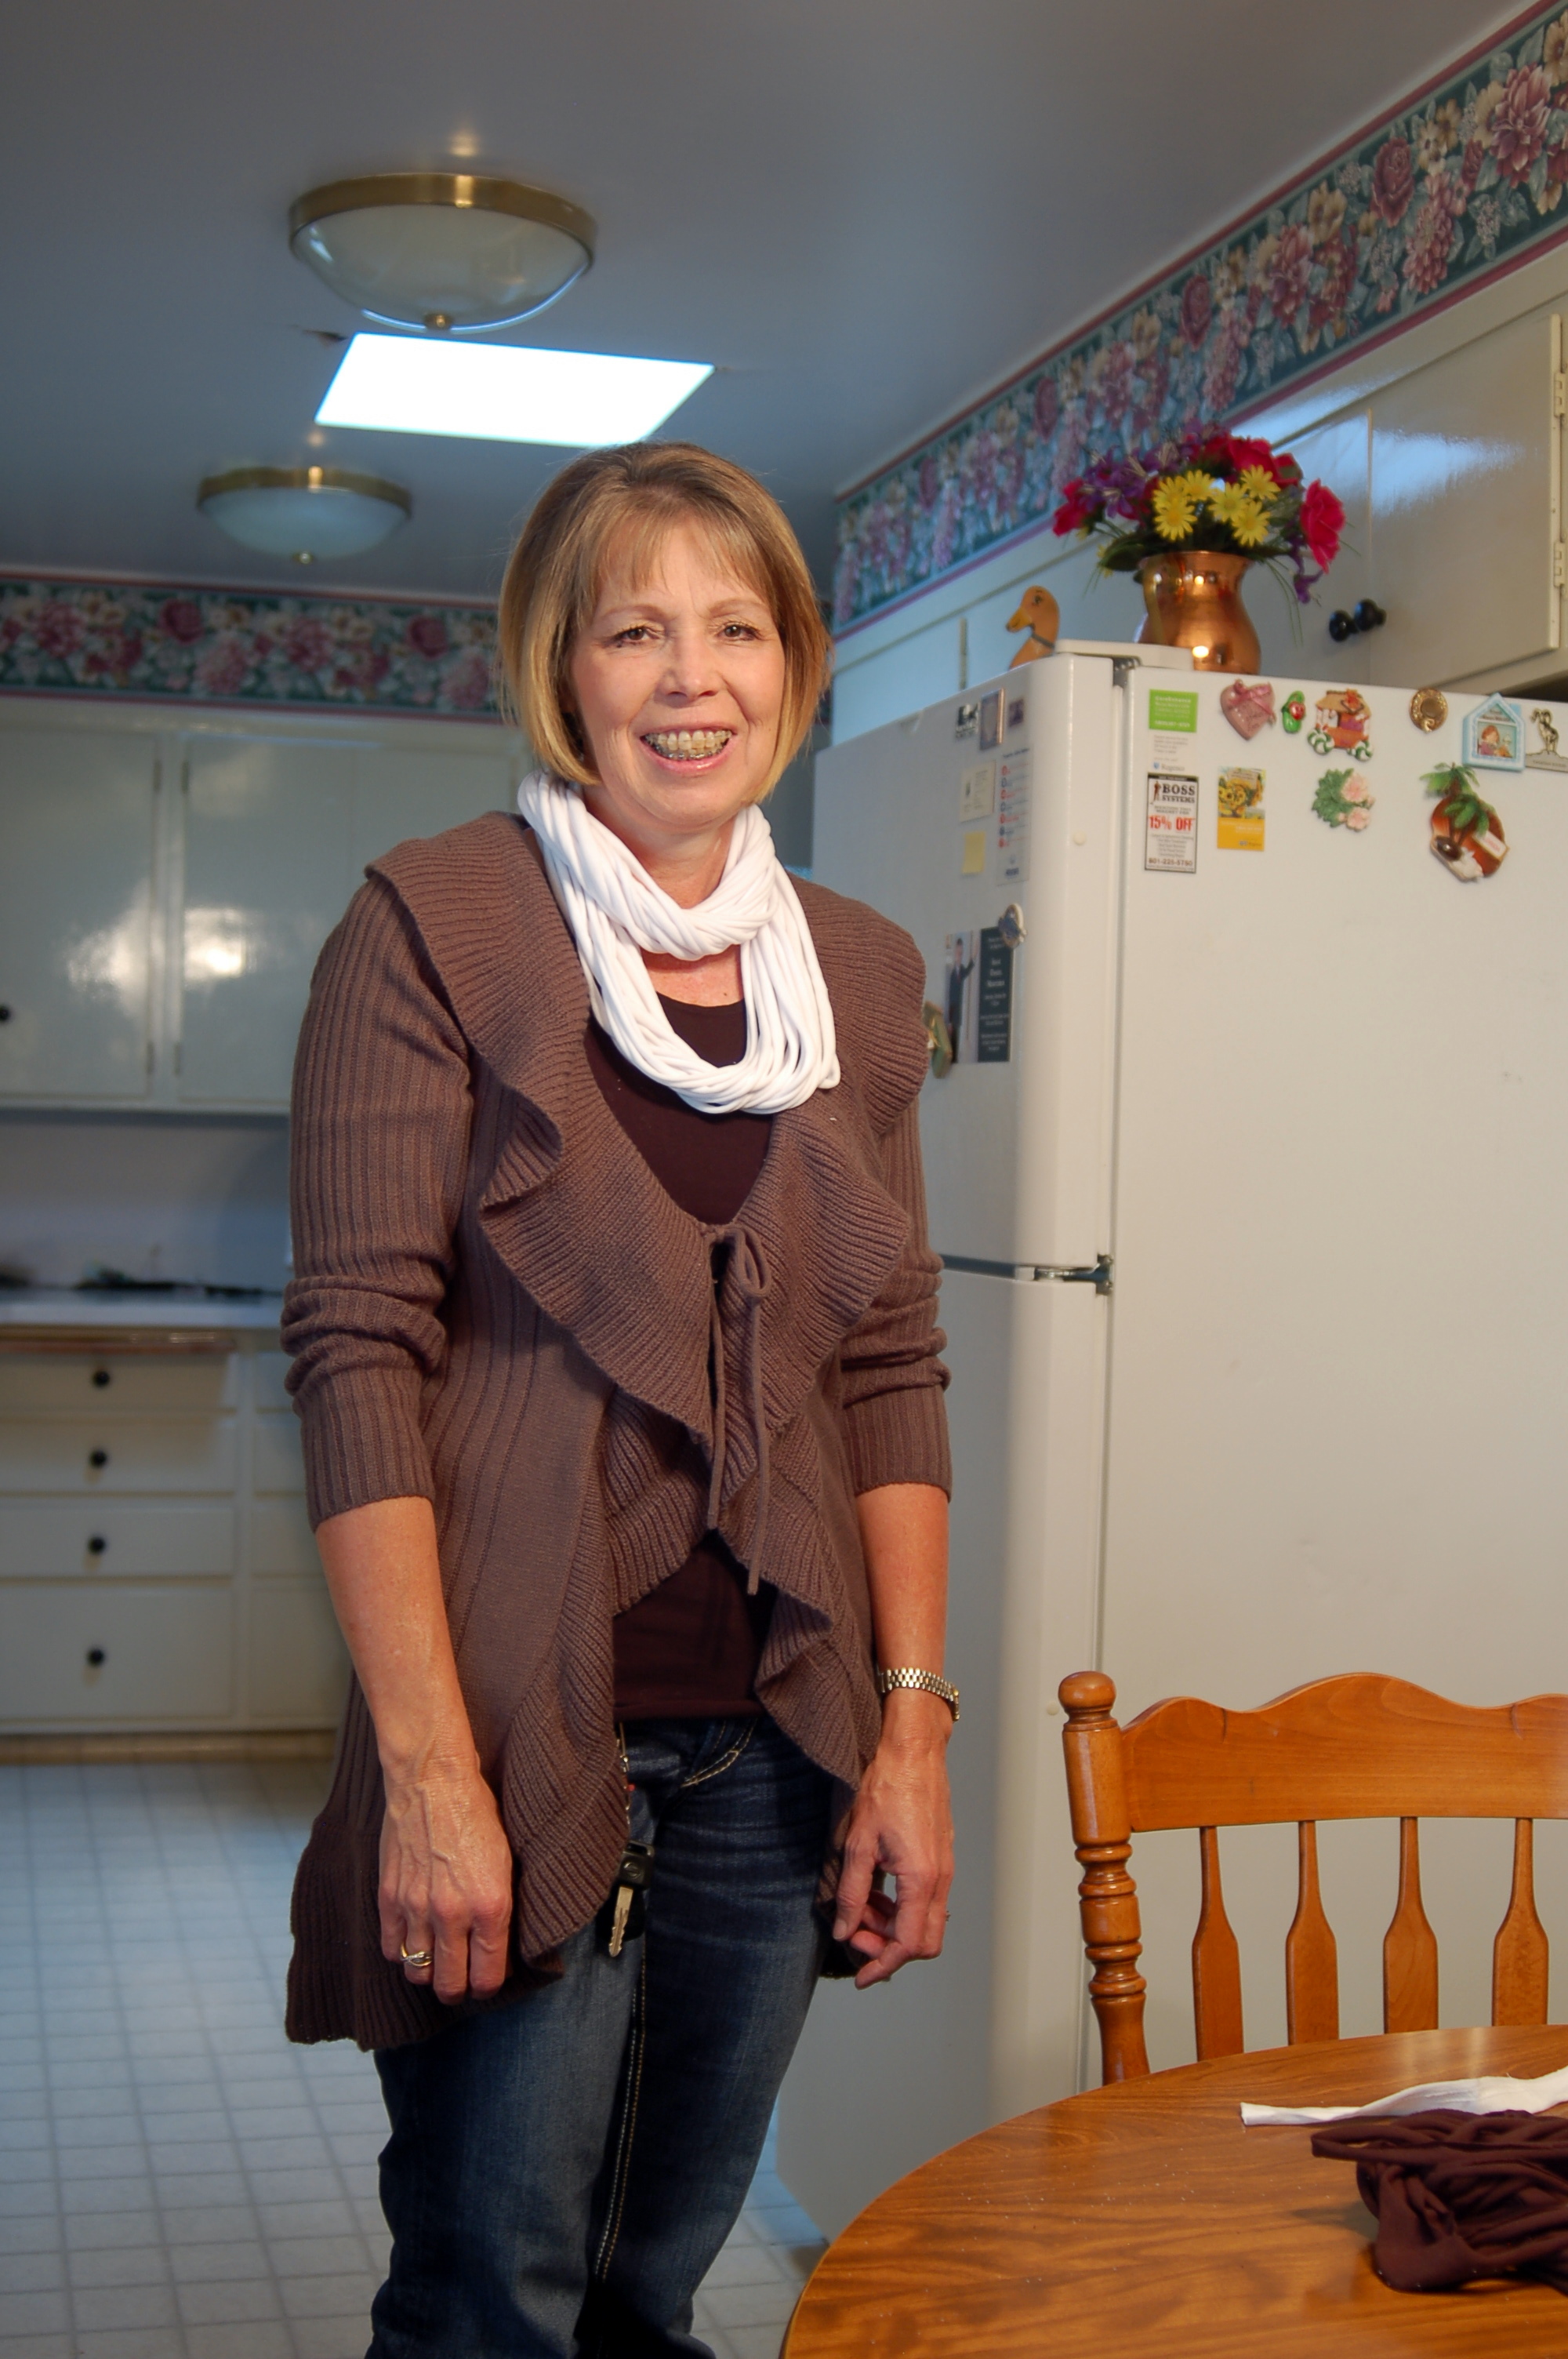
This is another version of the infinity scarf…I cut all the way across the  t-shirt into 1-2 inch wide strips and stretched them out, so I had several separate loops, then just hooked them together with a cute pin!  You can make this one as full as you like. In this version, you could actually get 2 scarves out of one t-shrt!  One for you and one to share!
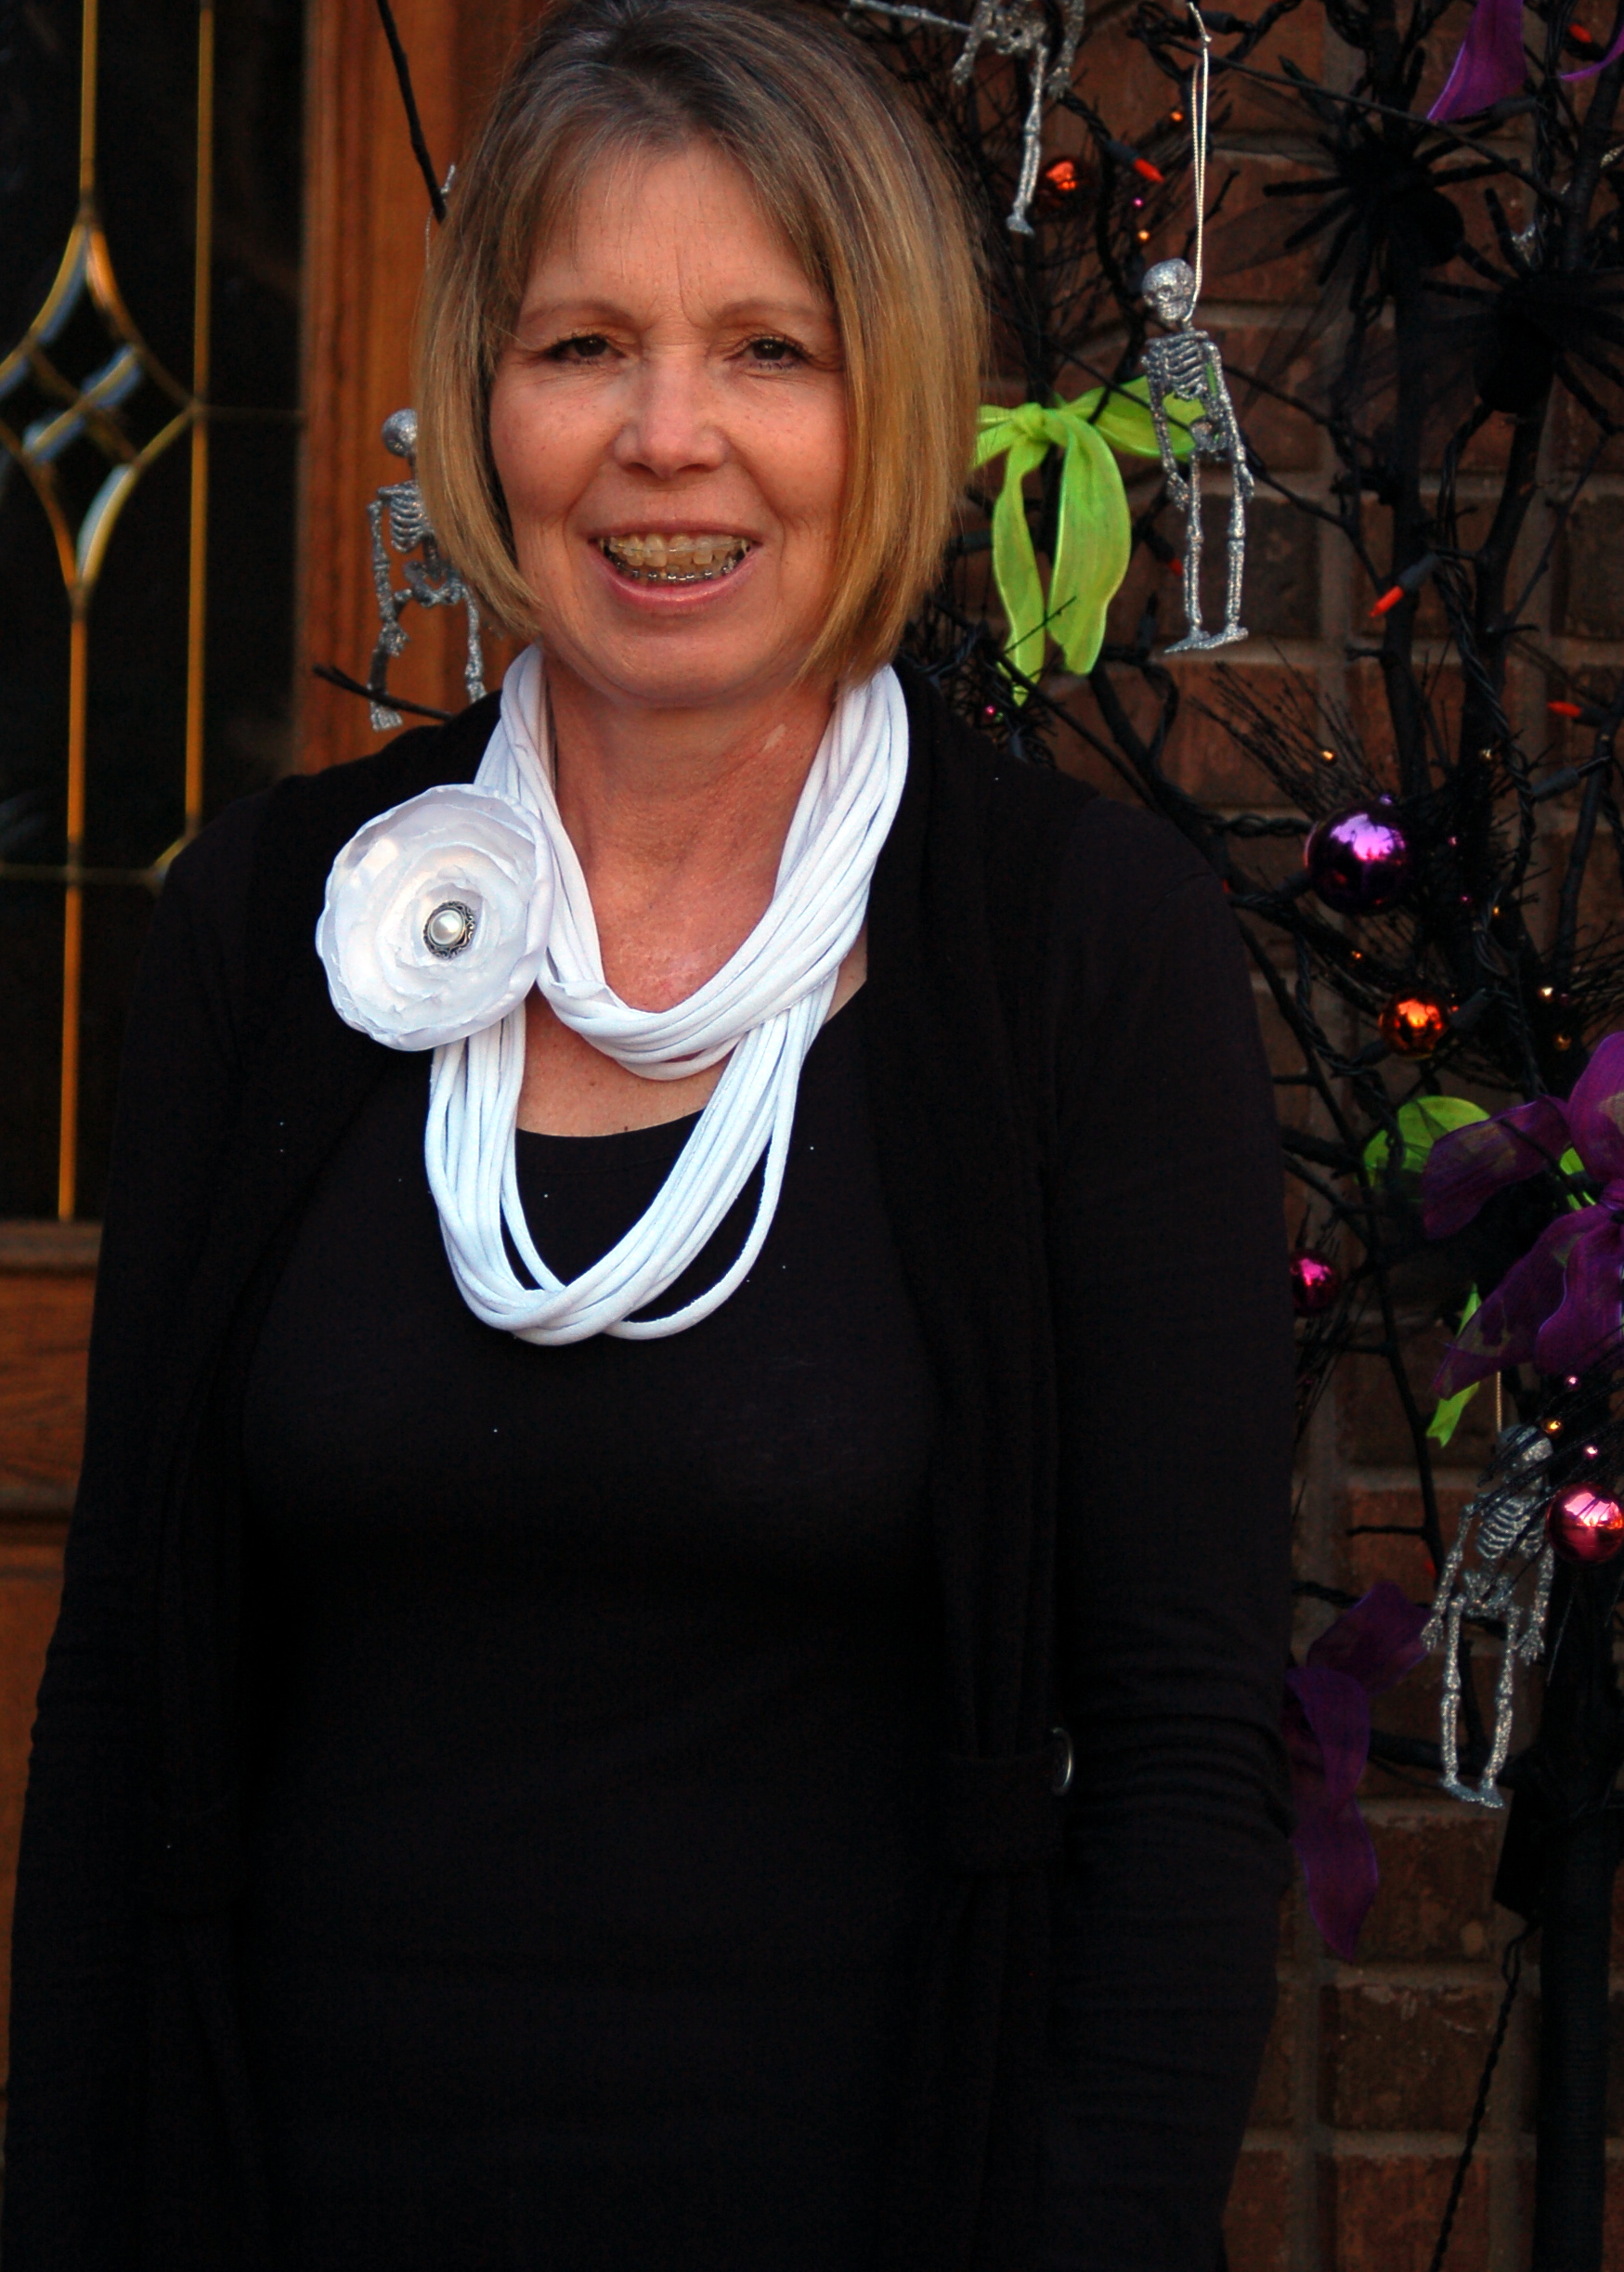
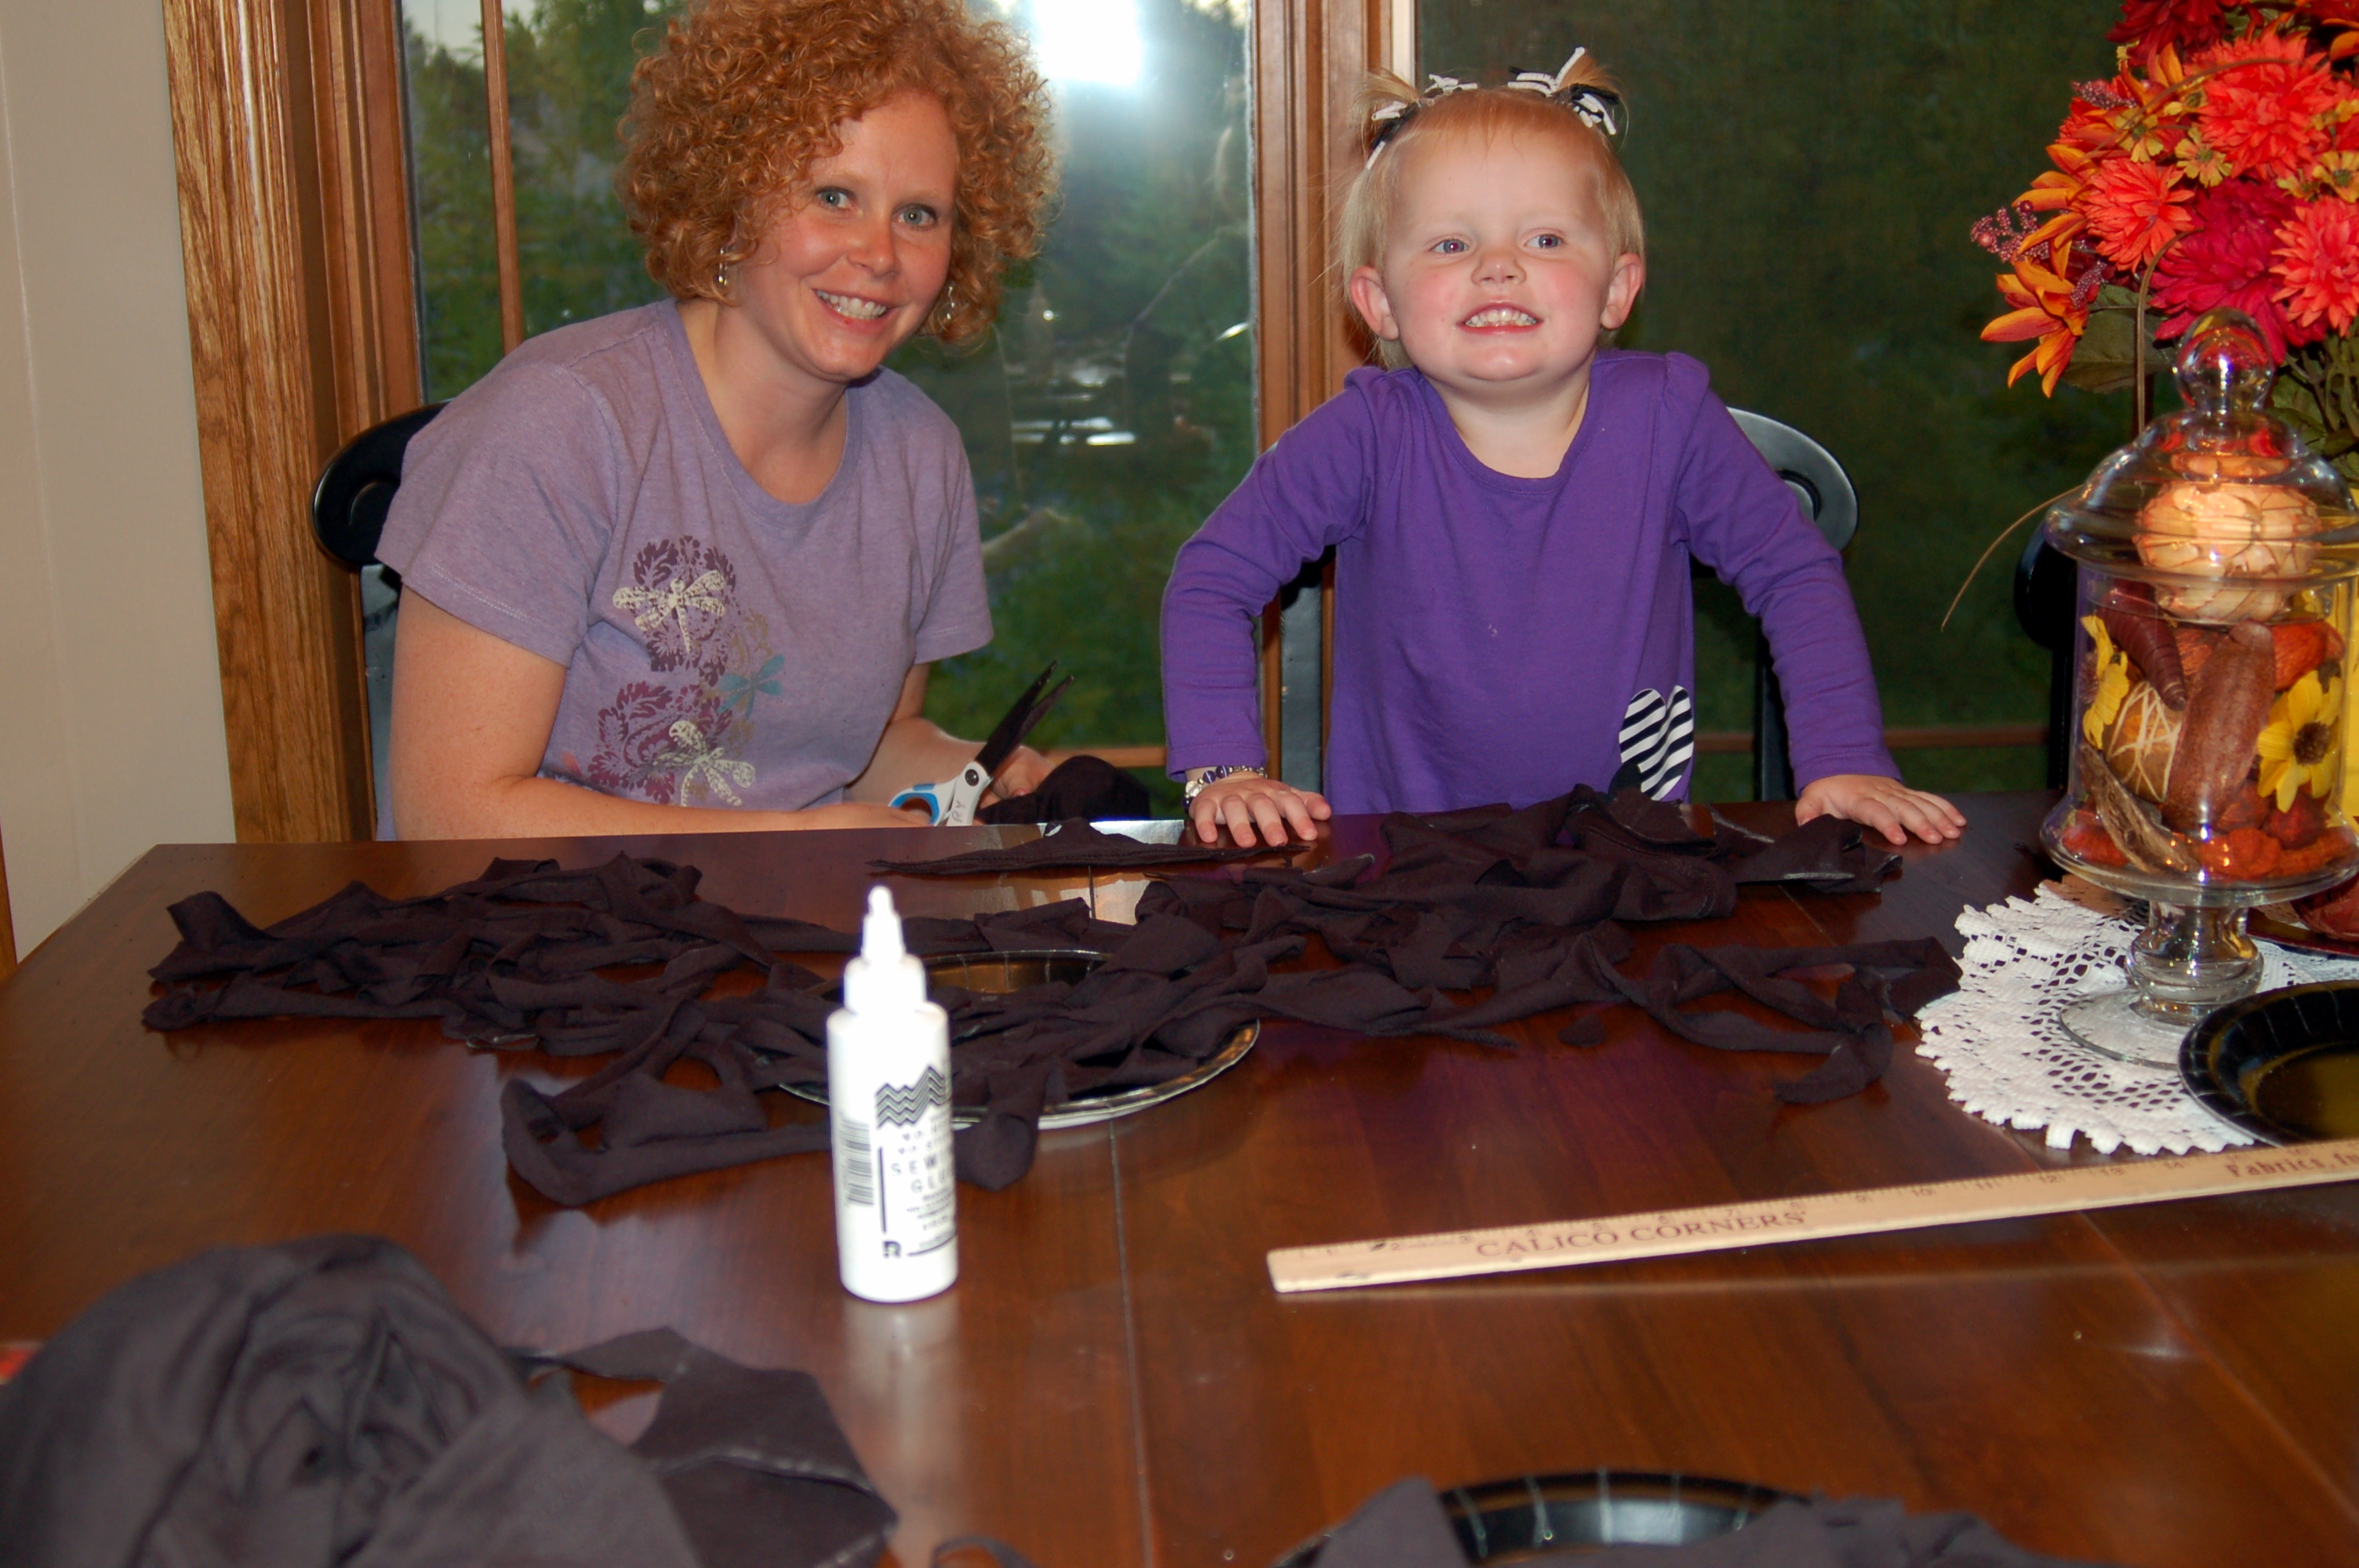
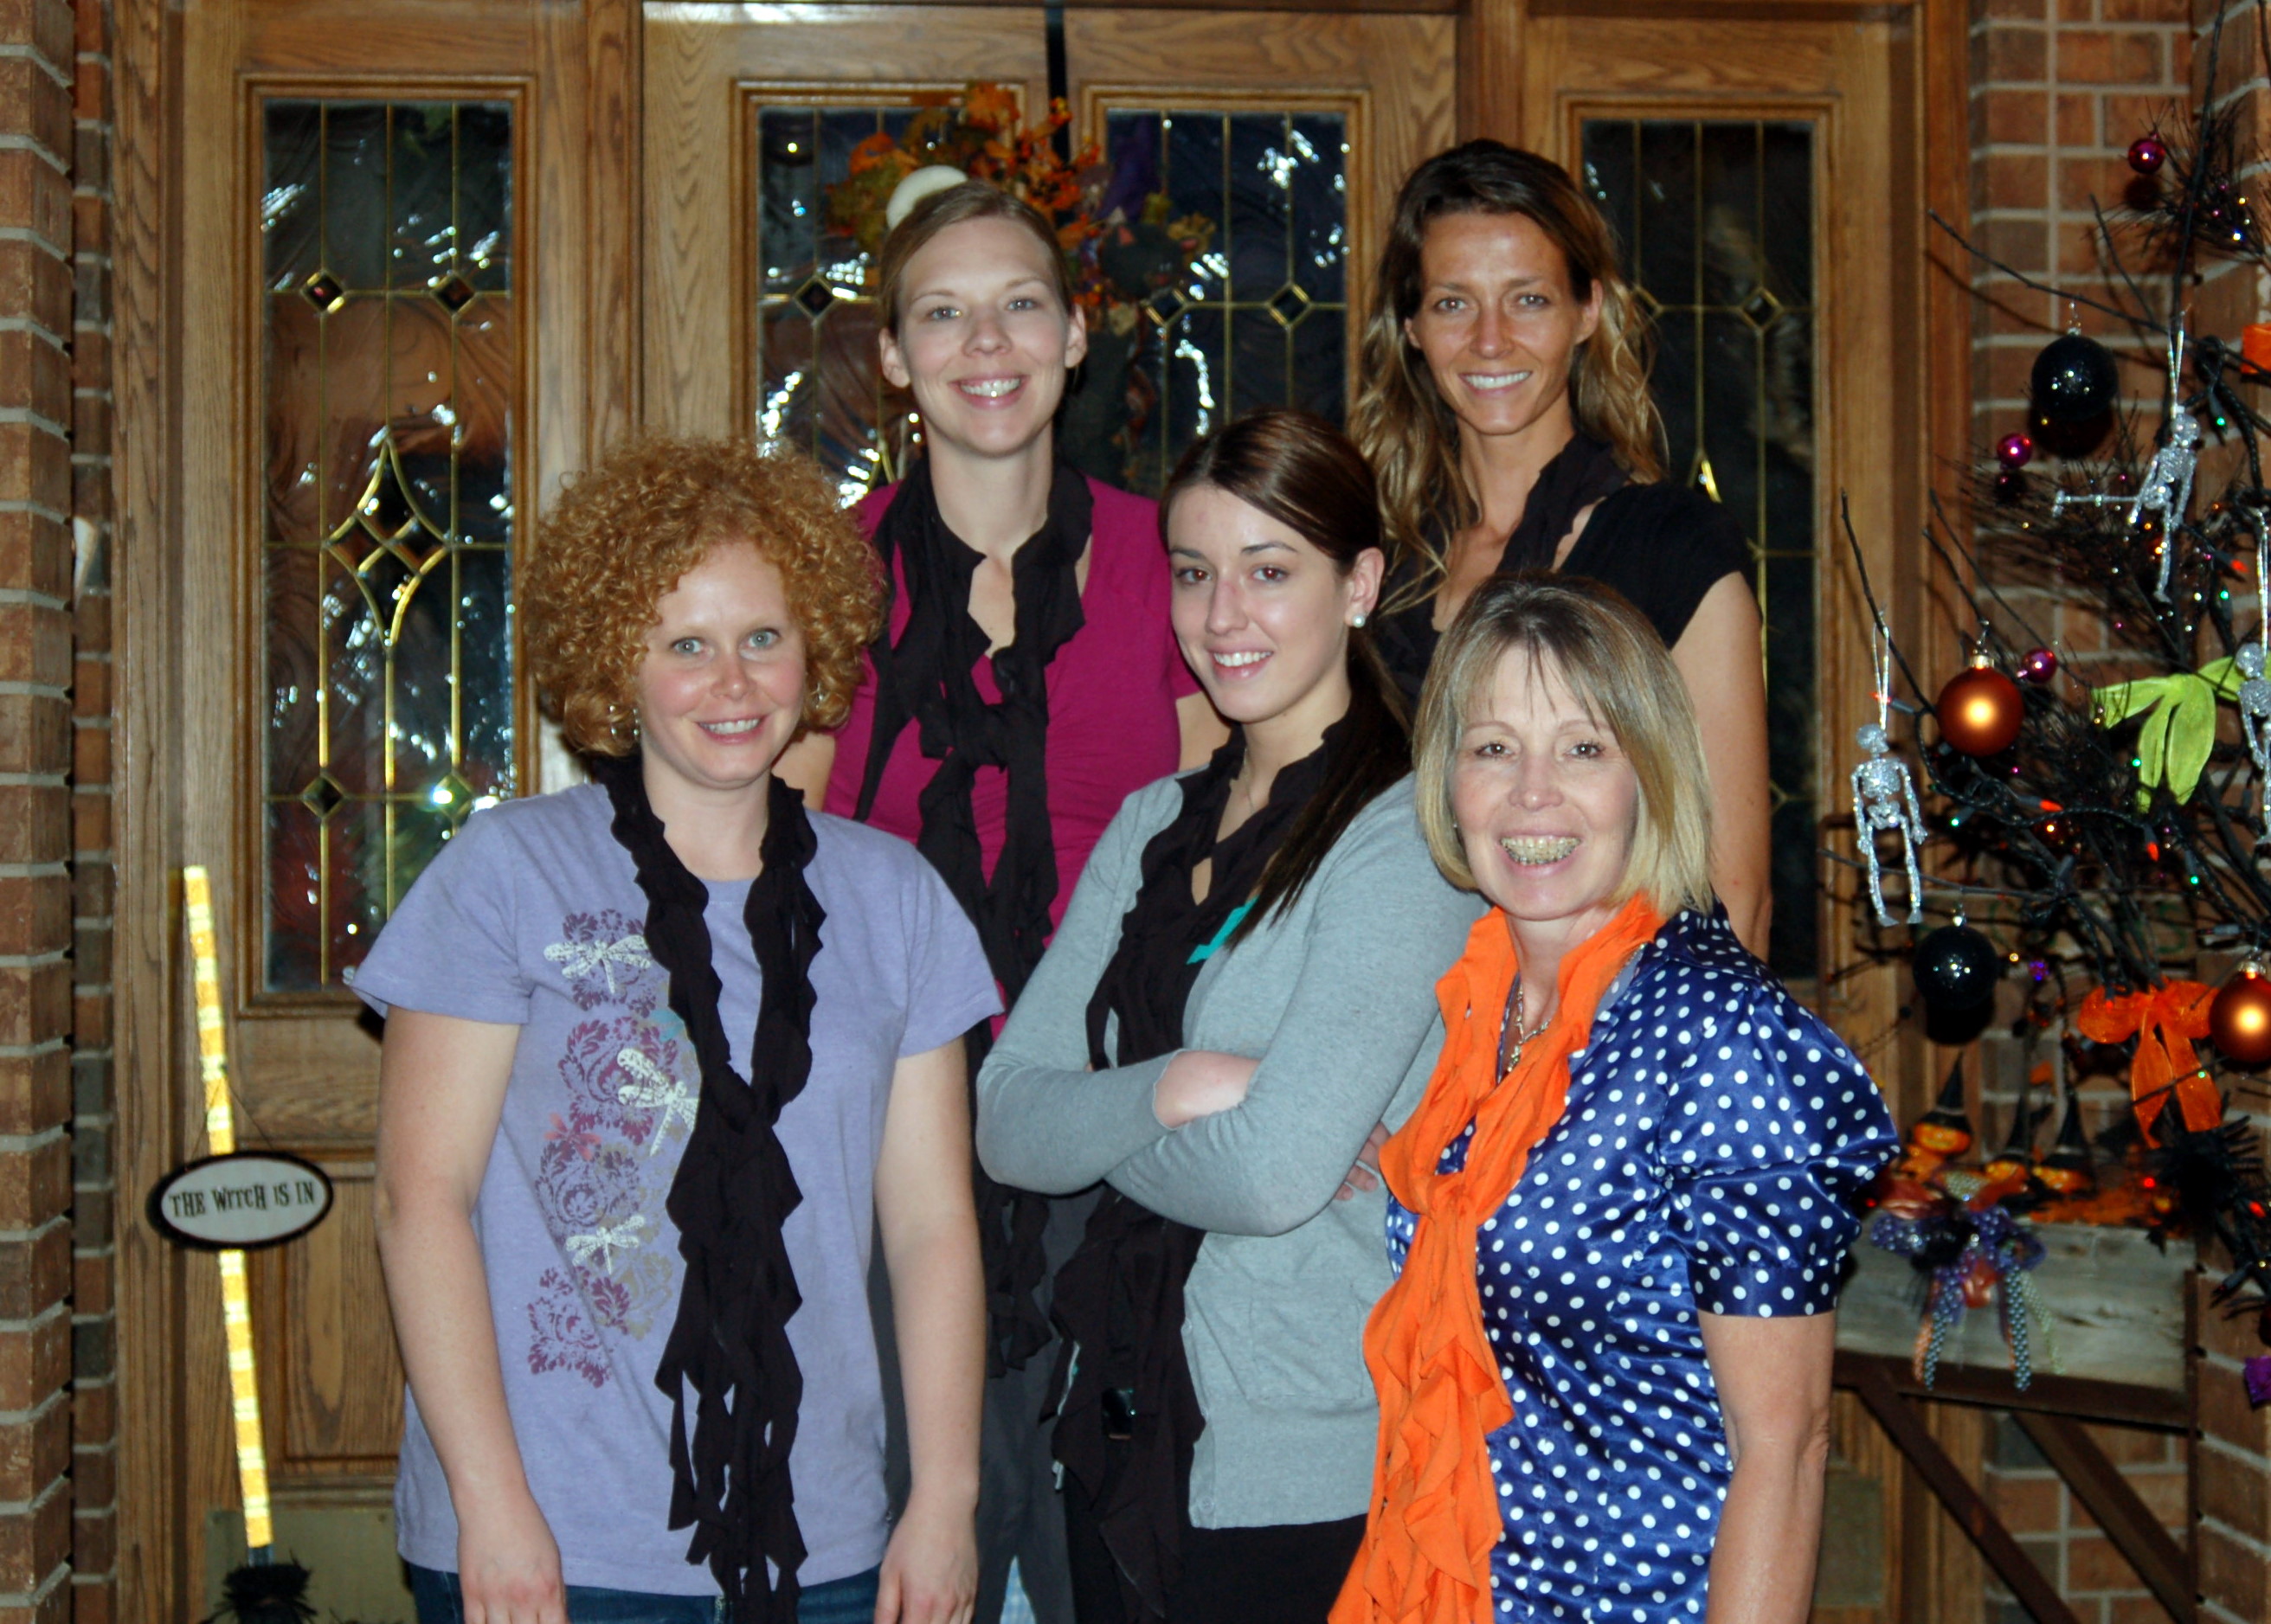
Then the girls and I made these ruffled t-shirt scarves! I saw this idea on Pinterest here. There is a full tutorial there if you want to see it. But basically all you do is cut 8-12 circles out of an XL t-shirt. (Just trace around a 9″ paper plate)
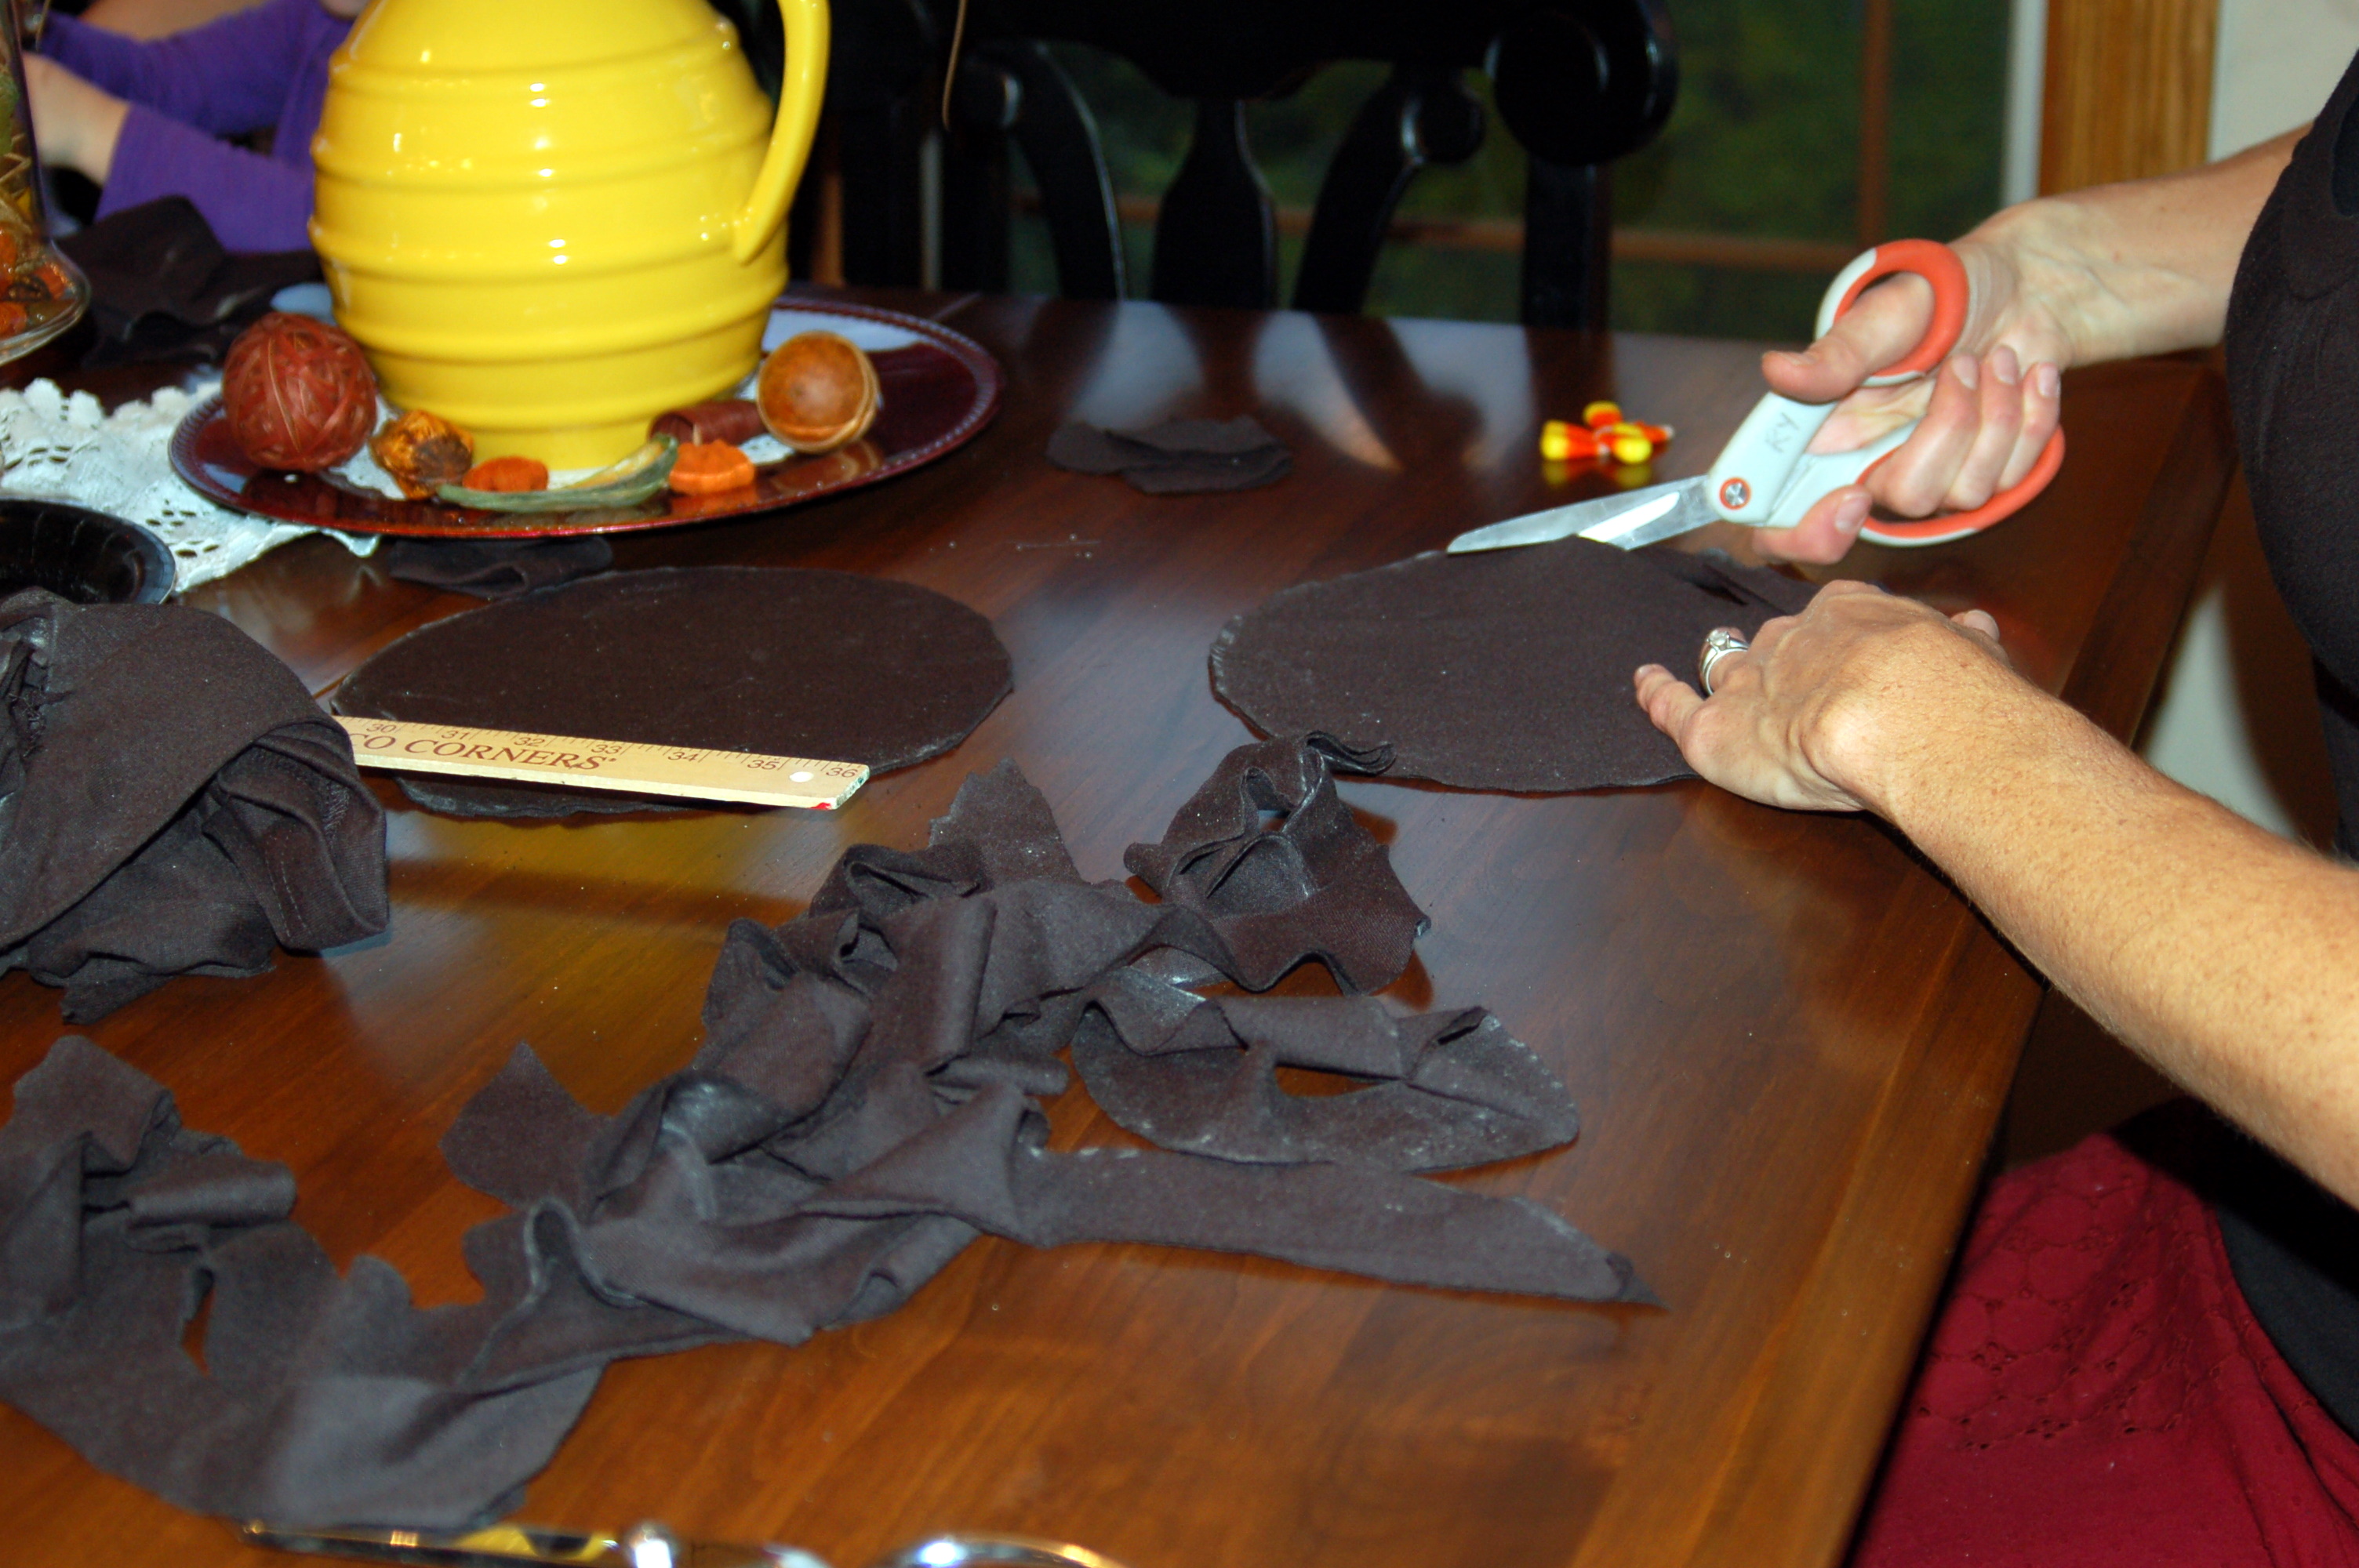
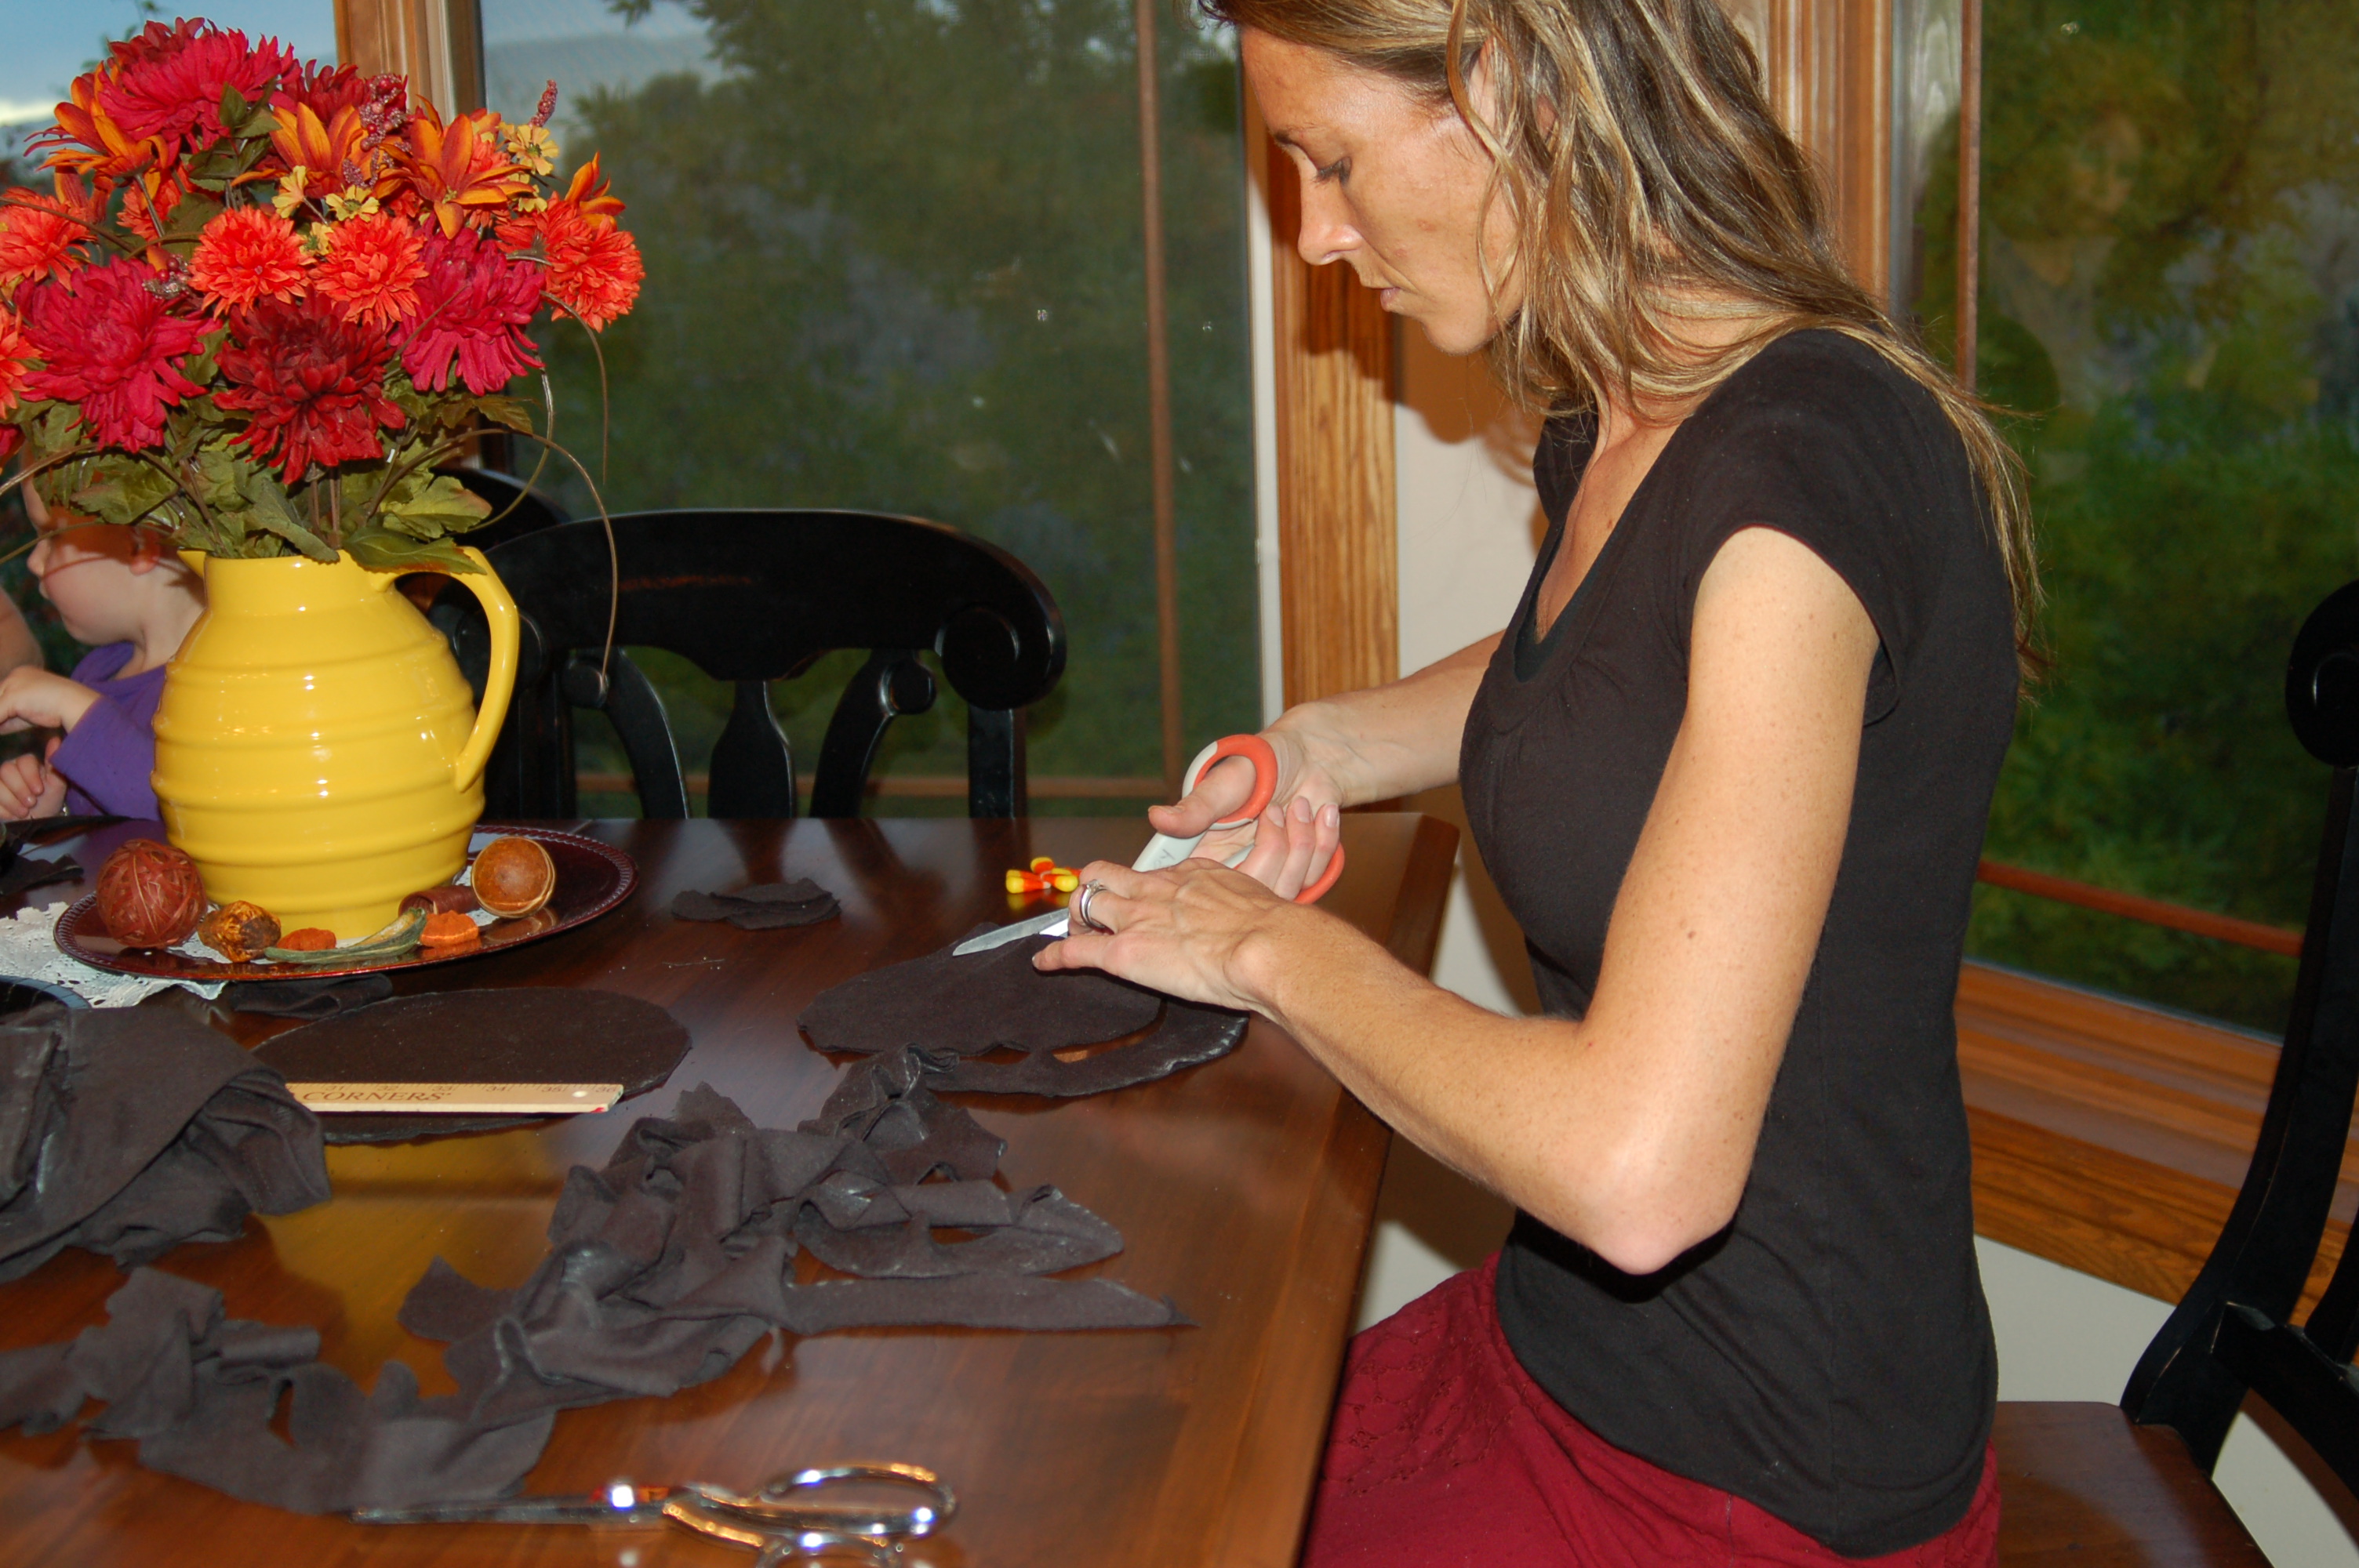
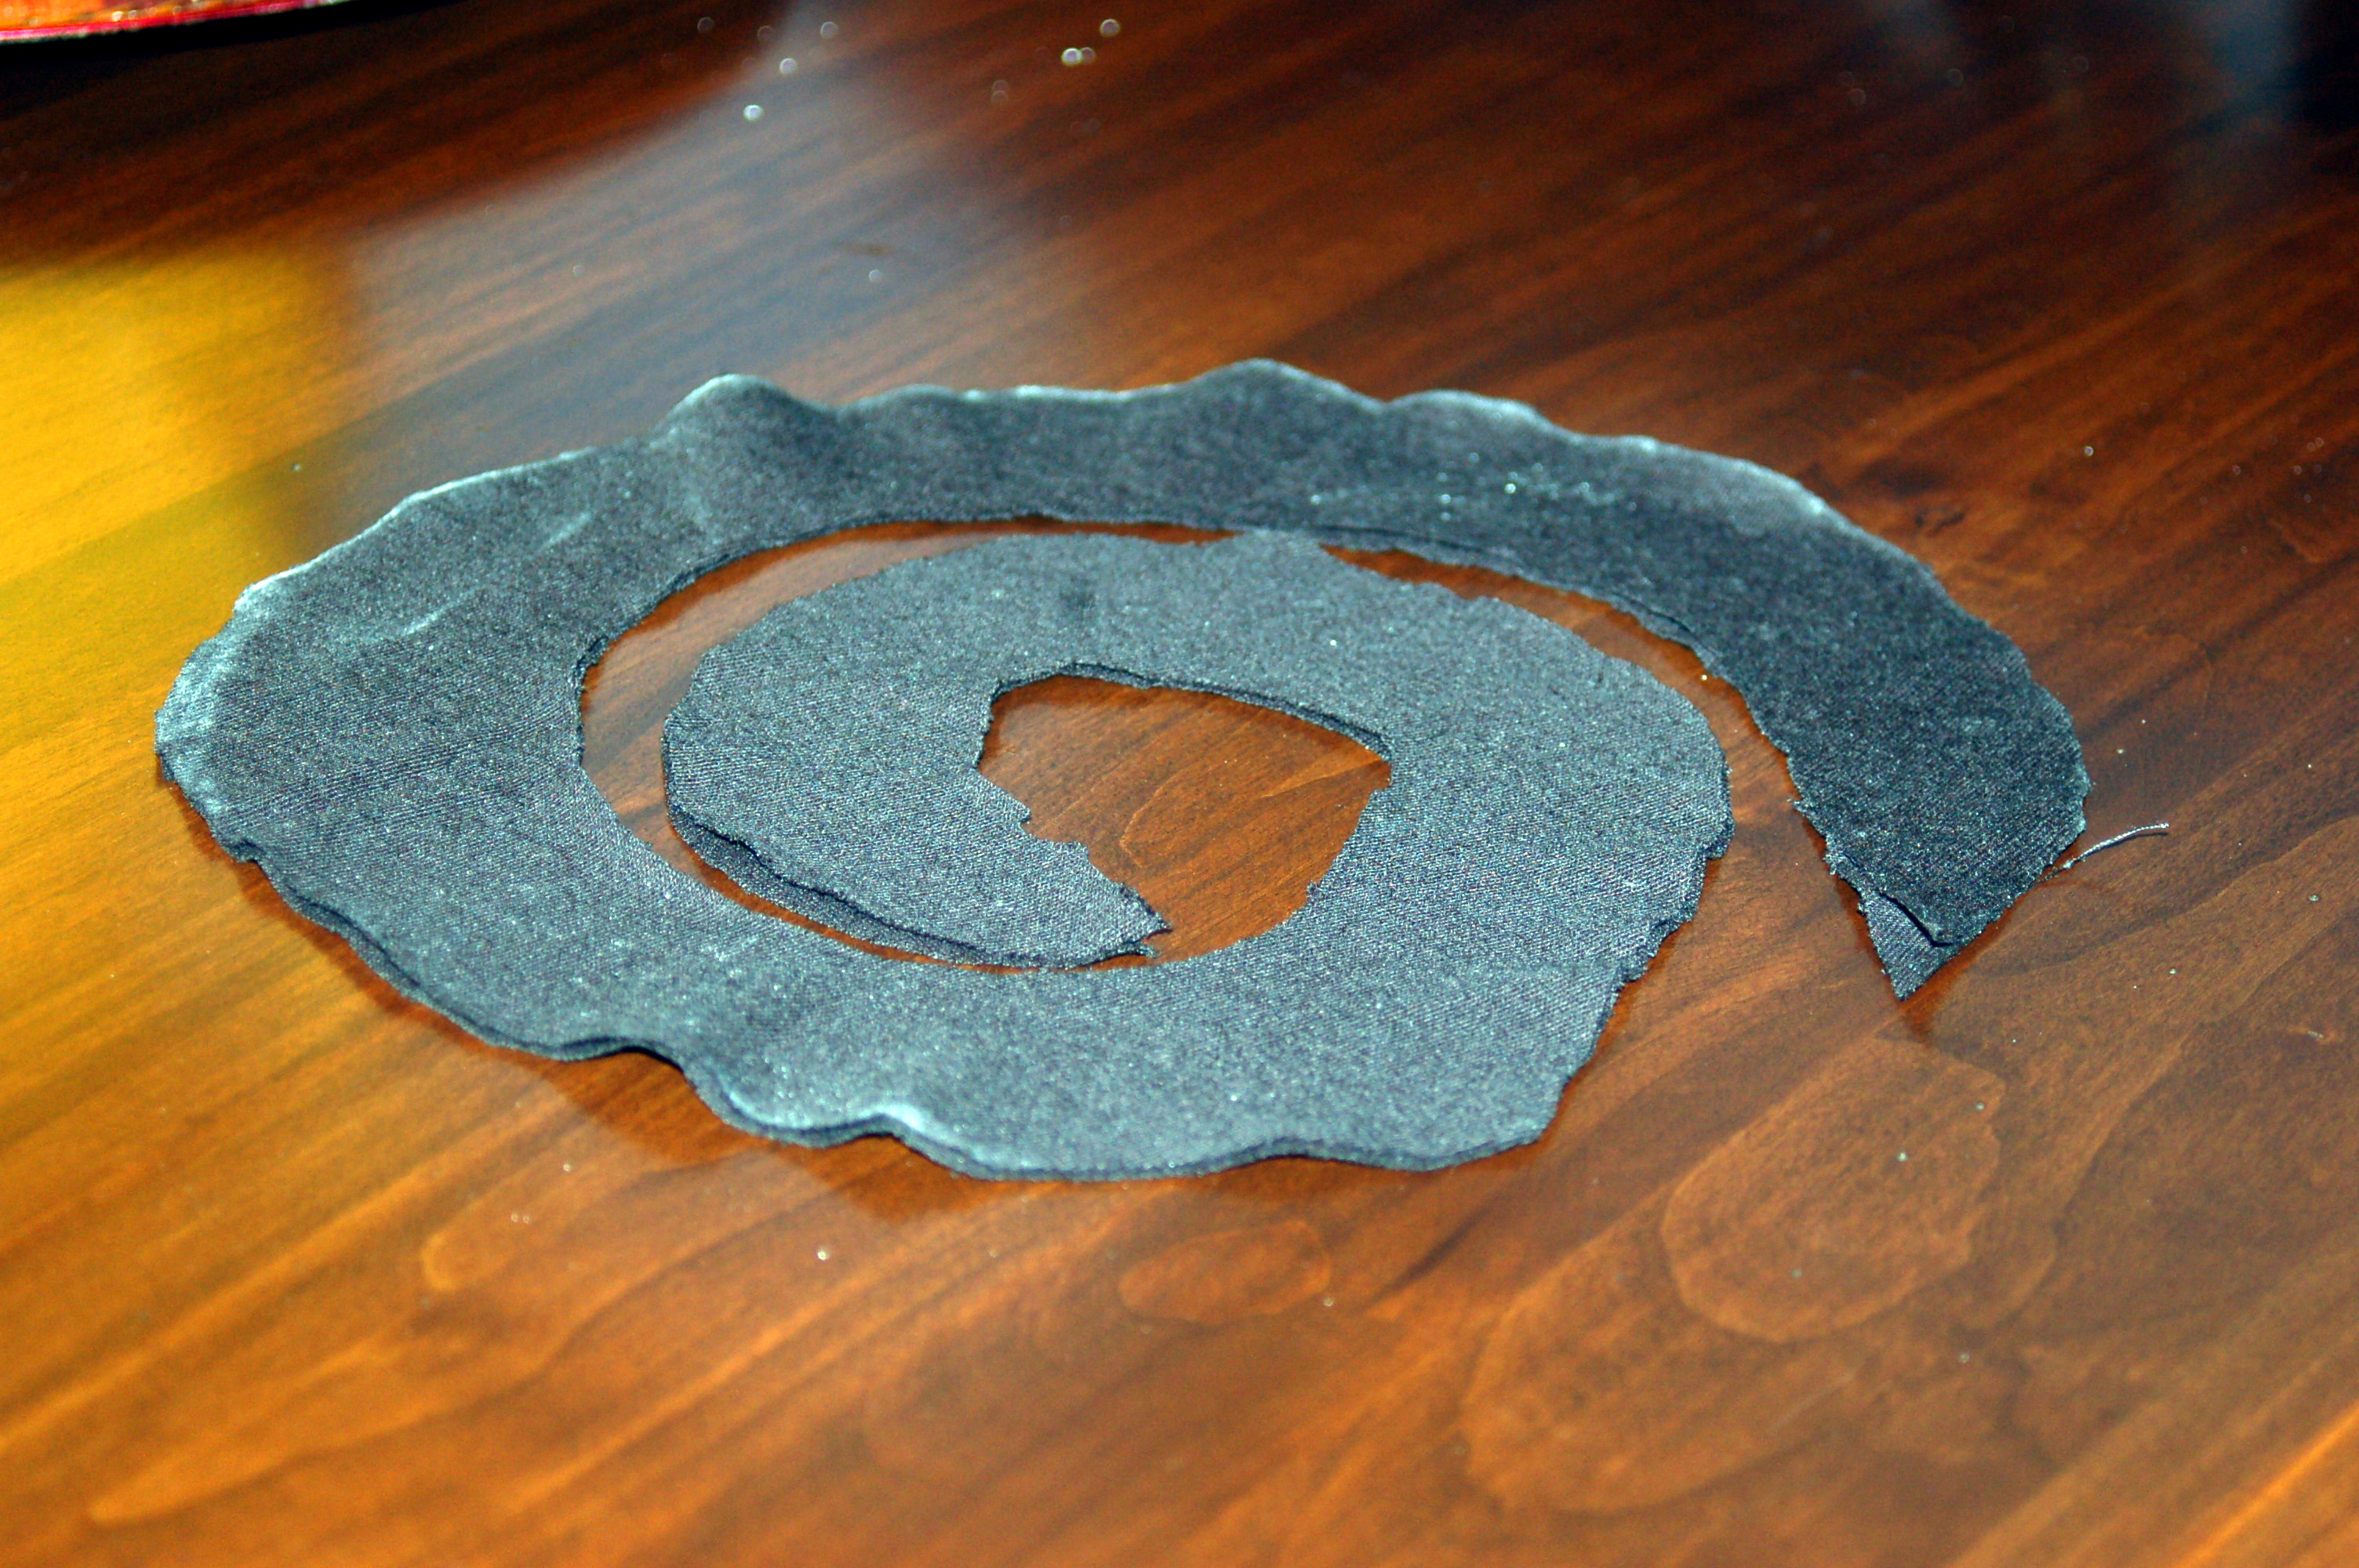
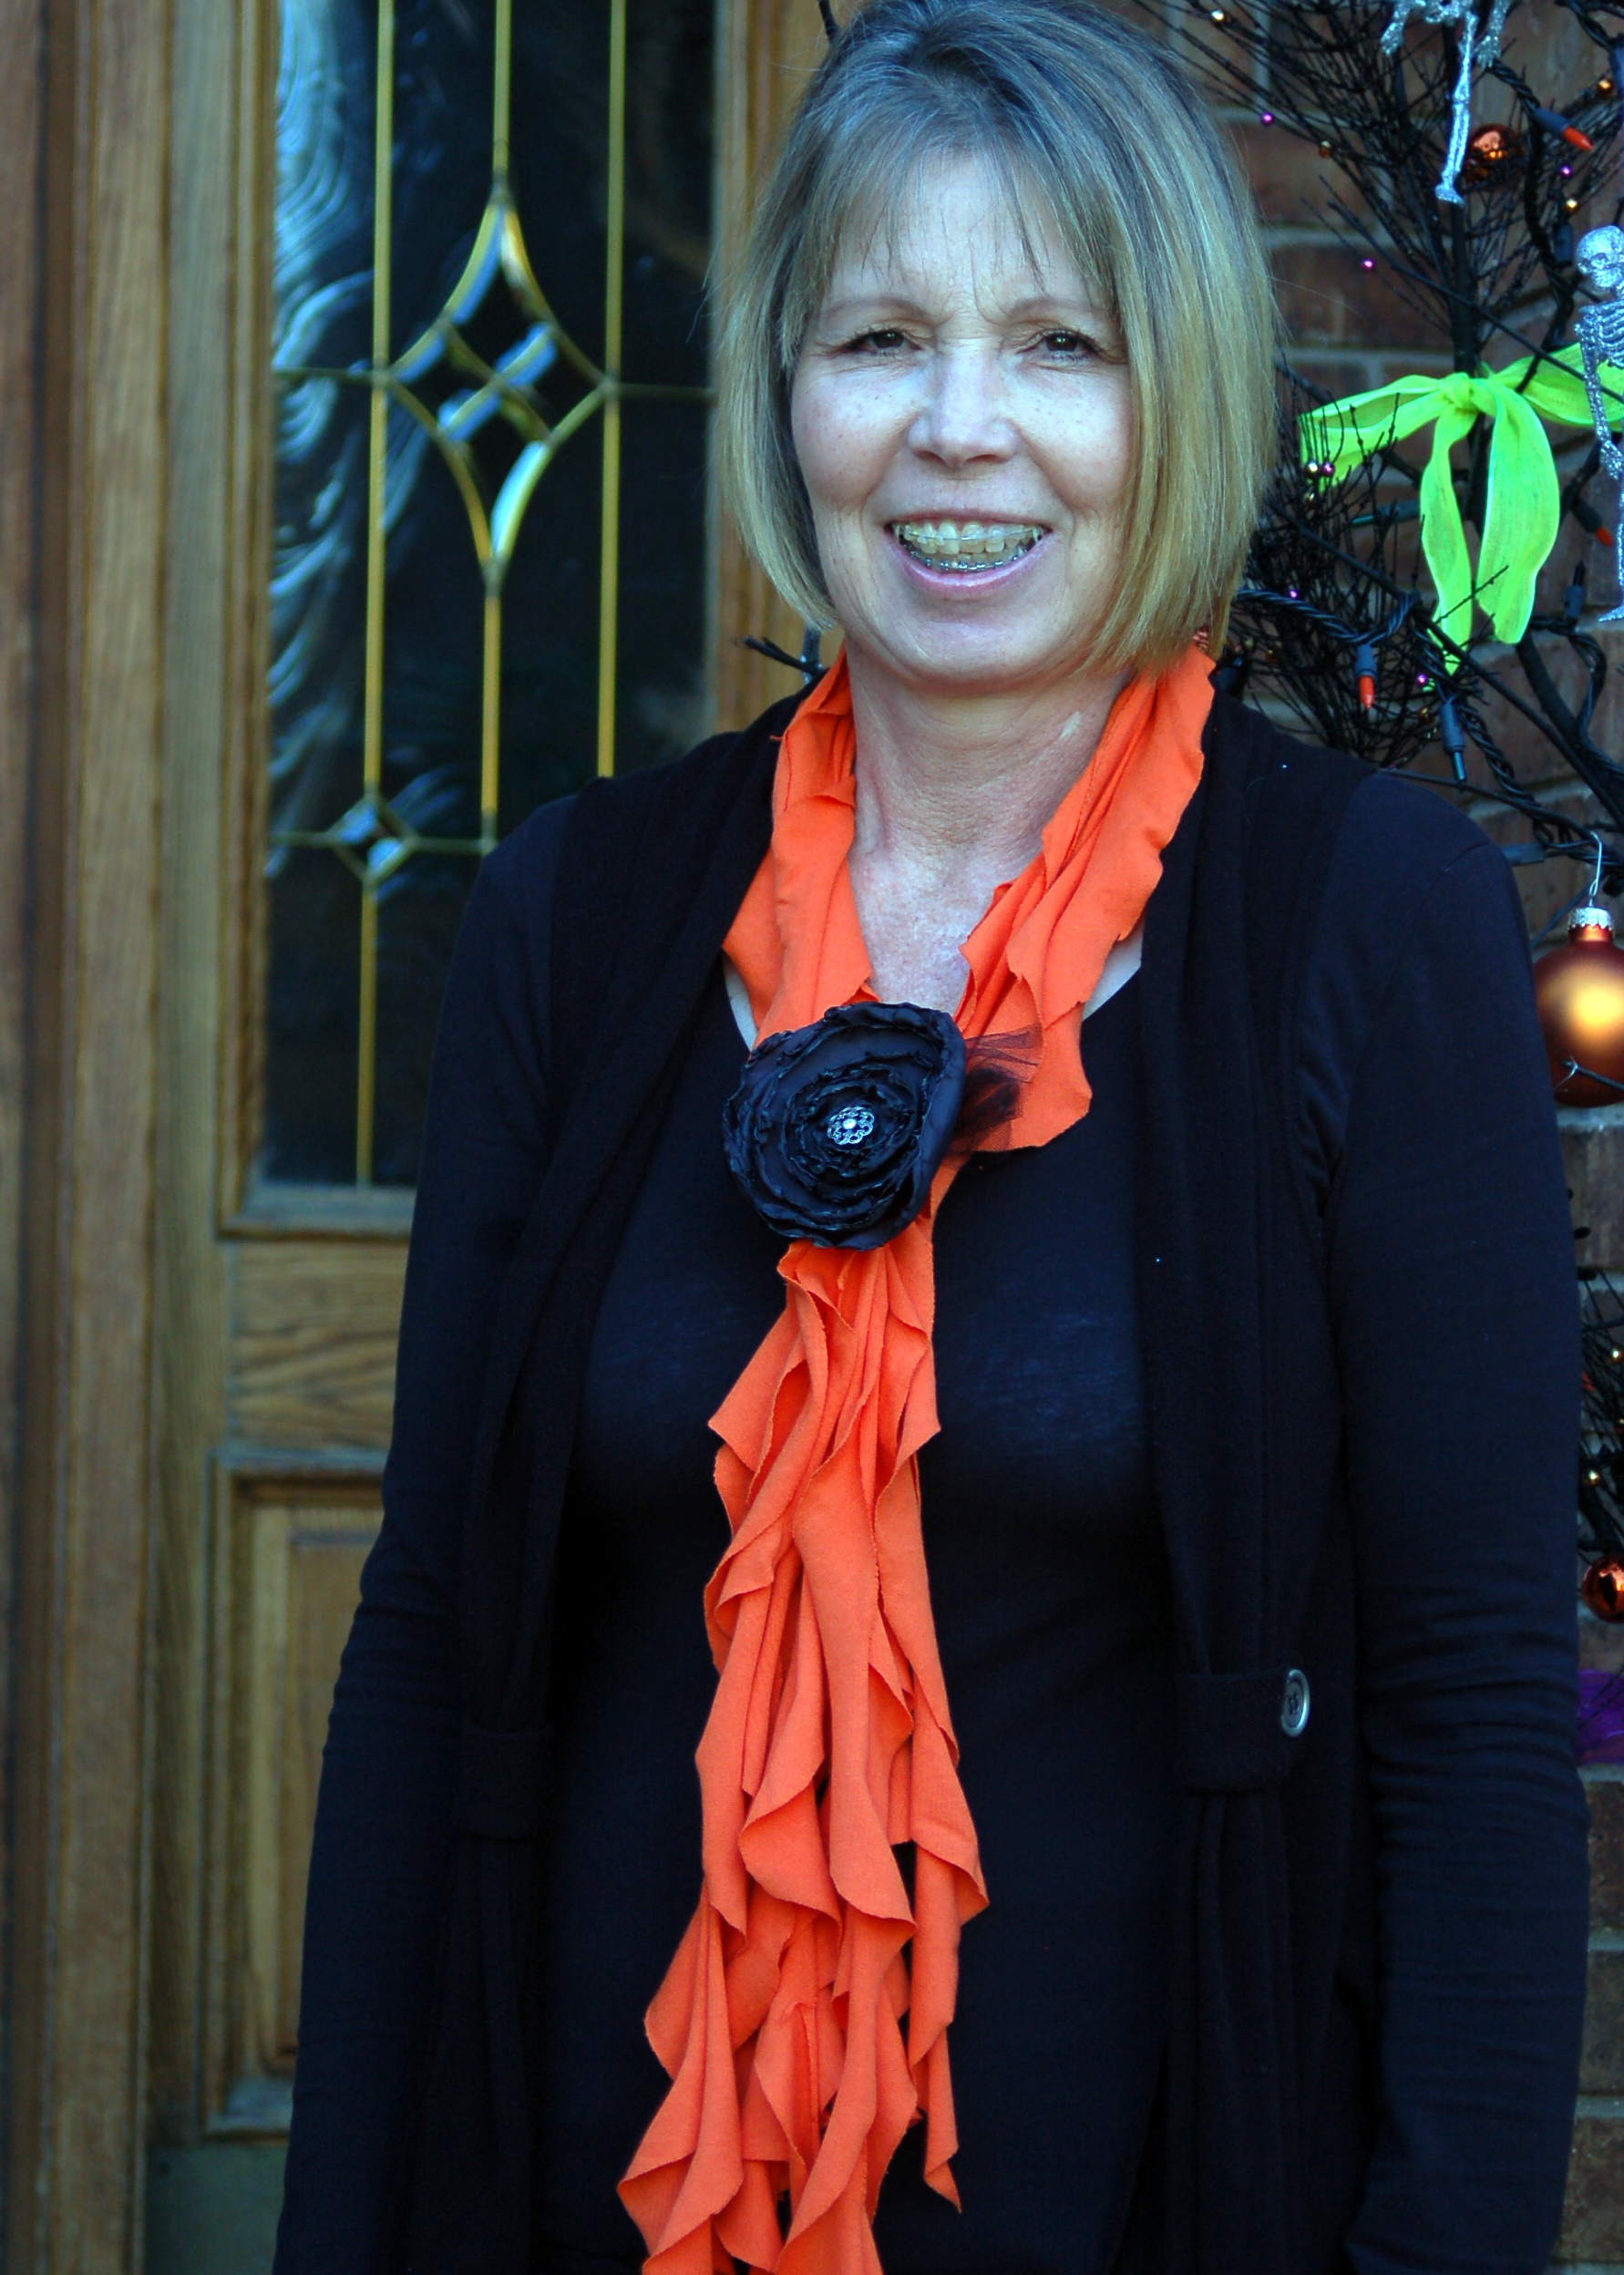
Then you will cut each of the circles into a spiral.We had lots of helpers, this is our littlest princess, (Isn’t she a doll?)This is what the spiral will look like. Then Just stretch each spiral out and pull along the length of it to curl the edges. That is what makes the ruffles.  I forgot to take a picture of the next step, but just take two pieces and glue together end to end with fabric glue, to make a long strip.  Let dry, then lay all the strips out and using one of the strips, tie them all together in the middle and just let the ends hang down with the rest of the strips.  Easy Peasy and NO SEWING!  These would make darling gifts for the Holidays!  (If you are having a hard time understanding this last step go to the link for a better tutorial.)So what do you thiink?  Do you want to try one now?I added a cute little pin to mine and this is about as dressed up as I will get for Halloween!
If you try this out I would love to see what you have done!  What other crafty things have you been doing?

Fun Craft Night with… Landee See Landee Do!

Last weekend my friend Sharee and I went to Bountiful for a fun craft night with Landee from Landee See Landee Do.  She is a cute, fun, energetic girl, and was so sweet and kind to us.  She has a darling blog and you really should check it out!

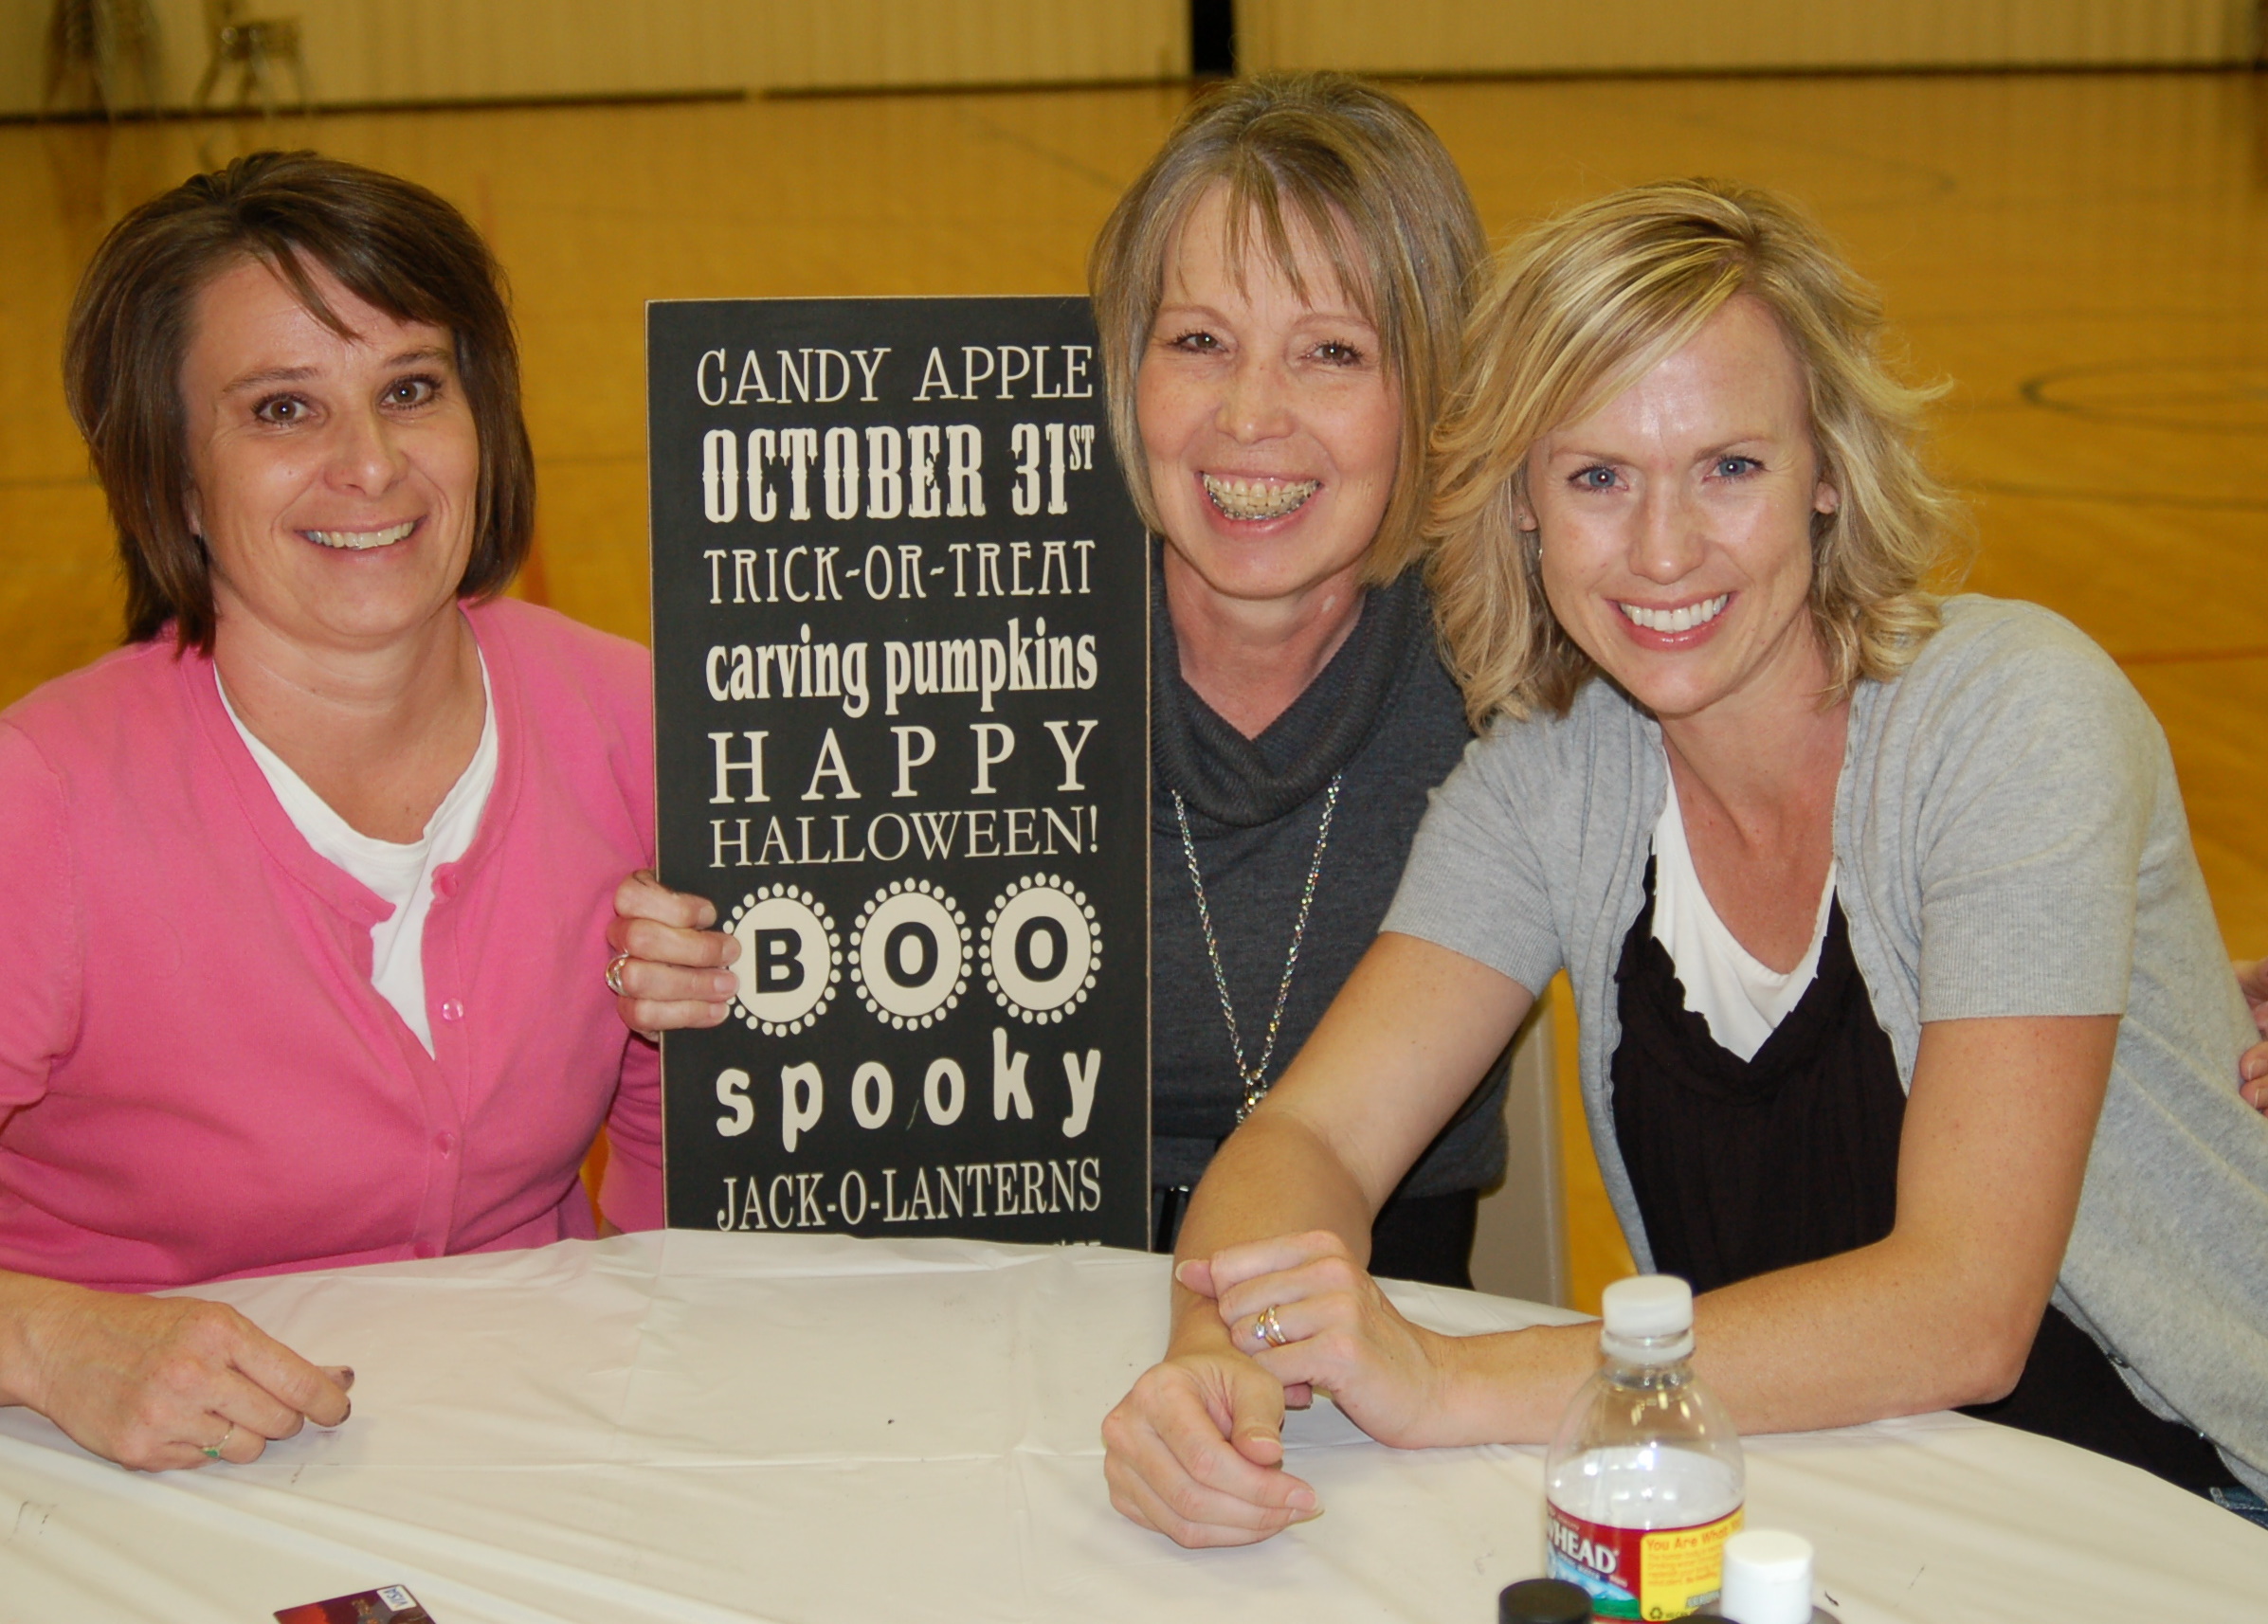
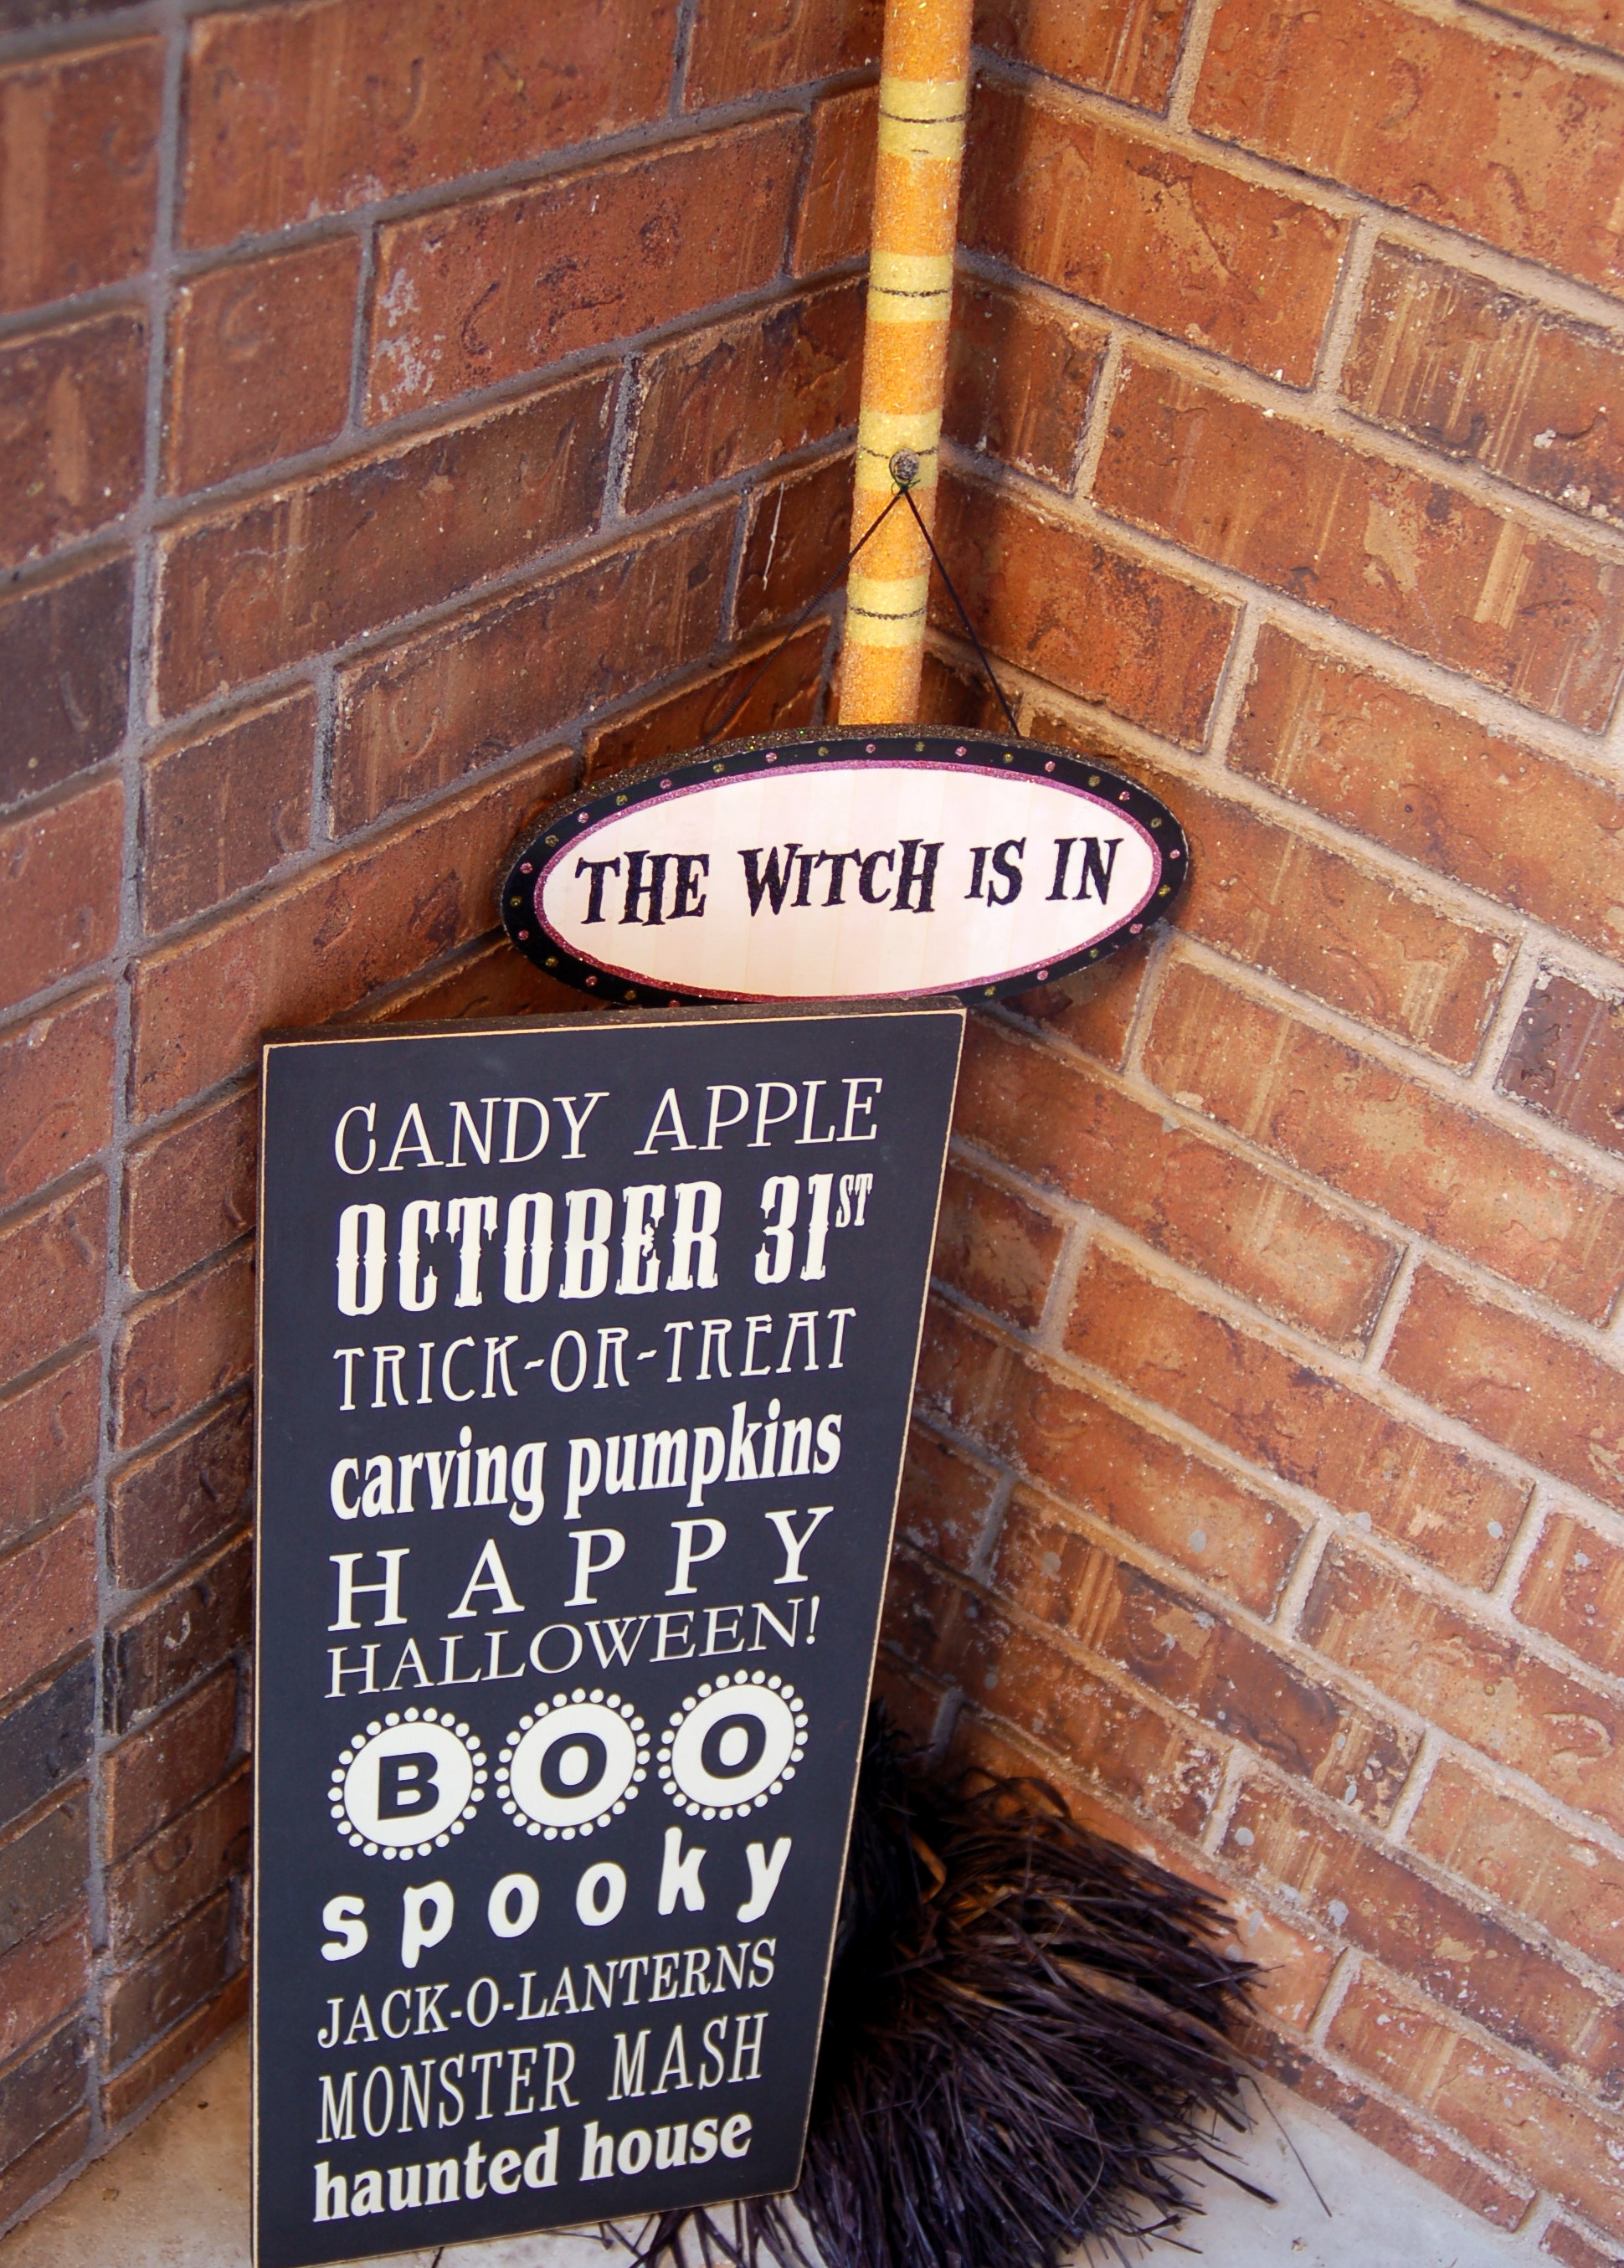
We made these darling subway art boards. Sharee’s daughter met us there for a little while, she is at Weber State going to school and she had her mom bring her a few necessities…like homemade cookies!

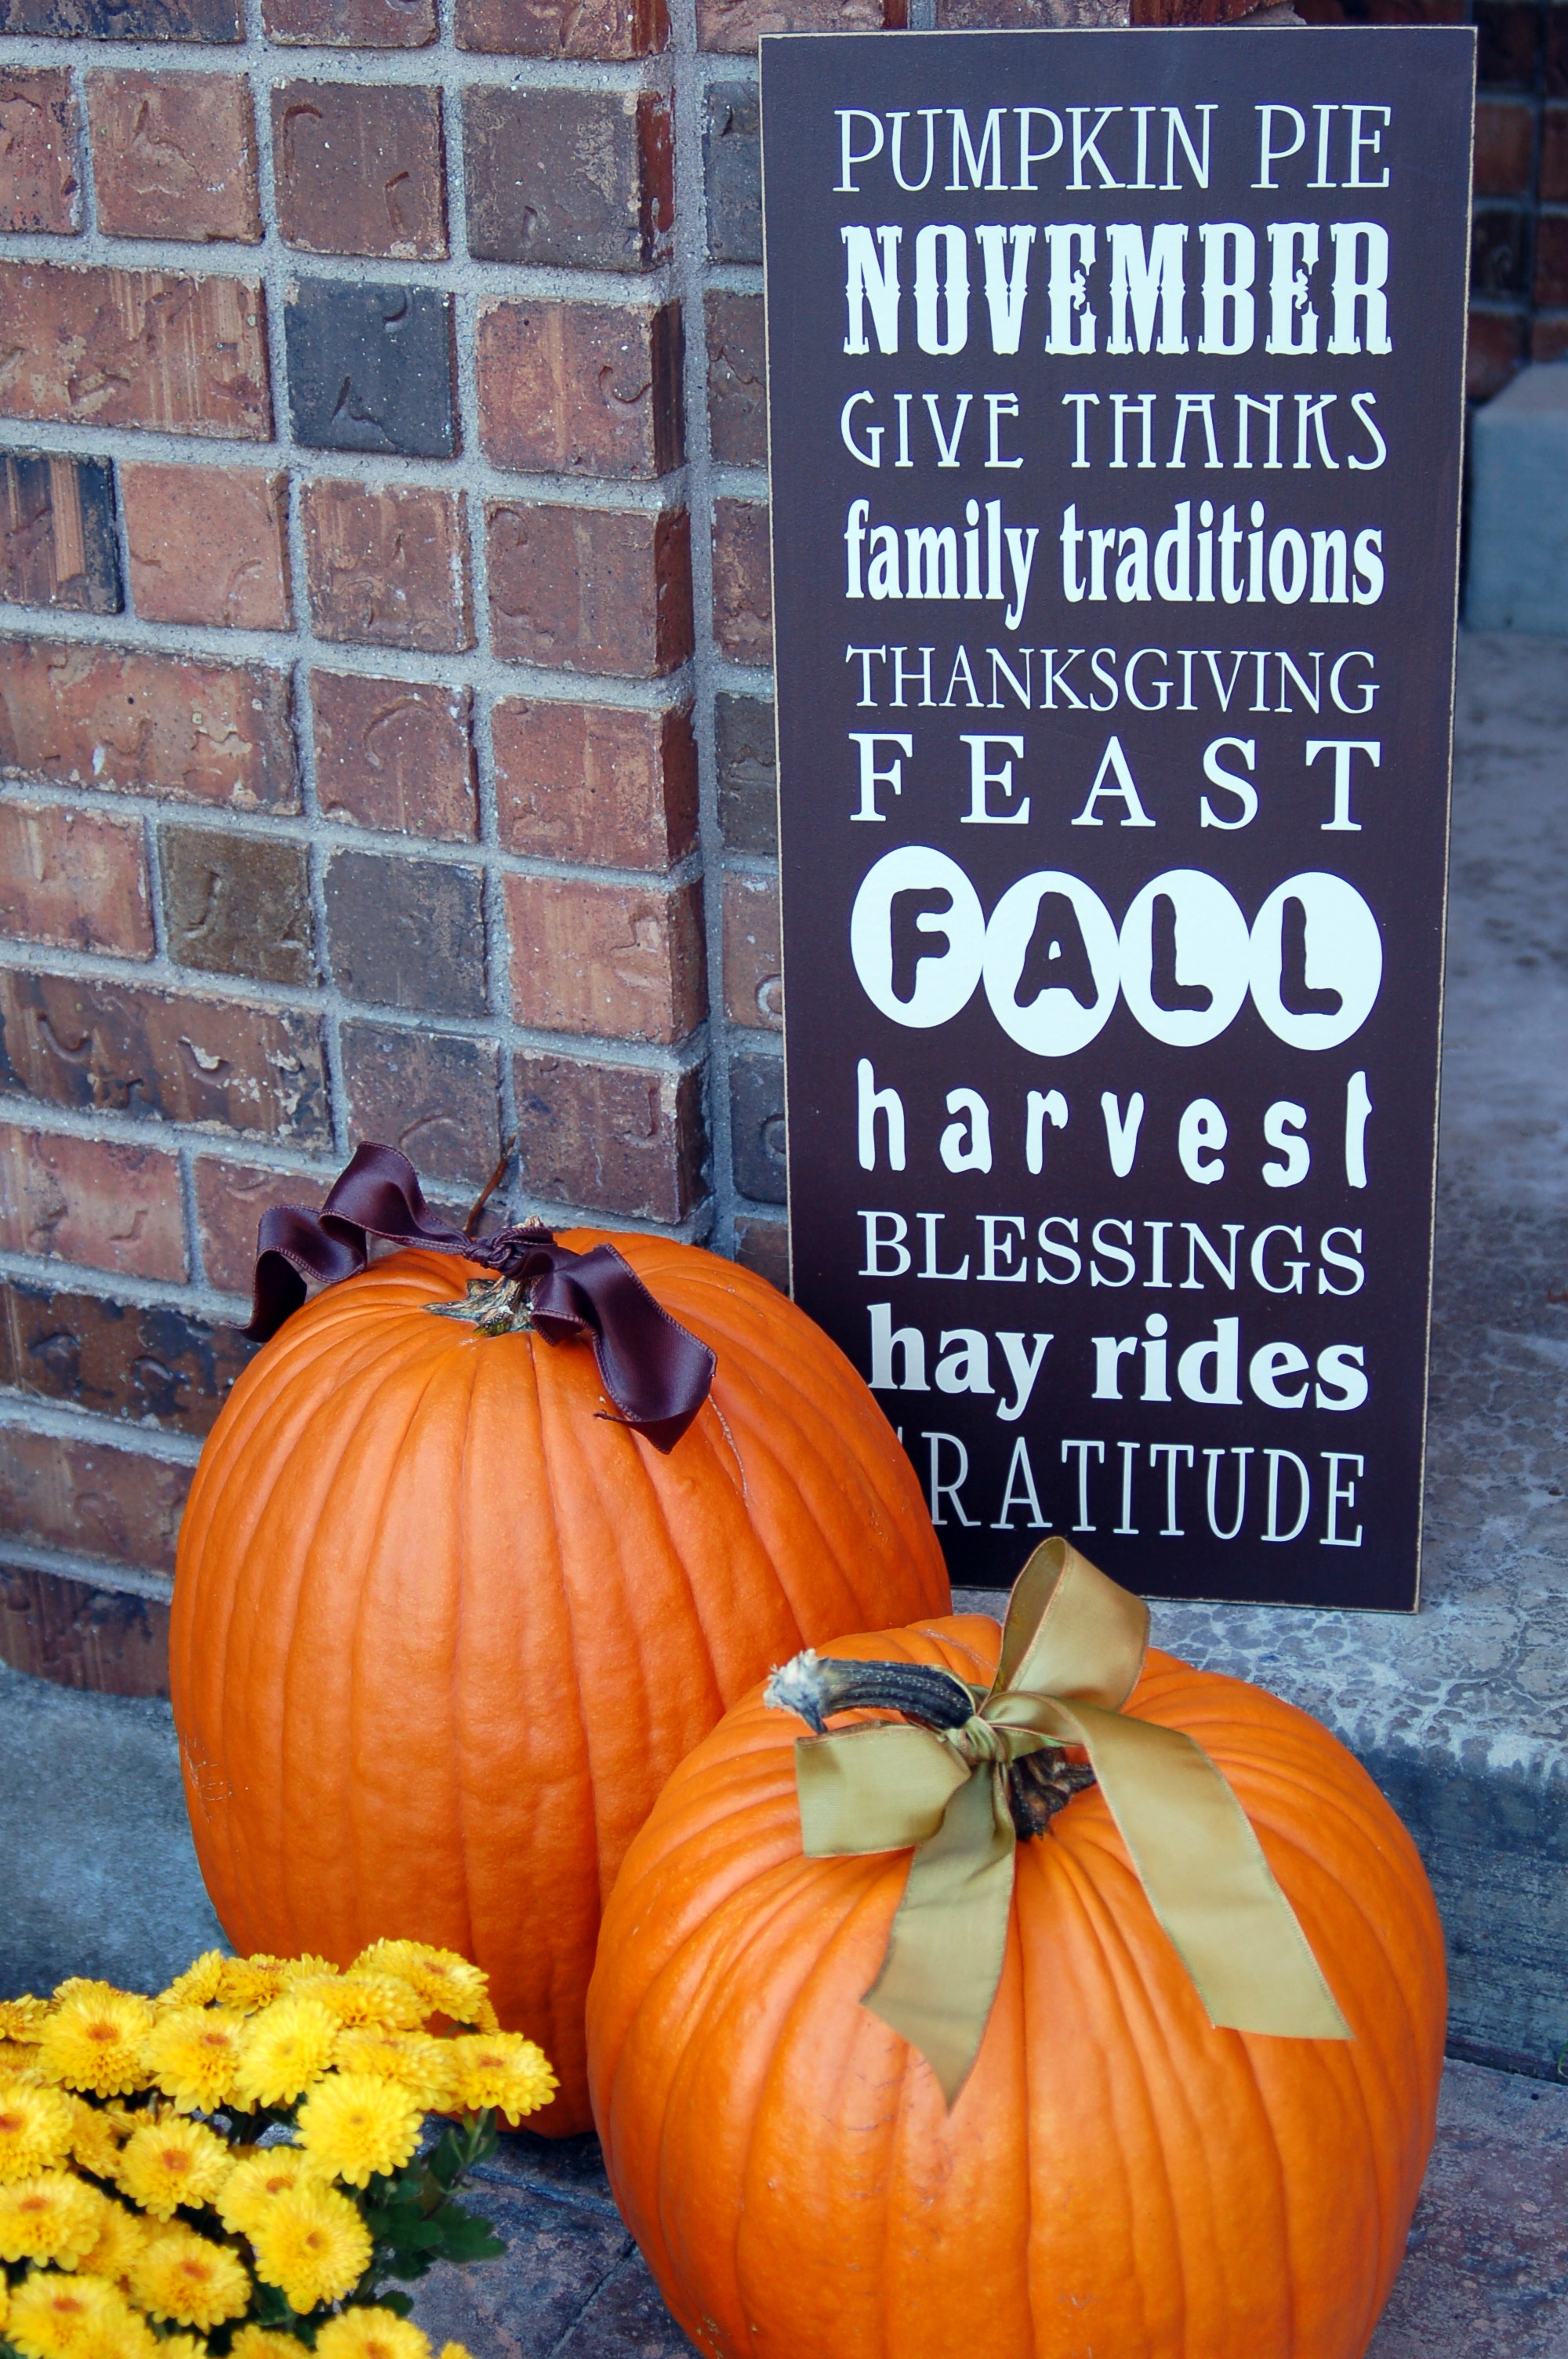
Sharee and I had so much fun on our girl’s night out.  You would think that we had not seen each other in months, the way we talked all night long.  Never a dull moment!  I love that this board is double-sided!  It makes for better storage…one board, two holidays, you can’t beat that!

This is the Halloween side.This is the Thanksgiving side.  I love it!

Thanks Sharee and Landee for a fun evening!

Pumpkin planter aka “Mumkin”

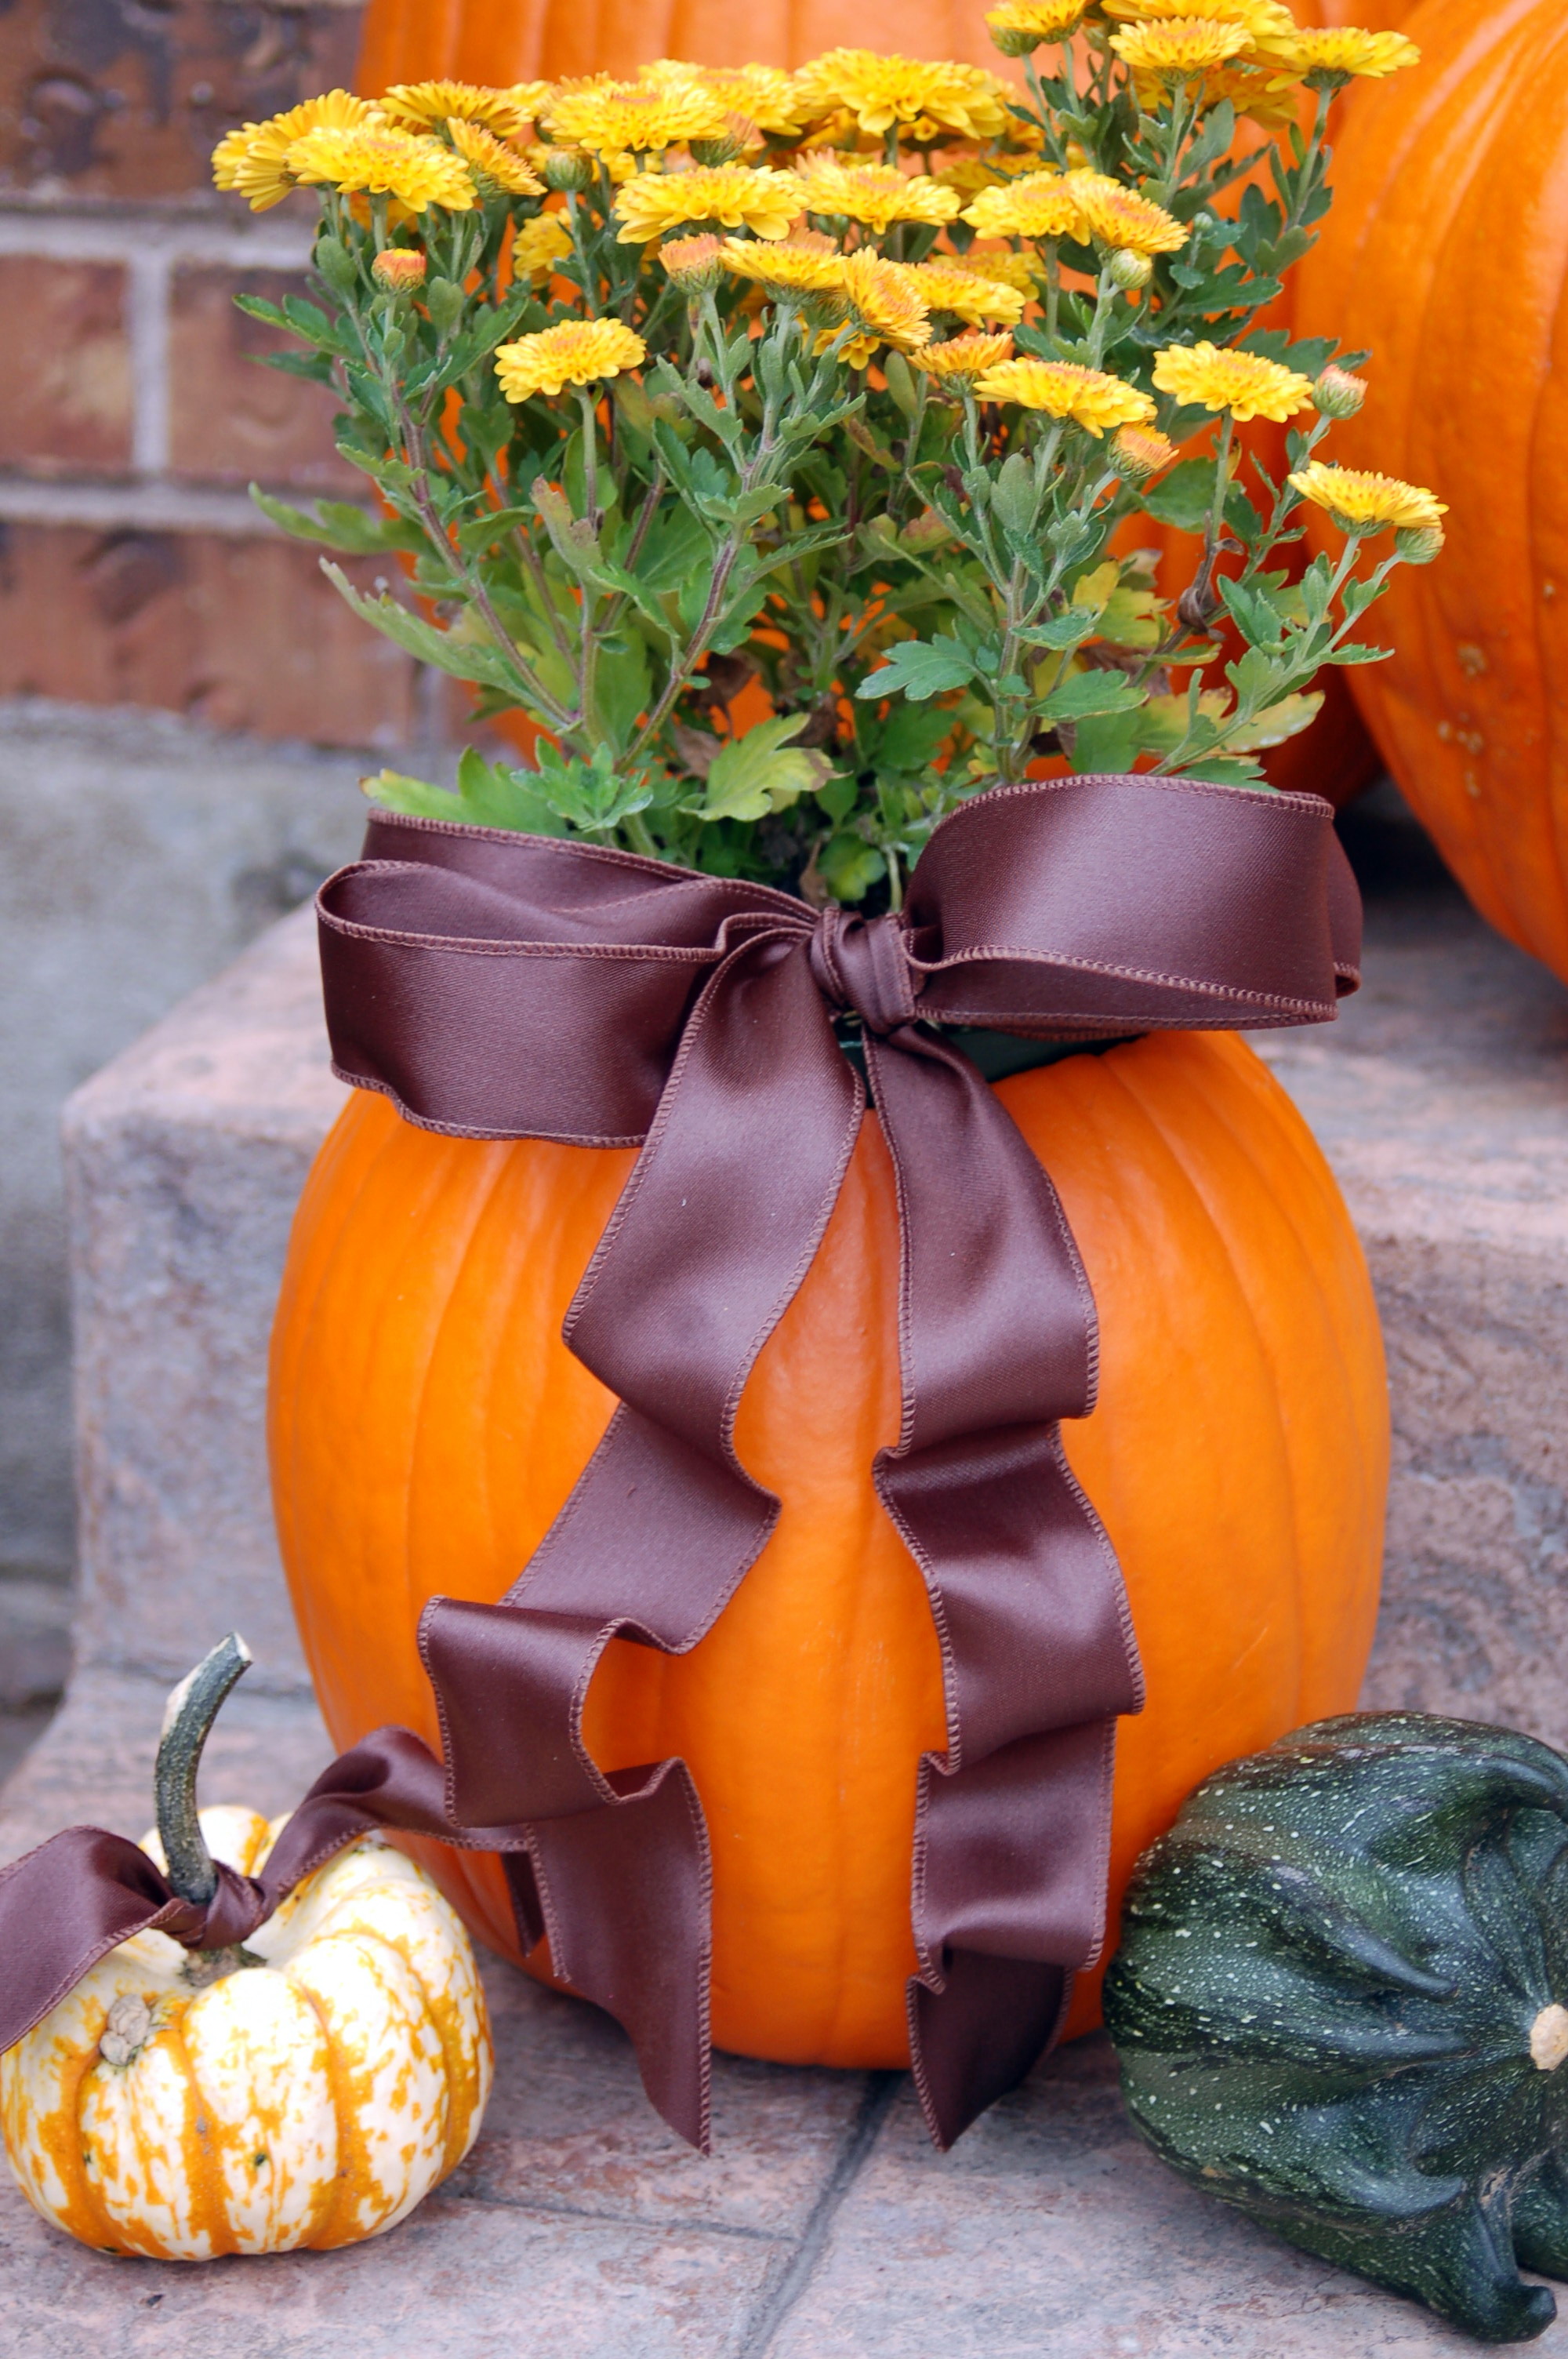
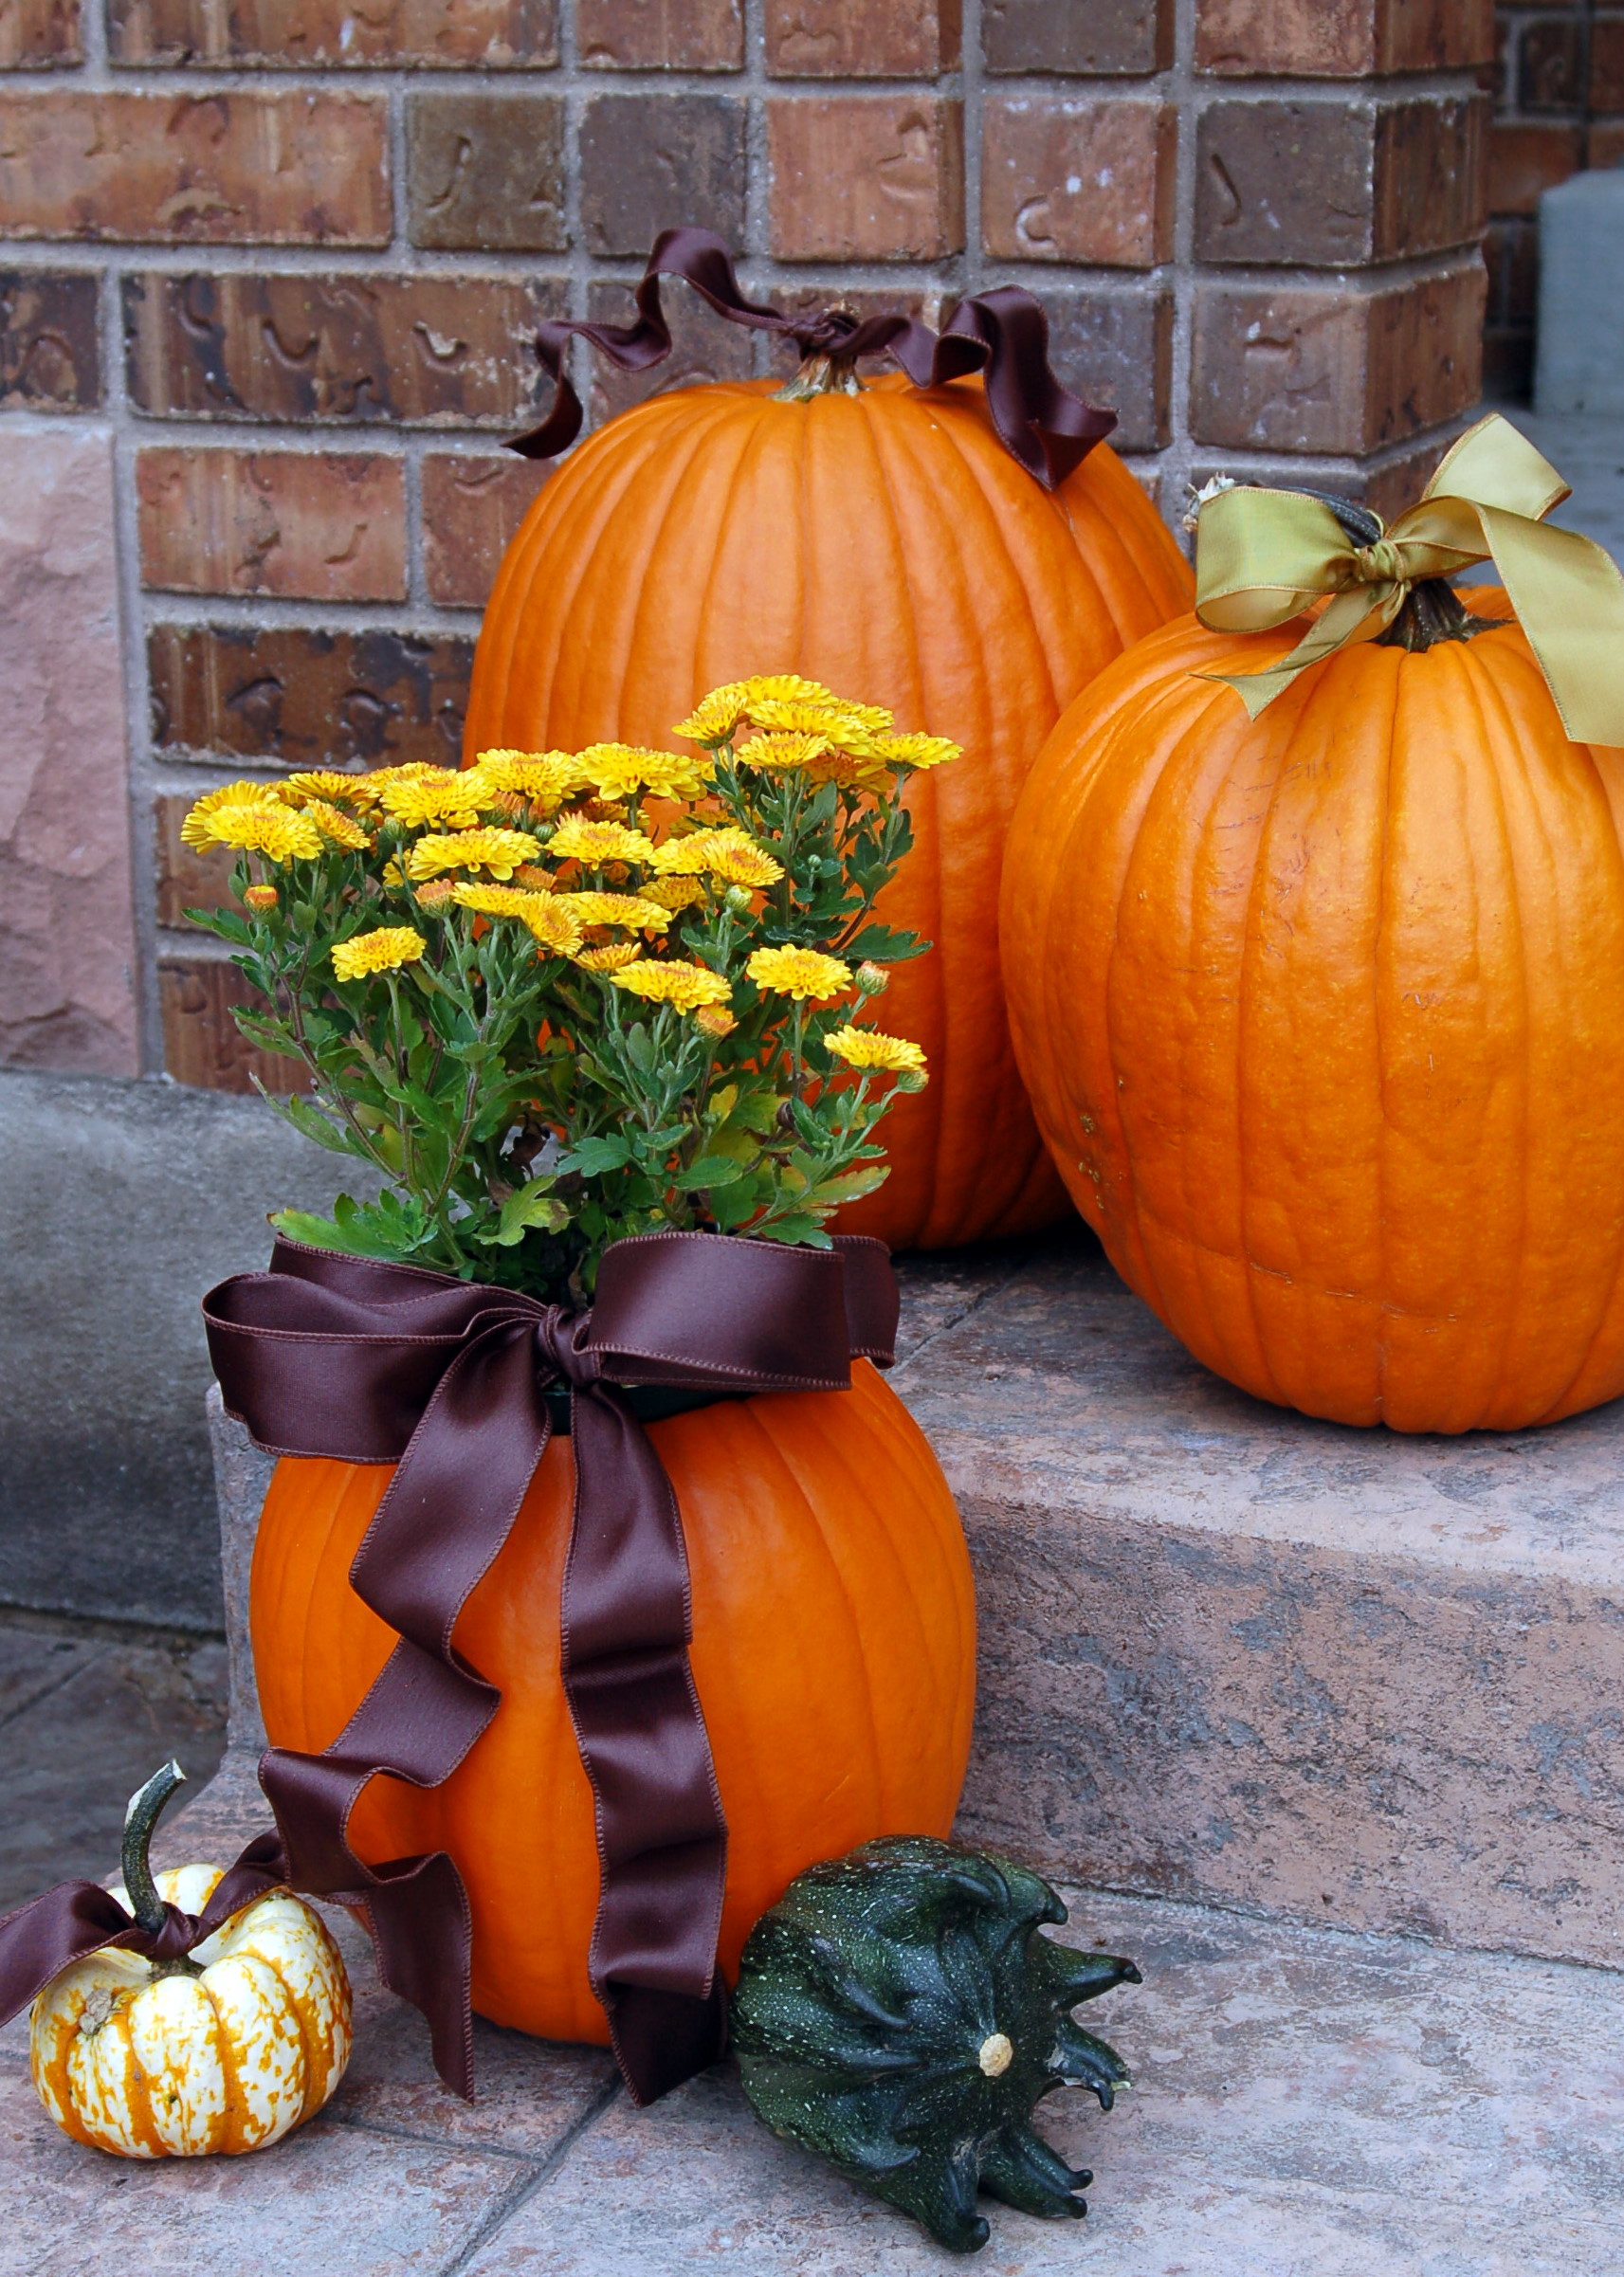
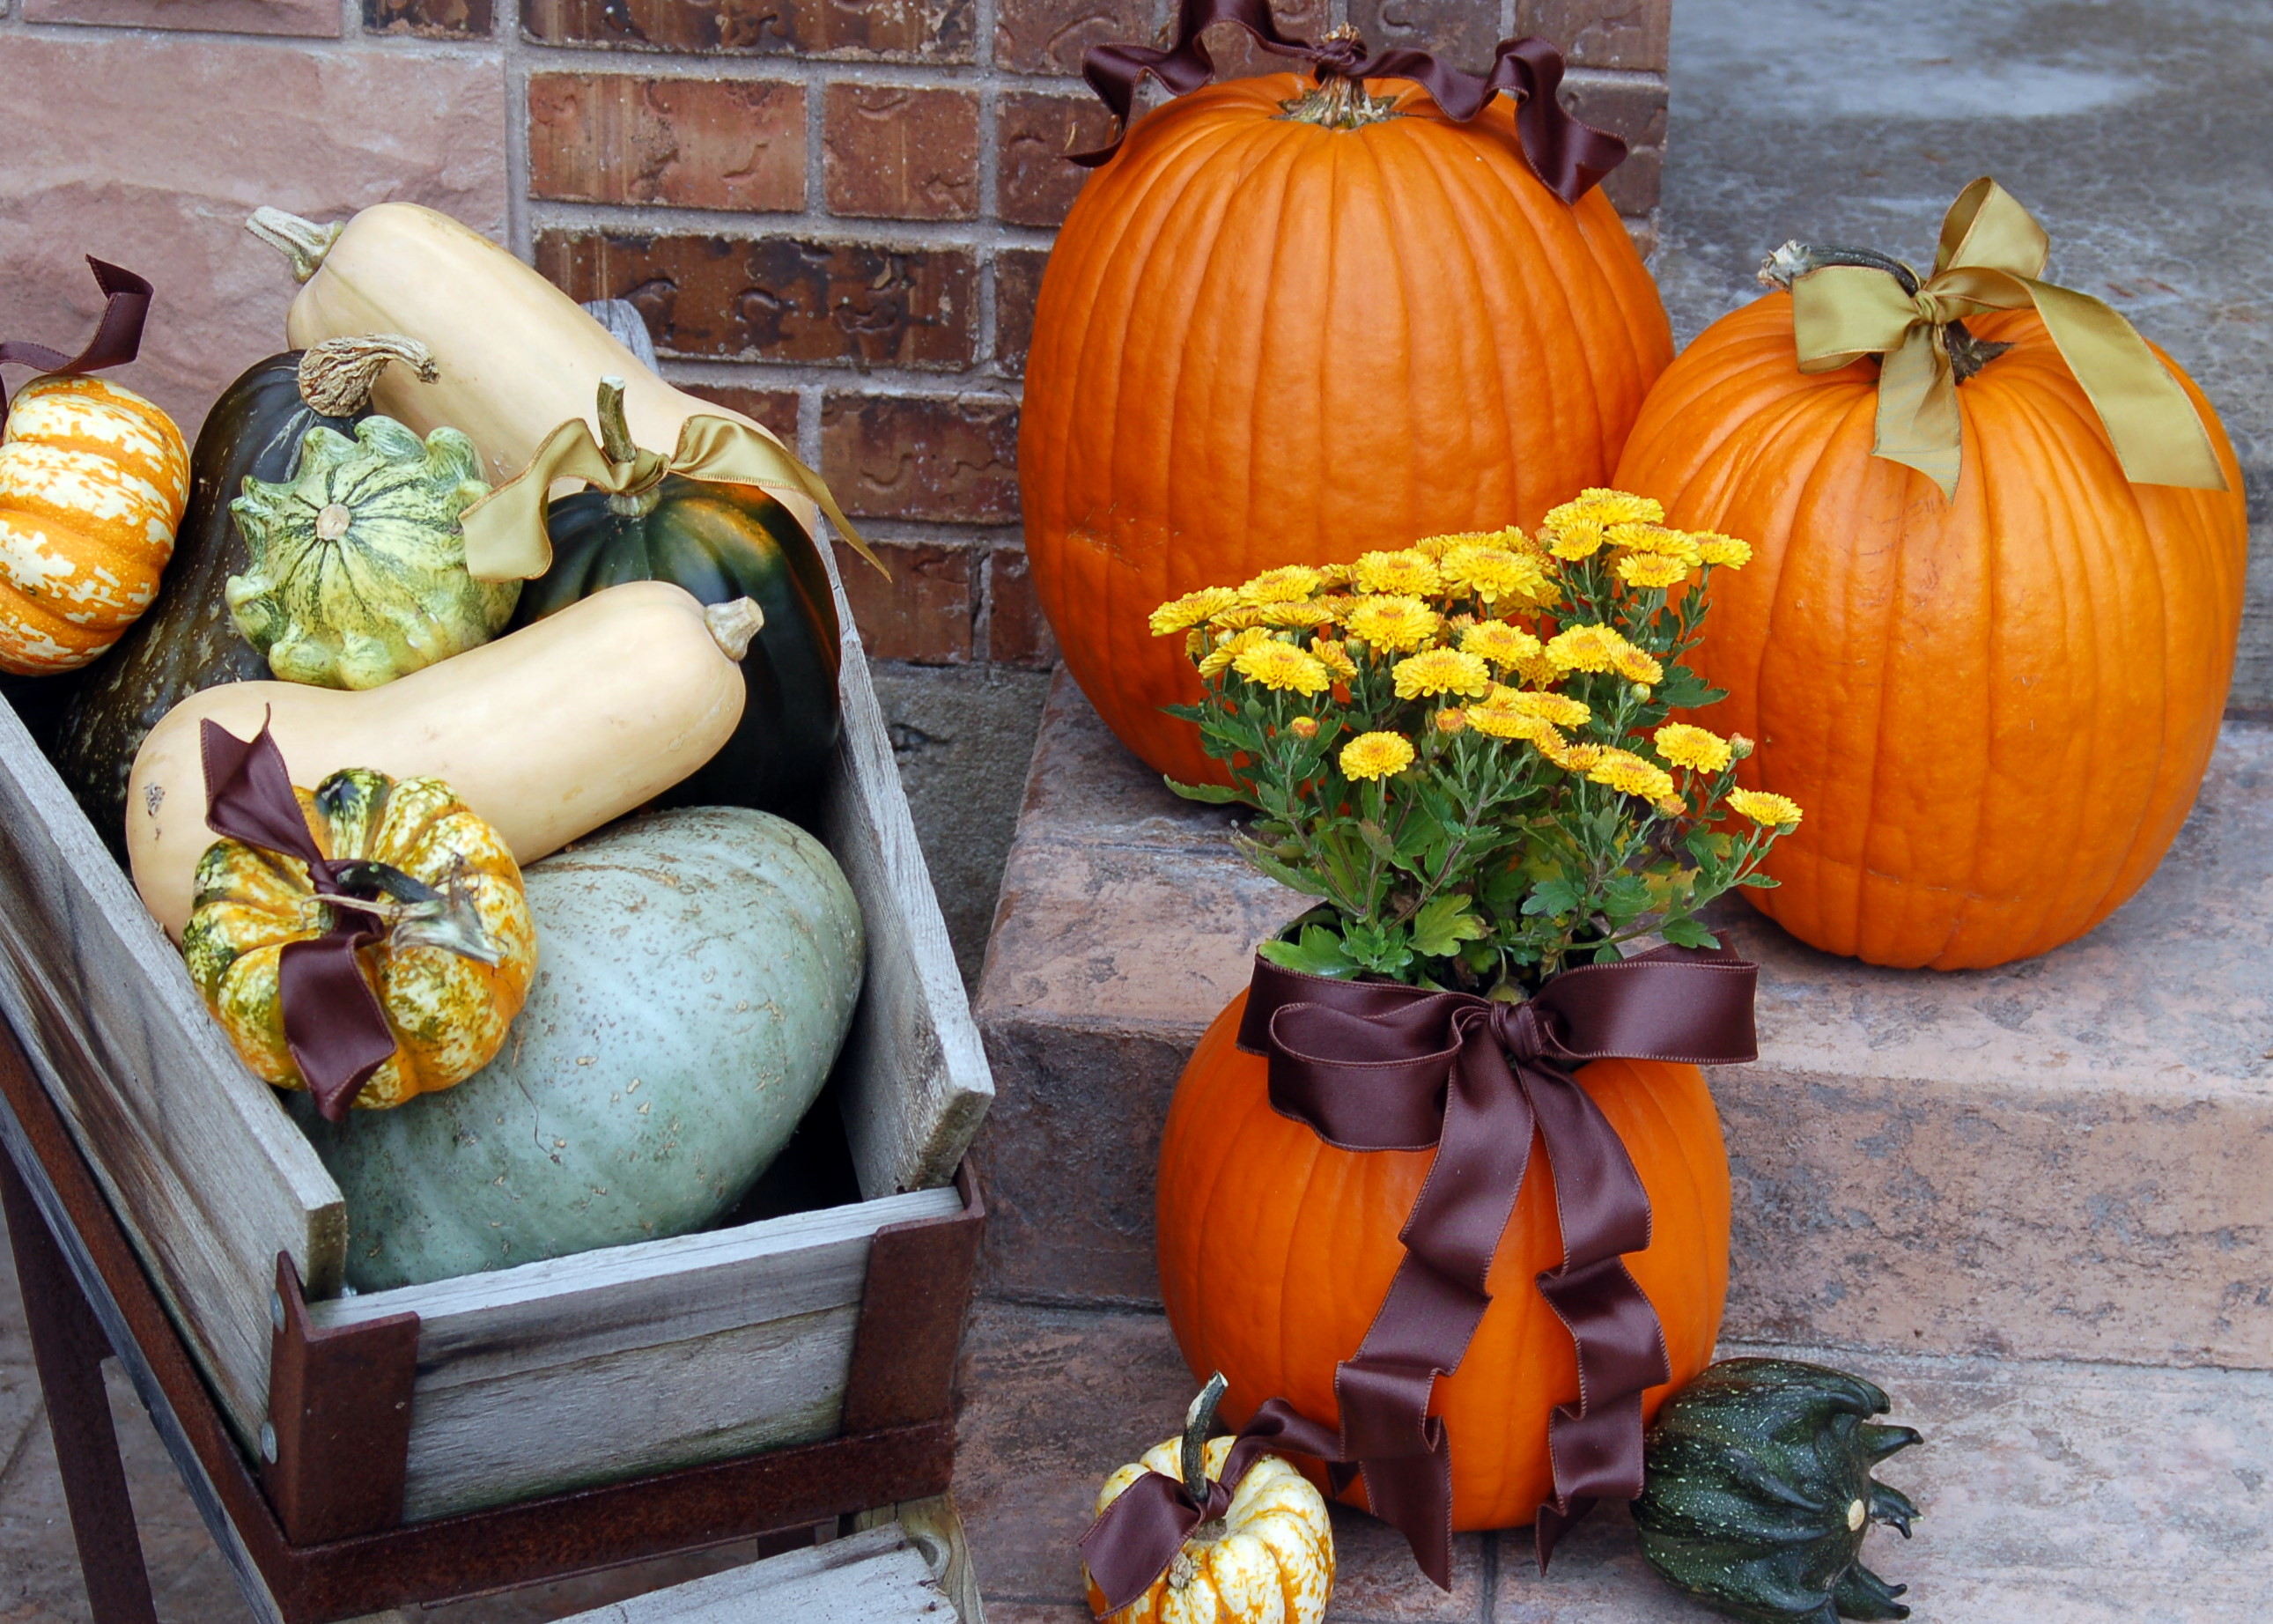
I saw this darling idea on Pinterest and just had to make it. I think they called it a “Mumkin!”All you do is hollow out a pumpkin.  Make the hole in the top big enough to put your pot of flowers in.  After I cleaned out all the guts, (which, by the way, you will want to clean and save all of those seeds, because I have a yummy recipe for roasted pumpkin seeds coming tomorrow!) I filled up my pumpkin with water and added a litle bit of bleach to it.  I let the water run over the edges and down the outside of the pumpkin.  This helps the pumpkin not rot as fast.  Empty the bleach water and let the pumpkin dry out for awhile.  Add your potted plant and a cute bow and waala, you’ve got a darling “Mumkin!”Make sure that you take the pot out of the pumpkin to water it and let it drain good before putting it back in.  I am also going to spray bleach/water to the inside of the pumpkin when I take the pot out to water.  I have heard that your pumpin should last about 2 weeks by doing this.  Then when my pumpkin has finally wilted too much, I will just hollow out a new pumpkin to put my pot in!Add some pretty gourds around it and you have a fun fall arrangement!

Pinterest is a virtual board where you can pin any of your favorite finds on the internet.  If any of you would like to view my boards, you can do it by clicking on the link on the right side of this blog.  If you would like an invite to Pinterest, let me know, but be warned, it is very addictive! :)

Happy fall y’all!

Glutton for Punishment!

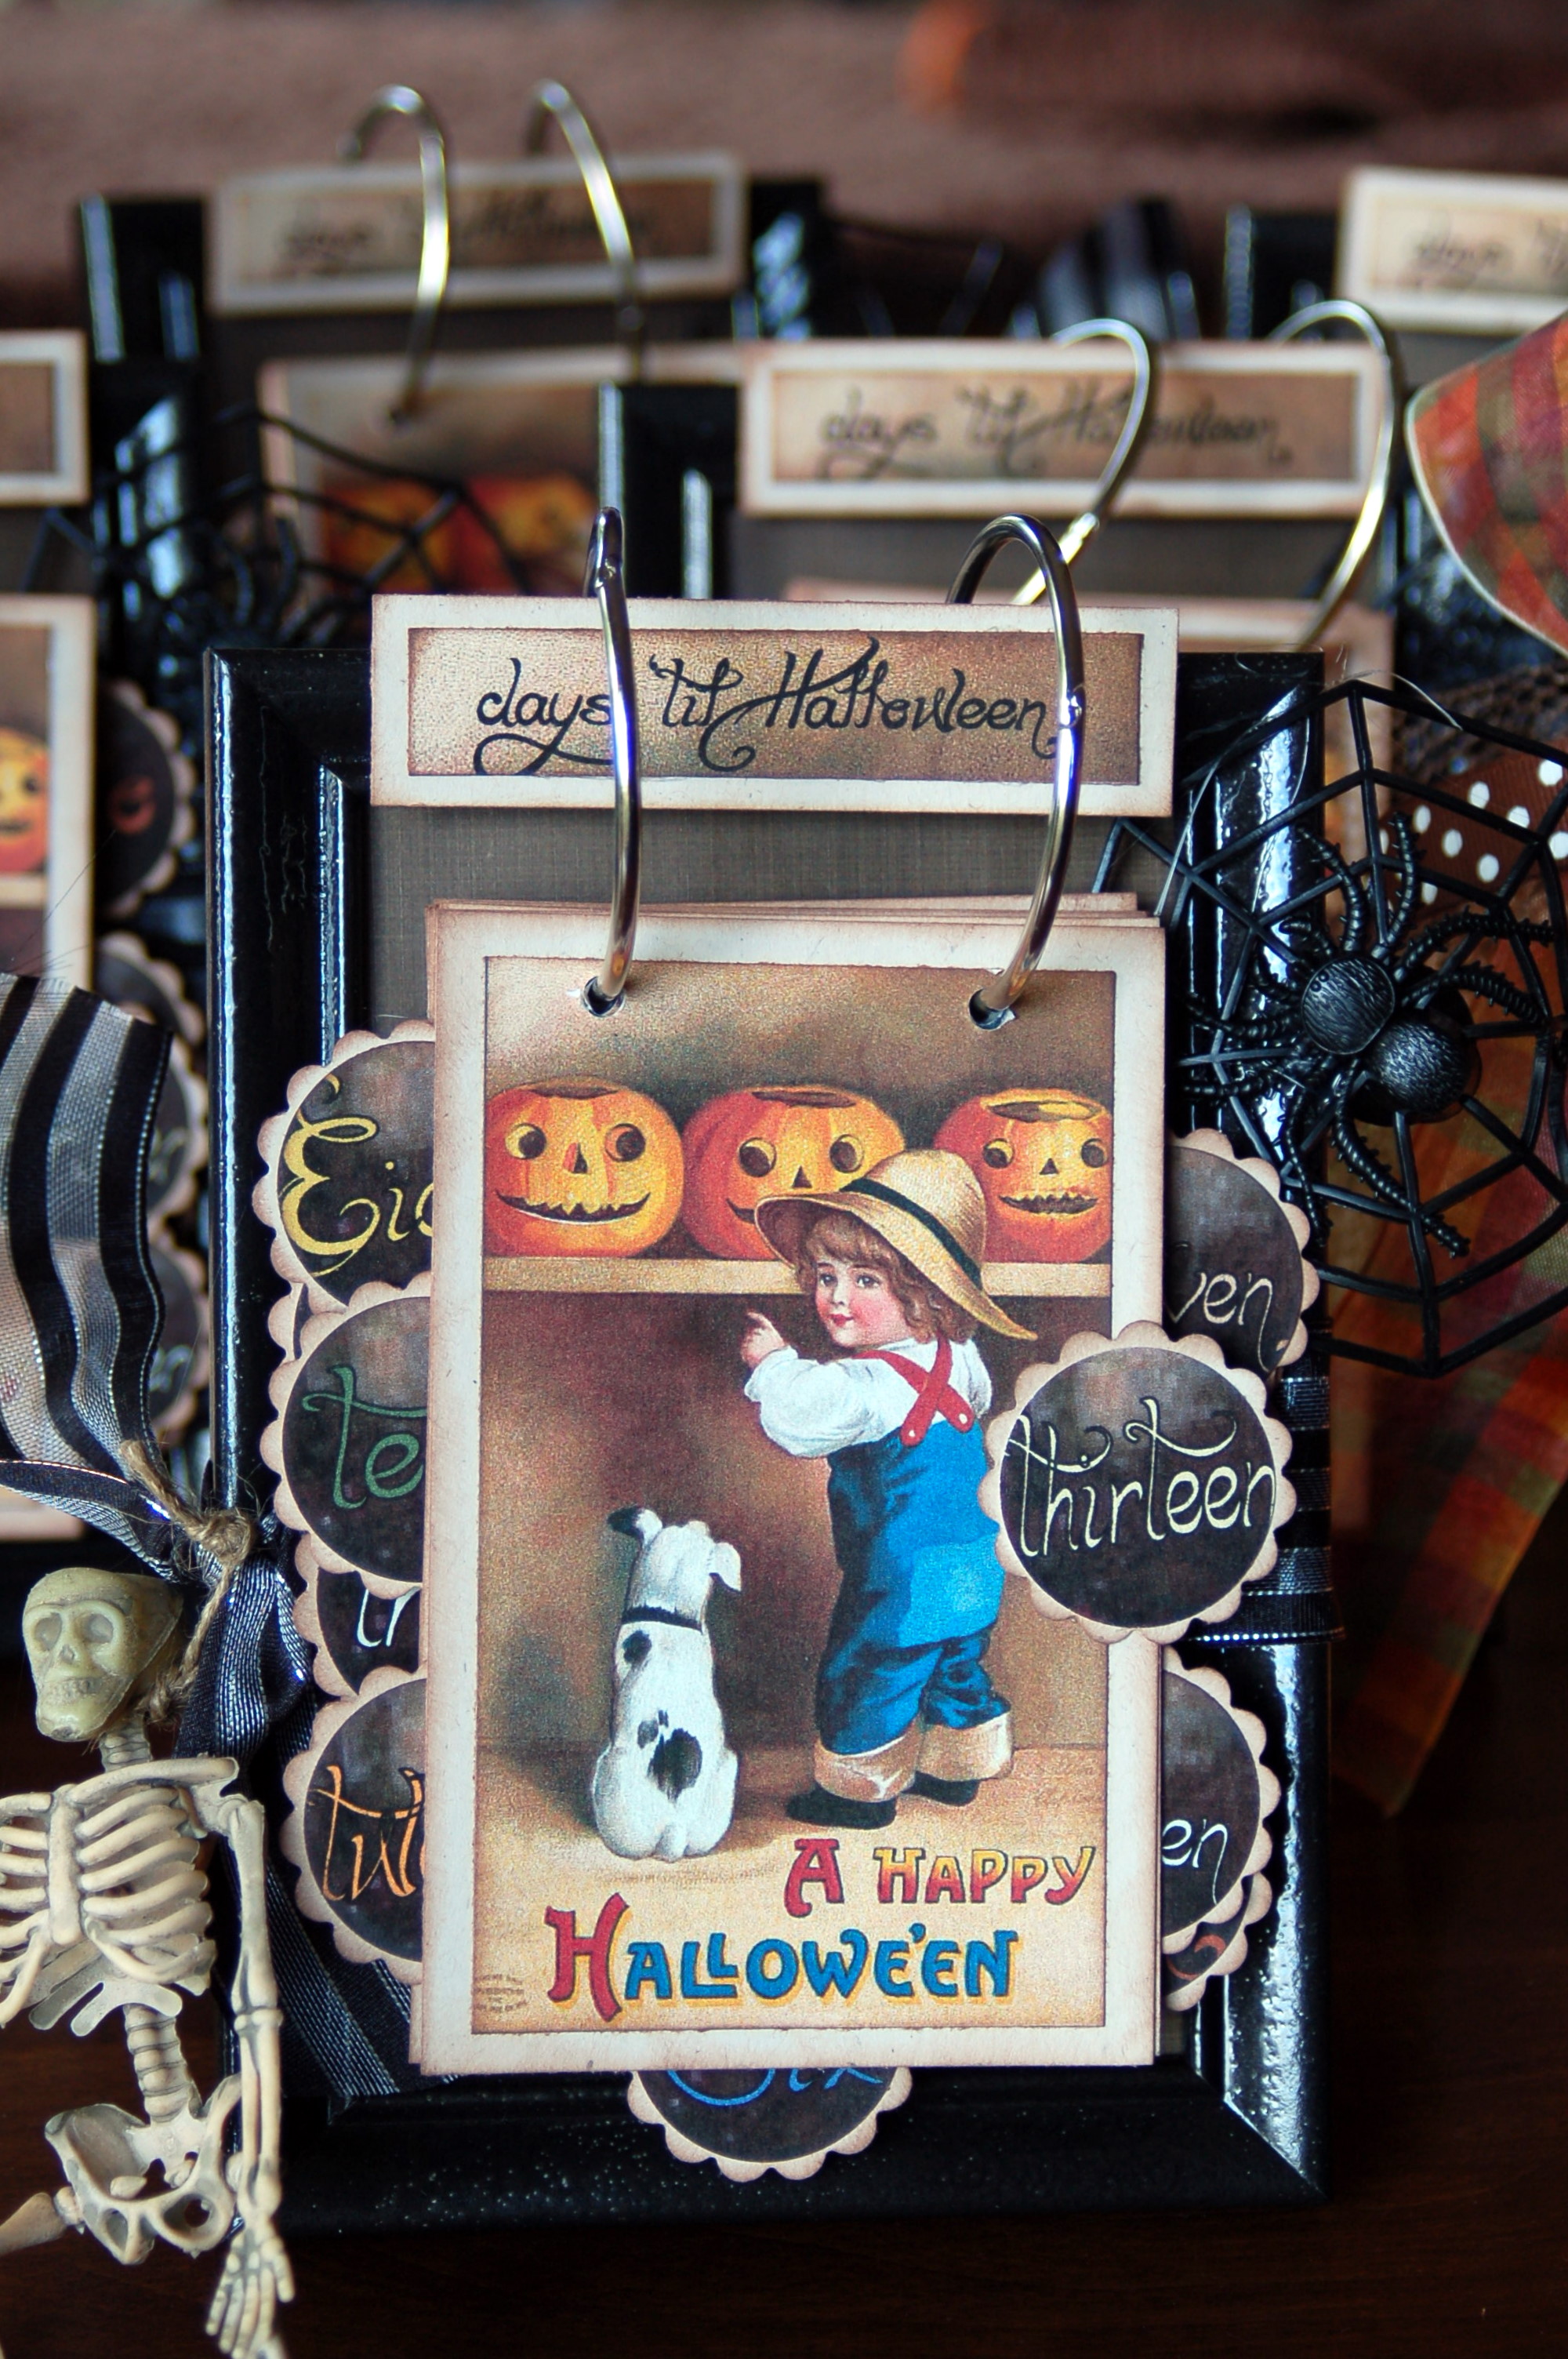
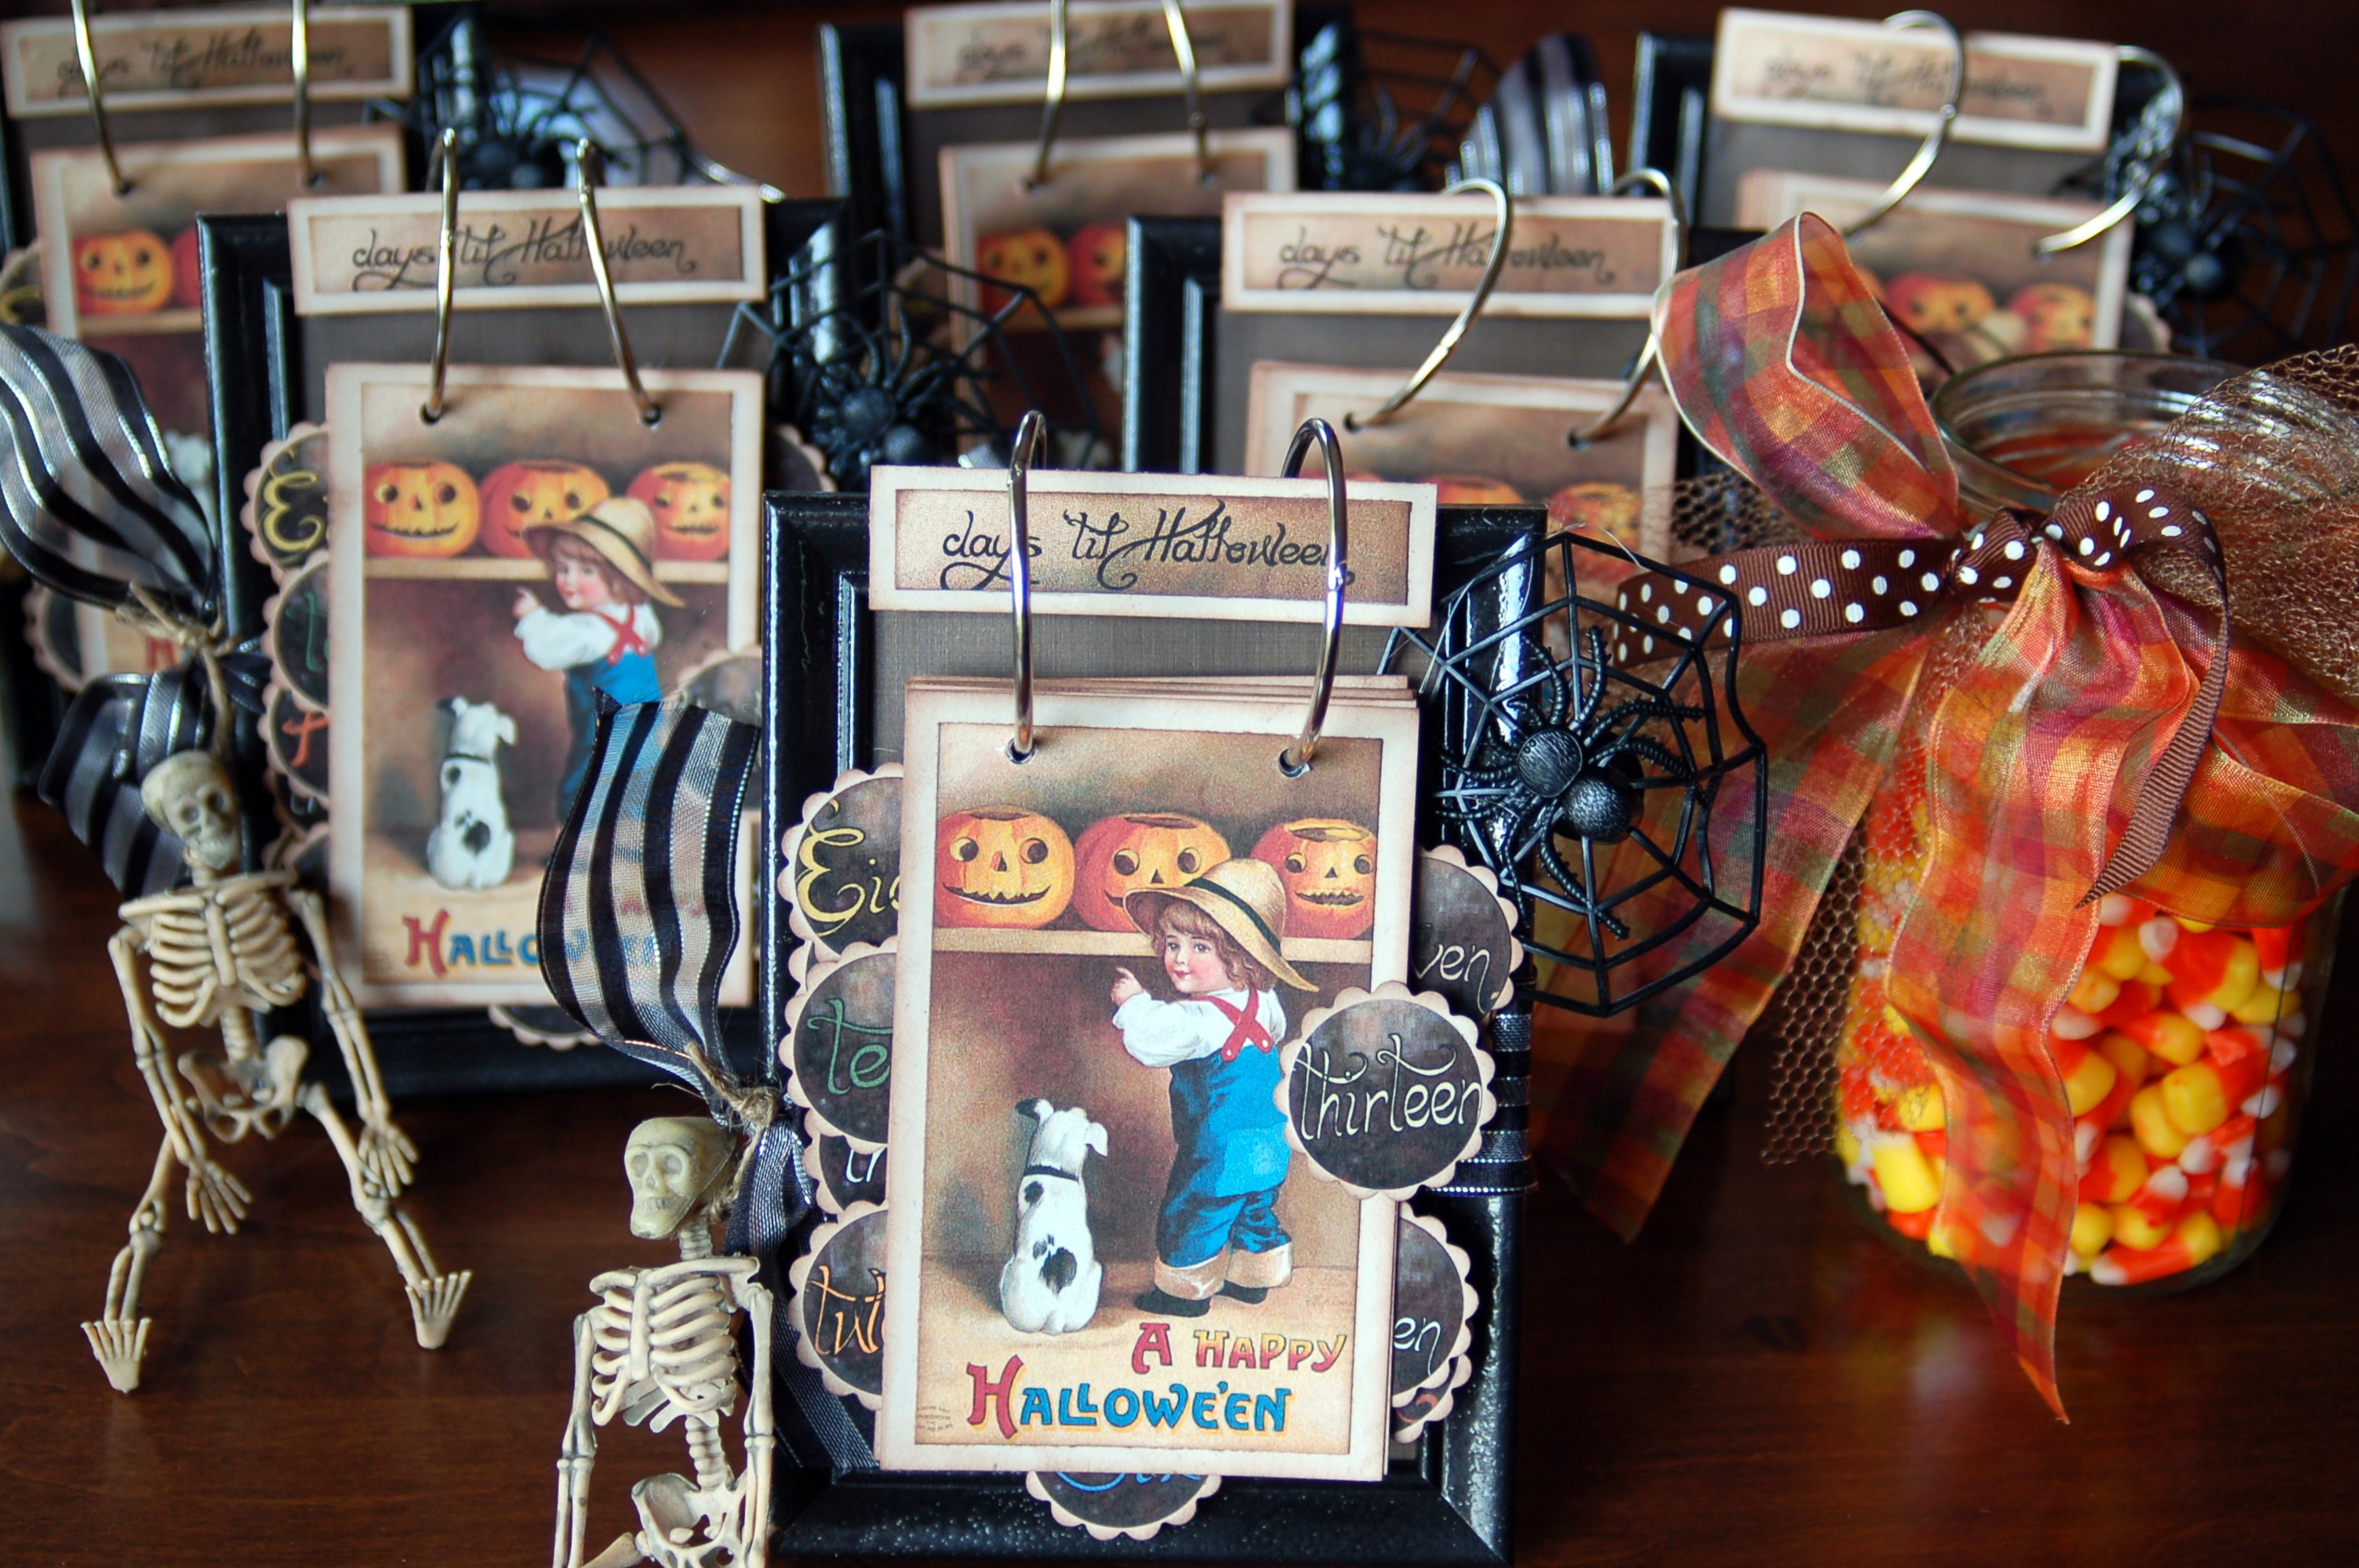
I saw this cute Halloween countdown calendar on Studio 5 the other day and I just knew that I needed to make it!  The problem is…that I can never just make one!  I figured that if I was going to make one, I might as well make six!  I made one for me and for each of the girls, and then I figured I might as well make an extra one just in case…   like the title says-

I am just a Glutton for Punishment!

But really and truly they were so cute and so easy that I am glad that I was able to make all of them!

It is a thirteen day countdown so you still have time to make one. If you would like to make your own, (or maybe you are a glutton too, and will want to make multiples!) you will need to go here for a free download of all the vintage prints and the numbers.  Kelly even has very detailed intructions on how to put it all together. She is a very talented crafter and I am so thankful that she was willing to share with all of us! I noticed on her blog that she will be on Studio 5 again on Wed,Oct 19th, making paper pumpkins. It will be fun to see what she will make this time!

Happy crafting!

Halloween Tree

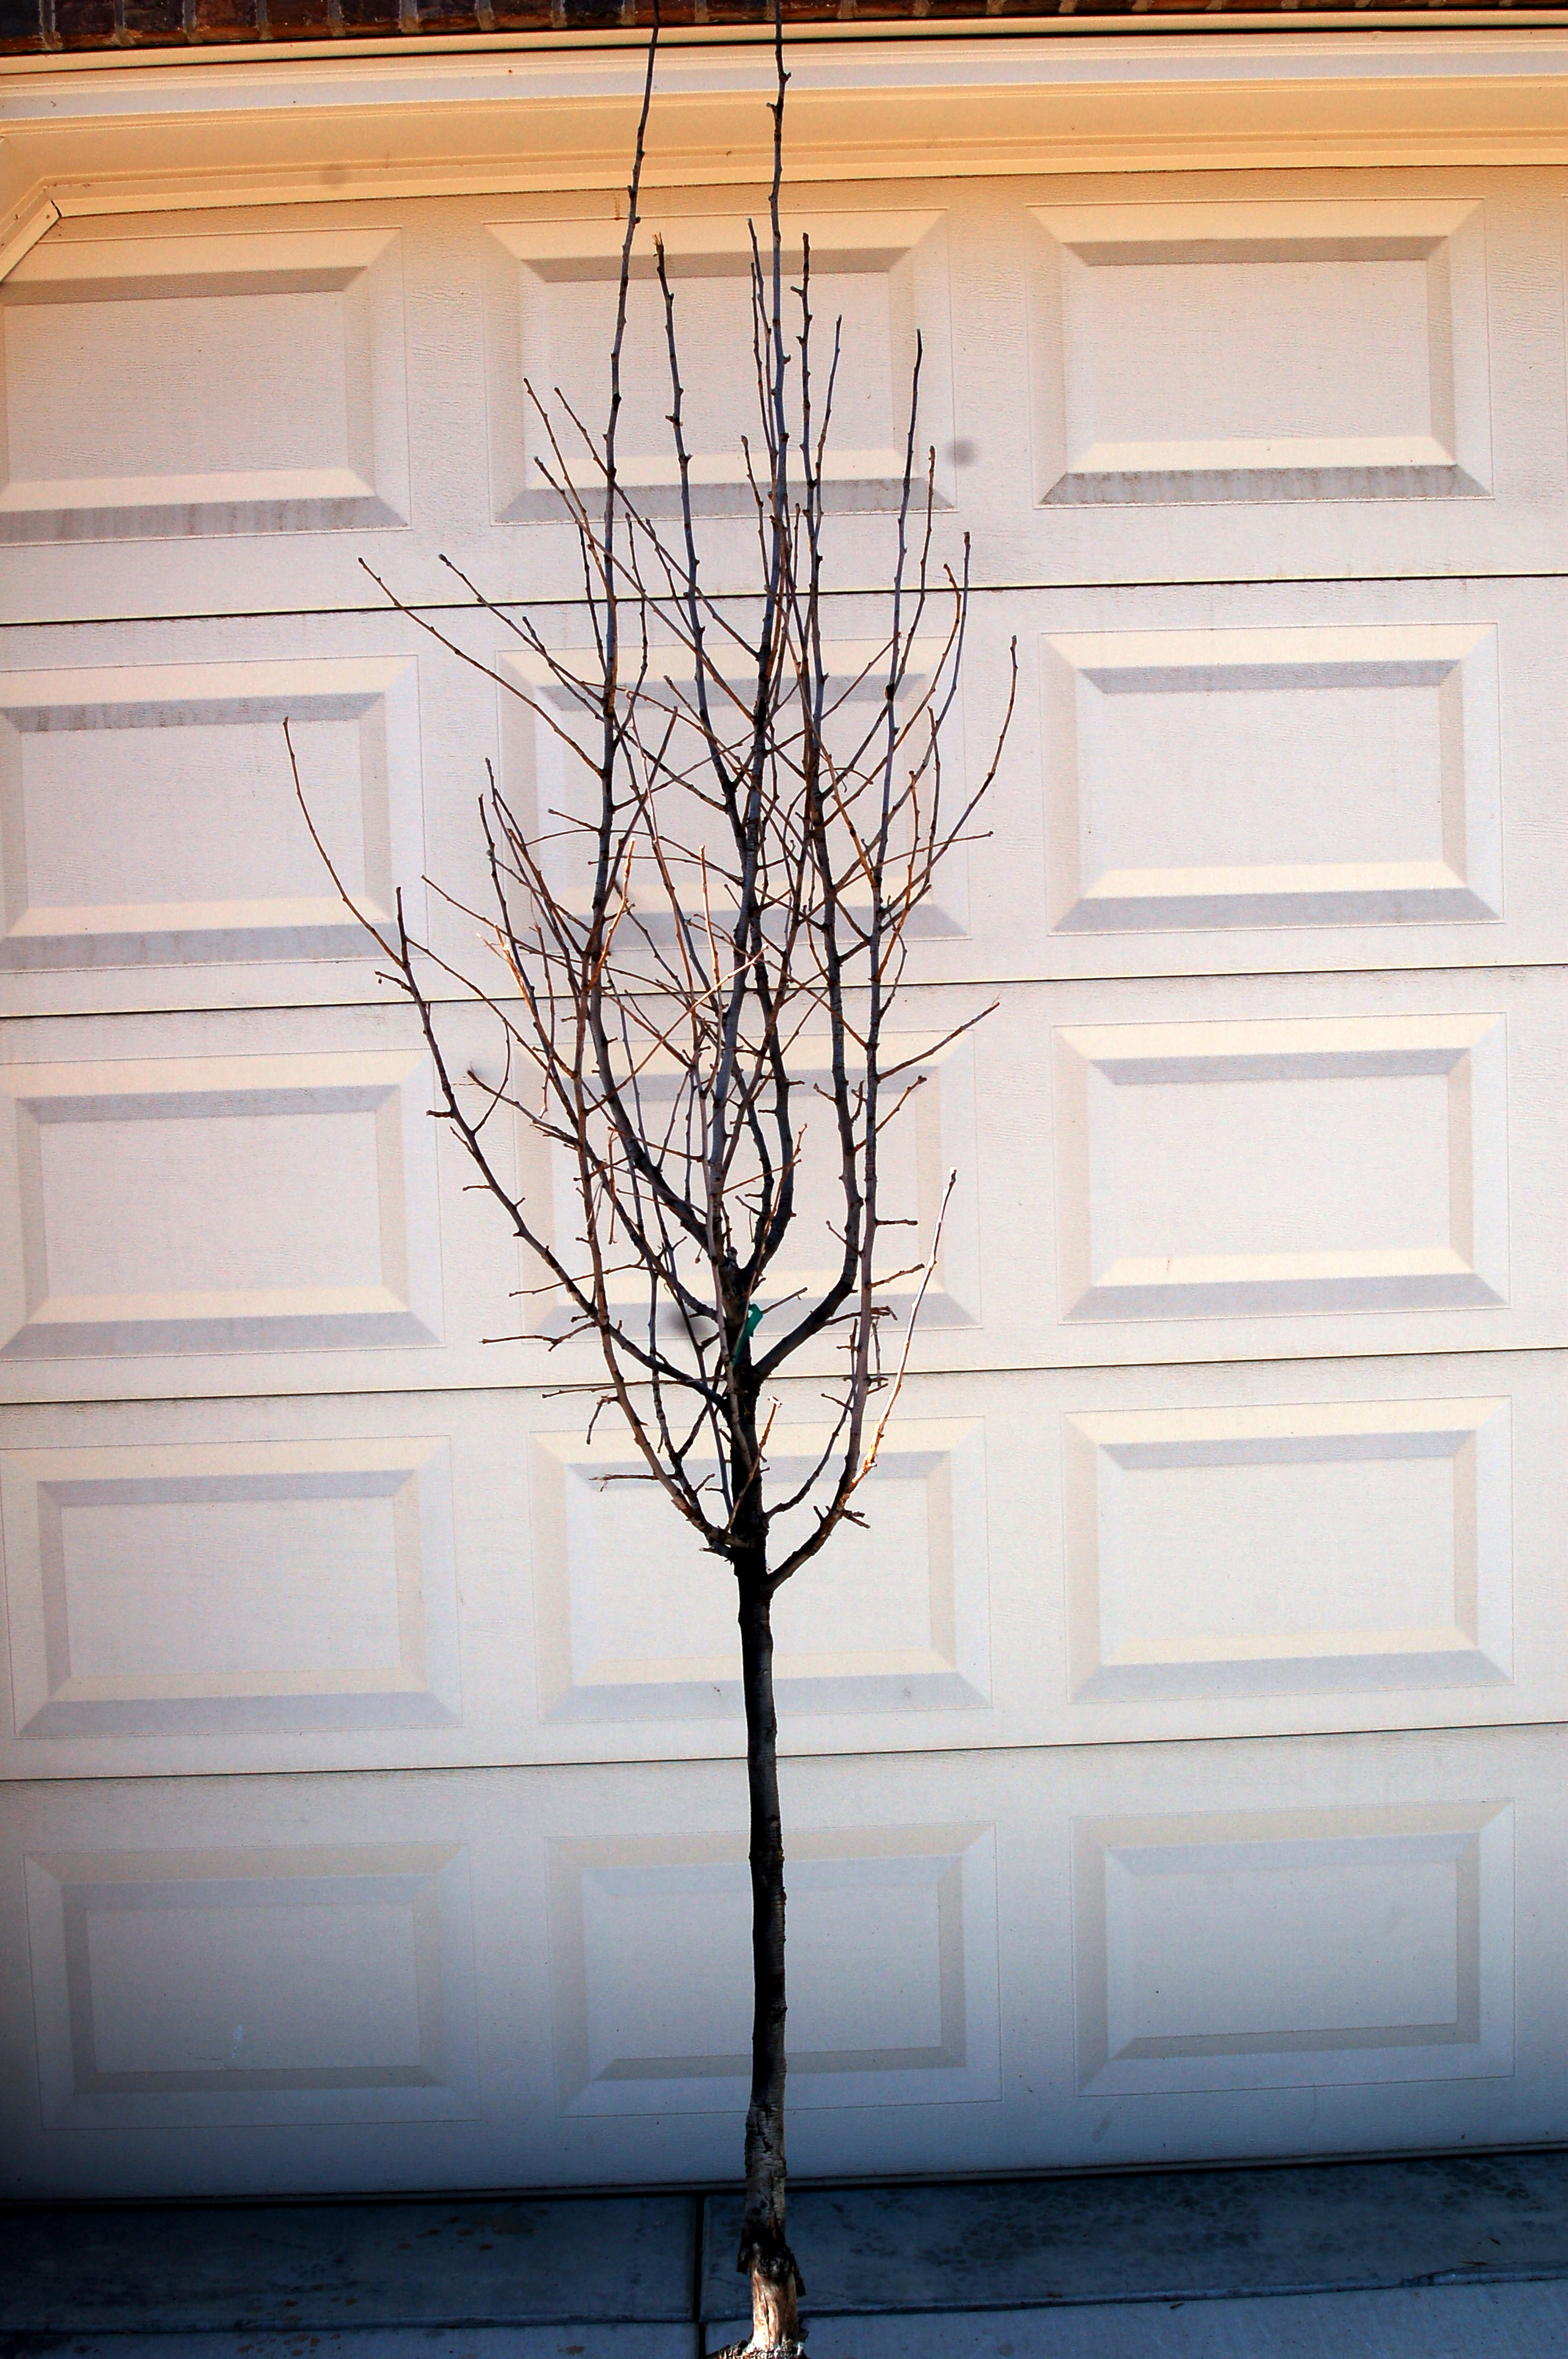
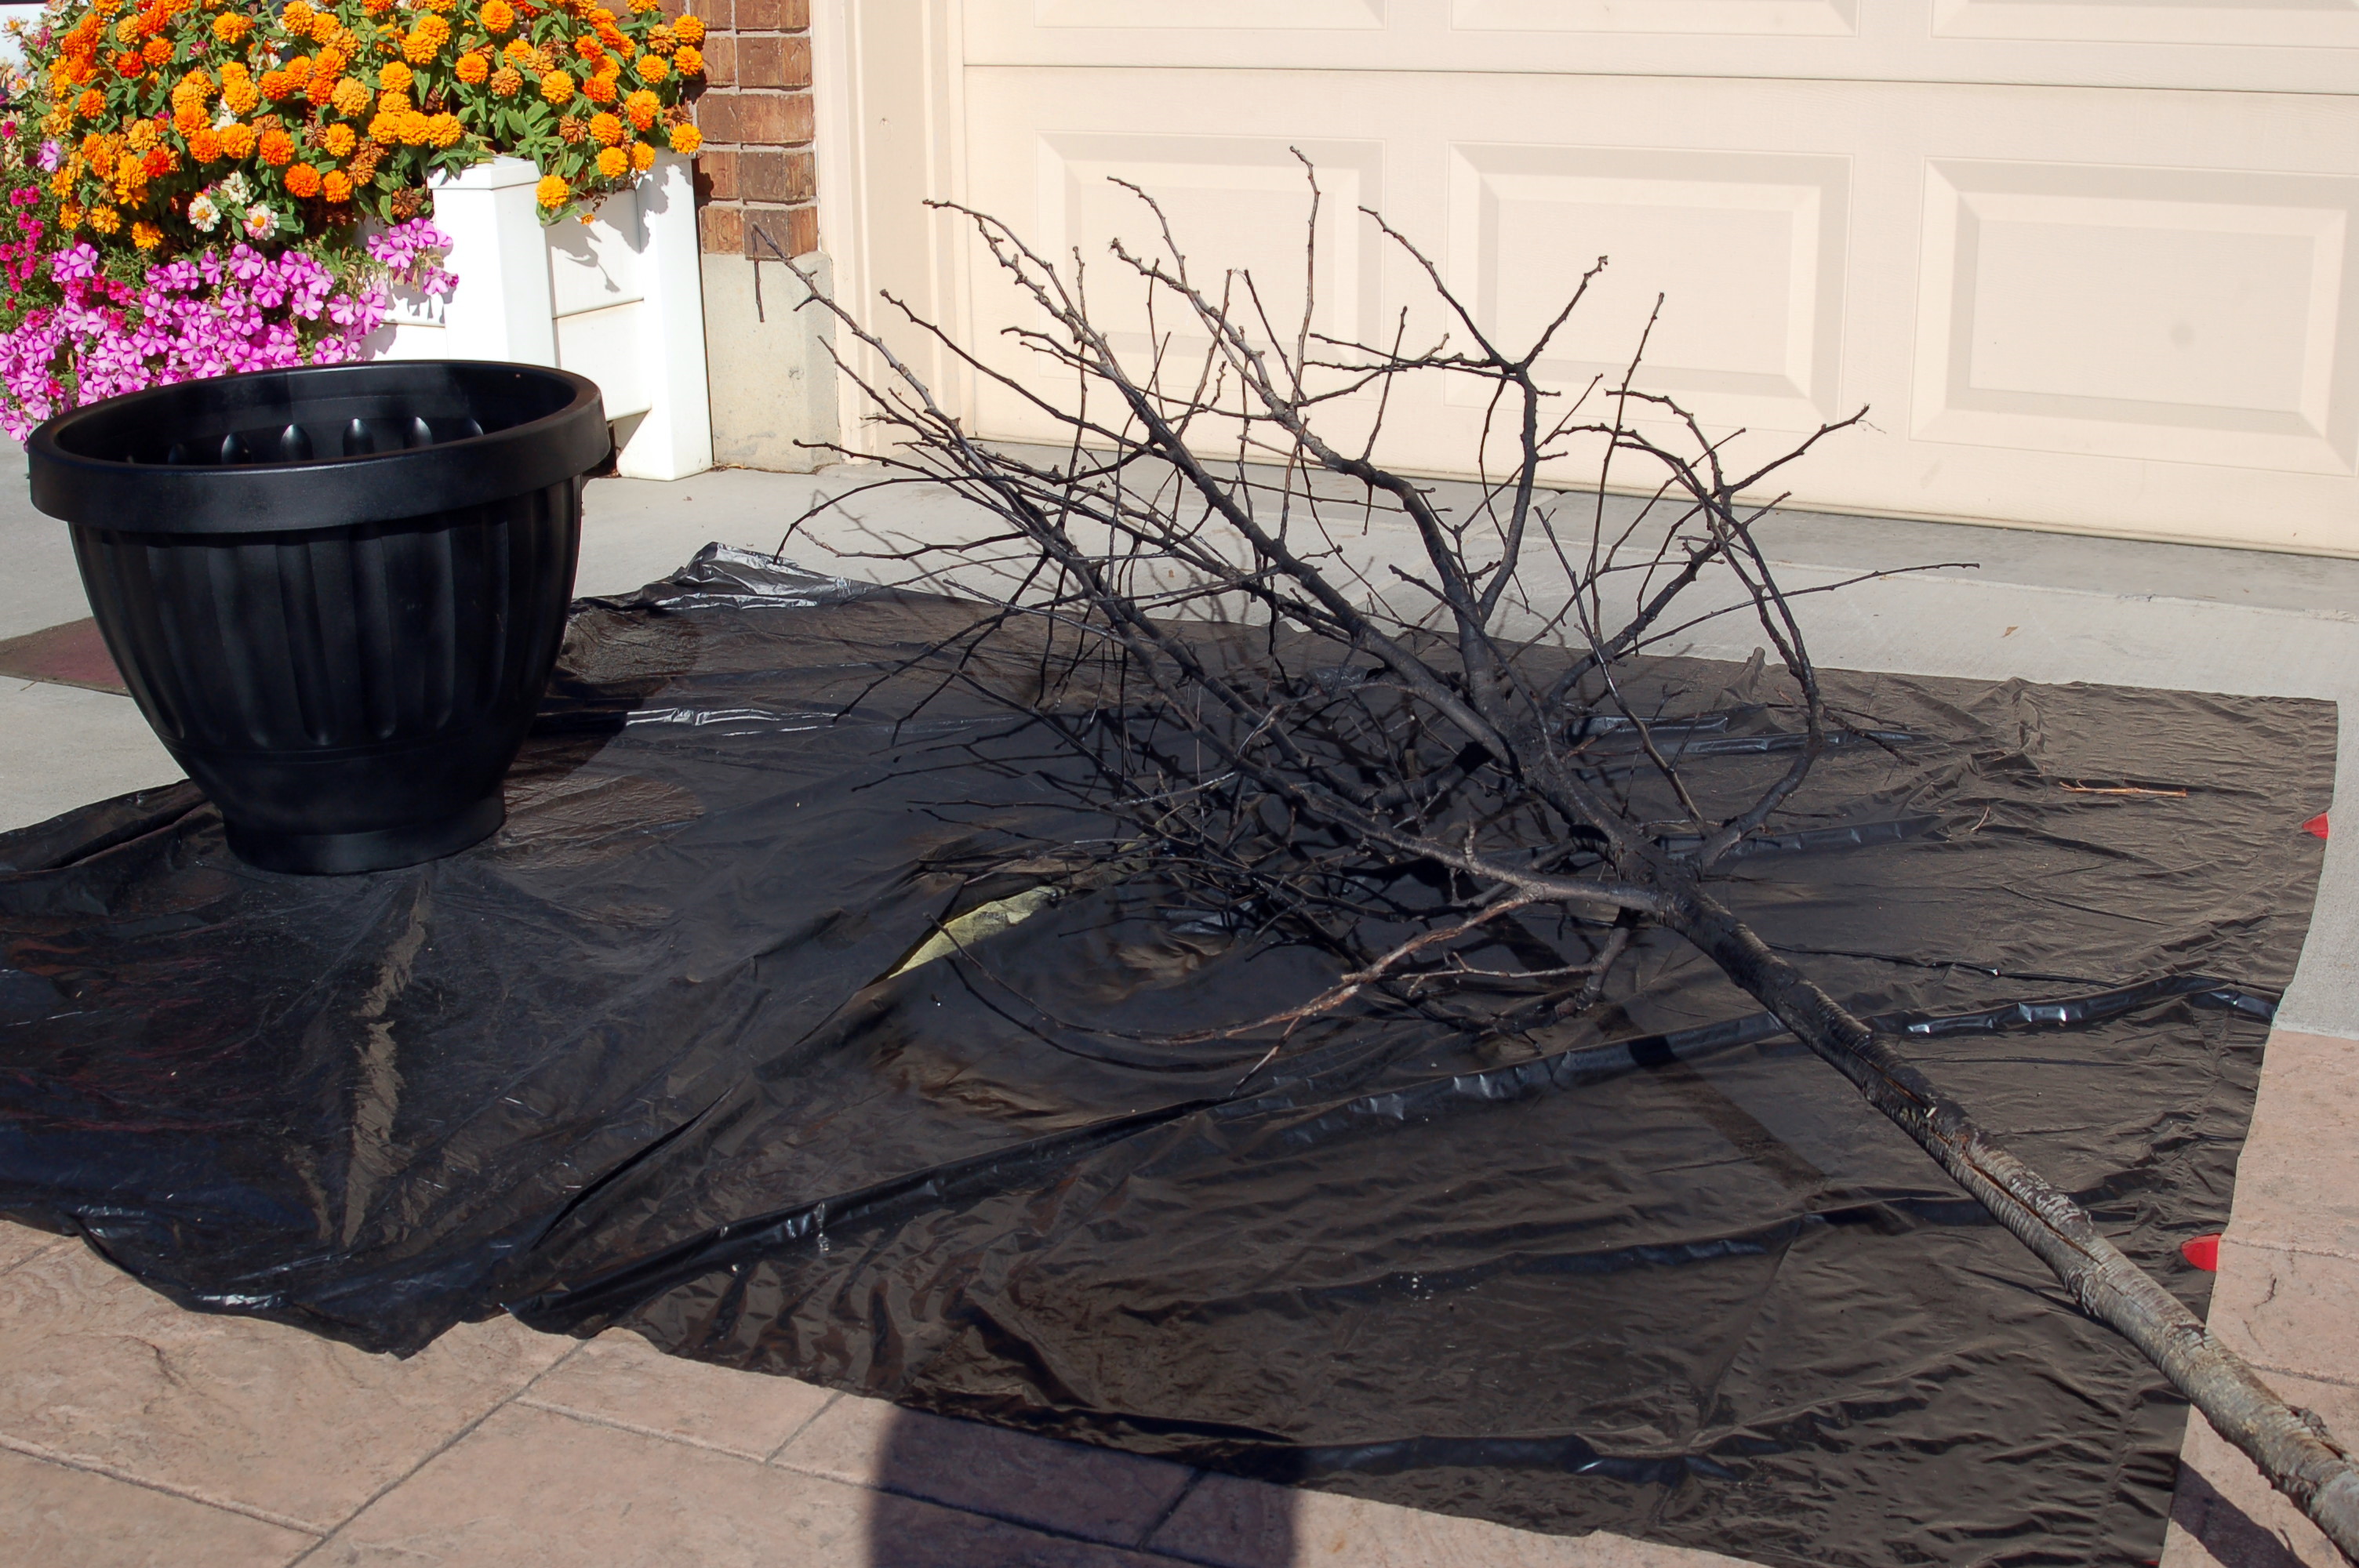
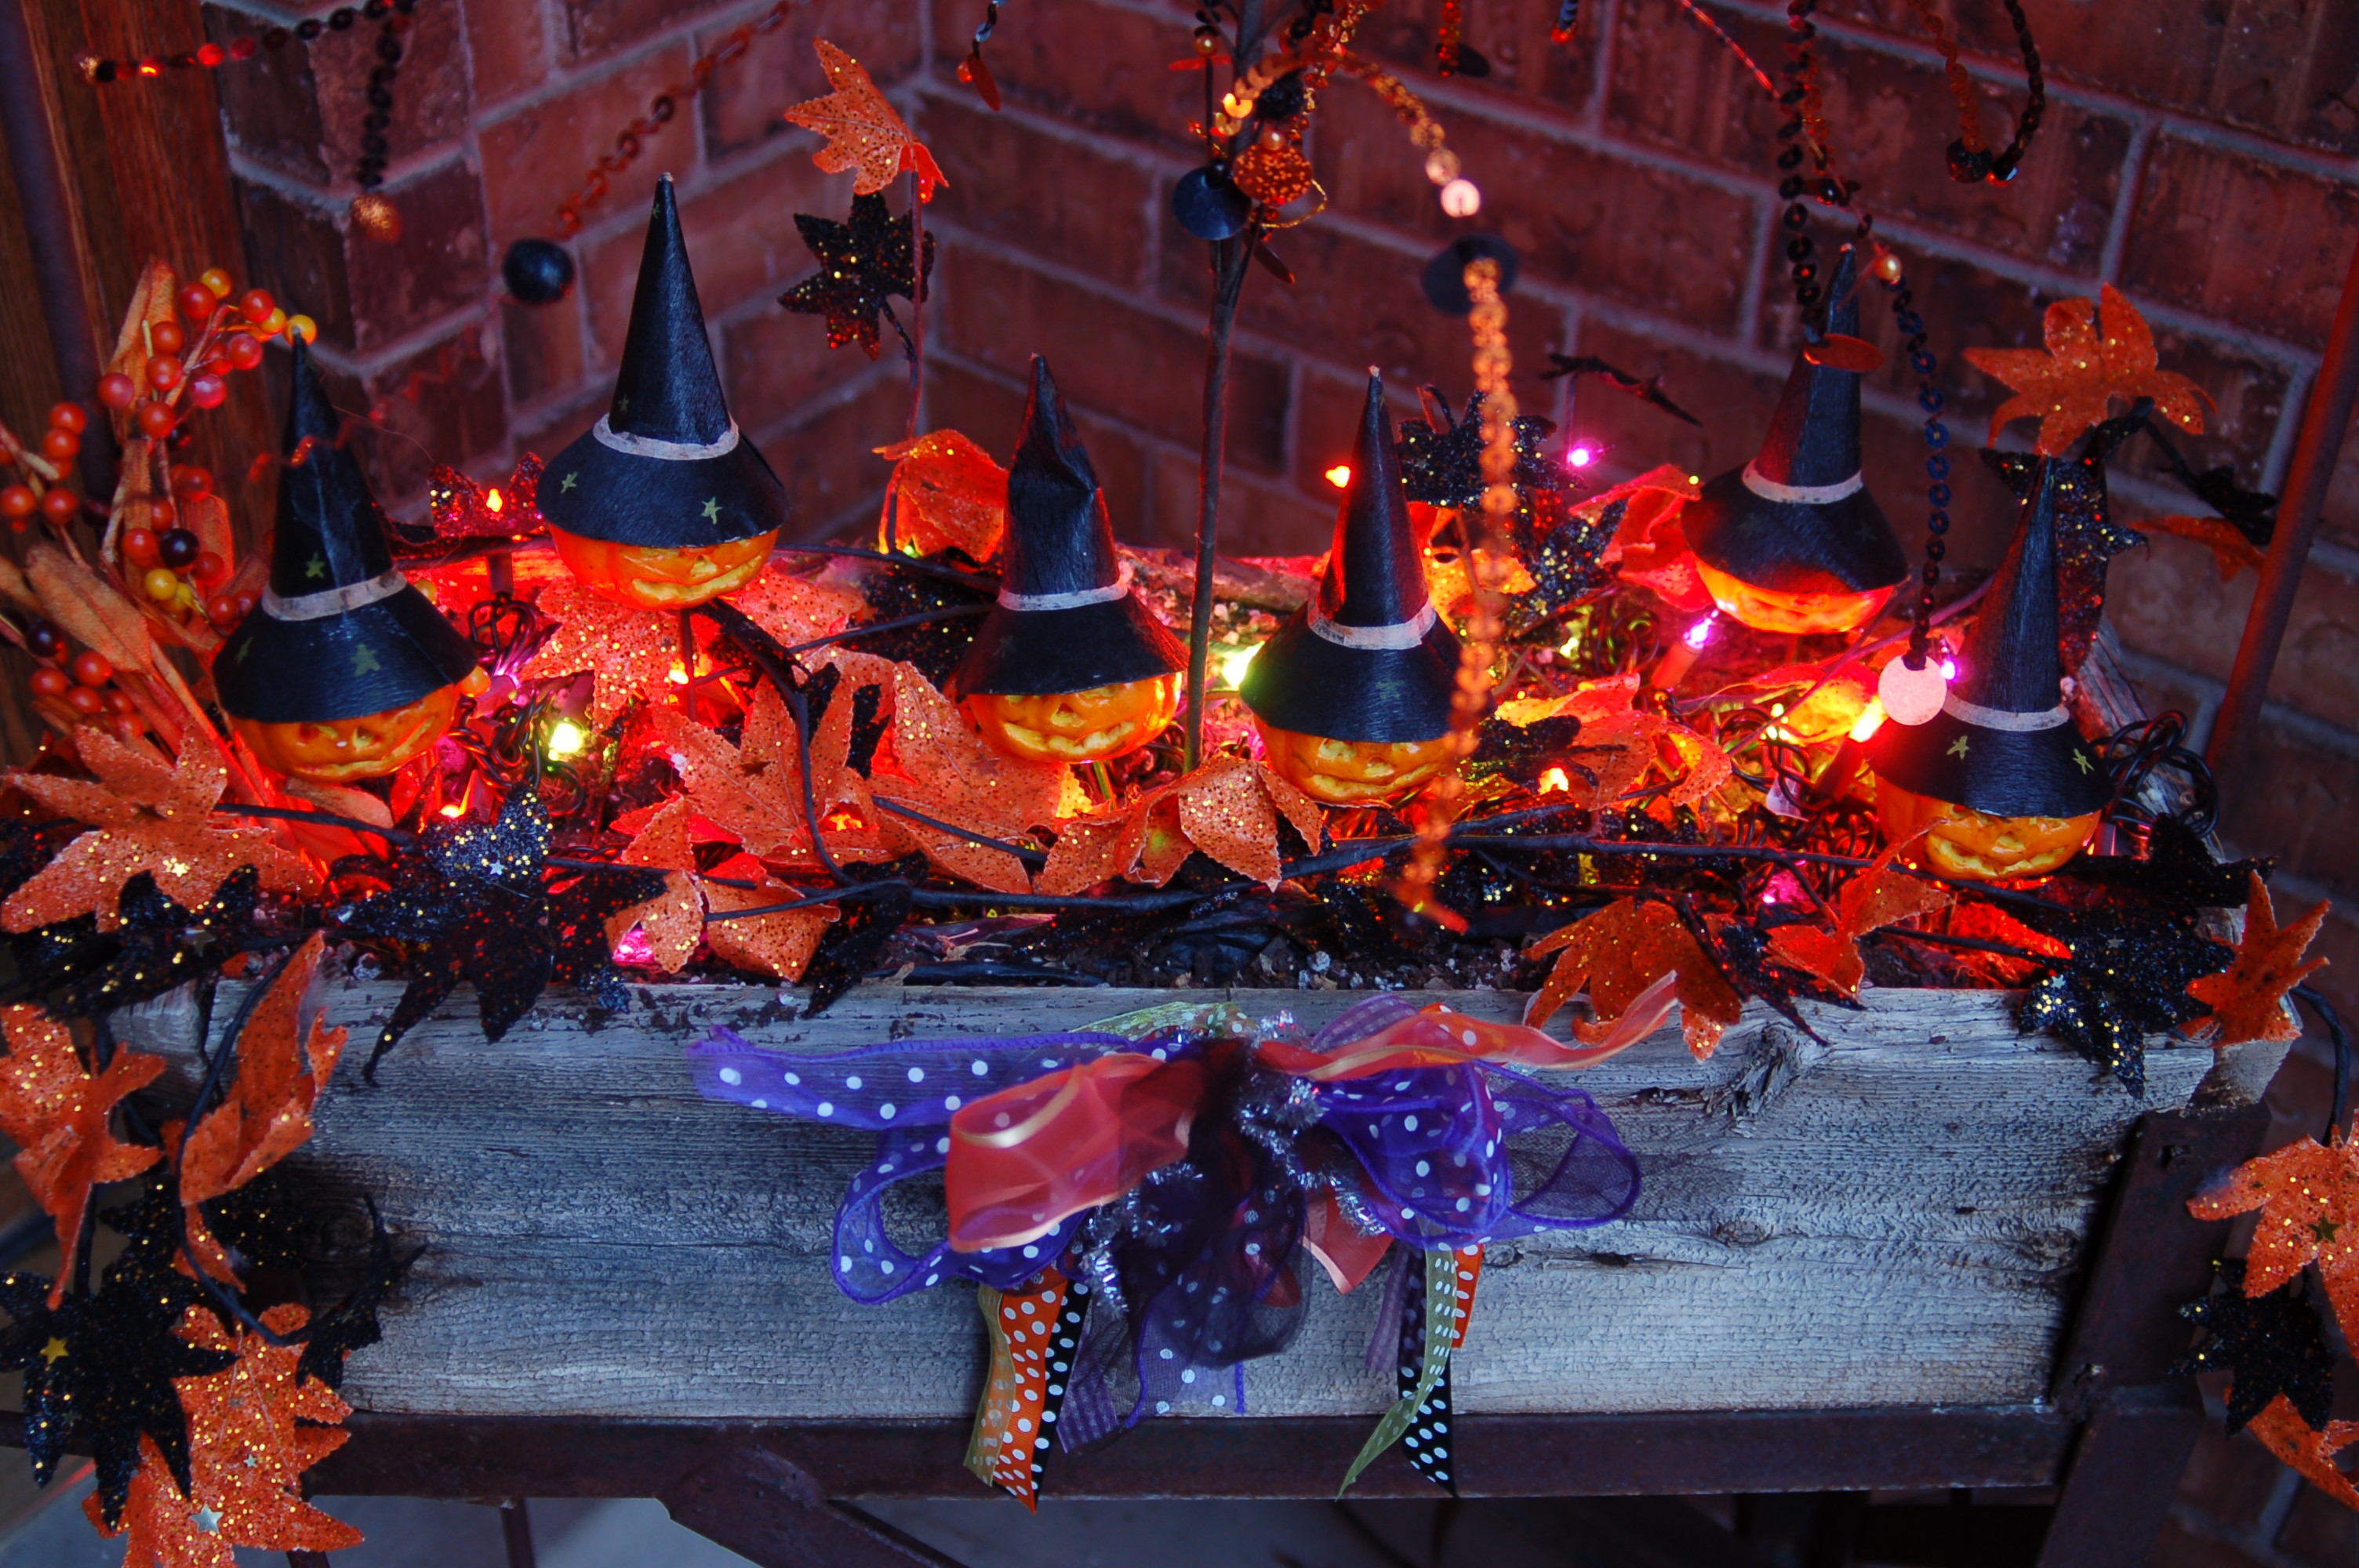
My daughter had this dead tree that she brought over to me and said that it would be perfect for a Halloween tree!  What do you think?

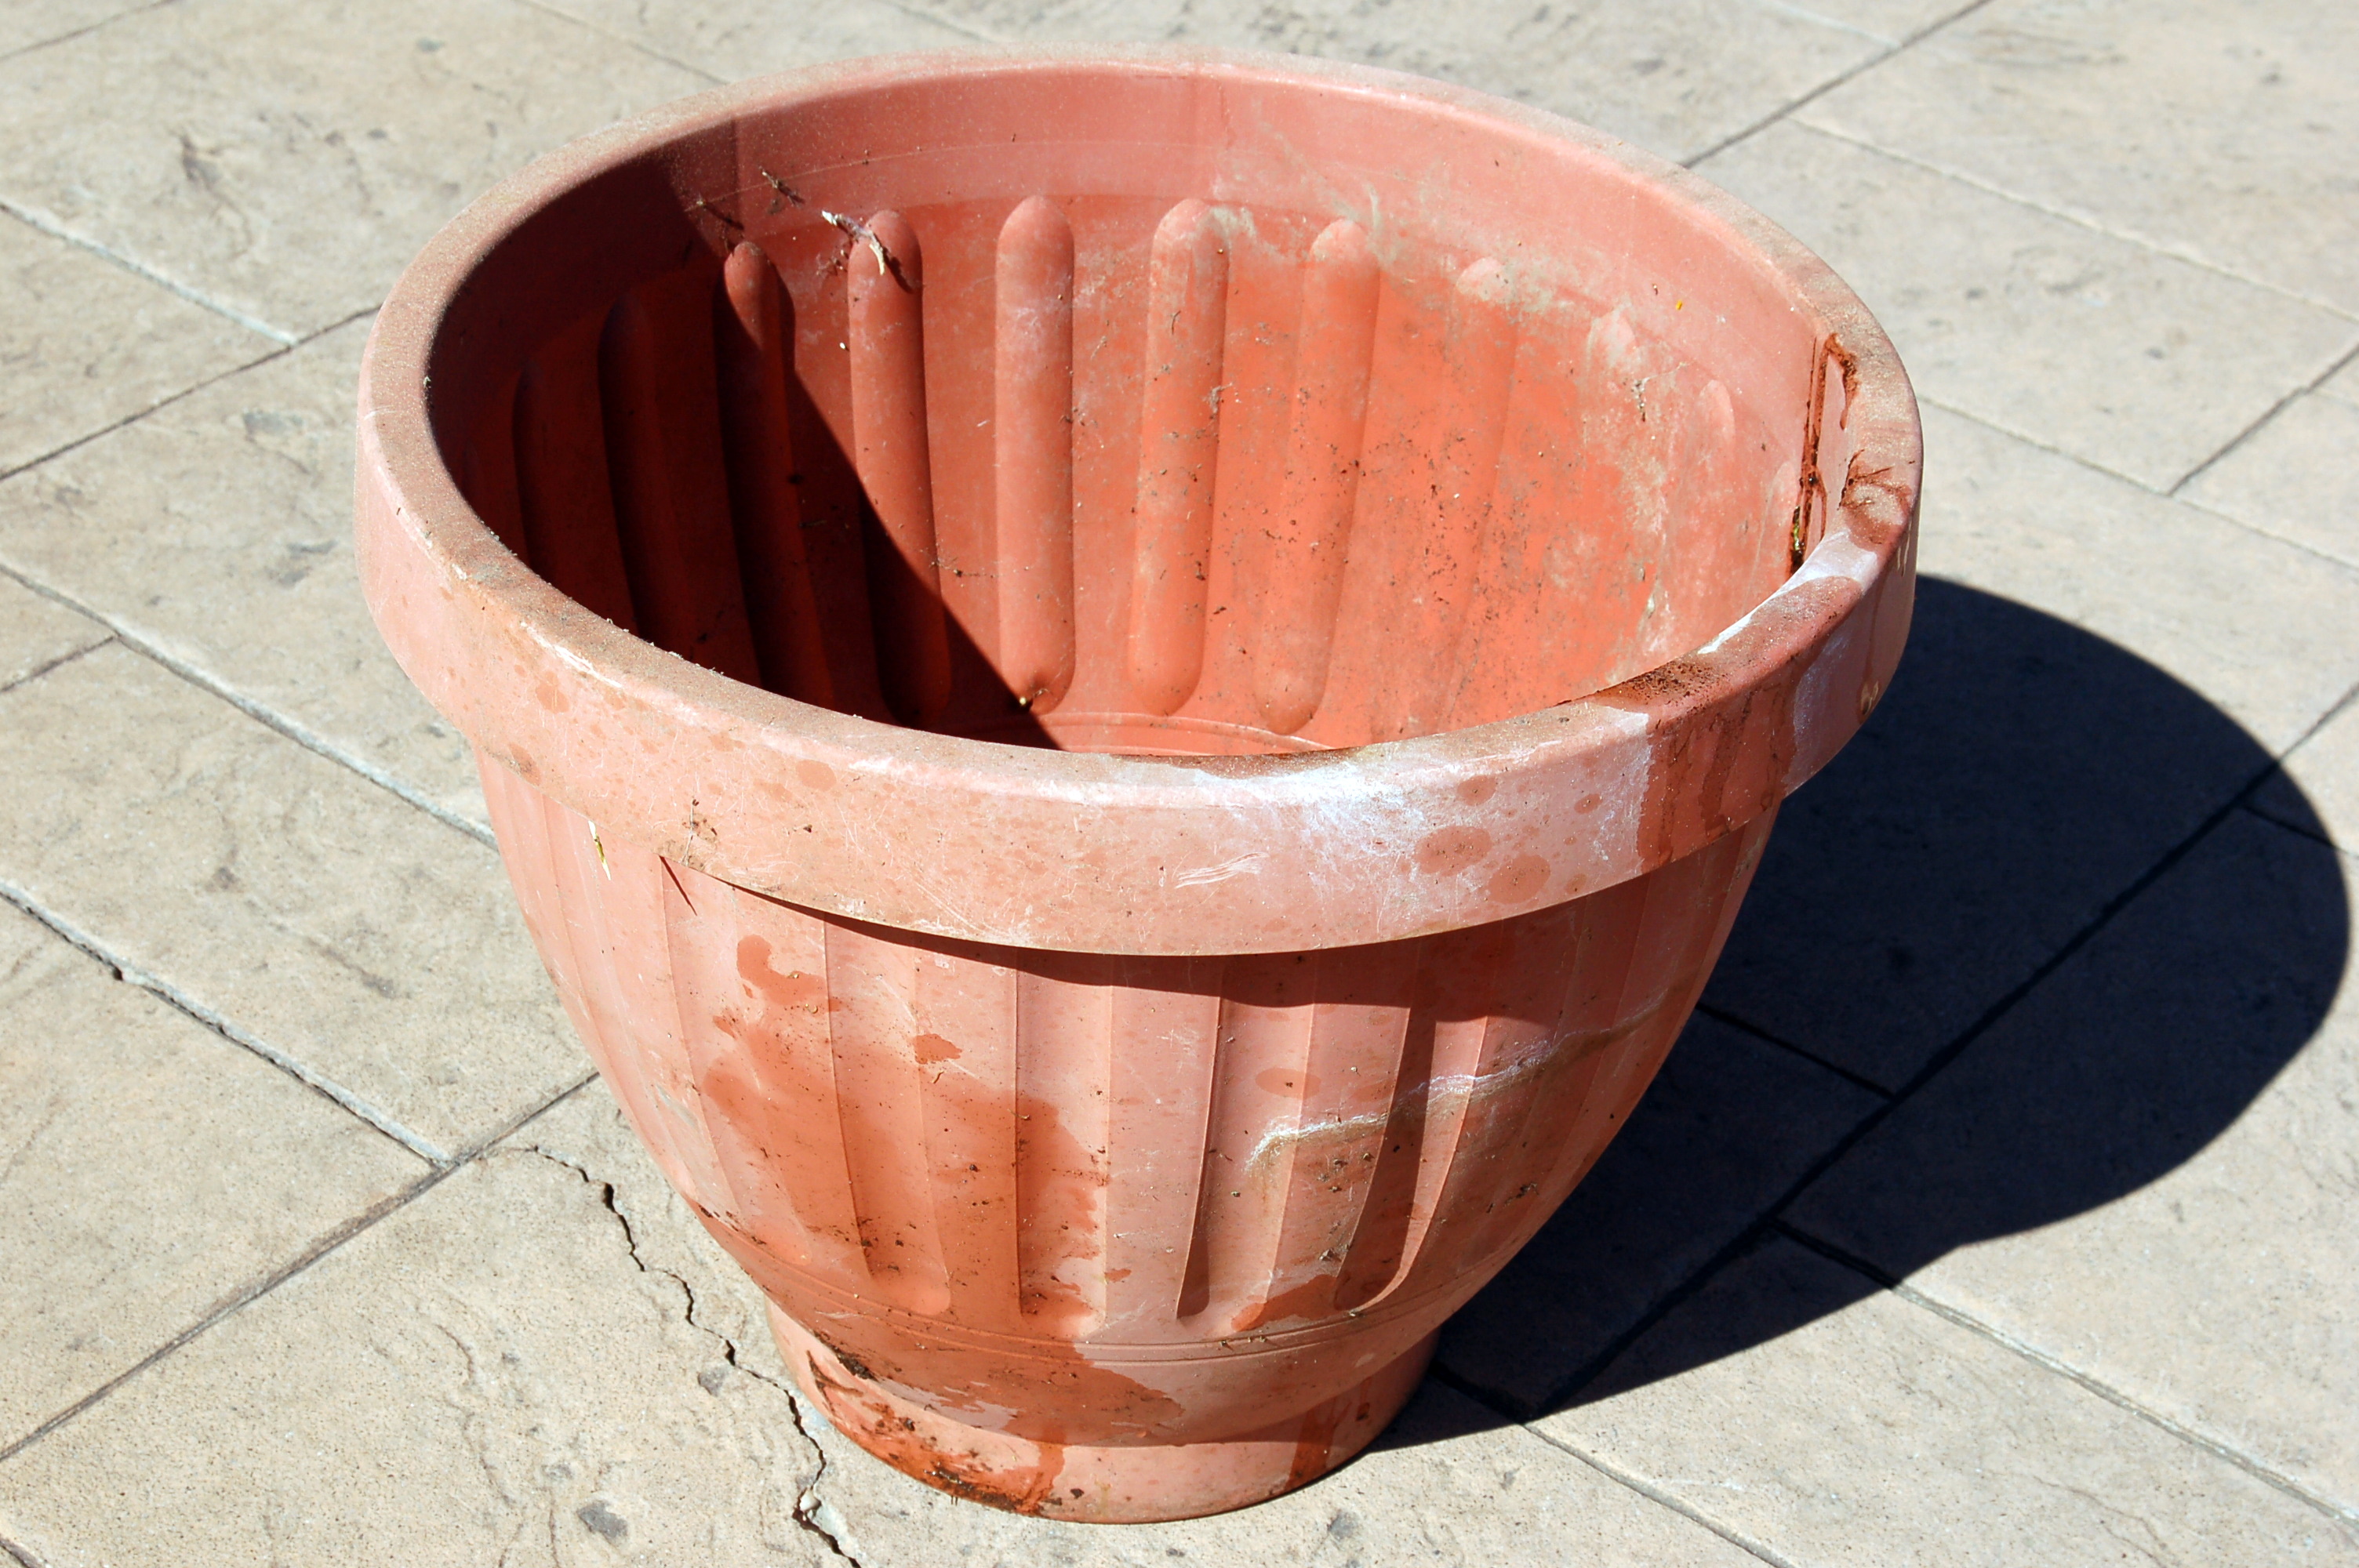
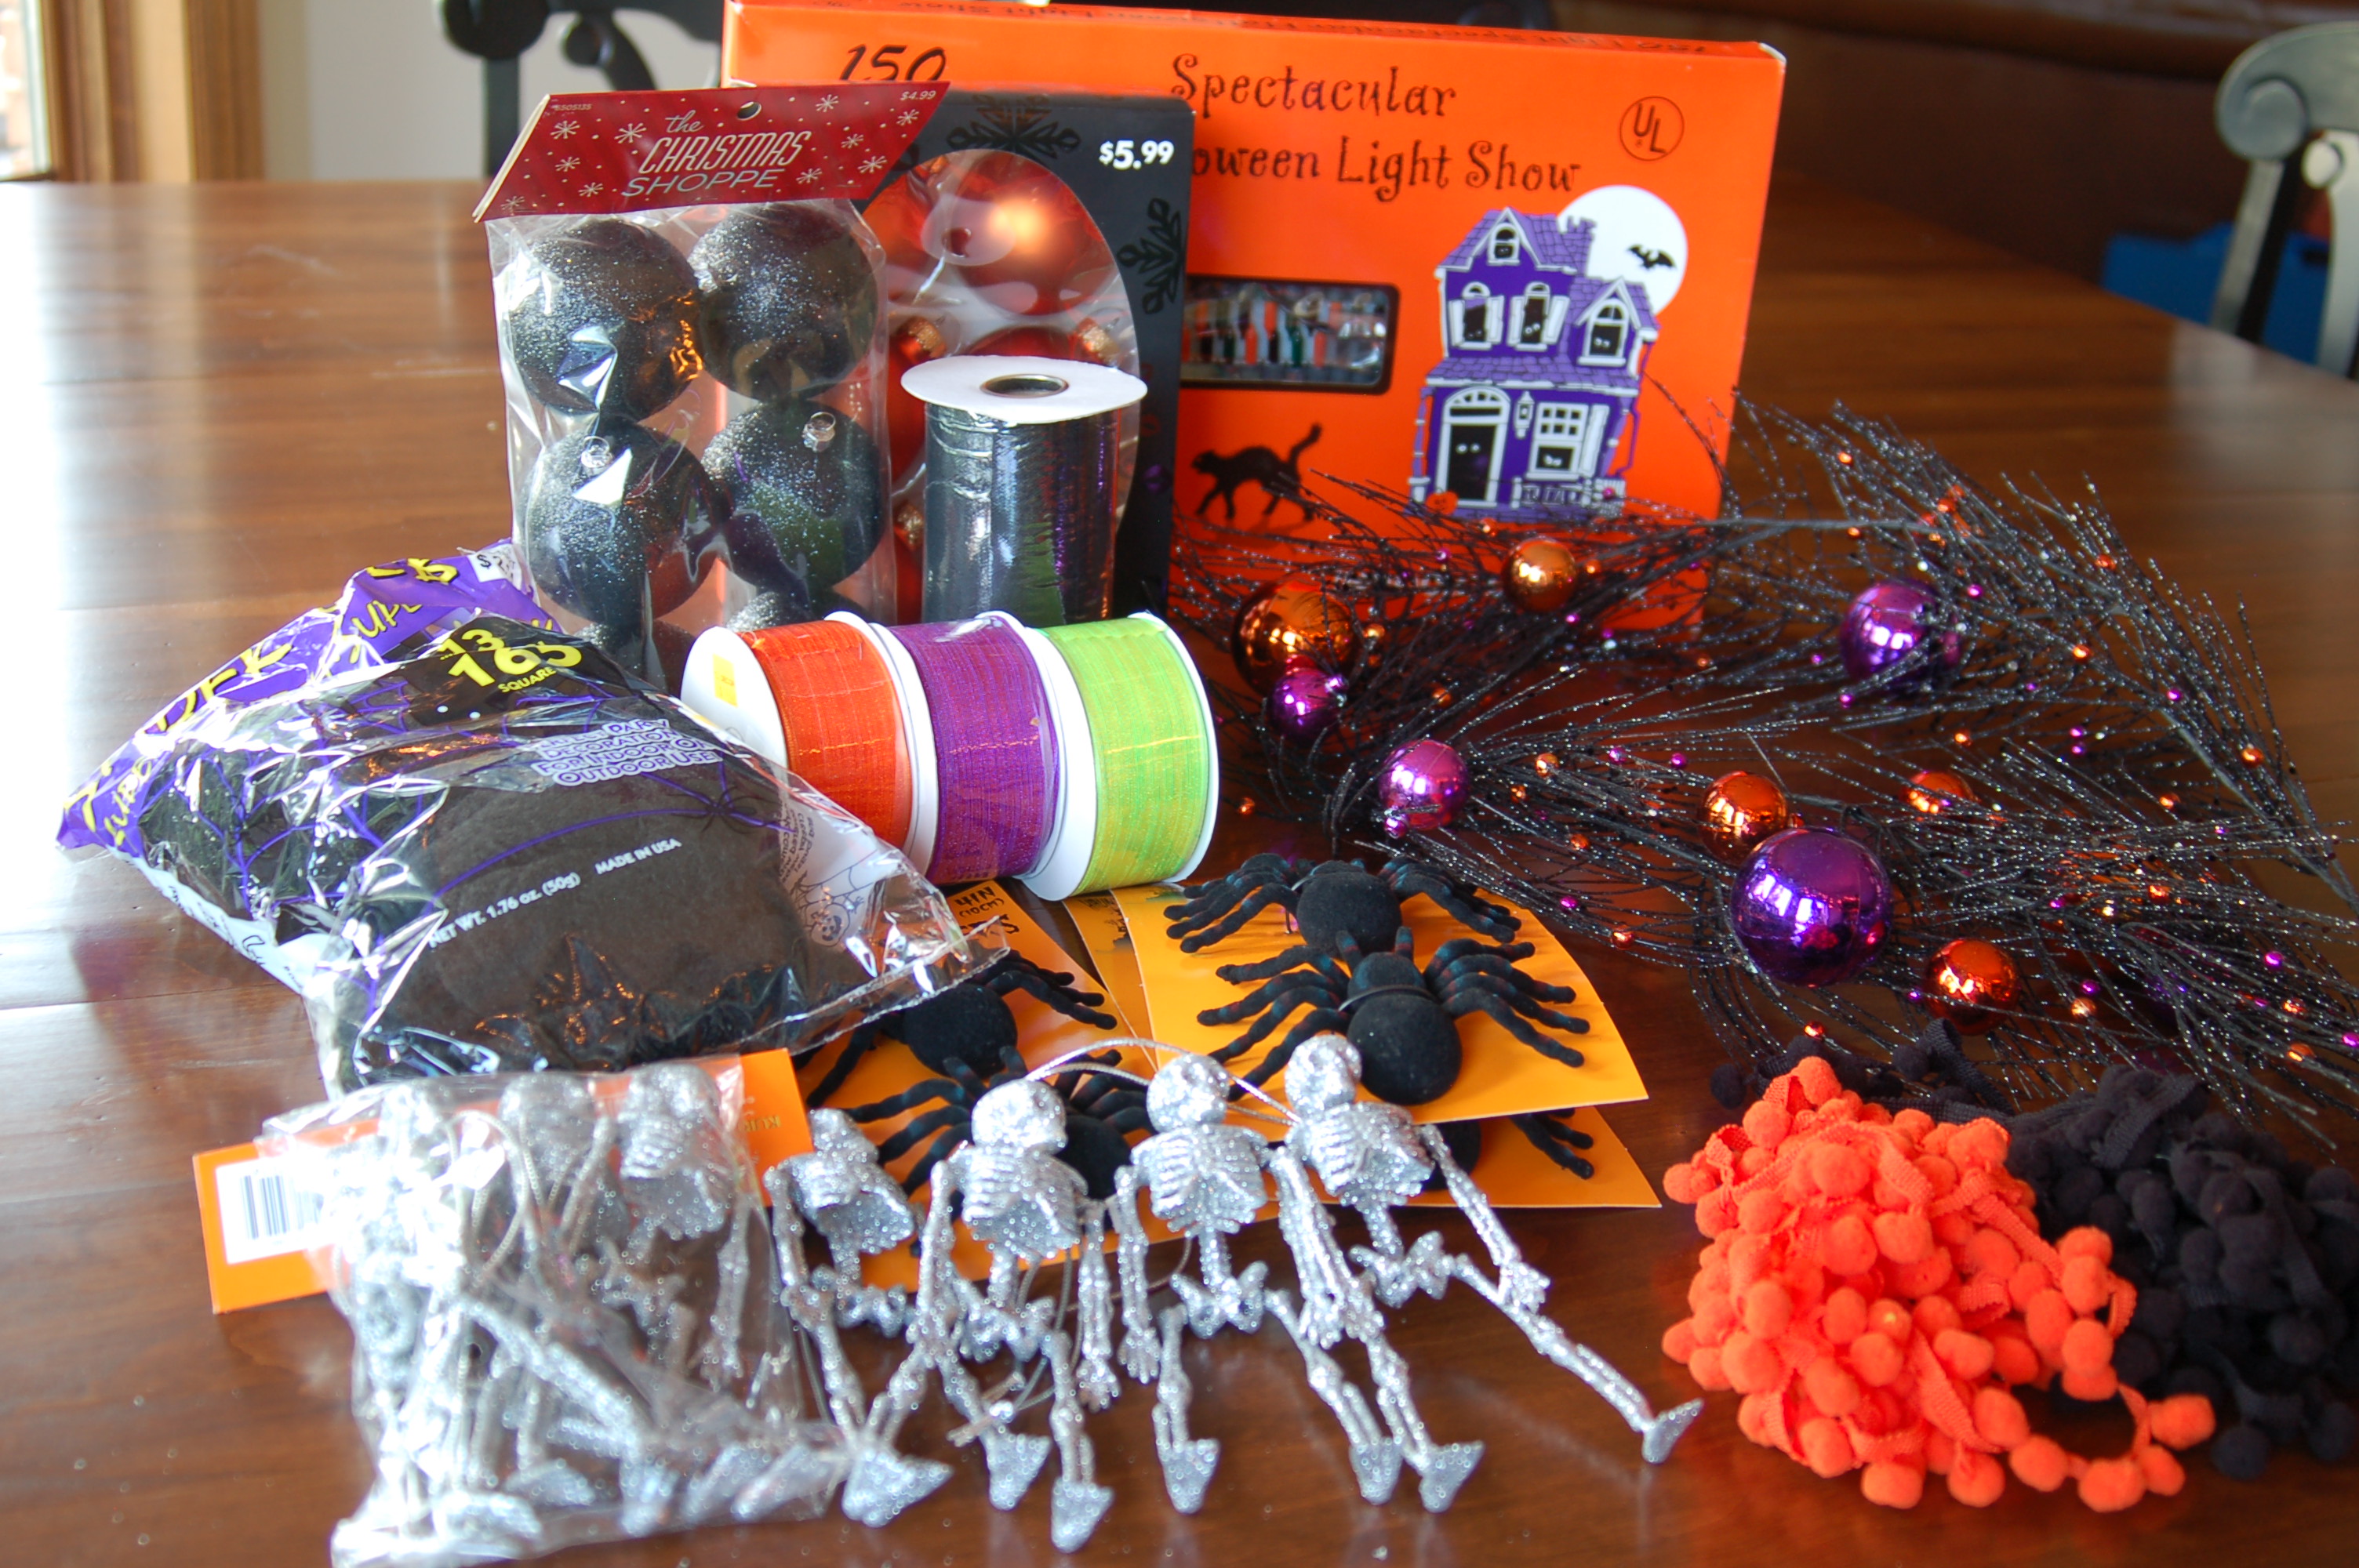
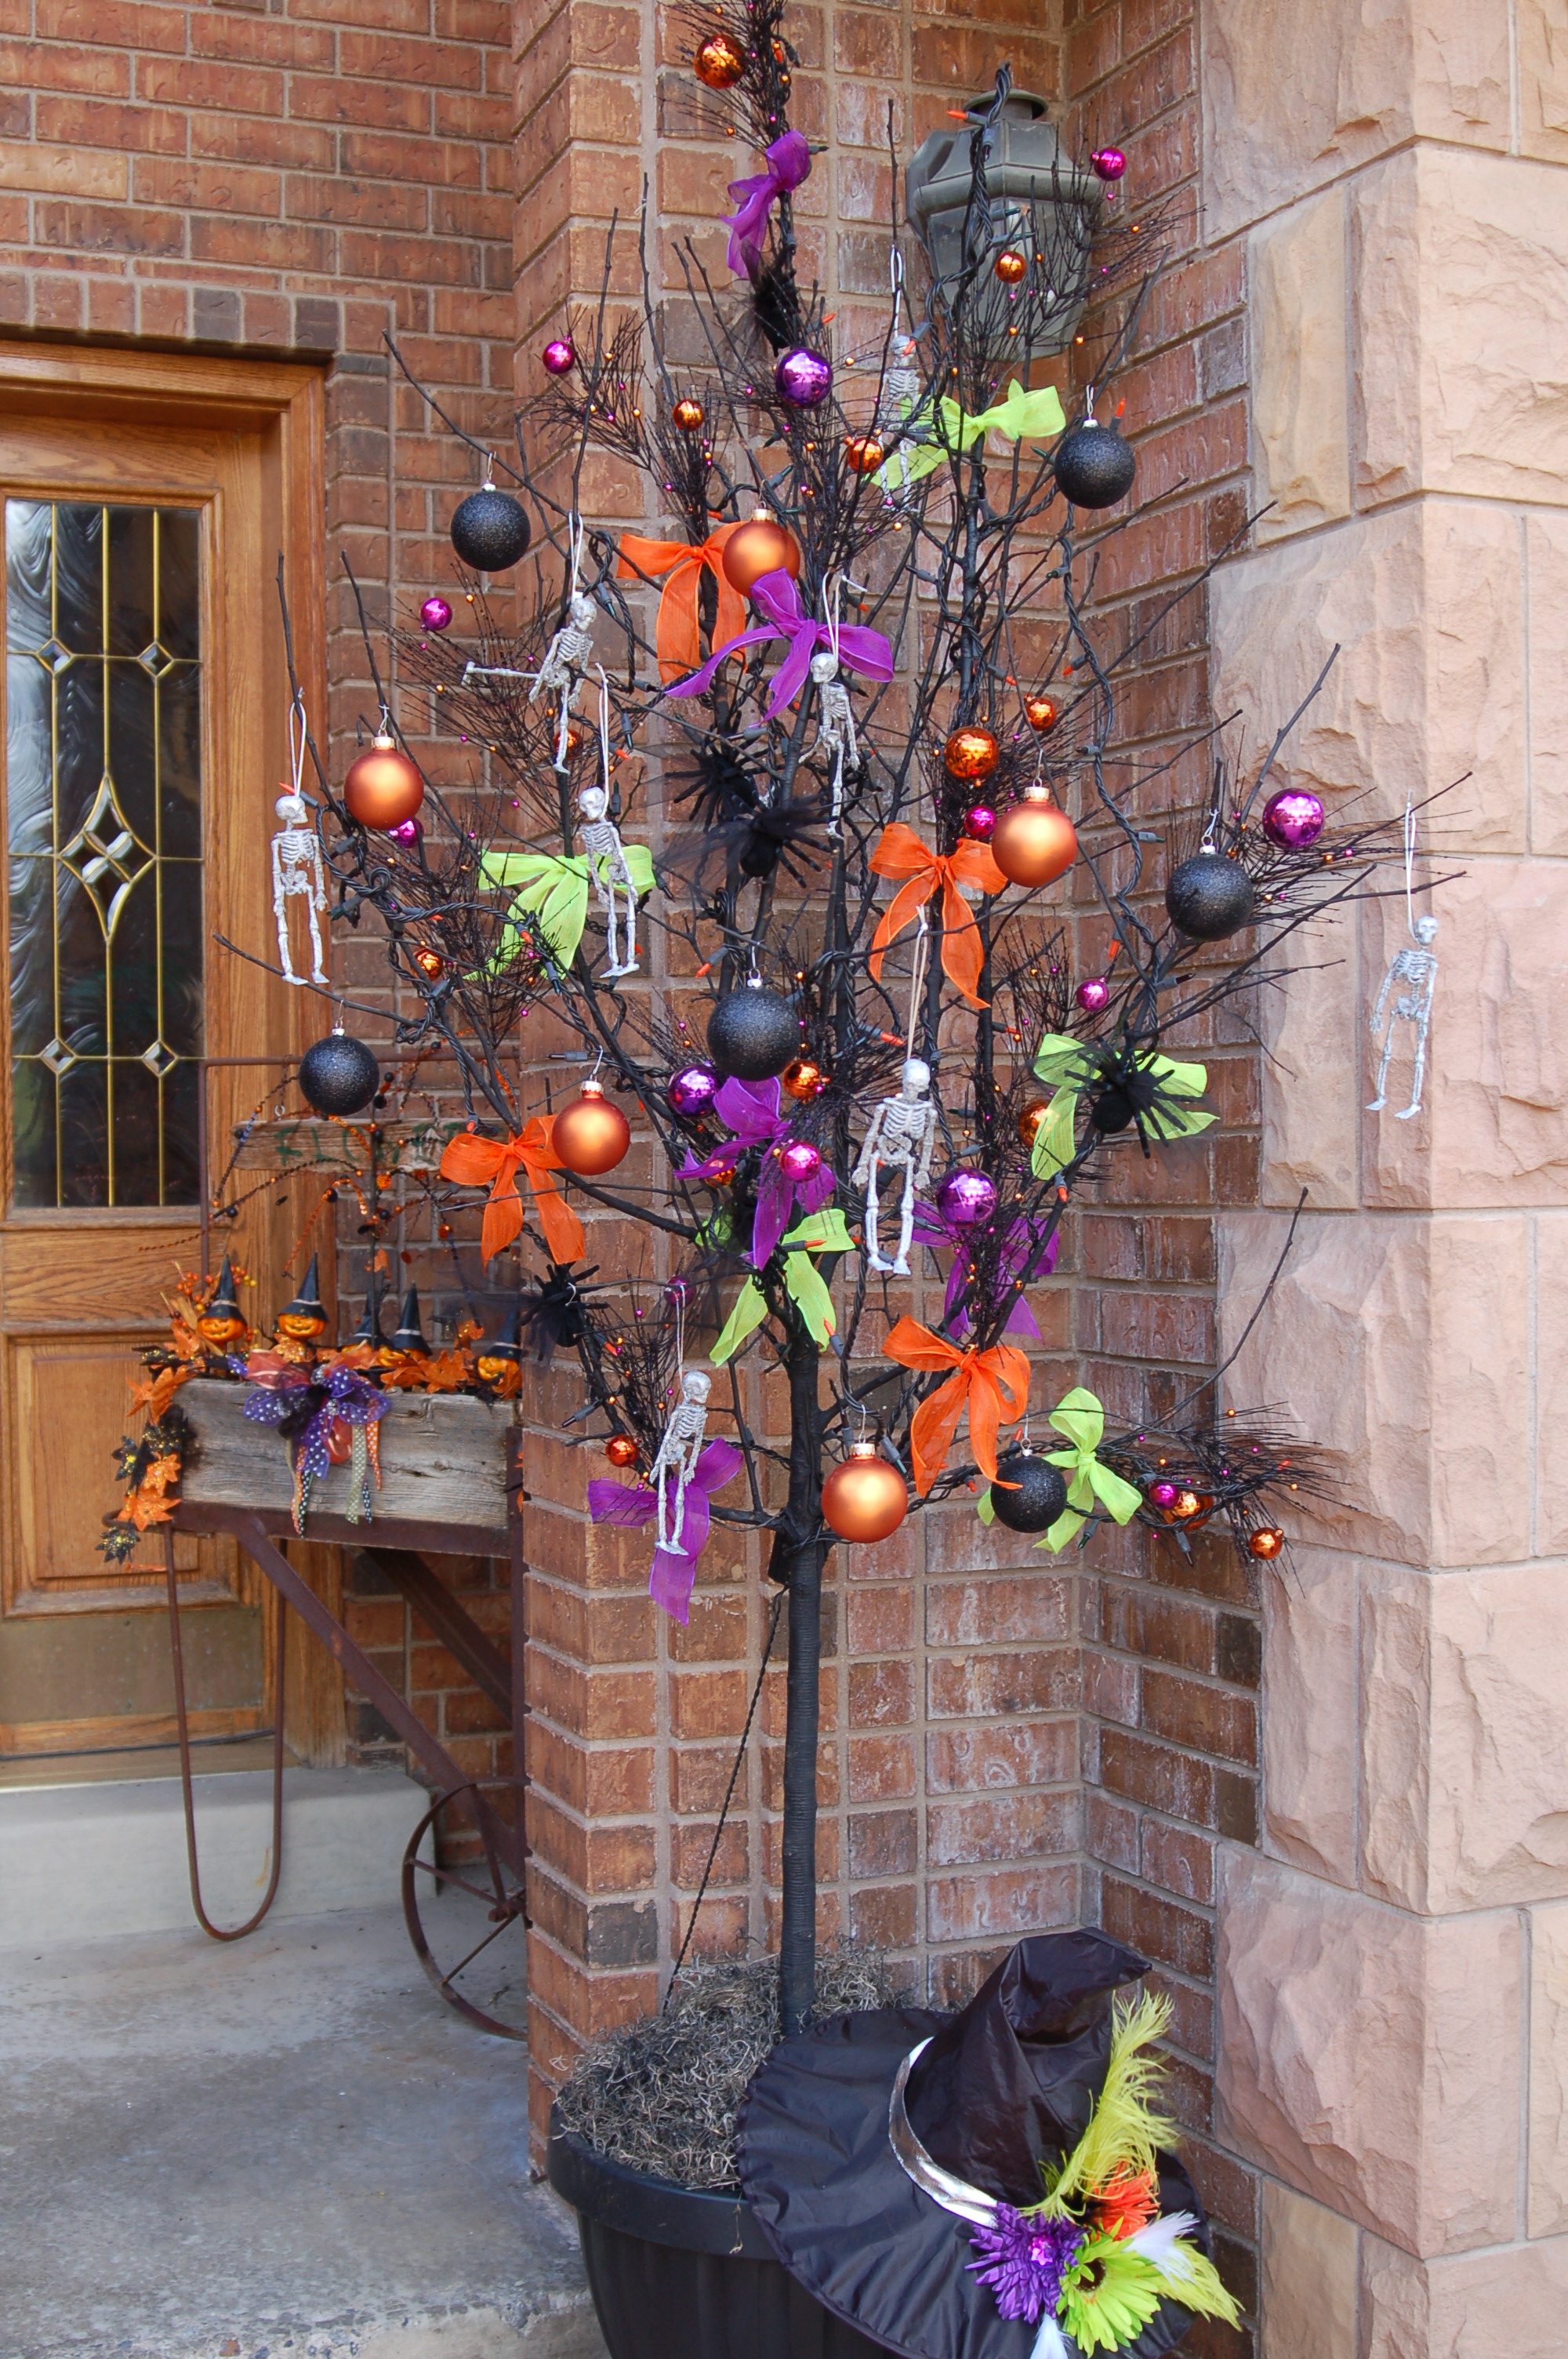
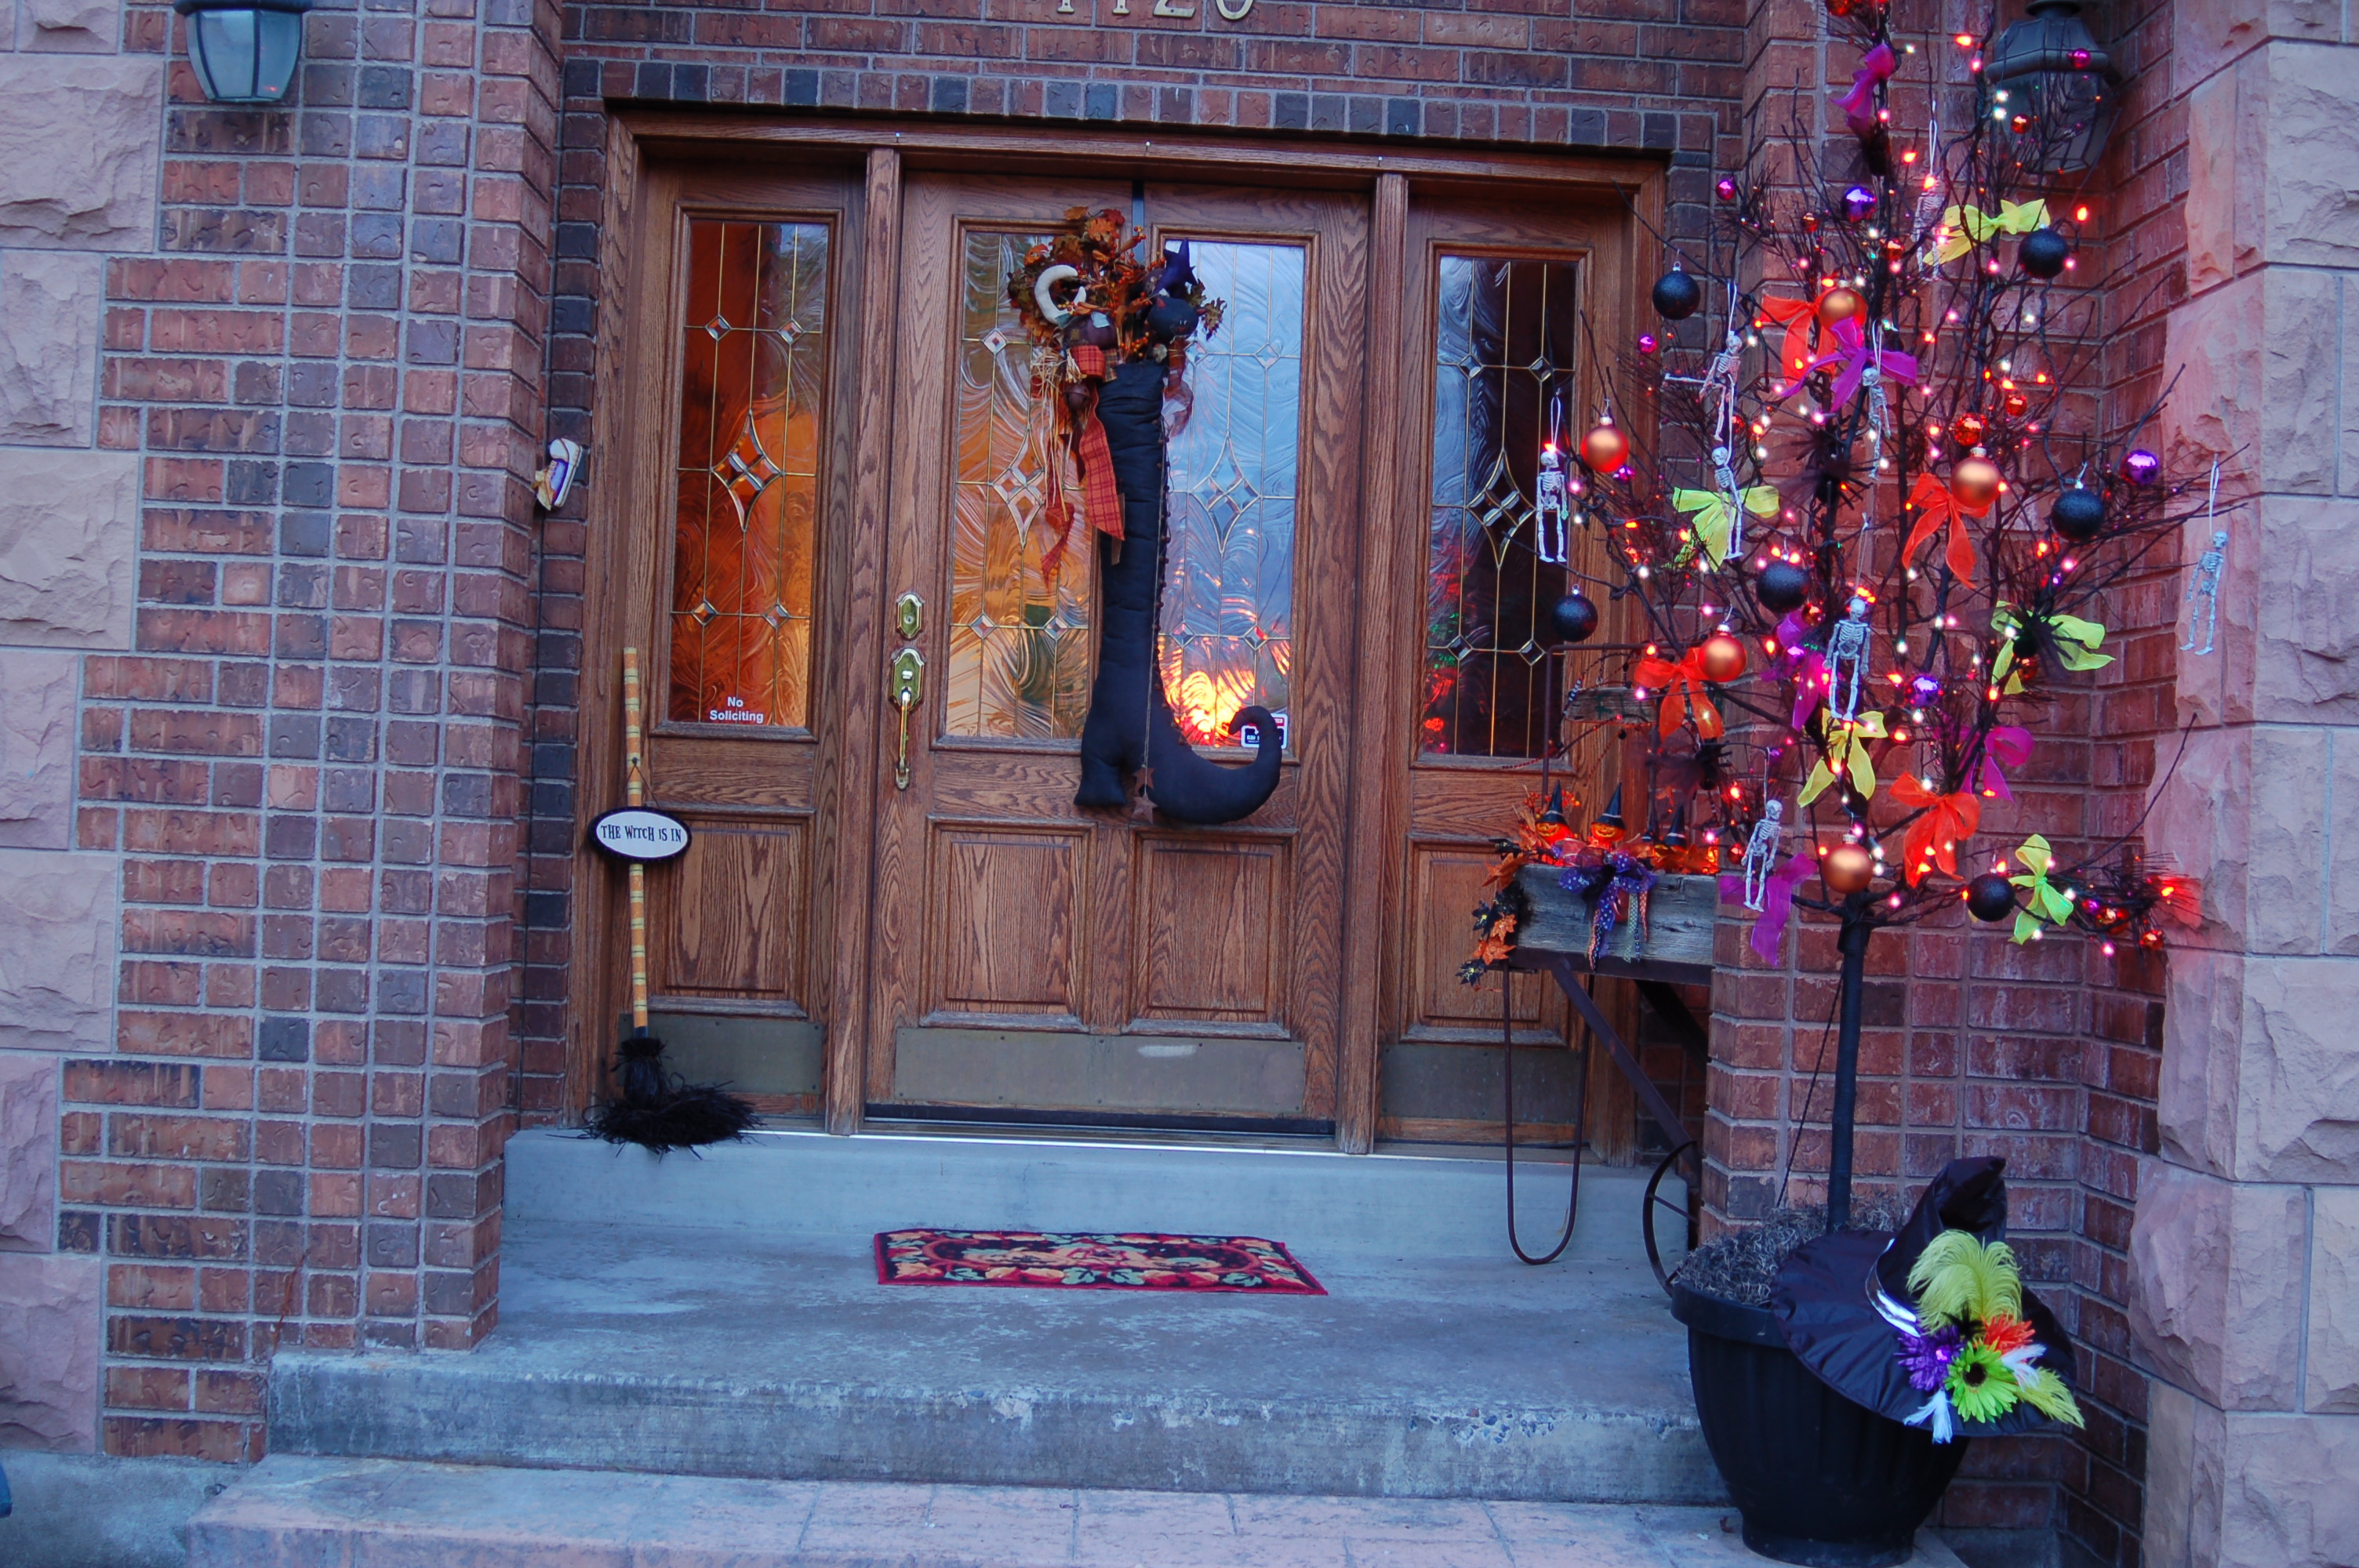
I had this old, yucky pot, stains, cobwebs and all! And I spray painted the pot and the tree and…Added a bunch of decorations.And this is what I got! I added the witch hat to the base of the tree and this is what it looks like at dusk.This is my little flower cart on the front porch.My favorite find at Swiss Days a couple of years ago!It’s beginning to look a lot like… Halloween!
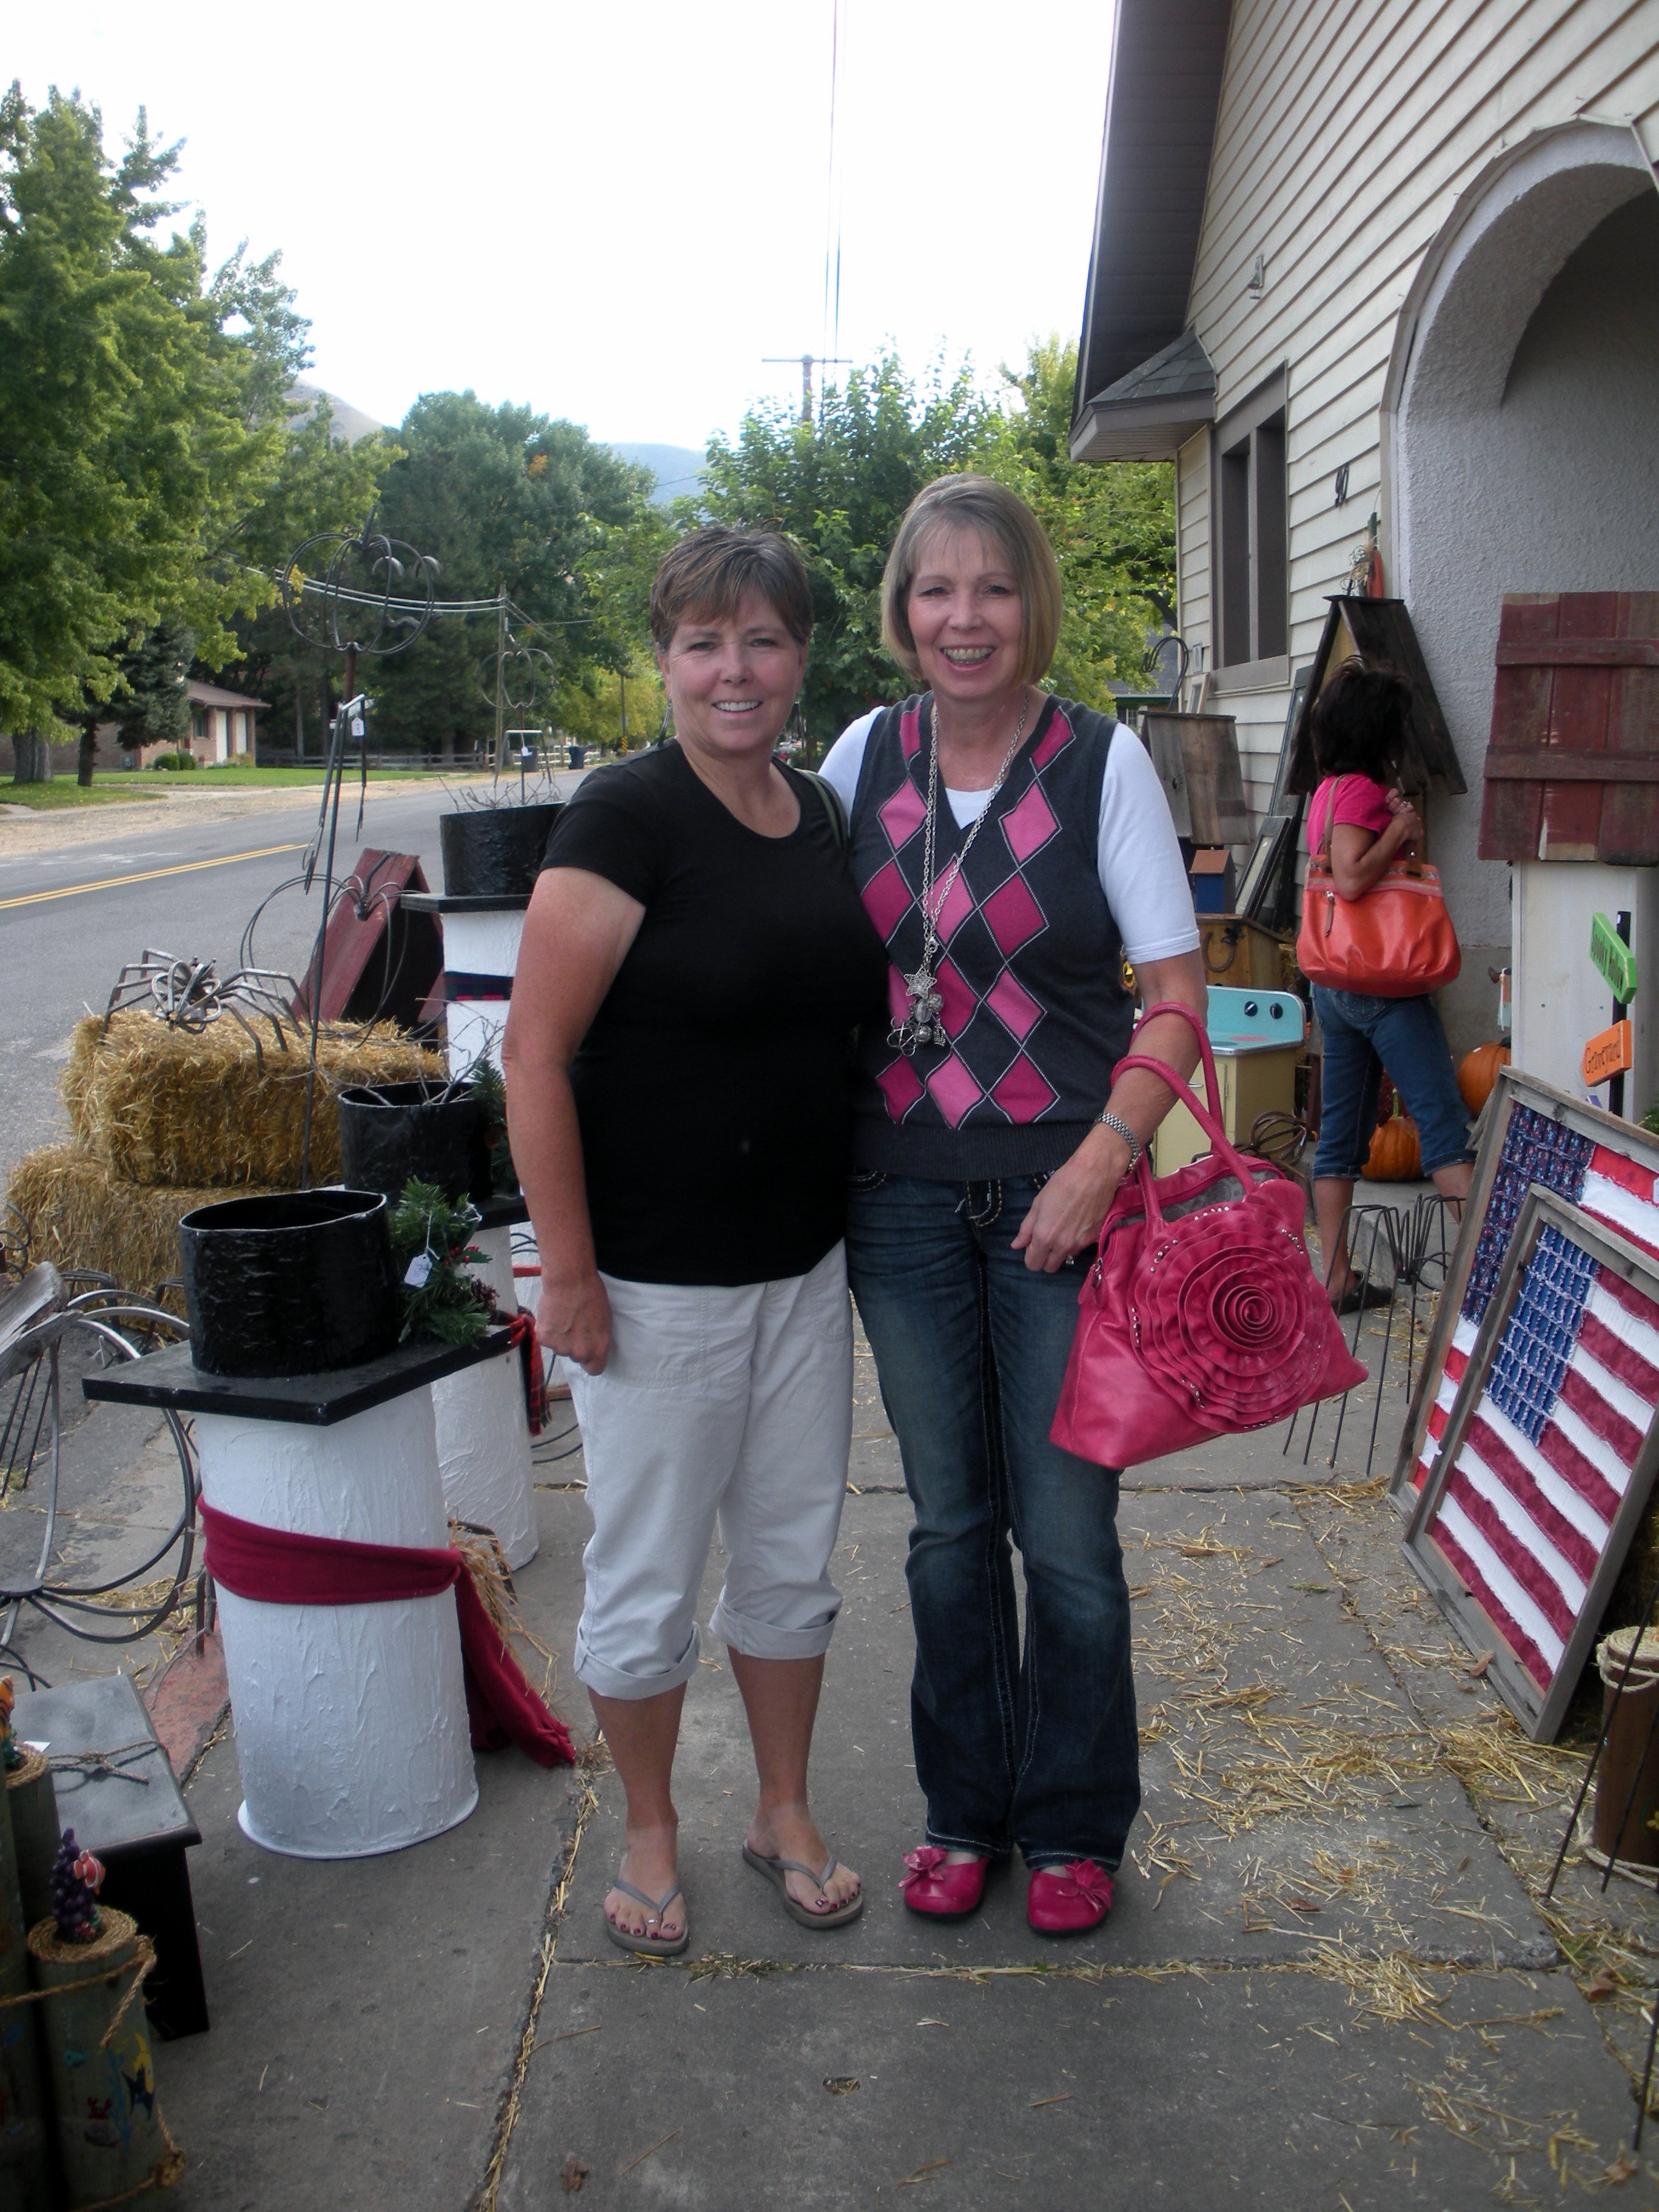
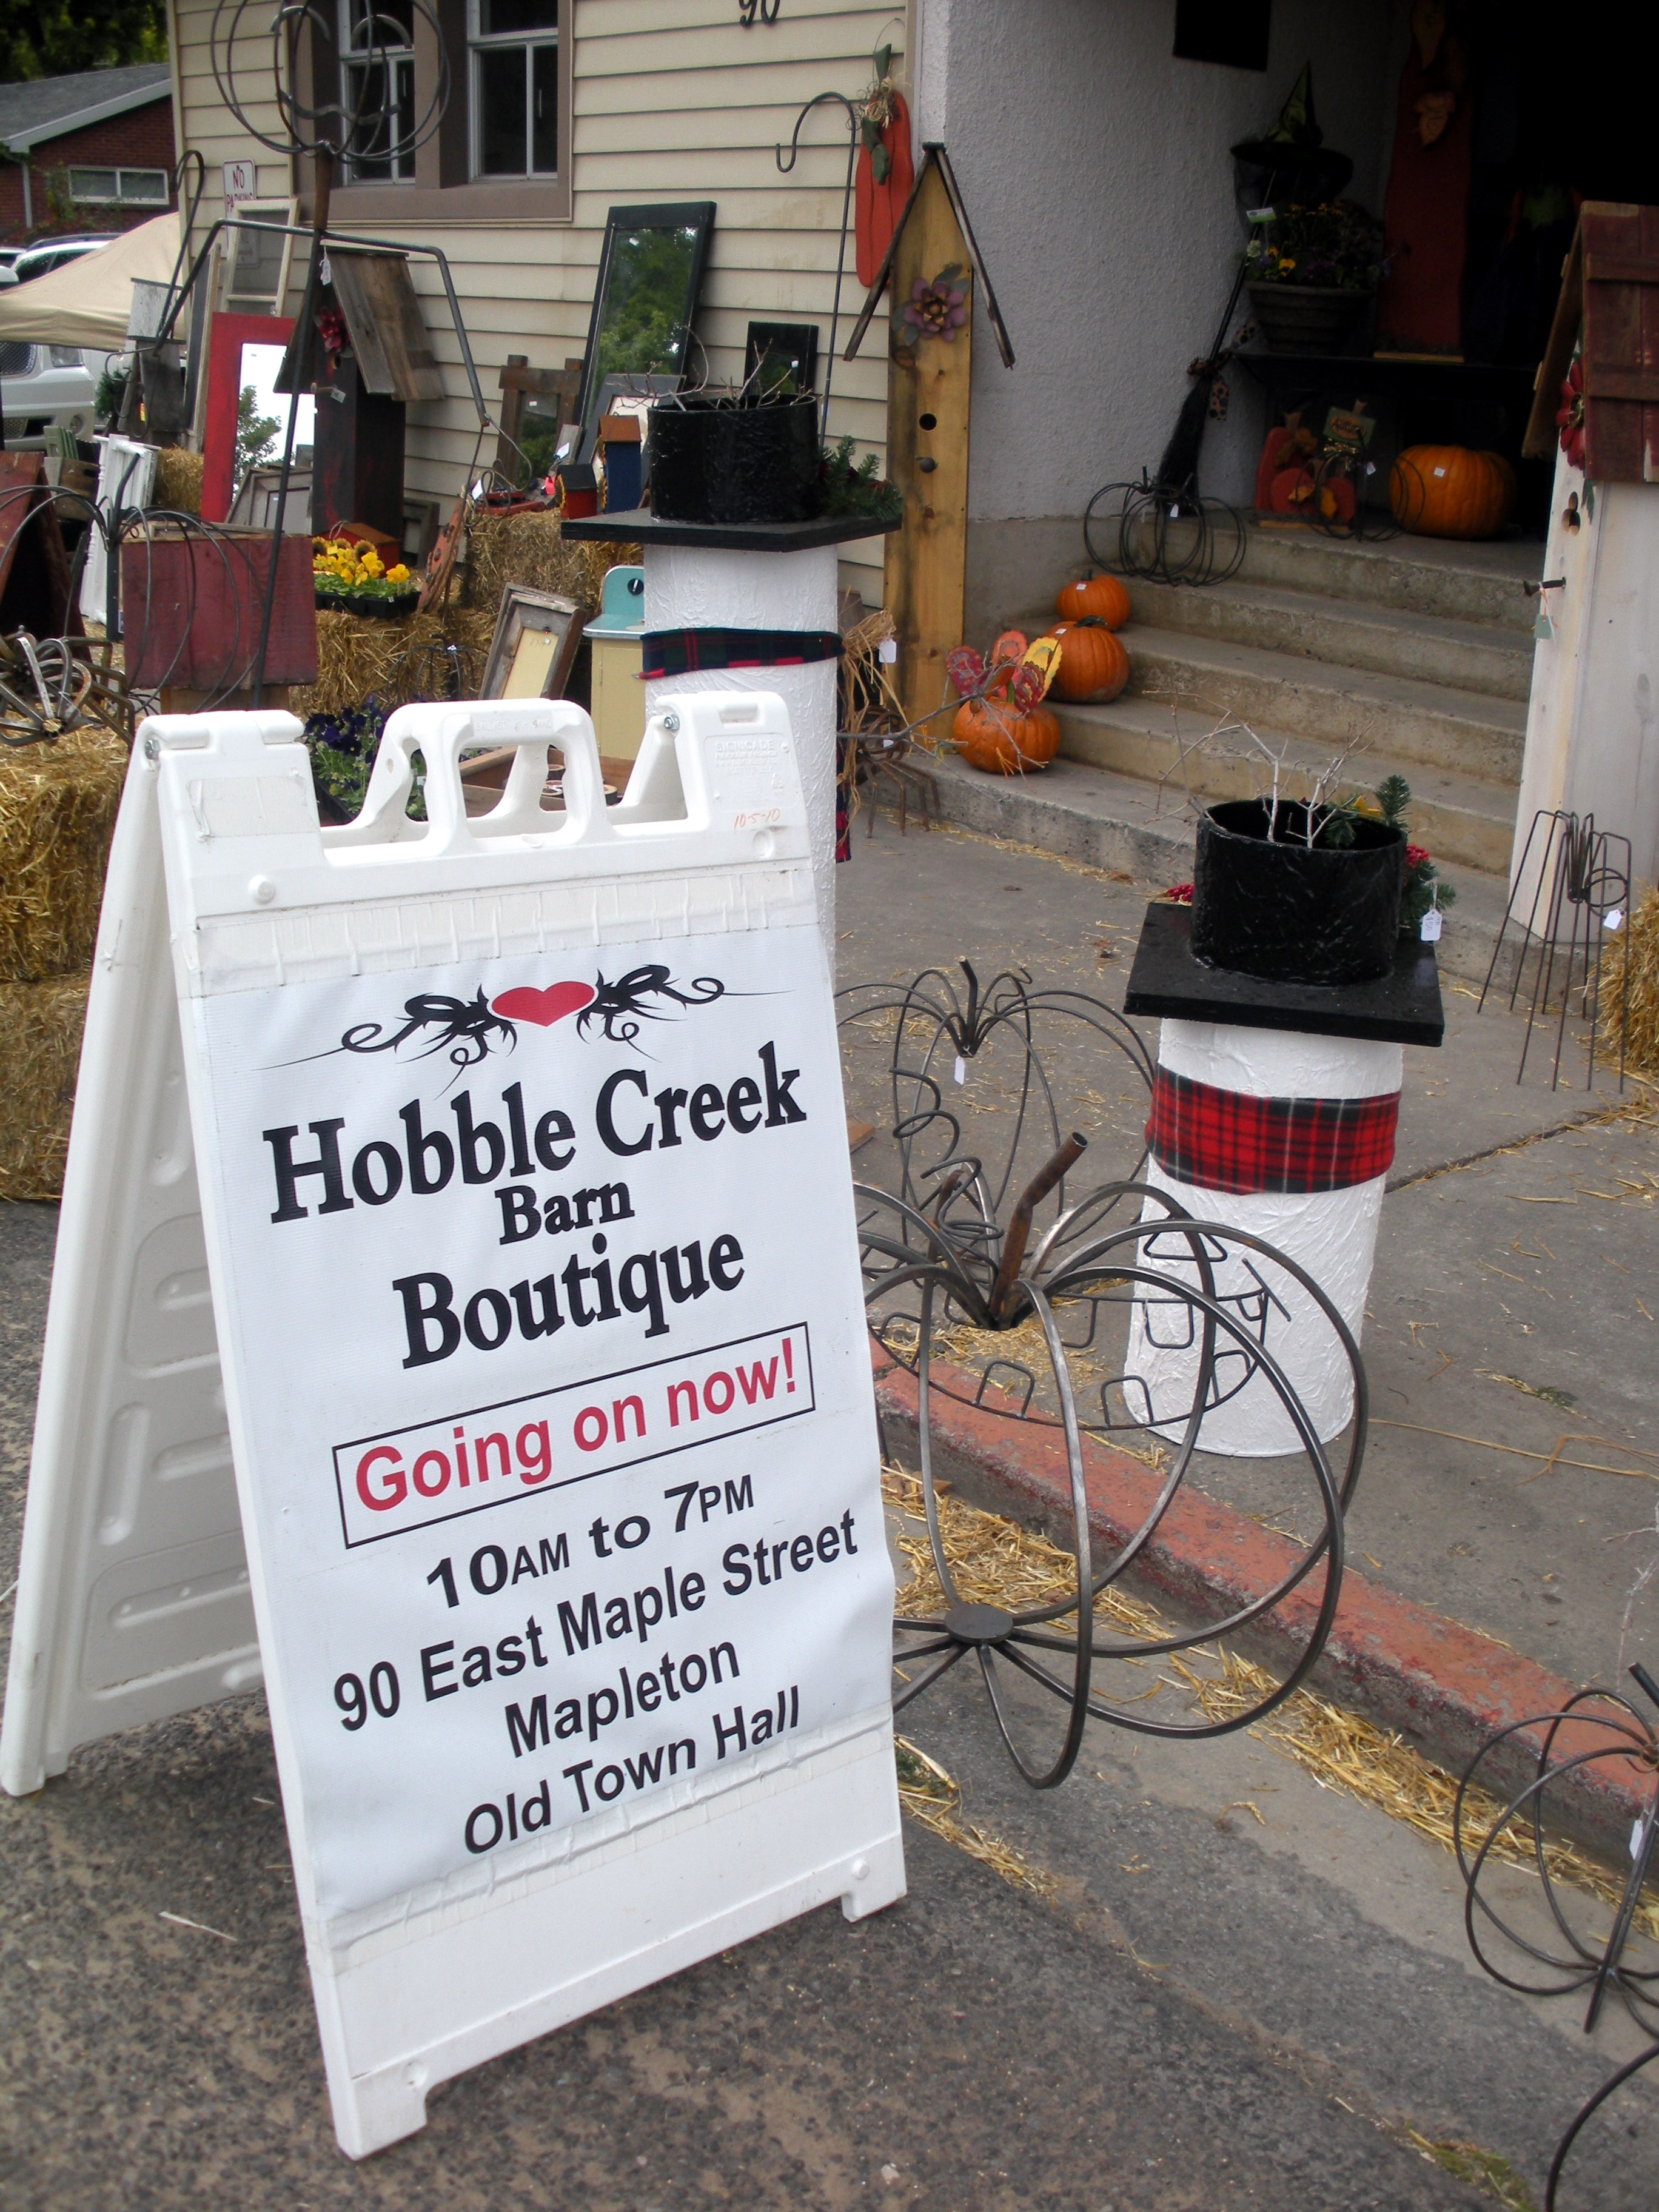
Hobble Creek Barn Boutique!

My friend, Sue and I went to the Hobble Creek Barn Boutique in Mapleton.  It was great to spend most of a day with a good friend!  I have not been to this boutique in many years and it was a fun liitle place with some things that I had never seen before.  We got several ideas for new projects as well as some great purchases. We went to several other stores and to lunch, it was totally a friend’s day out together and it was great to get away.

I love the metal and vintage things that they had outside on the sidewalk before you even go into the building!

We saw pumpkins, snowmen, americana flags, bird houses, framed mirrors,all kinds of jewelry, clothes, and  of course yummy treats.  They had a little bit of everything!This was one of my purchases of the day.  Does anyone know what I will do with it?  Stay tuned for a project that is yet to come!


Cute Tissue Paper Coasters!

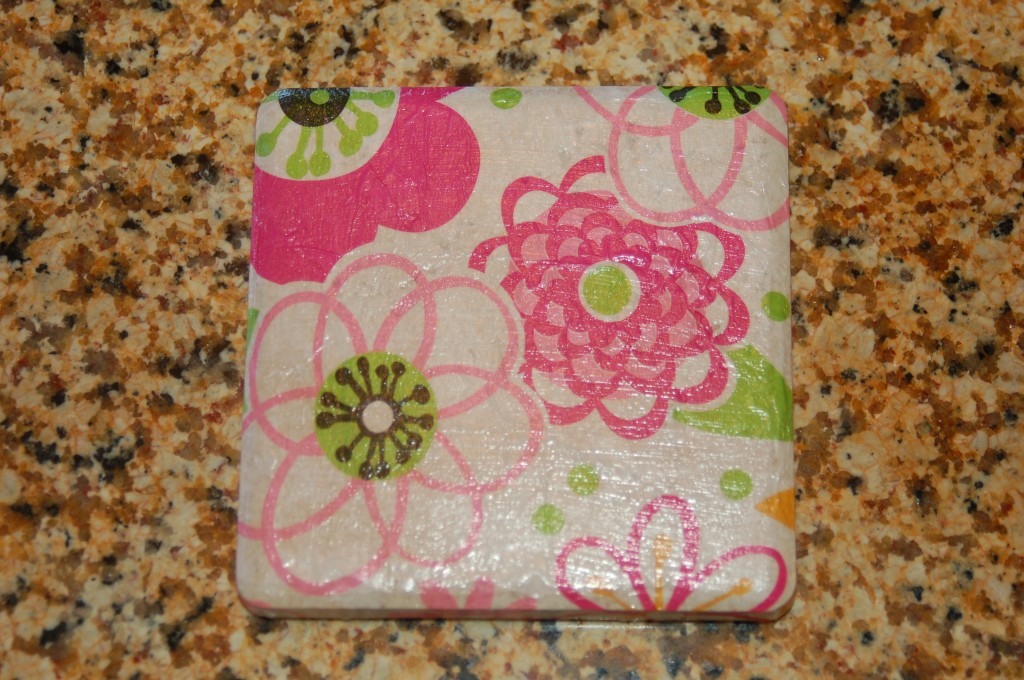
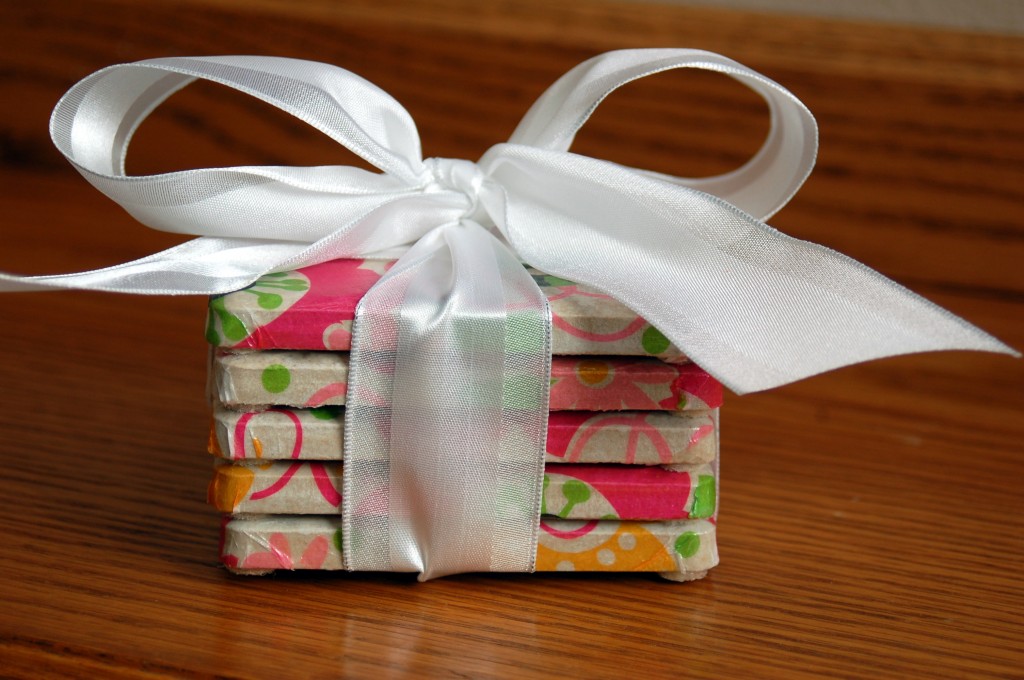
My daughter made these coasters and they were super simple and would make a great gift for neighbor gifts for Christmas, Birthdays, wedding gifts, thank you gift or just because.  I think that they would even be cute for Halloween!

(mm, I think I feel another project coming on!)

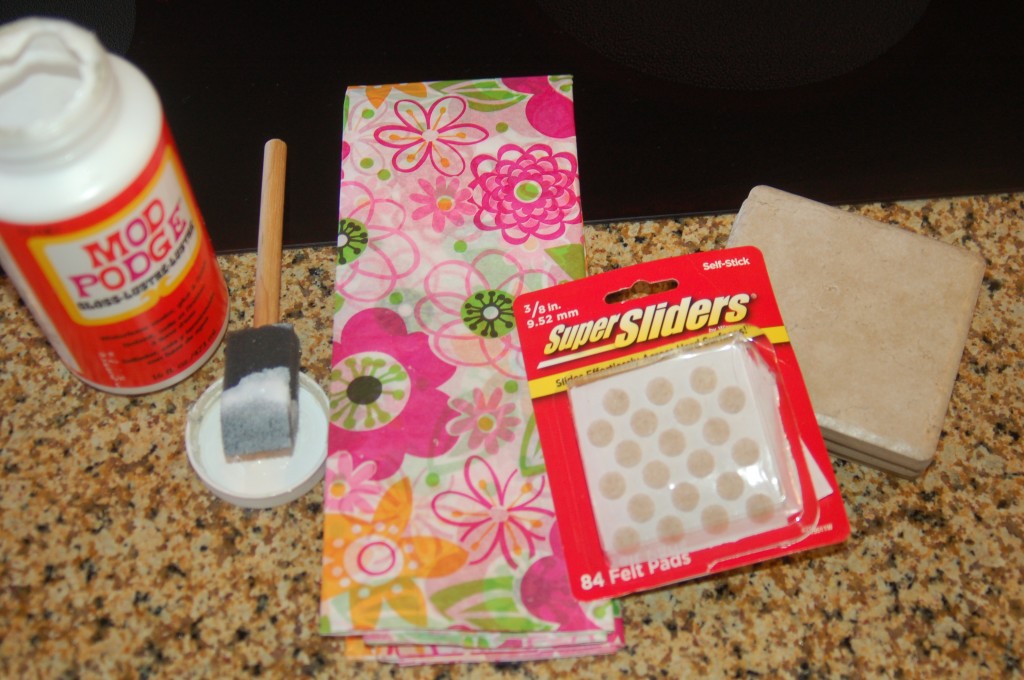
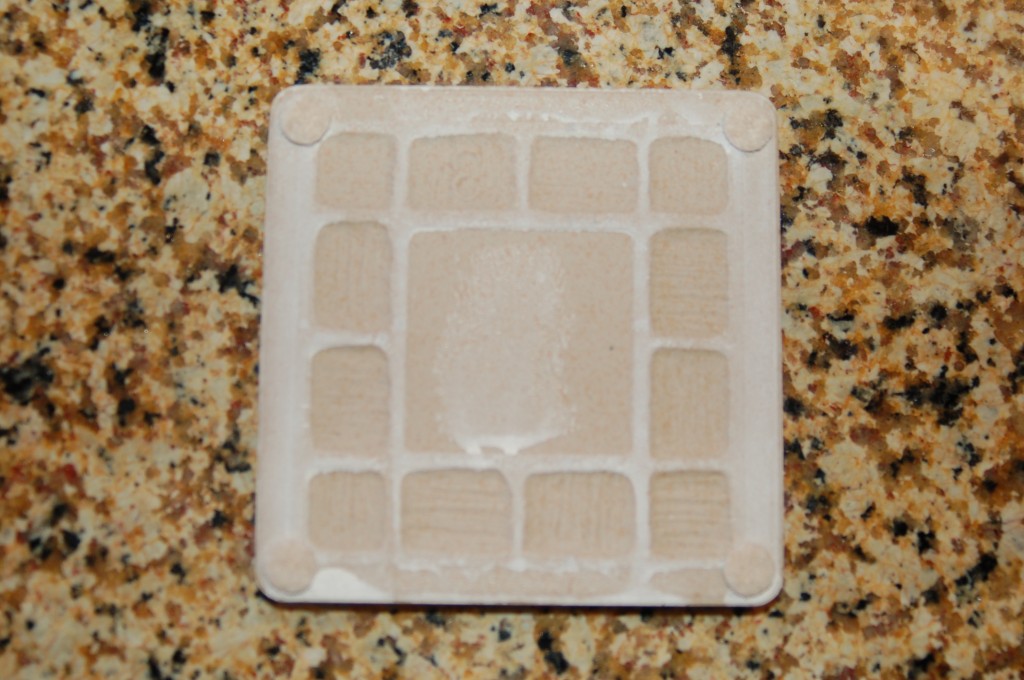
Here is the line-up of supplies:  Mod Podge, tissue paper, 4 inch tiles (from Lowe’s), and felt pads.

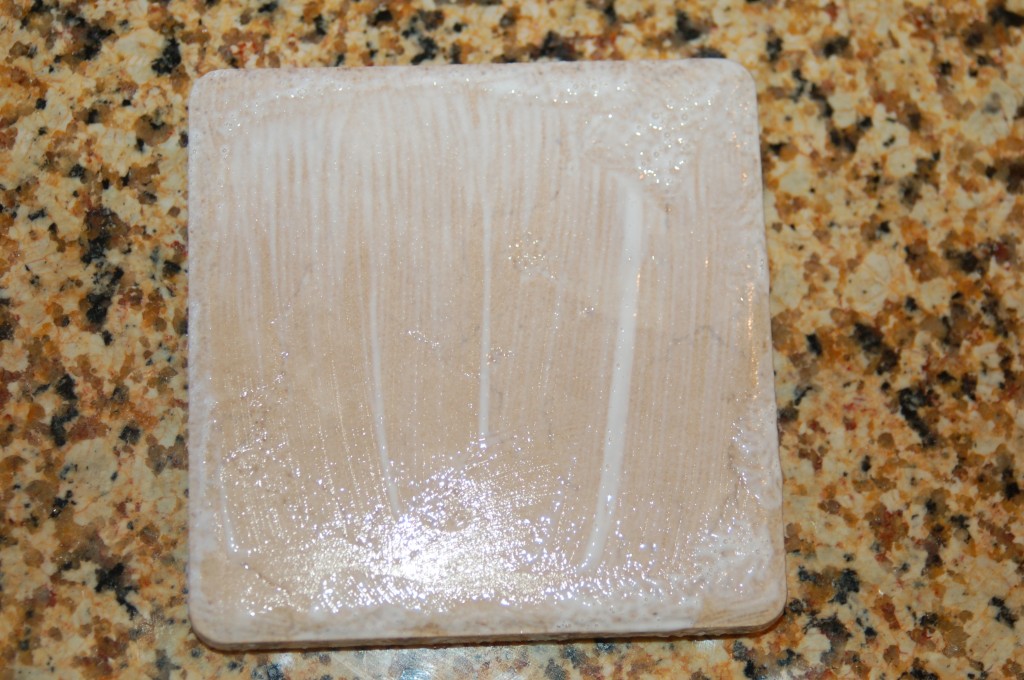
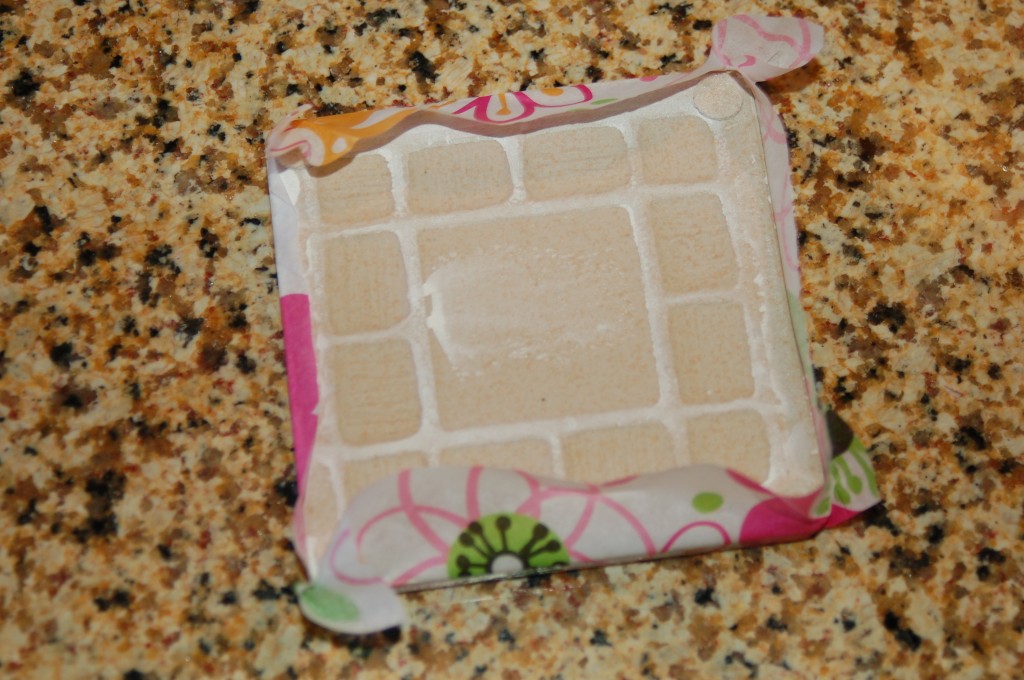
First apply the felt pads to the back on all 4 corners.Apply the Mod Podge to the front and all the sides of the tile.Have a piece of tissue paper already cut to about 5-6 inch square and apply it to the top of the tile and wrap around all of the edges, Make sure to rub it a little to get any bubbles out. Contour it around the corners. You will have some tiny creases here but that is ok.Let it dry and then tear, or use sandpaper to remove the excess paper on the bottom.  Apply 1-2 more coats of Mod Podge to seal it good.Tie them up with a cute bow and you have a darling gift for someone you love!  There are all kinds of possibilities in the paper that you could use to make these, so get creative and make a set today!


Girl’s Night Out

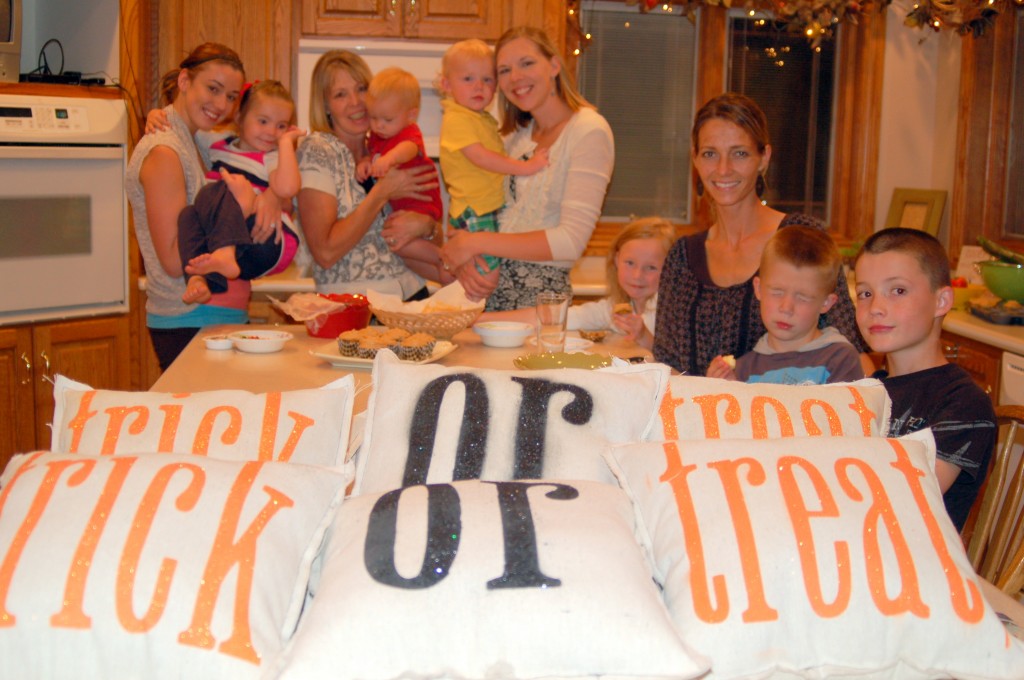
We had a fun girl’s night out last week.  My husband was gone, so when the cat’s away the mice will play, and play we did!  We hired a baby sitter for all the kids and they had a great time playing downstairs while we were upstairs.  We let them come up for the food after we were all done.  (Nice, I know!)  What a fun group!   And most of  the time the cousins are all great friends.

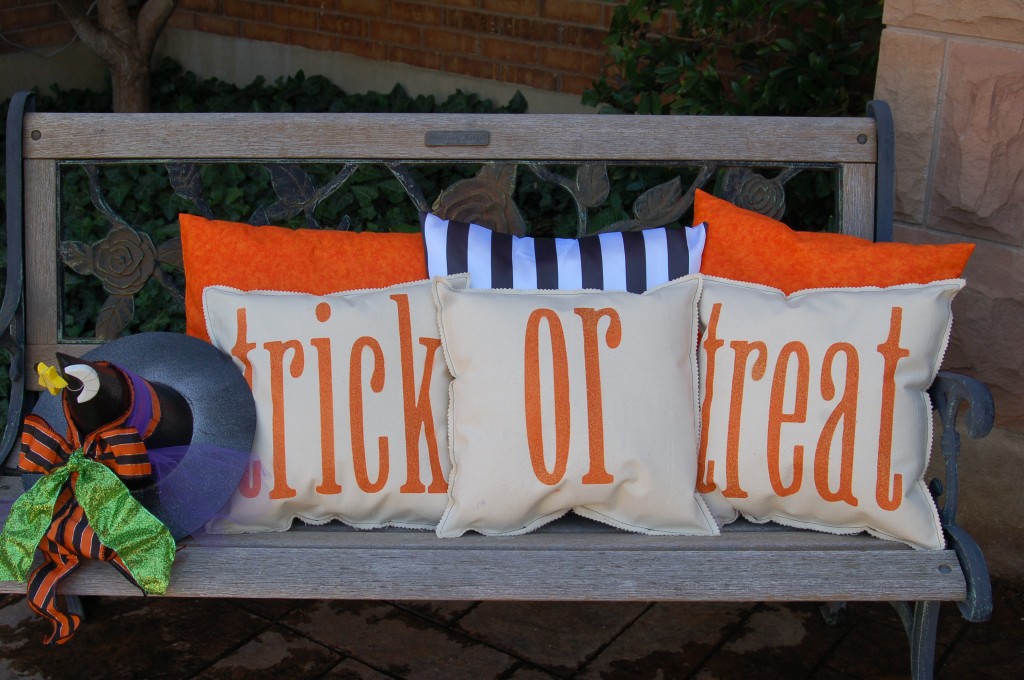
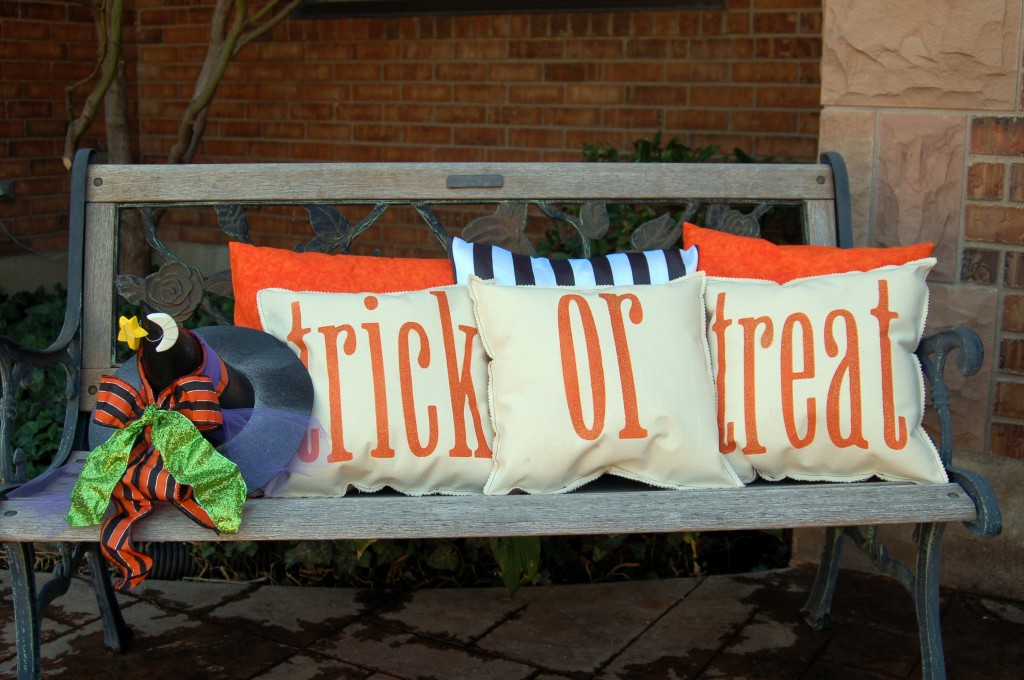
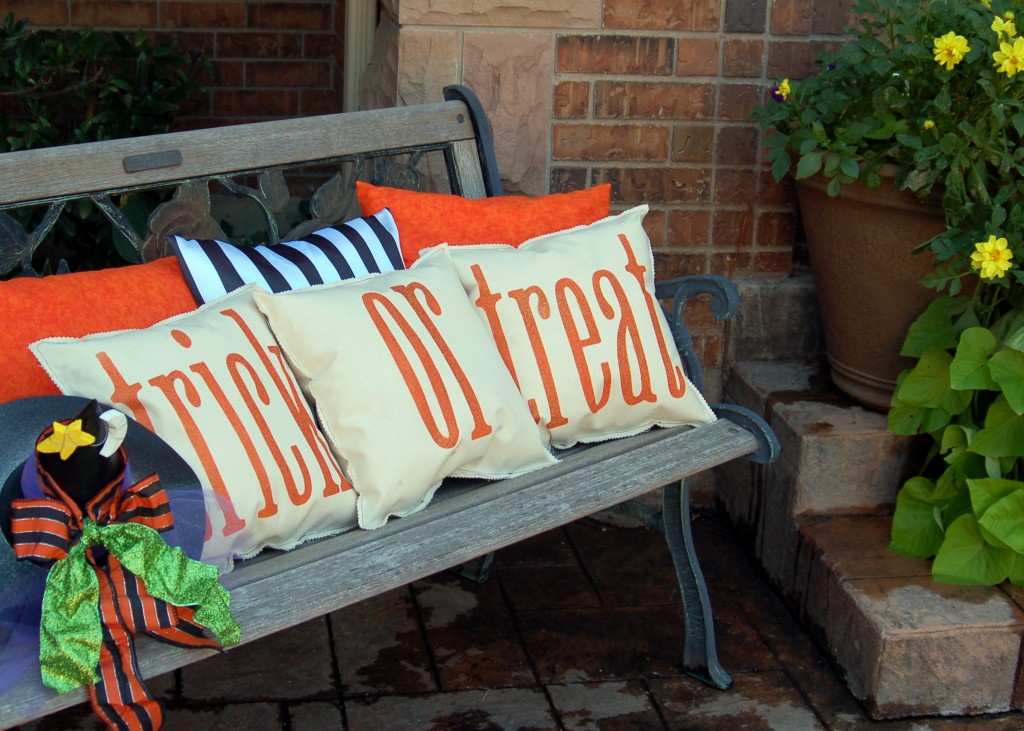
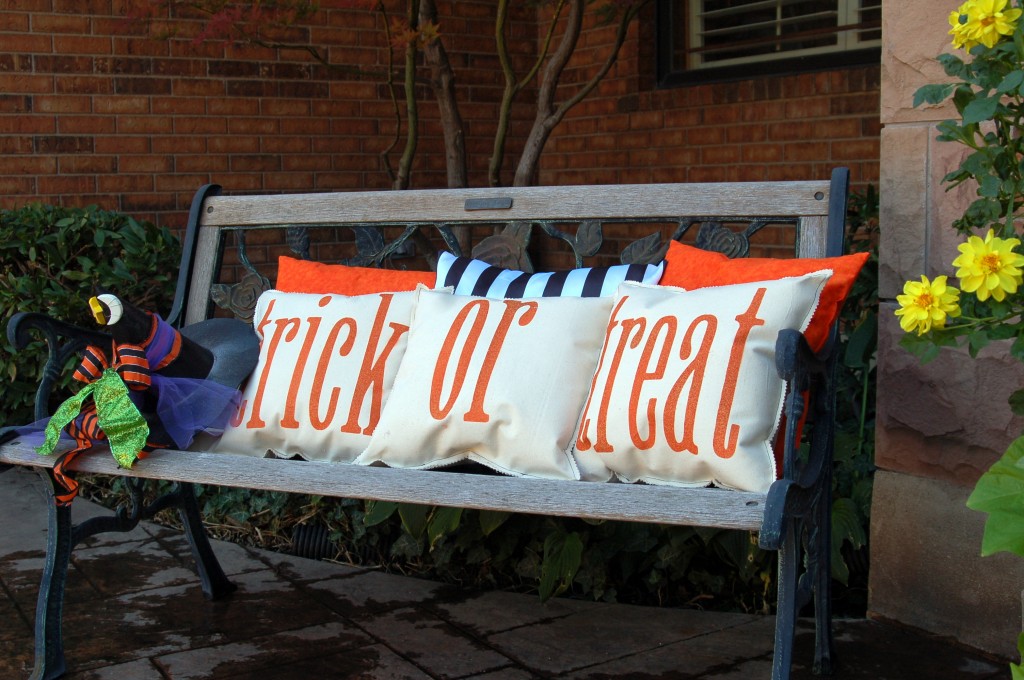
We made these pillow and I totally copied the idea from a pinterest blog.  I even made the pillows in the back like on their display. She has done a great tutorial on how to make them here so I am not going to do another one.  I will tell you what we did different, as you can see, some of them did the “or” in black paint and just used fine glitter which worked ok, but the glitter had to be sprayed with varnish to help keep the glitter from coming off.  She suggests that you go to Walmart and buy the painter canvas, which I did, but it is not a very high quality and it frays really bad, even after using pinking shears.  So I would suggest that you buy a regular piece of canvas from a fabric store.  The next thing we did different was that we found out the glitter paint did not go very far, so we painted the orange with regular spray paint and then added a glitter finish to the top.  It worked great that way!  But all in all it was fun to see how everyone’s turned out and we had a fun evening together without kids (kind of!) Here’s what mine look like!I don’t know if I can leave them outside or not, I will have to spray scotch gaurd on them if I do so the weather won’t ruin them.!I think they turned out pretty darn cute.