Category Archives: Printables

December VT Handout

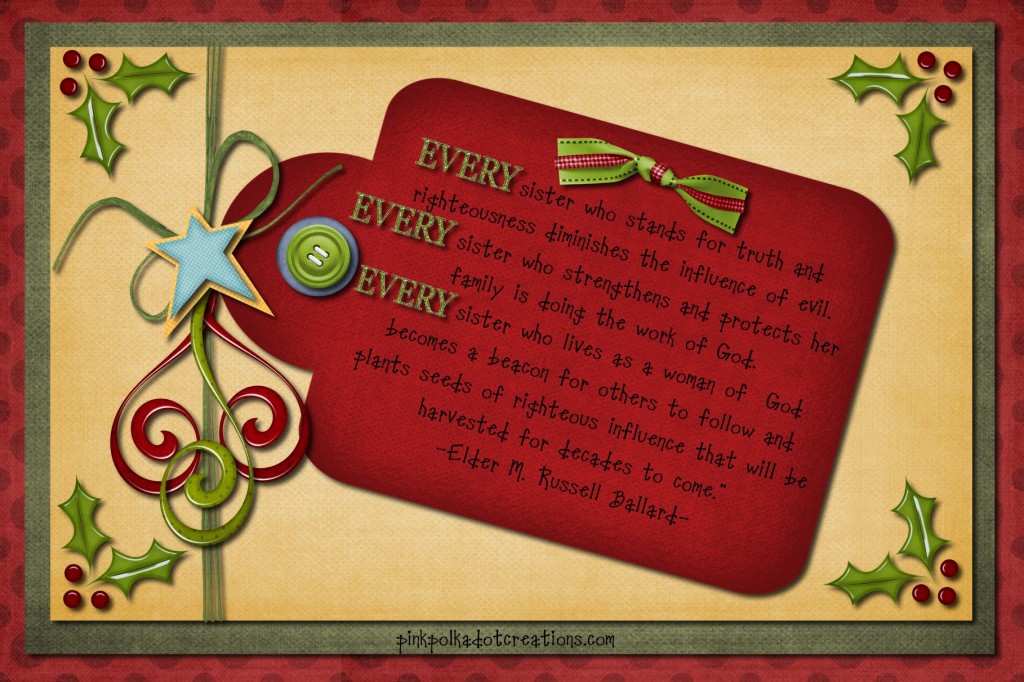
I love the message this month on how important EVERY sister is and how we influence so many around us!  I think that sometimes we forget how wonderful we are!

This month’s handout is a card to print, you can use it as a refrigerator magnet, a tag to tie on some goodies, (like my fudge) or make it into a card etc.

To print, just right click and go to copy.  Then open your favorite program like Word and right click again and go to paste.  This is a 4 x 6 card.  This has also been formatted to send to your favorite photo processing center and they can print it as a picture. (I send mine to Costco and they are only 16 cents each!)

Happy Visiting this Month!


Thanksgiving Placecards

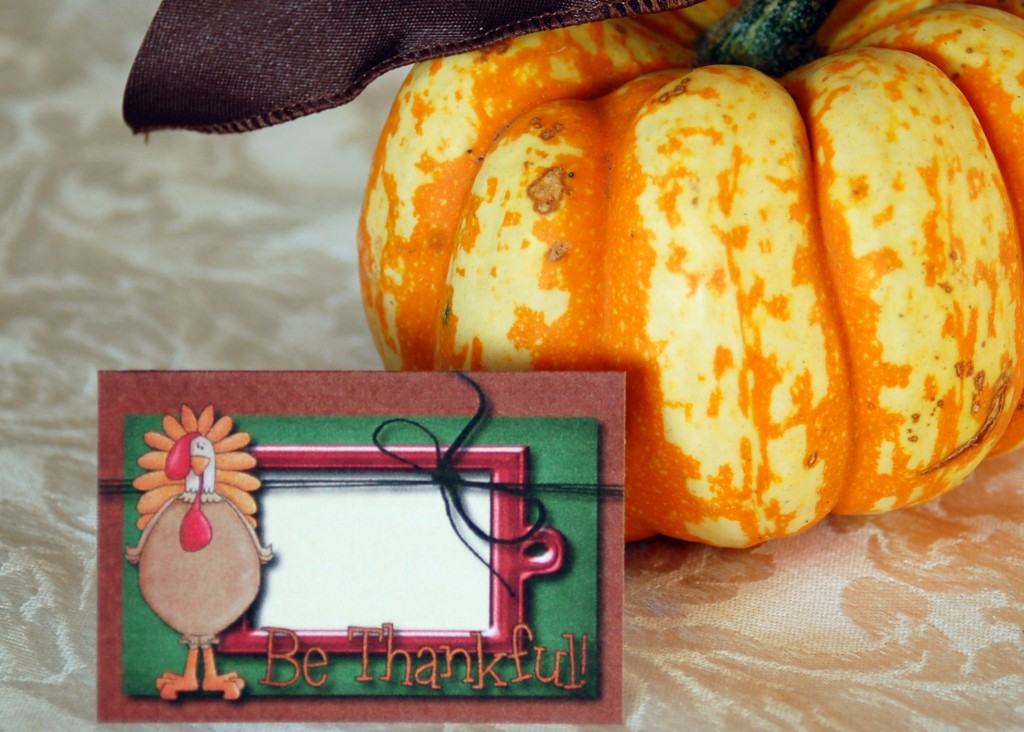
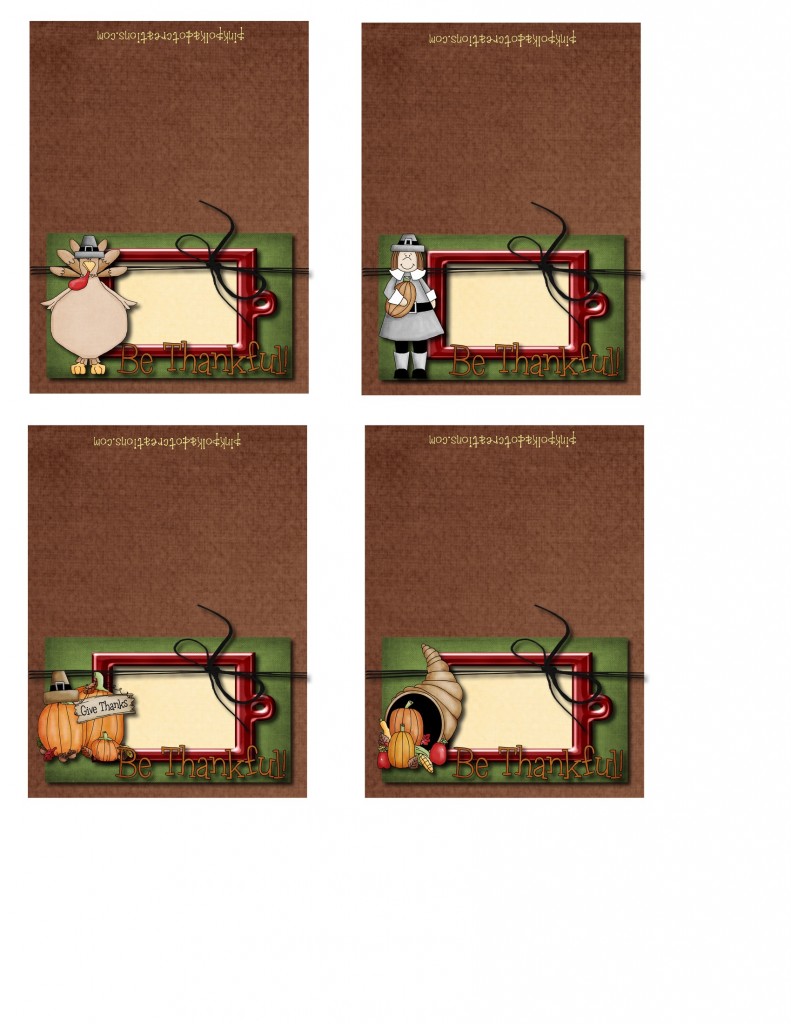
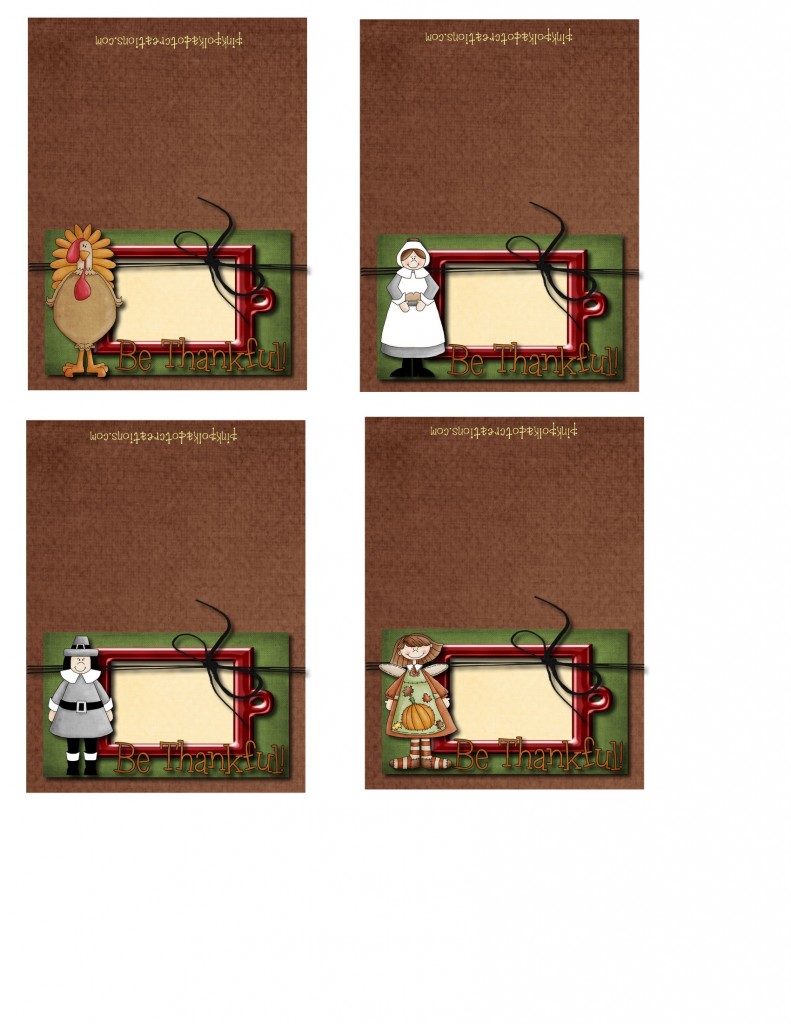
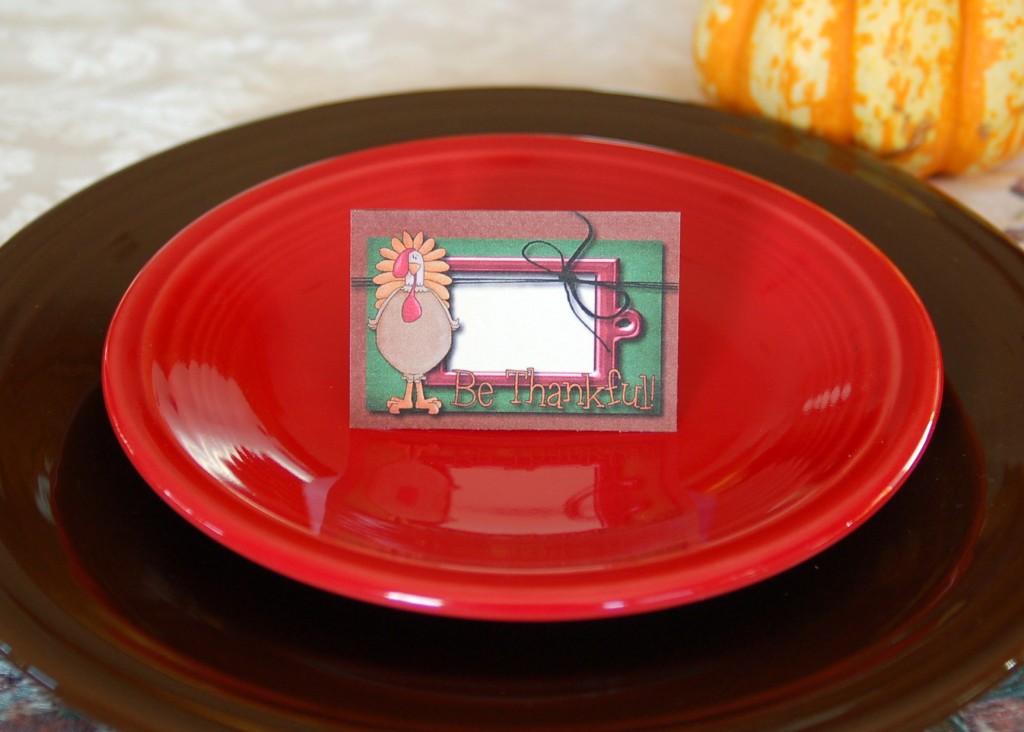
Today I have some cute little name cards for you to print out for Thanksgiving.  All you have to do is print them, cut them out, fold in half, and write names on them.  What could be easier?  It is amazing how such a little thing like this can dress up your Thanksgiving table and make people think that you really went to a lot of work! (No one has to know!)

There are two sheets, 4 on each page, (8 total).  If you need more than that, just print duplicate pages.  To print, just right click on the image, then go to copy. Open your favorite program like word, and right click again and go to paste.  They are in 81/2 x 11 format so you can just print them from your printer!

They would be fun to pair up with a treat or some nuts.  There are all kinds of fun ideas on pinterest, follow my Fall/Autumn link if you need some other ideas!

A couple more  ideas that you could do with these printables: is to use them for a napkin ring. just cut off at the fold and wrap them around your napkins, or just use the top part for a tag to tie on a treat bag, or the top of a jar with goodies in it!  You could also use this just the way it is as a fold-over topper and staple it to the top of a small clear bag.

Oh the possibilities!


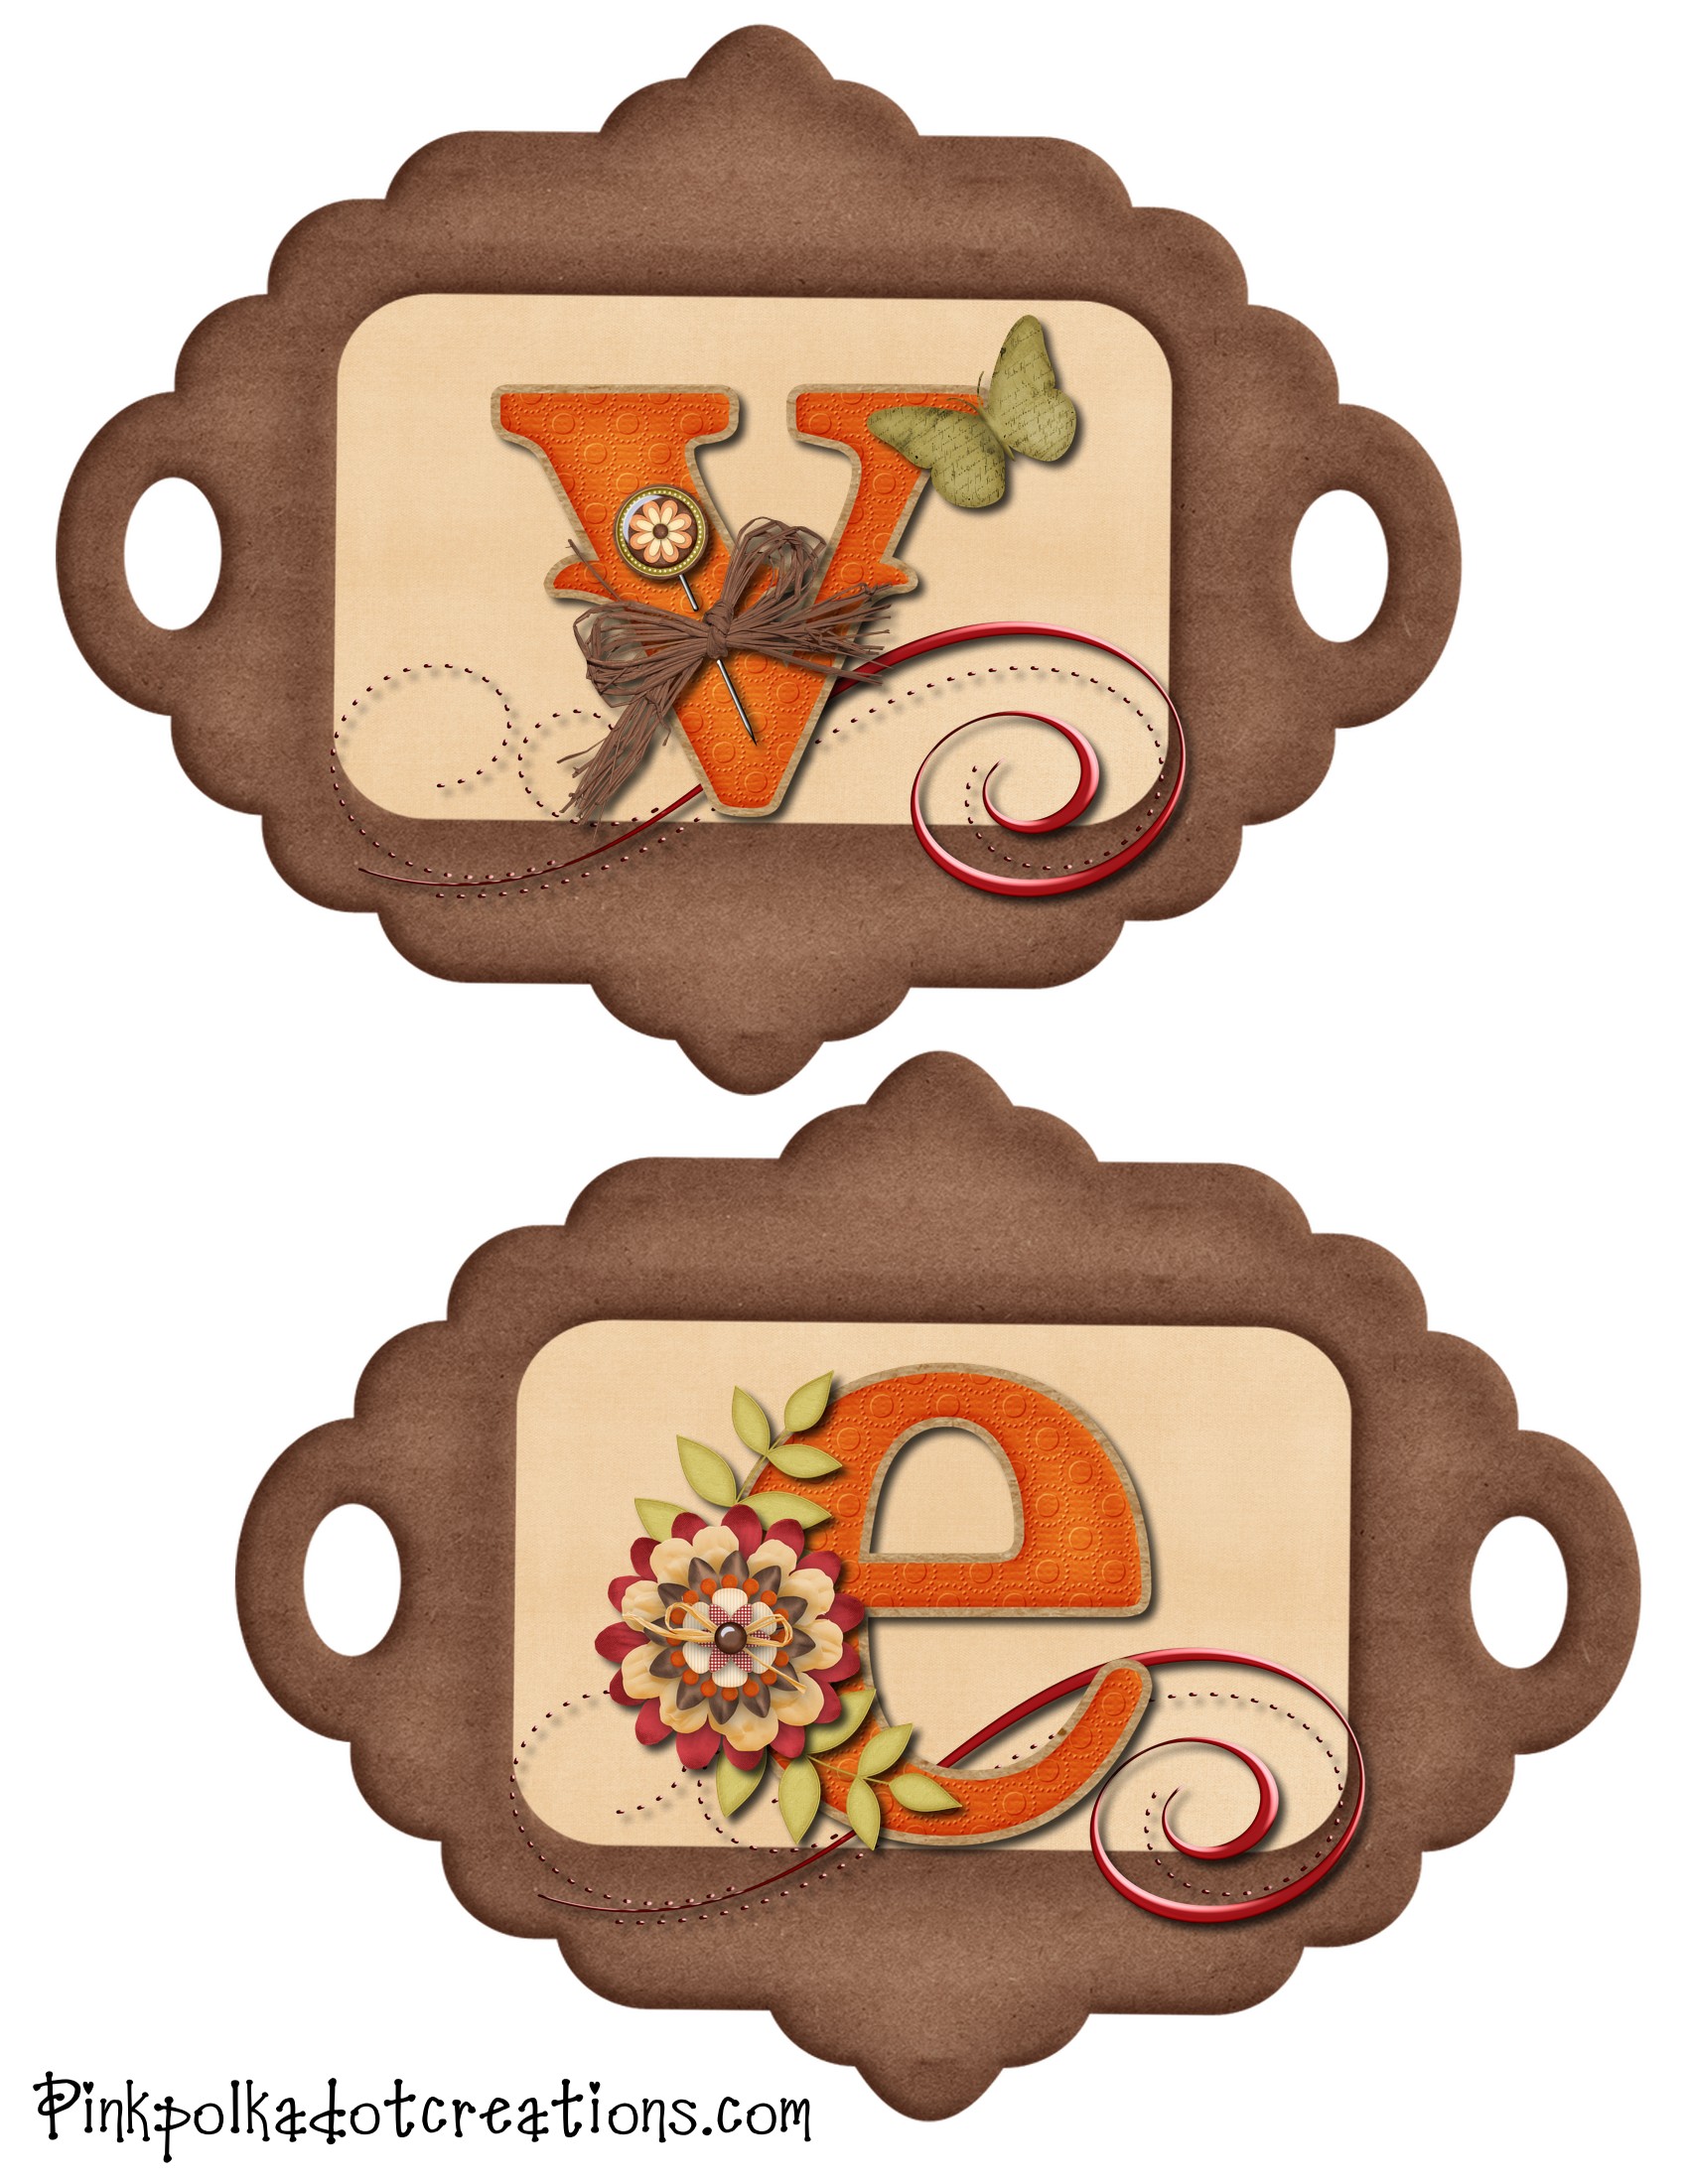
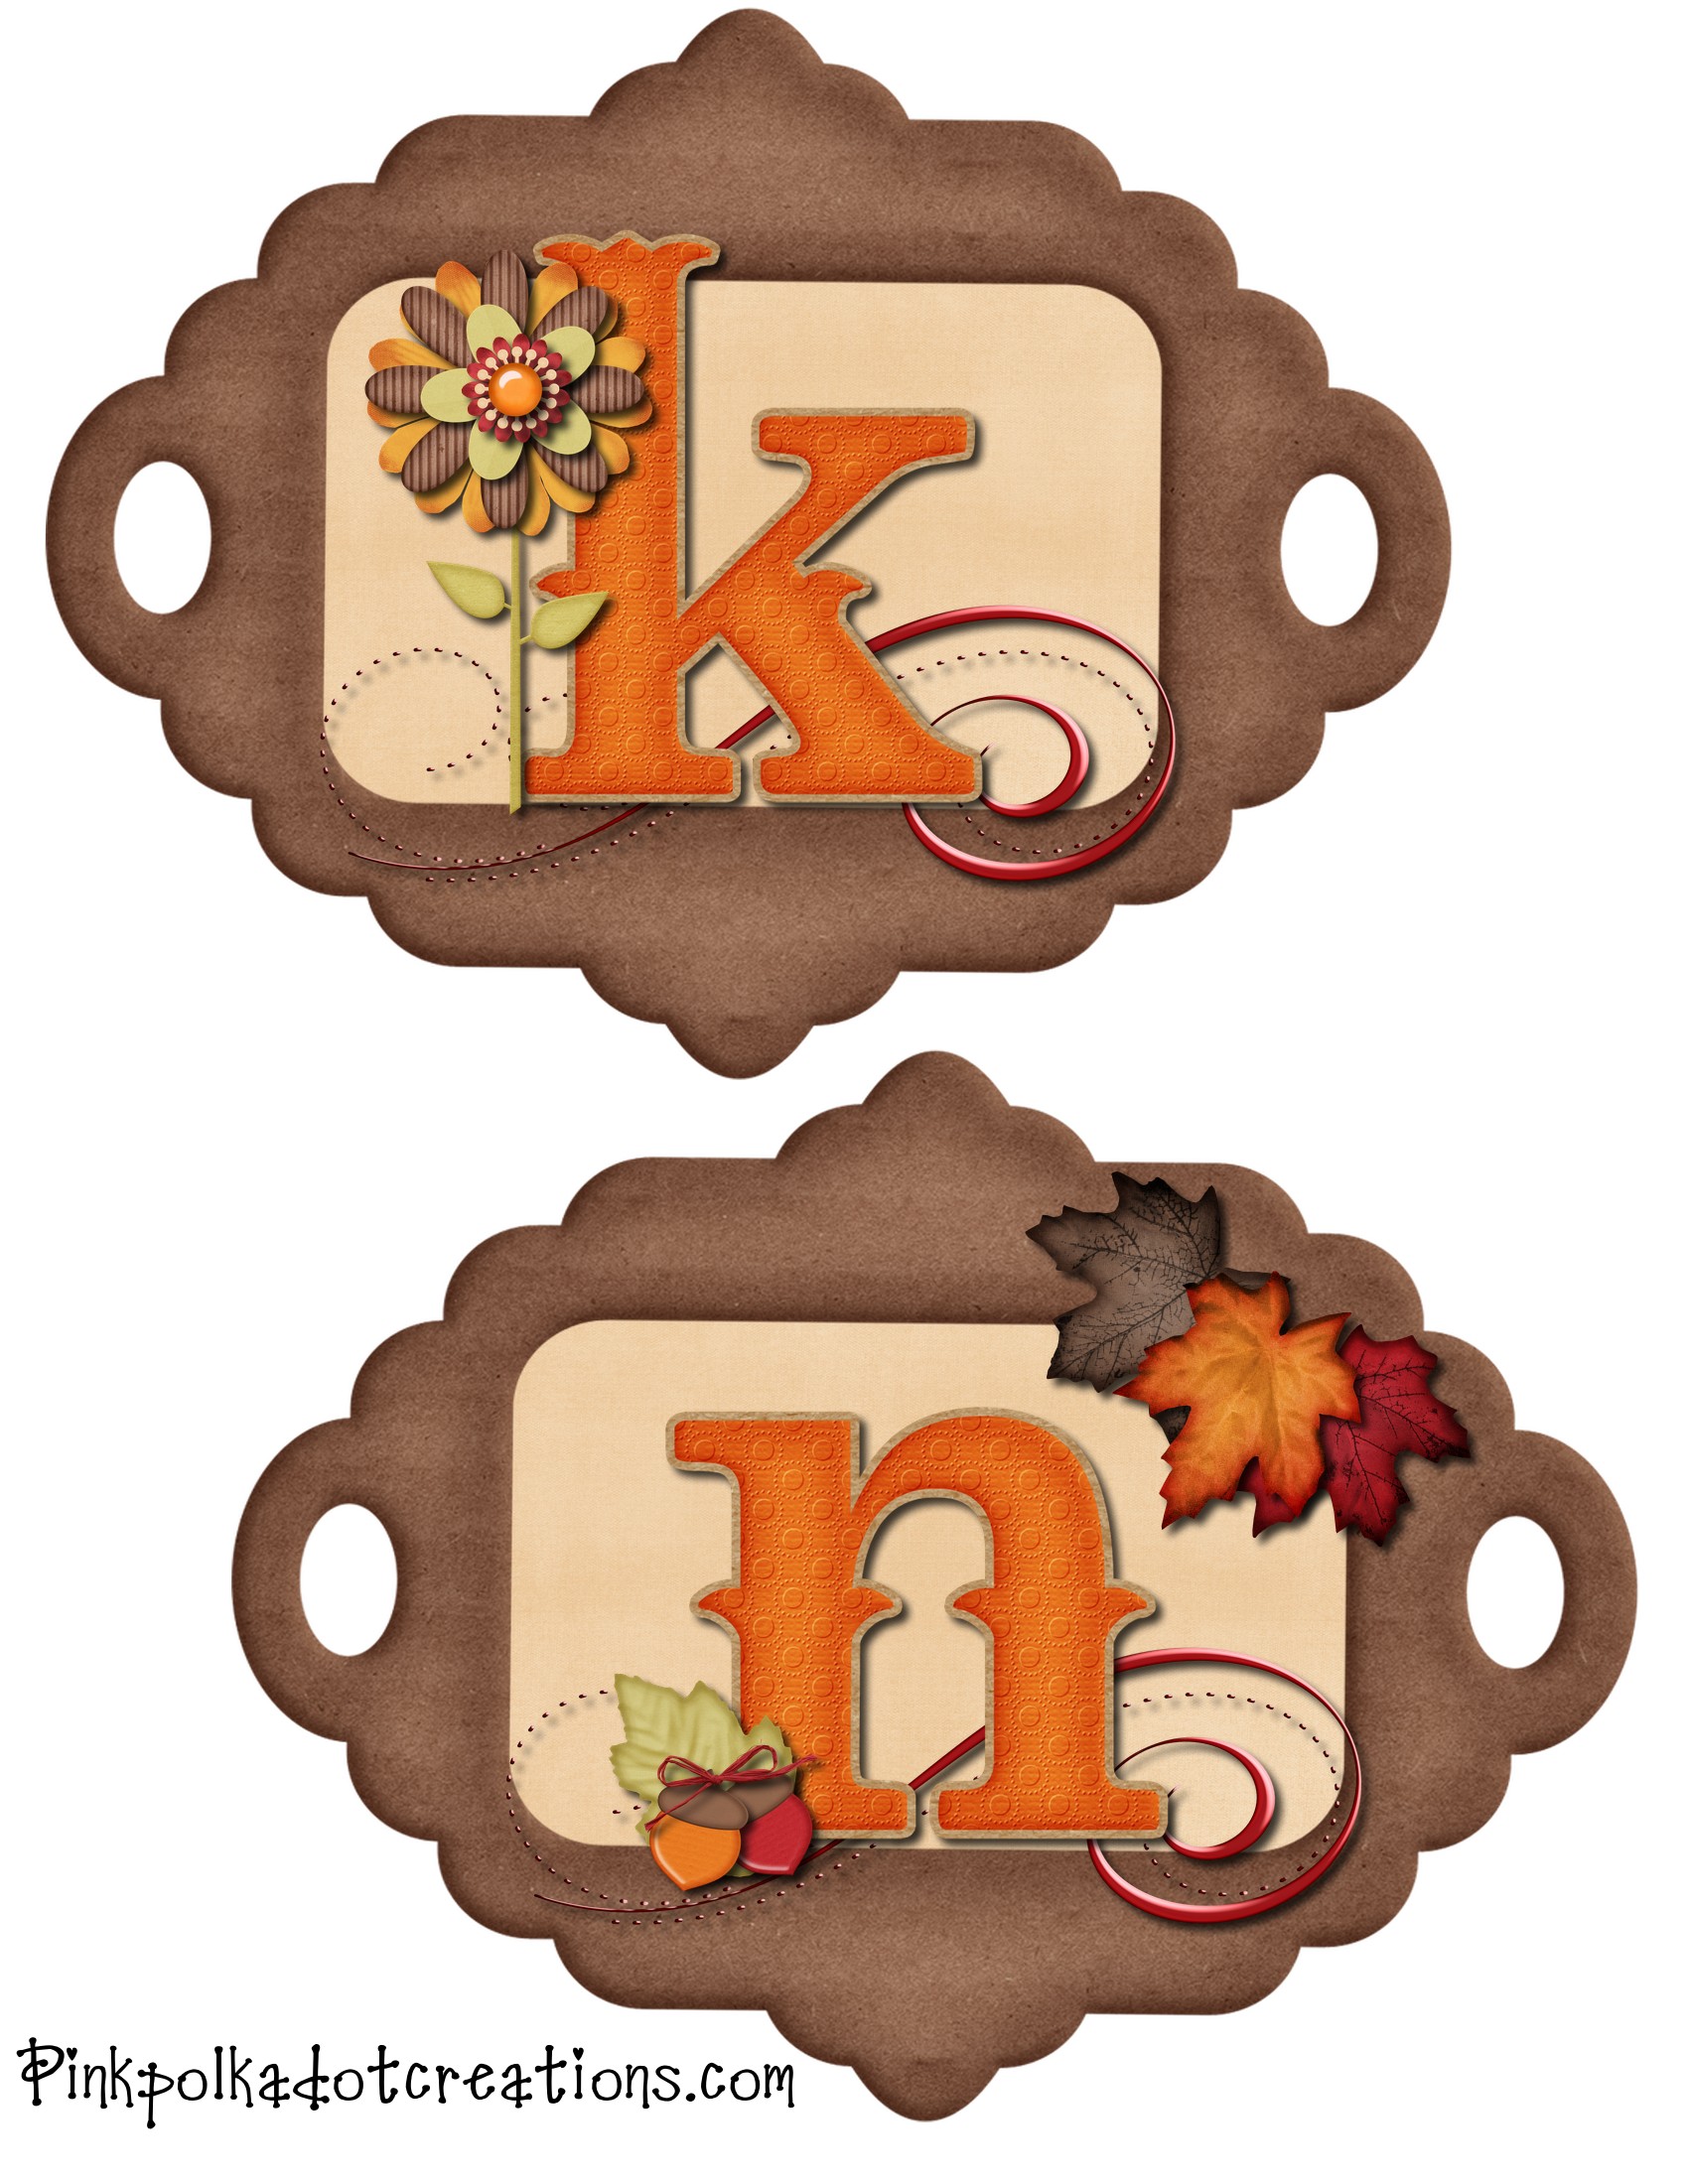
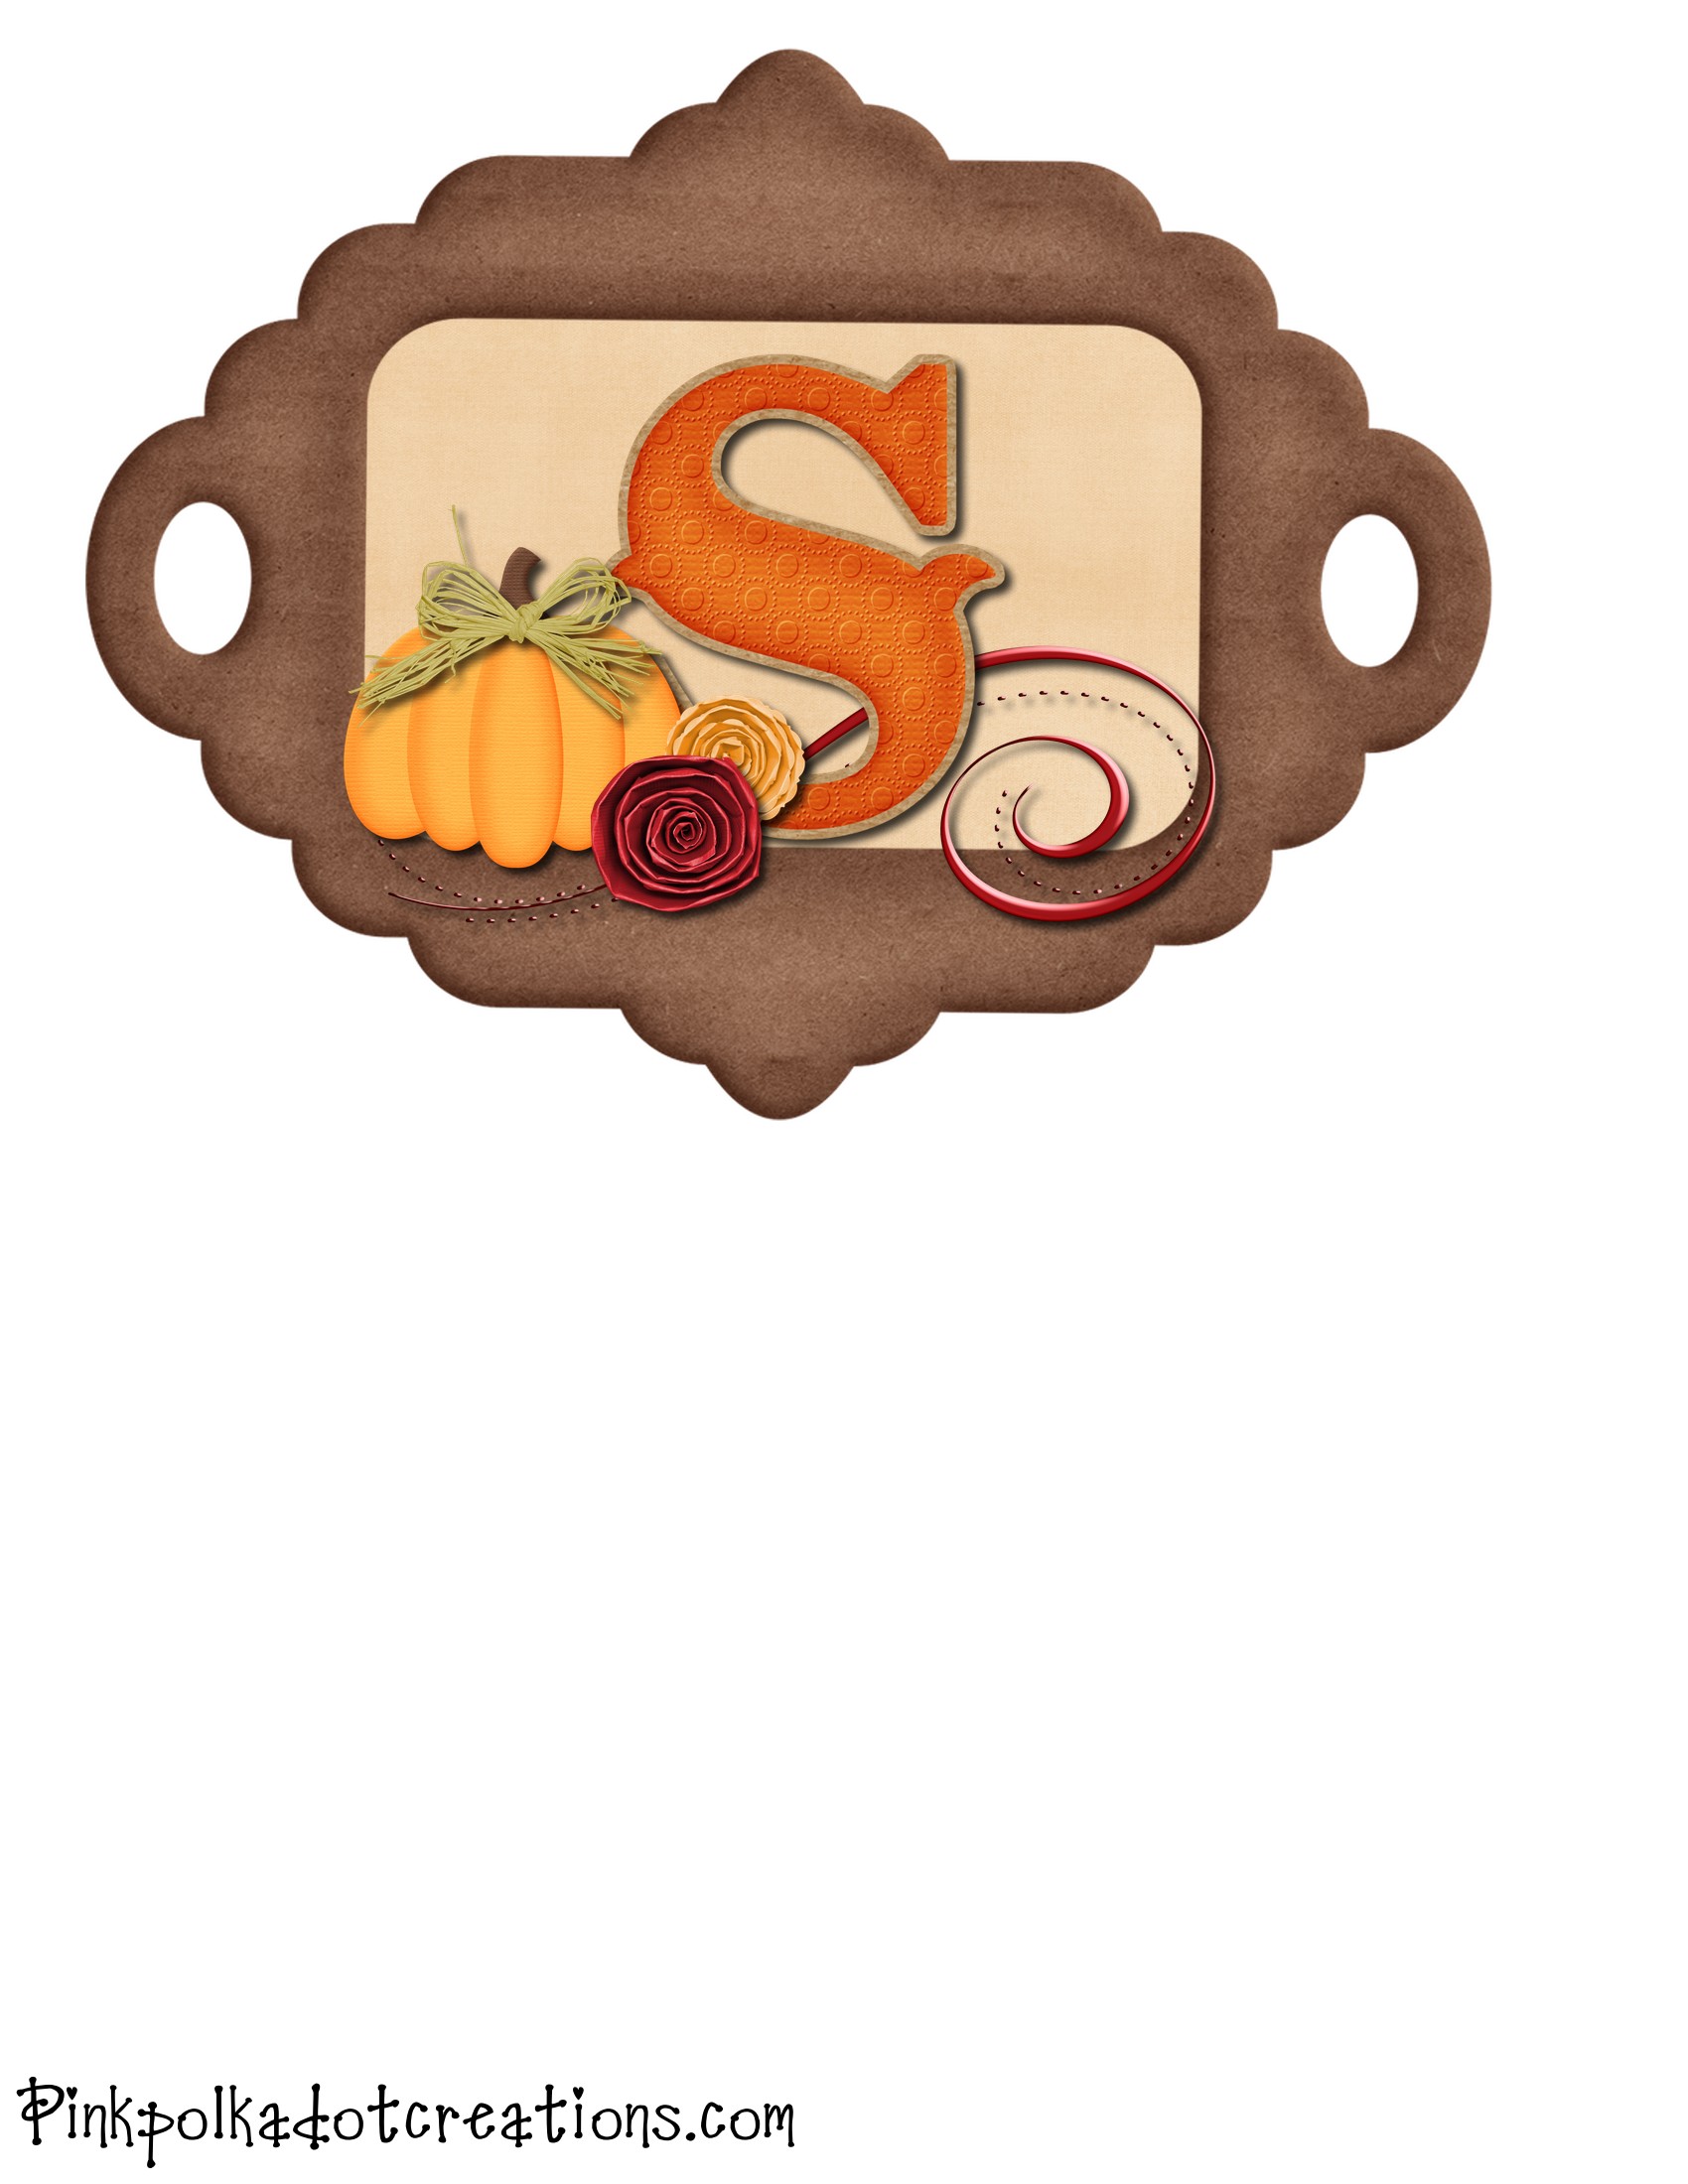
Give Thanks Banner

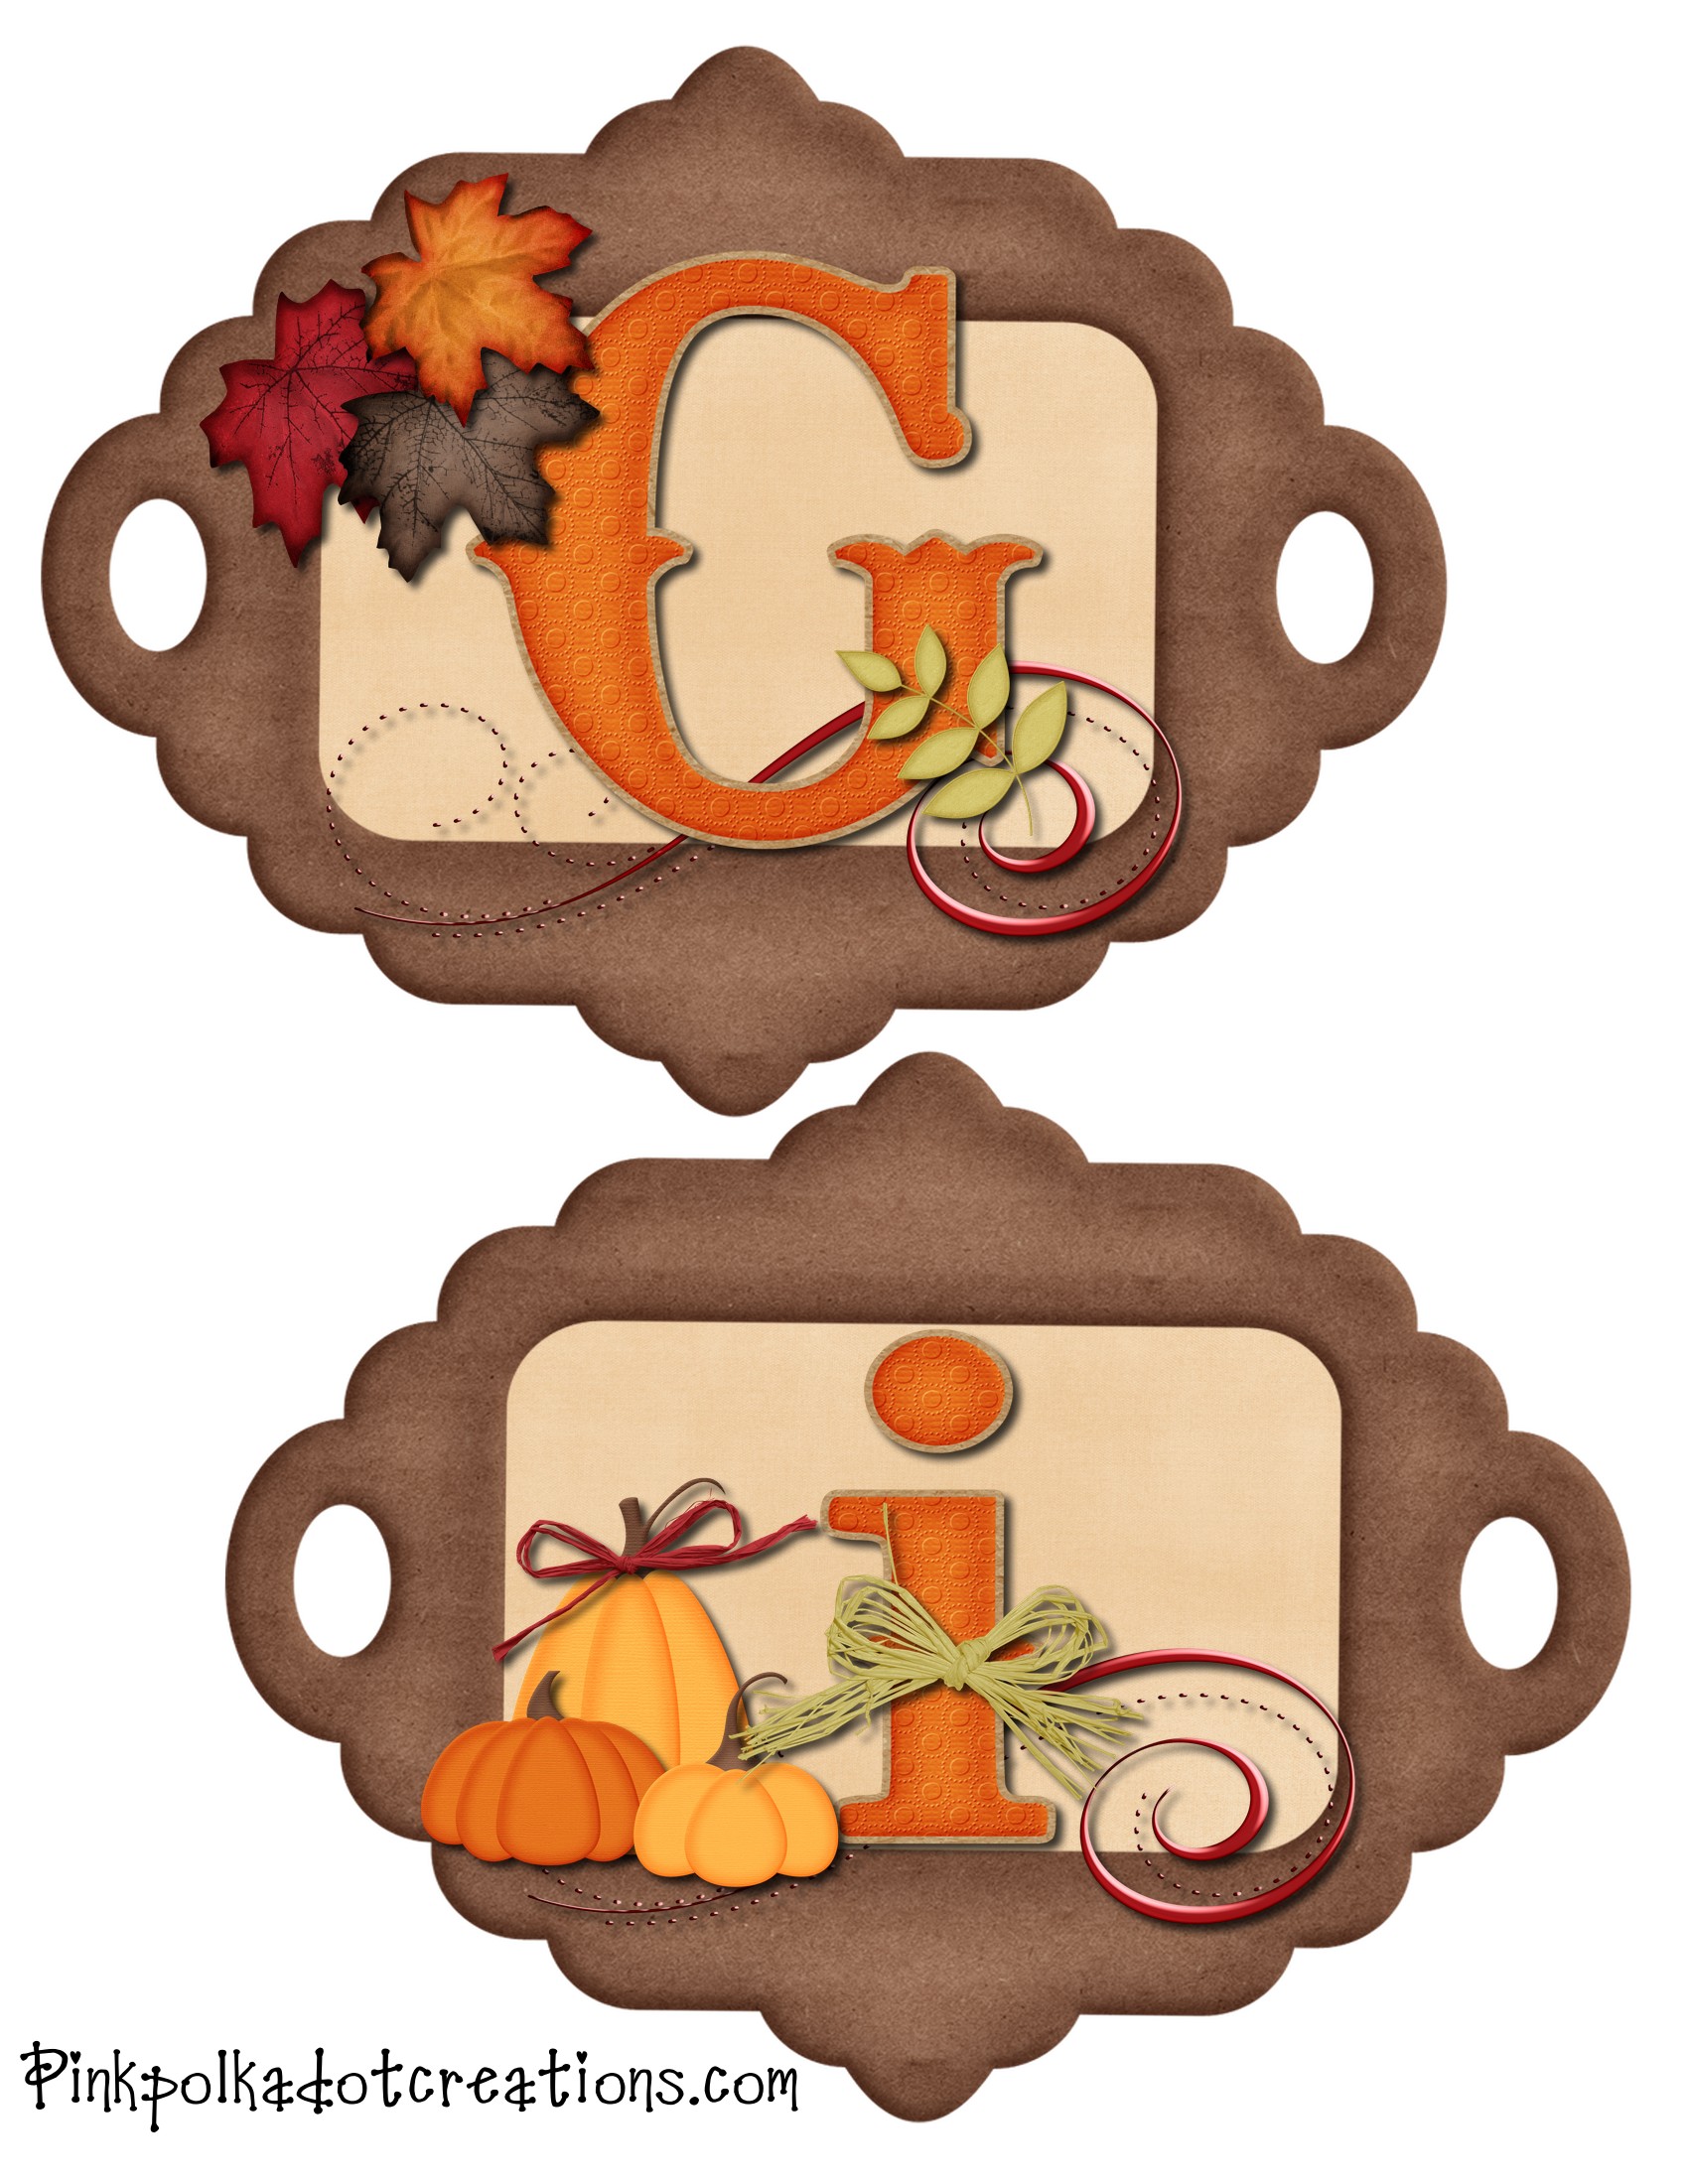
Here is the  cute “Give Thanks” banner that I did as the guest post last week.  It is a free printable, that you just print out, laminate if you wish and tie together with cute ribbon.  This would be cute hanging above your Thanksgiving table, a doorway, or on your fireplace.  (Look how cute it is with my Thanksgiving subway art board, that I made at Landee’s craft night!)

Here are the printables.

To print, just right click and go to copy.  Then open your favorite program, like Word,  right click again and go to paste.  They are in an 81/2 x 11 format, so you can just print them.  You can also email them to your favorite printer.  In my area (Utah) you can send them to Alphagraphics and they will print them for about 55 cents each and that is on card stock.  So that is pretty inexpensive!

I used an oval paper punch to punch out the holes, but you could just use a regular punch, or cut them out with your scissors.  The ribbons cover up the holes, so you do not see them anyway.

Happy Thanksgiving!


Guest Post

Hi everyone, I am so excited because today I am doing my first guest post!

  Please join me over at Landee See Landee Do.   Landee has a great blog with tons of cute ideas.

She is a fun girl and is so kind.   I met her at her Utah Craft Night and she gave me some great ideas and helps for this blog.

For her post I have made  a really cute fall printable banner for Thanksgiving, so go take a look at it at Landee See Landee Do, and then check back here in a few days for a fun idea to go along with the banner!

November Visiting Teaching Conference Bookmark

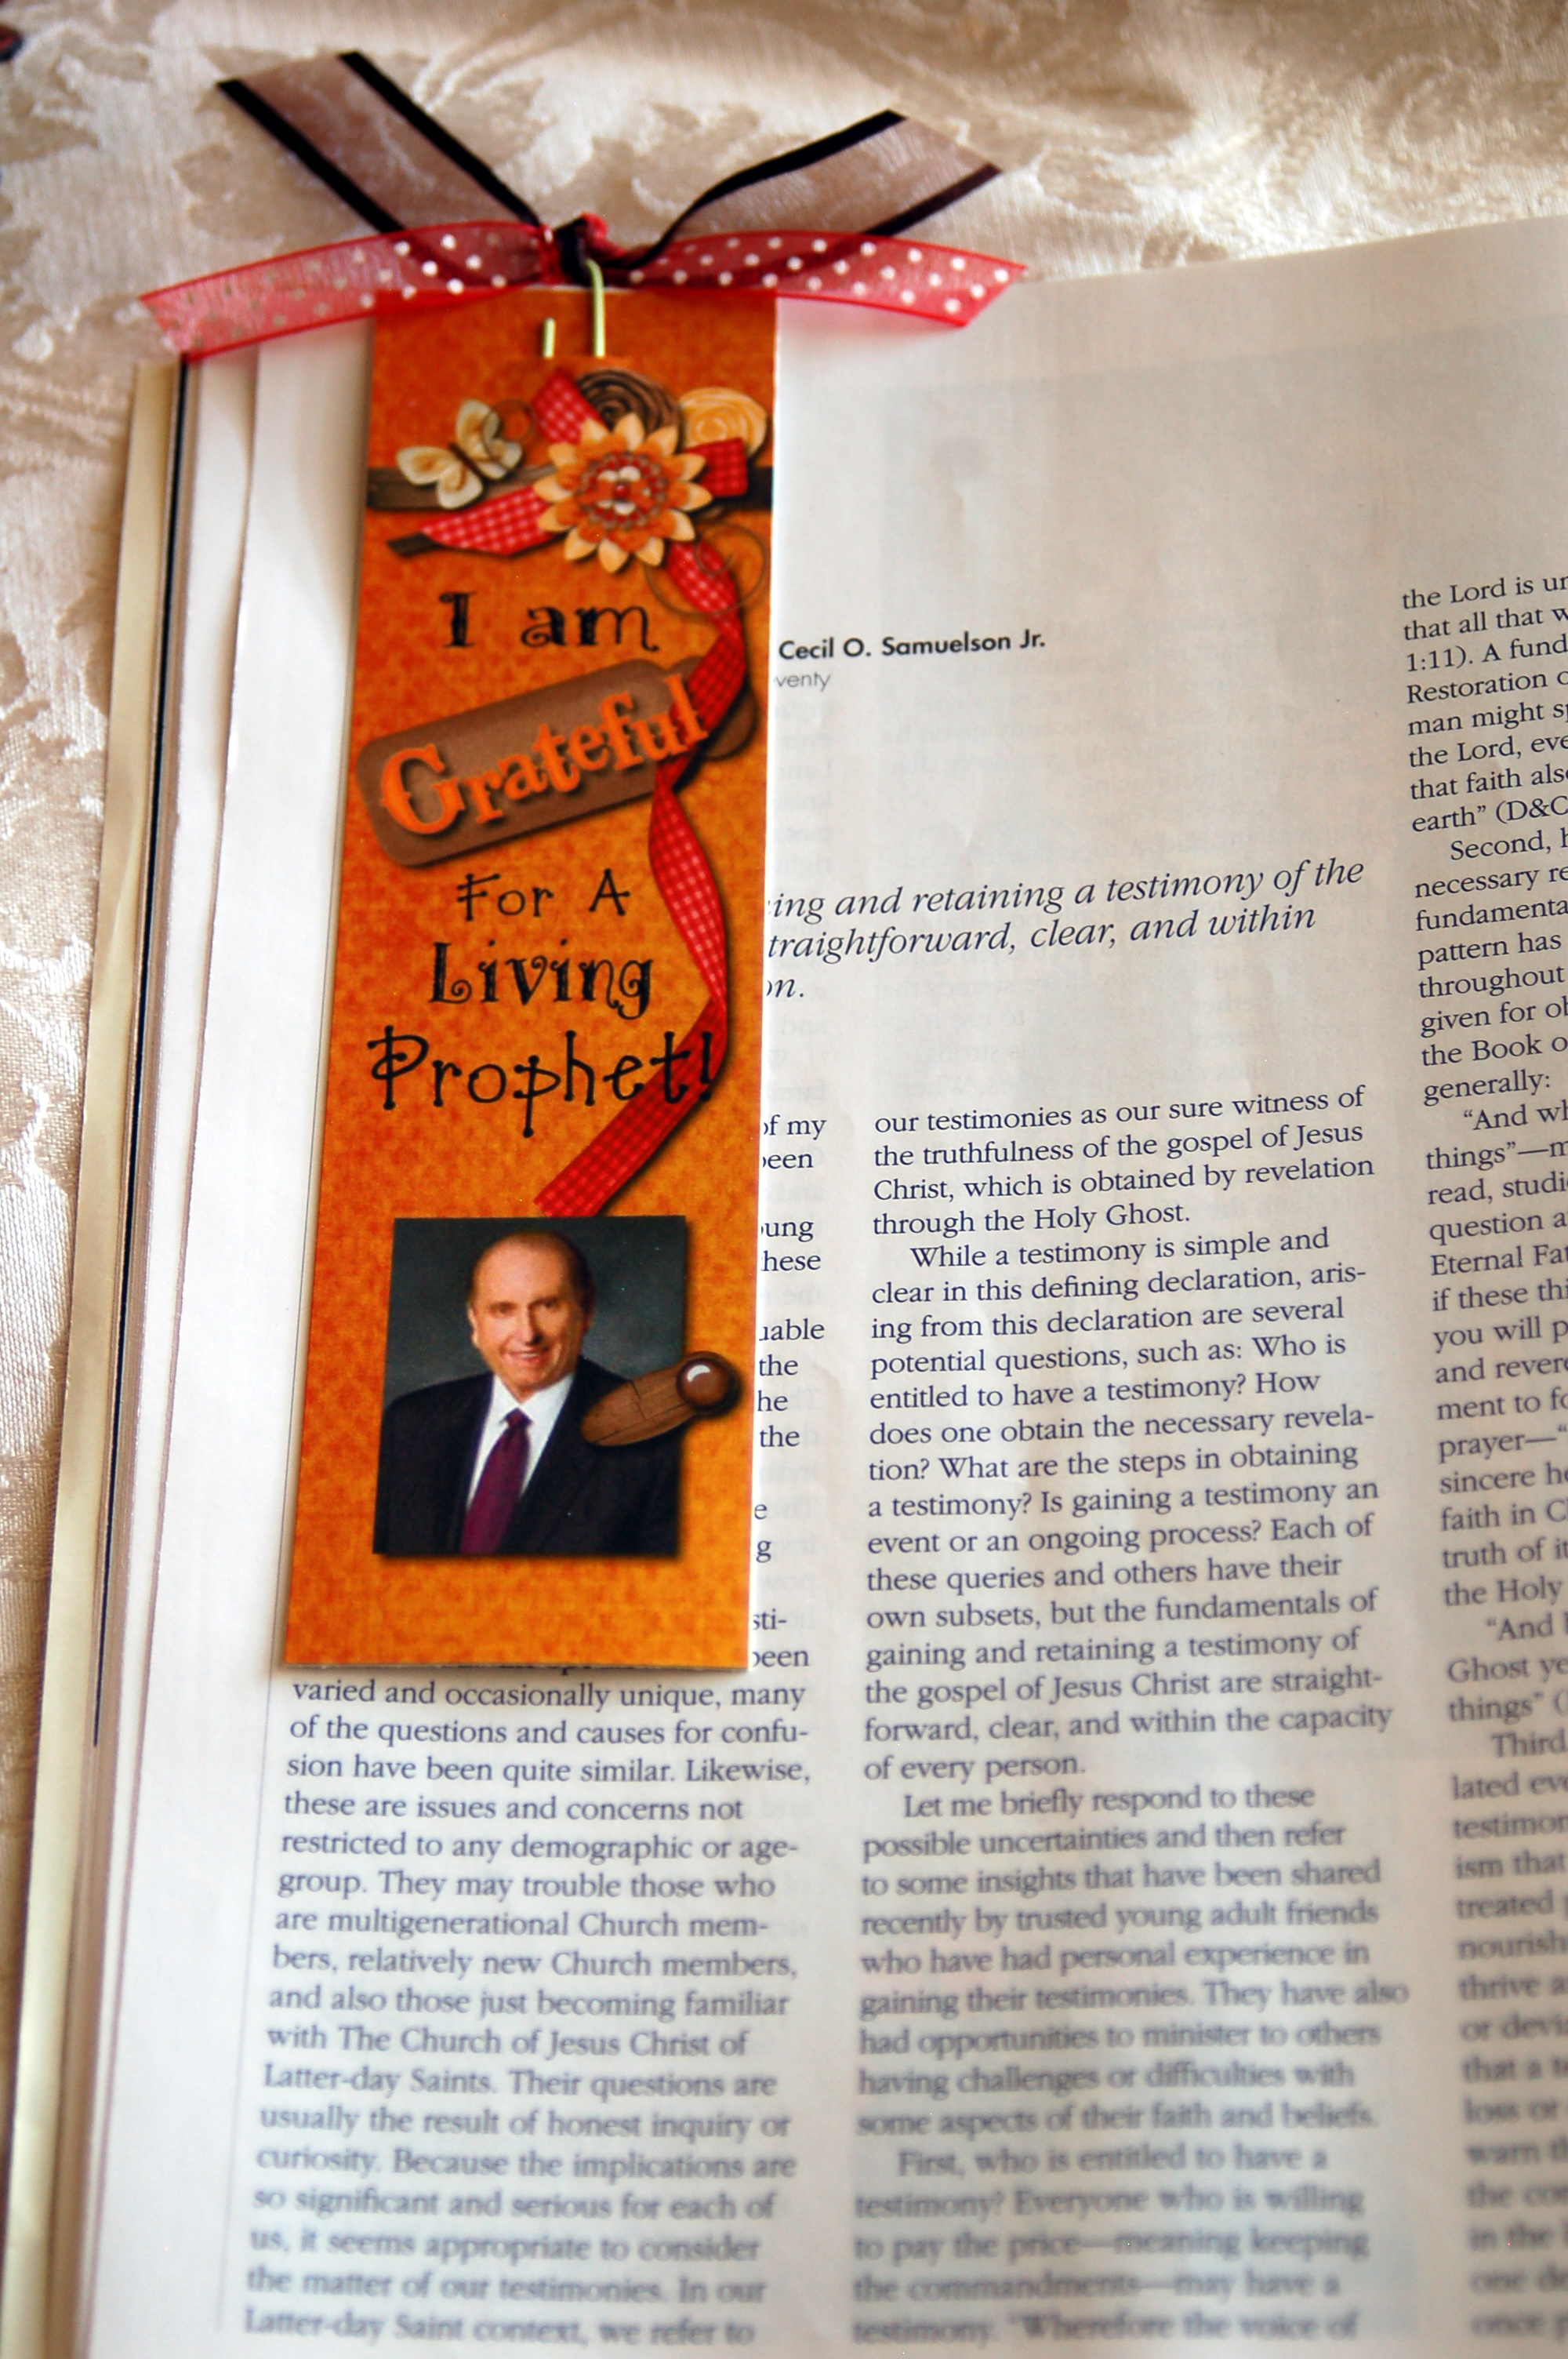
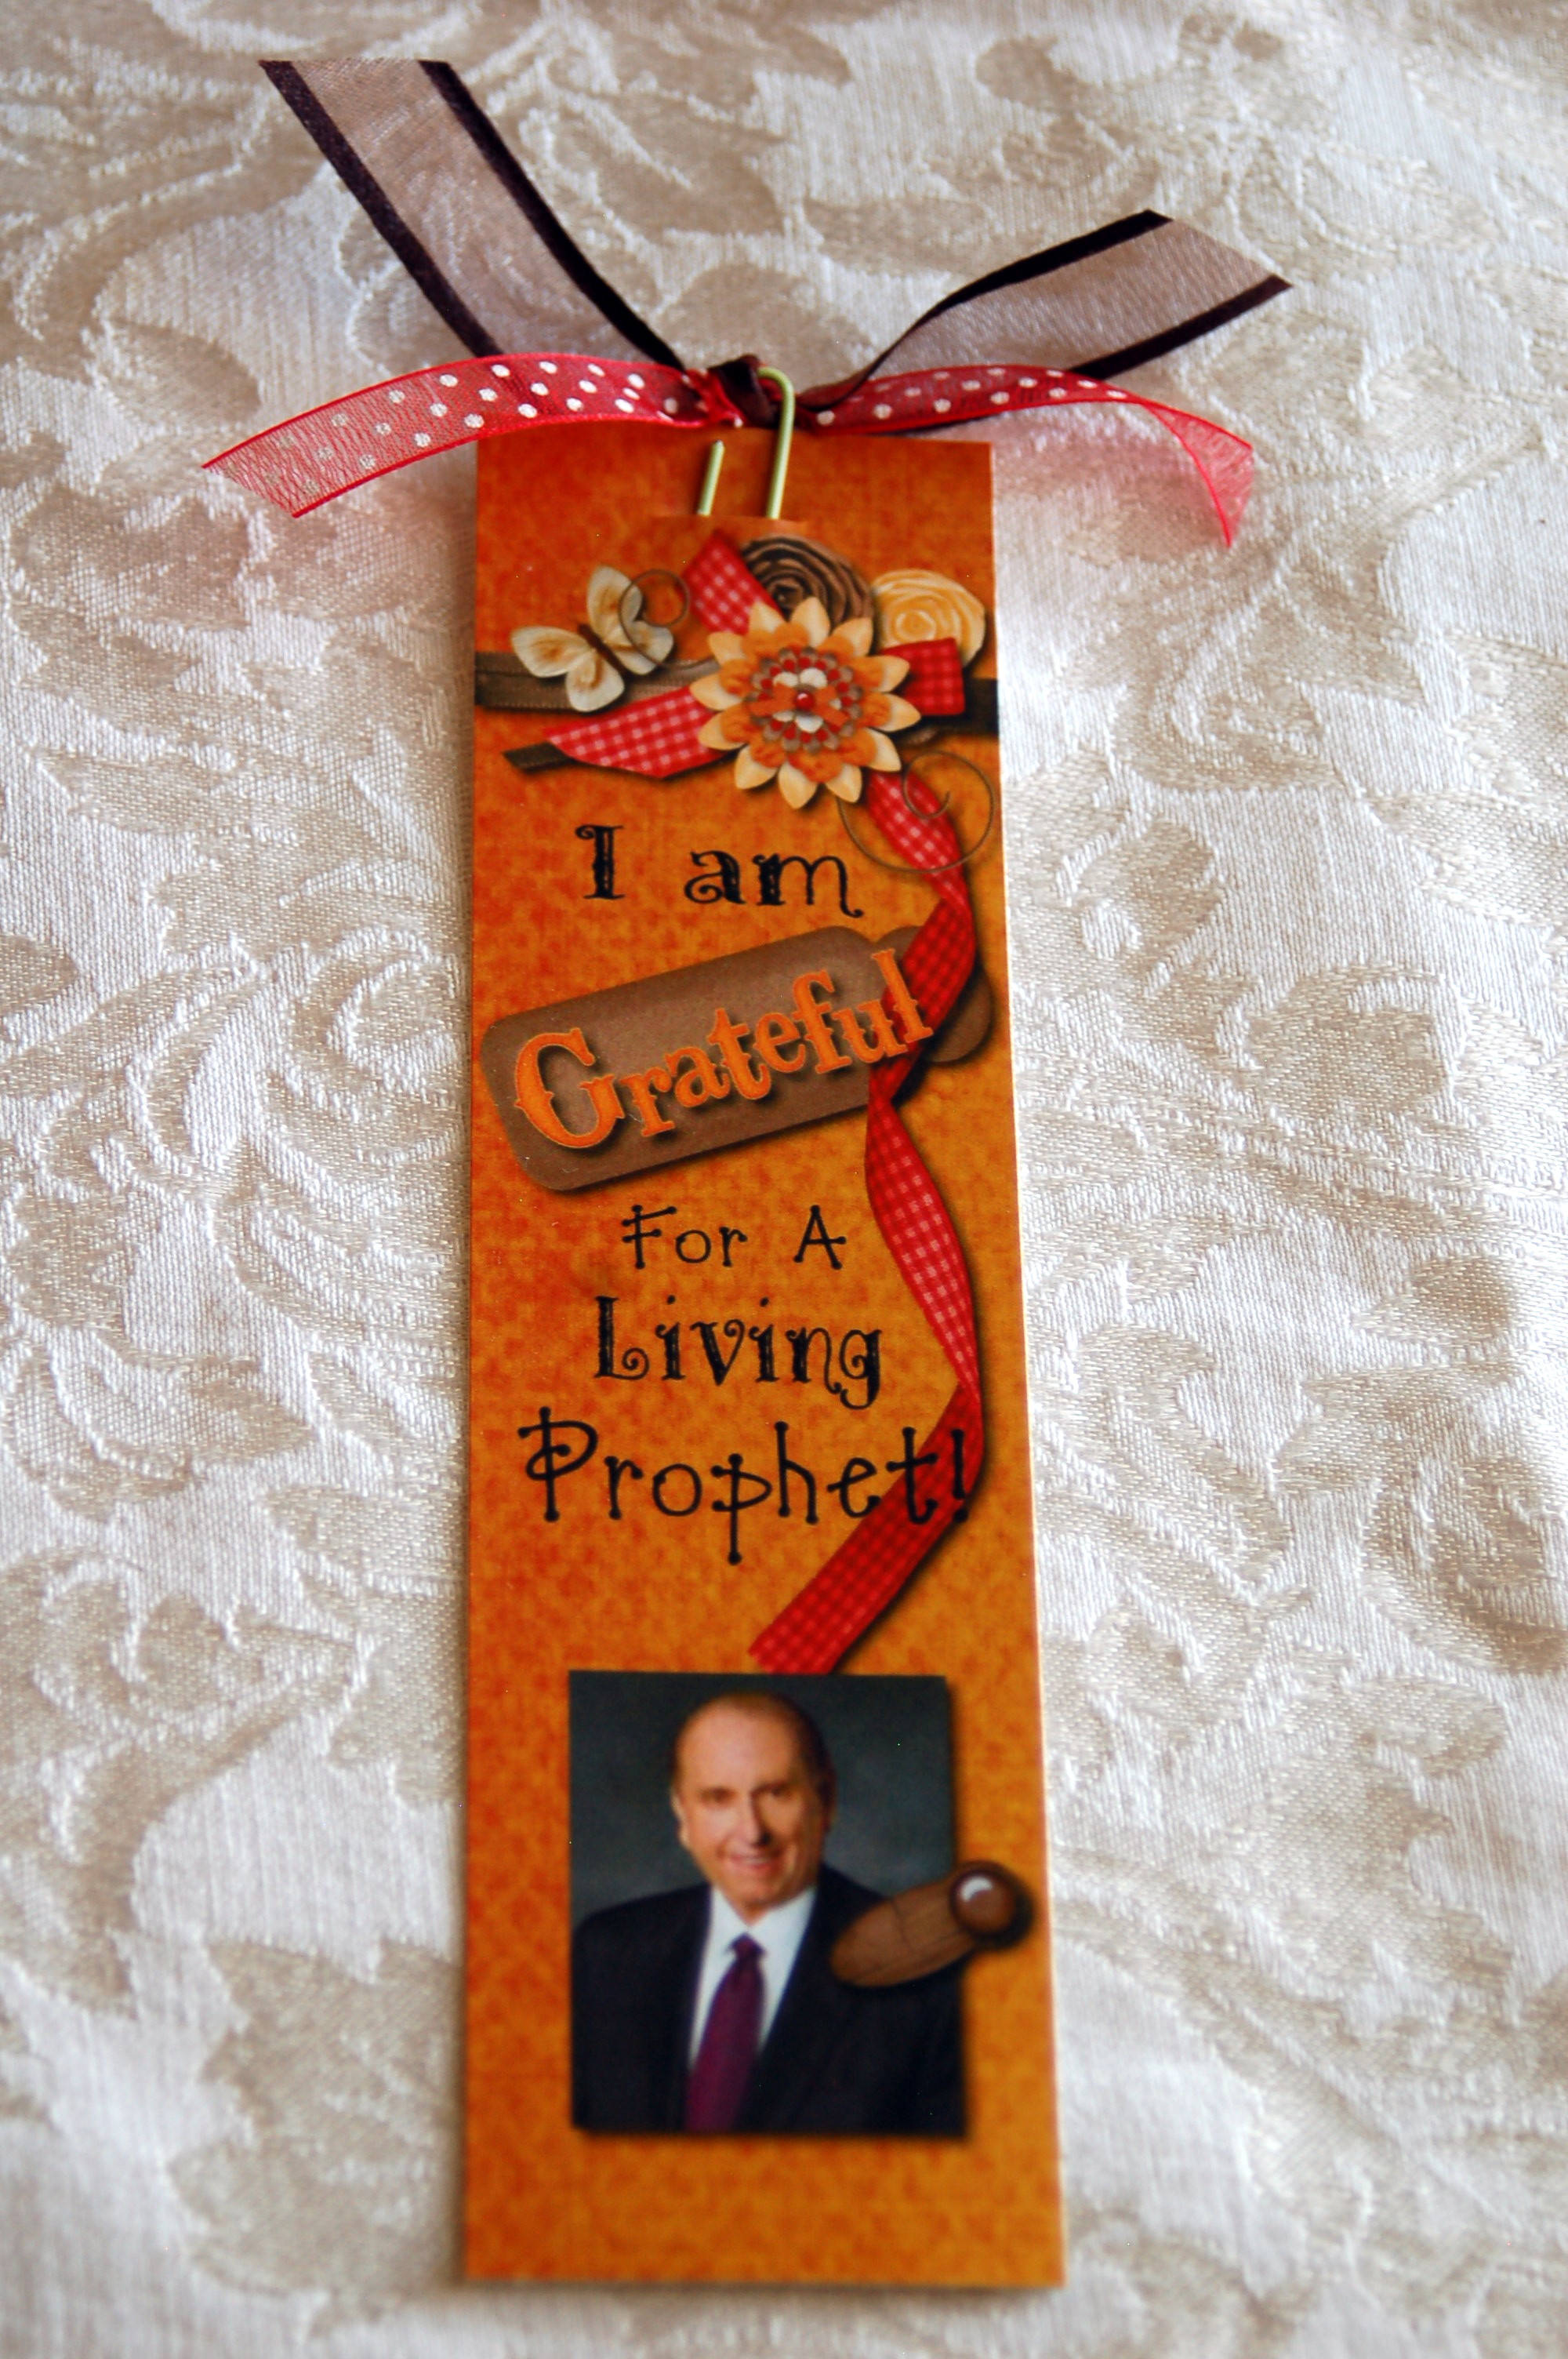
This month for visiting teaching you will pick a talk from the conference Ensign, so for the handout, I decided to do a bookmark.

You can use it two ways.  It has a paper clip at the top so you can clip it to the page you want to save, or if you are cross referencing or studying two different talks, you can take the paper clip off and use it on another page, like this…

I cut a slit in the top of the bookmark to insert the paper clip.  Tie a couple of ribbons on the paper clip to make it a little cuter :) I think that ribbon makes everything cuter!  Some day I will show you my ribbon stash!

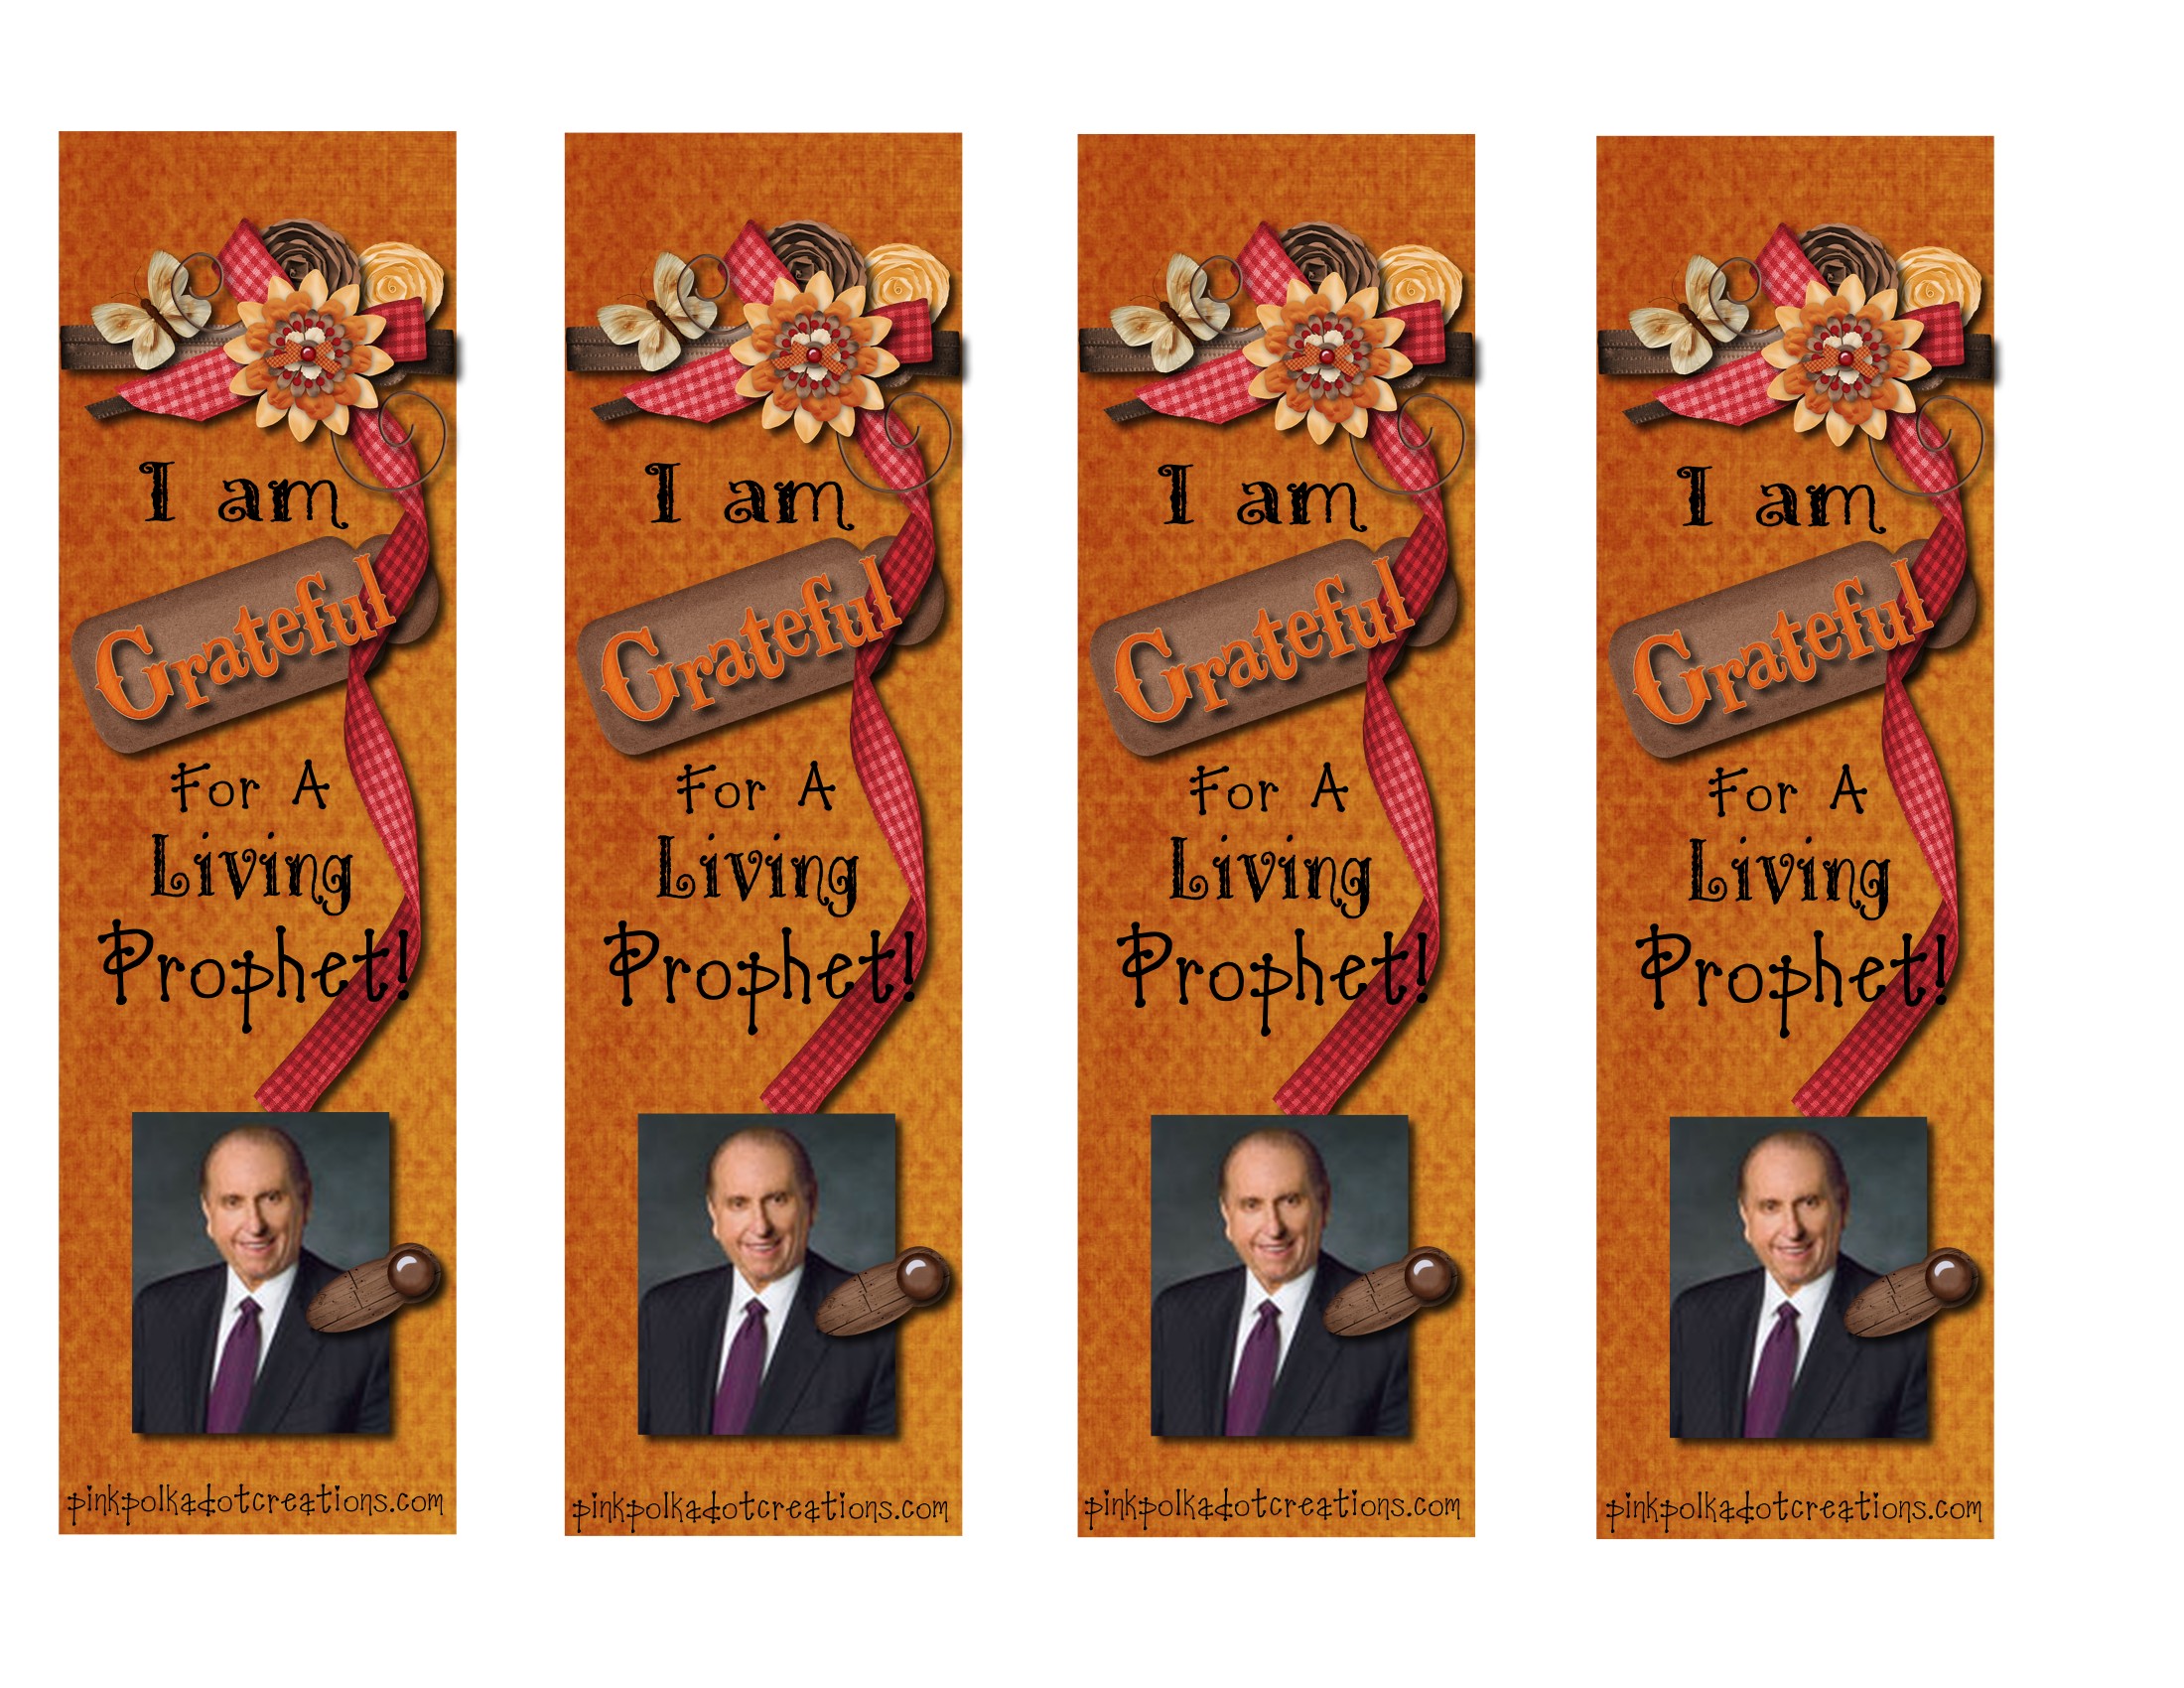
I had Alphagraphics print my bookmarks on a heavy, glossy cardstock and it cost me 69 cents!  I have put 4 book marks on one 81/2 x 11 sheet, so there should be enough for you to have one too!

To print, just right click and go to copy, then open your favorite program, like Word, then right click again and go to paste.  Or you can send it to your favorite copy center like I did.

 Here is the free printable for you to use:

Happy Thanksgiving to you!

We hope your family like ours, continues to have more to be thankful for each year!


Apple Pie in a Jar!

My daughter-in-law taught a class on how to make these darling pies! You can see a great tutorial here from Our Best Bites.  She made little mini apple pies in glass jars.   First you prepare the apples-peel and slice them, about 6 cups. Add 1/2 cup sugar, 1/2 cup brown sugar, 2 tablespoons flour, 1/2 teaspoon cinnamon, and 1/4 teaspoon nutmeg, 1 tablespoon  lemon juice.  Mix well and set aside.

Make No Fail Pie Crust and roll out quite thin.  Using the rim of the jar, cut a round circle for the top of the pie.  Then roll out another circle large enough to put down inside the bottle.  Or you can just take pieces and press them into the jar.  Make sure that you push the dough down into the bottom of the jar, and that you press it all the way to the top. Add prepared fruit, approximately 1/2 cup per jar.  These are 1/2 pint wide mouth jars.Add the dough circle to the top.  You will need to vent them by cutting slits in them or using a small cookie cutter, like the leaf to cut a hole in the top.  Gently press down the top, so the edges of the circle are completely inside the jar. (The braided top should have been pressed down to be completely inside the jar, so learn from us!) Using a fork press the dough from the top to seal with the dough in the jar.  Here are several versions of how you can make the tops…Lattice, braided edge, or leaf cutout.  You could also use a crumb topping.Sprinkle the tops with a little bit of sugar.  You could also brush the tops with a little bit of butter before sprinkling the sugar on.  Doesn’t this look Heavenly?!Place the jars on a baking sheet. Bake them at 375 degrees F. for 45-55 minutes or until tops are golden brown.After they cool down you can wipe the edges off and add these cute toppers to your jars!  What a fun gift idea!  The holidays are coming up soon and these would be fun neighbor gifts, or for your friends with a carton of icecream and fun scoop…you get the idea.She did a great job and look how yummy they are!Here is the printable for the top of the jars.  Just right click and go to copy, then open your favorite program, like word, and right click and paste.  These are the right size for a wide mouth lid.Here are some cute tags to tie on with the ribbon.

You could buy all ready made pie crust and canned pie filling if you want a faster version of making these.  I am thinking it would be way fun to do Pumpkin pies for Thanksgiving!

This is a recipe for No Fail Pie Crust, that I have in an old church cookbook.  I cannot remember how long ago, but at least 20 years ago!  And I know that it has stood the test of time! I have never had this recipe fail me!  Just make sure that you do not over mix the dough.

Happy Pie Making!

No Fail Pie Crust Recipe

4 cups flour

1 3/4 cup shortening

1 Tbsp. sugar

2 tsp. salt

1 egg

1 Tbsp. vinegar

1/2 cup cold water

Mix flour, salt and sugar together.  Beat egg, vinegar and water until thouroughly blended.  Cut shortening into dry ingredients until it is the size of peas.  Sprinkle egg mixture over it, a tablespoon at a time, tossing and stirring lightly with a fork.  Mix until dough is just moist enough to hold together. Do not overmix or it will make a tough dough.

Form ball.  Let stand for 15 minutes.  Makes 4 shells or 2 double-crust pies.  Bake shells 8-10 mins at 450 degrees F.

Halloween Bingo

Here is a cute little bingo game that you could play for FHE, a school party, or at your own Halloween party!

There are 6 game boards and 2 pages of calling cards.  You can use M&M’s or candy corn for markers, or buttons or paper circles.  You may want to laminate the playing cards for durability.

To print, just right click and go to copy.  Open your favorite program, like word or any other program you like. Right click again and go to paste.  These are 8 1/2 x 11 format, but you could resize them to fit 2 on a page in landscape setting.

Happy Haunting!

You can also email these to a lot of your favorite copy stores and they can print them for you.  Alphagraphics in my area, will print them for .56 a page, and that is on cardstock, so that is a pretty good price.  You could also have them laminated (I am not sure of the price of lamination, but their prices seem to be very reasonable) and you would just have to go pick them up and cut them out and you are ready to go!

You can also email these to a lot of your favorite copy stores and they can print them for you.  Alphagraphics in Lehi will print them for .56 a page, and that is on cardstock, so that is a pretty good price.  You could also have them laminated  and you would just have to go pick them up and cut them out and you are ready to go!


French Cocoa

It is a cold, rainy, dreary day outside today.  Perfect for staying indoors with  a big mug of hot chocolate with the fireplace going and a good book to read, wrapped up in your favorite quilt!  At least until you have to get on with real life!  But you could at least make a big mug of hot chocolate!

A  few years ago my friend, Leslie, gave me this recipe for French Cocoa.  I really was not a great fan of hot chocolate…but I guess that I am now!

To make this French Cocoa you will put the unsweetened chocolate squares, sugar and water into a pan. (I am only making 1/2 of the recipe, because it is too big for my empty nester family.) Bring to a boil and let it boil for 3 minutes, stirring occasionally.  Then let it cool to room temperature.Whip your cream until it is very stiff.Fold the cooled chocolate into the cream.This is heaven, folks!  At this point you can just refrigerate until you want to make French Cocoa. (Try not to eat the whole bowl before you make the cocoa. I may or may not have had a few tastes!)Or you can take a large icecream scoop…And scoop onto a cookie sheet.  I lined mine with parchment paper so they would come right off after freezing them. Flash freeze for about 2 hours, then put into a freezer container. (Half of the recipe makes about 12 servings)To make your cocoa, heat milk in a mug until very warm.  Add one scoop of the chocolate mixture and watch the foam start to form!

This truly is a great comfort drink and warms you all the way to your toes!  You need to try this recipe.  It is Heaven!

Here is the printable recipe.  To print-right click on the image, go to copy, then open your favorite program, like word.  Right click again and go to paste.

 It is a 4 x 6 format so it will fit in your recipe box!

Oct. VT Message

I thought that the message this month was so good, that I wanted to incorporate the whole thing into this month’s handout.  I came up with this cute library pocket holding 3 tags with the message, “If We Do Not Doubt”.  It is tradition in our house to make chocolate, carmel apples to take for a treat in Oct.  I will be doing that again this year, but I will post the how-to on the apples later!  So just imagine that this is given with an apple tied up with a cute ribbon!You need to cut out the library pocket, the 3 tags and the front panel.  Fold the library pocket and the flaps. Do not worry about the line across the front of the card, it will be covered up with the front panel.Fold the flaps to the back of the pocket.And glue or use double sided tape to hold the flaps down.Next, glue or tape the front panel on.Punch a hole in the top of the three tags and tie together with some cute ribbon.And there you have it!  Like I said, I will give this with a carmel apple, but you could also just insert a candy bar into the pocket!Here are the printables for this month.  Just right click on your mouse and either copy and paste into your favorite program, or just click print picture.  The two printable pages are in 81/2 x 11 format.
Happy Visiting!