The binding on a quilt can really finish off a quilt and make it look professional. It is a fairly simple thing to do and if you know a couple of techniques, it makes it really quite easy! We are going to do a binding with mitered corners. The first thing you need to do is to cut your fabrics into strips. I am doing straight strips on this quilt, but you could also do bias strips, especially if you are going to do rounded corners or scallops. I cut this binding into 2 1/4 ” strips.
 Cut off all the selvages.
 Pin two strips right sides together.
 With right sides together, sew a 1/4″ seam. Continue sewing all the strips together into one long strip, until you have enough to go all the way around your quilt. I used 6 strips for this quilt. It is just a small lap quilt.
 Then fold the strip in half wrong sides together and press with a steam iron. (Don’t you love the ironing board cover? I guess it is about time for a new one, but you can tell that it has been well loved!) :)
 Roughly measure the strips all the way around your quilt, making sure that you have no seams meeting right at the corners. Adjust where you start, if a seam meets at a corner.
 Pin where you started marking the binding. You do not need to pin all the way around you just need to pin the start. You will want to start sewing about 6-8″ away from the end of the strip. (This is so you can finish off the end of the binding)
 Start sewing the binding on with 1/4″ seams. Sew to within 1/4″ of the corner.
 You are going to turn your quilt, but not with the needle down. Lift the needle (You do not cut the thread either) turn the quilt and binding and lift the binding to make a 45 degree angle to the corner.
 Then fold the binding straight down on top of the 45 degree angle.
 Put your quilt under your pressure foot and start sewing a 1/4″ seam down your second side.
 Repeat this process for the other 3 corners and sides. When you get back around to where you started, quit sewing about 6″ before you get to the other tail.
 Take quilt out from the machine holding both strips together put a pin in where they meet.
 Cut off the excess binding 1/4″ away from your pin.
 Like this.
 Then open up both of the binding ends and with right sides together you will sew a 1/4″ seam. This is a little bit hard especially if you have not left enough room to work with. But just bunch up the quilt a little bit until you can stitch the ends together.
 Then refold the binding and I just do a finger press here. Continue sewing the binding to the quilt and it will come out exactly to the right measurement!
 Next come the most time consuming part. So plan for a good tv show or an evening or two to sew around the binding by hand. You will want to pin as you go to hold the binding in place. You are wrapping the binding around to the back and doing a blind stitch on the back of your quilt. Be sure to take tiny stitches! Like I said this is the most time consuming!
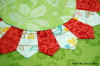
  When you come to the corners, they will just automatically lay into place. Fold one side down and the other side will fold to a point! How cool is that!
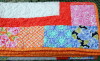
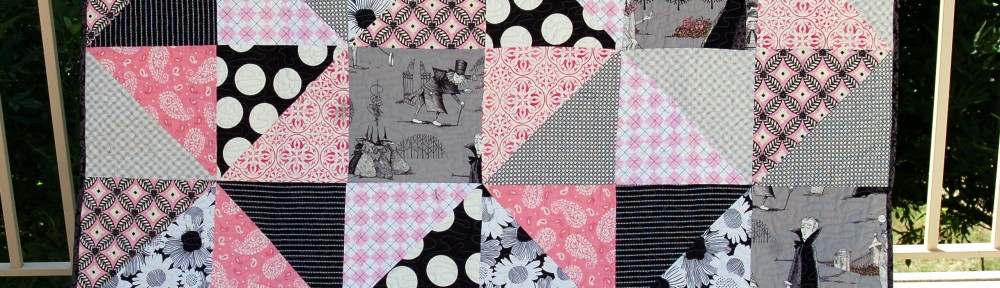
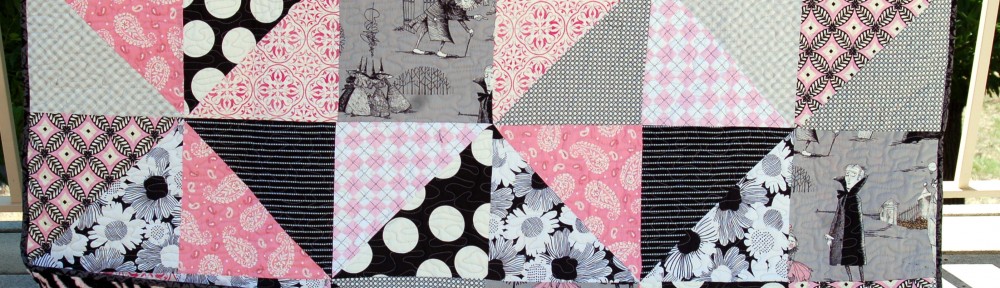
 So there you have it. Not so bad Huh? And look at how beautifully it finishes the edge of a quilt! (My quilt was machine quilted, and my quilter always sews a seam all around the edge and trims it for me. If you are quilting your own quilt, be sure to do this before you start to put the binding on, so that the top and bottom are even.
Happy sewing! I would love to hear of your quilting projects if you are willing to share!