Tag Archives: fall

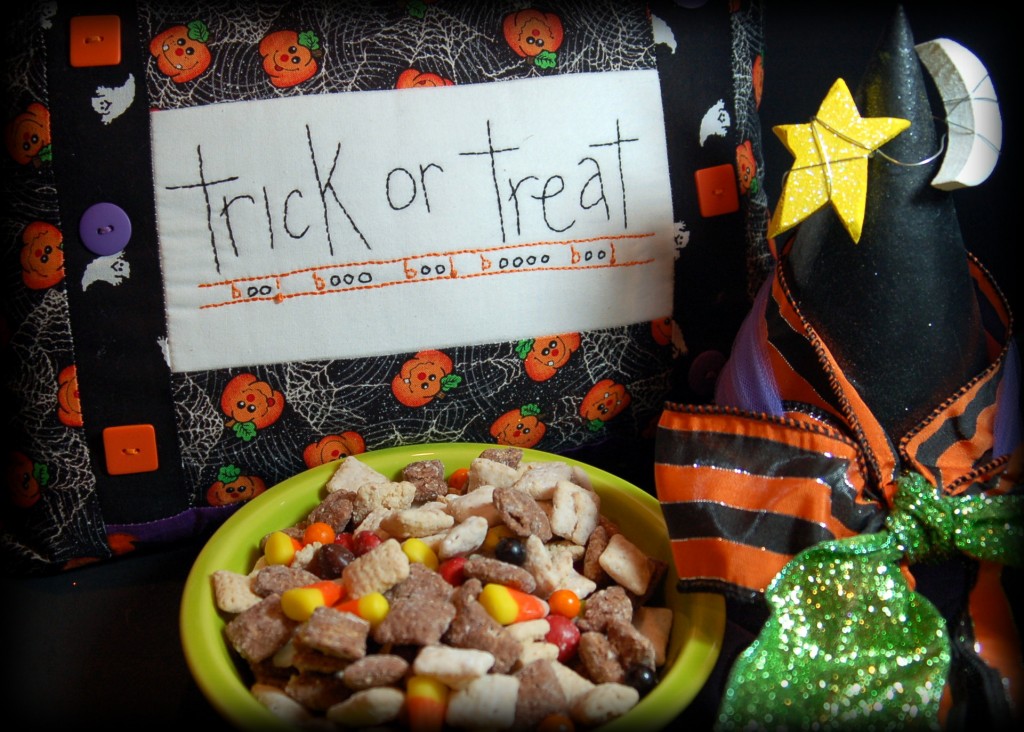
Halloween Muddy Buddies

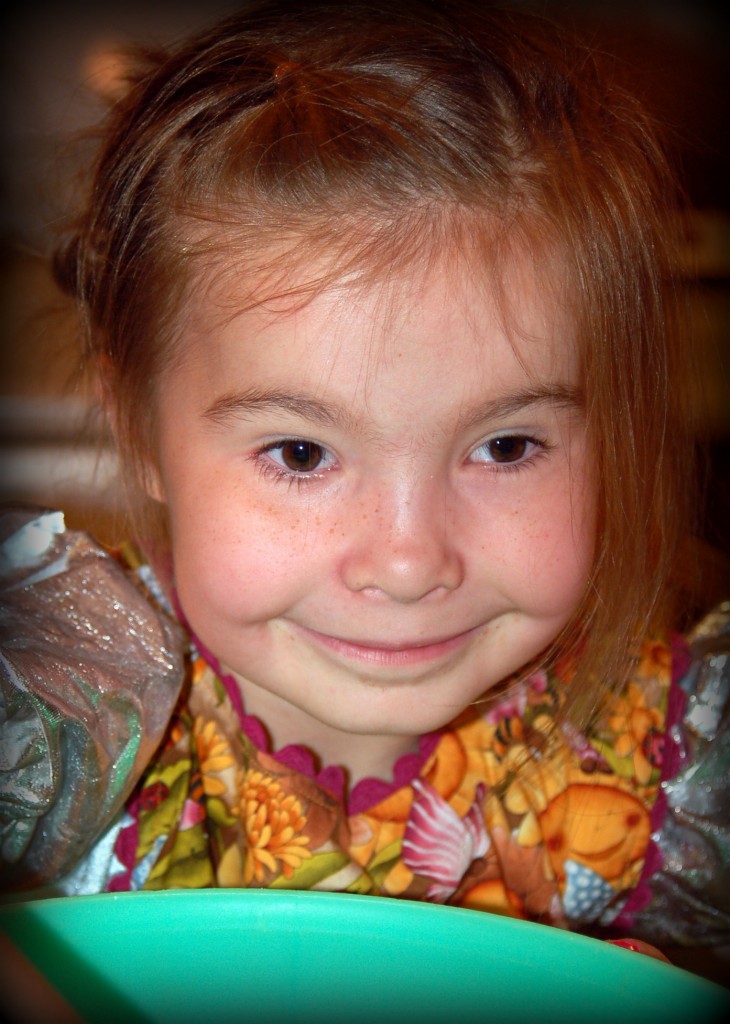
The other day I had one of my best little helpers with me and we decided that we would like to make something good to eat!

My little helper was great at measuring and pouring the ingredients into the bowl.  I love to have a little helper in the kitchen, don’t you?

We decided that these Halloween Muddy Buddies would hit the spot, what do you think?  Do you want to make some too?

Continue reading

Meet Tilly the Witch!

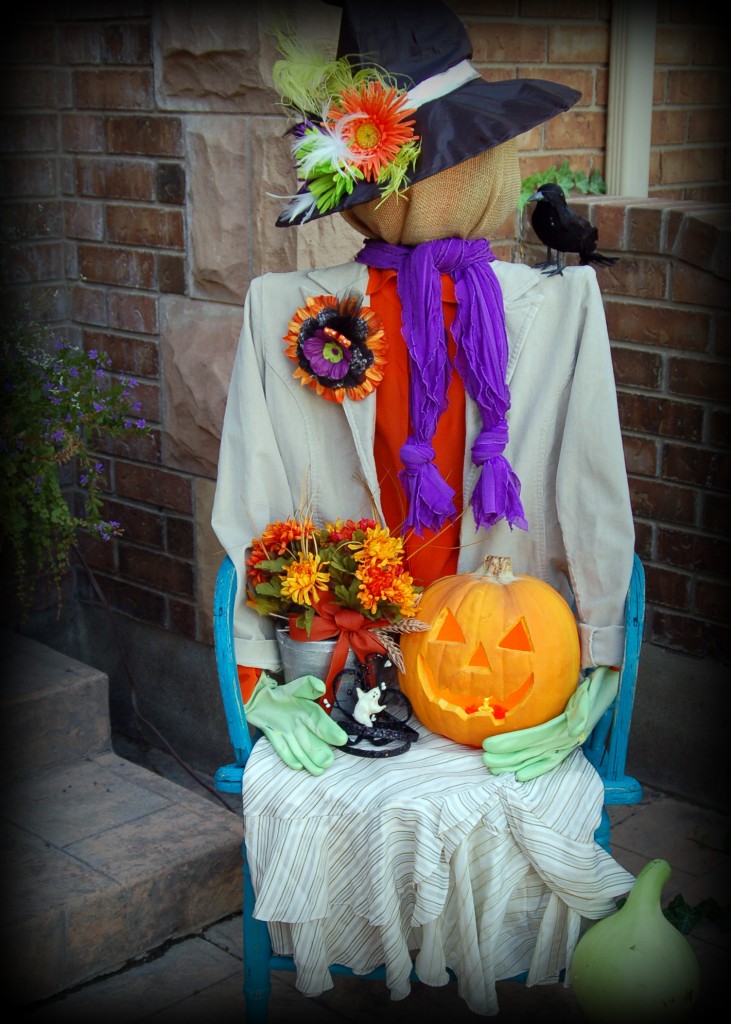
Today I would like you to meet my newest friend… Tilly.   That is short for Matilda.  She is so kind and has agreed to come and stay with us for awhile!  She is not much trouble at all and even though she may look a little odd, we have tried to make her feel right at home here.

I just love making new friends…don’t you too? Continue reading

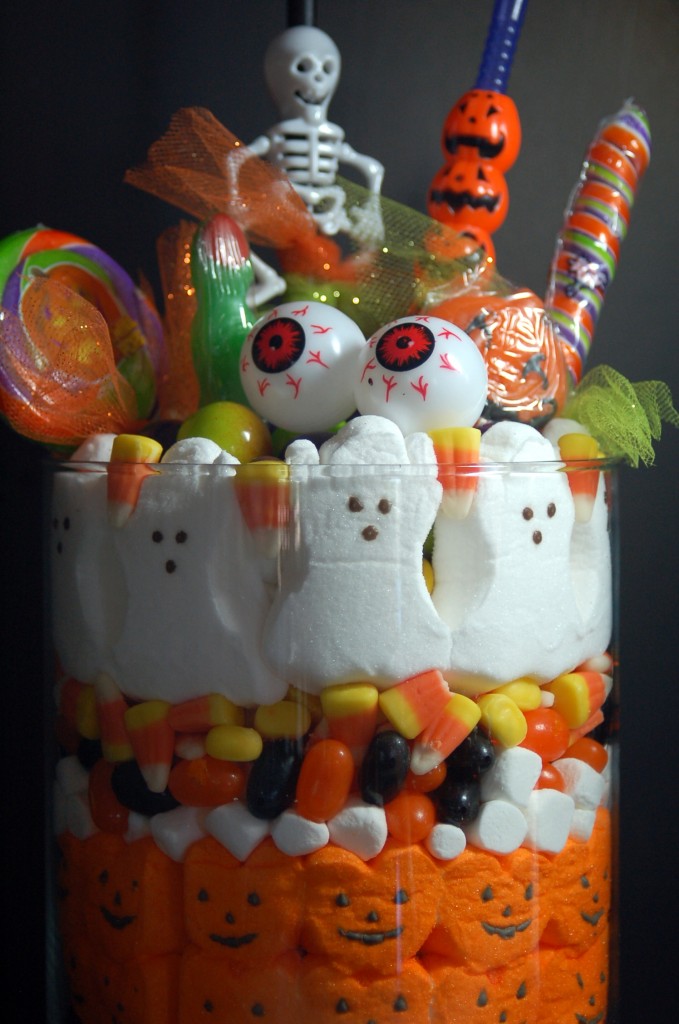
“Eye” Candy Jars

I have some exciting news to share with you today!  I am going to be showing how to make these candy jars on Good Things UtahGood Things Utah - Weekdays at 10 a.m. on ABC 4

on Monday, Oct. 8th at 10 am.  I would love for you to join me and watch the tutorial of how to put these cute little babies together!

But for all my readers, here is the tutorial for you to make an “Eye” Candy Jar like these that we made at our craft retreat. They are so easy to make and yet are so darling!  The thing that I love about these jars is that you can eat the candy after the holiday is done and then fill it up again for the next holiday!  Apparently they make “Peeps” for most every holiday!  Something that I didn’t  know because I don’t like to eat them.

Continue reading

Wire frame and Haunted House

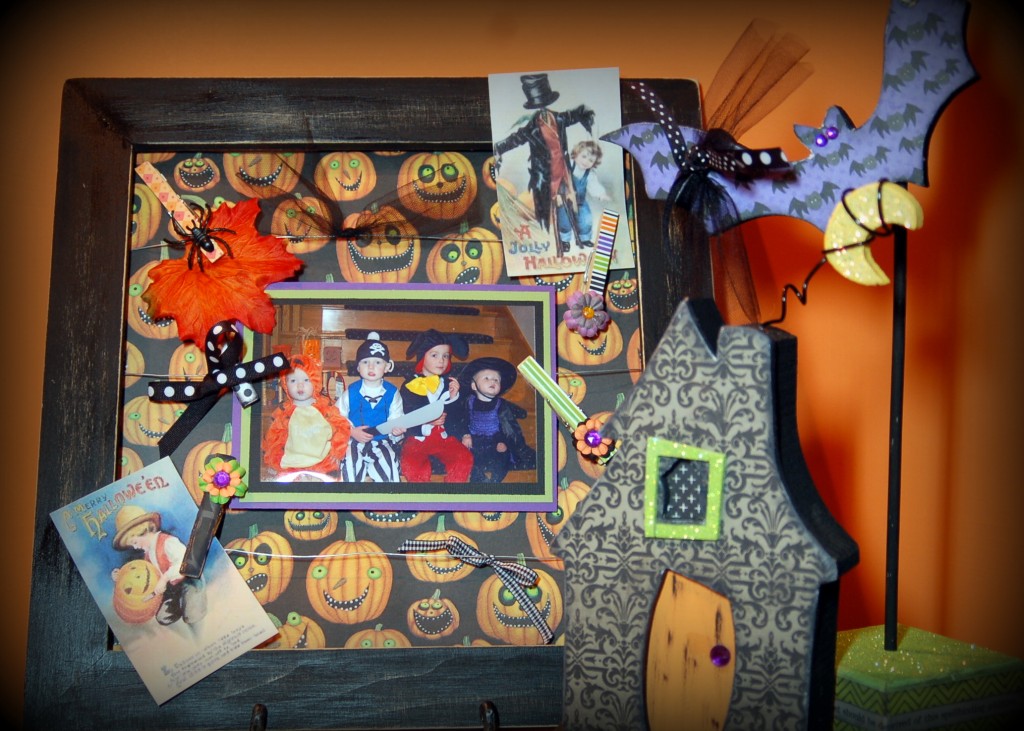
Here are a couple of the projects from our retreat… a fun wired frame with covered clothes pins and a darling Haunted House with a bat to boot!  I paired them up together to put in my front entry hall and they look just BOOtiful!

So does anyone want to make a fun wired frame? Continue reading

Cute Monogram Pumpkin Door Hanging

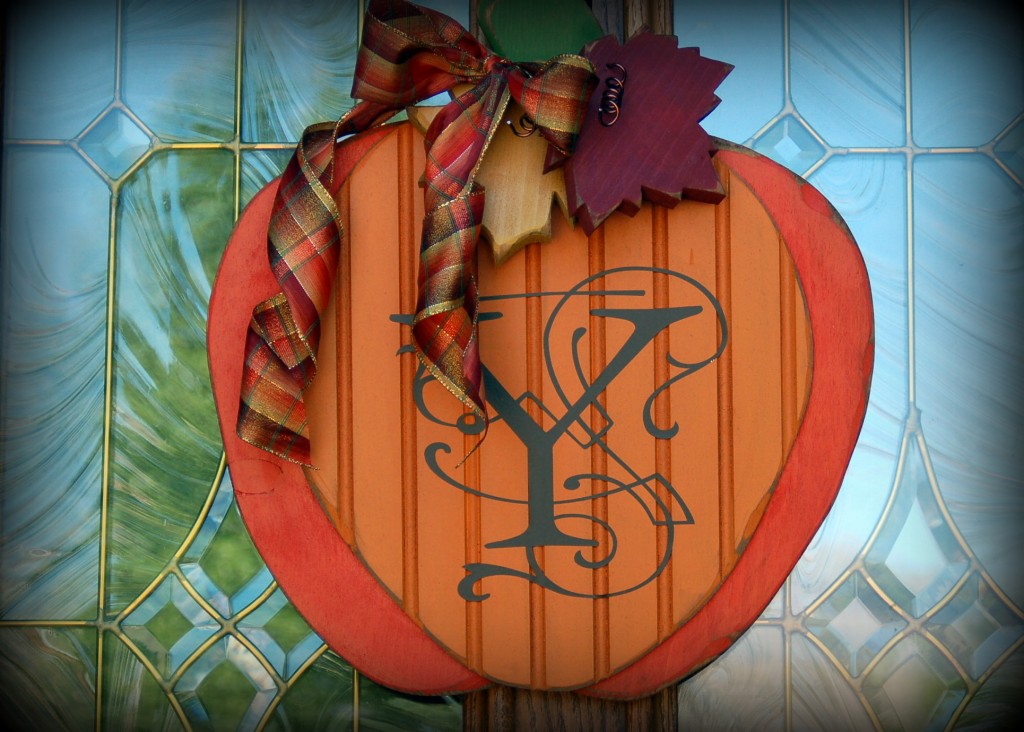
I love, love, love to decorate for Halloween but I think that it is still a bit too early for that so I decided that I could at least put out a few fall decorations!  This is a pumpkin that I made for my front door.  I love that I can put it out now, take it down for Halloween, then put it back up for November!

I am loving the monograms lately for some reason and this one just jumped out at me!

Continue reading

Give Thanks Banner

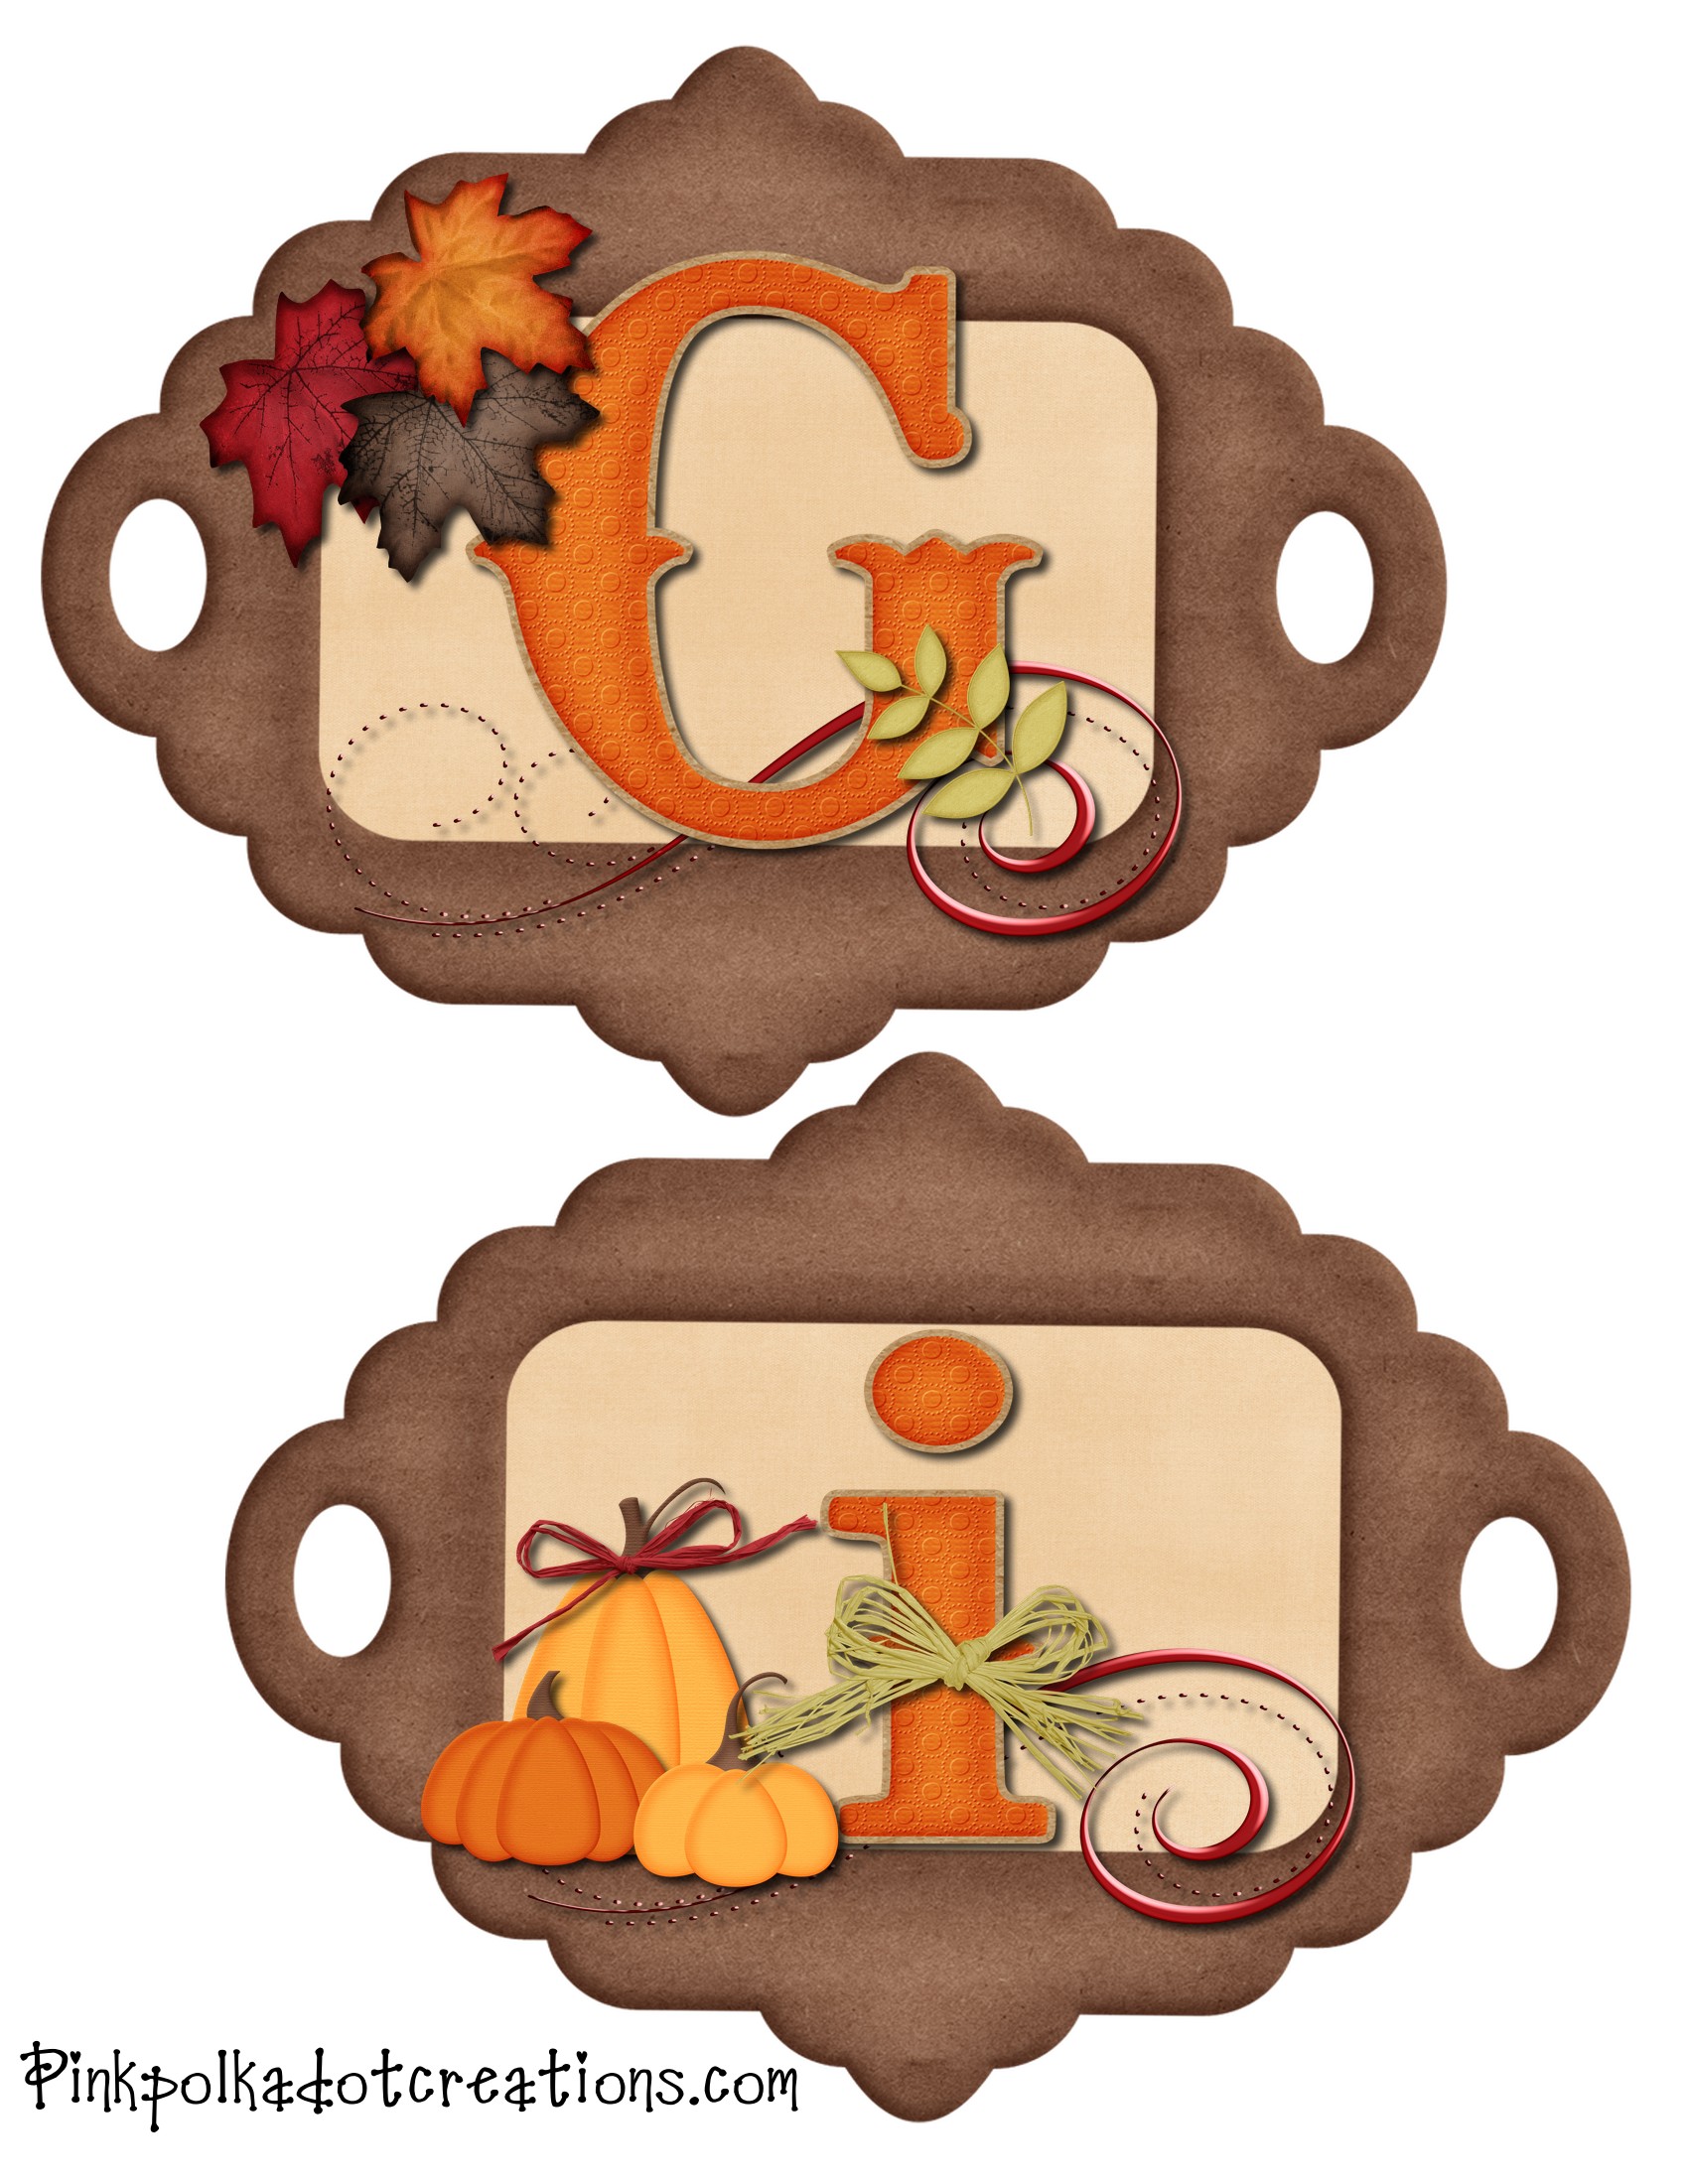
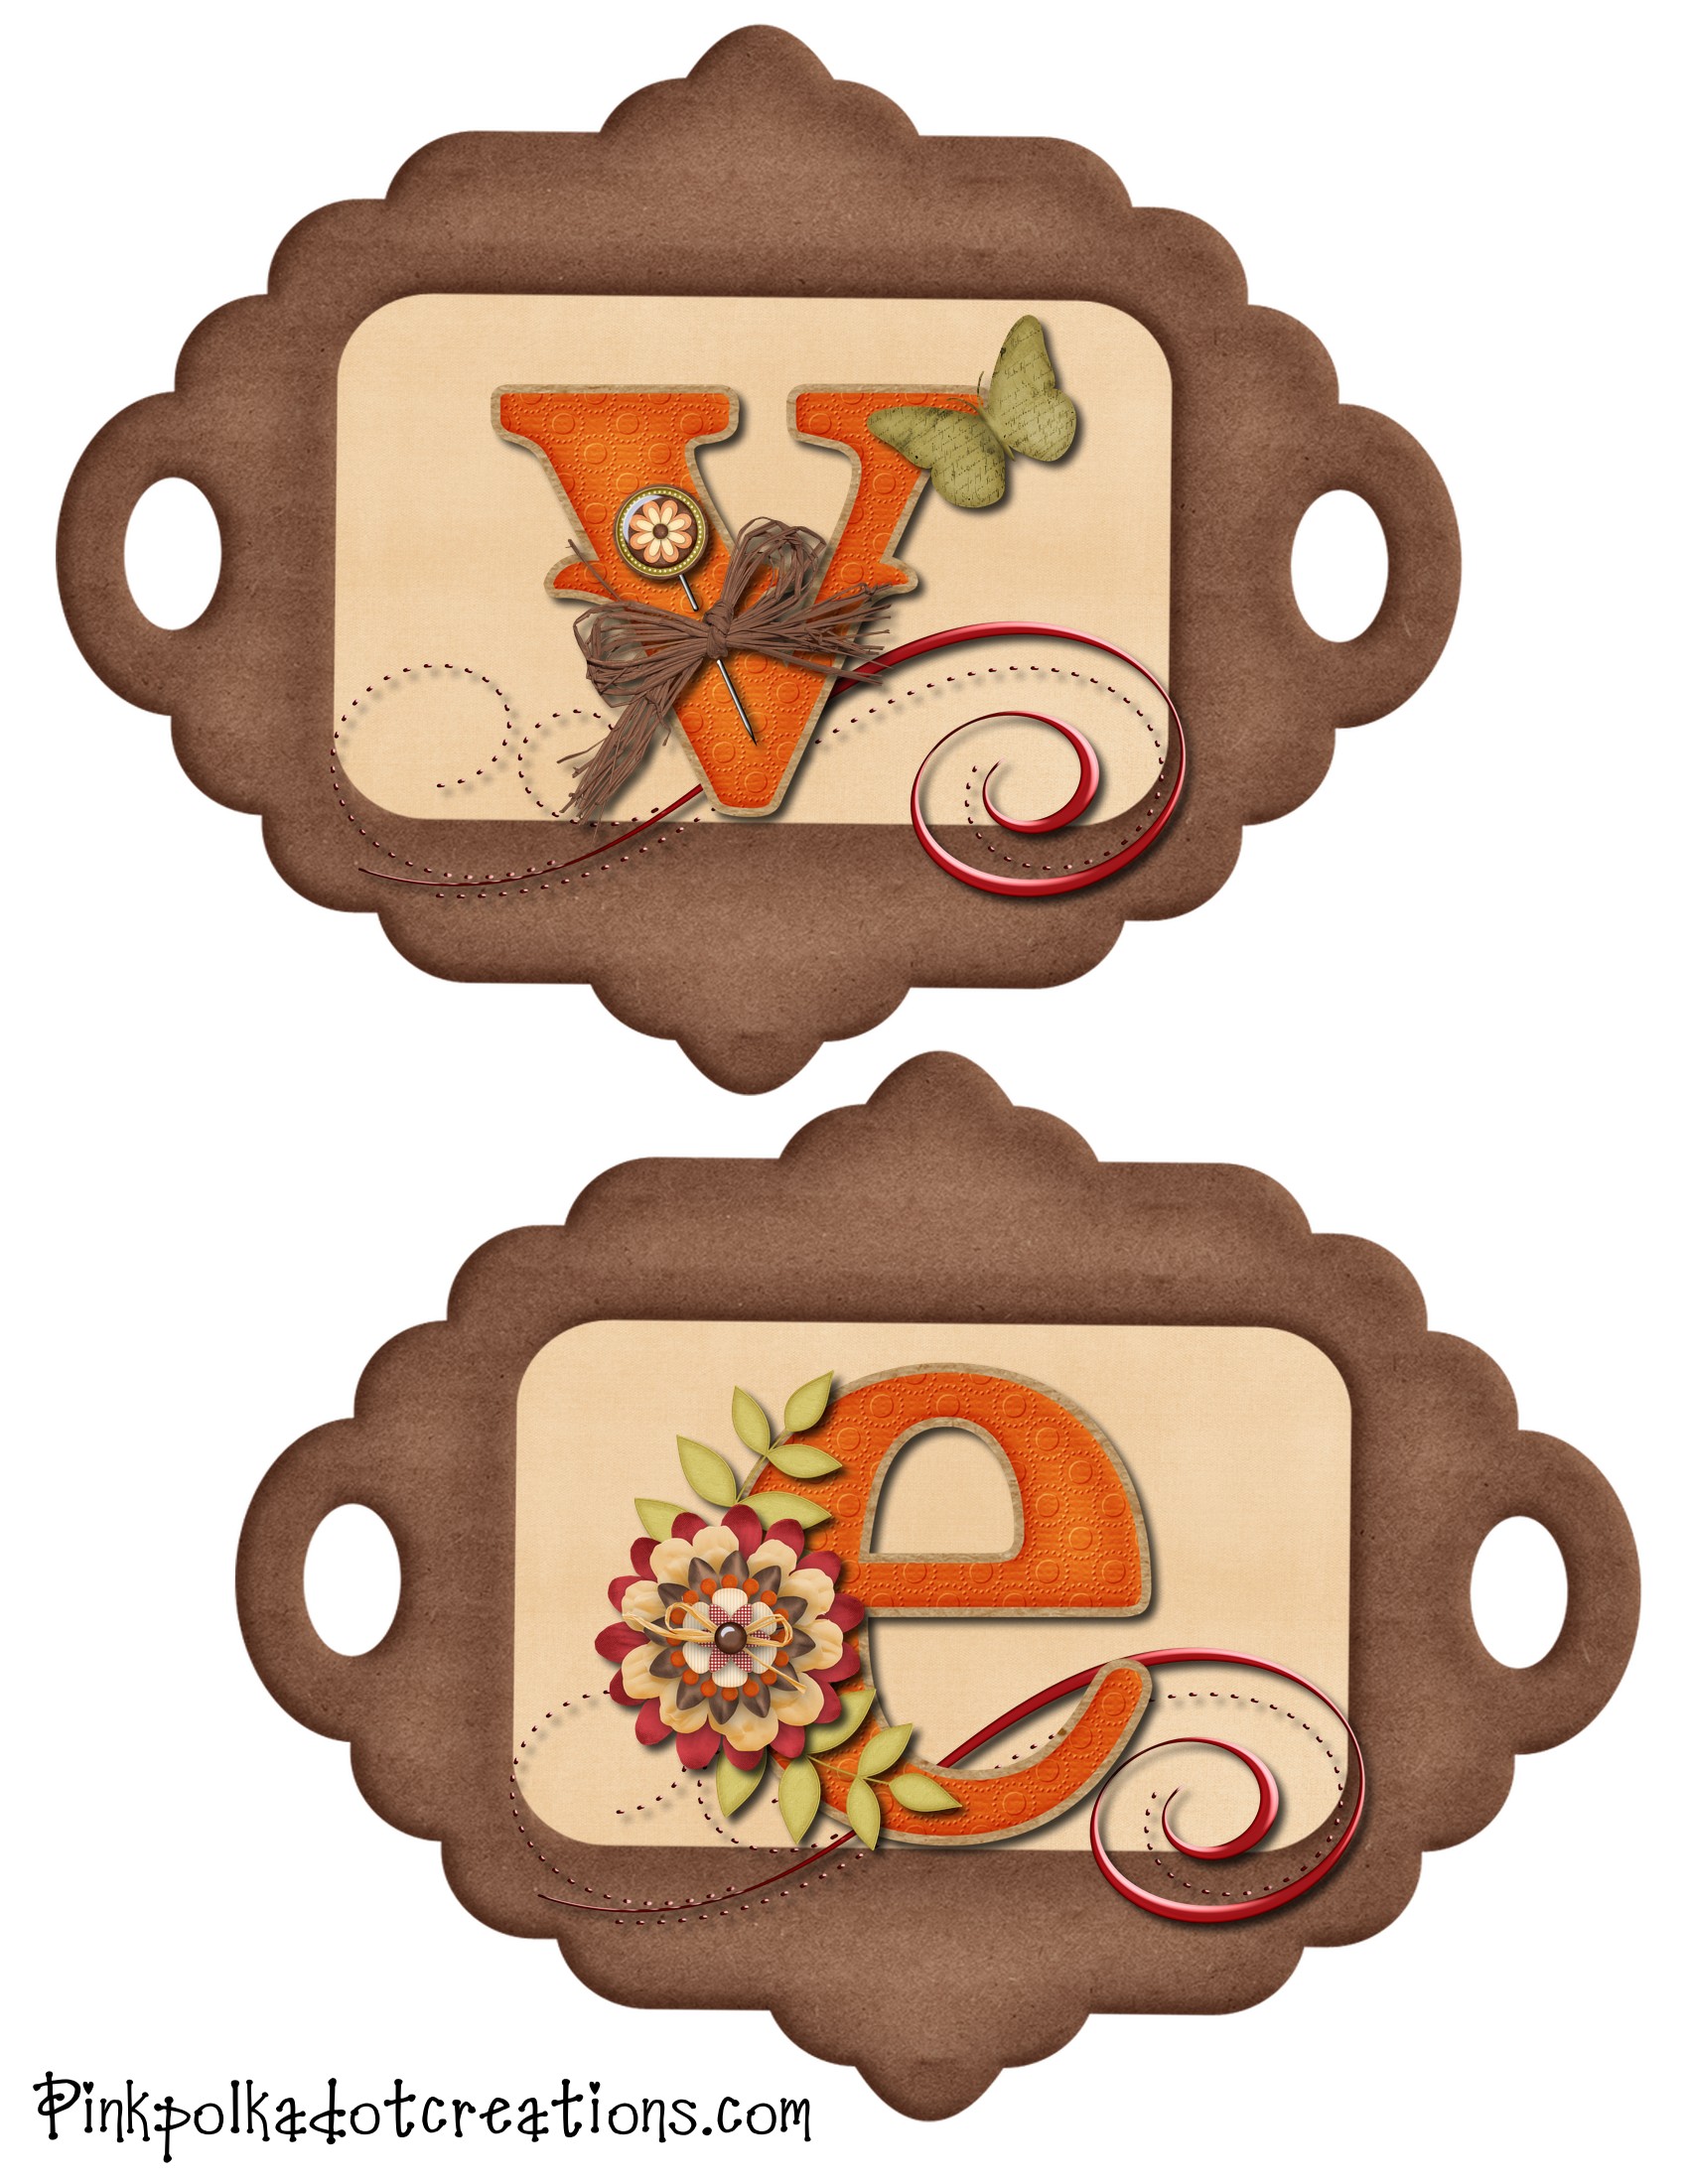
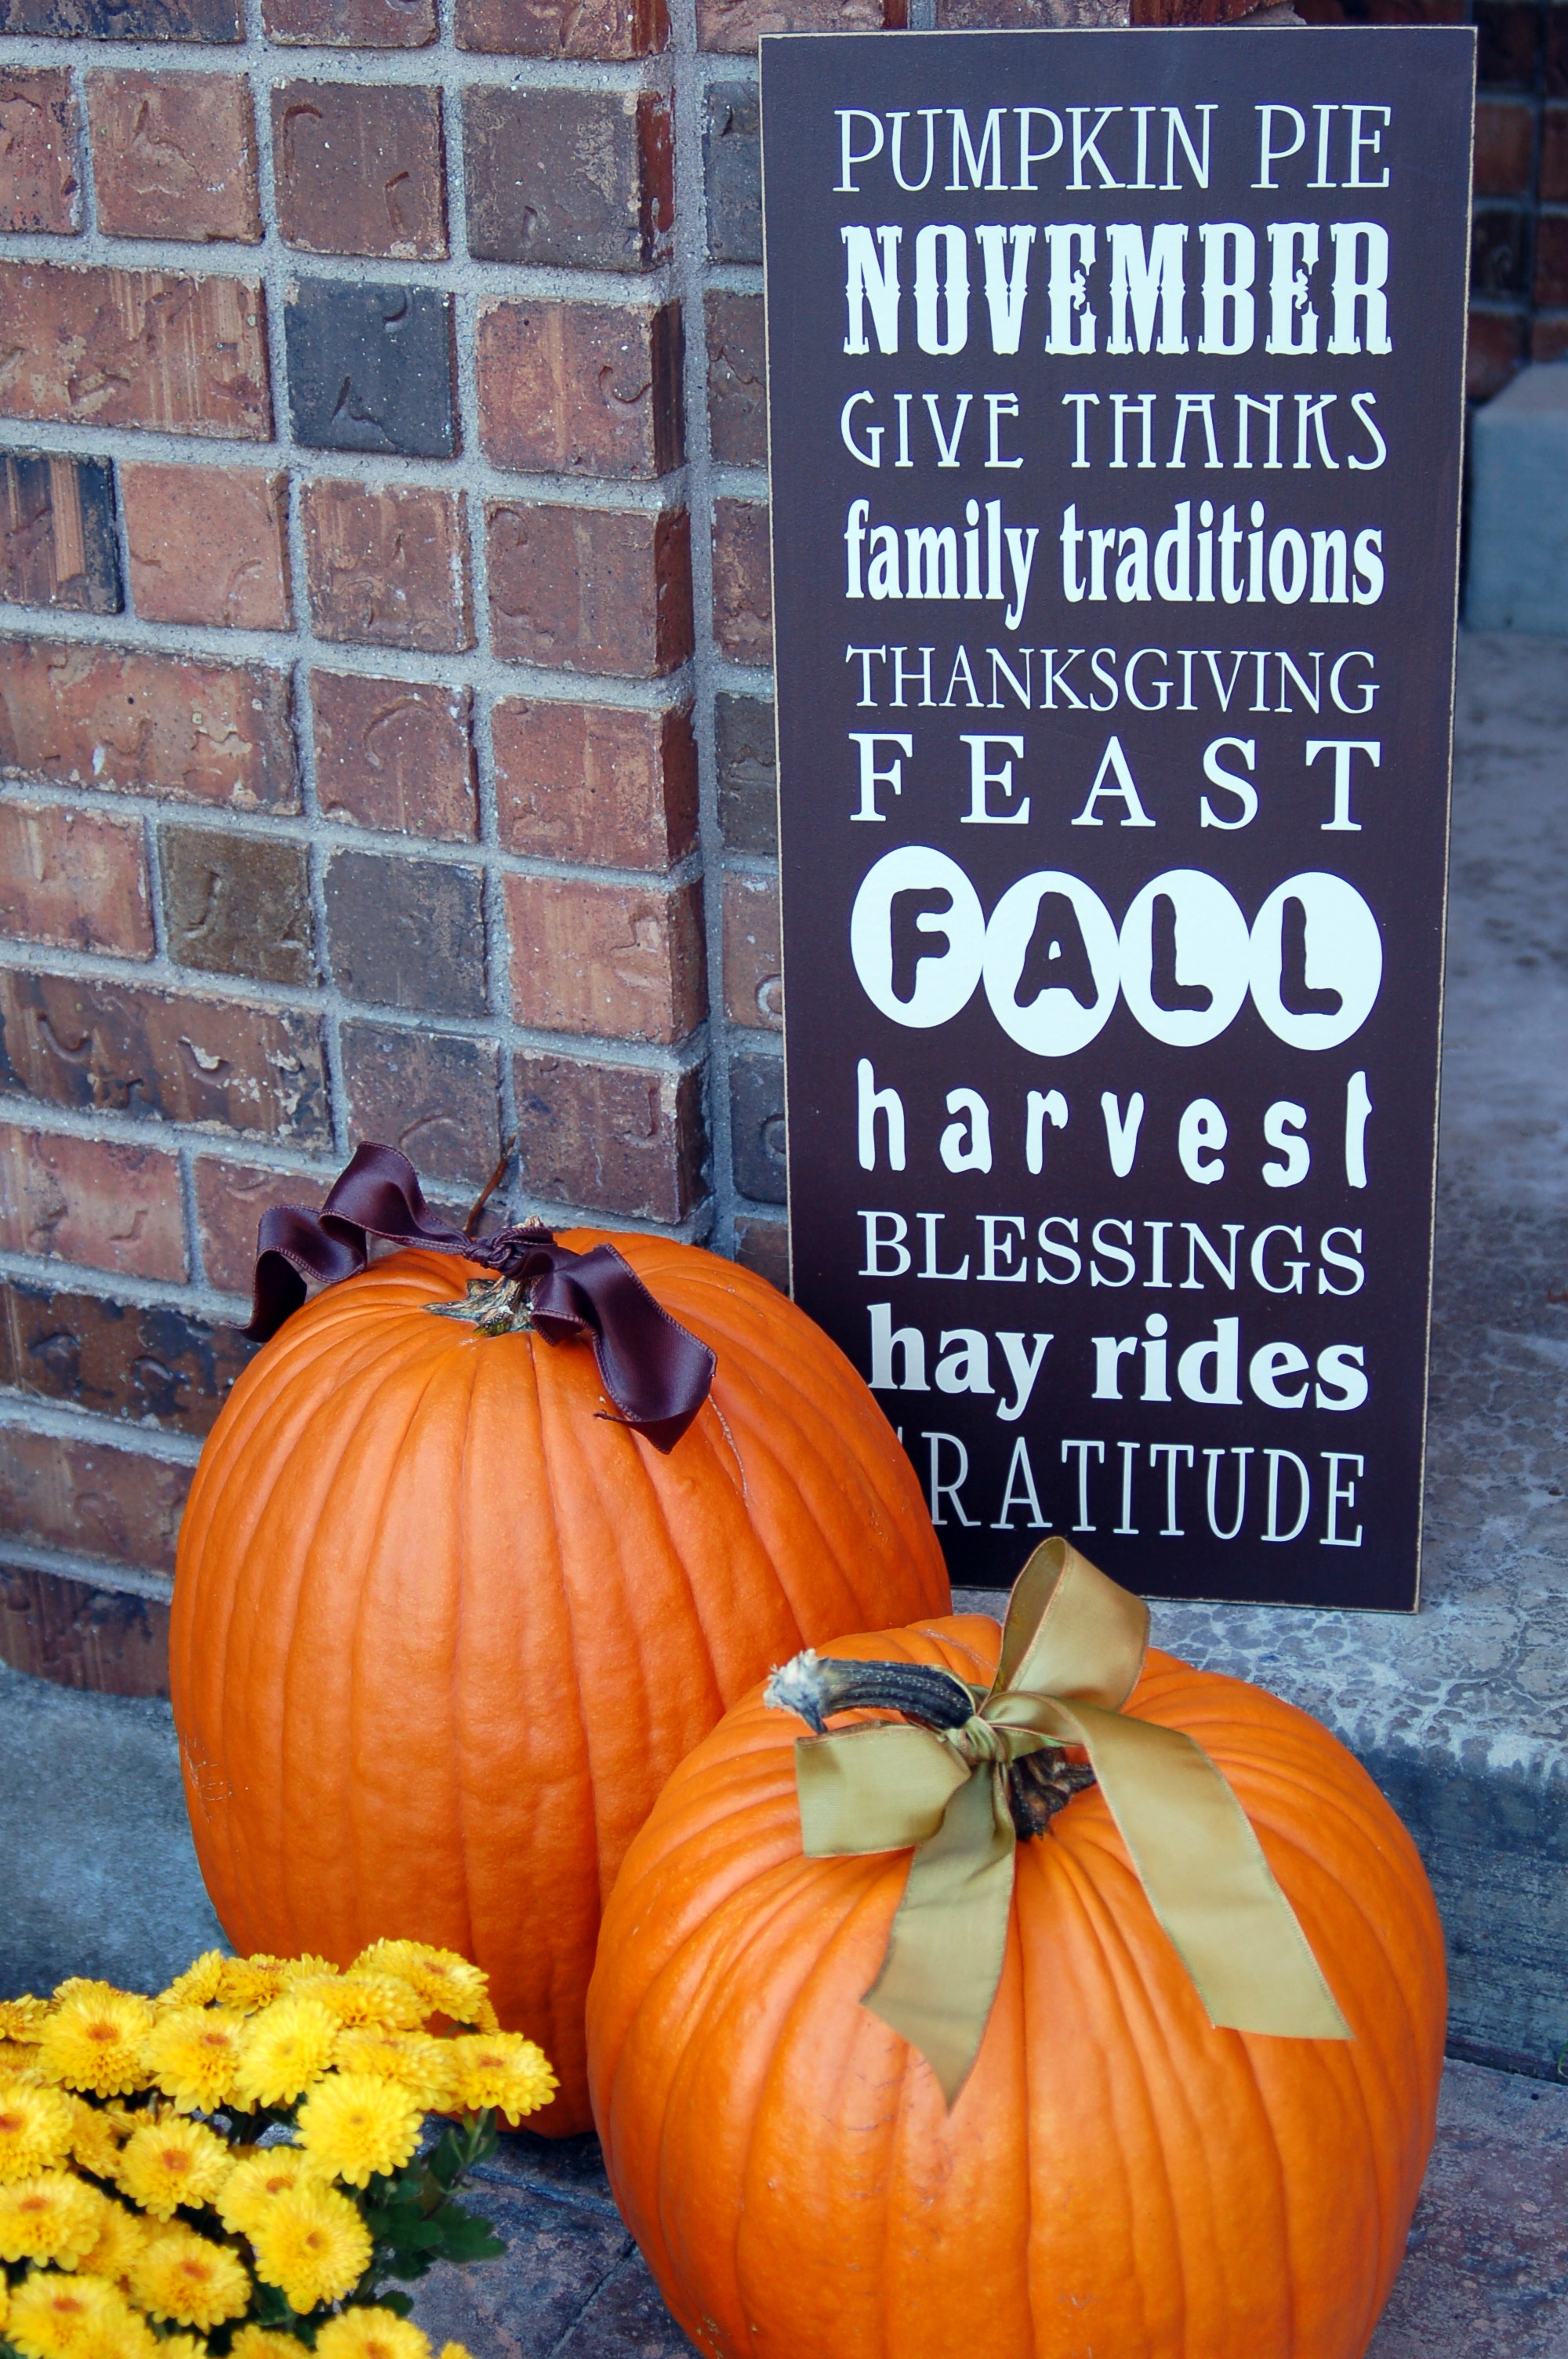
Here is the  cute “Give Thanks” banner that I did as the guest post last week.  It is a free printable, that you just print out, laminate if you wish and tie together with cute ribbon.  This would be cute hanging above your Thanksgiving table, a doorway, or on your fireplace.  (Look how cute it is with my Thanksgiving subway art board, that I made at Landee’s craft night!)

Here are the printables.

To print, just right click and go to copy.  Then open your favorite program, like Word,  right click again and go to paste.  They are in an 81/2 x 11 format, so you can just print them.  You can also email them to your favorite printer.  In my area (Utah) you can send them to Alphagraphics and they will print them for about 55 cents each and that is on card stock.  So that is pretty inexpensive!

I used an oval paper punch to punch out the holes, but you could just use a regular punch, or cut them out with your scissors.  The ribbons cover up the holes, so you do not see them anyway.

Happy Thanksgiving!


Fall Bunting

I promised everyone that I would have an idea to go with the fall banner that I posted here.

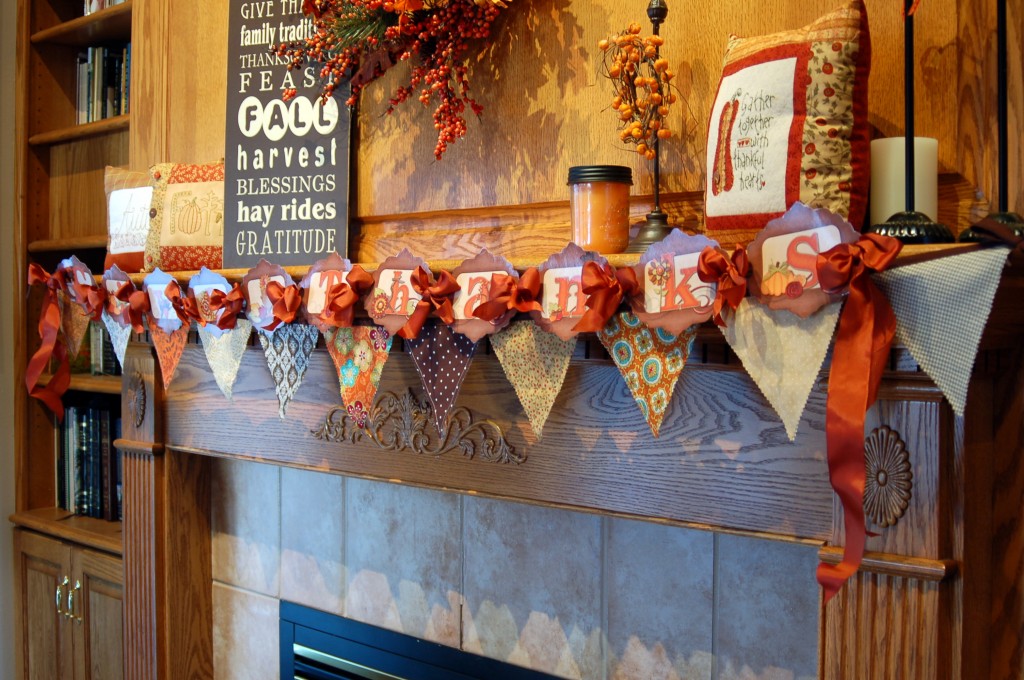
This is a fun, super easy fabric fall bunting.  They are quite the thing right now and I can see why so many people love them.  They are fast, easy, inexpensive and they add so much to your decor or to any party!  You can make a bunting out of fabric, paper, wood, metal, or just about any medium that you can think of!  Here is my bunting on my fireplace, but you coulld hang it above your Thanksgiving table, drape it over a picture or a chalkboard, or in a window.  So many possibilities!
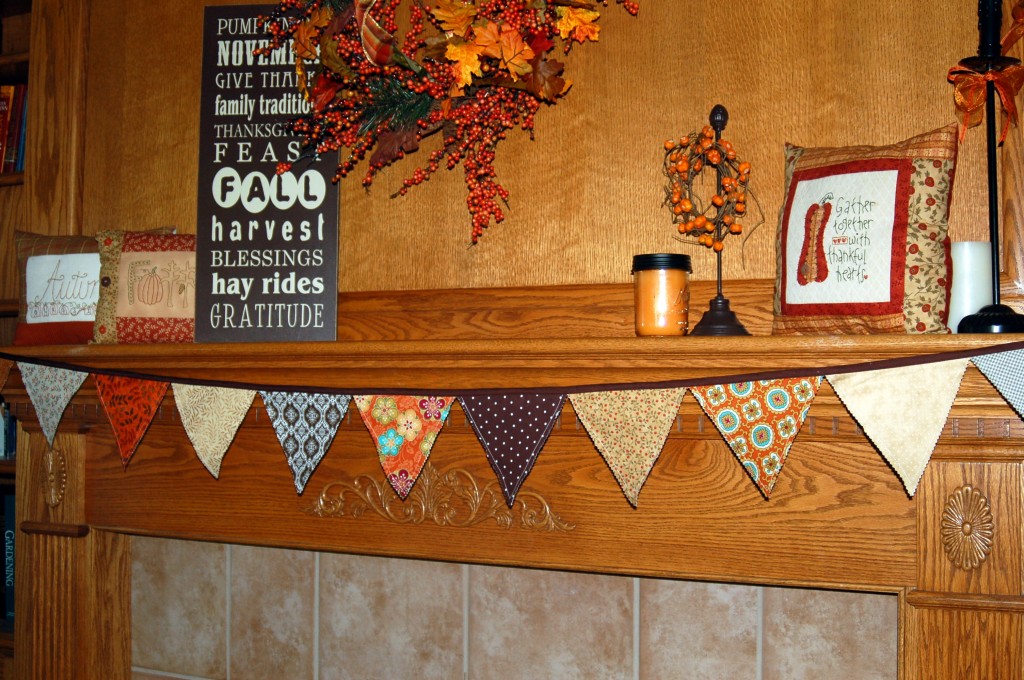
So let’s get started making a fabric bunting!  I made this bunting double sided so that if I hang it over my island in the kitchen, it looks great from both sides.

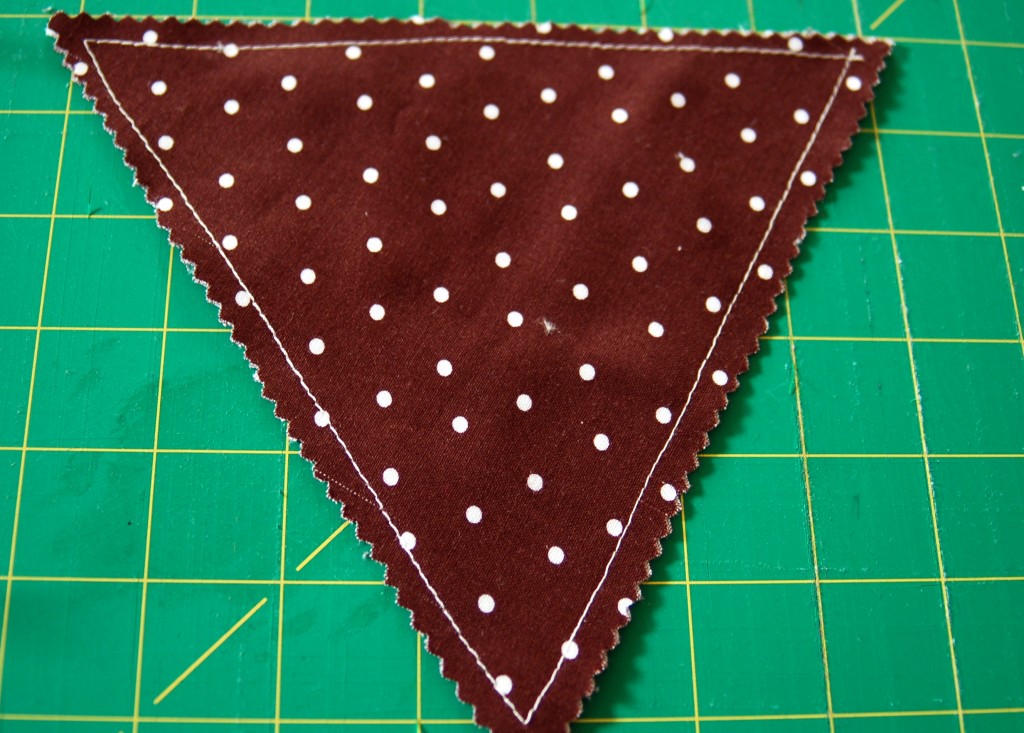
First make a pattern.  I used a 7 inch triangle.  Pin to your fabric with wrong sides together. Right sides out obviously:)This is  a great way to use up all of your fabric scraps, and you can make your triangles as big or as little as you want them to be.  I did and odd number of triangles (11) because to me that just looked better.
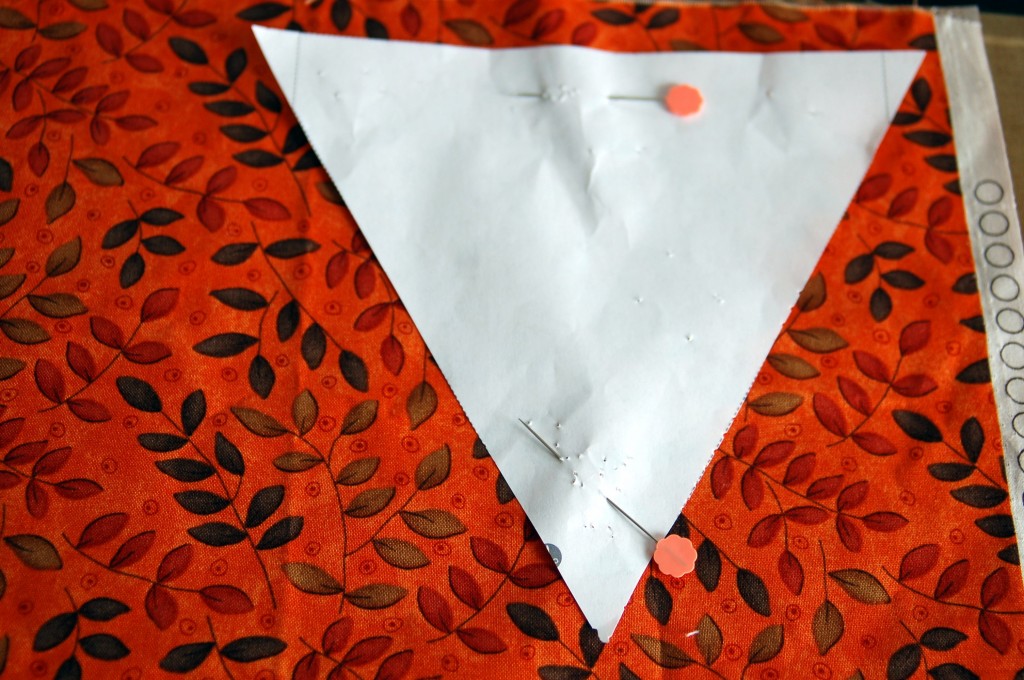
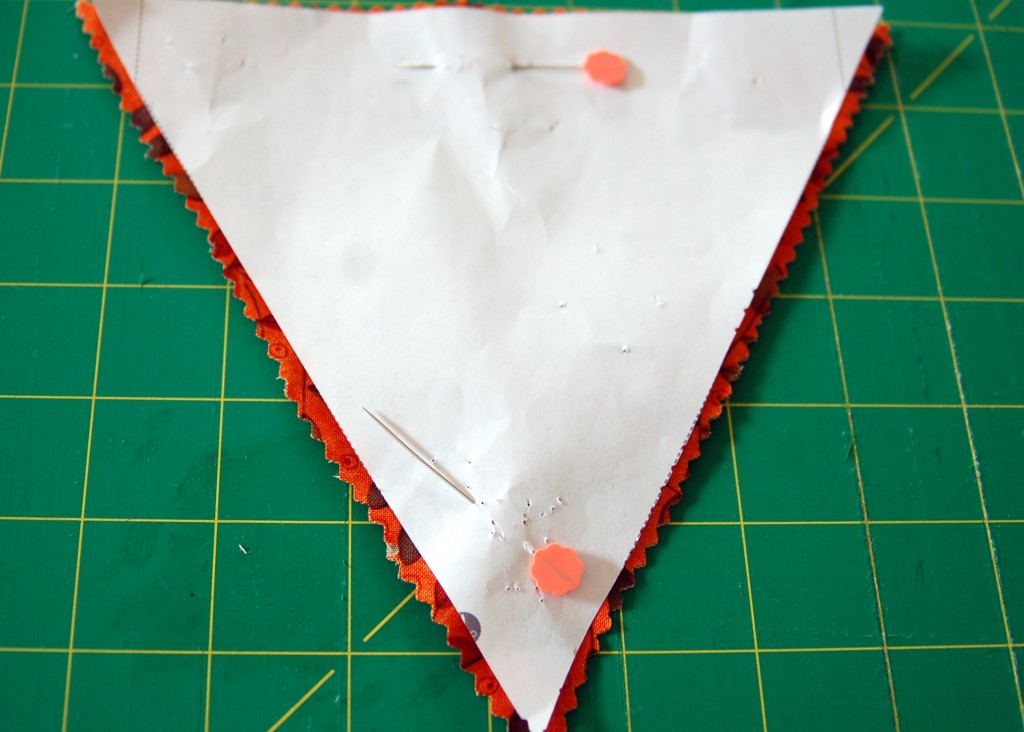
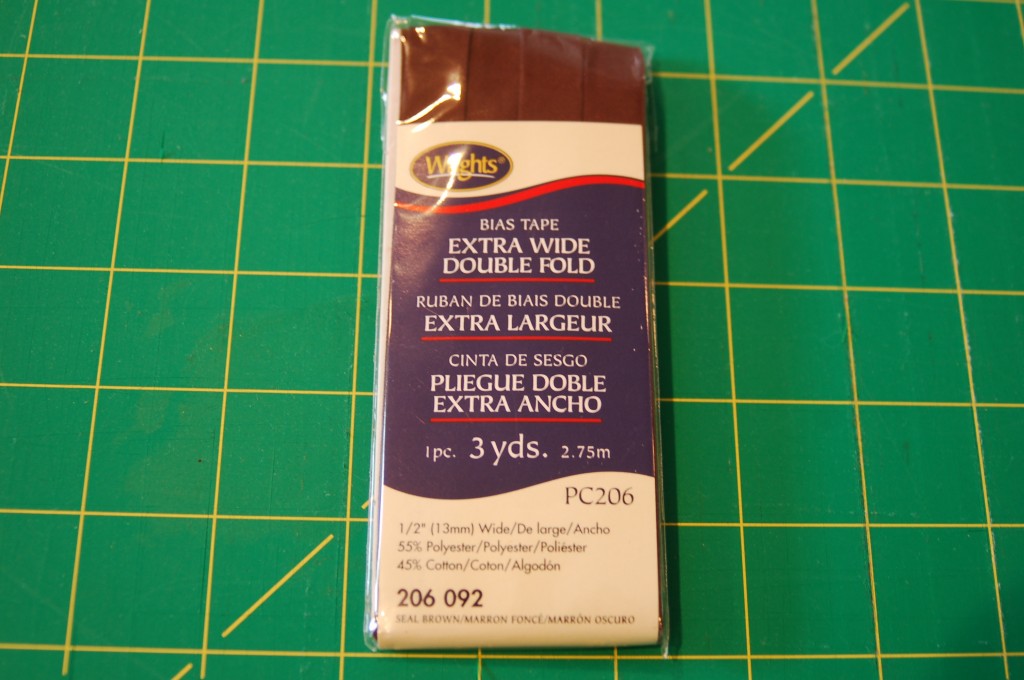
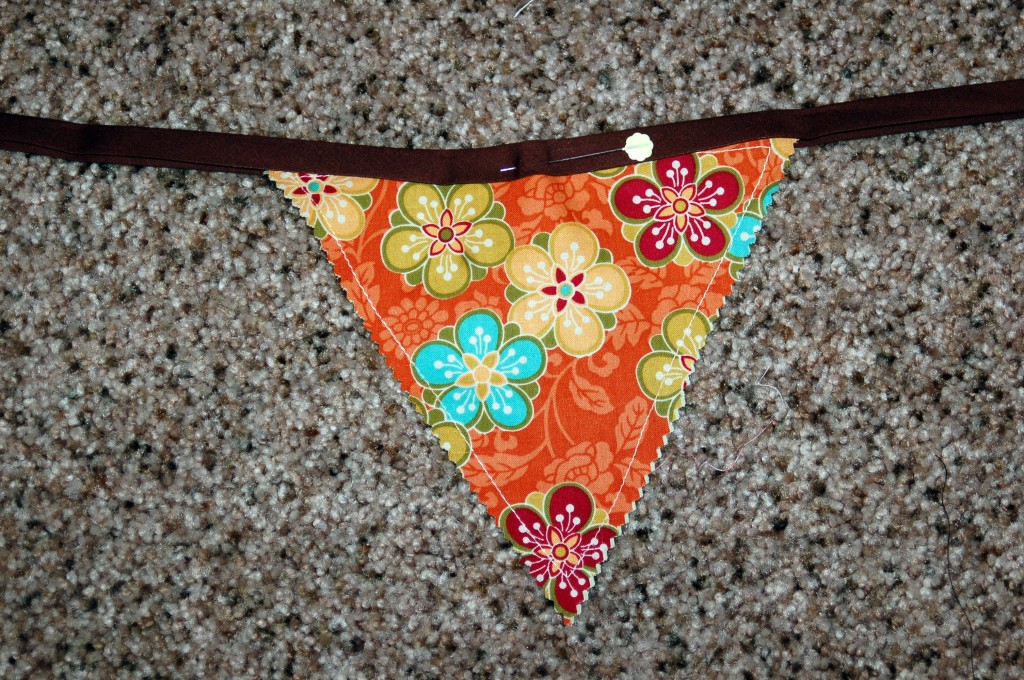
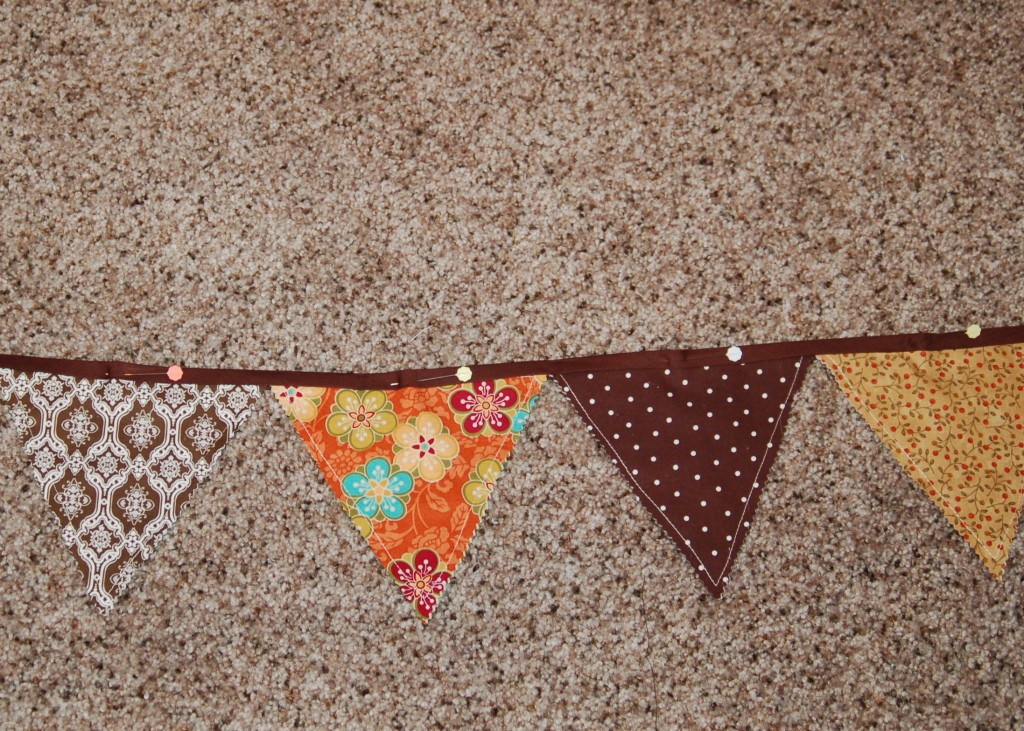
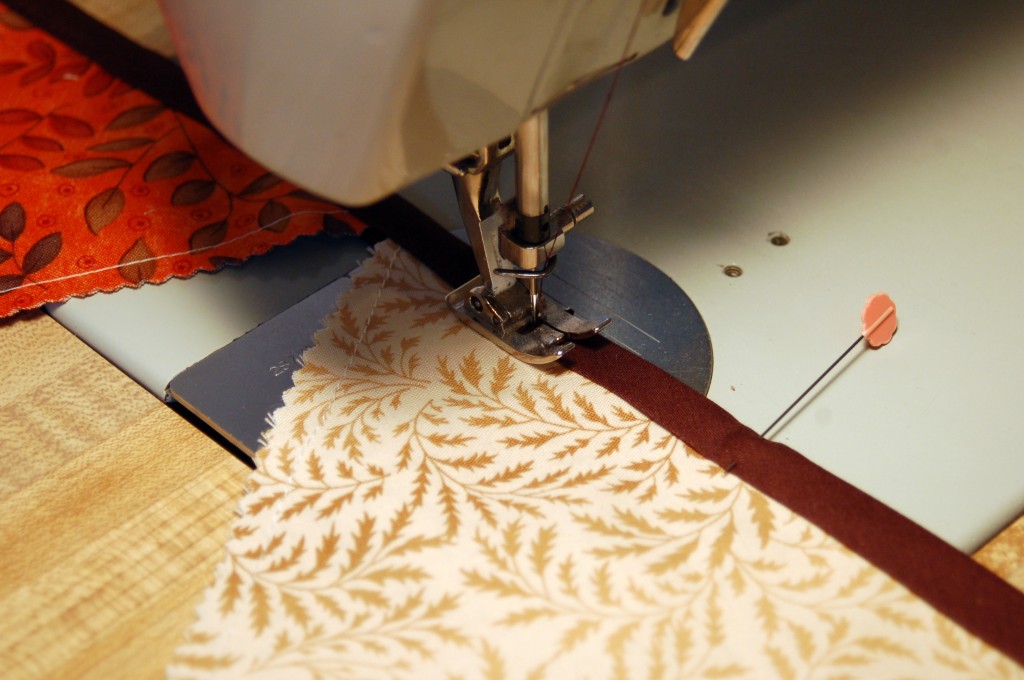
 Cut around your pattern with pinking shears if you have them, if not regular scissors or your trimmer blade will do. Next, sew 1/4 inch seam all the way around through both layers of fabric.You will need one package of bias tape, this is the extra wide width and I liked it because it was easier to work with.Find the middle of the bias tape and the middle of one of your triangles.  Pin the triangle inside the tape.  Make sure you have the shorter width of the fold on the front where you will be sewing so that you make sure to catch it in the back when you sew the seam.Pin all of the triangles in the bias tape according to how you want them placed.Sew your seam close to the edge of the bias tape edge making sure you catch the triangle and the back of the bias tape. This really is simple if you have pinned it all ahead of time.  Make sure the triangle edges are touching each other, you can overlap them a bit if you want to, but I just made sure that they were butted right up to each other.See how simple and easy that was, and look how much they can add to you fall decor!Here is a picture of my bunting with my fall banner that I posted earlier.  I think that they look so cute together!  I just think that the possibilites are endless with these buntings!You could totally do this bunting with no sewing.  Make the triangles only one layer and glue, staple or tape to a fun ribbon, ric rac or cording!  Oh the possibilities!
What are some of the fun ways that you decorate for fall?  I would love to here from you!


Remember This?

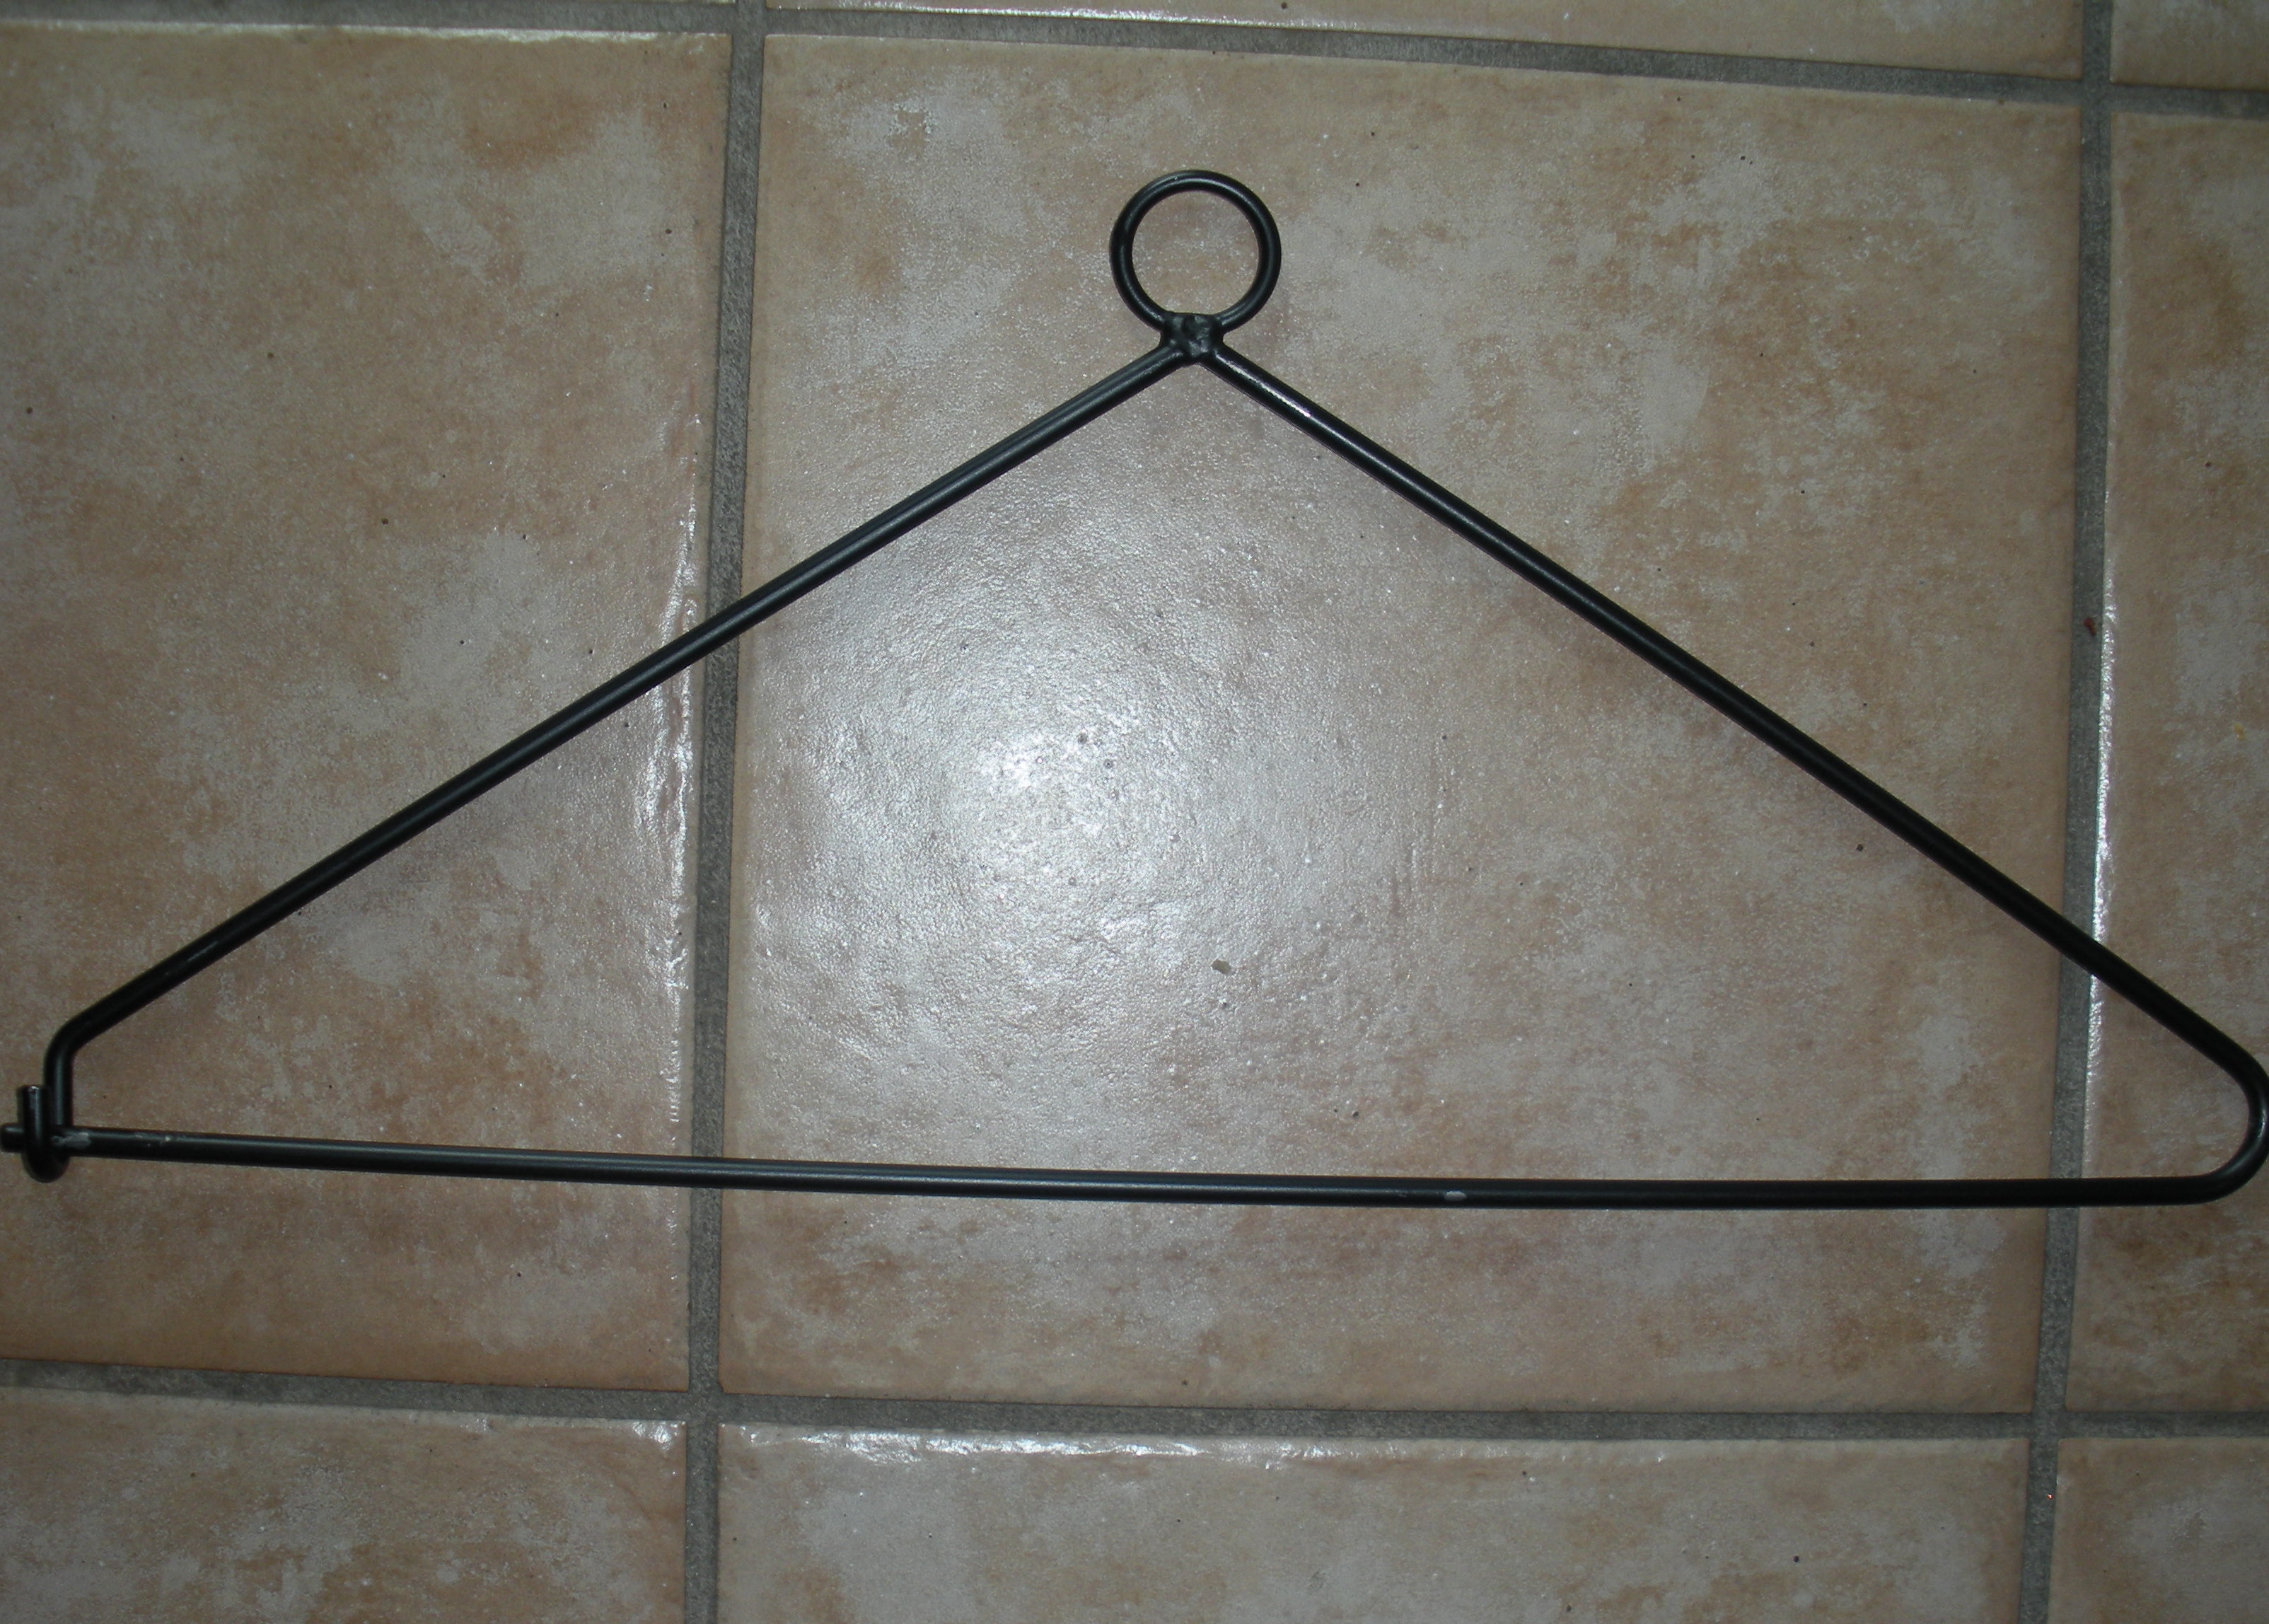
Do you remember when I asked if anyone knew what I was going to use this for?  One of my readers actually had a great suggestion, she said that she would use it to hang a quilt on!  I think that was a super idea and I may just have to try to get another one!

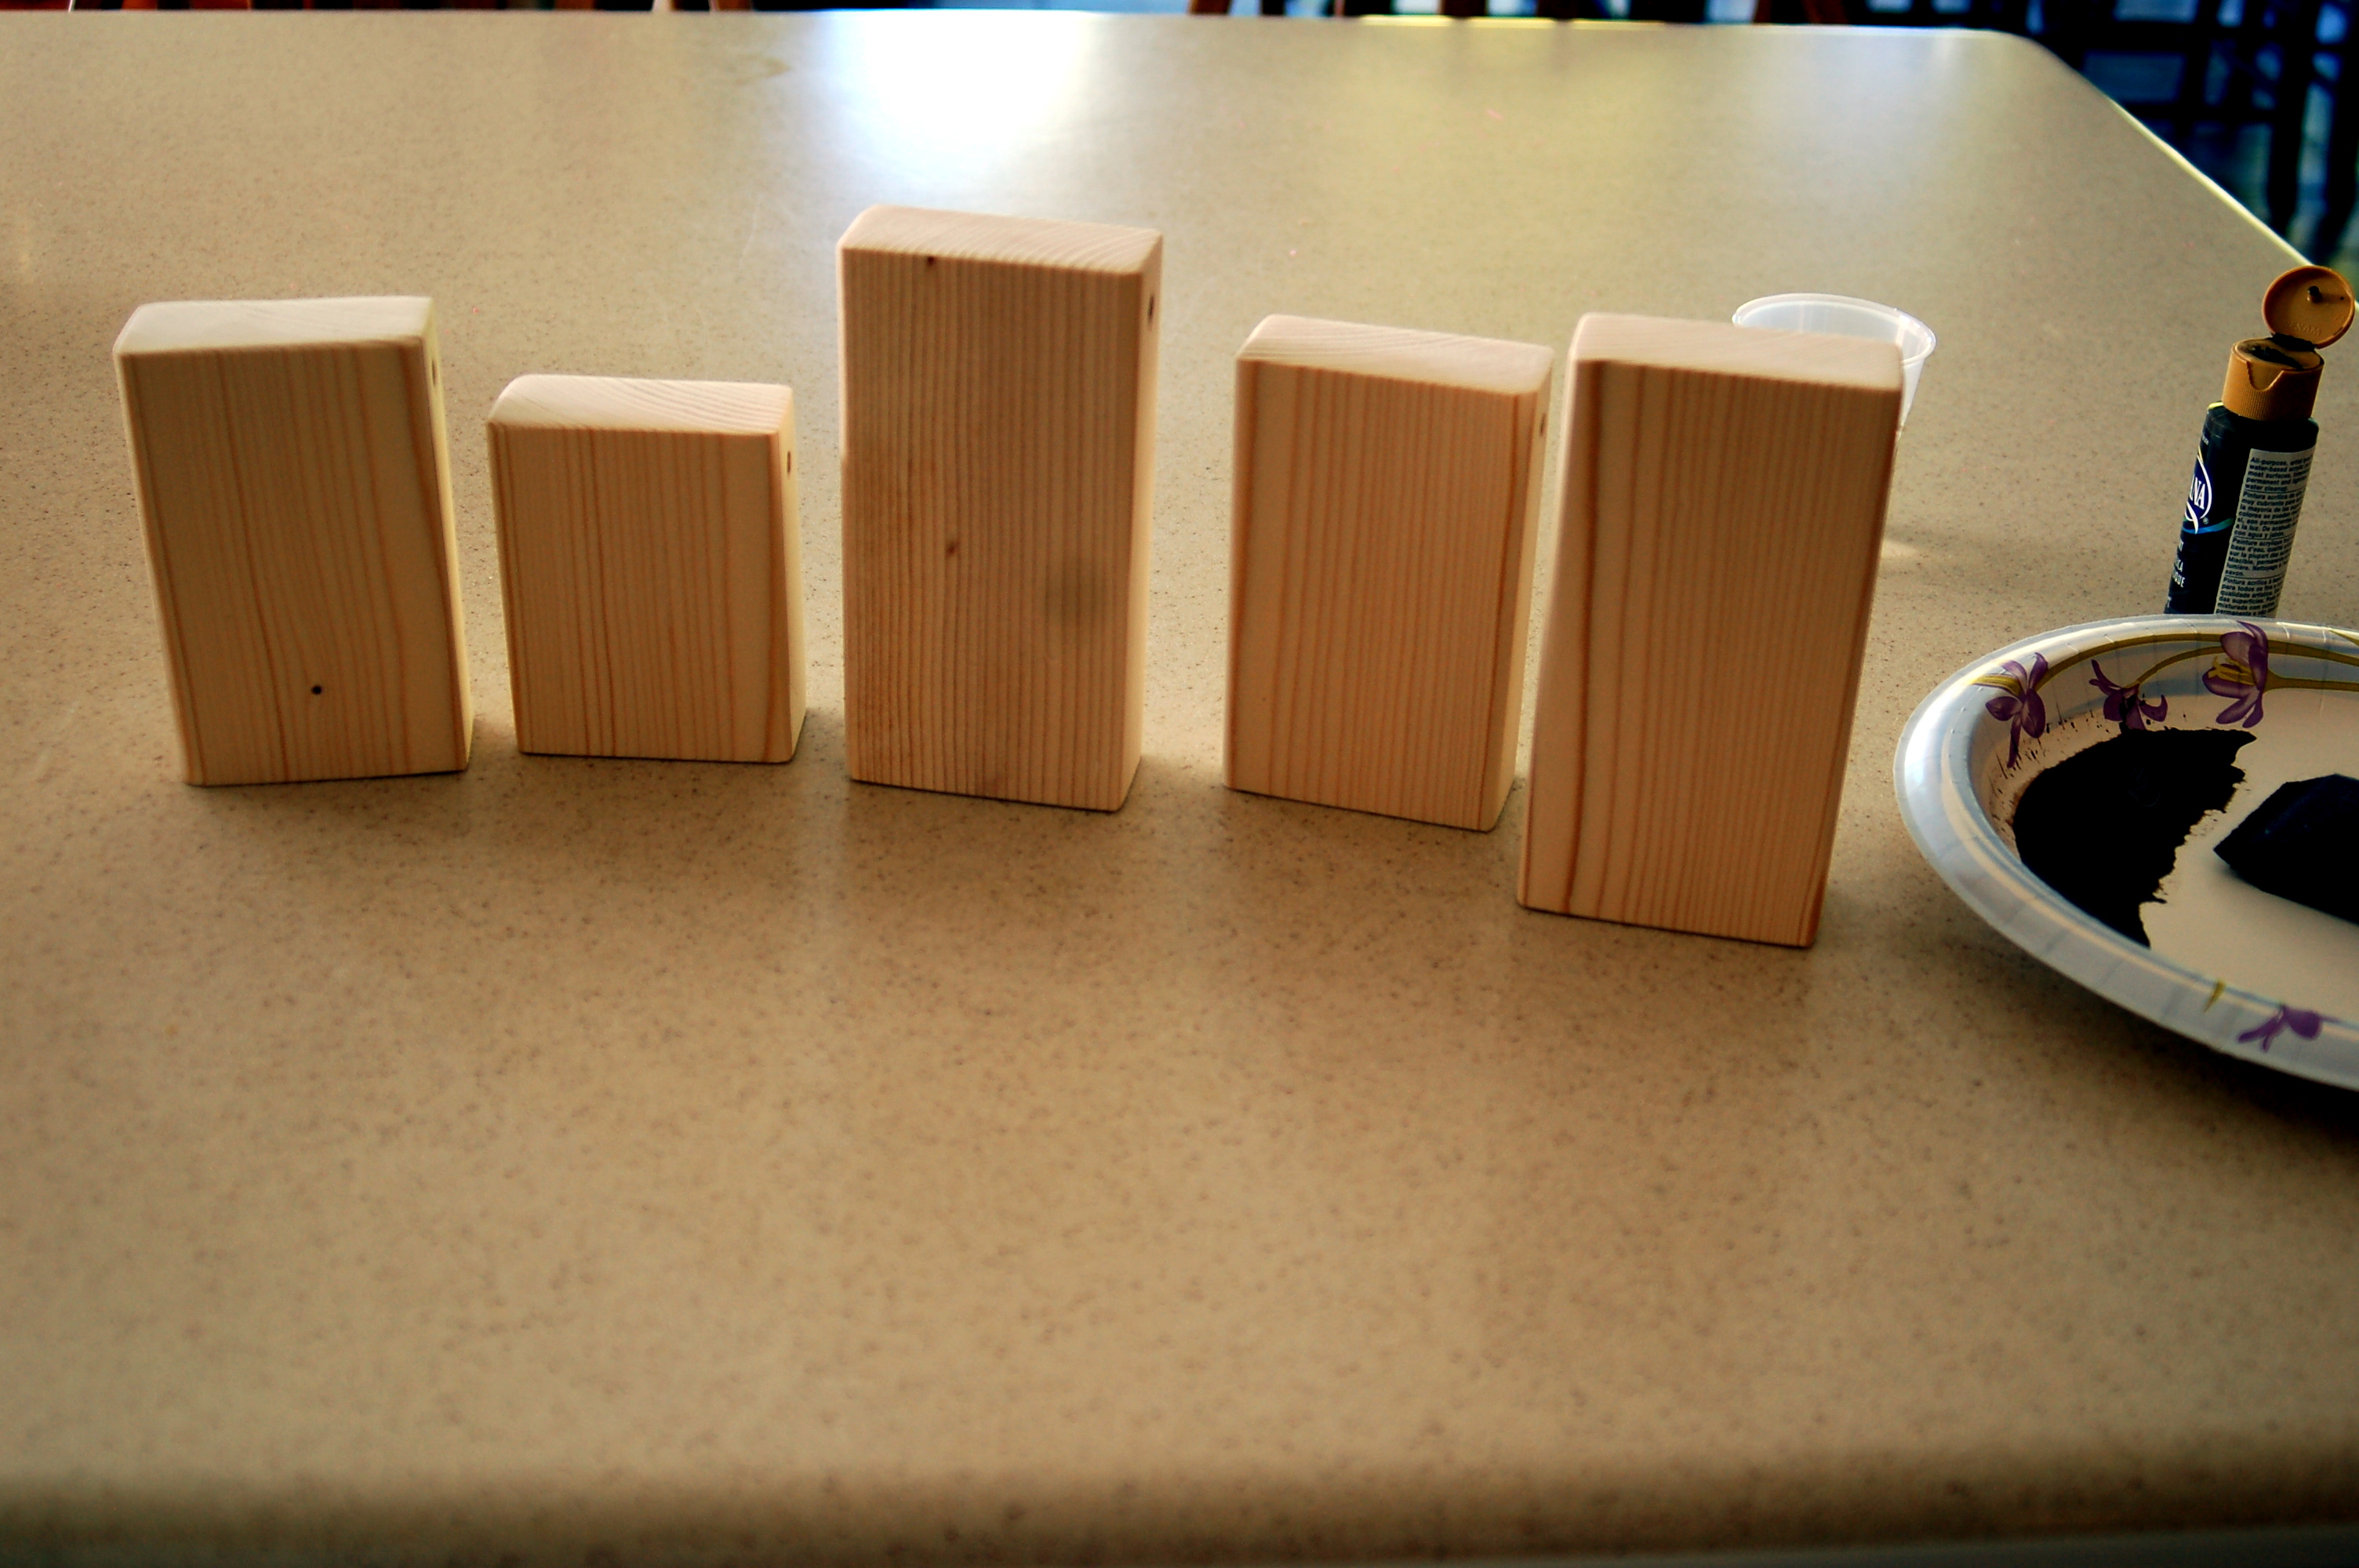
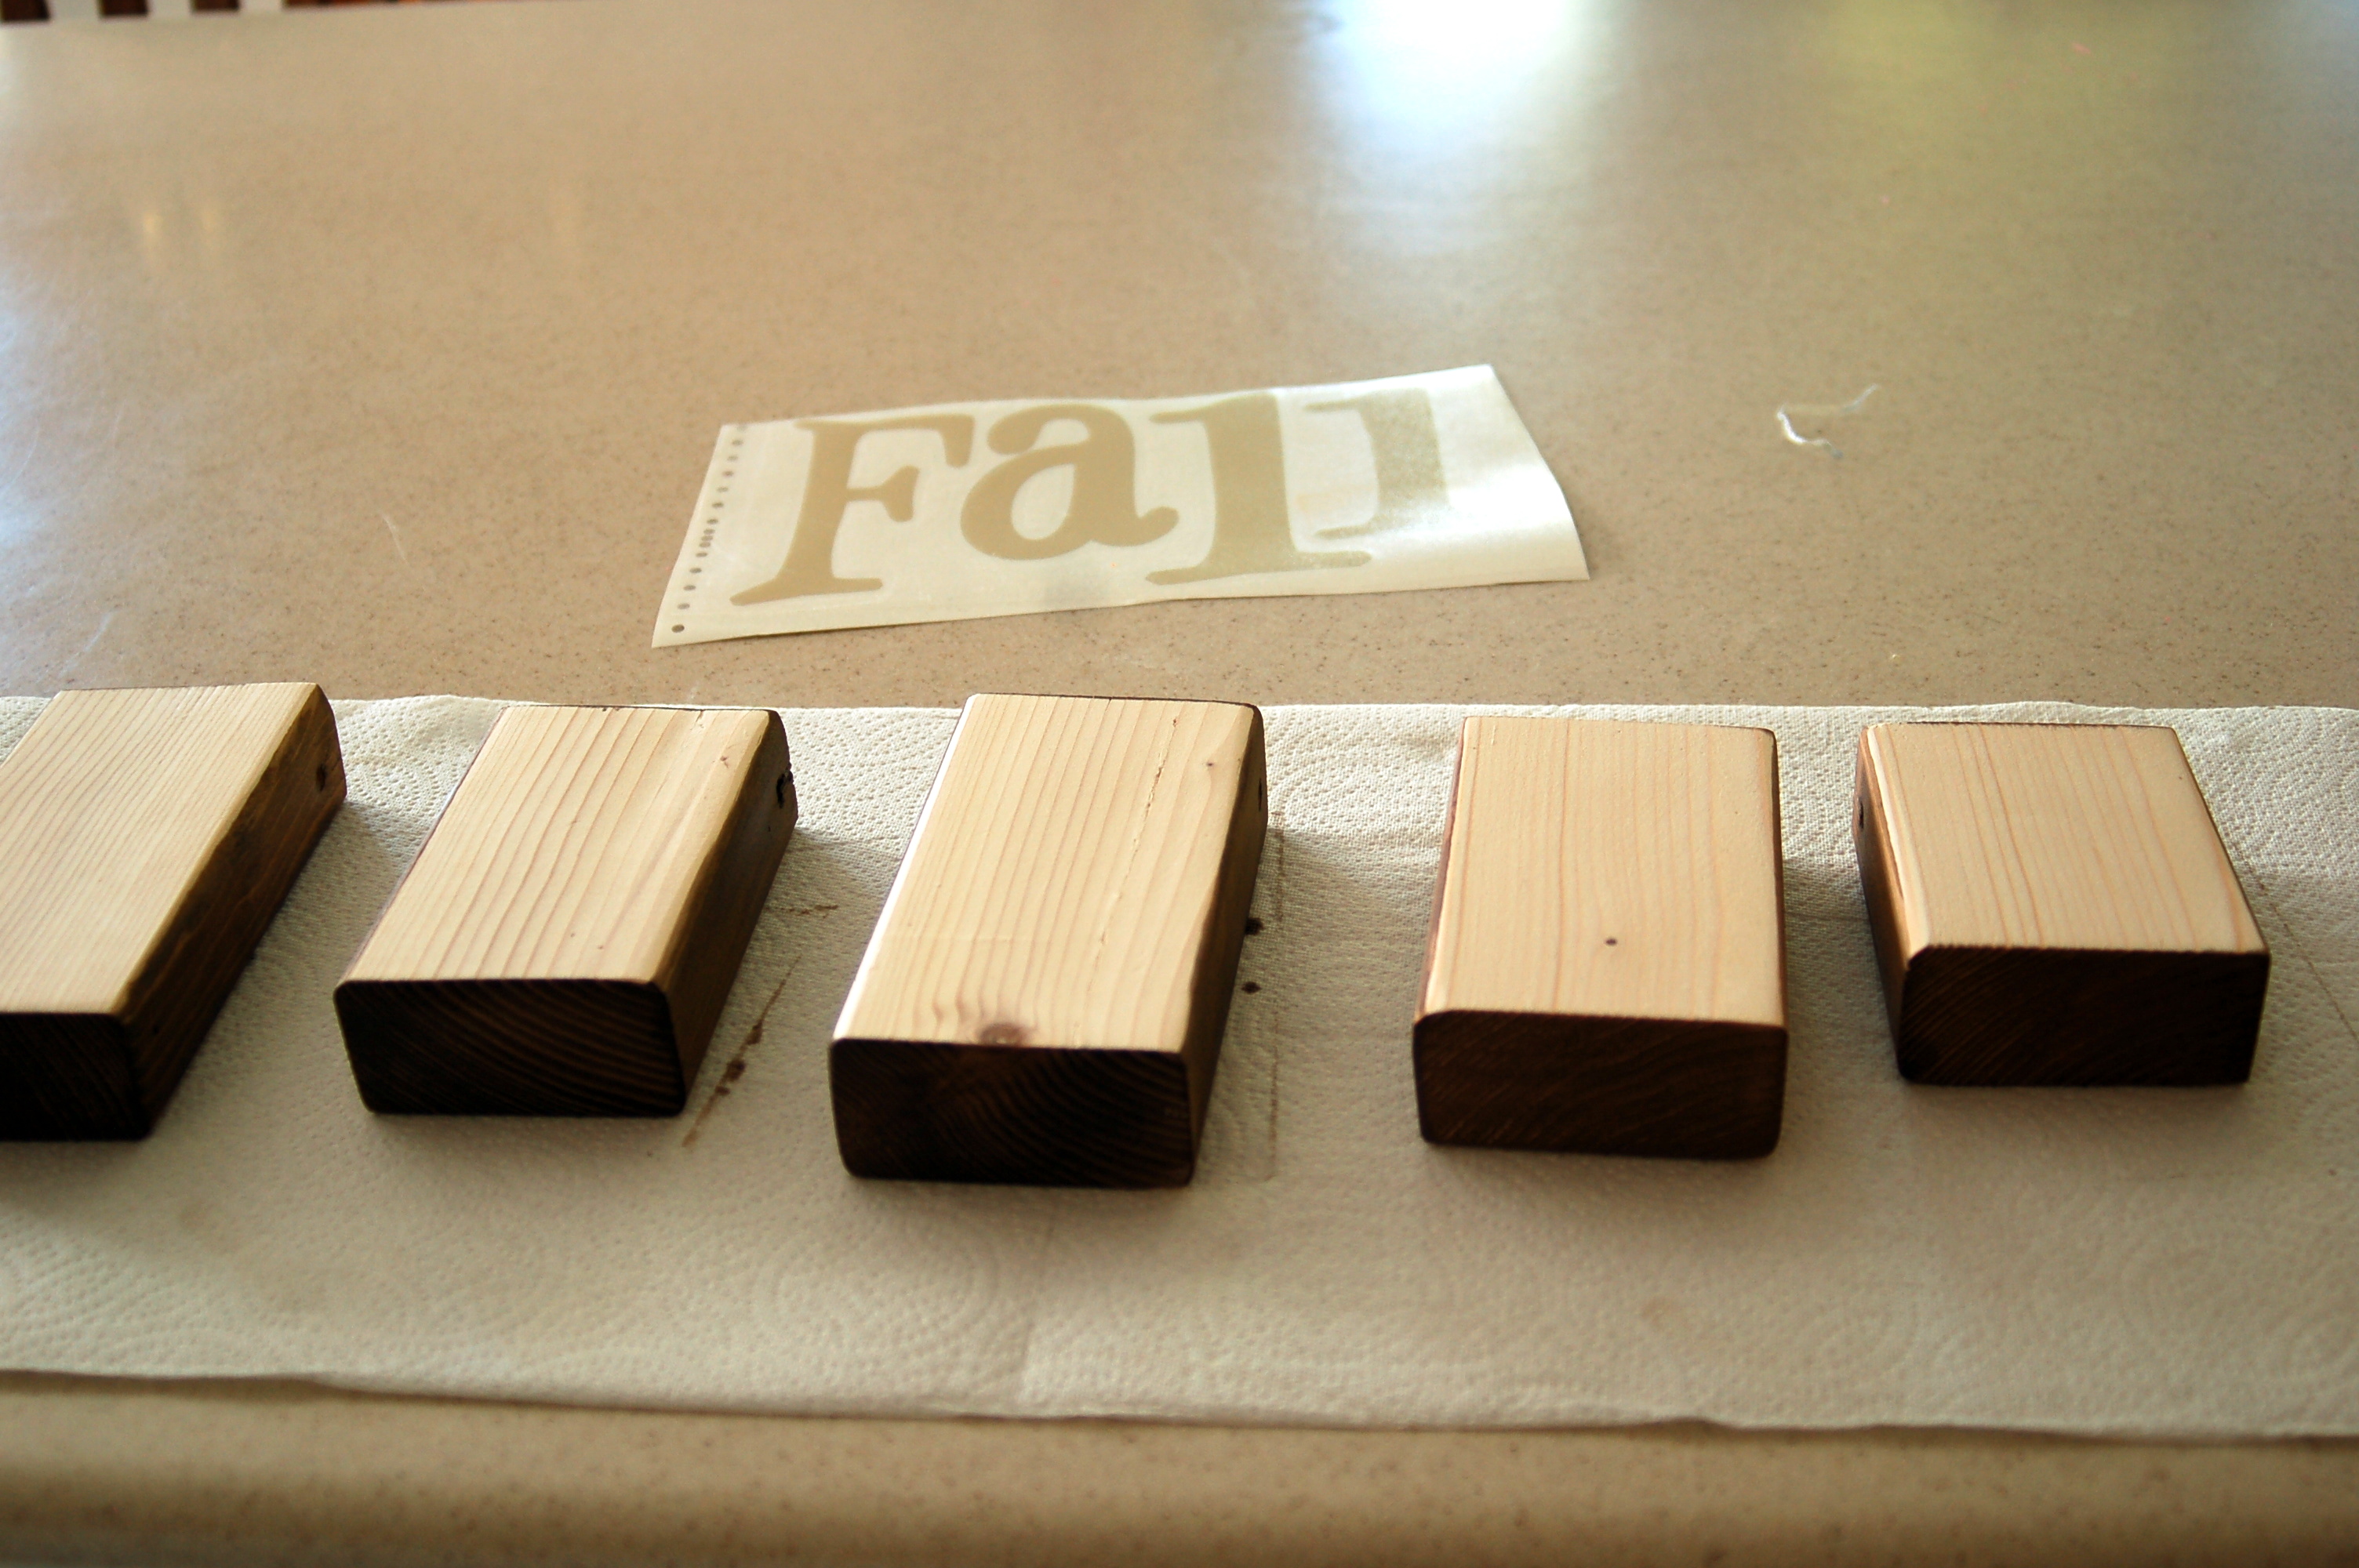
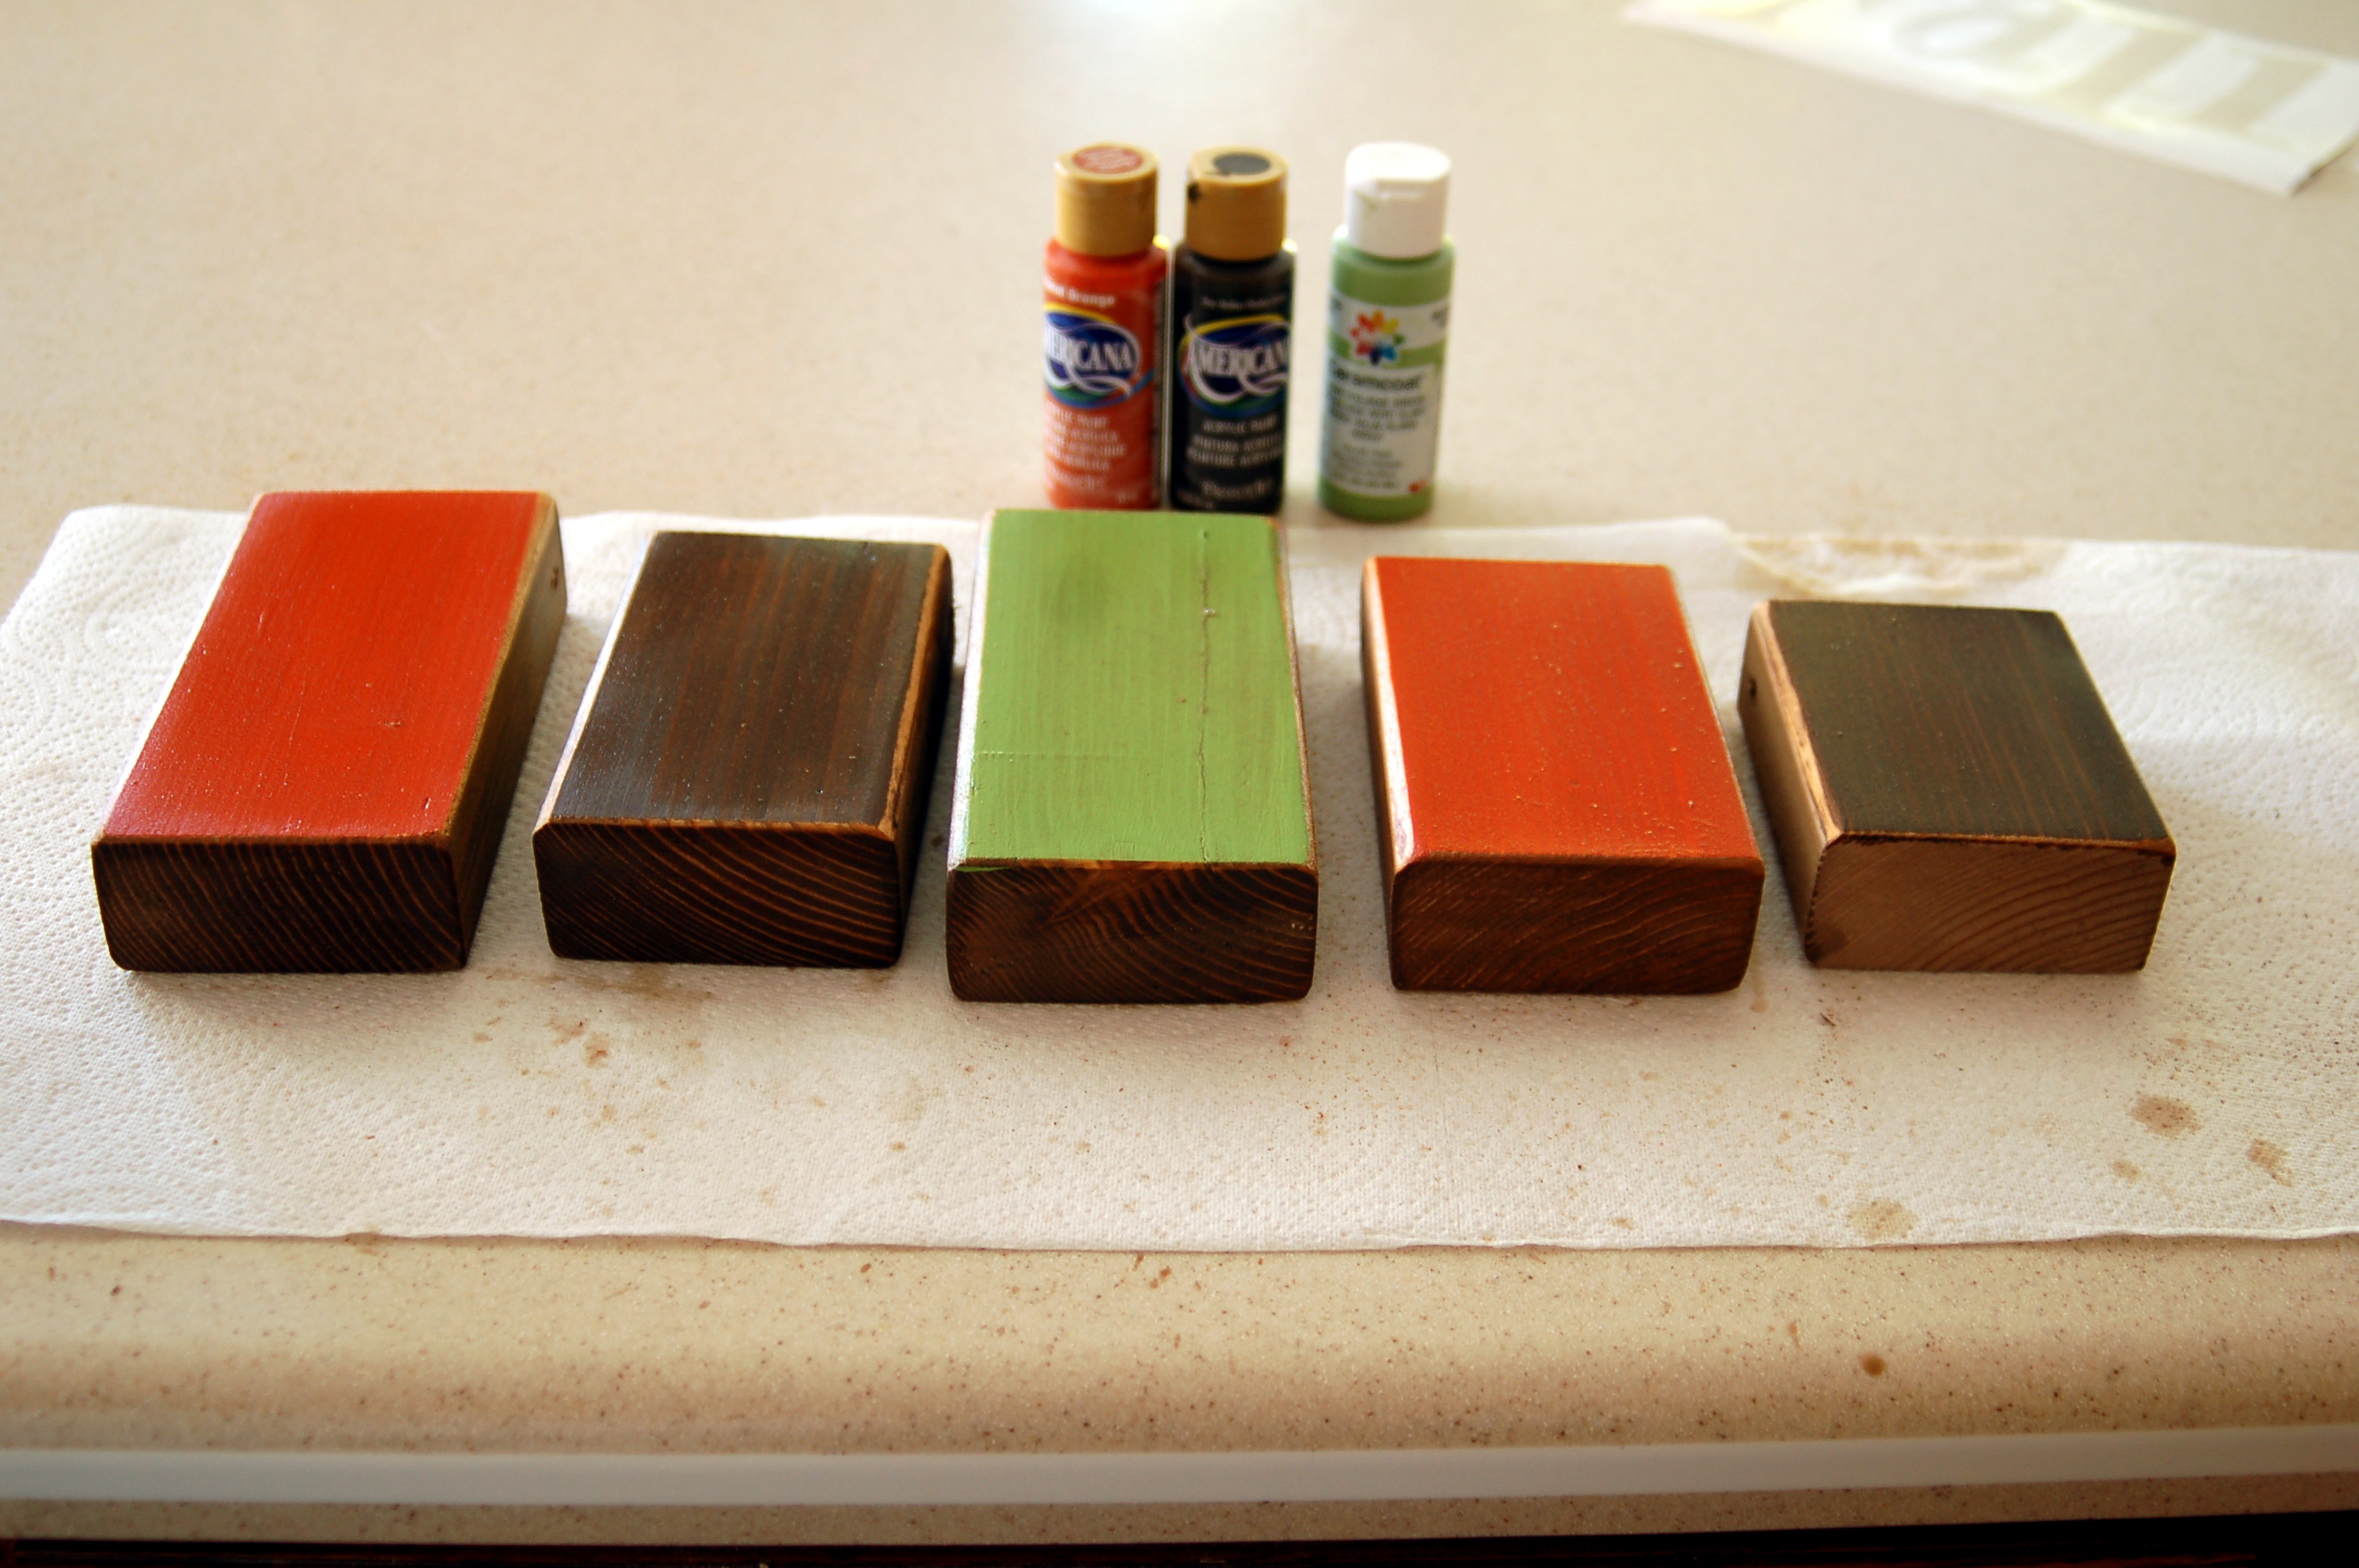
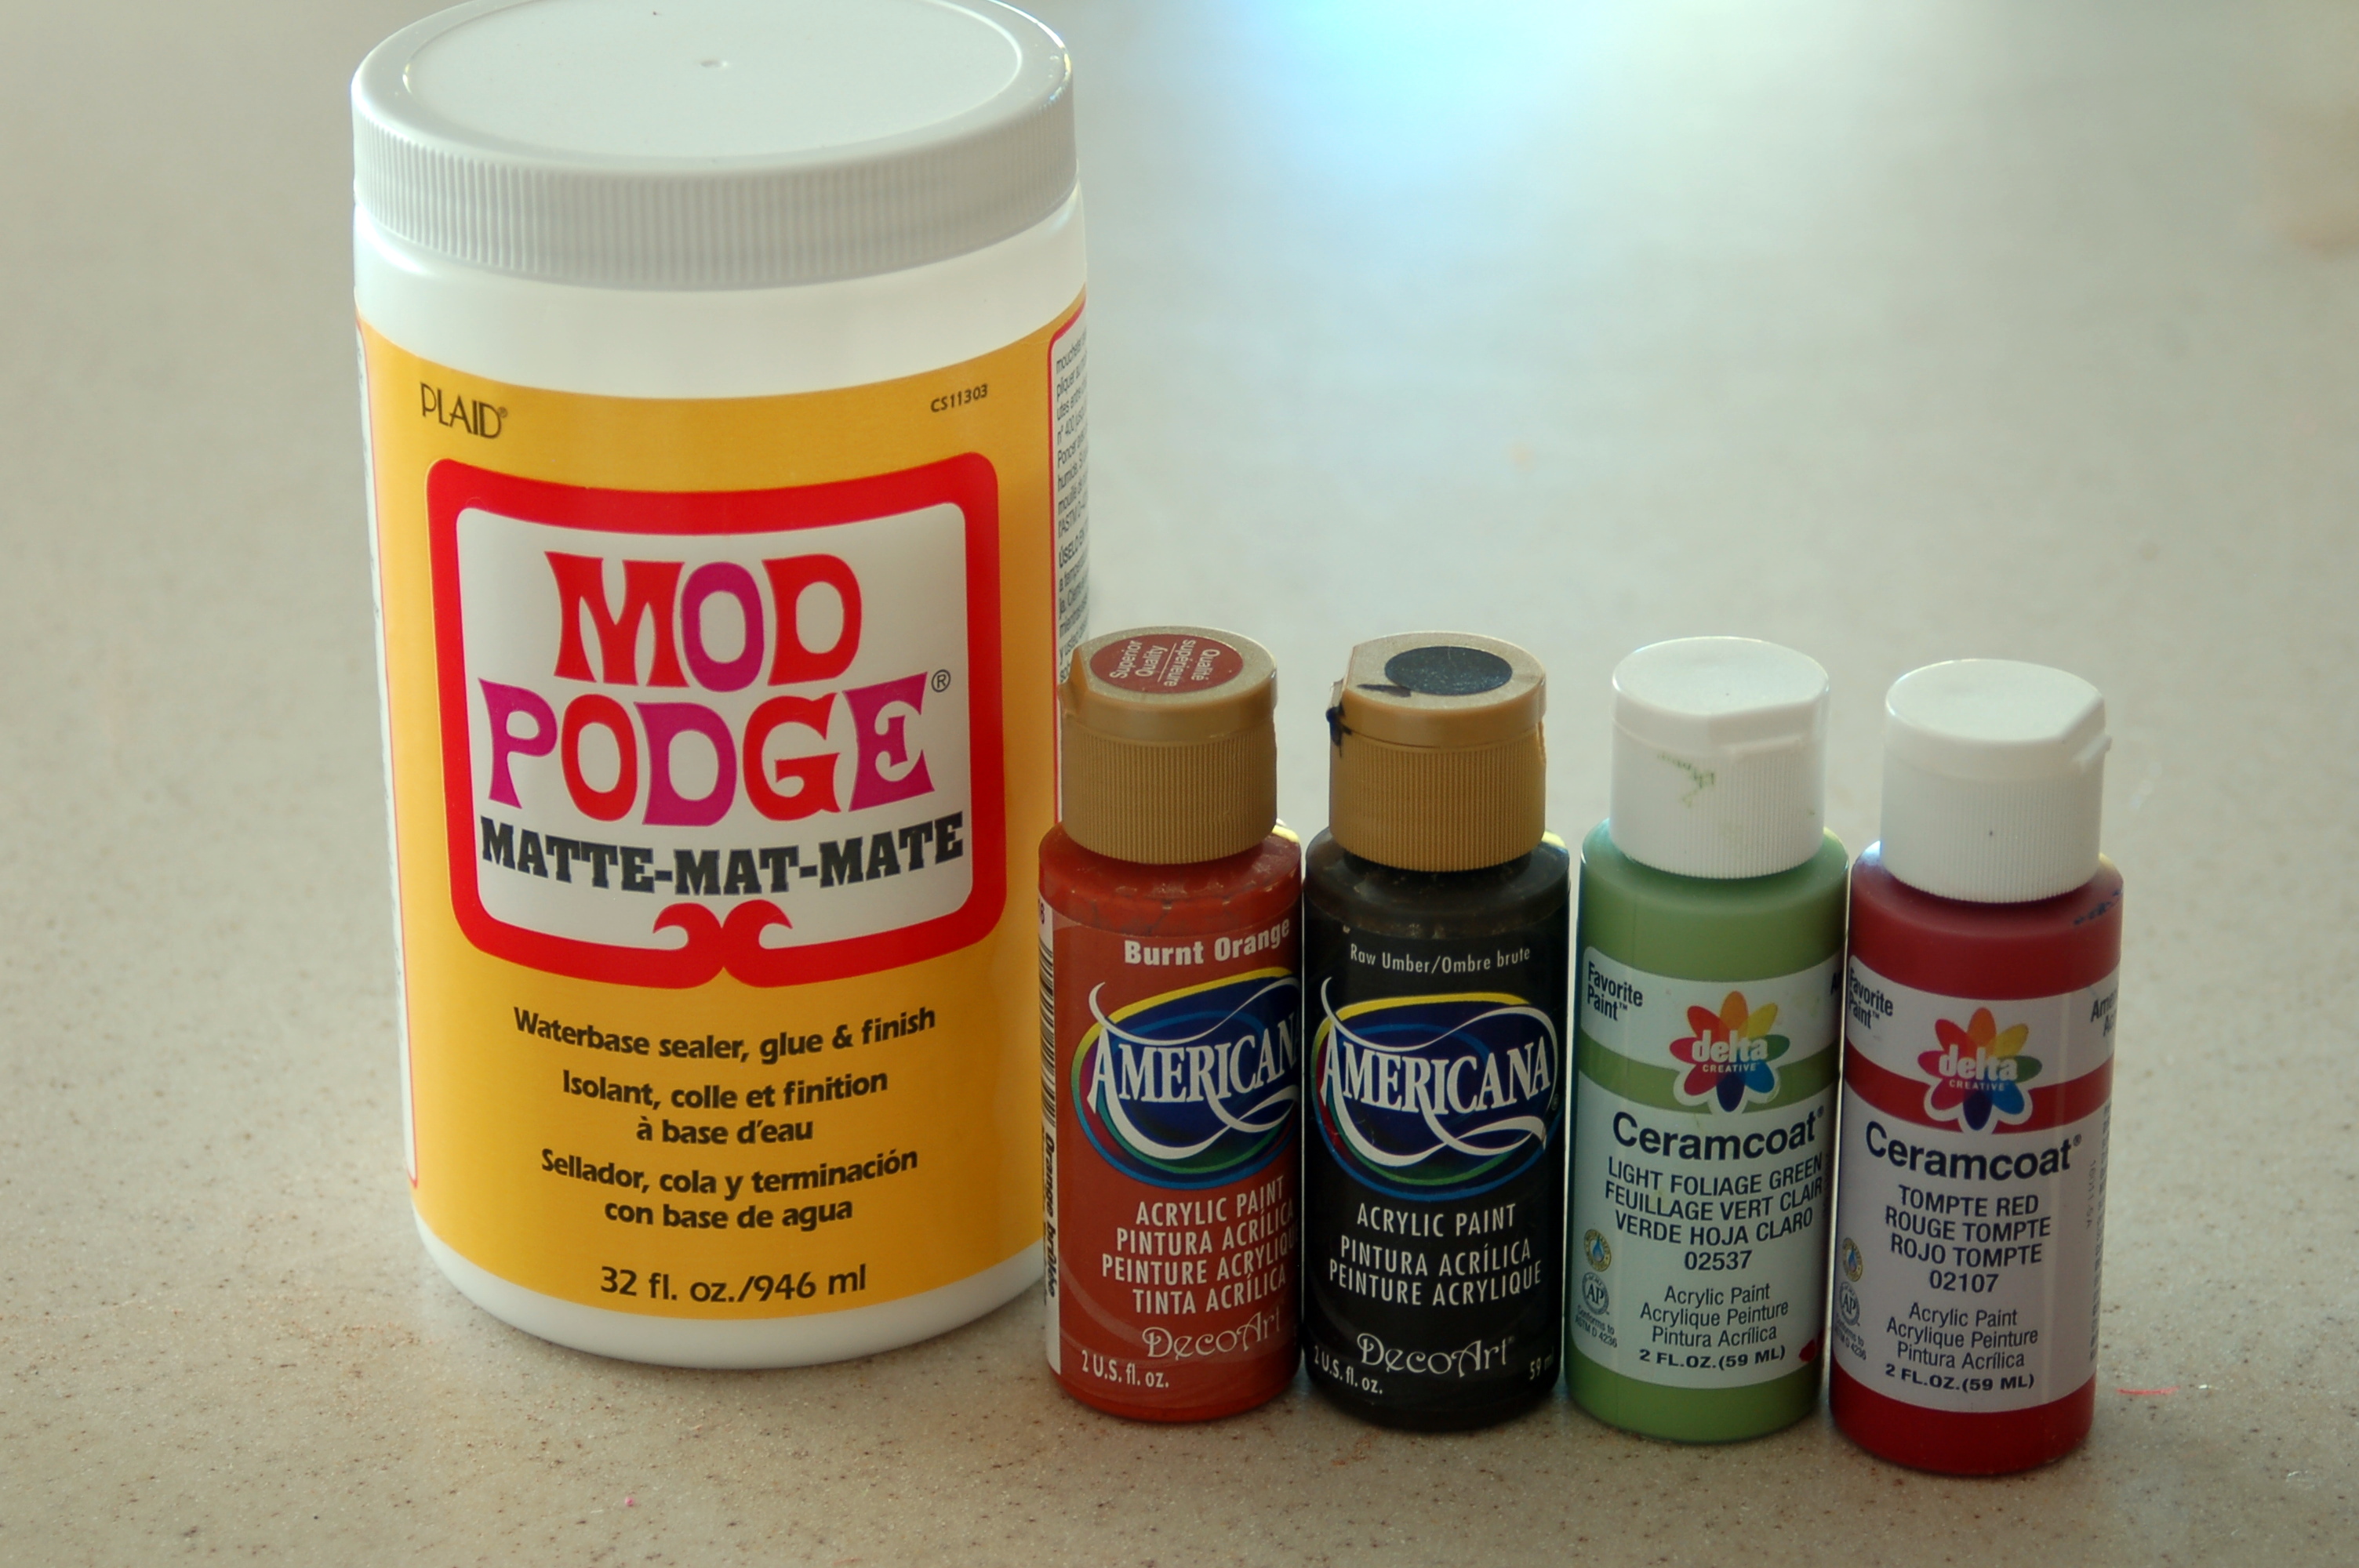
But what I had in mind when I bought this hanger, was to put wooden blocks on it to spell out a word.  My friend, Sue, that went with me to the Hobble Creek Boutique, bought one too and she and her husband cut out these blocks for me!  They have a hole drilled through the top so we can hang them.First, I did a wash around the edges with Raw Umber paint and a lot of water.Then I painted these three colors on the front side of the blocks, after they were dry, I sanded the edges and did a wash with the raw umber/water mix to add the distressed look.These are the products that I used.  I used Ceramcoat paint: Light Foliage Green and Tompte Red.  I also used Americana paint in Burnt Orange and Raw Umber.  I used Mod Podge as a varnish and a sealer for the wood.  It also helps the vinyl stick a little better.  You may be wondering what I painted with the red…well, I painted the backside of the blocks with the red and the green..I added some vinyl letters, some fall leaves and a little ribbon and whaalah!Then on the back where I had painted the red and green, I added the letters for NOEL and used some red rhinestones for the berries on the holly.  Now I have two different holiday decorations for the price of one! You can’t beat that!  Of course for Christmas, I will add a new ribbon.I love this, now I can use the fall hanging through Thanksgiving and I just have to turn the blocks around, add a new ribbon, and it is ready for Christmas!

Have you started thinking of Thanksgiving and Christmas already?  Sometimes I think we get ahead of ourselves.  When my children were little, I used to have most of my Christmas shopping done in October!  But boy, not anymore!  I am usually making, baking,wrapping and buying until the last minute!

So for now let’s just enjoy:

Happy Halloween Hauntings!

All Good Things Must Come To An End

As everyone is enjoying pumpkin and cinnamon this fall:

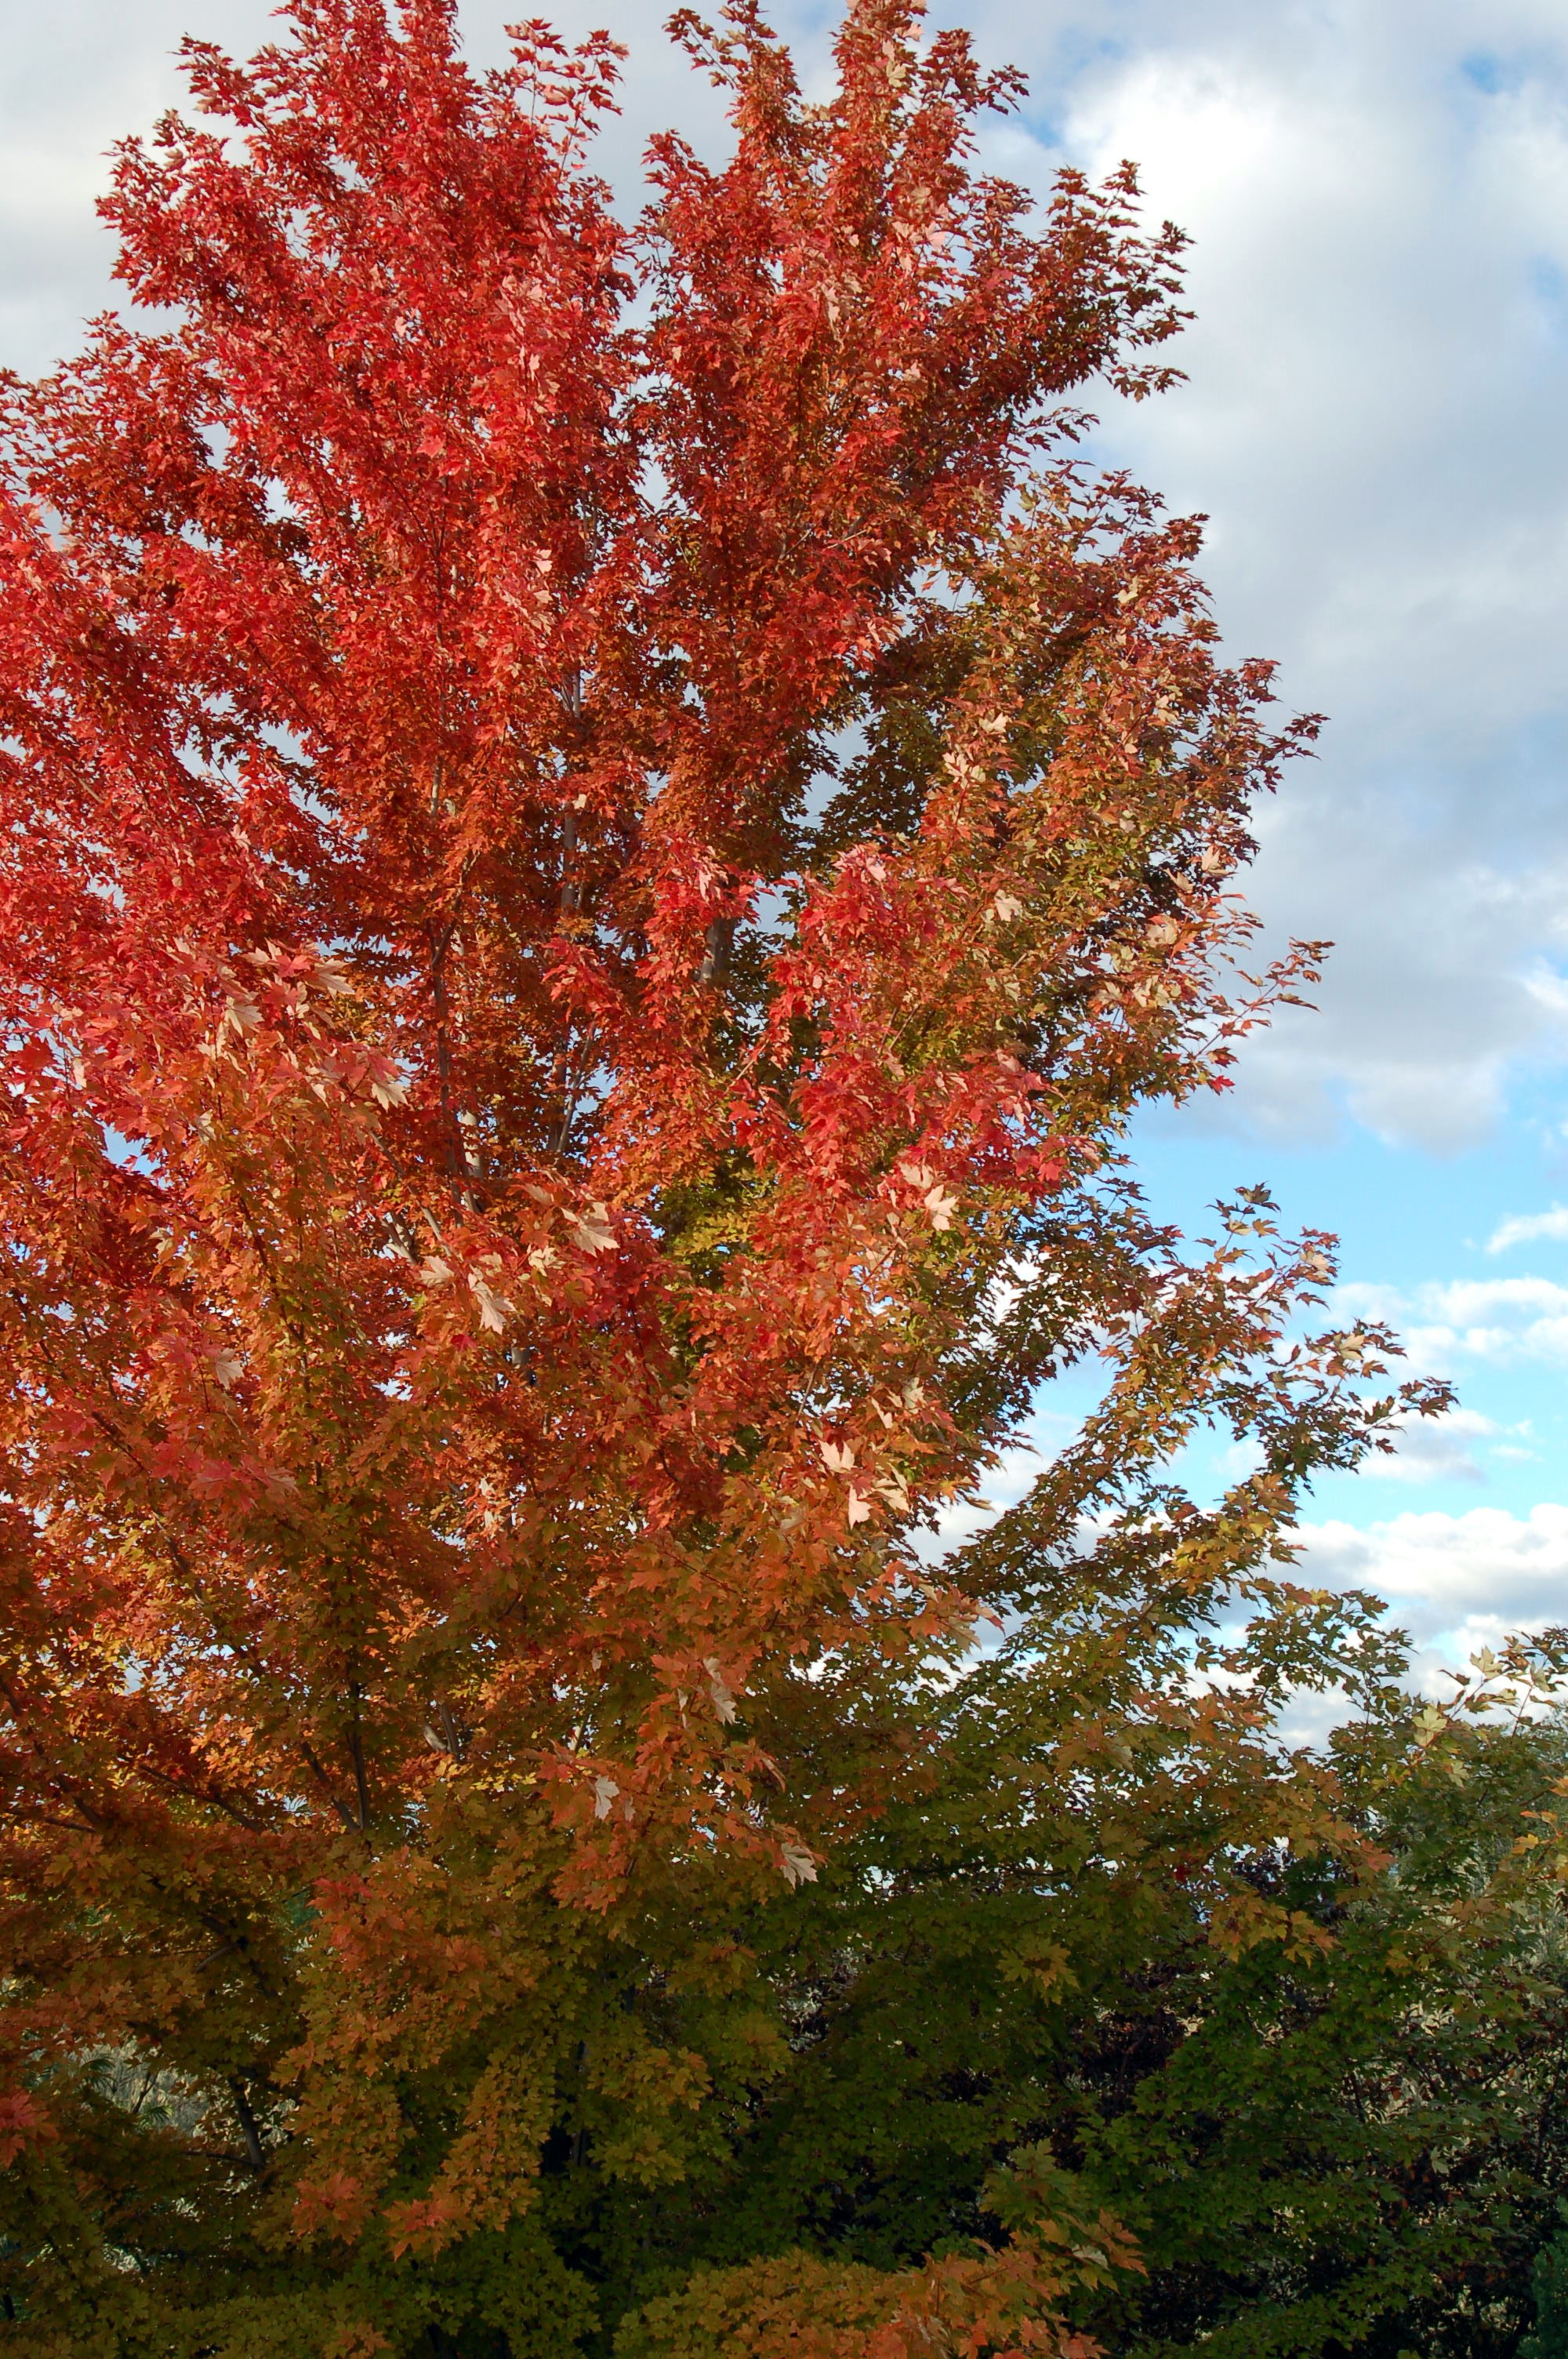
(isn’t my maple tree gorgeous this year?)

 I am still enjoying fresh strawberries!

 My fall berries have been unbelievable this year!  They are quite large and very, very sweet!  I have been getting a bowlful like this every 4-5 days!  I have shared with neighbors and friends, but mostly I just eat them myself, right out of the bowl! That is… if I can beat my grandson to them, he is a little strawberry monster!

 But I am afraid that all good things must come to an end.  We are expecting our first hard frost of the season.  But luckily I have frozen quite a few bags of strawberries so we can enjoy them all winter!

Fun Craft Night with… Landee See Landee Do!

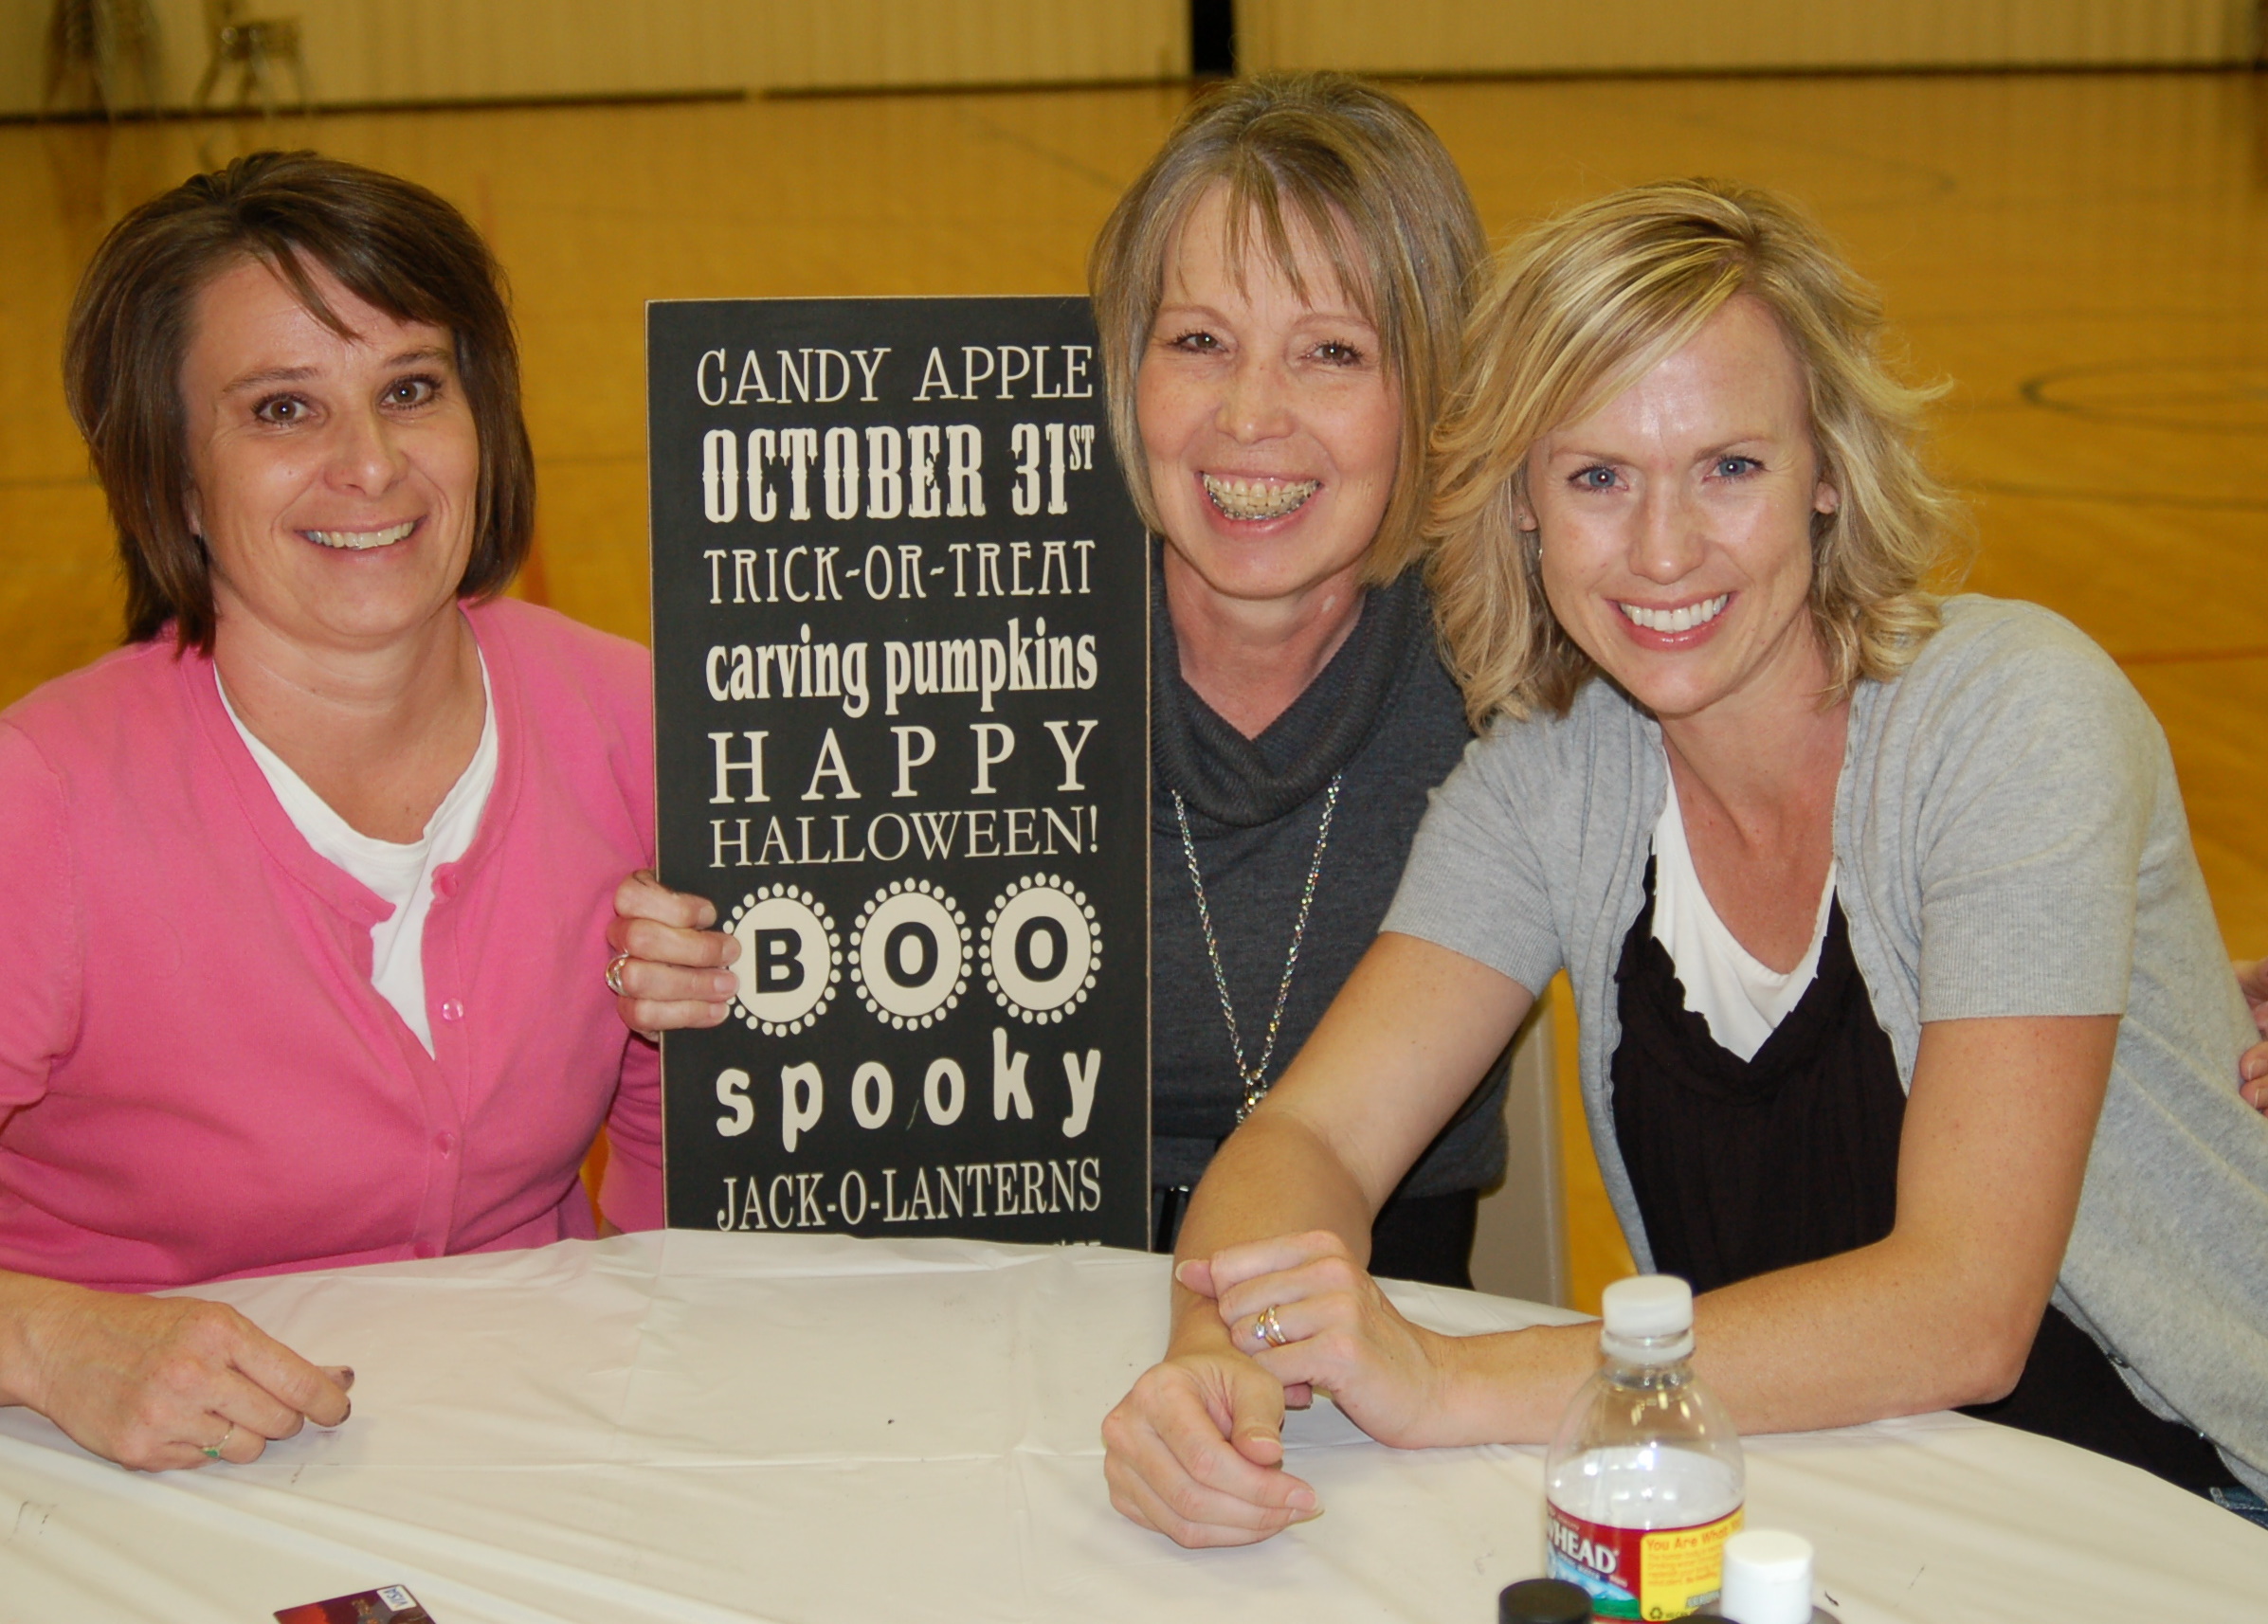
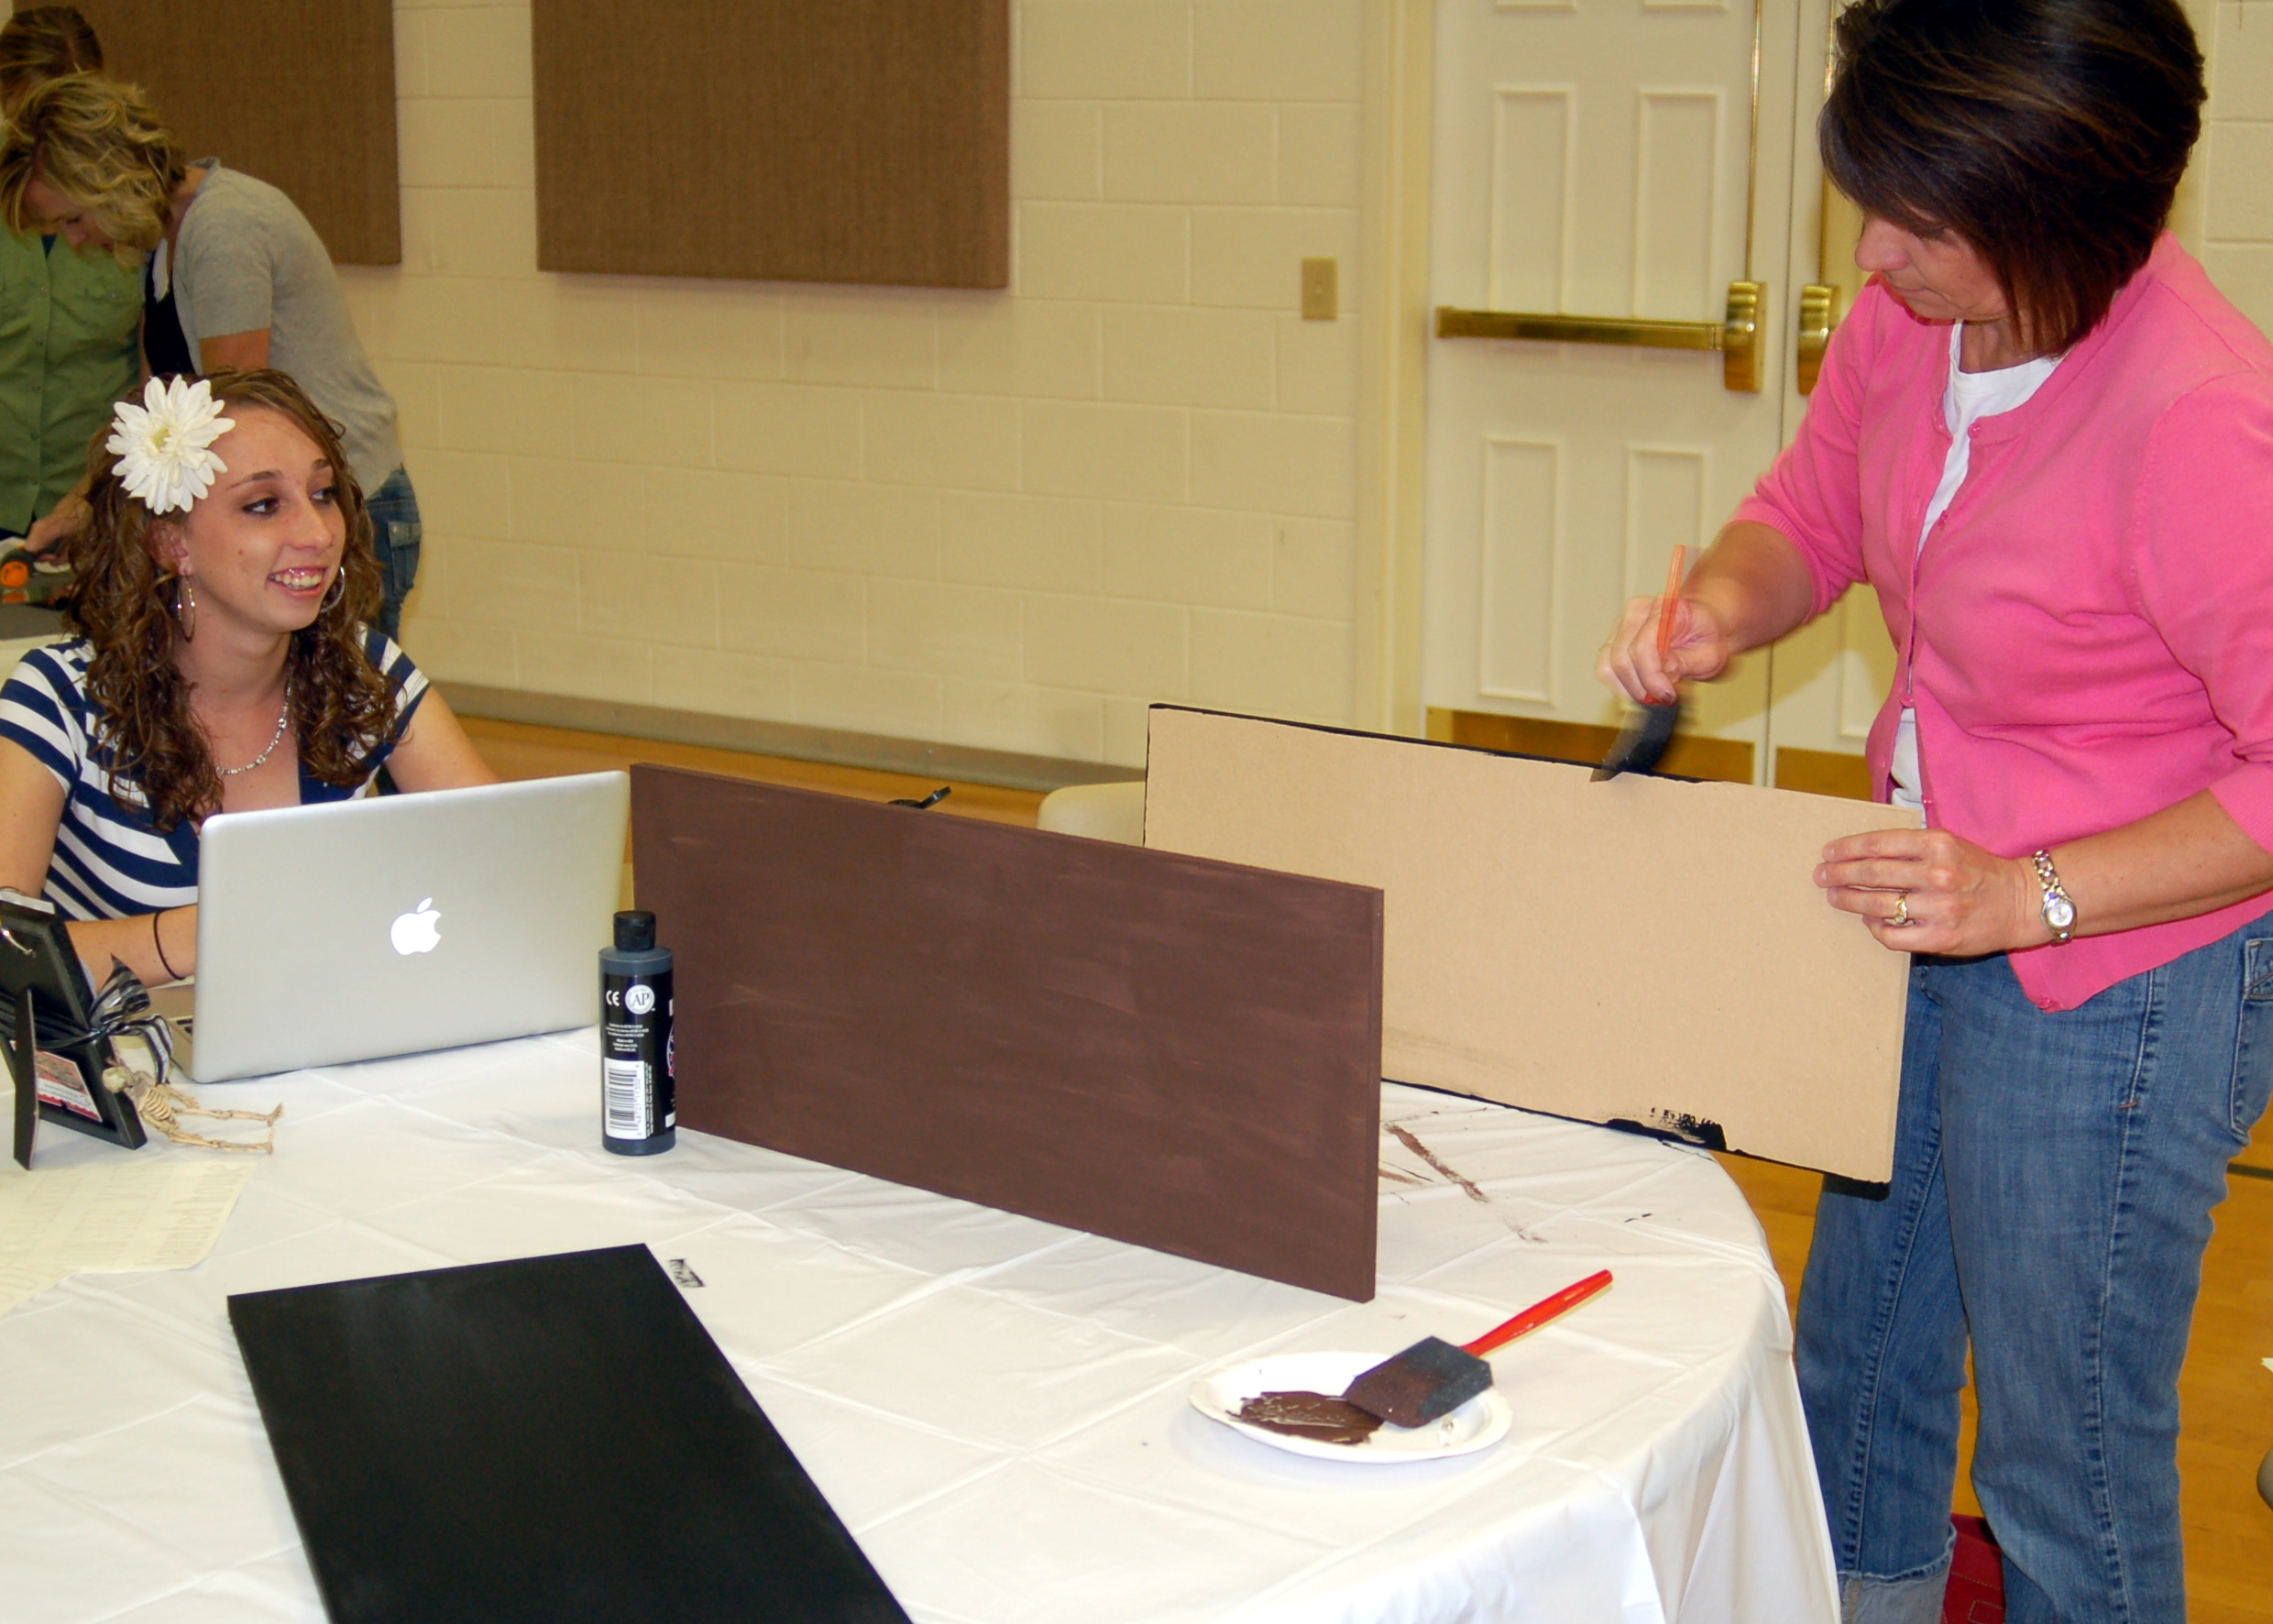
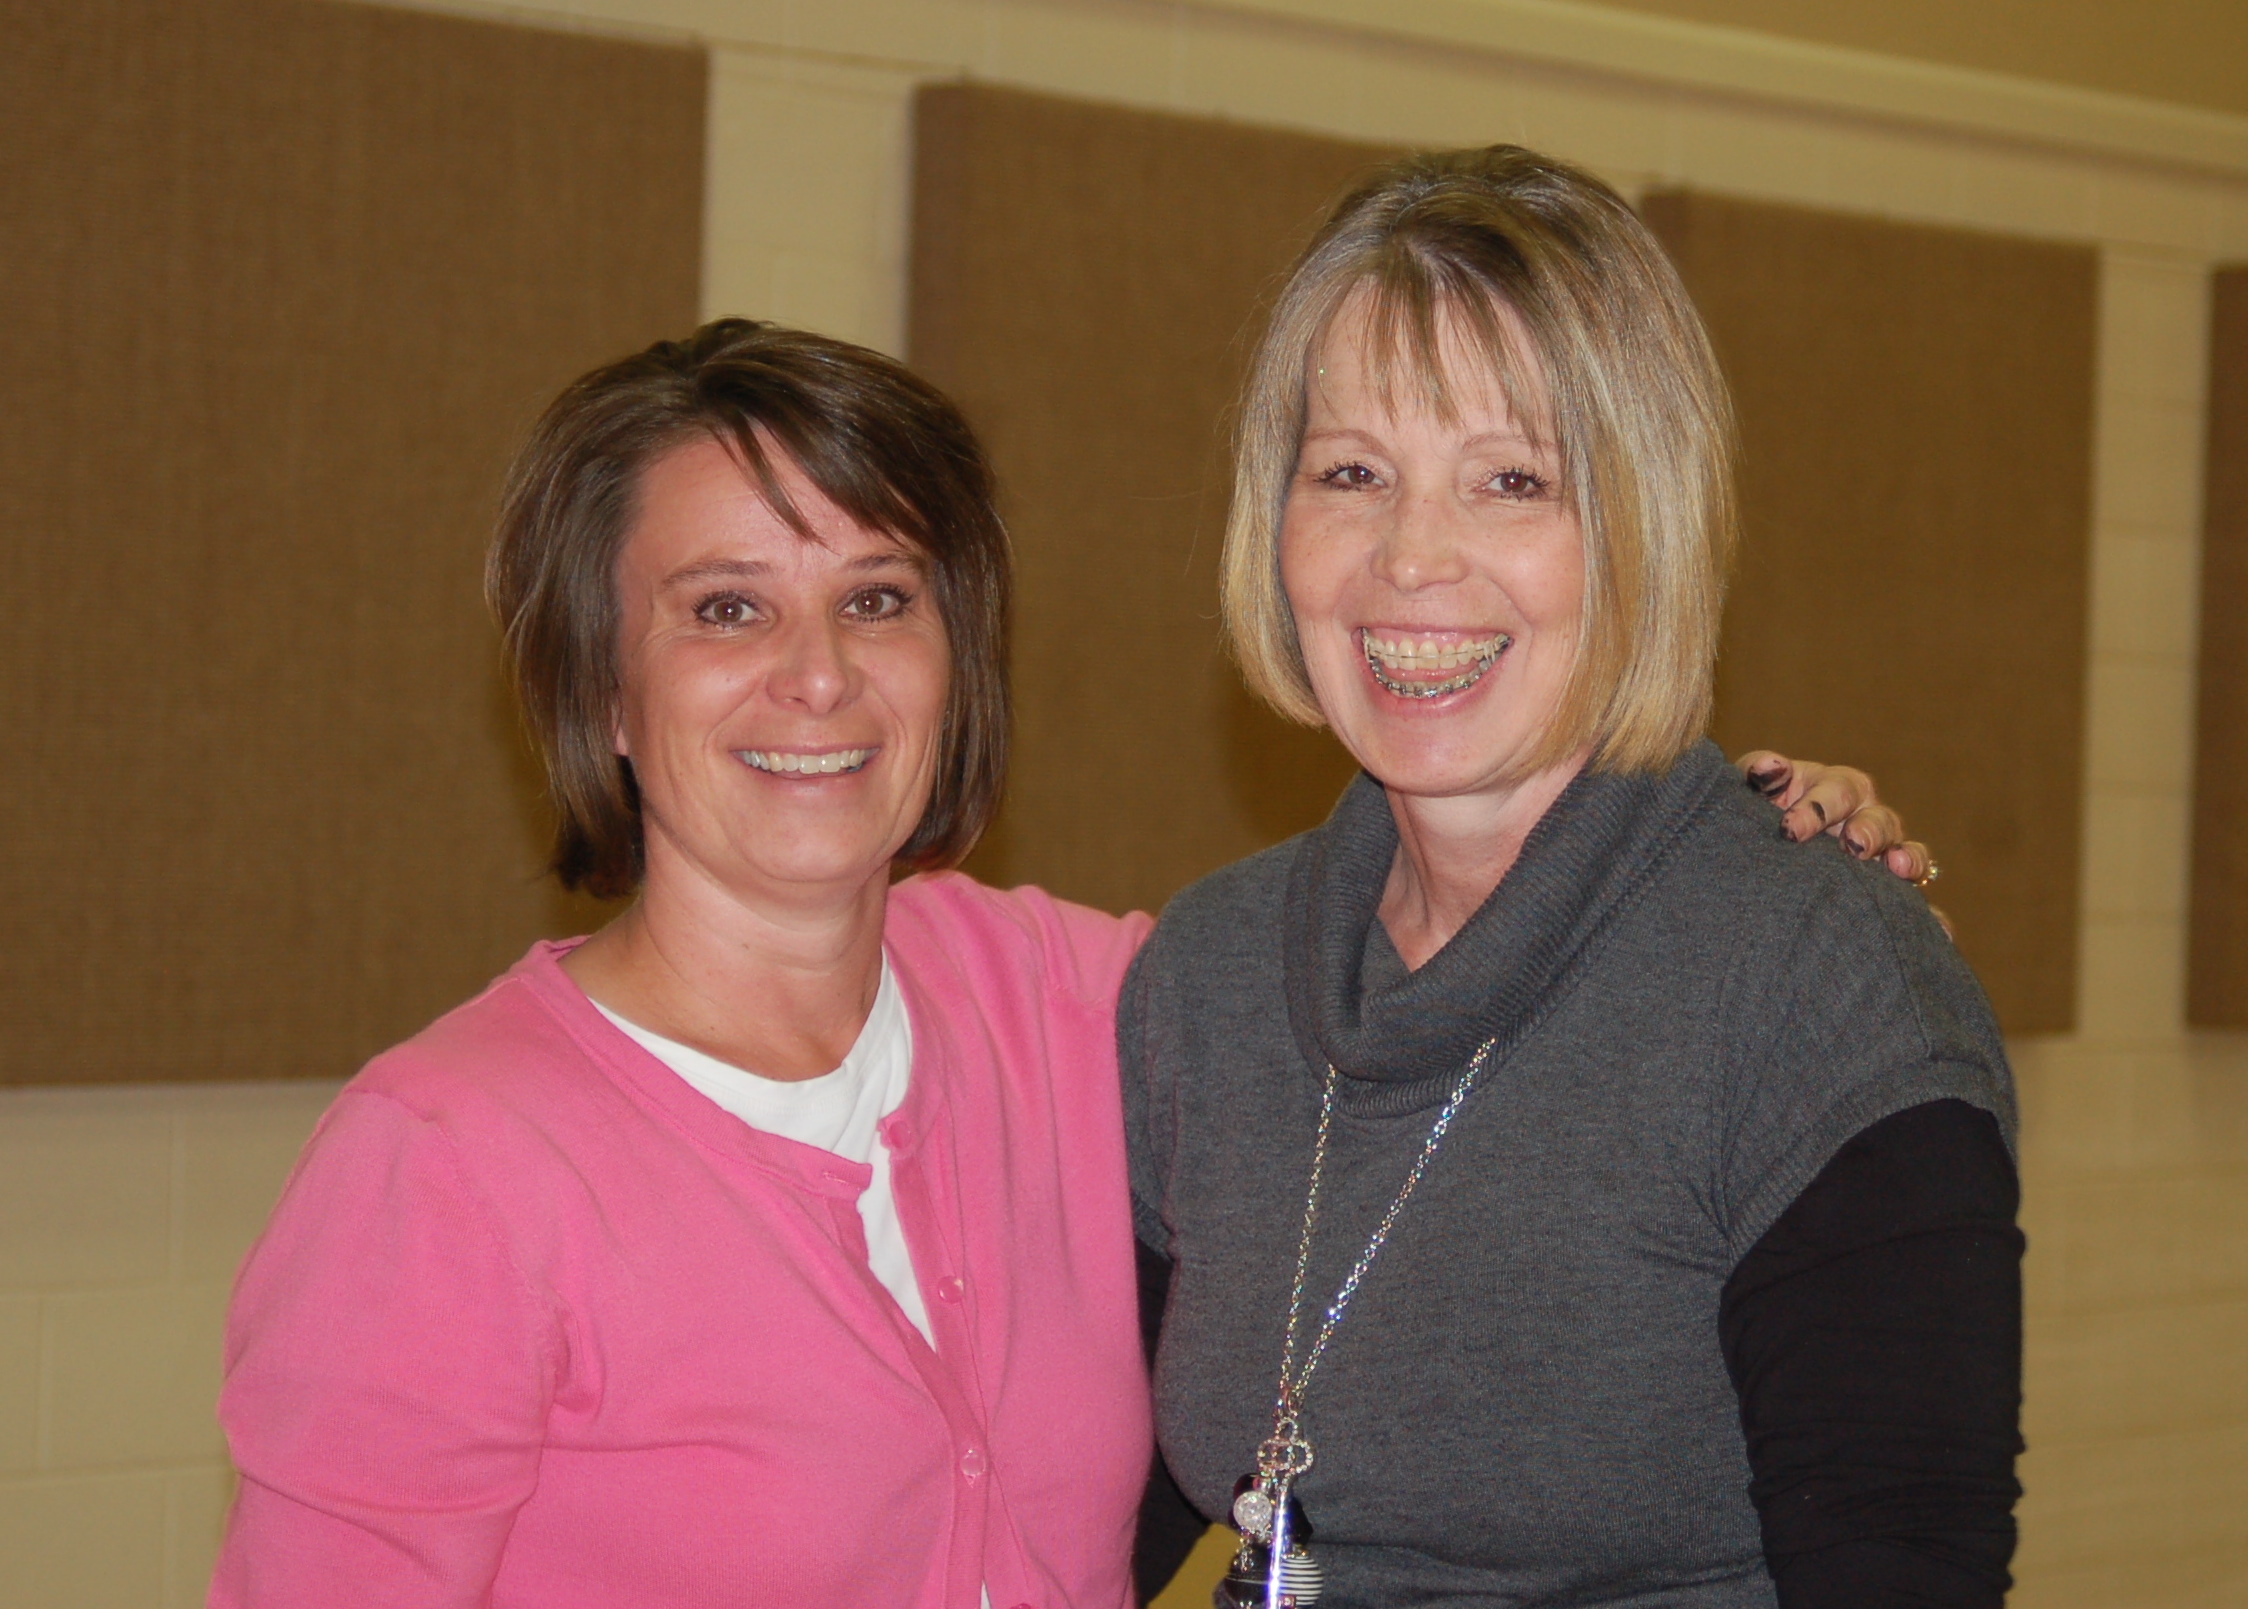
Last weekend my friend Sharee and I went to Bountiful for a fun craft night with Landee from Landee See Landee Do.  She is a cute, fun, energetic girl, and was so sweet and kind to us.  She has a darling blog and you really should check it out!

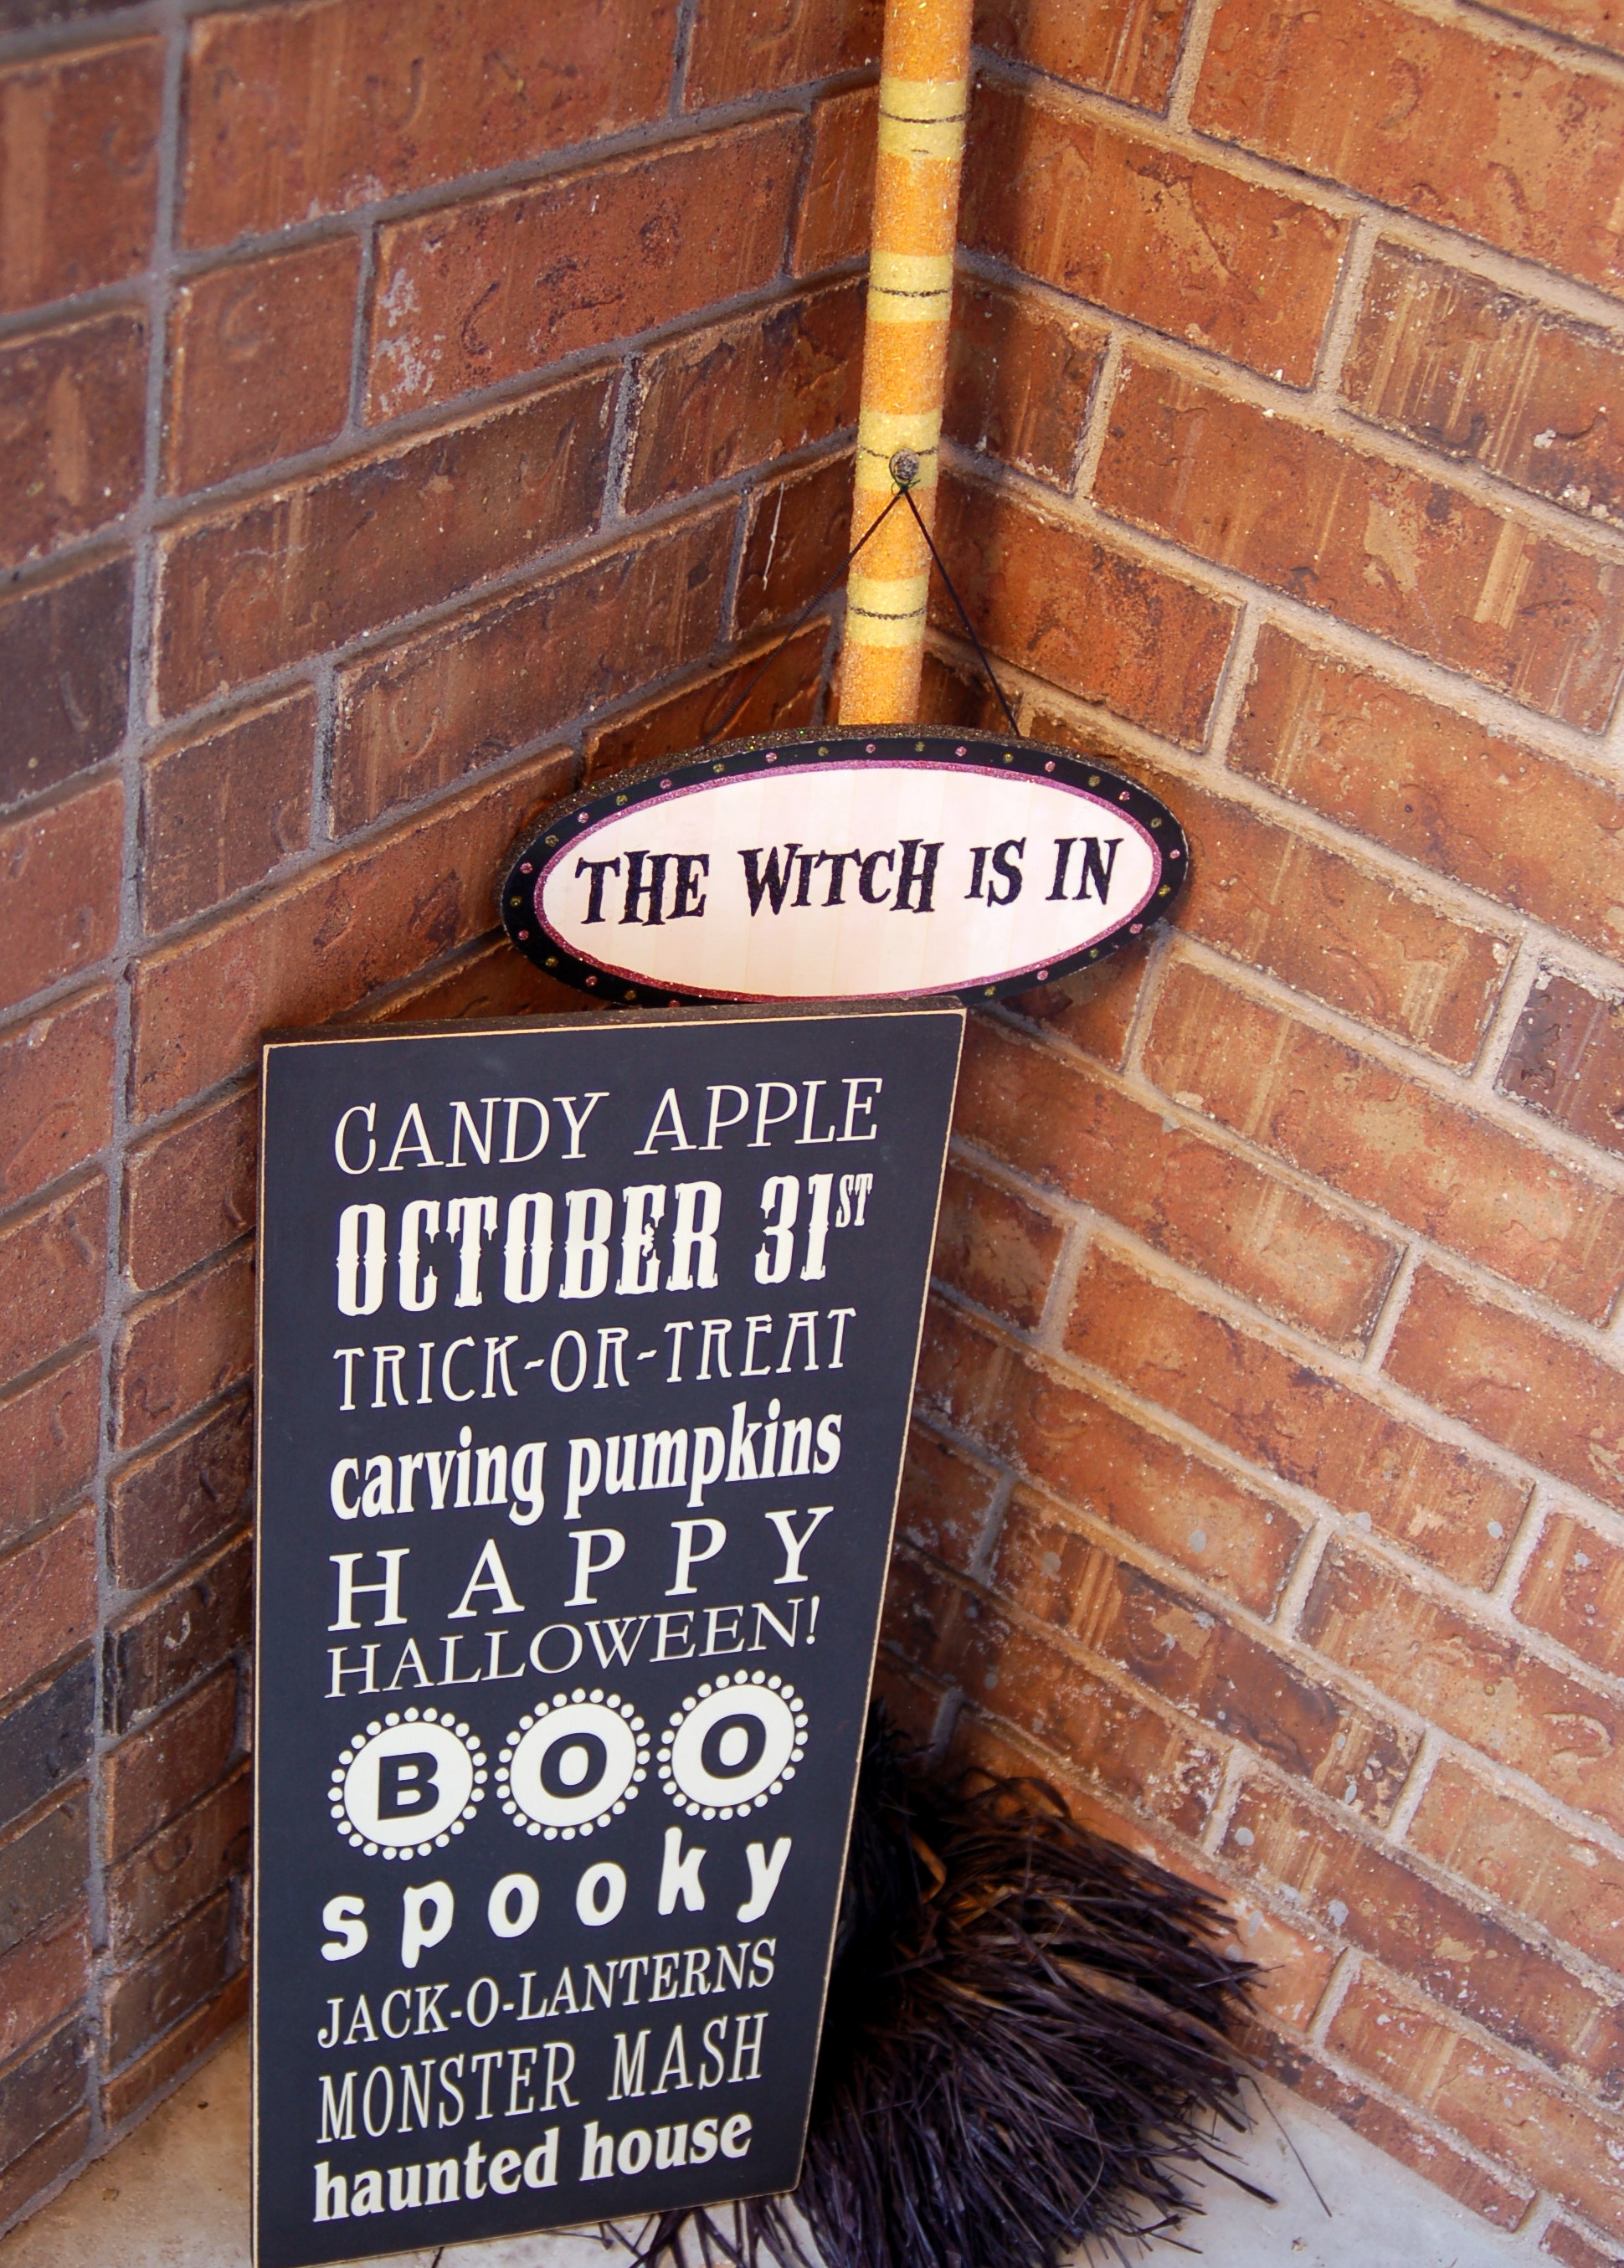
We made these darling subway art boards. Sharee’s daughter met us there for a little while, she is at Weber State going to school and she had her mom bring her a few necessities…like homemade cookies!

Sharee and I had so much fun on our girl’s night out.  You would think that we had not seen each other in months, the way we talked all night long.  Never a dull moment!  I love that this board is double-sided!  It makes for better storage…one board, two holidays, you can’t beat that!

This is the Halloween side.This is the Thanksgiving side.  I love it!

Thanks Sharee and Landee for a fun evening!