Hippity Hoppity Easter’s on it’s Way!
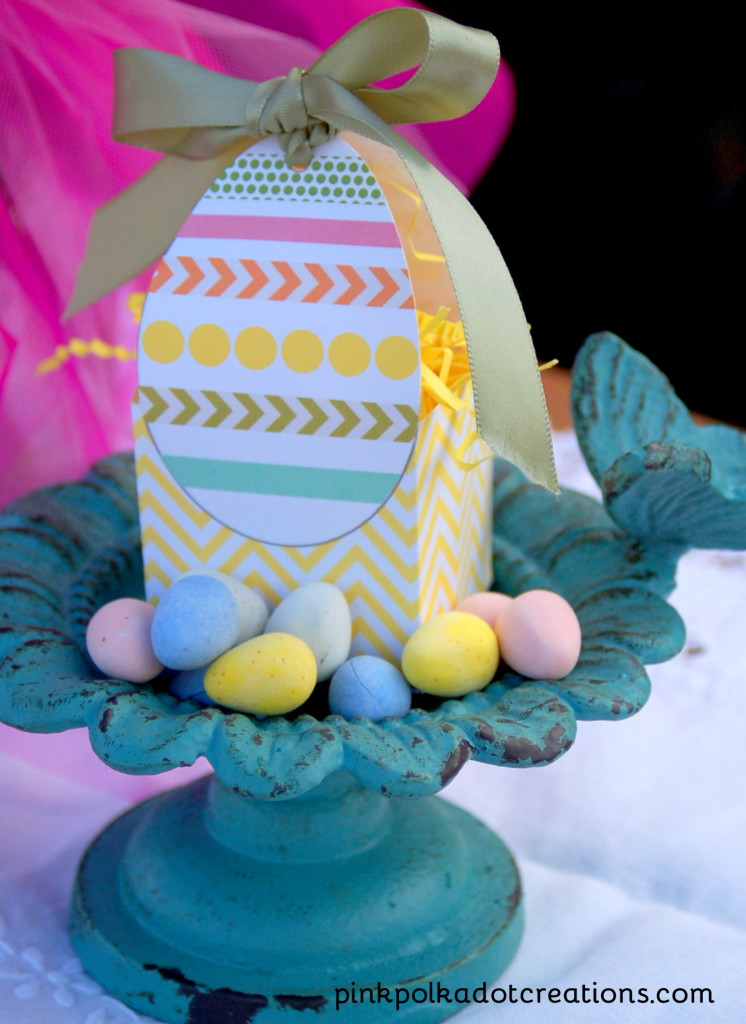
I made these fun 3-d Easter egg boxes with my Silhouette Machine! I am quite tickled that I could figure it all out, but it was so fun to do… I can definitely see more projects like this coming in the future!
I was driving down the road yesterday and this is what I saw!
The skies were so blue, the clouds and the tops of the mountains so white, and it just looked like spring with the sun shining so bright!
I love that I live so close to the mountains and that I get to experience all 4 seasons!
They are all so beautiful!
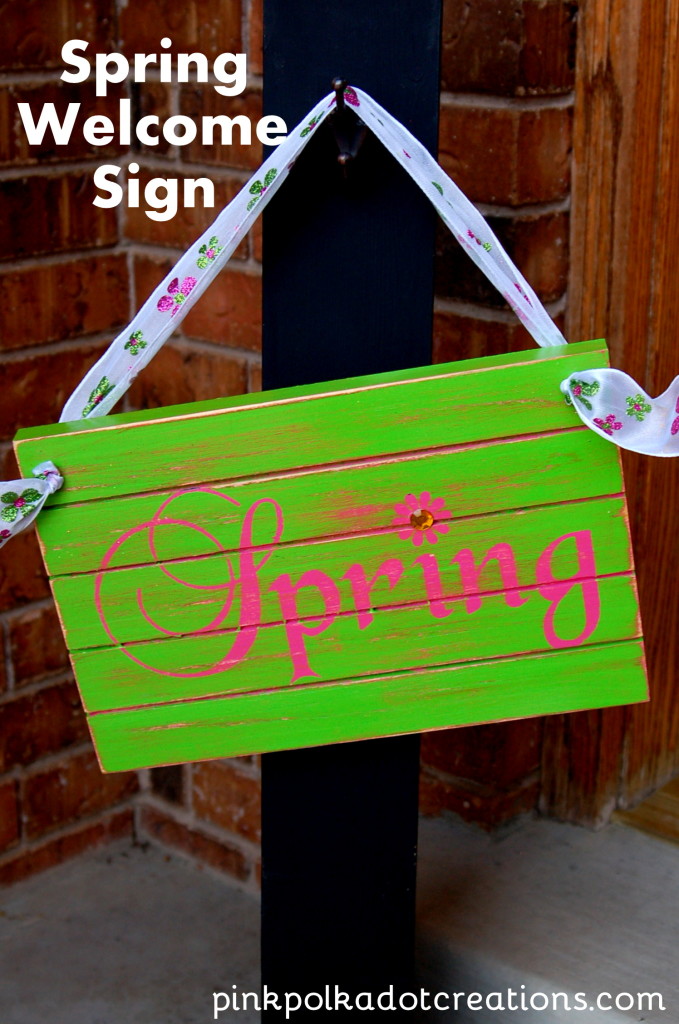
Well, after being outside a bit, I decided that I needed to start getting ready for Spring, so I thought that a welcome sign would be just the thing to get me started. This sign is on my post that sits at the front door.
Today’s thought is just a repost from a couple of years ago.
I assume that everyone has their Valentines stuff all figured out by now, so we’ll start thinking of the next holiday, okay?
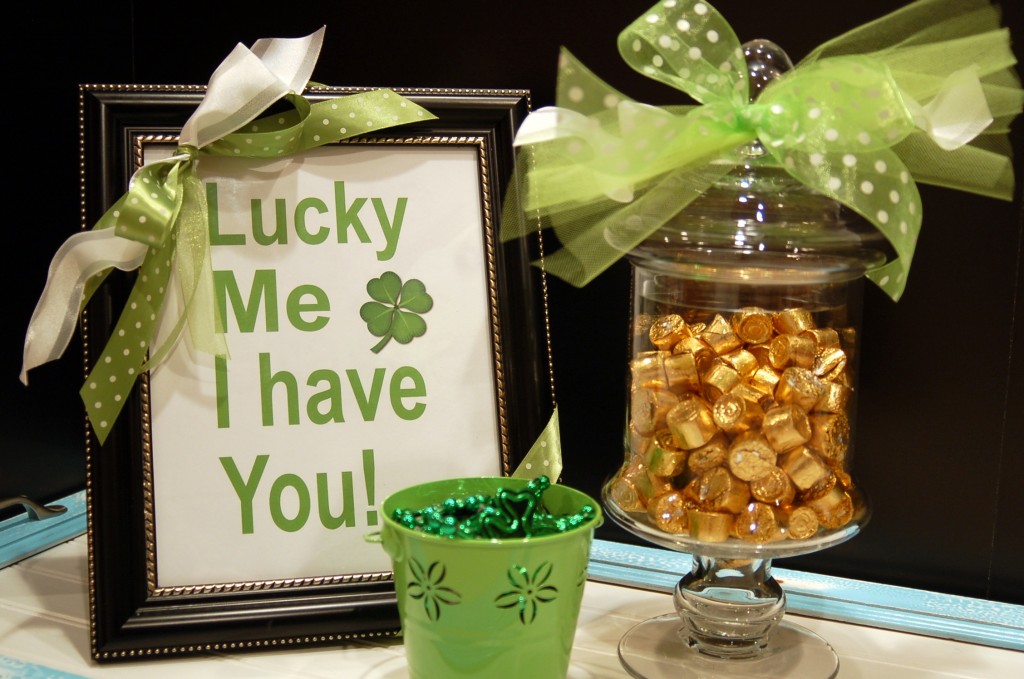
St. Patrick’s day is not a holiday that I usually do too much for. But I decided that I could decorate my repurposed tray that sits on my kitchen counter. This is what I came up with:
I made these printables to share with you. There is one cutsie one, and two modern ones. You can just print them and frame it like I did here.
I used to decorate for all the holidays when my children were at home, but now I usually decorate a lot for Halloween… a little bit for Thanksgiving… for Christmas I still go all out… and then I kind of just go spring/Easter and Summer/Patriotic.
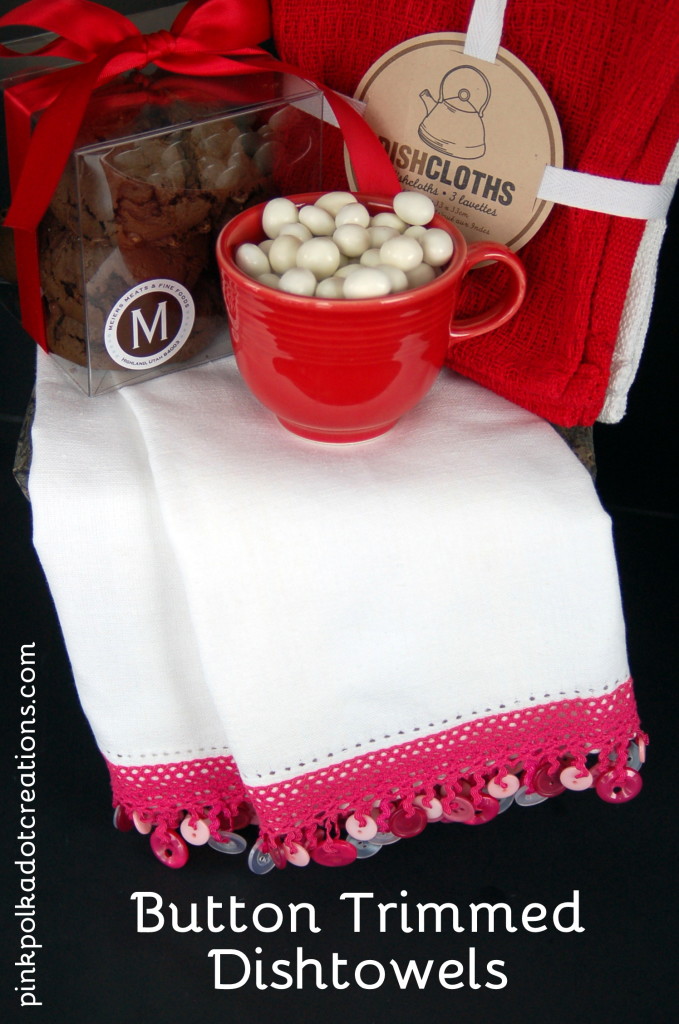
But I still like to have a few decorations and candies in my kitchen for each holiday! So for Valentines day, I decided to make up these darling button trimmed dishtowels! I got the supplies for these last spring, when we went on our trip to Arizona. My husband basically took me on my very own, private, quilt shop hop on that trip! We went to about 15 different quilt shops while we were there for Spring Baseball, it was like having the best of both worlds! :)
So here are my button trimmed dishtowels:
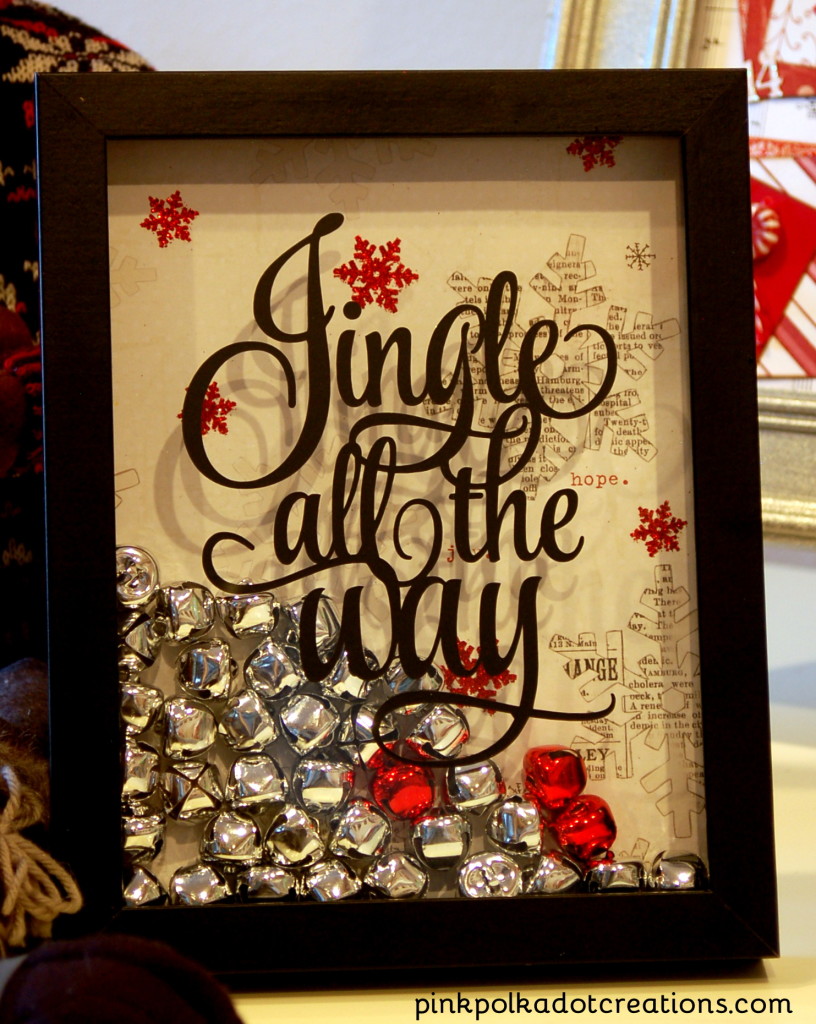
My friend gave me this darling picture for Christmas this year and I am absolutely loving it! She cut the vinyl on her Silhouette machine and used darling paper for the back of the frame and added a few red glittery snowflakes!
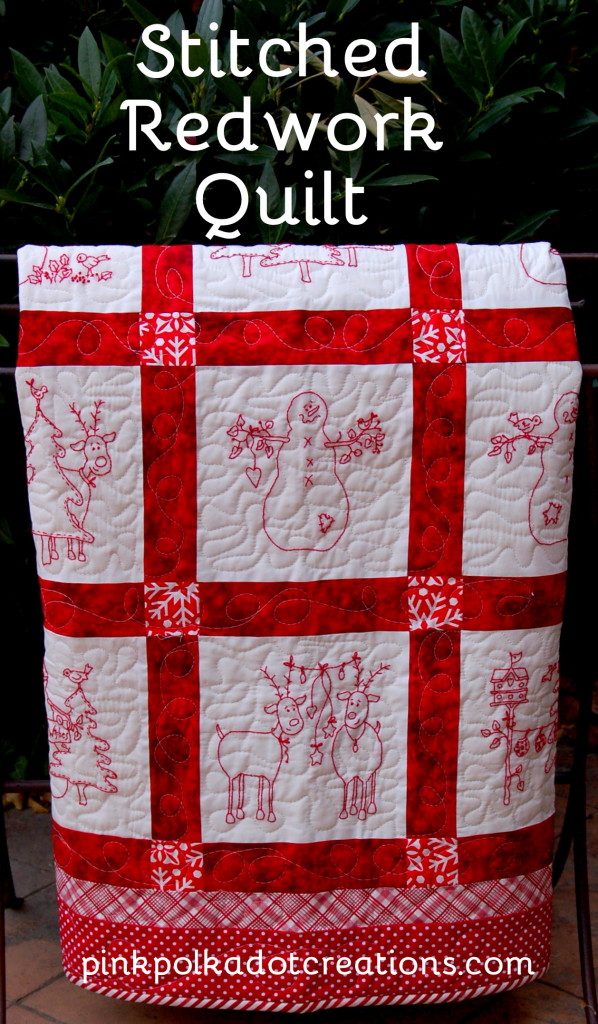
I finished my redwork quilt last weekend and I am so excited to put up all my Christmas decorations now! In fact, I had all my kids and grandkids haul up all my boxes with my decorations from the downstairs, so they are scattered in boxes all around the house! It usually takes me 2-3 days to put up all of my decorations, but for the most part, I take my time and just enjoy it. I usually have a little helper or two, so it goes up pretty quickly.
Here is my newest redwork project, to add to my collection:
I thought that today I would just do a fun Thanksgiving Roundup to get us ready for next week,
with recipes, games, printables, decorations and just fun eye candy!
Here is a great site with many vintage images! I love the old vintage pictures!
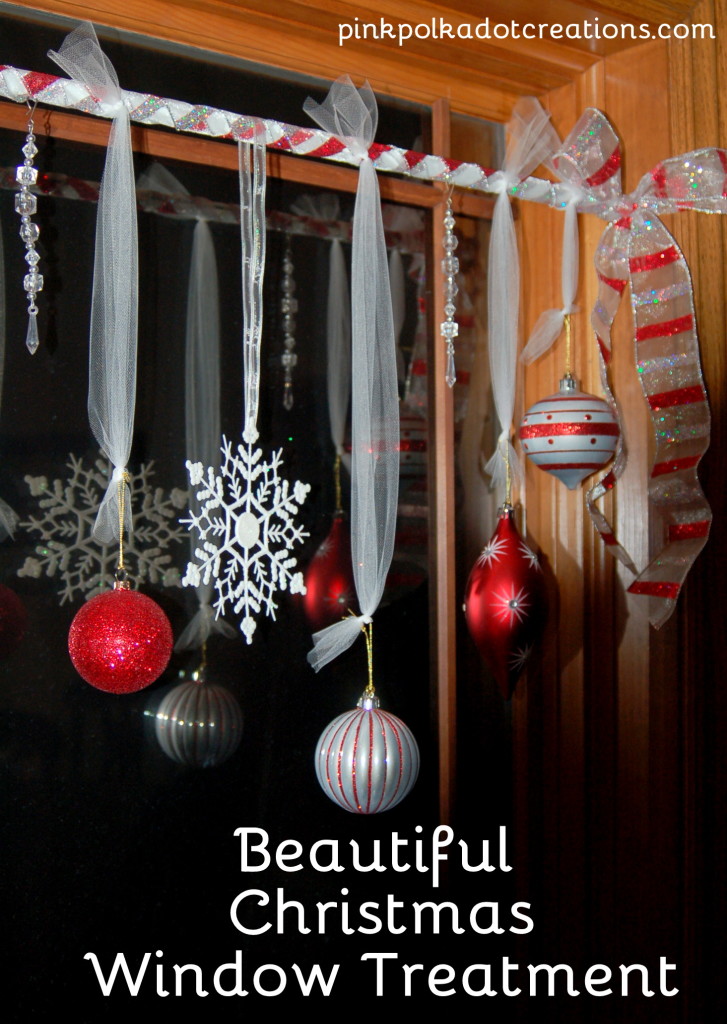
I am excited today, to show you a really fun, easy way to decorate your windows for the holidays. This project is not only easy and inexpensive, but it is a great way to add some Christmas decor to your windows that looks festive not only from inside of your house but the outside as well! It is super easy to do and I had almost everything I needed already at home! Bonus!
I shared this project a couple of weeks ago over at “I Should Be Mopping the Floor”, but wanted to share it with all of my readers in case you missed it over there.
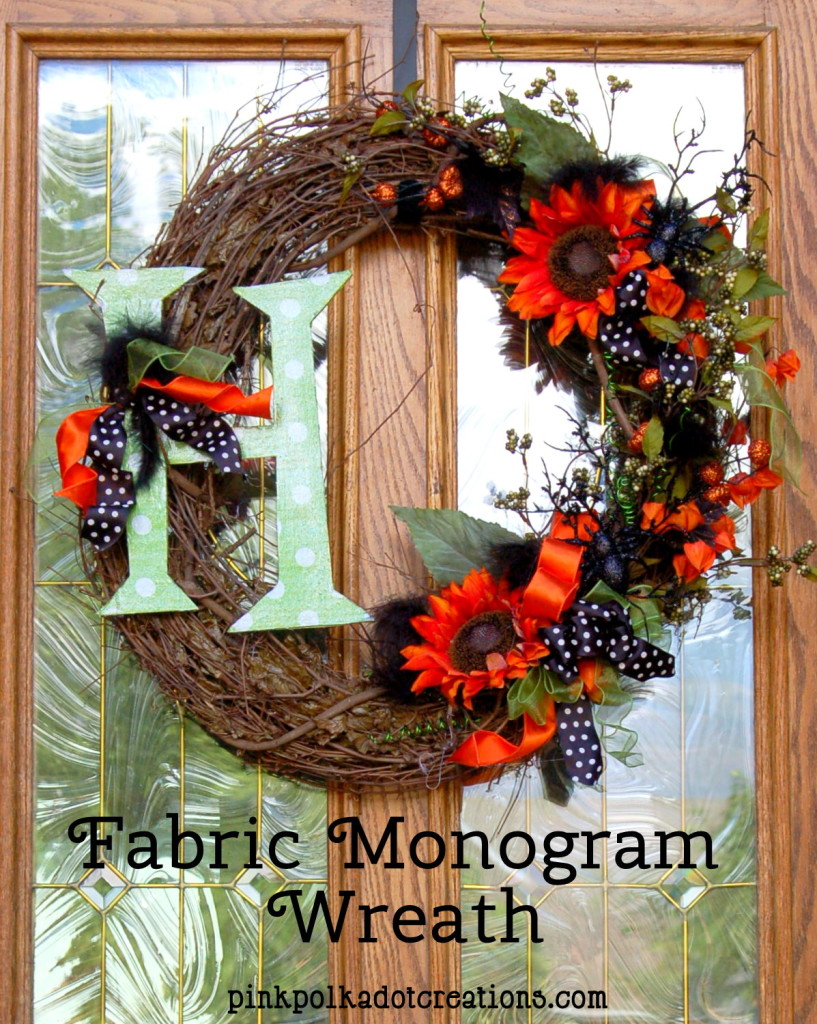
I have a super fun little project today. It is this darling fabric monogram wreath just in time for your Halloween crafting and decorating! This is sooo easy to make, but it looks like it took a great deal of time and effort!